Prologue
Early Years
Wayne Manor
Why do we fall, Bruce?
Wayne Manor Grounds
Go to the garden
The game kicks off in the Wayne Manor grounds, walk forwards towards the closed gate ahead to progress. You'll need to jump over a small wall that's in the way before you get there.
Unlike previous LEGO games there are no level specific stud totals to reach so the amount of time you spend running around smashing random objects in each area is entirely up to you. You will of course still need studs to buy things so don't neglect them entirely.
Find Bruce's costume
After Alfred opens the gates for you you'll be asked to use your Detective Vision to search for the first part of Bruce's costume. You should notice a cape with a golden outline in the hands of the statue in front of you. Bruce will run and jump up towards it and it's up to you to hold down a button to collect it.
After donning the cape go into the summer house where Bruce's mother is searching and interact with the large chest to have a rummage inside. That's the goggles found.
The third and final part of his costume can be found past the fountain in front of the statue that held the cape. It is in a large bush shaped like a W. You can use your Detective Vision to spot the hat and then smash the bush before collecting it to complete the outfit.
Collect Bruce's hat
Follow the hat as it blows away down the path. The game will take the opportunity to teach you how to sprint. After you go through an open gate there will be a fallen log that you can jump on and walk up the narrow brick path on it to get up the little cliff.
After jumping down the other side you have a choice to either cross the river by walking along a narrow bridge or hopping over some logs in the water. In this game it doesn't give you the "press X to jump to the next spot" type prompts that these sort of snap in place jump sequences used to have so you just kind of have to assume you're lined up properly.
Once you're over the river you will see a low tunnel that you will automatically begin to crawl through when you approach it. Out the other side of it and run up to the closed well before jumping up onto it to try to grab the hat. Collect it to complete this first part.
Outside the Iceberg Lounge
Power you can't buy.
Falcone Confrontation
Defeat Falcone's henchmen
Time to learn how the fighting system works in this game. First off the basic attack, press it repeatedly to keep on punching. You can also press the dodge button to avoid attacks from enemies coming up behind you.
Another wave of enemies will arrive after you've taken out the first lot but all you need to do is just keep on punching.
The League of Shadows
Nanda Parbat
You may find what you are looking for.
Mountain Climb
Find a blue flower
Next we learn to use the grapple. Run forwards along the path until you see a button prompt appear on the edge of the ledge in front of you. Press the button to grapple the ledge and quickly zoom towards it. This is pretty much the primary method of moving around the world in this game so get used to looking for that button prompt appearing to show you where you can get to.
Keep following the path, grappling and jumping where necessary, until you round a corner and see a landslide partially destroy a bridge. Not to worry though, there's still a thin bit left for you to walk over.
Around the next corner you'll find a couple of yaks next to a crate. Smash the crate to release a load of bricks that will start hopping and jostling around a little bit instead of quickly disappearing. If you stand near them you can then press and hold a button to start building with them.
The way forward is now clear so grapple up to the ledge and get going. Another couple of grapples and you'll find yourself on a bar you can shimmy horizontally along. Move around the corner to the right and when you get to the end of the bar press the jump button to leap to the bar above and then from the end of that one hold towards the right and press the jump button to jump sideways to the ledge you can climb up onto after a quick button tapping event (as soon as the segments are all lit up you can stop tapping).
In this cave there's a quite tall grapple to make, a thin bridge to walk over to the left and then a grapple back to the left again. Cross another thin bridge then grapple over to the next platform and then up onto the wall. This one will teach you how to drop from one shimmy ledge to another, you do that by pressing the drop button and you will automatically grab the next one below you. Get up the ledge and head back outside to spot a blue flower.
Hop over the pillars to the other side then grapple up onto the wall and shimmy around the cliff using a few jumps and drops until you can climb up again.
You now have a choice in which direction to go. Left or right. The paths very quickly rejoin so take whichever you feel like. They're both just more grappling and walking over thin bridges.
Past the cave you encounter a crashed plane and nowhere else to go in sight. If you use your detective vision you'll see three bits of the debris highlighted in blue and yellow that you will need to smash to get the bricks needed to make a build. Once you've smashed them hold the required button to assemble the two seater and get in. Hold the button as prompted to launch into the air.
While you're in the air you can move left and right to try to glide through the spinning rings of studs to collect them. Keep on going towards where you can see some lightning hitting a building and after you get hit by that lightning you'll get a quicktime event that wants you to press a specific button right as the shrinking large thin yellow circle reaches the green circle around the button prompt. If you press it too early or too late (or the wrong button) you won't get any bonus studs but it doesn't generally matter to your progress if you get it right or not.
After crashing walk forwards to some debris blocking the path (you can press the detective vision to highlight it if you're not sure which bit) which will require both characters to lift it up. This is going to be a common type of roadblock throughout the game's levels to avoid co-op players from getting too far ahead of each other as it usually blocks off the way back at the same time.
The rest of this part of the game is a few grapples up over some large gaps until you reach the blue flower for real this time.
Combat Training
Go to the combat dojo
Some more advanced combat techniques will now be taught. Go through the door and up the steps into the dojo to get started.
First up you'll be taught how to dodge ranged attacks. You'll see a target line pointing right at you and be given a button prompt to dodge out of the way of the attack. Do this three times.
Next is counter attacks. These are another basic type of attack that you can only perform when an enemy is trying to attack you. You'll see a prompt over their head that tells you that you can now press the button to counter their attack. There's usually plenty of warning before they actually hit you if you ignore or don't notice the prompt.
The third thing you'll learn about here is the hit counter. The more attacks you make in a row without being hit or waiting too long between the higher your hit counter will climb.
After defeating this lot of enemies you'll learn what the point of that is, it is to help build your Focus Meter up. Once your Focus Meter is full you'll be able to perform an attack that instantly defeats an enemy (or greatly damages a stronger enemy).
And that's all the techniques you'll be taught for the moment. Defeat the rest of the ninjas that attack to move on.
Stealth Training
Go to Ra's
Go through the doors and hop over the pillars before jumping over to some beams to reach the next platform. On here are four smashable objects that will be used for a LEGO build.
After assembling the rocket turn the handle so that it is pointing at the pile of rocks on the other side of the gap and then jump on the button to launch the rocket. You can now grapple over and head inside.
Stand on the pressure plate
Both characters will need to step on the pressure pads next to the lanterns on the floor to trigger the next part of your training.
Sneak past the guard
The question mark that appears above the enemy's head will indicate how aware they are of you. If they spot you it will start to fill up and if you don't get out of their vision it will completely fill and they will become completely aware of you along with every other enemy in the area and you will no longer be able to sneak around to avoid combat. For this first enemy you just need to quickly move to the side to get behind the cover and make your way through the door at the back of the room. You don't need to defeat him or anything.
Follow Ra's
Outside grapple over to Ra's and then over to a door with two pressure pads on either side. Talia should run up to join you quickly.
Perform a sneak attack
Inside is an enemy with his back to you, if you sneak up close to him you can perform an instant stealth takedown attack that won't alert any other nearby enemies (unless they're directly watching you).
Reach the exit without being seen
The next two enemies are a pair that when you attack one your partner will stealth attack the other. The path splits from here, choose a path and take out all the enemies with stealth takedowns. You will need to wait for the patrolling one to walk into a position where he won't spot you approaching before you get too close.
Stand on the pressure pad at the end and wait for Talia/your co-op partner to do the same on the other side.
Grapple to a perch
The path outside will split again, take one path and use the grapple to reach a perch above an unsuspecting enemy.
Perform a takedown from above
From perches you can press a button to silently attack and instantly defeat an enemy below you. You'll usually have to be careful of other enemies that are looking in your direction but in this case it's just the one guy.
Stand on the pressure plate
Step on the pressure pads to open the next door once you're both done.
Complete the stealth trial
If you perform a drop attack on the two enemies straight away you'll have enough time to turn around and grapple back up to the perches before the approaching enemies fully spot you.
Wait for them to split up and then take them out one by one. Sneak around the fire pits to get behind the remaining two enemies to fully clear the area.
Go to Ra's
Exit through the door, up the stairs and into another room with some pressure plates to stand on. Approach where Ra's is standing to complete this section of your training.
Gadget Training
Go to the temple
Run up the stairs and activate the pressure pads to open the door.
Collect the shuriken
Inside Ra's will give you a shuriken and teach you how to aim and fire them at targets.
Use the shuriken to destroy three targets
After hitting the first three targets a bridge will unfurl for you to continue onwards.
Find a way through the gauntlet
At the next lava pit aim at the orange circles above the hanging spike column things to cause them to drop down and form poles for you to hop across.
Around the corner is a more obvious target, the game at this point will suggest you use the quick throw technique rather than manually aiming at it. Hitting the target will cause four platforms to spin down into position so you can hop across to a middle point. They will close back up after a short time so don't hang around on them. Hit a second target while you're on the central points, wait for the platforms to move into position and then hop the rest of the way across.
The next lava pit has three more of those spiked columns to drop into the lava but also some large swinging axes so you have to time your jumps between the columns to avoid getting hit.
The final part of the gauntlet is a tunnel of spikes. Stop at the beginning of it and aim at a target at the far end. Keep trying to hit it until you get the timing just right and all the spikes retract out of the way.
Use the shuriken to distract the guard
Grapple up the next ledge and learn how to distract enemies. Aim the shuriken at the floor and throw it, this will make any nearby enemies curious and they will move closer to where the noise occurred to try to find out what the noise was. This will allow you to perform a takedown from the perch without having to jump down and sneak around them.
Go to the shrine
There's another pair of pressure pads to stand on to progress.
Defeat the ninjas
One final shuriken technique to learn now: the stun. If you throw a shuriken at an enemy multiple times they will become stunned and stop attacking for a moment. They will have stars circling their head and if you attack them you will be able to perform a flurry attack to rapidly punch them quickly increasing your hit counter.
This is a technique you can use in the middle of a fight so it is best done using the quick throw rather than aiming.
You don't have to use it if you don't want to but you do need to defeat the wave of enemies that are attacking you.
You will now get the mission complete screen and be given a Gold "Skill Brick". These are used to upgrade your combat and exploration skills for each character. Your first upgrade is forced to be "Critical Hits" but in the future it will be entirely up to you depending on how you prefer to play.
Infiltration
The Icefields
Your compassion is a weakness your enemies will not share.
Glacier Fight
Defeat the armed ninja
Another technique to learn now is the art of dodging a spin attack. When you successfully do this the enemy will be stunned much like when you hit them with shuriken and give you the opportunity to flurry attack them.
Defeat the ninjas
After defeating the first example ninja more will appear and begin to attack you. The ones with swords have the ability to perform spin attacks so watch out for the line of arrows on the ground that appear when they begin performing an attack.
After defeating this first wave the ice platforms will be dragged together and then more ninjas will attack you both. Clear them all out to complete your training.
Inside the Fortress
It's what separates us from them.
Infiltration
Sneak past the sleeping guards
On your left as you start the mission is a vent on the floor that you can enter to crawl around in. As you make your way through the vent you'll get blocked from emerging by a plant so keep on going past it to another exit.
Go to the throne room
After popping out, activate your detective vision to spot the two cables that are holding up chandeliers and fire a shuriken at the one on the left. This will drop a chandelier onto the tree that was blocking the vent. It is also the first of the games equivalent to minikits.
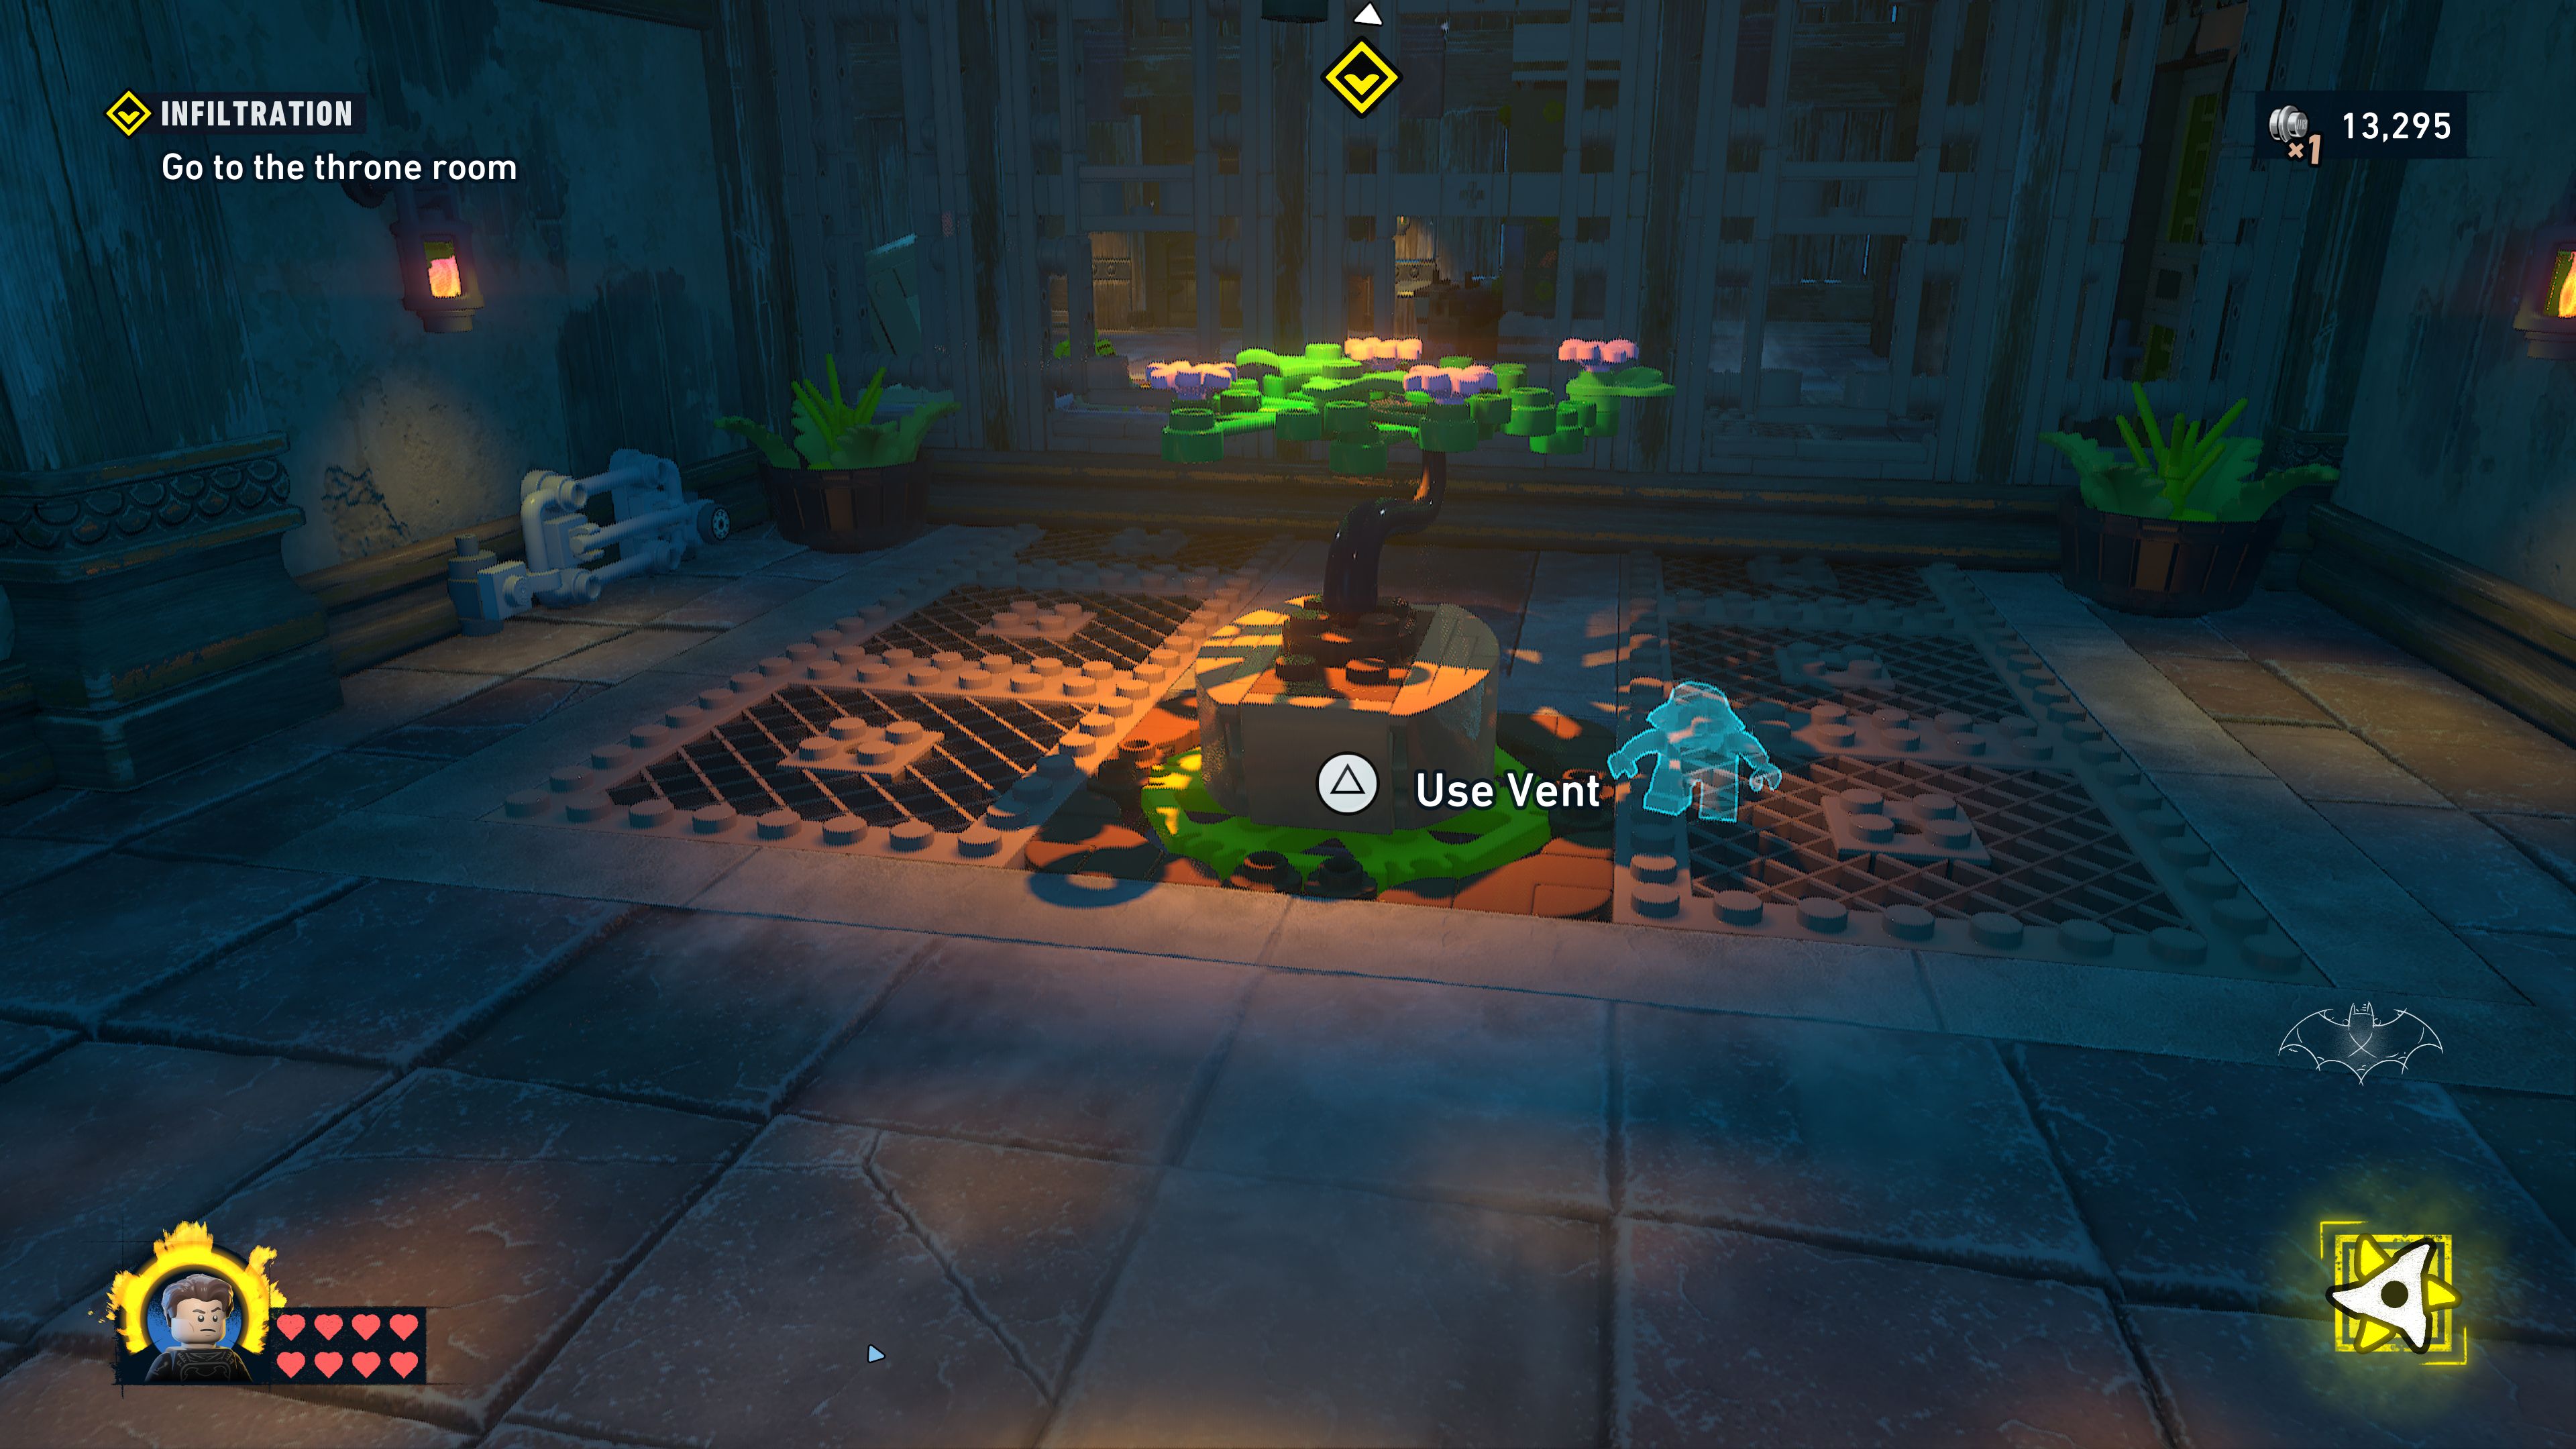
Smash all five of a particular item in each main mission level and you will unlock that same item for use as a decoration in your Batcave. And of course get closer to that 100% completion mark.
Drop back into the vent and get out again at the newly cleared other exit. There's a pair of guards standing looking the other way that are perfect for a stealth takedown by the both of you. This area has a few guards wandering around in that you should be able to deal with stealthily.
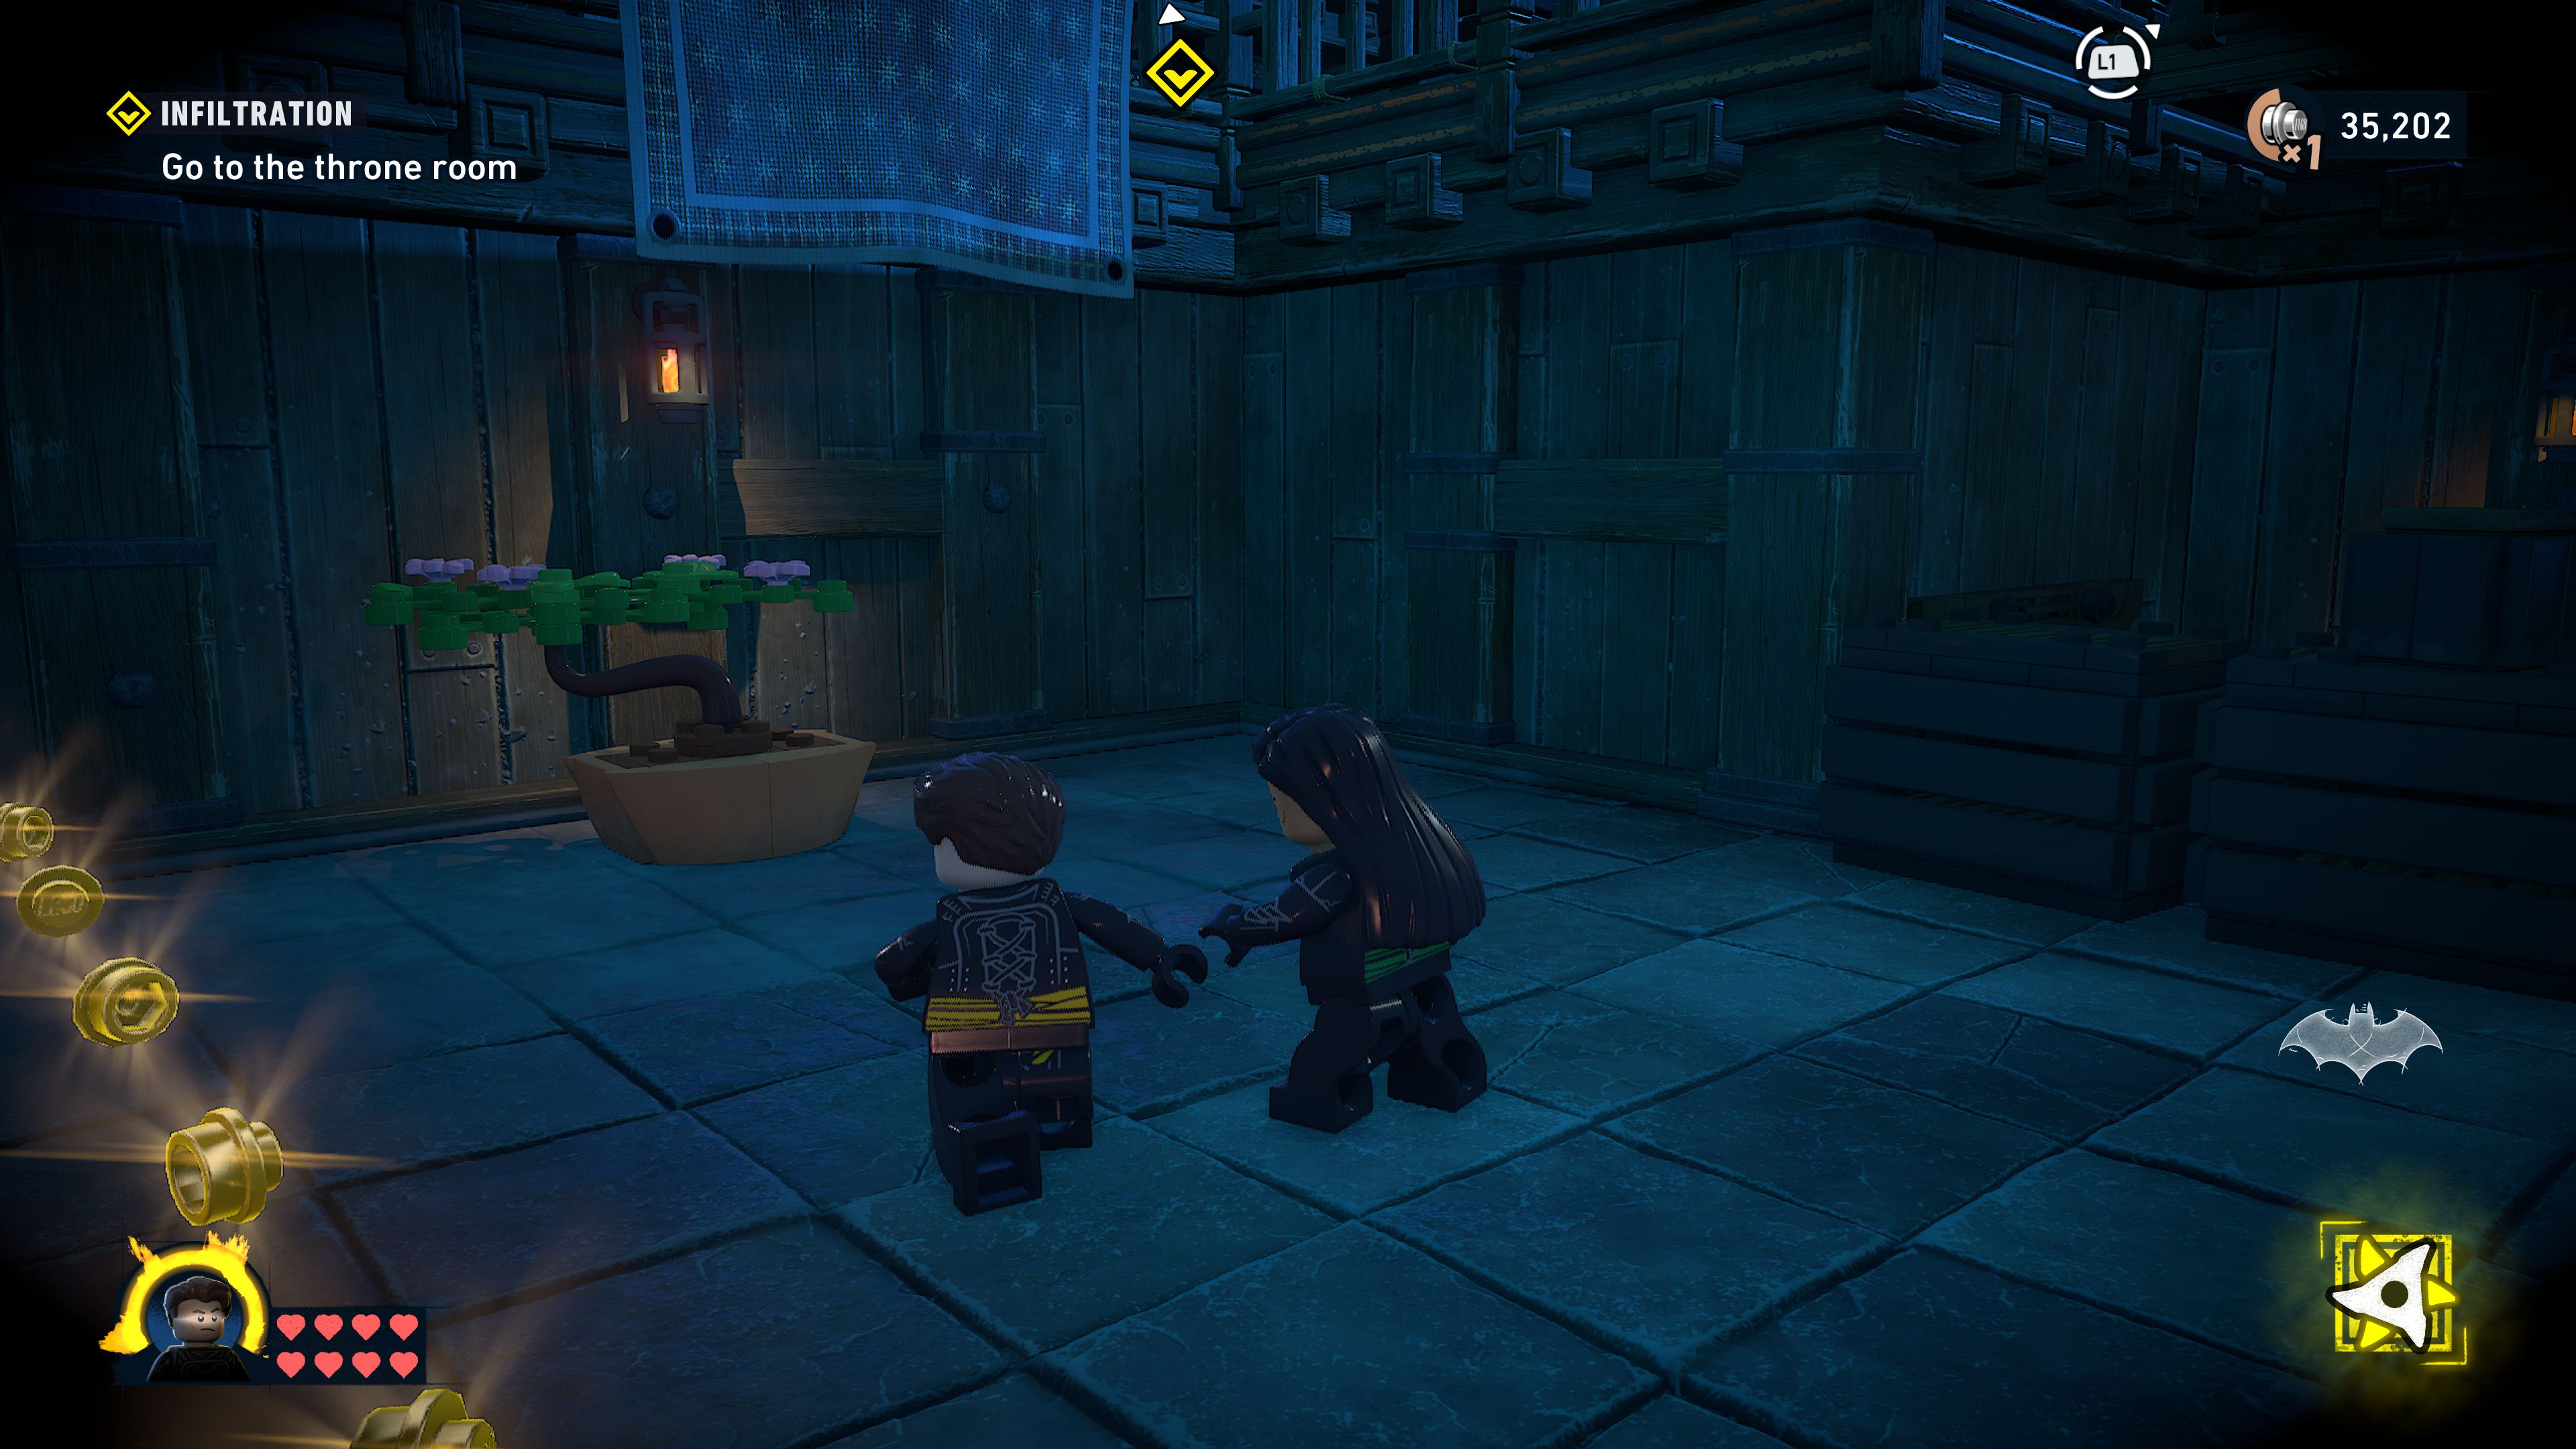
The door is sealed so you will need to grapple up to the balcony above it and perform a stealth takedown directly from the ledge without climbing up first. Watch out for more guards (use your detective vision to spot them easier) as you go up the stairs to the throne room.
Find a way to get outside
Hit the wires holding up the chandelier in the middle of the room with your shurikens (this is very stealthy) and then sneak around the back to take out the remaining guards one by one. You can tell you've finished defeating all of the enemies in a stealth section by the dark shadowy border around the screen disappearing and the characters will stop crouching and start walking normally.
Continue smashing the supports for the chandelier you dropped, once both reels are gone you will be able to build a reel of your own. Pick up the hook and attach it to the throne. Now you can use the handle on the reel to pull the throne out. Bounce on the bed (hold jump to bounce higher) to get up to the ledge above.
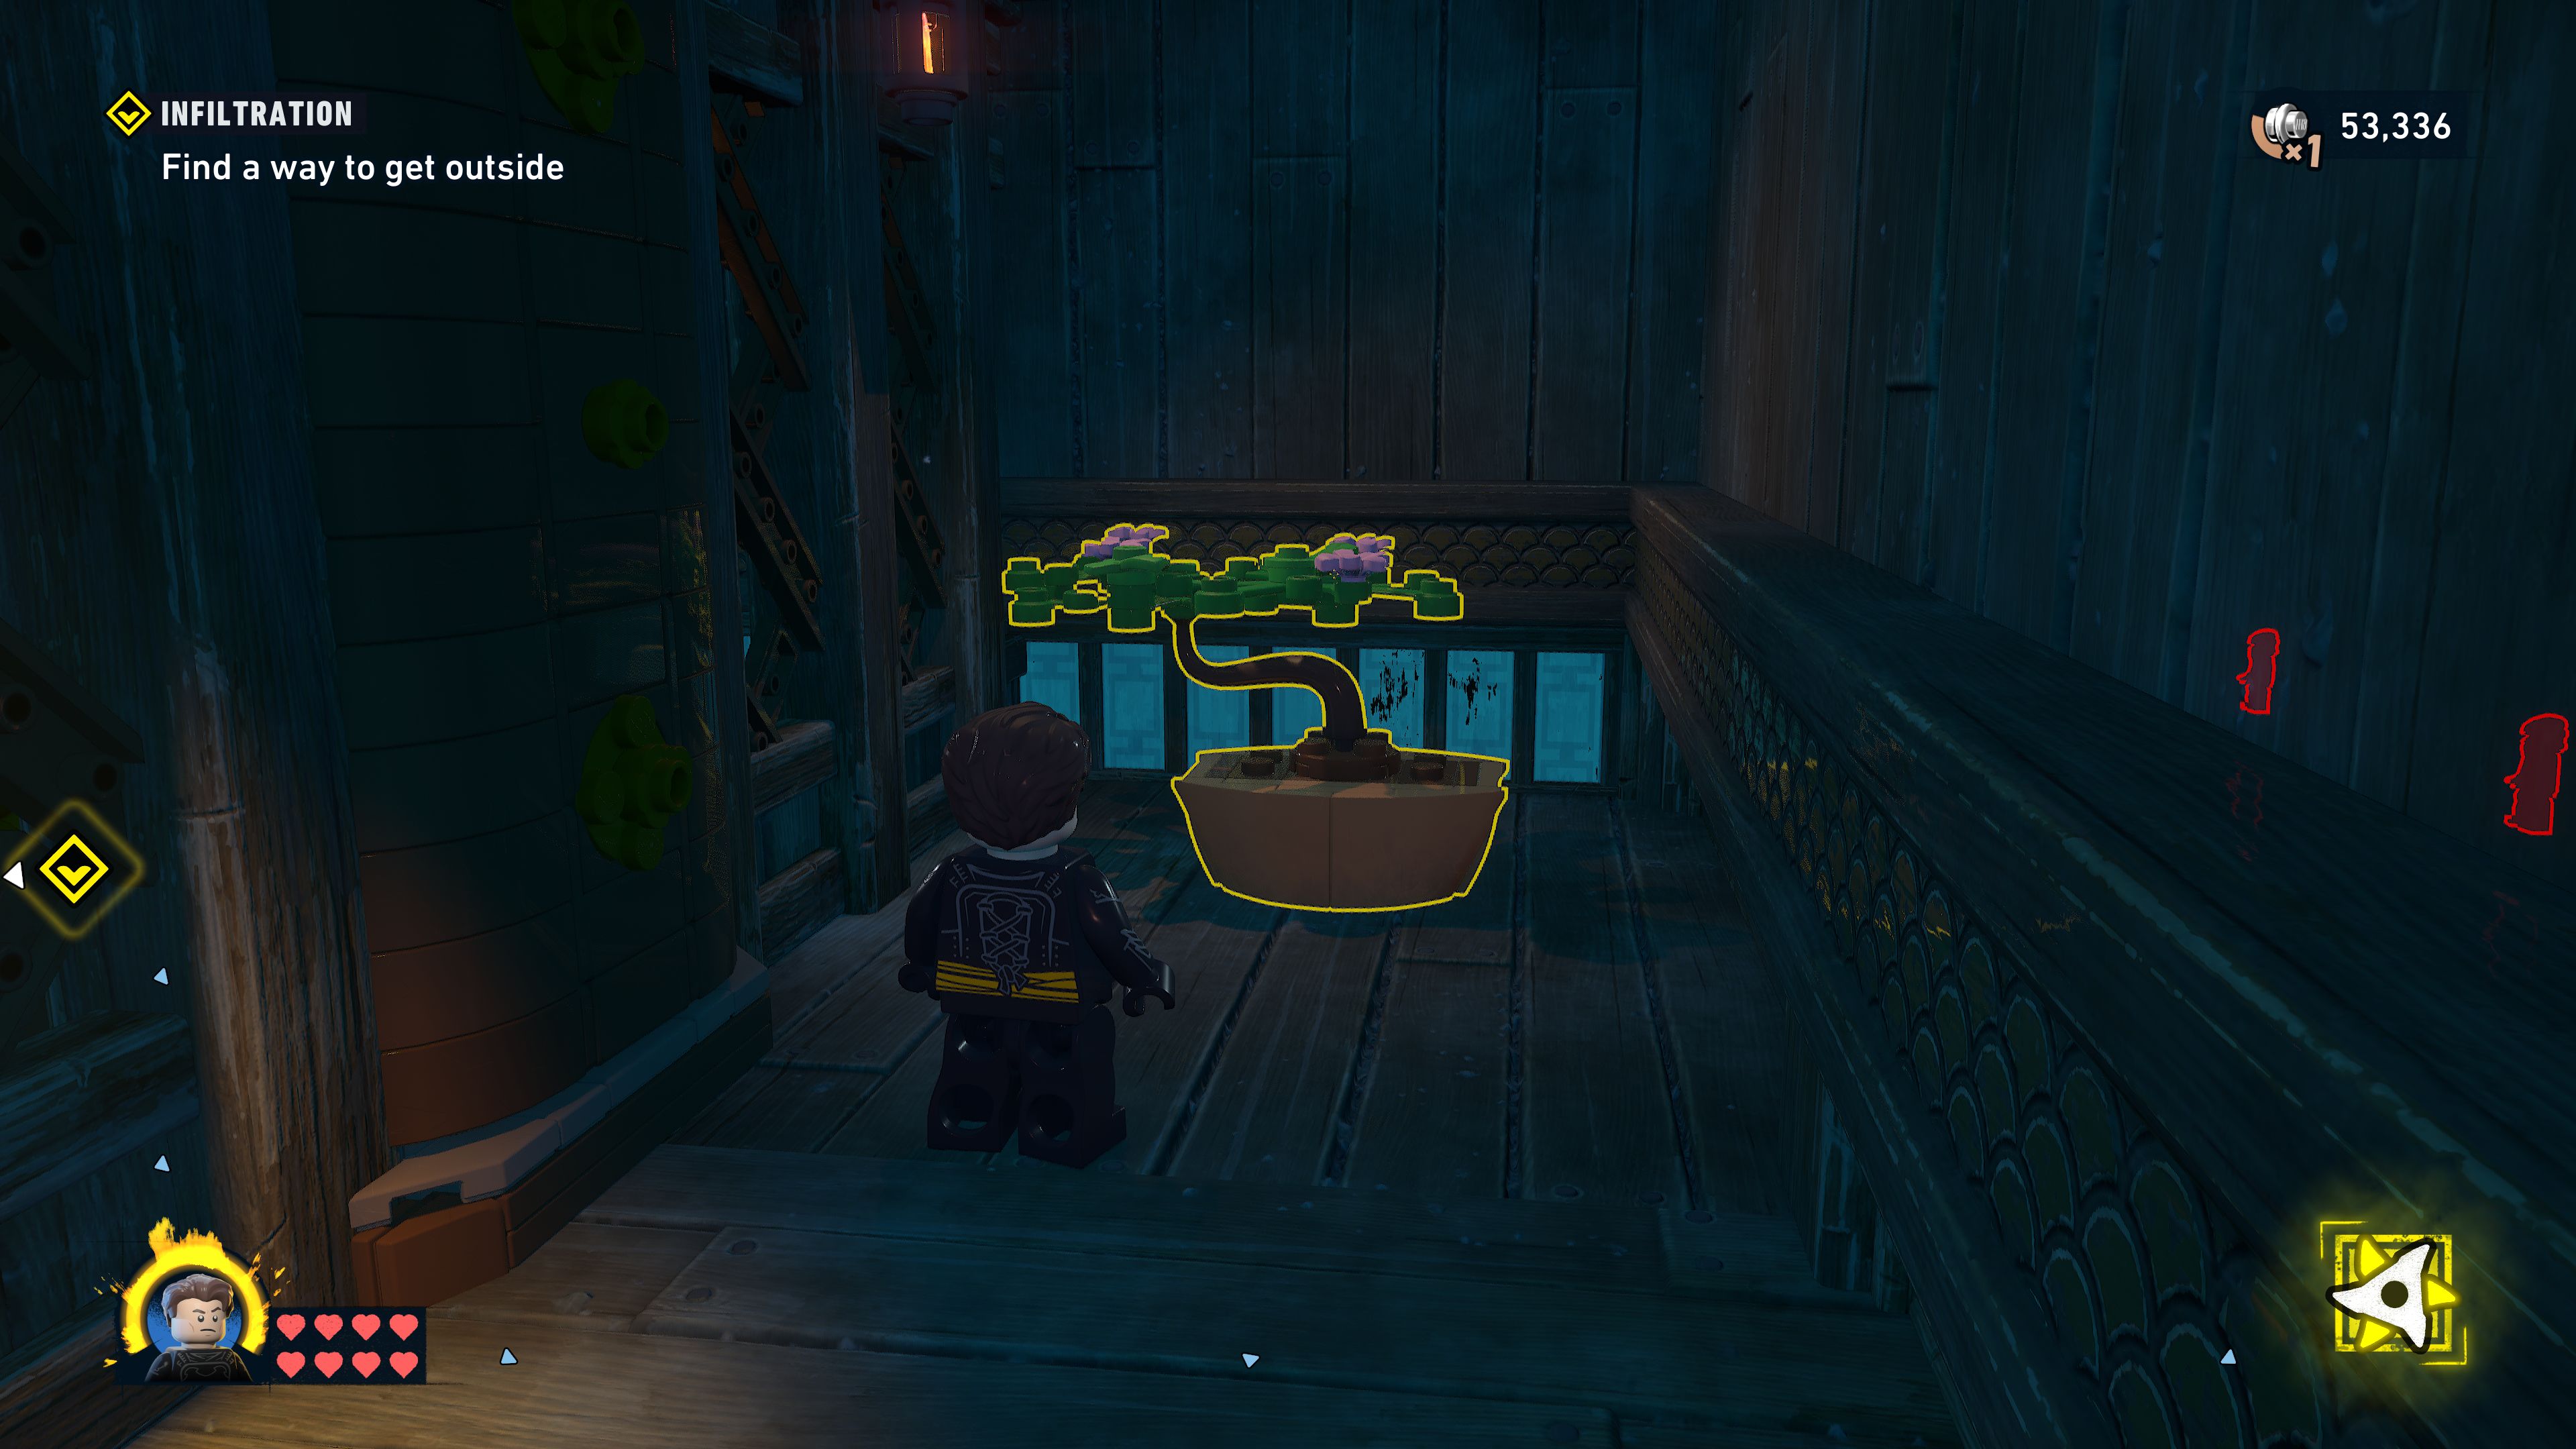
Move straight on into the crouch tunnel but before you emerge wait a moment for the guard to walk past. Sneak up behind him and take him down.
Follow the mountain path
There's another guard by the door and one more patrolling around outside. Get rid of them then have a look at the area below. You should see a couple more guards wandering around down there, wait for the nearest one to get close so you can perform a takedown from above and then finally sneak around to get rid of the last guy.
Build something to cross the gap
Around the corner to the left is what seems to be a deadend. Smash the junk around here to get the bricks needed to build a ballista.
Continue through the temple
Both characters will need to wind the giant crossbow back so that it launches to create a tightrope to help you cross the gap.
Cross over and jump to the wooden platform before going around the corner and jumping and grabbing onto the shimmy ledge.
Pull the guard off the ledge from beneath him while you're still on the shimmy ledge then climb up. Get into either of the two vents before popping out and taking down the two guards on the other side.
The puzzle in this room requires you to first step on a couple of hidden pressure plates that will each cause a wheel to pop out of the floor. Turn that wheel to rotate two of the corners of the symbol on the door. You should continue rotating the corners until they match the symbols on either side of the door. Repeat that with the second plate and wheel to get the icon matching fully to open the door.
The doors in the room up the stairs are locked so grapple up to a crawl space and drop down the other end.
Reach the courtyard
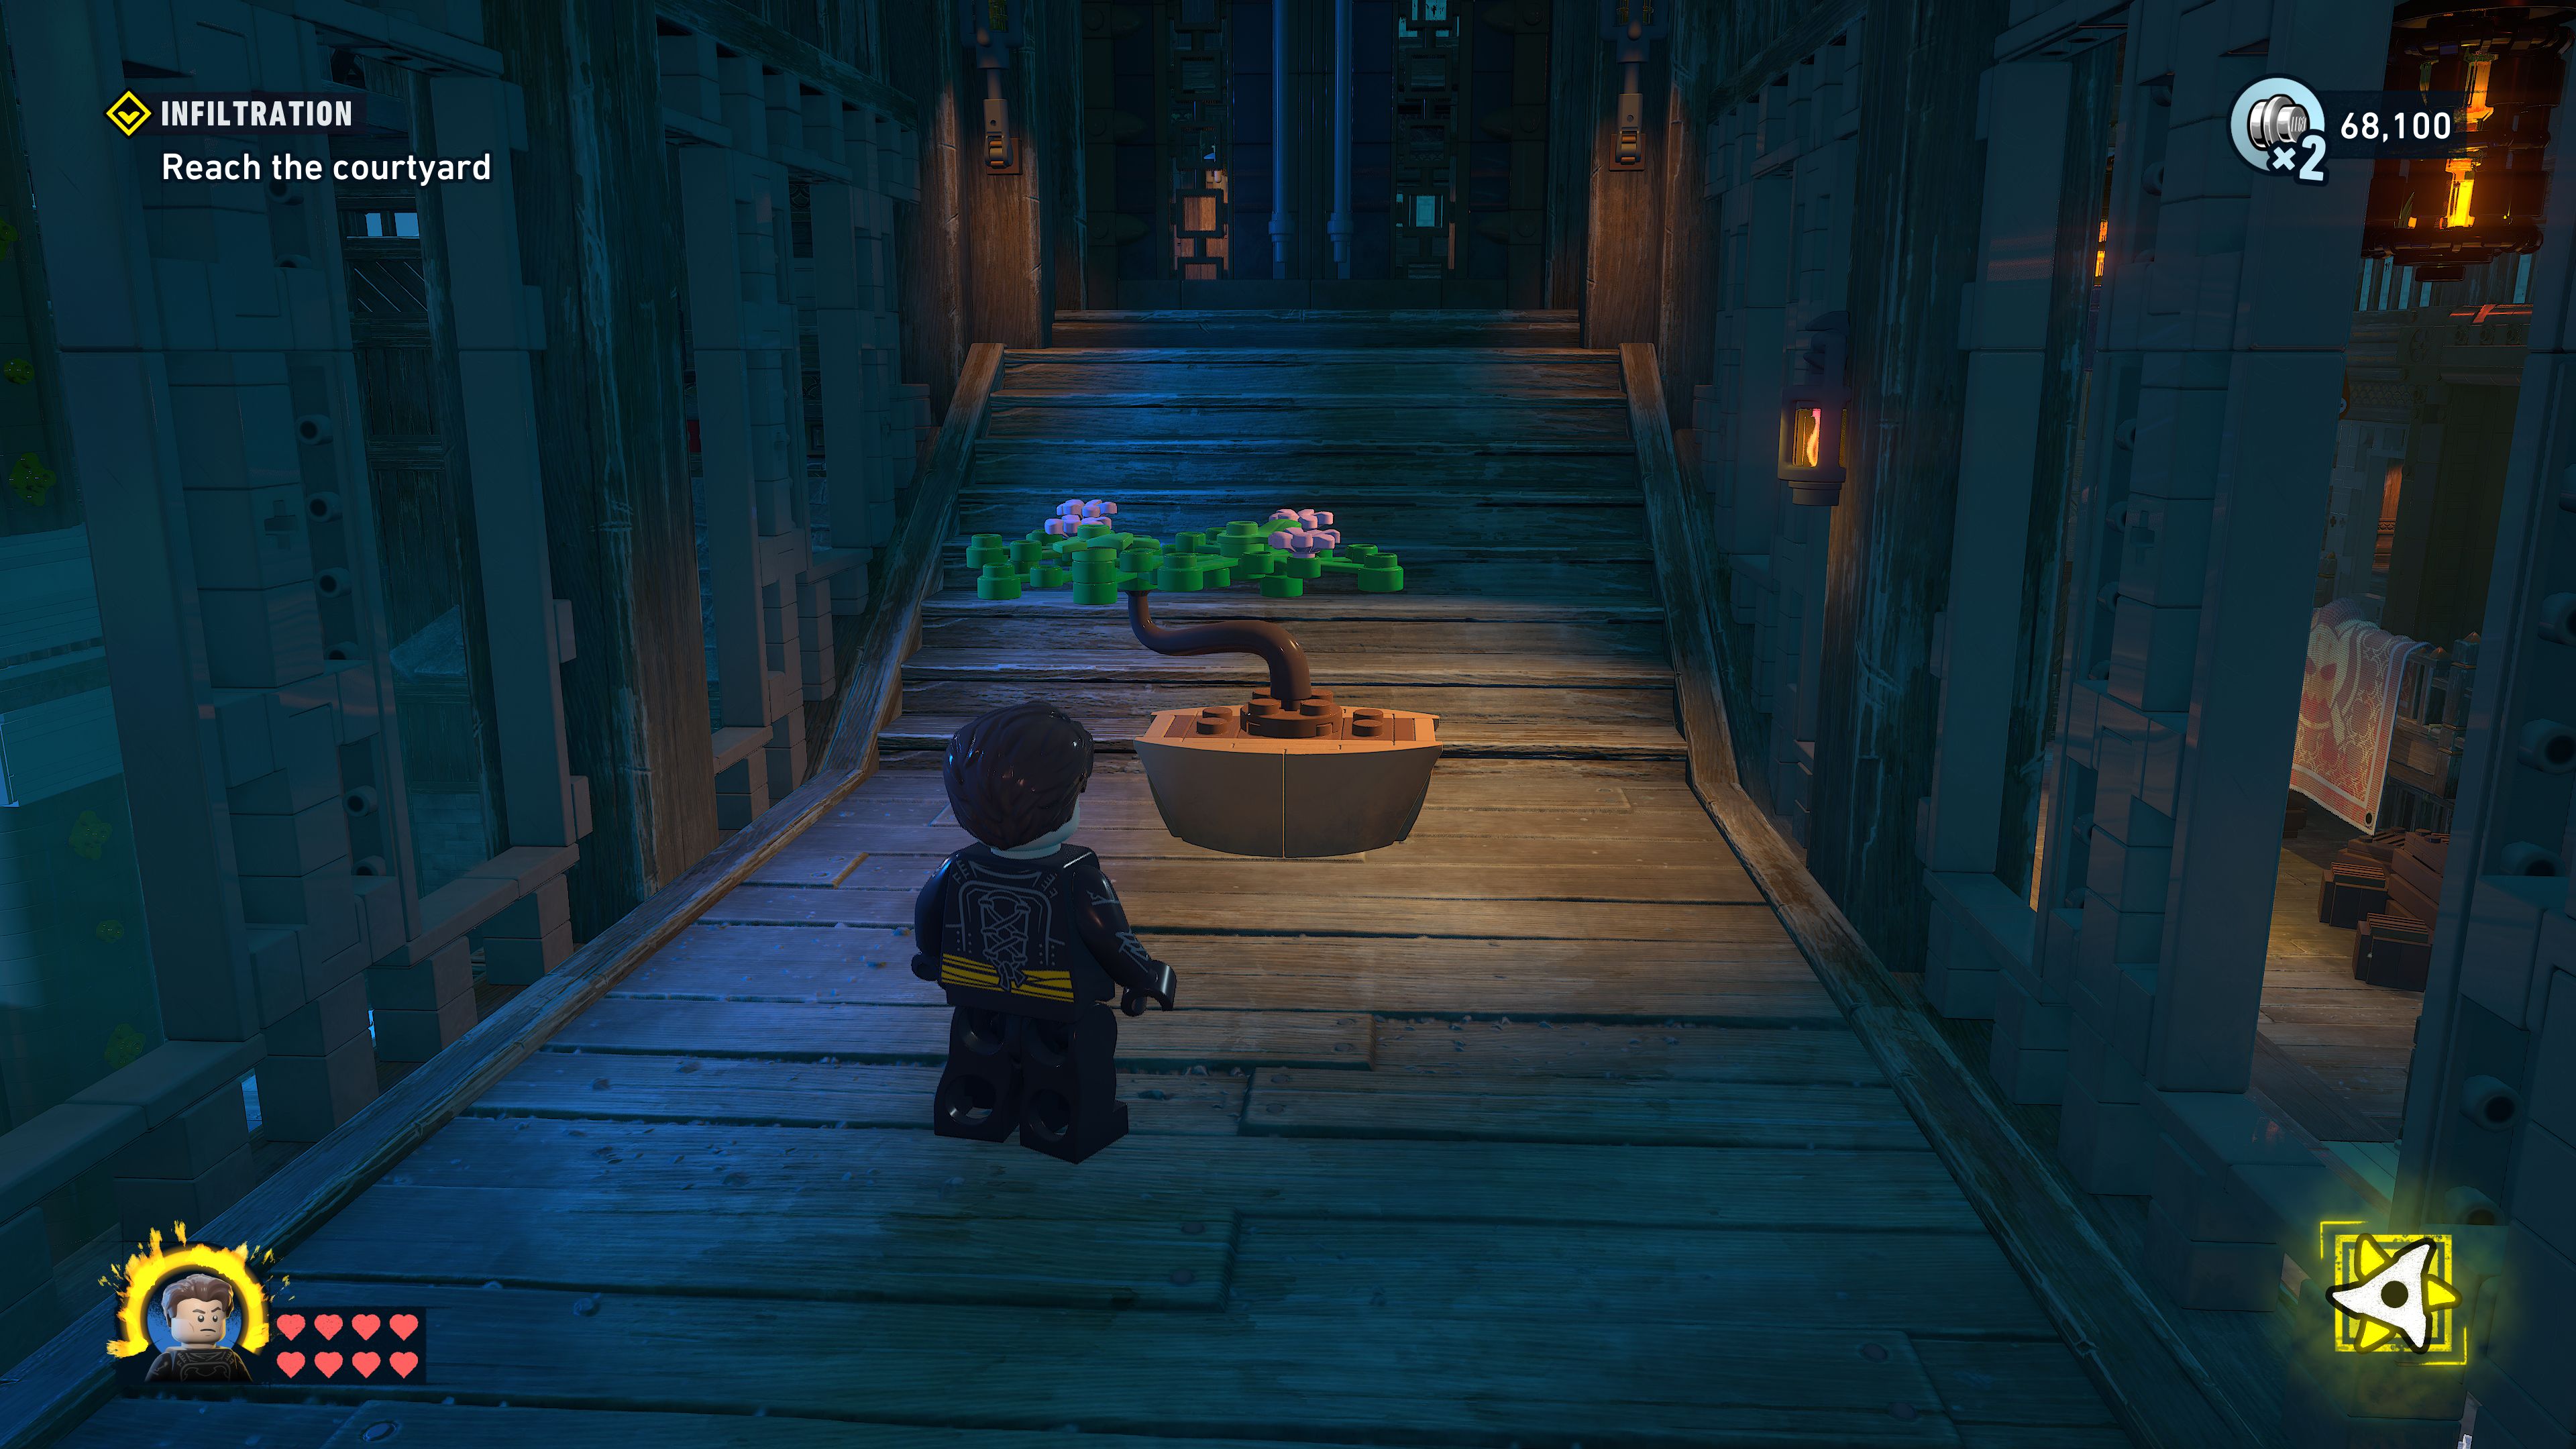
Jump over to the area below (there's a gap you have to make it over so don't just drop) and sneak up behind the two guards patrolling. There's one more guard down some steps standing looking out over a slope with flags lining it. Hop along the tops of the flags to the next roof then along a wire before hopping another couple of flags and another wire to the platform alongside the next building.
Find a way to open the door
Jump up the wooden beams to reach the area overlooking the courtyard. Sneak kill the guards here before beginning your attack on the ninjas below. Try to take out as many as you can stealthily if you want to or just get stuck in fighting.
Once you've cleared the area approach the lit up door on the far side and step on the two hidden pressure plates to bring up a pair of wheels again. This puzzle is slightly different in that the right wheel will rotate all four panels while the left wheel only rotates the top left and bottom right panels. To solve it use the right wheel first to get the top right and bottom left panels correct (matching the symbol above the door) and then use the left wheel to rotate the other two panels into their correct positions.
Ra's al Ghul
Defeat Ra's
Time for a fight with Ra's. Make sure to dodge out of the way of his spin attack and whenever he starts to throw shurikens at you. Using your focus attack on him will take out a large chunk of his health but it won't immediately defeat him. You can also use your own shurikens to stun him so you can get a flurry attack in.
Escape the temple
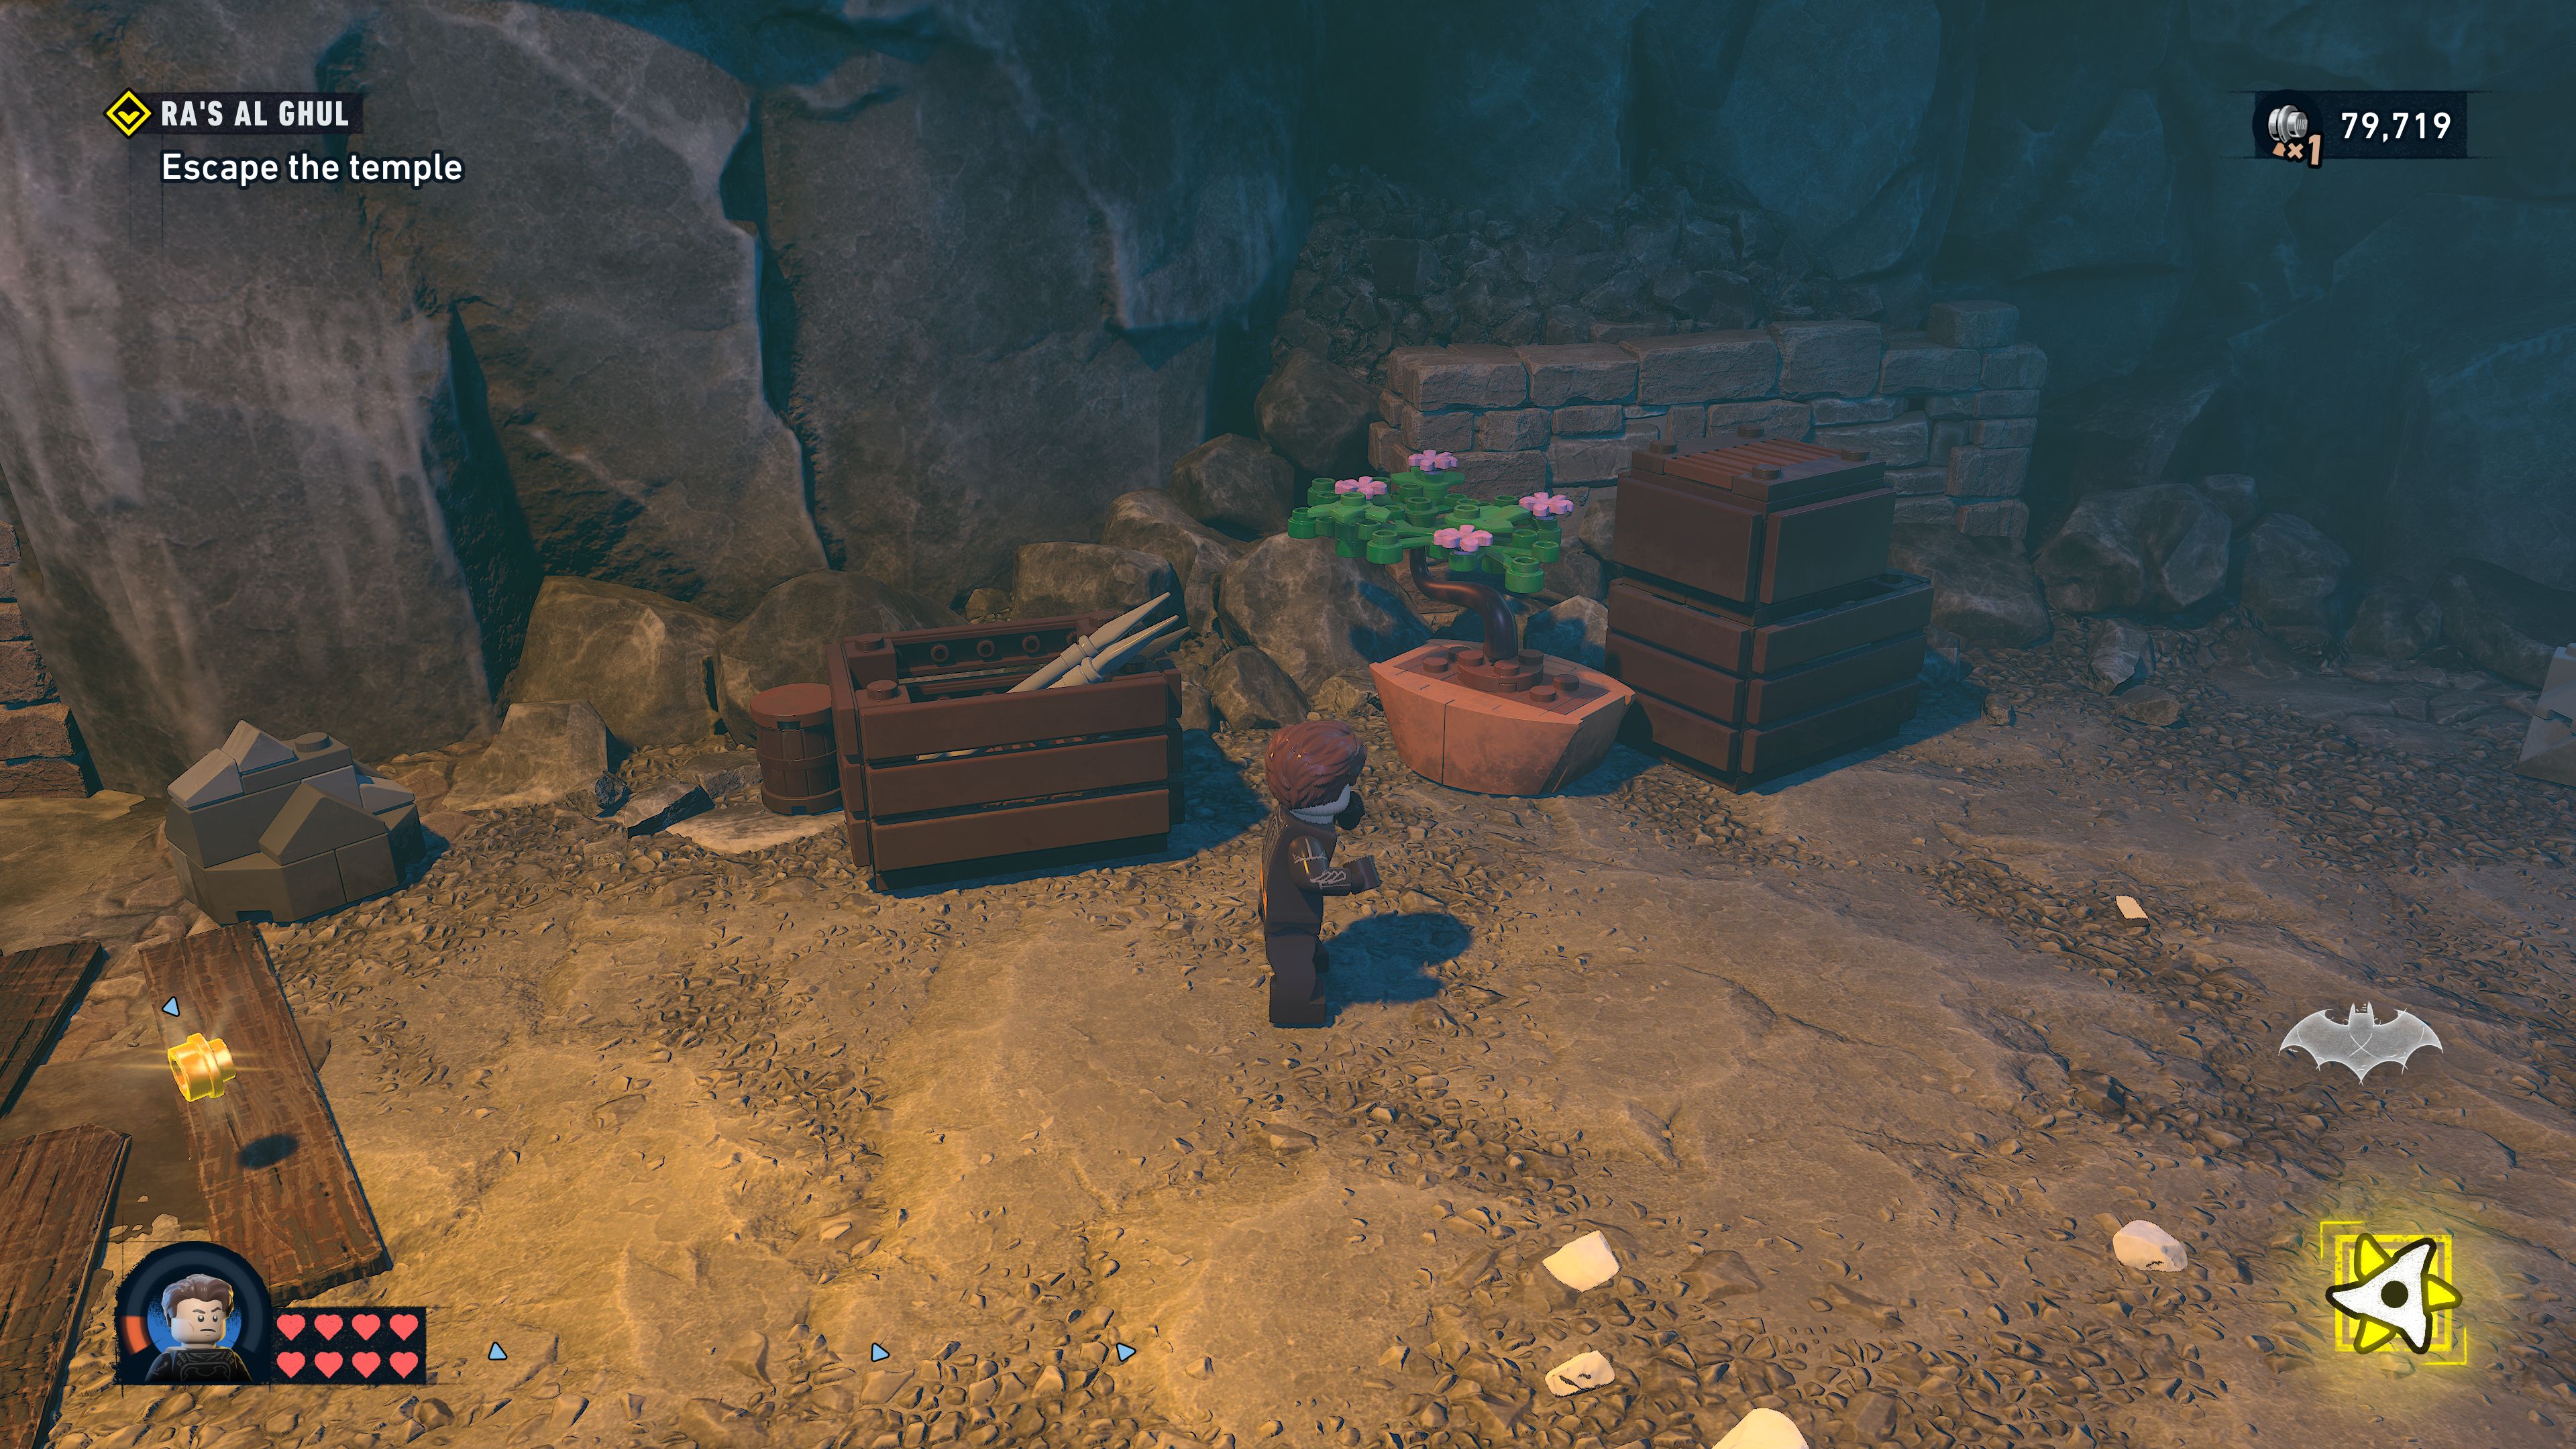
After defeating Ra's proceed forwards to where some ninjas are waiting. There's no stealth option here, just regular fighting.
As you try to follow the tracks towards the exit it will collapse and more ninjas will appear.
Defeat the ninjas
Defeat the ninjas.
Escape the temple
Climb up the wall that Ra's has newly collapsed for you then hop along the top of some missiles before grappling to a ledge. Grapple up and then up again to where there will be some floor fires that you will need to stand back for a moment to avoid getting hit by when you run over them.
Avoid the hole that gets created and run up the fallen pillar to the top and another fight with Ra's.
Defeat Ra's
You can get a nice start to the fight by dropping down onto him. Use the other ninjas to build up your focus meter in order to use the focus attacks on Ra's himself. Other than that just keep chipping away at his health until you've defeated him for the second time and completed the mission.
Unlocks
- +1 Skill Brick
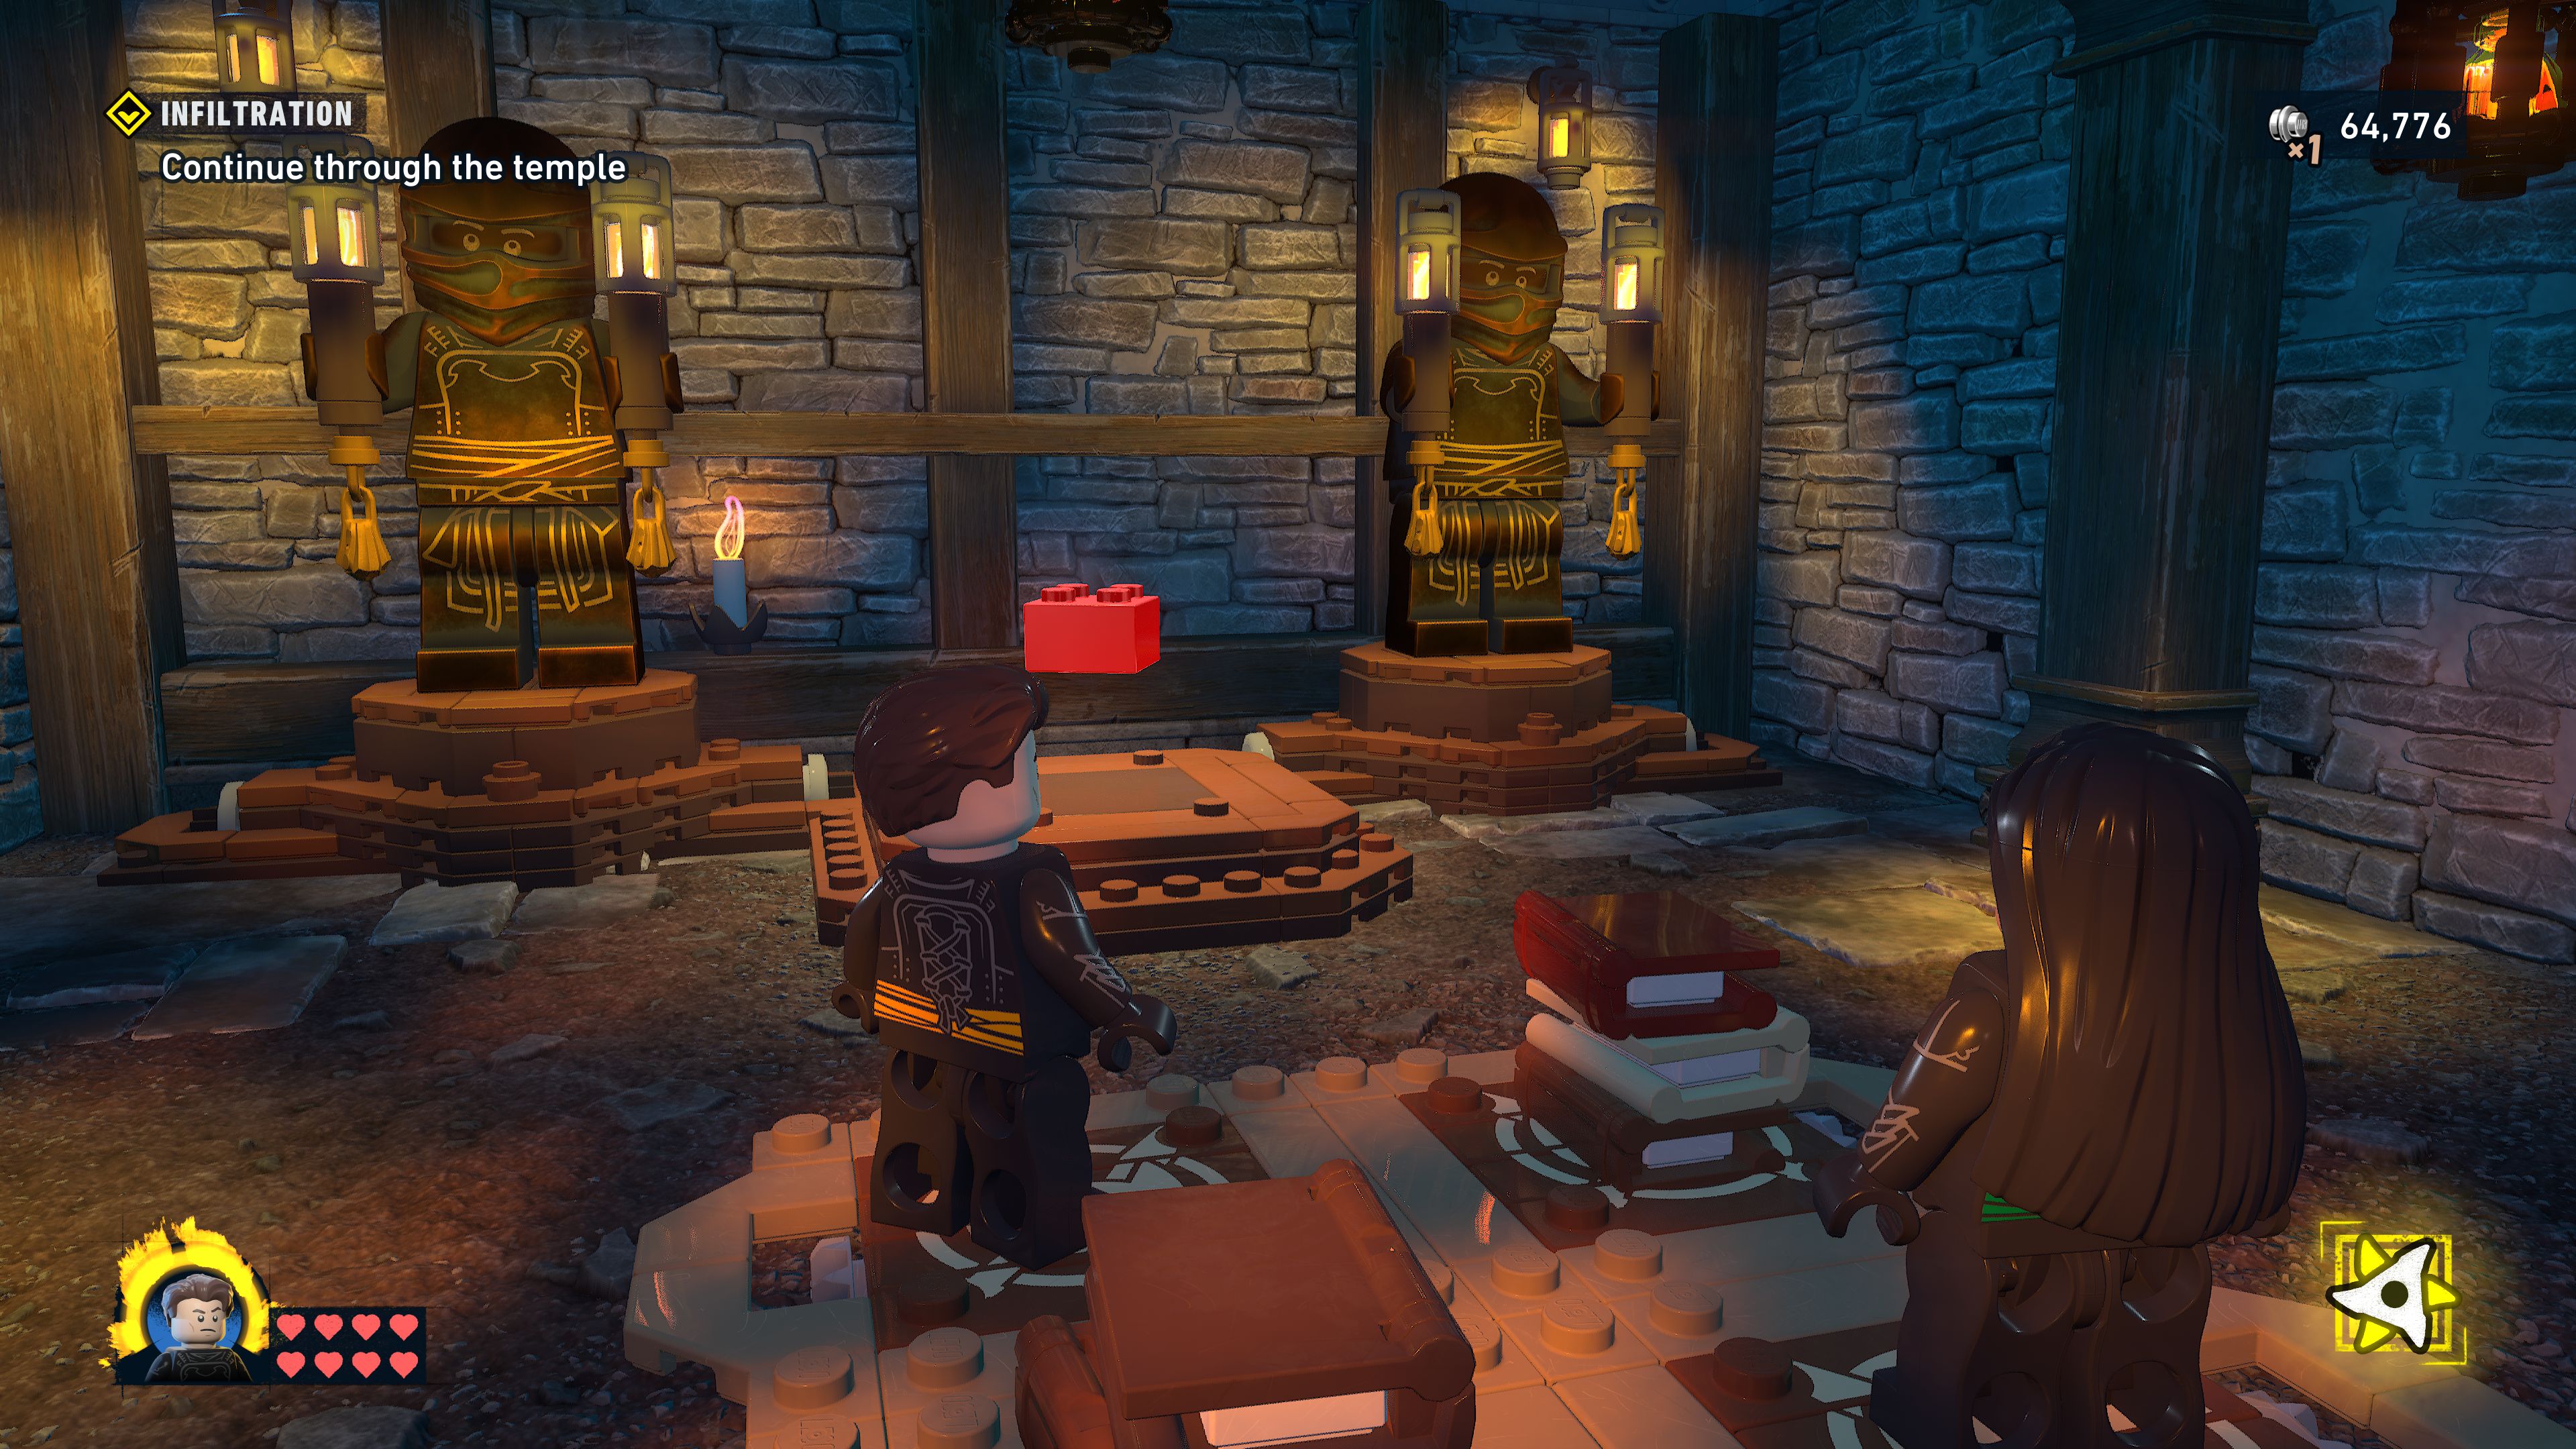
- Batcave Trophy - Bonsai Trees
- Red Brick - Ninja Modifier
 darkspyro.net