Chapter One
New Beginnings
The Batcave
Yes, father. I shall become a bat.
Returning Home
Follow the bat
Follow the bat past the fountain and the remains of the W plant to the path behind it. Shortly you'll reach a gate rusted shut, to open it you must first smash the nearby crates and build yourself a lawnmower.
For your first bit of driving in this game hop into the lawnmower and drive straight into the gate to smash it down. And that's all. Hop back out again.
To the left is a swampy path with some debris in the water. Smash that and build a pile of tyres that you can use to bounce up over the wall.
The next obstacle is a large gap. Use the shurikens to strike the base of the large tree on the other side a few times to knock it down.
Go down the well
Through the crawl space to the old well. Smash the crates next to it to get the bricks needed to build an opener for the well. Both characters will be needed to activate it.
Rappel down the rope into the well.
Explore the cave
Go through the crawl space and out into the larger cave. Hit the bases of the three stalagmites with your shuriken so you can use them as platforms. From the last one grapple over to a shimmy bar. Shimmy to the left, jump to the second shimmy bar, shimmy around the corner and then jump up to the top of the platform.
Help Alfred get across
You'll need both characters over here to continue so first push over the large pillar and then, if you're in single player, switch to Alfred and walk him up the fallen pillar.
Reach the Wayne Manor foundations
Once he's at the top go over to the pile of rubble blocking the way and have both characters start lifting it up.
To get past the bats smash the light and the other junk around it so you can build another light. But this one you can sit in and move the beam of light around. Wave it at the bats to get them to disperse.
A bunch of jumping and climbing now until you reach the foundations.
Uncover the car
Approach the covered car and pull the cloth off to complete this mission.
Docks
Defeat the enemies
Jump into the fight by performing a takedown on the closest bad guy. Then you've got a load of enemies to defeat using the combat skills you've learned so far.
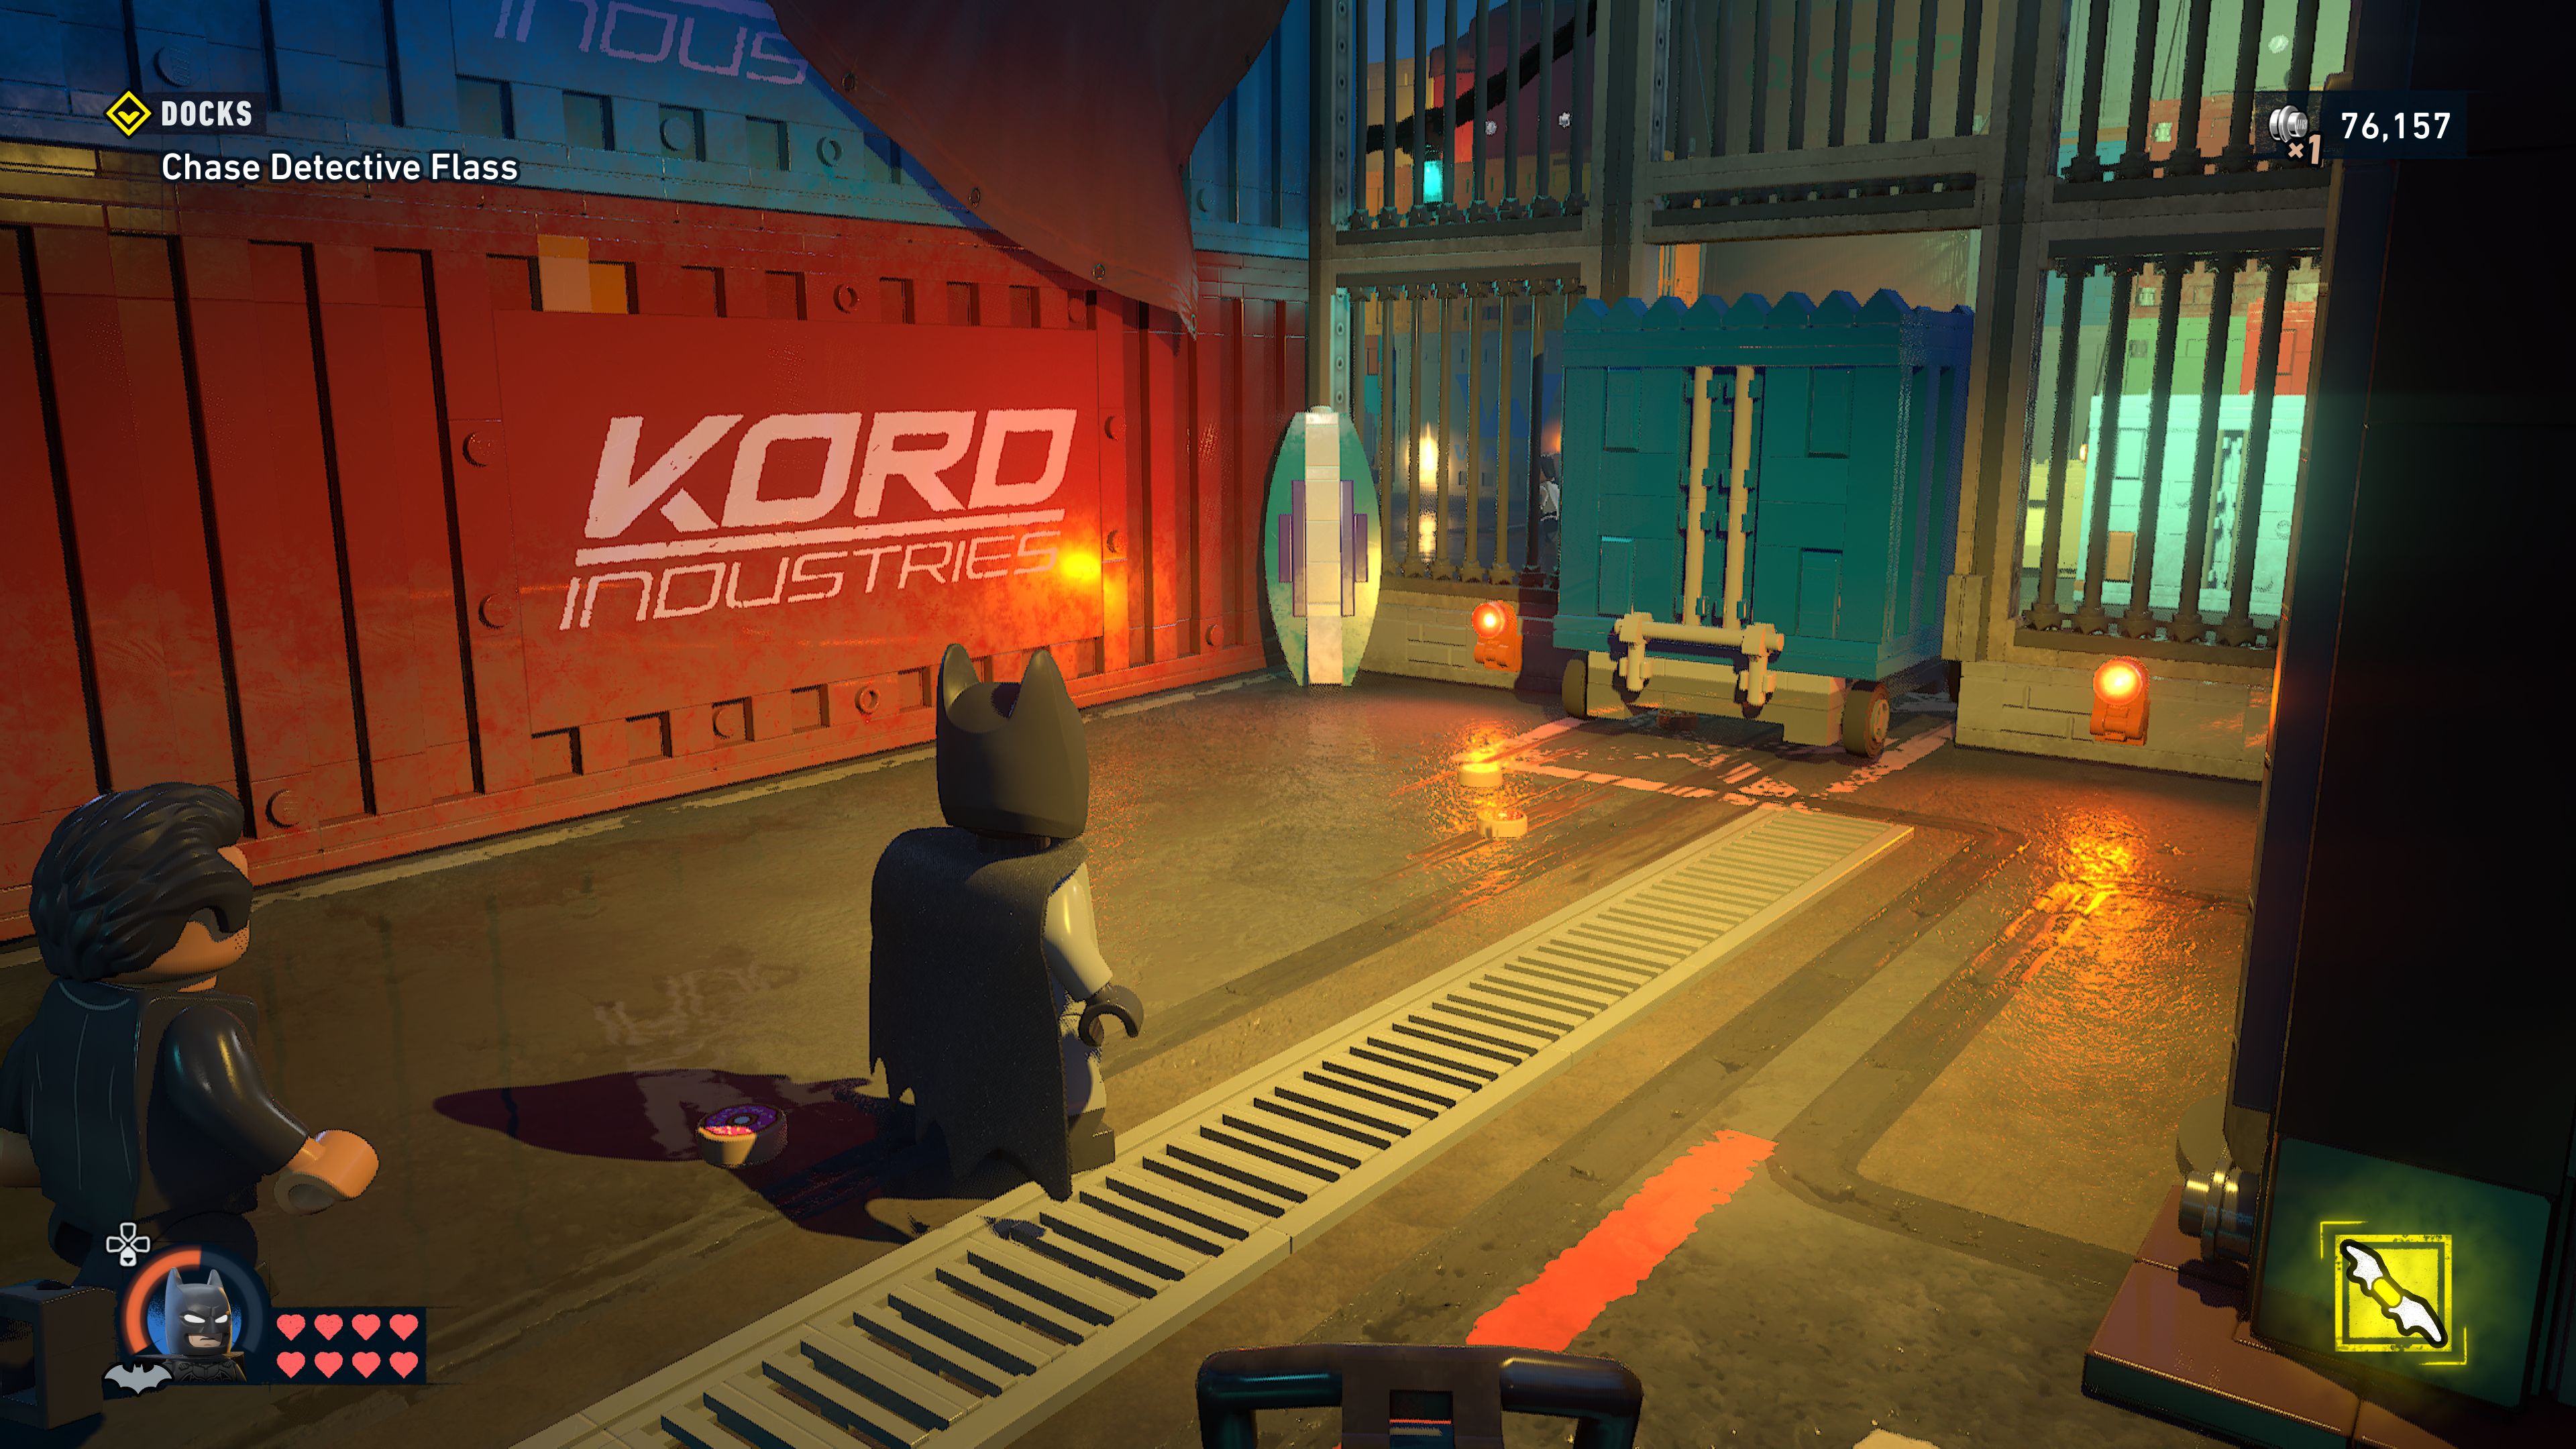
Chase Detective Flass
Once you've defeated them all follow Flass into the building ahead and use your batarang to hit the target above the blue shipping crate that's hanging in your way.
Go outside again to the right and instead of following Flass through the shipping crate you should grapple up above it and perform a takedown on the guard that's standing staring down the path you would have walked. Gordon will silently takedown the henchperson next to him for you.
Gum up the machine cogs
Through the next tunnel you'll be stopped by a shipping crate being raised and slammed back down. To stop it switch to Gordon and use his Foam Sprayer to clog up the gears on the left side of the crate. You don't need to time it.
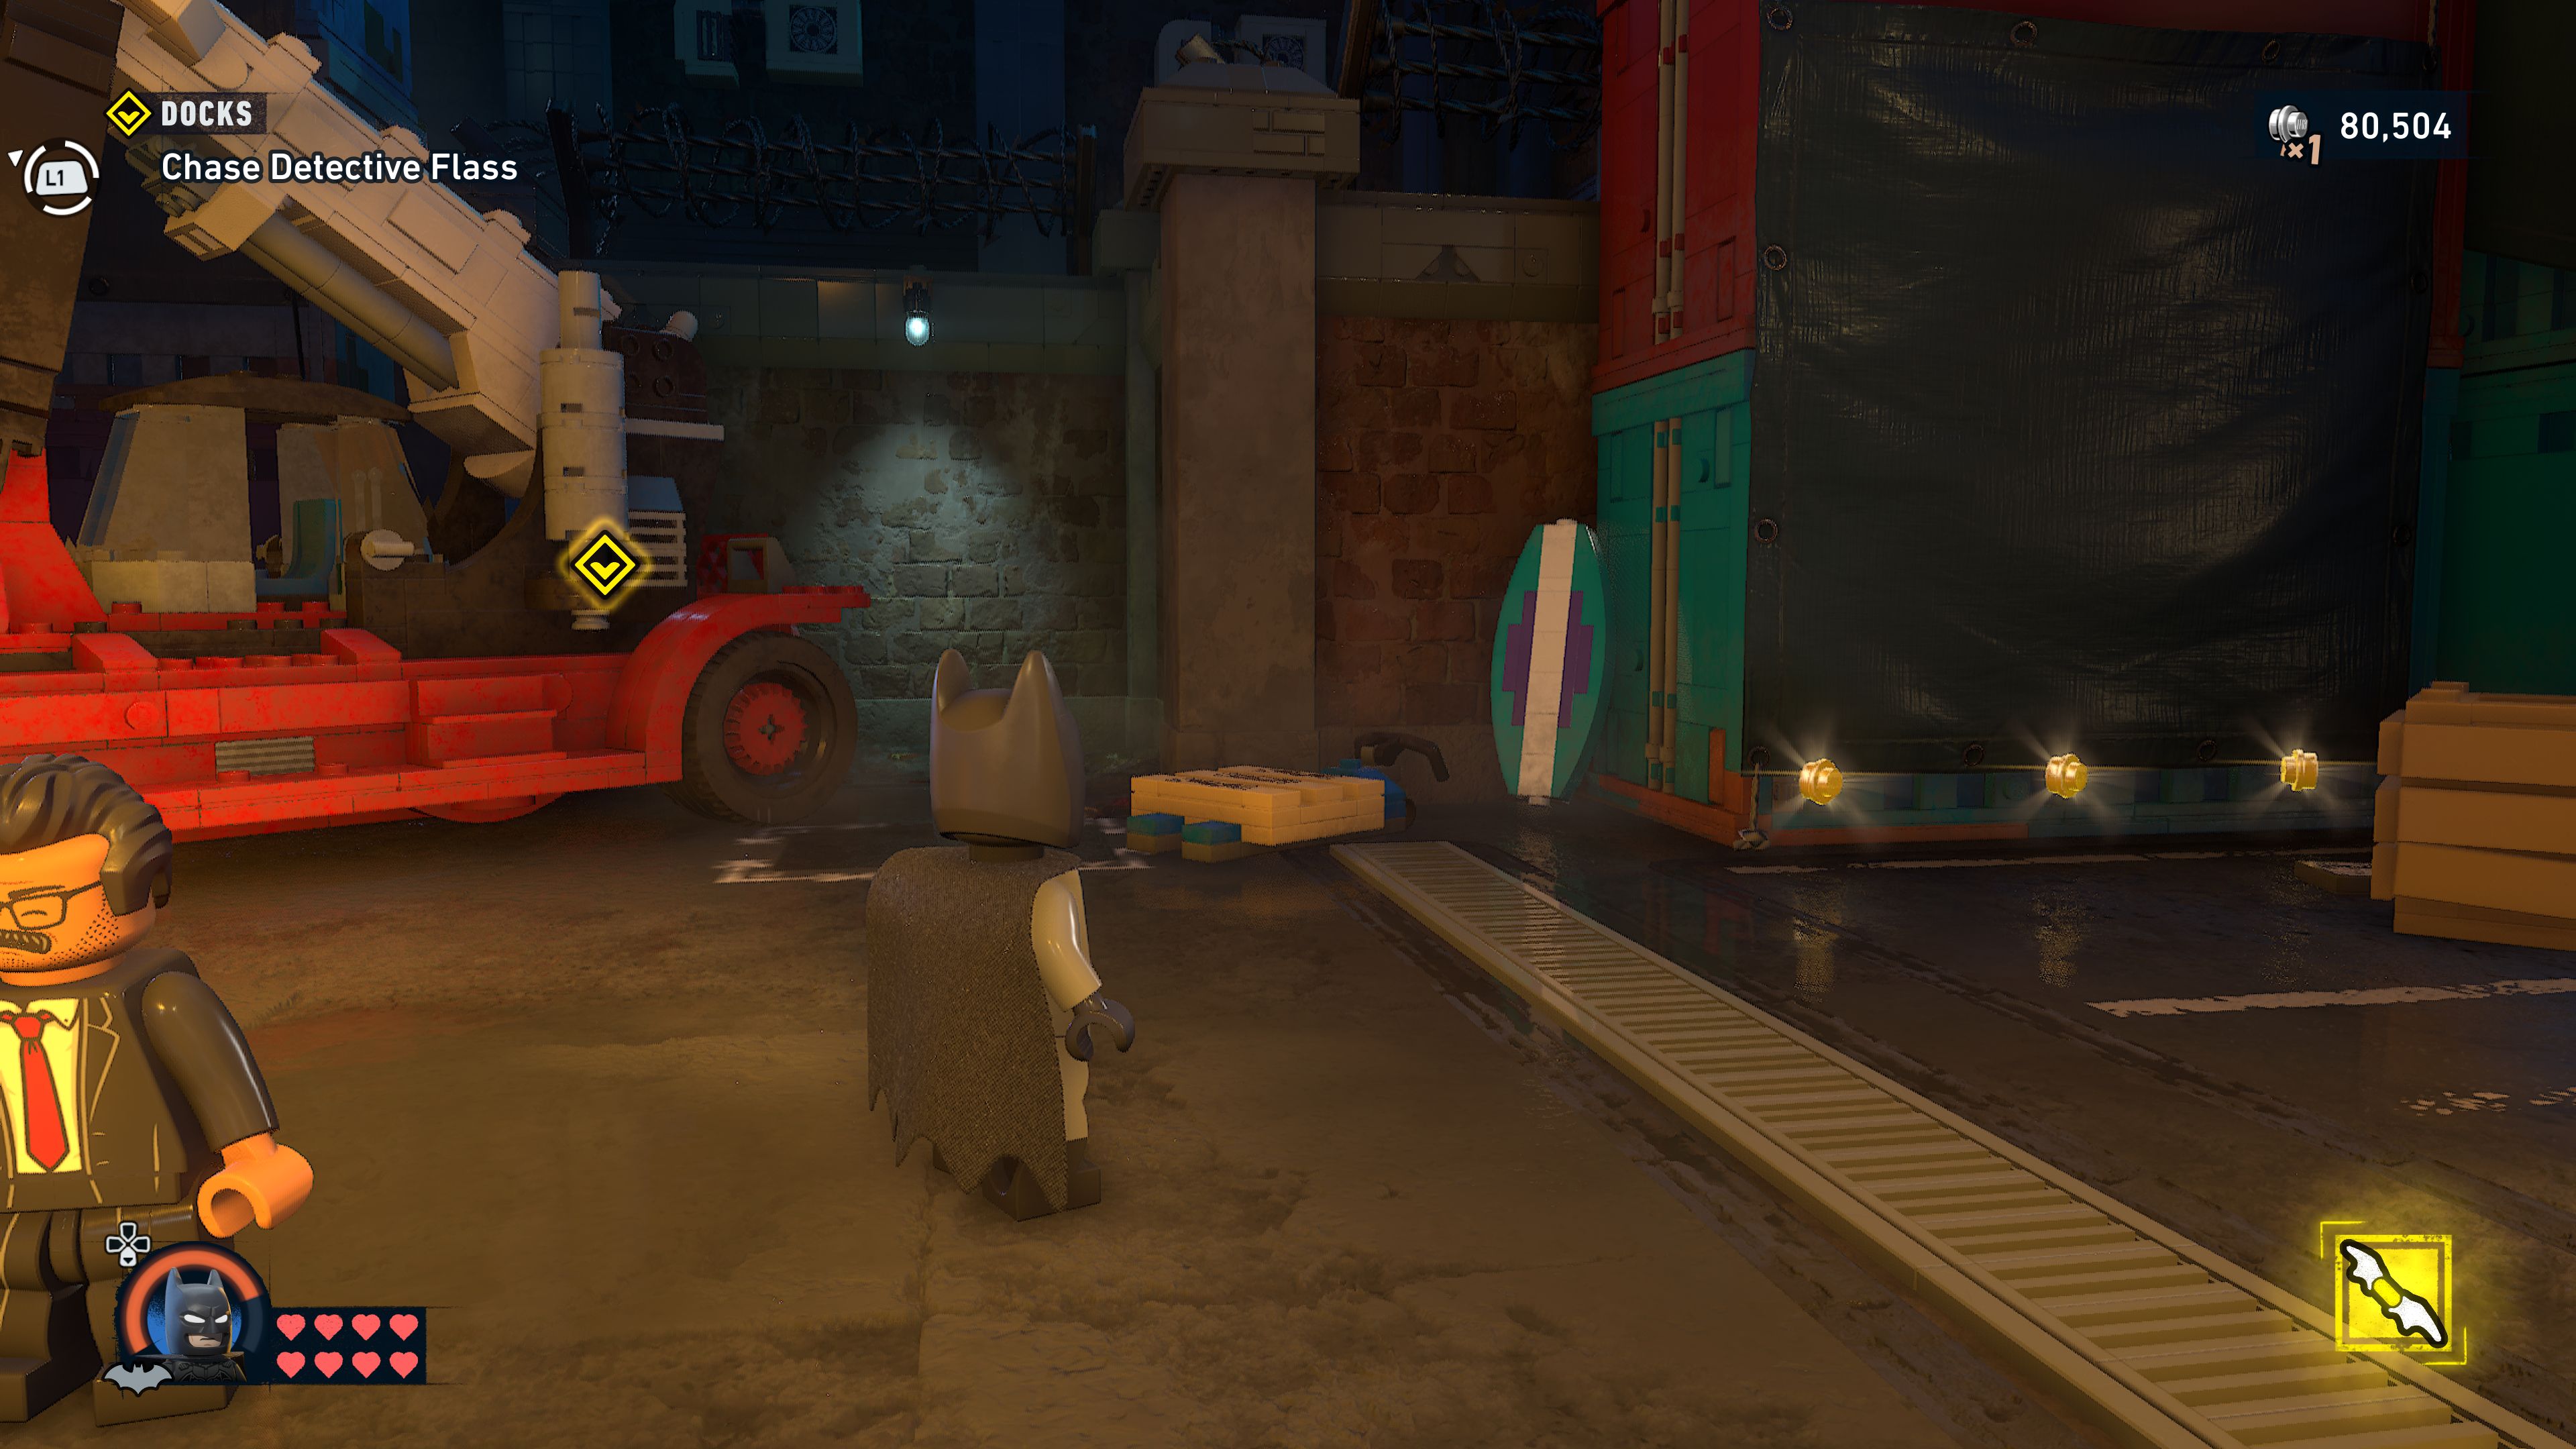
Chase Detective Flass
Take a left after passing underneath the shipping crate and you'll see a blue crate on wheels that you can push out of the way.
The enemies on the other side can be stealth attacked. Wait for the third guy to walk away to sneak up behind him and then take down the next pair too.
The pair after them are conveniently standing under a crate. If you hit the hook holding it with a batarang you can non lethally smush them with it.
After them there's a group of five standing close together. They're standing next to a red flammable canister that will explode if you hit it with a batarang.
Both playable characters will be required to push the cart near where the last group of henchpeople were standing that's blocking the path onwards.
Have Gordon shoot the gears on the crane's arm to stop the shipping crate from spinning so you can use it as a platform.
On the other side hit a padlock next to the conveyor belt to open a panel so that Gordon can gunk up the gears and stop the conveyor.
You can't sneak this fight. Grapple to the enemies on the ledge and start beating them up or throughout the fight they'll just keep trying to shoot you. More enemies will join in so keep on beating them up until they're all defeated.
Some of the enemies might run off but still technically be in combat with you so follow and track them down until the music calms down.
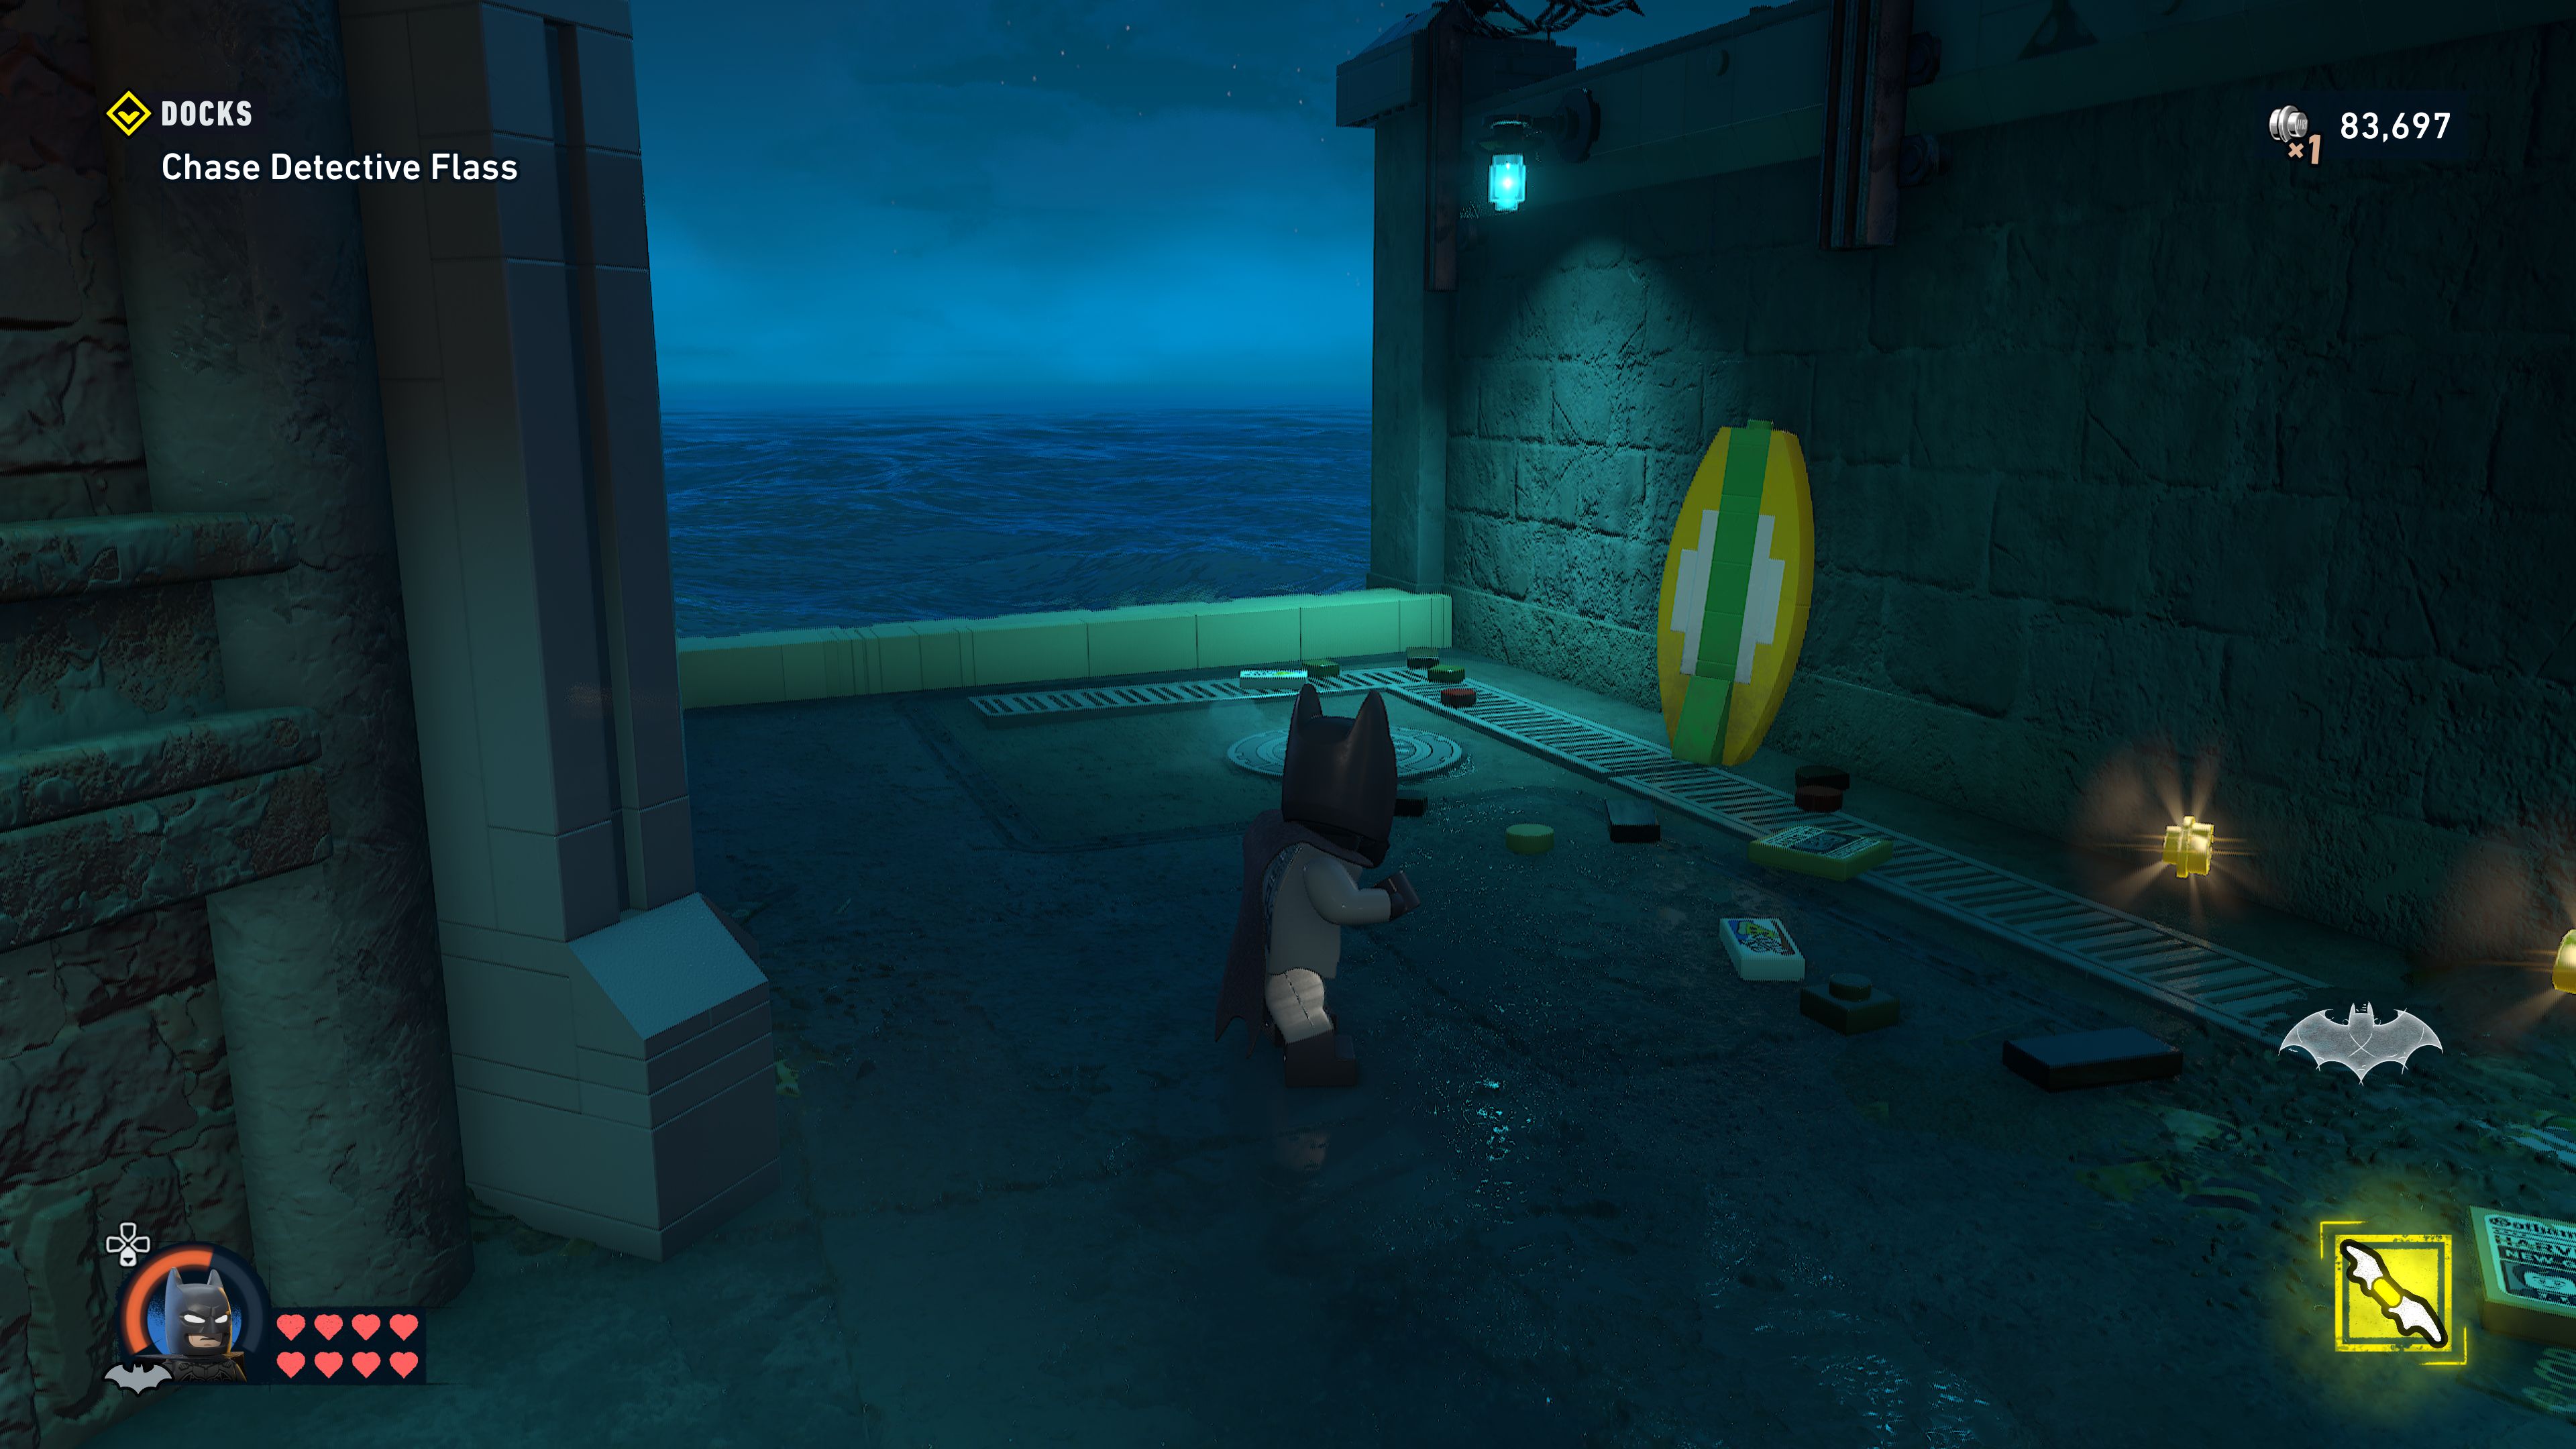
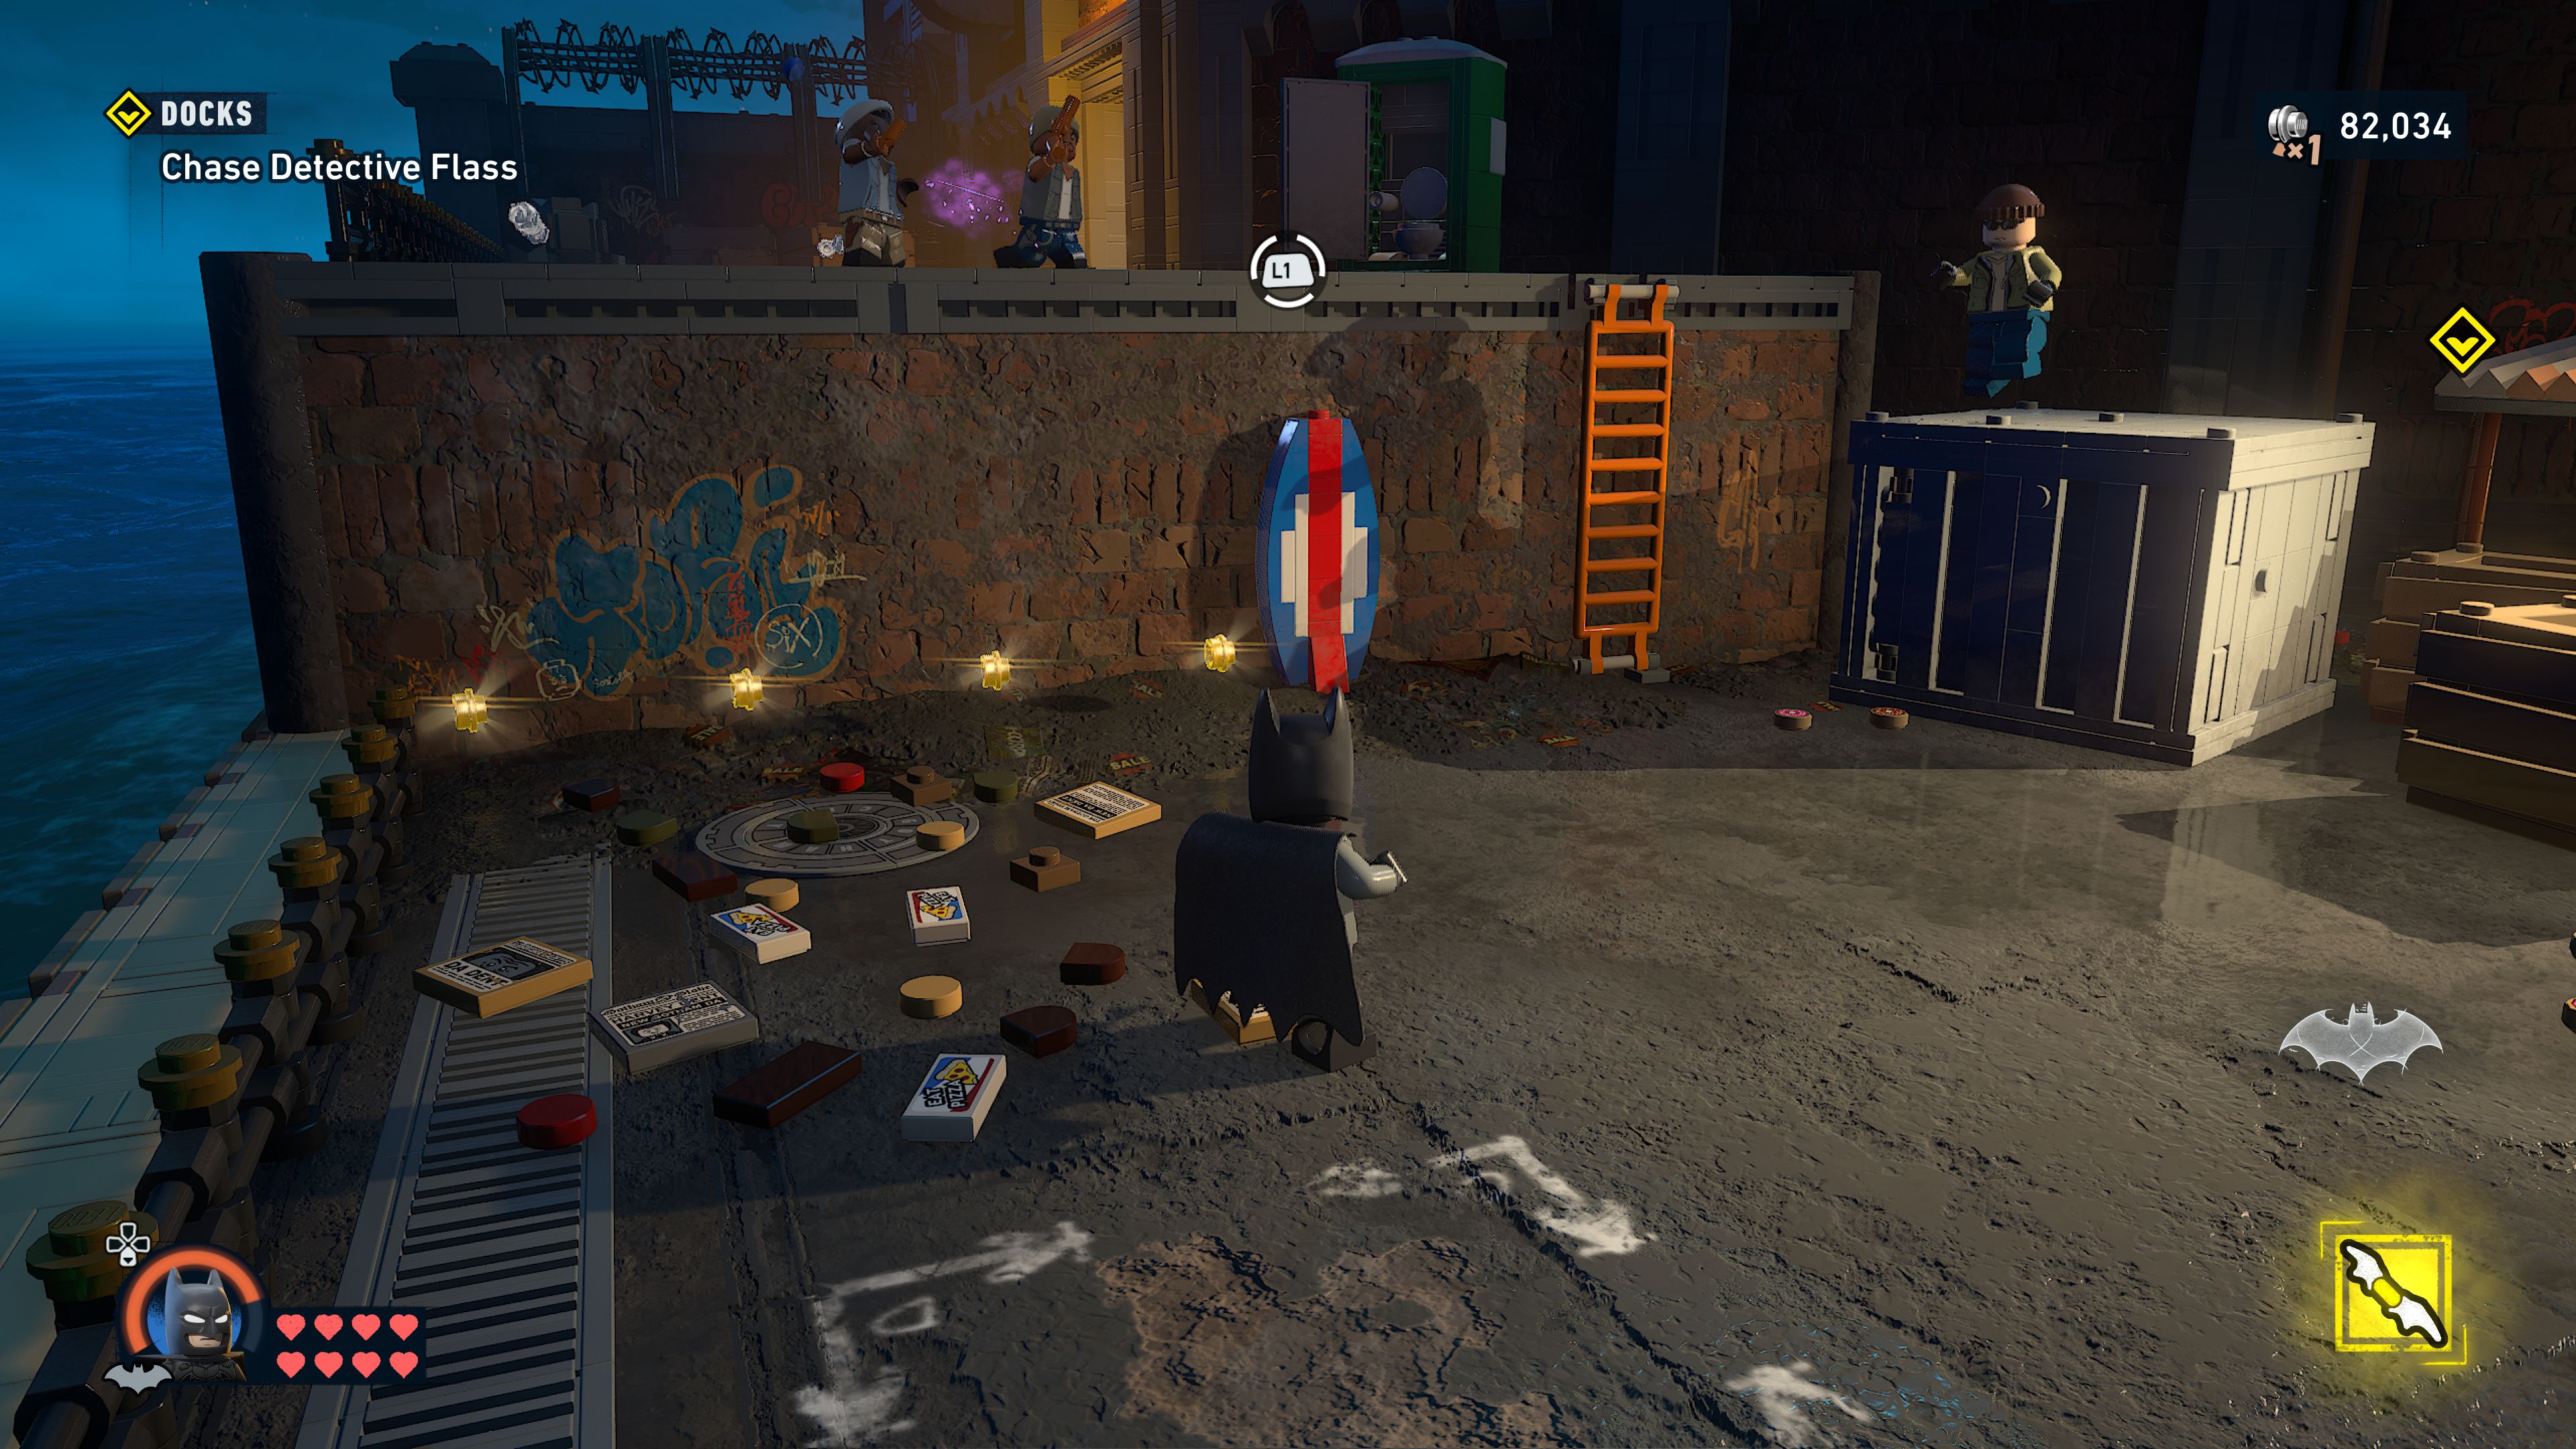
Follow Flass past the trucks and he'll hide.
Build something to reach Flass
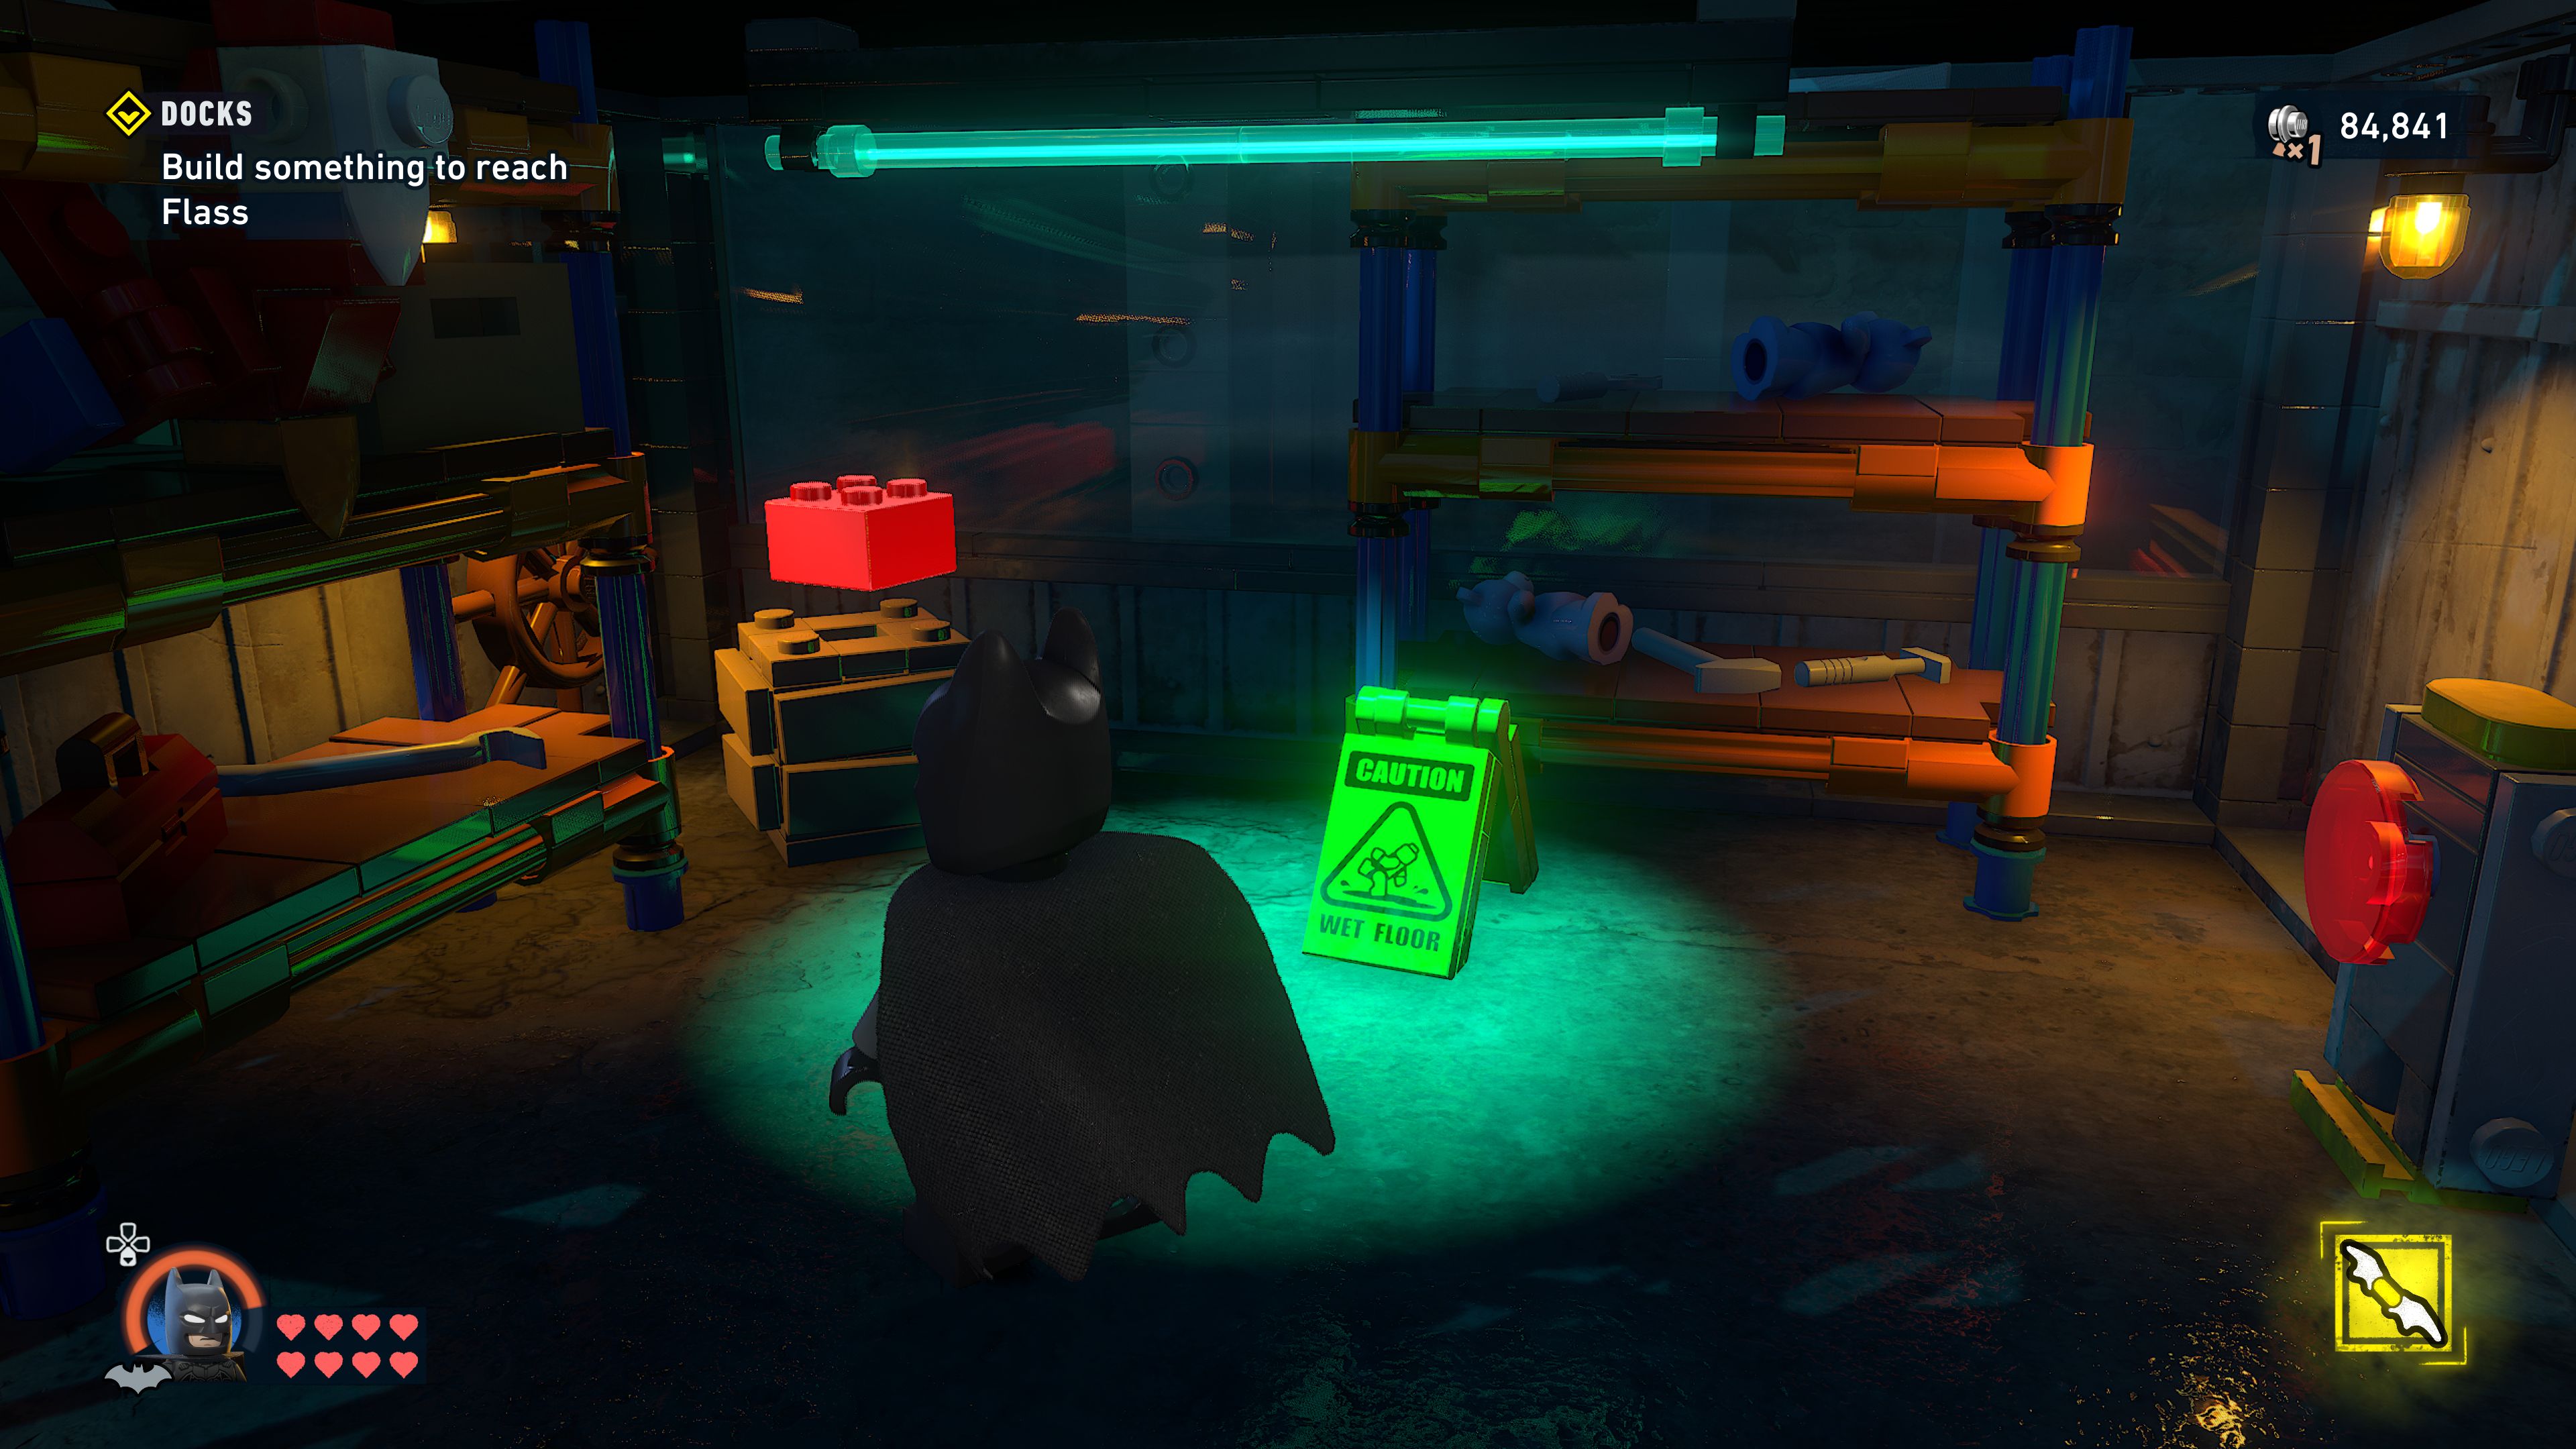
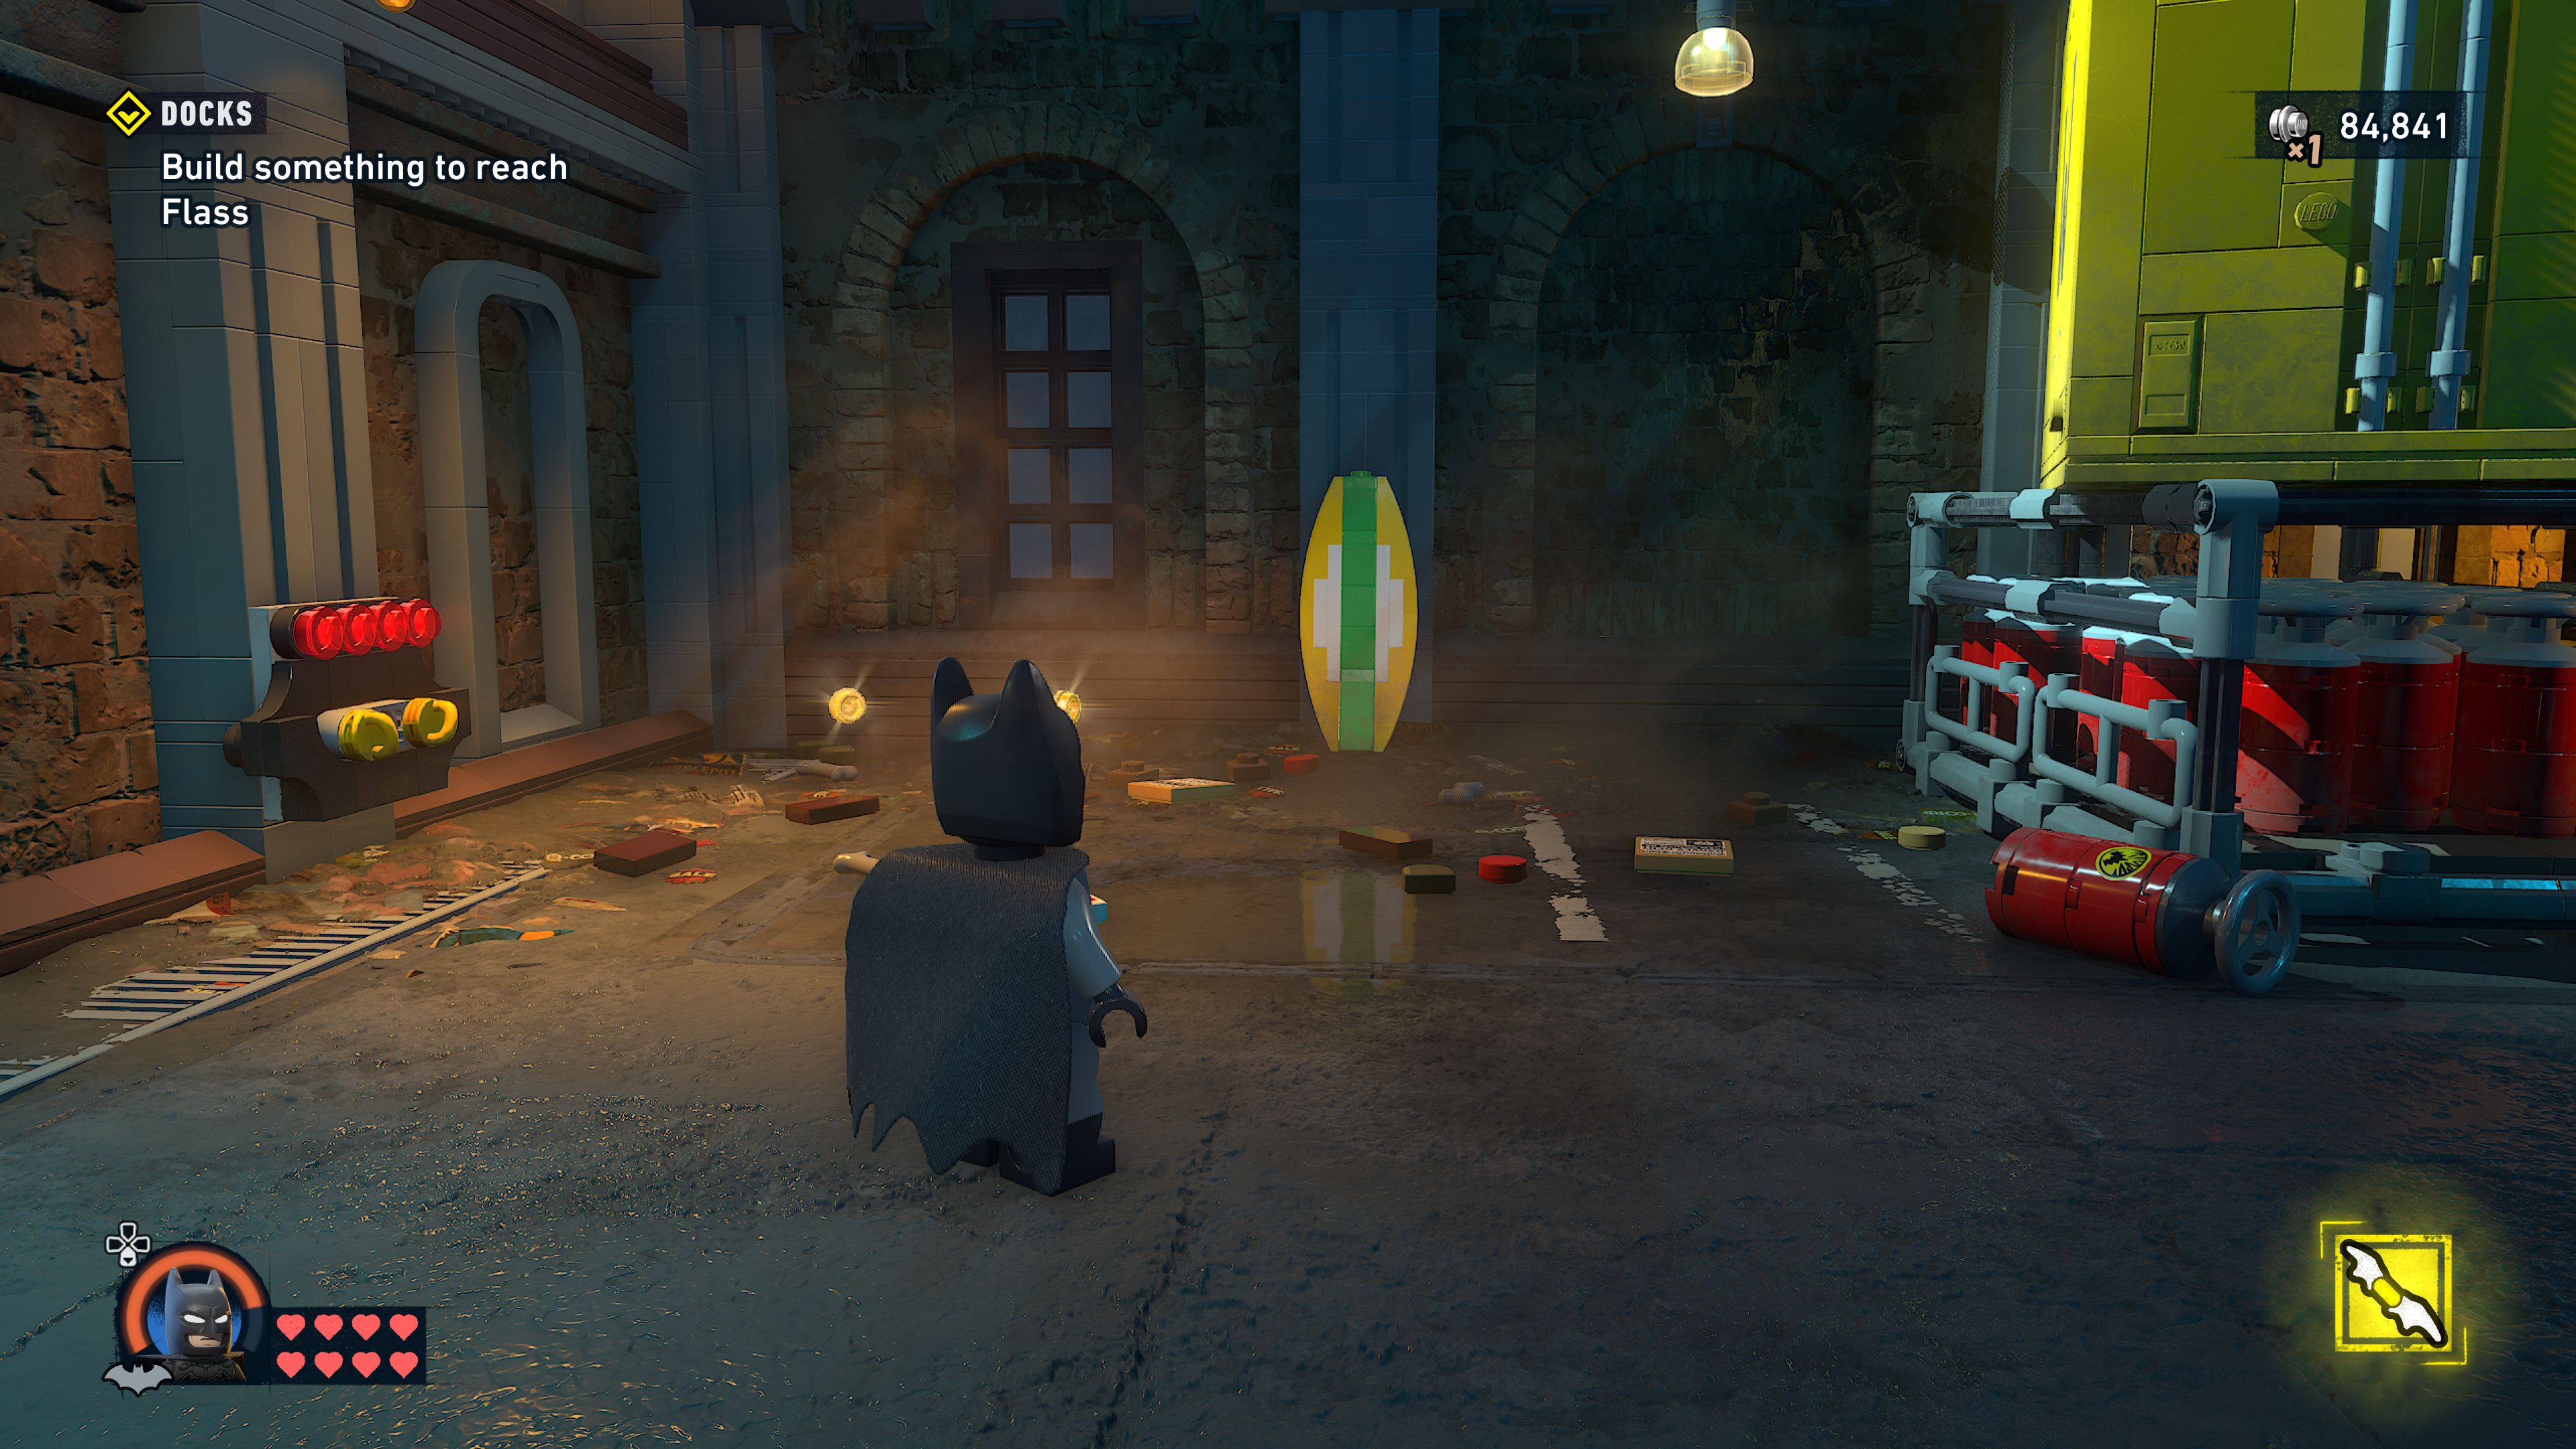
The three things you need to do to get the bricks to start building are all opening large yellow crates.
First you can fire a batarang at the pile of red canisters underneath a yellow crate on the right.
Second have Batman smash the padlock on the left of the purple wall and then operate the winch inside to move a crate into position. Gordon will then need to pull on a bar to the right of the wall, while he is still pulling switch to Batman to hit the padlock on the crate with a batarang. (You can also do it the other way around with Gordon gooping up some gears so that Batman can let go).
And thirdly on the left side is a crate being held by a hook you can hit.
With all three crates opened you can start building. One character will need to operate the winch while the other presses the button on the back.
Talk to Detective Flass
Approach Flass and press and hold the marked button to continue the mission.
Time for an interrogation, tap the button as shown a couple of times and that's mission complete.
Unlocks
- +1 Skill Brick
- Batman Suit: Batman Begins
- Gordon Suit: Cop
- Batcave Trophy: Surfboards
- Red Brick: Nautical Modifier
Batmobile: The Batman
Oswald Cobblepot
Tricorner Investigation
Investigate the radio call
And the time has come, you are finally being set free upon Gotham. Well, part of Gotham. At the moment you only have the southern "Tricorner Island" unlocked, the rest of Gotham will unlock by continuing further through the story. Even on this island you're not yet able to do everything as some things require abilities from other characters that you have not yet unlocked and certain things won't be available to complete until you reach the specific points in the story that introduce them to you.
For the purposes of the story walkthrough I will ignore the free roam portions of the game and go straight to the parts that are required to progress the story but you are able to drive around and collect whatever you like when you're not in a proper mission.
To progress the story we should head to the eastern tip of the island (there's a compass in the top middle but there's no minimap in the corner of the screen so if you get confused about the roads you have to open up the full map) where the yellow rotated square icon is directing you to go.
Stop the purse snatchers
Get up to the platform at the Port Adams Metro Station to find a lady being harassed by some purse snatchers. Beat them up.
Drive to the break-in
Your next destination, the movie theatre, is in the middle of the island to your west. Jump back down to the street and hop back in the Batmobile to drive there.
Once you reach it go up onto the roof where the bad guys are attempting to break in. Again beat them up.
And that was your introduction to the petty crimes that you will get calls about on the radio while you're driving around Gotham. They are pretty much constant so try not to get too distracted by them.
Talk to Renee
Officer Renee Montoya will call you on the radio and ask you to come and talk to her at the construction site in the northwestern corner of the island.
When you get to her you must talk to her as Gordon as she will not talk to Batman about the case.
Find the poster pieces
The first piece is in the carpark/parking lot opposite Montoya, it's just leaning up against the wall on the north side.
The second piece is on top of the construction site that Montoya is standing in front of. If you go all the way up to top level you can find the piece propped up next to some crates.
The third piece is found to the north of Montoya in the Octan refinery. Grapple up to the top of the round building to find the piece on the eastern side leaning against the fence.
Identify the suspect
Return to Montoya with all three pieces to solve the mystery. Press left or right to scroll through the options for the hair, the face, and the outfit until you find each part that matches the three snippets of the wanted poster on the right.
And that serves as your introduction to Wanted Posters. Each island has a few to find and solve.
Track down Cobblepot
It is of course the Penguin that you're after. Drive southeast to the port and walk into the glowing area as Cobblepot will be somewhere within it. You'll find him between some shipping crates next to the fish.
Stop Cobblepot
The game will teach you how to summon your vehicle in case you didn't work it out yet and ask you to chase after Cobblepot and drive into him a few times. This is a good time to get a grip on how the Batmobile handles when turning at speed. He follows the same path around the middle of the island so you should quickly learn the points at which he turns. He does have a second loop that gives you an easy way to cut him off rather than follow him directly. The left at the Diner is the same in all the loops that I saw.
Once you've managed to hit him enough he'll crash and you'll need to pull him from the wreckage.
Riddler
Riddle Me This
Go to Harvey Bullock
Harvey is waiting for you over on the western side of the island. Again Gordon will need to talk to him as he won't speak to Batman.
Enter the suspicious building
Go inside.
Complete the mirror puzzle
The solution to the puzzles in here are simply to make the scenes match up with what you can see in the mirror.
This first puzzle is solved by picking up the teddy bear from the pedestal and placing it on the left pedestal.
Complete the second mirror puzzle
Go around to the next puzzle. This one requires three items. First move the candlestick from the left pedestal to the right pedestal. Then you've got to find the lamp and the hat. The lamp is up the stairs next to a desk, and the hat is behind some junk to the right of the puzzle. Hat goes on the left pedestal, lamp on the middle.
Complete the third mirror puzzle
There's a couple of tricks to this last one. First is that you need to take the lamp from the previous puzzle to use in this third one. The other trick is that you need to move the elevator in the back so that it's in the same position as it is in the mirror. You then just need to find the boombox behind the shelving on the left side of the room (it doesn't show up highlighted in detective vision) and place it on the right pedestal to solve the puzzle.
Collect the Riddler Trophy
Collect the rubik's cube-like object to complete your introduction to the Riddler puzzles that are found scattered throughout Gotham.
Leave the Riddler Room
Head outside.
Carmine Falcone
Back to the Iceberg Lounge
Go to the Iceberg Lounge
The Iceberg Lounge can be found near the eastern tip of the island.
Enter the Iceberg Lounge
You can sneak attack all the henchpeople outside the front by dropping down from the train tracks above or you can just run in for a fight. Go up to the door and try to enter to start the mission.
Iceberg Lounge
Iceberg Lounge
I didn't come here to thank you.
Defeat the enemies
Defeat all the enemies at the start of the level and once you've done that a new shield enemy type will drop in from the ceiling. He is holding a large shield that will make your punches useless if you try to just attack him like all the other enemies. Instead you need to dodge roll over his head which will leave him confused for a moment and vulnerable from attack from behind.
Finish defeating him to move on.
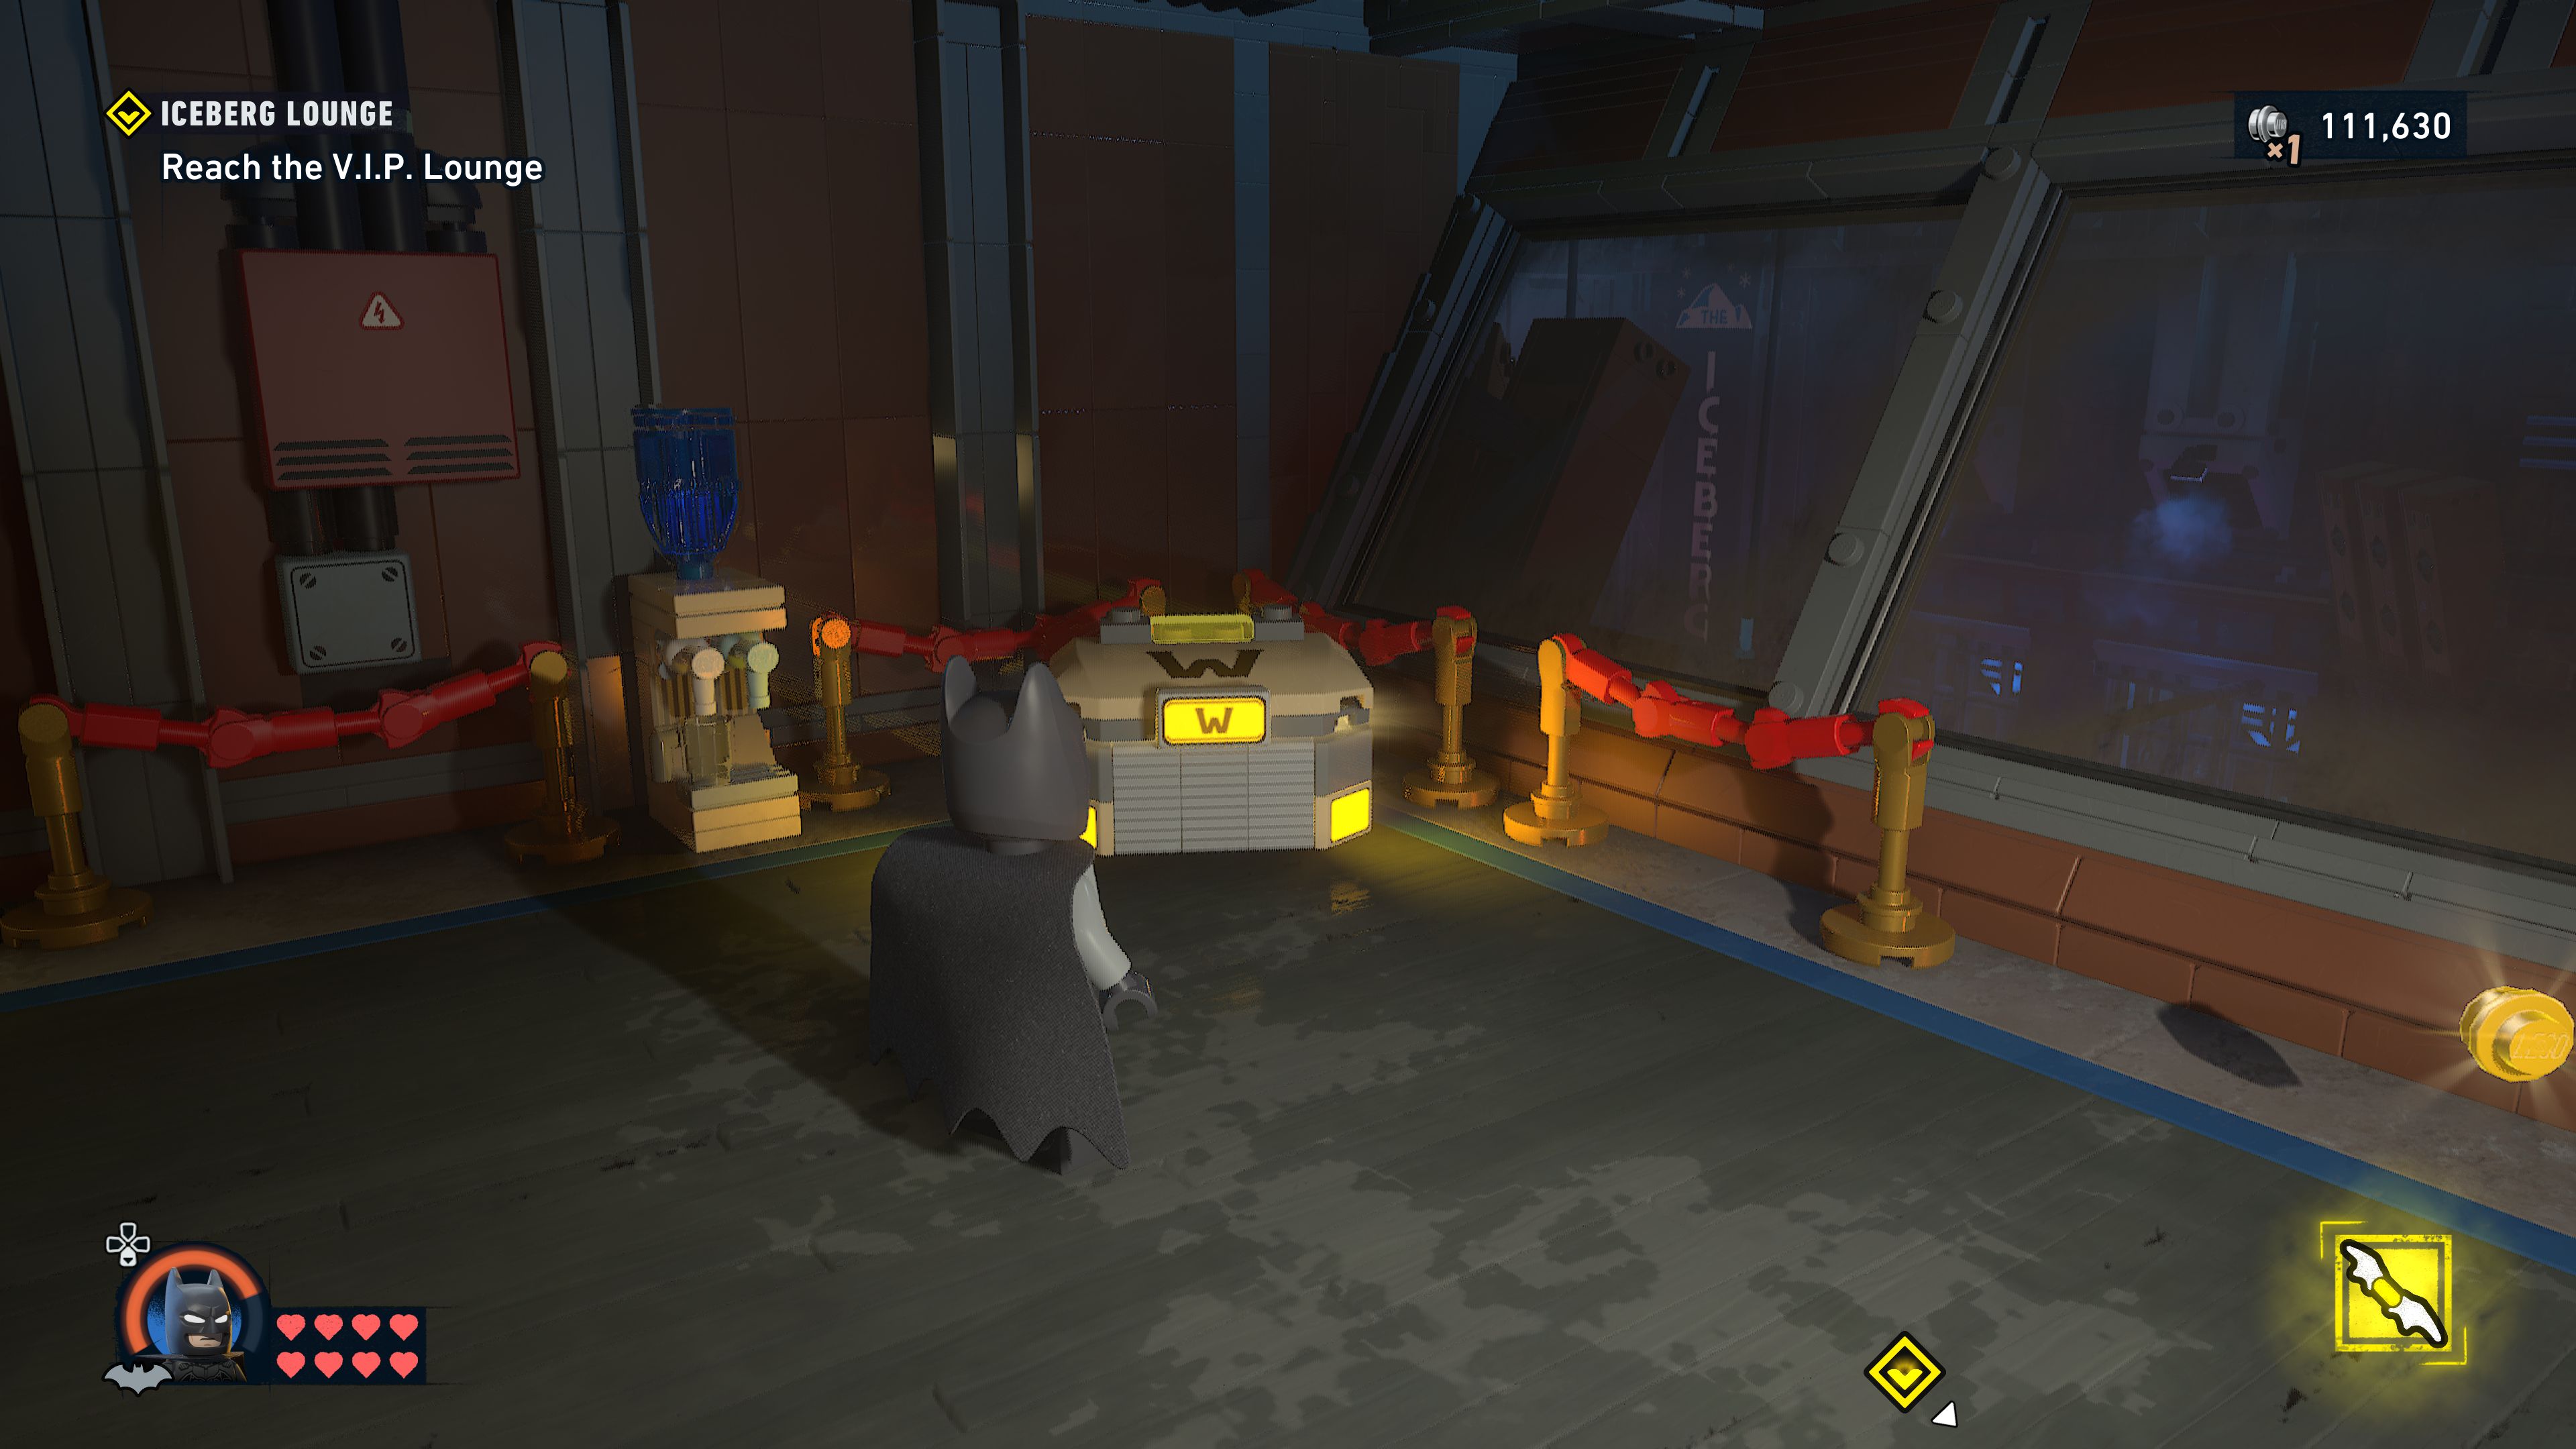
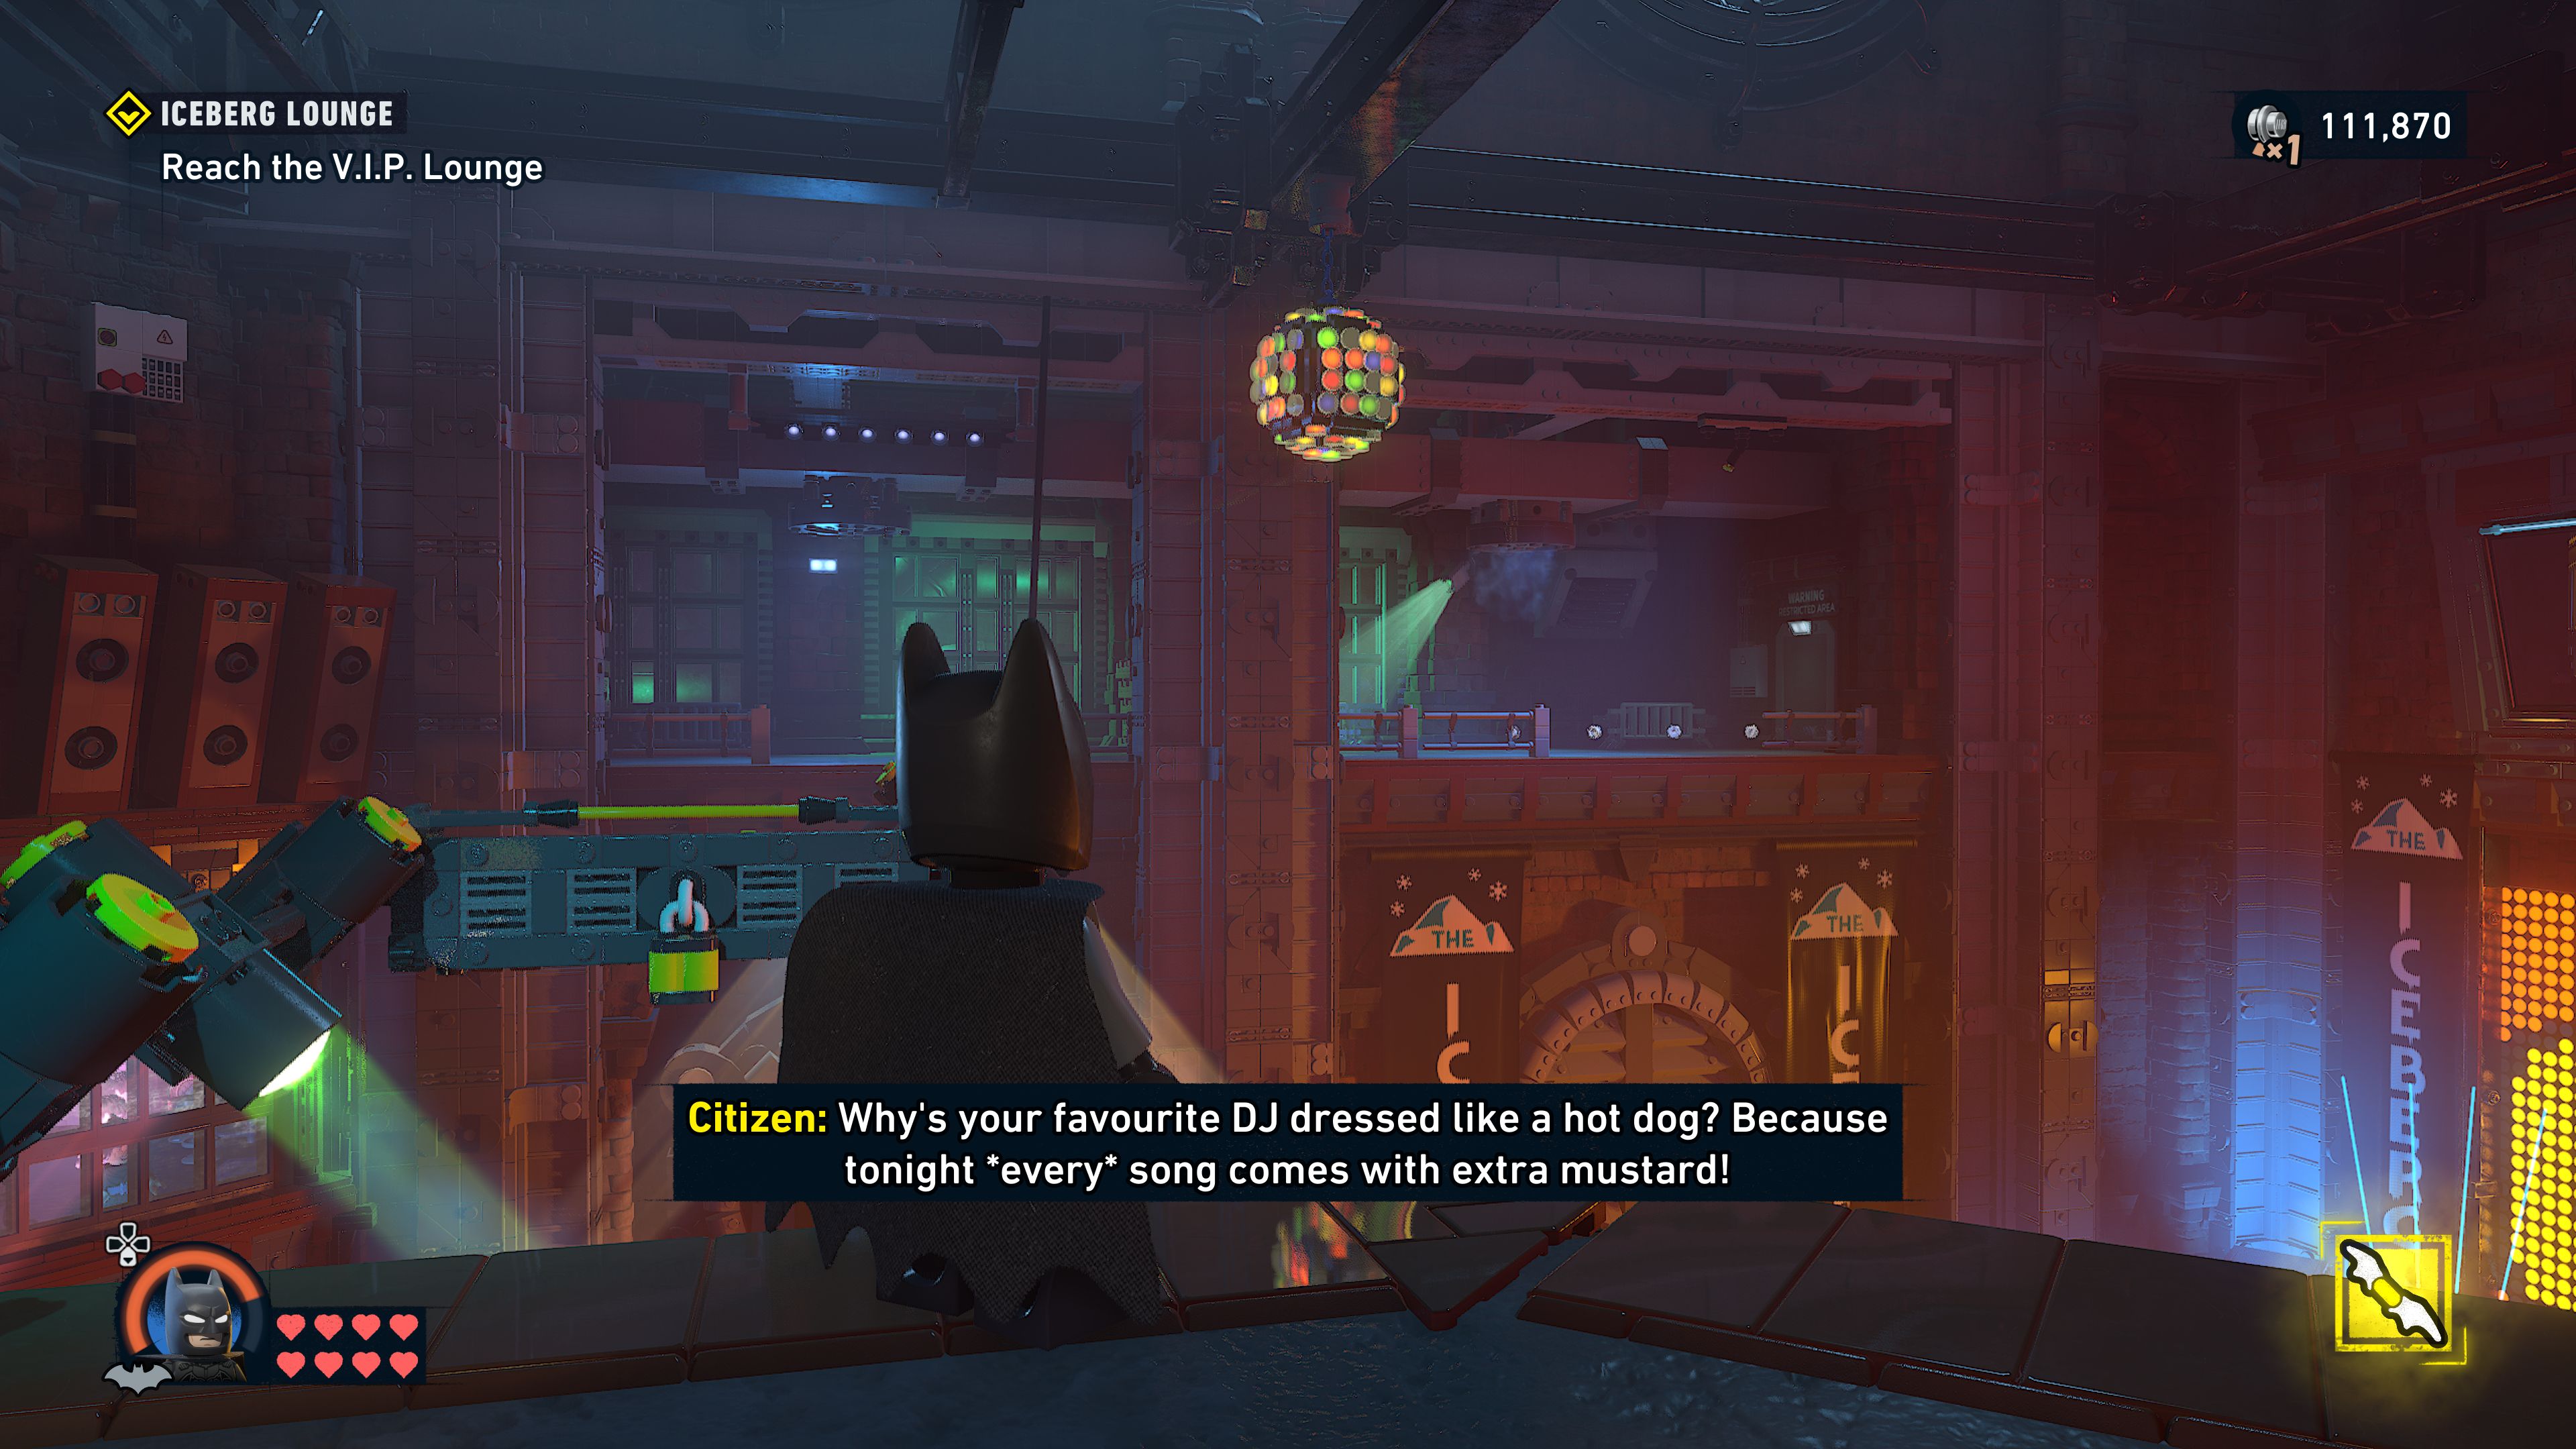
Reach the V.I.P. Lounge
If you walk towards the edge you can grapple up onto the lights. Jump to the second set and then onto some individual lights you can hop along to get over to the right.
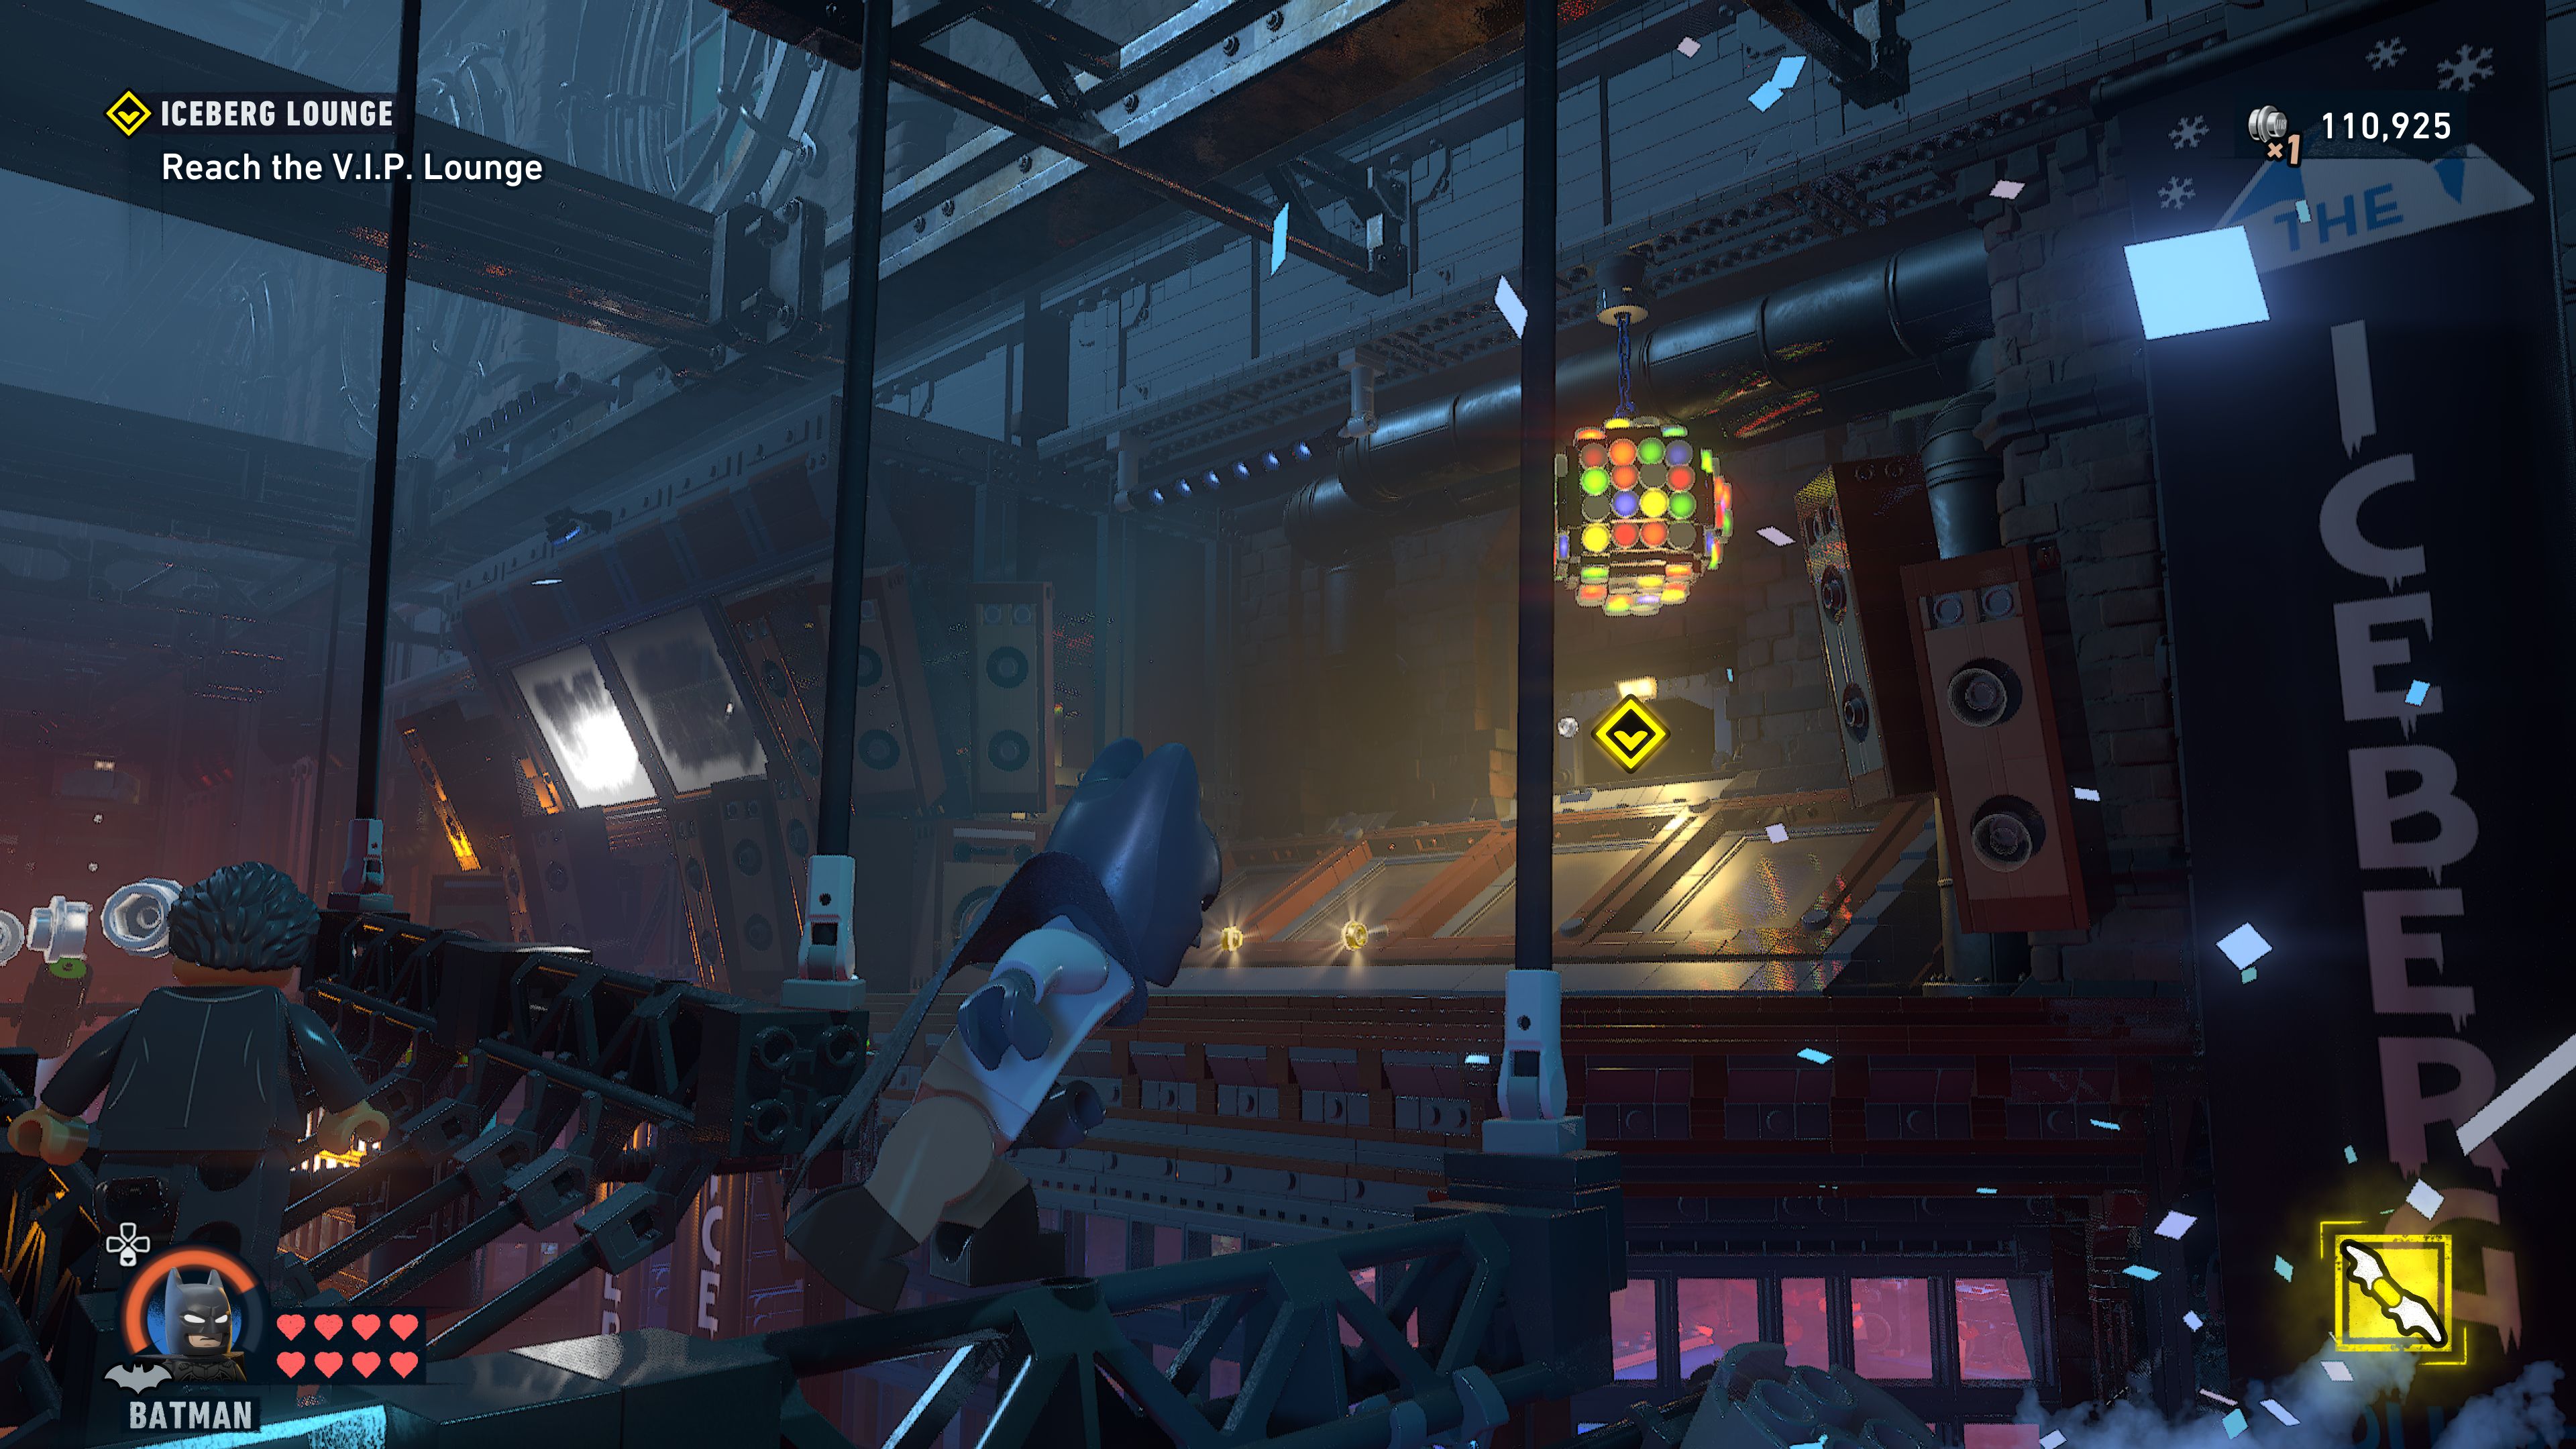
Go through the crawl space and into an office. Stay out of the green beam of the security as otherwise some more enemies will run in through the door next to it.
To get past the camera without setting it off you need to use Batman's batarang to hit it. This is only temporary, it will fix itself after a little while so don't hang around too long after hitting it.
Leave the room via the crawl space past the camera.
To stop the lights from moving first hit the padlock with a batarang and then get Gordon to foam up the gears.
Hop across to the other side and hit the security camera with a batarang. From the edge closer to the stage grapple onto the wall above the DJ then shimmy to the right and up into a crawl space.
Defeat the enemies
If you're careful and keep grappling back up to where you came in from you should be able to clear the room below stealthily but fighting them head on is not going to take too long either.
Speak to Flass
After the fight go over to Flass and talk to him to get Selina to open the way forward for you.
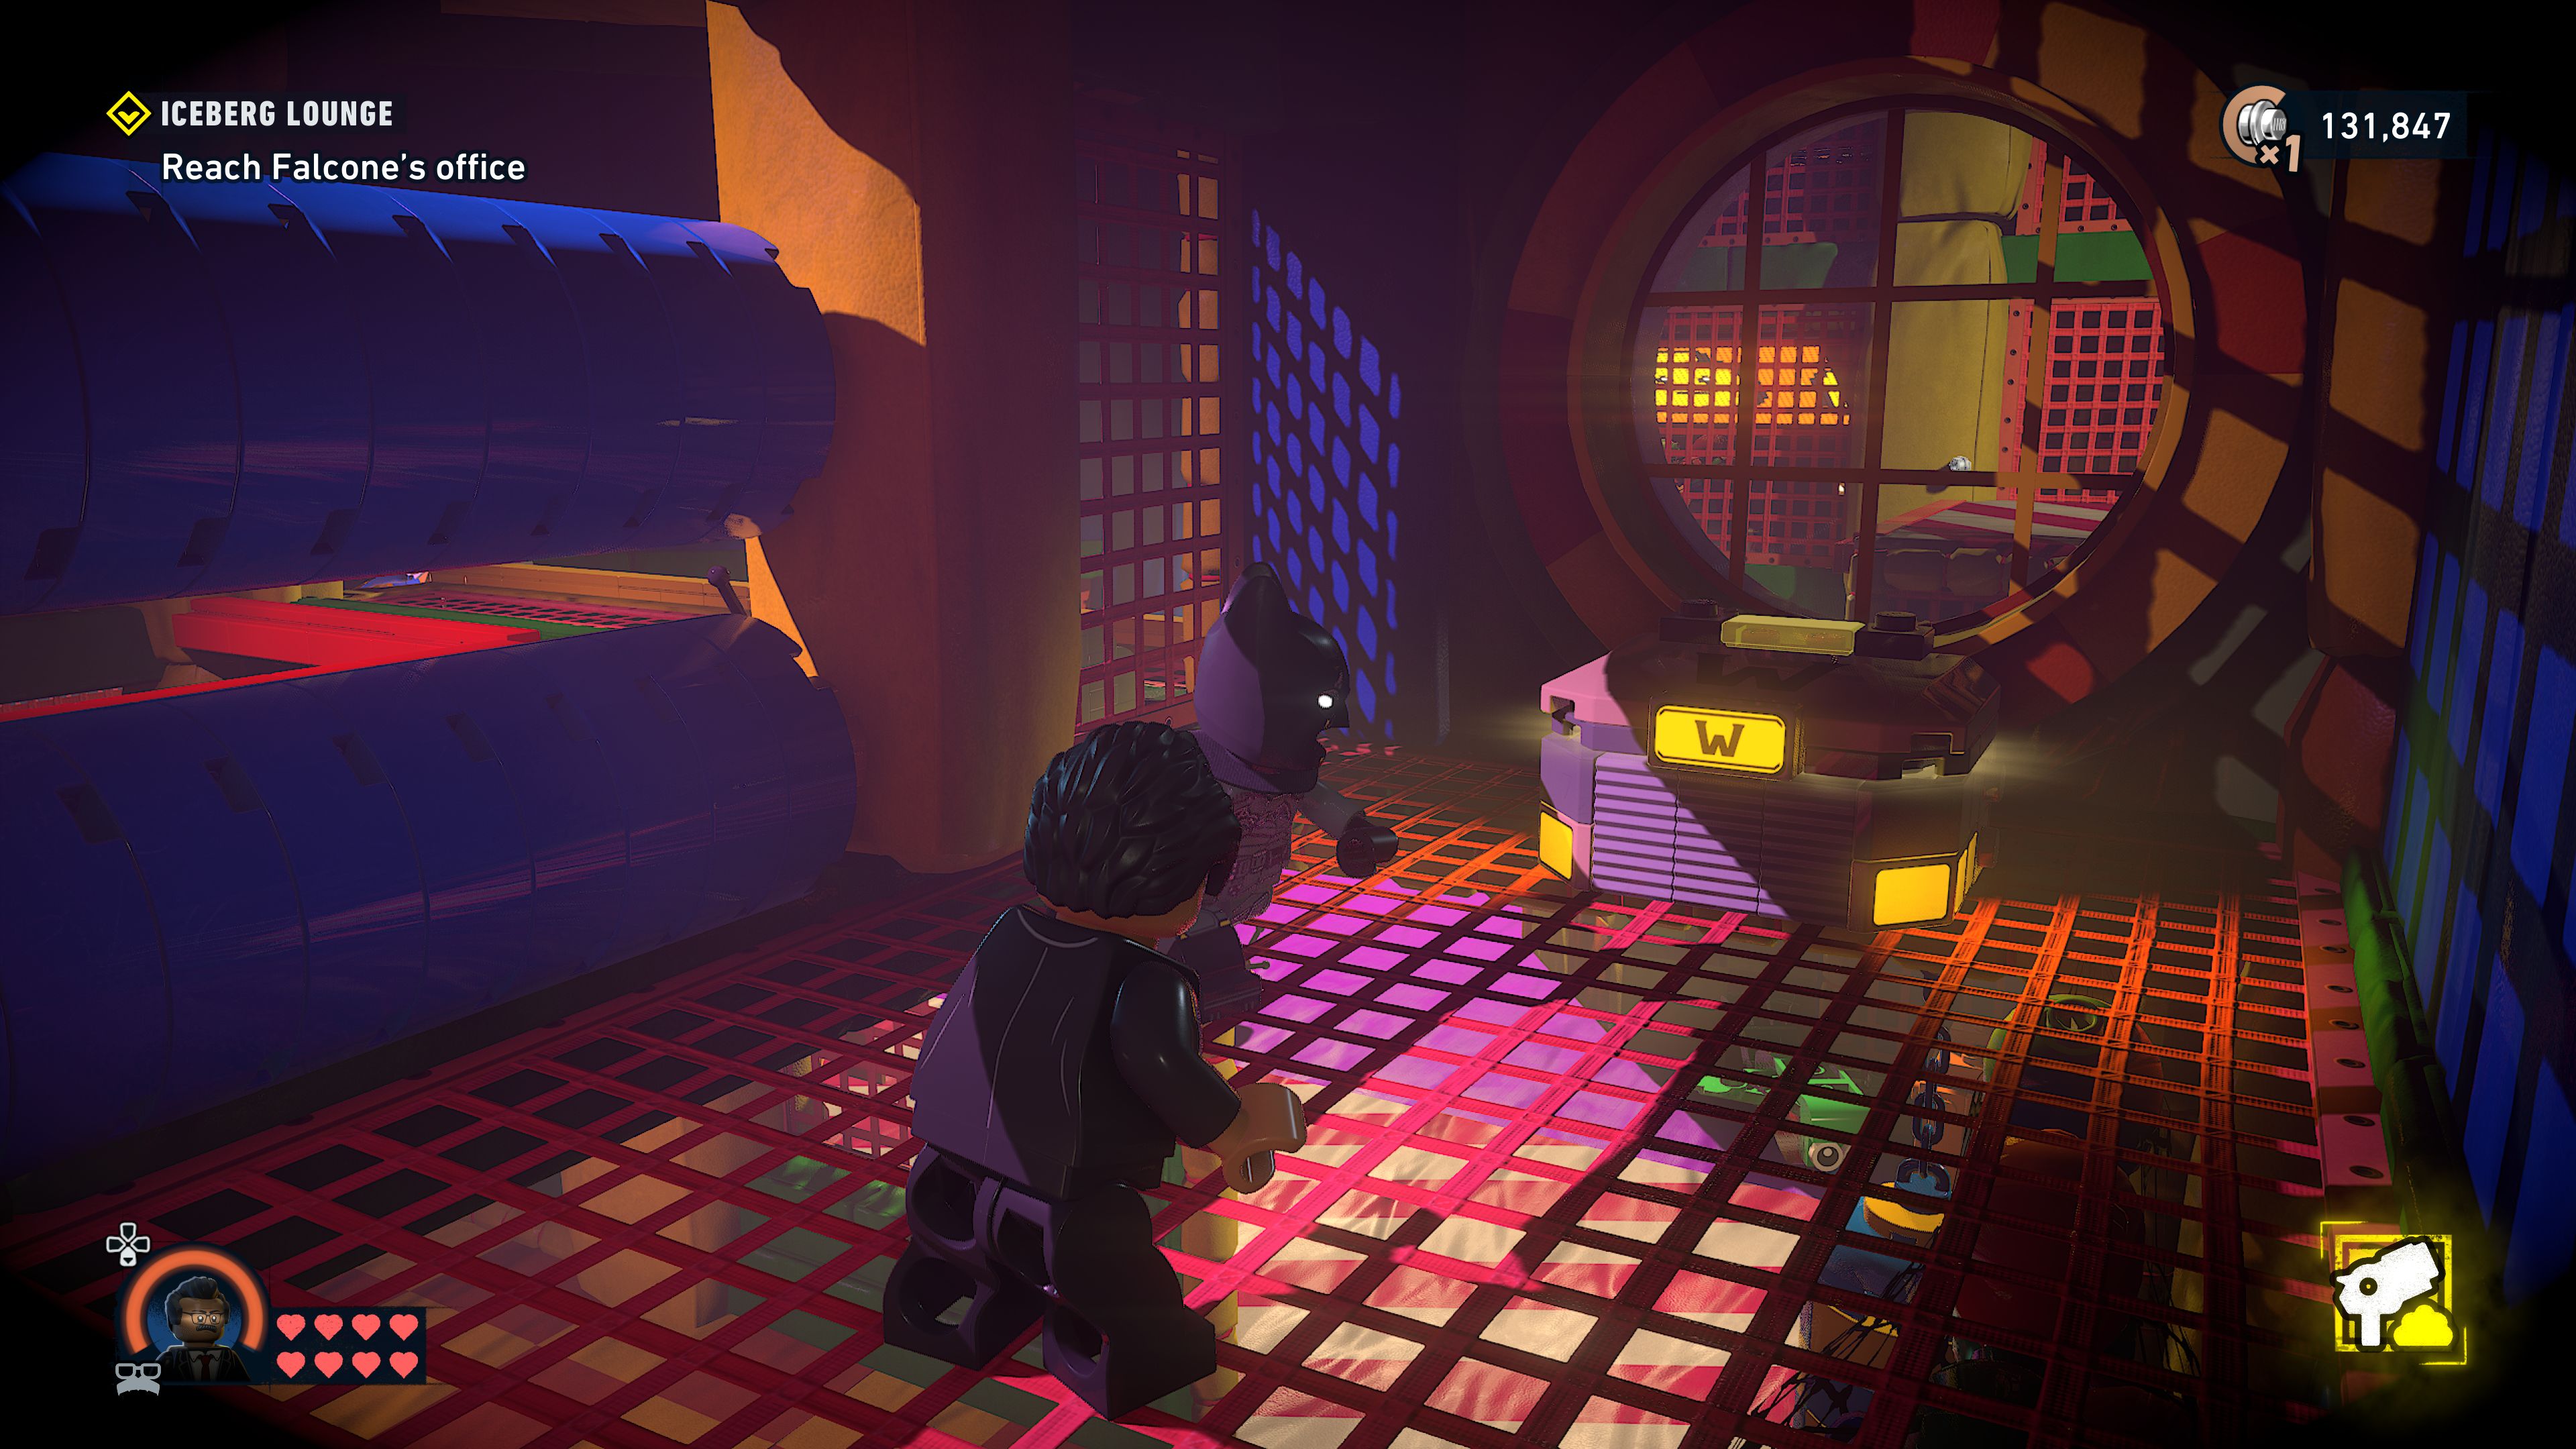
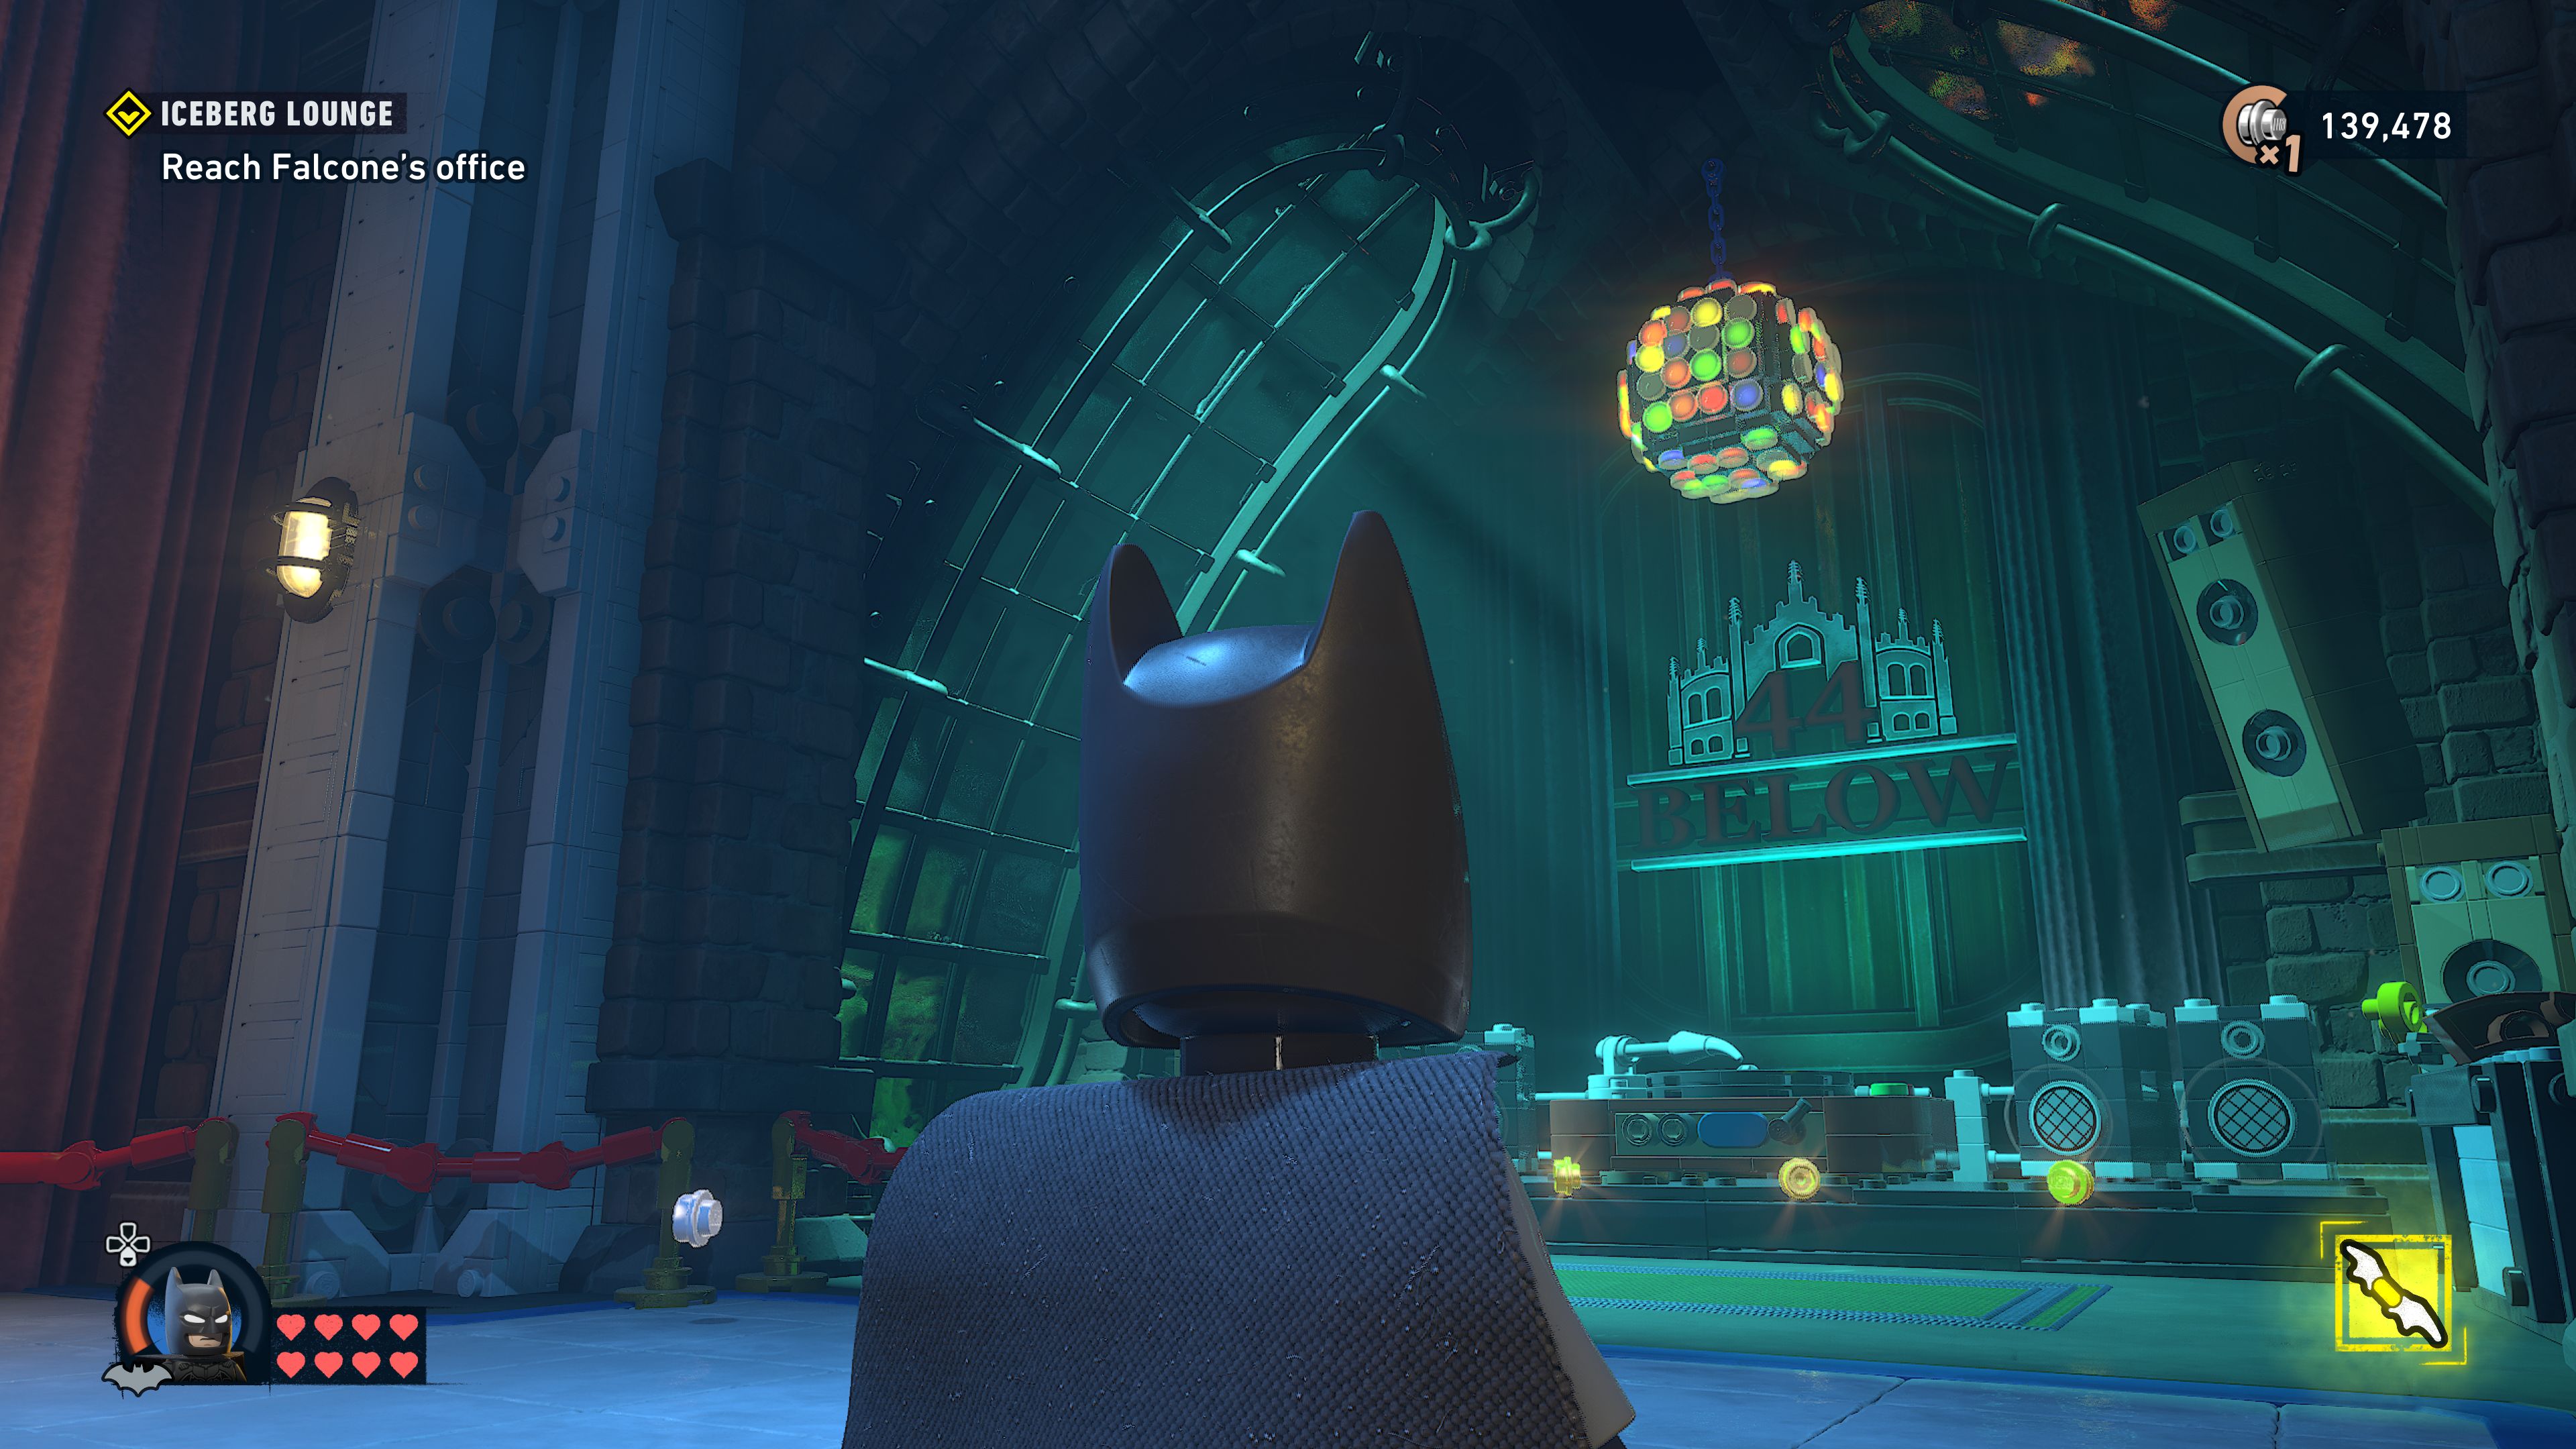
Reach Falcone's office
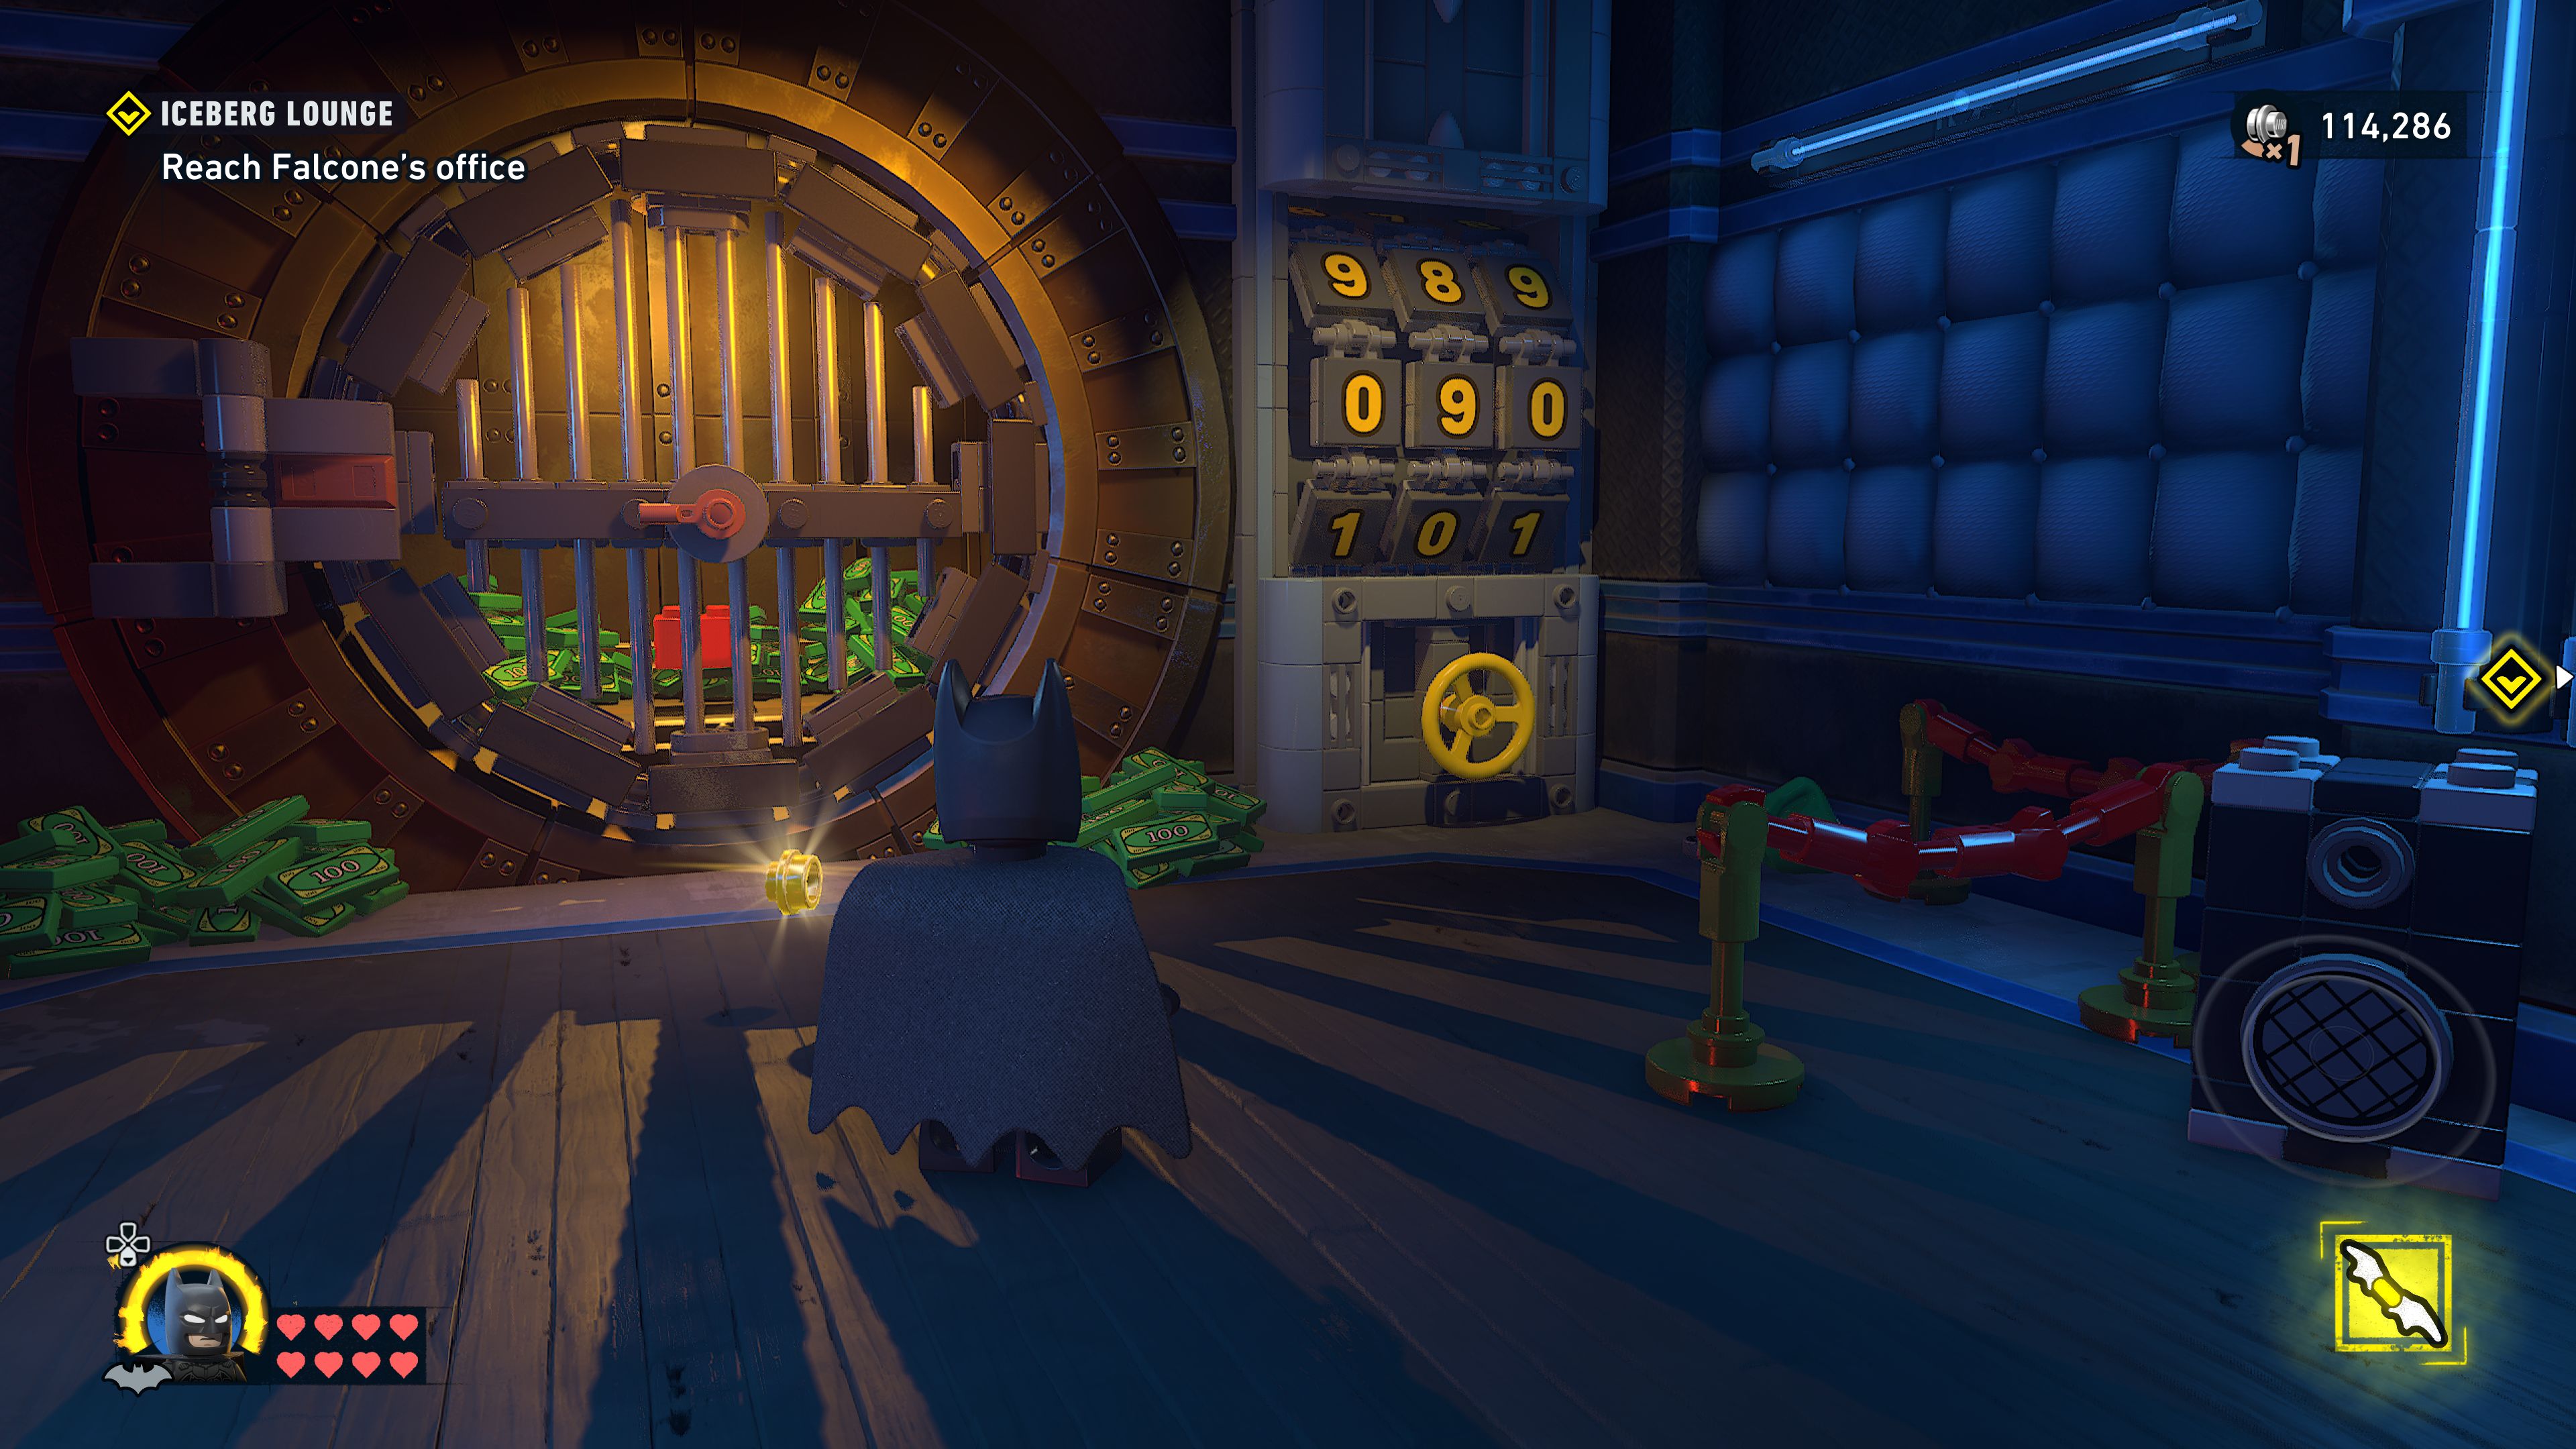
Go through the door that Selina opened and sneak attack the goon facing away from you. Batarang the two cameras then sneak up behind the other three henchpeople at the end.
The three things you need to smash to get the bricks required for a build are the big red box by the door, a large fish on the wall to the left, and the gym equipment on the right.
Both characters will be required to activate the giant boxing glove to move on.
Defeat the enemies
You'll be forced into the next fight, defeat the chefs and all the other enemies that join in.
Search for the food items
To the right is a padlocked door you can hit to open. Inside is a crank one person can turn while the other grabs the food and takes it to place on the left spot on the food trolley out by the door.
To the left is another door with a padlock on. Go in and use Gordon's foam to block a pipe up on the left side as you walk in. Wait for it to defrost a little and then foam up a second pipe on the opposite side to finish the job. Take the ice cream and place it on the right side.
The sandwich is in the fridge. Open it and place it on the middle plate.
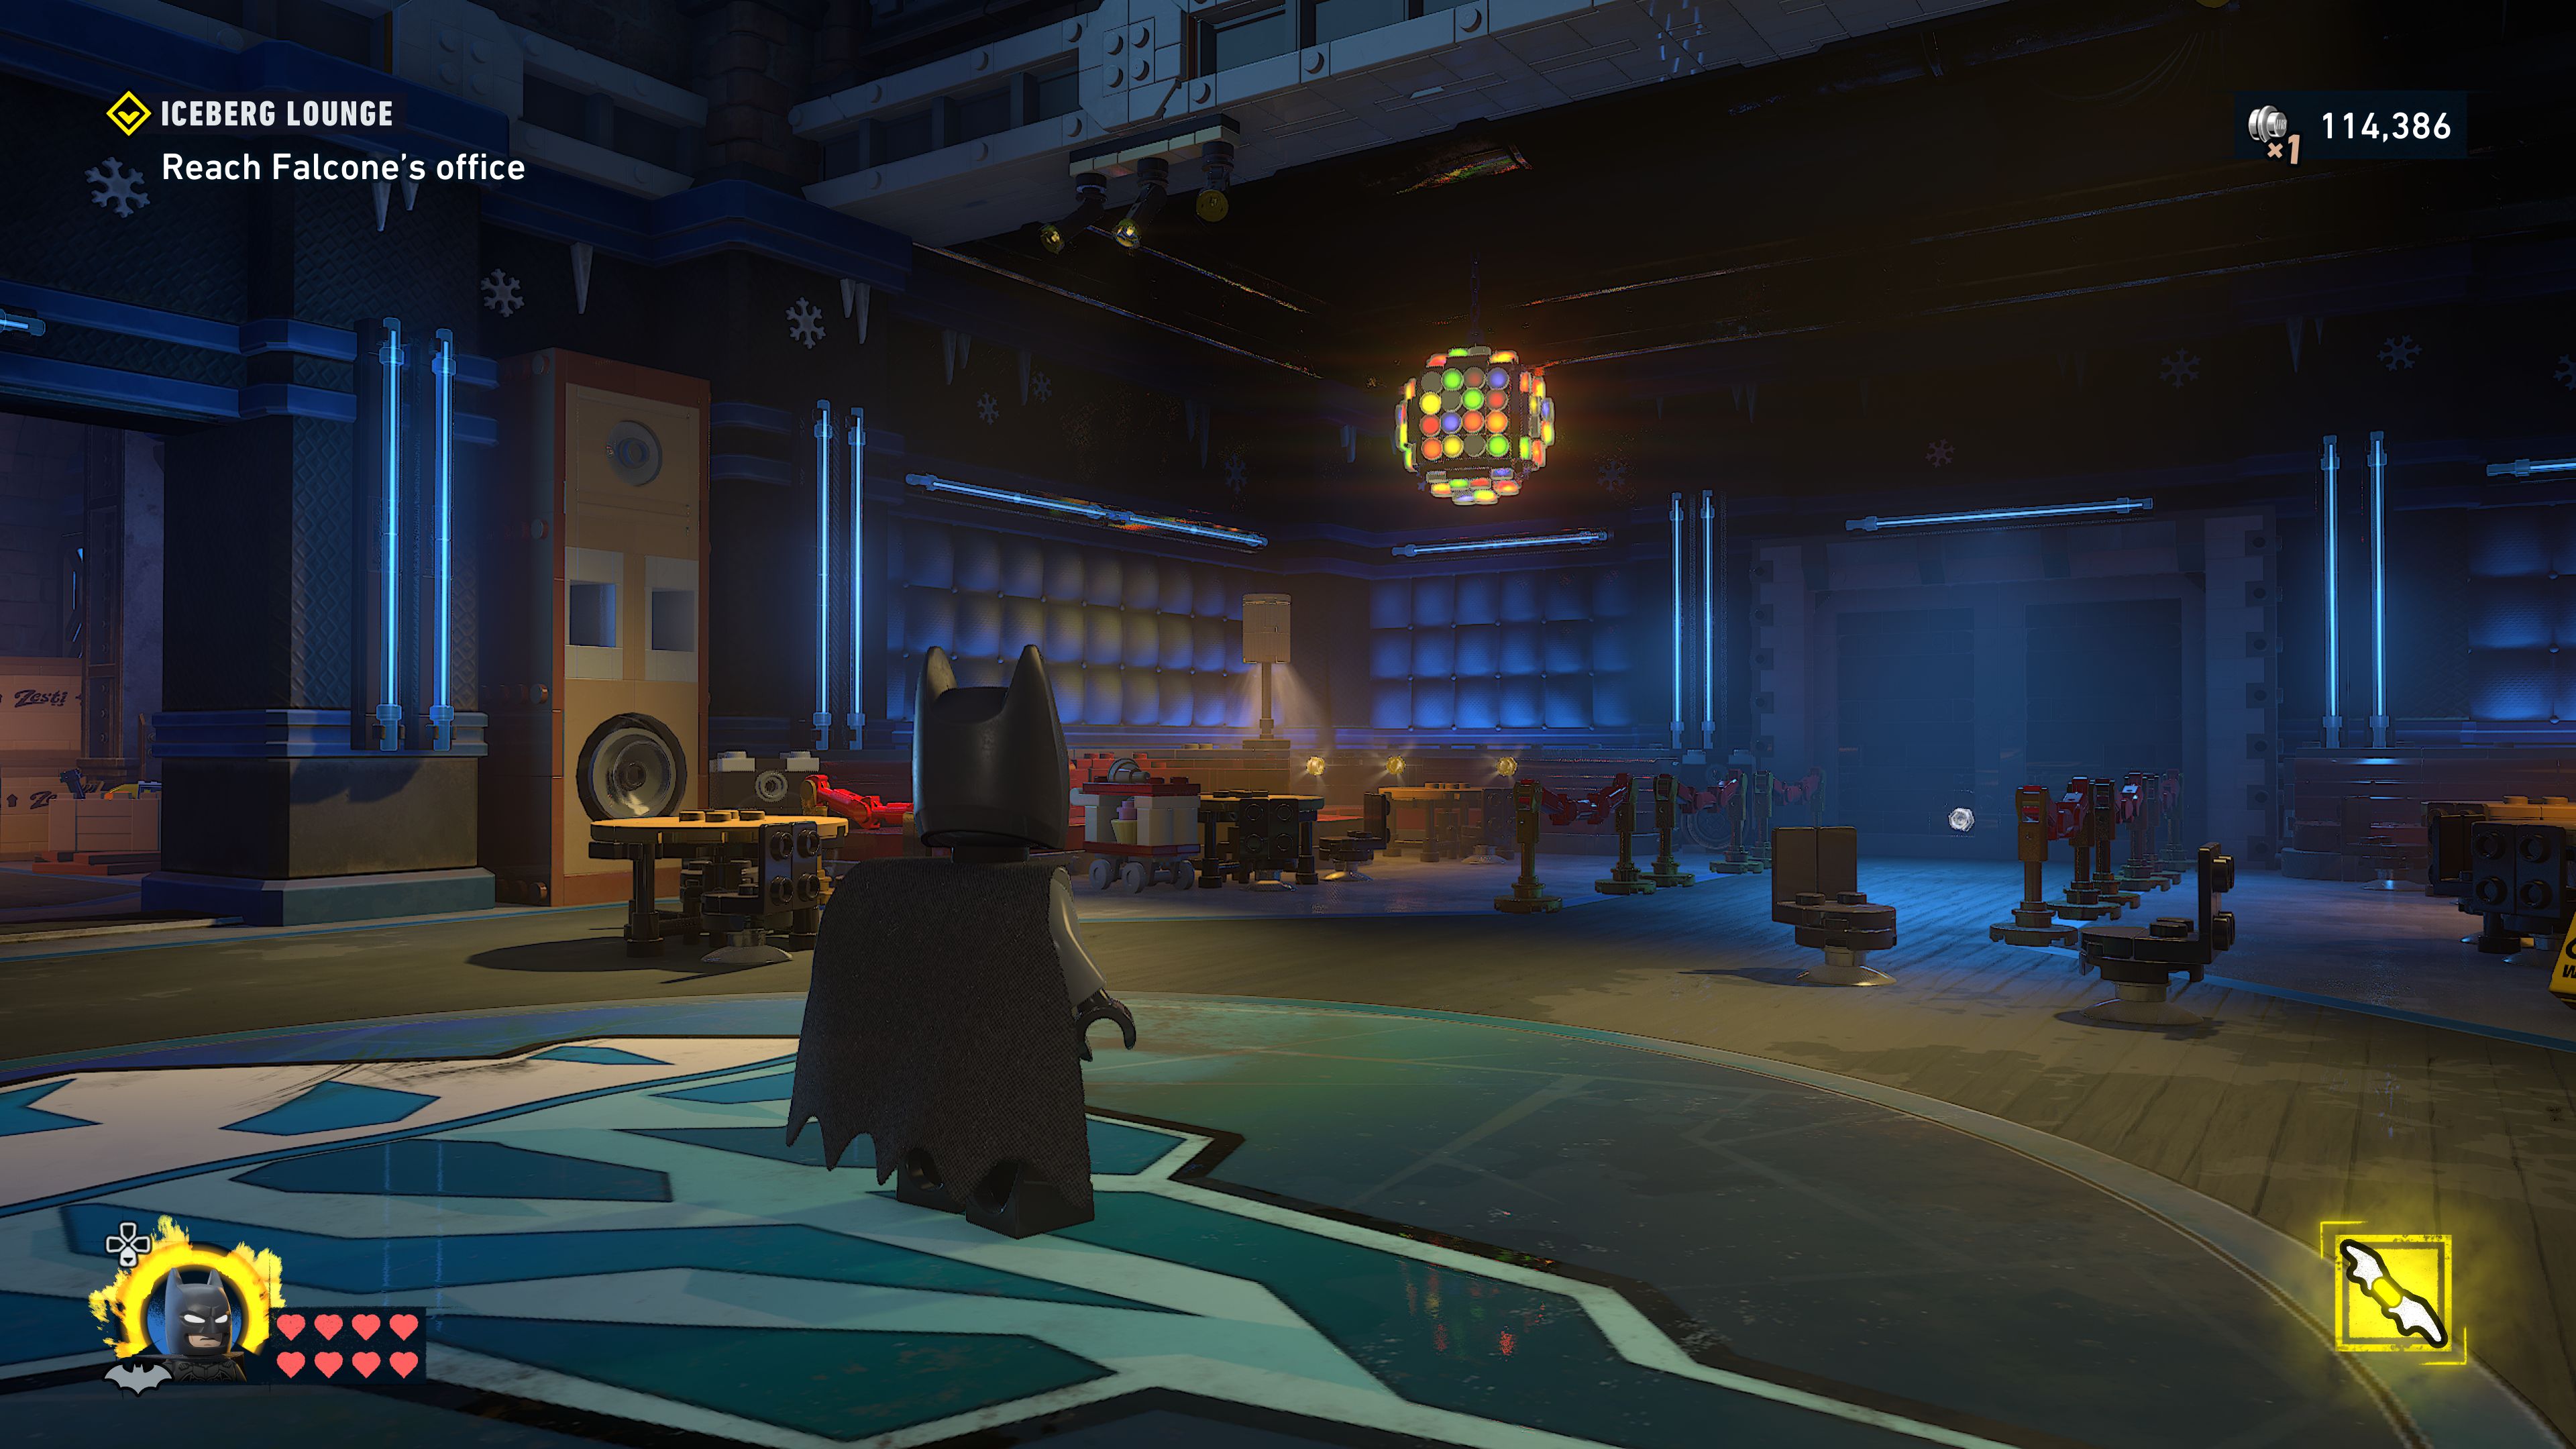
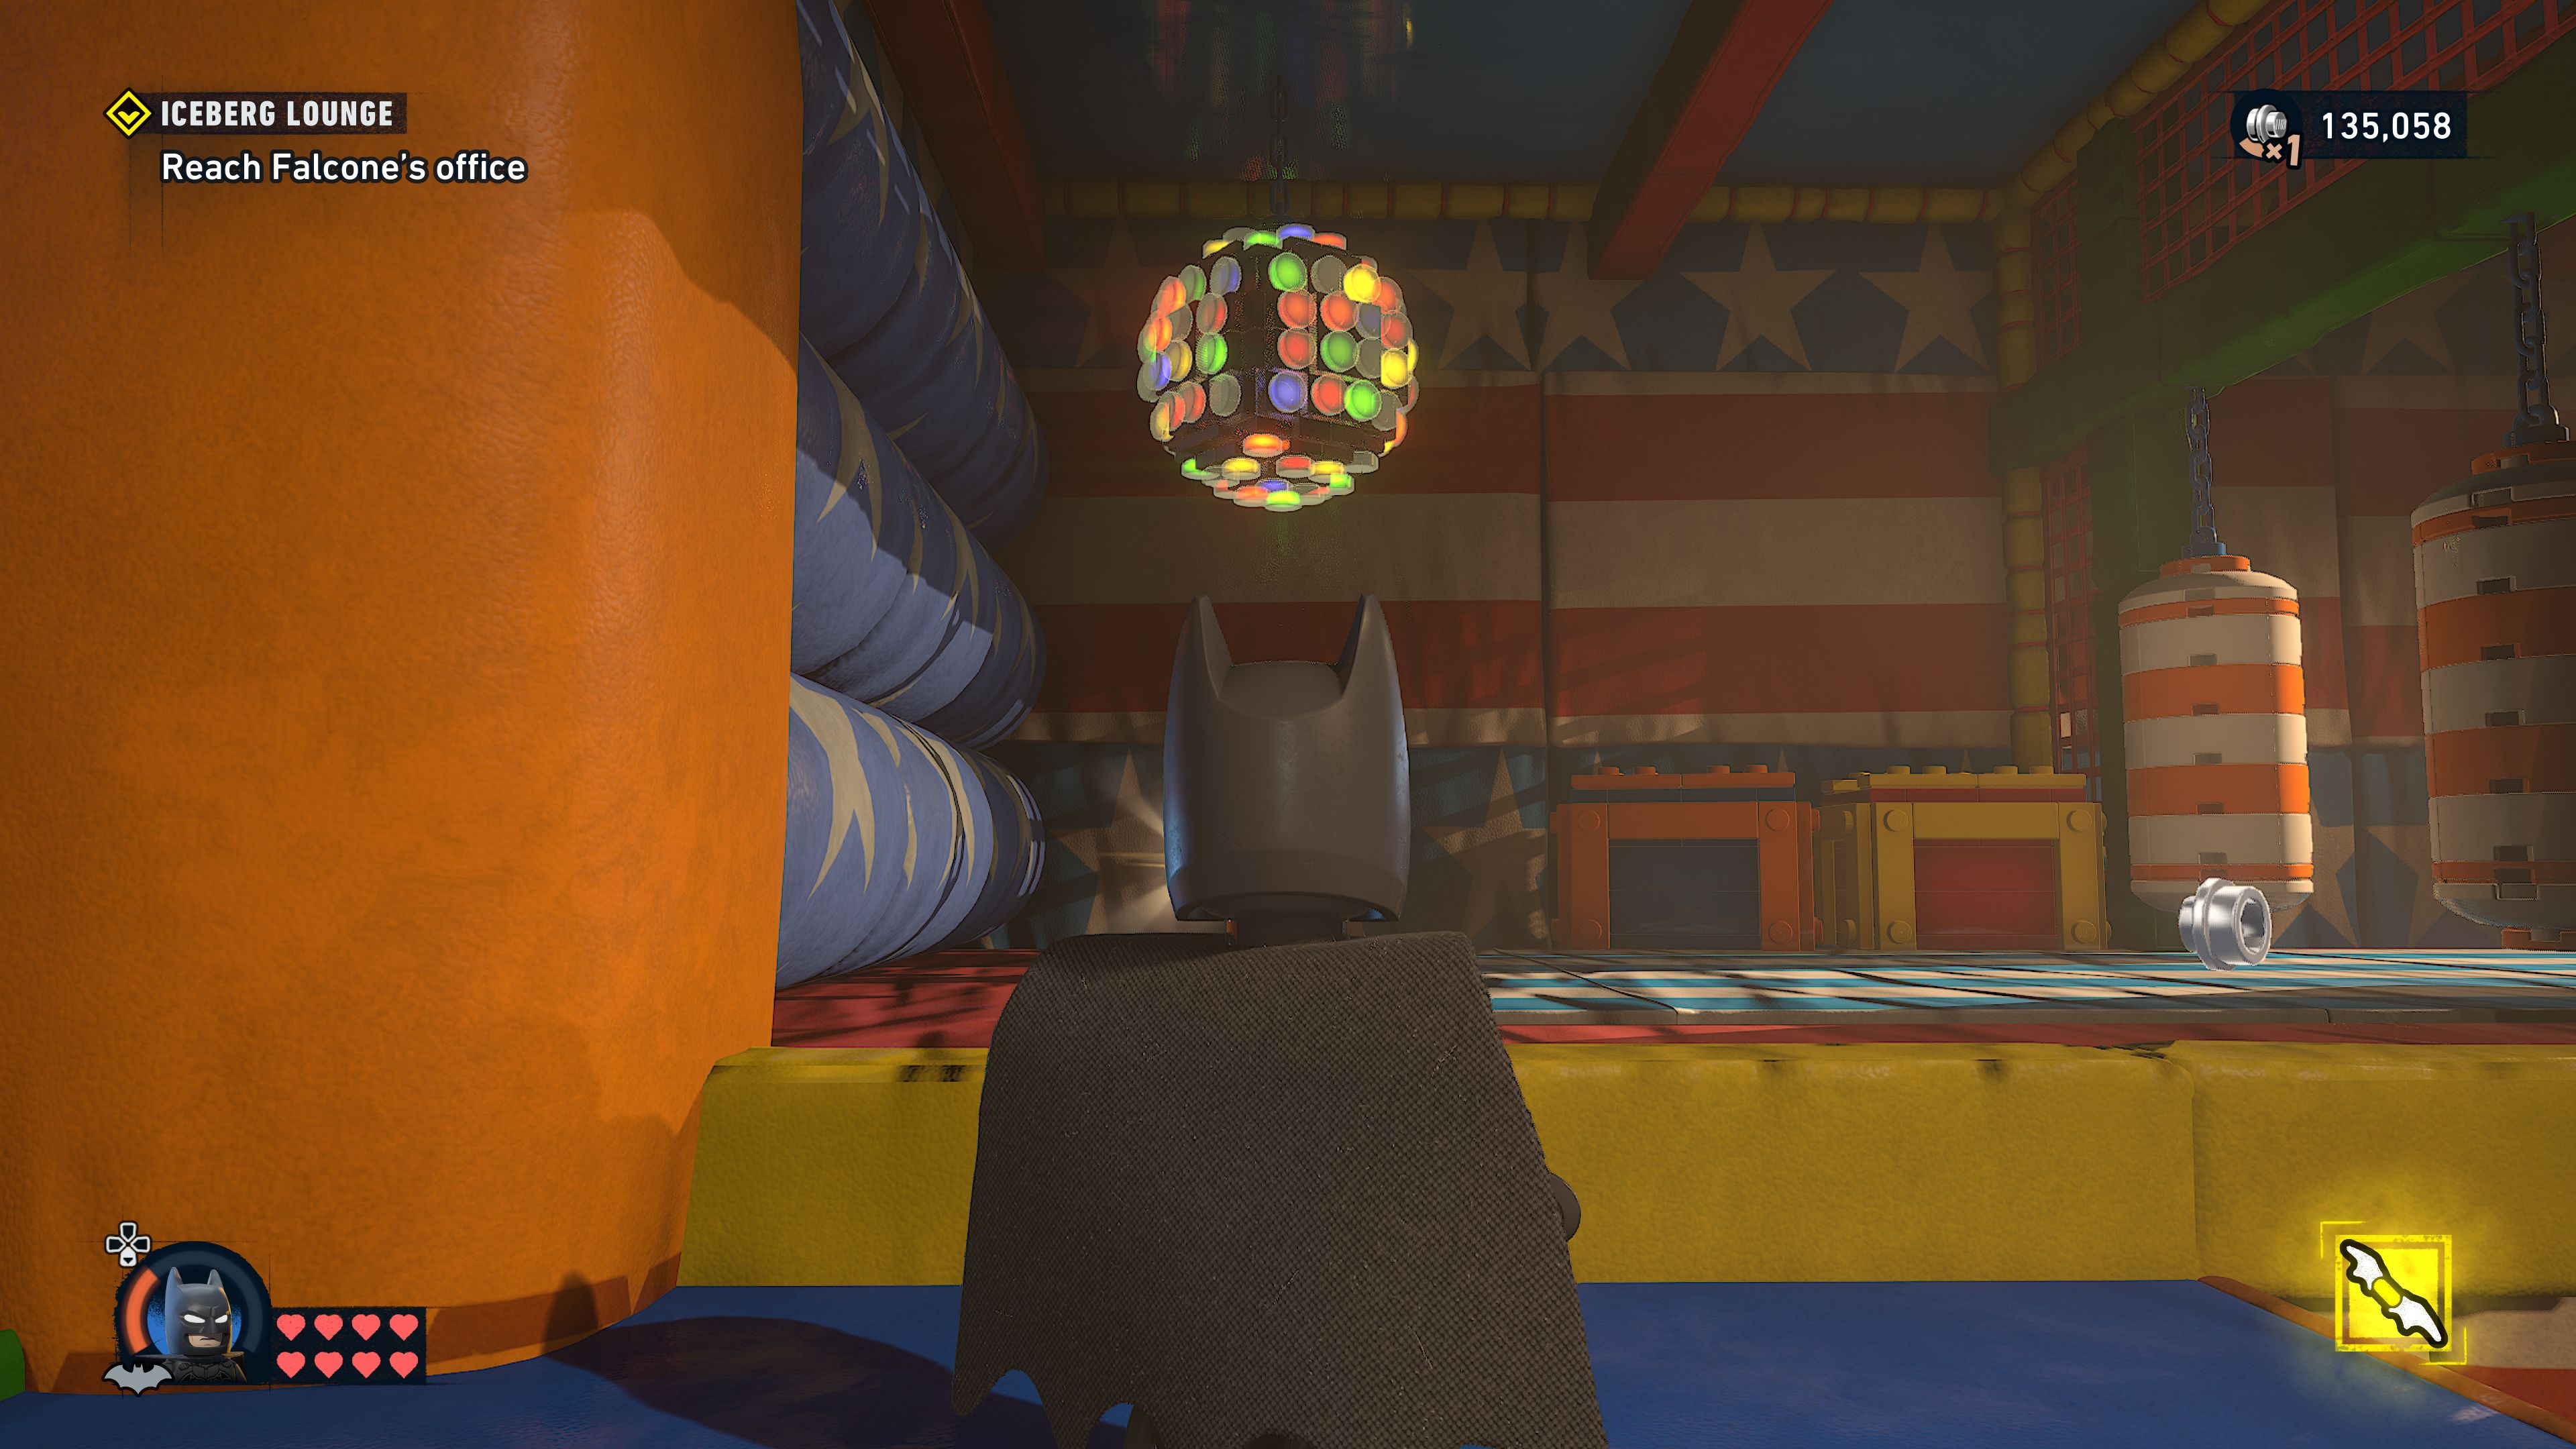
Reach Falcone's office
Sneak attack a few enemies as you get out of the lift, including one to the left.
Go down the slope to the right past a few more enemies until you get to a spot with a pair of cameras covering the way forwards. Smash them both with batarangs then run past and grapple up above the doorway to the next room filled with enemies.
There's a camera just to the right of the door so be careful of that if you're trying to stealth kill all of the enemies in here.
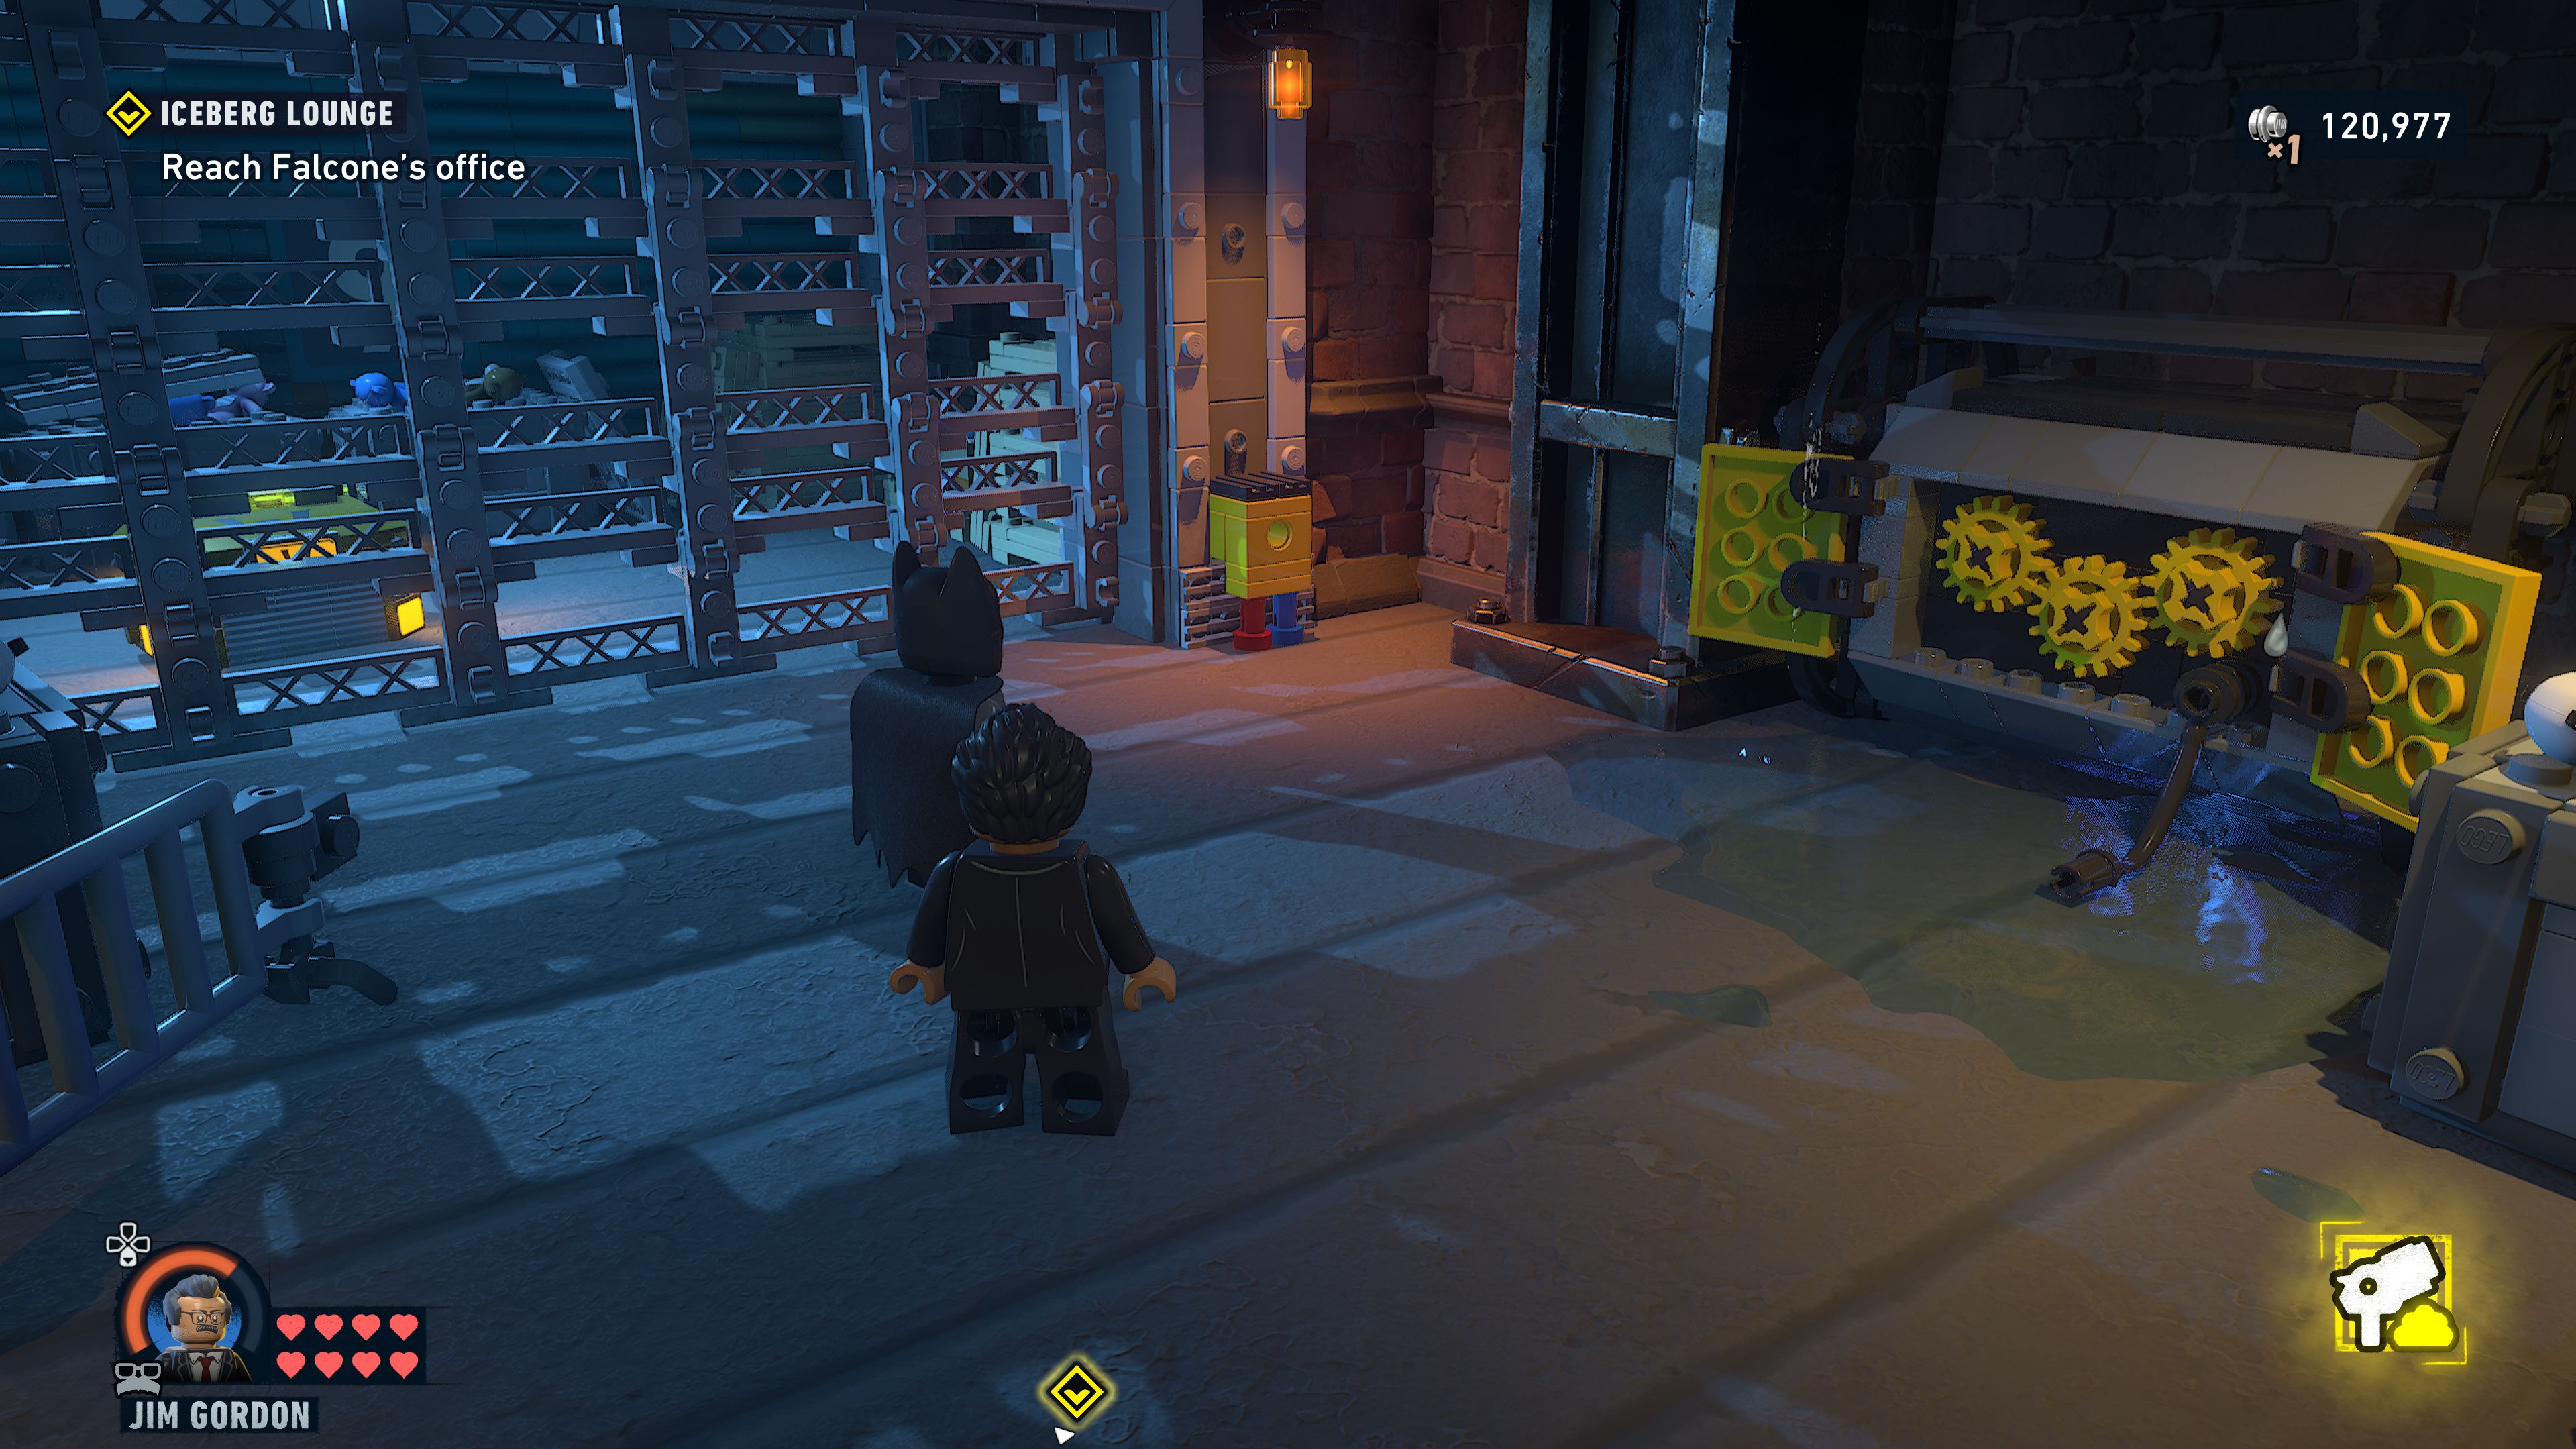
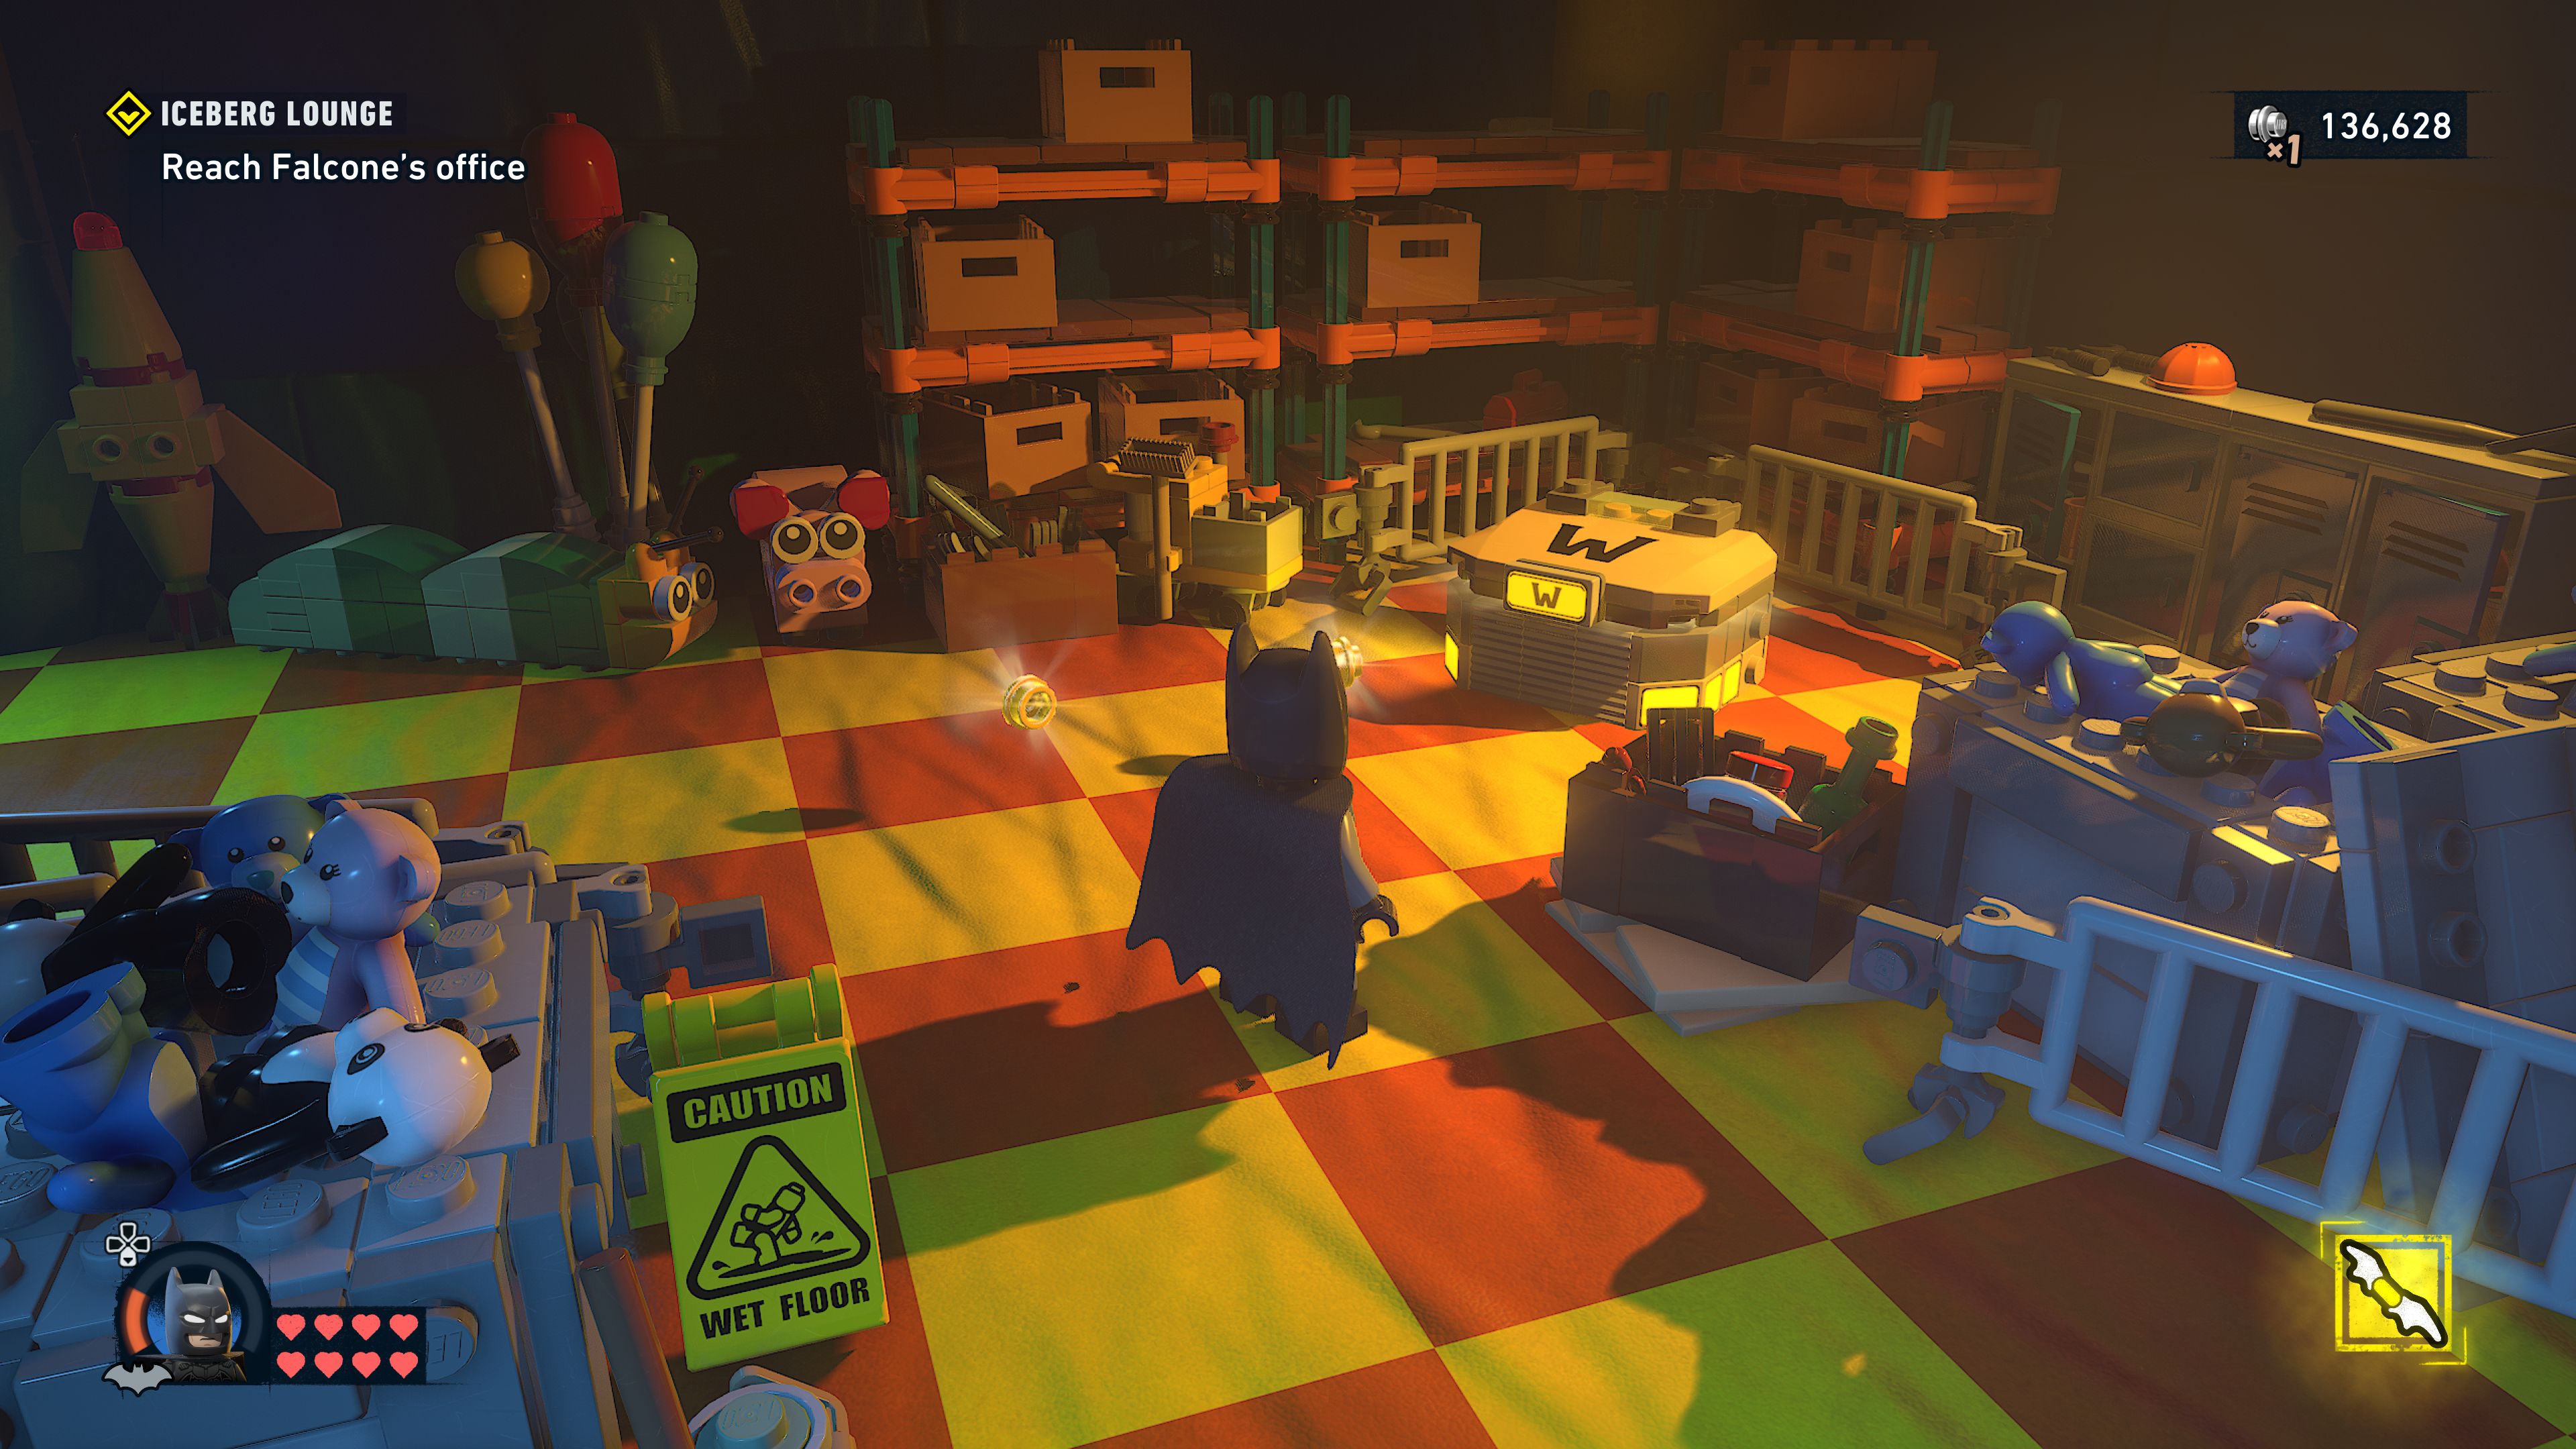
The build to leave this room requires for things. For the first two smash the crates in the middle of the room. For the third one have Gordon shoot his foam into the mouth of the large animatronic skull. The fourth one is done by hitting the rope holding up the cage with a batarang.
Before firing the catapult go over to the right side of the room and pick up a cannonball to place in the catapult.
Grapple up to the newly formed hole and then go down the slide into a ball pit.
Sneak attack the enemies in the ball pit but watch out for the patrolling shield enemy just outside of it. There's one more bad guy around the corner.
Jump up the ledges at the back to get to a sneak attack on another henchman standing in front of another small ball pit. Hop up the pillars then squeeze through some blue rollers.
Stealth kill the enemy standing here before jumping down to take out the two guys just below overlooking another ball pit.
Watch out for the one person walking back and forth in the ball pit before you jump in and start defeating the enemies in there. There's another dude up on the left that might spot you while you're doing this so keep an eye on his question mark indicator.
After defeating a few more enemies out of the pit go to the right through a tunnel and then down a ramp that you will slide down into a large ball pit.
Again you can stealth kill all of the enemies in this ball pit but there are enough of them looking in different directions that it may be tricky. Use the vantage points above to good effect. Otherwise beat them all up and clear the area.
Go through the rollers into a room with a bouncy castle in it.
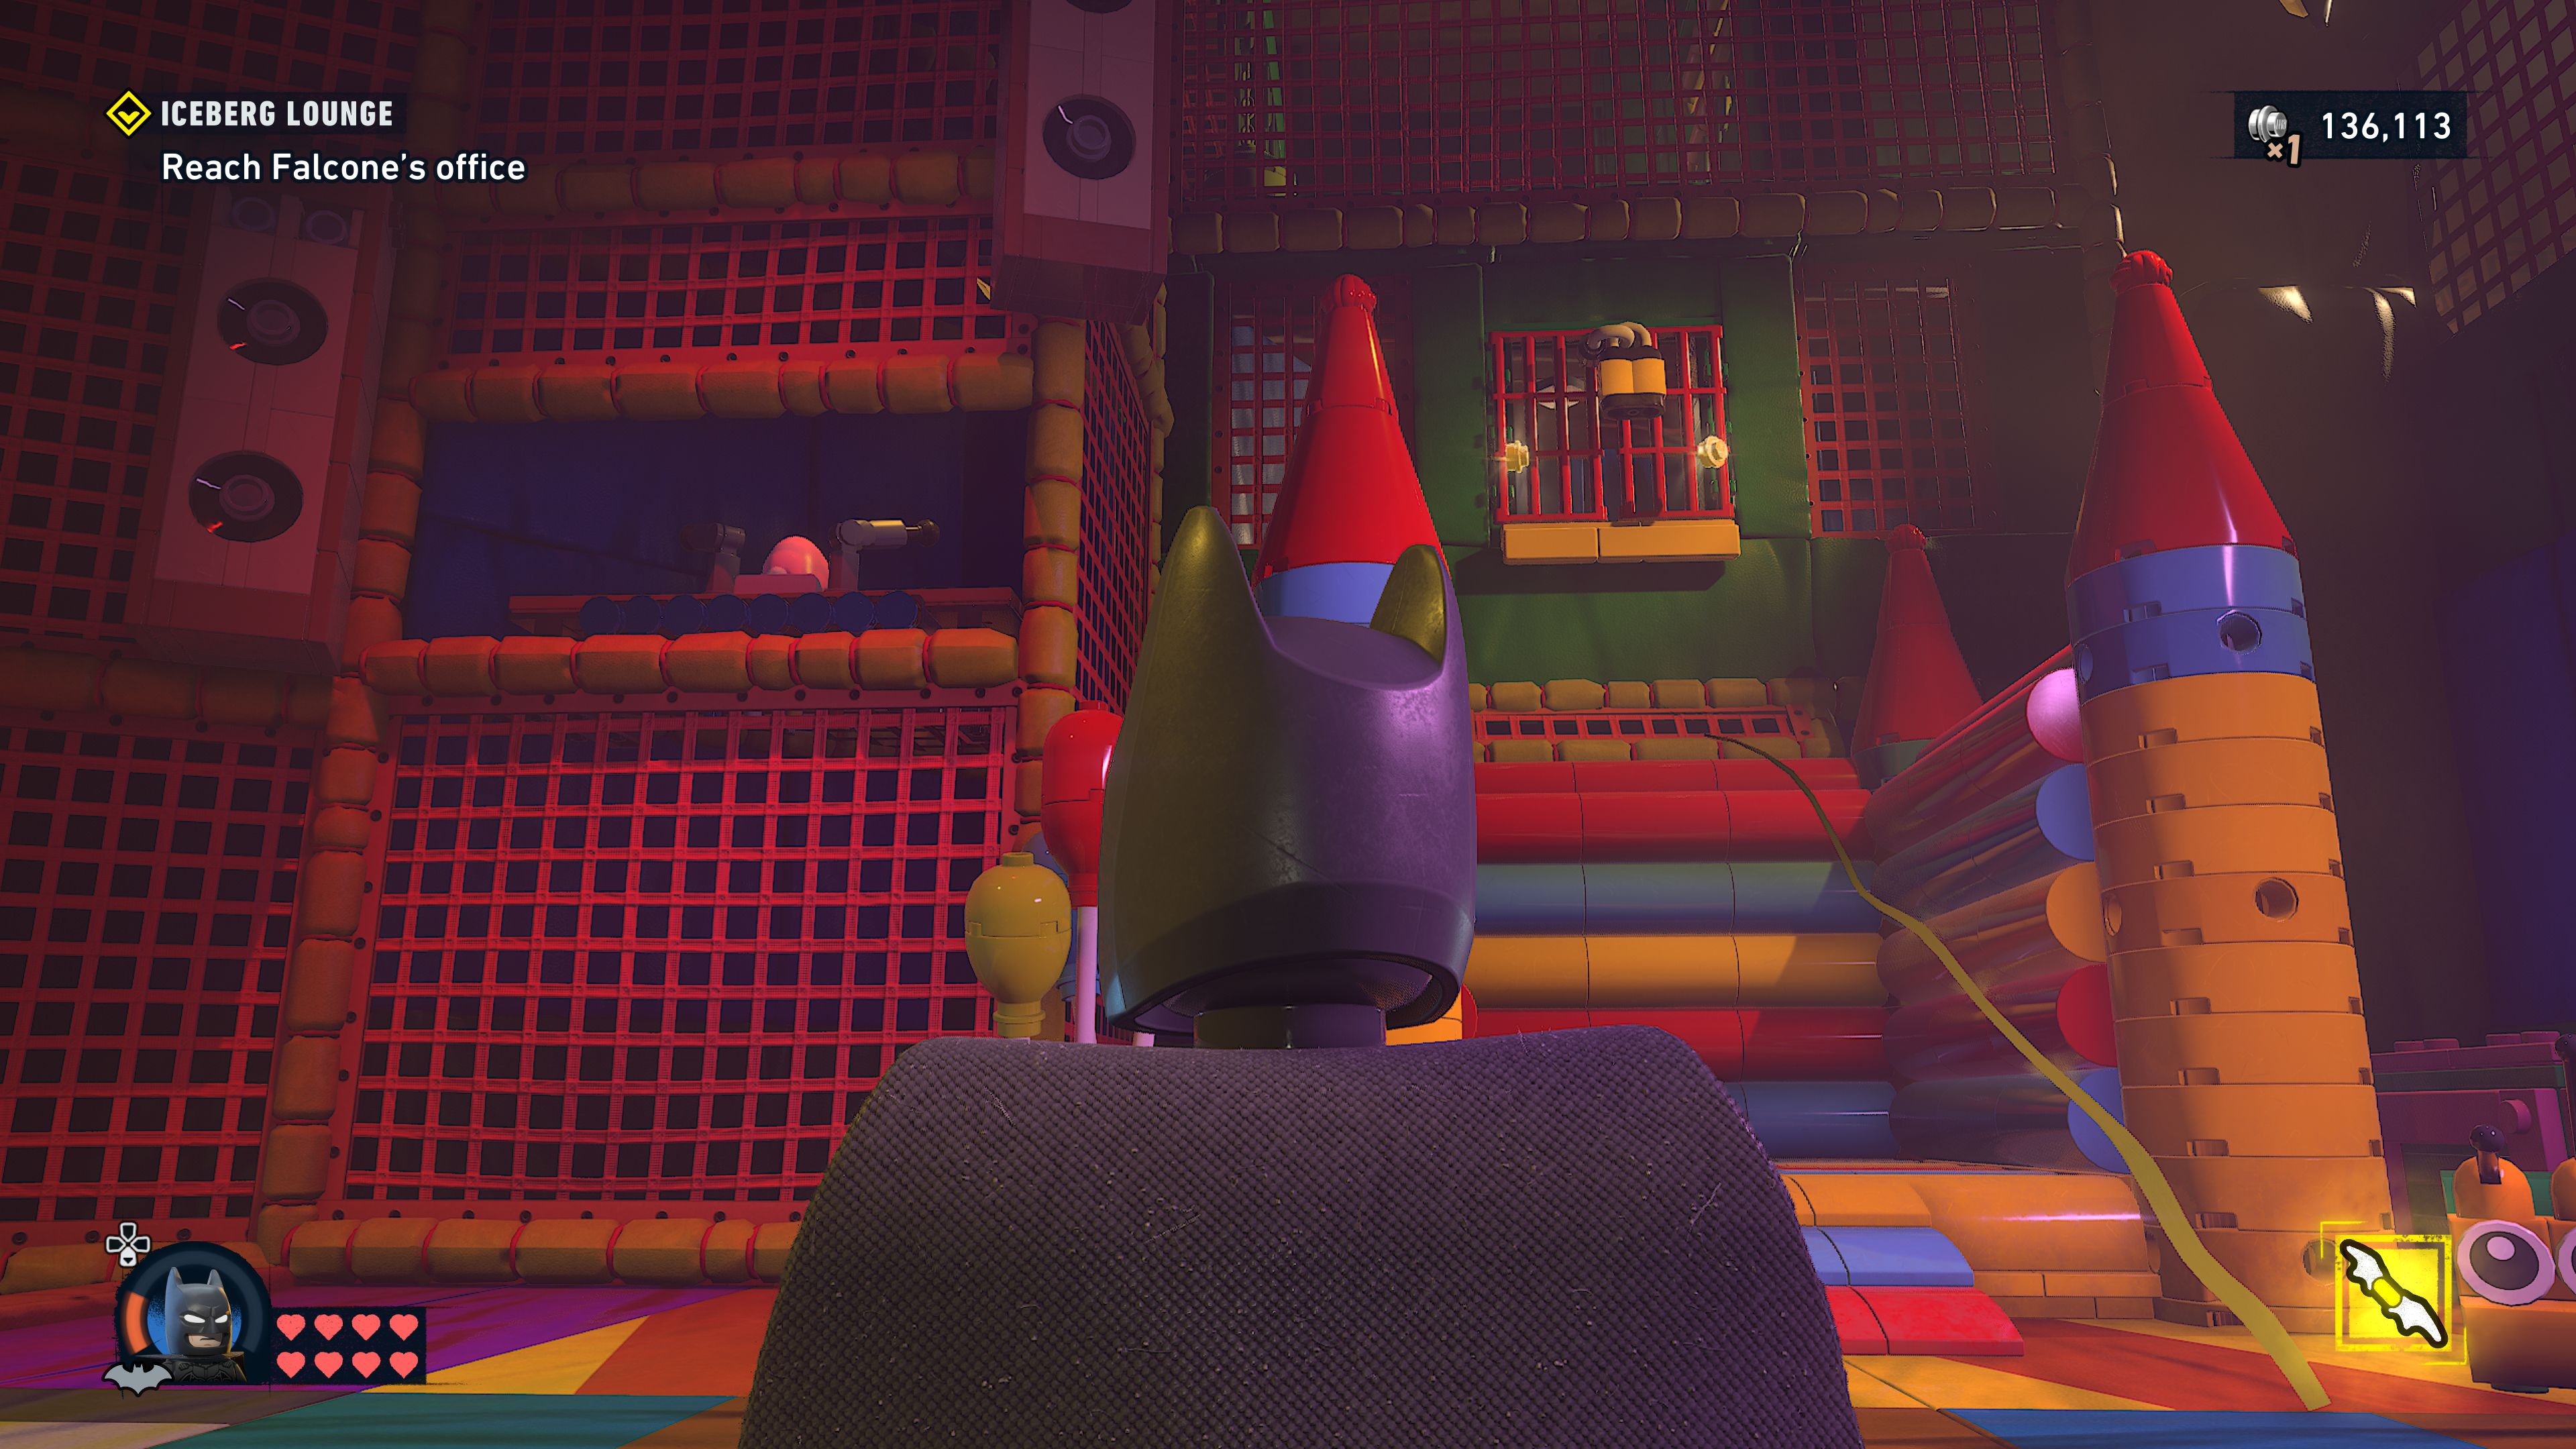
Foam up the two speakers so that you can walk past them onto a long slide.
Sneak attack the two remaining enemies.
Smash the decks, a crate next to the stage, and the drum kit on the opposite side. That will release the bricks you need to build a giant drill. Both characters will need to activate it to move on.
Time for a dance minigame. Press the buttons as the circles meet.
Defeat the enemies
A fight with a bunch of enemies next.
Once you've cleared them the door will open and you can continue chasing Falcone.
Defeat the enemies
Then there's one last big fight.
Chase Falcone
Approach the door and follow Falcone a short distance to complete the mission.
Unlocks
- +1 Skill Brick
- Batman Suit: Bronze Age
- Gordon Suit: Golden Age
- Batcave Trophy: Disco Balls
- WayneTech Caches: 5
- Red Brick: Filthy Rich
Wayne Industries
The SubWayne
Go to the tunnel
Summon yourself a vehicle and then drive over to the marker a little down the road to the southwest of you.
Unlock the shutter to the tunnel
Use your detective vision to see where each of the wires are connected to the shutter.
First up hit a target high above the shutter with a batarang.
Next grapple up onto the roof and hit another target with a batarang.
The third one is around the southern side of the building. Switch to Gordon first and then hop on some poles in the water to be able to get the shot to foam up the gears. Switch to Batman and then hit the target above the gummed up gears.
The final target has now opened up above the doorway.
Use the passage to the Batcave
Your map screen will open automatically and the game will instruct you to fast travel to the Batcave by scrolling up to it and highlighting the green fast forward icon.
Spelunking
Clear the path to the elevator
Gordon now has a new gadget: the Rebound Launcher. When you fire this it will hit its target and then bounce all over the room smashing other things too. It's quite destructive. You can switch between Gordon's Foam Sprayer and his Rebound Launcher at any time but the game will automatically switch you to the Foam Launcher if you're aiming at something that can be foamed up.
Find a way to access the elevator
Shoot the pile of crates in front of you and a bunch of items will fall out. You can pick them up and have a close look at them but the one you're specifically looking for is the grappling gun-like gadget. You'll need to be Batman to pick up the Batclaw.
Pull down the elevator ramp
This new gadget will let Batman pull on objects rather than grapple up to things. You do this here by aiming at the yellow hook on the elevator (pretty much every object you can use the Batclaw on will have this same yellow hook), shooting, and then moving backwards.
Ride the elevator upstairs
Get into the elevator and have both characters turn the wheels to get it up to the top.
Turn the power on
To the side of the elevator is an area with a bunch of crates in it, amongst those crates is a glowing neon blue battery that you can pick up and place in the nearby receptacle.
Place the bear on the scanner
Go over to the desk on the other side of the elevator and place the bear in the scanner.
Turn on the computer to begin analysis
Activate the computer.
Build a gadget bench
Smash the three crates that just got dropped in by the hooks and build the gadget workbench.
Open the nearby container
The game will now give you a WayneTech Cache to open and tell you what the WayneTech Chips are used for and forces you to purchase a specific Batarang upgrade.
Purchase an upgrade
Go over to the workbench and use it to enter the upgrade menu. Whether you collected all the chips in the previous level or not you will have enough to buy the "Batarang Combo" upgrade the game wants you to buy.
While you're here take a look at all the other available upgrades to see whether there's anything else you can afford that you want to upgrade immediately.
Check the progress of the bear
Return to the desk to check on the bear.
Return to the Batmobile
Ride the batpole down and run over to the Batmobile where it's parked below. Unfortunately in this game it is simply a way to access the map screen as you can't manually drive out of the Batcave and have to use Fast Travel to get in and out. Scroll down the map to Tricorner and use the SubWayne tunnel that you unlocked earlier to Fast Travel there.
A Family Friend
Tricorner, Gotham
This city deserves a hero.
Go to Wayne Tower
The second island has now been unlocked. From the SubWayne on Tricorner the bridge is found by driving on the road going northeast.
In fact this road leads all the way to Wayne Tower with nothing more than a little bend in the path. Go up to the door to head inside.
WayneTech R&D
Plug power cells into the generator
There are three power cells strewn around the room. The first one is just on the floor to the left of where you plug them in.
The second one is up on top of the crates on the right side of the room. Smash the junk around a moveable platform and shove it towards the crates so you can use it to jump up and grab the power cell.
The third one is in the area behind the generator. Smash a couple of crates in here next to the prototype vehicle to build yourself a vehicle based Batclaw. Press the button on the back of the vehicle to pull the power cell off the shelf.
Restore power to the chemical analysis machine
Plug all three in and then drag the cable over to the plug at the back of the machine in the middle of the room.
Analyse the bear
Go around the front to start your analysis as Bruce Wayne.
The game isn't too clear on exactly what you're supposed to do here but the idea is to rotate the molecule until one of the greyed out unidentified circles is directly in the middle of your view (it can be a bit tricky to wiggle it exactly into position, just keep trying). It will then zoom in and you can select one of the three elements at the bottom that best matches the grey version you're looking at. Get it right and it will light up and then ask you to identify another element.
This first analysis only requires you to identify two elements.
Leave WayneTech
Go out the door.
Glider Calibration
Open the glider
The glider ability has now been unlocked and it's time to learn how to use it. To start gliding you jump while in the air already.
Set up the glider's speed
First the game will teach you how to adjust your speed a little. Hold back to slow down, push forwards to speed up.
Set up the glider's movement
Move left and right to aim for the circles of studs to follow the path as intended.
Set up the glider's boost
Click in the movement stick to boost the glider and move extra fast.
Slow the glider down
As you reach the roof ahead cancel out of the glide to drop down immediately.
Find a way to go higher
Use the Batclaw on the hook ahead of you and then smash the two fans on either side. This will give you the bricks needed to build a large, powerful fan that's pointed directly up.
Use the updraft to glide higher
Jump into the air coming off the fan and then jump again to deploy your glider and get sent high up into the air. Use your grapple on the crane and as you get closer press the jump button again to continue past the crane rather than simply climbing onto it. This will shoot you off into the air beyond and is a very important part of moving around the city when using your glider.
Find the citizen
A police call will come in asking for help at the Cameron Kane Monorail station. Luckily that's just ahead of you a little to the left. Later on you will unlock the ability to perform a stealth attack directly from a glide but for the moment you'll either have to just land and start fighting or land on top of the station and perform a stealth attack from up there.
Defeat the attackers
Clear out the bad guys on the station and more will run in from off the train. Keep beating them up until they're all defeated.
The Red Hood Gang
Criminal Chemistry
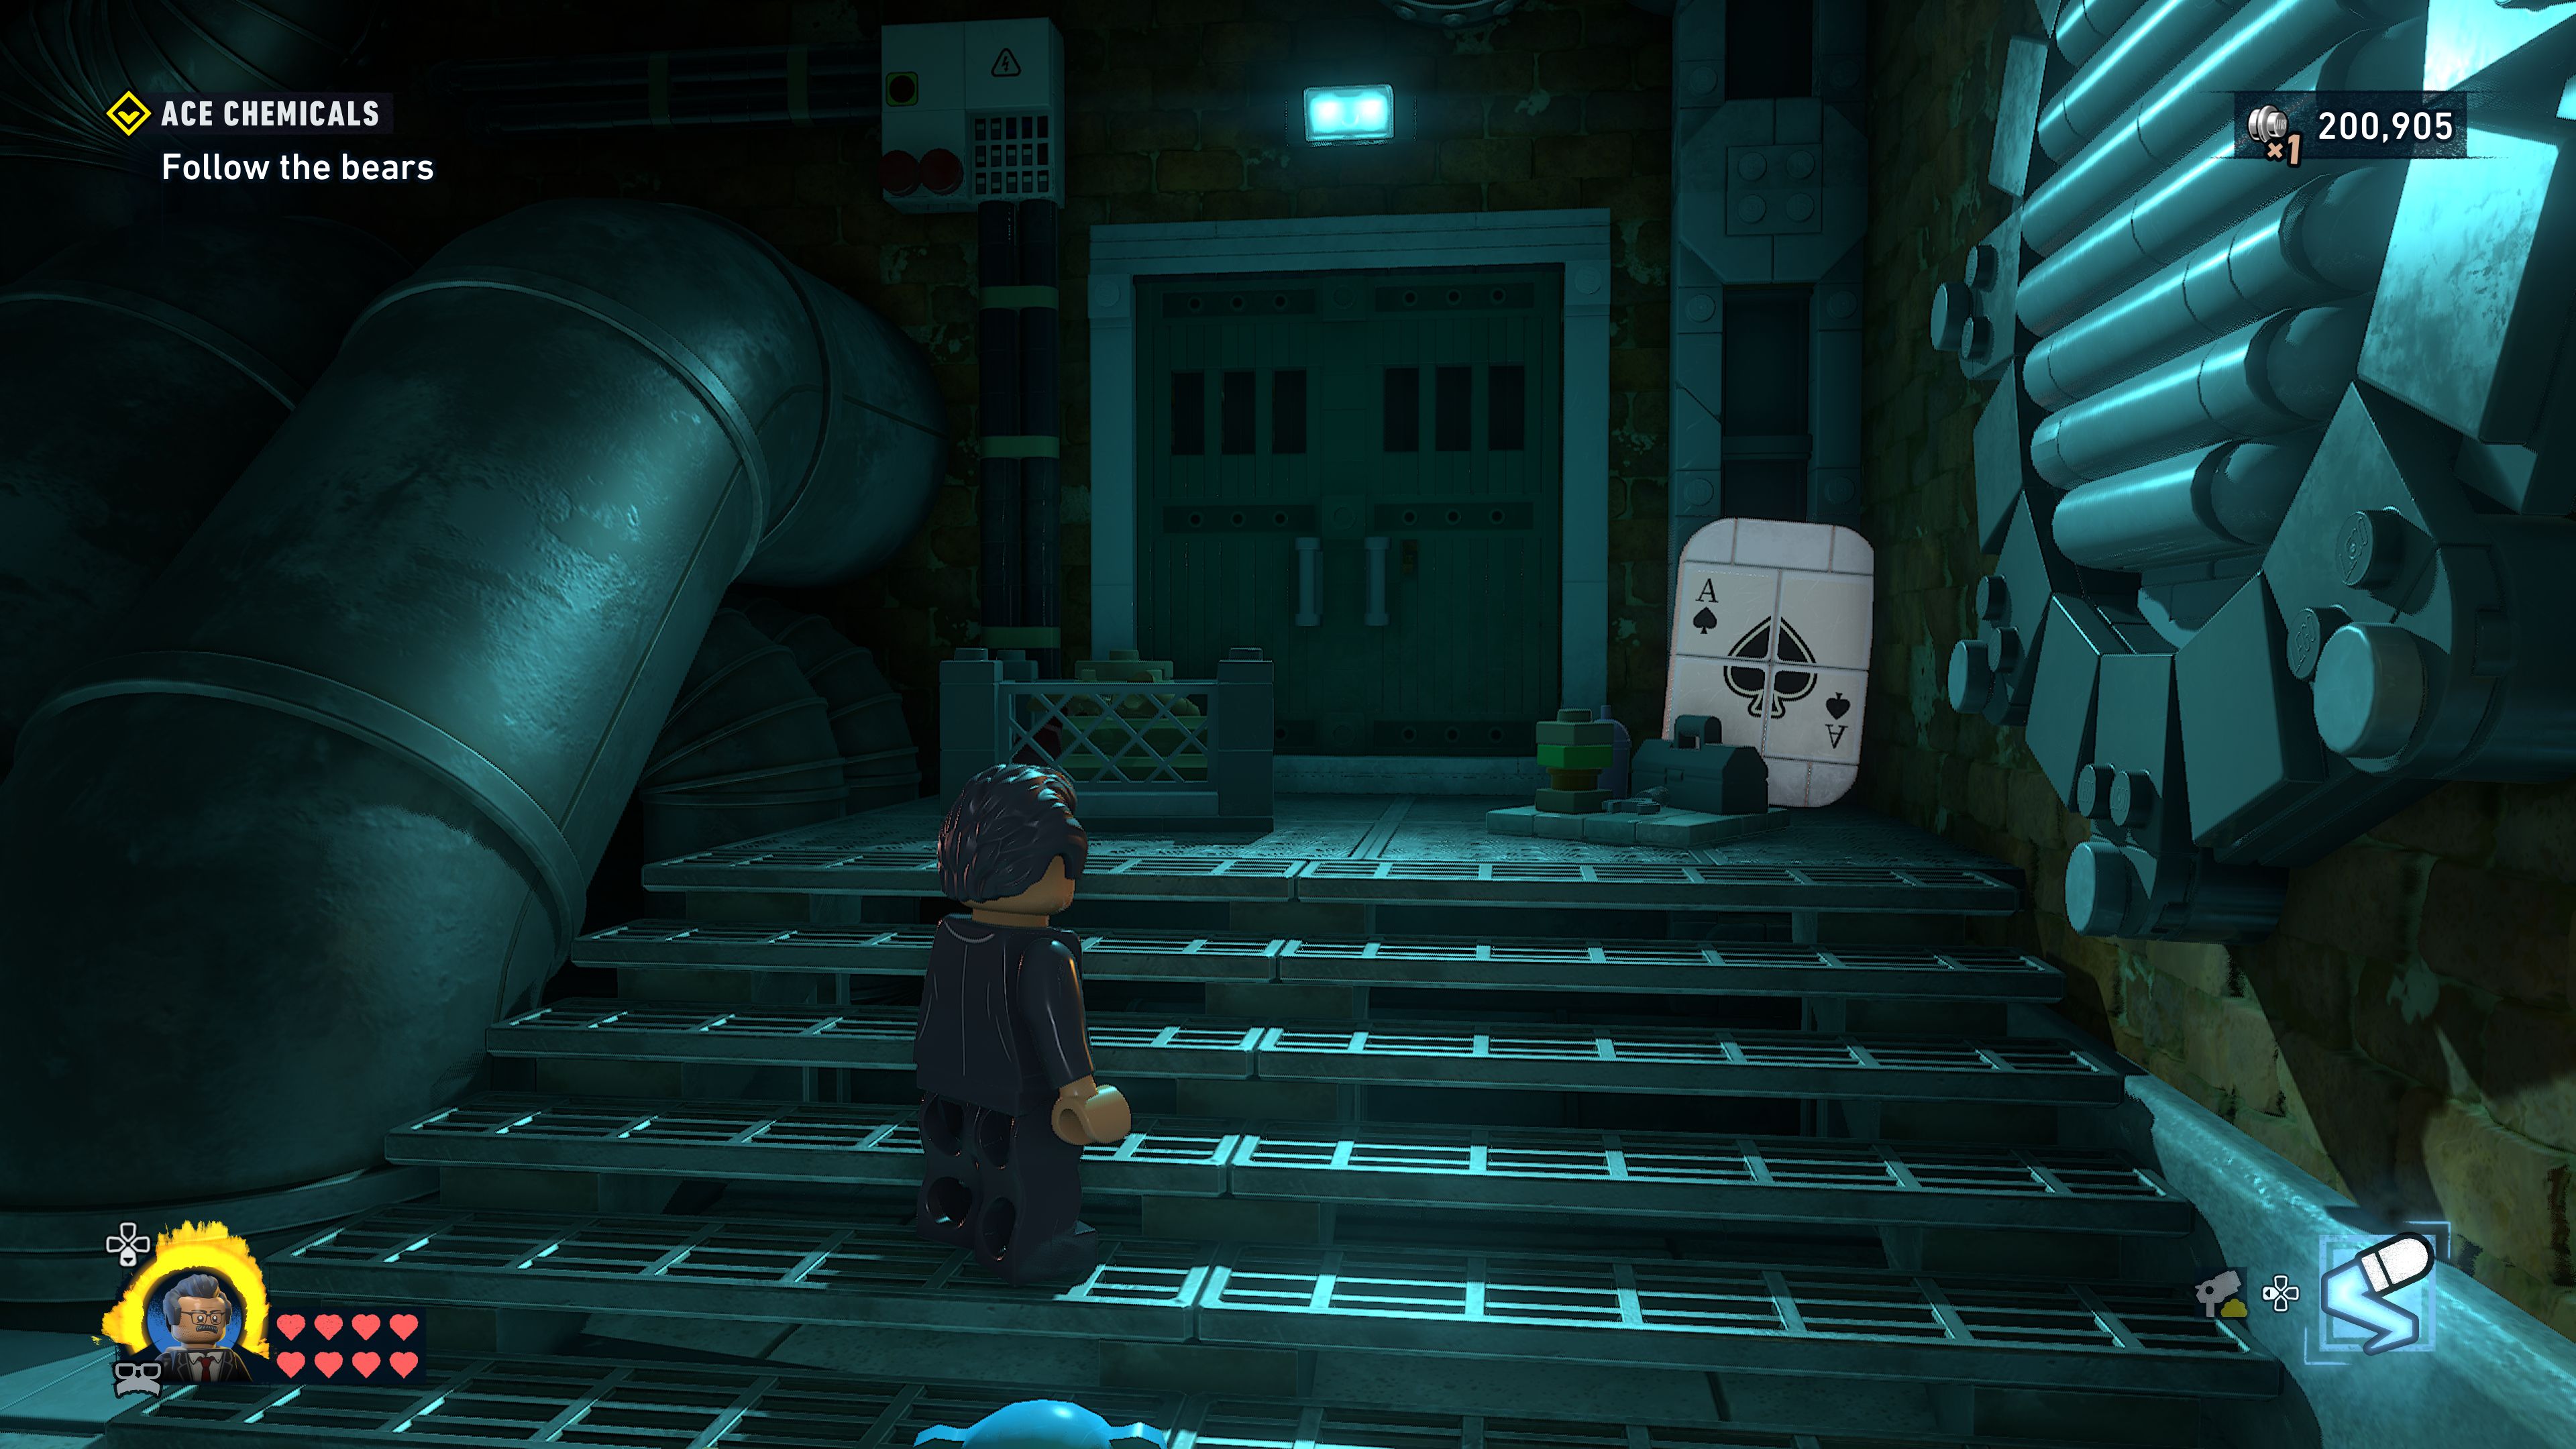
Go to ACE Chemicals
ACE Chemicals can be found in the northwestern corner of the island, in "The Cauldron North" area. Make your way over there however you like.
Investigate the chopper
Get to the helipad and interact with the chopper to continue the mission.
Caught Red Hooded
ACE Chemicals
All it takes is one bad day...
Analyse the bears
For this mission it is 100% your choice of whether to run in and fight everybody or to sneak around carefully taking out the bad guys. Although this is set in the main open world map the game will stop you from leaving the area if you stray too far away from the mission.
The first bear is found to the west in a container on the ground just past a container that's hanging from a hook. Once you've made the area safe use the Batclaw to open the ground container and go inside it to find a pile of bears. Analyse the bear in the same way you did before at Wayne Tower by rotating each element directly into the middle of the view. You've got a few more options to choose from this time so look carefully at the bricks that make up each element.
The second bear can be found in a large circular chemical building to the southeast of where you started the mission. Drop in and have Gordon foam up the leaking pipe so you can analyse the pile of bears.
The final bear is to the north (east of the starting point) in a trainyard. Sneak into the building and after clearing the area as required use your Batclaw to open the back of the train to find the bear.
Get to the entrance
Head northwest to the main ACE Chemicals building. There are more guards here to take out or avoid as you make your way to the section on the western side of the front covered by chainlink fencing.
Enter the factory
Jump over the crates to get to the vent that will allow you inside the building and start the mission proper.
ACE Chemicals
Defeat the guard
You're instructed to perform a stealth attack on this large enemy to show you that it won't actually instantly defeat a large enemy.
After the hit dodge out of the way of his brute charge and he'll smash into the wall behind you, stunning himself for a moment. This is an opportunity to perform a flurry attack and do a large amount of damage.
He will wake back up and perform a ground pound attack so move out of the way when you see a circle appear on the ground around him.
Keep fighting him with all your usual methods like throwing batarangs to stun. Focus attacks work on him still they just take out a large portion of his health rather than instantly defeat him.
Activate the elevator
Pick up the key he drops when you finally defeat him and use it on the elevator control panel in the middle of the room.
Cross the large gap
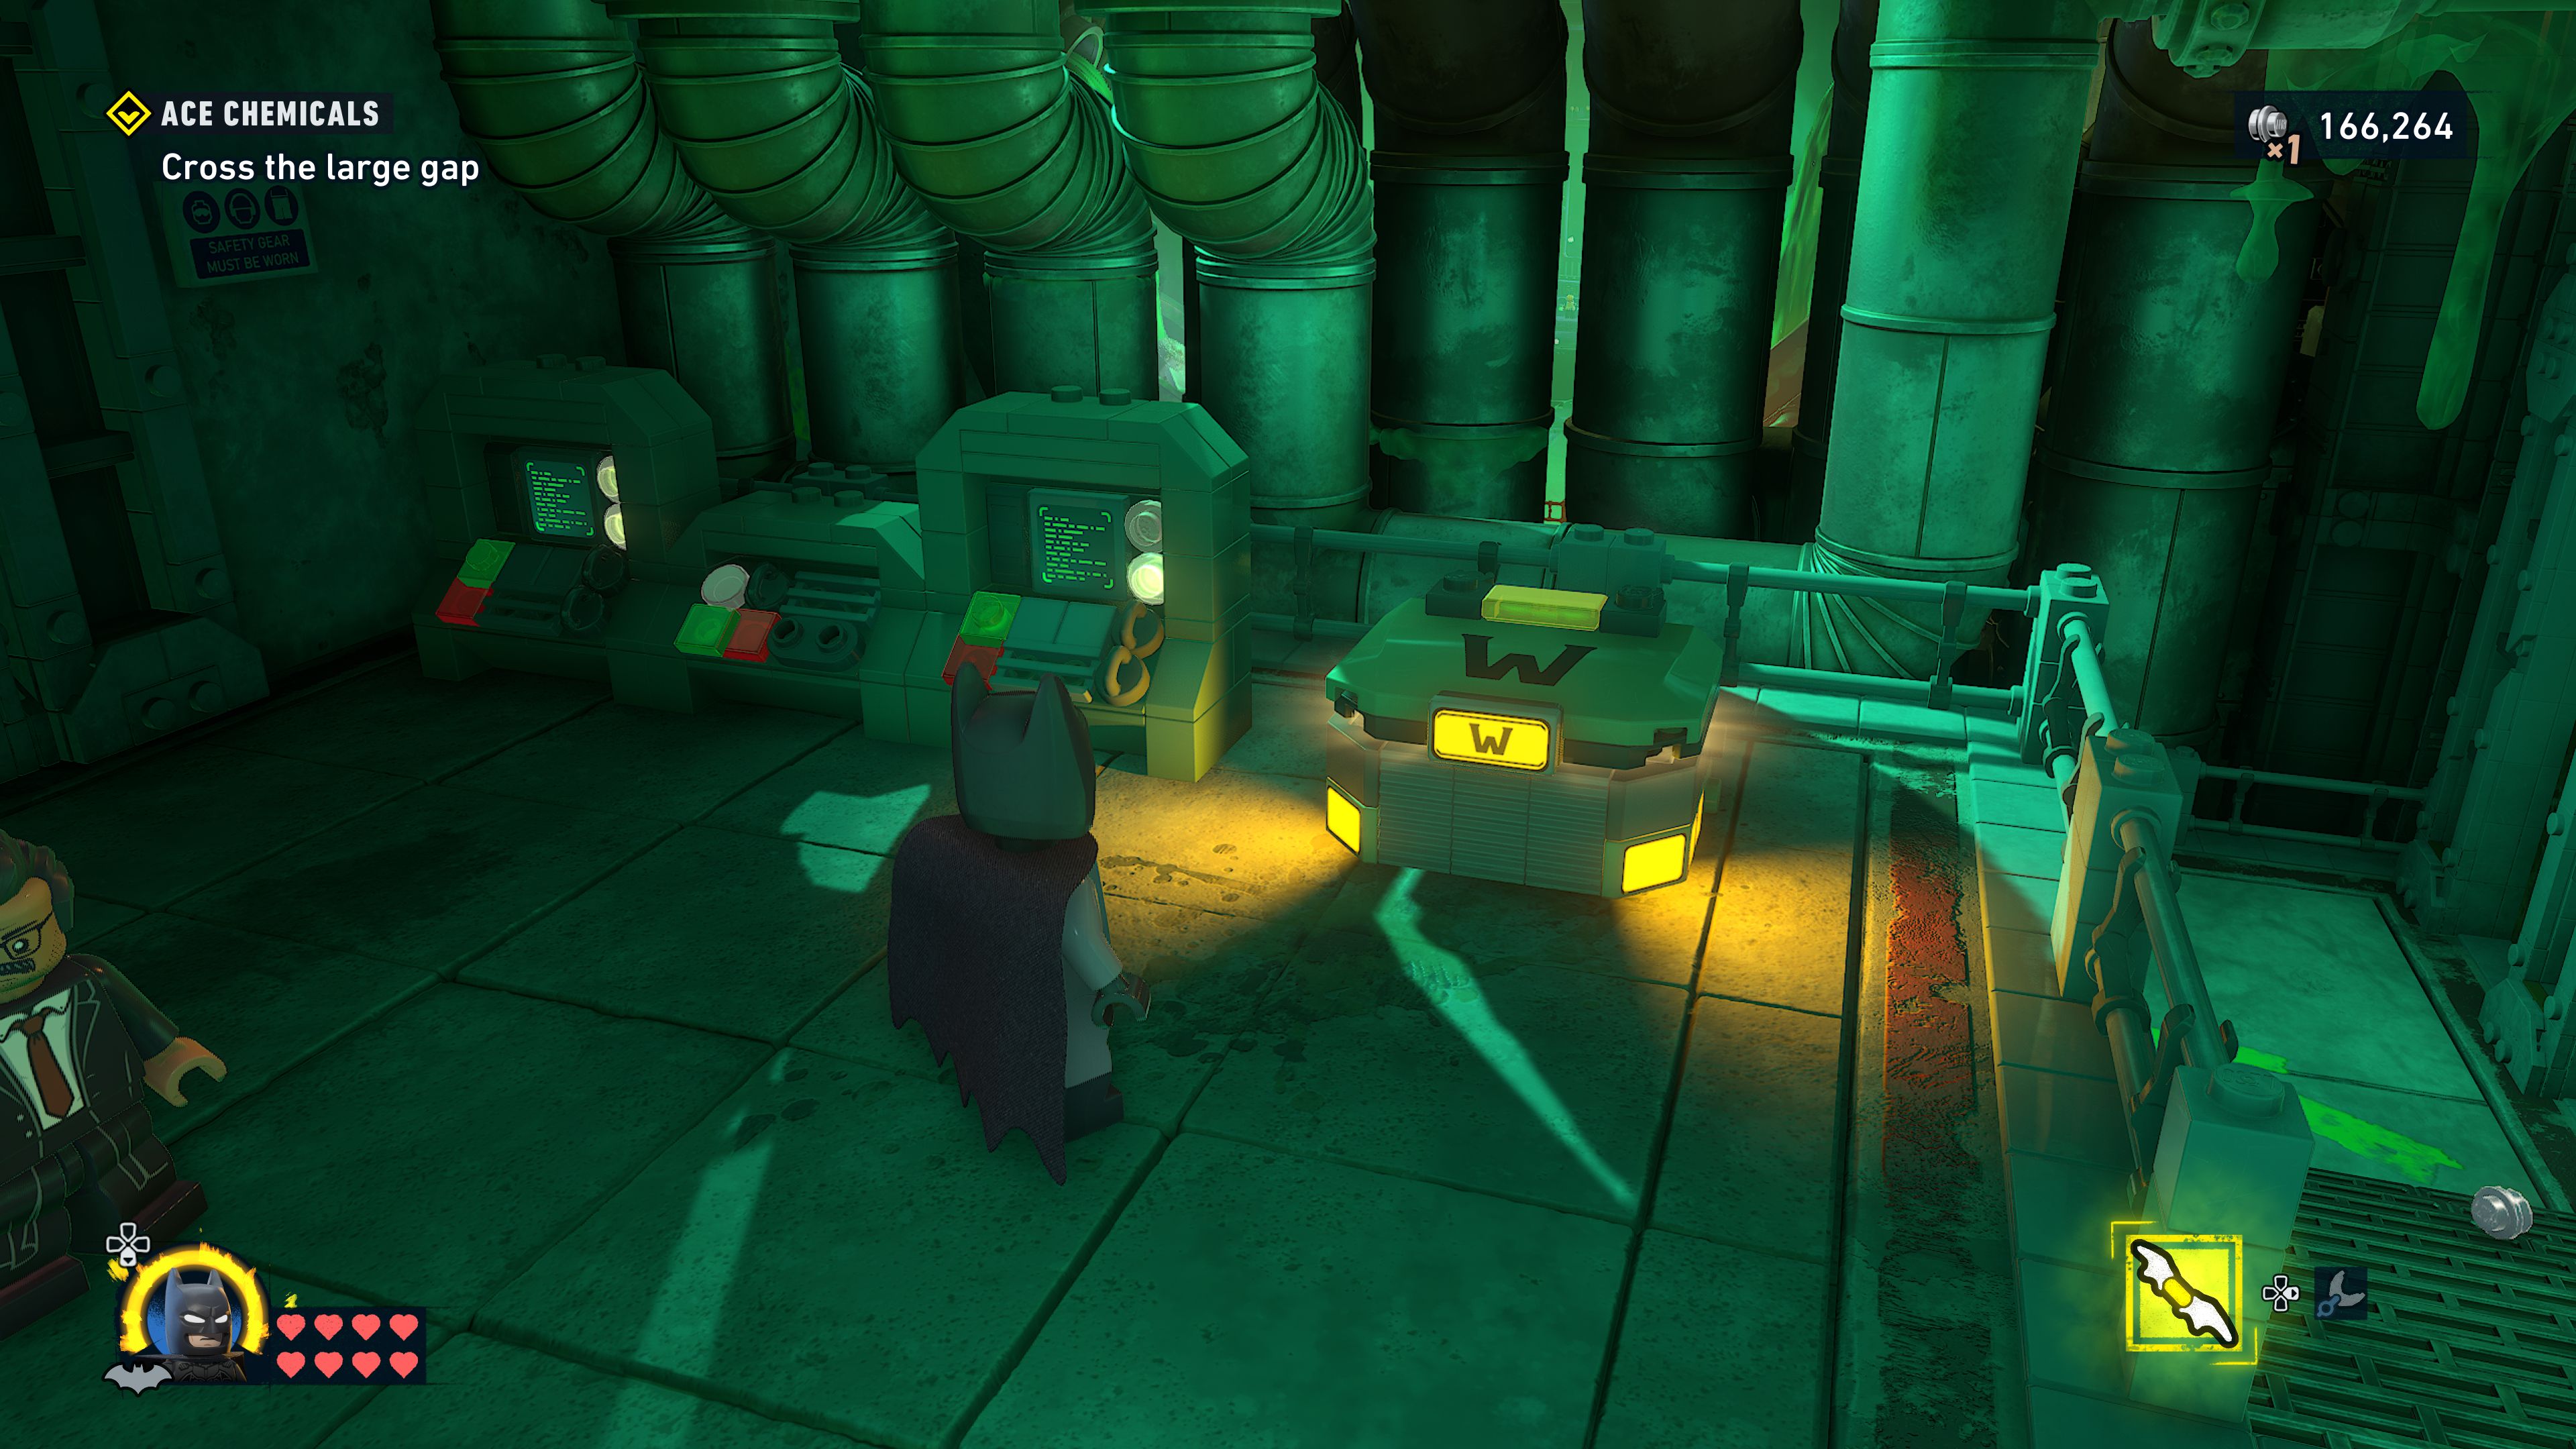
To the right of the elevator is a fan covered with a yellow hook that Batman's Batclaw can pull on and a pipe spewing pink gas that Gordon's Foam Sprayer can plug up.
Build a fan from the bricks and jump into it to get propelled upwards (if you face the right you can get a nice purple stud worth 10,000) and glide forwards across the green acid gap.
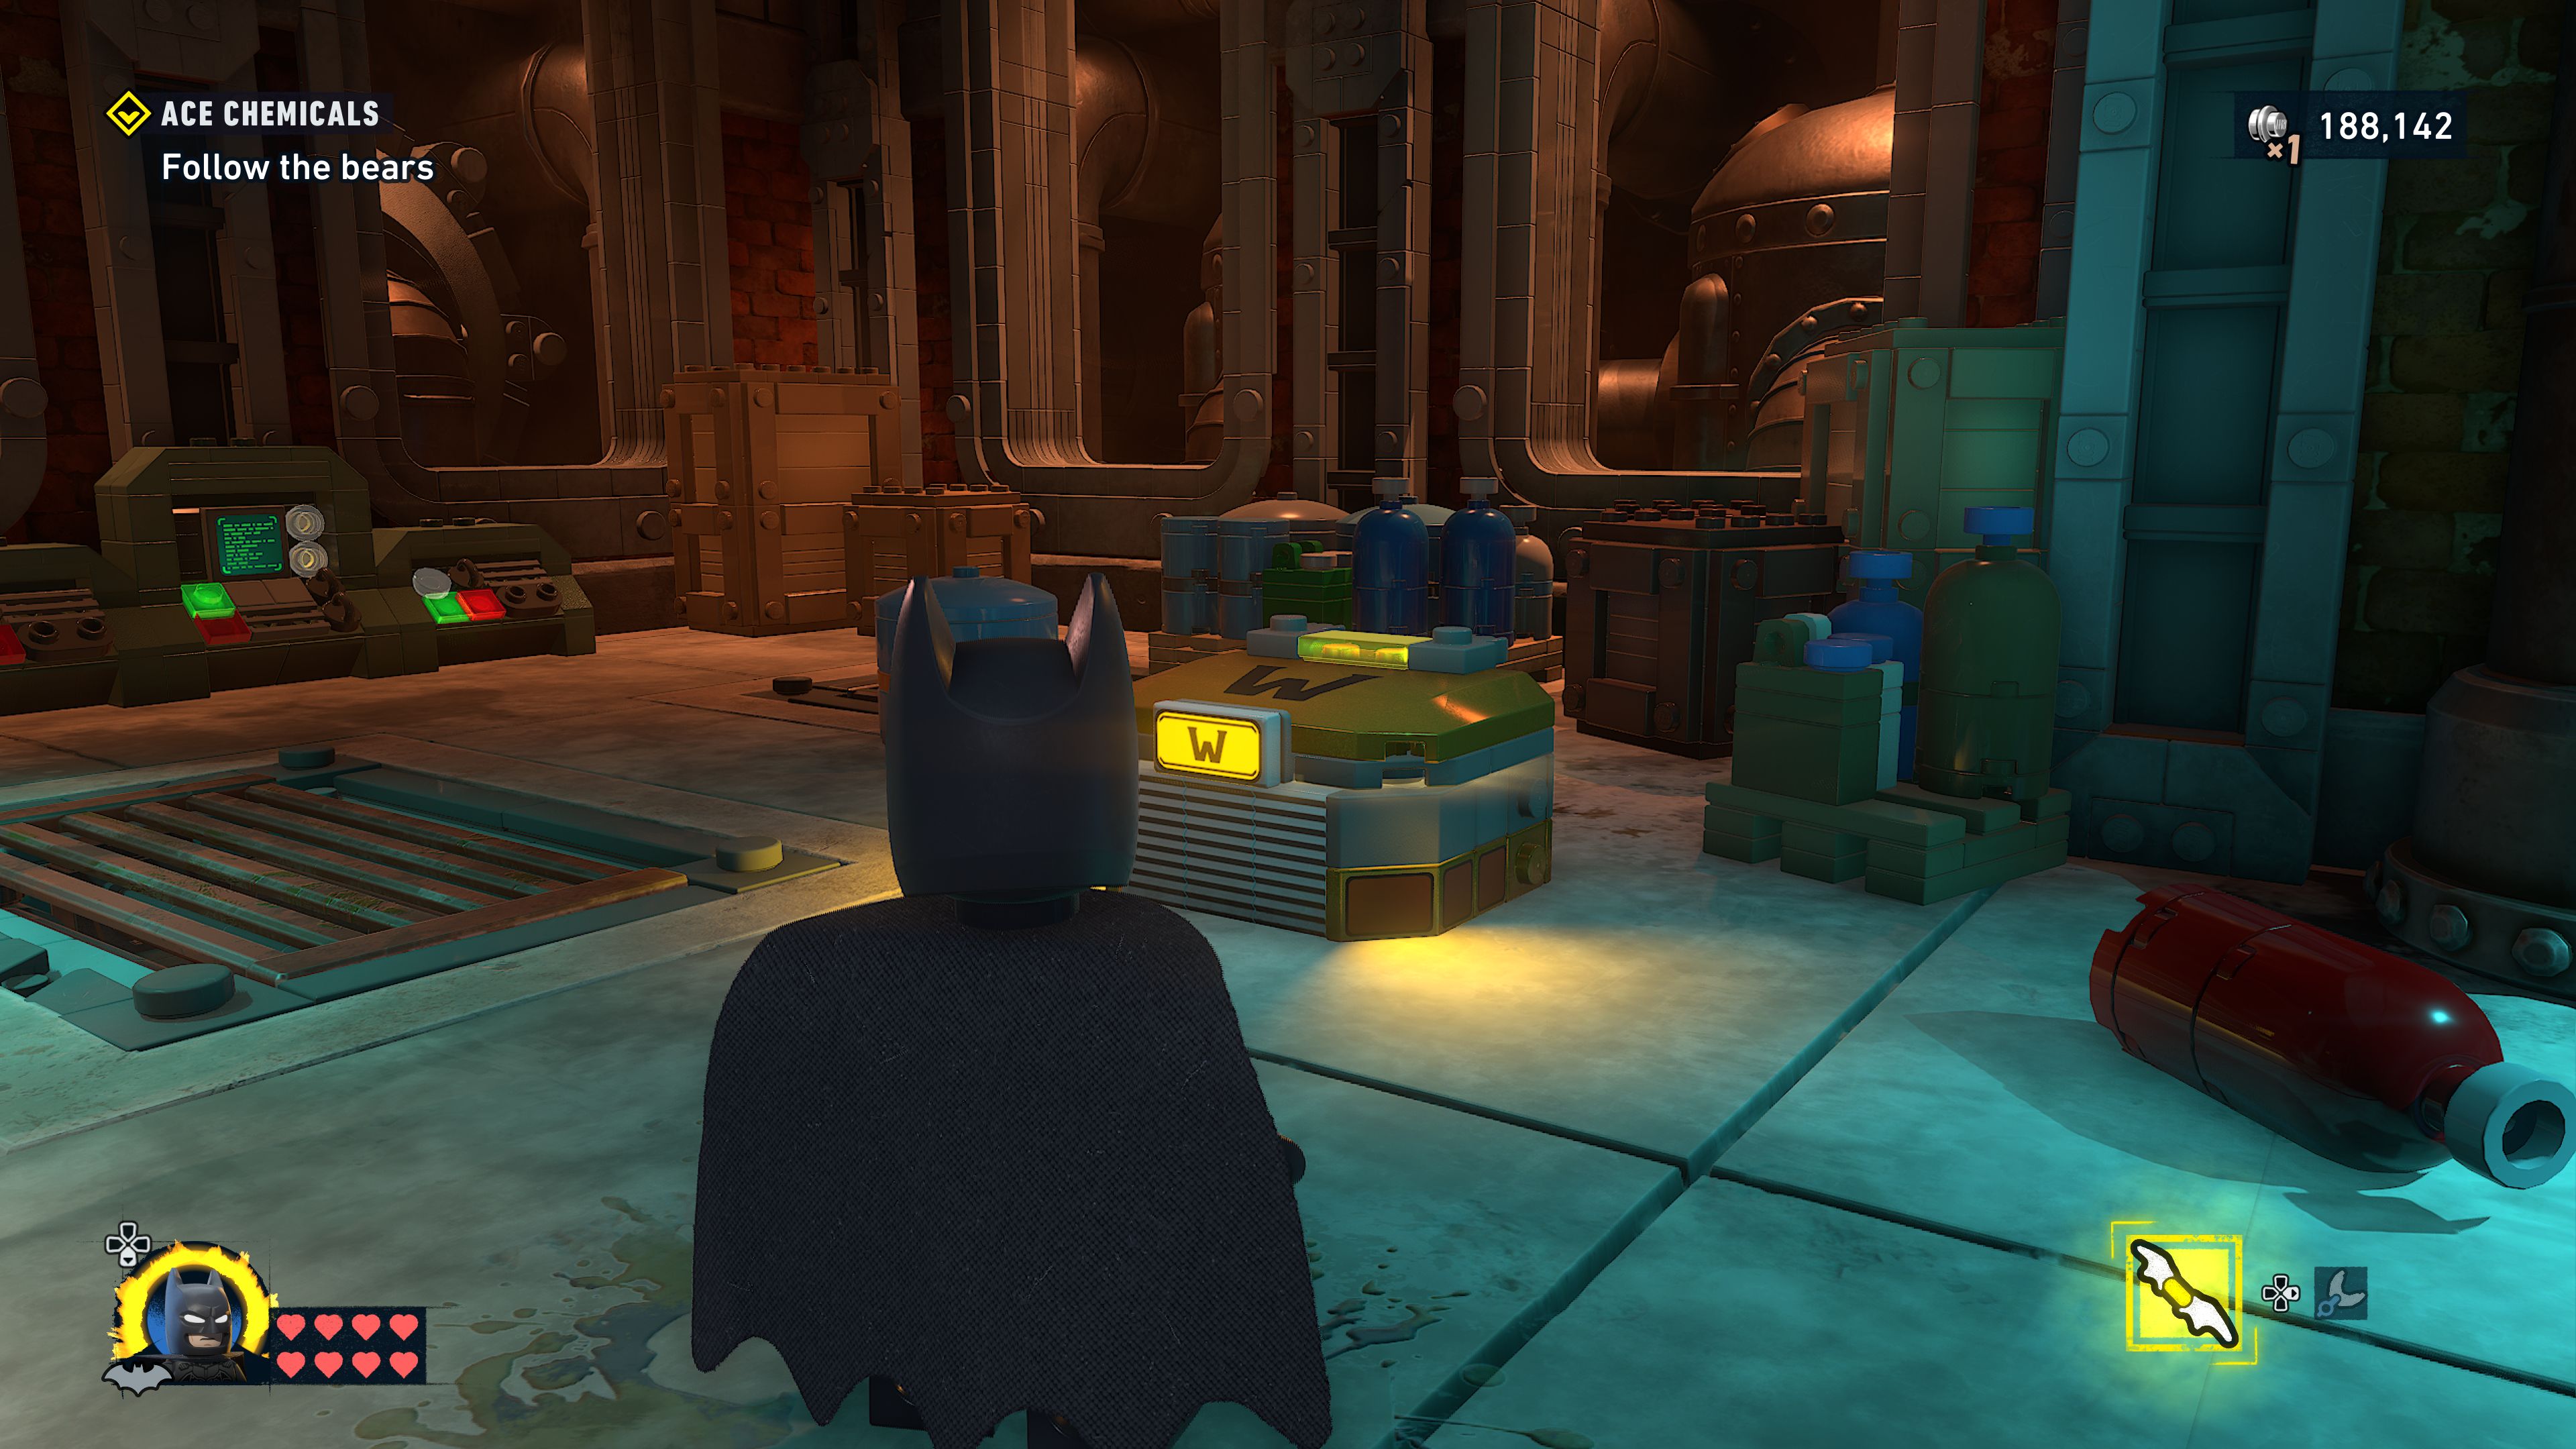
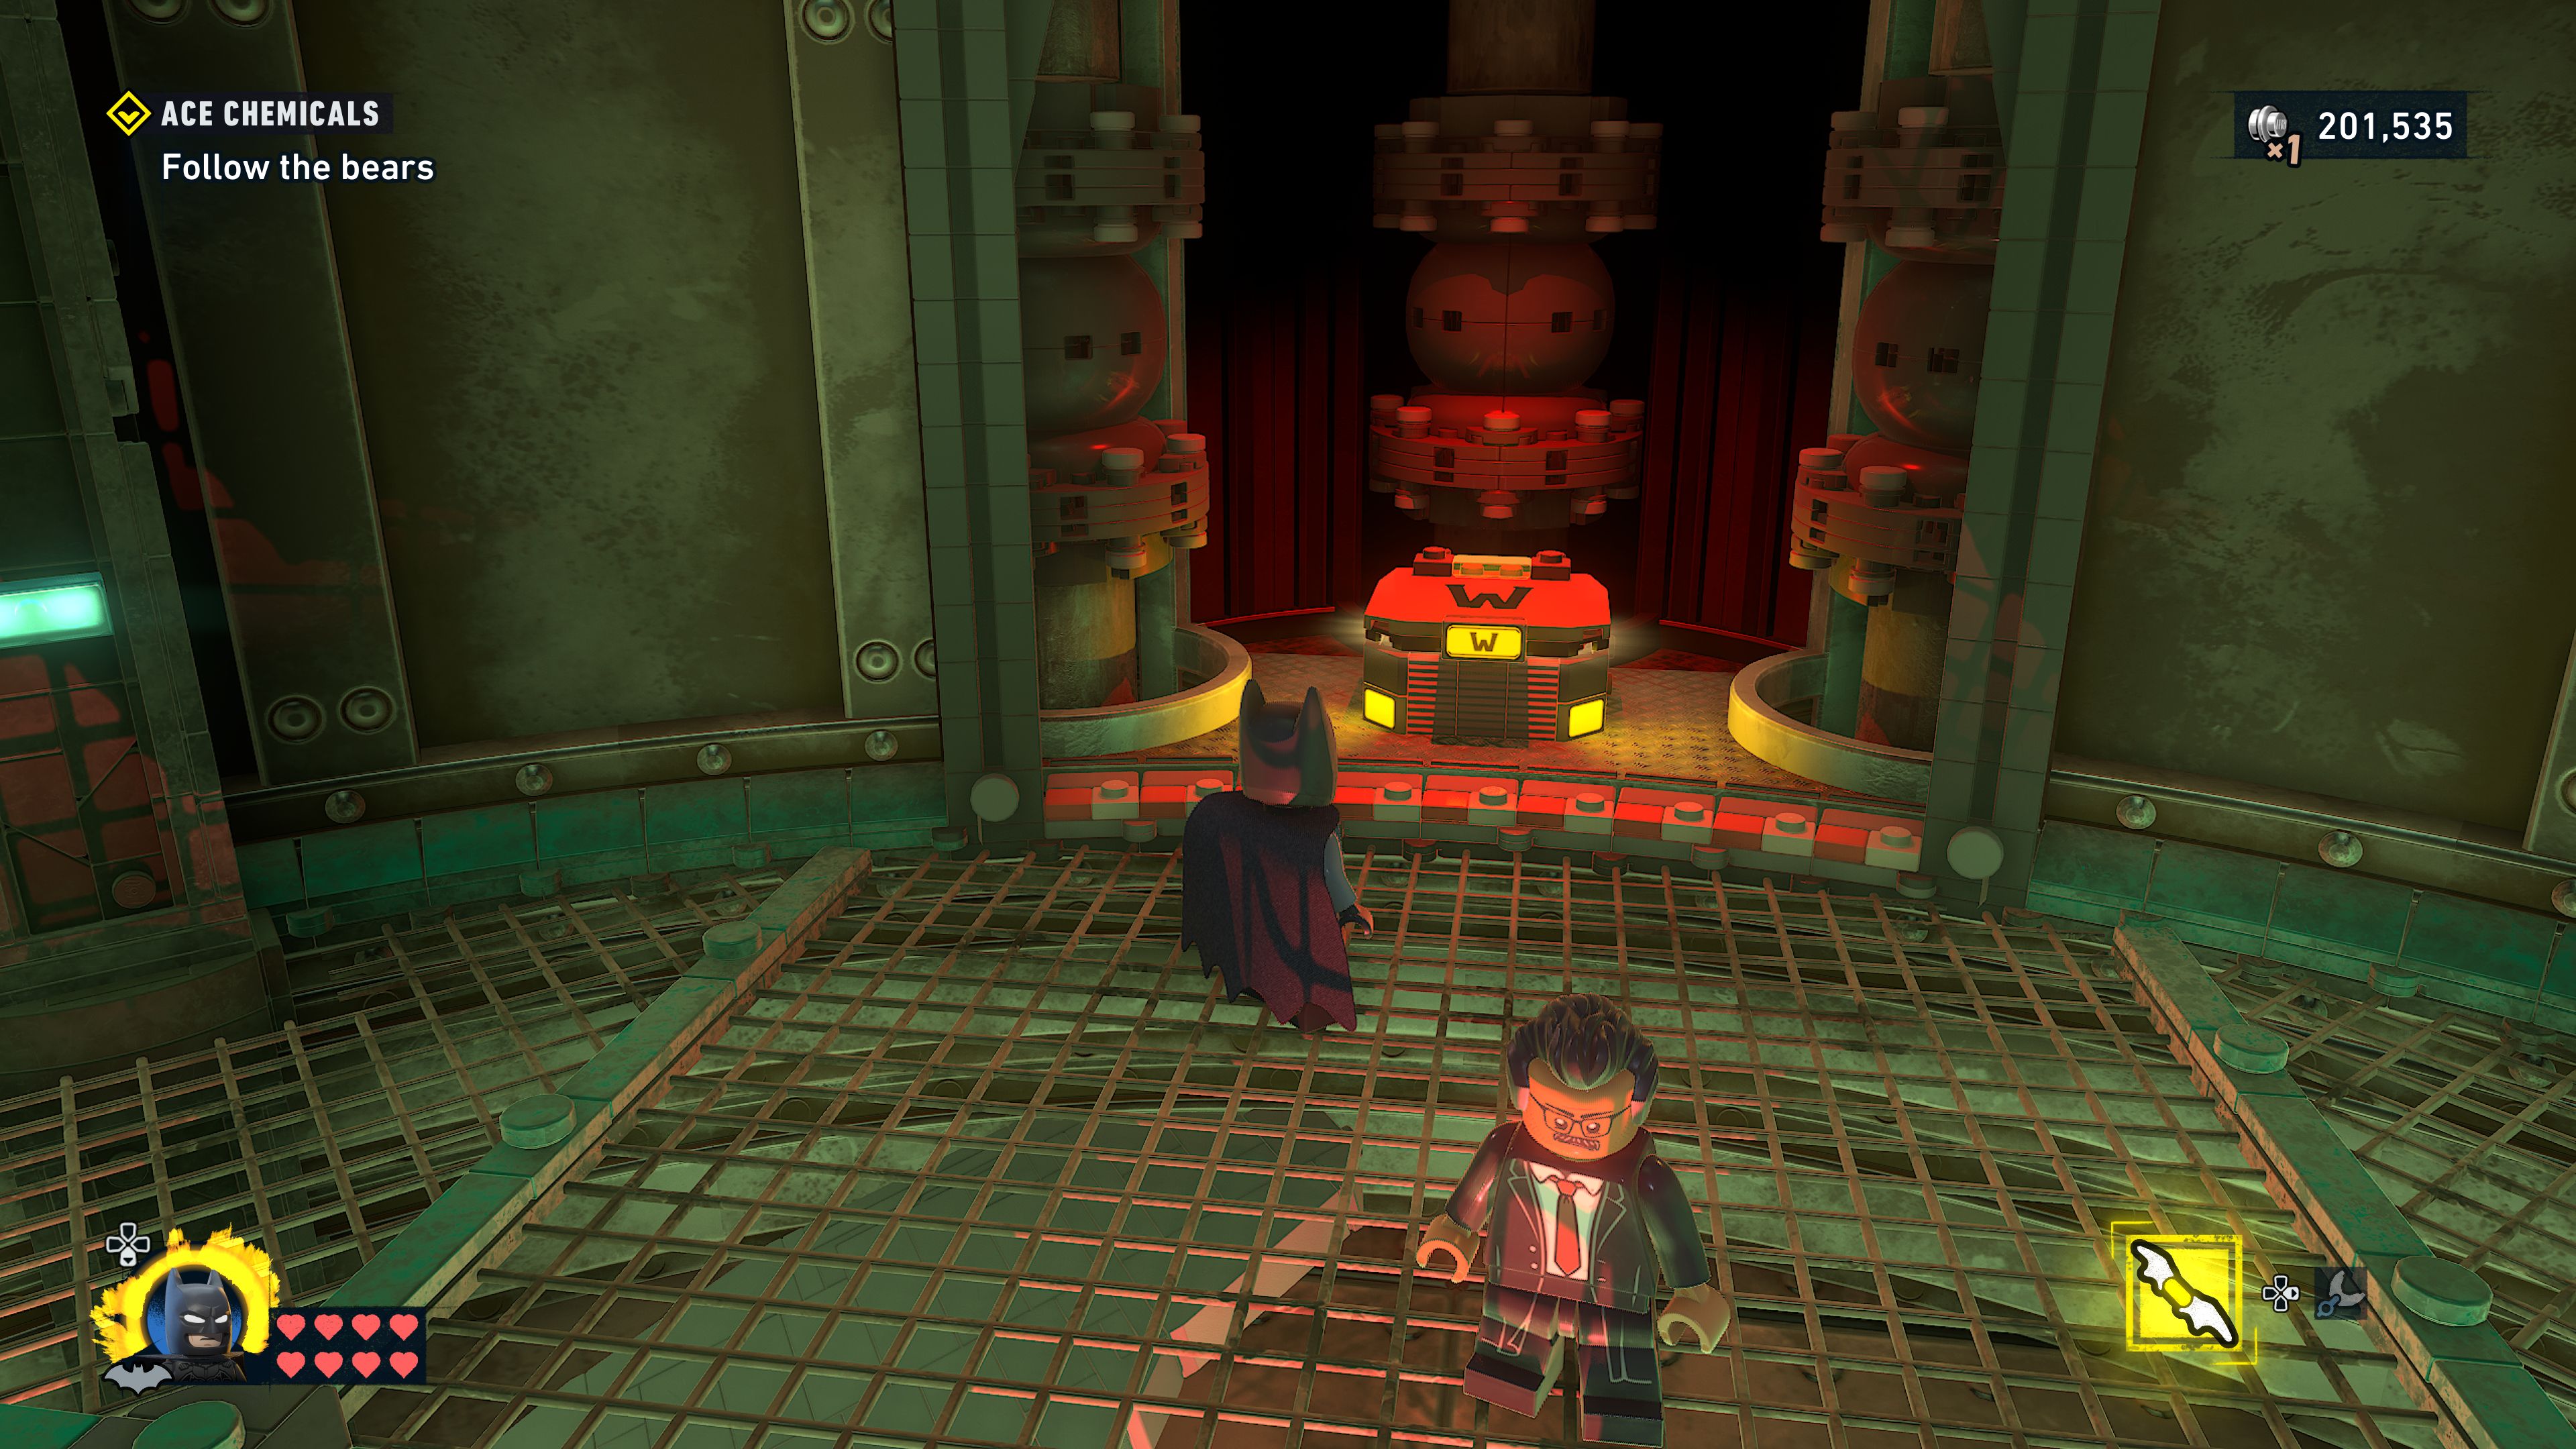
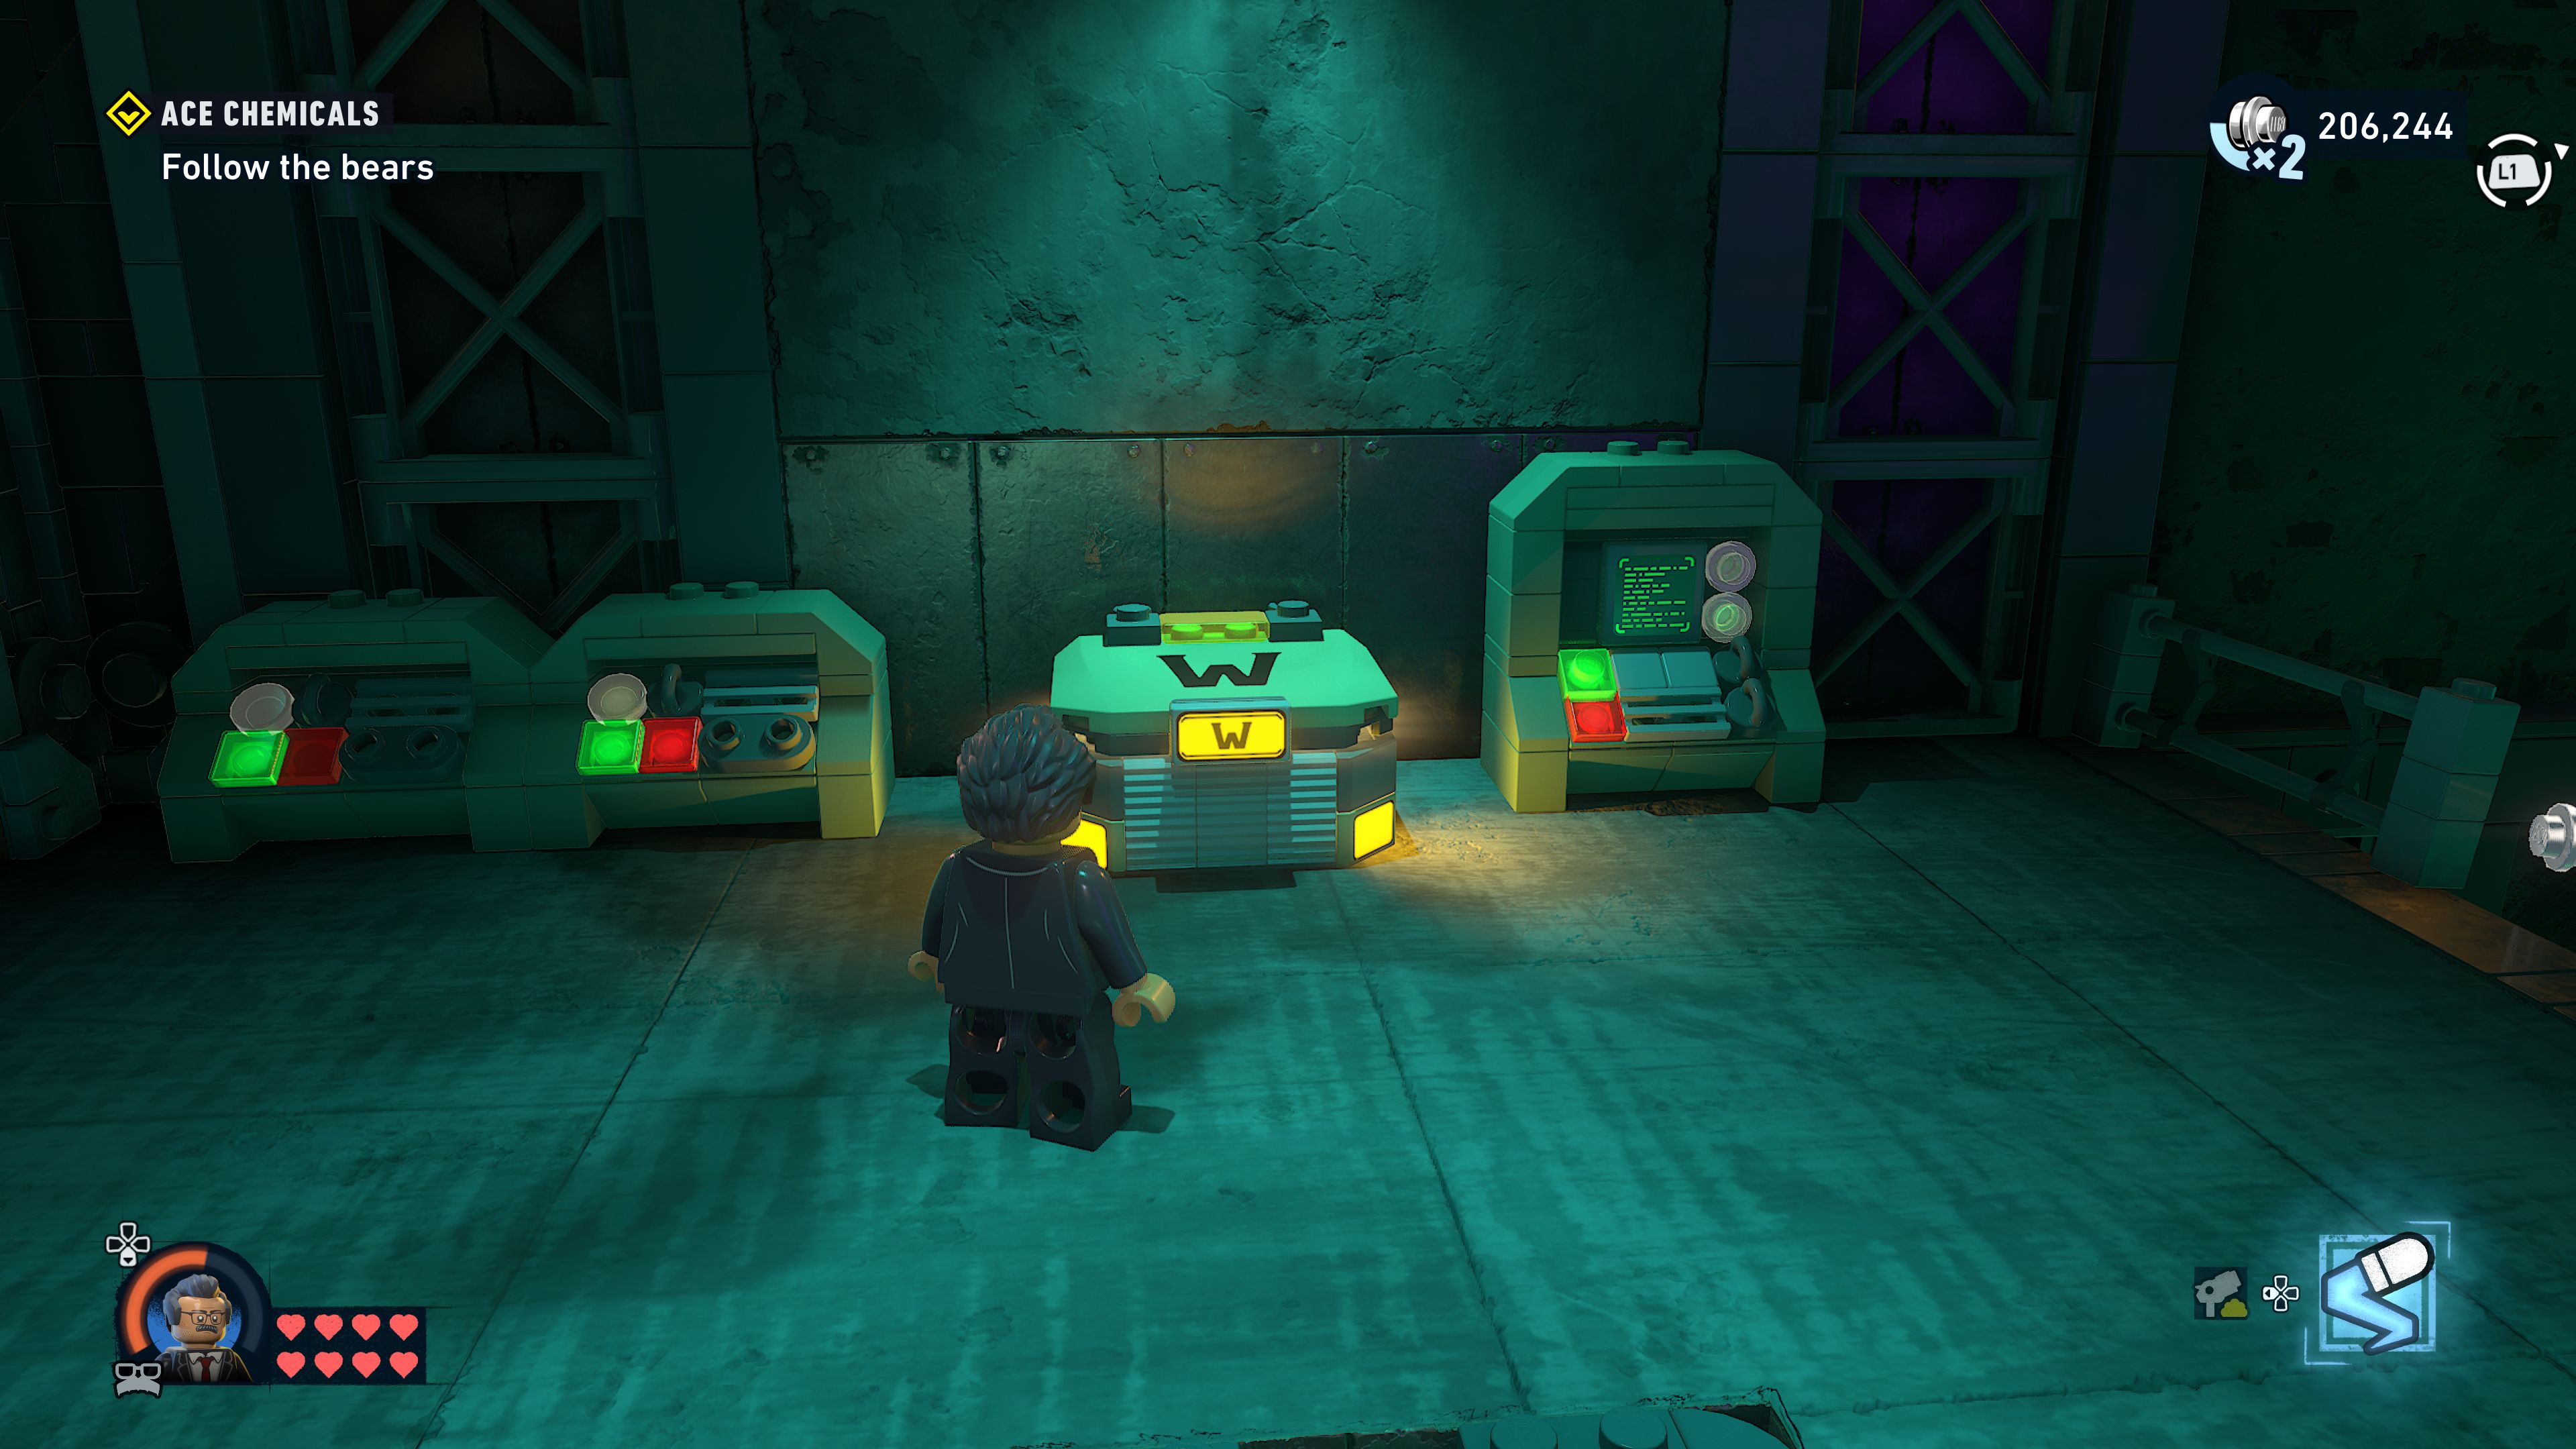
Follow the bears
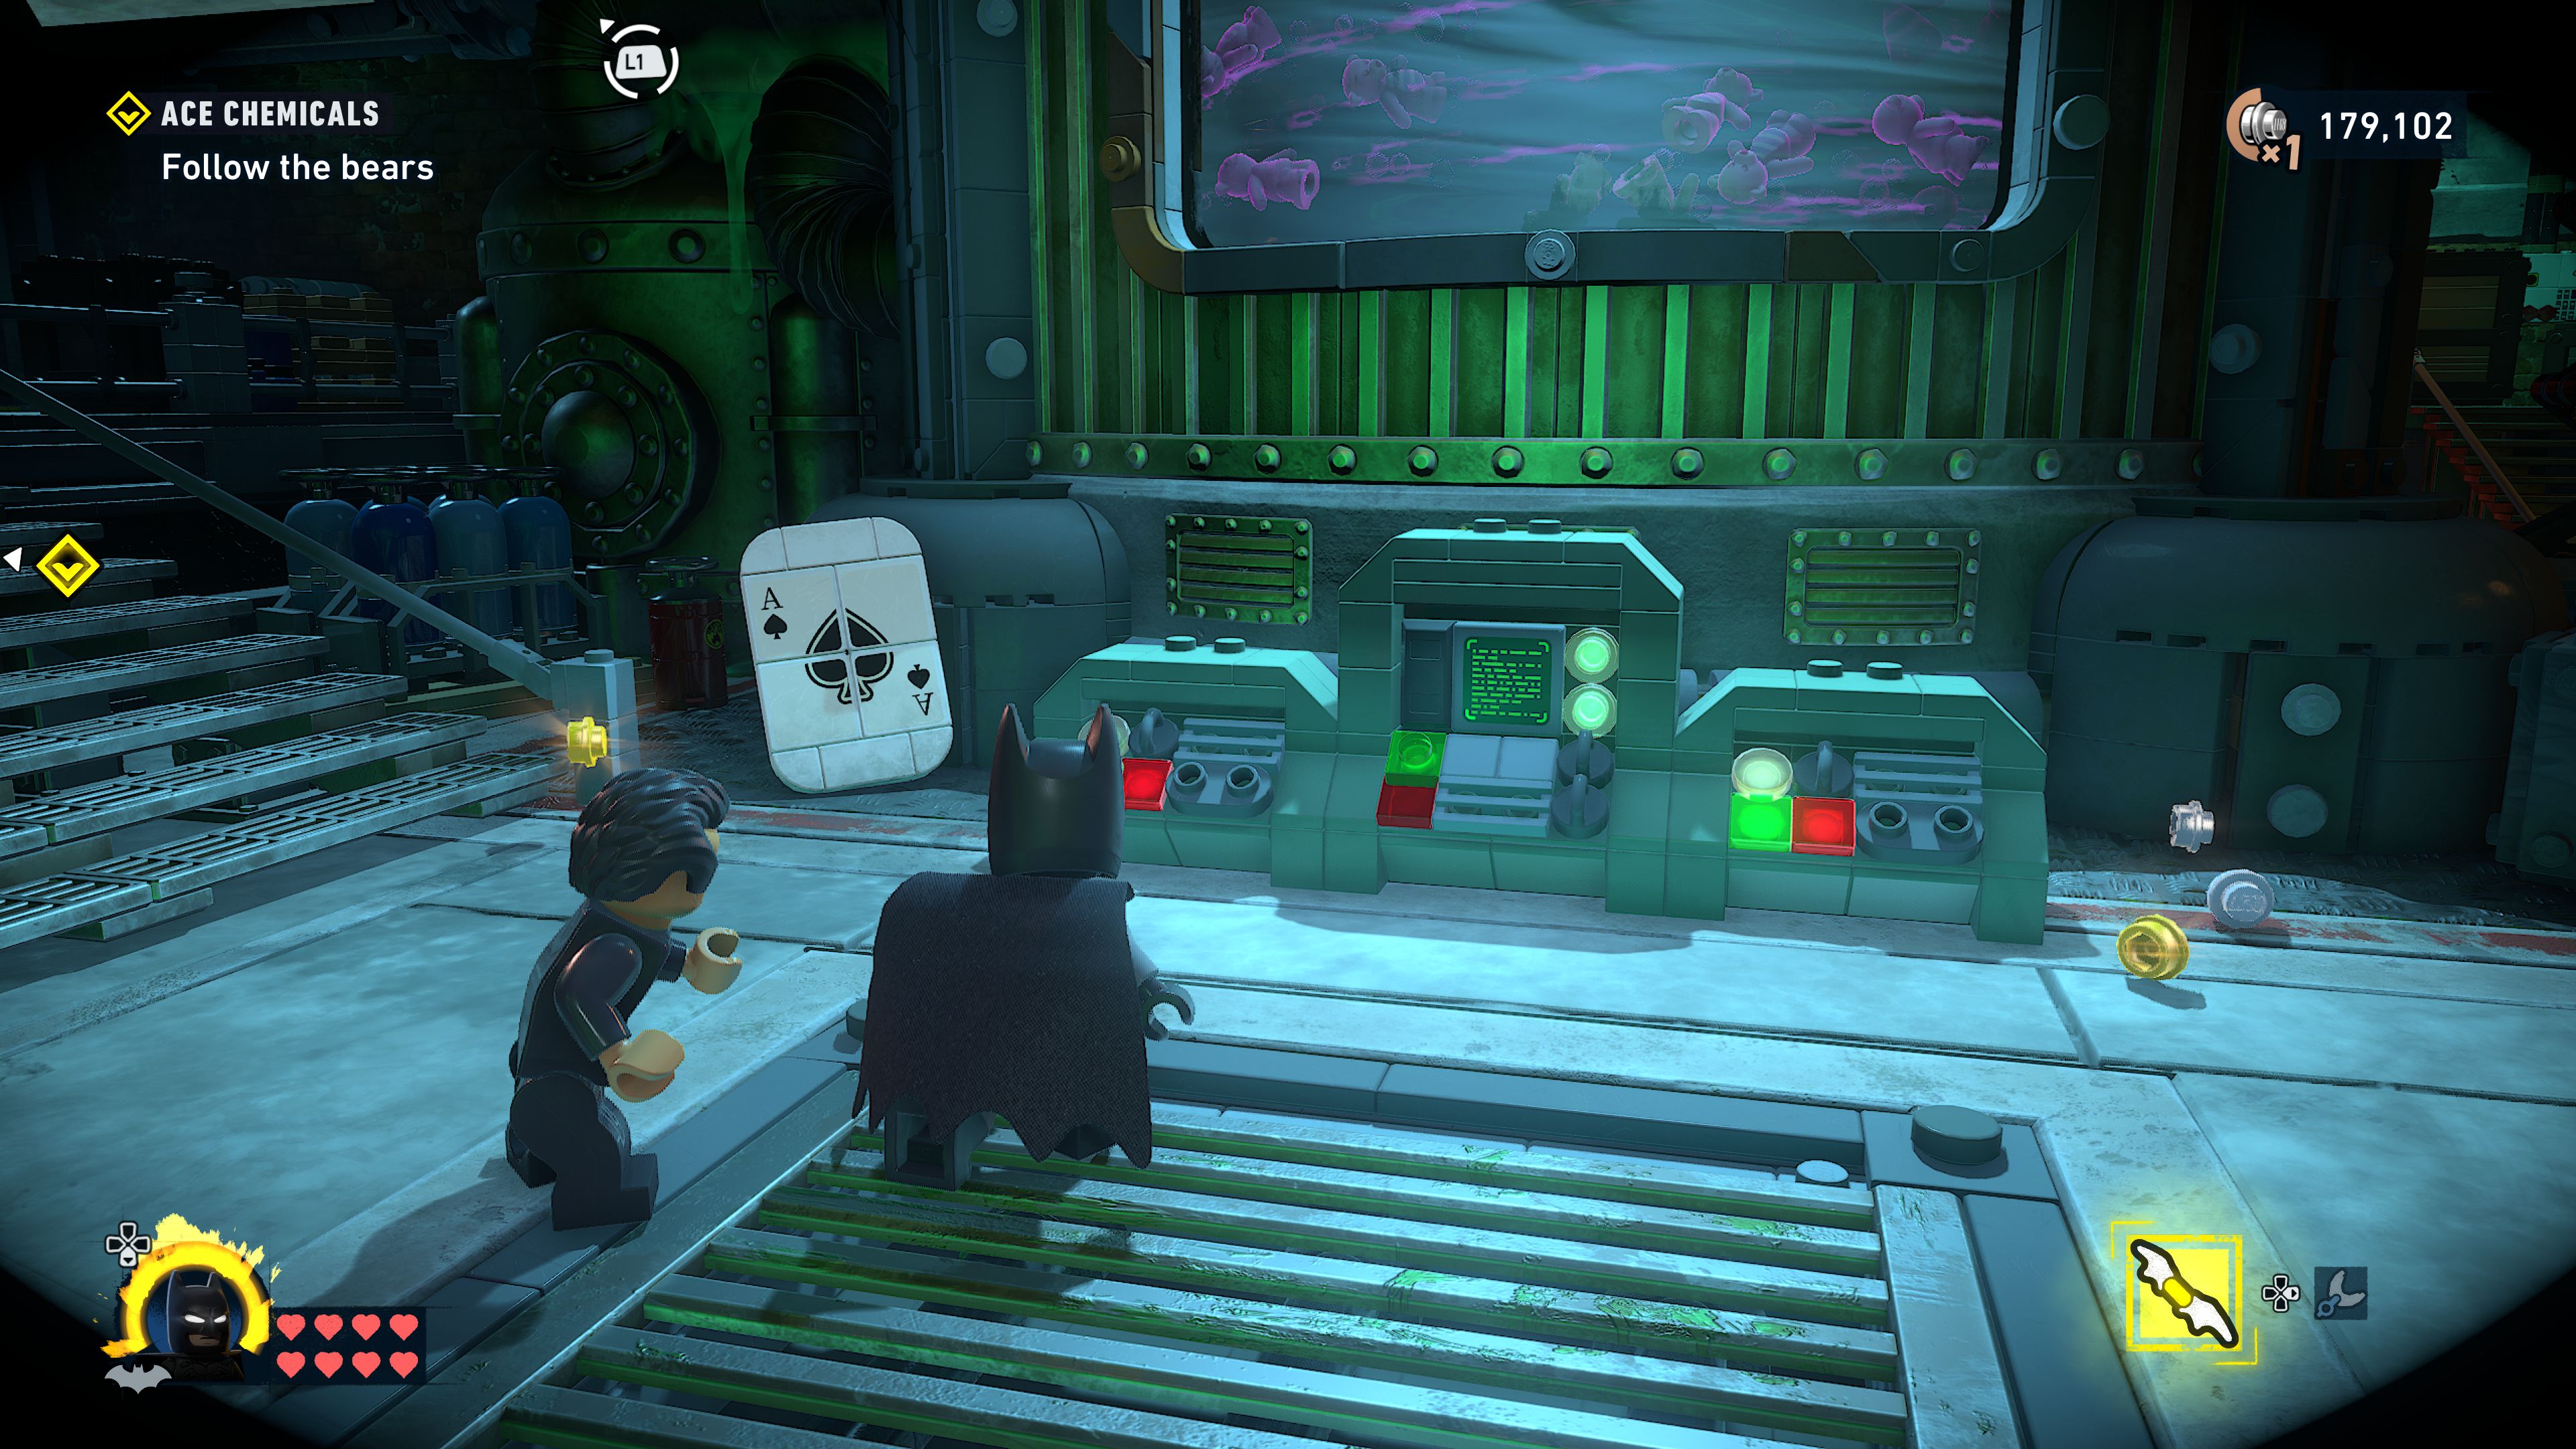
Take out the guards here and then grapple up on top of the swirling vat of bears so you can sneak across to the left. You'll be able to jump from a couple of suspended vats to take out the guards on the other side.
Press the button next to the door on the left and clog up the pipe that's venting acid to redirect it into the faces of the two nearby bad guys (there's a purple stud in the newly opened pipe).
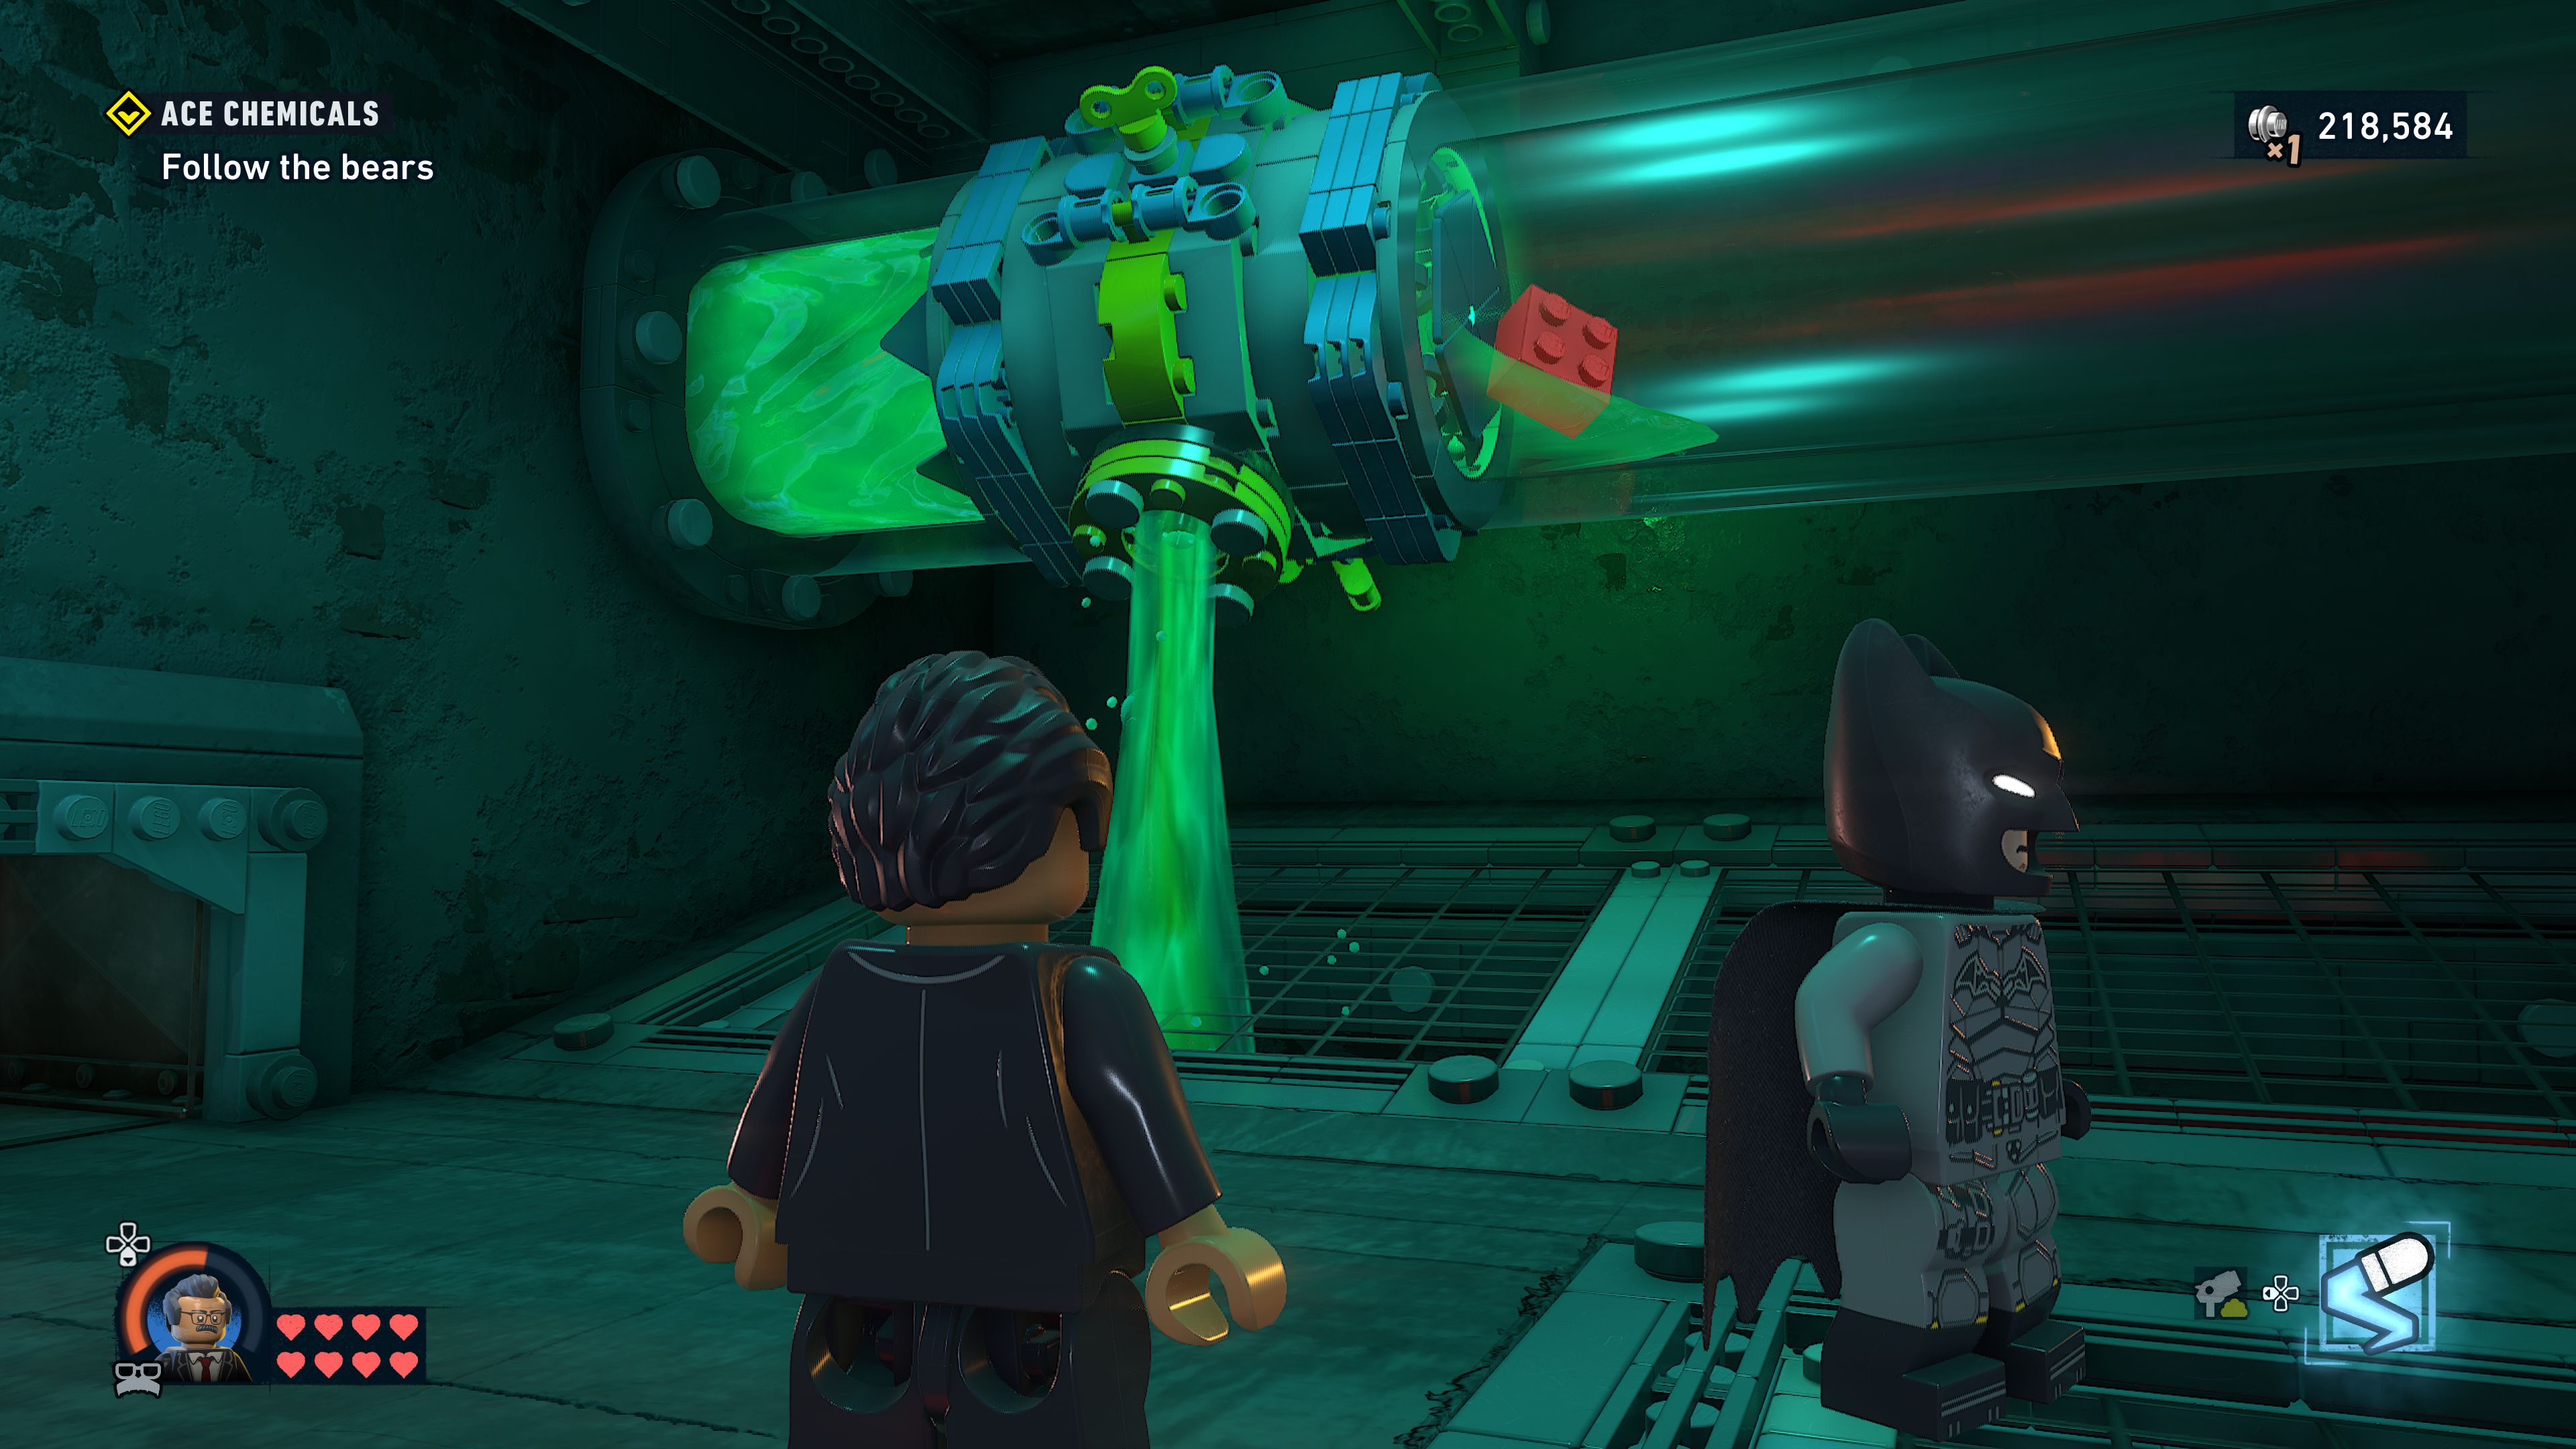
Batman must first use his Batclaw to pull the cover off the large fan and then Gordon must use his Foam Sprayer to foam it up and stop it.
Jump into the giant wind tunnel and glide up to the exit on the opposite side far above.

Go through the crawl space and emerge in a room filled with enemies patrolling. Sneak attack the one in front of you to start with then you can go around the room picking the enemies off one by one from above then zipping back up or ducking into vents. Watch out for the security cameras on either side of the room.
There's a pipe in the gap at the back that Gordon can clog up to defeat the group of enemies standing on a grate nearby (and there's a purple stud in the pipe that explodes).
Once you've cleared out the room go to the back right corner and press the button next to the door.
Both characters will be needed to open the door after you leave the glass floor corridor.
Defeat the enemies
Sneak into the next room to get a little headstart sneak attack on the brute enemy then get to fighting all the enemies that start running in. Make sure to keep an eye out for the brute charge attack as you're doing so.
Shut down the mixing machine
Once you've defeated everybody you'll be sent some bricks that you can use to build a giant foam sprayer. Use Batman's Batclaw to activate it.
Factory Meltdown
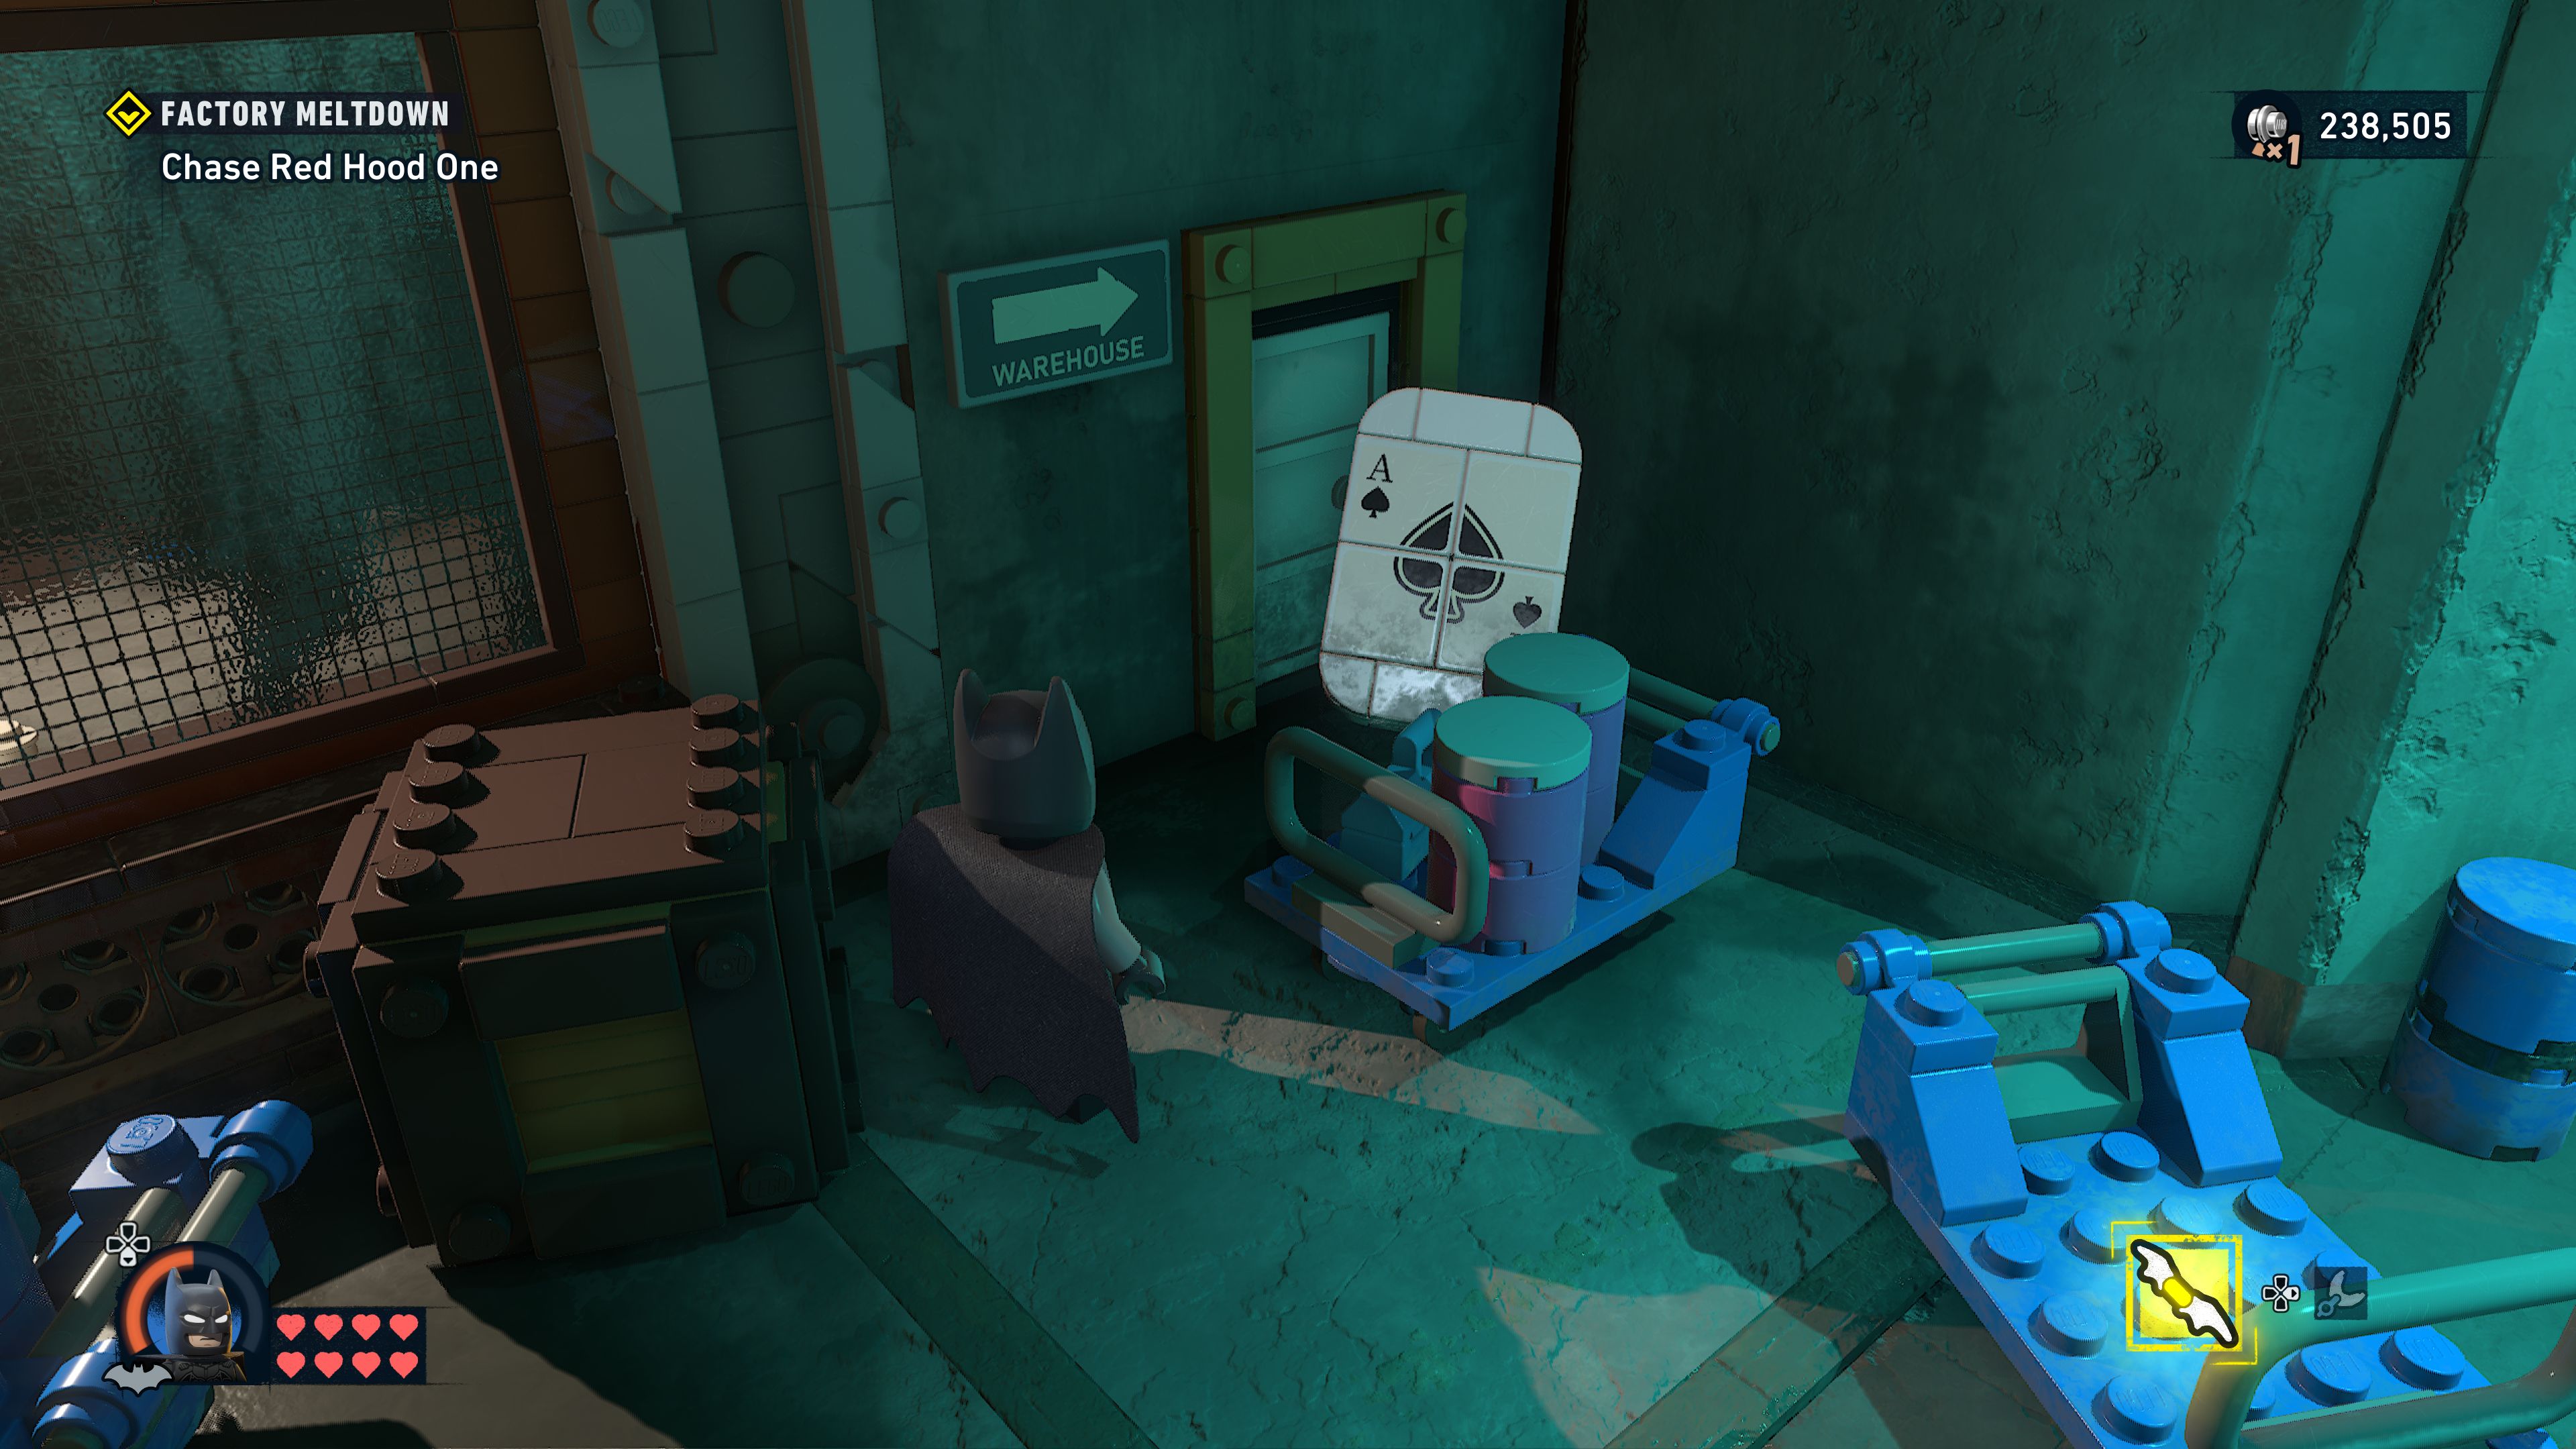
Chase Red Hood One
Walk along the pipes, transferring from one to the other to avoid the flames. Follow Red Hood One up the stairs (although there is a purple stud underneath the stairs) and across a few gaps that explode as you reach them.
Find a way over the wall
When you reach a collapsed doorway build a couple of platforms for both characters to stand on and ride up when the gasses vent.
Look for a way out
Up top Gordon will be needed to block off a few pipes that acid is pouring out of before you stealth attack a set of enemies below.
In the back right corner of the room behind the fire is a pipe you can hit with a ranged weapon to spurt water out onto the fire. You can seal it back up again with the Foam Sprayer.
Dodge the rockets
Wait for Red Hood One's target to stop moving before you dodge out of the way or you'll just be rolling into the target again.
After four dodges he'll run off and open an exit for you.
Chase Red Hood One
Have Gordon foam up the fire pipe that's covering the exit.
Smash the crates over by the glass and then shoot the target in the room behind to activate the elevator.
Grapple up the elevator shaft to witness Red Hood One blowing more stuff up. Go up the stairs, past an enemy looking the other way, over a few hanging platforms and then hit the pipe blasting out fire with some foam to stop it.
Jump and glide past down to a tilting platform. Go up towards another pipe blasting out fire that you can block with some more foam to where there's a couple of henchpeople screaming in front of a fire.

Hit the valve above the fire to spill water on it to put it out and then foam it back up again so you can get past.

Clog up the pipe above the two circular platforms and then hit the target over on the opposite side to get both platforms rising and falling with bursts of gas.
Go up through the large pipe that falls into place and use the Batclaw to destroy another pipe that's blocking your way. Seal off the acid with Gordon's Foam Sprayer.
Defeat the henchmen
Jump down to the circular area to get started with a big fight. Keep dodging out of the way of Red Hood One's rockets as you defeat all the henchpeople.
Chase Red Hood One
Up the new ramp out of here and have both characters lift up some debris to reach a very simple glide chase that doesn't require you to do anything other than glide straight forwards. Try to save Red Hood One to complete the mission.
Unlocks
- +1 Skill Brick
- Batman Suit: Zero Year
- Gordon Suit: Skeleton Gordon
- Batcave Trophy: Ace Cards 5/5
- WayneTech Caches: 5/5
- Red Brick: Toxic Waste Modifier
Chapter One Complete
Go to GCPD on Tricorner
Make your way back to the GCPD on Tricorner Island and get up onto the roof.
Build the device
Smash the fan and the light rigs to get the parts to build the Batsignal.
Complete Chapter
Activate the Batsignal to complete Chapter One.
 darkspyro.net