Temple of Doom
Chapter 1. Shanghai Showdown
| Story Mode | Free Play |
|---|---|
| 52,000 | 55,000 |
During this first bit Indy will get poisoned so he'll be stumbling around until you can cure him. Switch to Willie and grab the jewel from the table and take it to the left side of the area where you can see one of the sunglasses wearing enemies holding the antidote up high. Throw the jewel at him and he'll throw the antidote over to another enemy on the opposite side.
Artefact Piece 1/10
Requires: High Jump Story Mode: Yes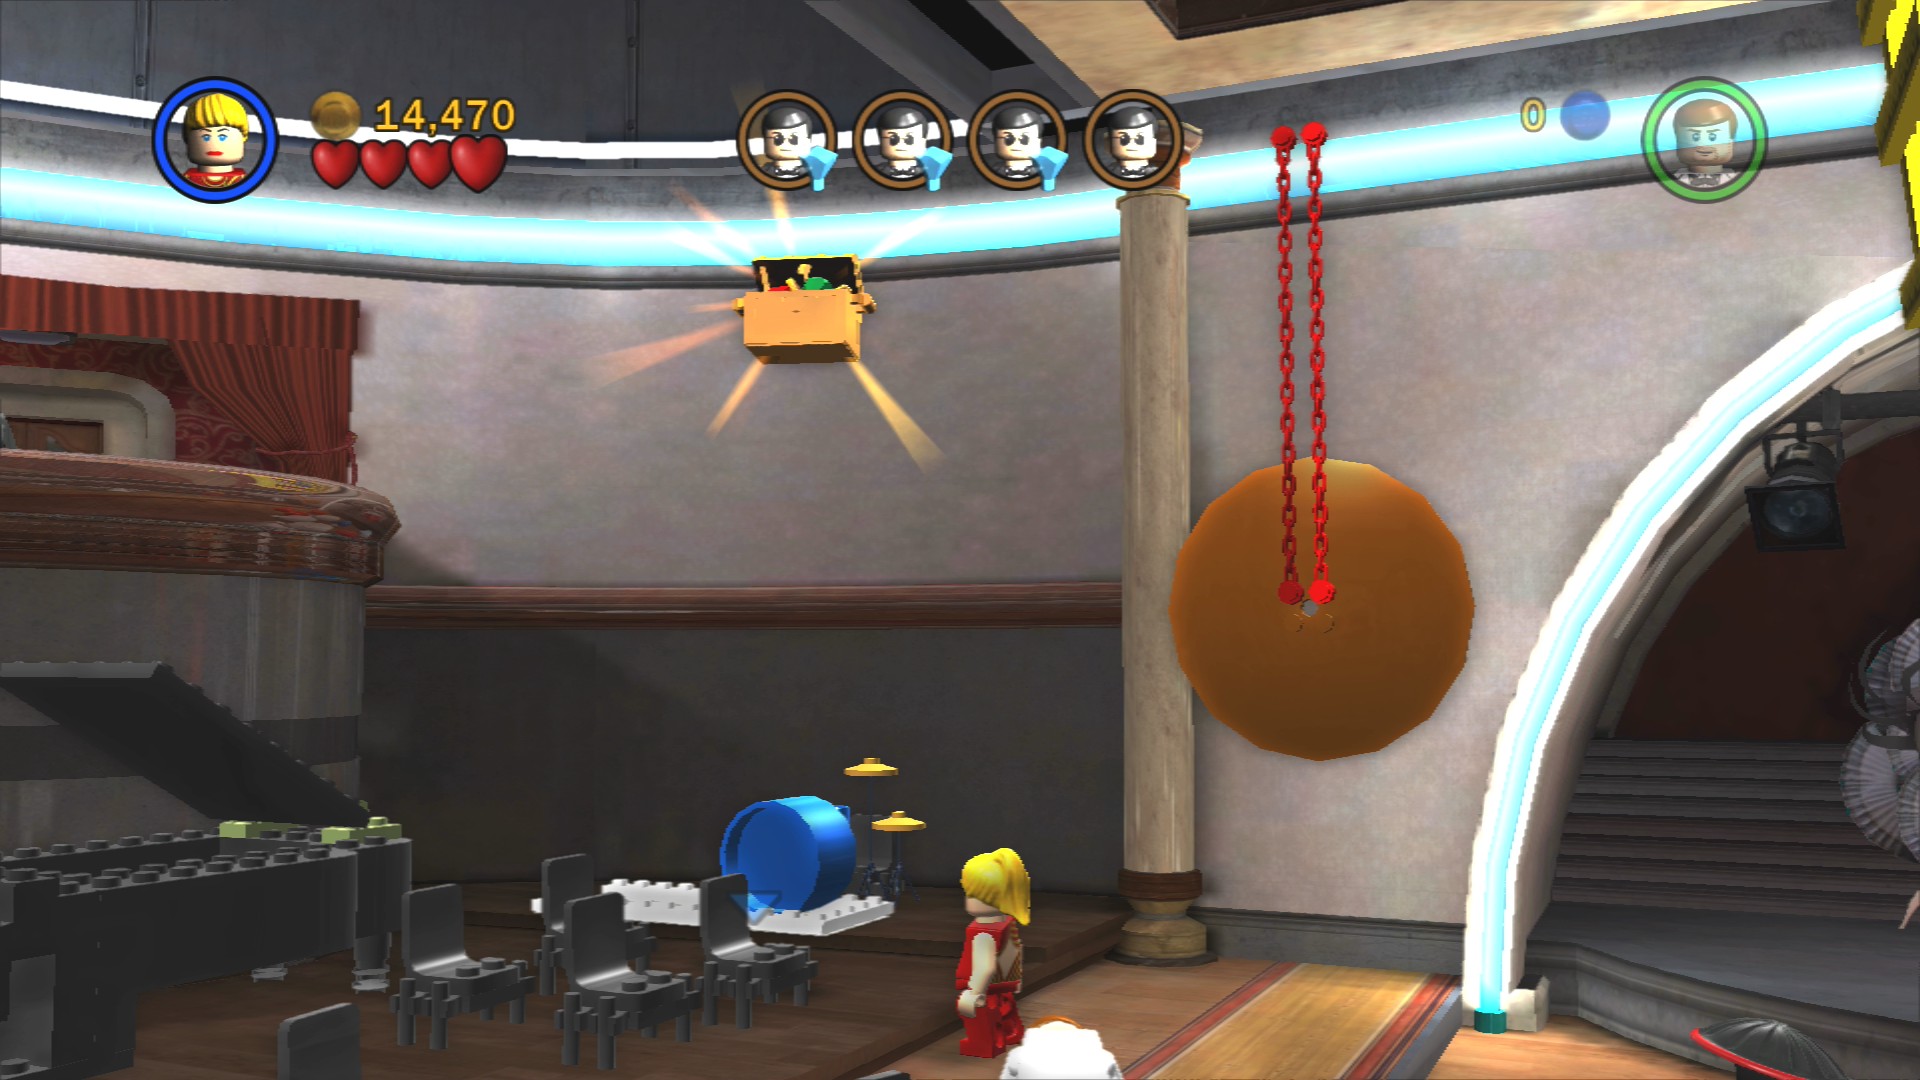
Beneath the first antidote holder roll the blue barrel along the short path and use it to jump to grab the Artefact Piece.
To get that you've got to find another jewel, there's one to be found by jumping and grabbing hold of the rope in the middle of the room. It'll drop some balloons, pop a load of them to get the jewel. After you've thrown it at the enemy on the right side of the room you'll have to throw another one on the left side again.
Beneath the third guy is a closed cabinet with two buttons in front, switch to Indy to stand on one of the buttons and Willie will automatically stand on the other. Throw the jewel to get the antidote thrown to the opposite side of the room again. The last jewel can be found by using Willie's scream ability while standing next to the glass cabinet beneath the final enemy of the four.
Now that Indy is healed you can jump onto the stage and stand on both buttons next to the dragon head. Grab the sword and throw it at the large golden circles on either side of the stage to knock one of them down (wait for the mouth to close before reopening it to get another sword if you miss).
Artefact Piece 2/10
Requires: Explosives or Rolling Circle Story Mode: Yes
Riding one of the golden circles smash through the three Silver LEGO tables to reveal the Artefact Piece.
Ride one of the circles towards the machine gun firing enemy and smash through the window behind him to leave the area.
Indiana Jones Willie Short Round
Smash the objects against the wall where you start and have Short Round crawl through the hatch to get up to a ledge above. From there use the handholds to get around the corner and onto a rope from which you can jump onto a bouncy awning. That'll let you reach a small glowing object that you can pick up.
Artefact Piece 3/10
Requires: Hatch Access Story Mode: Yes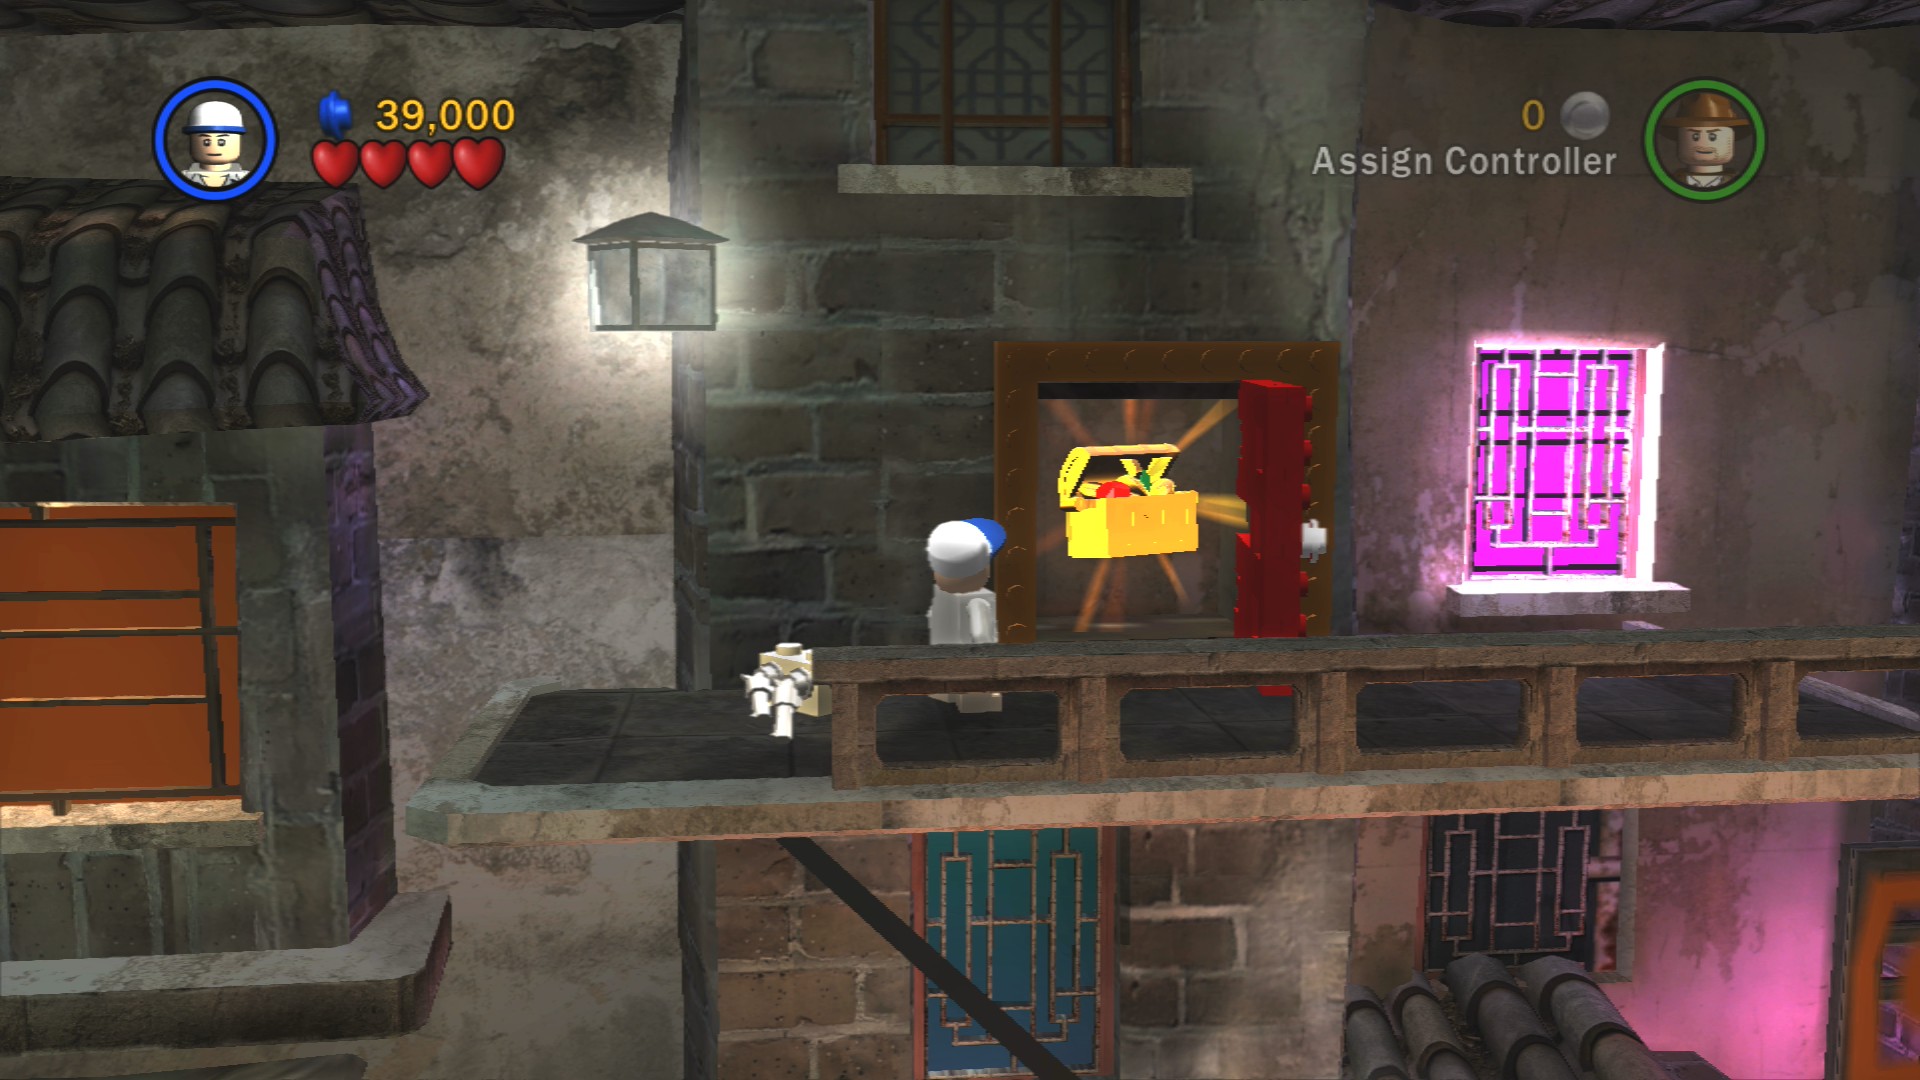
Smash the boxes up after the bouncy awning to build a red door that opens to the Artefact Piece.
Artefact Piece 4/10
Requires: Explosives, Hatch Access, Book Story Mode: No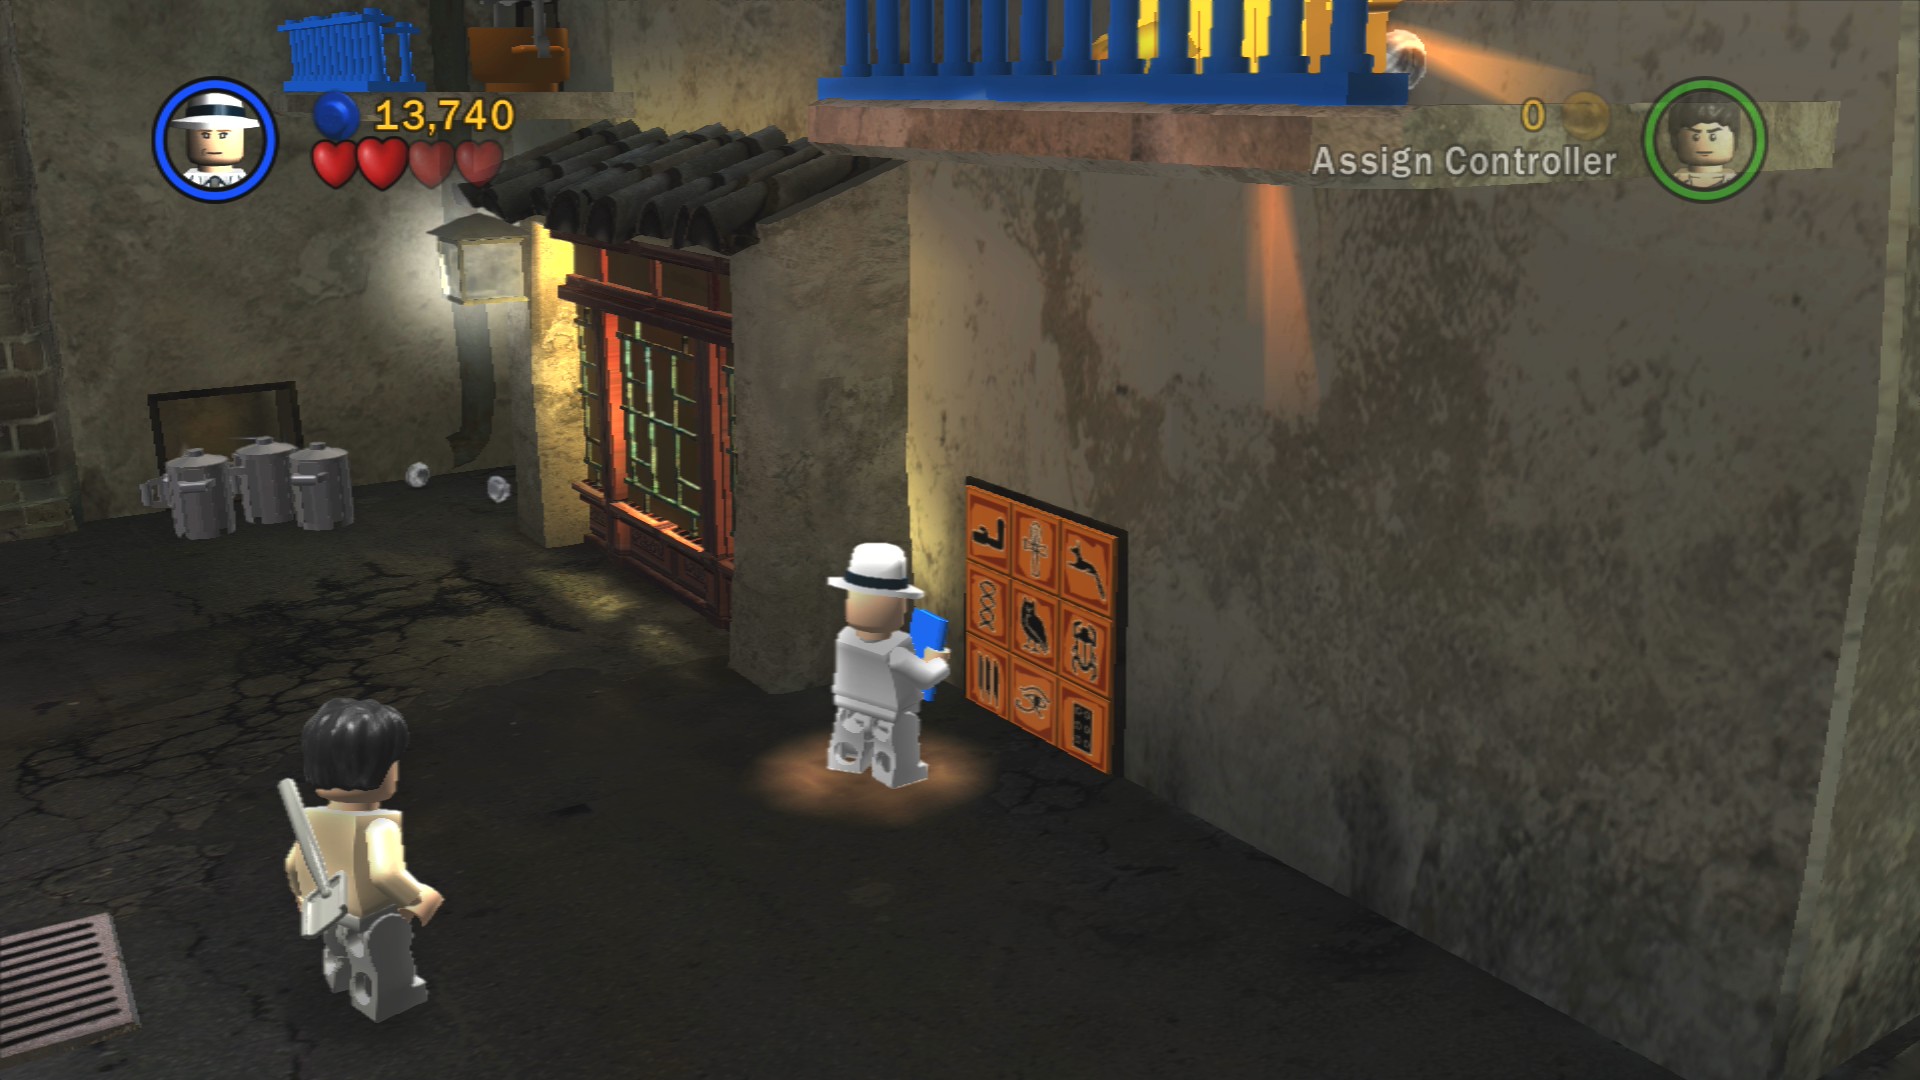
At the right-hand end of the street you'll find some Silver LEGO bins to blow up to build a hatch and then some hieroglyphics to solve with a book. Behind there you can build a set of gears to turn once you've sent a small character up onto the pot on the chains.
Carry the piece to the broken car on the street back near where you crawled through the hatch. After that go down the left street.
Artefact Piece 5/10
Requires: Shovel Story Mode: No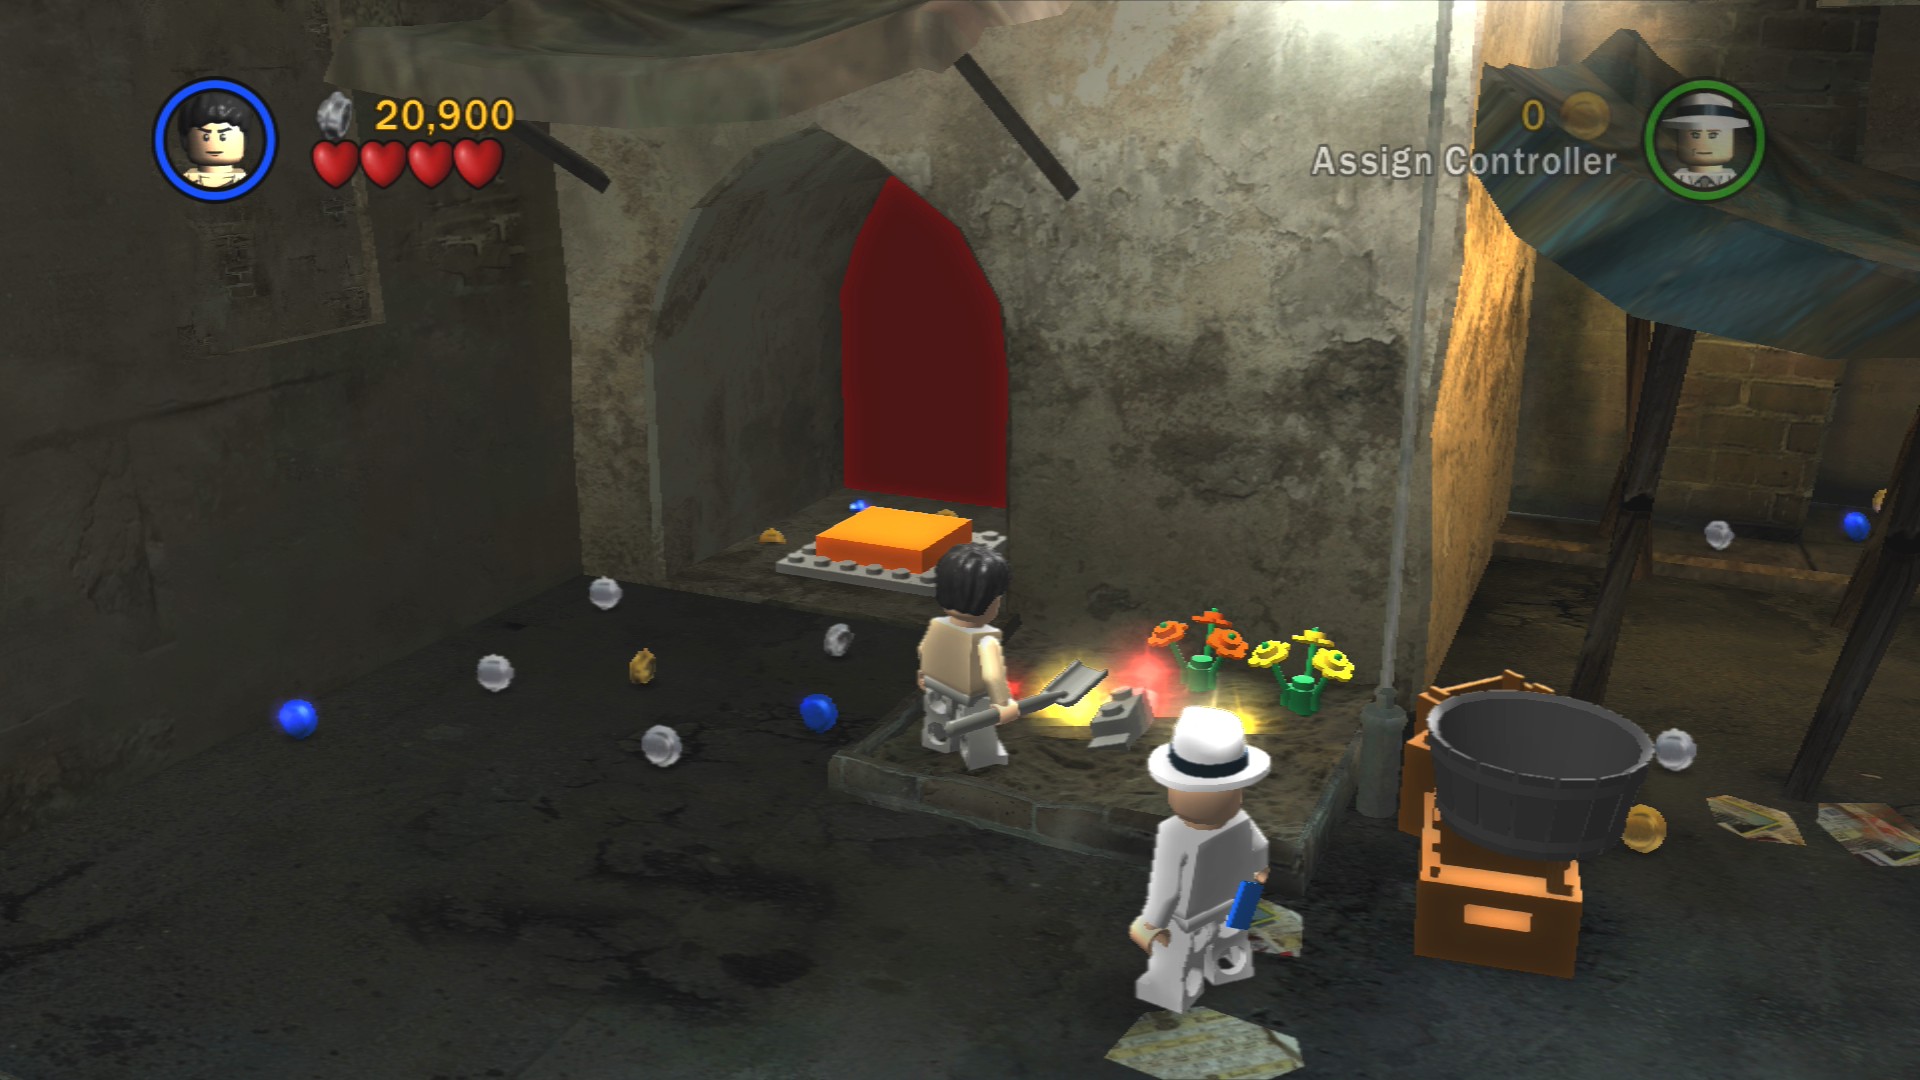
At the left end of the street is a flowerbed which you can dig in, pick up the anvil you dig up and place it on the nearby orange plate to open the door behind it and reveal the Artefact Piece.
A very short distance down that street is a dangling rope you will want to jump on as Indy.
Artefact Piece 6/10
Requires: Thuggee Story Mode: No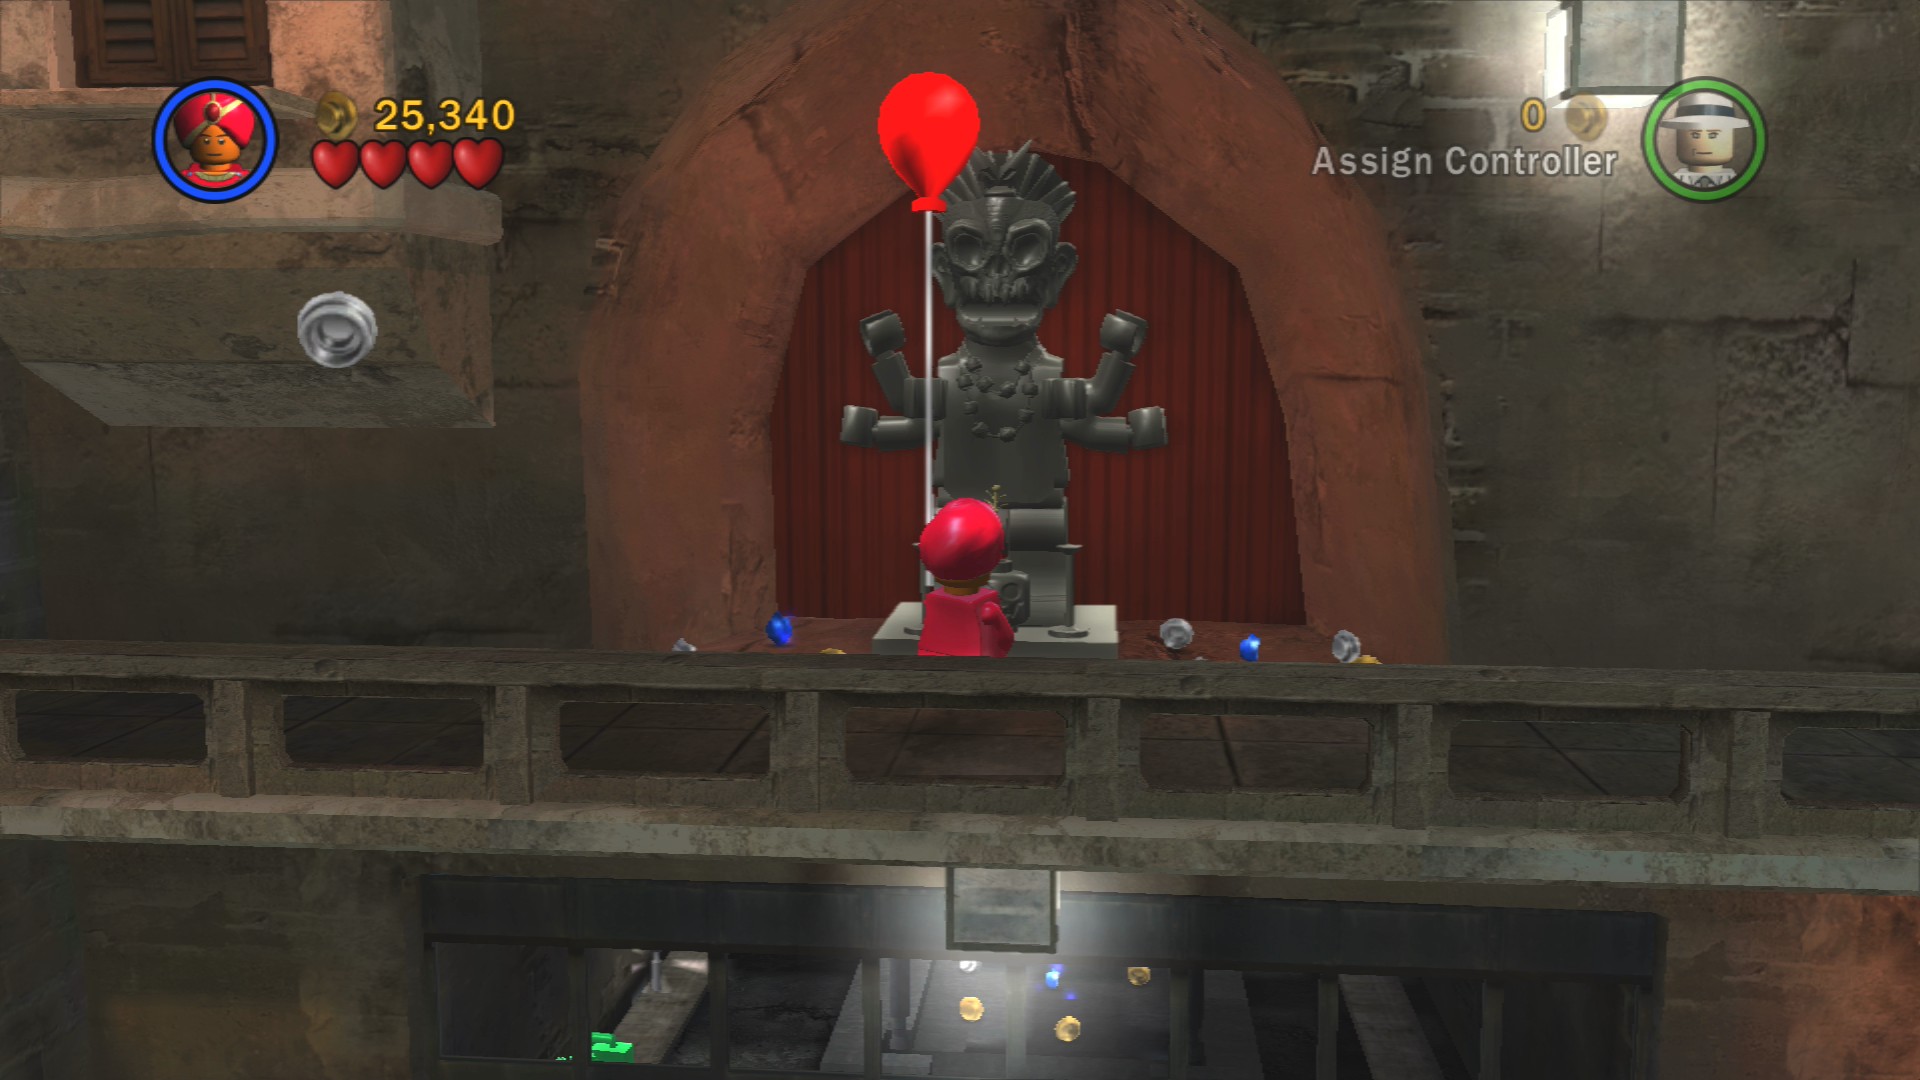
Jump up a rope just to the left of where you start this second area and then interact with the Thuggee statue. Grab hold of the balloon string to ride it over to the Artefact Piece on the awning.
As you approach the blue awnings the game will prompt you to switch to Willie so you can grab the ropes to pull them down into position. After the second awning you'll find the radiator grill for the car.
Artefact Piece 7/10
Requires: None Story Mode: Yes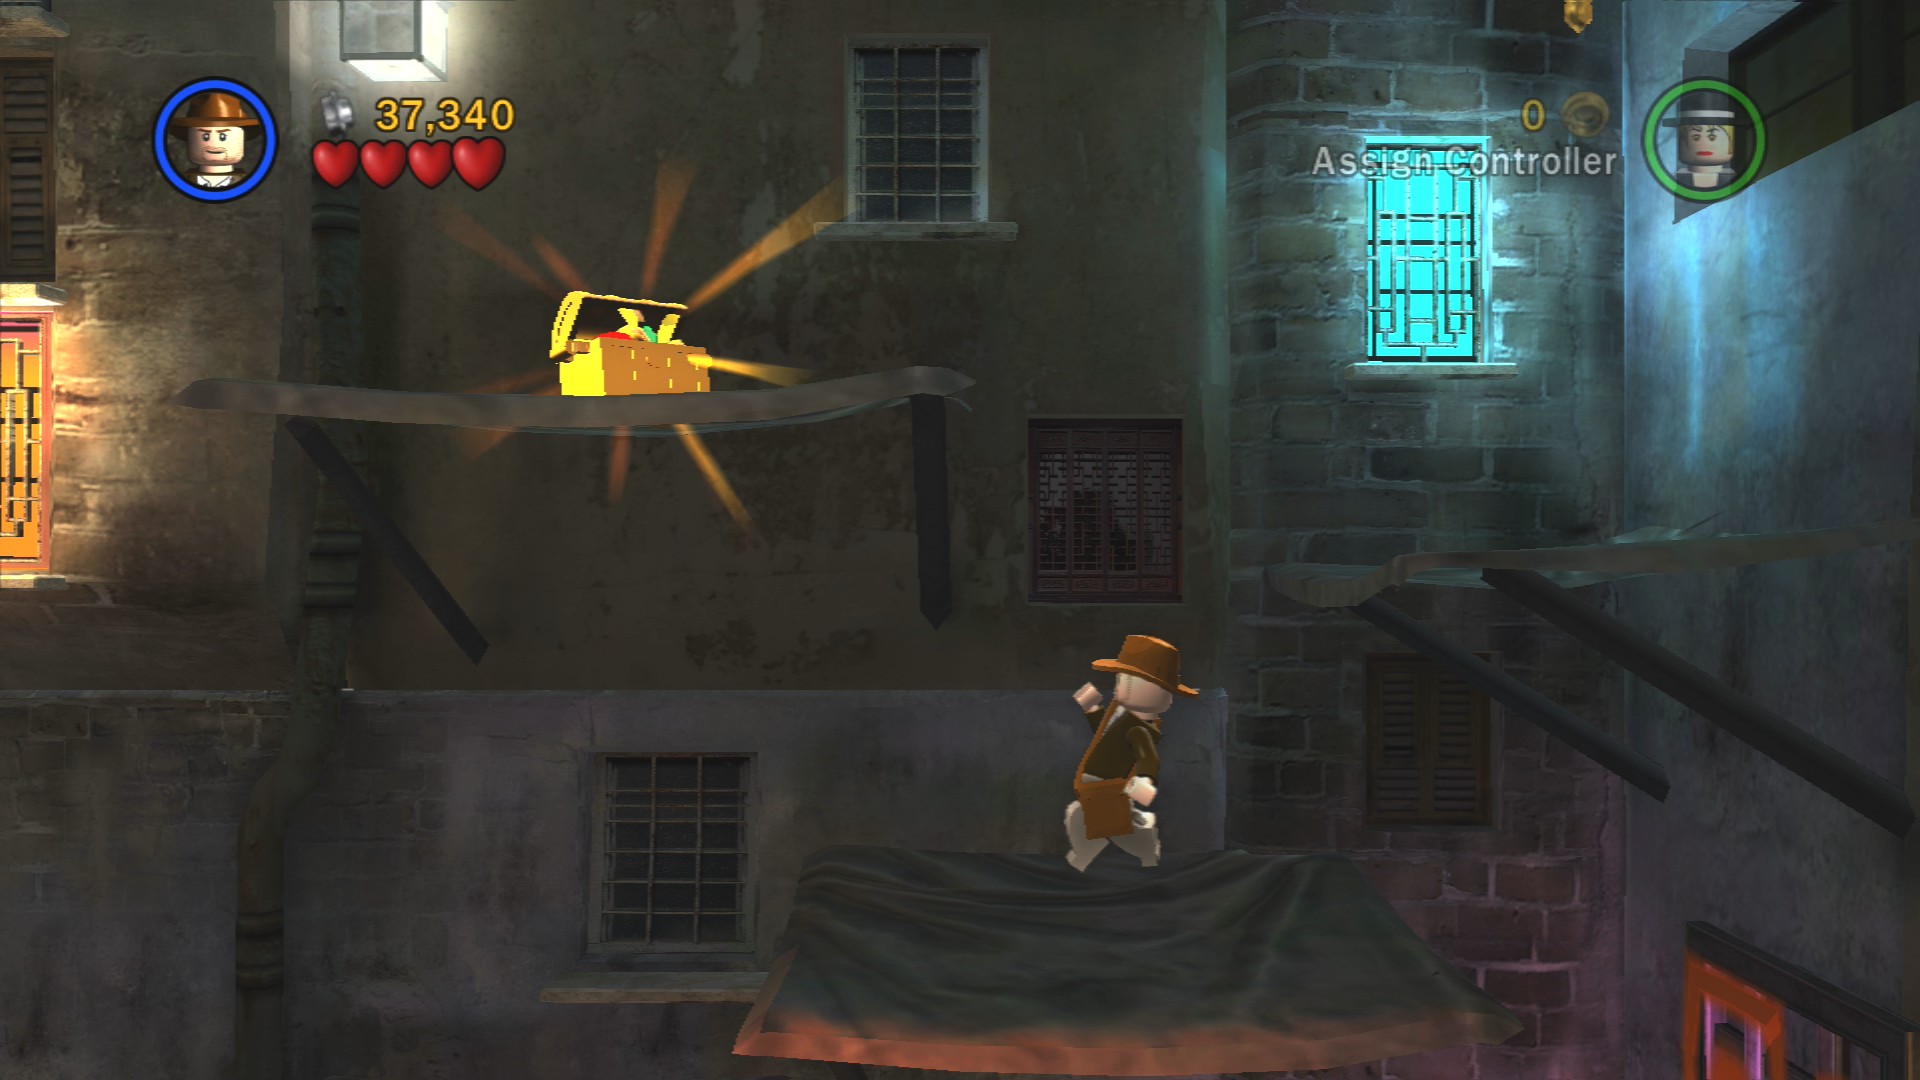
Just to the right of where you find the radiator you can bounce up some awnings to reach an Artefact Piece.
Once you've placed that on the green you'll be able to rebuild the car.
It still needs a spanner to fix it, luckily a garage has just opened to the left where you saw some enemies coming out. Go take care of them and grab the spanner from inside the garage, use it to fix the car and drive through the barrier to leave the area.
The next area is in front of an aircraft hangar. A few enemies will attack from the left.
Red Parcel - Treasure x4
Requires: Explosives Story Mode: No
At the far end blow up the lone Silver LEGO crate with some explosives, pick up the sword and throw it at the middle of the red wire above the gate.
Grab hold of the rope attached to the yellow and red platform that the Parcel is sitting on and it'll start spinning. Go up the stairs and wait for the platform to rotate so that you can get on and reach the Parcel.
Artefact Piece 8/10
Requires: Explosives, Soldier Story Mode: No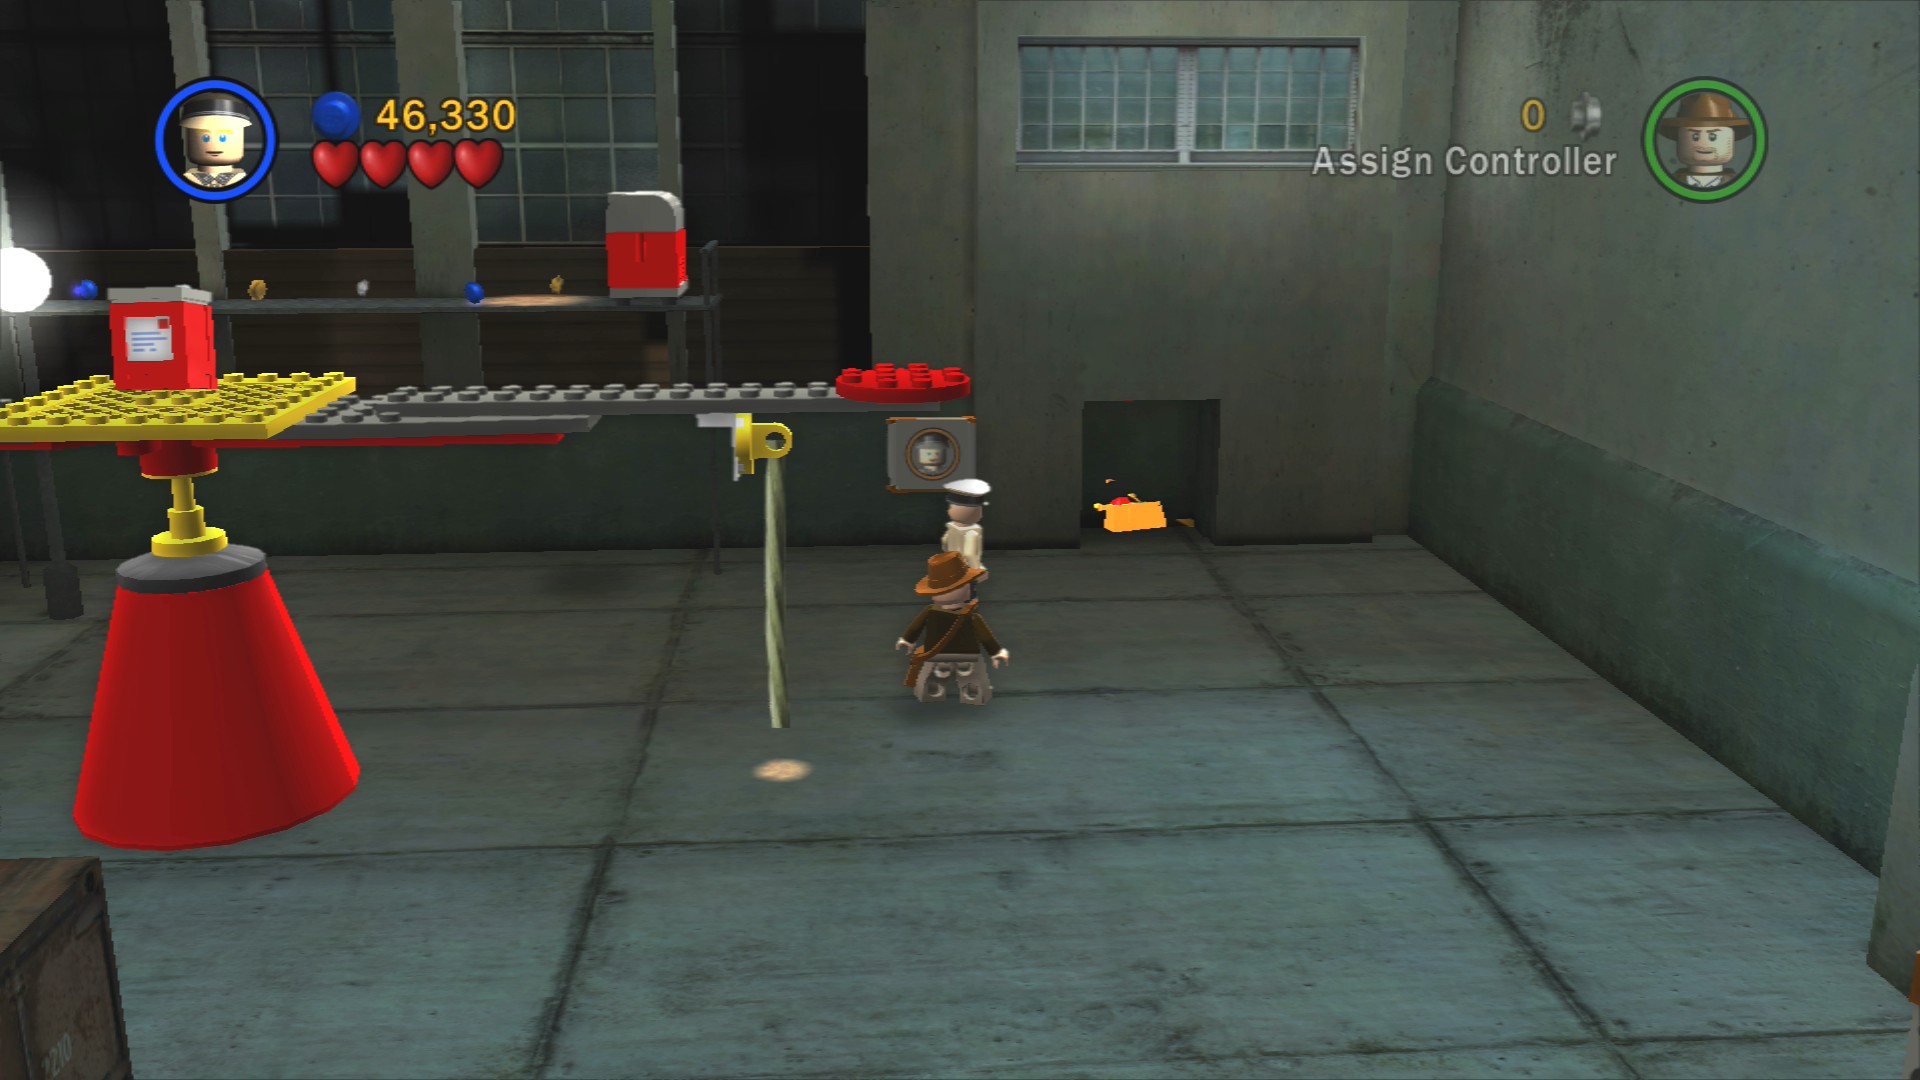
In the same area as the Red Parcel is a guard post that opens to reveal the Artefact Piece.
Artefact Piece 9/10
Requires: None Story Mode: Yes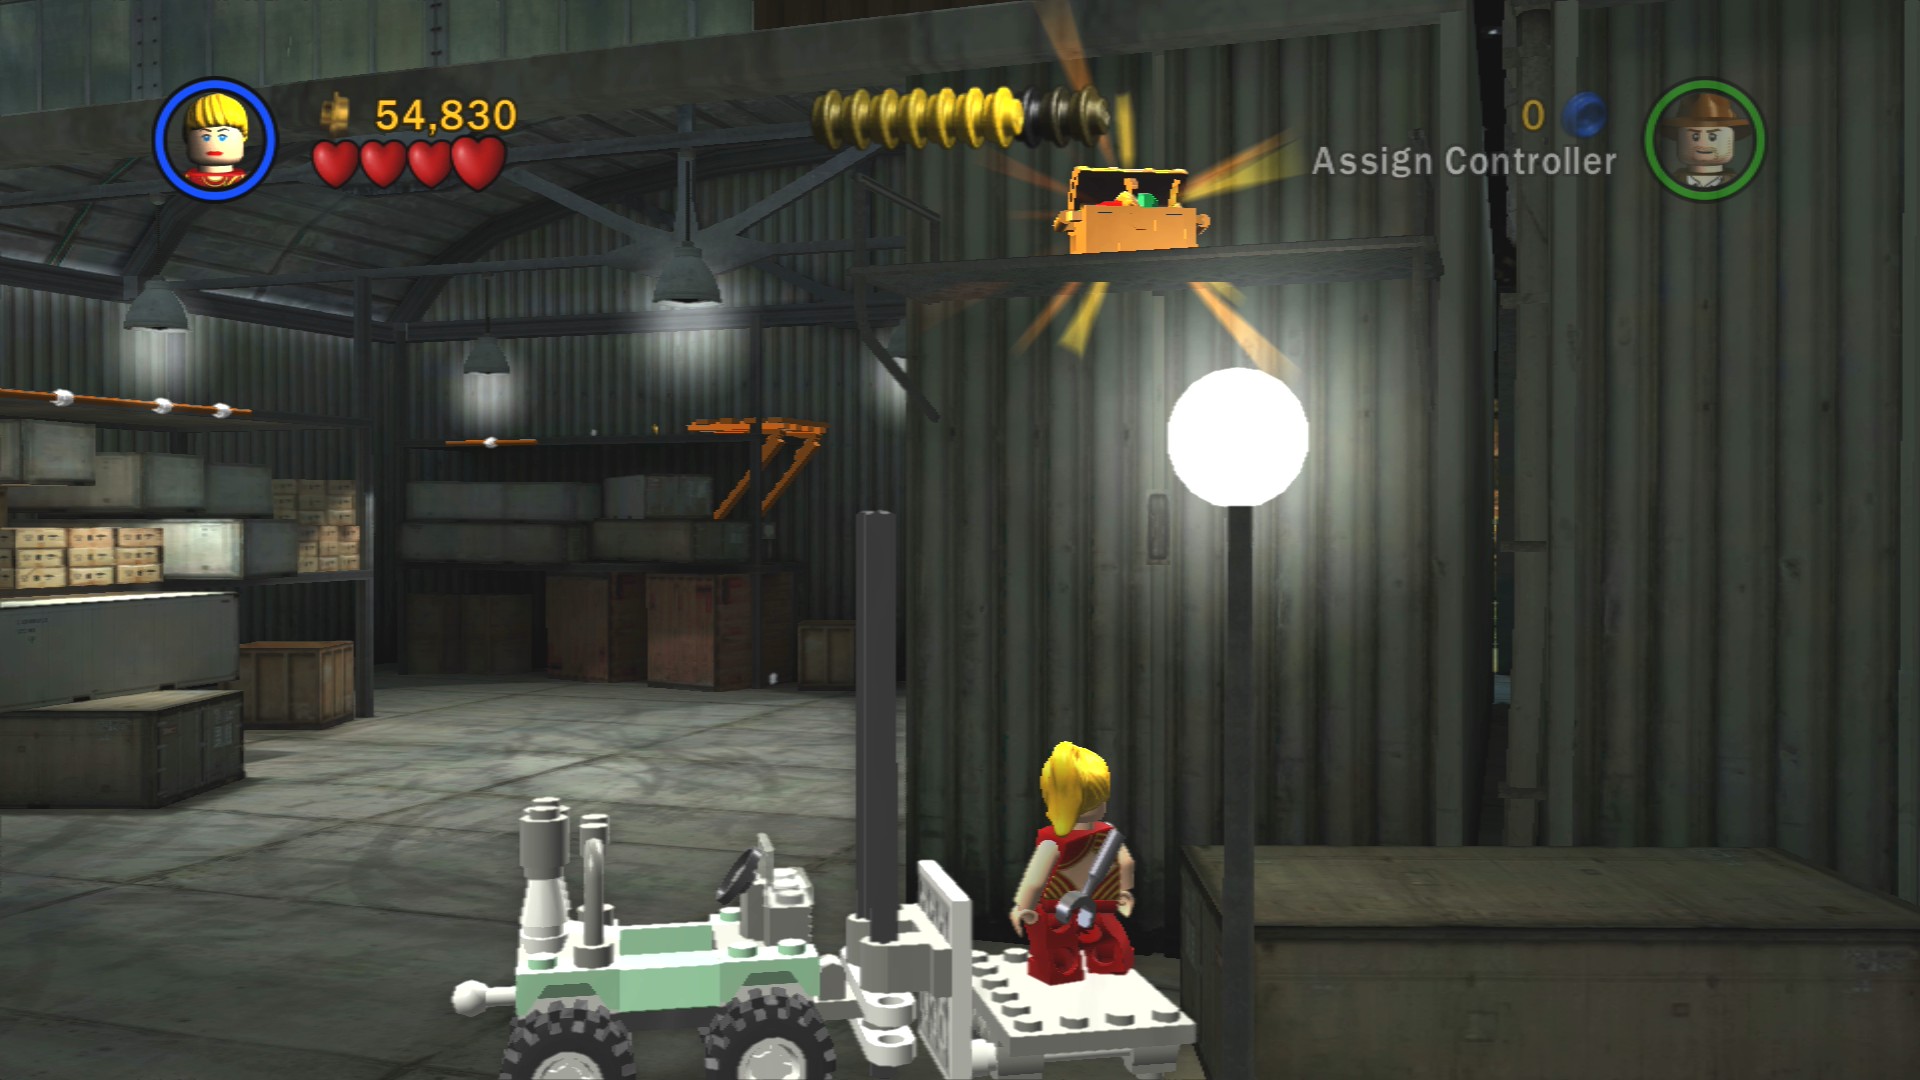
Have Short Round drive the forklift and raise the bed and Indy will automatically jump on and up to the ledge above where the Artefact Piece is sitting.
In the empty looking left hangar as Indy jump up the crates on the left side of it to get up on top. From there jump to the back and then whip swing across to where you can pick up a box of parts. Carry that into the right hangar to plop it down in front of the plane.
The second box is found to the right of the right hangar, high jump up to a crate you can push off the edge to get the parts to a hatch for Short Round to crawl through. Smash the crates on top of the roof to reveal the box.
Artefact Piece 10/10
Requires: Hatch Access Story Mode: Yes
While you're up top grab the Artefact Piece. You can use the box as a stepping stool to have Short Round reach it in Story Mode.
After placing the second box you can build the plane's propellor. But we're not done yet. Have Short Round go and get into the nearby forklift truck, Indy will automatically jump onto the front of it. Raise it up when you're near the little platforms in front of the plane so that Indy can jump onto them and use his whip to start the other two propellors to finish the chapter.
| Cost | Character | |
|---|---|---|
| - | Indiana Jones (Dinner Suit) | |
| - | Willie | |
| - | Short Round | |
| 25,000 | Kao Kan | |
| 20,000 | Wu Han | |
| 19,000 | Lao Che | |
| 18,000 | Chen | |
| 27,500 | Dancing Girl |
Chapter 2. Pankot Secrets
| Story Mode | Free Play |
|---|---|
| 60,000 | 70,000 |
Artefact Piece 1/10
Requires: None Story Mode: Yes
Just to the right at the start.
Willie is afraid of spiders so don't use her to smash any of the plants as she won't be able to attack them when they appear. Have somebody pick up the shovel at the back and then get onto one of the elephants and ride it over the mud ahead to the left, trying to go through it without riding an elephant will instally kill you.
On the other side hit the object attached to the vine to release it so the other characters can swing across. Riding an elephant again take the path to the right to where there's a glowing crate that the elephant can pick up. Take it to the left path and drop it on the green spot.
Artefact Piece 2/10
Requires: Shovel Story Mode: Yes
Build a raft out of the LEGO to the left and use the shovel from the start of the level to paddle down the river to the left. You'll find land with a buried Artefact Piece.
Near the green spot is a point where Willie can high jump onto a handhold to climb over a pit of writhing snakes. Once you've shuffled over to the other side you can build a pull switch that'll create a bridge over the snakes. Grab the crate and put it down next to where you put the other one. Build the platform and have Indy whip pull the drawbridge down.
There's a whole load of small spiders to get rid of past the drawbridge. In the middle of the mud you can see a bunch of bananas, to grab one use Indy's whip while standing right up against the edge, a blue reticule should appear when it's possible to do.
Now go and dig up the glowing LEGO (if you need a shovel you can grab one from the other side of the mud) and jump onto an elephant with it. On the other side of the mud use the key to move the spiked log trap and go through to where there's a monkey holding a second key. Use the banana you grabbed with the whip to get the key and open up the second log trap.
Artefact Piece 3/10
Requires: Whip, Shovel Story Mode: Yes
Past a couple of sleeping snakes to the left is a whip swing, on the other side of it you can dig up an Artefact Piece.
To get past all the snakes just keep riding the elephants, you'll need to use one to stand on the orange plate at the end anyway. Jump off and climb out of the hole and have all three characters stand on the buttons on the right side to finish opening the gate.
Pick up the object on the table and place it amongst the gears on the left side of the room. Next use Indy's whip to ring the golden bell on the right side of the room to reveal a key, pick it up and use it to reveal a lever that opens the doors.
Red Parcel - Poo Treasure
Requires: High Jump, Whip, Thuggee Story Mode: No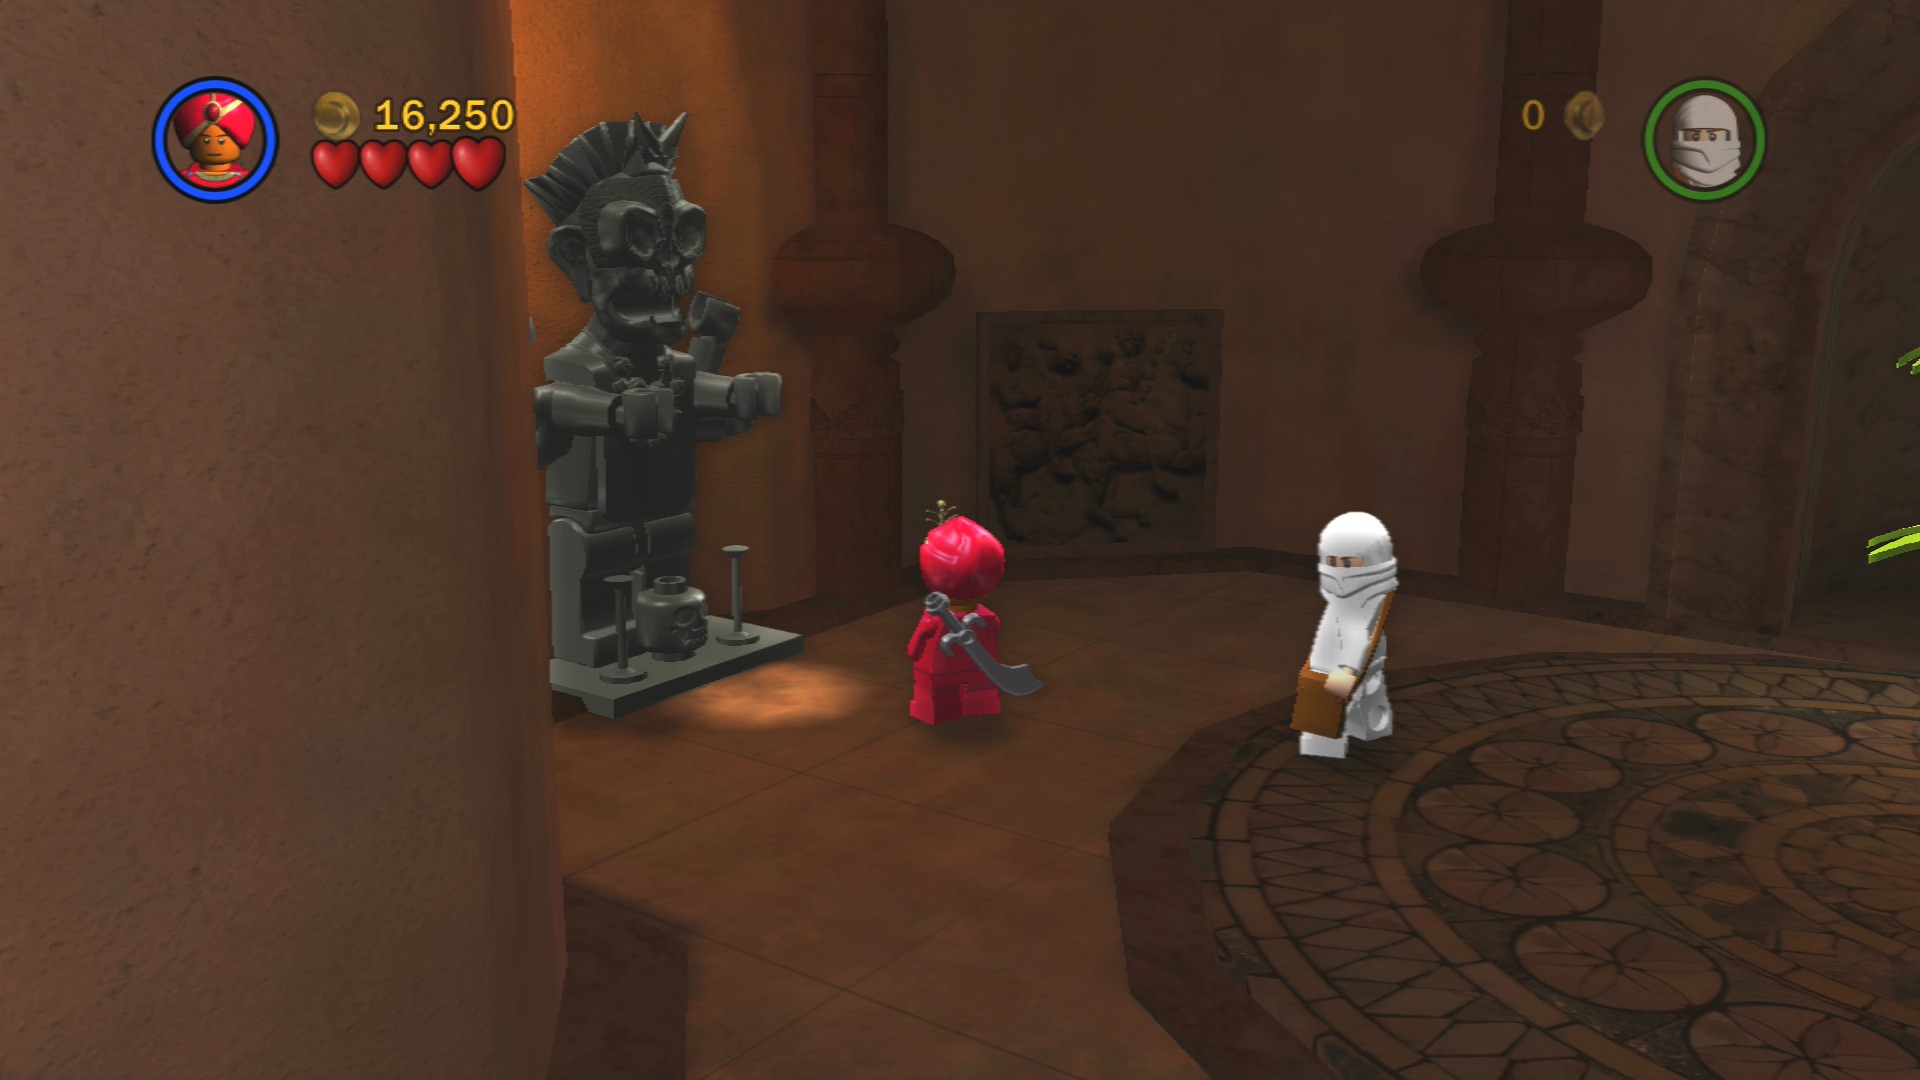
In Free Play if you jump on the glowing barrel you can high jump up to the ledge above and then whip swing to the left to reach the Red Parcel to bring it down to the floor. The Mailbox for the parcel is a long way down the corridor so carry it with you as you fend off enemies until you reach a sharp turn where there's a Thuggee statue. Talk to it to reveal the Mailbox.
The corridor is quite long and a few enemies will attack at various points.
Artefact Piece 4/10
Requires: None Story Mode: Yes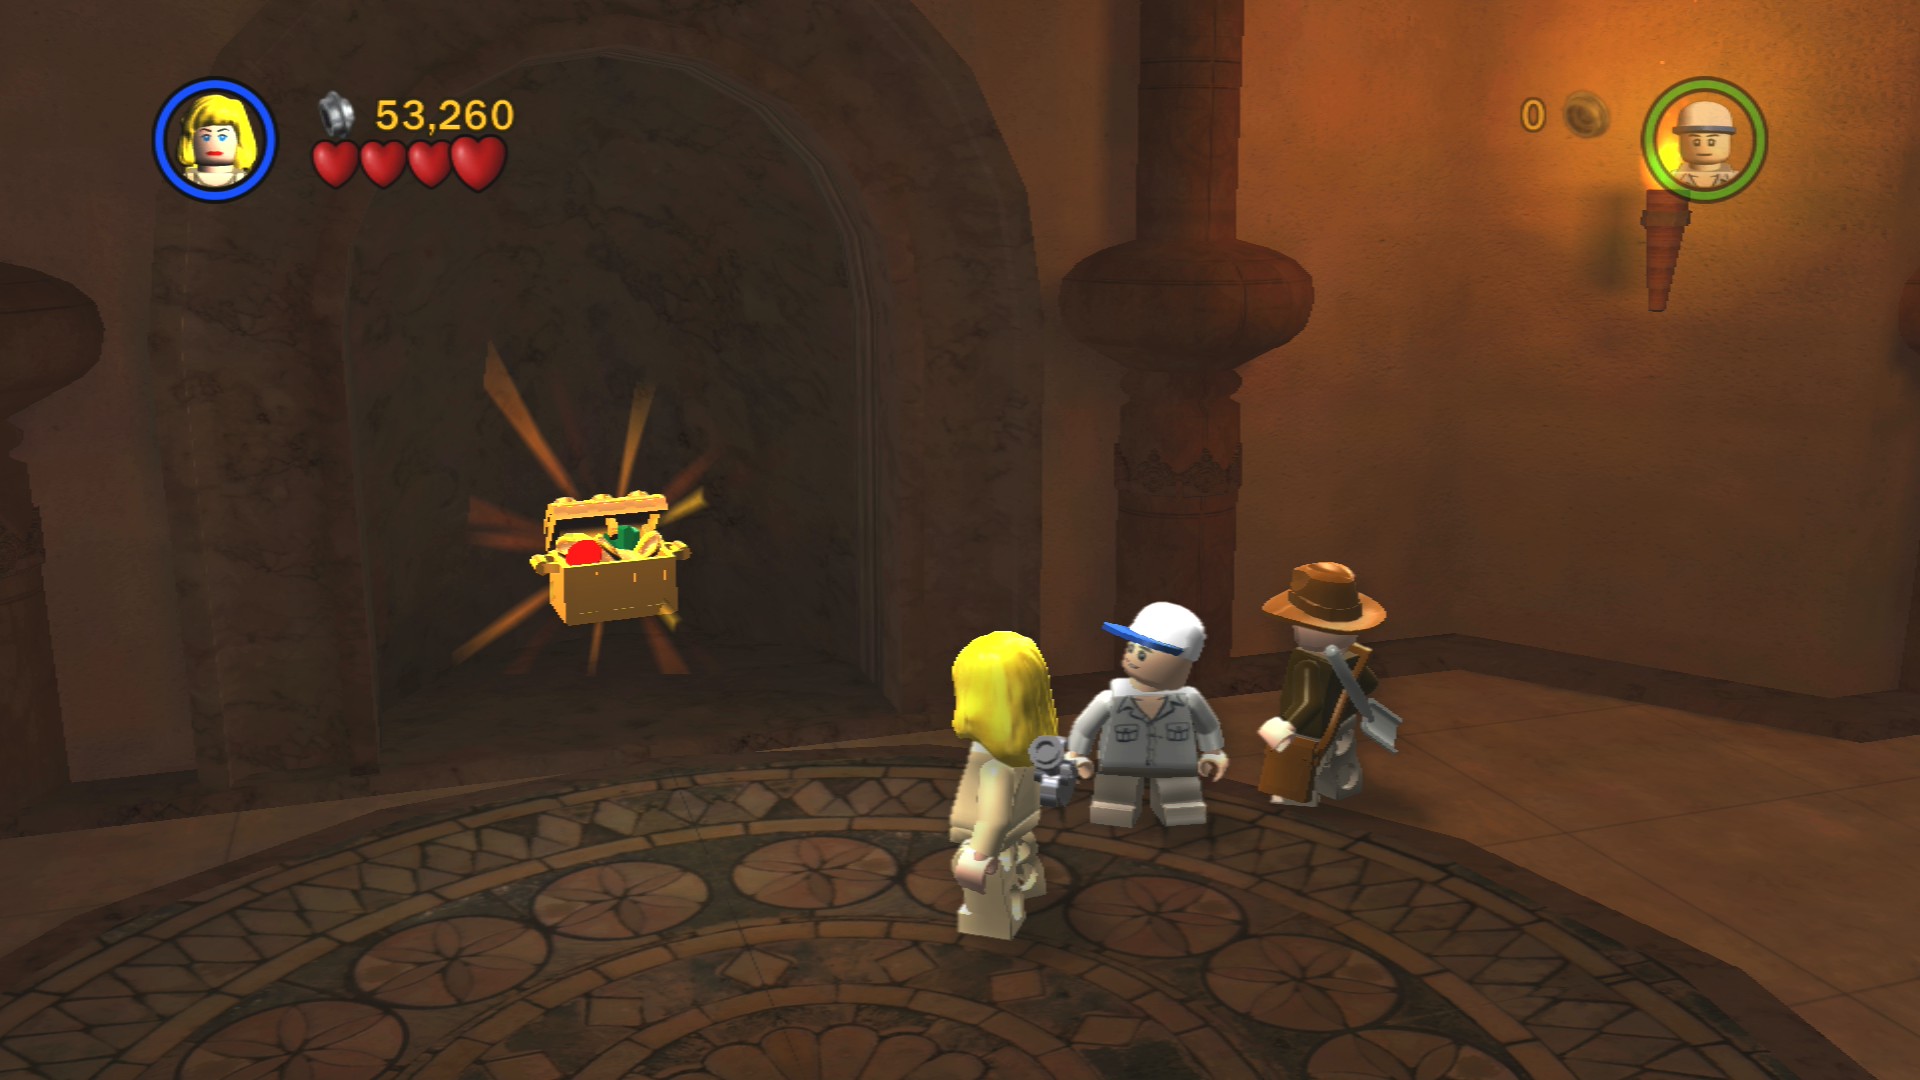
Smash a plant in the corridor at the point where it makes a sharp turn to the right.
At the end of the corridor you'll go through a doorway into a bedroom.
Artefact Piece 5/10
Requires: None Story Mode: Yes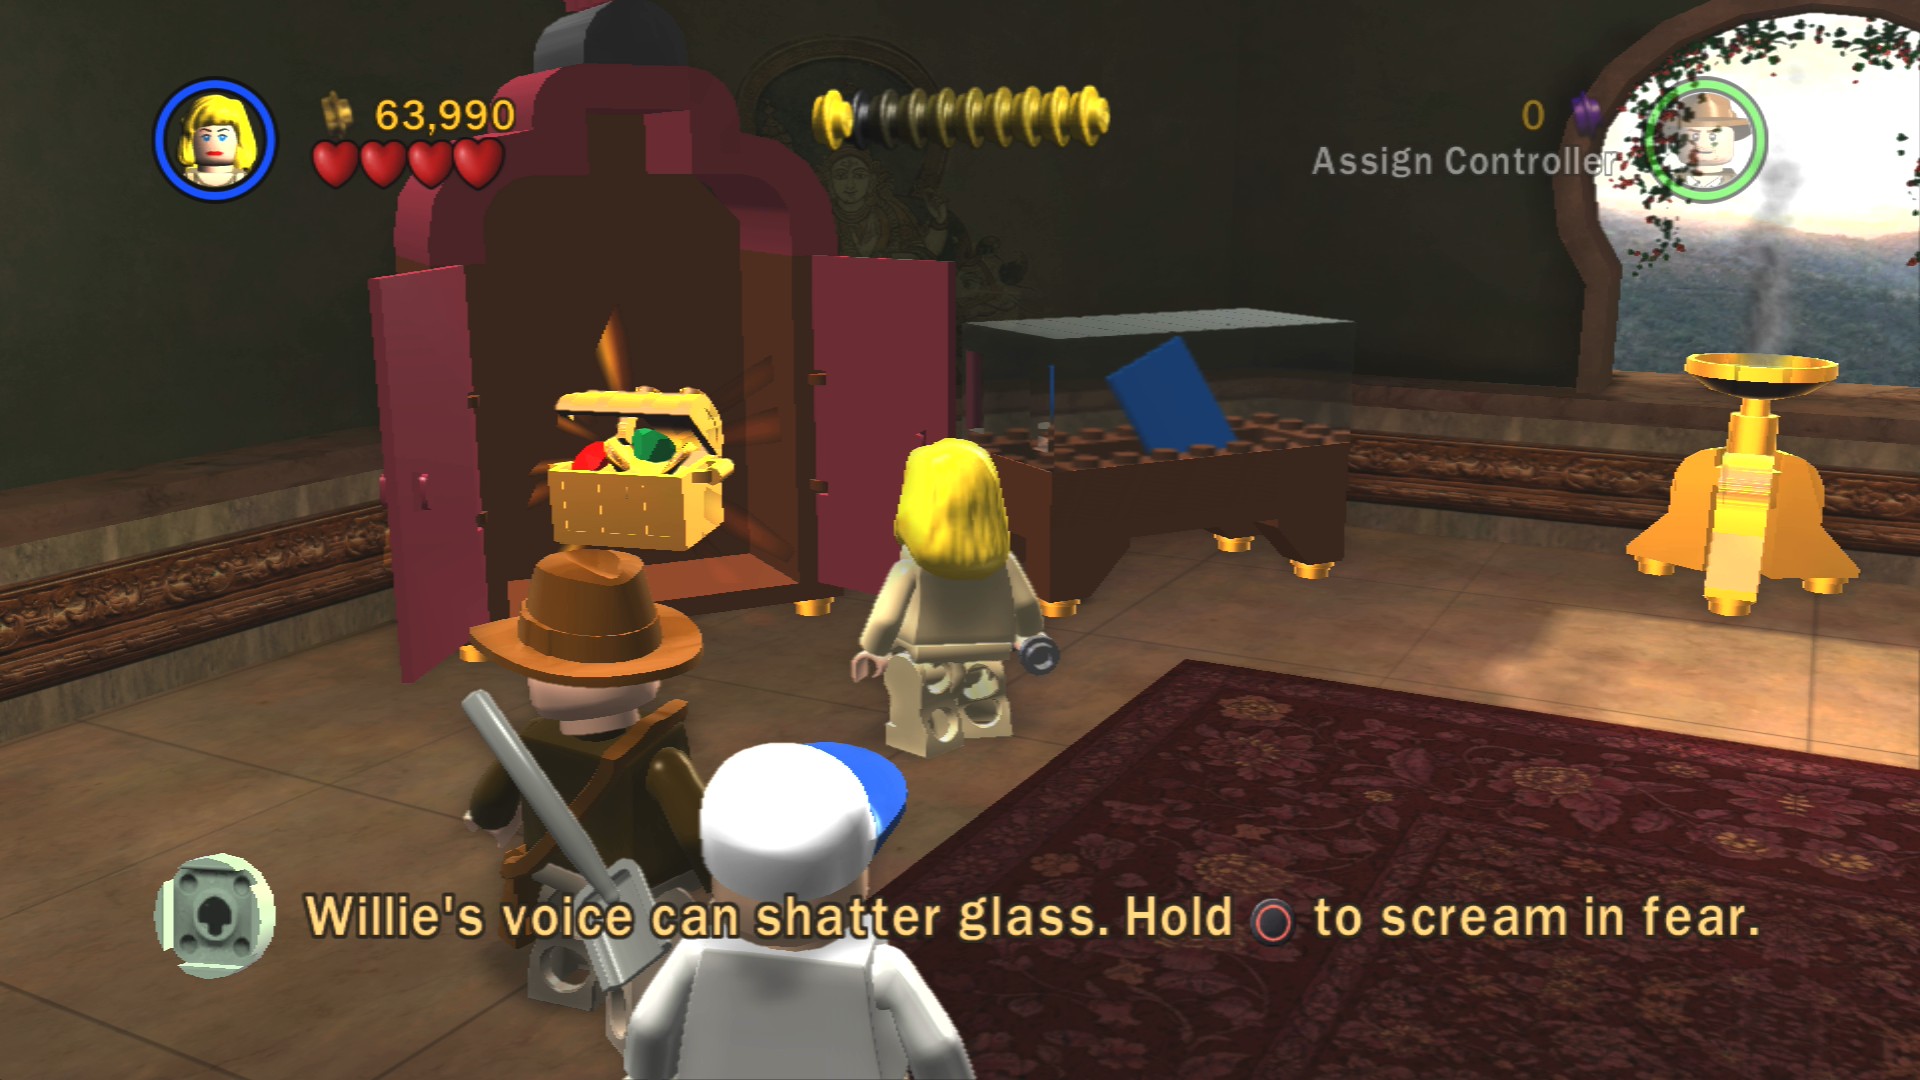
Smash open the wardrobe on the right side of the entrance of the bedroom to find the Artefact Piece inside.
Next to that wardrobe is a glass cabinet that Willie can scream at to shatter and find a book. Go back out into the corridor and push the round bush along its track, that will reveal some hieroglypics for you to solve with the book.
Defeat the enemies in this new bedroom and then push the bed along its tracks to the right end. Have Indy use the stool to jump up on top of the bed then over to the whip swing point.
Artefact Piece 6/10
Requires: High Jump Story Mode: Yes
High Jump above the whip swing point in this second bedroom.
Pull the lever on the other side of the swing, build the pull switch to pull the statue out of position and reveal another secret passageway.
Mind all the holes in here.
Artefact Piece 7/10
Requires: None Story Mode: Yes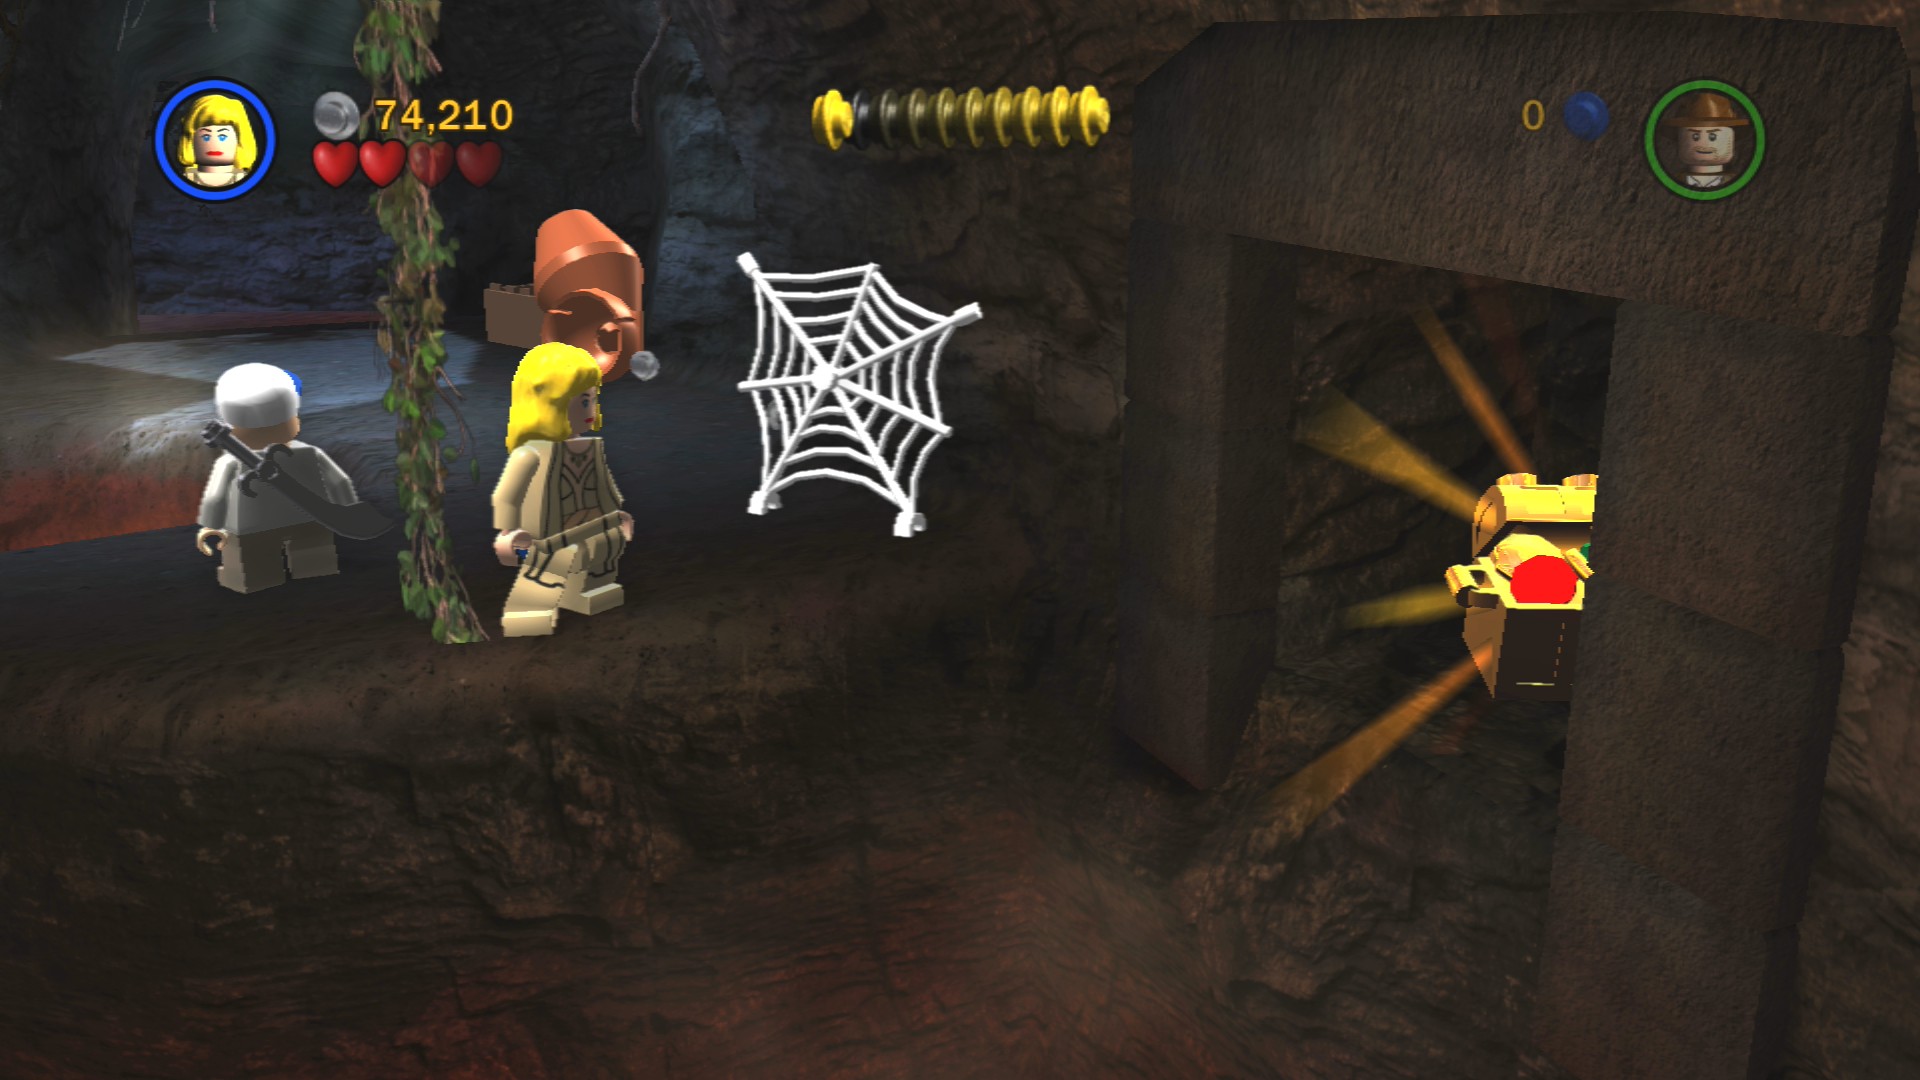
To the right of the vine swing is the Artefact Piece, you reach it by just jumping to it instead of the vine.
Artefact Piece 8/10
Requires: High Jump Story Mode: Yes
As you leave the first part of the caves it is in the air to the left, High Jump to reach it.
To the right you'll find a lever to pull, that'll reveal a ladder but don't bother going up it. Instead continue along the ground to where you find some jiggling LEGO. Build that LEGO into a hatch for Short Round to crawl through, from where you emerge jump to the left to grab a vine. That will bring up a platform that allows Indy and Willie to both get up here to enter a room with a pit full of spiders.
Whip swing across them and grab one of the flaming torches from the wall, walk back through the spiders and Willie will be able to follow you across now. Stand all three on the buttons.
Artefact Piece 9/10
Requires: Whip Story Mode: Yes
Use Indy's whip to pull open the door on the left side of the three buttons. Smash the skeleton that appears to get the Artefact Piece.
Artefact Piece 10/10
Requires: None Story Mode: Yes
Smash the crates just inside the door that opens after standing on the three buttons.
A large stone door will rise up as you approach it, go through and use the whip to pull on the hook to trigger a trap. Quickly smash the two skeletons and place the crates that appear on the green plates in the middle. Assemble the object to jam the trap and finish the chapter.
| Cost | Character | |
|---|---|---|
| - | Willie (Evening Dress) | |
| 40,000 | Maharaja | |
| 25,000 | Pankot Assassin | |
| 18,000 | Pankot Guard | |
| 15,000 | Village Elder | |
| 15,000 | Village Dignitary | |
| 15,000 | Willie (Dinner Suit) | |
| 15,000 | Willie (Pyjamas) | |
| 40,000 | Chatter Lal |
Chapter 3. The Temple of Kali
| Story Mode | Free Play |
|---|---|
| 50,000 | 60,000 |
Artefact Piece 1/10
Requires: High Jump Story Mode: No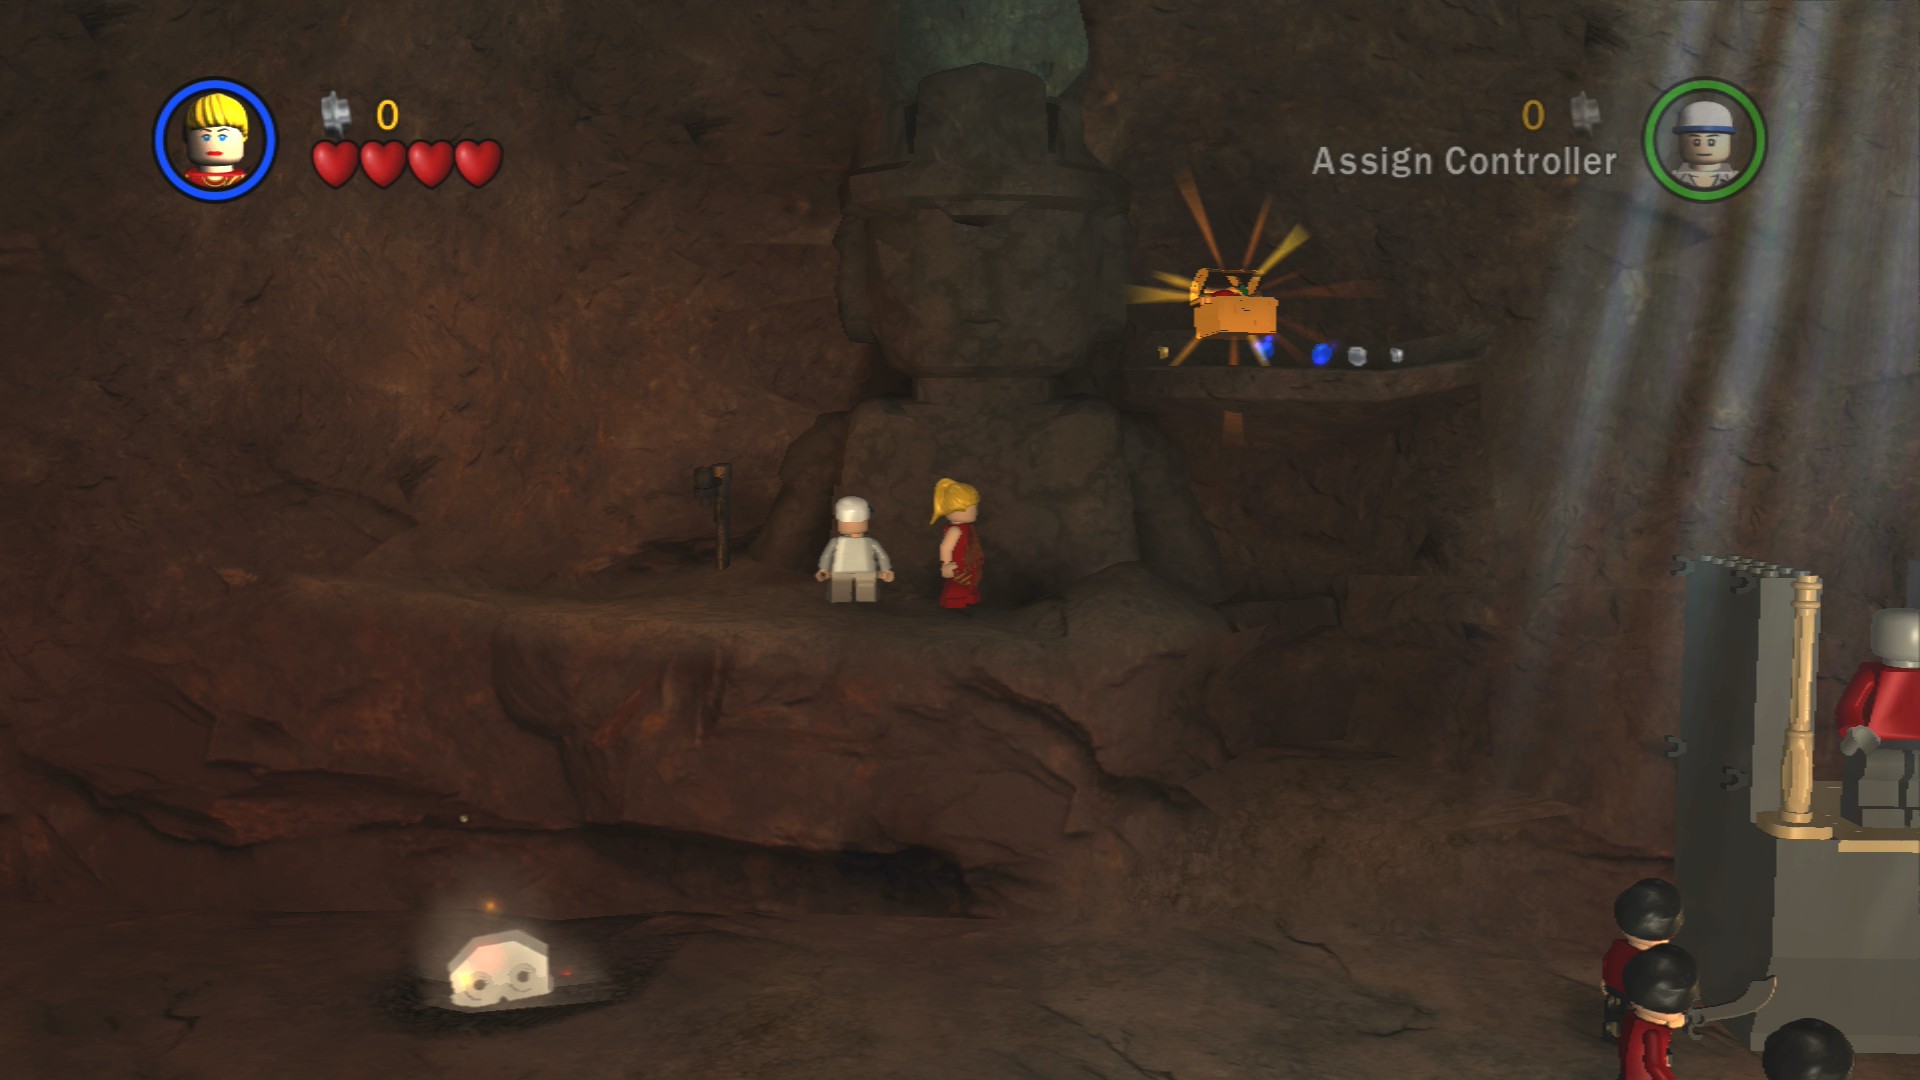
High Jump up to the Artefact Piece on the right at the start.
Artefact Piece 2/10 - Part 1/3
Requires: Shovel Story Mode: No
The first of three skulls to dig up is found right below where you start.
Jump down to be attacked by a few guards, after you've cleared them out jump down again to another set. On the right are some dancing pieces of LEGO that can be built into a small ladder to reach the pushable object. Push the object to get some more bricks, this time forming the handle of a rotation switch.
Artefact Piece 2/10 - Part 2/3
Requires: Shovel Story Mode: No
And the second skull to dig up is below where the object smashes down to.
Pick up the rotation switch and place it on the base to the left.
Artefact Piece 3/10
Requires: None Story Mode: Yes
If you jump along the small platforms to the left of the rotation switch you can reach an Artefact Piece at the back.
Pick up the nearby crate and walk onto the circle to the left, then switch character and have them push the rotation switch. Switch back and place the crate to the right beneath a large figure.
Next whip swing across the gap to the left and defeat another load of enemies.
Artefact Piece 4/10
Requires: Thuggee Story Mode: Yes
If you pick up a dropped Thuggee hat you can activate the Thuggee statue here to open the cage holding the Artefact Piece.
Once they're gone grab a flaming torch off the wall and place it in one of the holders next to the lowered bridge. Repeat for the second holder to raise the bridge up so Short Round can get across.
Have Short Round crawl through the hatch at the back and pull the lever. When he crawls back through he'll be able to reach the crate to bring it down and place it in front of that figure with the other one. Use the handholds on the side of the rebuilt figure casing to get on top and jump to the right.
Artefact Piece 5/10
Requires: Explosives Story Mode: No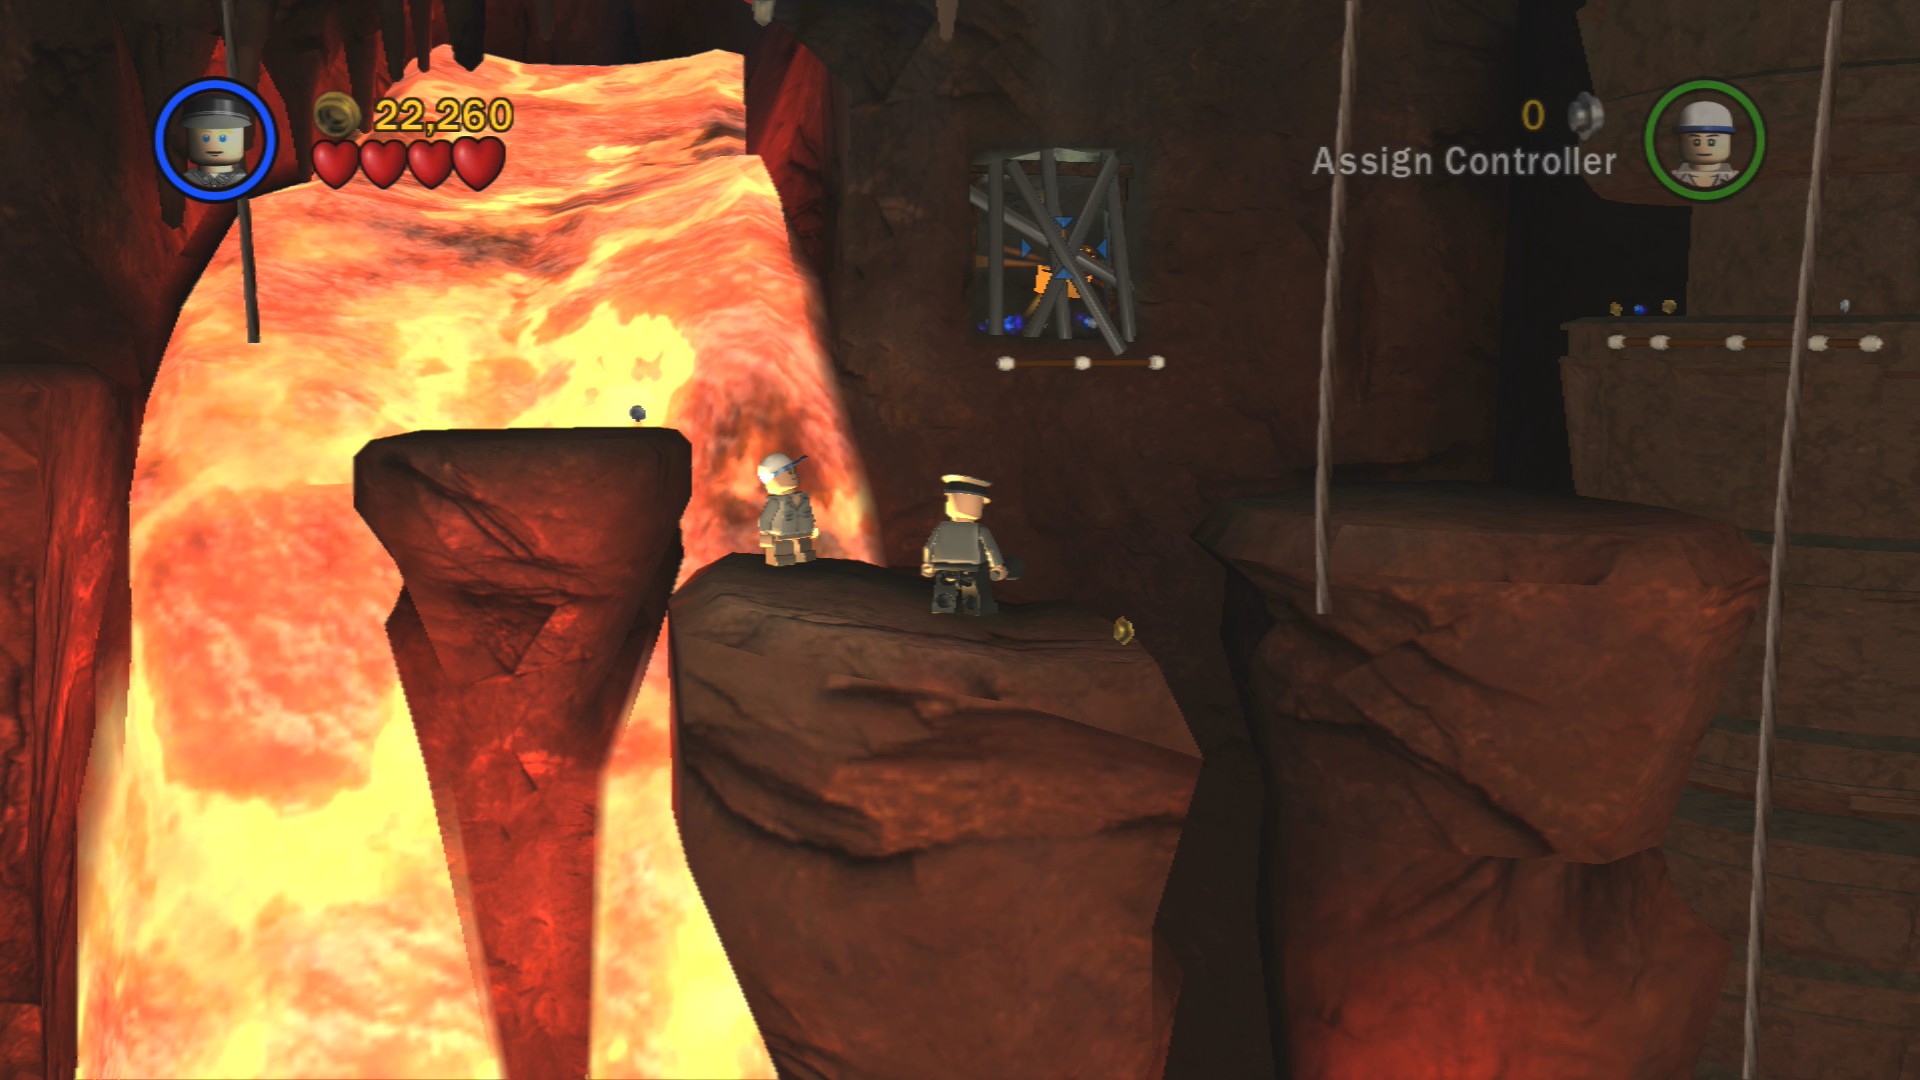
Behind some Silver LEGO next to the lava waterfall after the repaired figure.
Artefact Piece 6/10
Requires: None Story Mode: Yes
Climb up the long rope to the top and jump from it to the handholds beneath the Artefact Piece on top of the rotating columns.
Grab a hold of the handholds on the rotating columns to make your way around to the far side of them where there's a group of enemies waiting for you.
Artefact Piece 2/10 - Part 3/3
Requires: Shovel Story Mode: No
And the third skull to dig up is found over here near the exit.
Have both characters pull the levers on the right to get to the next area.
Defeat the enemies that attack.
Red Parcel - Super Scream
Requires: Spanner, Book Story Mode: No
Go to the right side of the area and towards the screen you can find a hieroglyphics board behind a cage. Use a mechanic to fix the engine next to it.
Once you've solved the board pick up the Red Parcel and carry it to the left side of the area where in a similar position you can find a red and black statue next to a smoking object. Smash the statue and rebuild the Mailbox to post the Parcel.
Artefact Piece 7/10
Requires: Spanner Story Mode: No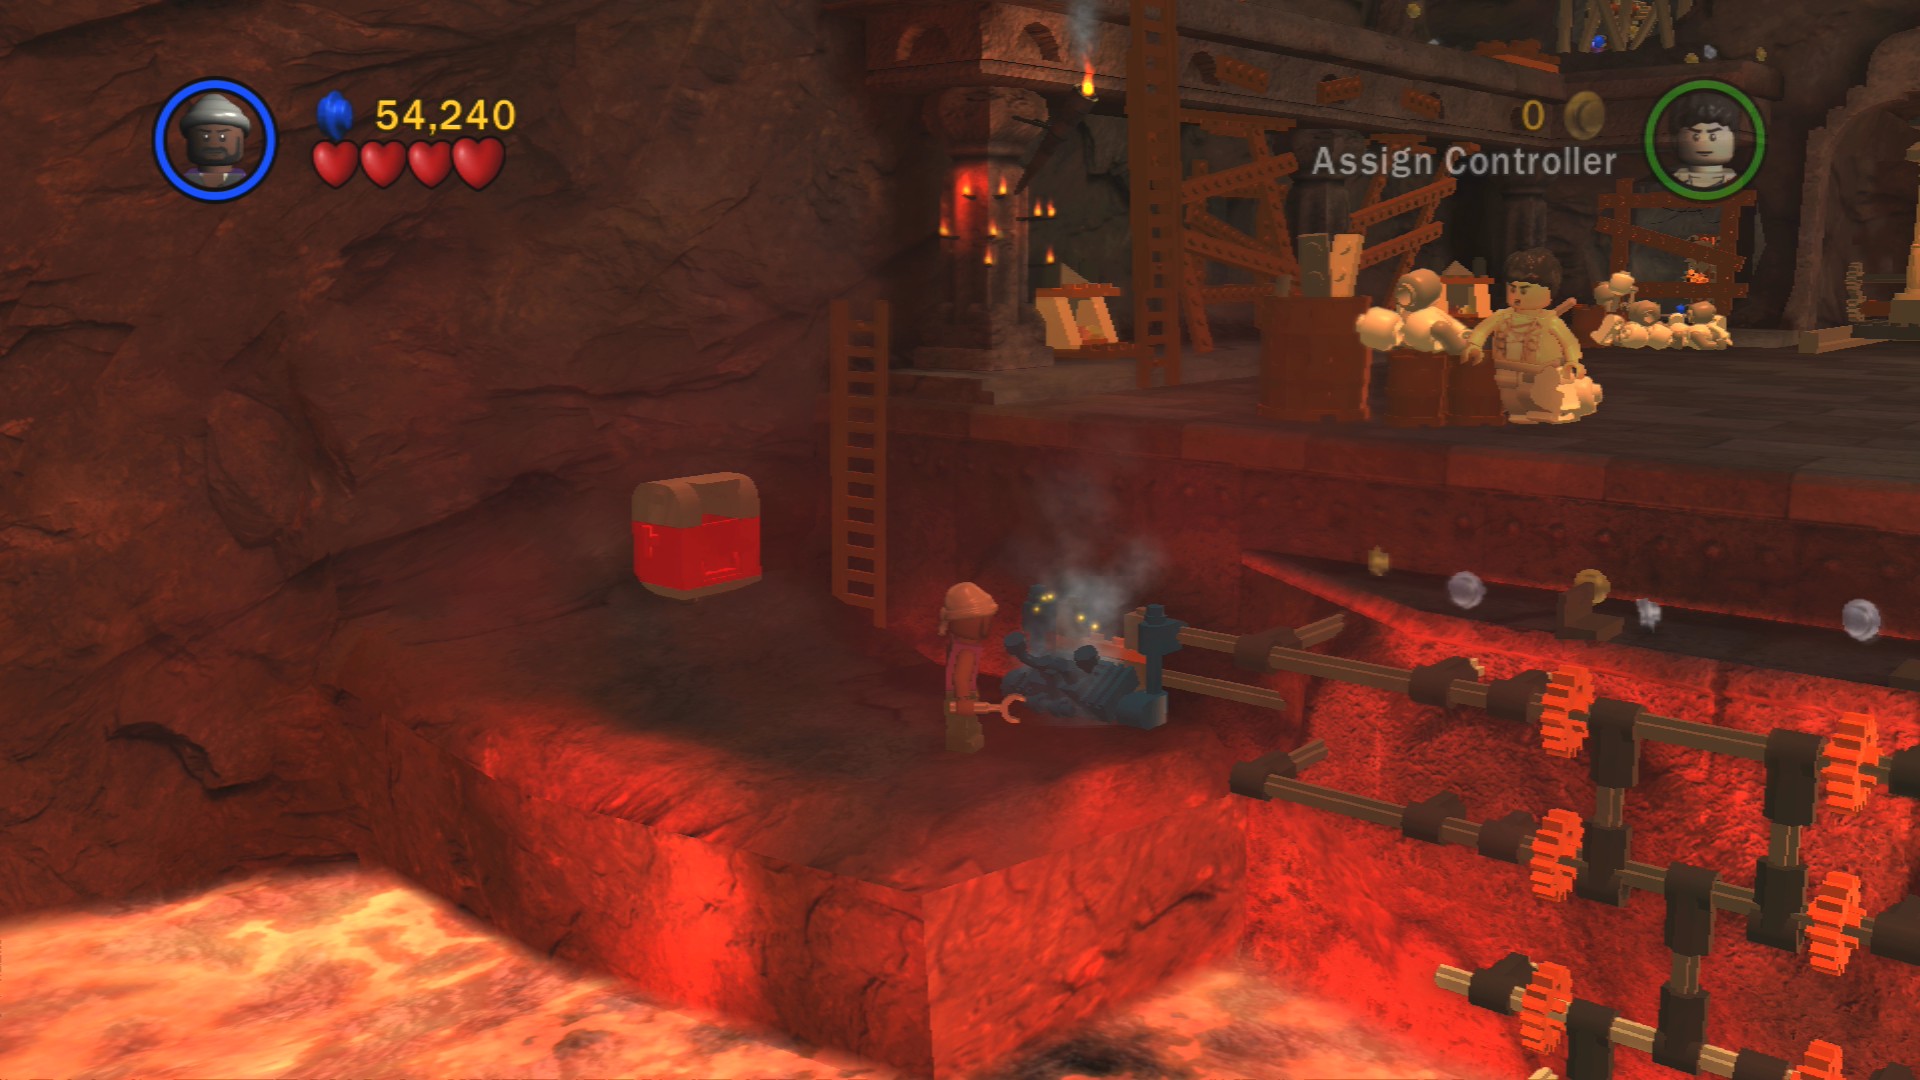
Next to the Mailbox is a smoldering object, use a mechanic to fix it and a platform will appear with the Artefact Piece on it.
Go to the back left corner where you can smash through some wooden beams to get to a turn key. Turn it to move the figure out into position then climb up the ladder to the left.
Artefact Piece 8/10
Requires: None Story Mode: Yes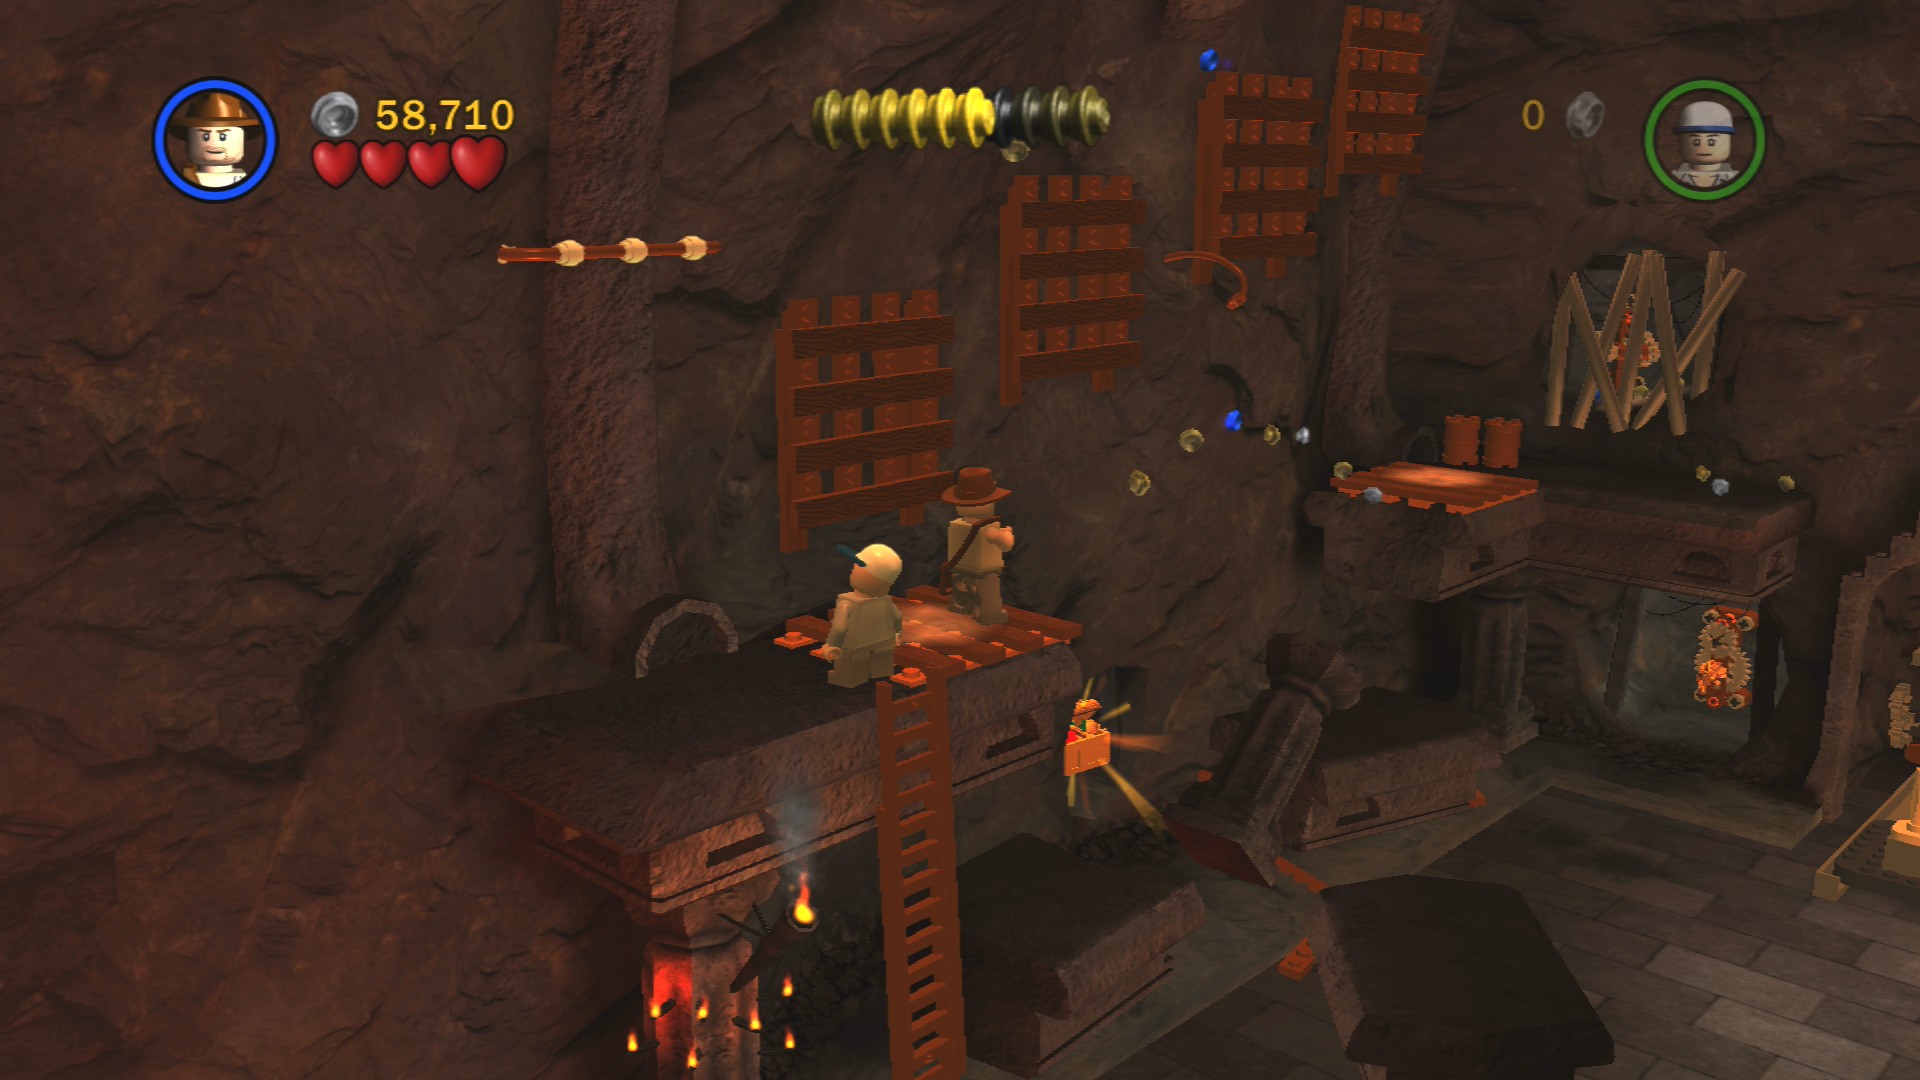
When you get to the top of the ladder the ledge will collapse and you'll be able to reach the Artefact Piece that was previously unreachable.
Whip swing across the new gap.
Artefact Piece 9/10
Requires: Explosives, High Jump Story Mode: No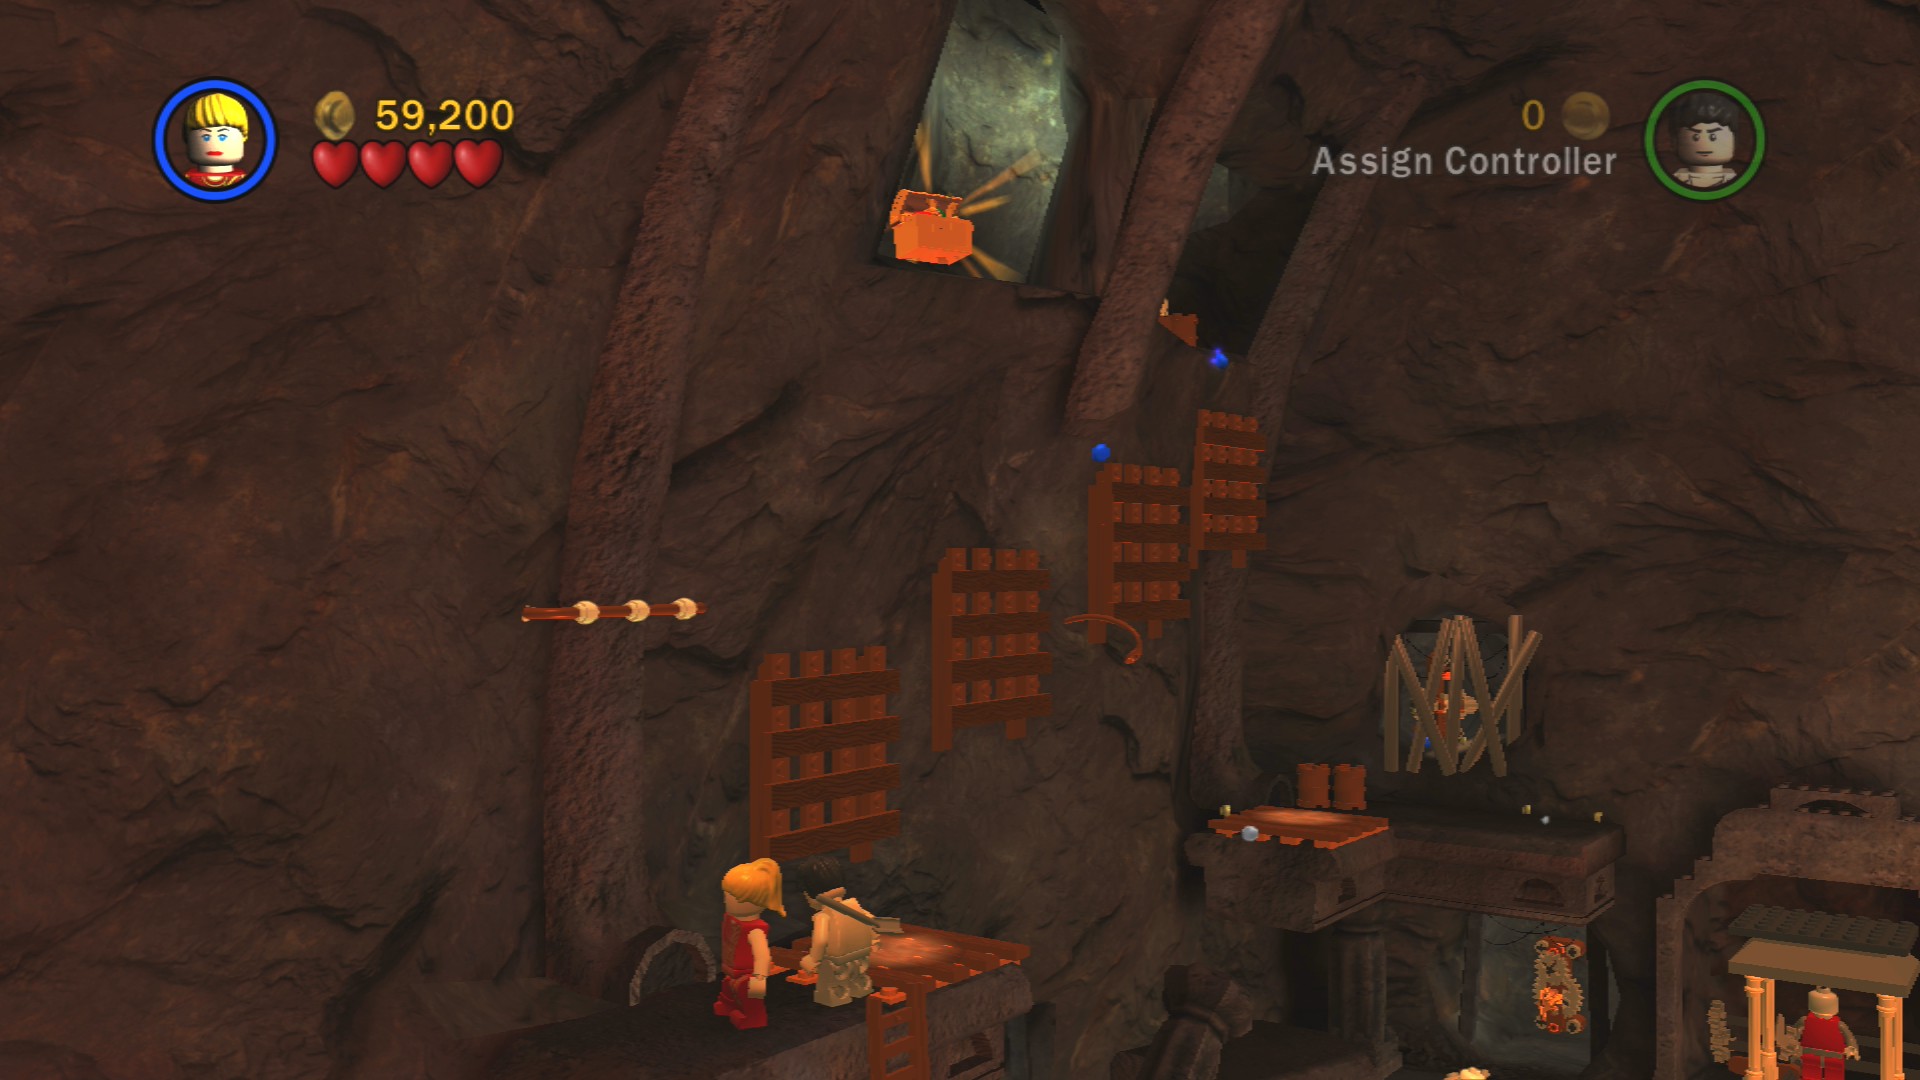
Blow up the Silver LEGO blocking the lever, pull it and then go back across the whip swing. High Jump up to the handhold and then jump up the newly flipped out platforms to reach the Artefact Piece at the top.
Use the figure you pulled out as a platform for reaching a lever to raise the cage a little.
Artefact Piece 10/10
Requires: Whip Story Mode: Yes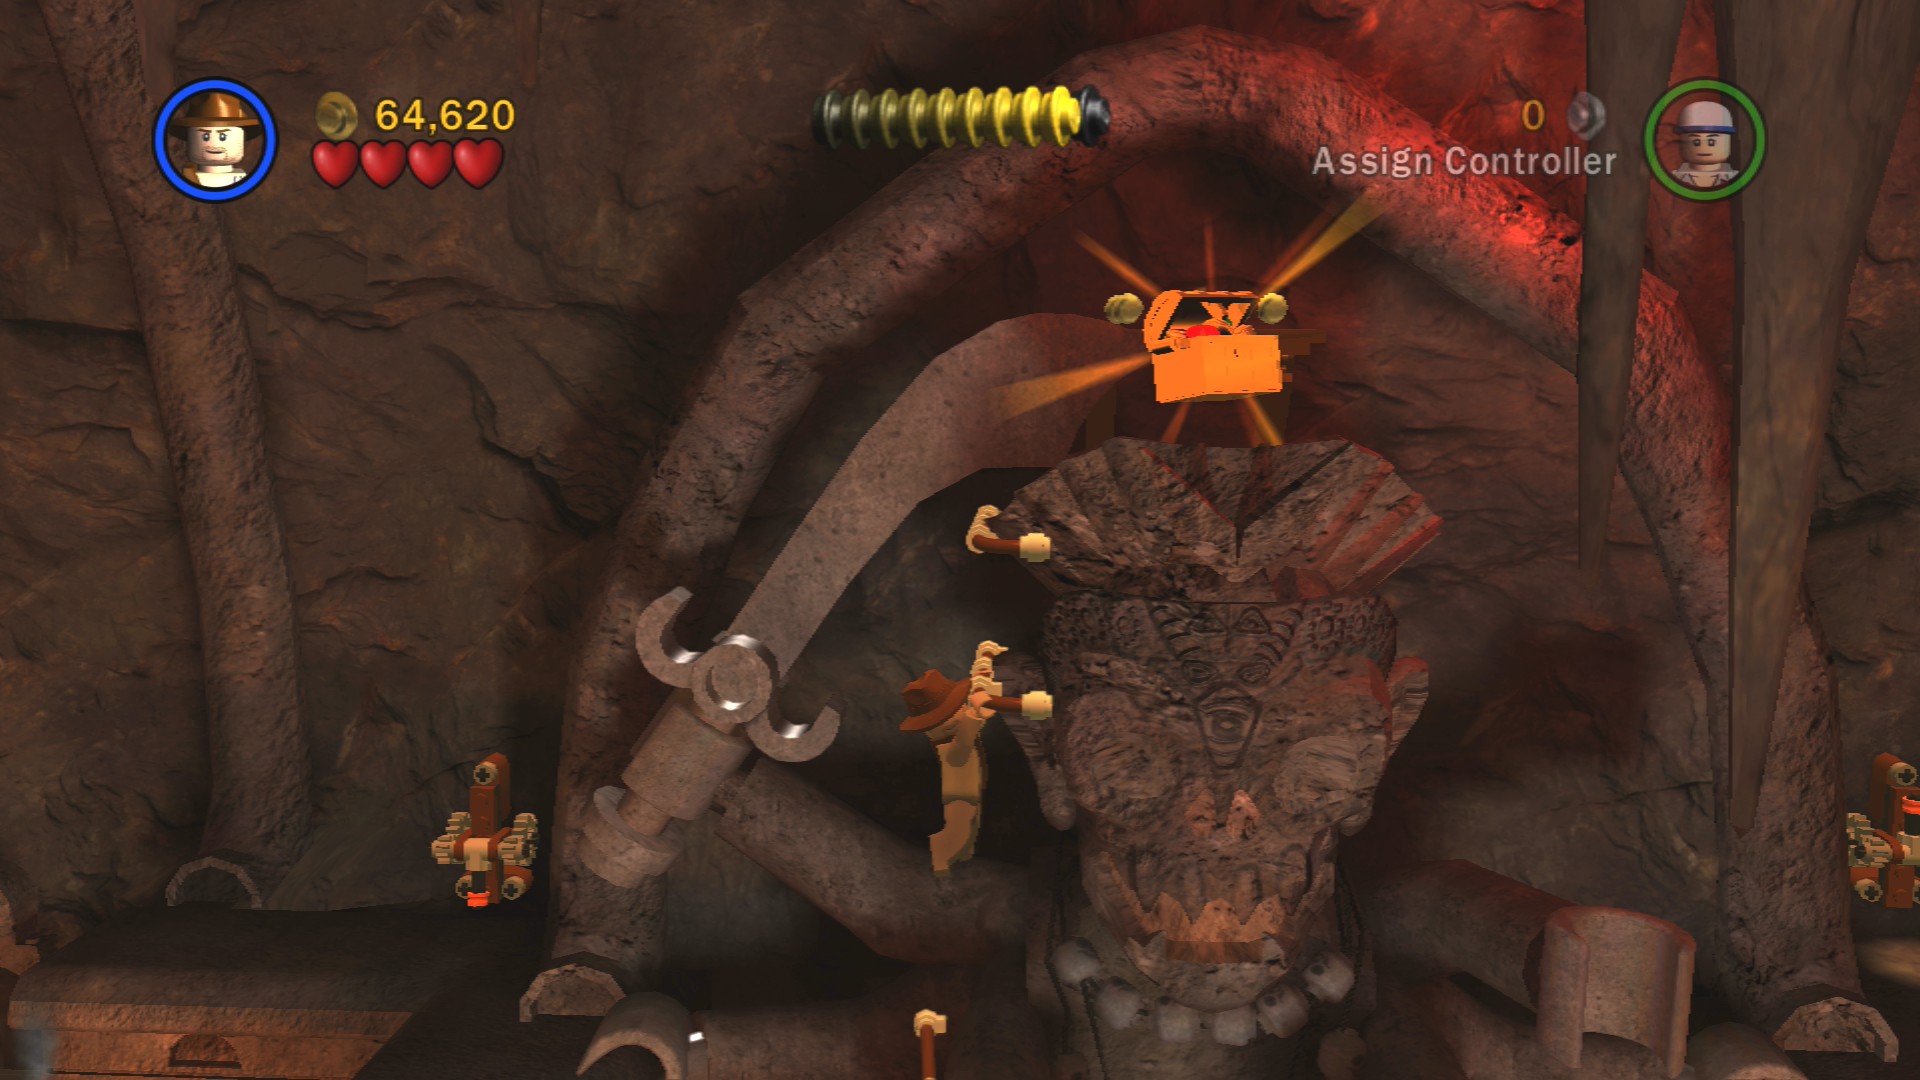
To the right of the lever you can jump up some handholds to get on top of the large statue and grab the Artefact Piece up there.
Jump back down and start on the right-hand side of the area. Rebuild the broken figure enclosure and push it along its path to the right and then backwards into position. Pull the other one out as well. To the right of the one that was broken is a skull you can smash through to reveal a hatch that Short Round can fit through.
Jump back down to get into the fight with the boss, Chatter Lal, hit him a few times if you can otherwise concentrate on killing the regular enemies. When you start to get ones dressed in white wearing plain black turbans pick up their dropped hats and interact with the Thuggee statues at the back. This will trigger the orange platforms in front of them to spew fire when the boss lands on them and will take off several hearts. Taking off the last heart will end the level.
| Cost | Character | |
|---|---|---|
| - | Indiana Jones (Kali) | |
| 40,000 | Chatter Lal (Thuggee) | |
| 30,000 | Thuggee Acolyte | |
| 18,000 | Thuggee |
Chapter 4. Free the Slaves
| Story Mode | Free Play |
|---|---|
| 65,000 | 75,000 |
Use Willie to High Jump up the ledge on the left side and have her rebuild the handhold for Indy to also get up. You'll need him to use his whip at the back to raise up a wooden platform that Willie can then use to get up to the even higher ledge. Grab the glowing crate and place it down on the green section then do the same for the crate that's just over on the right.
Once both parts are assembled the minecart will shoot off and smash through a barrier ahead. Jump down and follow the track to the lava where you can then jump to grab hold of a rope to swing to a platform ahead.
Artefact Piece 1/10
Requires: Hatch Access Story Mode: No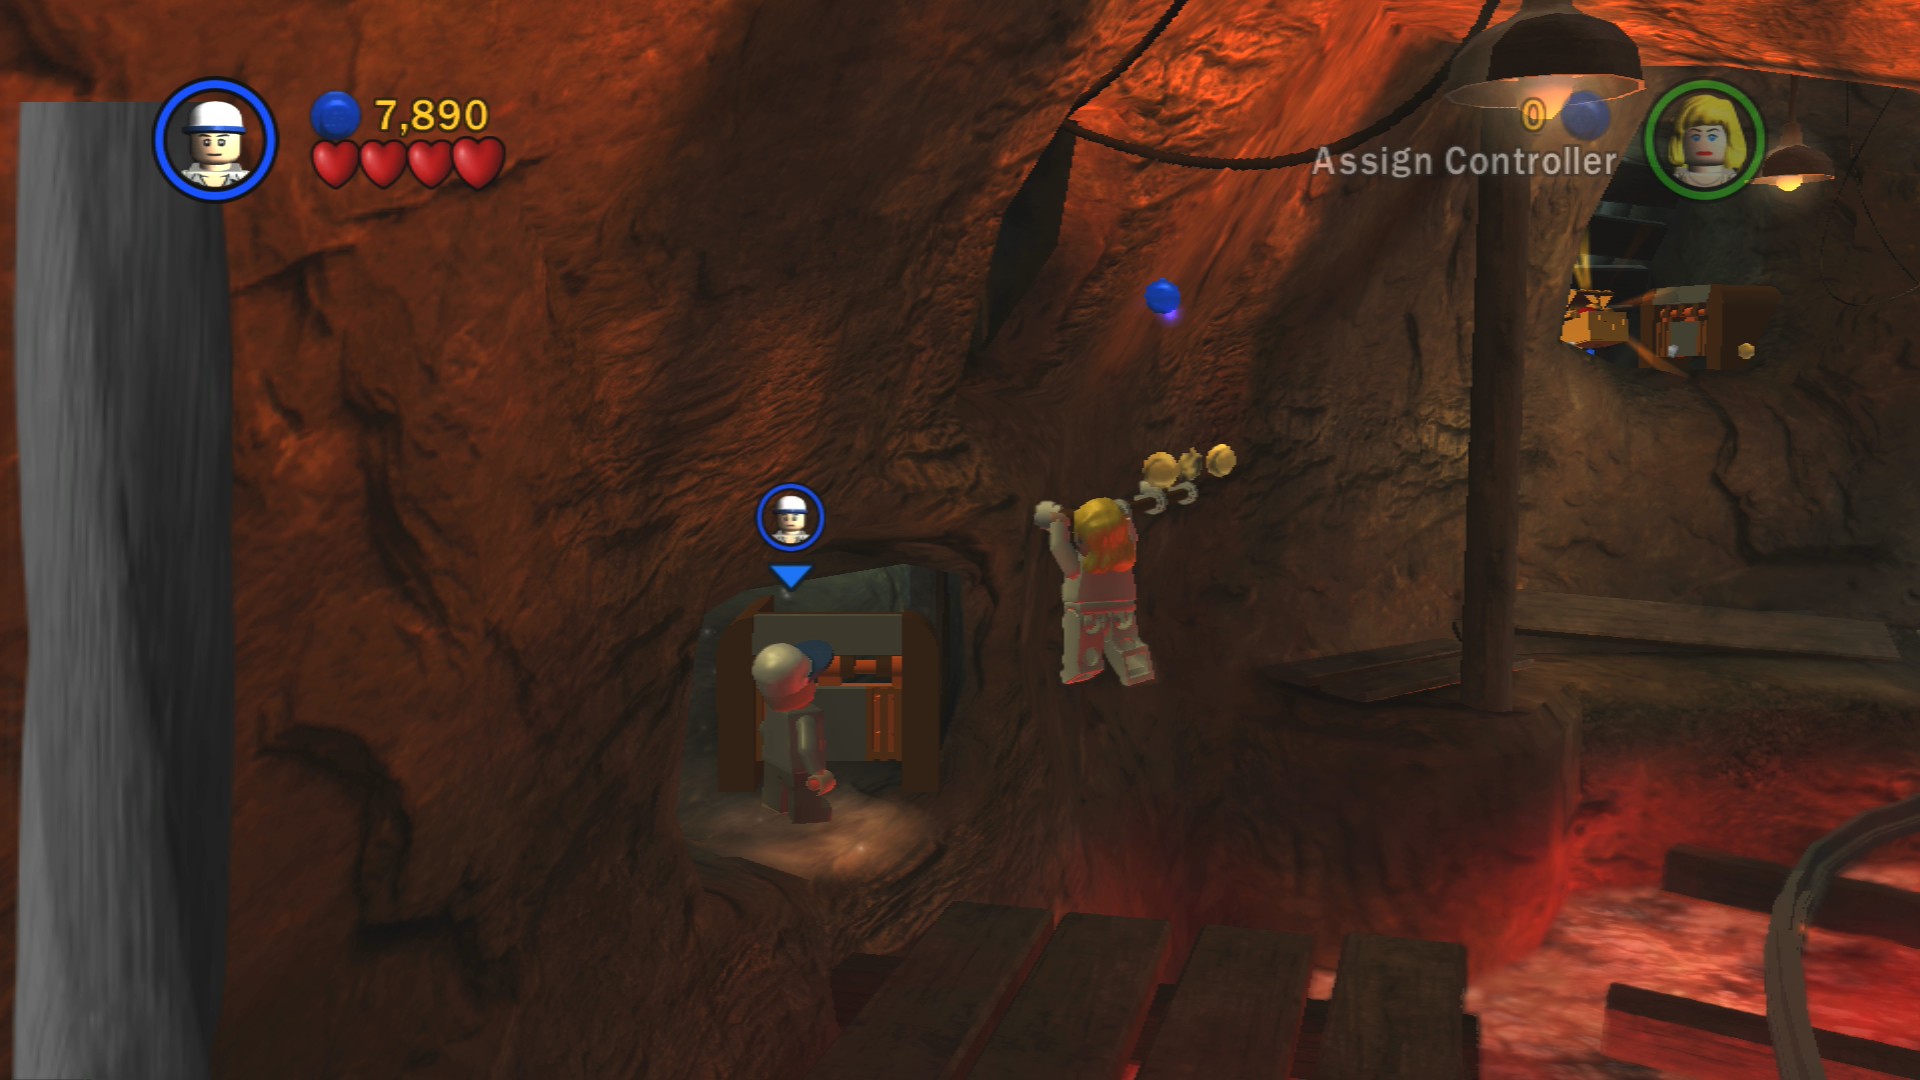
Use a small character to crawl through the hatch.
Jump to the handhold and then over to the other side of the lava where you'll encountered a few waves of enemies.
Artefact Piece 2/10
Requires: Thuggee Story Mode: No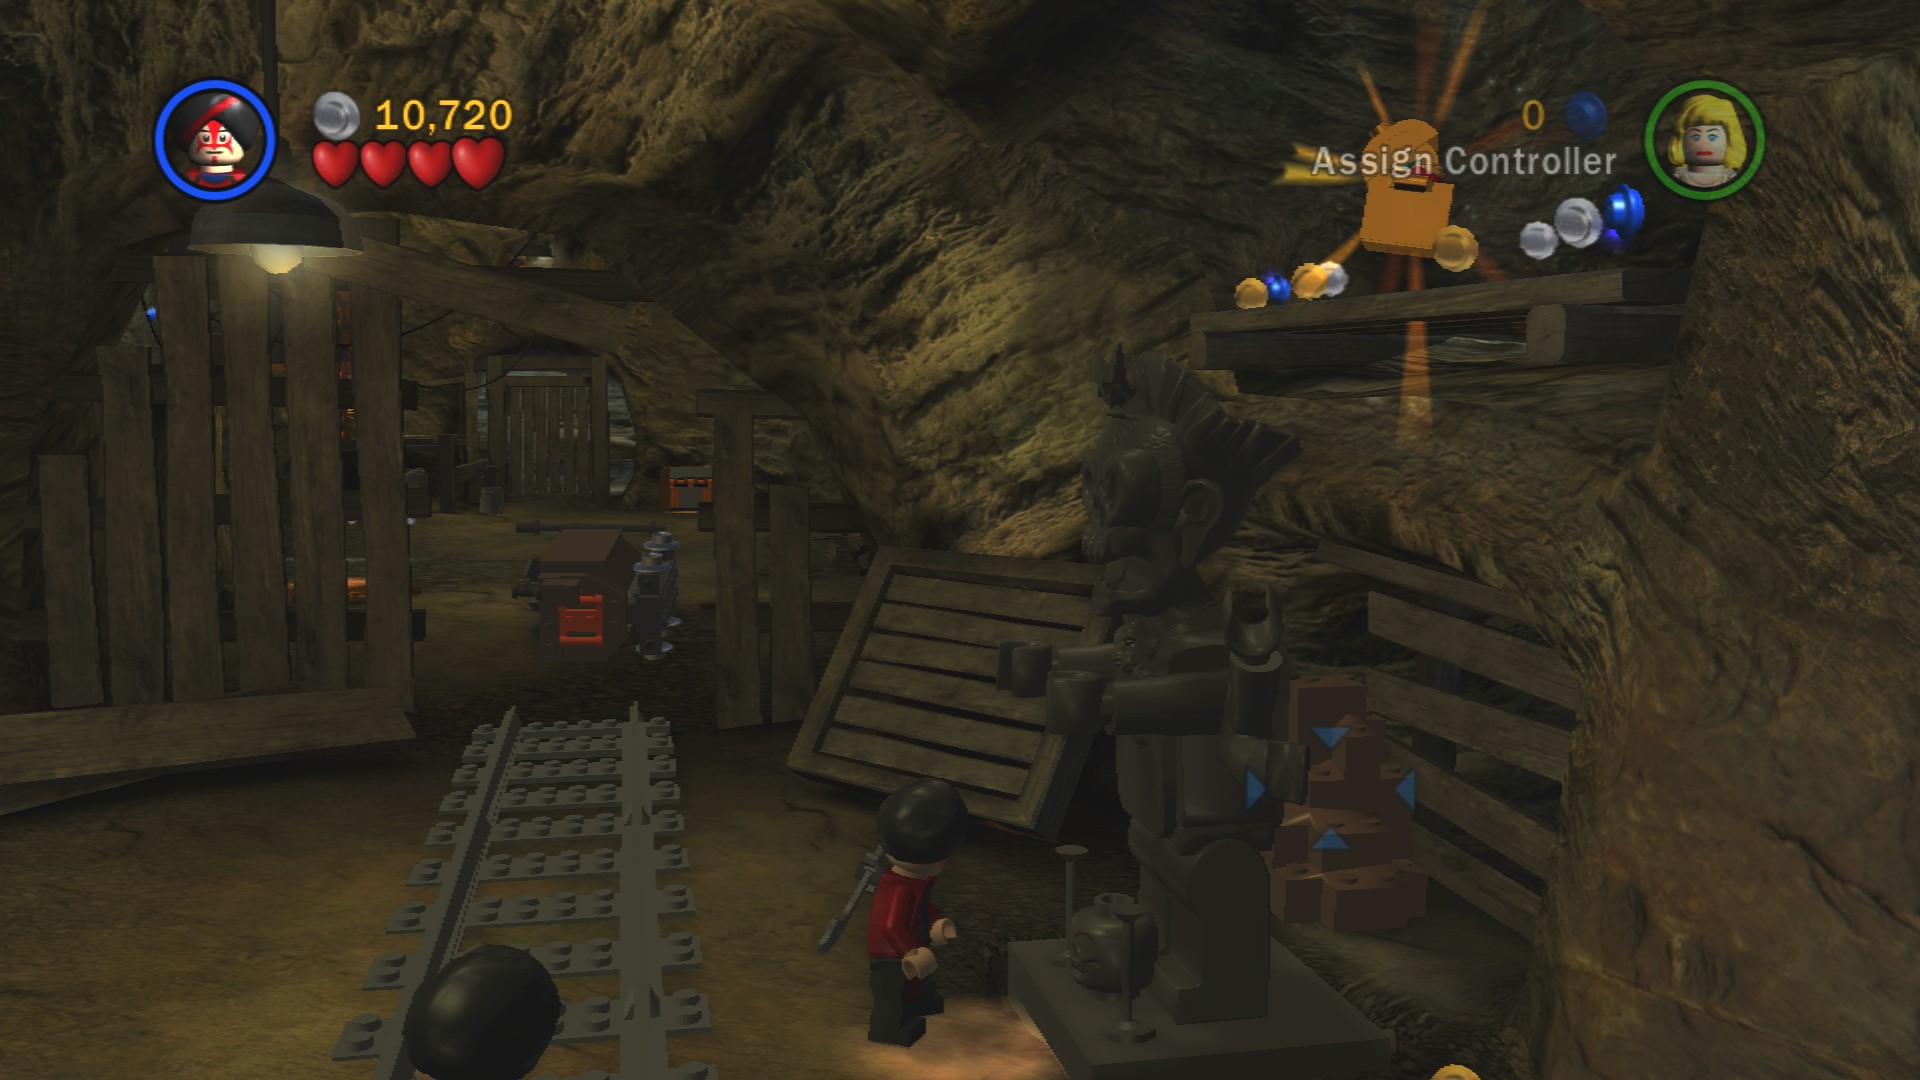
Use the Thuggee statue and then ride the steam blast up to the Artefact Piece above.
Go through the gap that the minecart created to reach the next area.
Artefact Piece 3/10
Requires: Whip, High Jump Story Mode: Yes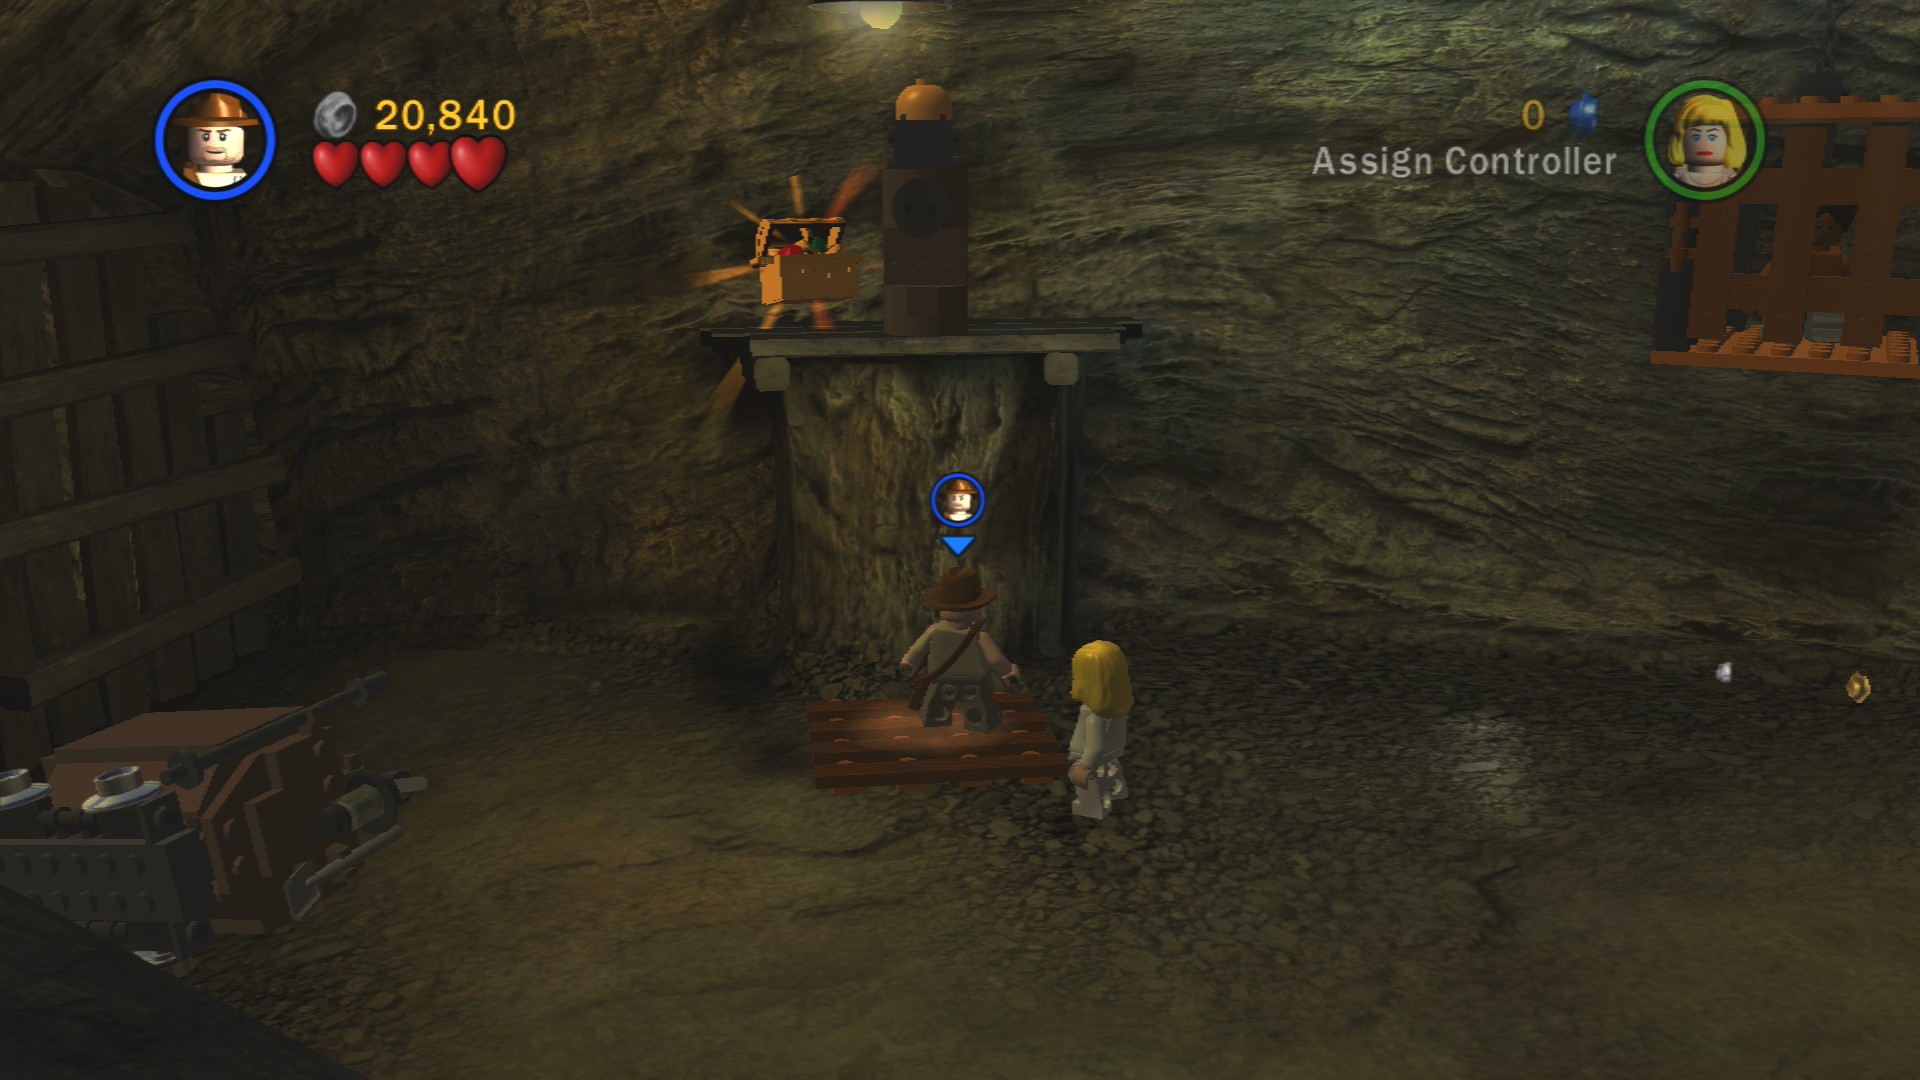
Use the whip spot just to the right of the crashed minecart, rebuild the handhold and then High Jump up to it and grab the Artefact Piece.
There are a couple of enemies to the right as well as a turn key that you can rotate to lower a cage and free your very first slave. He'll run through the hatch and pull the lever to let you out of the room.
Whip swing across the glowing red gap at the back then smash the crate over there to find a piece you can pick up and place on the little green cart. Turn the key to send it over to Willie.
Red Parcel - Character Treasure
Requires: Explosives, Whip Story Mode: No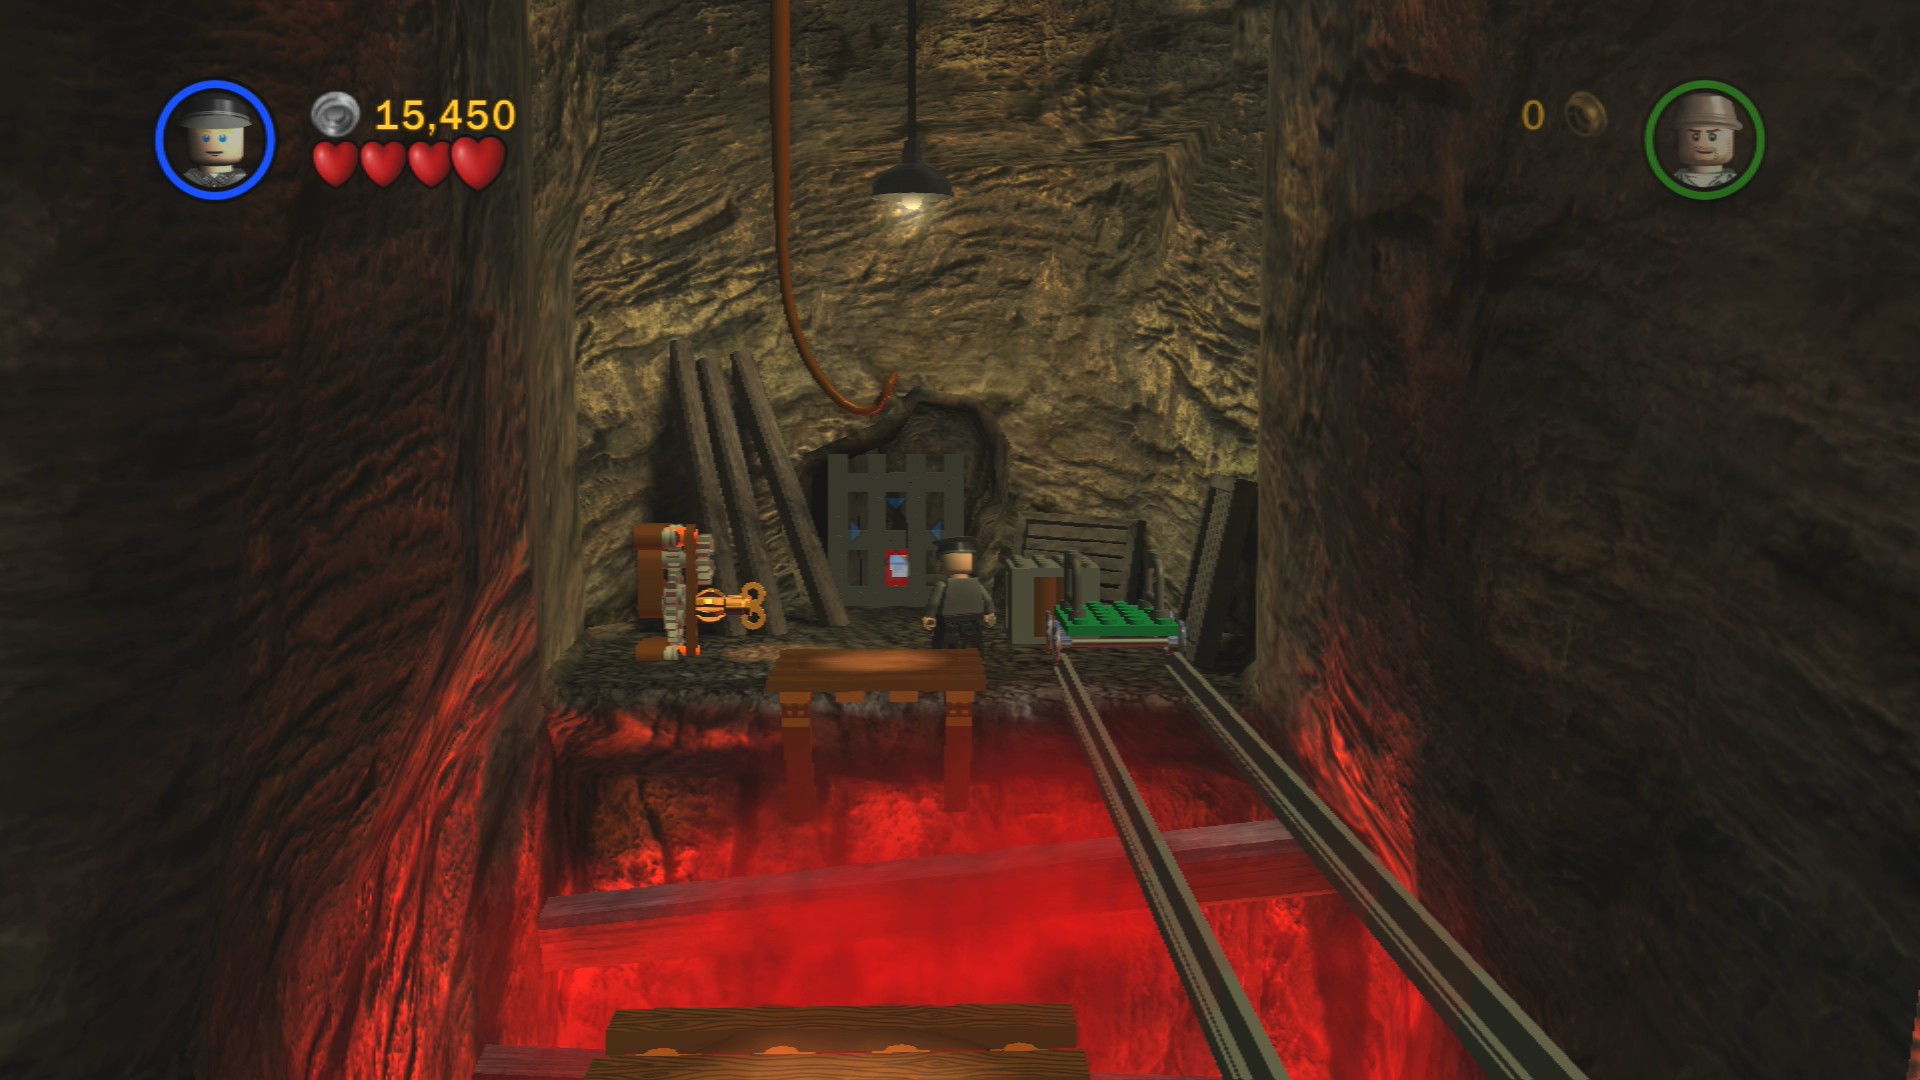
Blow up the Silver LEGO over on the other side of the whip swing and also send it over on the green cart. After you've got the other piece to its destination and fixed the lift you should then get it across the platforms in the same manner (jumping ahead and then using the whip) and finally use the working lift to bring the Red Parcel up to the Mailbox.
Artefact Piece 4/10
Requires: None Story Mode: Yes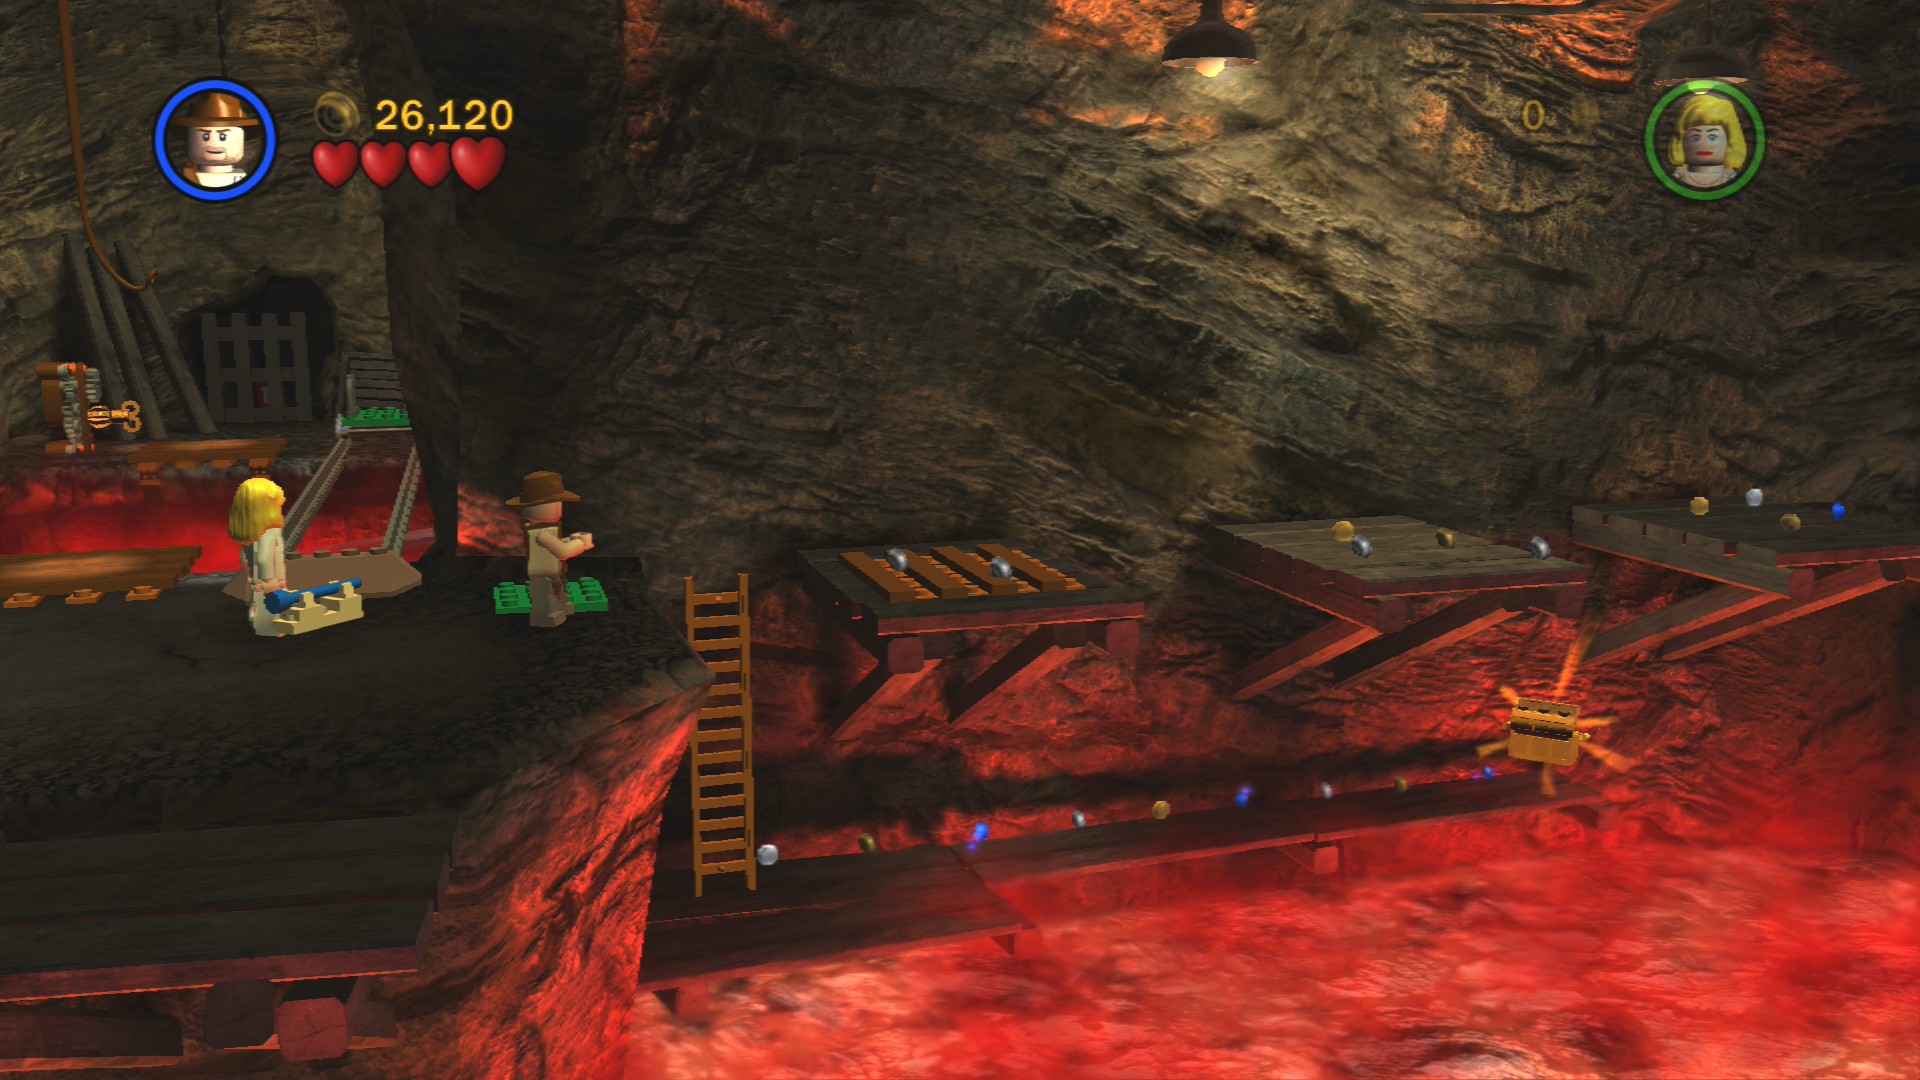
Instead of jumping along the platforms to the right go under them.
You can't manage to make the jumps necessary while carrying the object so instead place it near the edge, jump to the next platform without it and then use the whip to grab it from afar. Repeat that several times until you've got the object to the far side where you can place it next to a small lift.
It'll start smoking so time to find a spanner, there's one in the barrels beneath the platform at the back. Before you use the lift go to the opposite side of the room where there's a waterfall pouring down onto some buried LEGO. You can find a shovel in amongst the smashable objects beneath the platform to the left of it.
Use the key to rotate a whip platform into place. Now you can ride the lift up onto the platform where you can find the other whip swing spot to swing over to the opposite side of the room. Smash open the cage to free the second slave. Defeat the several waves of enemies that run in.
Artefact Piece 5/10
Requires: None Story Mode: Yes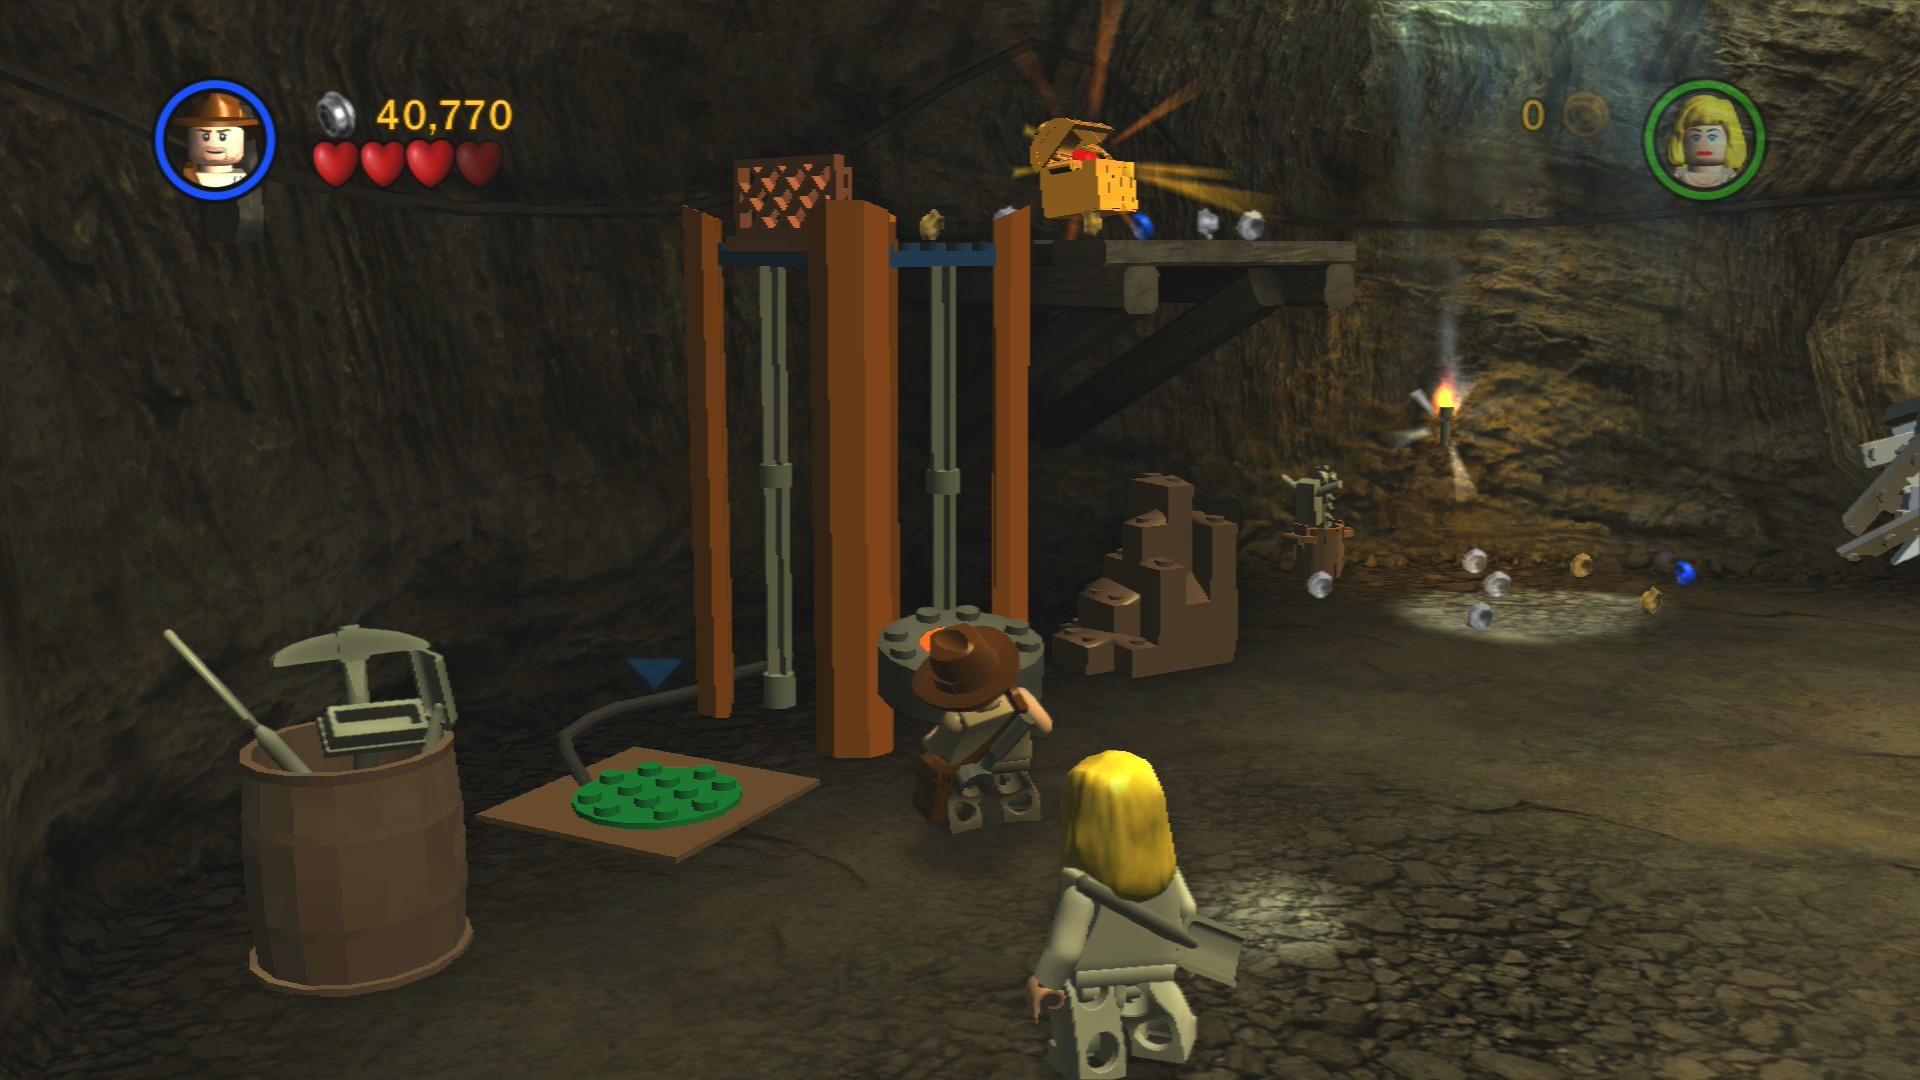
Pick up the round button that you can find under the cage platform and take it through the opened door. Place it next to the lift and then stand on the button to lower it so you can jump on and ride it up to the Artefact Piece.
In the next room you can find some dynamite in a box (don't bother trying to take that back to get the Red Parcel in Story Mode, it will explode long before you reach it) that you will need to throw at the Silver LEGO blocking the exit.
The next area is nice and open with a few enemies to kill at the start, just be careful not to walk too close to the edge.
Star Wars Character 4/5
Requires: Explosives, Soldier Story Mode: Yes/No
At the righthand end you'll want to jump off the edge down to a small ledge below, go to the right and use explosives to blow up some Silver LEGO. Behind that is a guard post that opens to free Princess Leia.
In the back right corner is a blue engine with a piece missing. Smash through the rubble to its left to find a pull switch part, pick it up and carry it all the way over to the left side of the area where there's a green brick sticking out of the wall. Pull out the steps to get up onto the area above.
Artefact Piece 6/10
Requires: Thuggee Story Mode: No
Activate the Thuggee statue in front of the cage of six slaves.
Past a couple of enemies you'll see some buried LEGO, if you need a shovel you can get one from the box beneath the cage of slaves. Grab the pull switch and place it on the green brick to free another six slaves. One of them will run through the nearby hatch and pull a lever to raise a couple of platforms for you.
Artefact Piece 7/10
Requires: Hatch Acces Story Mode: No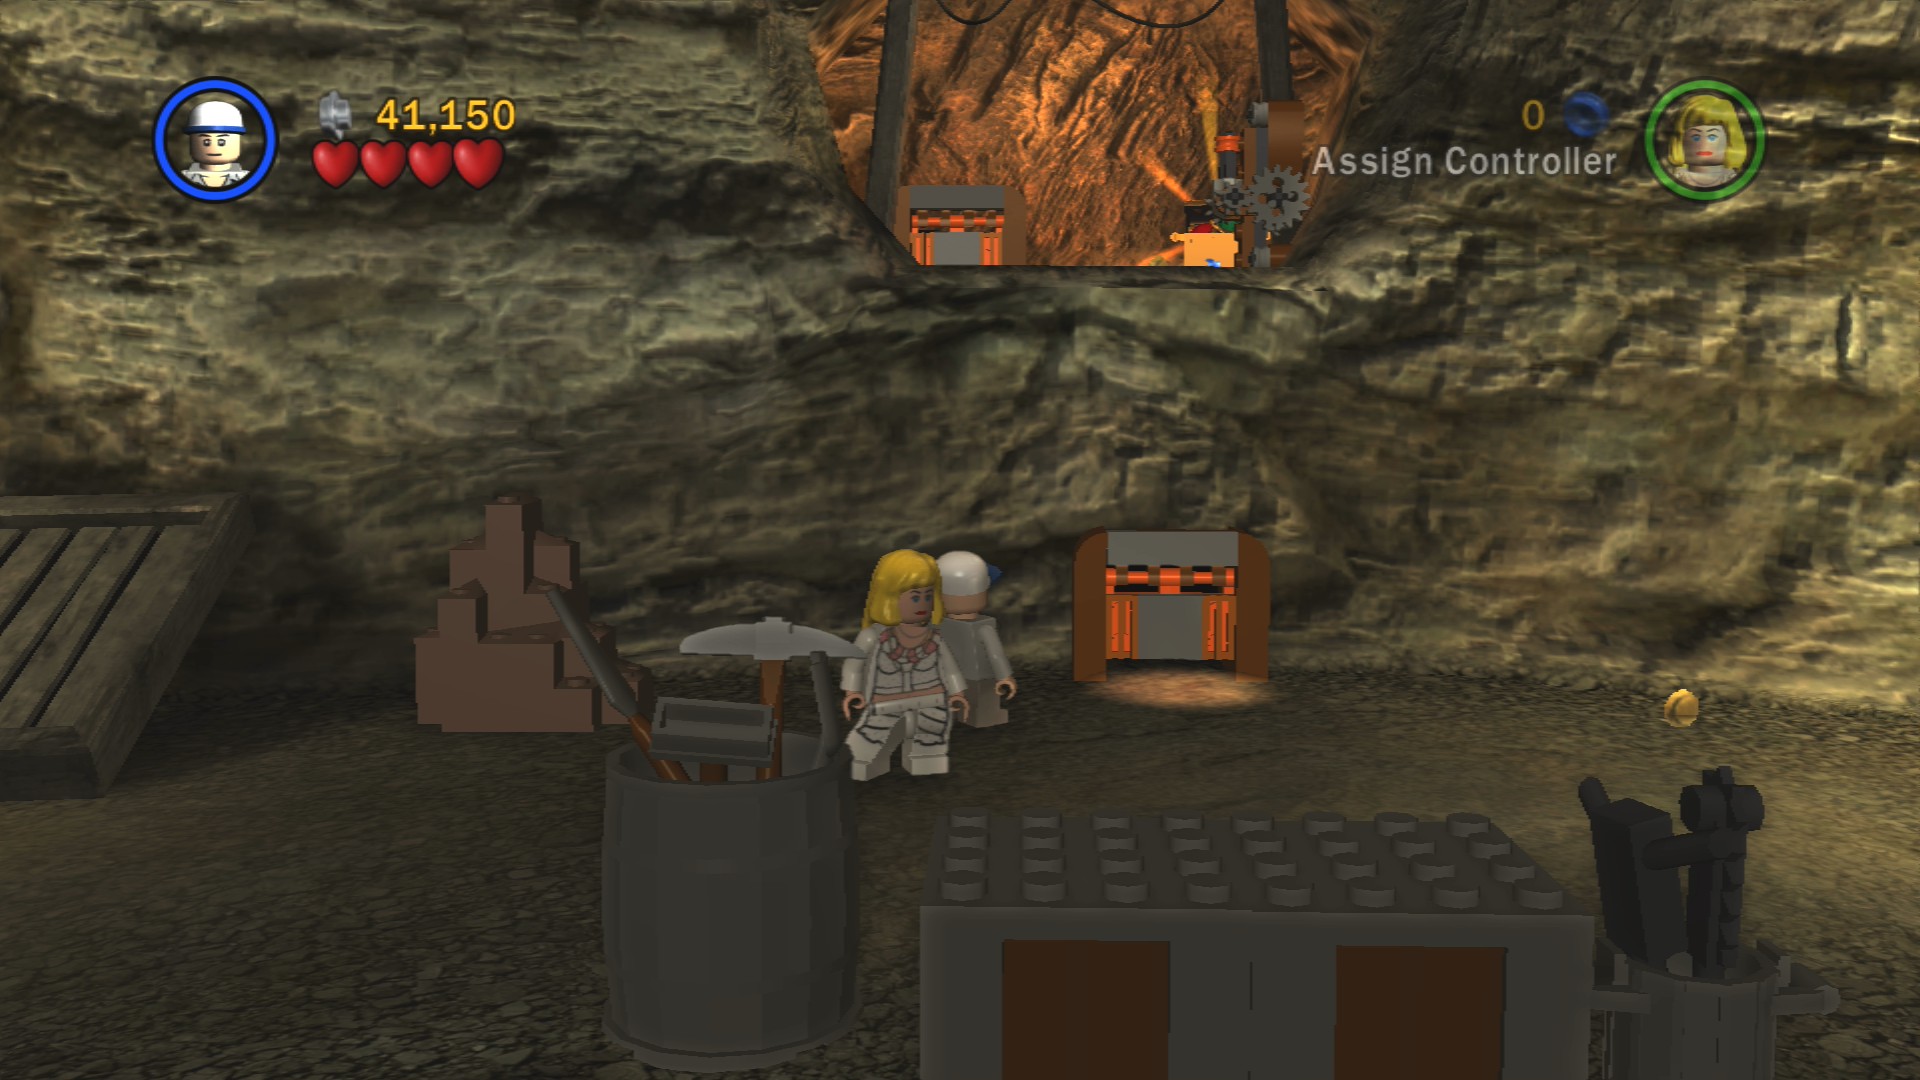
Follow the kid through the hatch to get the Artefact Piece up there.
Artefact Piece 8/10
Requires: High Jump, Spanner Story Mode: Yes
High Jump into the cage the six slaves were in to grab the blue gear inside. Take that down to the blue engine below and fix it with a spanner (you can find one in the objects in front of it).
Jump across the platforms and smash your way out to find Short Round.
You must first try to fight the Thuggee Acolyte boss, after two hearts the Maharaja will appear and heal him back to full health, he'll now continue to do that every time you try to take him on directly. So once you've got the Maharaja go around the Acolyte and grab some dynamite from the crate to throw at the cage Short Round is being held in. Then push the cart to the end of its track.
Artefact Piece 9/10
Requires: Shovel Story Mode: Yes
Around this area there are three skulls to dig up. One on the left side, one on the right side, and one on the area down below.
As Short Round crawl through the hatch and try to attack the Maharaja, he'll jump away.
Artefact Piece 10/10
Requires: Hatch Access Story Mode: Yes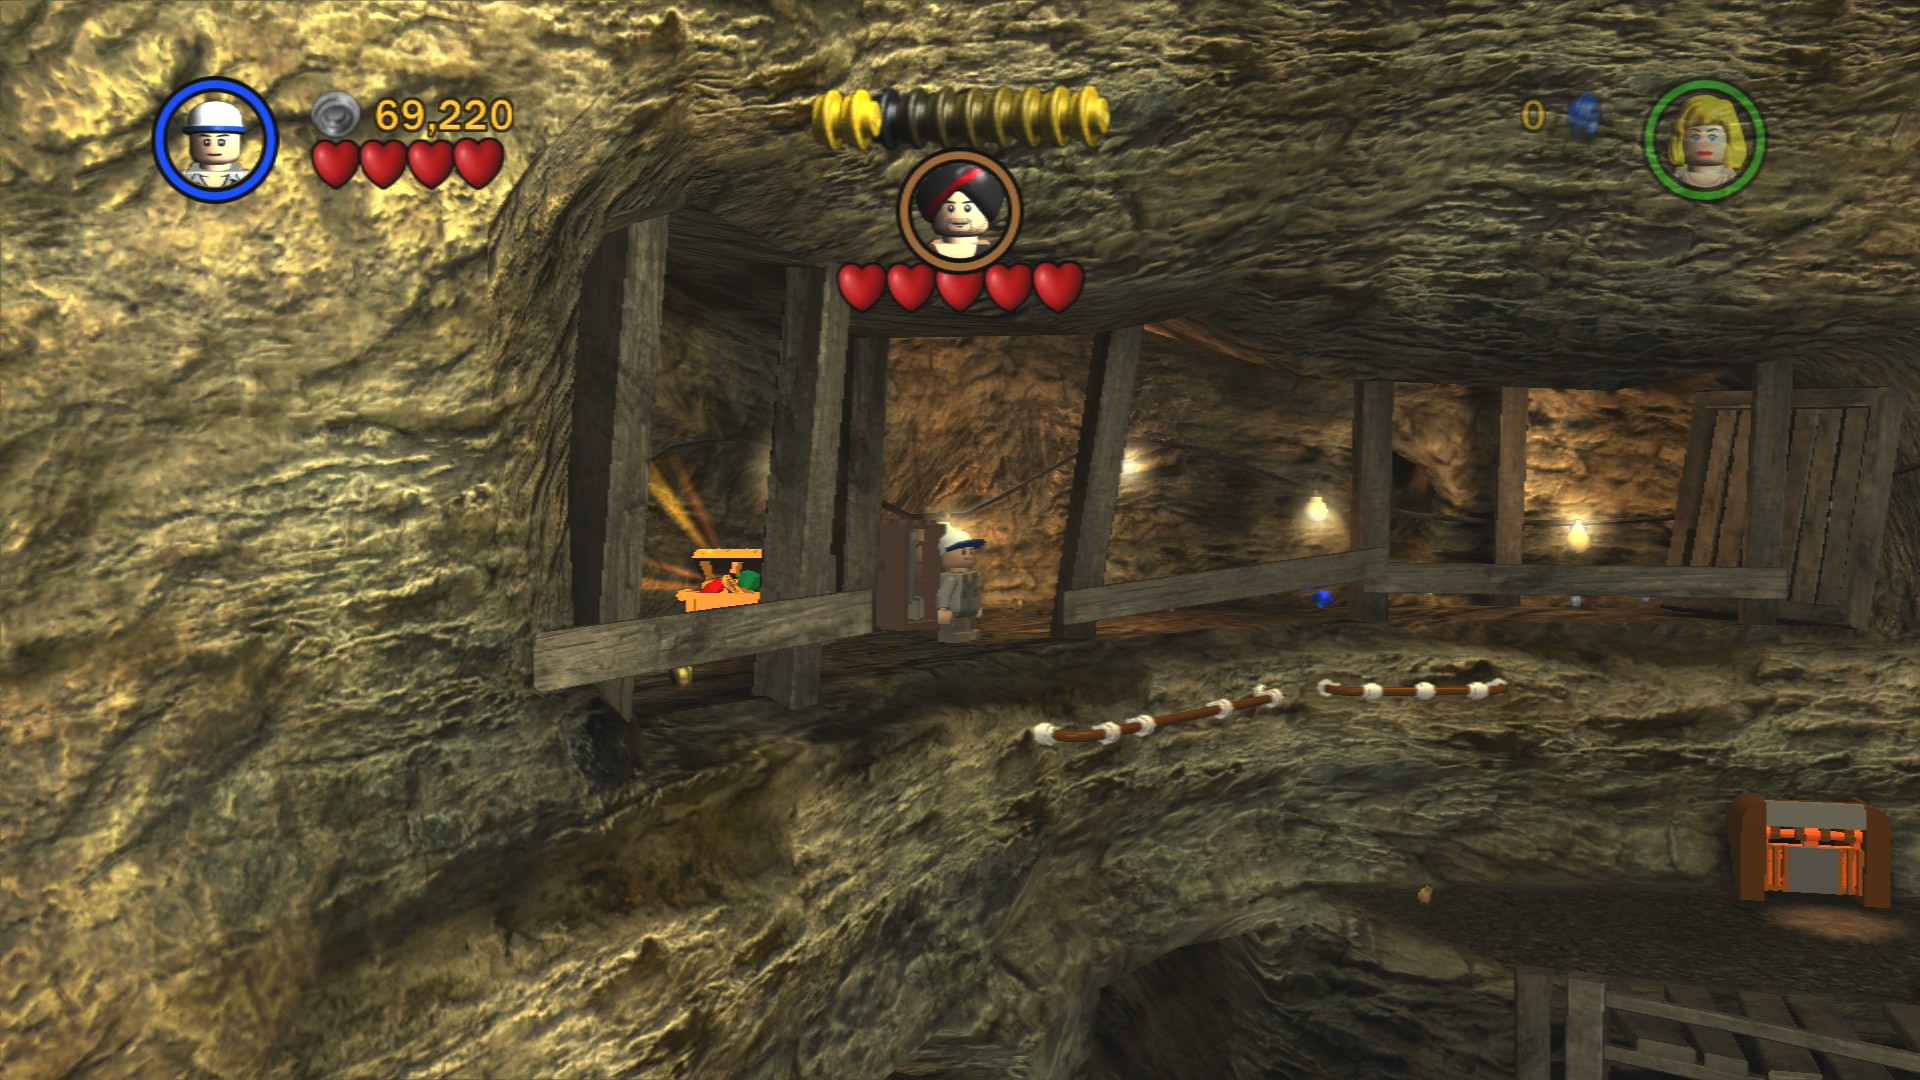
Use the handholds to the left of where the Maharaja was originally standing to reach the Artefact Piece.
Pick up the spanner and use it to fix the first bucket. Once that's going up and down use it to jump to the second bucket and then over to the Maharaja's second location. If you've moved the cart into place you can immediately jump over to his third and final location and hit him to snap him out of it.
We've still got to take down the Thuggee Acolyte however, jump back down and grab some more dynamite. This time you need to throw it at the Acolyte, make sure to only throw it when he stops moving to pick up a new boulder, otherwise it'll either just blow up his rock and not damage him or it'll just miss and bounce away without damaging him at all.
| Cost | Character | |
|---|---|---|
| - | Willie (Ceremony) | |
| 3,000 | Slave Child | |
| 18,000 | Thuggee Slave Driver |
Chapter 5. Escape the Mines
| Story Mode | Free Play |
|---|---|
| 120,000 | 130,000 |
You're immediately under attack! The area will be nice and quiet once you've taken care of this lot though.
Artefact Piece 1/10
Requires: None Story Mode: Yes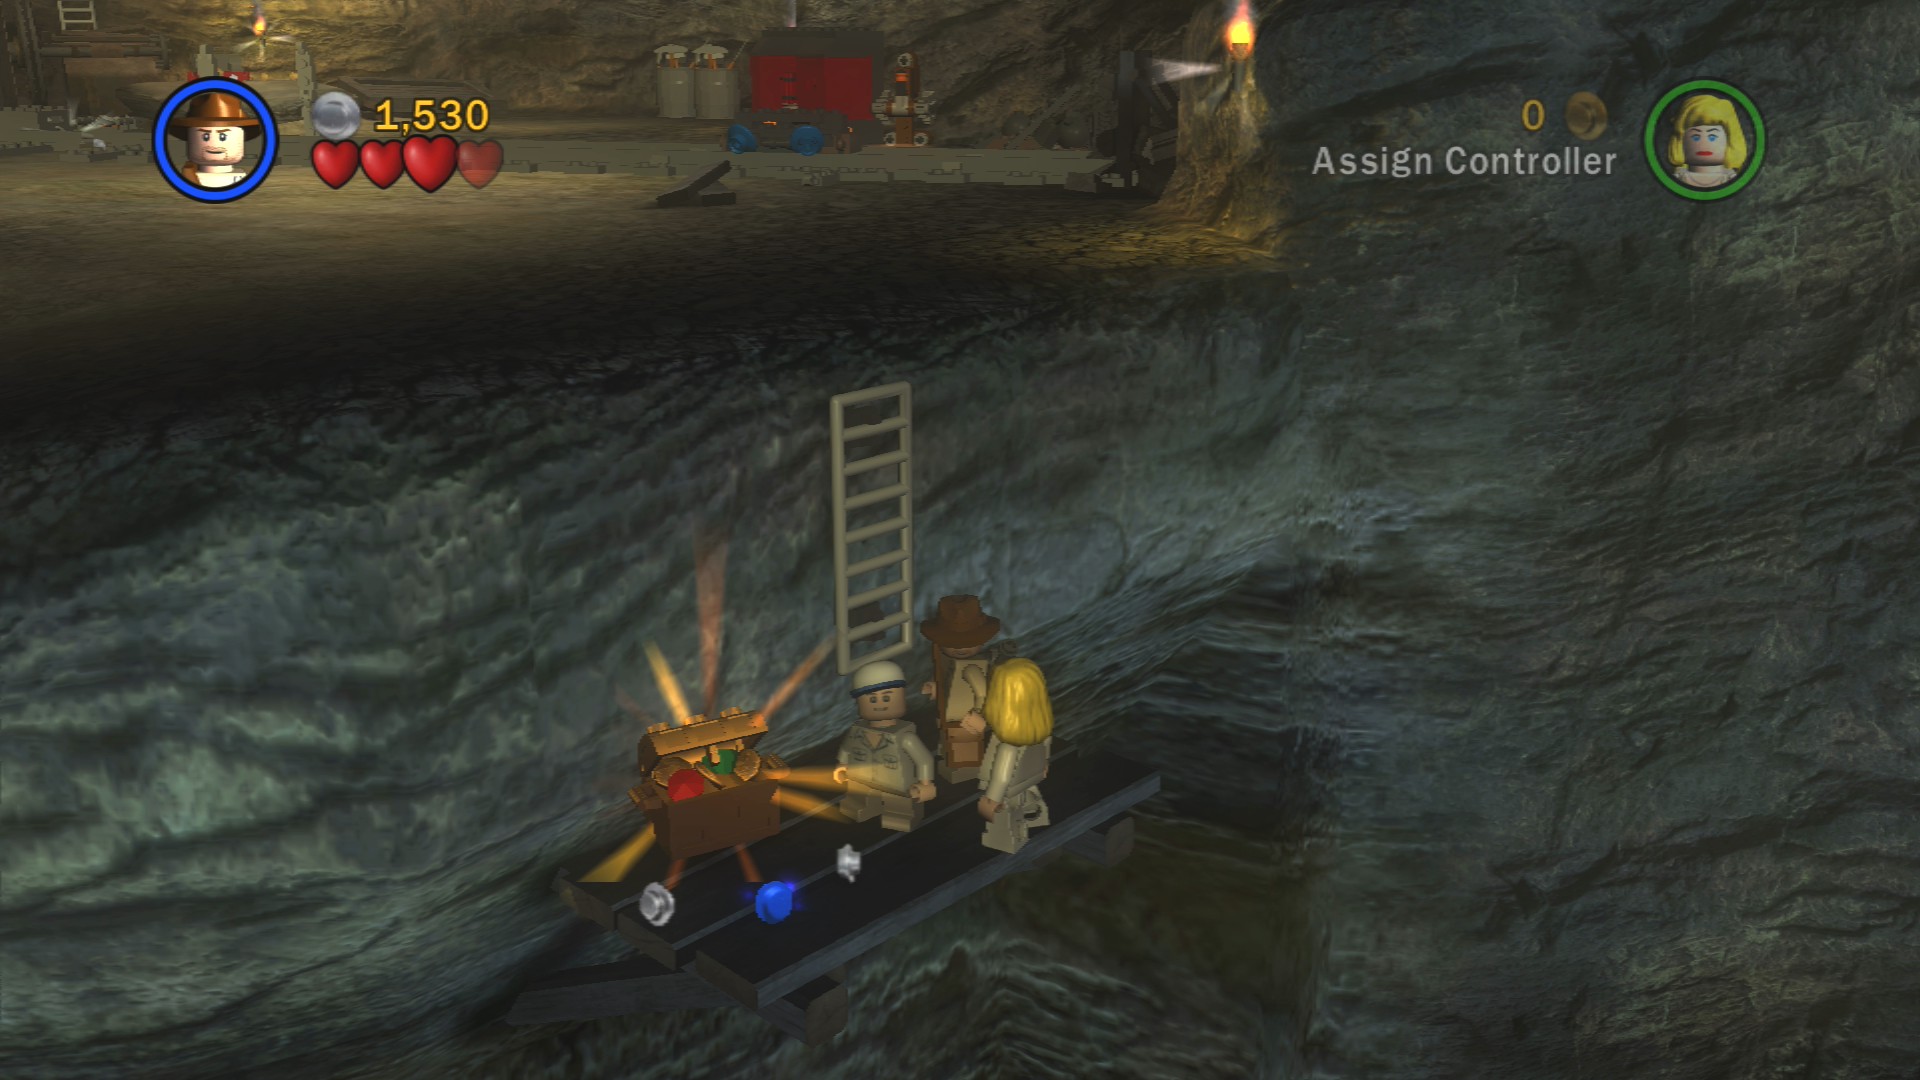
Just over the edge to the right, you can see a ladder where it is.
Artefact Piece 2/10
Requires: High Jump Story Mode: Yes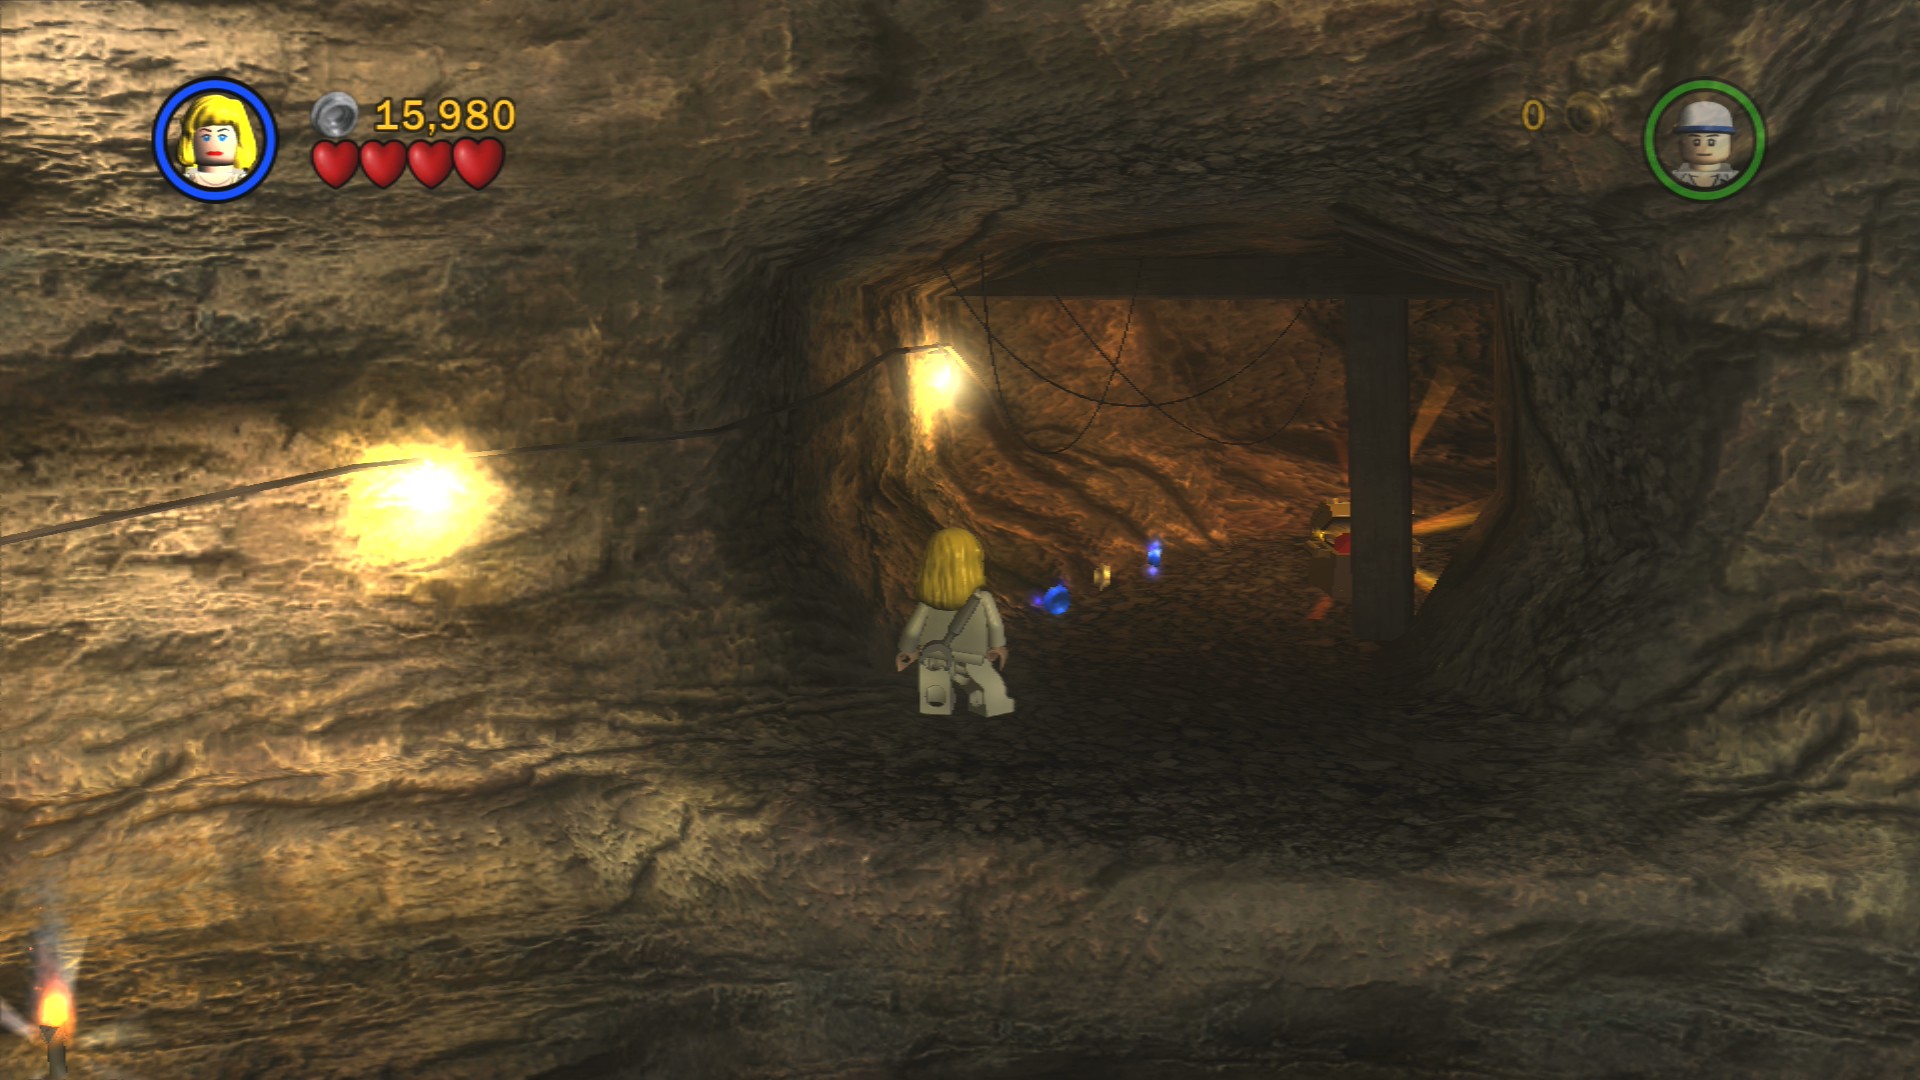
High Jump into the cave at the back to the right of the Mailbox.
Artefact Piece 3/10
Requires: High Jump Story Mode: Yes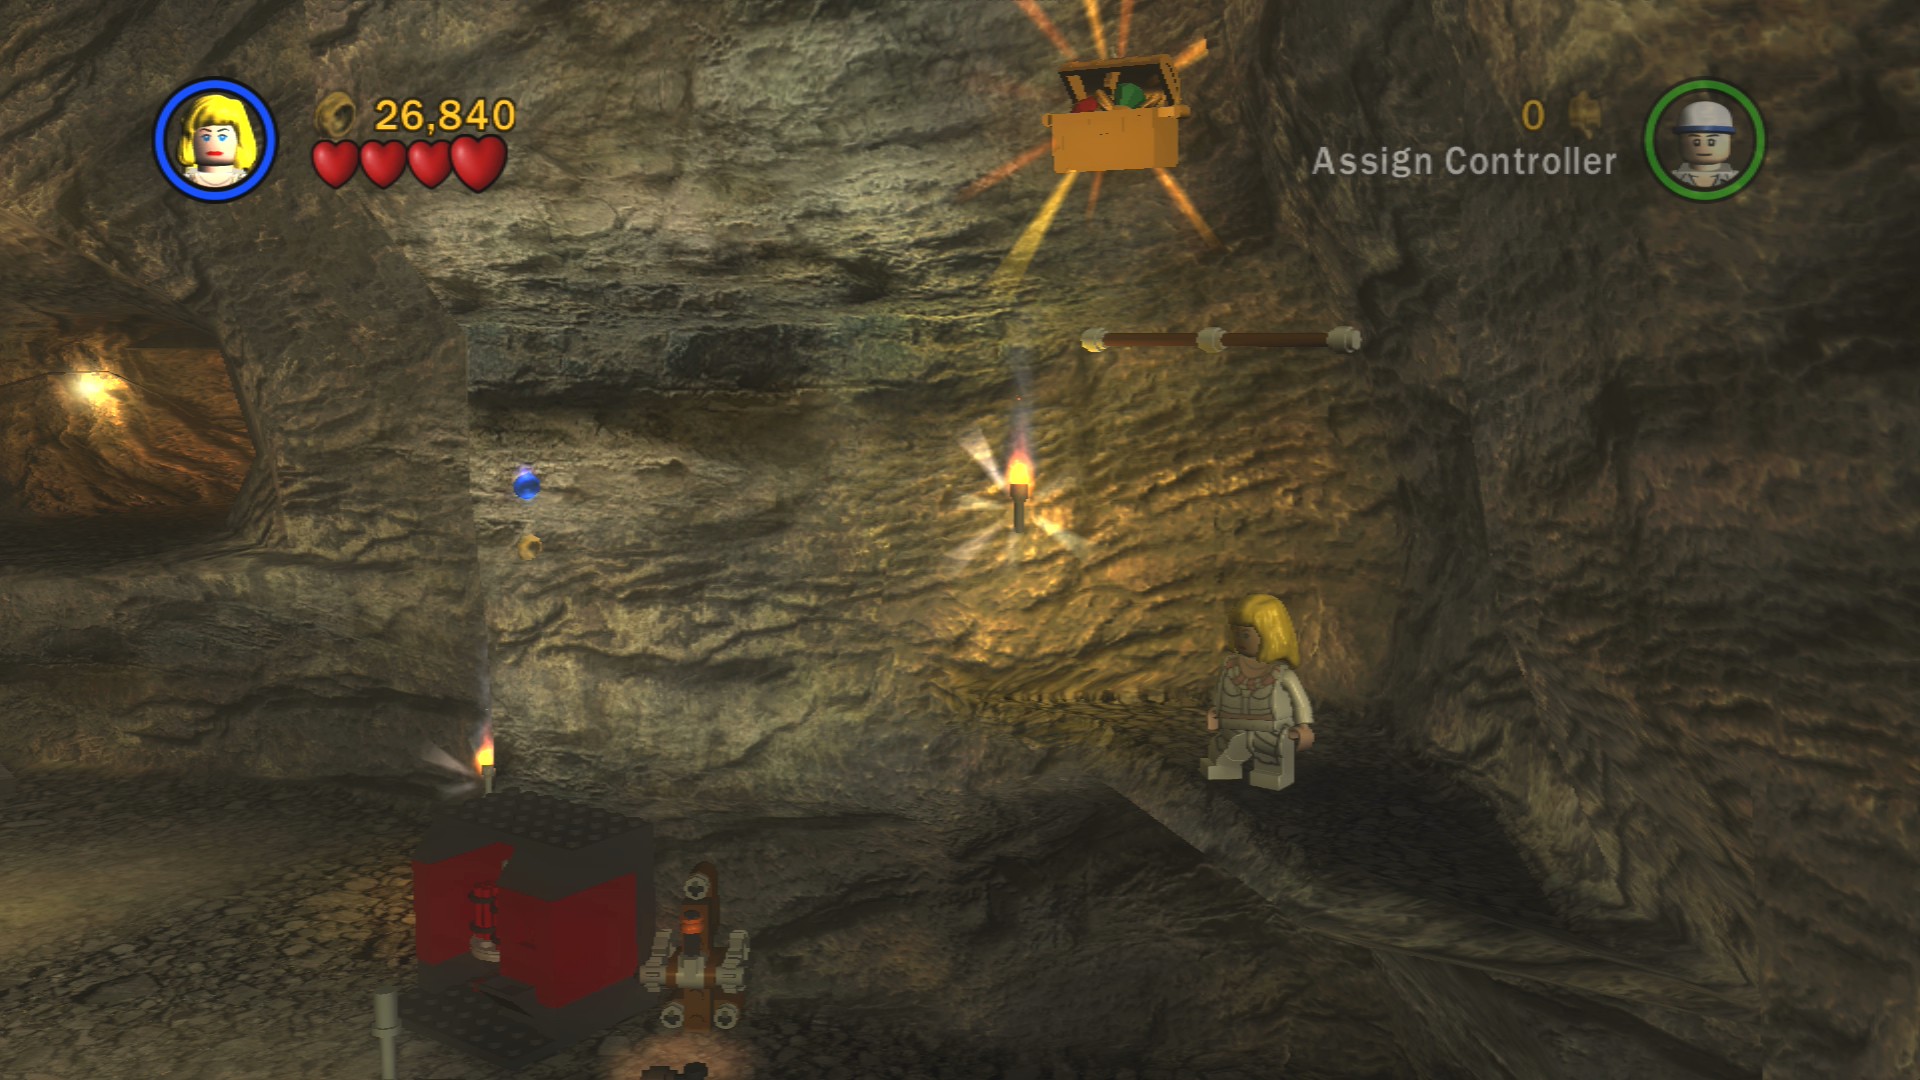
High Jump up to the ledge at the righthand end of the track and then high jump up to the handhold to reach the Artefact Piece.
Artefact Piece 4/10
Requires: Hatch Access, Thuggee Story Mode: No
On the left side of the area is a hatch a small character can crawl through. At the other end is a Thuggee statue that will just materialise an Artefact Piece for you.
Red Parcel - Treasure x6
Requires: Book, Shovel Story Mode: No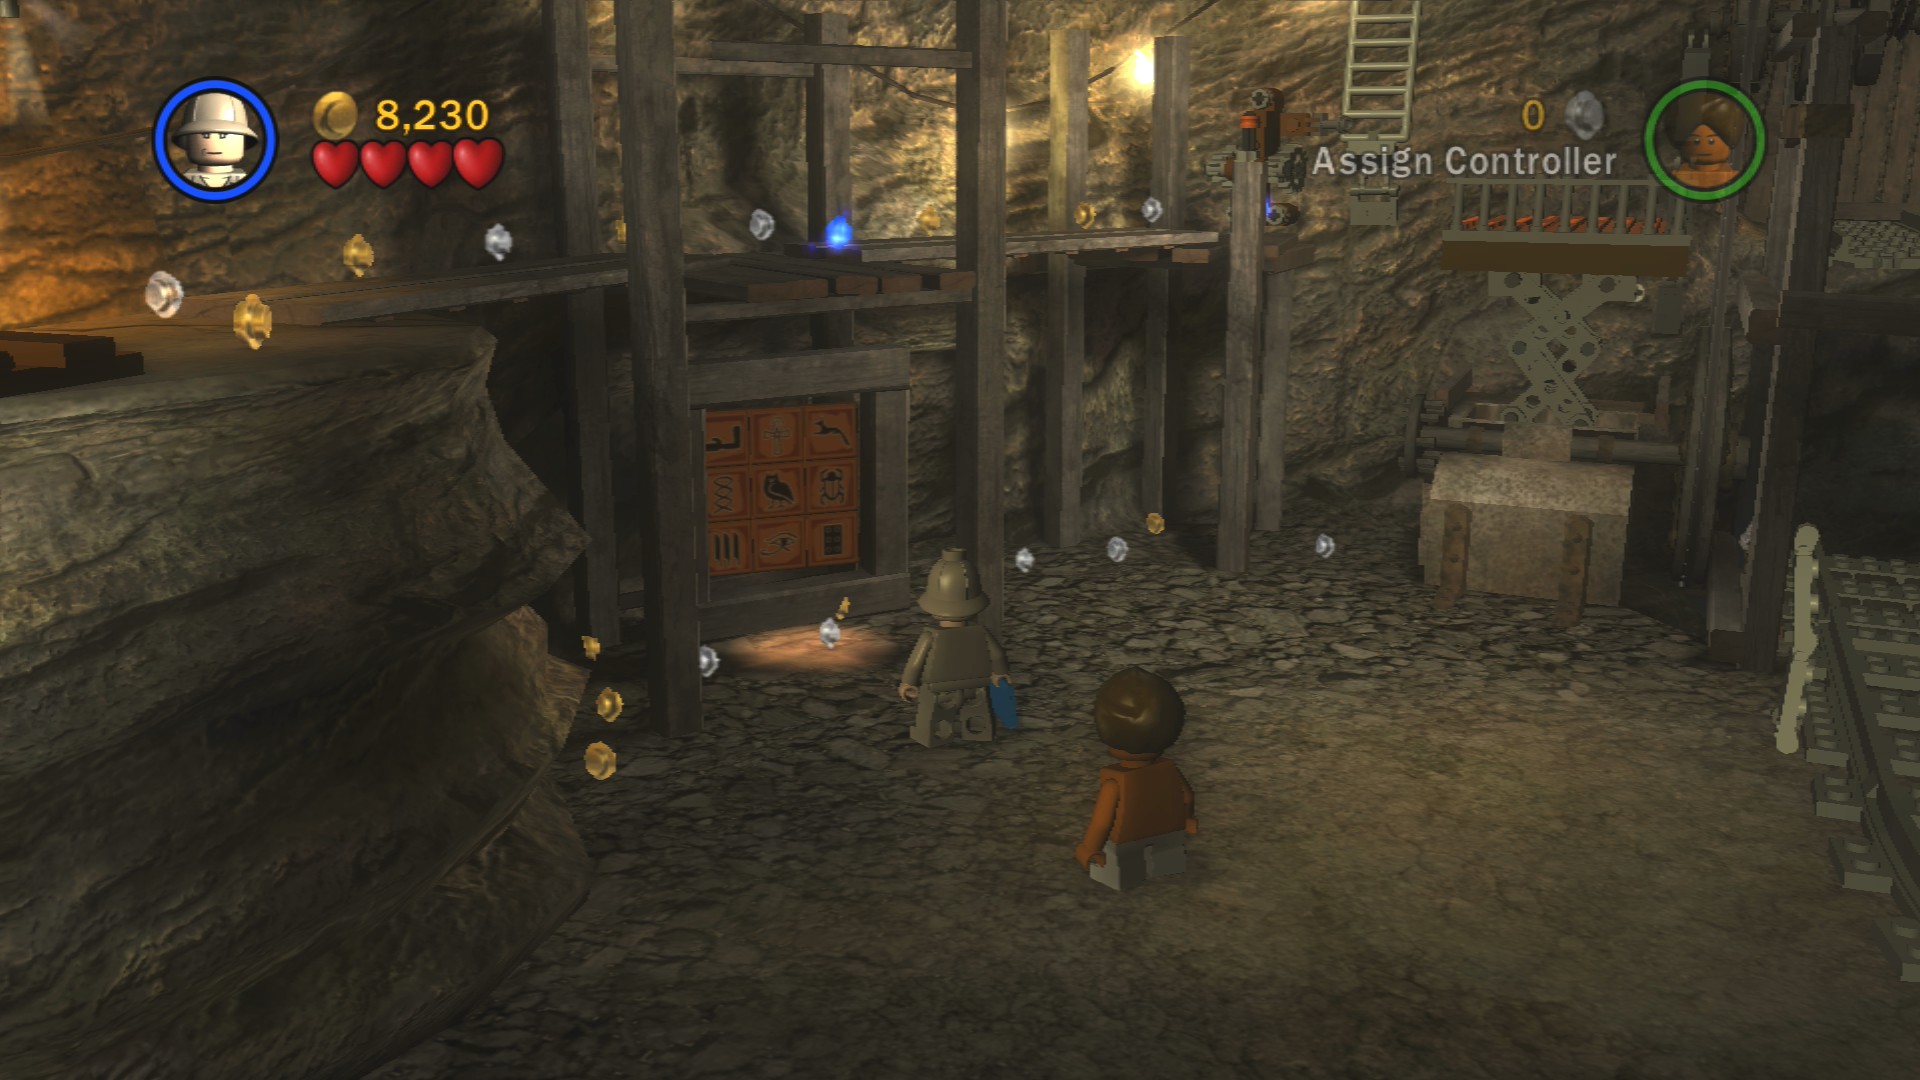
At the back to the left of the track is a panel of hieroglyphics to solve using a book. Inside the little passageway that opens you can dig up the Parcel and then walk it over to the Mailbox on the right side of the track.
A few things to do in this first area, first pick up the long piece of rail and place it with the rest of the track. Smash the nearby grey crate and finish fixing the track.
Pick up the spanner and head over to the right side where there's a large red box with some dynamite inside it. To get the dynamite out pull the lever next to it. Chuck the dynamite at the Silver LEGO on the right and you'll get parts to build a minecart. Fix it with the spanner and then push it all the way down to the other end of the track.
On the left side there's a key to turn as either Willie or Short Round so that Indy will jump on the platform automatically. Whip swing across and make your way to a lever that'll drop a ladder for others to get up and join you in raising the minecart. Once it's raised jump down and climb the ladder on the other side to get up and finish pushing the minecart to leave the first section of the level.
Time for the minecart segment! To meet the level's True Adventurer target you'll have to try to get all the purple studs that are along the edges of the track during the minecart part of the level.
Artefact Piece 5/10
Requires: None Story Mode: Yes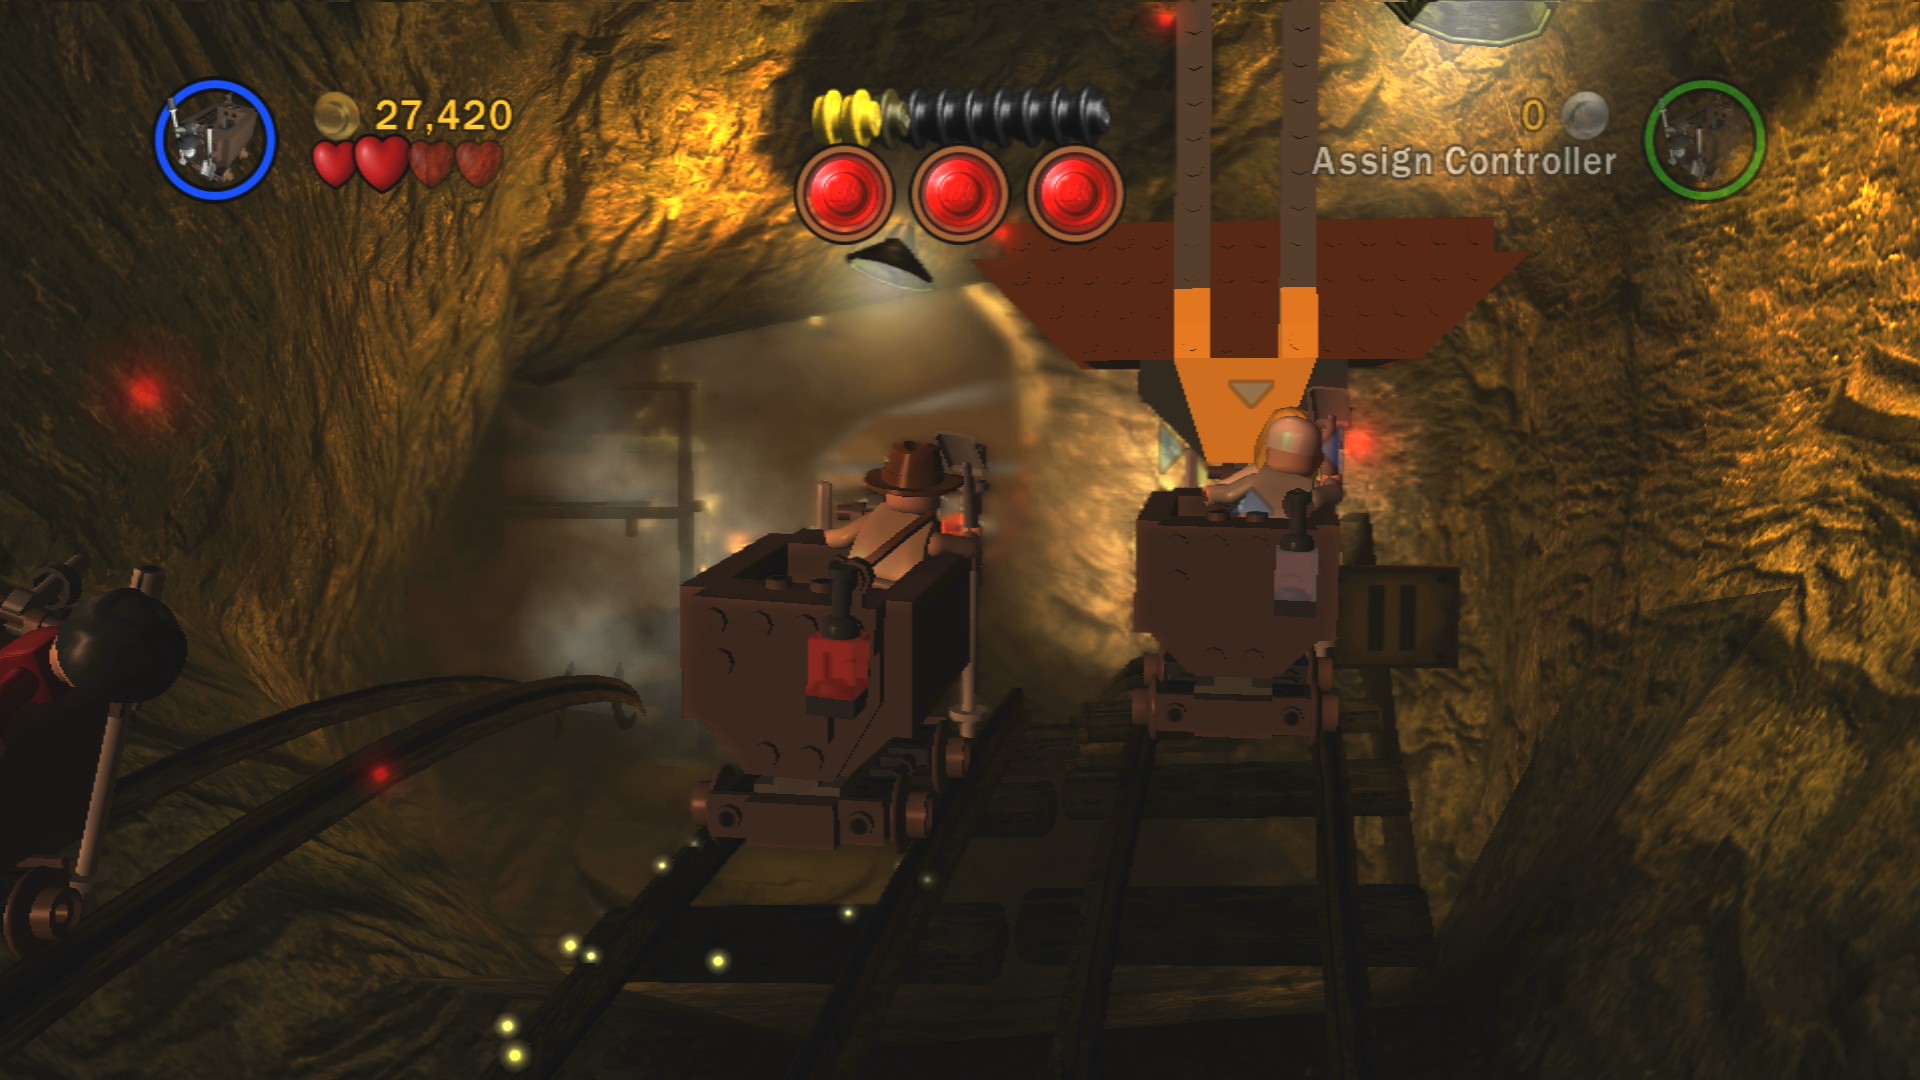
While you're in the first part of the minecart segment there are overhead triangular targets to hit, two on the left track and one on the right track. You'll circle around and around until you hit the three red targets the game wants you to so don't worry too much if you miss the overhead ones first time.
Artefact Piece 6/10
Requires: None Story Mode: Yes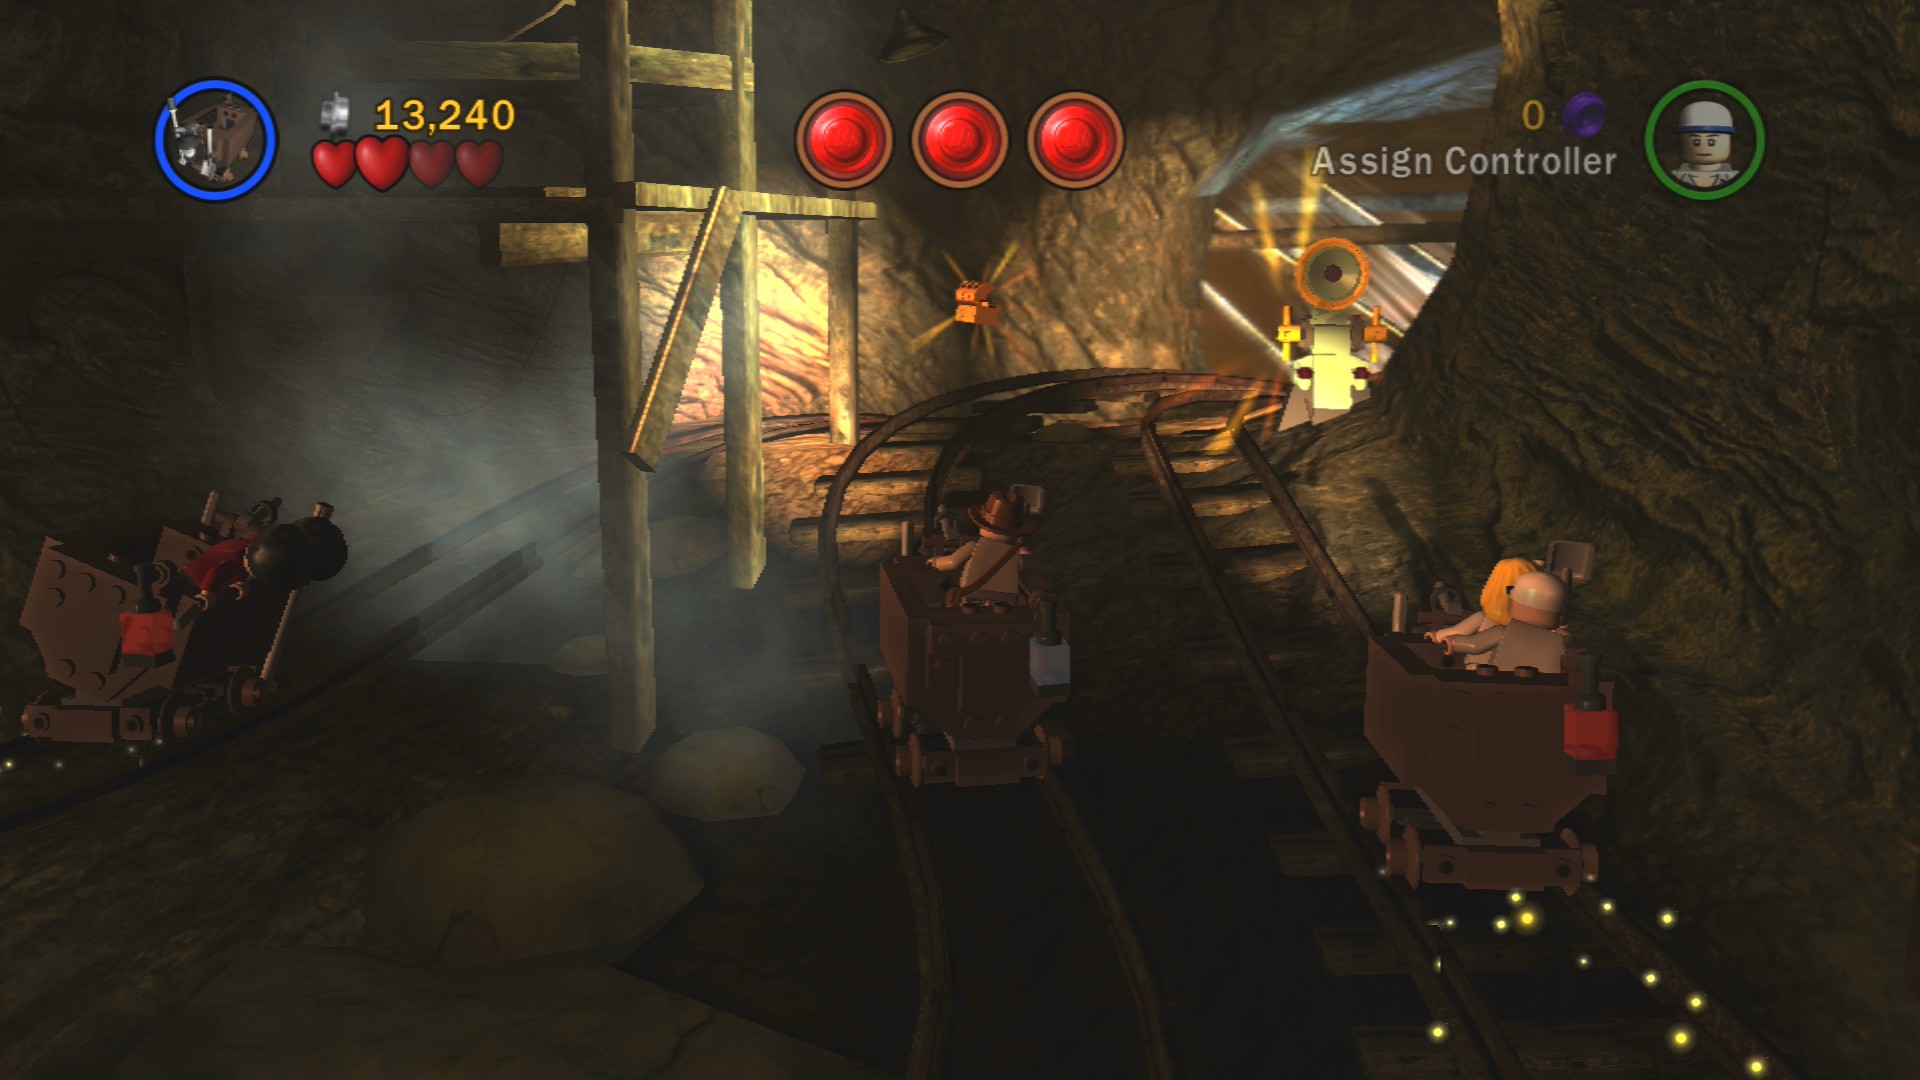
Floating in the air along the left side during the first section, you'll have to lean into it and hit it. It's opposite where the target that's on the right side of the tracks is found.
Artefact Piece 7/10
Requires: None Story Mode: Yes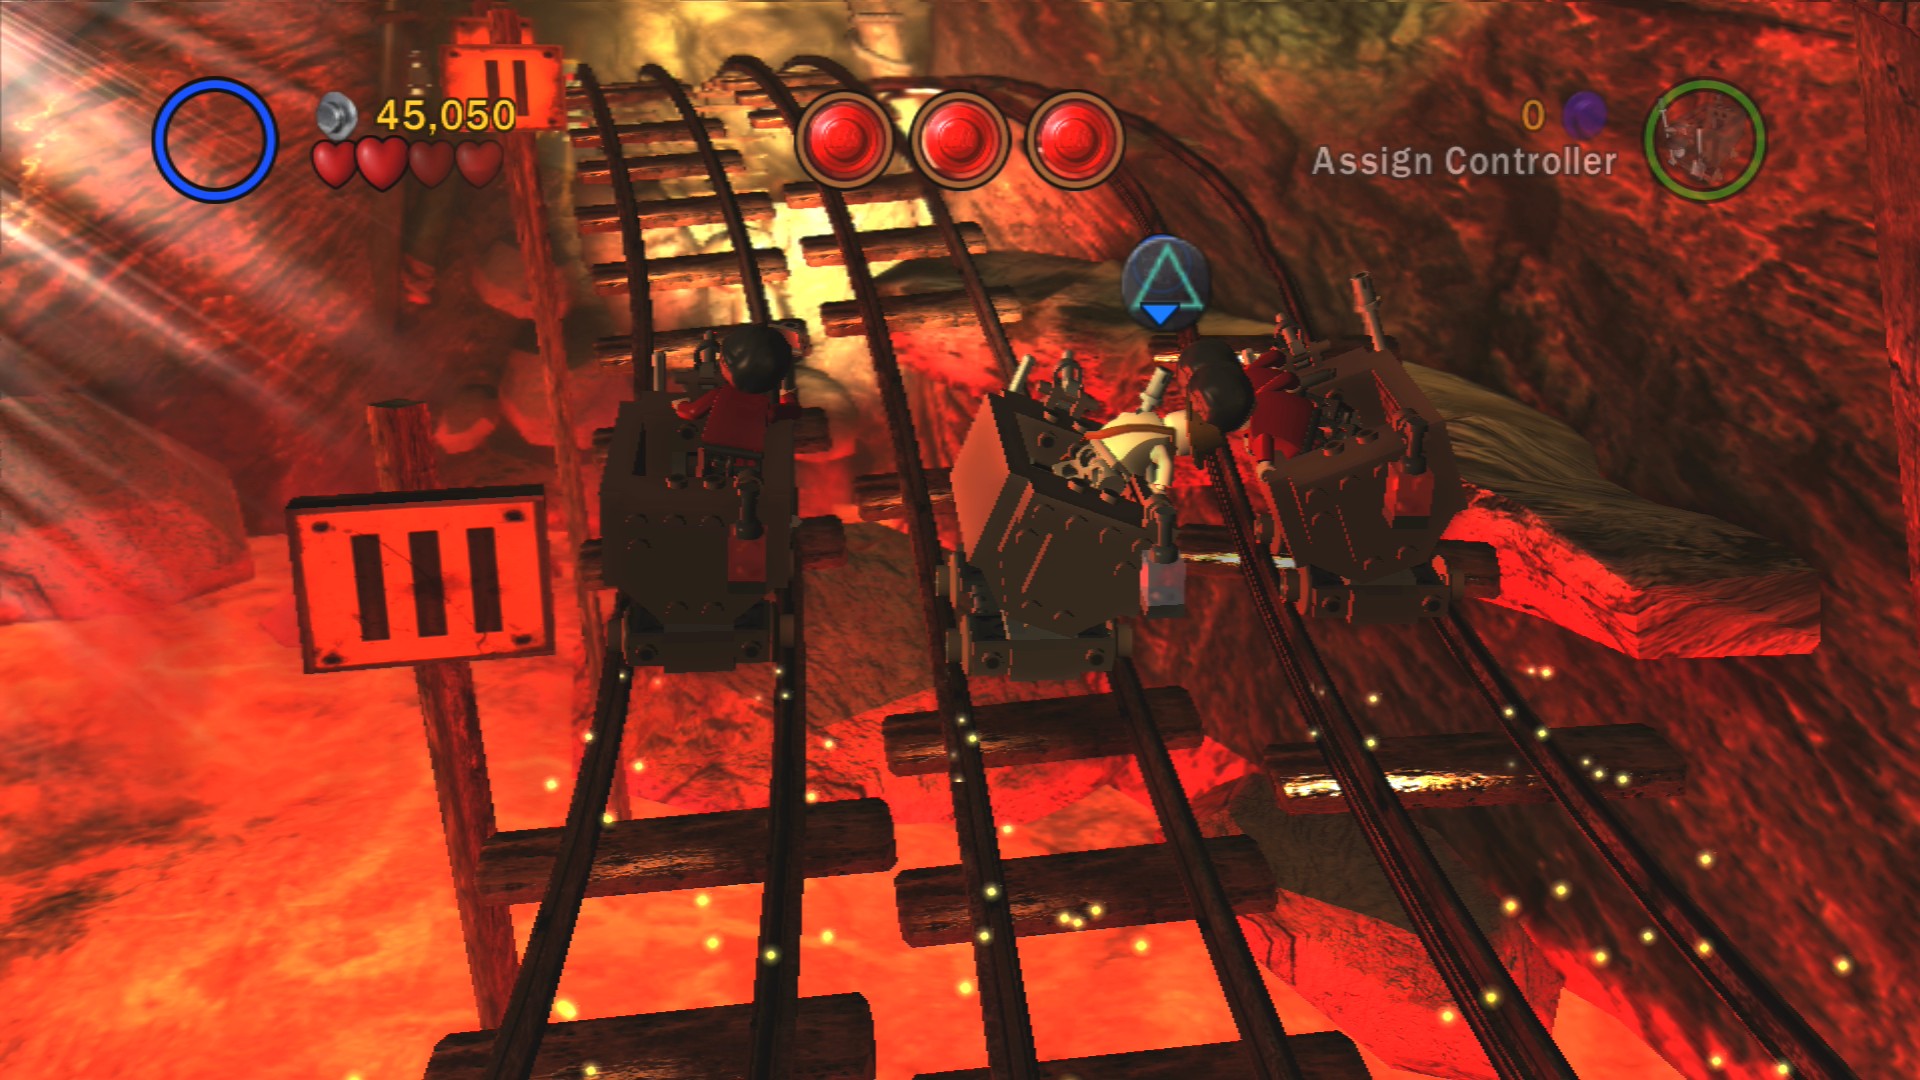
For this one you need to repeatedly hit three enemy minecarts that you see along the sides of the track.
The idea here is to hit the three targets along the track to turn them green. The track will give you hints as to where they're going to be through signs with III, II, then I on them. The side they're on also indicates where the target will be.
Artefact Piece 8/10
Requires: None Story Mode: Yes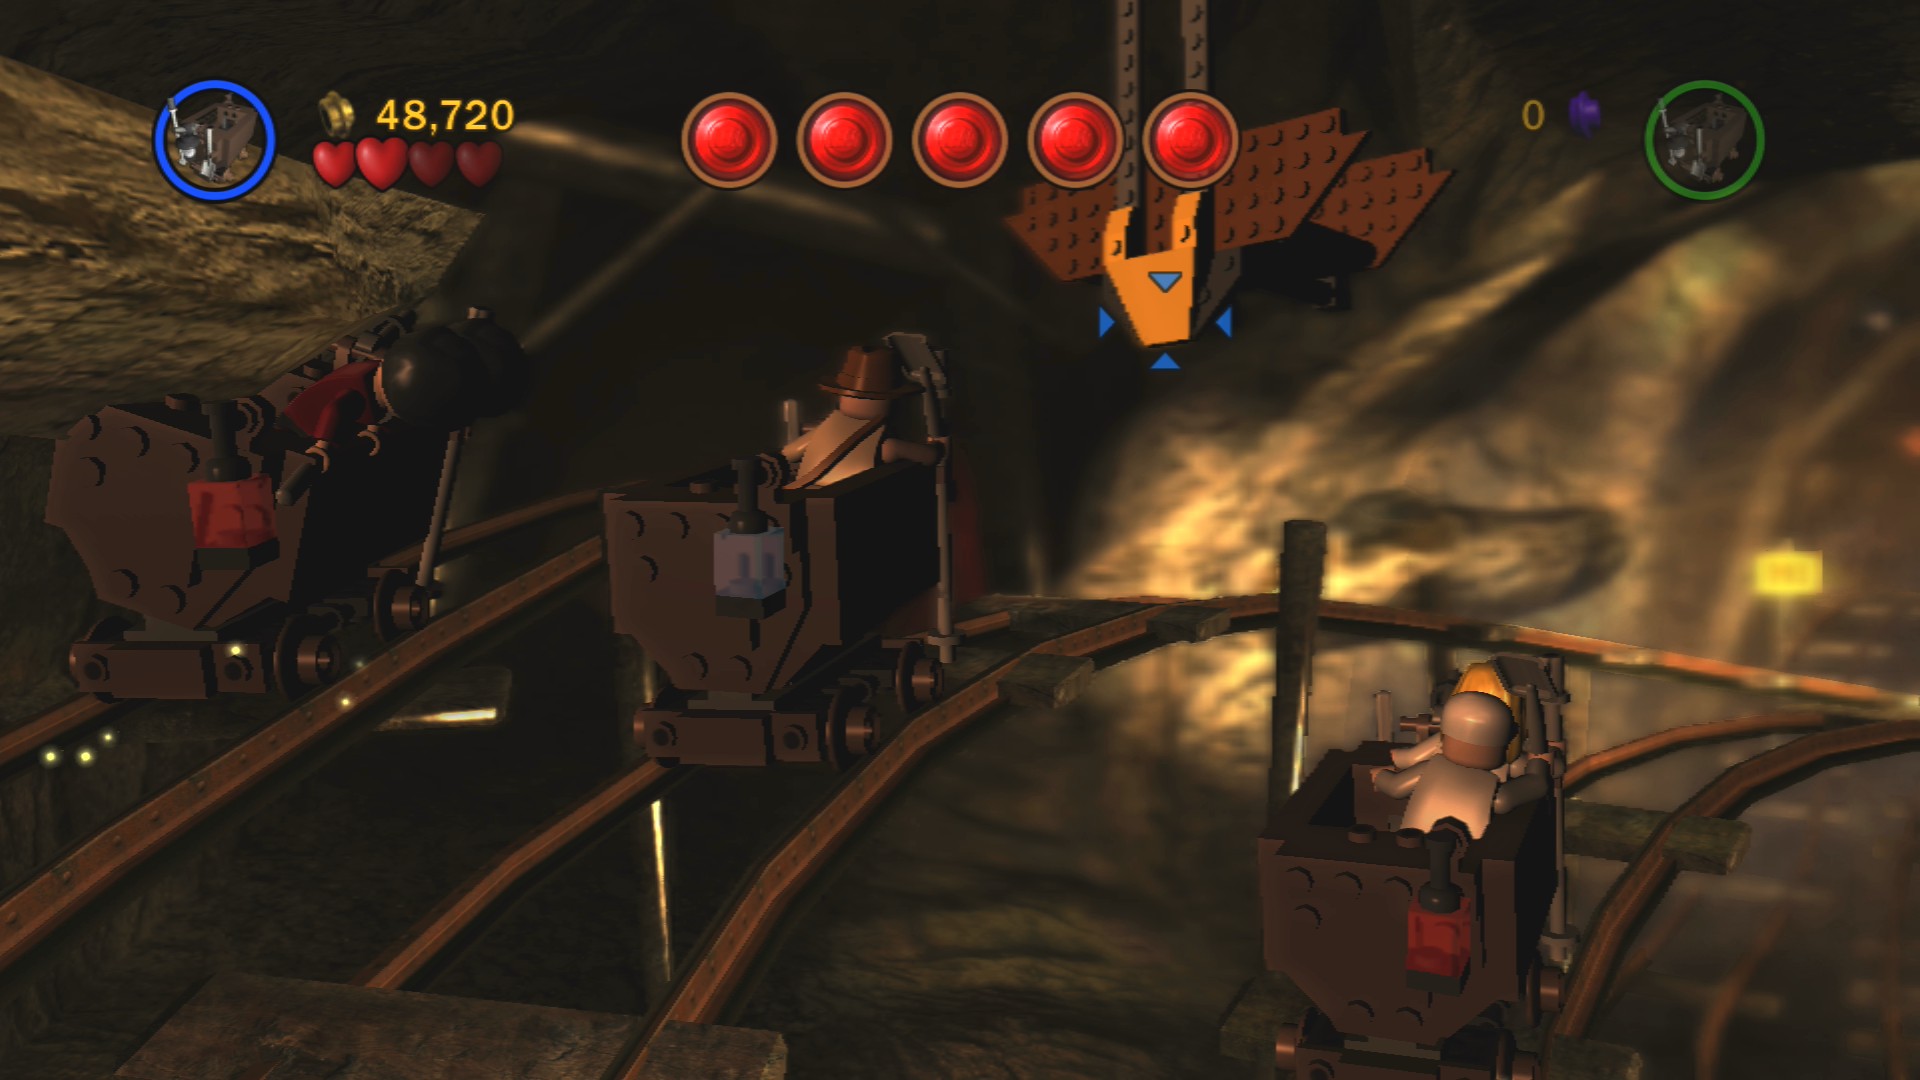
During the five target section there are another three overhead triangular flags to hit. Two on the right and one on the left track.
Artefact Piece 9/10
Requires: None Story Mode: Yes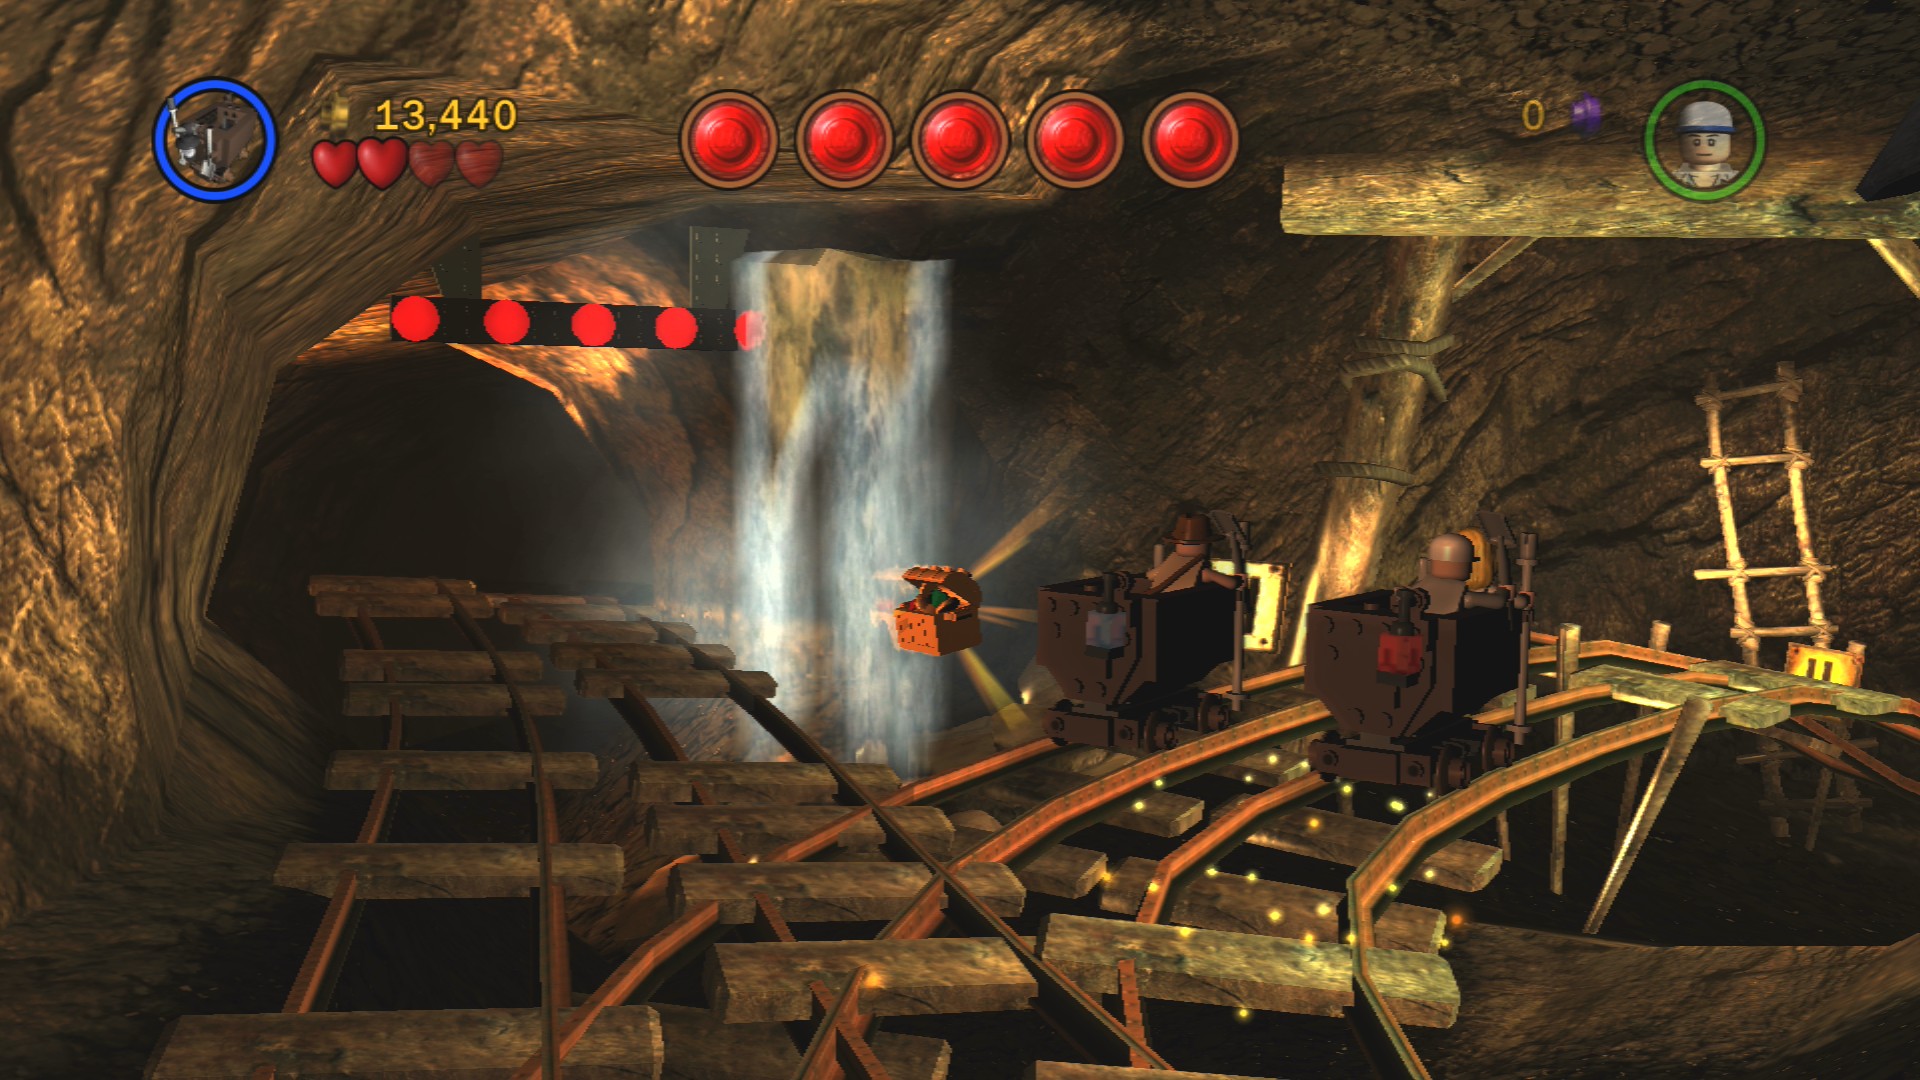
Another one just floating around, it's located next to where the five target exit is found.
Artefact Piece 10/10
Requires: None Story Mode: Yes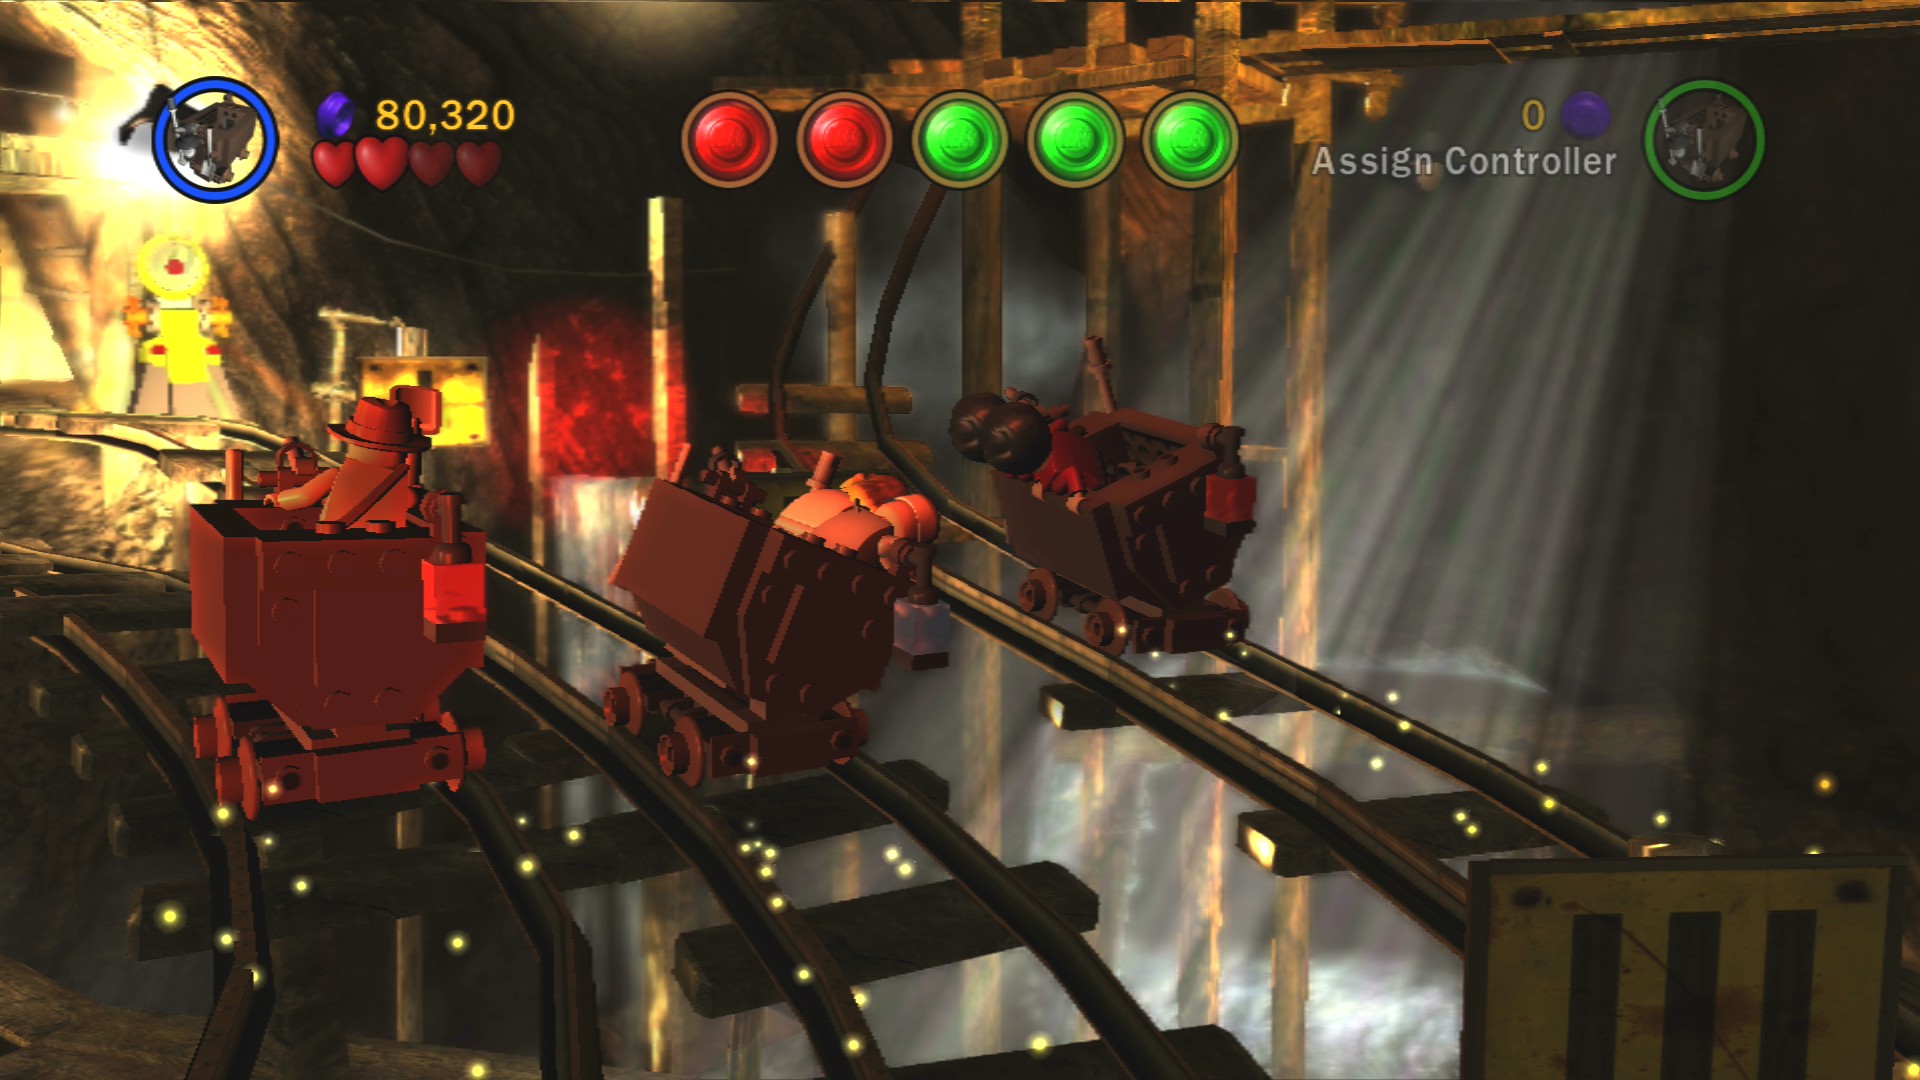
And again smash three enemy minecarts along the left side at a certain point to get an Artefact Piece. Two of them are on the parts where the track can be changed, so one is down the left side and one down the right. The third can be reached either way.
There are five targets to hit this time but there's also a track shifter. Where you see the signs on both sides of the track you'll come across a switch that will change the track ahead to go to the left instead of the right as it normally does. You'll need to do that to find the final target of the level as hitting all five will complete the chapter.
There are no character unlocks from this level, free or otherwise.
Chapter 6. Battle on the Bridge
| Story Mode | Free Play |
|---|---|
| 80,000 | 90,000 |
No time to hang around!
Artefact Piece 1/10
Requires: Explosives Story Mode: No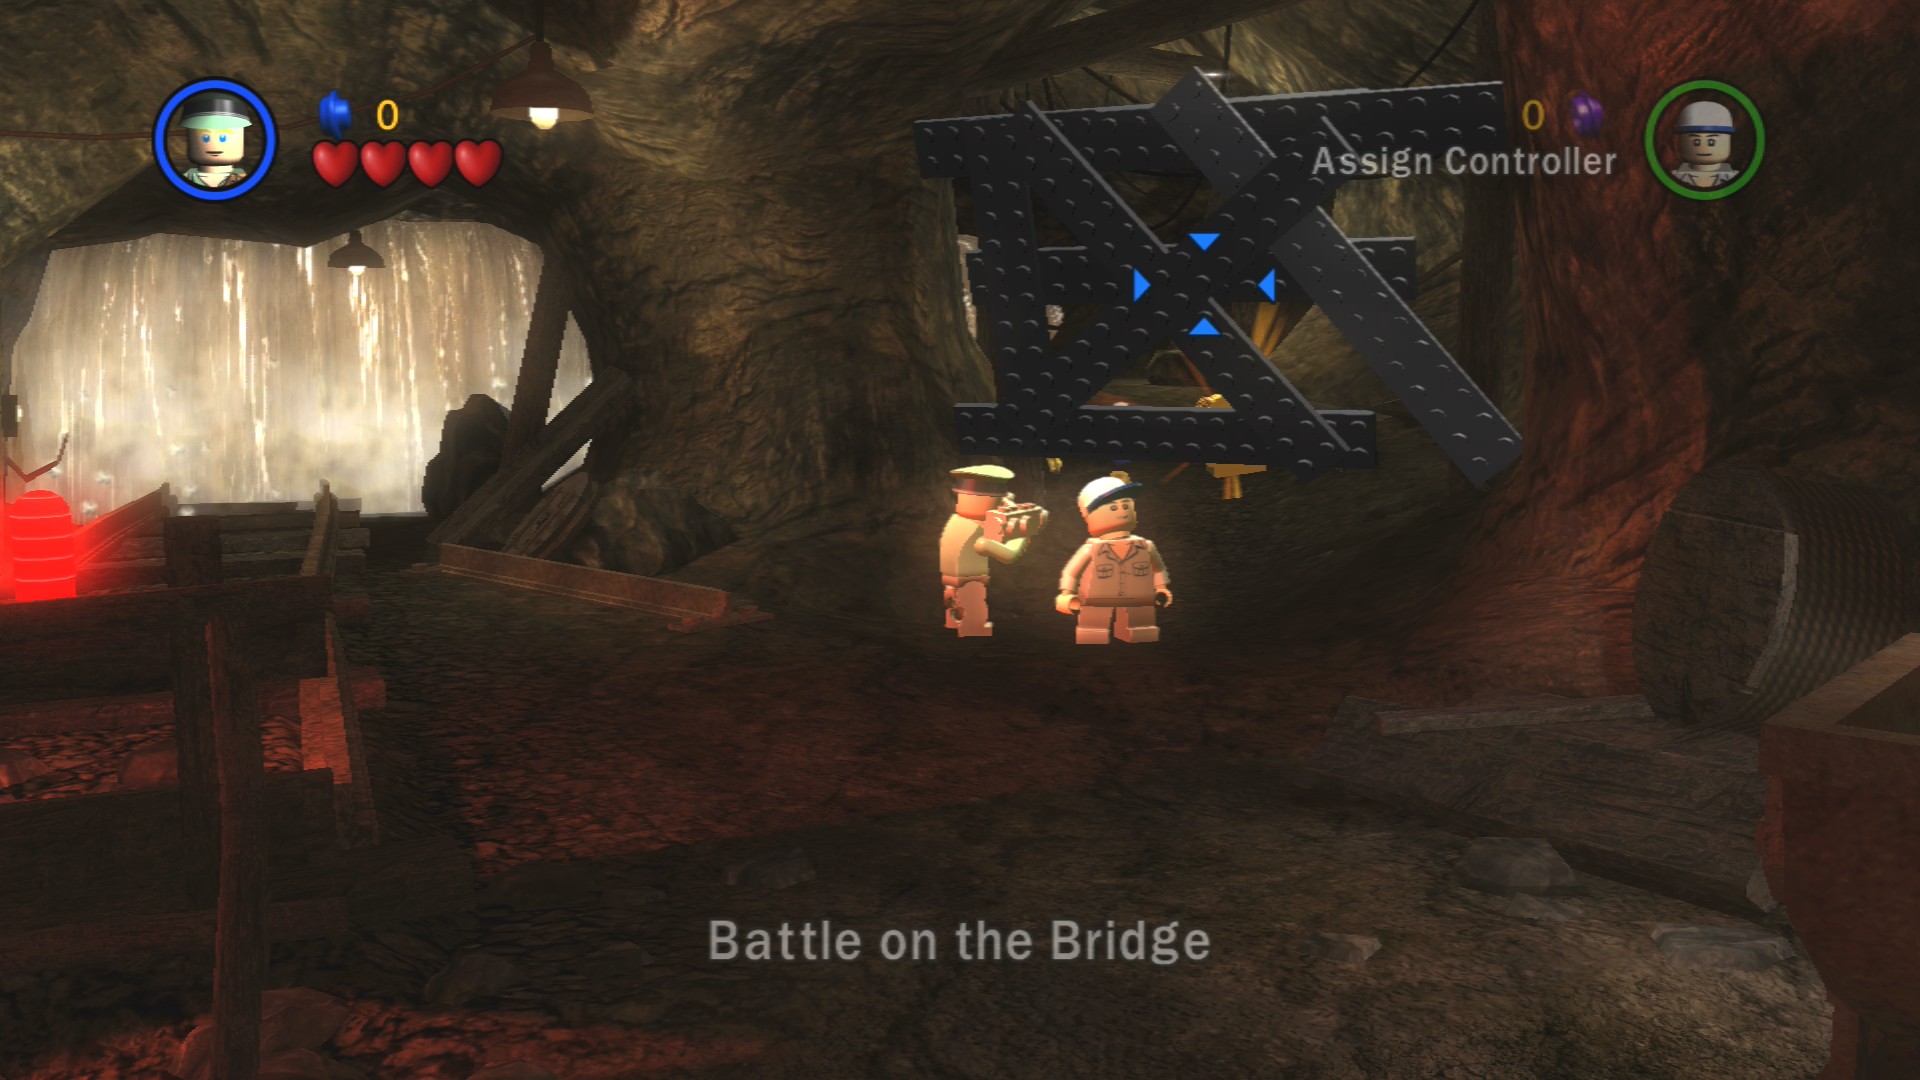
Quickly throw explosives at the Silver LEGO at the start, you won't have much time to grab the Artefact Piece. I'd advise you pick an explosives character when entering the level to save time selecting him.
Start running towards the screen, there's a few studs to gather as you run and you'll want to avoid stepping on the white LEGO but otherwise just jump over the gaps and keep going. If the water catches up with you you won't die but you will be instantly whisked to the next part of the level.
Artefact Piece 2/10
Requires: None Story Mode: Yes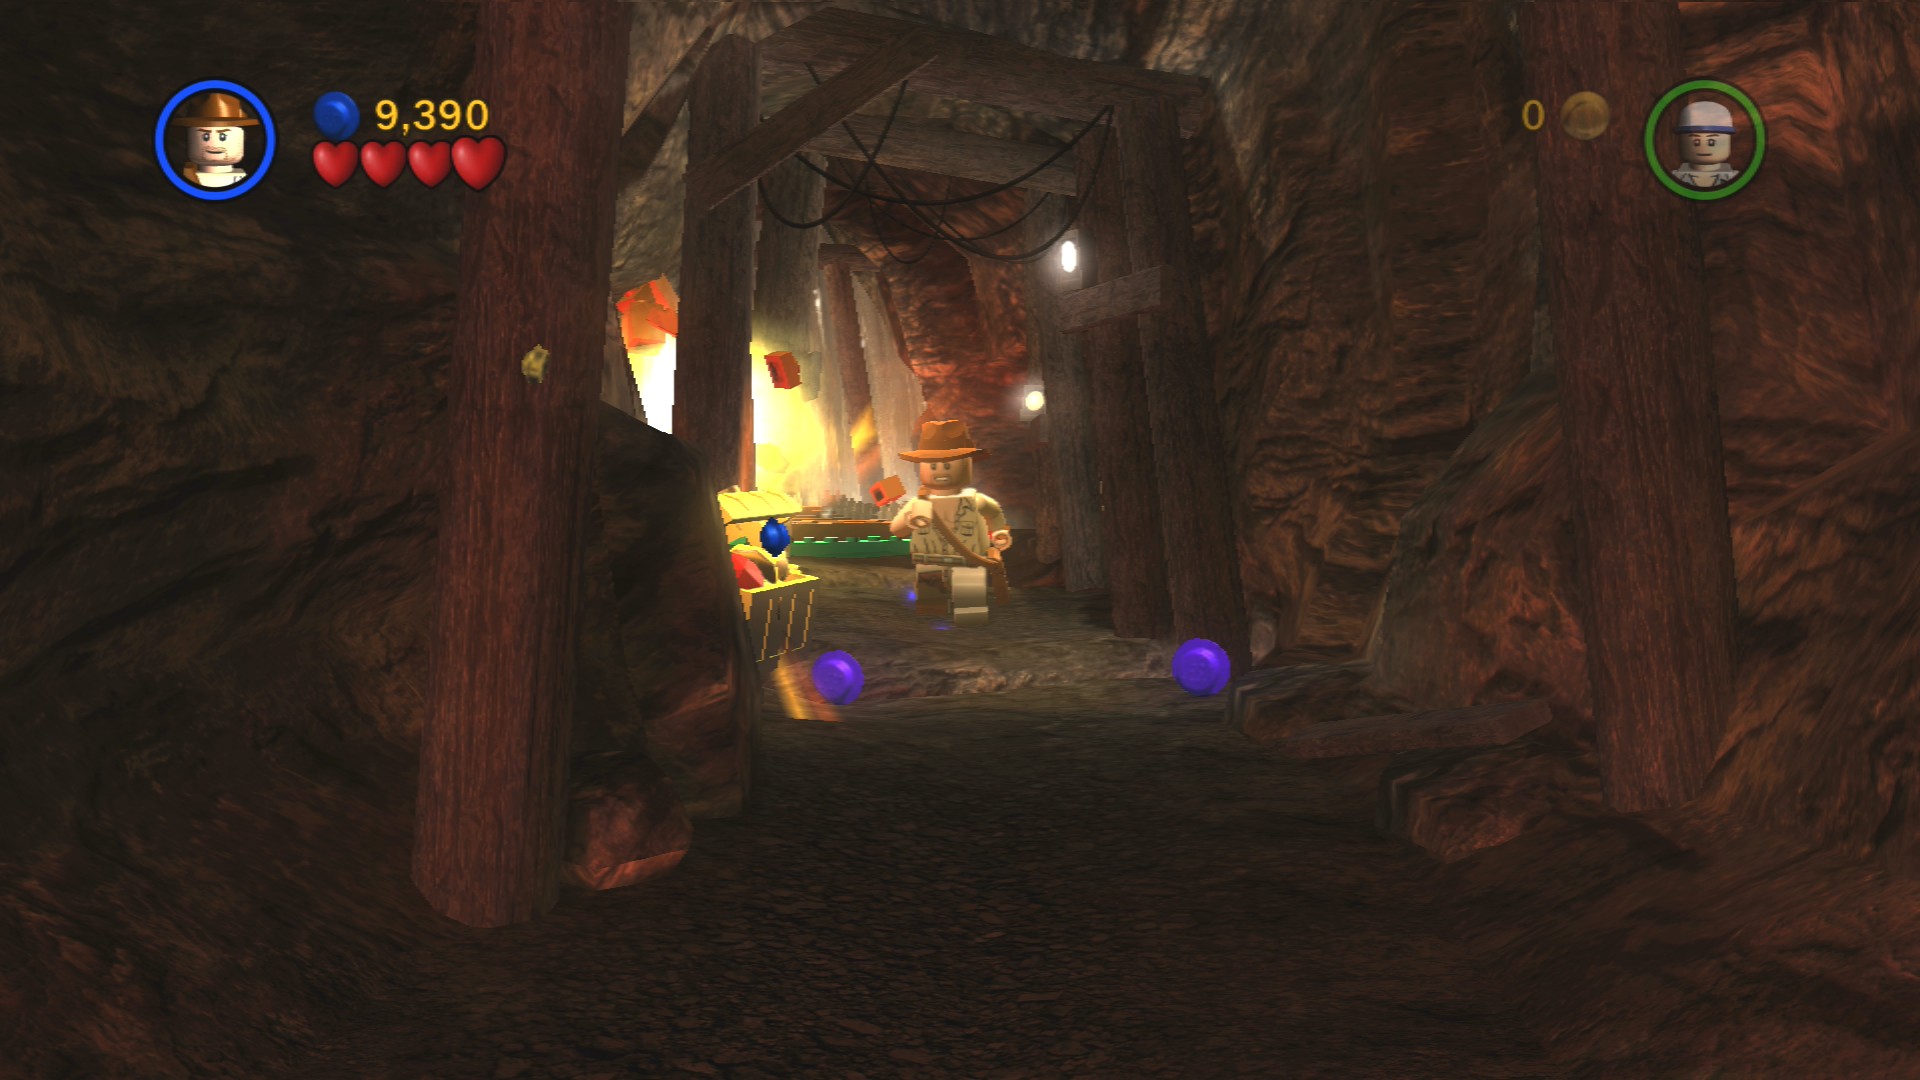
Along the left side just after the bridge in the tunnel.
Artefact Piece 3/10
Requires: None Story Mode: Yes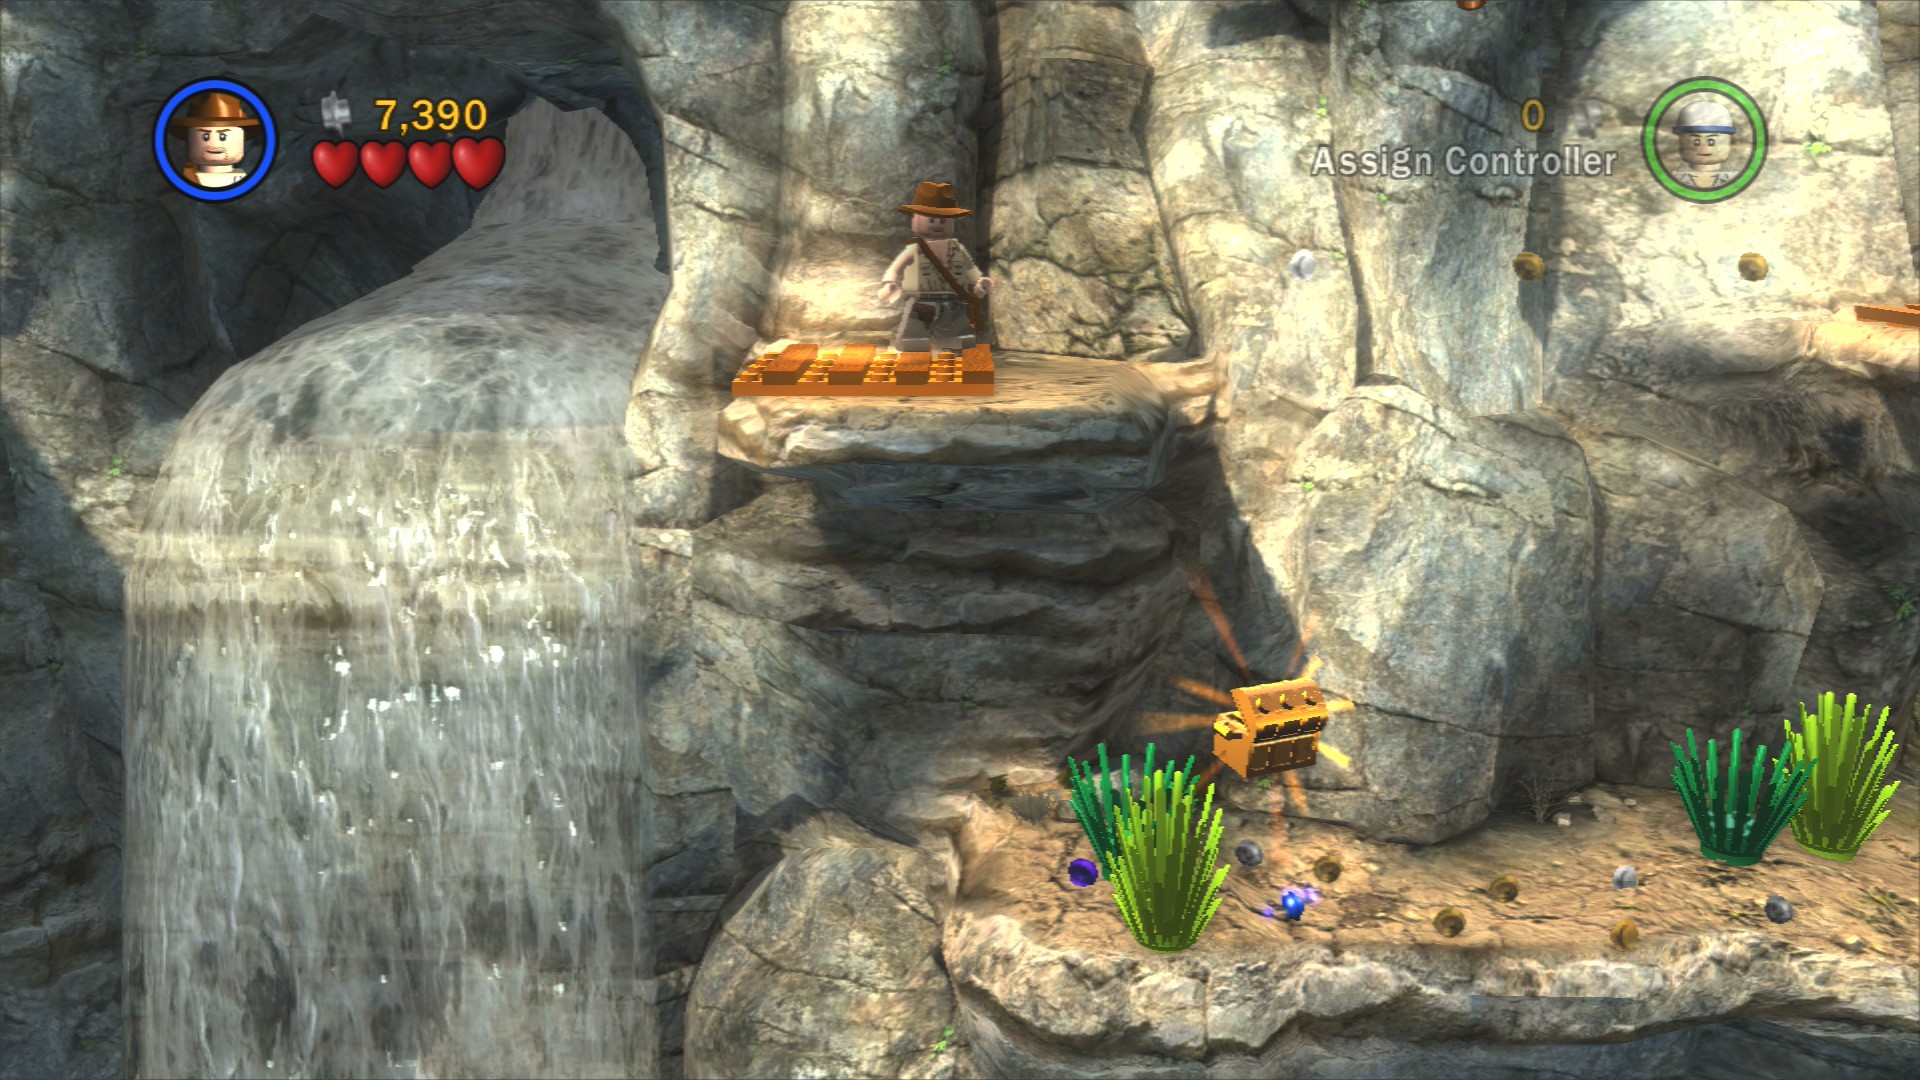
Directly beneath where you start the second section of the level. Pull the lever to get back up.
Whip swing to the right and then grab a hold of the rope and start climbing it. Once you get about halfway up start swinging to the left so you can make the jump to the handhold over there.
Once you're over there switch to Short Round and have him climb the vine next to where he starts. At the top go through the hatch and grab the key.
Artefact Piece 4/10
Requires: Shovel Story Mode: Yes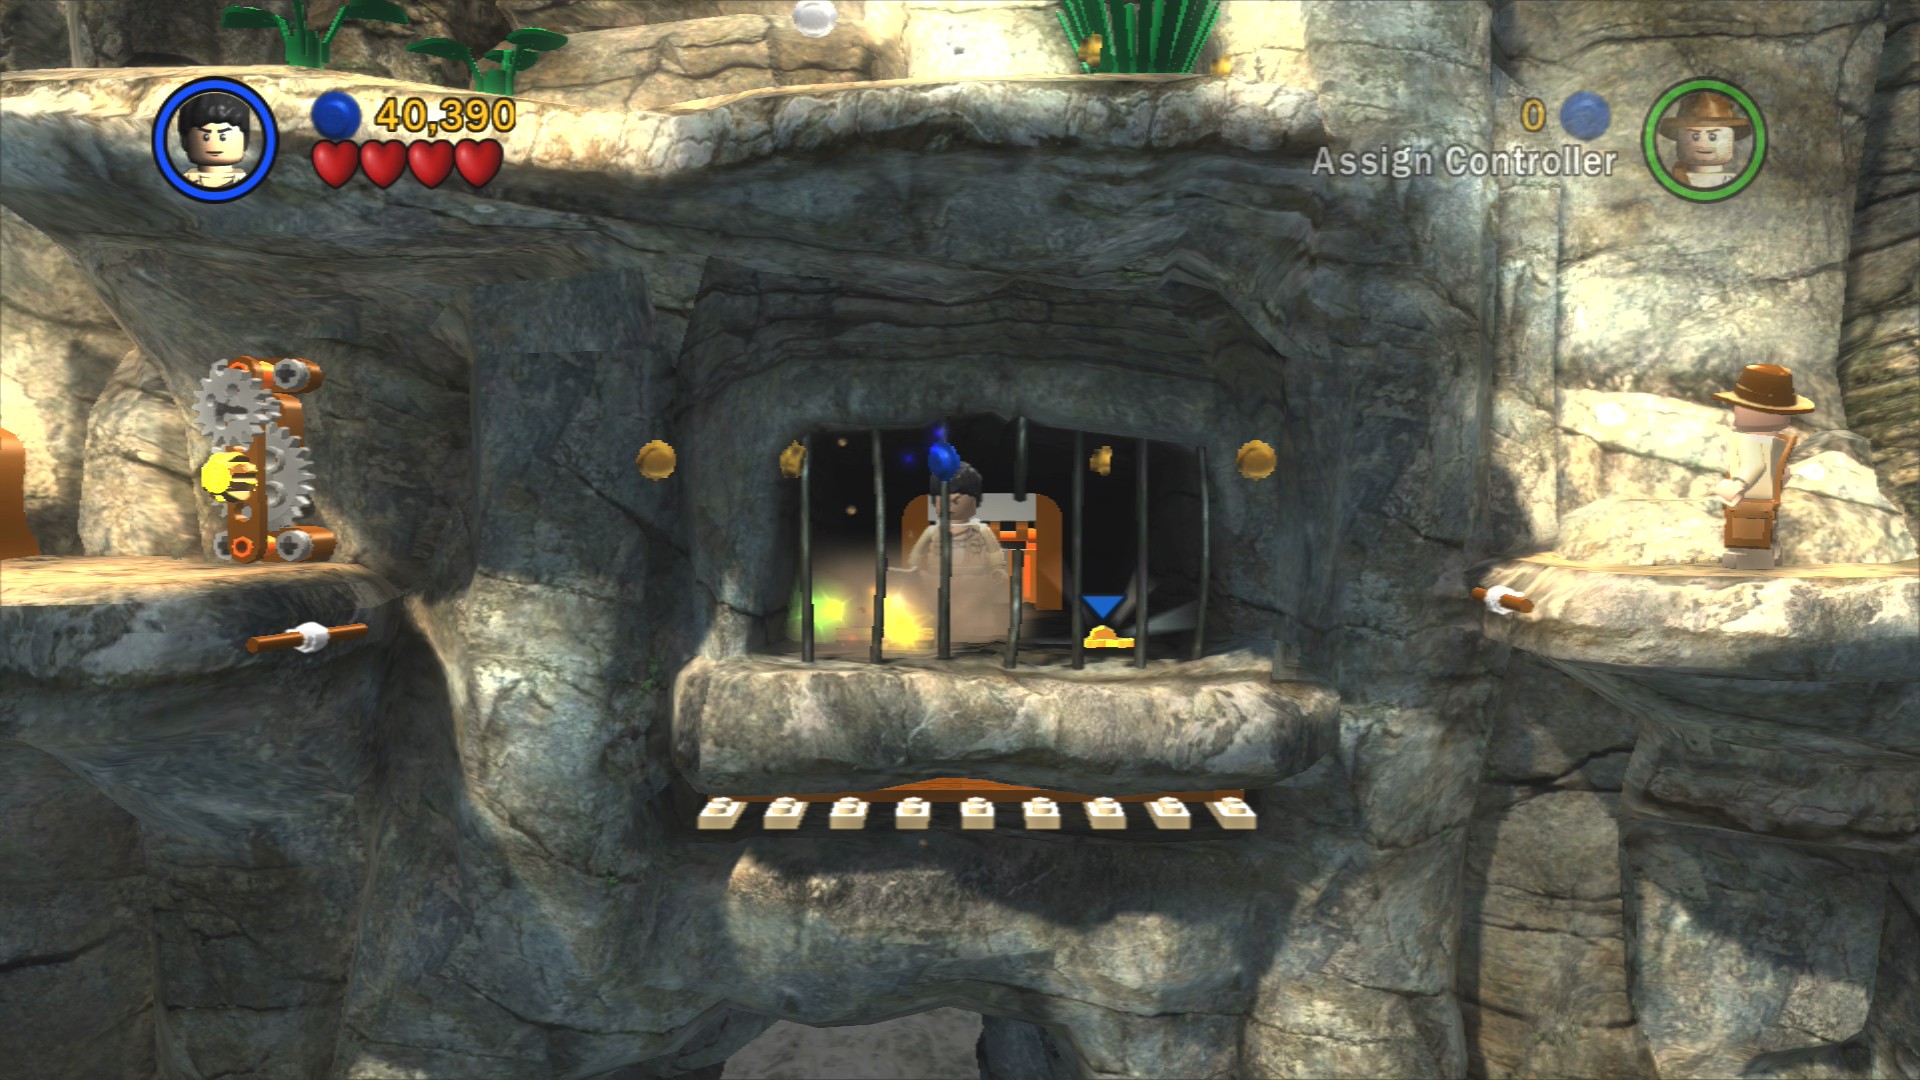
Inside the hatch area you can dig up an Artefact Piece.
Return through the hatch to turn the key to let Indy over. Have him use his whip to dislodge the boulder above the hatch so you can build a couple of handholds. Climb the vine to get to the top and the next area.
Artefact Piece 5/10
Requires: Book Story Mode: No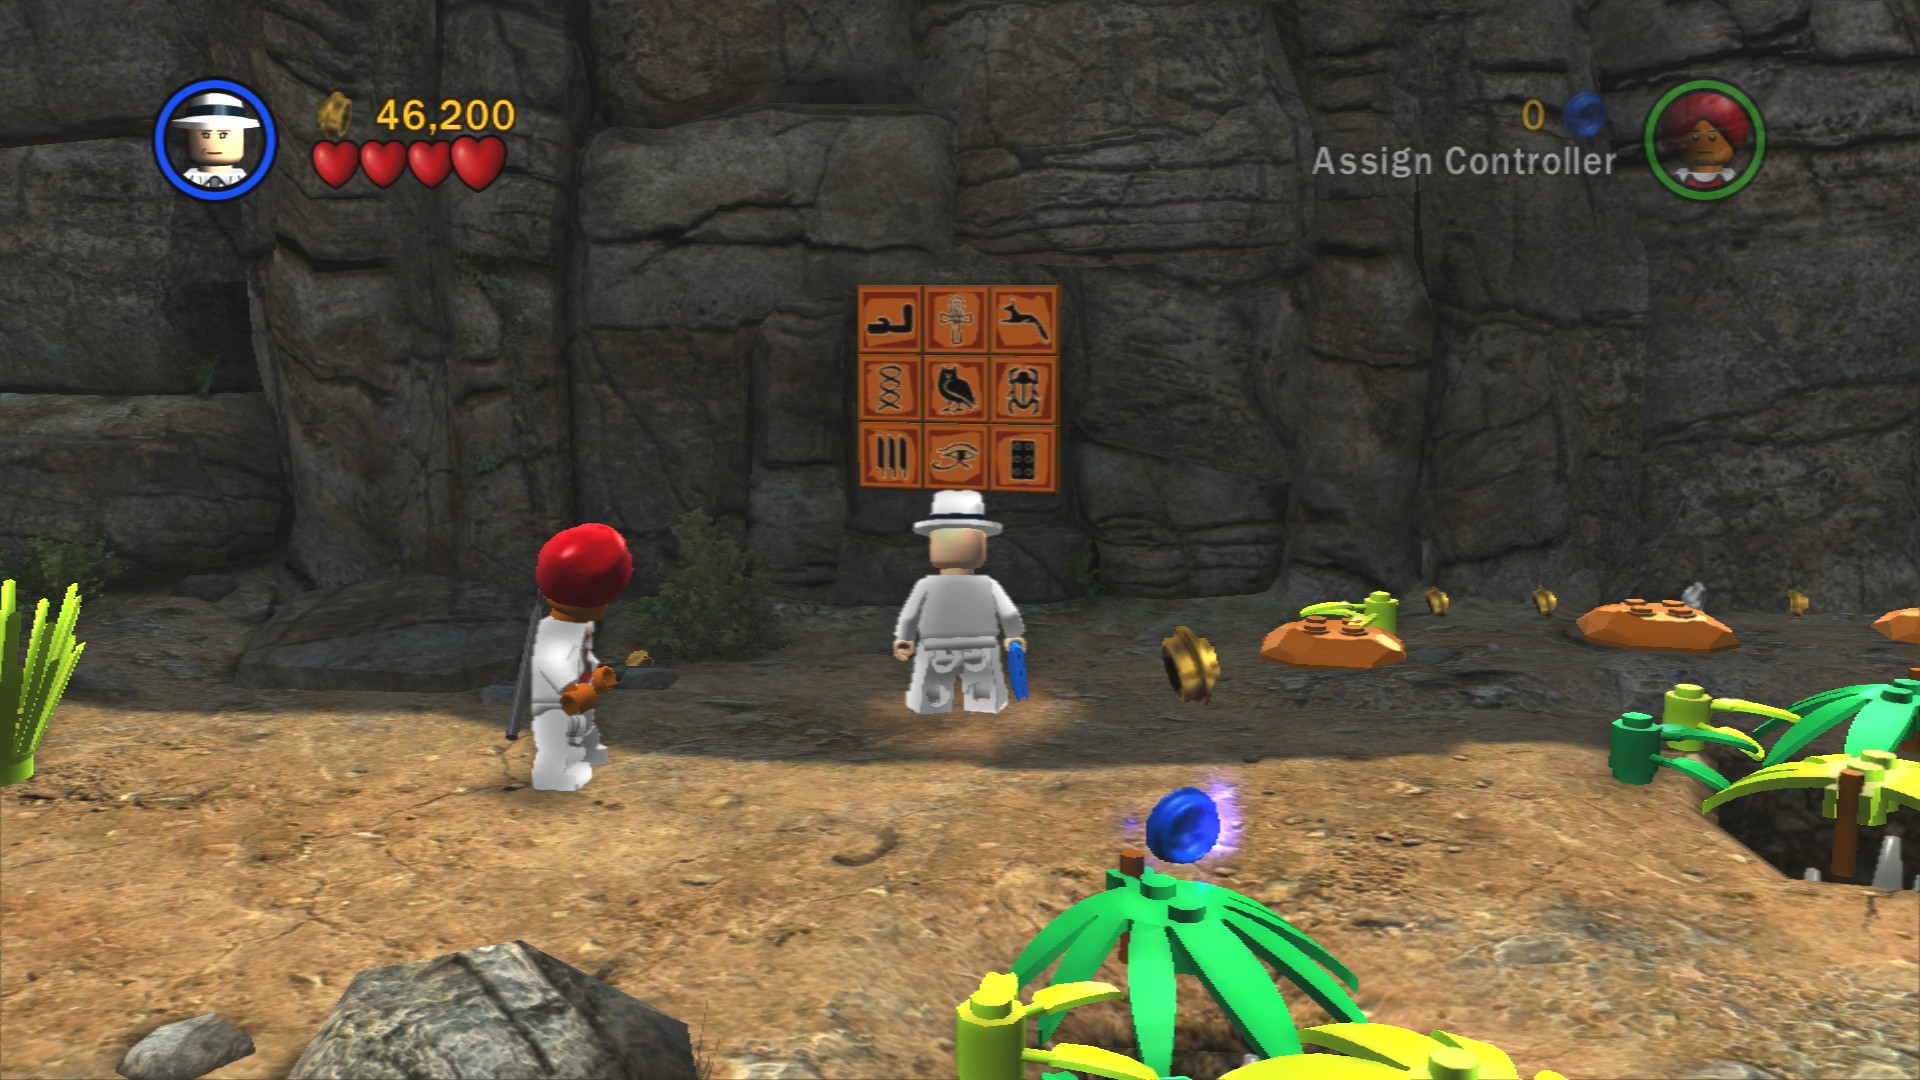
Solve the hieroglyphics panel and a series of columns will popup on the right. Jump up them to get the Artefact Piece.
Avoid the holes covered with plants as you'll fall into the deadly deadly spikes hiding below.
Artefact Piece 6/10
Requires: None Story Mode: Yes
In the second to last hole covered with plants.
Artefact Piece 7/10
Requires: None Story Mode: Yes
Hiding behind a rock to the right in front of the orange plate.
Artefact Piece 8/10
Requires: Shovel Story Mode: Yes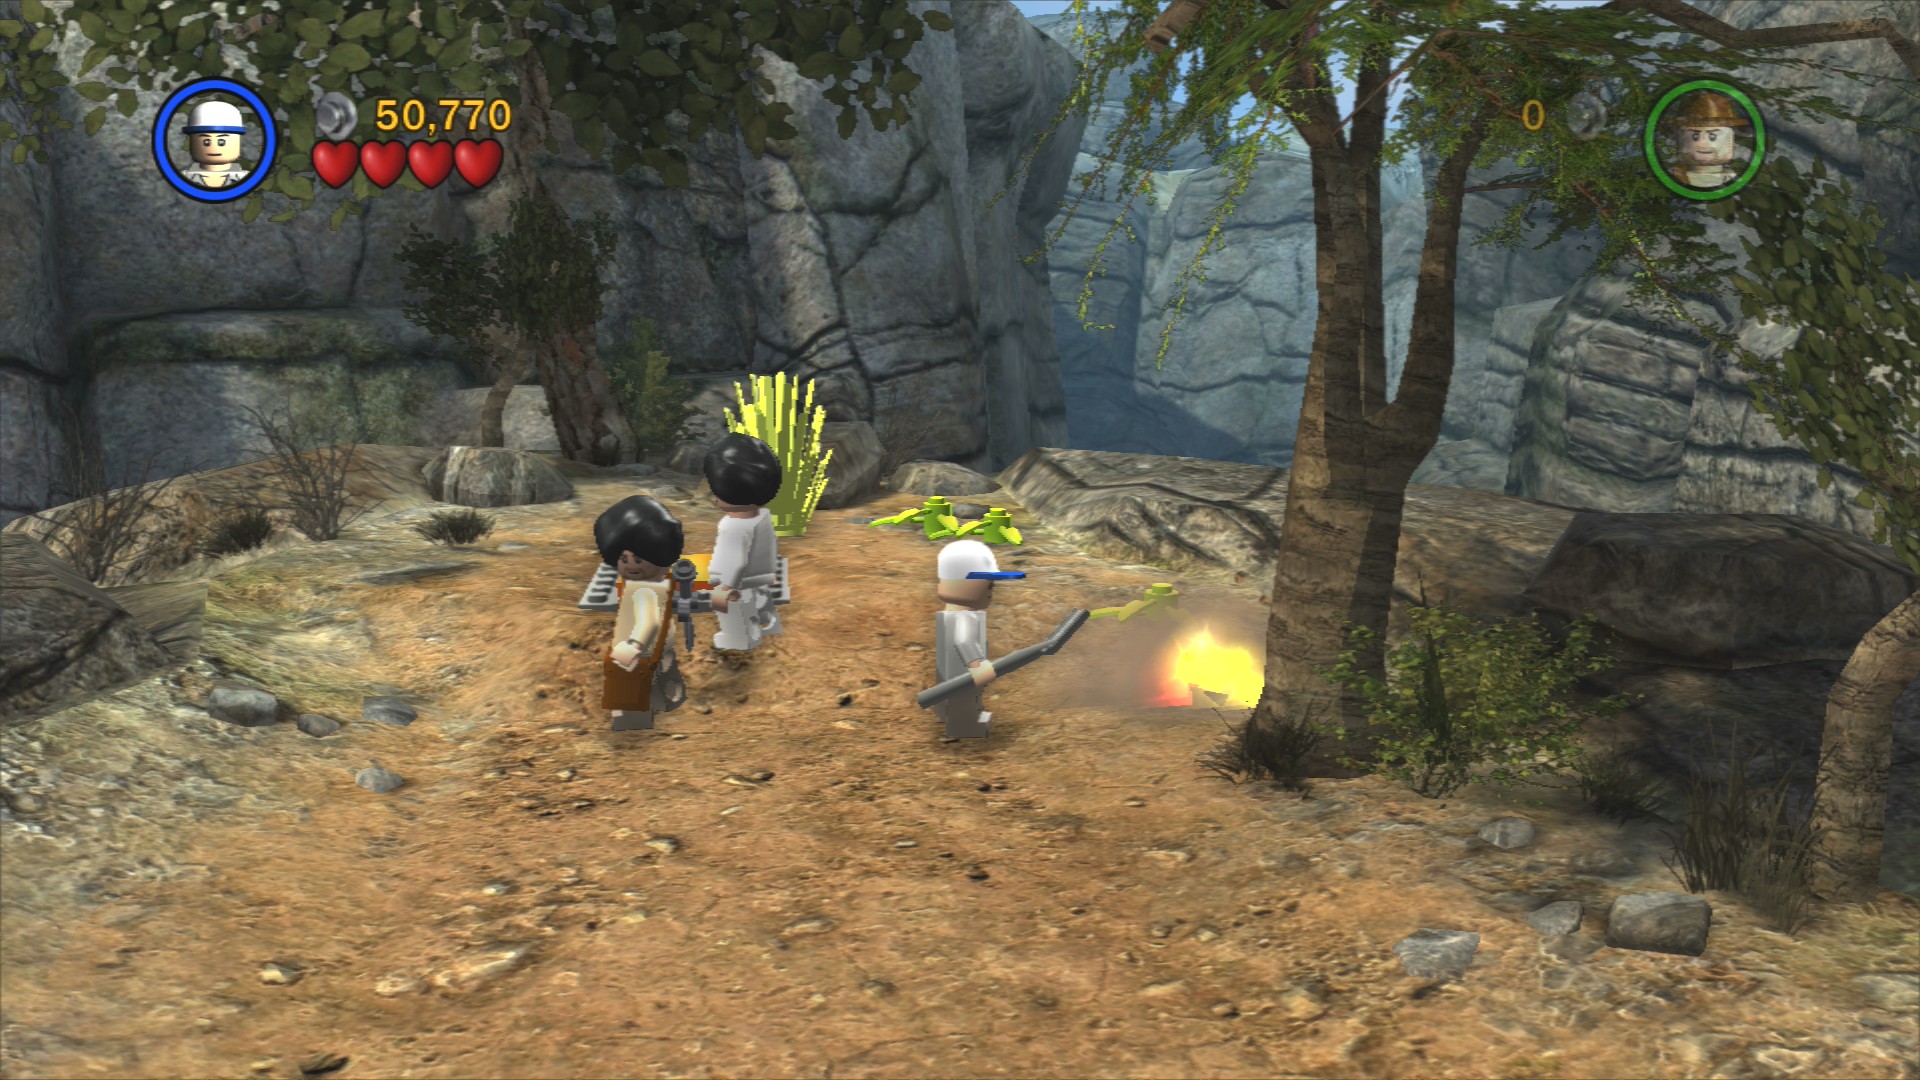
Dig up the glowing LEGO next to the orange plate to find a blue piece of tree. Carry it onto the orange plate to get the Artefact Piece.
When the enemies attack just past the holes you'll want to have Willie pick up the black turban that gets dropped as she'll need to use it when you high jump up to the Thuggee statue on the right. Pick up the object that it gives you and drop back down to the ground. Take it over to the right where there's a row of three skulls for you to place it underneath.
Pick up the shovel leaning against the wall and use it to dig up the glowing LEGO to the left. Smash the small statue you dig up and build yourself a hatch for Short Round to crawl through. However you'll need to find a Thuggee turban for him to wear, so awit for another load of enemies to appear so you can nab one for him. Bring the object down and again place it under the skulls.
Finally use Indy's whip to pull down a ladder and then have one of your Thuggee hat wearing characters climb up and get the third object which will open the door out of here.
Jump onto the little platforms in front of you where you start this next section.
Artefact Piece 9/10
Requires: None Story Mode: Yes
Before you reach the whip spot keep going towards the screen.
On the right you'll reach a spot for Indy to use his whip to partly destroy a wooden platform. Jump over to it and then drop down to the right onto the handholds. Shimmy right a little to jump down to a small ledge and then along some more small platforms heading to the right.
Whip swing across and smash the rock beneath the chain. Switch to Short Round and crawl through the hatch on the right to reach the opposite side where you can smash a second rock and dislodge the wooden platform above. Go back through the hatch to jump up onto it.
Red Parcel - Regenerate Hearts
Requires: Shovel, Explosives Story Mode: No
On the right you should be able to see some leaves covering a hole. Smash those leaves and jump down the hole.
You'll need to dig up the Red Parcel and also use explosives on the Silver LEGO rocks behind it. Pick up the crate to place it on the green panels and then use the sword to cut down the cage containing the other crate. Assemble the Mailbox to post the Parcel.
Artefact Piece 10/10
Requires: None Story Mode: Yes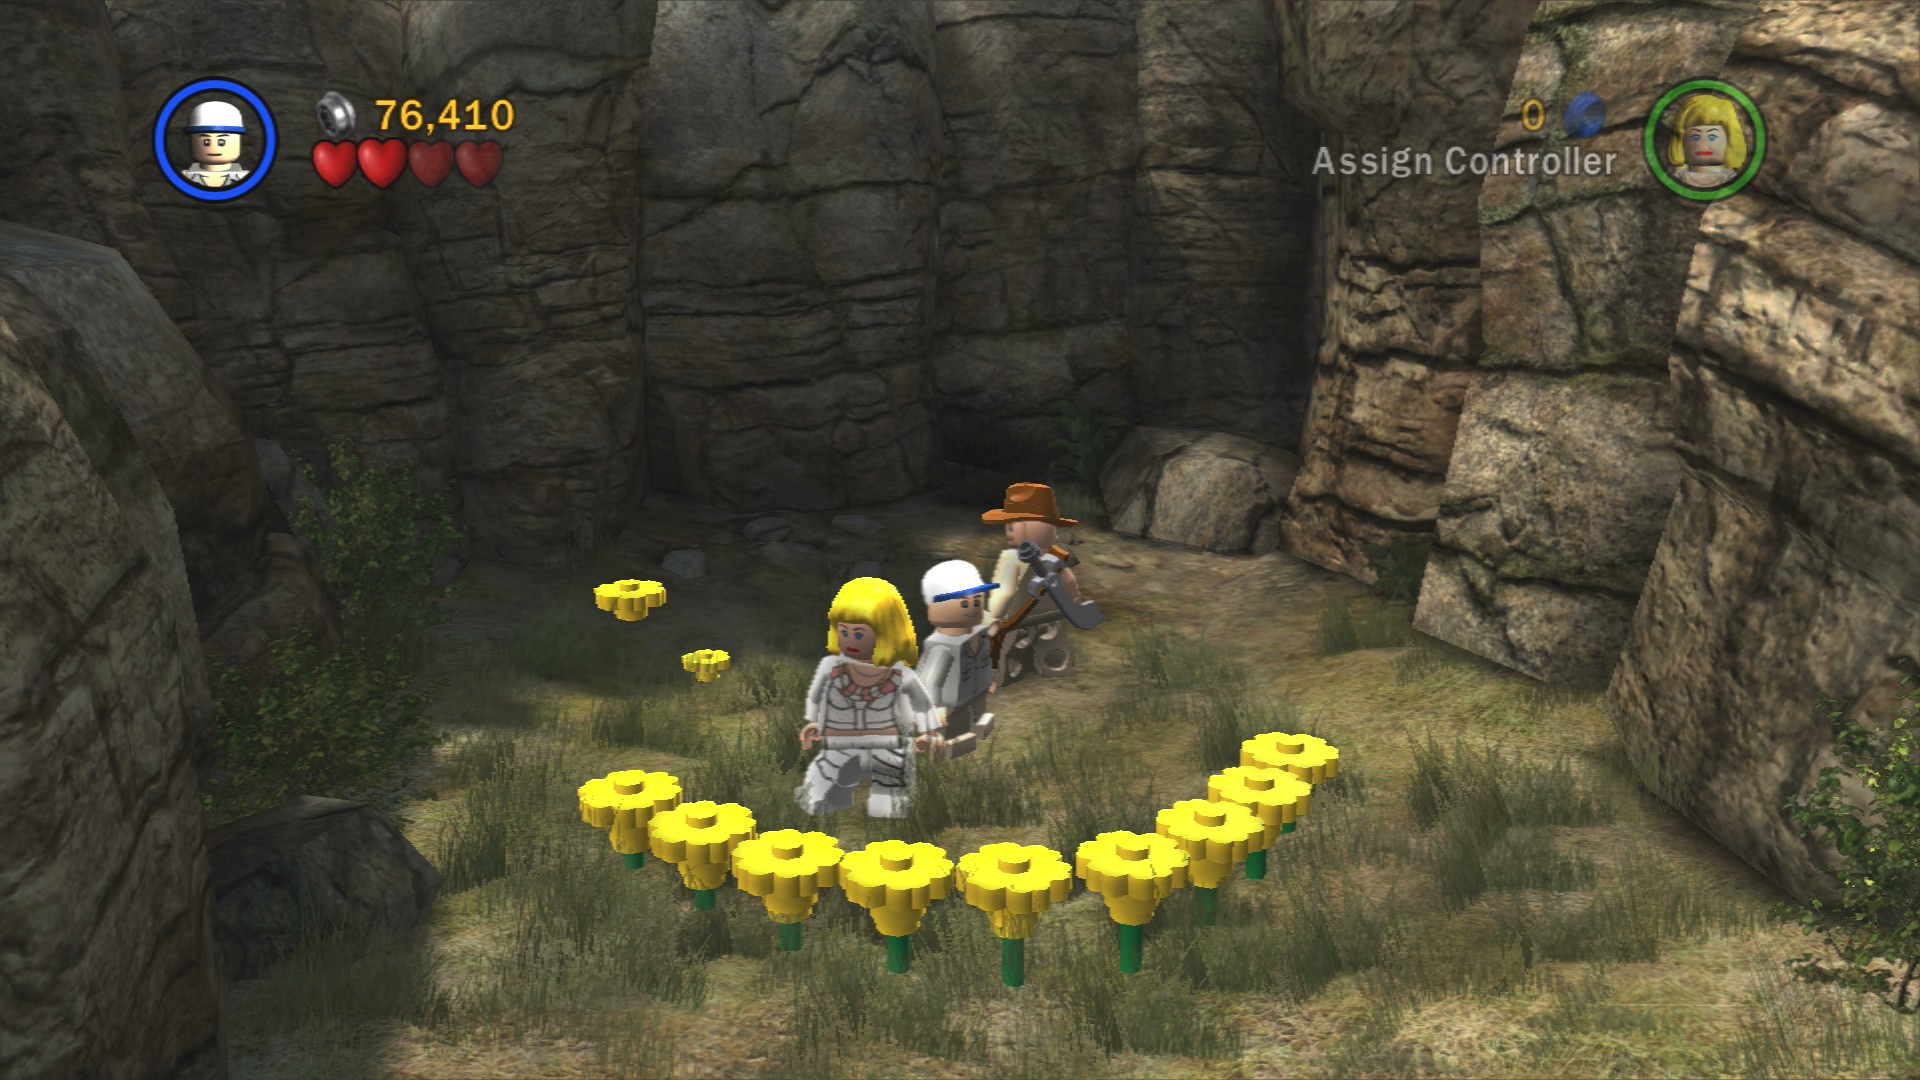
Take the short path to the left that looks like a dead-end. Wander around and you'll start to cause some little yellow flowers to pop out of the ground. Do that to form a smile and two eyes to get the Artefact Piece.
Taking the path to the right towards the large gate. On the right are some plants, smash through them to find a hatch for Short Round to crawl through. Use the handholds to shimmy towards the gate and jump onto the rope dangling next to it.
Switch to Willie and have her jump up to the rope on the left side of the gate. Jump off and stand on the skull button that has appeared to open the gate and enter the final area of the movie.
A fairly simple fight with the final boss Mola Ram. Attack the regular enemies on the bridge and then attack Mola Ram when he comes near you. Pick up a sword from one of the regular enemies and throw it at one of the cords that attach the bridge to the rocks. Repeat that all again a few times until all four cords are cut.
| Cost | Character | |
|---|---|---|
| 50,000 | Mola Ram | |
| 25,000 | British Officer | |
| 18,000 | British Soldier | |
| 30,000 | British Commander |
The third movie, Indiana Jones and the Last Crusade, is where our journey conintues.
 darkspyro.net