Episode VII
THE FORCE AWAKENS
- Luke Skywalker has vanished.
- In his absence, the sinister
- FIRST ORDER has risen from
- the ashes of the Empire
- and will not rest until
- Skywalker, the last Jedi,
- has been destroyed.
- With the support of the
- REPUBLIC, General Leia Organa
- leads a brave RESISTANCE.
- She is desperate to find her
- brother Luke and gain his
- help in restoring peace and
- justice to the galaxy.
- Leia has sent her most daring
- pilot on a secret mission
- to Jakku, where an old ally
- has discovered a clue to
- Luke's whereabouts....
Attack on Tuanul
[Defend yourself from the First Order!]
Jakku, Tuanul Village
Walk to the west to attack a couple of First Order Stormtroopers that are taking part in the attack.
[Reach Poe's X-wing and escape the attack!]
You'll find Poe's X-wing parked to the south with a large glowing marker in front of it. Beat up the Stormtroopers that appear when you get close then continue the story.
New Friends
Jakku, Nima Outpost
[Return to Rey's home for the night.]
Circle around the fallen AT-AT to find the marker that starts the level.
Chapter 1
First Order of Business
| Silver | Blue | Purple |
|---|---|---|
| 20,000 | 40,000 | 60,000 |
[Find the hangar.]
There are quite a few different ways to get through this level even in story mode.
The most basic ways are straight on heading east along the corridor and out into a large room. No need to attack anyone here as they shouldn't be hostile, at least for the moment.
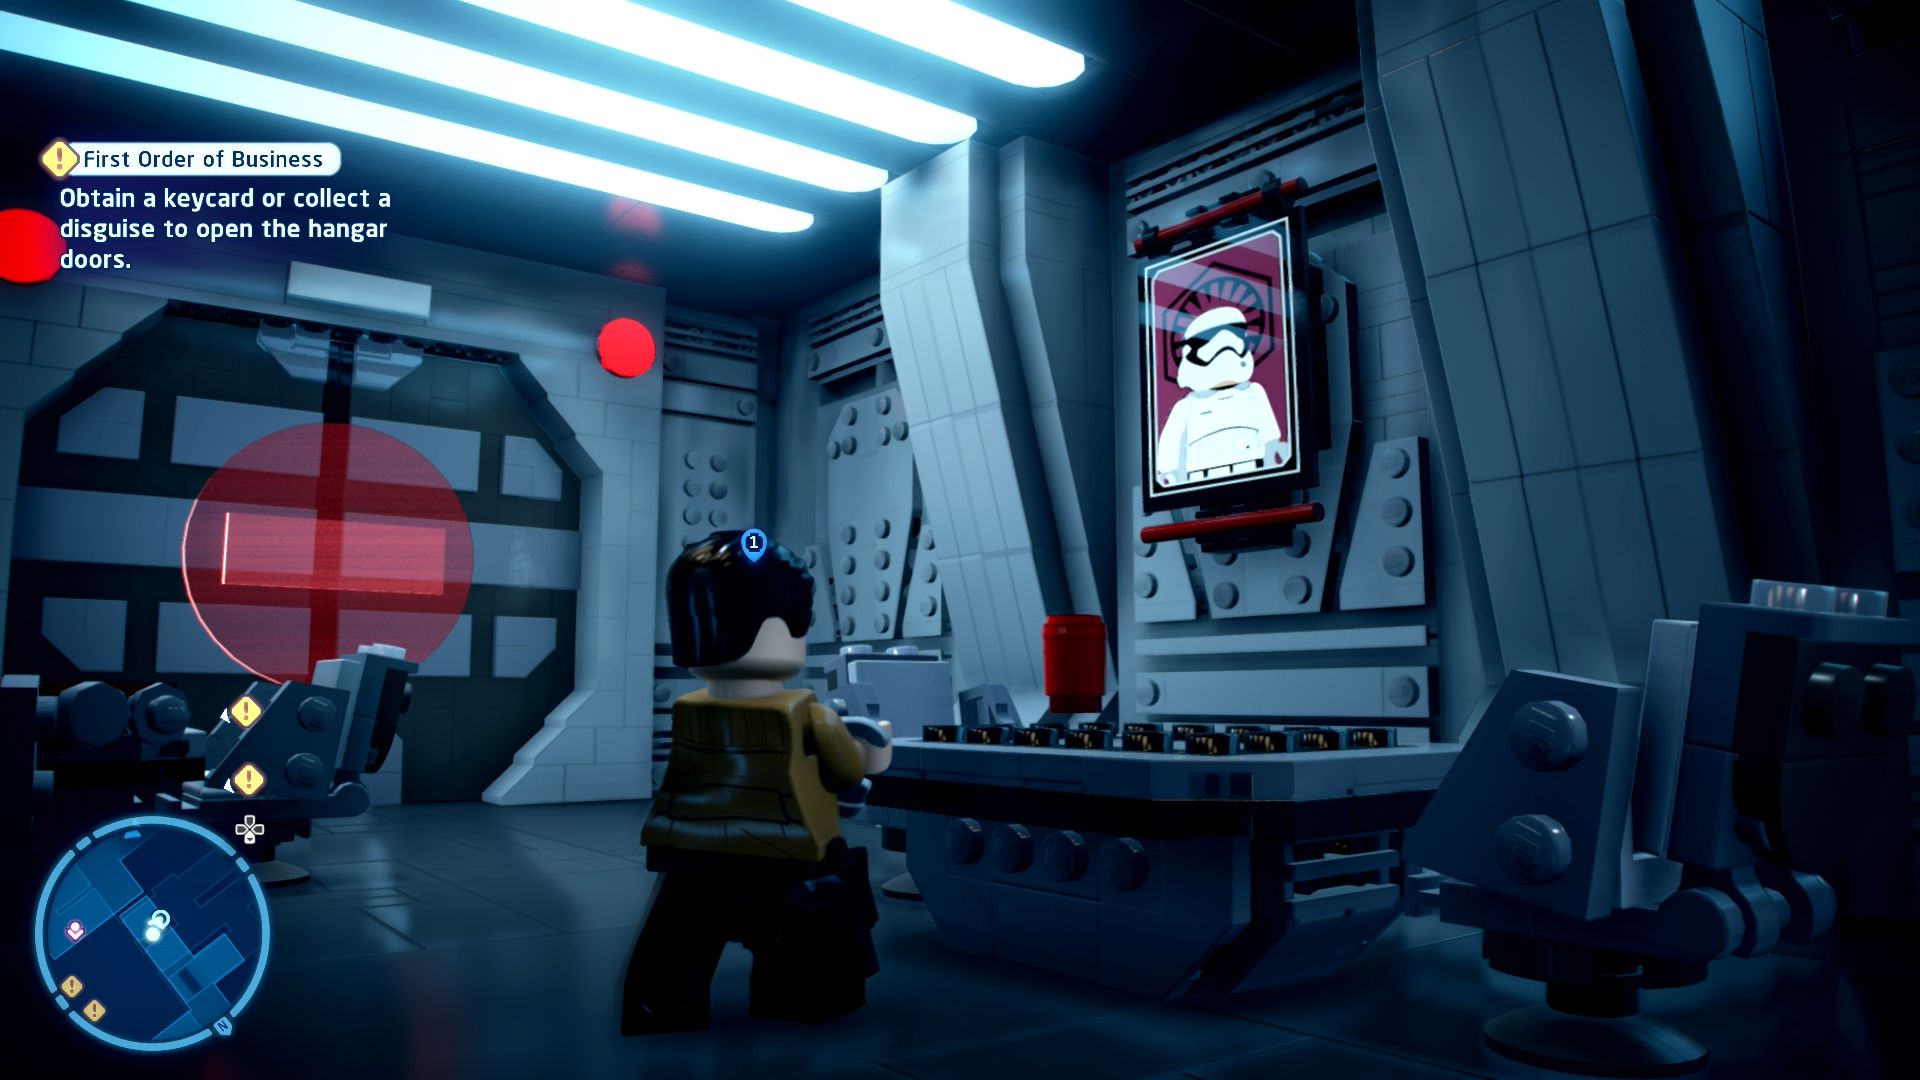
[Obtain a keycard or collect a disguise to open the hangar doors.]
You have four options here.
You can grab the keycard directly from one of the officers standing in front of the locked doors by just killing everyone.
Or you can follow the other officer into the break room and kill those three (and the other troopers in the room) and have Poe equip the three parts of the officer uniform. The officer standing at the locked door will open it for you.
Or you can solve the Villain Terminal in the back lefthand corner to distract the enemies by the nearest door. The officer will drop the keycard so you can take it and open the door.
Or you can go to the back righthand corner and smash the objects there. Build a Hero Terminal and solve it to distract the enemies near that door. And then you can pick up the keycard and go through. This one also happens to be one of the Challenges.
[Reach the available TIE fighter and escape!]
Your cover is secure again even if you attacked the enemies in the previous section but they will attack if they look at you too long so just walk quickly straight through the Stormtroopers in the hangar and up the ladders to the TIE Fighter. At the top rotate the two switches to complete the level.
Level Challenges
- Hazardous Work Environment
- Defeat enemies using hazards in the hangar bay.
- Lined up in front of the TIE Fighters are some targets you can hit to create a hazard.
- Party Time!
- Trigger the disco!
- When you enter the room with the keycards in the corner to the right of them are some glowing objects you can smash to build a Hero Terminal. Solving that will lower a disco ball.
- Sneaking Mission
- Discover the underground route into the hangar bay.
- You can find the underground route by going south at the start, taking a left, blowing up the scissor lift with a Villain Grenade, going upstairs, placing the three power cells in their spots, then going through the door and down a hole. Shove the blocks into the way of the steam to get past and then finally grapple open the hatch to climb up into the hangar bay.

Minikits
Minikit 1/5 - Anger Management
Requires: None Story Mode: Yes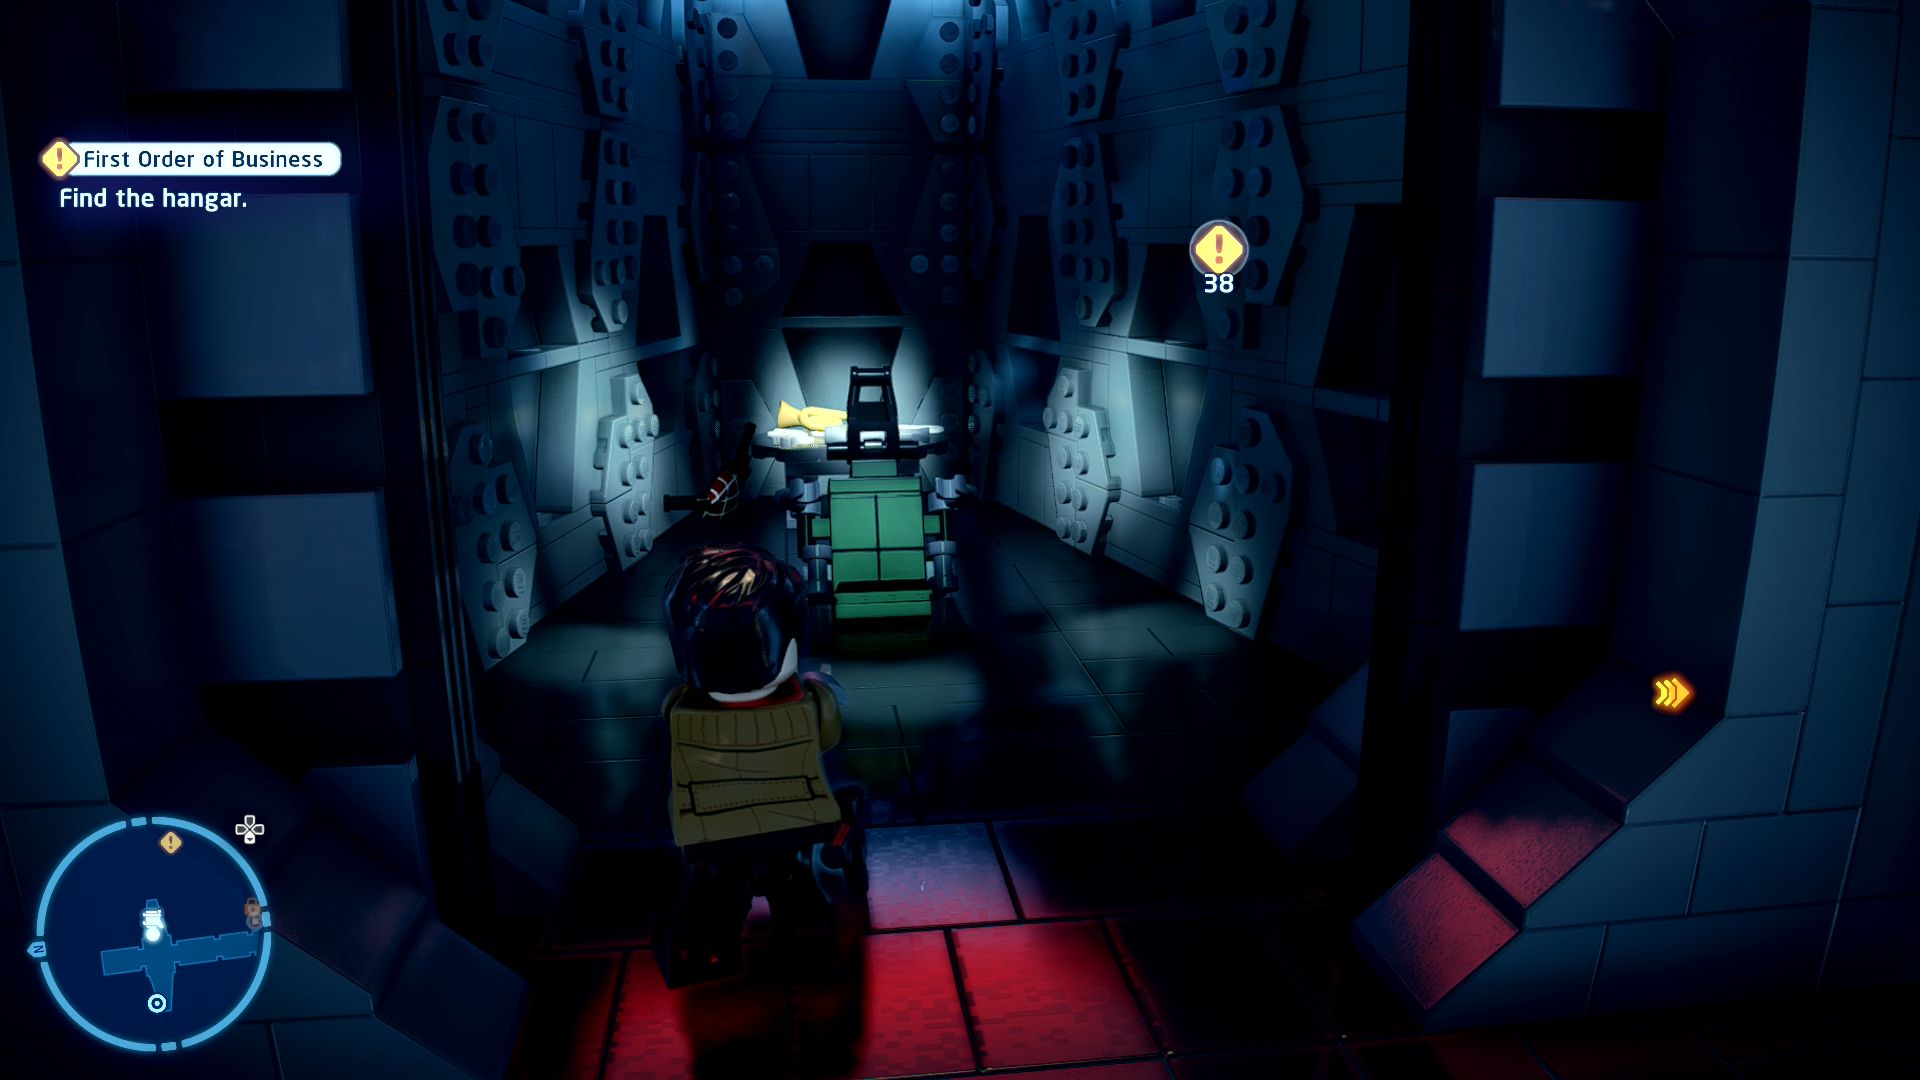
Make sure nobody suffers by that machine again.
At the start of the level go back a little bit and head north. On the right at the end of the corridor is a room with a green chair. Smash it.
Minikit 2/5 - Poster Boy
Requires: Astromech, Villain, Grapple Story Mode: No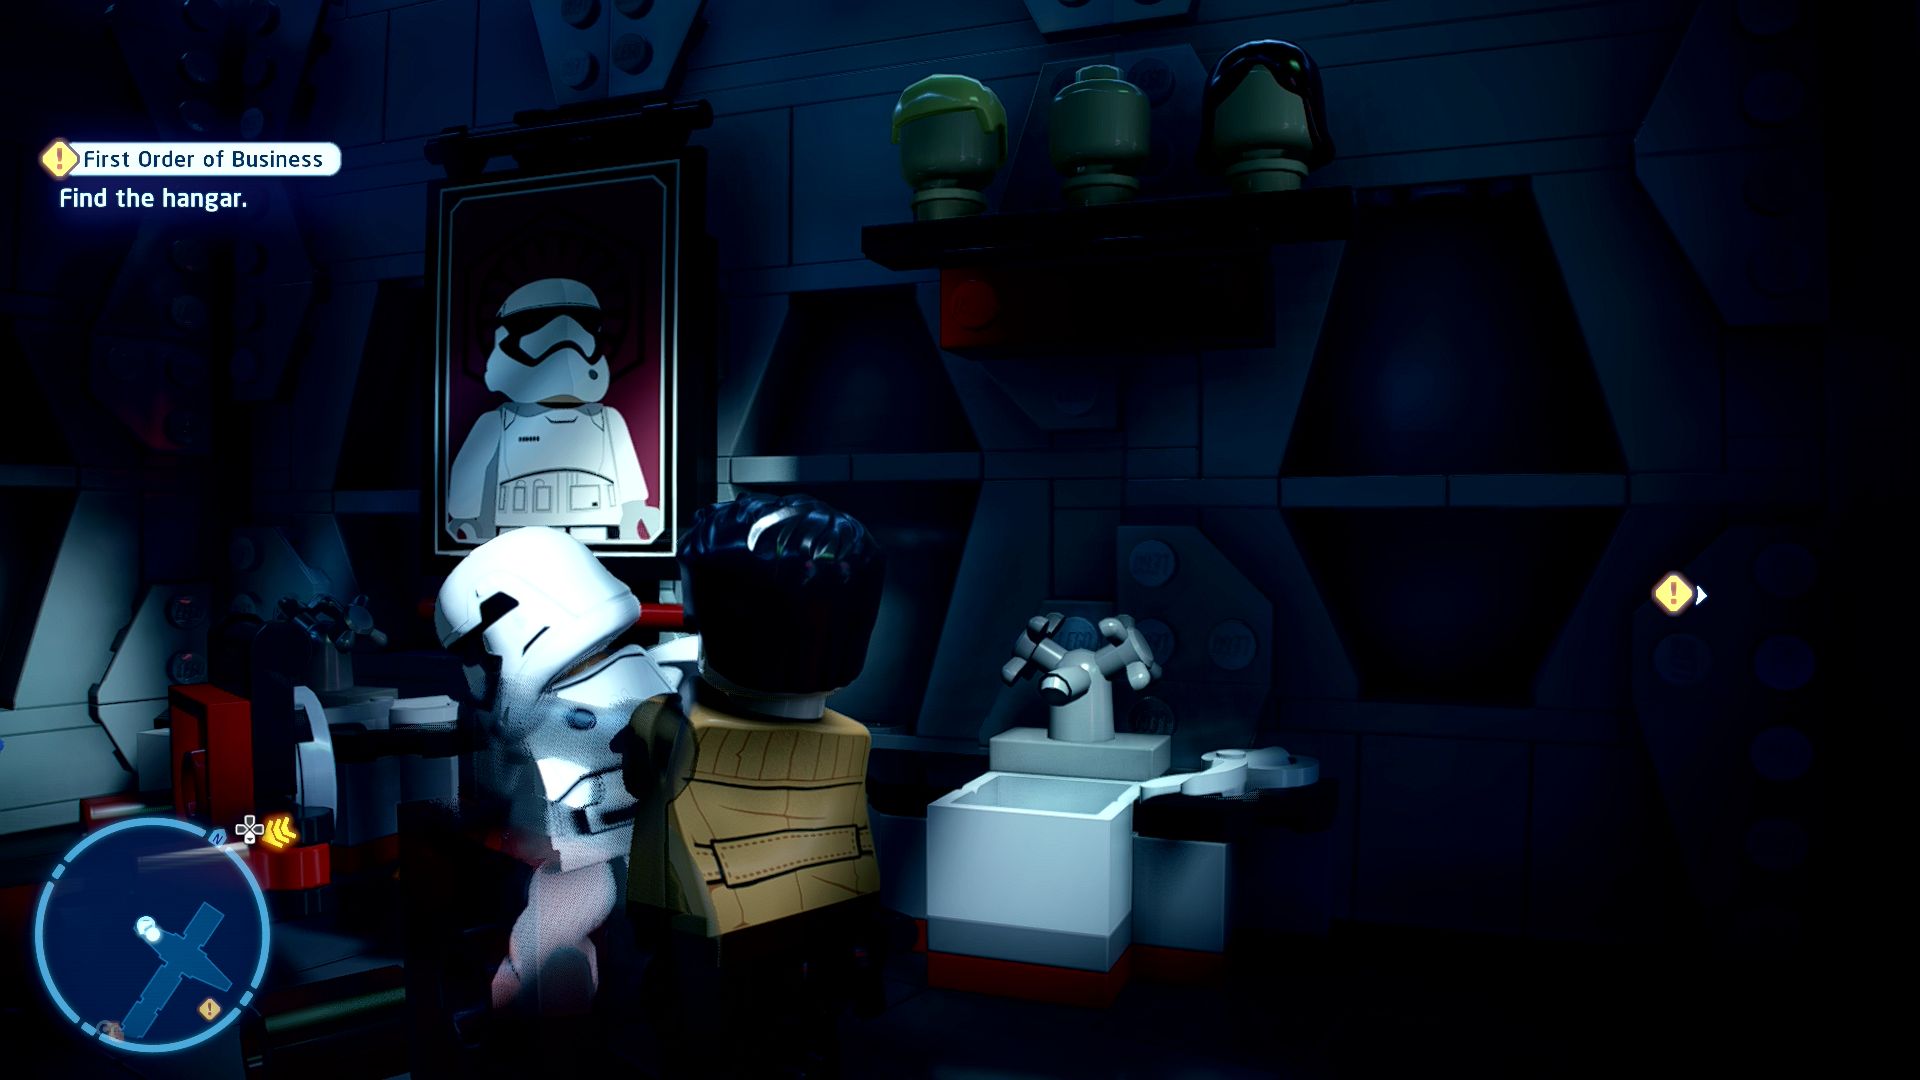
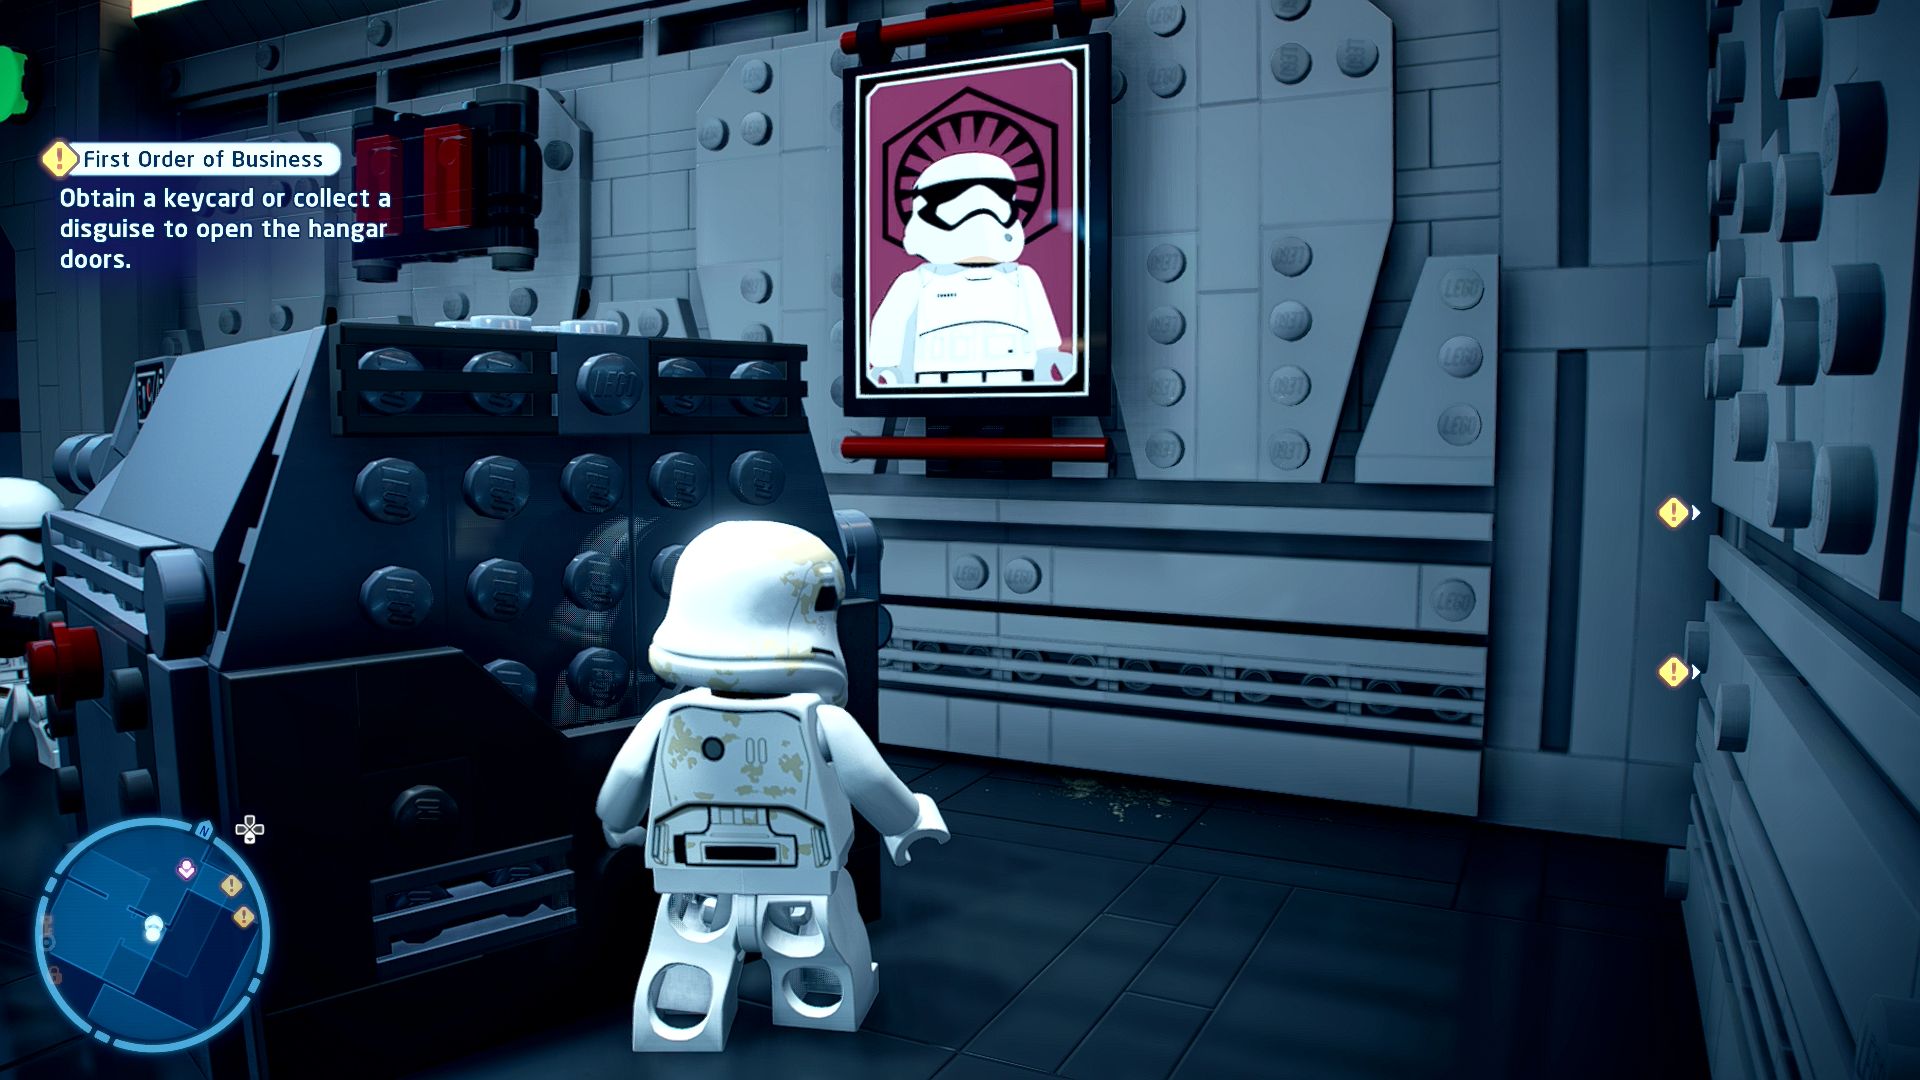
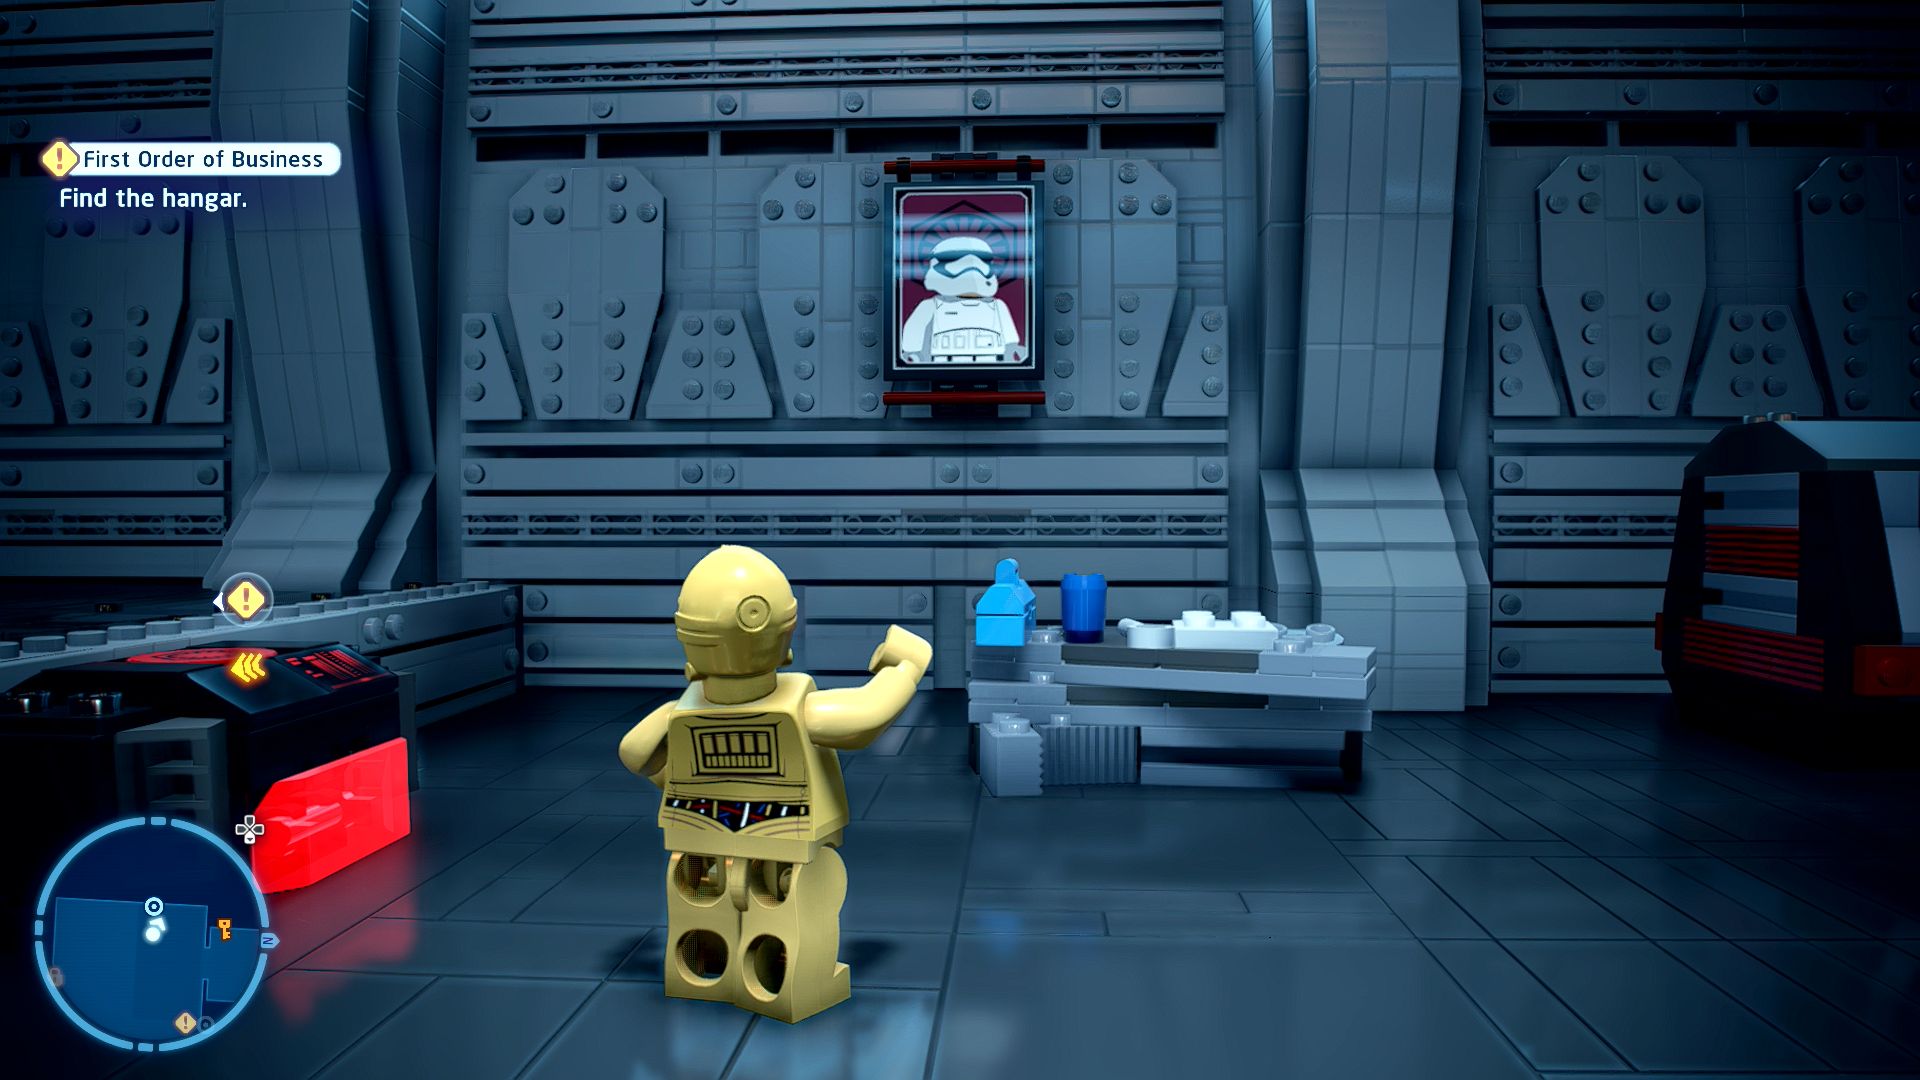
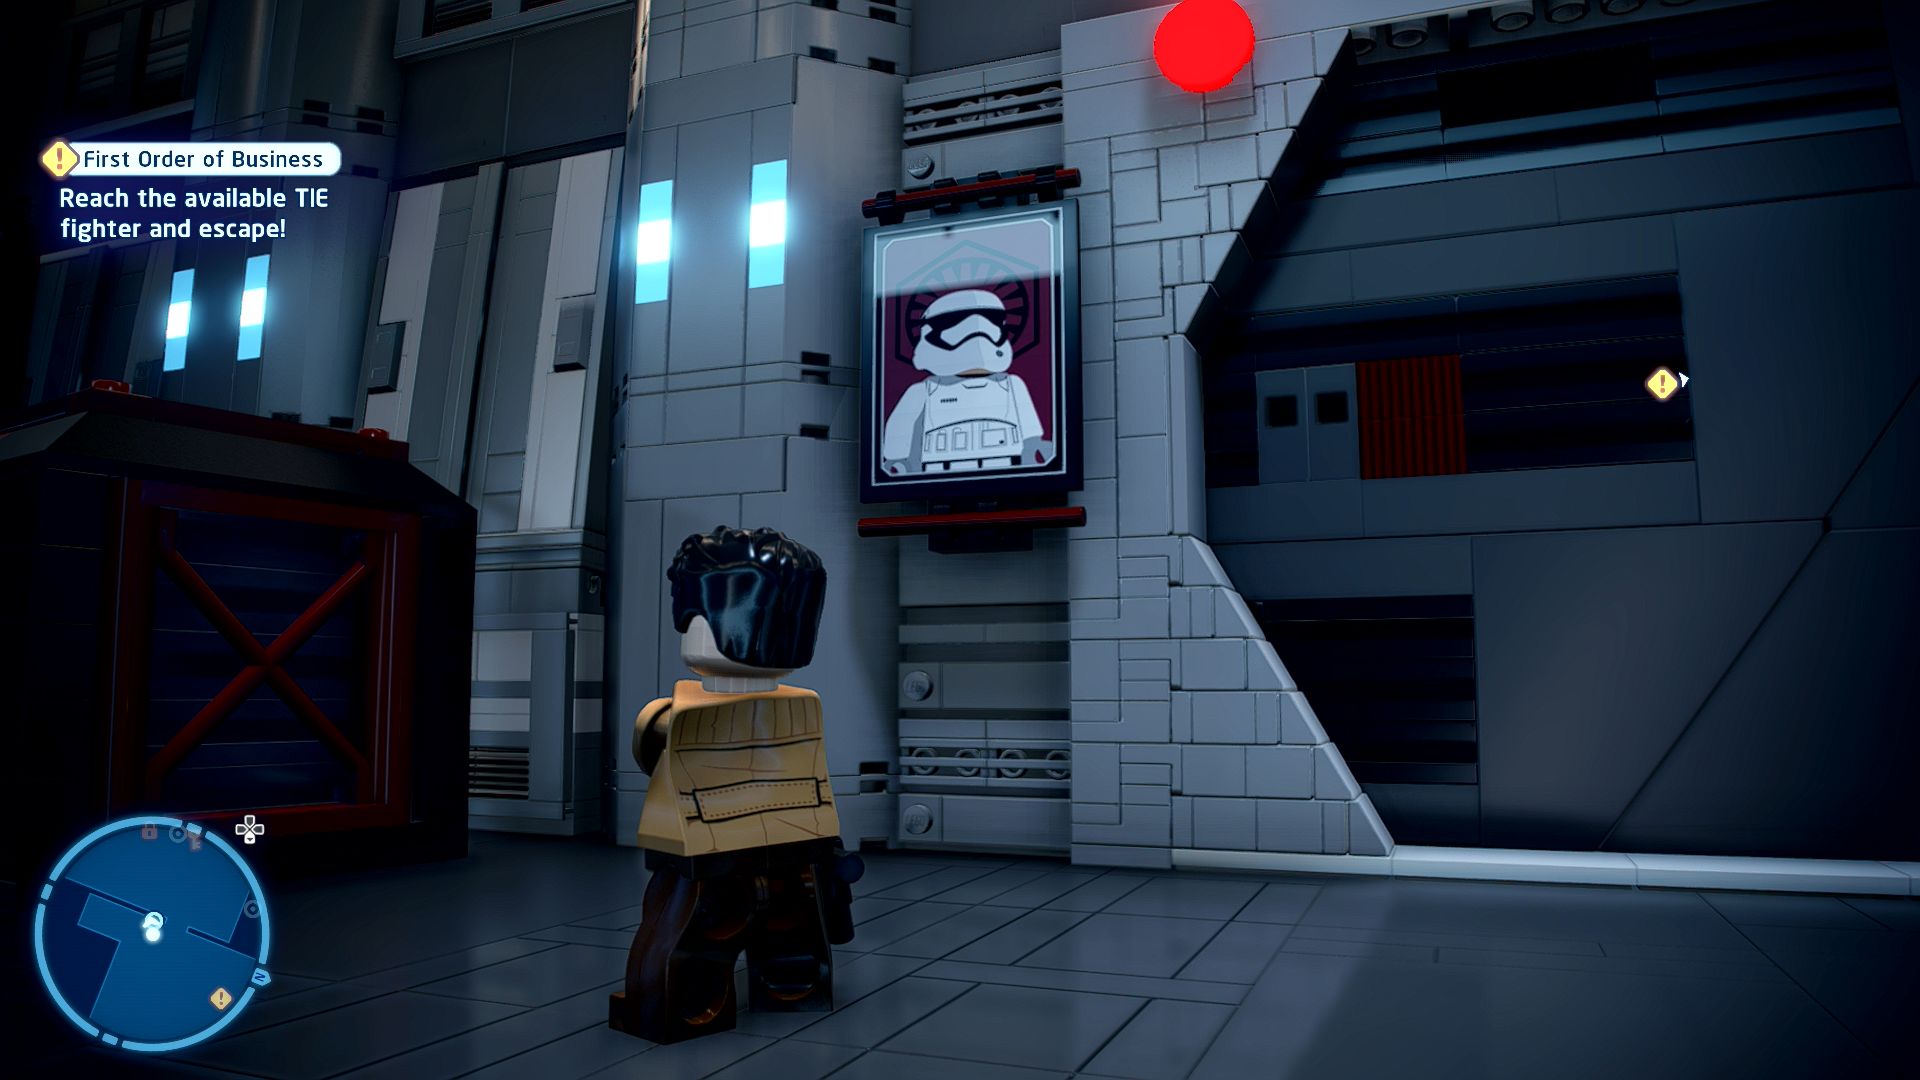
Propaganda everywhere. Rid the galaxy of these images before anybody sees them!
There are five Stormtrooper posters scattered around the level. Destroying these will save across attempts so you don't need to do all five in one visit.
- Turn around at the start and go north, take a left at the end.
- Straight on from the start go through the Villain Terminal door and then grapple up into the ceiling next to the alarm turn off switch.
- In the armory room to the right of the keycards room.
- In the southern rooms reached by Astromech Socket.
- In the southwestern corner of the hangar.
Minikit 3/5 - Astro Physics
Requires: Astromech Story Mode: No
A trusty astromech can reveal this ship's hidden secrets...
In the southern middle room reached by opening a door with an Astromech Socket is another Astromech Socket along the southern wall.
Minikit 4/5 - BB-Ball
Requires: The Force Story Mode: No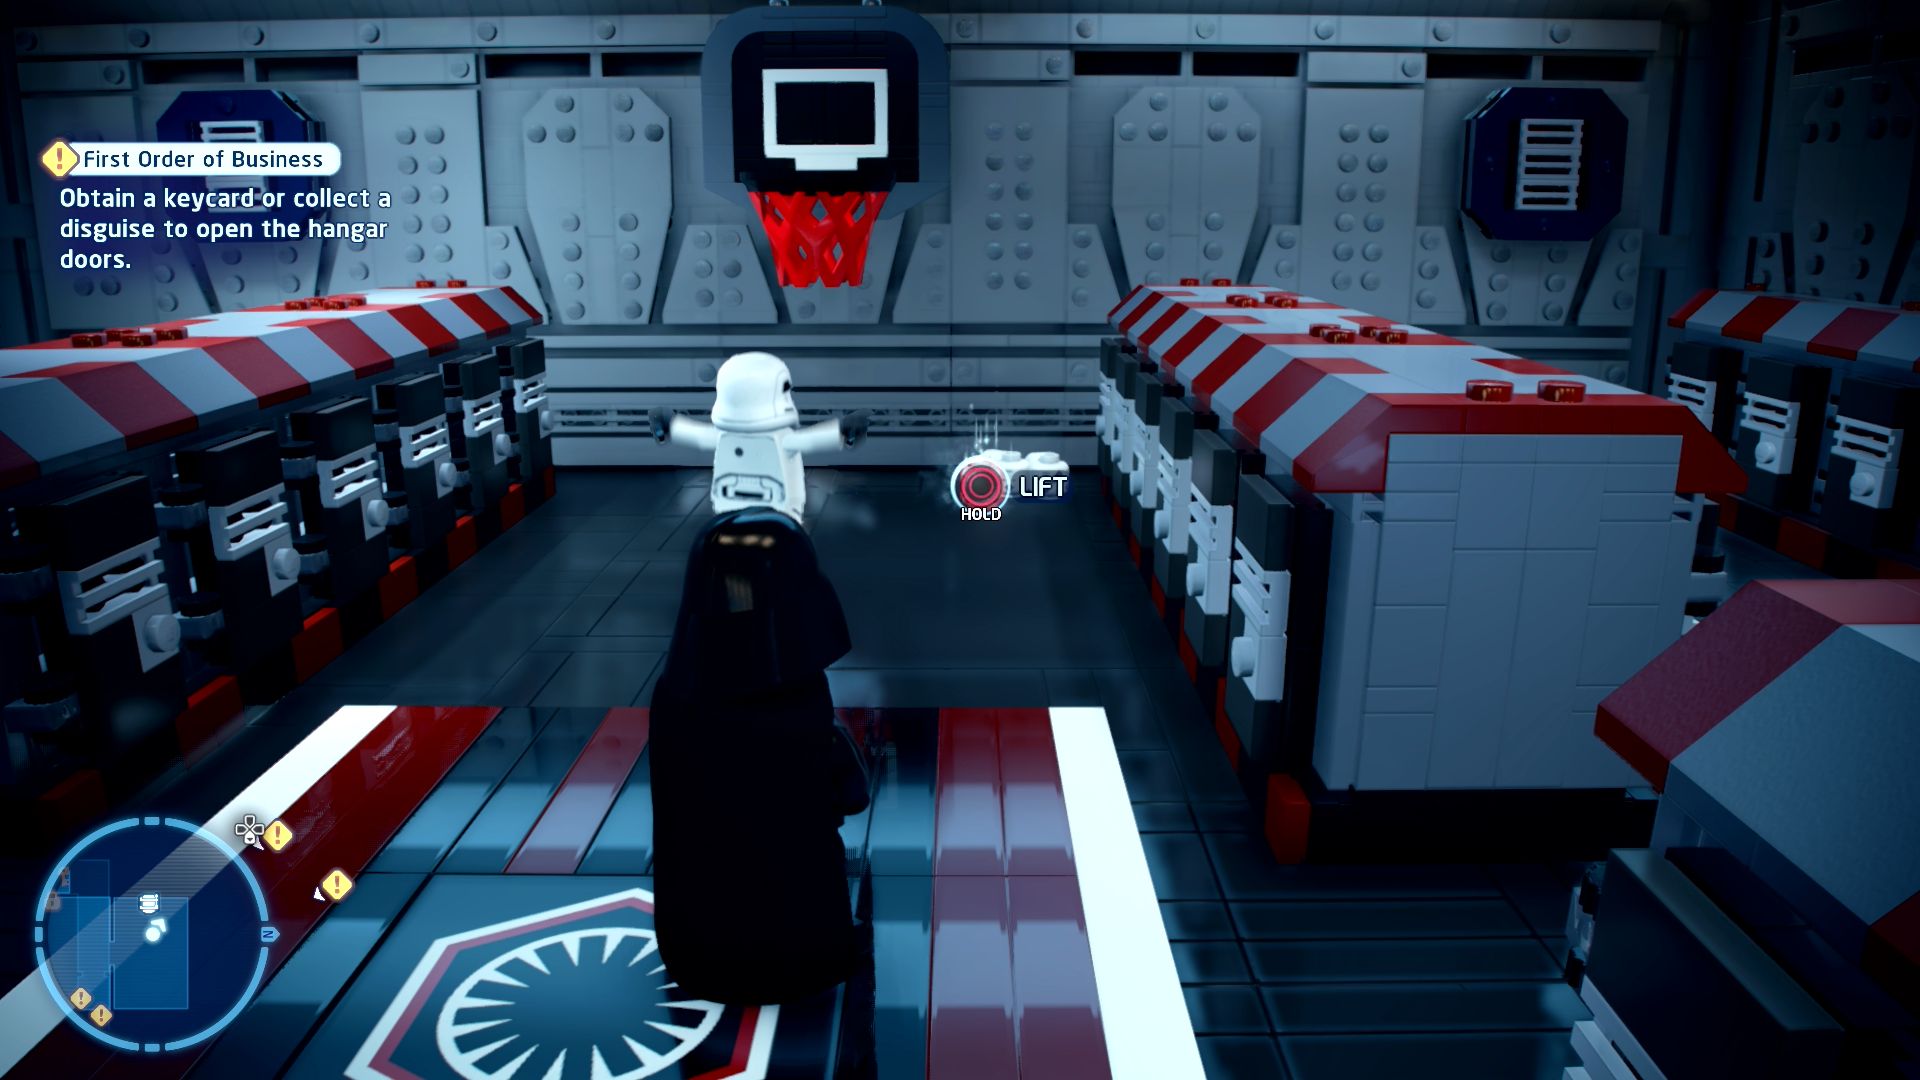
Can you score one from downtown?
In the break room off to the left of the keycard room is a basketball hoop. Use the Force to pick up one of the little flying droid things and drop it through the hoop.
Minikit 5/5 - Light Luggage
Requires: Lightsaber Story Mode: No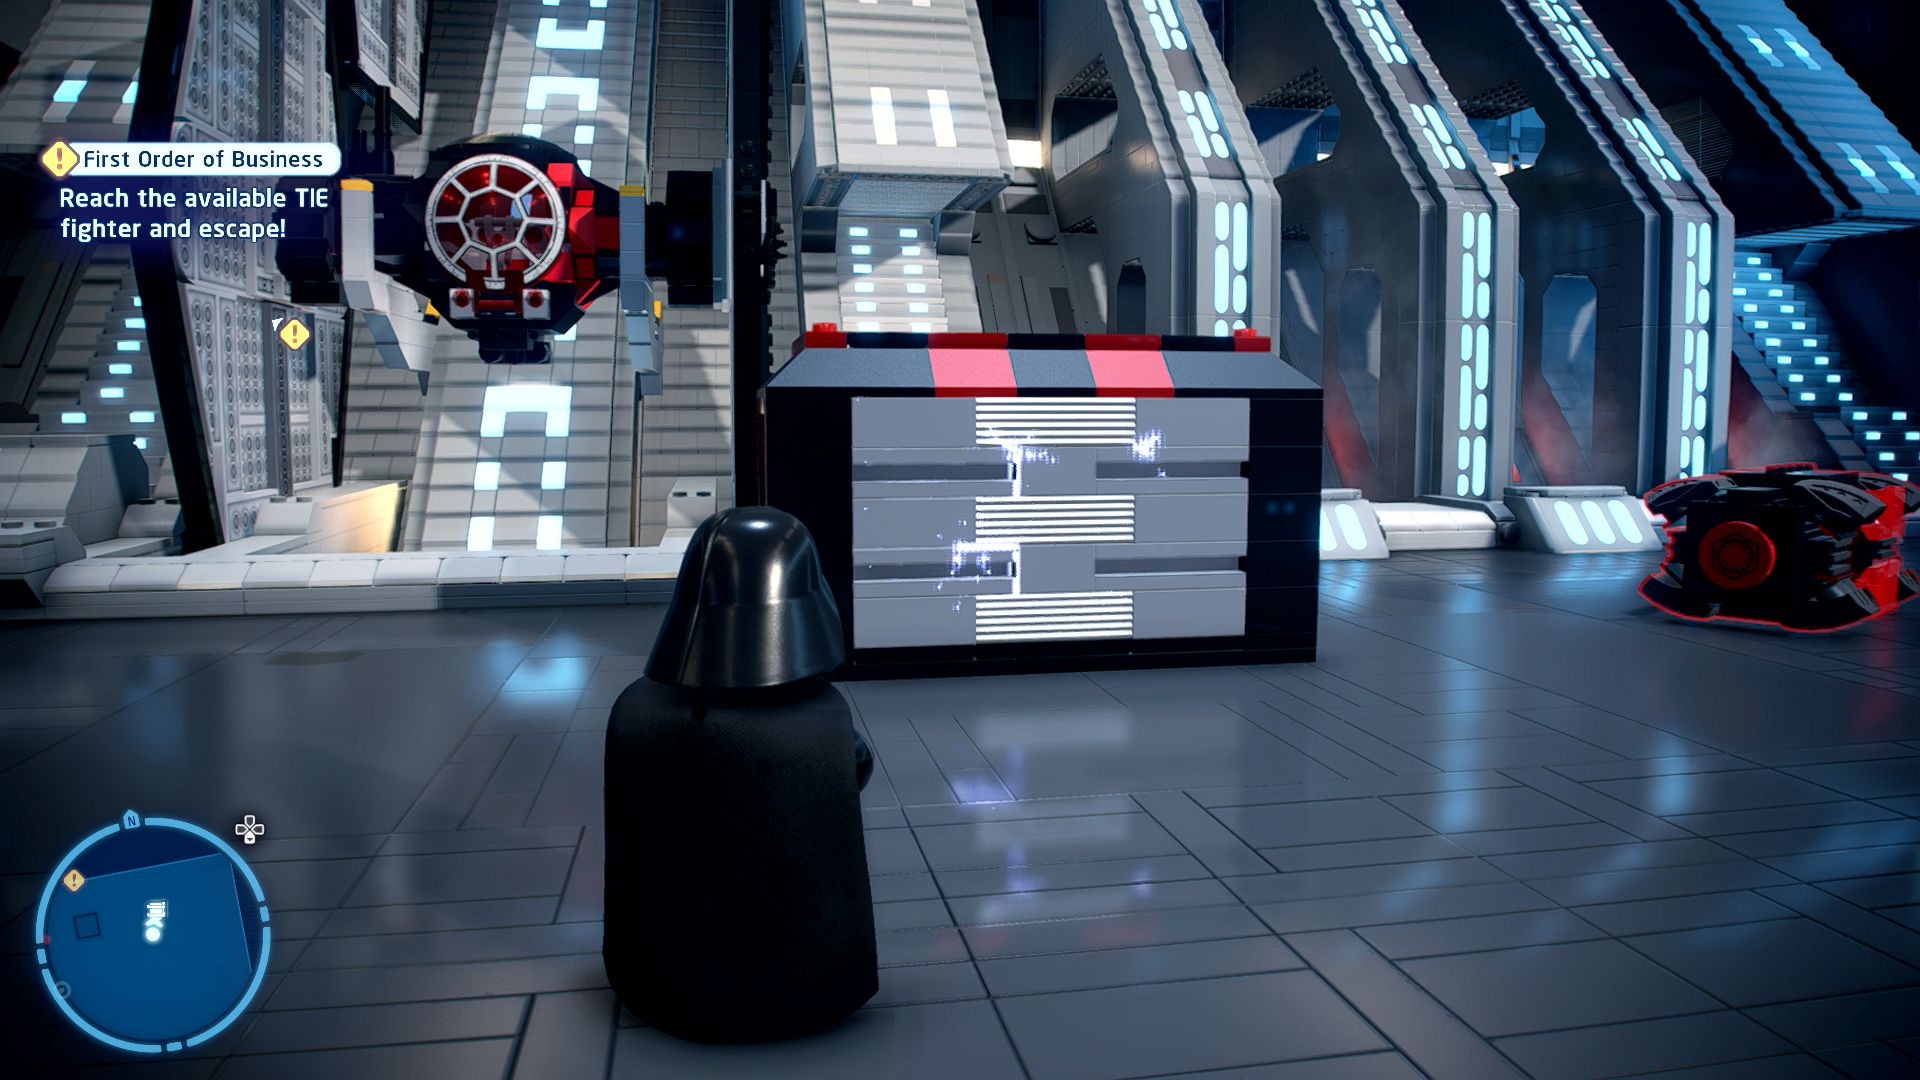
These containers will require more than a little elbow-grease to open.
In a crate in the northeastern corner of the TIE Fighter hangar. Lightsaber it open.
Finalizer

Based on set 75033
Star Destroyer
| Cost | Character | |
|---|---|---|
|
|
- | Finn (FN-2187) |
|
|
- | Finn (FN-2187 - No Helmet) |
|
|
100,000 | First Order Flametrooper |
|
|
35,000 | First Order Officer |
|
|
35,000 | Stormtrooper (First Order Sergeant) |
|
|
100,000 | Stormtrooper (First Order Officer) |
|
|
100,000 | Stormtrooper (First Order Heavy Assault) |
Episode VII
THE FORCE AWAKENS
The story so far...
- Desperate to flee the First Order,
- FN-2187, or FINN to his new
- friend, enlisted the help of
- Resistance ace-pilot POE
- DAMERON. Together they made
- a daring escape from the clutches
- of danger.
- The so-called ace pilot soon got
- into some trouble, and their ship
- crashed on Jakku. The wreckage
- disappeared into the sands, and
- Poe seemingly went down with it.
- Elsewhere on Jakku, the
- scavenger known as REY is
- helping the adorable ball, BB-8,
- find his master, who may or may
- not have just crashed his ship....
Jakku, Niima Outpost
Scrap for Scraps
[Head to the Star Destroyer wreckage to gather scrap.]
Directly ahead of you is an enormous crashed Star Destroyer, to get inside it you go through the middle exhaust. It's quite a trek so you might want to hop on the nearby speeder.
[Collect enough scrap to trade with Unkar Plutt in Niima Outpost.]
Scattered around the room are 20 pieces of scrap for you to collect. Their general locations are shown on the minimap as red/orange circles.
If you have decided to play Episode VII before going through the original trilogy then this will serve as a tutorial and unlock for the Scavenger tools.
On the western edge just north of the entrance is a fallen AT-AT with a glowing crack. Whip out your Breaker Blaster to blast it open.
On the souther edge is a platform that you'll need BB-8's grapple to reach, and there's a similar situation going on over on the eastern edge too.
The northern edge has a couple of points for you to fire the Net Launcher at so you can climb on up. From there continue up the ladder and then use your Glider to glide along the edge over to another platform. On here push the crate off the edge so it smashes on the floor below.
Jump down and assemble a trampoline that'll let BB-8 bounce up to the next platform. Grapple further up to an Astromech Socket that lowers a ladder so that Rey can get up here too. Once she's up glide onwards to the west to a platform with another Breaker Blaster wall to break through.
If you're still missing any scrap on the floor have a quick run around looking for the red circles on your minimap.
[Take the scrap to Unkar Plutt in Niima Outpost.]
Head back outside and jump on a speeder to go south to the main settlement and then inside the largest structure at the far side of it where there's a marker to continue the story.
[Defeat Unkar's enforcers!]
Time for some fighting! Defeat all the attacking "enforcers" and after a few Finn will get up and start helping you.
[Speak to Finn.]
After defeating all the enforcers talk to Finn to continue the story.
Outpost Antics
[Use the quad jumper to escape from the First Order!]
Defeat the Stormtroopers that have appeared before heading east towards the closed archway where there's a quad jumper waiting.
[Find a way into the shipyard.]
After it blows up go over to the engine that flew off and smash it. Assemble yourself an Astromech Socket for BB-8 to use to fire up the TIE Bomber to smash through the archway.
[Use the other quad jumper to escape from the First Order!]
Run on through the archway towards a second quad jumper.
[Use the "garbage" ship to escape from the First Order!]
Then quickly change course and enter the marker in front of the Millennium Falcon to start the next level.
Chapter 2
Low Flying Garbage
| Silver | Blue | Purple |
|---|---|---|
| 26,666 | 53,333 | 80,000 |
[Defeat the TIE fighters!]
This whole level's quite a simple affair: destroy TIE Fighters.
The first section wants you to destroy 7 of them, then another 10 afterwards, and then a further 12 more after that.
[Collect torpedoes and open an escape route into the crashed Super Star Destroyer!]
After destroying the 29 TIE Fighters you'll perform a few flips and start flying towards the pink glowing exhausts of one of the Star Destroyers. You will need to blow up one of the TIE Barons flying around now to get one of their torpedoes. Fire it at the engine.
[Escape into the crashed Super Star Destroyer!]
Then fly inside.
[Defeat the TIE fighters!]
The remaining part of the level is a straight flight forwards shooting the TIE Fighters that dare to get in front of you. Destroy 10 of them and you're done.
Level Challenges
- Getting Pretty Good at This
- Defeat 3 TIE Fighters in 5 seconds.
- Immediately turn around at the start and you should be able to quickly blast through a bunch of attacking TIE Fighters.
- How Low Can You Go?
- Lose or defeat an enemy by flying through debris in The Graveyard of Ships.
- Fly through any one of the round pipes on the floor that have a circle of studs floating in them.
- Not So Easy Without a Co-Pilot!
- Successfully evade a locked-on enemy bolt or missile.
- Perform a roll or a loop when an enemy locks onto you.
Minikits
Minikit 1/5 - Risky Manoeuvre
Requires: None Story Mode: Yes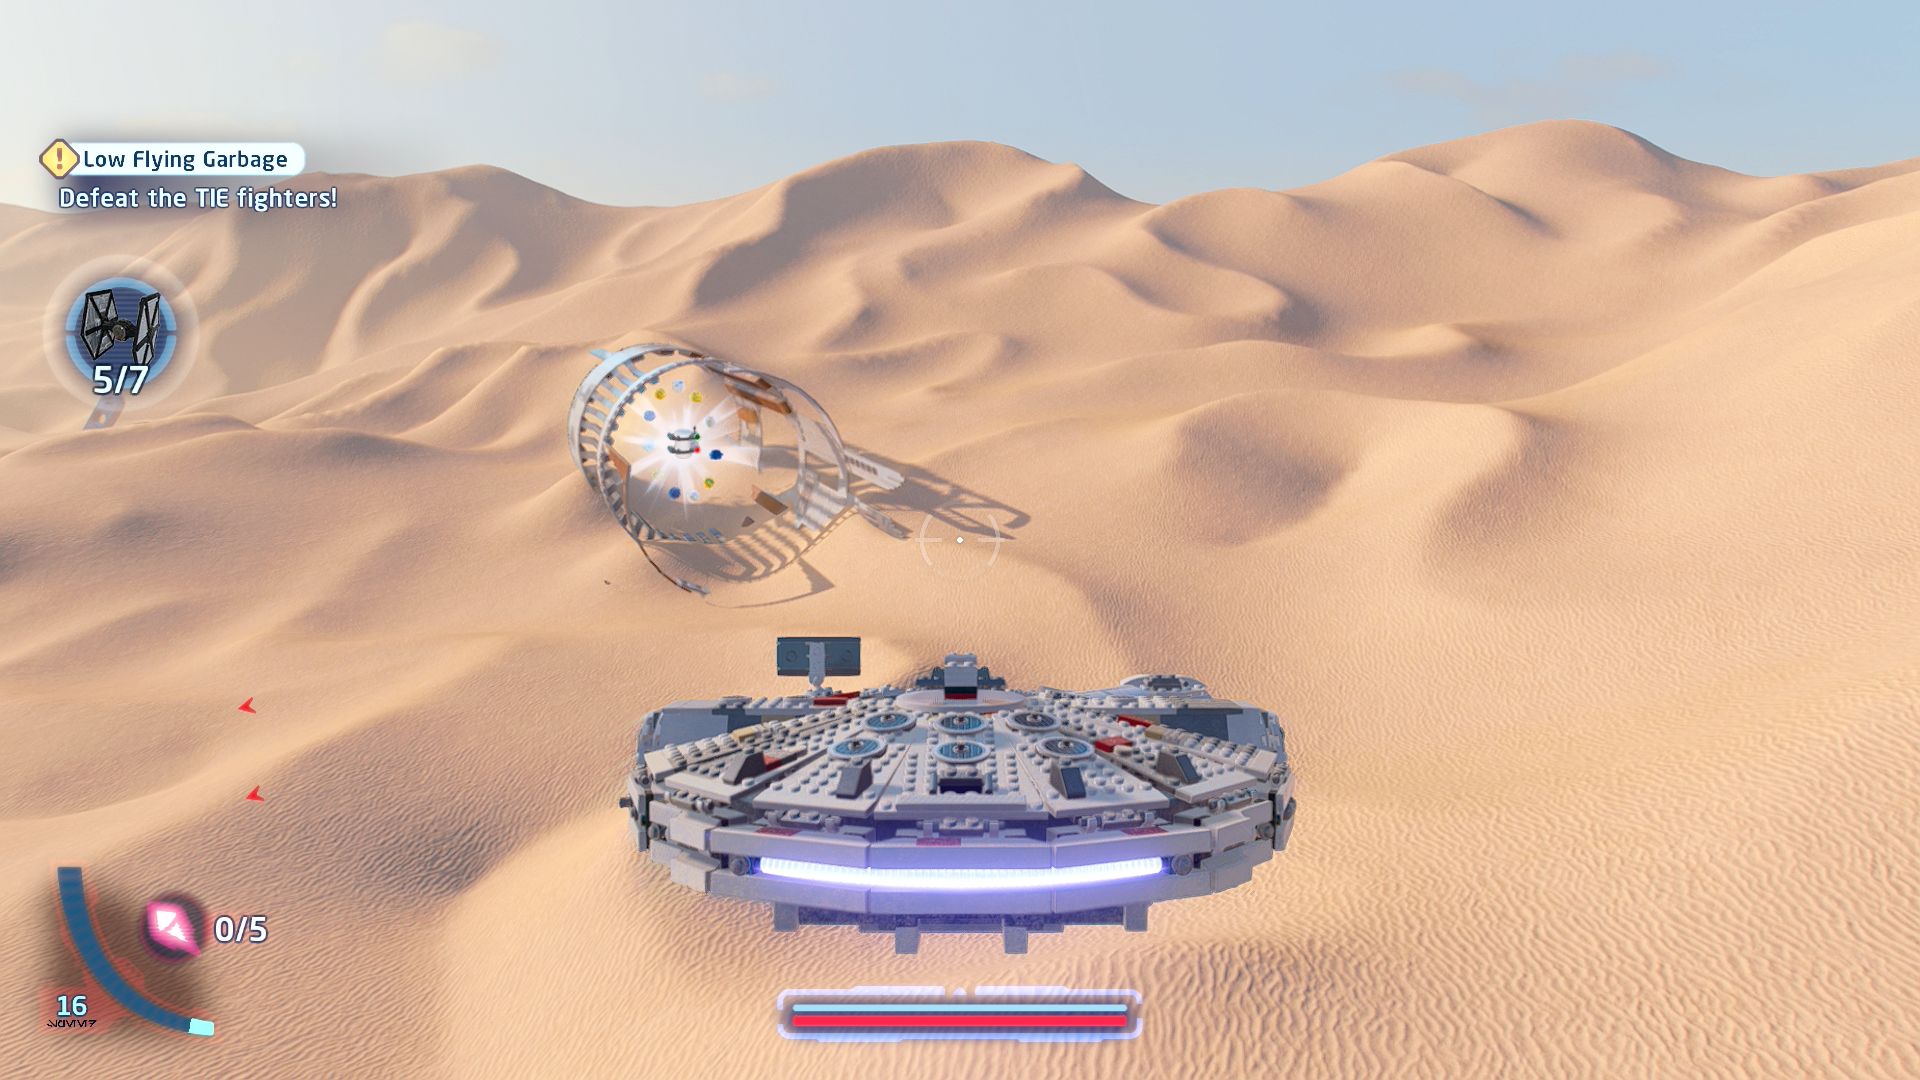
Some fancy flying through the debris could be rewarding!
Turn around at the start and fly through some debris on the floor directly in front of the first Star Destroyer.
Minikit 2/5 - Scrap Picker
Requires: None Story Mode: Yes
Some of those pipes look like they haven't been salvaged yet!
To the port side of the Star Destroyer is a large pipe debris with a solid looking middle. Shoot that middle out to reveal the minikit inside.
Minikit 3/5 - Kick 'Em While They're Down!
Requires: None Story Mode: Yes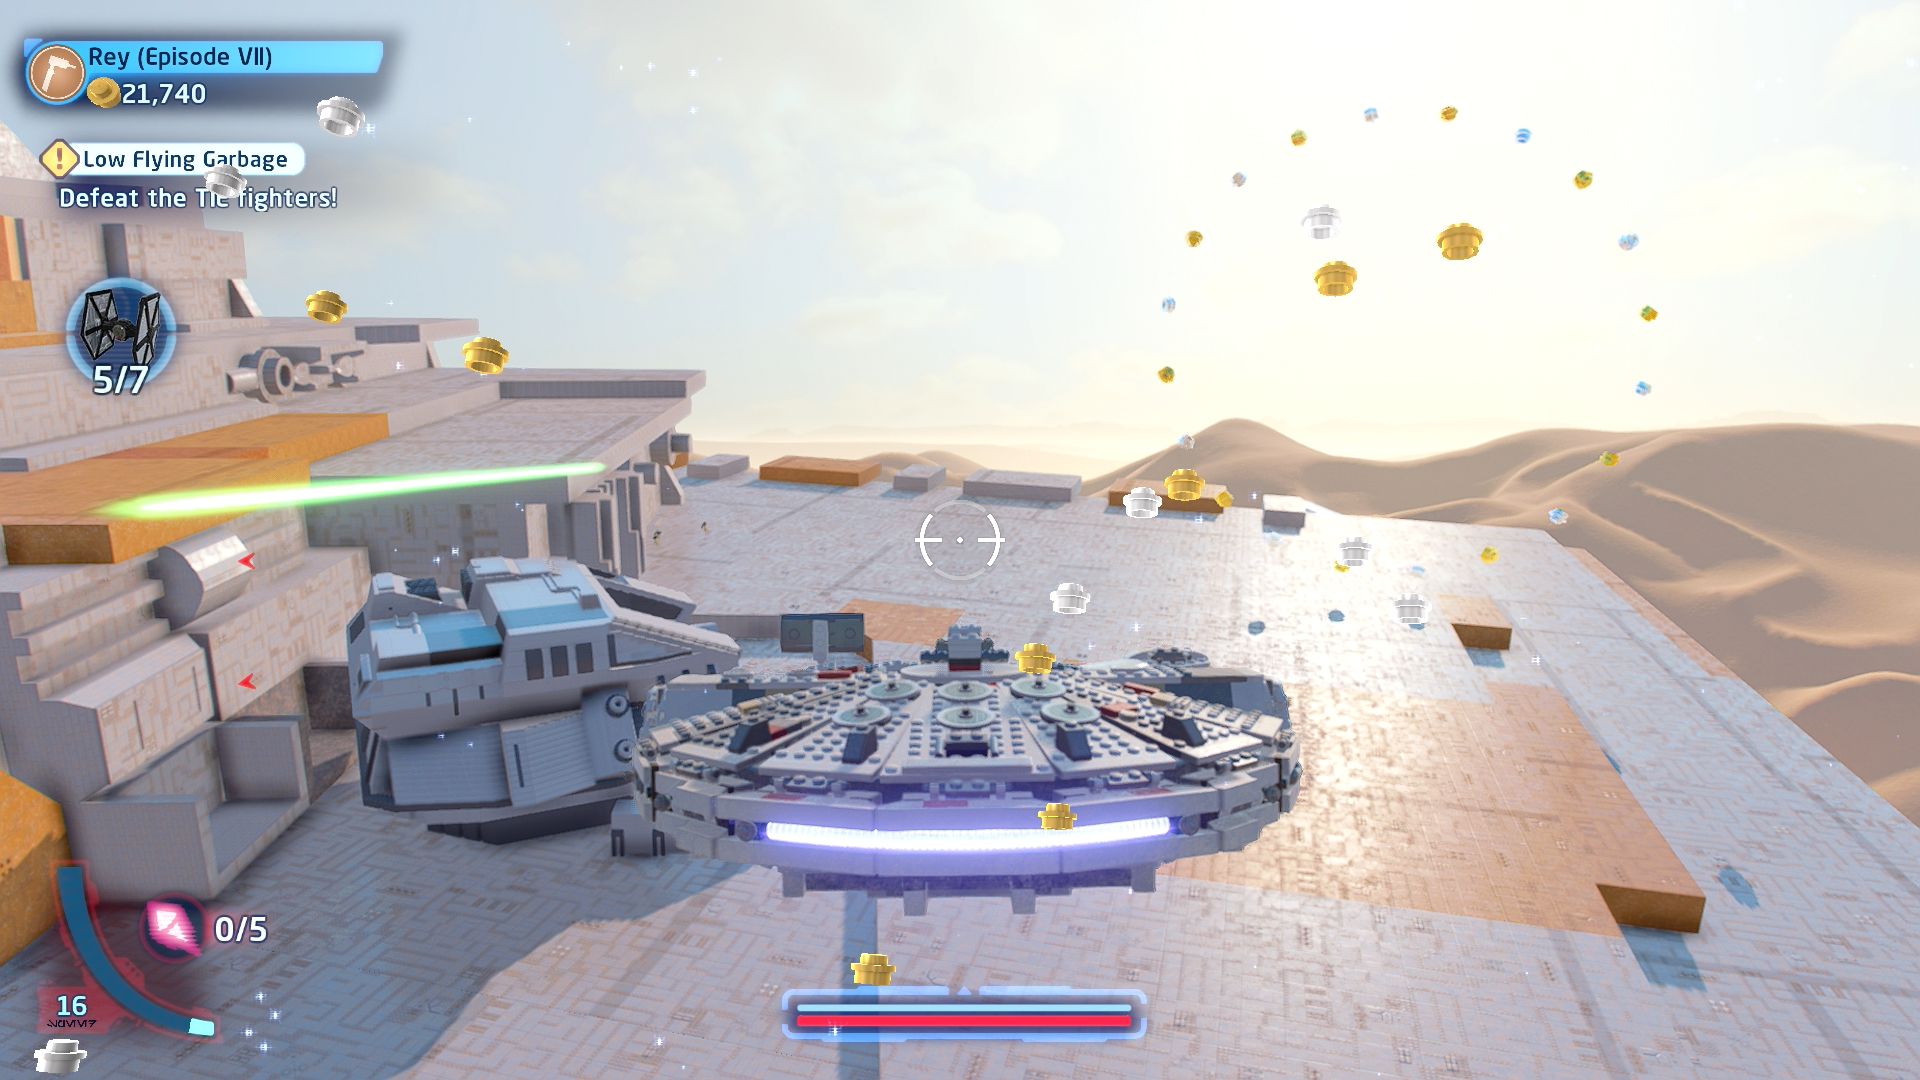
Destroy the crashed star destroyer's weapons.
Along the side of the first Star Destroyer is a line of 4 turrets for you to blow up.
Minikit 4/5 - Target Practice
Requires: None Story Mode: Yes
Defeat the attacking wave of TIE/sf before escaping!
During the section where you are asked to blow up the engine instead fly around shooting down some more regular TIE Fighters. You'll need to destroy 5 of them to get this minikit.
Minikit 5/5 - Scavengers Gonna Scavenge
Requires: None Story Mode: Yes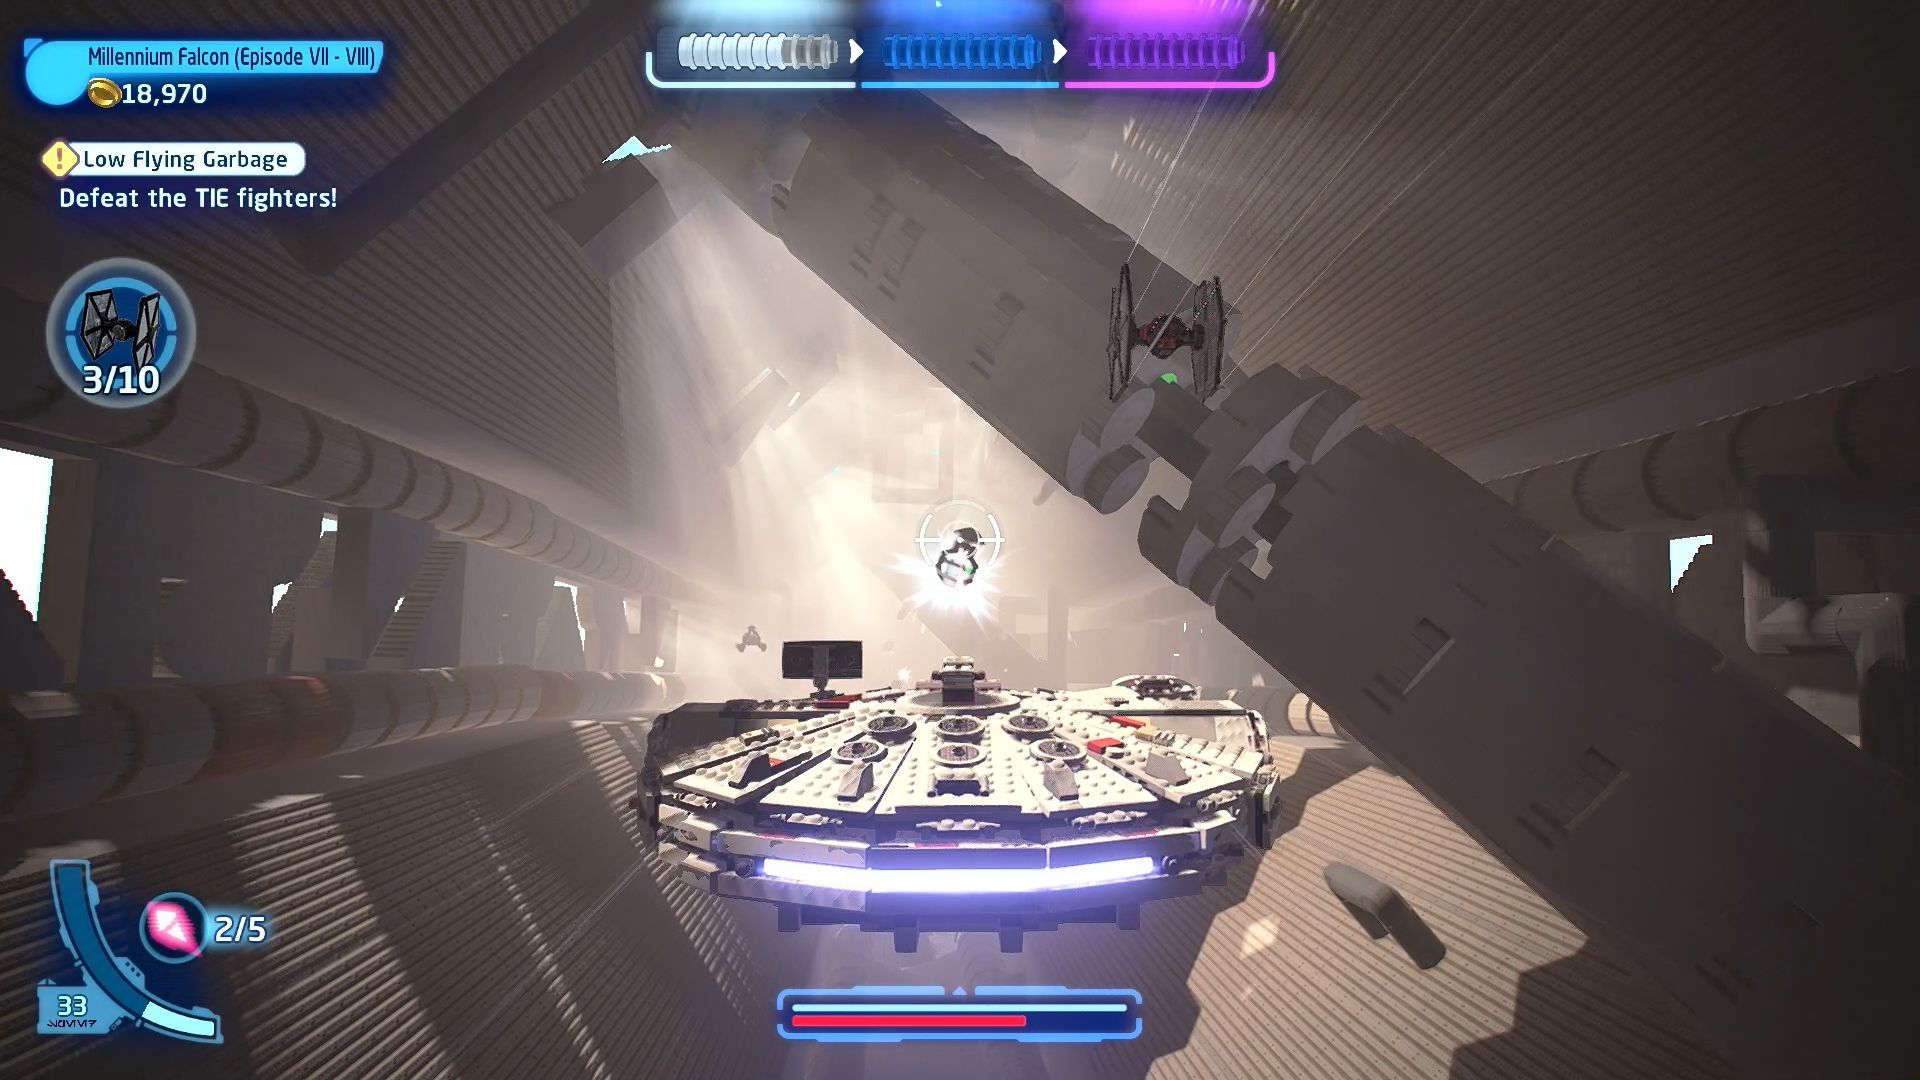
Salvage the minikit from the salvage droid.
During the section inside the Super Star Destroyer there are some salvage droids floating about, one of them is carrying this minikit.
First Order TIE Fighter

Based on set 75194
First Order TIE Fighter Microfighter
| Cost | Character | |
|---|---|---|
|
|
- | Quad Jumper |
|
|
- | Millennium Falcon (Episode VII - VIII) |
Episode VII
THE FORCE AWAKENS
The story so far...
- In the markets of Jakku, Finn, Rey
- and BB-8 found themselves the
- targets of First Order forces,
- desperate to get their hands on
- the droid. Who can blame them,
- he's so cute!
- Determined to keep the map to
- Luke Skywalker from the First
- Order, our heroes stole a
- "garbage" ship to make their
- getaway in.
- It turns out the hunk of junk was
- none other than the MILLENNIUM
- FALCON. What are the odds of
- that? Wait, never tell me the odds
- ....
Jakku Space
Rendezvous with the Resistance
[Travel to D'Qar in The Ileenium System.]
Open up the galaxy map and attempt to fly to D'Qar Space. A cutscene will play and you'll start the next level.
Chapter 3
Reap What You Solo
| Silver | Blue | Purple |
|---|---|---|
| 26,666 | 53,333 | 80,000 |
[Find a way off the Eravana.]
Walk forwards and have Finn pull on the grapple point to open the door.
[Gain access to the anti-rathtar crate.]
In this level you can switch between the two different groups of characters whenever you want to. There will be points where it will be necessary to switch to progress and the game will make a noise to suggest you switch (although sometimes it does that when you actually still need to do something with the current group). In co-op each player will take control of one of the groups so you can do thing simultaneously.
Have Han or Chewie use their Scoundrel Opportunity ability on the objects on the wall next to the forcefield to the right of the rathtar. That will lower a crate down to Rey and Finn. You can't do anything more as Han/Chewbacca/BB-8 for the moment so switch back to Rey and Finn.
[Get the anti-rathtar crate to Han.]
The crate that has lowered is accessible to Rey and Finn to grab onto. Drag it back and over to a conveyor belt on the opposite side of the room. The game will beep as if you should now switch back to Han and Chewbacca but you need to do something more as Rey and Finn first. To the left of the conveyor belt is a device that needs to be put together. Grab hold of the smaller part and drag it over and plug it into the larger piece. The bars will raise up to reveal a button that you can press to send the anti-rathtar crate back up to Han. Now you can switch.
[Defeat the rathtar!]
Press the button on the crate to defeat the rathtar.
[Find a way off the Eravana.]
Leave the room via the western door to an Astromech Socket. Your path can split here, you can either open the Astromech Socket door and go that way or just continue straight down the corridor. If you go through the Astromech door you'll eventually emerge in a large room on the upper level.
If you go the other way you'll reach the same room but on the floor with the door jammed. To get it you'll have to use the Scoundrel Opportunity to short out the turret.
[Destroy the force-field generator.]
This task can be completed as either Han/Chewbacca or as Rey/Finn. To do it as Han/Chewbacca you just defeat all the enemies and then hop into the empty turret and blast away at the Gold LEGO force-field generator. The force-field will drop to allow you to go through to a locked Astromech Socket. You will need to use Rey and Finn to unlock this.
[Find a way off the Eravana.]
In the corner where the anti-rathtar crate came down you can press a round button to raise the platform back up and now go through a doorway that was previously blocked by a force-field. Follow the corridor around to where a rathtar pops up through the floor. To get past have Rey walk up to the acrobatic markings on the walls and have Finn assemble a grapple point so he can swing over.
As you approach a Silver LEGO door you'll fall through the floor to drop back down a level again. The winged creatures in here are harmless, you can just ignore them.
[Destroy the force-field generator.]
But as you enter a bigger room there are some large Womp Rats that will attack you. Avoid or defeat them and then have Finn pull open the crate in the middle of the room. Assemble a turret control chair and sit in it to take control of the turret in the room above. Use it to blow up the Gold LEGO force-field generator if you haven't already done so as Han and Chewie.
[Find a way off the Eravana.]
Now you can exit the room to the west and pick up and place a power cell in the receptacle next to it. This will power up the Astromech Socket for the Han and Chewie group.
Solve the Astromech Socket to open the doors for both groups. In the next room for Han and Chewbacca are containment units along the walls. There's a rotation switch in the middle of the room you should push to change which unit is open. Rotate it one quarter to get the bottom right unit to open and a floating platform to pop out.
Grab the handholds and pull it backwards and onto a yellow and black marked section. Once it's on there go around to the button and press it. The floating platform is now climbable so push it back to the wall where it started, make sure the top right container is open again, and climb up the platform and through the unit.
Take a right and at the end of the corridor there's a button to open a door to the docking bay. You'll need the other team to fully progress through this final section so let's switch back to them.
Progressing through the door opened by BB-8 you'll need to use Rey's Net Launcher to climb up and then have both characters jump onto the bars to open the door.
[Save Finn!]
Chase after the rathtar until you get to a point where Finn is hanging onto a doorway. Smash the stuff on the left and pick up the power cell to place in the receptacle on the right.
[Find a way off the Eravana.]
Now you can follow the corridor along all the way to the docking bay to meet up with the other group. You've just got a press a button to get in.
[Activate the two docking bay door switches.]
With both groups together at last you can solve both switch puzzles. In the southeastern corner is a crate with a bar on it next to an Astromech Socket. Solve the socket to get the crate moving, grapple or jump onto the bar and wait until it rises up next to a second crate. Transfer to that second crate and then wait for it to move over to the high platform with the first switch on.
That will trigger some enemies to attack but you don't have to fight them if you don't want to.
In the southwestern corner are a couple of Net Launcher spots for Rey to fill and then climb. Run along the wall up there and then hop along the small platforms to get over to the second button. Pressing it will complete the level.
Level Challenges
- The High Ground
- Find a route to the vantage point.
- When leaving the room after defeating the first rathtar, have BB-8 open the path to the right.
- Rathtar Ruse
- Defeat the second blocking Rathtar instead of bypassing it.
- Whip out your Breaker Blaster and shoot the ceiling above the rathtar that pops out of the floor.
- Turret Takeover
- Take over the turret from below.
- In the room with the womp rats as Rey and Finn, smash a crate and build a control chair for the turret.

Minikits
Minikit 1/5 - Contain and Collect
Requires: None Story Mode: Yes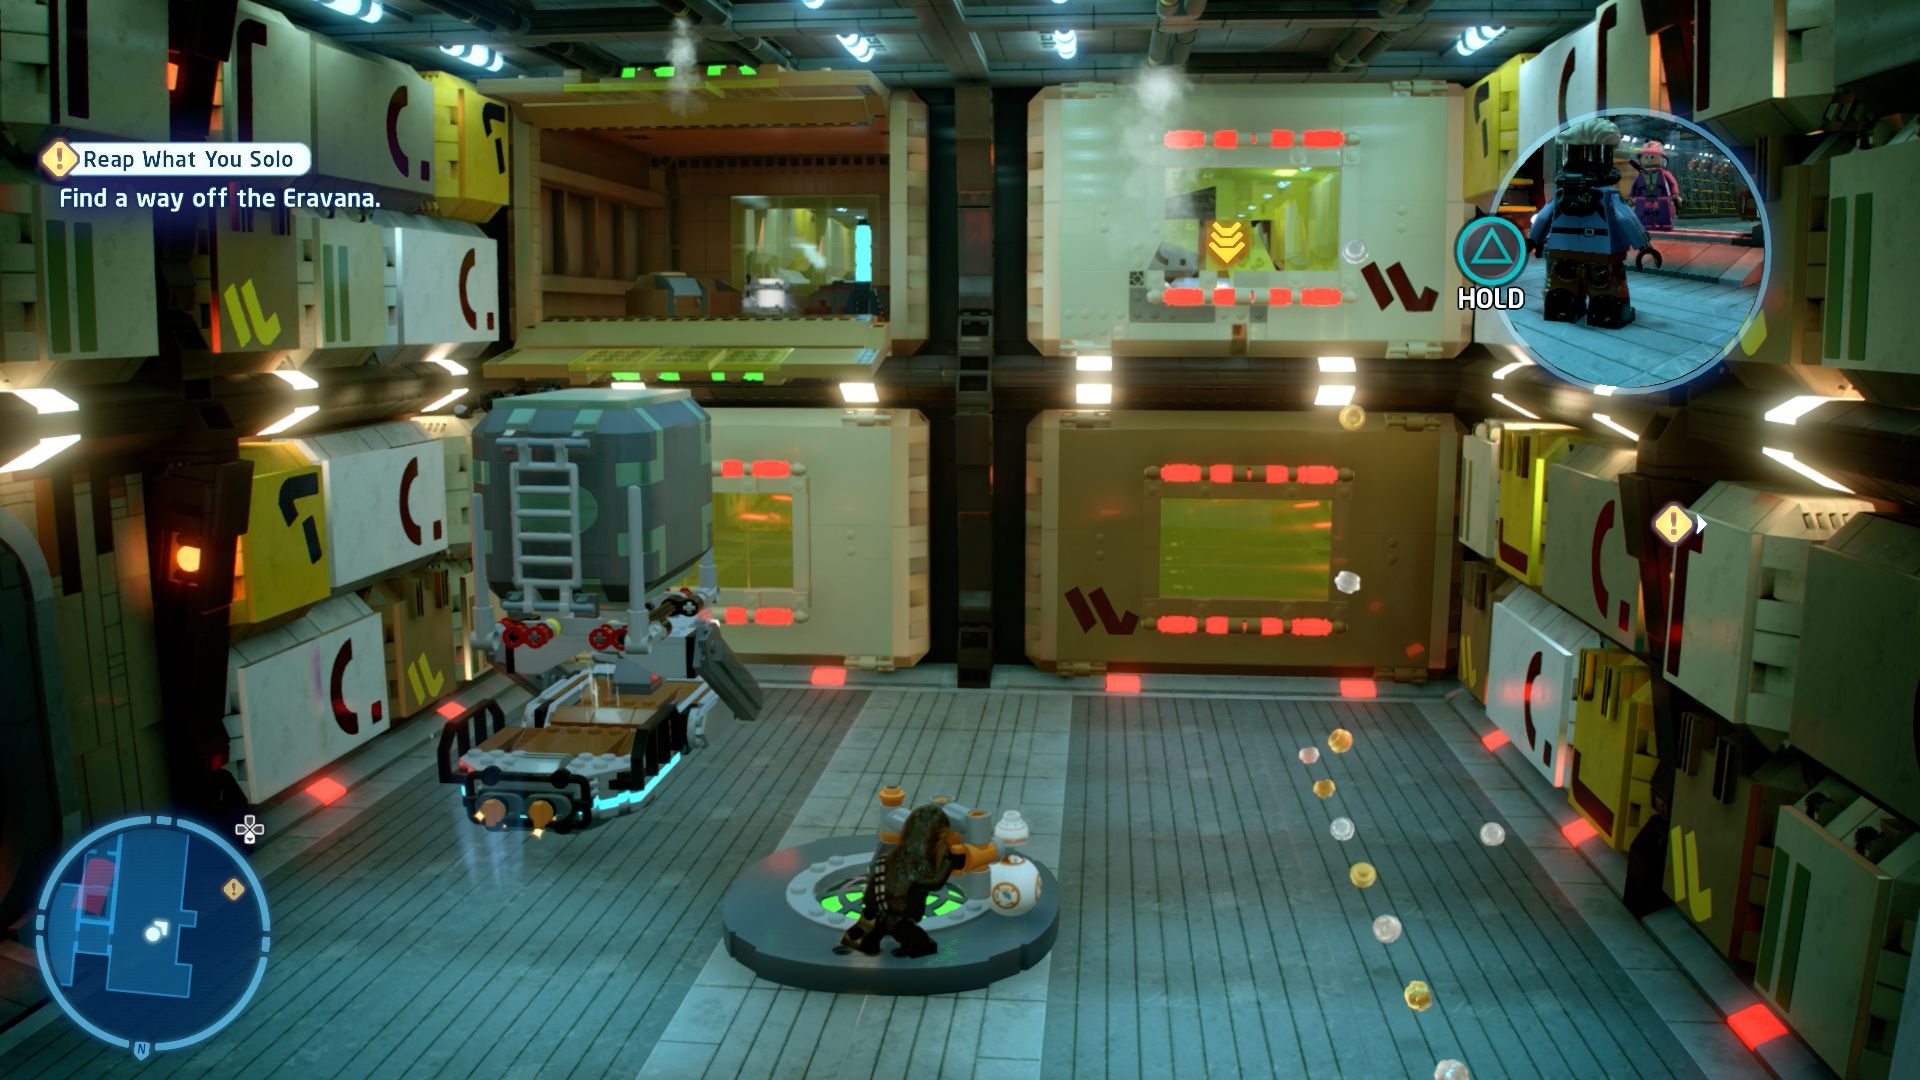
Make sure to check all the containment units!
In the room where you select different containment units by pushing a rotation switch open the top left unit and move the pushable crate cart over there so you can jump into it.
Minikit 2/5 - Broken Floors and Silver Doors
Requires: Villain Grenade Story Mode: No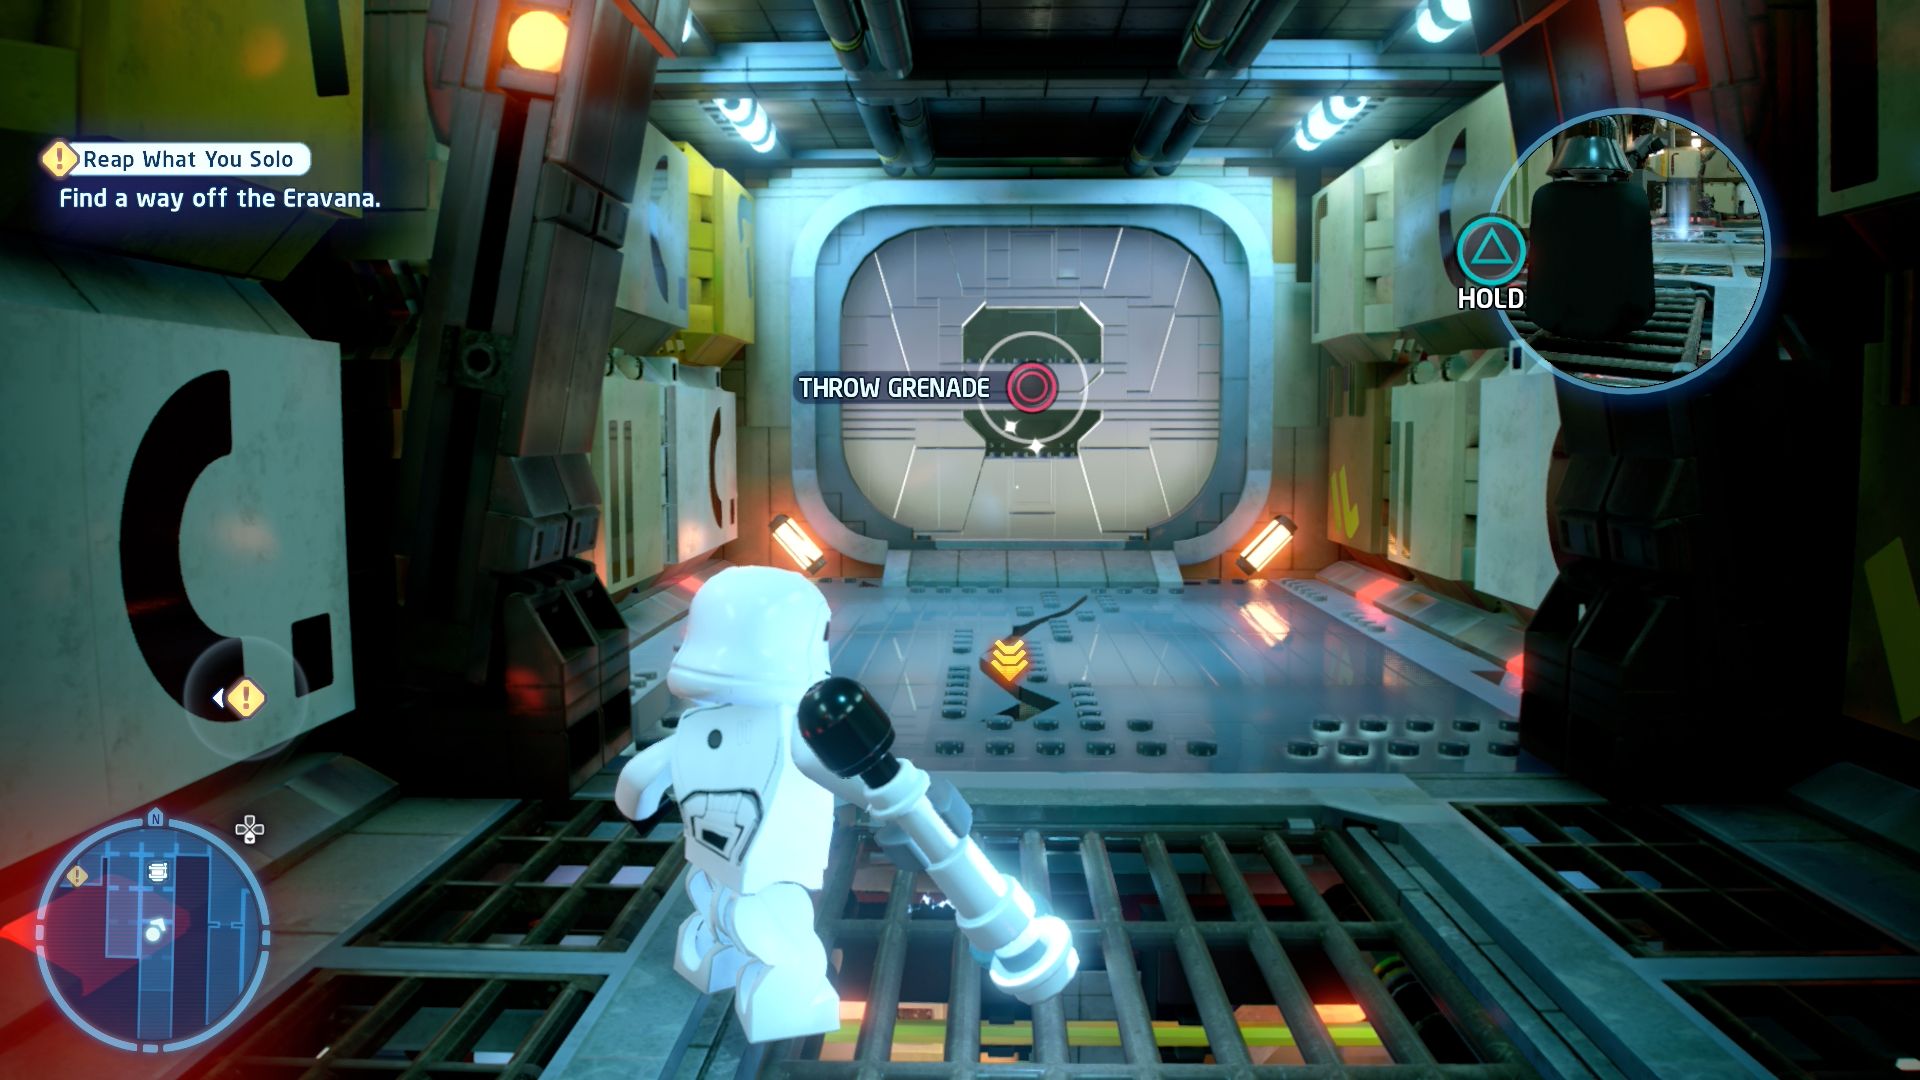
Avoid the damaged floor and see what lies beyond!
Immediately after you need to run along a wall to avoid a rathtar there is a Silver LEGO door but the floor in front of it will collapse if you stand on it. Either avoid touching the floor at all or briefly step on and then jump straight away to let it fall so you know where's safe to land. You can't get back up if you fall.
Minikit 3/5 - Tantalisingly Tiny Droid Door
Requires: Small Character Story Mode: Yes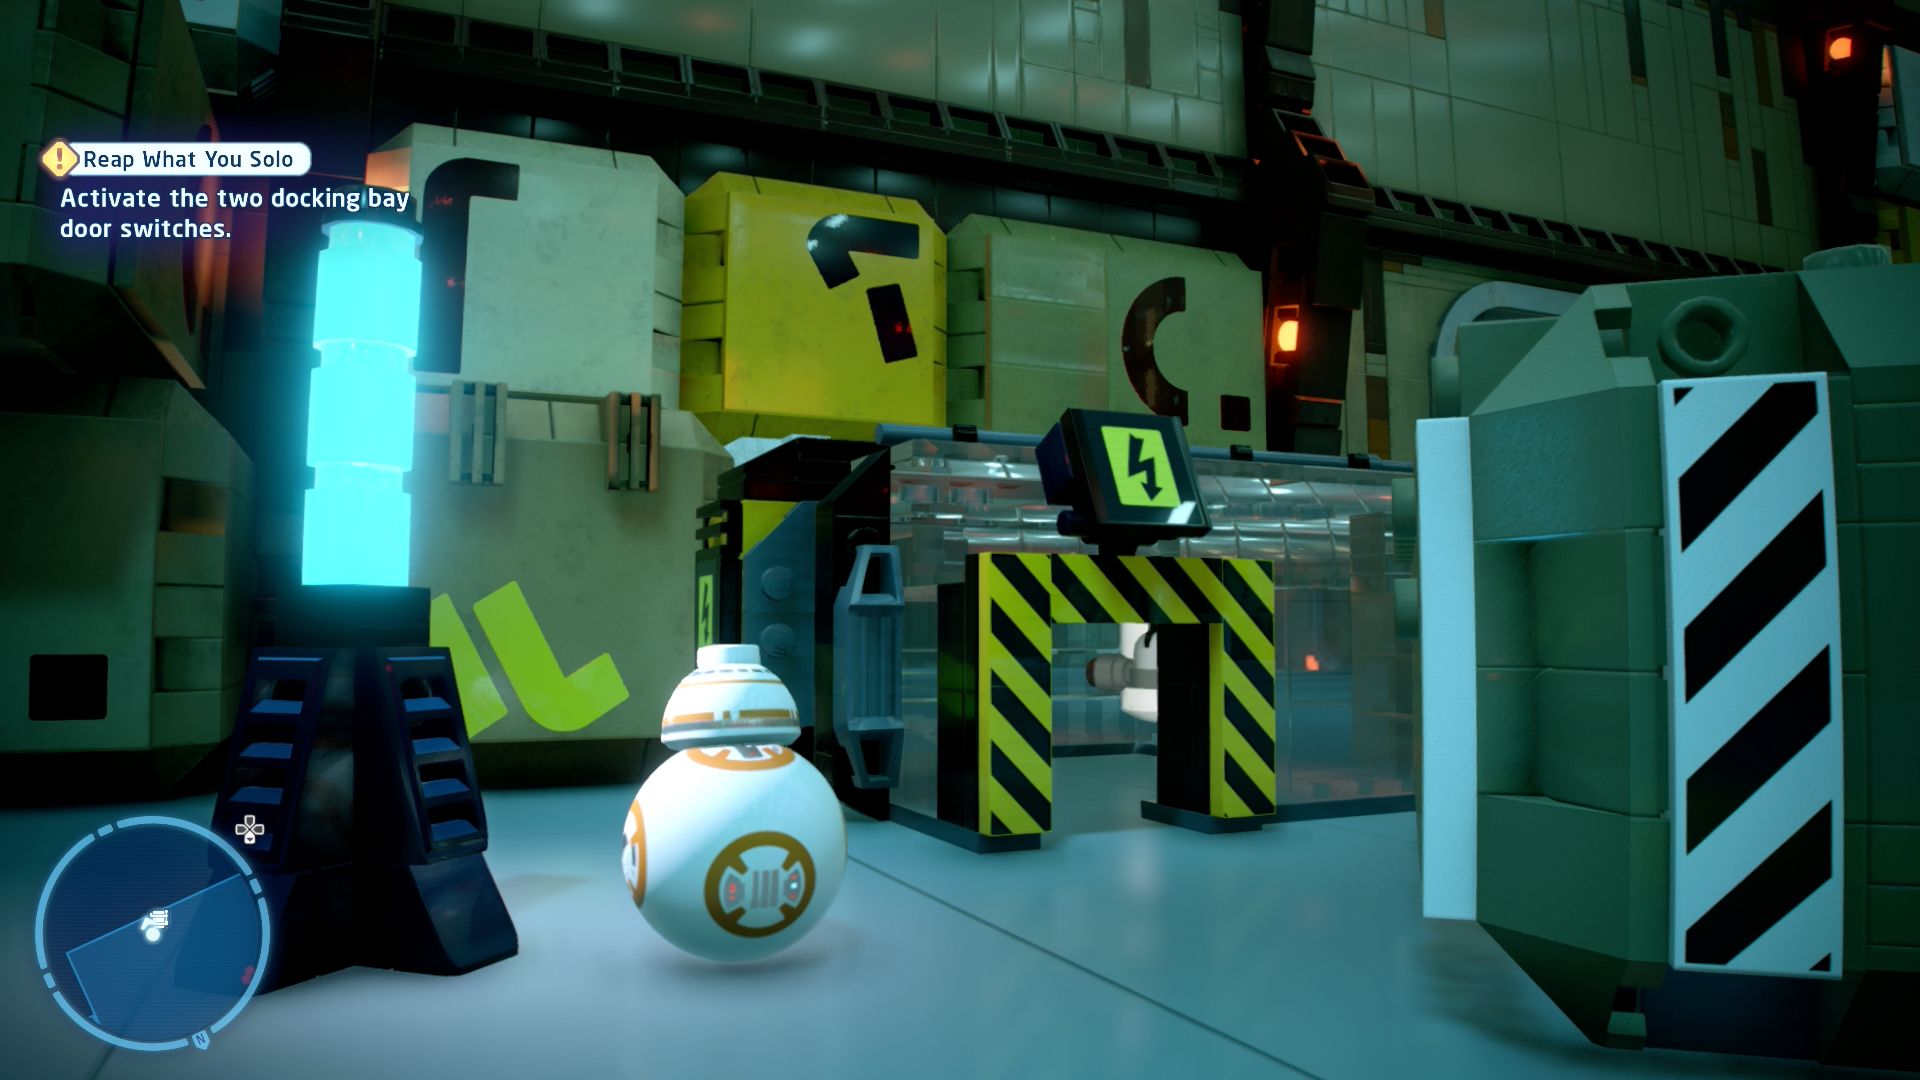
That unit in the landing bay seems the perfect size for BB-8! Or half a protocol droid, if that's more your bag.
In the landing bay there's a small place for BB-8 to roll into.
Minikit 4/5 - Hanging Out
Requires: Scoundrel, Villain Grenade Story Mode: No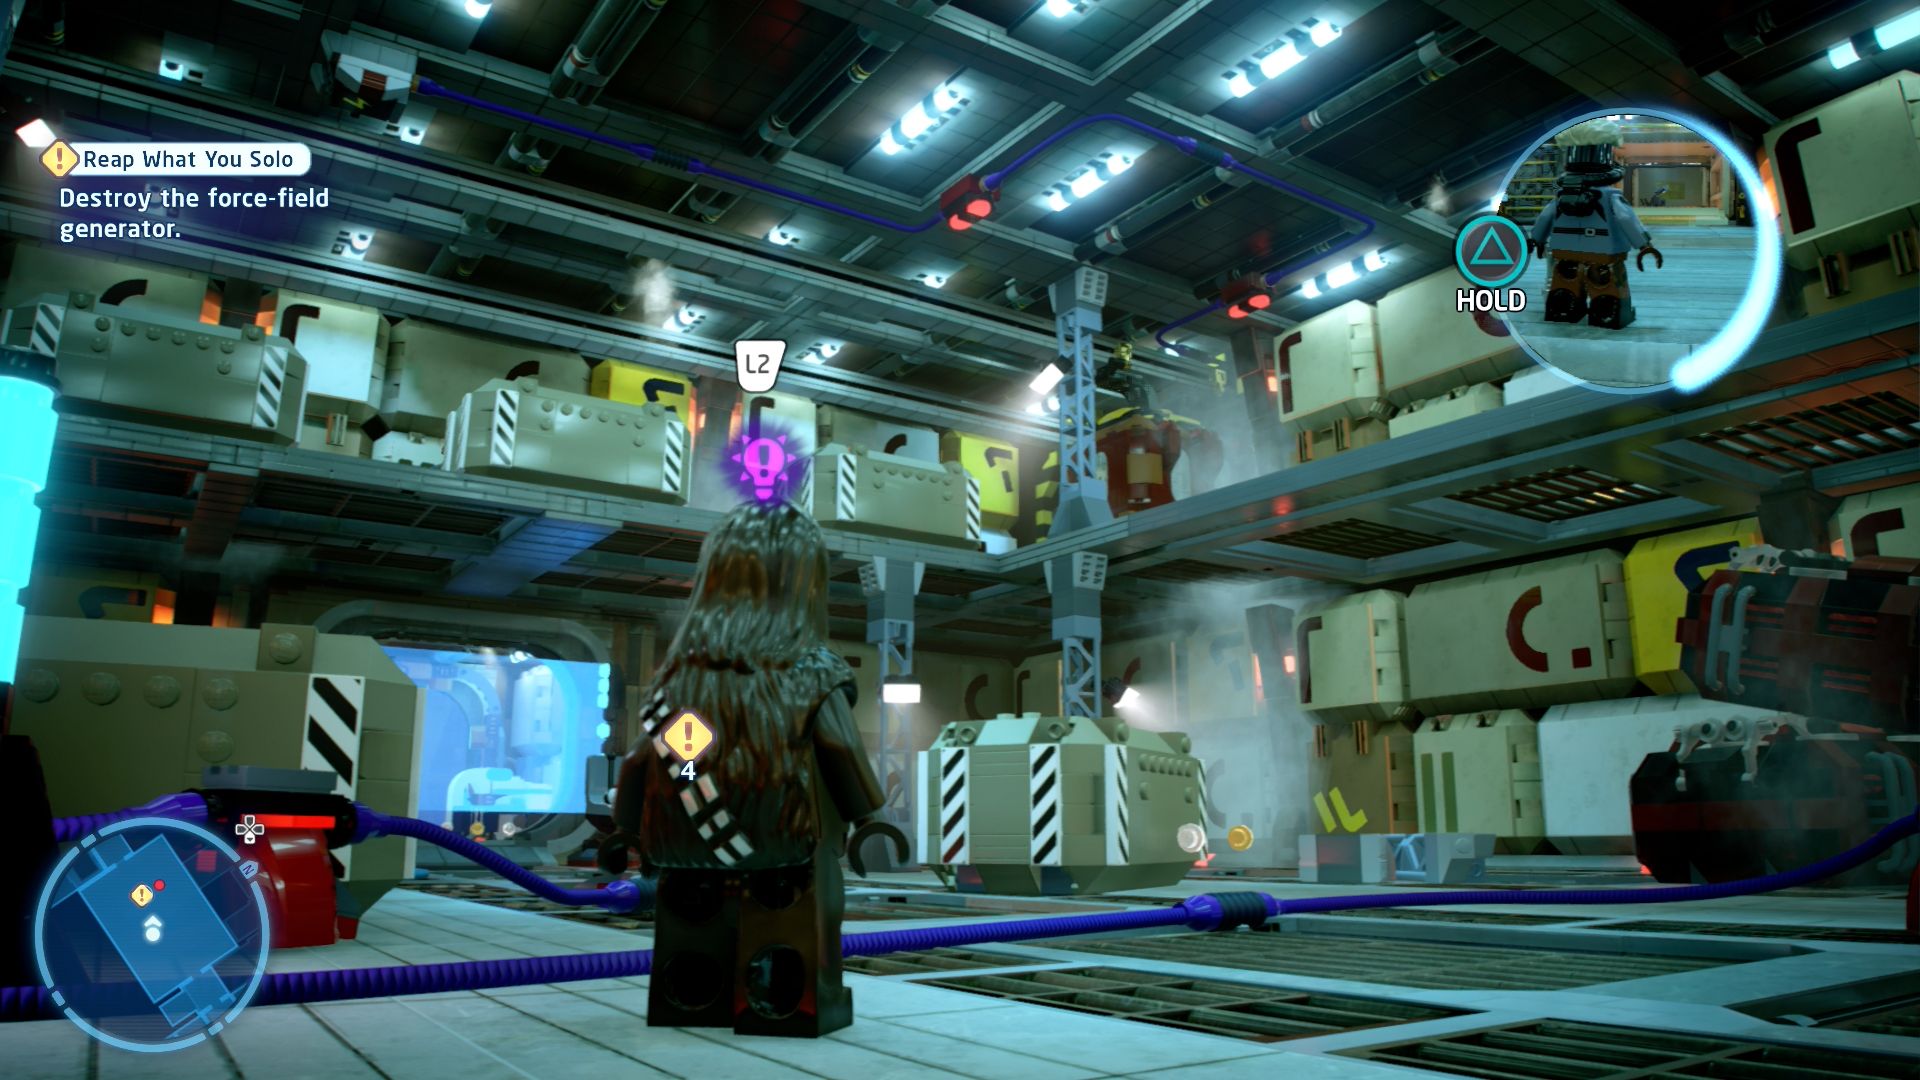
A scoundrel could really cause some havoc with those conveyor controls.
In the turret room use a Scoundrel to shoot the cart in the top right corner of the room. This will trigger the rail to activate a second cart will follow in after the first has smashed across to the left. Jump up to that section (smash the debris under the righthand side of it) and then blow open the cart using a Villain Grenade.
Minikit 5/5 - The Ryloth Ark
Requires: None Story Mode: Yes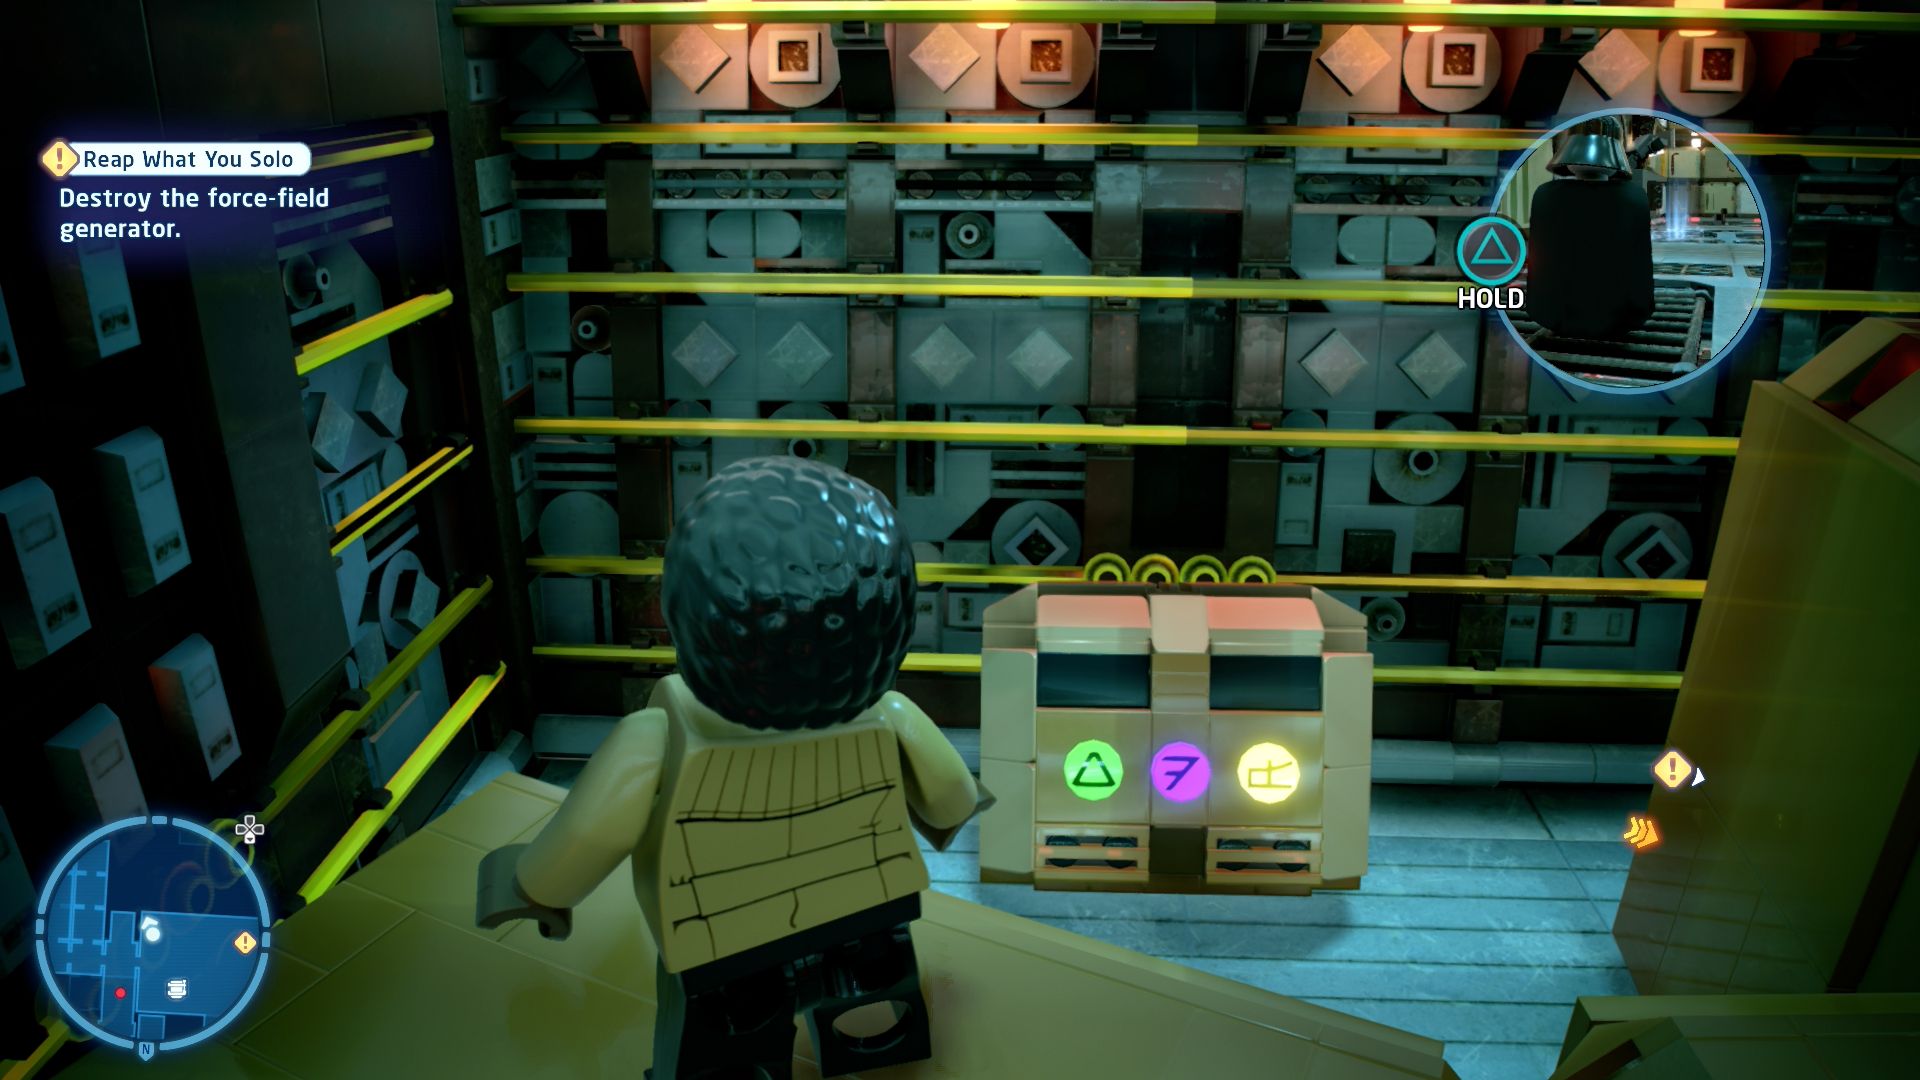
The code to that crate must be close by...
In the room beneath the turret room is a crate with a combination lock on it. In the corner of the room hidden behind some crates is the code.
Eravana

| Cost | Character | |
|---|---|---|
|
|
- | Han Solo (Episode VII) |
|
|
- | Chewbacca |
Episode VII
THE FORCE AWAKENS
The story so far...
- Having narrowly escaped the
- First Order in the Millennium
- Falcon, Rey and Finn found
- themselves in the hands of
- legendary smugglers HAN SOLO
- and CHEWBACCA.
- Pleasantries around their reunion
- with the iconic old freighter were
- short-lived, as two rival gangs
- and some loose rathtars ruined
- their tender moment.
- Shaking off monsters and debt
- collectors is what Han Solo does
- best, so now our heroes can
- continue their adventure, but the
- First Order is not too far behind....
Takodana Space
Friends of the Resistance
[Visit Han's "old friend" on Takodana.]
Open the Galaxy Map or point the Millennium Falcon at the landing spot on the planet in front of you to land at Maz's Castle.
Takodana, Maz's Castle
[Enter the castle.]
Follow the path inside to continue the story.
[Investigate the voices.]
Follow the markers down the spiral staircase to the basement. At the end of the corridor is a closed door with a red wire going through it. Follow the red wire through the open door on the other side and you'll see an Astromech Socket up on the wall.
Move the two pushable objects such that the tallest is right below the socket and the shortest is next to the medium sized one that you can't move. Now you can switch to BB-8 and jump up the platforms to reach the Astromech Socket.
Follow the now blue wire through the now opened door and pick up the key.
[Examine the chest.]
Open the chest next to the key.
[Flee Maz's Castle!]
Go back up the spiral staircase to the main room and straight back outside.
[Fight through the Stormtroopers!]
Defeat the Stormtroopers hiding behind the cover as you head northwest towards the lake.
[Defeat FN-2199!]
A brief cutscene will play showing FN-2199 landing in a troop transport. This guy has a boss bar of health and will jump away from you every now and again. Keep running after him and attacking him to complete this section.
Finish him off with a lightsaber clash.
[Travel to D'Qar.]
Open up your Galaxy Map and make your way to D'Qar and the Resistance Base.
D'Qar, Resistance Base
Walk forwards to the marker to continue the story.
[Follow BB-8 and Poe to the Command Centre.]
Follow BB-8 until you meet up with C-3PO and then follow Poe the rest of the way inside.
Starkiller Base
[Travel to Starkiller Base.]
Open up your Galaxy Map once again and this time fly straight to the Starkiller Base system. This will automatically start the next level.
Chapter 4
Starkiller Queen
| Silver | Blue | Purple |
|---|---|---|
| 31,666 | 63,333 | 95,000 |
[Defeat the Stormtroopers to lure out Captain Phasma.]
This level is all about getting Captain Phasma to lower the shields so the first thing to do is lure her out of her room. To do that you will want to walk around the triangluar shaped level defeating all 30 Stormtroopers.
Most are just on the floor hiding behind cover but a few will be up high on a bridge that you'll need to shoot down.
Six of the Stormtroopers are going to be through a doorway in the northwest section, two on the inside and four on the outside of the base. They'll come in after a moment but if you quickly grapple the hook above the door you can lock them out which also counts as defeating them (and completes you a challenge).
[Create traps for Captain Phasma.]
Once all the 30 troopers are dead Phasma will start walking the corridors. In order to stun her you're going to need to grab the power cell in the southern room. Plug it into any of the marked receptacles to prep a trap.
The one in the middle requires you to go up the elevator that the power cell has powered and push a crate into the gap in the bridge. The eastern one requires you to build either a Sweeper Droid or an Electromagnet.
Once you've stunned her she'll take a moment then run and grab the power cell and disappear again.
[Defeat the Stormtroopers to lure out Captain Phasma.]
There's only maybe six Stormtroopers to defeat and they should all run to attack you.
[Create traps for Captain Phasma.]
This time Phasma is carrying the power core but the way to get it off her is easy. Just walk into her line of sight or shoot her and she'll drop it, throw a stun grenade at you, and then run off.
Take the power cell to another of the receptacles and set it up.
[Capture Captain Phasma.]
This time she won't run away with the power cell, you'll just need to approach her to "capture" her.
[Escort Captain Phasma to the systems control room.]
Follow her to the central room.
[Force Captain Phasma to disable the defence shields.]
Once inside follow her to the console to complete the level.
Level Challenges
- Rey's Escape
- Discover Rey's escape through Starkiller Base.
- In the northwest corner of the level is a large window you can look through to see Rey escaping.
- Rug Pull
- Find a way to blow up the sniper bridge.
- There's a Scoundrel Opportunity on the under side.
- Snowed in
- Lock the Stormtroopers outside of the base.
- Grapple the point above the western door before the four outside manage to come in.

Minikits
Minikit 1/5 - Wall of Shame
Requires: Lightsaber Story Mode: No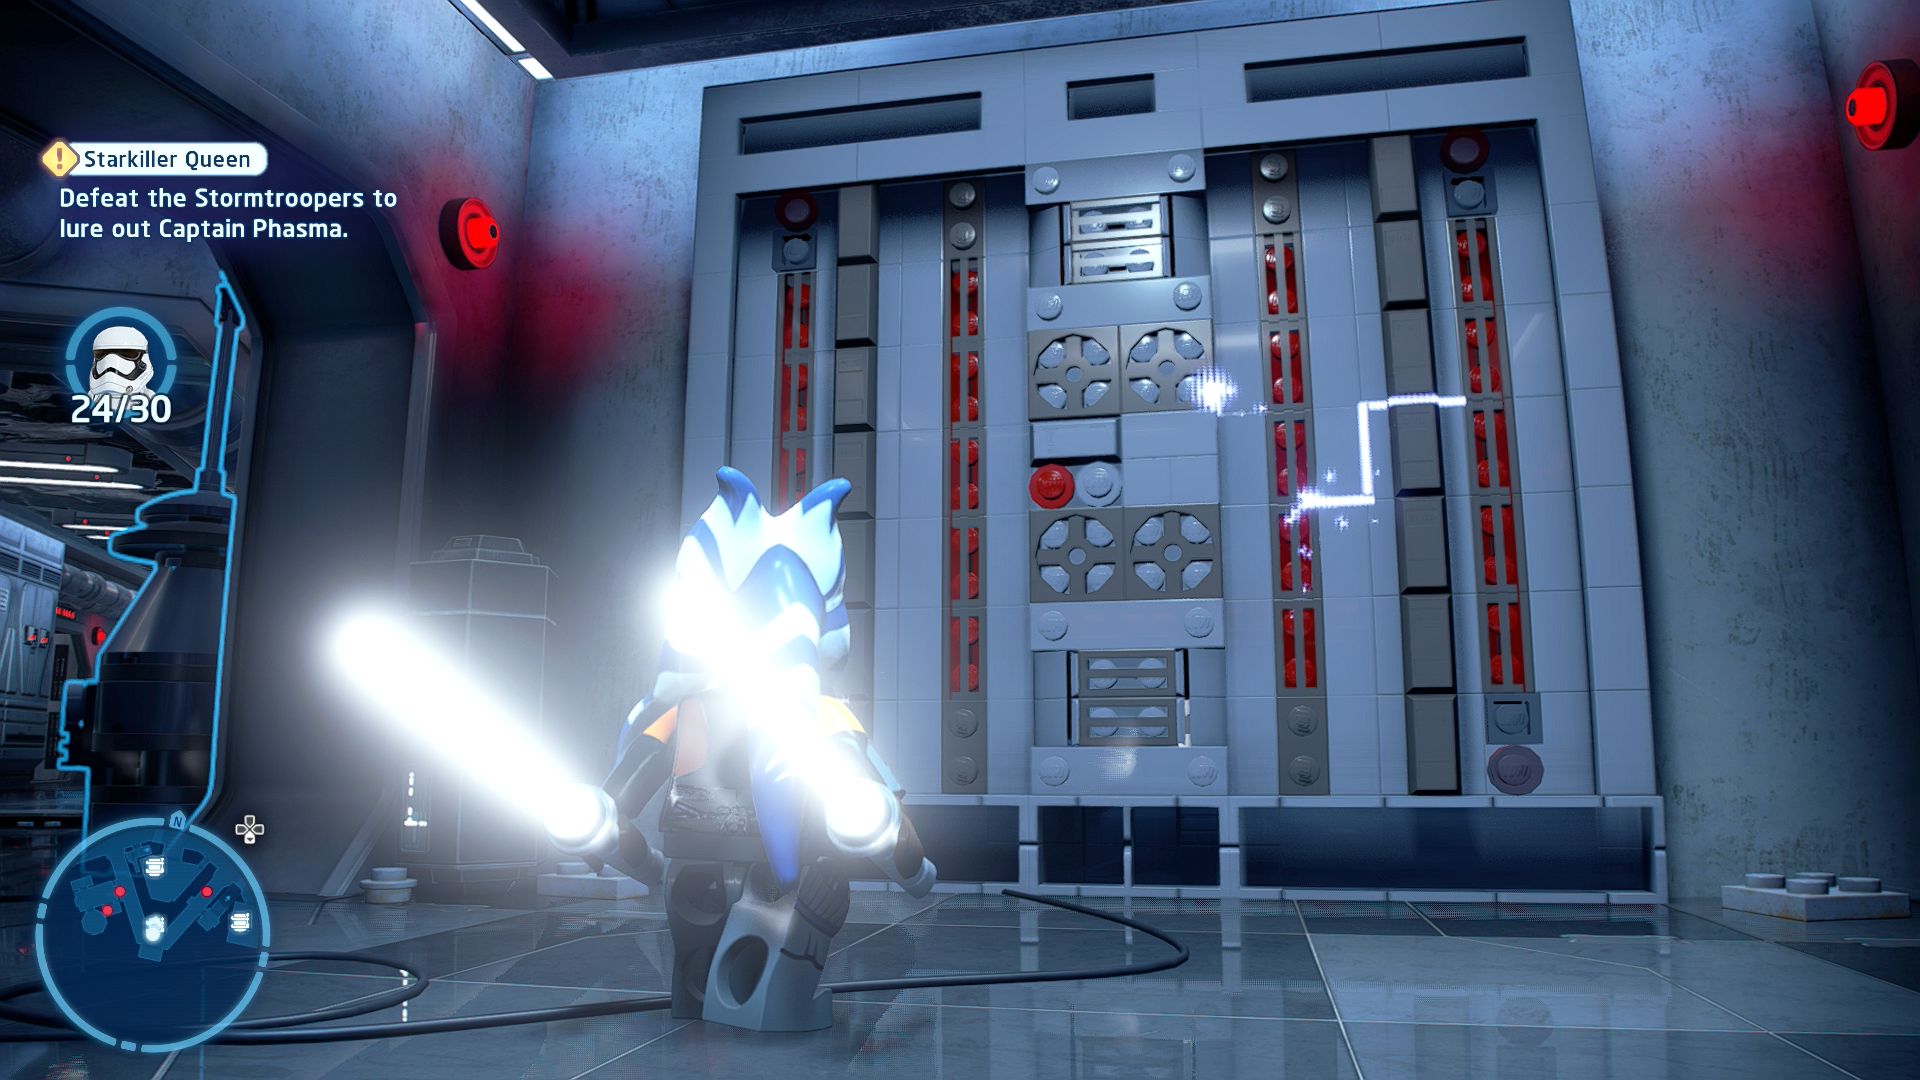
A little bit of deconstruction is needed within the base.
At the southern tip of the level is a wall you need a lightsaber to cut through.
Minikit 2/5 - Rock Starkiller
Requires: Net Launcher Story Mode: No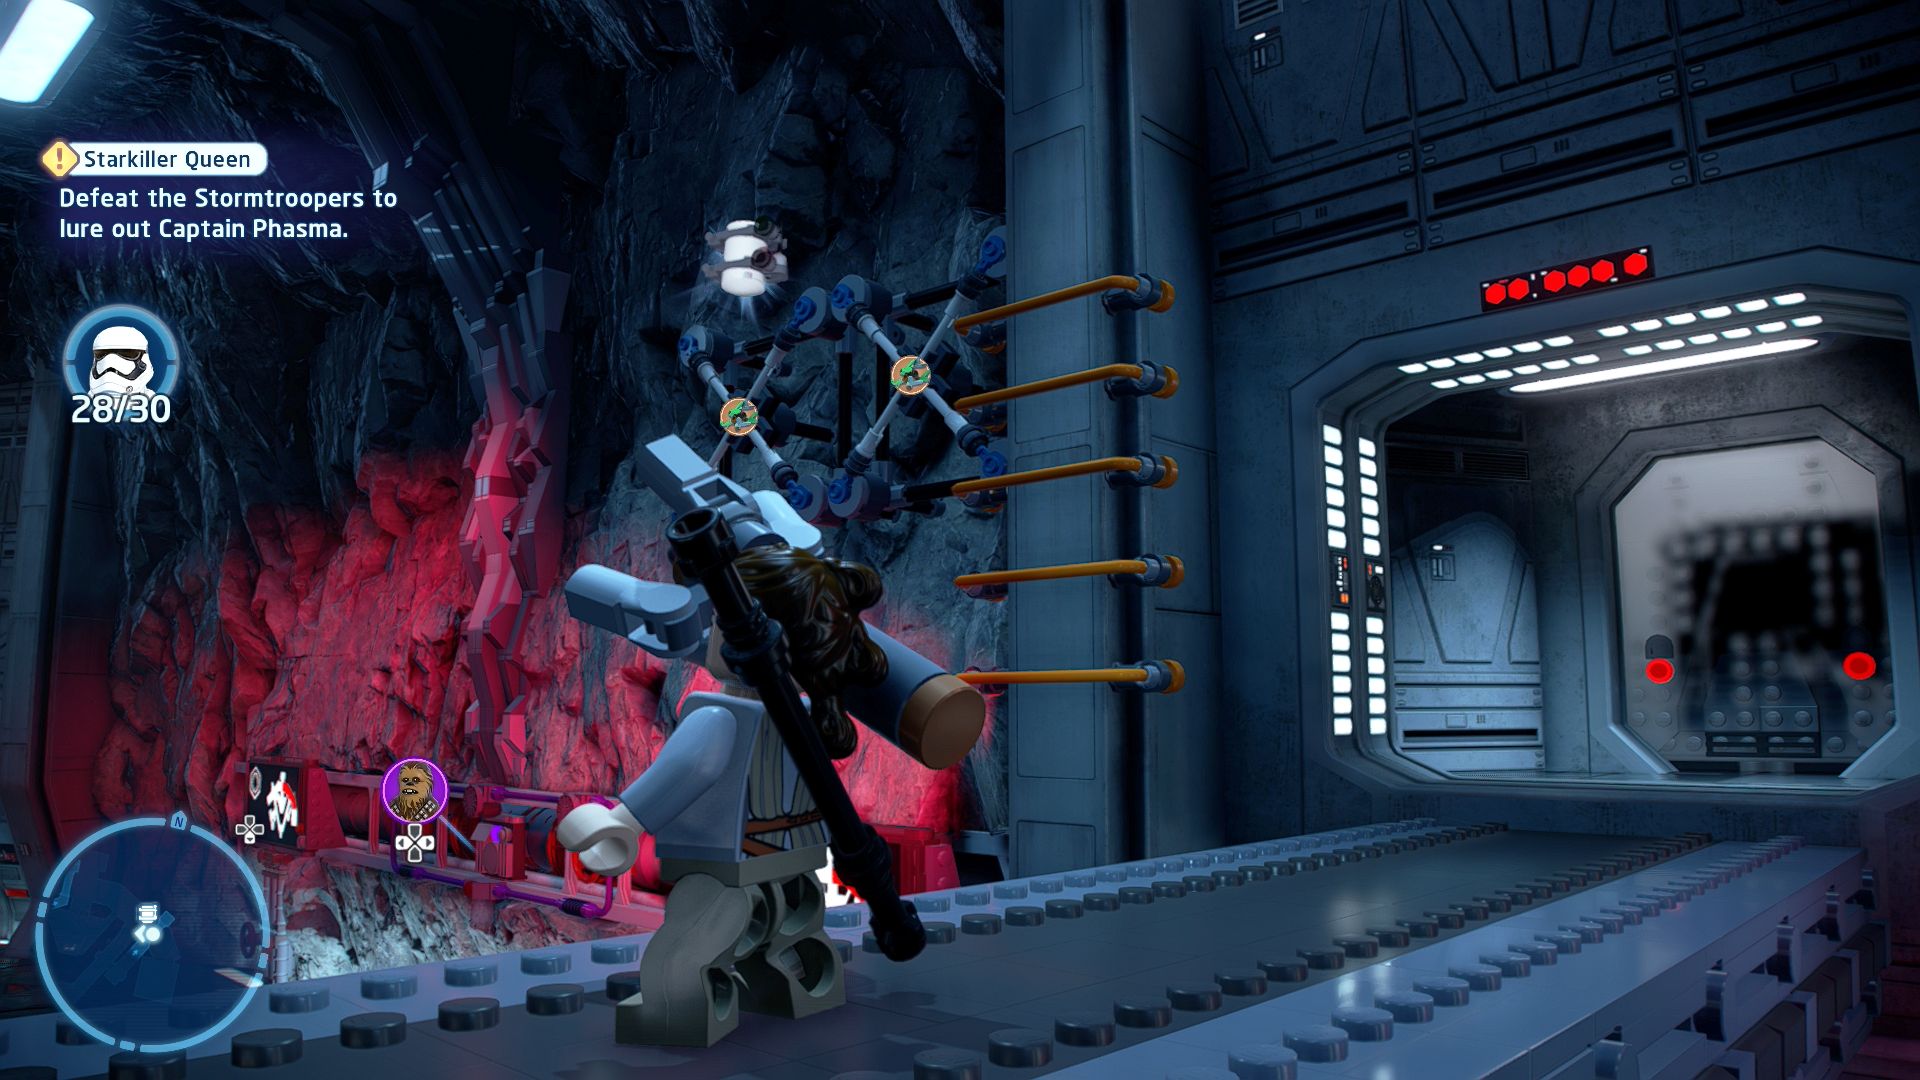
Looks like a good place to try out some rock climbing...
From the bridge with the snipers use the Net Launcher to climb up to the minikit.
Minikit 3/5 - Always Recycle
Requires: Bounty Hunter, The Force Story Mode: No
Discover the trash compactor and correctly dispose of any recycling.
In the northeastern section is a door locked by Gold LEGO bolts. Have a Bounty Hunter blast them and go inside. Use the Force to pick up the container holding a minikit and place it in the lower section ahead. The rotation switches in here require you to switch between characters to turn them both without letting go. I'm not entirely sure why it seems to sometimes let go midway round but if it does that for you try moving one quarter turn at a time switching back and forth. Once it is crushed jump down and build the minikit to claim it.
Minikit 4/5 - No More Restraints
Requires: Villain Story Mode: Yes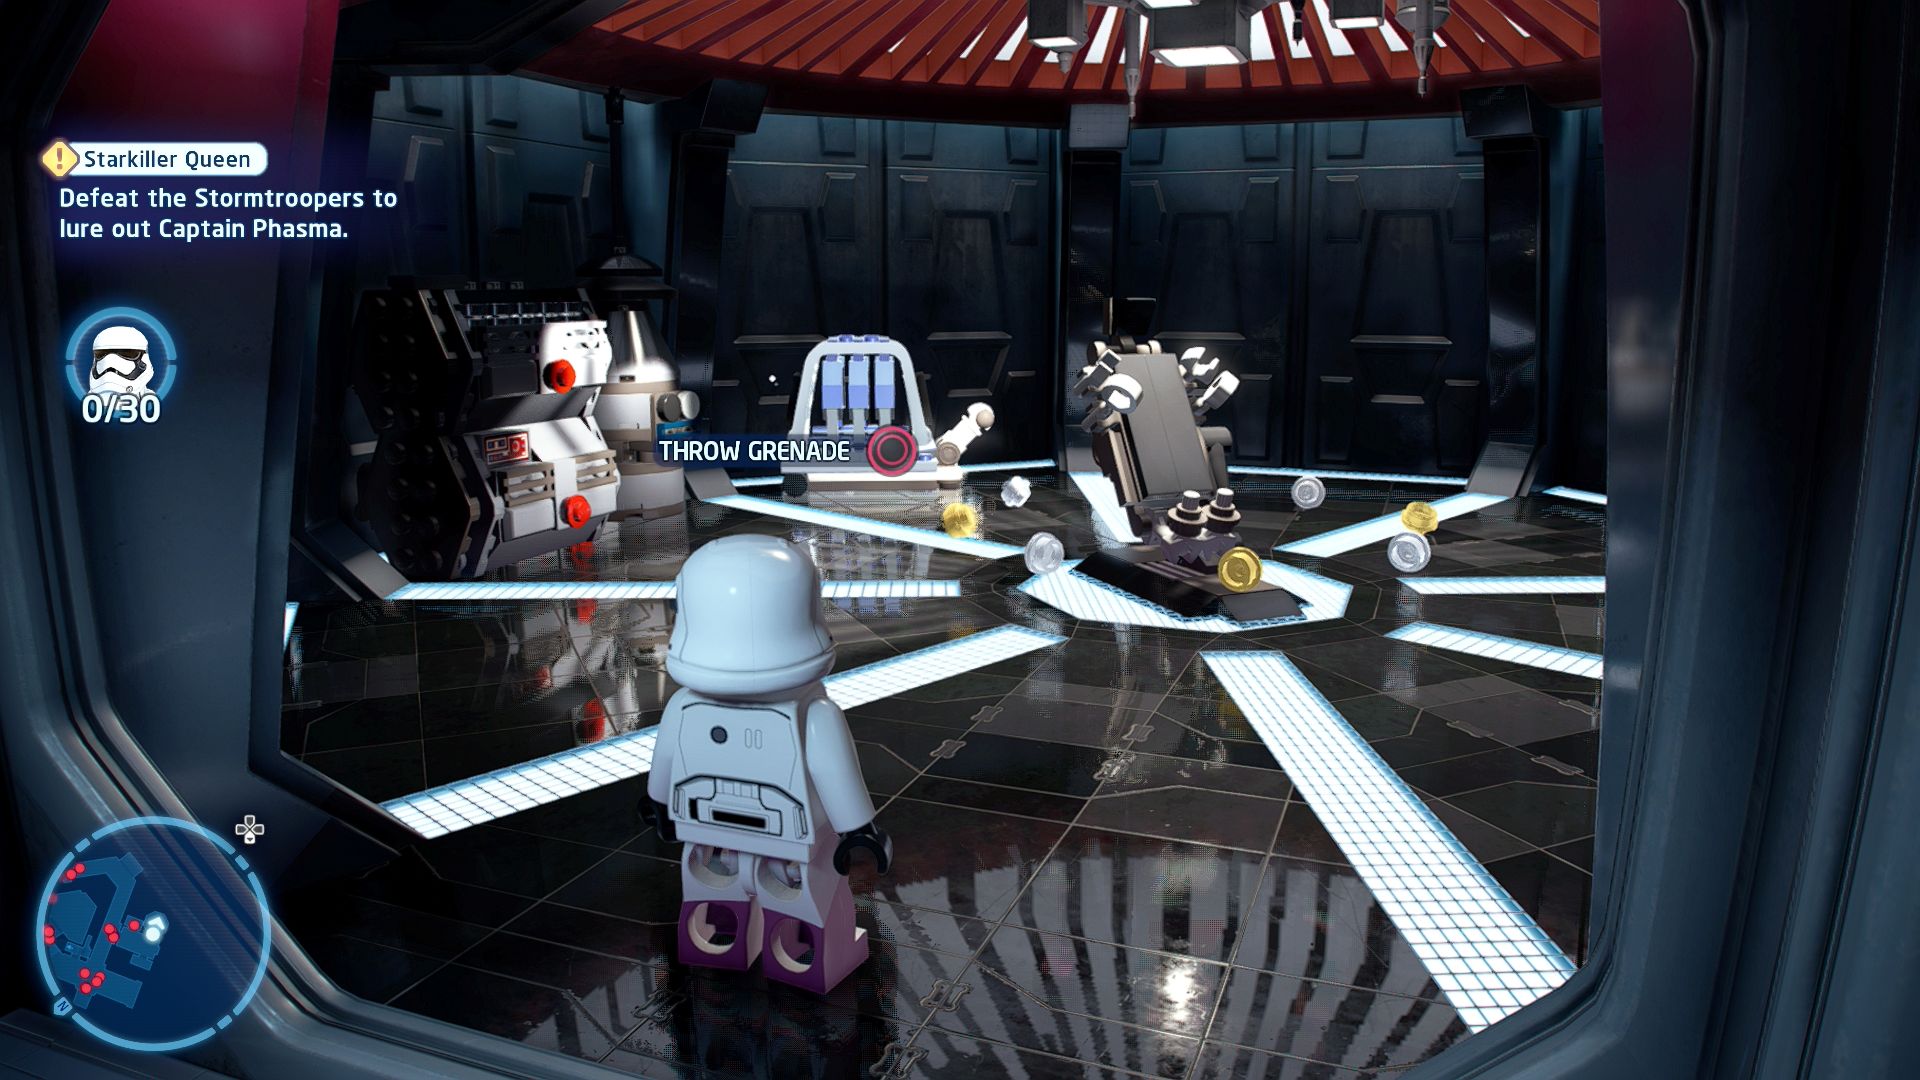
See what you can find in the interrogation room...
Open a room in the southwestern corner of the map using a Villain Terminal and then blow up a Silver LEGO crate inside with a Villain Grenade. You can pick up parts from the Stormtroopers to disguise Finn in story mode.
Minikit 5/5 - You're the Party Star!
Requires: Astromech Droid Story Mode: No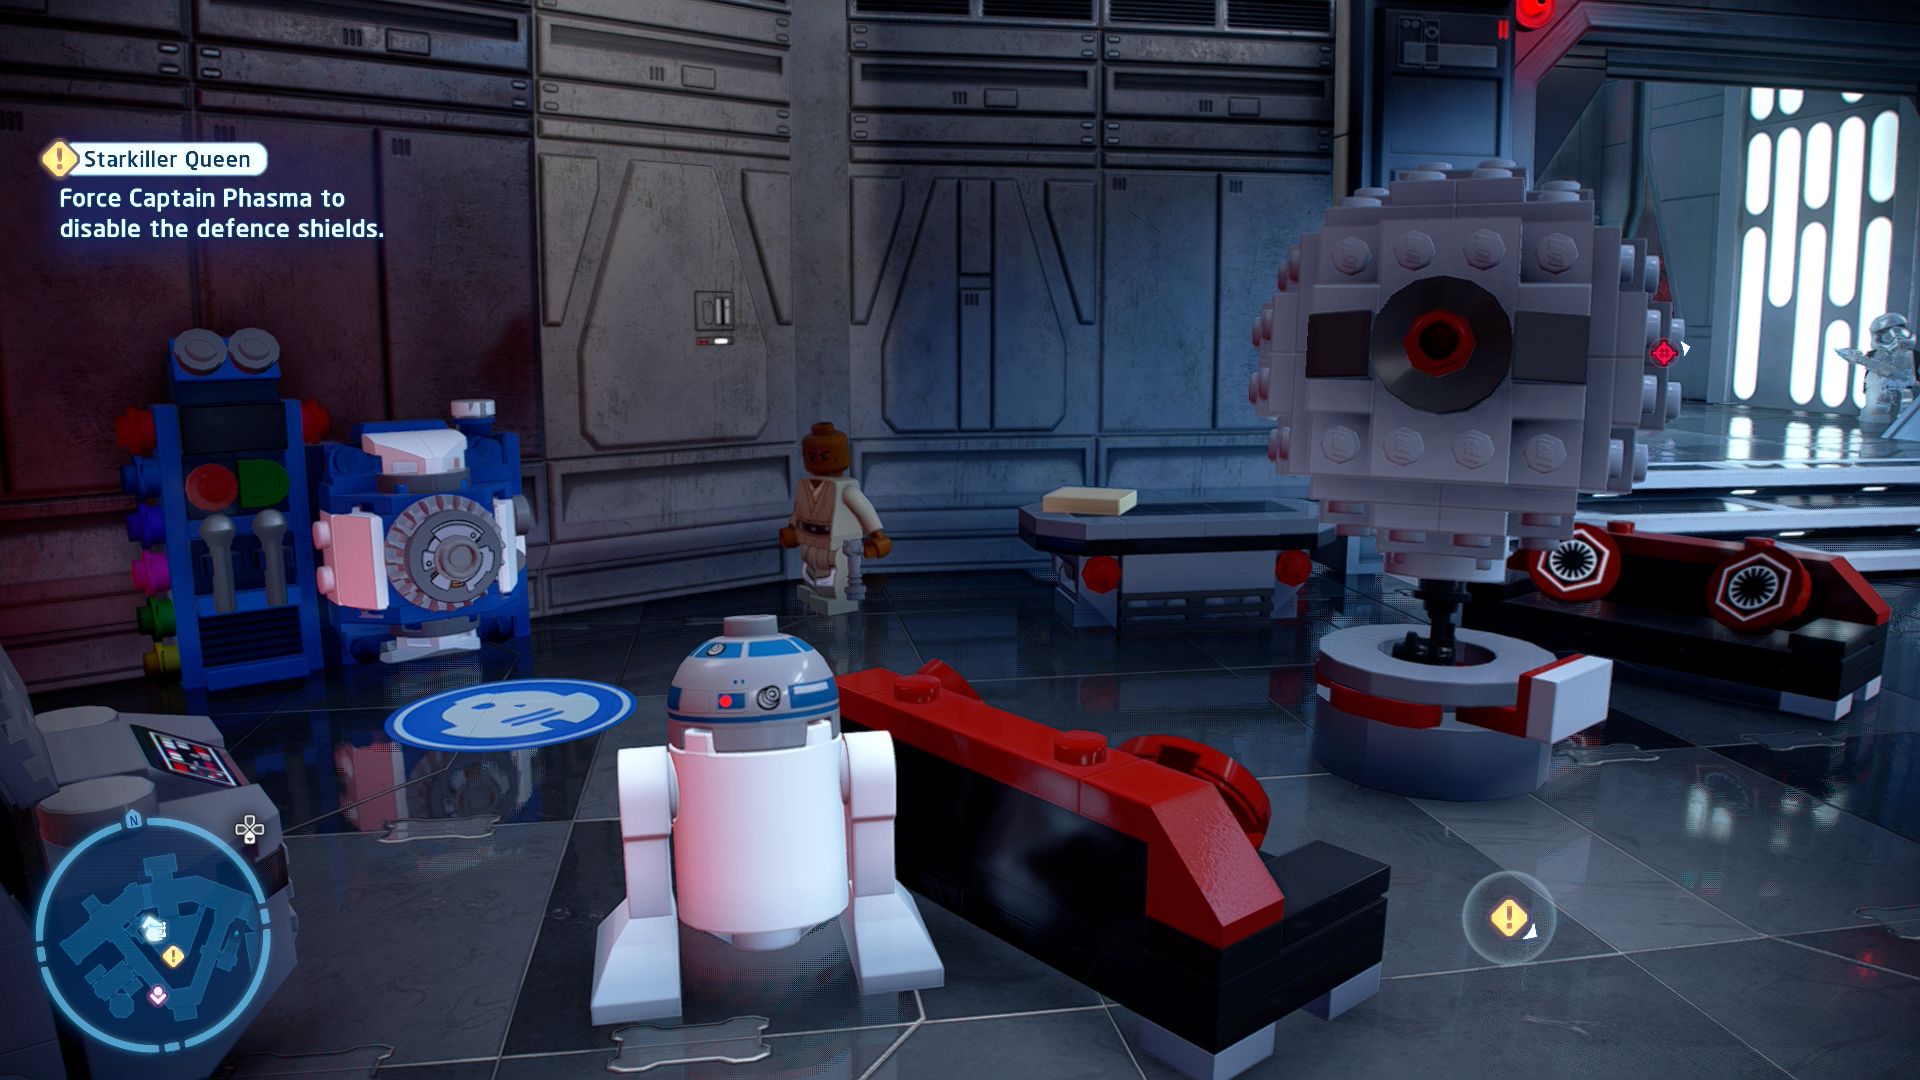
Start the party and enjoy a beverage!
Once you get Phasma to open the central room do not follow her to the console, instead switch to an Astromech Droid and solve the Astromech Socket on the northwestern corner of the room that's found by smashing the cabinets and then building it out of the bricks that appear.
Starkiller Base

Episode VII
THE FORCE AWAKENS
The story so far...
- After decimating Hosnian Prime
- with their new weapon, the First
- Order attacked Takodana
- searching for BB-8 and the map to
- Luke Skywalker. Despite the
- Resistance arriving to fend them
- off, KYLO REN captured REY,
- believing he could retrieve it from
- her memories.
- After Han and GENERAL LEIA
- ORGANA were finally reunited,
- they began planning to take down
- a big, evil sphere like the good old
- days! With Finn's knowledge of
- Starkiller Base's layout, he joined
- Han and Chewbacca in landing on
- the base to shut down the shields
- for the Resistance X-wings.
- Once their mission was done,
- they reunited with Rey, who had
- released herself from captivity
- using the FORCE POWERS that
- have awoken inside her. Now, the
- assault on Starkiller Base
- begins....
Starkiller Base
A Bag Full of Explosives
[Enter Starkiller Base.]
Run around the corner and inside the building.
[Plant the explosives on the thermal oscillator's support pillars.]
The game will suggest you do some stealth attacks now, sneak up behind the first Stormtrooper and take him out. Proceed along hte corridor through the door at the end where the four explosives will be dropped for you to pick up one at a time.
The goal here is to take each of the four bombs and plant them in the four designated spots. You can either do this by sneaking around taking out enemies by stealth or you can just pay no attention to that sort of thing and just attack any guards that spot you.
Going to the left you can double jump over the gap on this upper level and continue to the end where the first bomb spot is. Return to grab a second bomb and make your way back to that first bomb spot again, drop directly down off the edge to find the spot to place that second bomb.
Go back to the start again and grab the third bomb. This time go to the right, there's a Stormtrooper standing in the way facing the opposite direction so you can just bash him in the head and continue along to the end where the third bomb spot is found. The Stormtrooper here shouldn't spot you. Go grab the fourth and final bomb and again return to the upper bomb spot you just placed an explosive on and drop down below to the fourth bomb spot.
[Escape the thermal oscillator.]
With all four in place return to where the bombs were initially dropped to start the next level.
Chapter 5
Destroying Starkiller
| Silver | Blue | Purple |
|---|---|---|
| 26,666 | 53,333 | 80,000 |
[Attack the thermal oscillator and weaken its defences.]
The first part of this level is a flying one, fly around the area shooting stuff. You've got to take down 10 TIE Fighters, 15 turrets, and 15 pylons. All of the turrets and pylons are around the edge of the circular structure, so if you're missing one just circle the map until you find it.
[Reach the opening in the thermal oscillator.]
Now for a trench run. Just keep on shooting as you fly forwards. Job done.
[Defend yourself against Kylo Ren.]
Now we're on foot it's time to take on Kylo Ren in a standard lightsaber battle. As usual move out of the way of the red markers to avoid his bigger attacks and strike whenever you see an opening but then moving back after a few hits to avoid his regular attacks too.
A clash will finish off this part of the fight and Kylo will run off after chopping down a couple of trees.
[Follow Kylo Ren through the forest.]
Smash through the middle of the fallen trees and follow the path around to some Snowtroopers. After they disappear continue on to where Kylo is waiting for you. When you stand on the snow that he jumped off it will collapse and take you down to where he's ready to fight again.
[Defend yourself against Kylo Ren.]
Pretty much the same fight as before, finishing it off with a clash.
[Follow Kylo Ren through the forest.]
As Kylo jumps away defeat the four Snowtroopers, once they're defeated a TIE Fighter will crash giving you a way up to follow Kylo.
Defeat yet more Snowtroopers and as you approach Kylo Ren again he'll run off and a cliff will rise out of the ground. Luckily it has a nice spot to shoot Rey's Net Launcher at as well as some handholds to simply jump up.
[Defend yourself against Kylo Ren.]
Try to avoid getting dragged all the way to Kylo Ren and then finally defeat him in one last lightsaber battle this time with Rey holding the lightsaber. Win the clash to complete the level.
Level Challenges
- Heck of a Pilot!
- Break out of 3 enemy lock ons.
- Perform a roll or a loop to avoid the lockons during the first part of the level.
- Snow Joke
- Make a Snowman out of Kylo.
- During the second fight with Kylo Ren build a BB-8 snowman from the objects next to where you leave the area and then pick it up with the Force and throw it at Kylo.
- Keeping a Cool Head
- Shoot the helmets off 5 Snowtroopers.
- There are quite a few opportunities to do this between the Kylo Ren fights.

Minikits
Minikit 1/5 - Top Gun
Requires: None Story Mode: Yes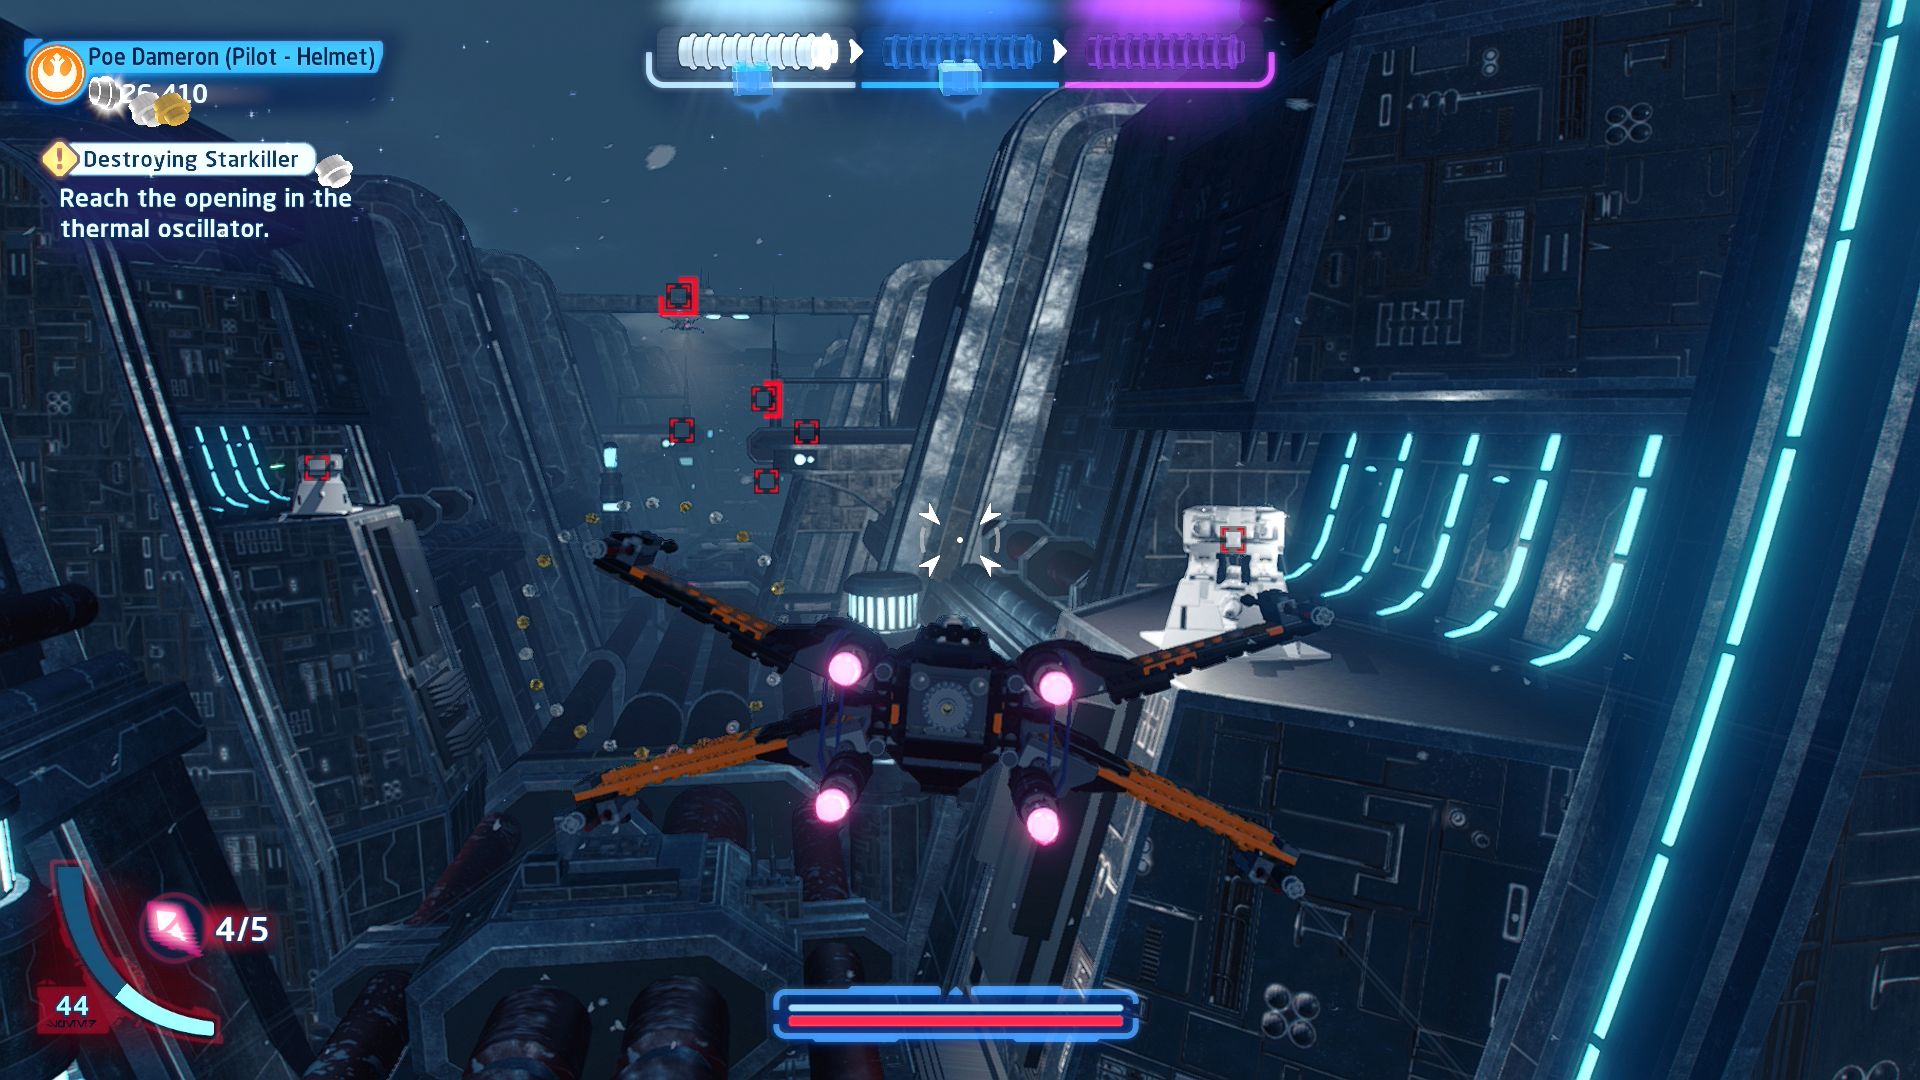
Those trench turrets make for great target practice!
Along the sides of the trench run are some turrets, you'll need to destroy 10 of them to get the minikit.
Minikit 2/5 - Trench Fun
Requires: None Story Mode: Yes
You'll narrowly escape with this minikit...
Right near the end of the trench run is a large minikit floating in the middle of the path, fly kinda close to the ground to grab it.
Note that the names and descriptions for these next three minikits seem to be assigned incorrectly by the game, which may cause a little confusion as to which one you might be missing.
Minikit 3/5 - Stacked it
Requires: None Story Mode: Yes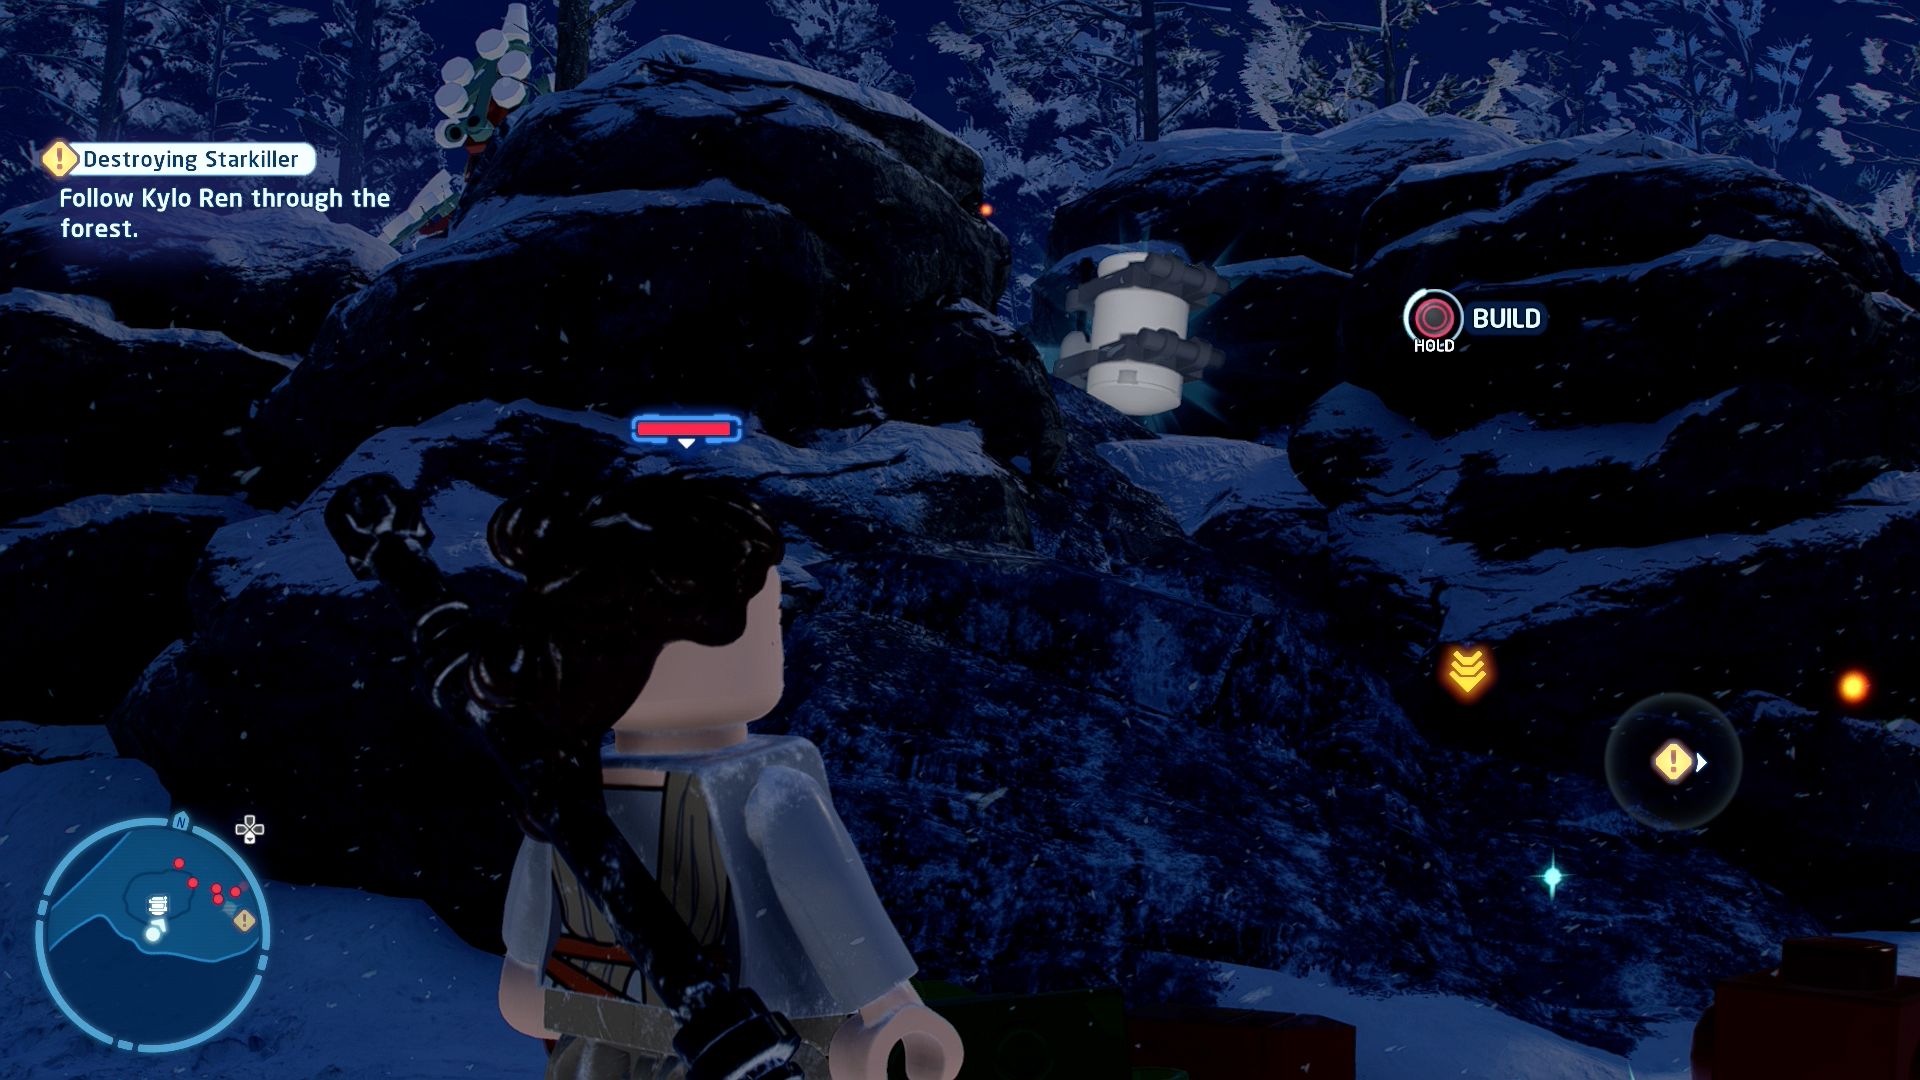
Force yourself to reach up and grab this one!
During the fight with the Snowtroopers just before the third fight with Kylo Ren jump up on the rocks in the middle.
Minikit 4/5 - Not-So-Hidden Package
Requires: Scavenger Breaker Blaster Story Mode: Yes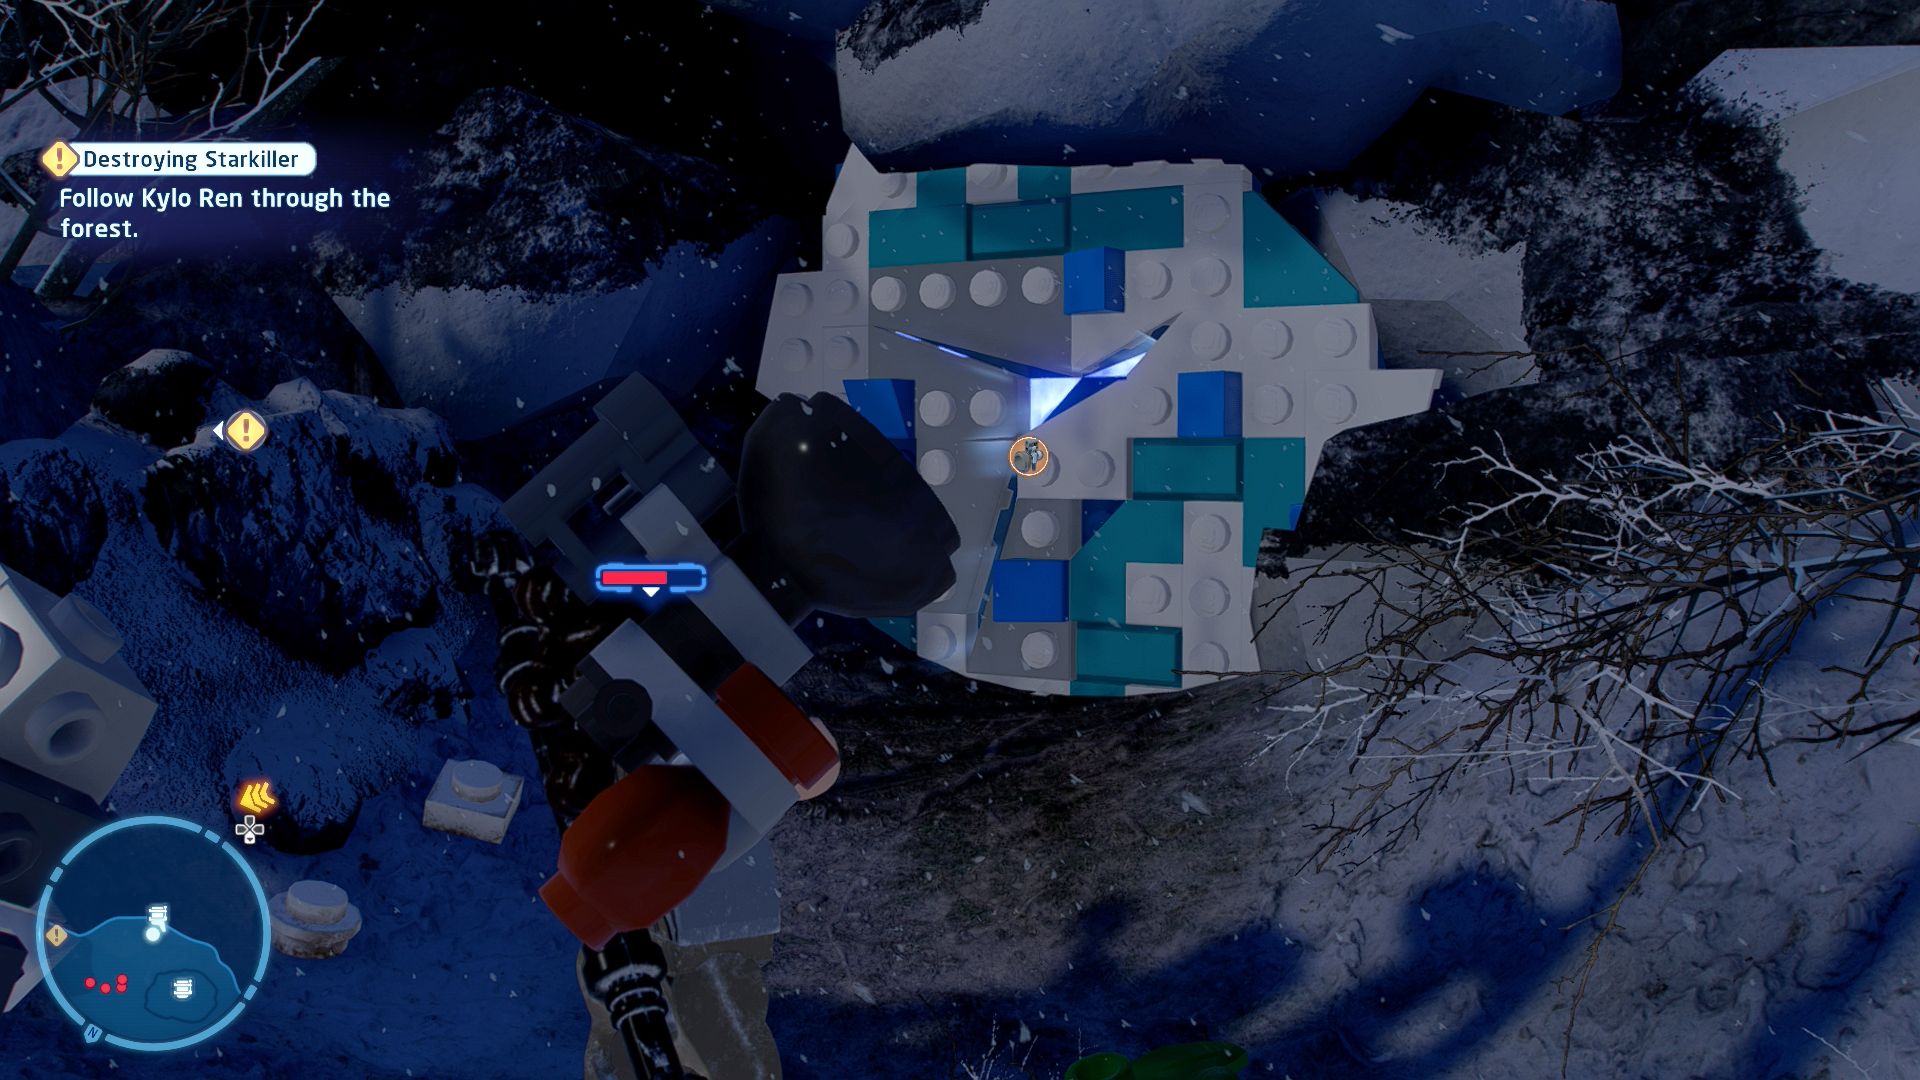
Who leaves these lying around like this?
Just before you fight Kylo Ren for the third time use a Scavenger's Breaker Blaster on a cave wall near the lava crater that forms while you're fighting the Snowtroopers.
Minikit 5/5 - Cracked it
Requires: The Force Story Mode: No
The base is crumbling, so might as well go for it!
In the area where you fight Kylo Ren for the second time stack a set of three crates using the Force to reach this high in a tree.
Resistance X-Wing

Based on set 75125
Resistance X-Wing Fighter
| Cost | Character | |
|---|---|---|
|
|
- | Jess Pava |
|
|
- | Rey (Episode VII - Starkiller Base) |
|
|
200,000 | Kylo Ren |
|
|
200,000 | Kylo Ren (No Helmet) |
|
|
- | Poe Dameron's Black One |
Episode VII
THE FORCE AWAKENS
The story so far...
- Starkiller Base is destroyed! The Resistance was successful, but their victory came with terrible losses.
- Moody Darth Vader enthusiast Kylo Ren struck down his father, the legendary Han Solo, and left Finn in critical condition following a fierce lightsaber battle.
- Now back on D'QAR, the Resistance must swallow their grief and turn their attentions towards their next mission....
D'Qar, Resistance Base
Piece of the Resistance
[Follow BB-8.]
Surprisingly we're not quite done with the episode just yet. Follow BB-8 to the resistance base entrance to continue the story.
[Travel to Ahch-To.]
Open your Galaxy Map and fly off to Ahch-To's Temple Island.
Ahch-To, Temple Island
[Find Luke Skywalker on Ahch-To.]
Follow the markers up the path to where Luke Skywalker is waiting. Episode complete!
Episode VIII: The Last Jedi unlocked!
 darkspyro.net