Please be aware that this page is based on the original PlayStation 2 version of LEGO Star Wars II: The Original Trilogy, there are some small differences compared to LEGO Star Wars: The Complete Saga.
Episode VI
Return of the Jedi
Chapter 1
Jabba's Palace
Luke Skywalker has returned to his home planet of Tatooine in an attempt to rescue his friend Han Solo from the clutches of the vile gangster Jabba the Hutt.
Little does Luke know that the Galactic Empire has secretly begun construction on a new armored space station even more powerful than the first dreaded Death Star.
When completed, this ultimate weapon will spell certain doom for the small band of Rebels struggling to restore freedom to the galaxy....
| Story Mode | Free Play |
|---|---|
| 38,000 | 45,000 |
Minikit 1/10
Requires: Dark Force, Grapple, The Force Story Mode: No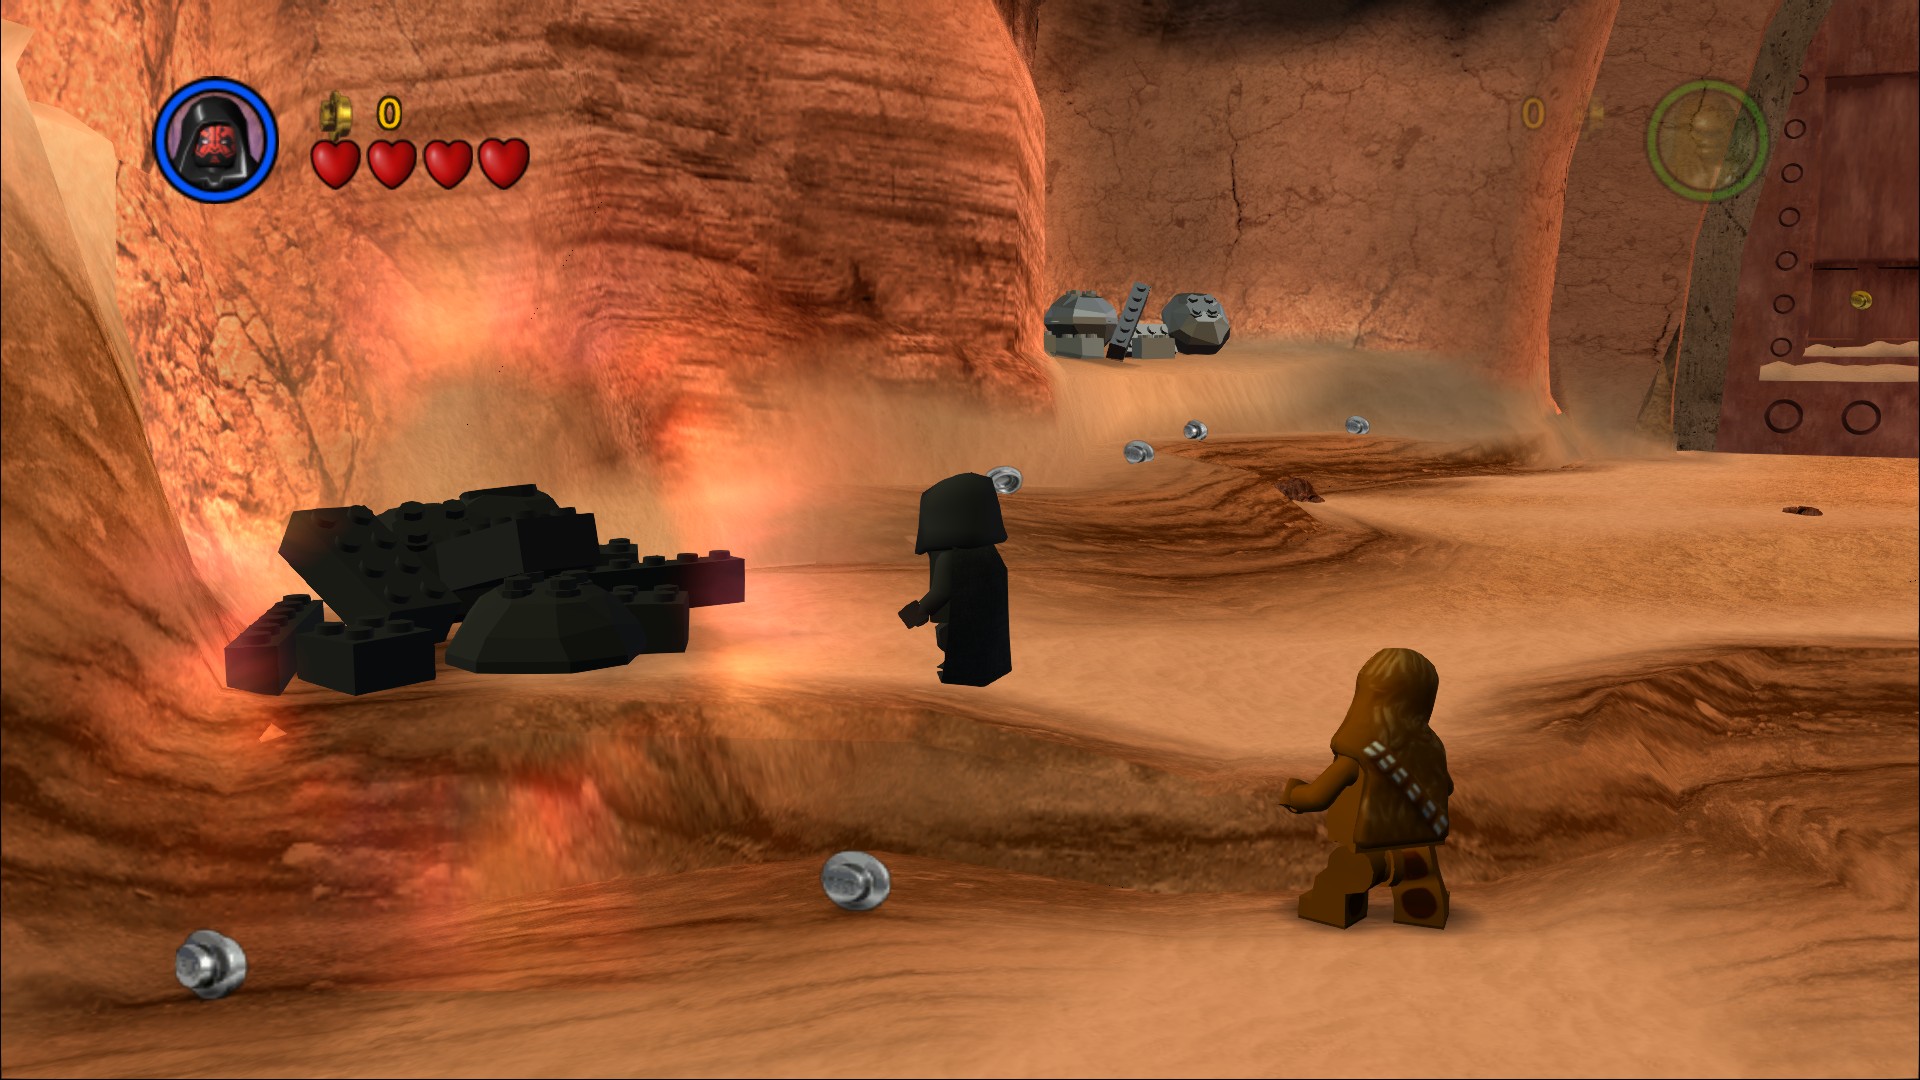
On the left are some black LEGO bricks you can use the Dark Force on to reveal a grapple point. Grapple up then up again before dropping down to the left where you can see the Minikit. Use the Force to assemble a grapple point to get back out.
Minikit 2/10
Requires: Bounty Hunter, Grapple, Jump Story Mode: Yes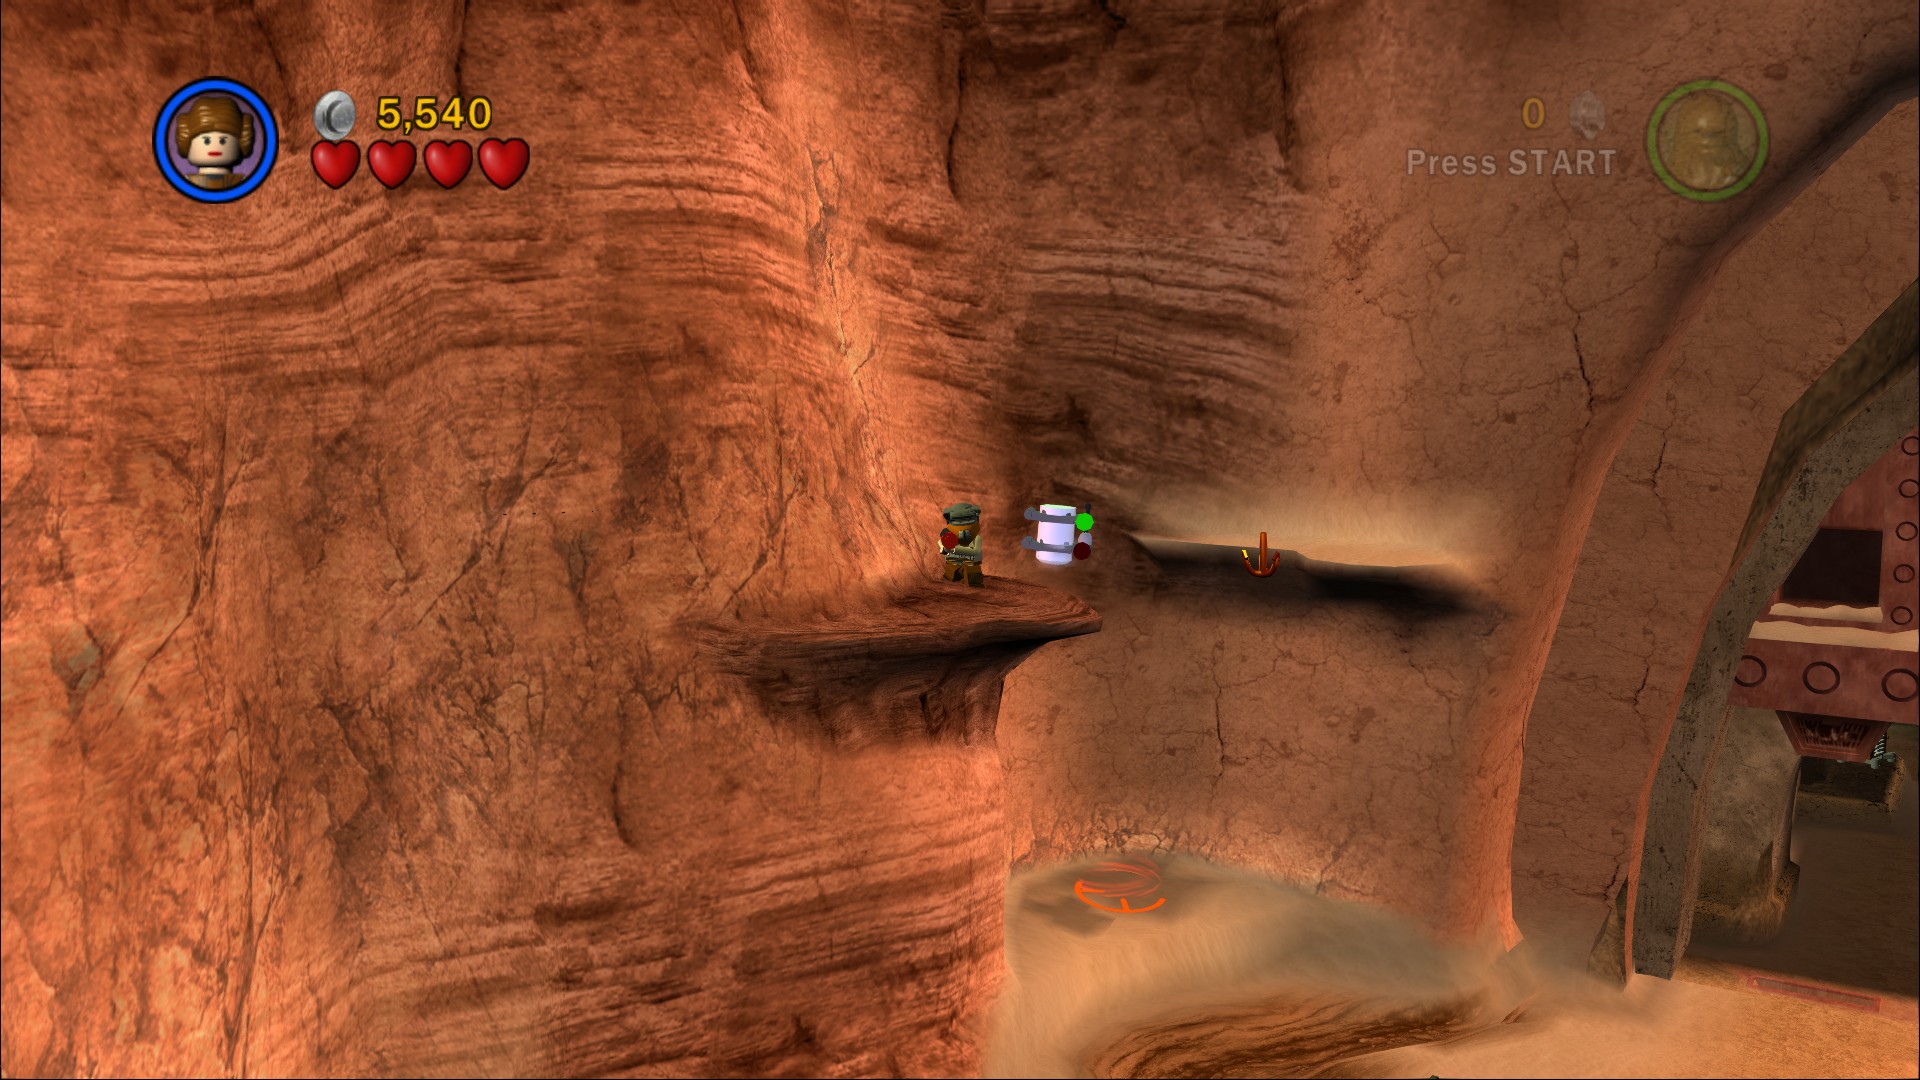
Straight ahead are some Silver LEGO bricks you can blow up to reveal a Grapple point. Up top jump across and grab the Minikit, you can just about make it with a regular jumper but you may need to double jump or hover to the left to get the Minikit.
Assemble the LEGO by the front door and then use it as a platform to reach the stud in the air, that'll antagonise the middle robot doorman so you can shoot him a few times. Repeat with the two openings on the sides to get the massive door open.
To stop the guards from dropping in you'll have to run over and pull the levers beneath the tubes they're appearing from. If you build the LEGO object on the left side just before that though you can get the guards to pause and stop attacking you while you do it.
Minikit 3/10
Requires: Protocol Droid Story Mode: No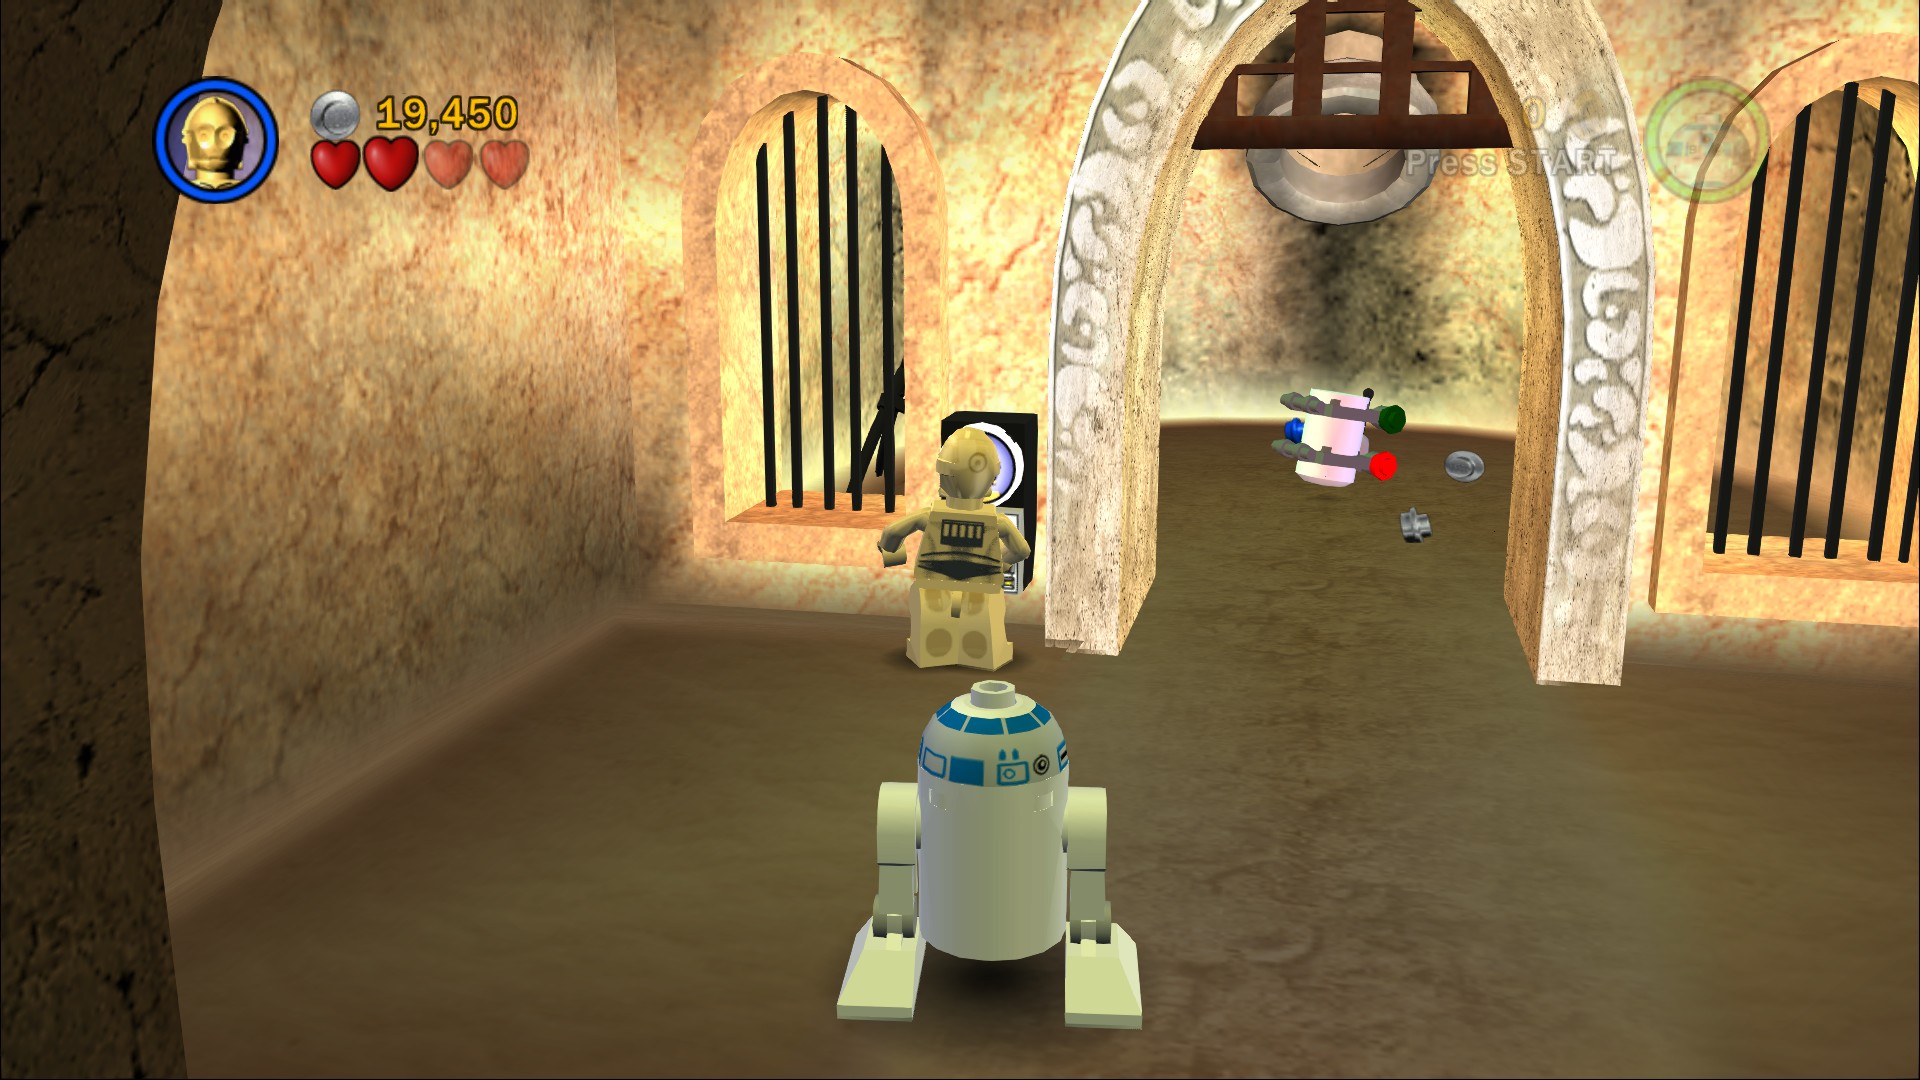
To the right at the end is a short passageway with a Protocol Droid panel in pieces on the floor.
Down the end of the corridor is a Bounty Hunter panel that you can't activate, so instead go to the left and after switching off another guard tube use the disguise station so that you're wearing the Boushh Bounty Hunter disguise. While wearing this hat you can throw the Silver LEGO bombs, and also open up the Bounty Hunter door.
In the room at the top of the stairs you'll meet up with Luke again, turn off the guard tubes at the back to get some peace.
Red Brick (Super Zapper)
Requires: Double Jump or Grapple Story Mode: Yes/No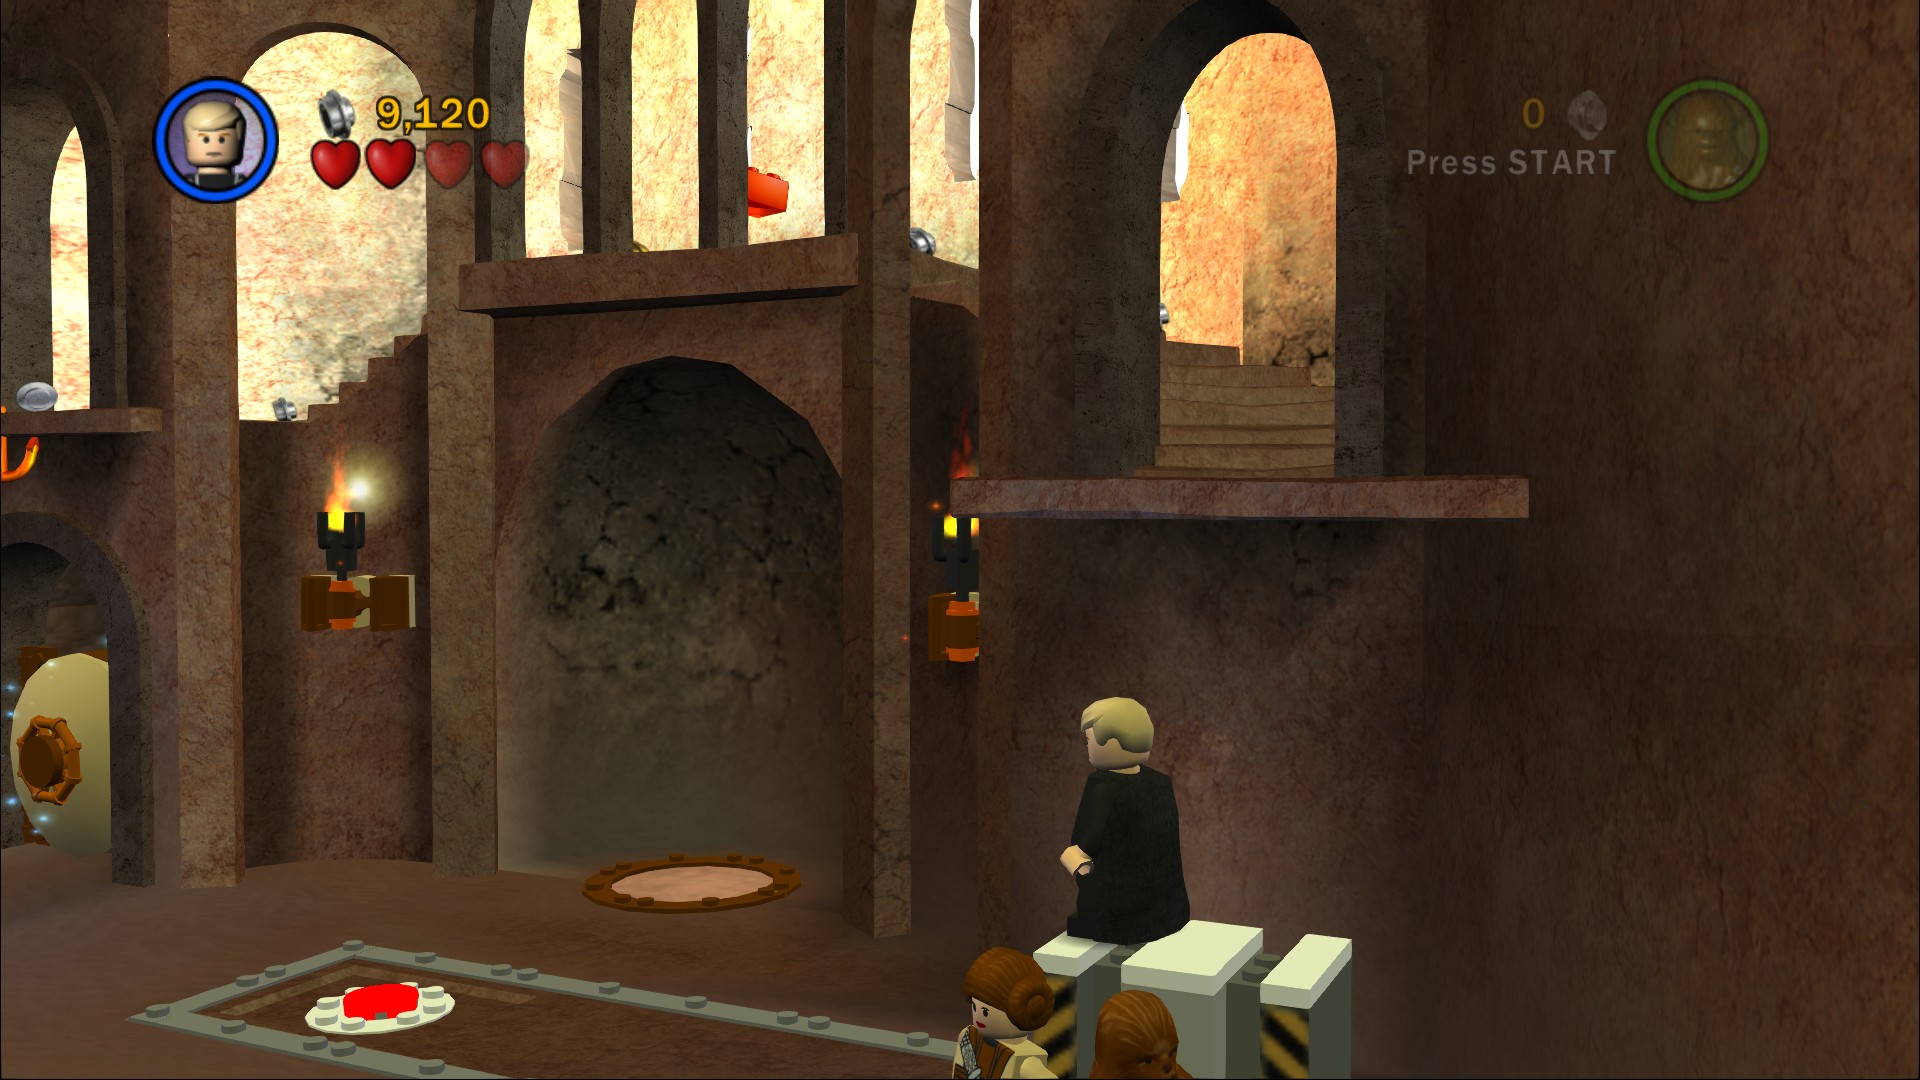
In the near right corner is a crate you can assemble on a track, you can double jump off the top of it to reach the area above with the Red Brick. Or you can push it onto the red marker to reveal a grapple point to get up there too.
Minikit 4/10
Requires: Astromech Story Mode: Yes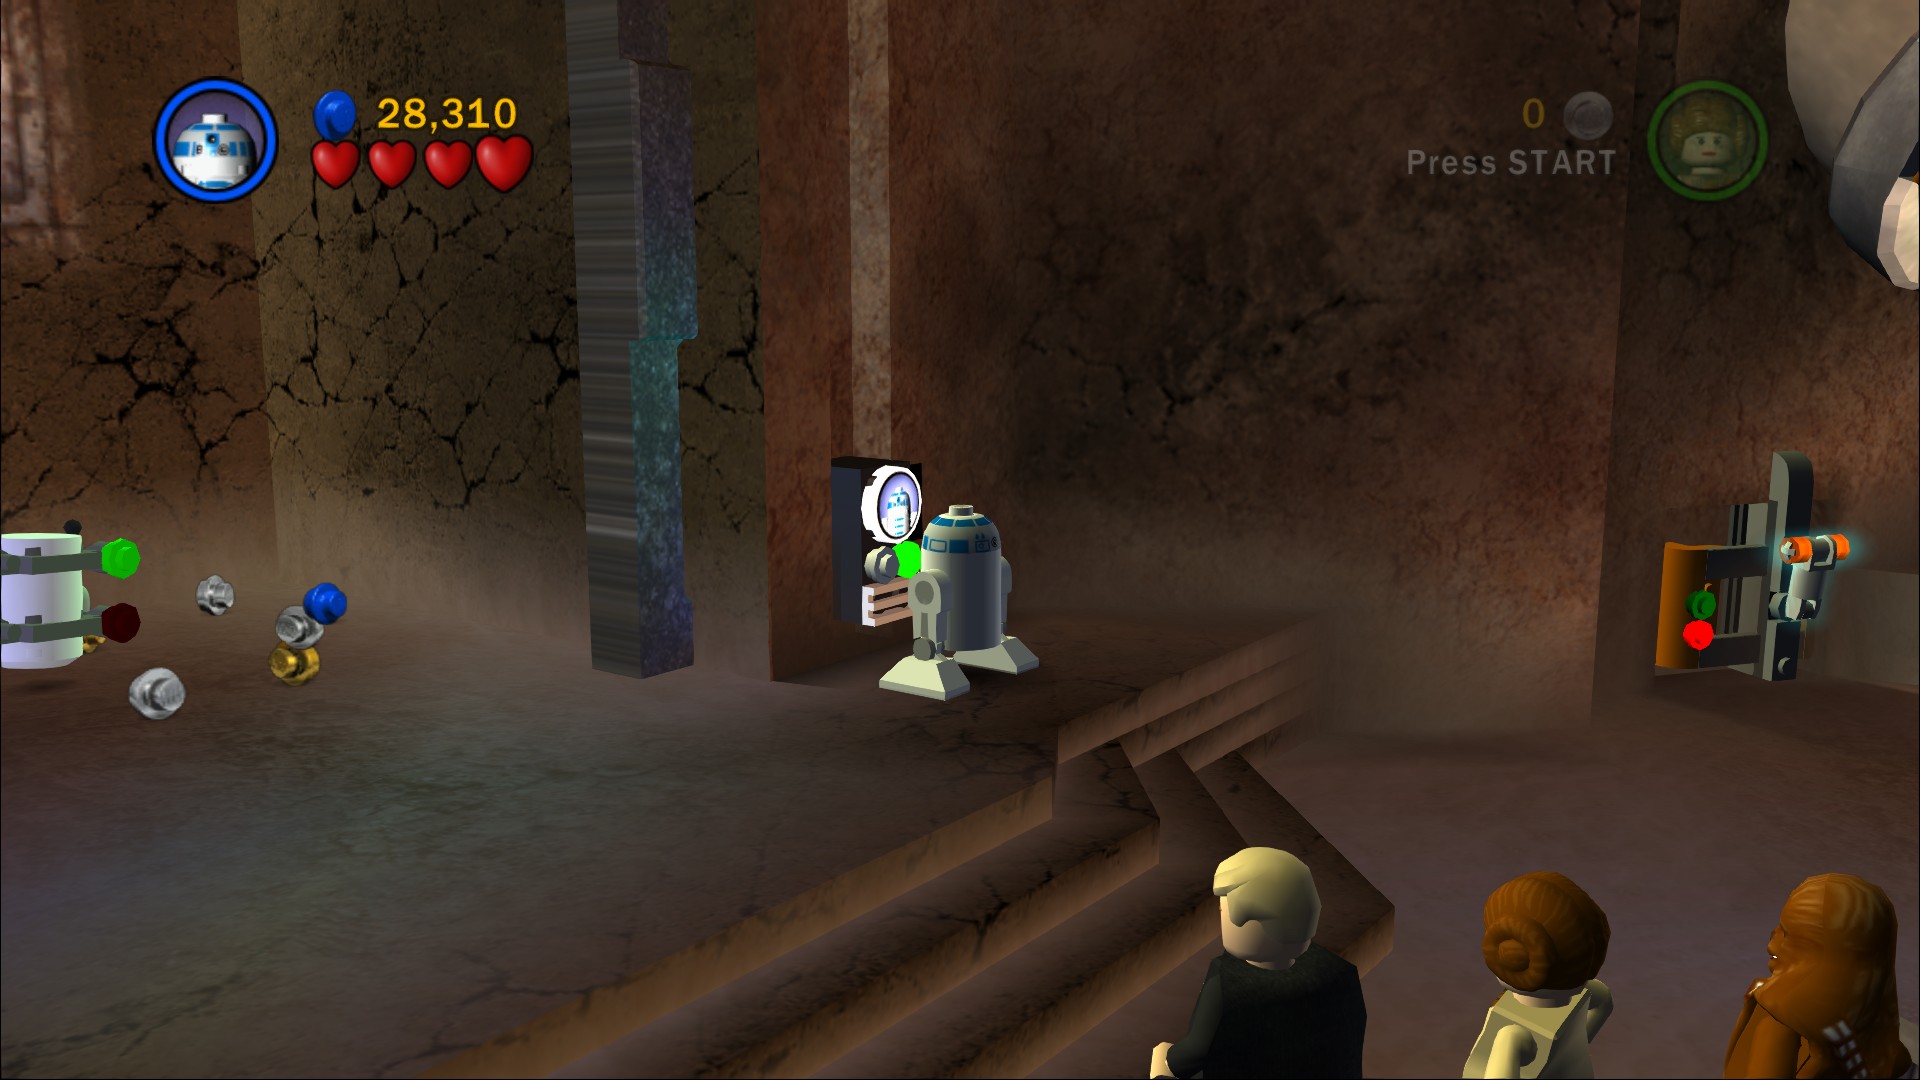
Astromech door on the left side of the room.
Hopefully you've still got the Boushh disguise on as you'll need to it get through the door at the back.
First up turn off the guard tube on the left side. Then go over to the right and smash the container, build a platform out of the parts that appear and have Leia or Chewbacca stand on it so that Luke can lift them up. Drop down into the cell on the left and defeat a single guard before getting a partner to help pull the two levers in here. That'll open the big door.
Minikit 5/10
Requires: Protocol Droid or Hatch Access, Bounty Hunter Story Mode: No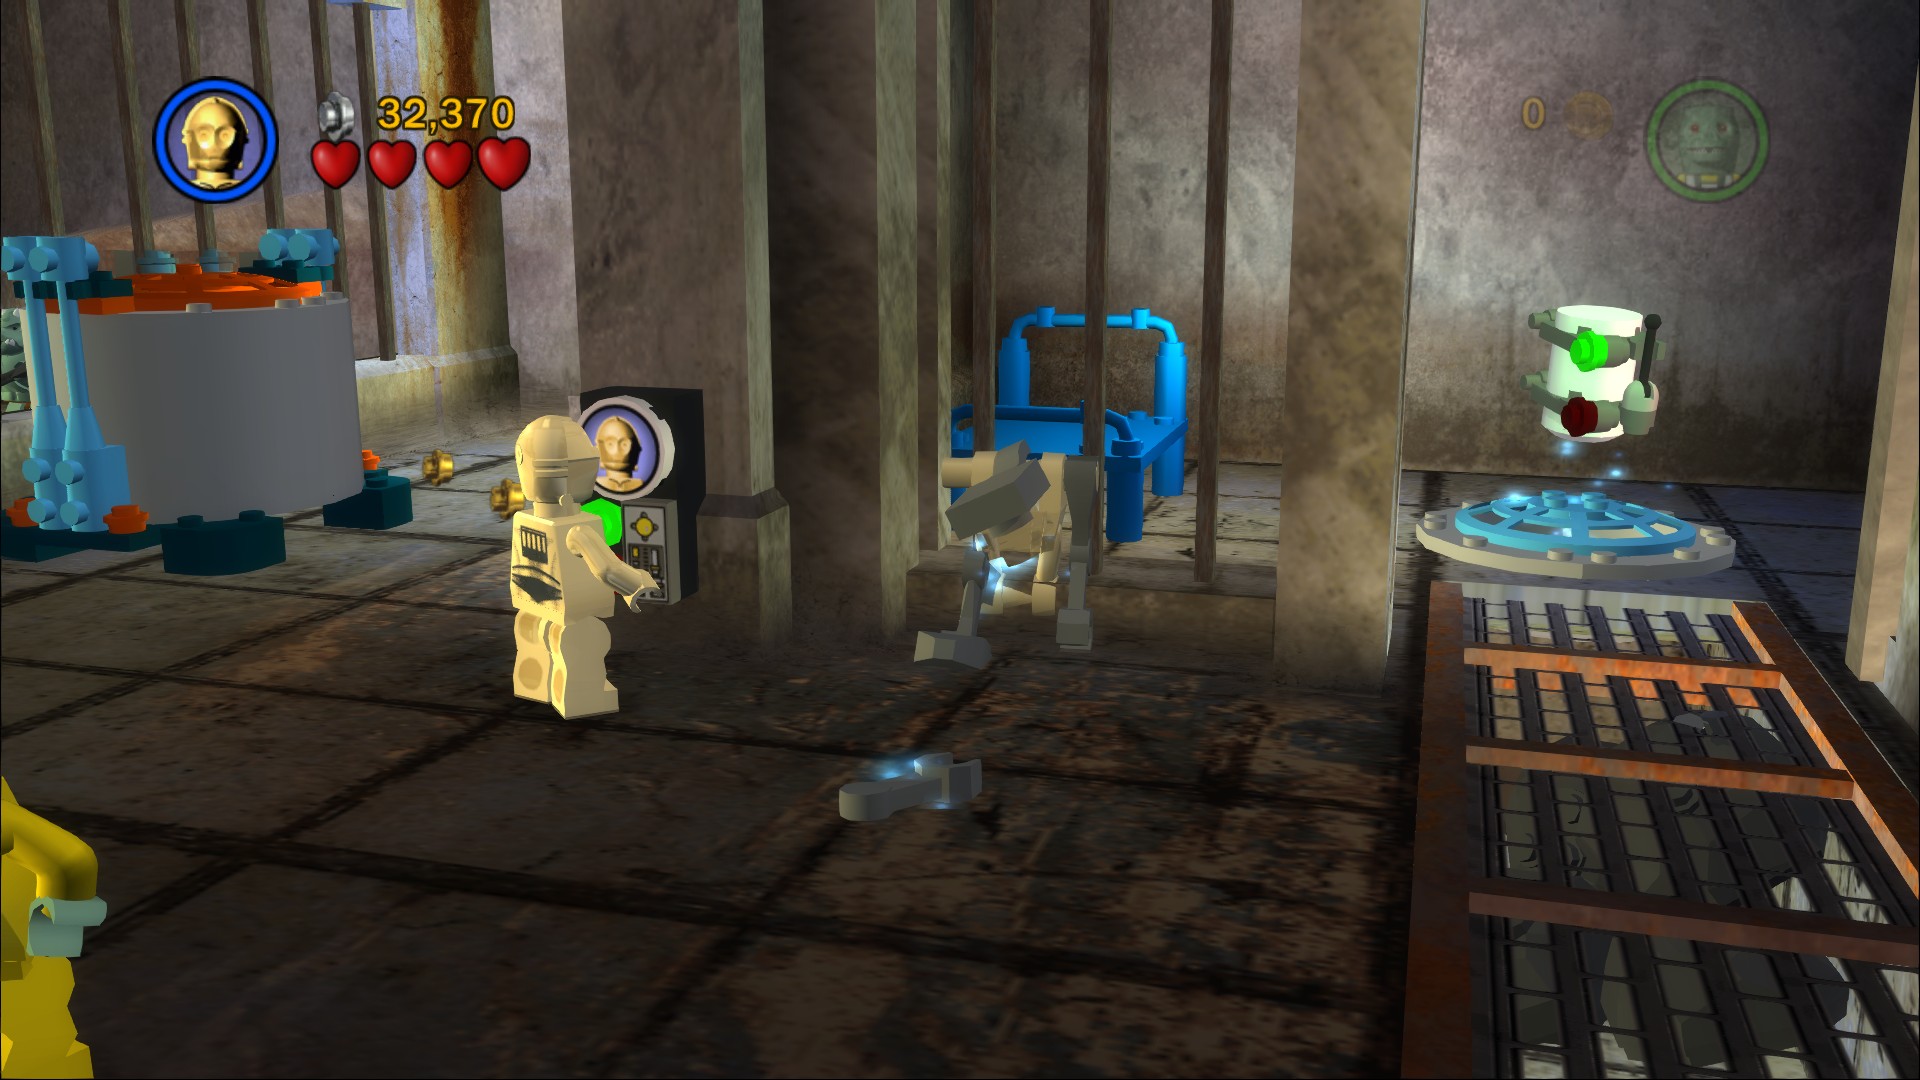
A Protocol Droid panel on the right. Or you can crawl through the access hatch on the left side, smash a bed, crawl through another hatch, smash another bed, smash the manhole cover, run along the tunnel, and then blow up some rocks to emerge inside the cell with the Minikit.
In the Boushh disguise use a bomb to blow up the Silver LEGO behind the big door, turn off the guard tube dead ahead.
Minikit 6/10
Requires: An attack Story Mode: Yes
On the left side build one of those objects you hit four times to explode, that'll blow a hole in the wall so you can get the Minikit.
To get through the large door to the right you'll need to hit the objects to either side of it four times to get the blue bits to touch. Avoid the collapsing panels in the floor ahead as you take out the two guards blocking a door. Go around the corner into a large room, to get through it you'll need to free C-3PO and R2-D2.
Minikit 7/10
Requires: Ground Slam or Bounty Hunter Story Mode: Yes
Smash down into the brown floor panels on the floor at the start of the room and then walk along the little tunnel going forwards then left.
To free the droids first use the Force on the wall panel on the left, assemble the object. Then pull the two levers on the right side and assemble the bits that spit out, they'll form buttons with arrows on them. Use the directions to move the first object in front of the droid cages then use it as a platform to double jump in to get them out. Use the droid panels to open the door. A short trip up some steps to a couple of guards and then an astromech panel to get through.
Switch off the first guard tube on the right and then start pushing the platforms around, move them so that the tallest is nearest the platform above, once they're in the correct position on the right you can then use the Force on them to turn them into a ramp. Go up the ramp and shoot the objects on top, assemble the parts then use the Force to move the platform into position. Use the Force on the wall to complete the bridge.
You can now turn off the other guard tube up here. Switch to R2-D2 to hover over another gap and then activate an astromech droid panel to extend a bridge.
Minikit 8/10
Requires: Dark Force, Double Jump Story Mode: No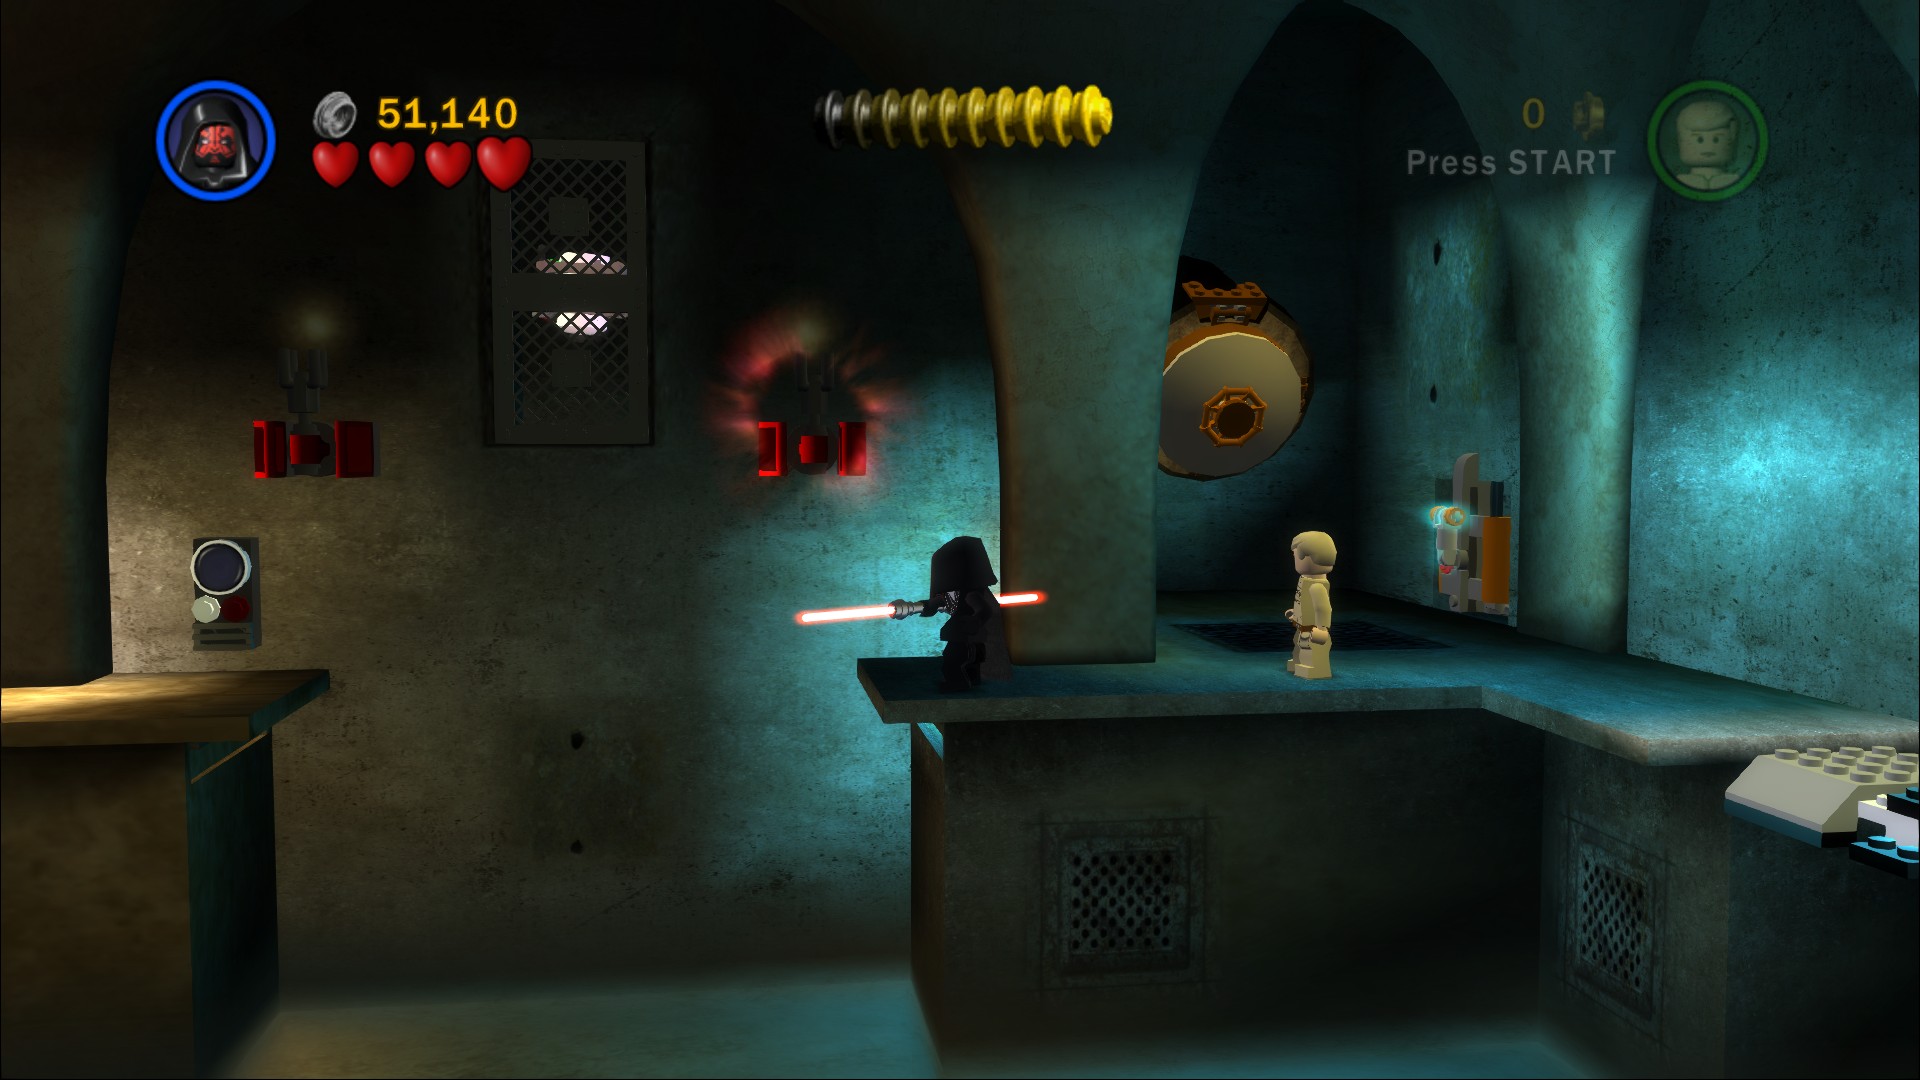
Use the Dark Force on the sconces on the wall above the bridge and then to open up the panel.
To get out of the room shoot the two objects to the left of the gate to get the parts to a protocol droid panel.
Down the steps immediately set out turning off the guard tubes on the left and at the back. Once they're shut off and the remaining guards have been defeated the gate will open. Equip the Boushh disguise from the station on the right before going through.
Minikit 9/10
Requires: Stormtrooper Story Mode: Yes
Stormtrooper door on the left side. There's a Stormtrooper disguise station through the gate to the right of where Han Solo is being displayed.
Defeat and shut off the two guard tubes before using the Bounty Hunter panel next to the carbonite block to free Han Solo.
Minikit 10/10
Requires: Grapple, Double Jump Story Mode: No
Build the grapple point on the right at the back then double jump up to reach the Minikit.
To defeat the Rancor you must use the droids to release a guard into the room so that the Rancor grabs it. The Rancor will then wander over near to one of the explosive crates which you can then shoot to damage the Rancor. Repeat and it'll go stand by the other explosive crate. On the third time it'll stand in front of the doorway, have two characters pull the levers on either side to slam the door into it.
Desert Skiff

Princess Leia (Boushh), Luke Skywalker (Jedi), and Han Solo (Skiff) who you were able to play as very briefly at the end of the Chapter are now unlocked for Free Play.
| Cost | Character | |
|---|---|---|
| 40,000 | Gamorrean Guard | |
| 16,000 | Bib Fortuna | |
| 14,000 | Palace Guard | |
| 75,000 | Bossk | |
| 70,000 | Dengar |
Chapter 2
The Great Pit of Carkoon
Work continues on the new Death Star, and the future of the galaxy appears increasingly bleak. On Tatooine, Luke Skywalker is in the grip of Jabba the Hutt, along with Han Solo, Chewbacca and Princess Leia.
Jabba takes his prisoners across the Tatooine dunes to the Great Pit of Carkoon, where he plans to feed them to the fearsome Sarlacc beast.
But, even with back-up from Boba Fett, Jabba has severely underestimated the powers of a Jedi....
| Story Mode | Free Play |
|---|---|
| 50,000 | 65,000 |
We immediately begin the level in a small fight with two guards.
Minikit 1/10 - Part 1 + 2
Requires: The Force Story Mode: Yes
Smash the two crates on this skiff and assemble the two turrets out of the pieces. You'll need to use the Force on the left one. Once they're built you can use them to shoot the guards over on Jabba's Sail Barge.
Build a switch on the right end of the skiff and have both characters pull the levers to extend a bridge that will let you reach the next skiff where you meet up with Chewbacca and Han.
Minikit 1/10 - Part 3 + 4
Requires: The Force, Double Jump Story Mode: Yes
Pull the lever in the middle of the second skiff to raise a crate, push it forwards and then smash it to get the third turret. Pull the lever again and push the second crate over to the righthand turret spot and build the fourth with the Force. With all four turrets made use the Force on the front of the skiff to build a tower you can jump up to get the Minikit that appeared.
Minikit 2/10
Requires: Jump Story Mode: Yes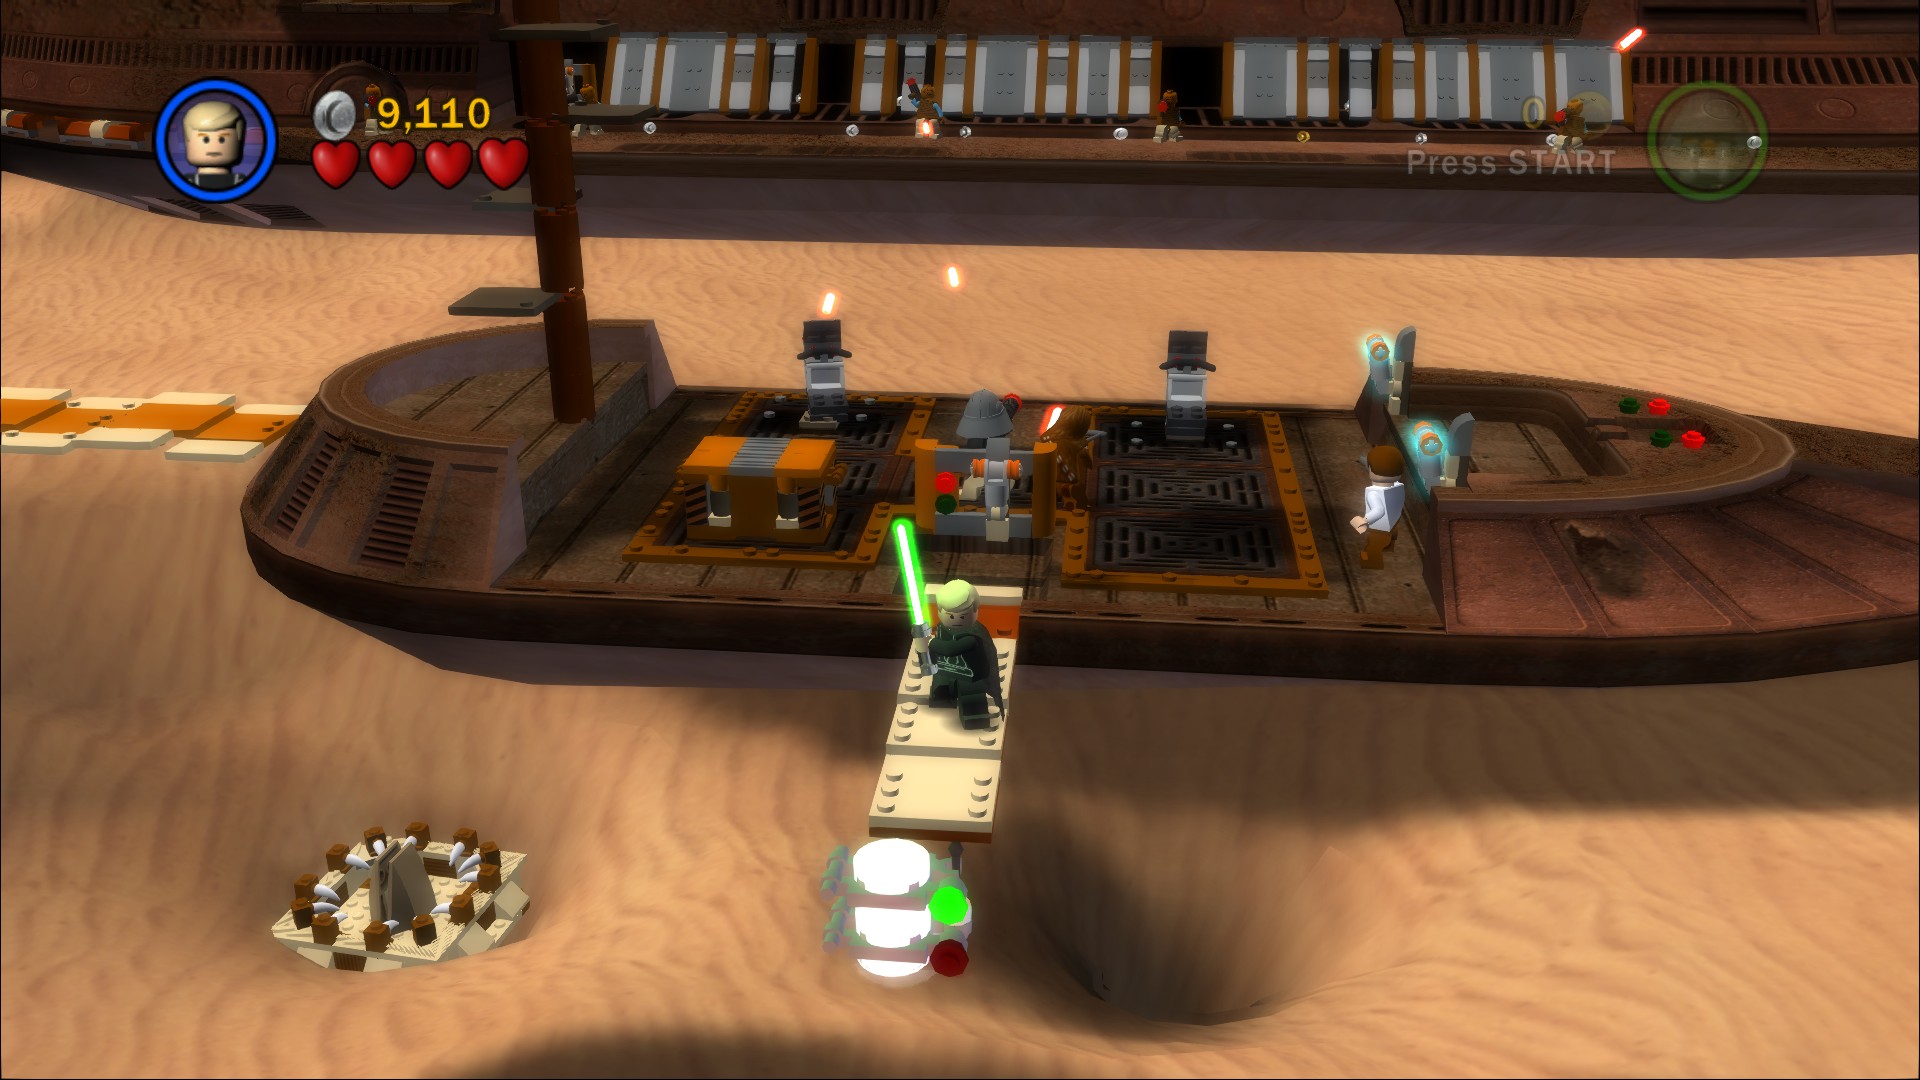
Jump off the plank on the second skiff. Hover is of course recommended if you don't want to lose studs.
Use the Force to rearrange the LEGO at the back of the skiff to create a pair of switches you can pull.
On the third skiff you get into a quick boss fight with Boba Fett, he's pretty much the same as he was in previous encounters and doesn't require much other than a few blasts or deflects. Once he's gone jump to the fourth skiff and use the Force at the far end to create a platform to reach Jabba's Sail Barge.
Minikit 3/10
Requires: Dark Force, Grapple, Blaster Story Mode: No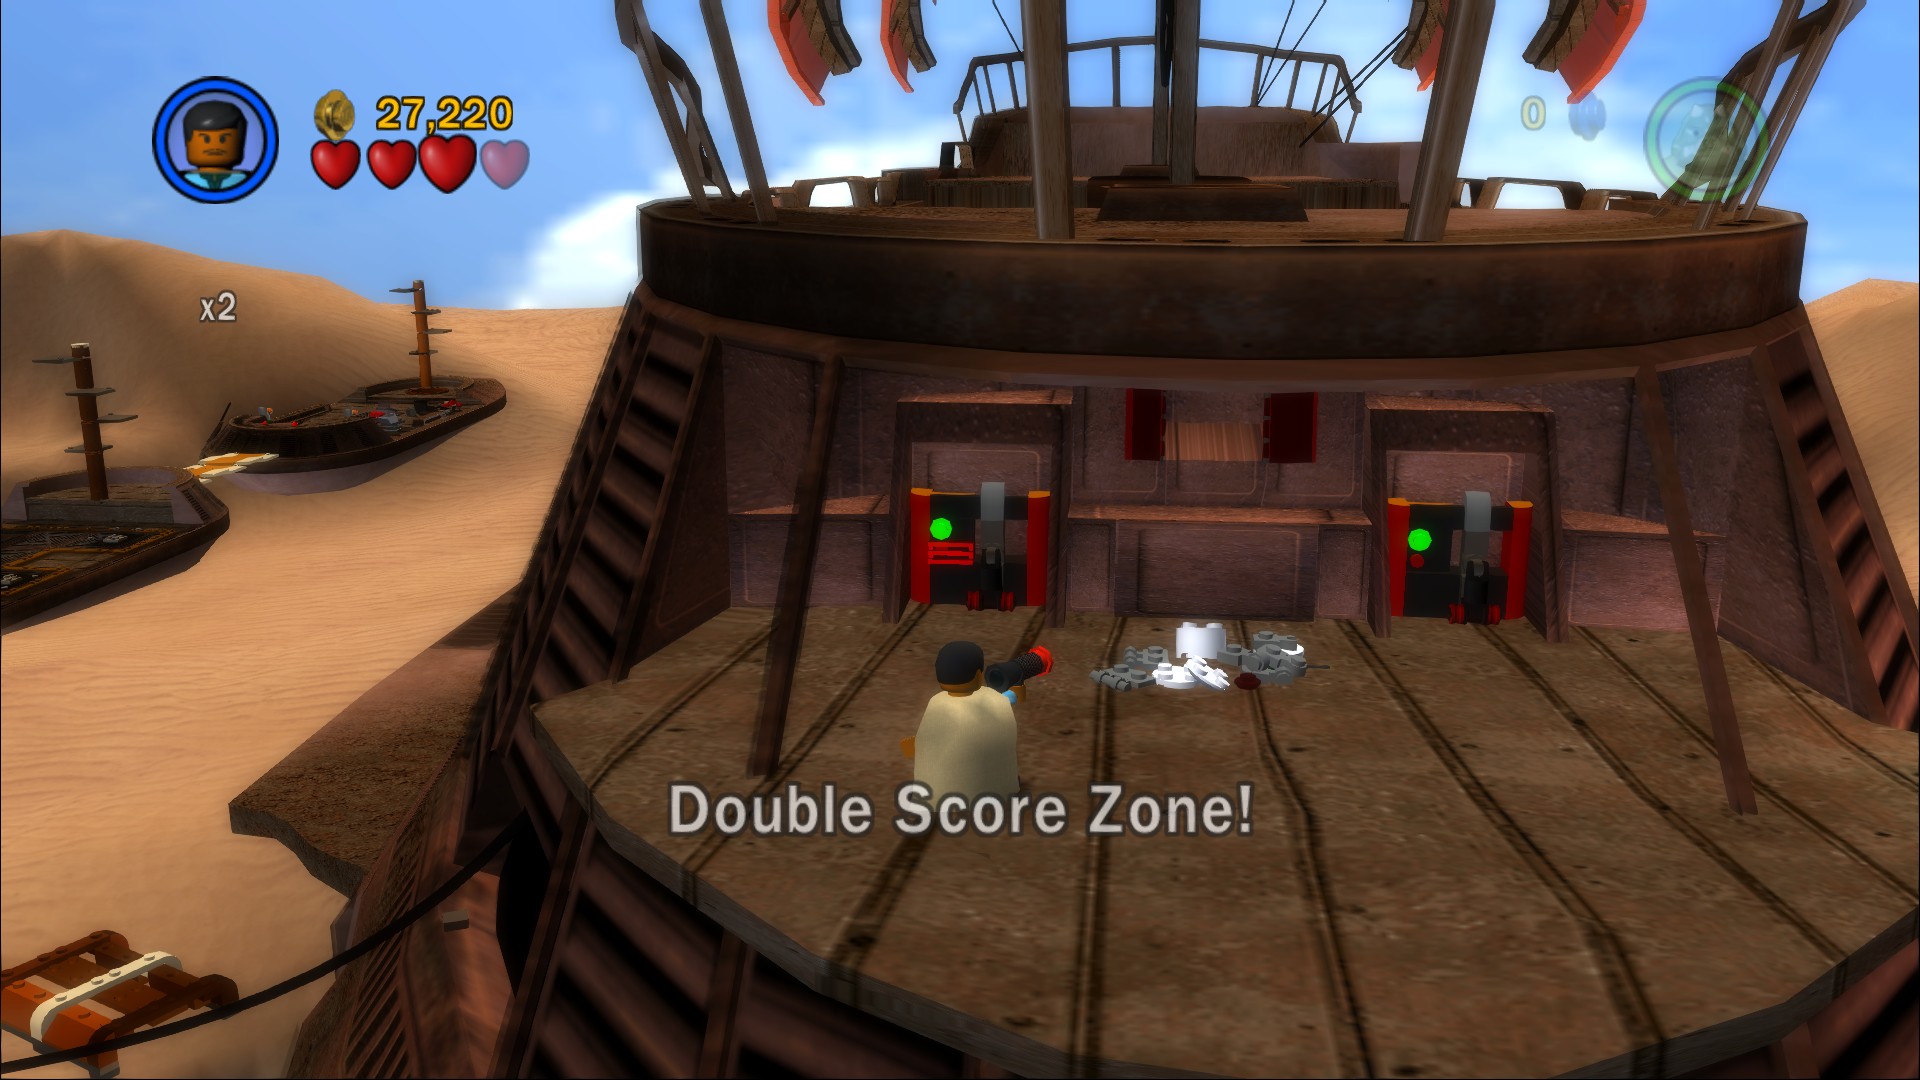
Use the Dark Force to create a platform going to the right around the back of the barge. Use the first grapple point, build a lever and then pull them both. Shoot the grate in the middle and then assemble the Minikit.
Minikit 4/10
Requires: Dark Force, The Force, Protocol Droid, Astromech, Bounty Hunter Story Mode: No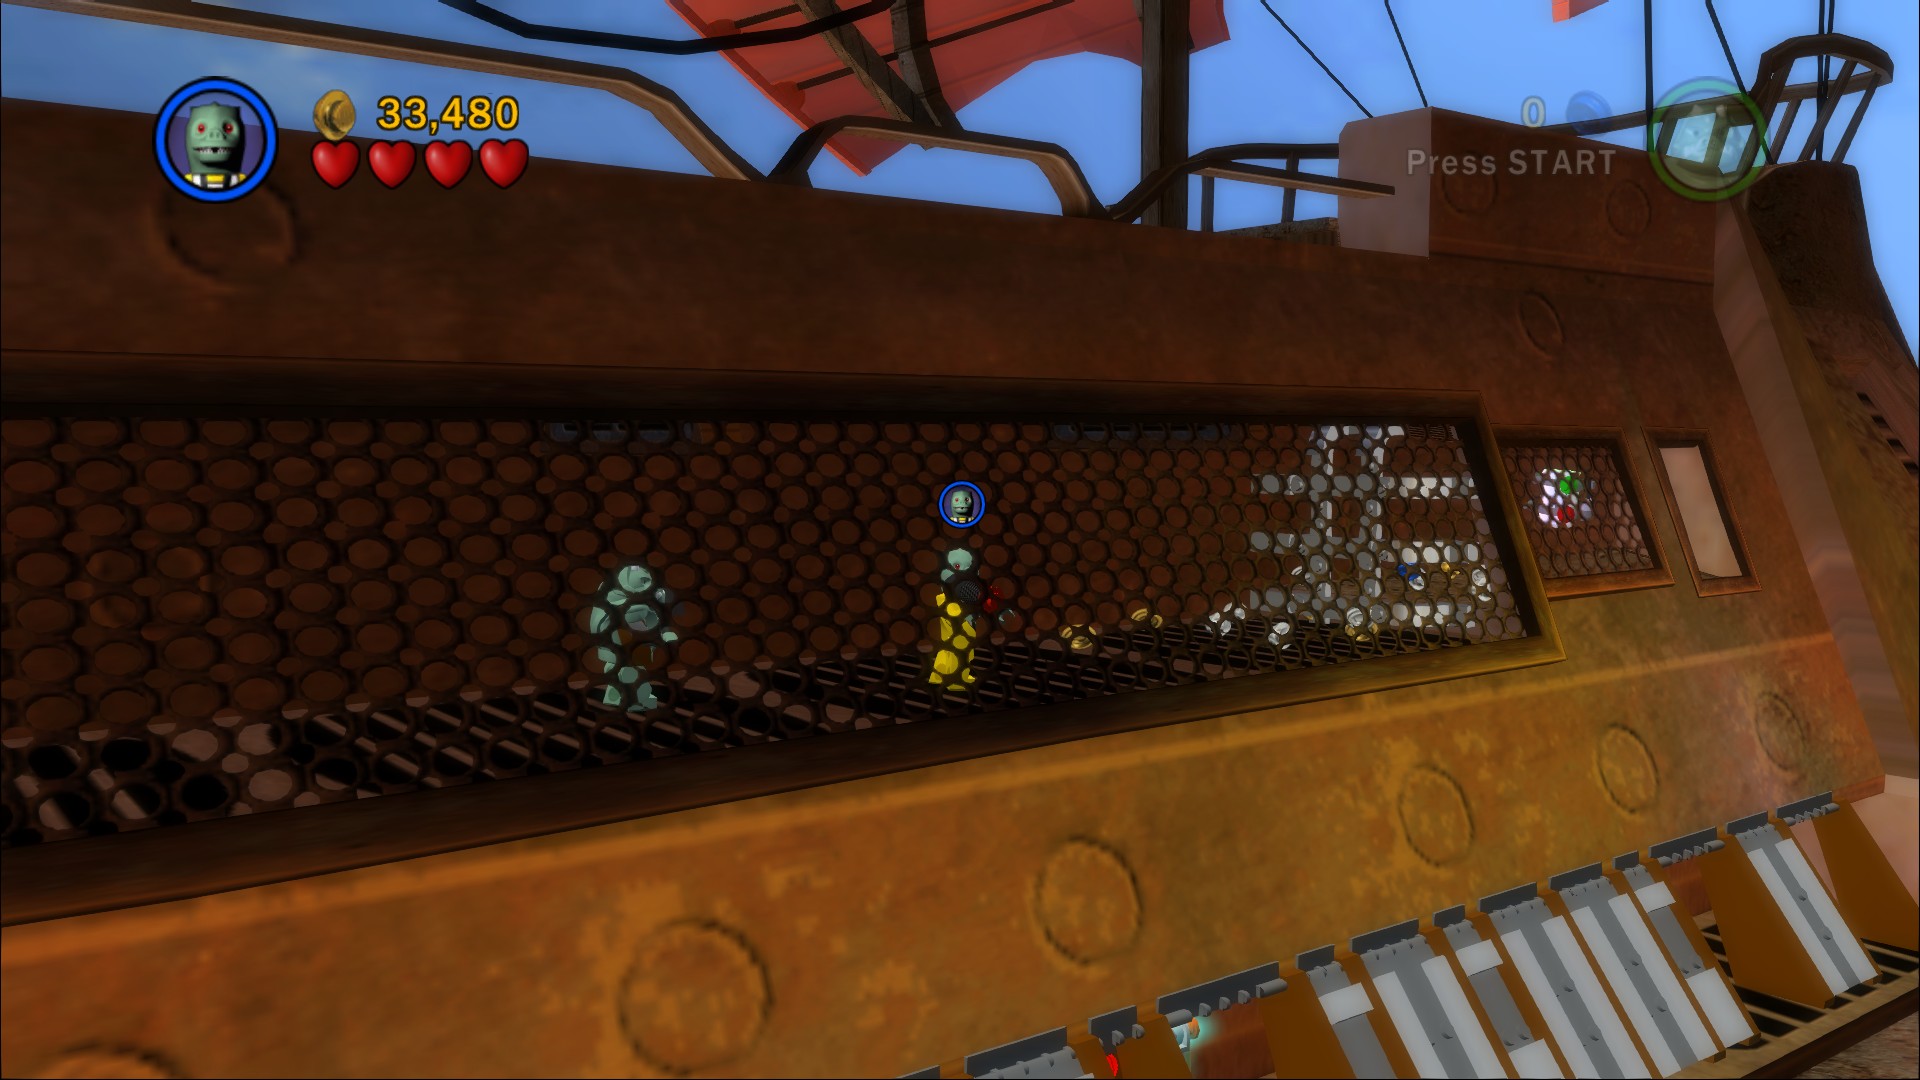
Carry on around the outside of the barge to the right to a set of Force flaps. Behind them you'll find a protocol droid panel, two astromech droid panels to lower the grates above and a switch that pulls out a platform. Grapple up there and pull the lever on the left before running along the opened passage to the right. Blow up the Silver LEGO at the end to get the Minikit.
The opened platforms will have brought you to exactly where going around the other side would have brought you, and you haven't missed anything so no need to backtrack.
Move along to the left taking out the guards. Behind the Force moveable flaps is a lever you can pull, do that as well as the one at the far end to get two platforms to move into position. Lift the final flap up and then double jump up onto it then over to a crate you can push off. Smashing it down will give you the parts for a grapple point, grapple up and go along to the right to find the third switch you can pull.
With all three platforms in place you can continue around the barge.
Minikit 5/10
Requires: Dark Force, Grapple Story Mode: No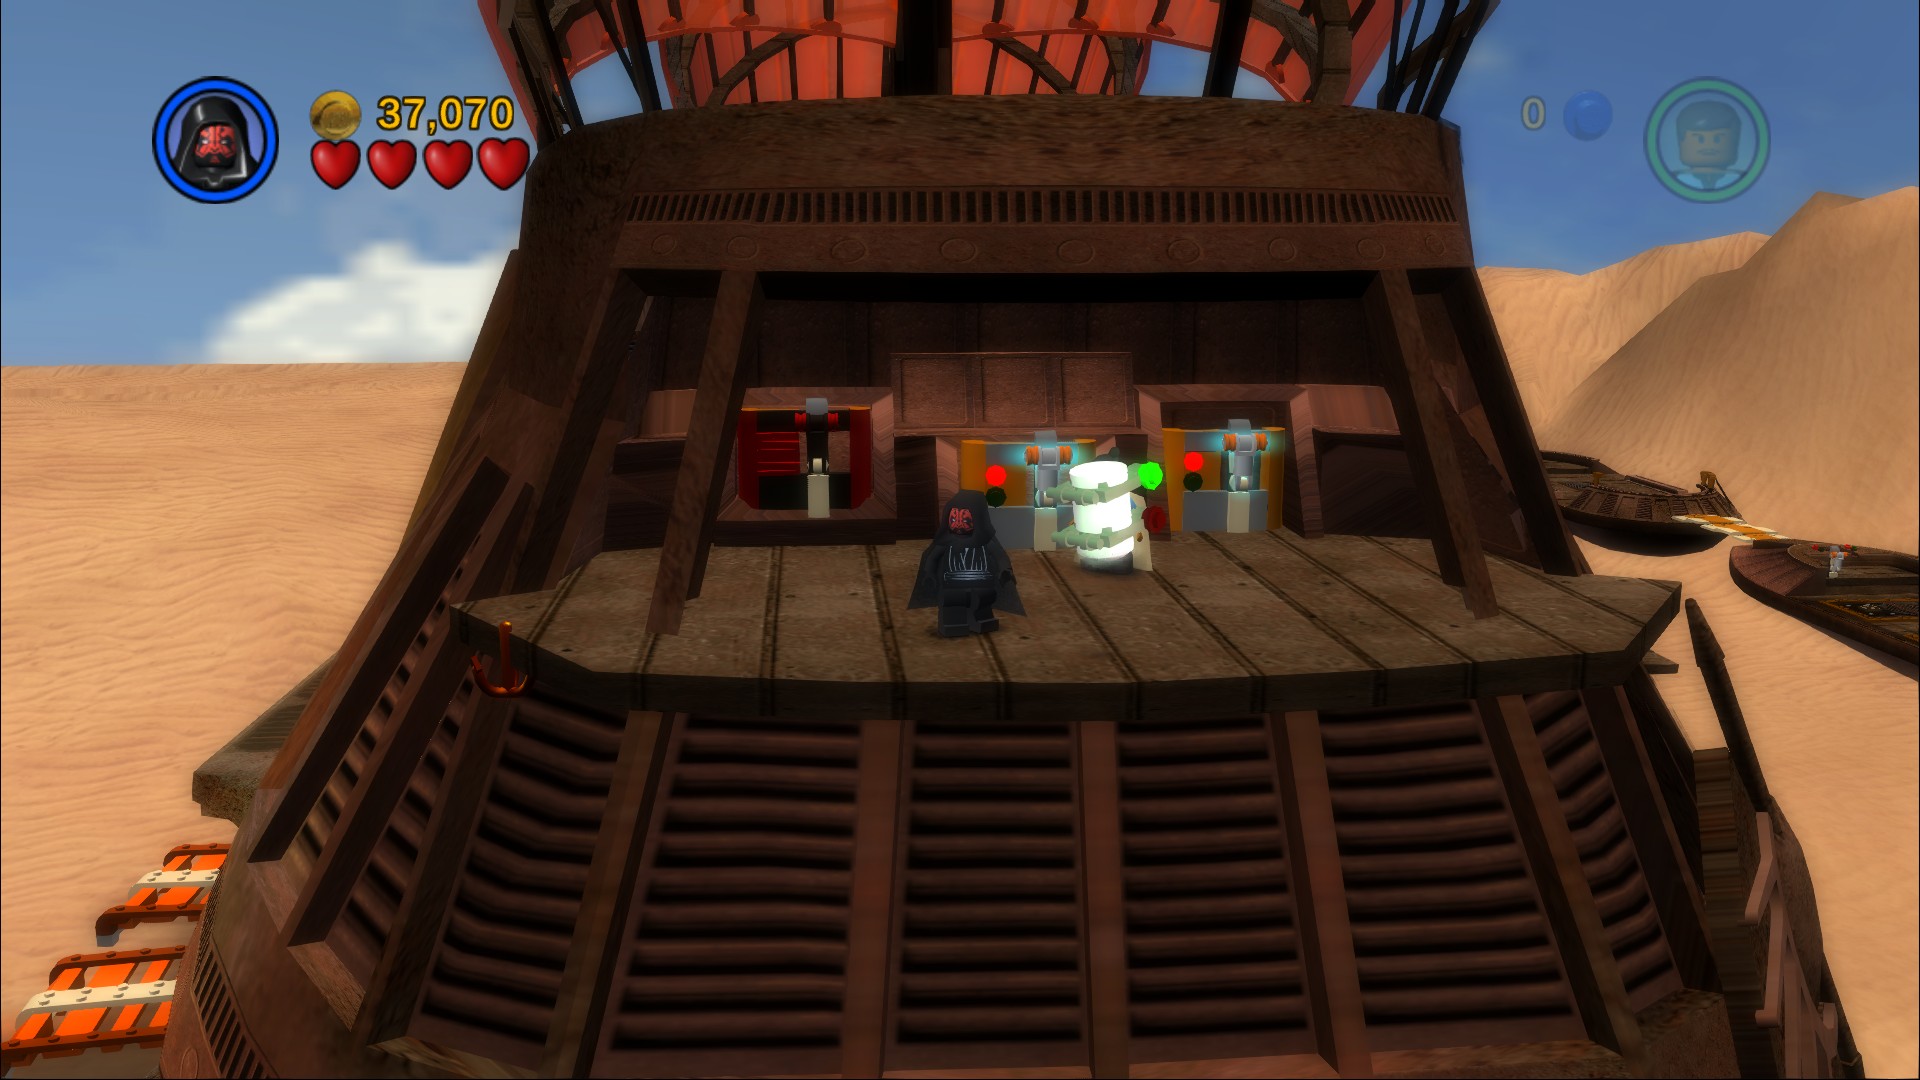
Shake open a Dark Force crate around the side (in CS you can just smash it) and then build the grapple point. Kill the lone guard before pulling the two levers and using the Dark Force to get the Minikit.
At the front of the barge use the Force to open a pair of panels, once they're both open you can use the Force again to turn the middle part of the right one until the middle red lights turn green. Once that's in place push on the rotation switch until the bottom one goes green too. It'll be the same pattern as the one on the left which is already all green.
Once you're inside the barge smash the engine things along the sides to get the parts to build a turret, use the turret to shoot the bars blocking the way. A whole load of guards are on the other side so keep shooting. Once they're all clear you'll meet up with R2-D2 and C-3PO. Use the Force to move an engine over to the left, then the Force to finish the engine with the parts of the smashable engine to its left.
Minikit 6/10
Requires: Hatch Access Story Mode: No
Crawl through either of the hatches and pull the two levers behind the glass.
Build the protocol droid panel for C-3PO to use, jump onto the platform to ride it up.
In the room to the right shoot the orange bar things on the right wall and then use the Force to create an object. Build a speaker in the far corner and use the Force to create some decks on the left. Use the new grapple point and push down the crate as well as build a point for the disco ball you built to attach to using the Force. With the second speaker built the disco floor will rise, stand on the spots the light up in order.
The door will open and guards will start running in, they'll continue to do so until the disco stops, which you can speed up by blowing up the speakers.
Minikit 7/10
Requires: A weapon Story Mode: Yes
Shoot out the bars on the windows along the left side to get the parts to the Minikit.
Go through the door at the back to go up the stairs to the deck of the barge. Where continual waves of a small number of guards will appear.
Minikit 8/10
Requires: Dark Force, Grapple, Double Jump Story Mode: No
On the deck use the Dark Force (in CS regular Force) to smash open a crate, grapple up to the mast and then double jump across to another grapple where you can reach the Minikit from.
Smash the blue floor with a Lightsaber slam attack or a blaster bolt from a distance and then push the crate along its path all the way to the side of the turning target. Duck around the other side of it to push a second crate in order to explode the container. C-3PO can use a protocol droid panel on the other one to expose it too.
At the far end assemble some steps. Along the edge near the screen at the far end smash the cover to a hole, jump down and follow the grating through behind the blue barrier. Go to the left to get out and then pull the lever inside here to open the barrier. Then lightsaber smash the internal one. Go around the back of the crate and start pushing it along the tracks. This will complete the steps to allow all the characters to get up.
A few more waves of enemies will attack.
Red Brick (Bounty Hunter Rockets)
Requires: Grapple, and Dive Jump, Double Jump or Hover Story Mode: Yes
Grapple up after building the point from the crate then hover or double jump across to the Red Brick.
Minikit 9/10
Requires: Access Hatch Story Mode: No
Crawl through the access hatch.
Smash the bars on the thing in the floor in the middle of the area to free up the ladders. Use the Force to flip the ladders over (both need to be free or it'll just flip back). Smash the bars covering the ladders on the wall at the back and then use the Force to move them into position to form ramp up to the top layer of the barge.
Defeat a few guards and then use R2-D2 to activate the turret.
Minikit 10/10
Requires: None Story Mode: Yes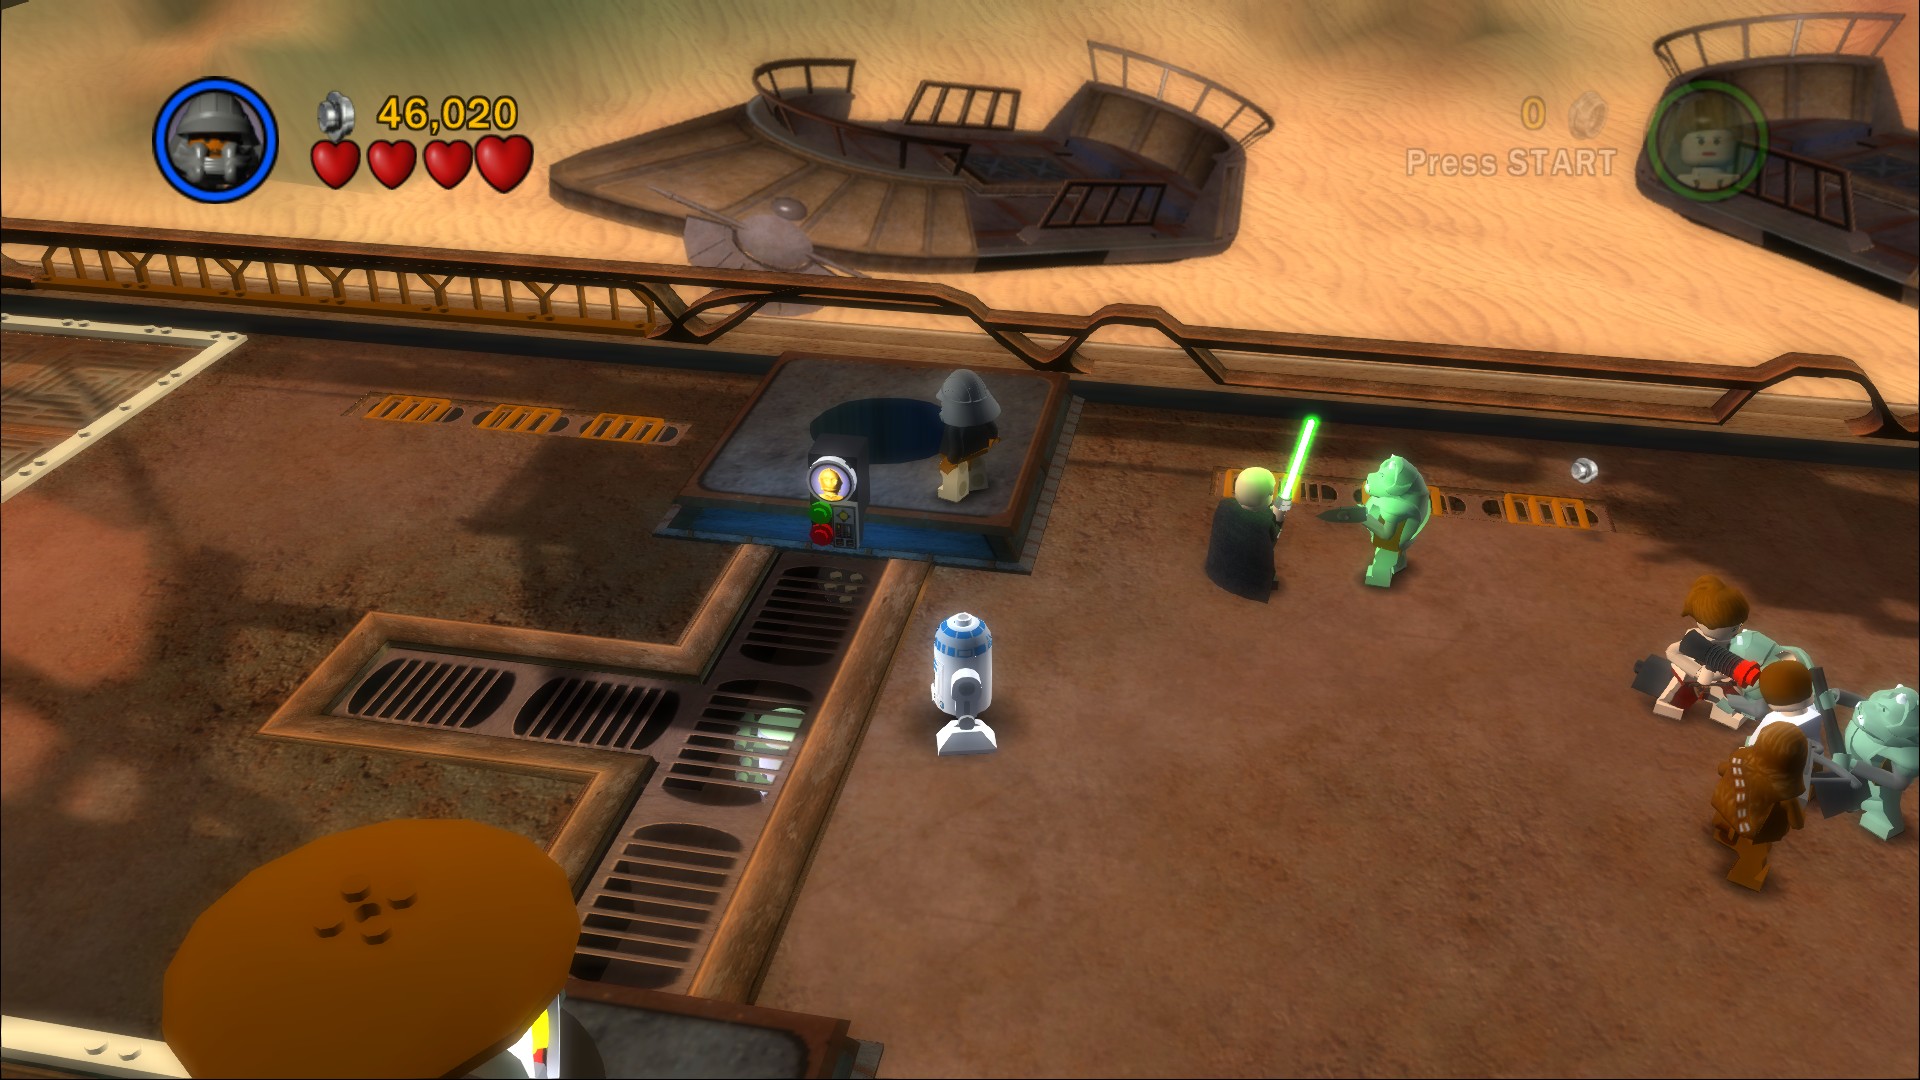
Shoot only one of the targets and then run over to get down the hole beneath where it was, the Minikit is beneath the grating in the middle.
Use the turret to shoot the two rotating targets that you opened up earlier, if you run out of shots get R2-D2 to charge it up again. After blowing up both targets you complete the chapter.
Sail Barge

Another couple of variants are unlocked: a Palace Guard edition of Lando and the Slave version of Leia. And the shop now has another pair of Bounty Hunters, but one Bounty Hunter remains locked so you still can't do Jabba's missions just yet.
| Cost | Character | |
|---|---|---|
| 12,000 | Skiff Guard | |
| 175,000 | Boba Fett | |
| 45,000 | 4-LOM |
Chapter 3
Speeder Showdown
The Rebel Alliance has learned of the new Death Star, and launches a daring plan to destroy this evil weapon before its construction can be completed.
The Rebel fleet is readied for an assault, and a small strike unit lands on the nearby forest moon of Endor.
Led by Luke Skywalker and Han Solo, their mission is to destroy the shield generator which protects the deadly Imperial space station....
| Story Mode | Free Play |
|---|---|
| 55,000 | 70,000 |
Smash the flowers ahead of you at the start and use Luke's Force powers to build a platform from the debris, have Leia stand on that platform so that Luke can lift her up. On the other side of the log smash some more flowers so you can build a Grapple point. This will allow you to get up onto the side so you can go back towards Luke and stand on the hanging platform to lower it into position.
Use the Force to create a ramp over the second tree so you can go down into a large open area. A couple of Stormtroopers will zoom up on their speeders, defeat them both and then jump on the bikes. Once you're on the speeders the forcefield will drop and you'll be able to start zooming along the path through the forest. Your task is to shoot the other two speeders that you'll encounter.
Minikit 1/10
Requires: None Story Mode: Yes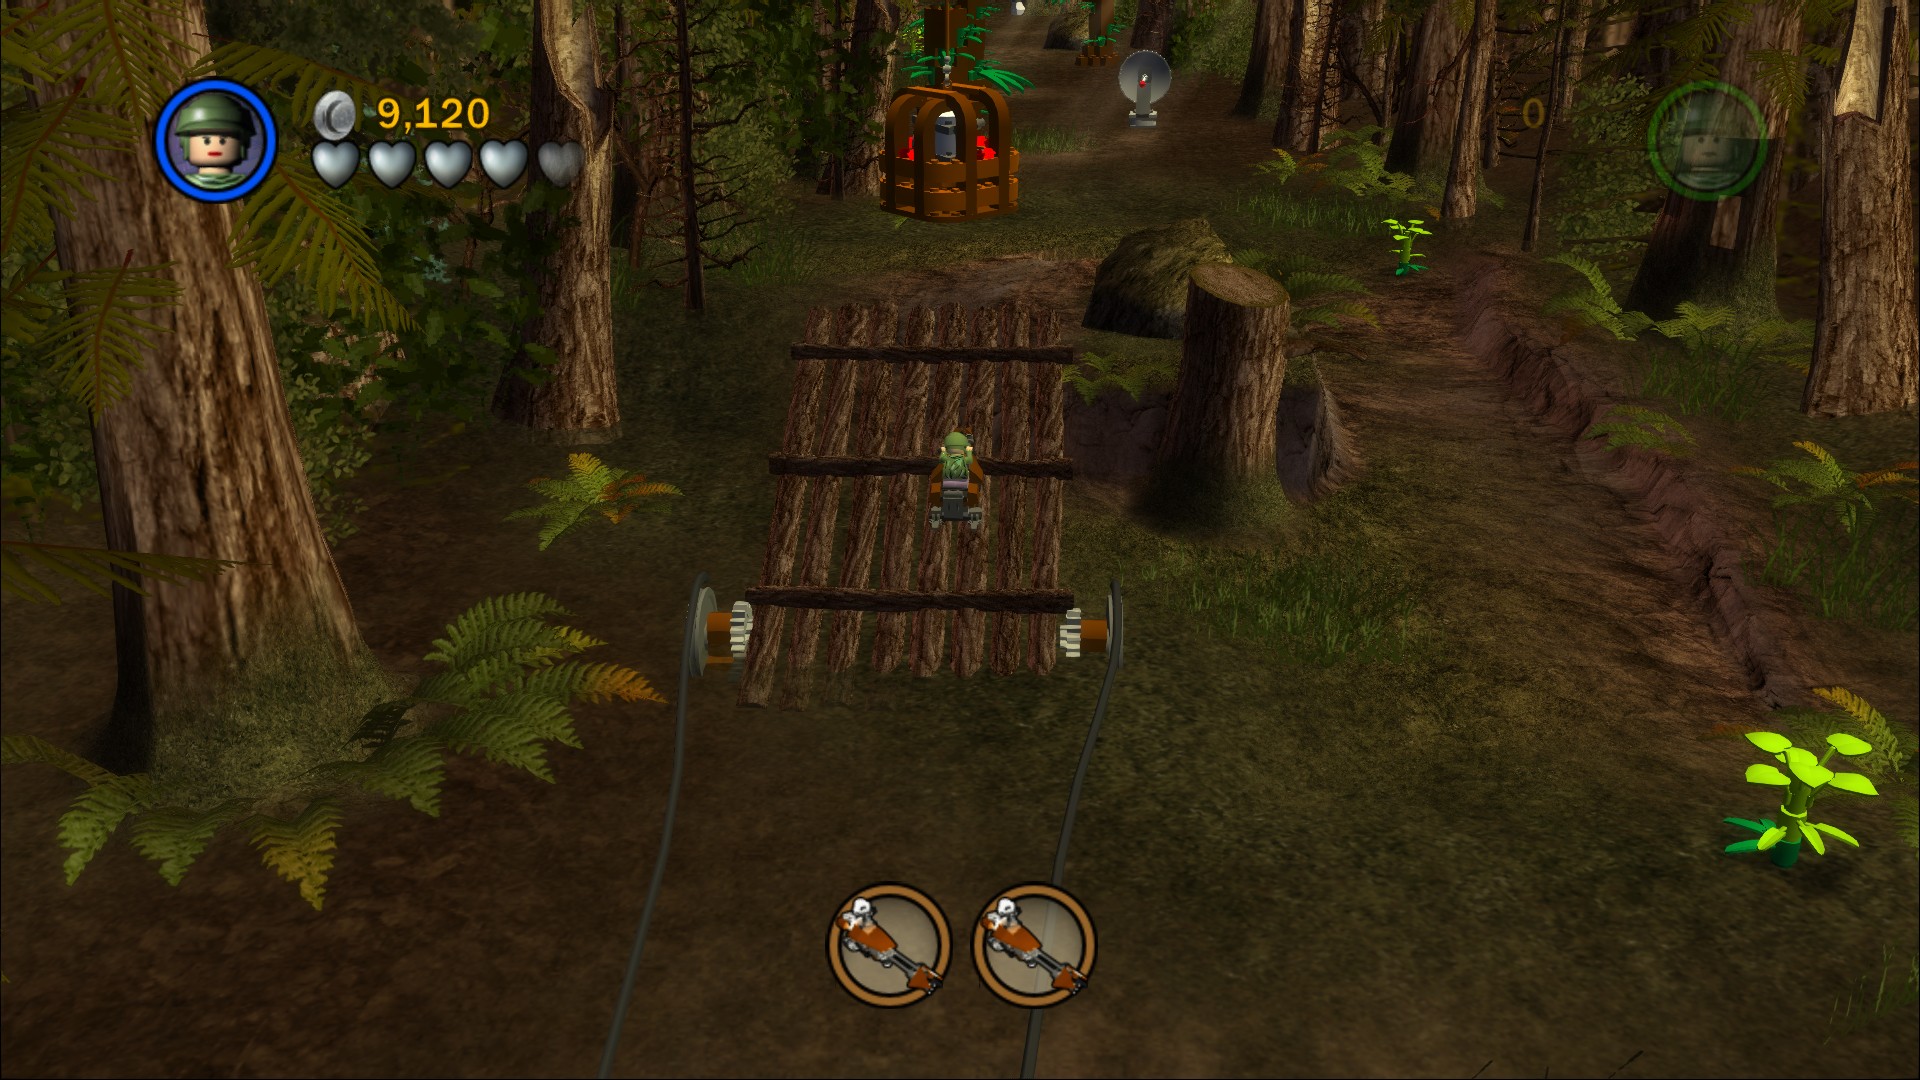
Up the first ramp along the left side of the path.
Minikit 2/10
Requires: None Story Mode: Yes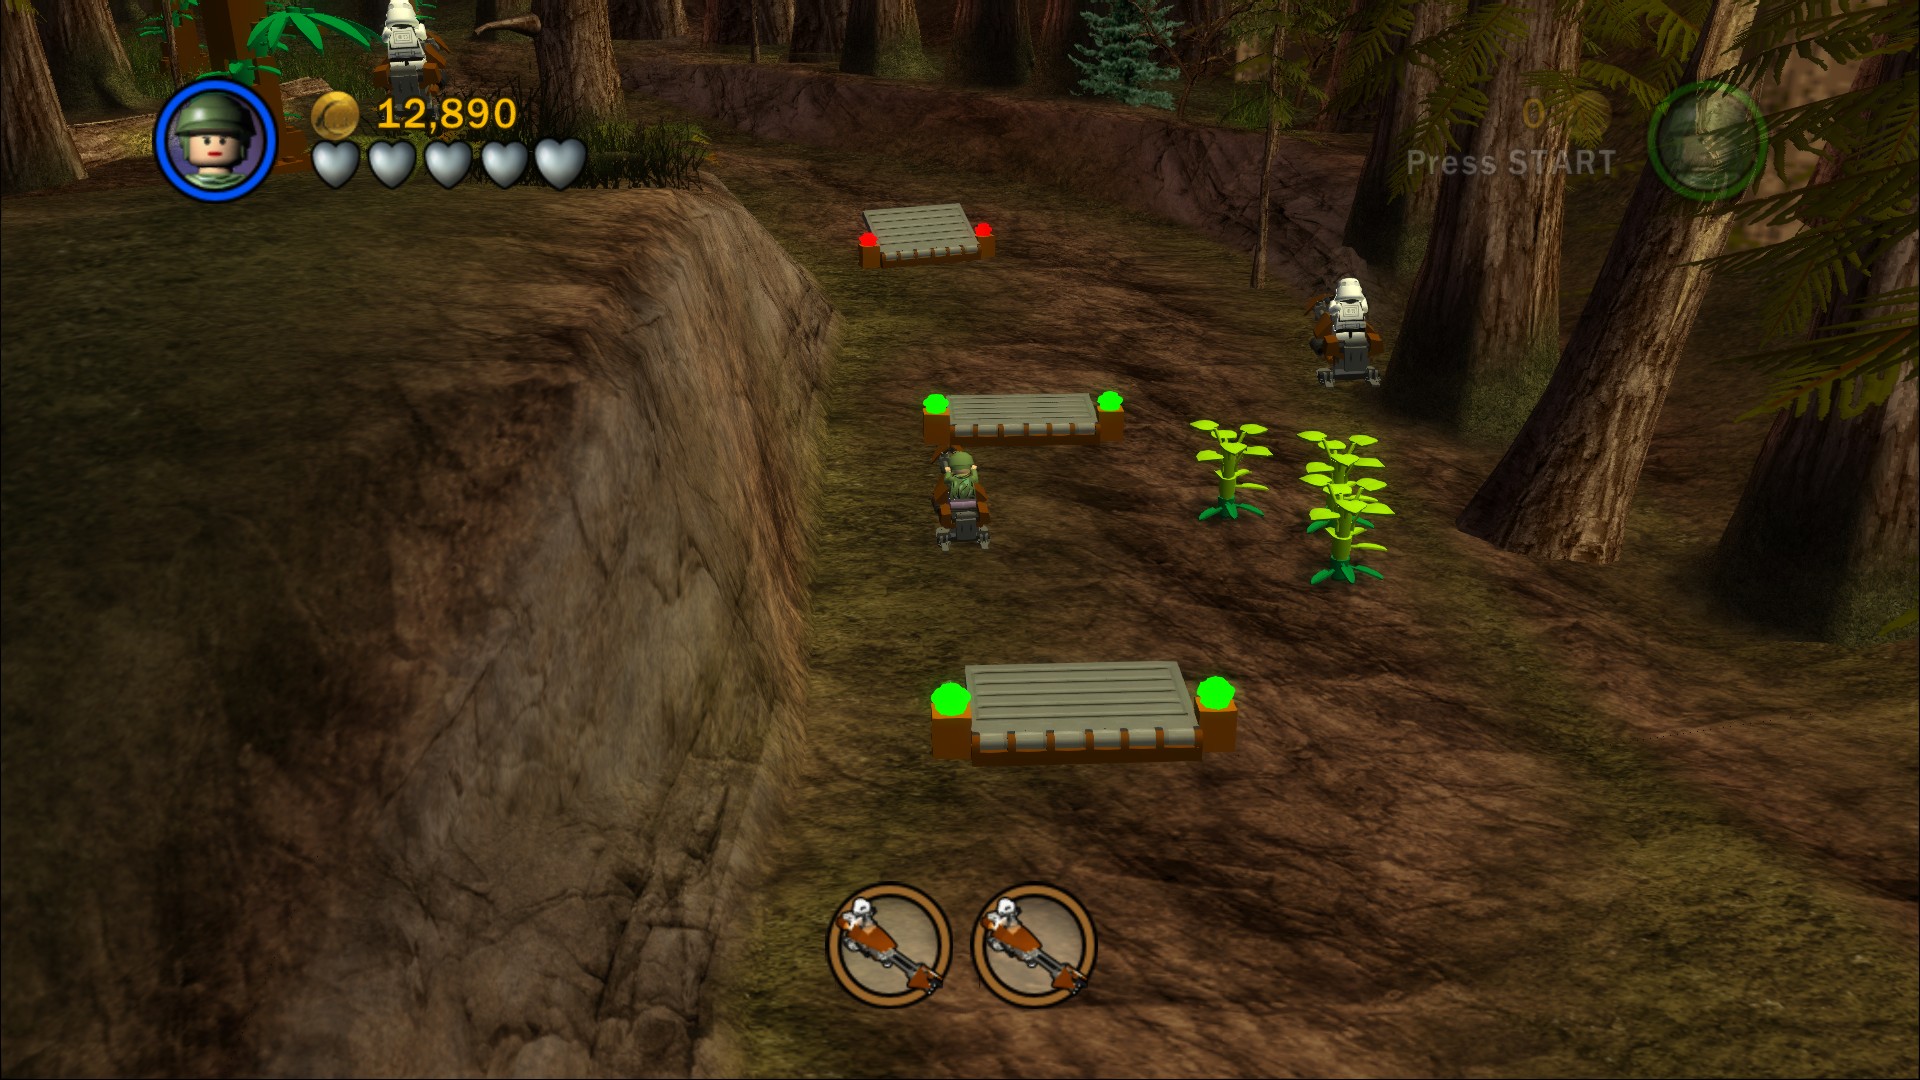
Zoom over three little flaps to light them up and the cage with the Minikit in will lower.
Minikit 3/10
Requires: None Story Mode: Yes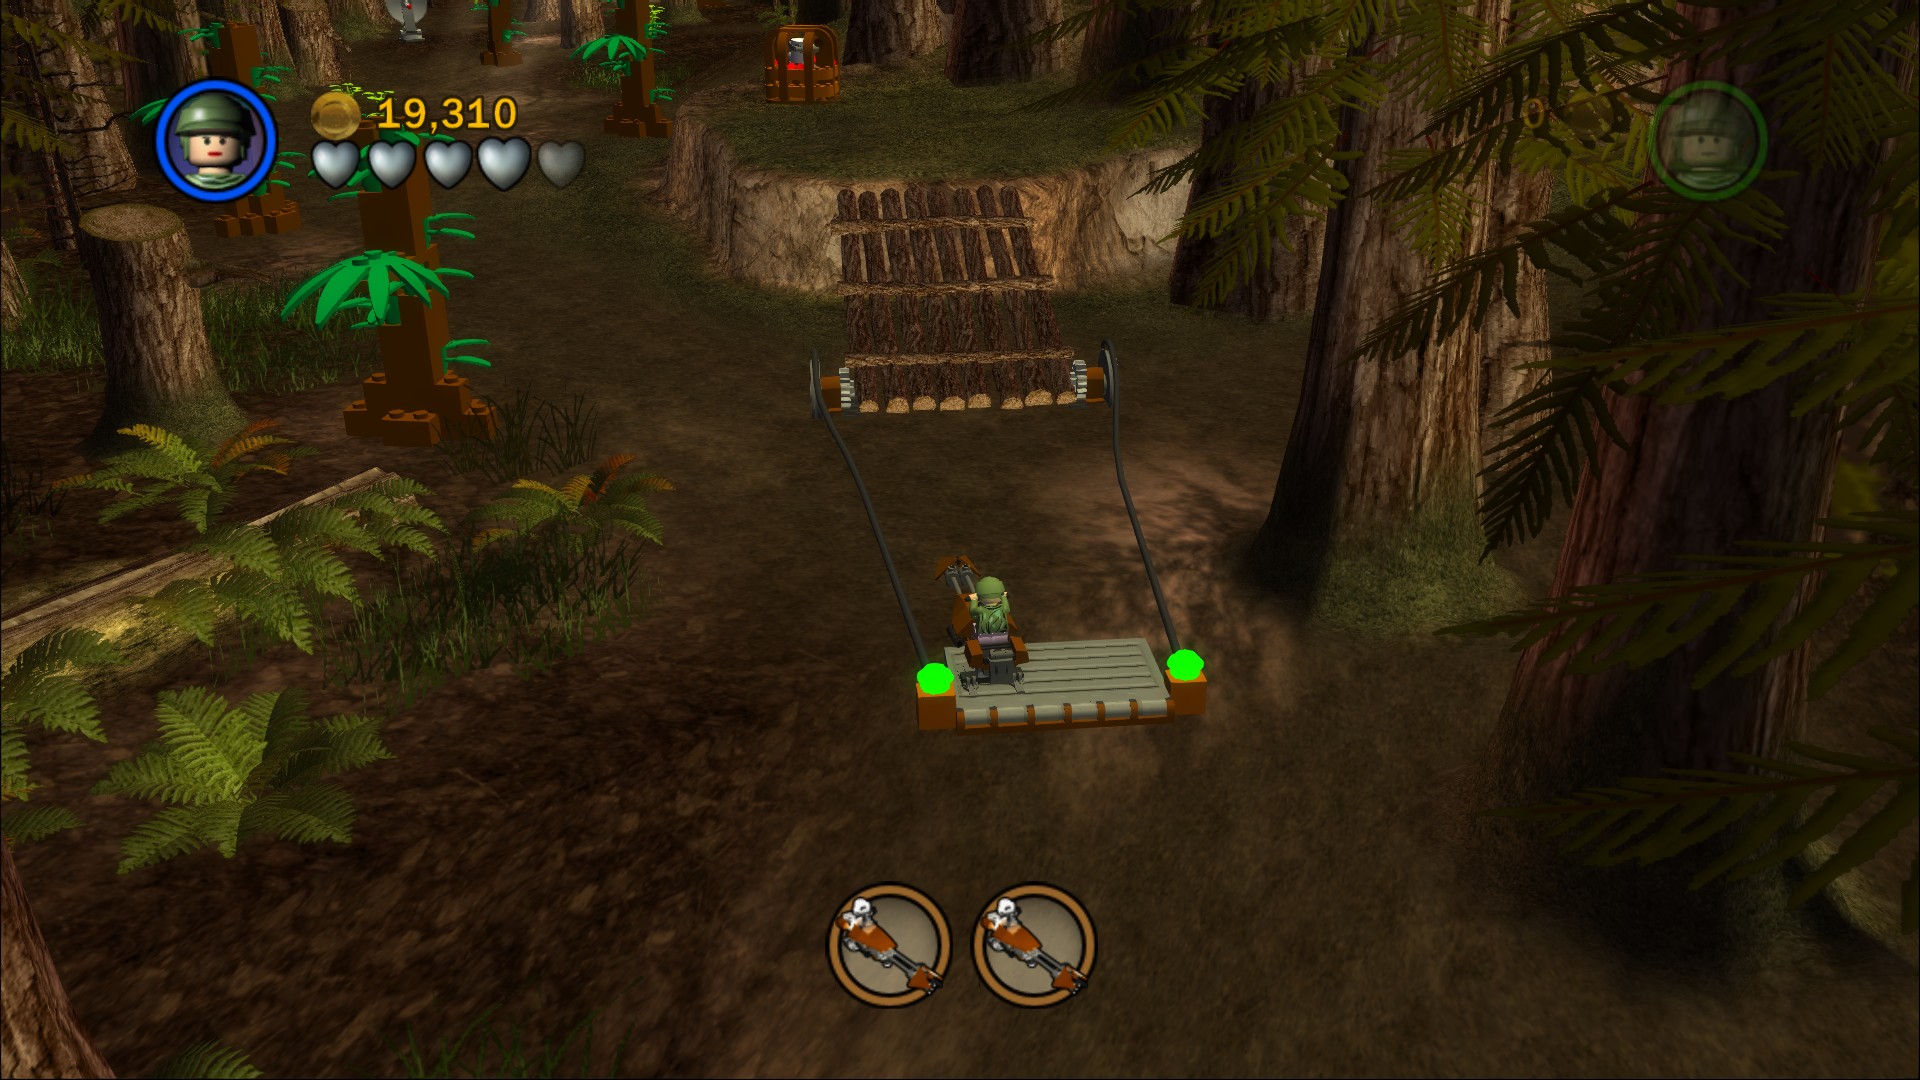
A flap and wooden ramp combo.
Minikit 4/10
Requires: None Story Mode: Yes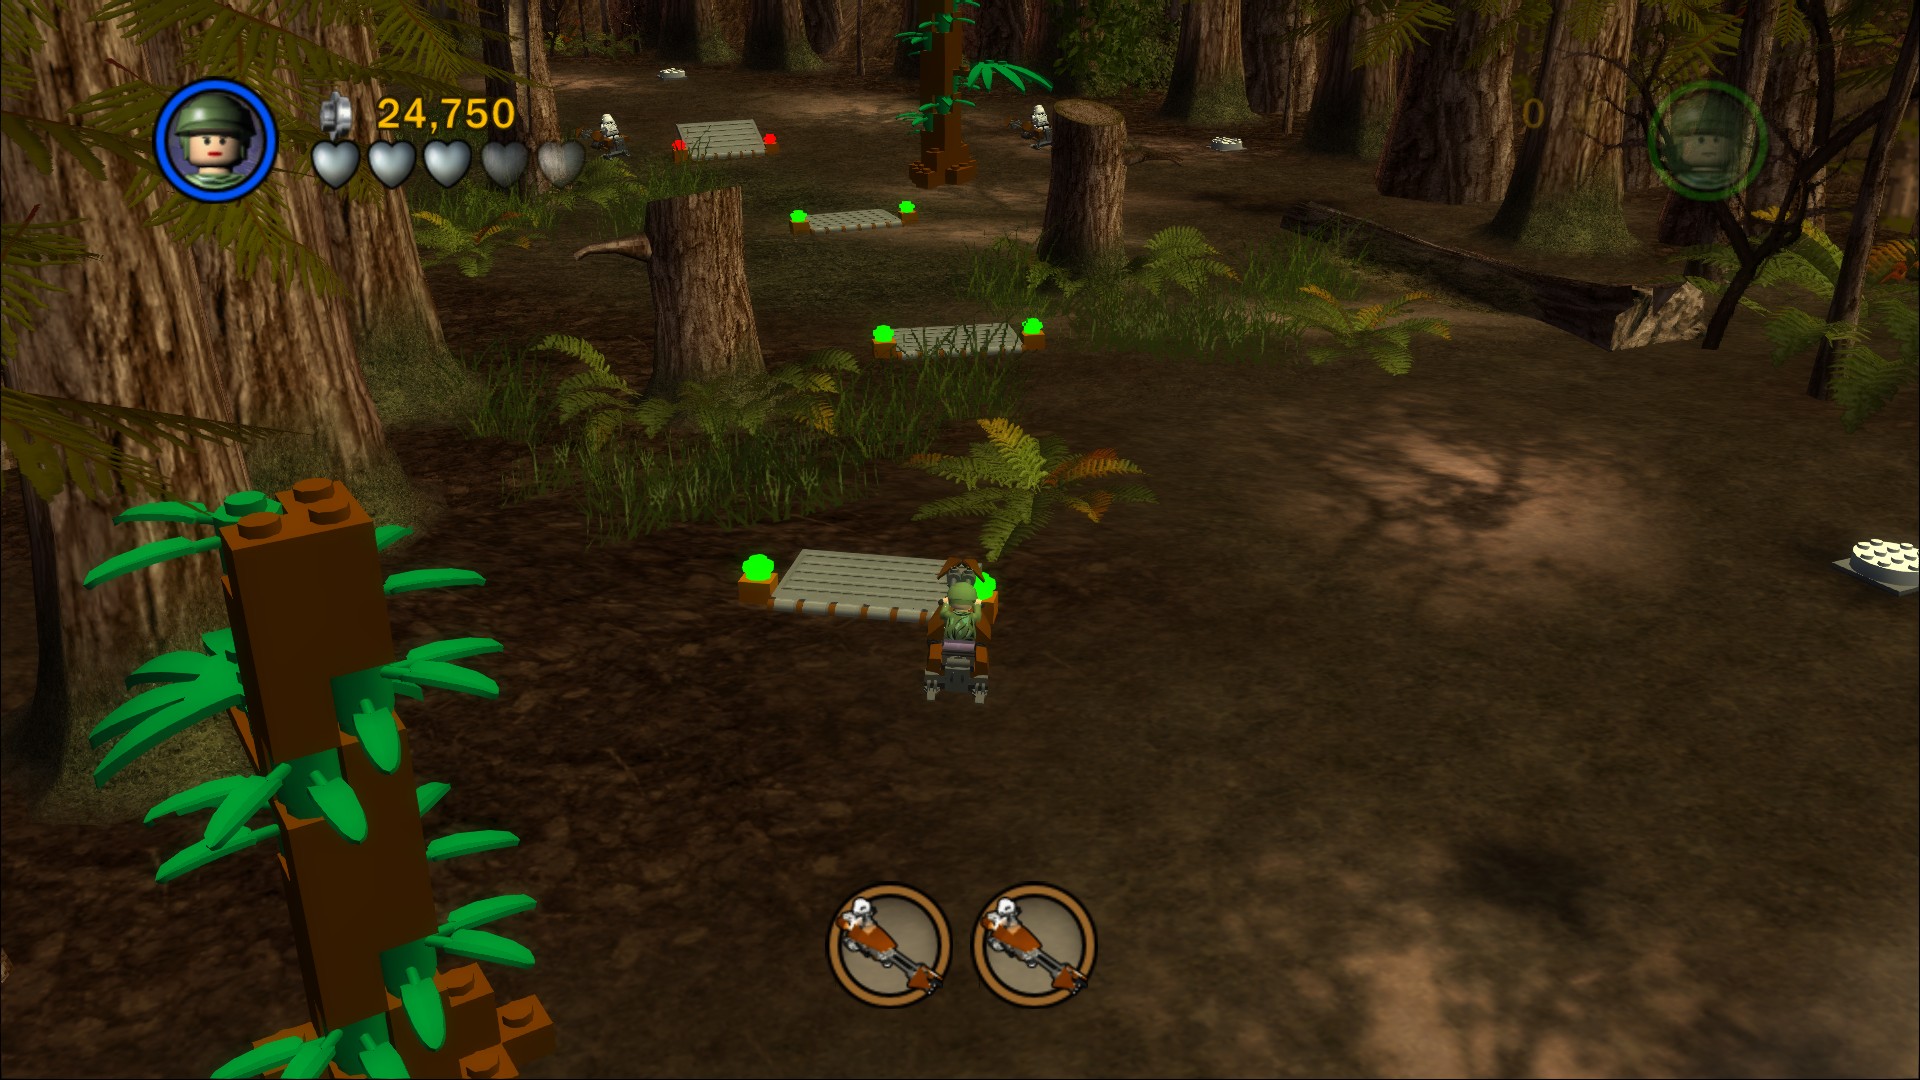
Zoom over four little flaps in a row.
Minikit 5/10
Requires: None Story Mode: Yes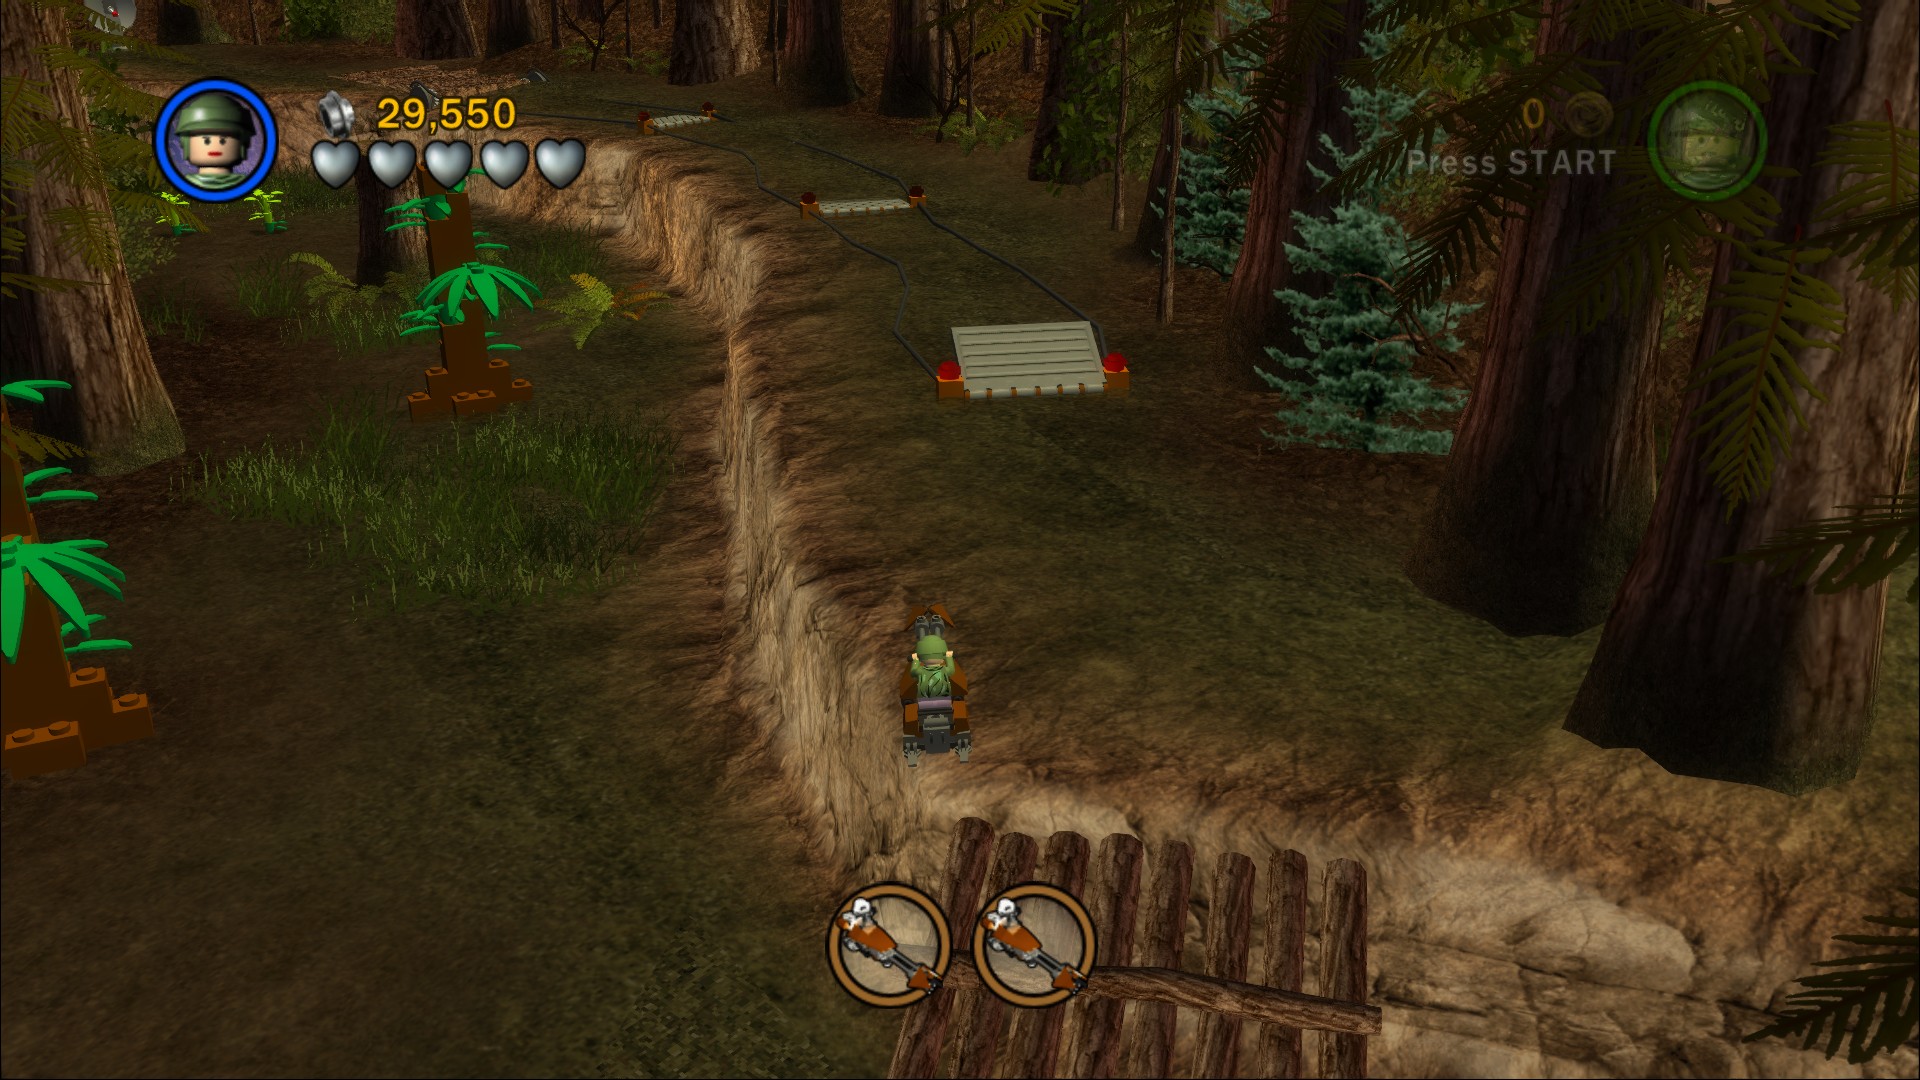
Go over one flap that activates a wooden ramp so you can get up to a series of three more flaps to ramp up through a cage.
Minikit 6/10
Requires: None Story Mode: Yes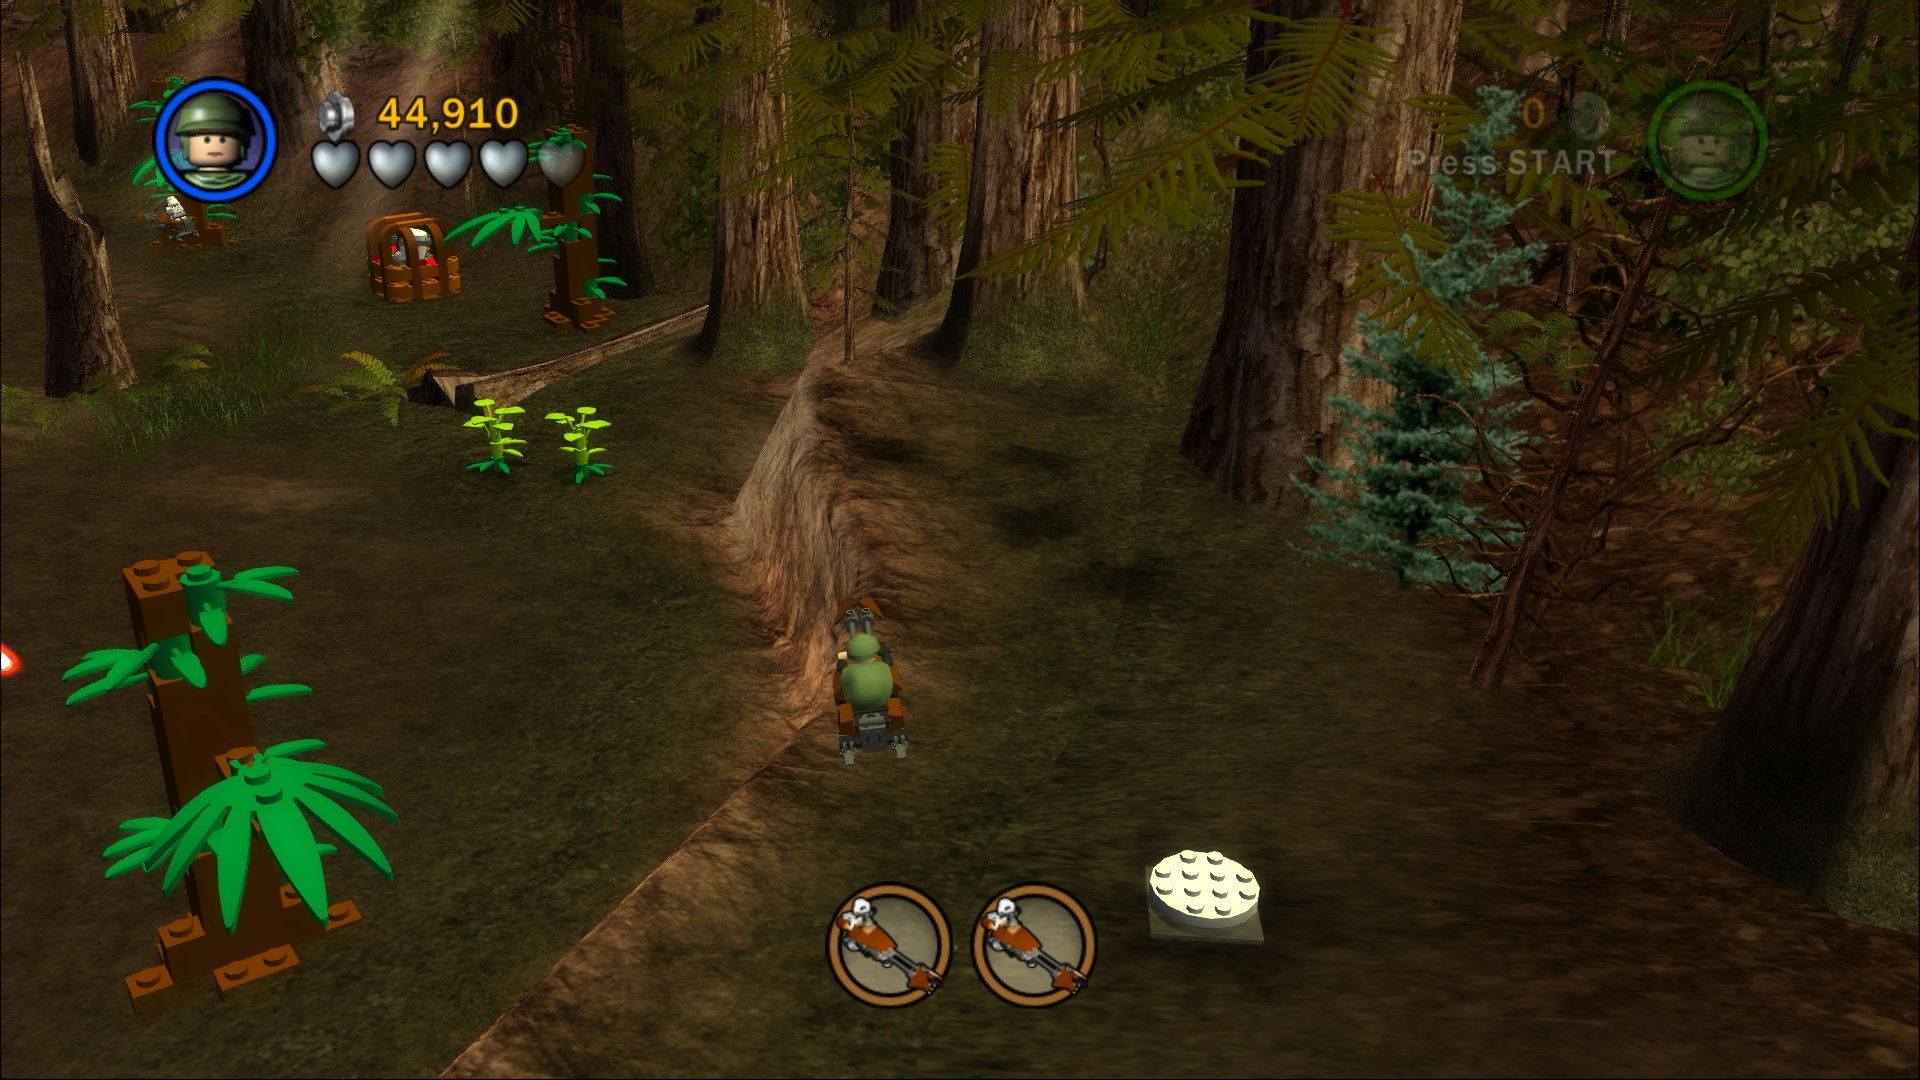
On the ground along the right side just after the previous Minikit, very close to the end of the loop.
Don't worry if you accidentally destroy both of the enemy Speeders before you've got all the Minikits as you'll get to go along the same track a few more times.
After you get around to shooting them you'll stop and jump off the speeders next to another forcefield where a lot of Stormtroopers and an AT-ST will attack. Get rid of them, remember that you can use the Force to evict the AT-ST driver.
Minikit 7/10
Requires: Dark Force, Hatch Access, Hover Story Mode: No
Dark Force plants on the ledge in the first stopping area, jump out of the AT-ST to reach them. Crawl through an Access Hatch behind them then hover over to a switch that will move the cage out to where you can shoot it with the AT-ST.
Use the AT-ST to shoot the white generator tower thing to the right of the forcefield before you jump out and get back on the speeder bike again. This time you have to take out three bikes but you're on the exact same course so there's nothing new to do there.
Once you've shot them you'll stop at another forcefield where a small band of Stormtroopers will attack.
Minikit 8/10
Requires: Bounty Hunter, The Force Story Mode: No
Go to the right side of the area and build a platform so you can get up onto the ledge. Blow up the Silver LEGO crates and then use the Force on the platforms to stack them up so that you can reach the switch above.
Smash the flowers on the left to reveal the feet of an AT-ST and then towards the screen a bit is a platform you can move into place with the Force. Jump onto it and double jump up onto the ledge to move a second platform into place so Leia can jump up too. Build the Grapple point and grapple up to the switch to release the rest of the AT-ST. Use the Force to assemble it then jump in and destroy the white tower before getting back on the bikes again. Four bikes this time!
Minikit 9/10
Requires: The Force, Grapple Story Mode: Yes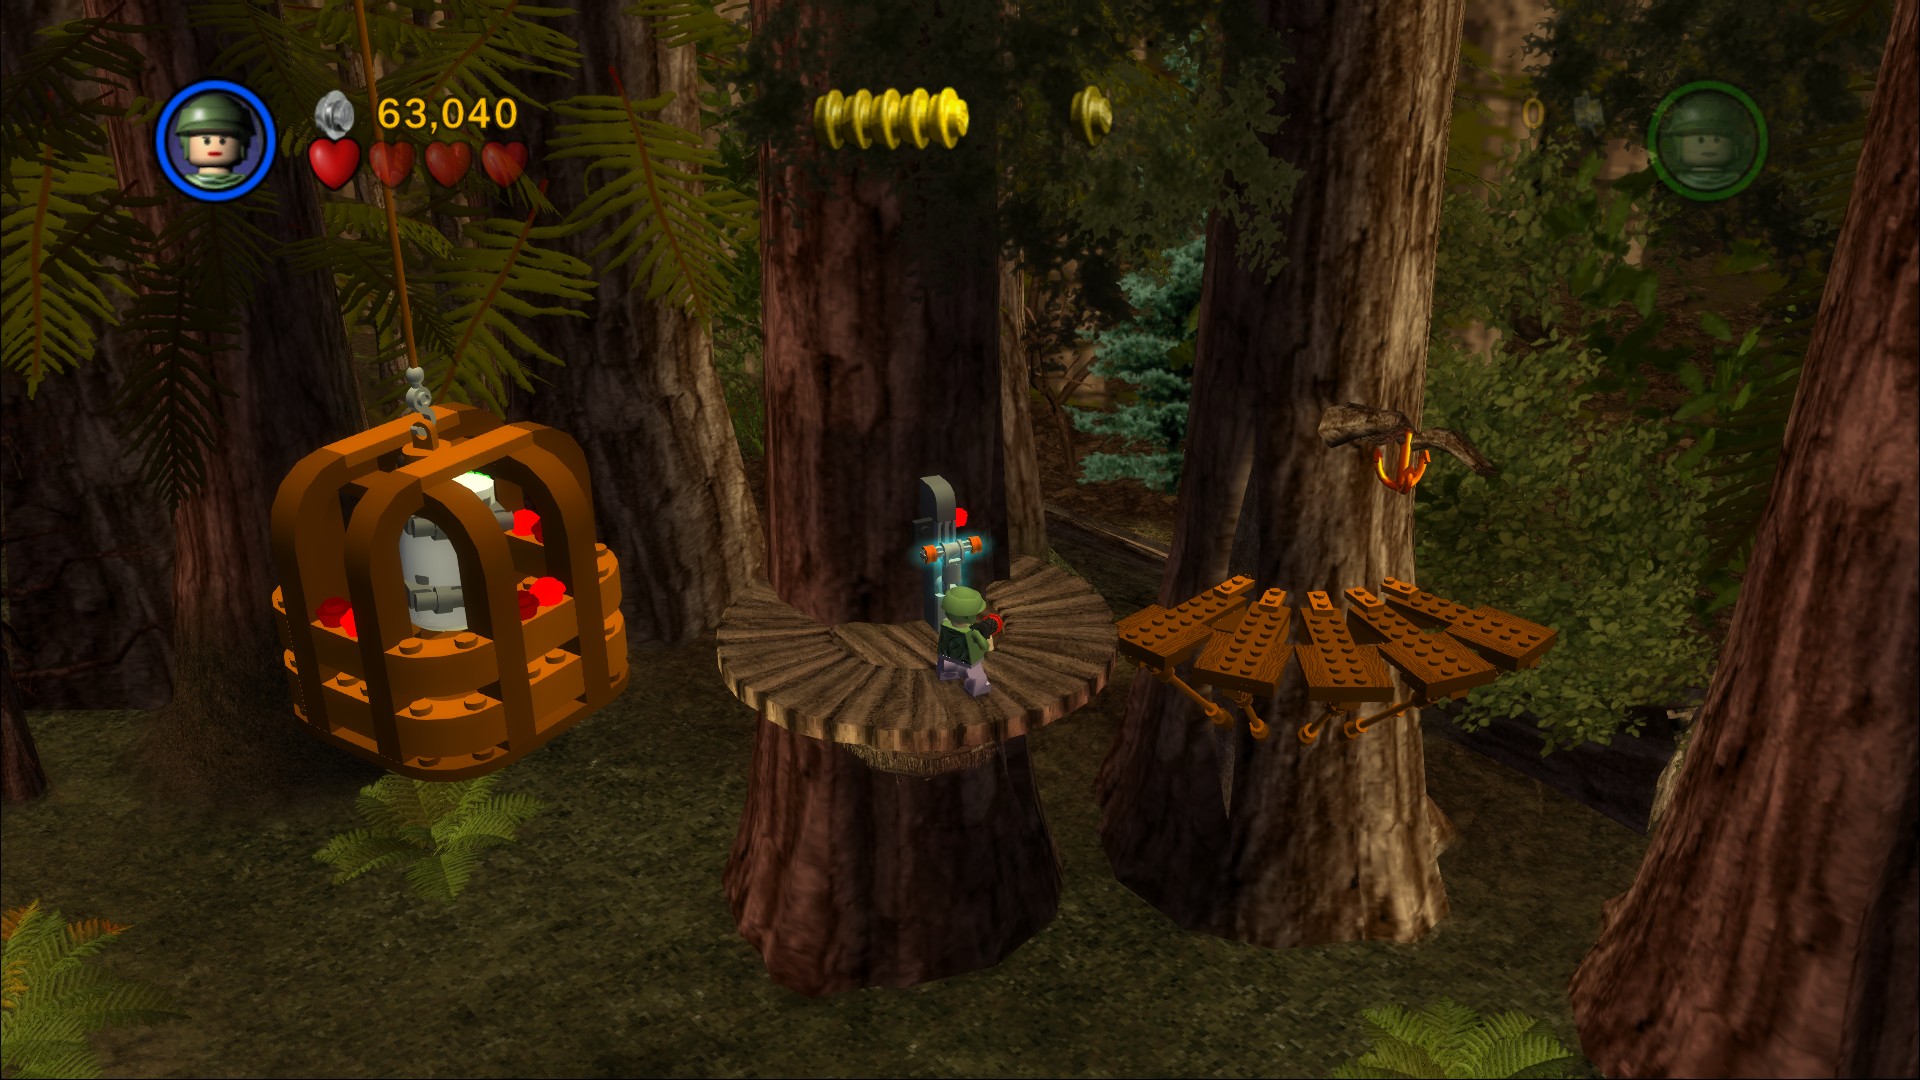
At the next stop jump out of the AT-ST onto the high ledge on the right side, blow up a grey crate to reveal some bits to form a grapple point. Use the Force to move the wooden platform above into position so that you can actually use the grapple point. Get up to the switch and pull it to release the Minikit.
After shooting the tower with the AT-ST get back on the bikes for one final go 'round taking out five troopers. The last stop sees you return to where you first got on the bikes, shoot a few Stormtroopers then walk towards the screen to a small wooden bridge across the gap, on the other side you'll find parts to an AT-ST. To get them out of the cage shoot the flowers next to it and build a rotation switch.
After building the AT-ST using the Force use it to shoot the two hanging cages that are over the gap then get back out. Use the Force to build a bridge out of the parts that fell out so you can safely cross over and shoot the last of the white forcefield towers. Go through the opened forcefield along the right side, unfortunately the game won't let you take the AT-ST with you.
Red Brick (Score x8)
Requires: Hatch Access Story Mode: No
At the back left push a crate along its path towards the bottom of the grey tower. That'll form an access hatch for you to crawl through with a small character...
At the back right of the area have your two characters pull the switches and ride the elevator up.
Minikit 10/10
Requires: Stormtrooper, Bounty Hunter Story Mode: No
Use the Stormtrooper panel and then go back down the elevator to blow up the Silver LEGO cage.
Keep going to the left through a door at the end into another elevator which will take you up onto the roof. You can stop the Stormtroopers from appearing by shooting the hooks they're using to climb up. Pull all four switches and then stand on the white panel at the front nearest to the AT-AT. It'll flip you into control of it so you can turn and shoot the spinning satellite dishes that you've exposed (if you get in before all are exposed just hop out and pull the levers then get back in again). Jump out and pull the final two switches that have popped up to finish the chapter.
TIE Bomber
 Based on sets 4484, 4485, 4486, and 4487
You unlock the Endor outfits for Leia and Luke upon completion but nothing new in the shop.
Chapter 4
The Battle of Endor
As the Rebel fleet draws closer to the Death Star, Luke Skywalker has turned himself over to Imperial forces and heads to the Death Star for a final confrontation with Darth Vader. The commando team led by Han Solo makes its way towards the Imperial shield generator on Endor.
But the Rebel forces are lured into a trap. Although it appears incomplete, the Death Star is already fully functional.
And a deadly surprise lies in wait for the intrepid Rebel strike team....
| Story Mode | Free Play |
|---|---|
| 90,000 | 110,000 |
Minikit 1/10
Requires: A weapon, Hover Story Mode: Yes
Smash the purple crates on the left and then build a rotating switch out of the LEGO. Hover over to the lift you brought up and it'll take you up to the Minikit.
Head over to the right side of the area where there's an access hatch, switch to Wicket to crawl through it. Build the two gear parts to lift up the bridge for the rest of the group.
Minikit 2/10
Requires: The Force, Double Jump, Hover Story Mode: No
Around the corner step into an elevator and let it take you up to a switch. Pull it to activate a platform. Hover around the tree and use the Force to push the boulder up to bring the platform down so you can double jump onto it. Pull the lever once you get to the top to release the Minikit below.
Smash through some LEGO blocking up the doorway to the right of a lift so that you can use the Protocol Droid panel inside. using it will drop down a crate which will explode into parts for a Grapple point. Pulling the switch up there will raise up a bridge below.
Minikit 3/10
Requires: The Force Story Mode: No
Use the Force to move the wooden platform down so you can jump across it to the other side. Use the Force to move the platform back up so you can jump up to the Minikit.
Go down the spiral path to get to the next section. Go further down the ramp and when you reach the checkered area a whole load of Storm and Scout Troopers will start pouring in. Shoot the grappling hooks that they're using to get up to get them to stop. Once they're gone clear the checkered section of the round objects so you can build and push the battery into the corner.
Crawl up to the top level through the access hatch to pull the switch, it'll bring the battery up to the top layer so you can push it into position. Go stand on the six buttons that just appeared.
Minikit 4/10
Requires: Grapple Story Mode: Yes
Smash a purple crate on the left side to get the parts to a Grapple point. Smash through the planks on the door of the hut up top to get the Minikit inside.
Make sure to shoot the troopers that're standing high up as they'll just keep on shooting. If you destroy the plants beneath them you can find the parts to a rotation switch that raises the platform just enough for you to take Wicket through the access hatch and stand on the button above. Another character will grapple up and pull the switch to raise the ramp for you.
Defeat a few more Scout Troopers as you cross over the shallow stream.
Minikit 5/10
Requires: A weapon Story Mode: Yes
Destroy the crates within the fenced area to find the parts to finish off the tractor. Use it to drive up the stream so that you can jump out and get the Minikit at the top.
At the back shoot the device in the middle with gears on it to get the parts to a protocol droid panel. Use it to reveal six buttons which you should all stand on. On the right side build a ramp and on the left crawl through the hatch to pull a switch to drop a crate to build a grapple point. Now you can stand on the second set of six buttons, you might need to control one of the droids to get them to go over to the two buttons on the right.
Minikit 6/10
Requires: A weapon, Hatch Access, Hover Story Mode: No
Smash the plants at the base of the tree on the left side then crawl through the access hatch. Hover over to the Minikit to the right.
Walk into the forest. Approach and get into the catapult ahead to fire it at the barricade several times, once it explodes several more troopers and an AT-ST will appear. Take them out (one hit from the catapult will knock the AT-ST driver out) and climb into the walker as you'll need to use it to blow up the next barricade a short distance away.
Minikit 7/10
Requires: Grapple, The Force, Hover Story Mode: No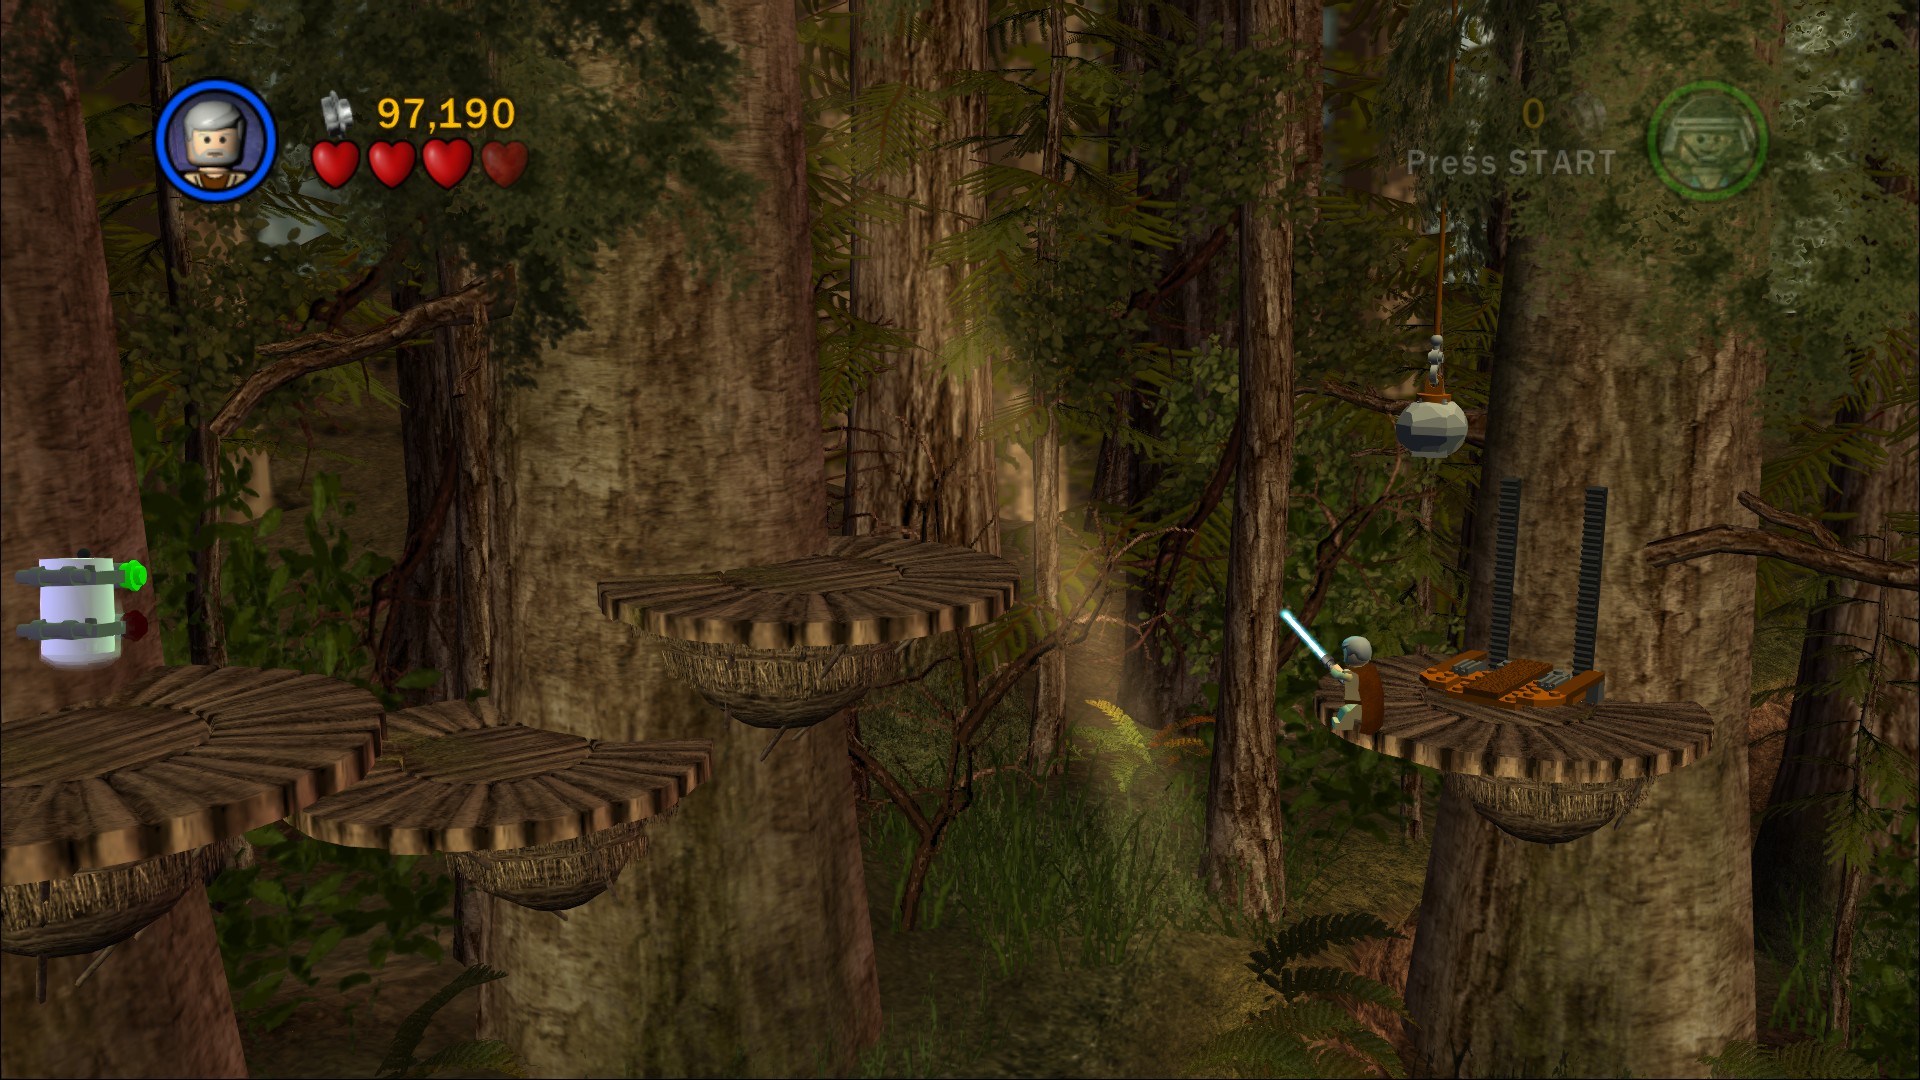
Smash some purple crates on the floor near a pair of catapults to get the parts to a rotation switch, build it and then turn it to pop out a platform. Smash the plants on the left to reveal a grapple point to get up there. Once on there use the Force to move the boulder so you can jump to the platform on the left. Use the Force on another boulder so you can get high enough to hover over to the next platform to the left. Now just hover over to the Minikit.
Inbetween of a pair of AT-STs at the right end is a ramp for you to build so that the droids can get up to the building at the back.
Use one of those AT-ST to shoot the barricade to the left of that ramp and launch yourself up onto the platform with a button on it, standing on it will move a hook so that one of the other characters can grapple up by themselves to pull the switch. Build the Grapple point so you can get up onto the roof of the building. Smash the objects to get the parts to the checkered path, once it's built push the object along the track and off the front so you can jump down and build an astromech droid panel.
Minikit 8/10
Requires: Bounty Hunter, The Force, Hatch Access, Double Jump Story Mode: No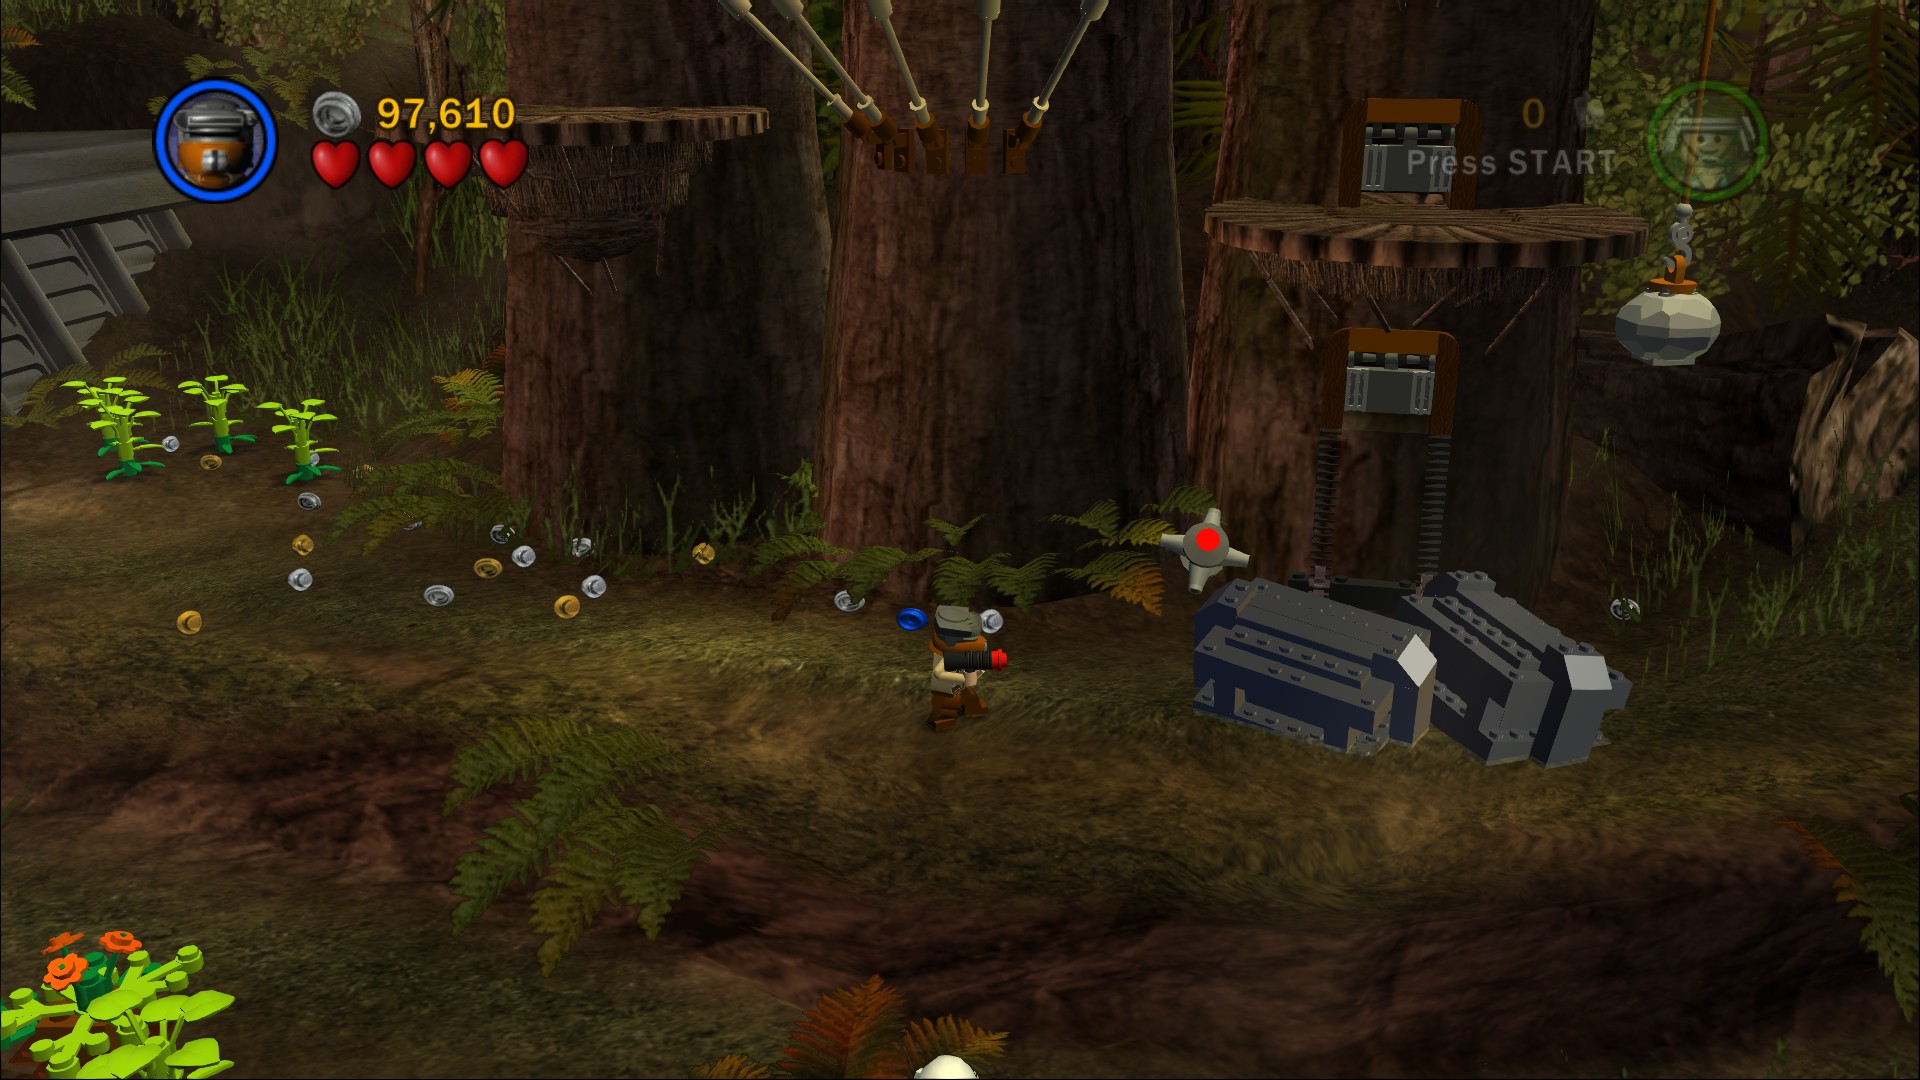
A little way around to the right of the building are some Silver LEGO crates to blow up, build a platform out of the rubble and then use the Force to raise it up so you can crawl through the hatch. Use the Force to move the wooden platform down and then up again after crossing it to reach the Minikit.
Go inside and head down the slope to the door at the end, all you need to do is shoot it a few times. Defeat all the enemies inside and then pull the lever on the left to blow up the first of four parts to the forcefield. Go through the door to the left and take out another room of enemies, there's a couple up on the higher level shooting down at you. On the left is a button on the floor, there's a second button behind the panels on the left side at the back, and the third is over by the track on the right side underneath one of the circular things.
Go up the platforms they popped out to where you can blast the panels to reveal a battery, push it to the left to turn the steps into a ramp. Use C-3PO on the protocol droid panel up here to unlock the purple switch that'll blow up the second part of the forcefield.
Red Brick (Super Ewok Catapult)
Requires: Story Mode: Yes/No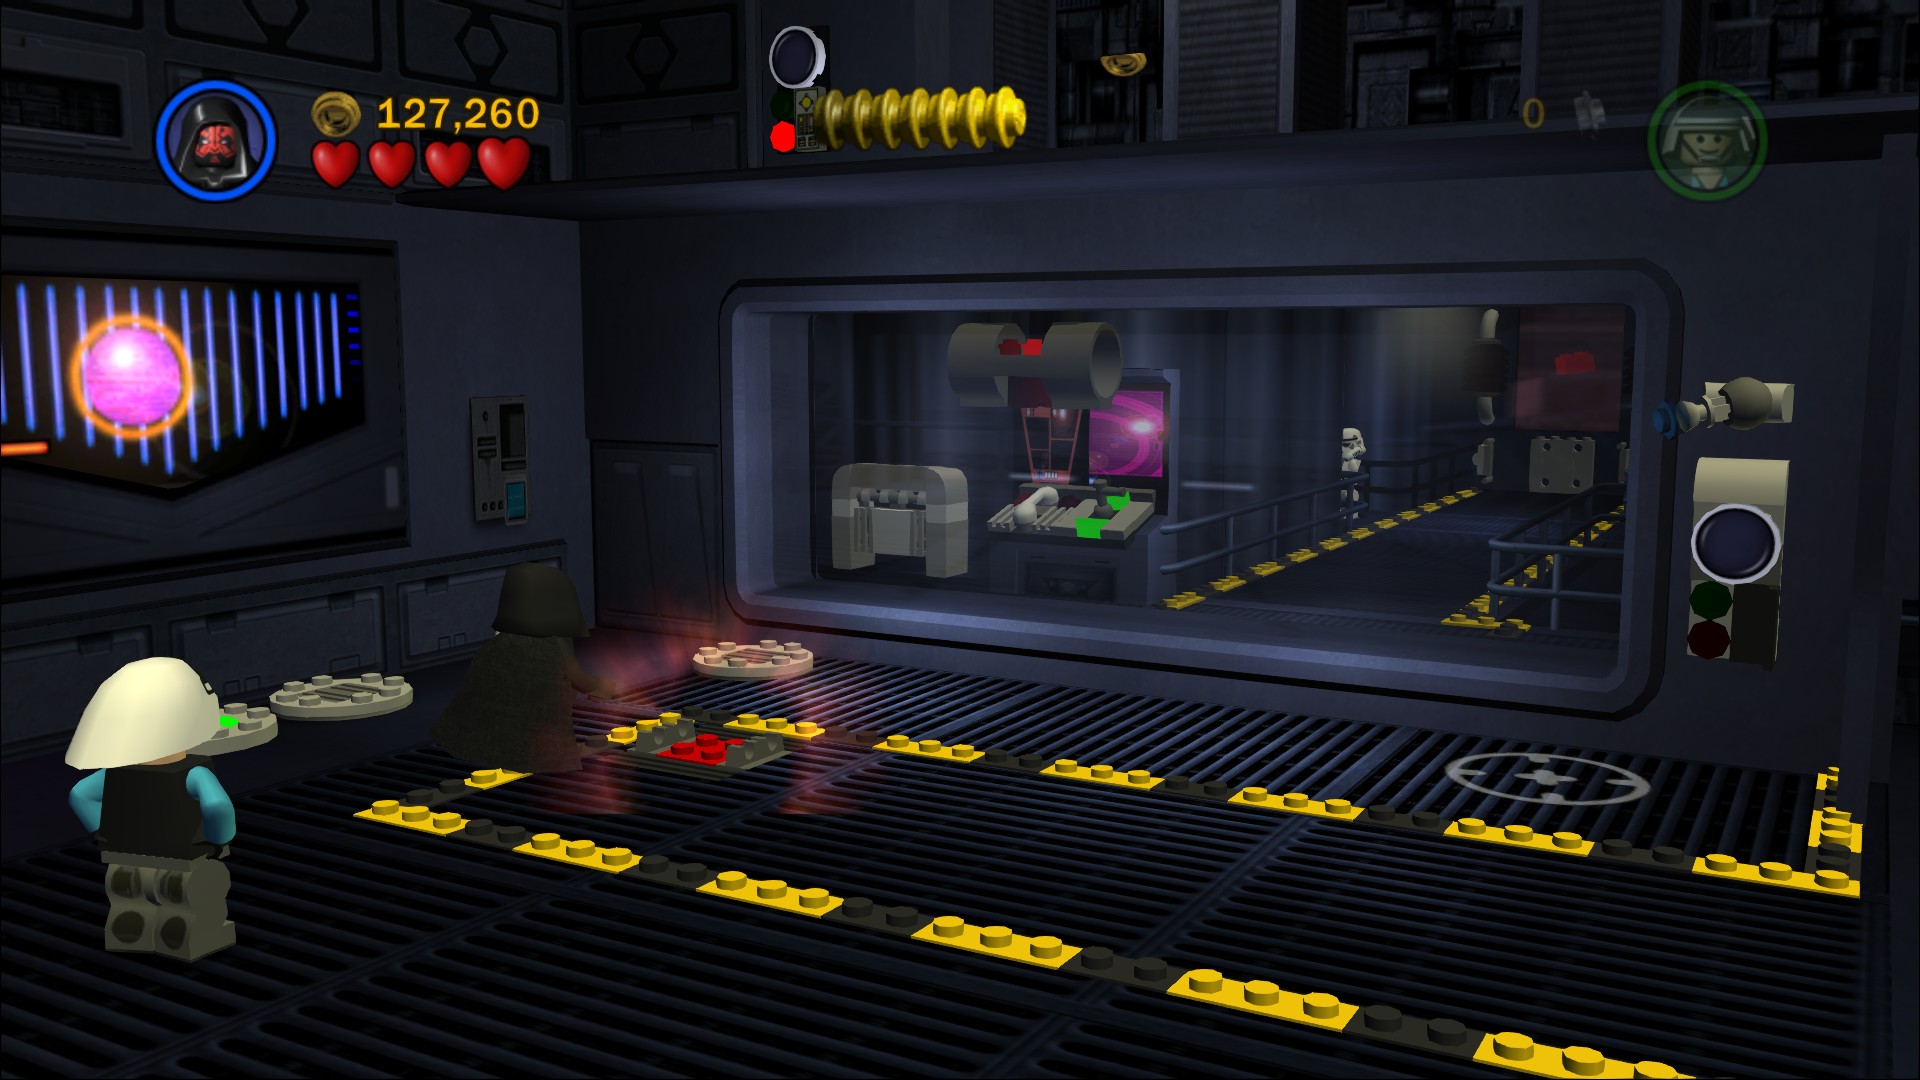
Use the Dark Force on the floor in the track at the right end to raise up a battery. Push it into the slot hidden behind a smashable barrier. Use the Stormtrooper panel to summon the trooper to his station then go up the slope and hover over the gap to the right of the switch to get to a Protocol Droid panel. Using it will drop an engine on the trooper and open up an access hatch to crawl through. Push the battery all the way to the back to get the Red Brick.
Back to the first room and go to the right, there's some more Stormtroopers through the door. Use R2-D2 on the astromech panel at the back left side then ride the elevator up. Hover over to the left to use another astromech panel then drop down and build the access hatch. Crawl through as Wicket to take out the two troopers back there and pull the yellow lever.
Minikit 9/10
Requires: Hatch Access, Hover Story Mode: No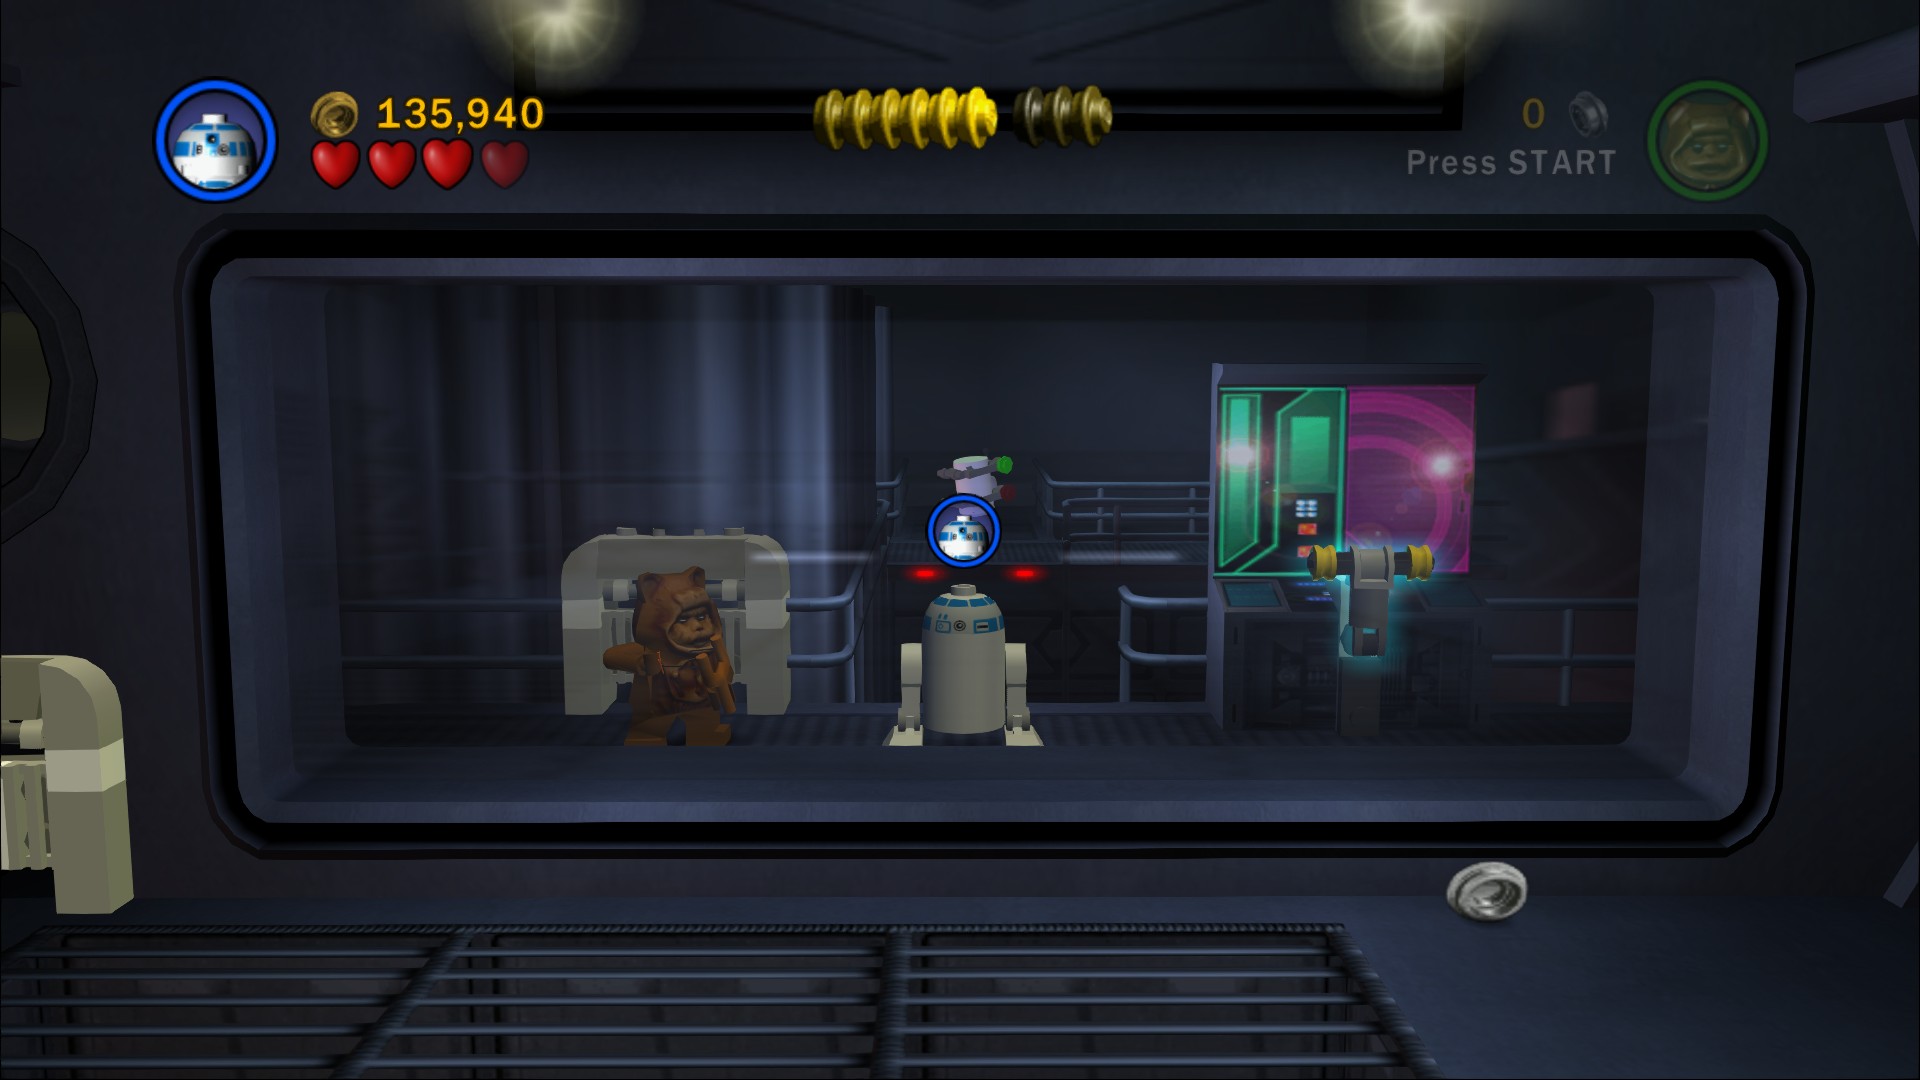
Hover over the gap to the Minikit behind here.
Go back out and up the elevator again, this time not as R2-D2. Jump over the gap to the right so you can build a bridge for C-3PO to reach the Protocol Droid panel at the end. That'll open up the fourth switch to pull.
Minikit 10/10
Requires: Story Mode: Yes/No
Directly beneath the Protocol Droid panel are some panels on the wall, shoot them and then use the Force on all four flaps to get the Minikit pieces.
To finally drop the forcefield go back to the first room and pull the two switches, once it's down run into the chamber and build the four bombs to finish the chapter.
AT-ST
 Based on set 4486
Wicket and Han Solo's Endor outfit are now yours for free, you can also buy a generic Ewok in the store.
| Cost | Character | |
|---|---|---|
| 34,000 | Ewok |
Chapter 5
Jedi Destiny
As the battle between Imperial and Rebel forces rages around the second Death Star, Luke Skywalker confronts Darth Vader - his father, once Anakin Skywalker.
From boy slave on Tatooine, to hero of the Clone Wars, to Sith Lord, feared throughout the galaxy, Anakin Skywalker's path has been dark indeed.
In front of Emperor Palpatine, his villainous master, Vader must now face his son, and reclaim his fate....
| Story Mode | Free Play |
|---|---|
| 55,000 | 67,000 |
Immediately you're attacking the Emperor, take off four hearts with a series of the simple jump and swipe attacks and he'll then use the Force to hold you in the air, quickly switch to the other character to get an attack in on him. The red enemies that run in to attack you after that are simpler to defeat if as Luke you use the Force to stun them first or as Vader you just Force Choke them.
Minikit 1/10
Requires: The Force Story Mode: Yes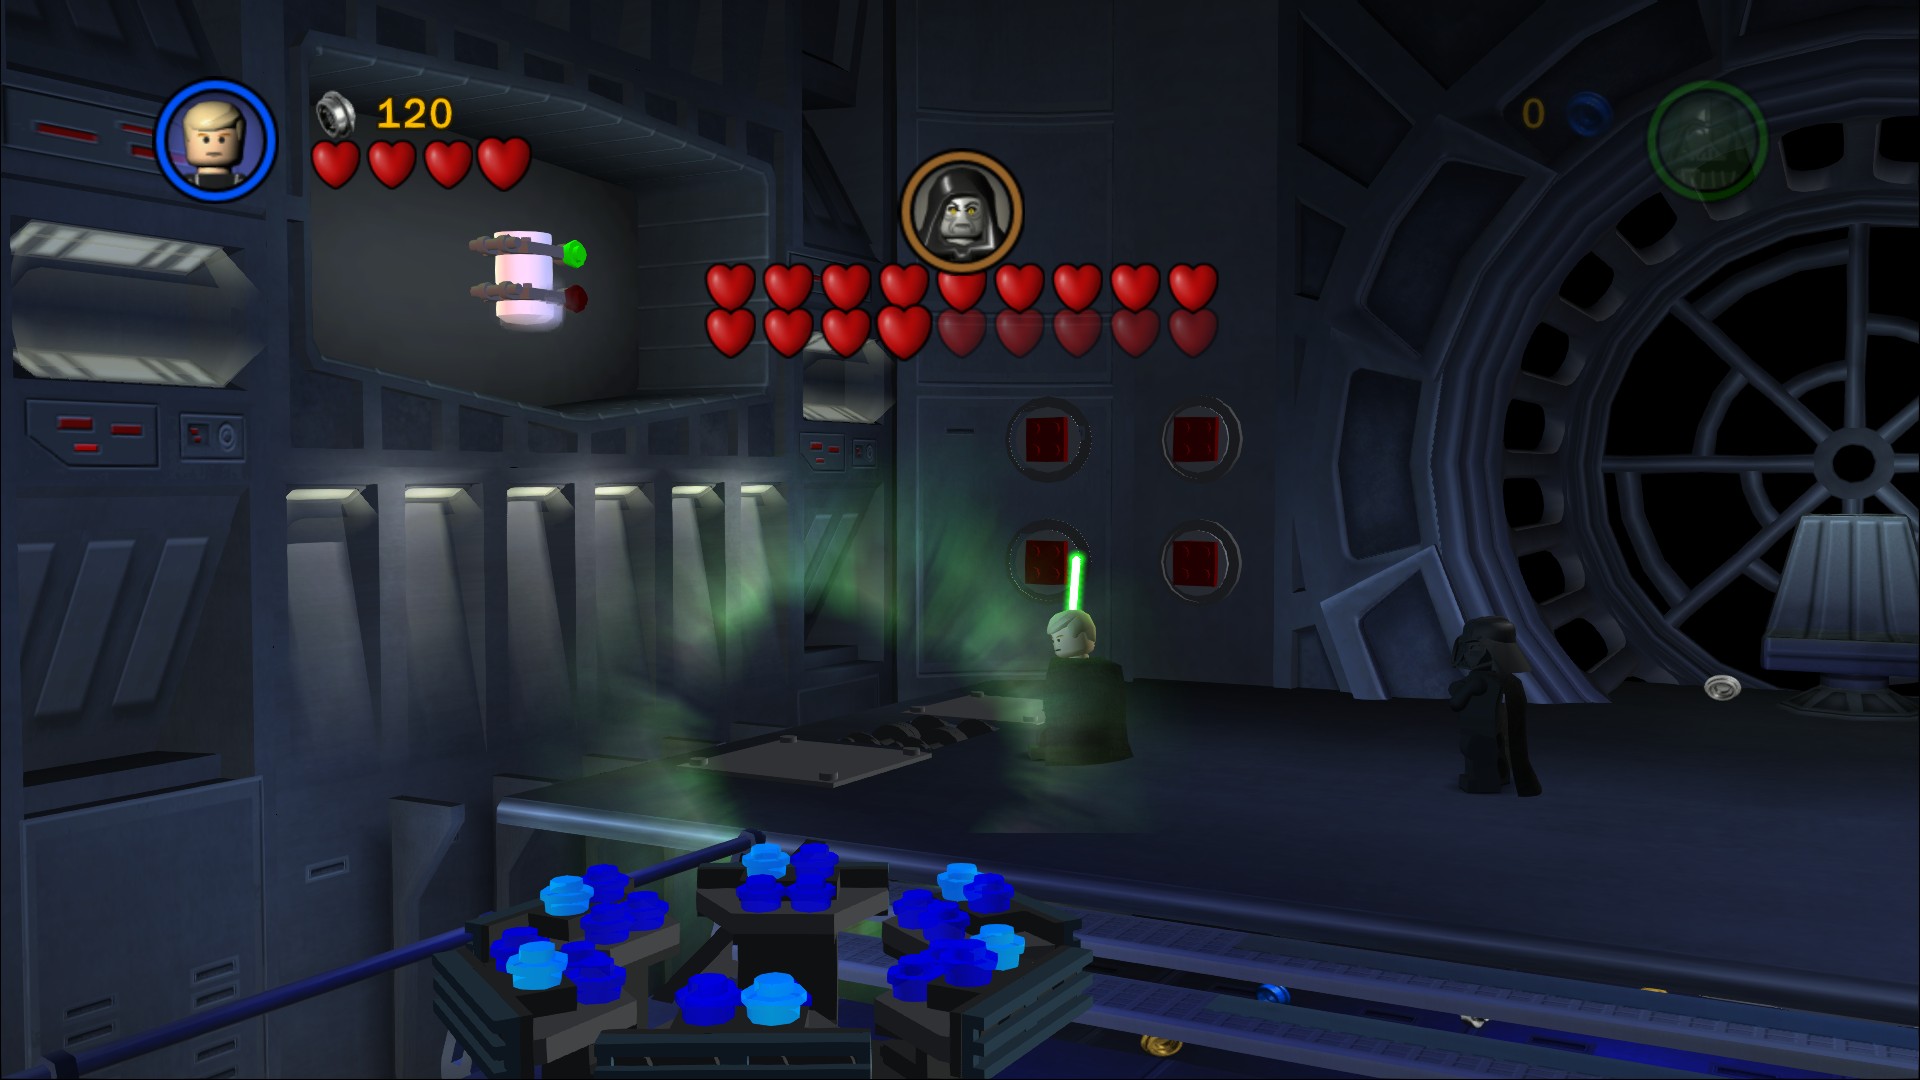
Use the Force on the left side to build a platform so you can jump up to the Minikit.
Red Brick (Infinite Torpedos)
Requires: Dark Force Story Mode: Yes
Use the Dark Force to turn all eight of the red squares on the wall active at the same time, once they are the Red Brick will appear over the throne.
Minikit 2/10
Requires: Bounty Hunter, Grapple Story Mode: No
Silver LEGO on the right after you go down the steps, build and then grapple up to the Minikit.
Minikit 3/10
Requires: Bounty Hunter Story Mode: No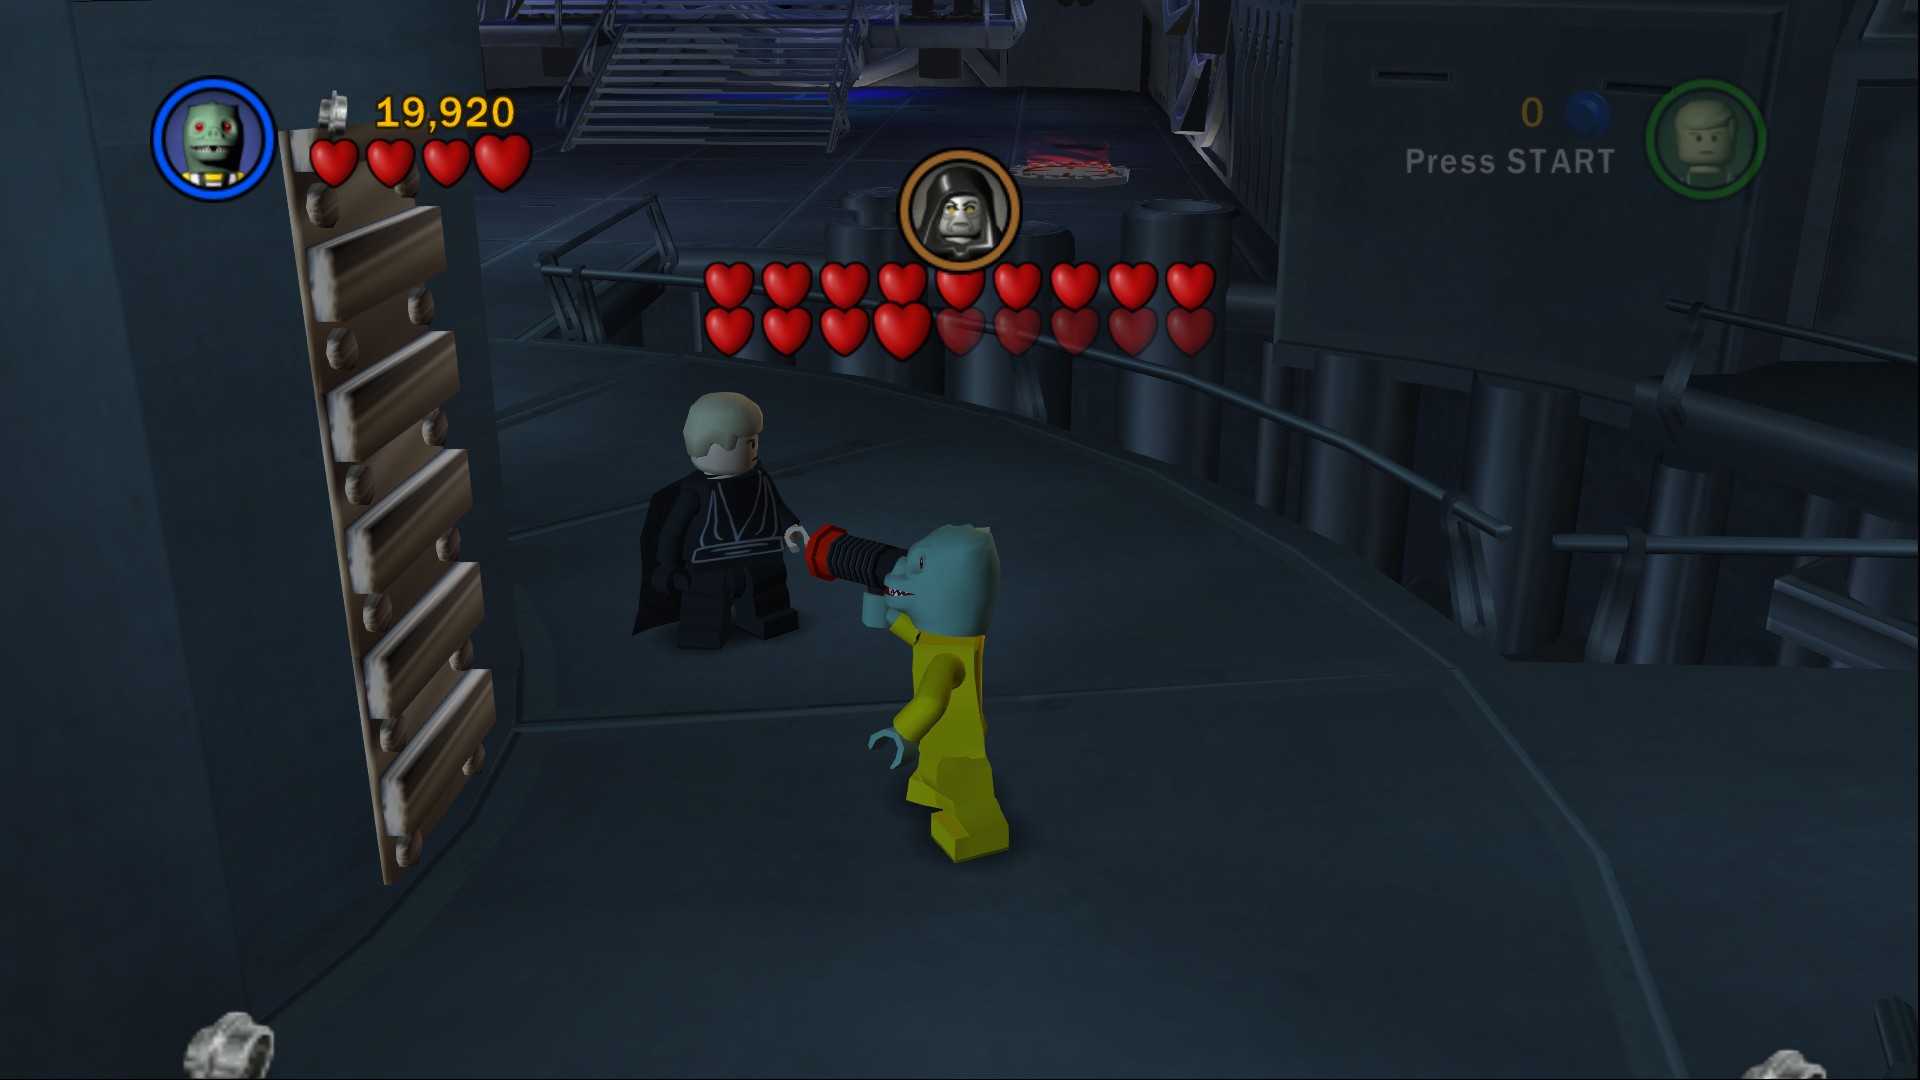
Silver LEGO on the right-hand side of the column in the middle of the level.
Minikit 4/10
Requires: Bounty Hunter, Protocol Droid Story Mode: No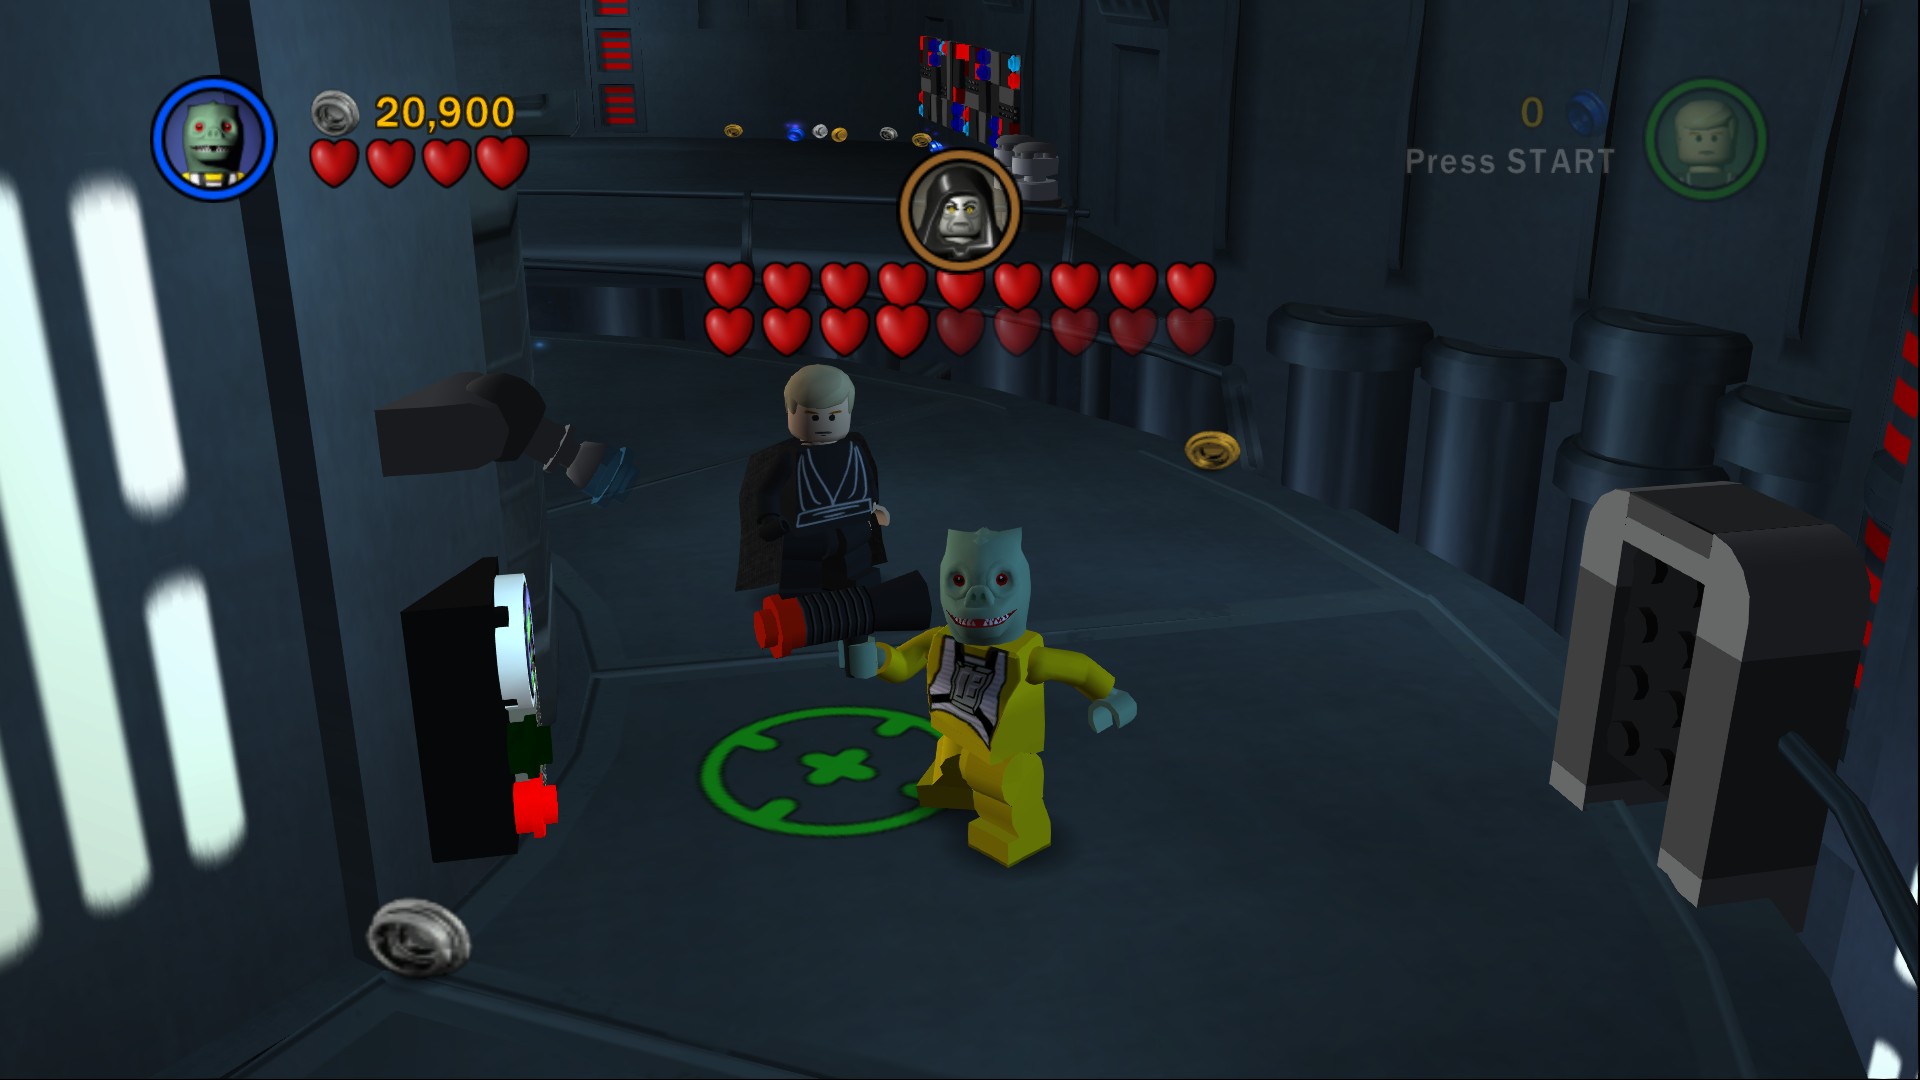
Open the Bounty Hunter door on the back of the central column to get the parts to a Protocol Droid panel, open that up to get a bridge over to the Minikit which you'll have to assemble.
Minikit 5/10
Requires: Dark Force, Bounty Hunter, Hover, or Double Jump Story Mode: Yes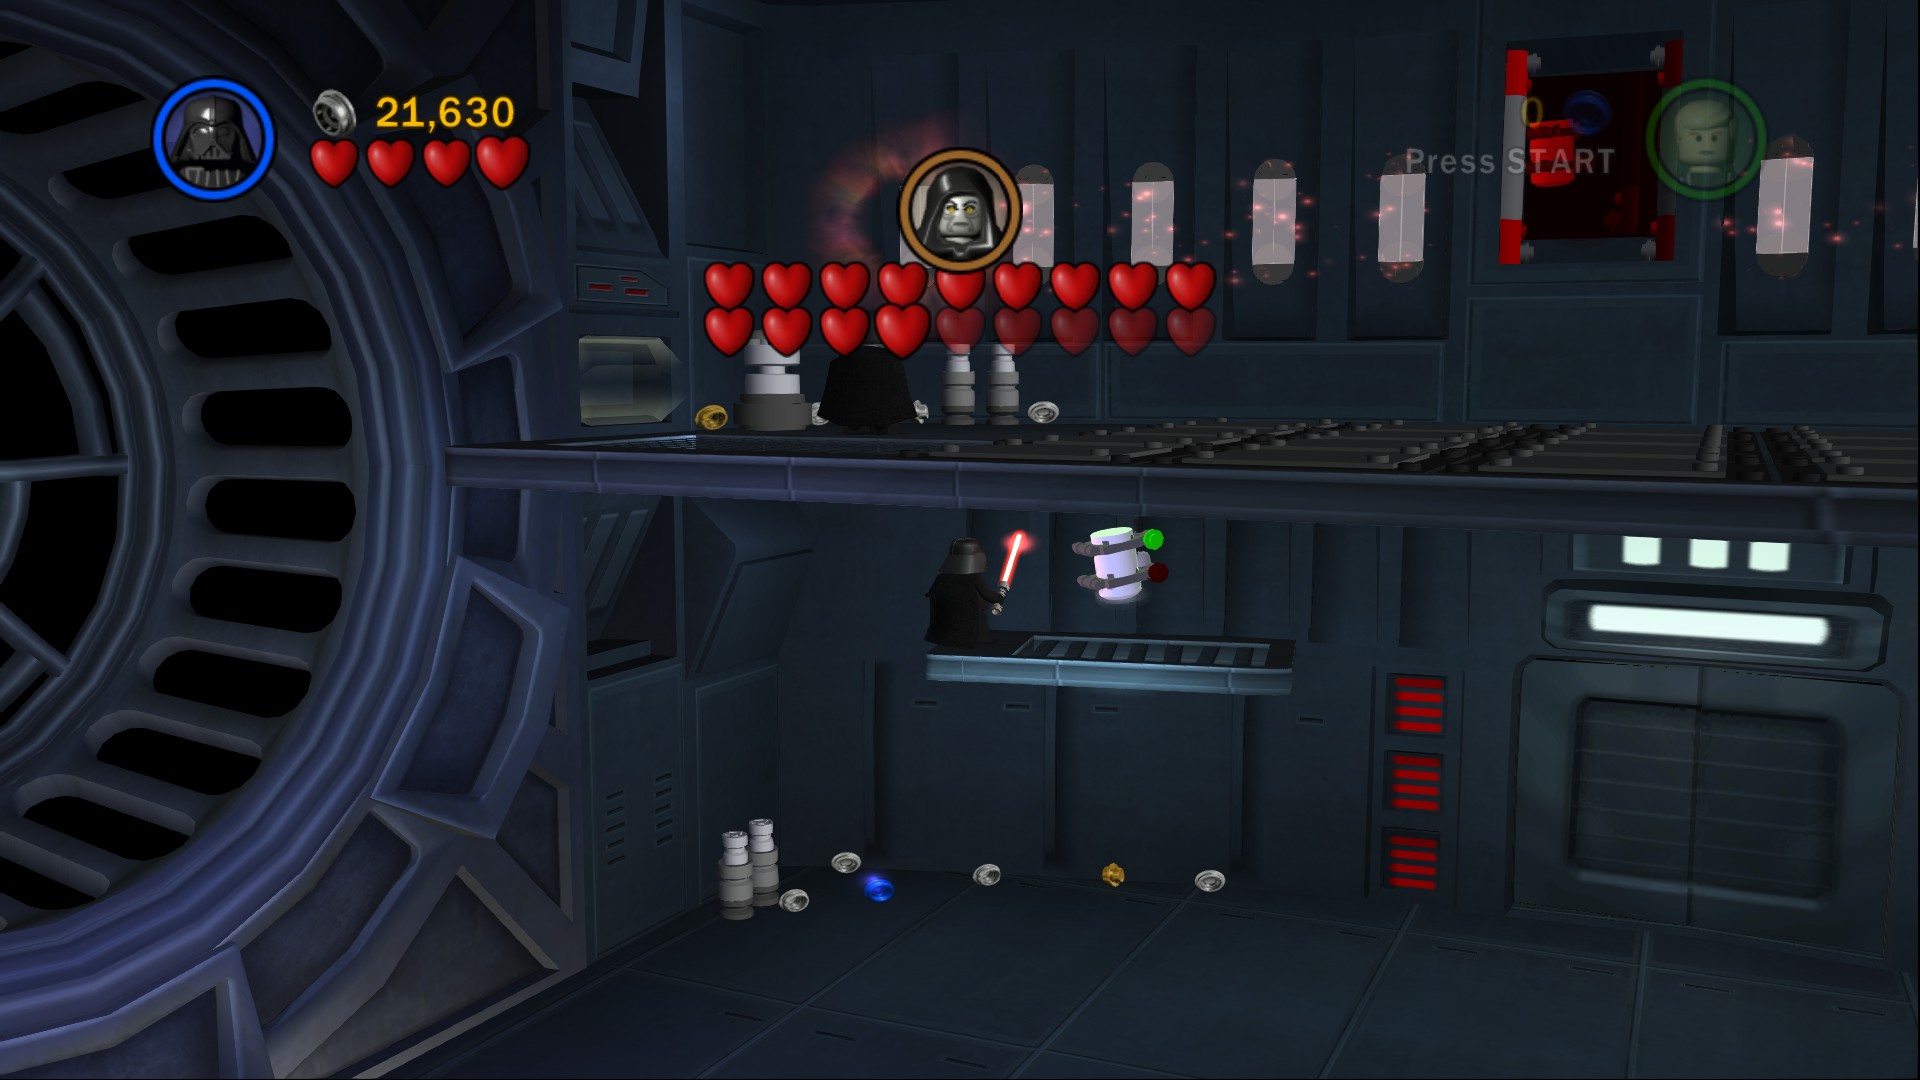
In the area beneath where the Emperor is waiting use the Dark Force on a vent to build a platform. Smash the panels on the wall to uncover a Bounty Hunter panel for you to assemble, that'll lower a platform into position. You can now jump up the one you assembled and then hover over to the Minikit on the left.
Or you can just double jump to it from on top of one of the smashable objects beneath it.
Minikit 6/10
Requires: None Story Mode: Yes
Through the doorway beneath where the Emperor is waiting you'll find a square hole with 12 squares around it, if you walk on them to light them up all at once you'll get a Minikit.
Minikit 7/10
Requires: Bounty Hunter, Hatch Access, Double Jump Story Mode: No
On the opposite side of the central column is another area, if you smash the wall panels on the right side of this you'll find an access hatch to crawl through and push a crate off. Shoot the objects that fall out to blow up the door. Immediately to the left of the door on the inside blow up the objects and build a protocol droid panel, turning that on will activate a platform in the far upper corner.
Blow up the Silver LEGO to the right of the door and then grapple up to a switch, pulling it will drop in some LEGO onto the tracks in the middle of the room. Assemble the crate and push it onto the green circle in the middle.
Blow up the two chairs in the middle of the track so you can build a rotation switch, turn it so that the arrow on the crate is pointed to the right. Now push the crate onto the green marker on the right side of the track and then into the slot to turn the elevator on.
Ride the elevator up and pull the lever to lower the barrier covering the Minikit directly beneath you, jump down and then double jump to get in there.
Minikit 8/10
Requires: Dark Force, Bounty Hunter Story Mode: No
In the corner to the right of the door on the fan panel use the Dark Force, the Force, and a Silver LEGO bomb to blow it open to get the Minikit behind it.
Minikit 9/10
Requires: The Force, Hatch Access Story Mode: No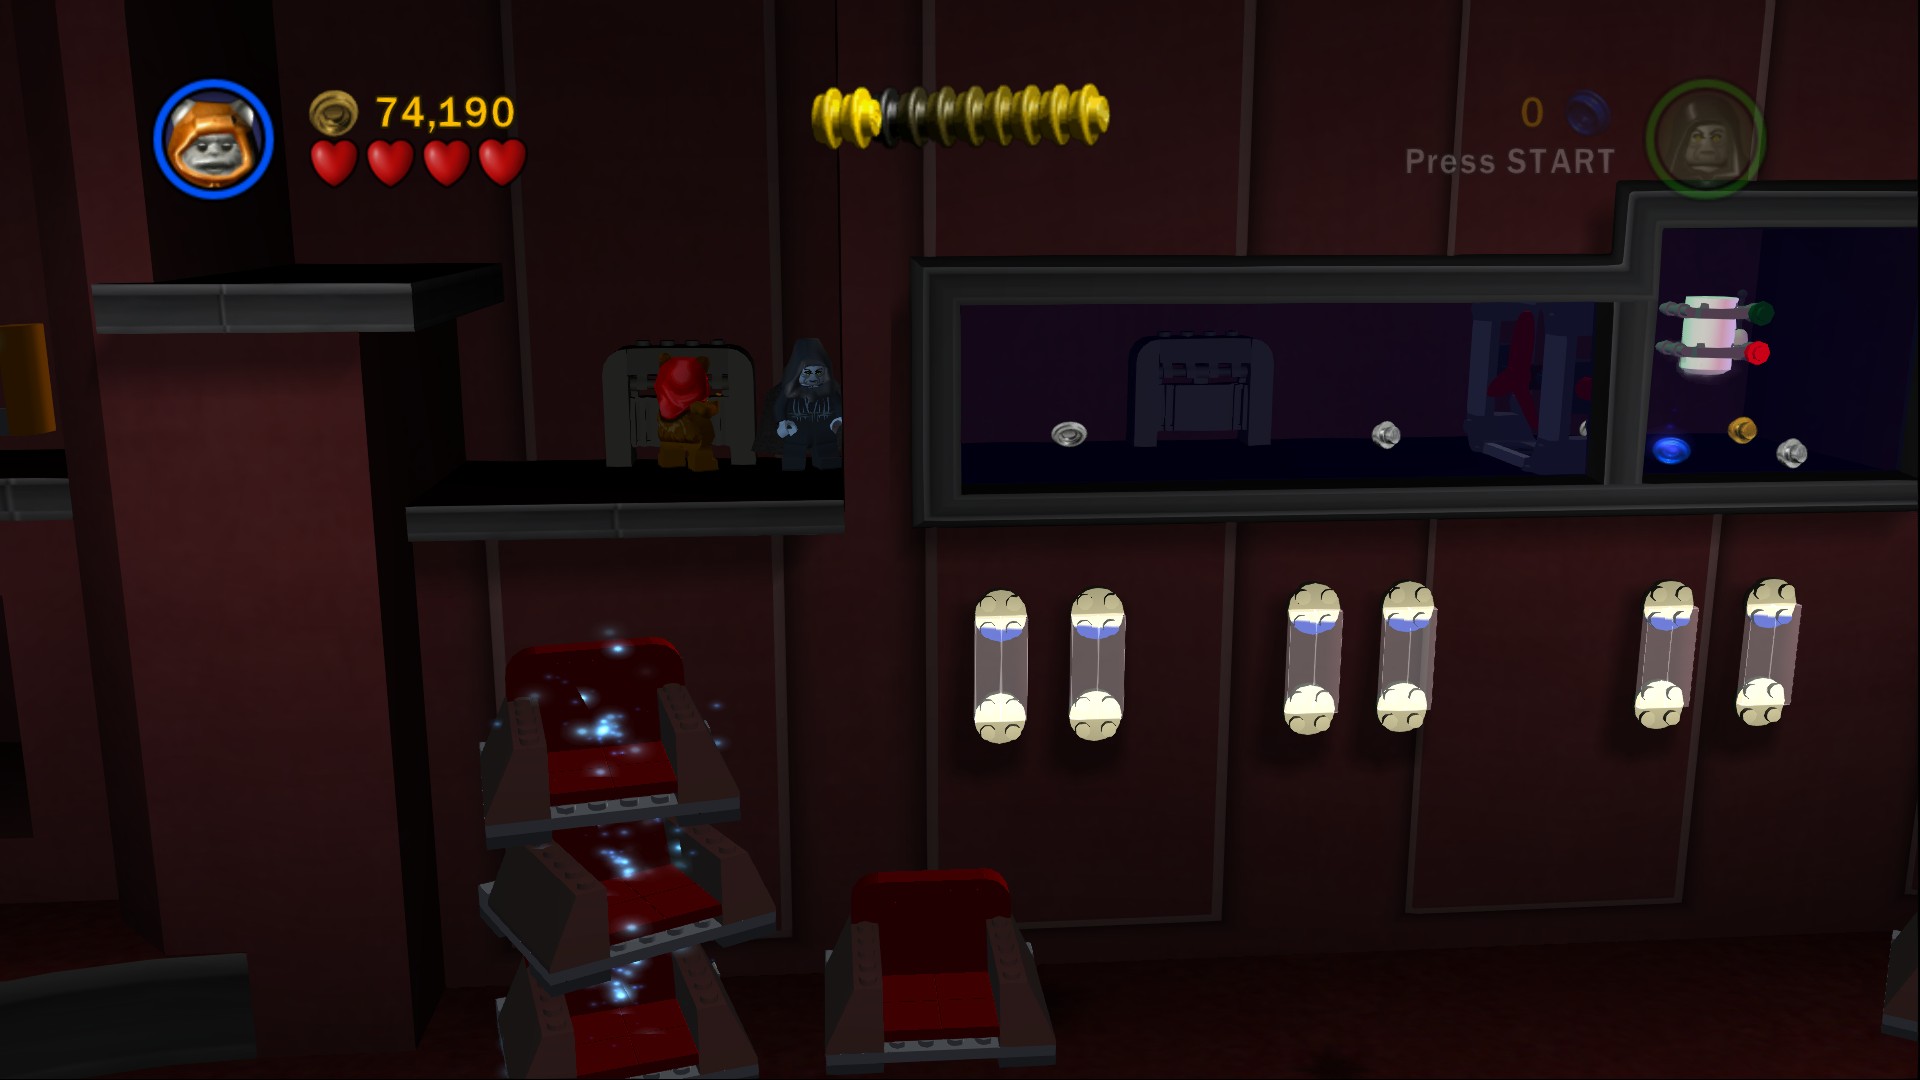
On the side of the room use the Force to stack a few chairs up so you can reach the access hatch above, crawl through and then blow up a fan to get the Minikit.
Go down the steps from where you fought the Emperor and just to the left you'll find some LEGO bricks to build and a vent that you can use the Dark Force on to pull out of the wall for some more parts. Force them together to make a fan that'll push you up onto the catwalk.
To get across the electrified floor just wait a little to see the pattern, run on along the path and then wait at each of the parts that never electrify. Don't try to jump over the electric parts as they'll still hurt you, and be careful not to die here as if you're going for the Story Mode's True Jedi status and lose more than 1,000 studs you're pretty much out of luck (unless you're using a multiplier of course, then it's easy!).
Once Palpatine starts attacking you it's pretty much the same as earlier except that he'll alternate between using his Lightsaber and Force choking every time you hurt him. You'll take him down to seven hearts.
Minikit 10/10
Requires: Dark Force Story Mode: Yes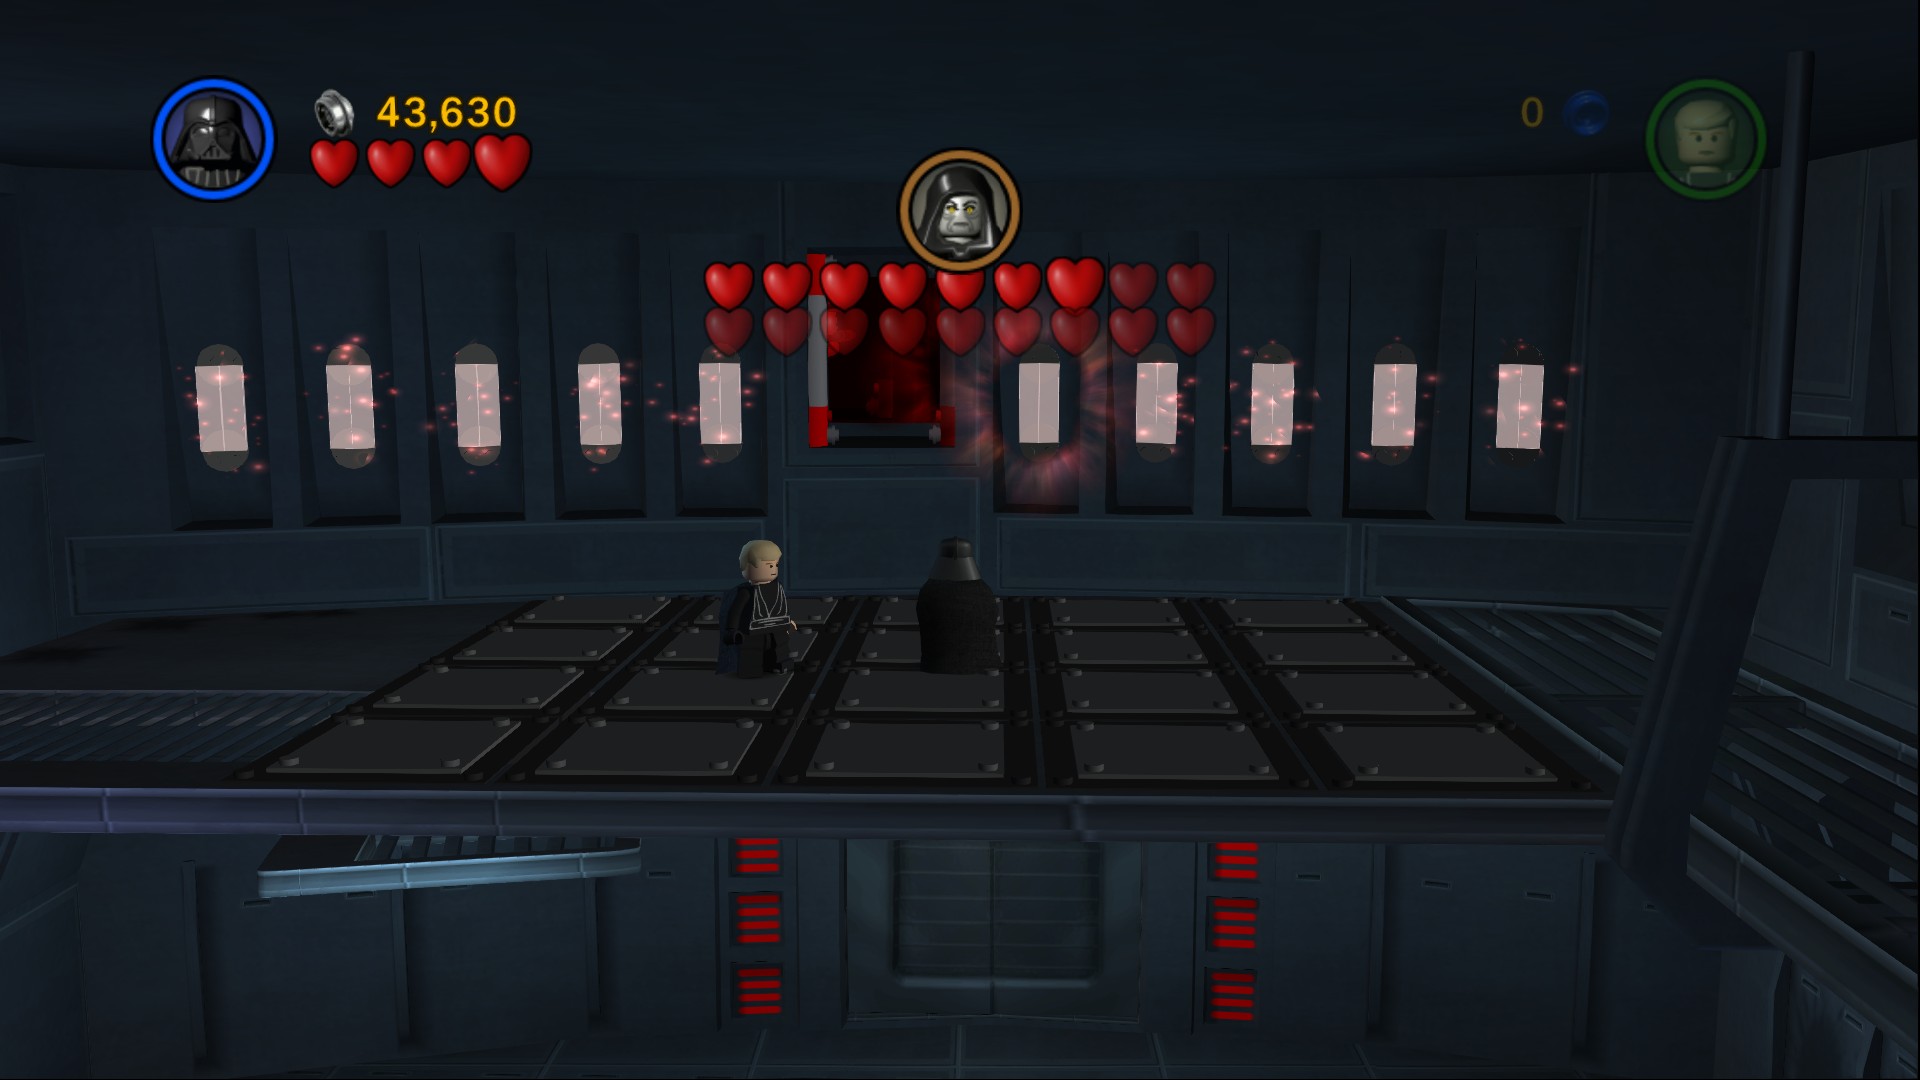
Turn out all of the lights along the wall here using the Dark Force, with all ten out at the same time the Minikit's case will be opened.
Jump down and after defeating a couple of Imperial Guards cross over the circular area to the opposite side where Sidious is standing. A couple of hits and he'll jump up to the higher section. Defeat another couple of guards before rebuilding the elevator and stepping on, use the Force (or the Dark Force) on one side so that your partner does the other to lift it up.
After one hit he'll jump over to the other part, jump over to follow and hit him another one time. Jump down to the floor after him to get another two hits before he runs off towards the middle section. One more hit will finish the fight.
Imperial Shuttle
 Based on set 4494
That'll unlock Darth Vader for free, your first Dark Force user if you were unable to use the "Use old save" Extra. The store also has the Imperial Guard and The Emperor who is the only other Dark Force user in the game (excluding the old save characters).
| Cost | Character | |
|---|---|---|
| 45,000 | Imperial Guard | |
| 275,000 | The Emperor |
Chapter 6
Into the Death Star
With help from the Ewoks, the Rebels have finally managed to destroy the Death Star shield generator on Endor.
In the sky above, the Rebel fleet has come under intense fire from Imperial craft and the Death Star itself. Many ships have been destroyed.
But General Lando Calrissian is now able to lead the final assault on the Empire’s ultimate weapon, and pilot the Millennium Falcon deep into its dark heart....
| Story Mode | Free Play |
|---|---|
| 30,000 | 40,000 |
Minikit 1/10
Requires: None Story Mode: Yes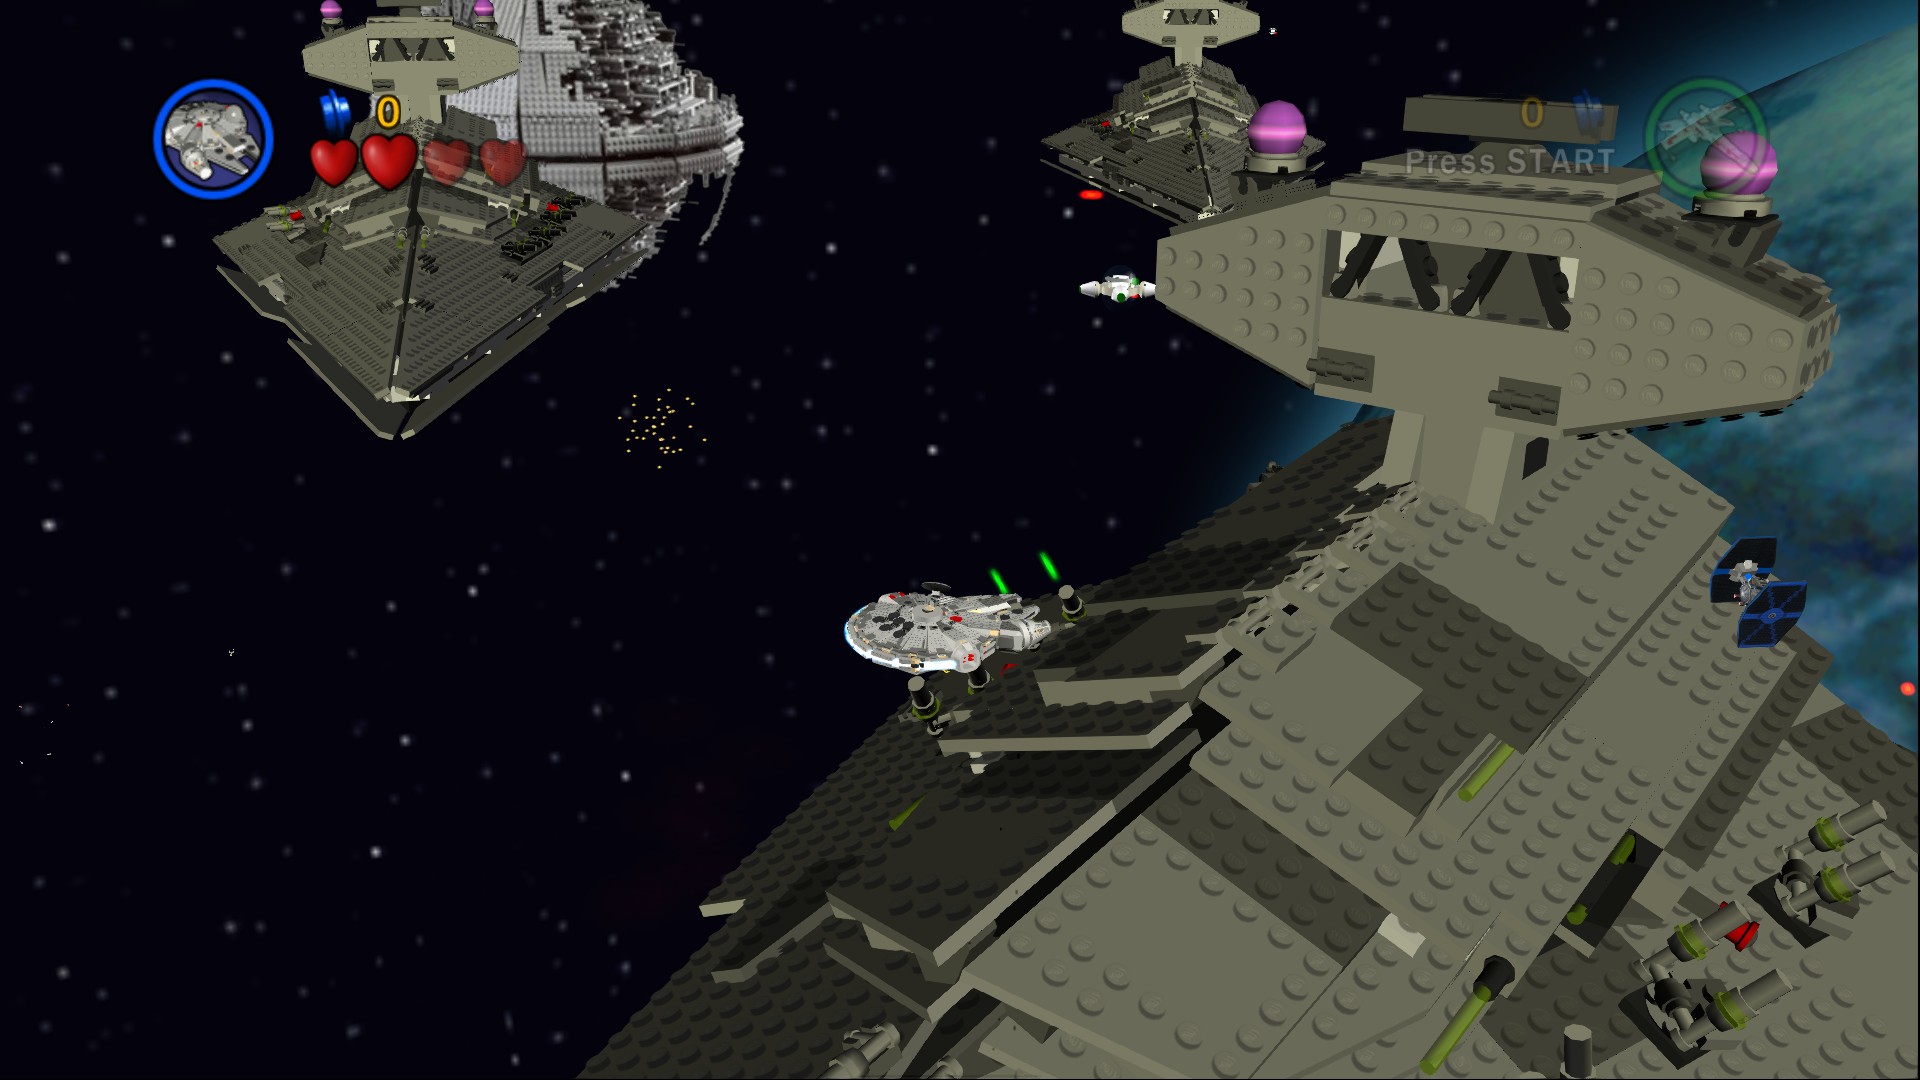
On the side of the control tower of the front Star Destroyer.
Minikit 2/10
Requires: None Story Mode: Yes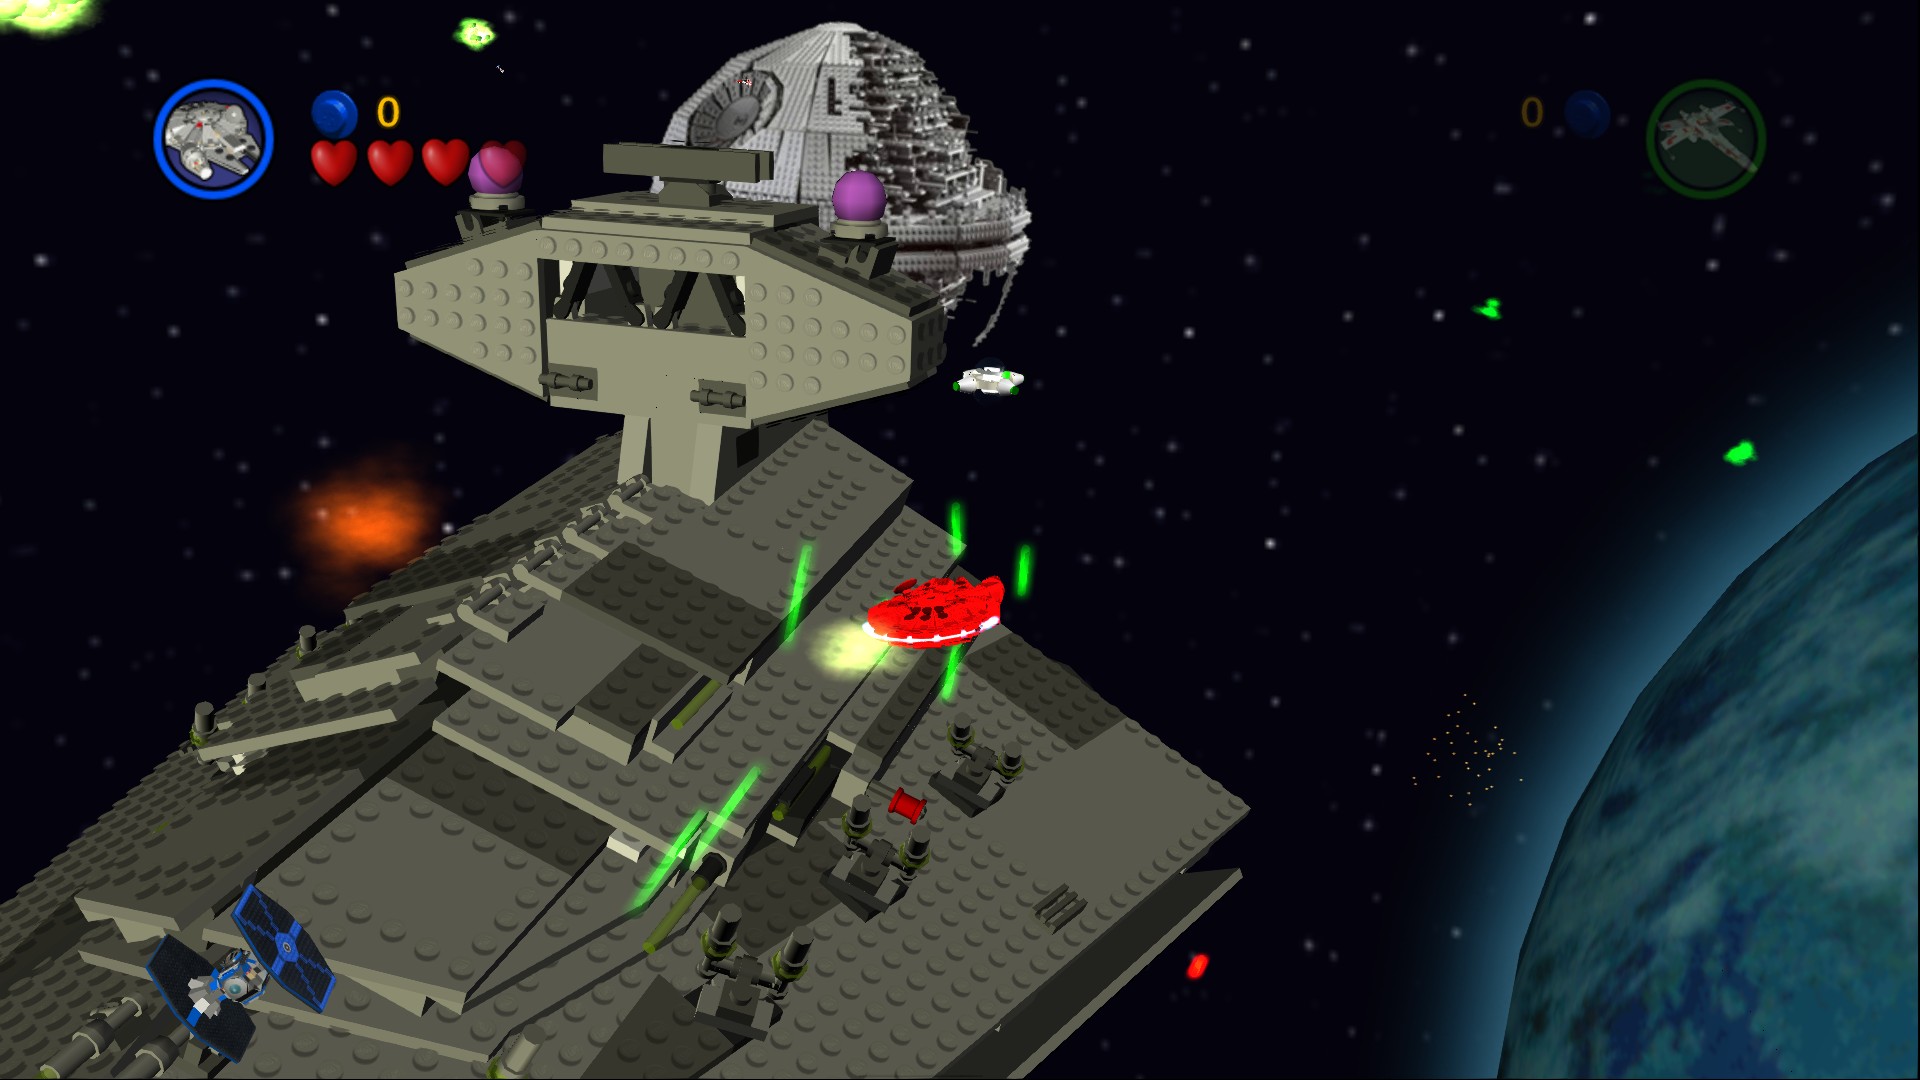
On the side of the control tower of the back Star Destroyer.
The task in this first section is to torpedo the magenta markers on the Star Destroyers, to get torpedos you'll have to shoot down the TIE Bombers that are carrying them first. There are four of them to take out, all in a diamond formation.
Once you're in the Death Star just fly along the path shooting the whole time, you'll destroy most obstacles easily.
Minikit 3/10
Requires: Torpedoes Story Mode: Yes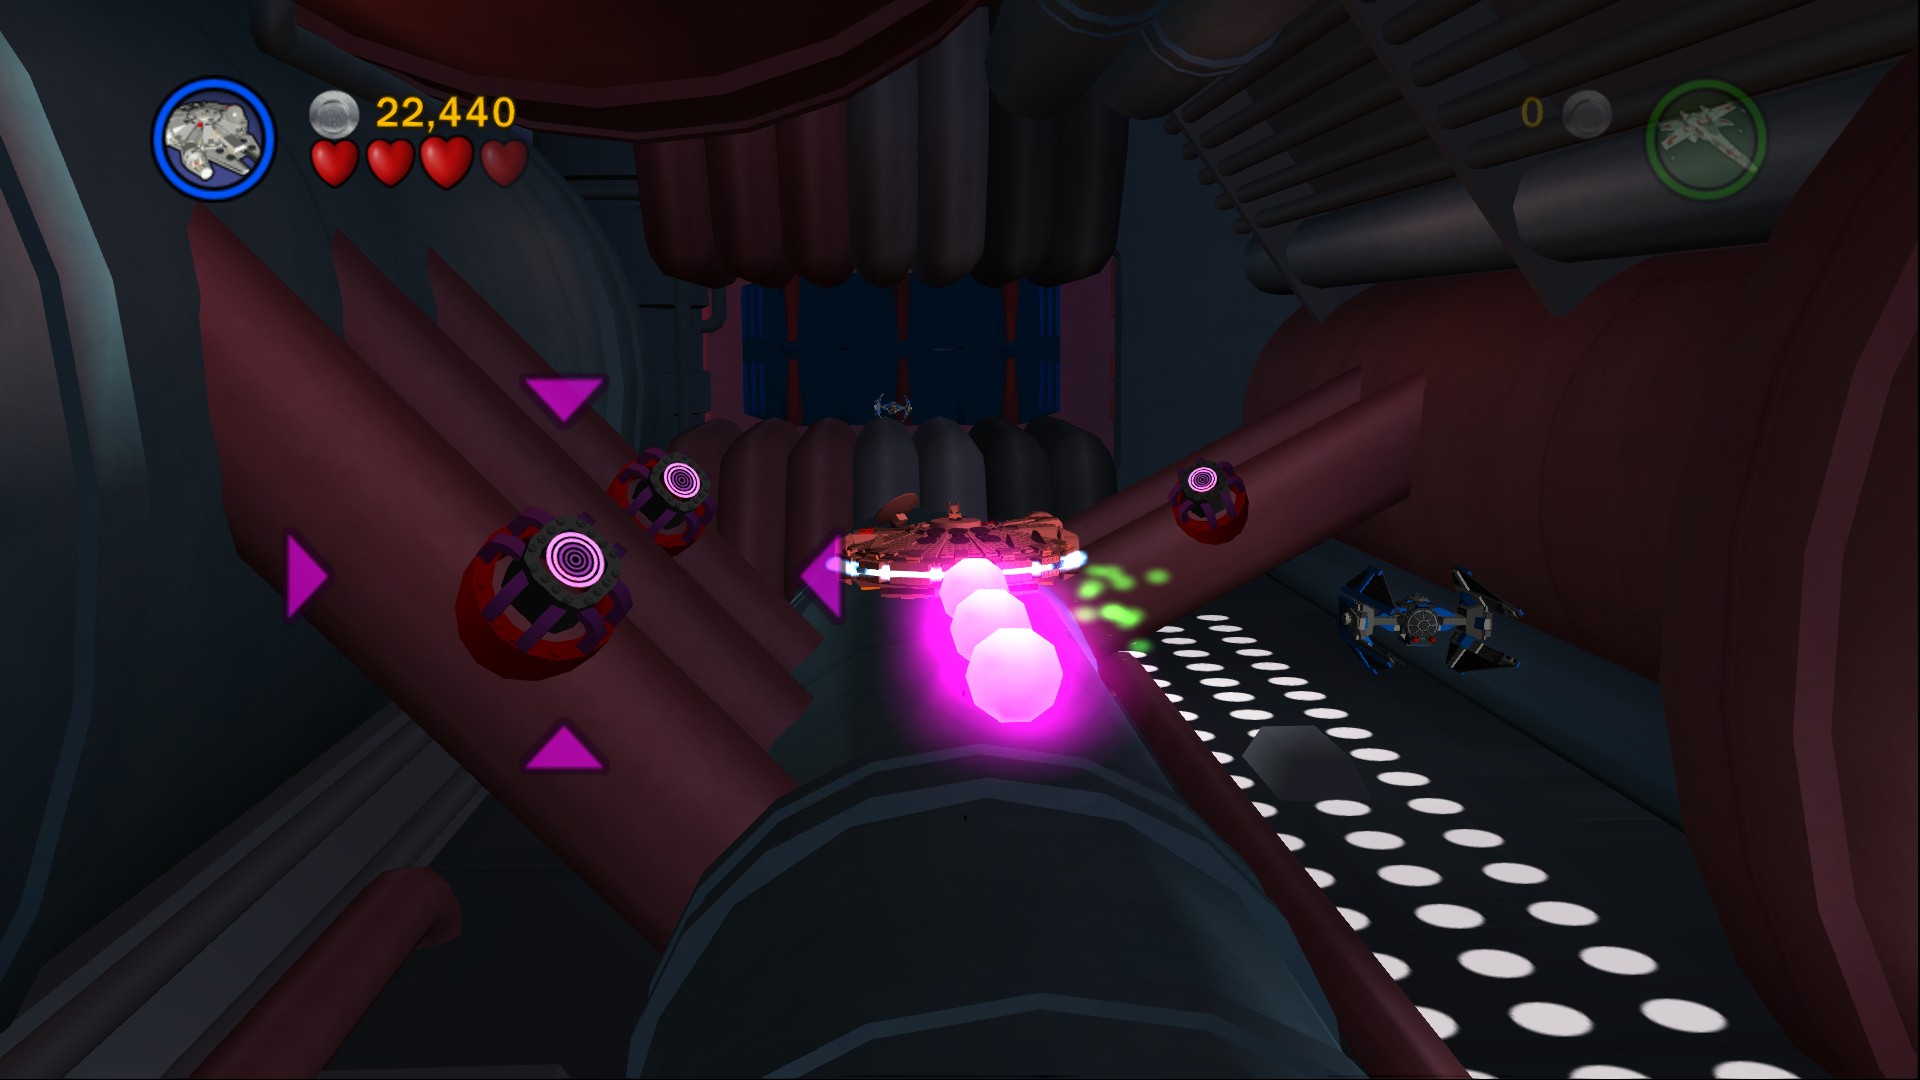
Fire three torpedoes at targets on pipes.
Minikit 4/10
Requires: TIE Fighter Story Mode: No
In a small TIE Fighter area to the right at the torpedo forcefield.
Halfway through you'll encounter a forcefield with four pink circles next to it, double back and grab some more torpedos from the dispenser just beforehand when you run out.
Minikit 5/10
Requires: None Story Mode: Yes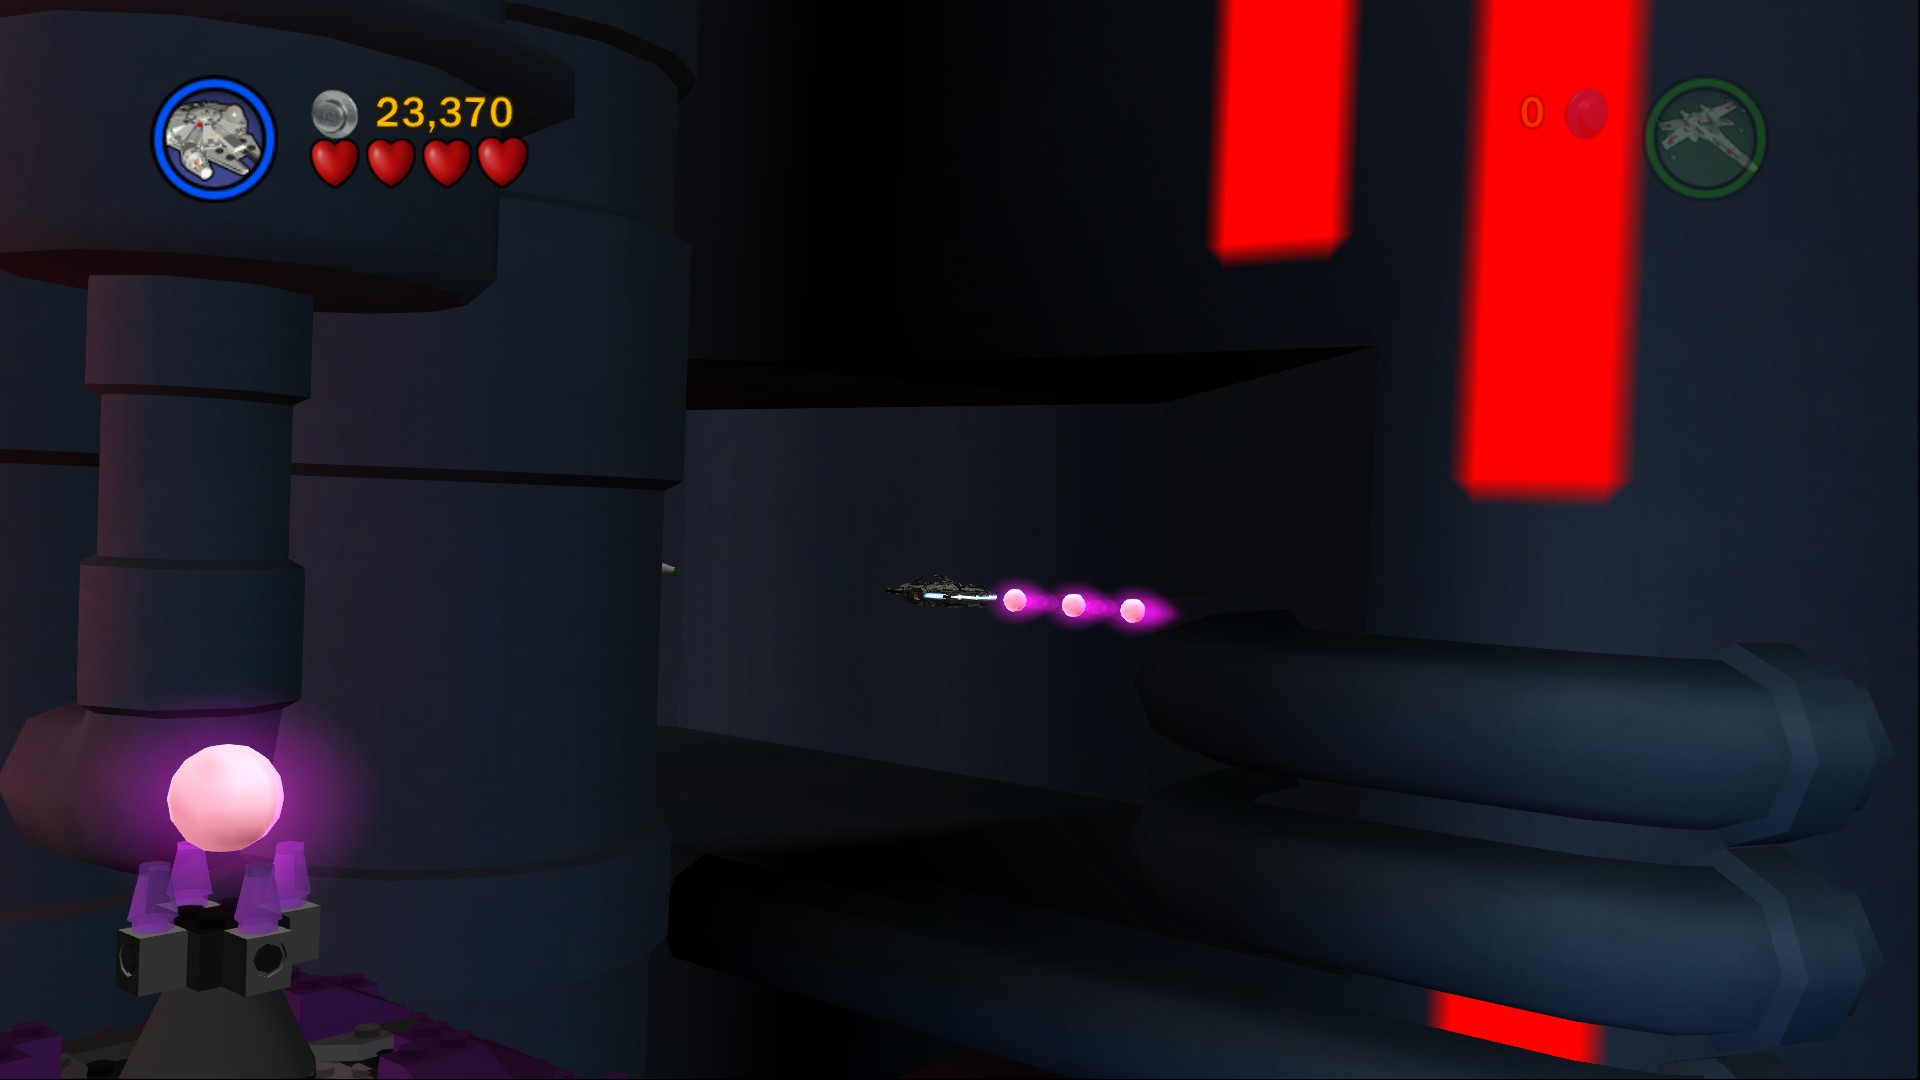
In an area behind the next torpedo dispenser just before the weird looking tunnel, almost impossible to notice.
Minikit 6/10
Requires: TIE Fighter Story Mode: No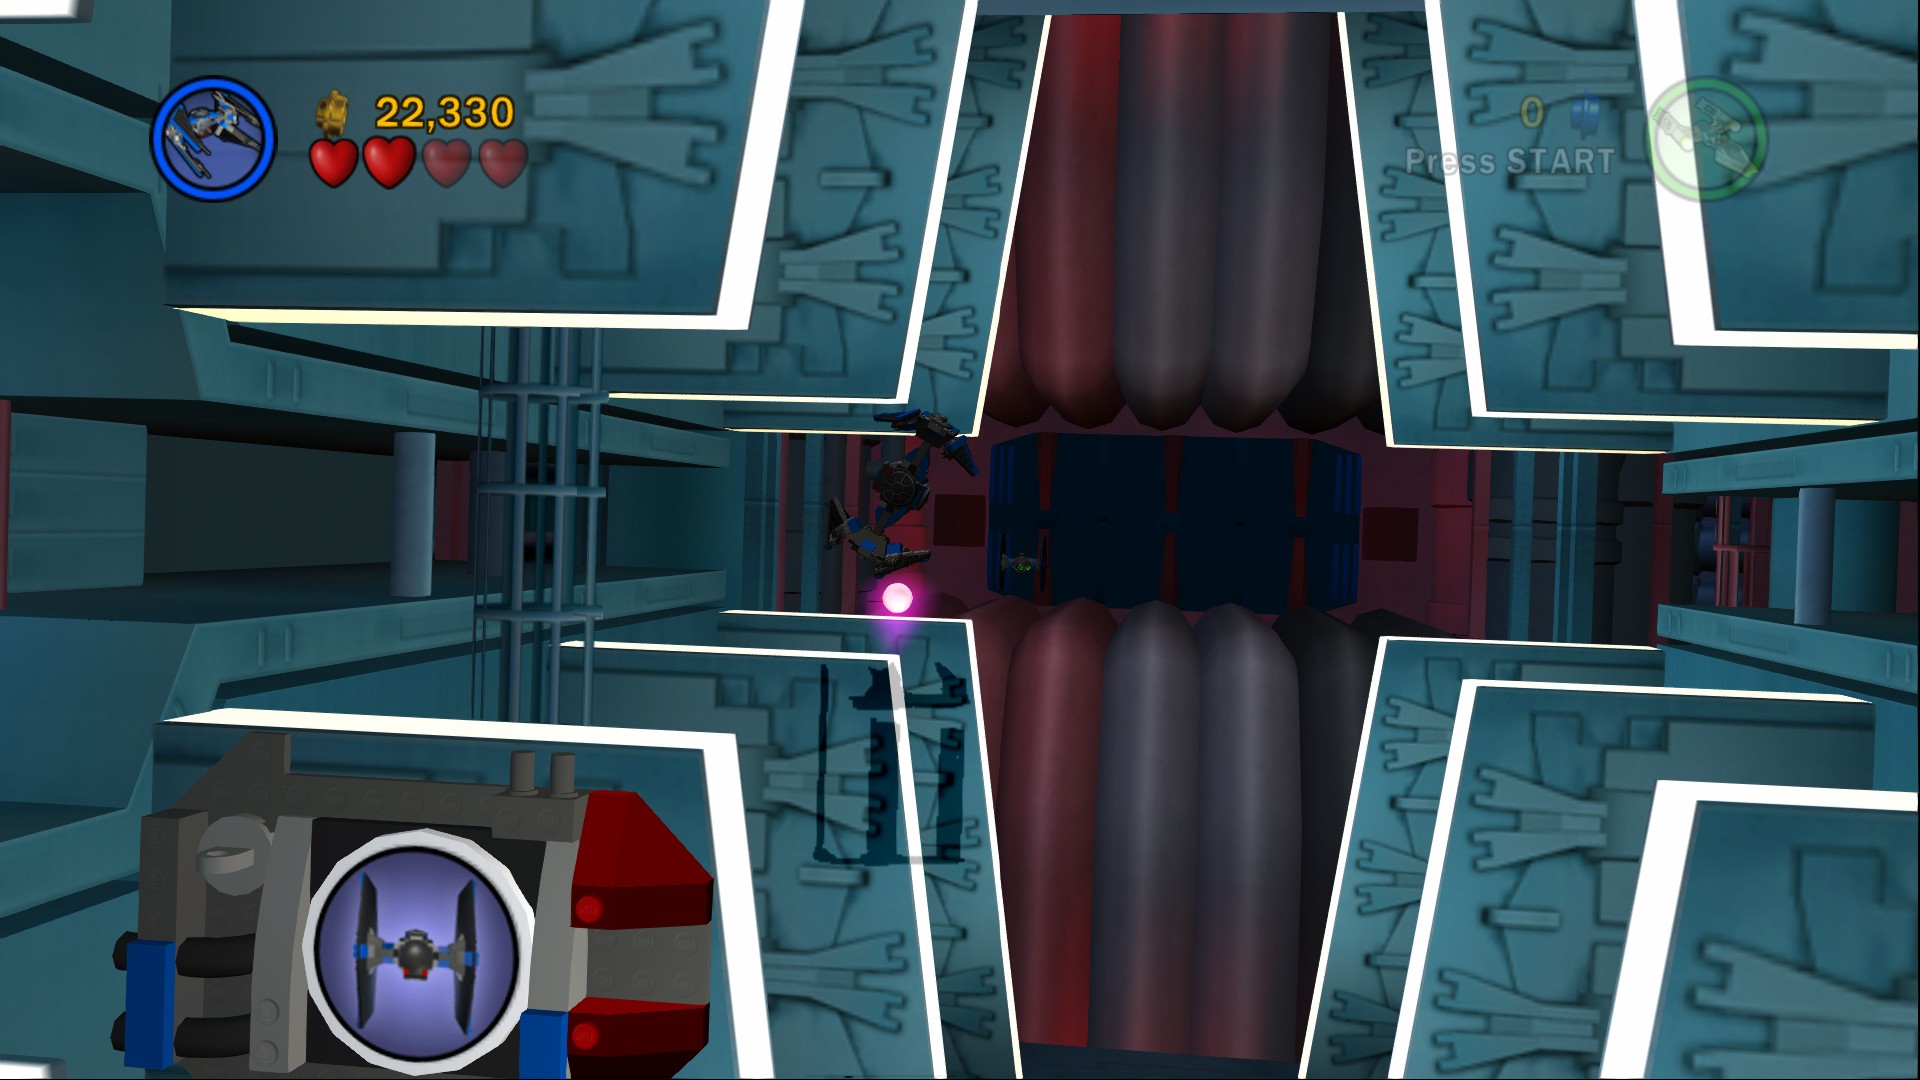
In a TIE Fighter area along the left side towards the end of the brightly lit turquoise tunnel section.
At the end of the next section is a solid shield with two turrets on either side, you'll have to time your torpedos to hit the turrets when they get uncovered in order to carry on through to the core.
Minikit 7/10
Requires: None Story Mode: Yes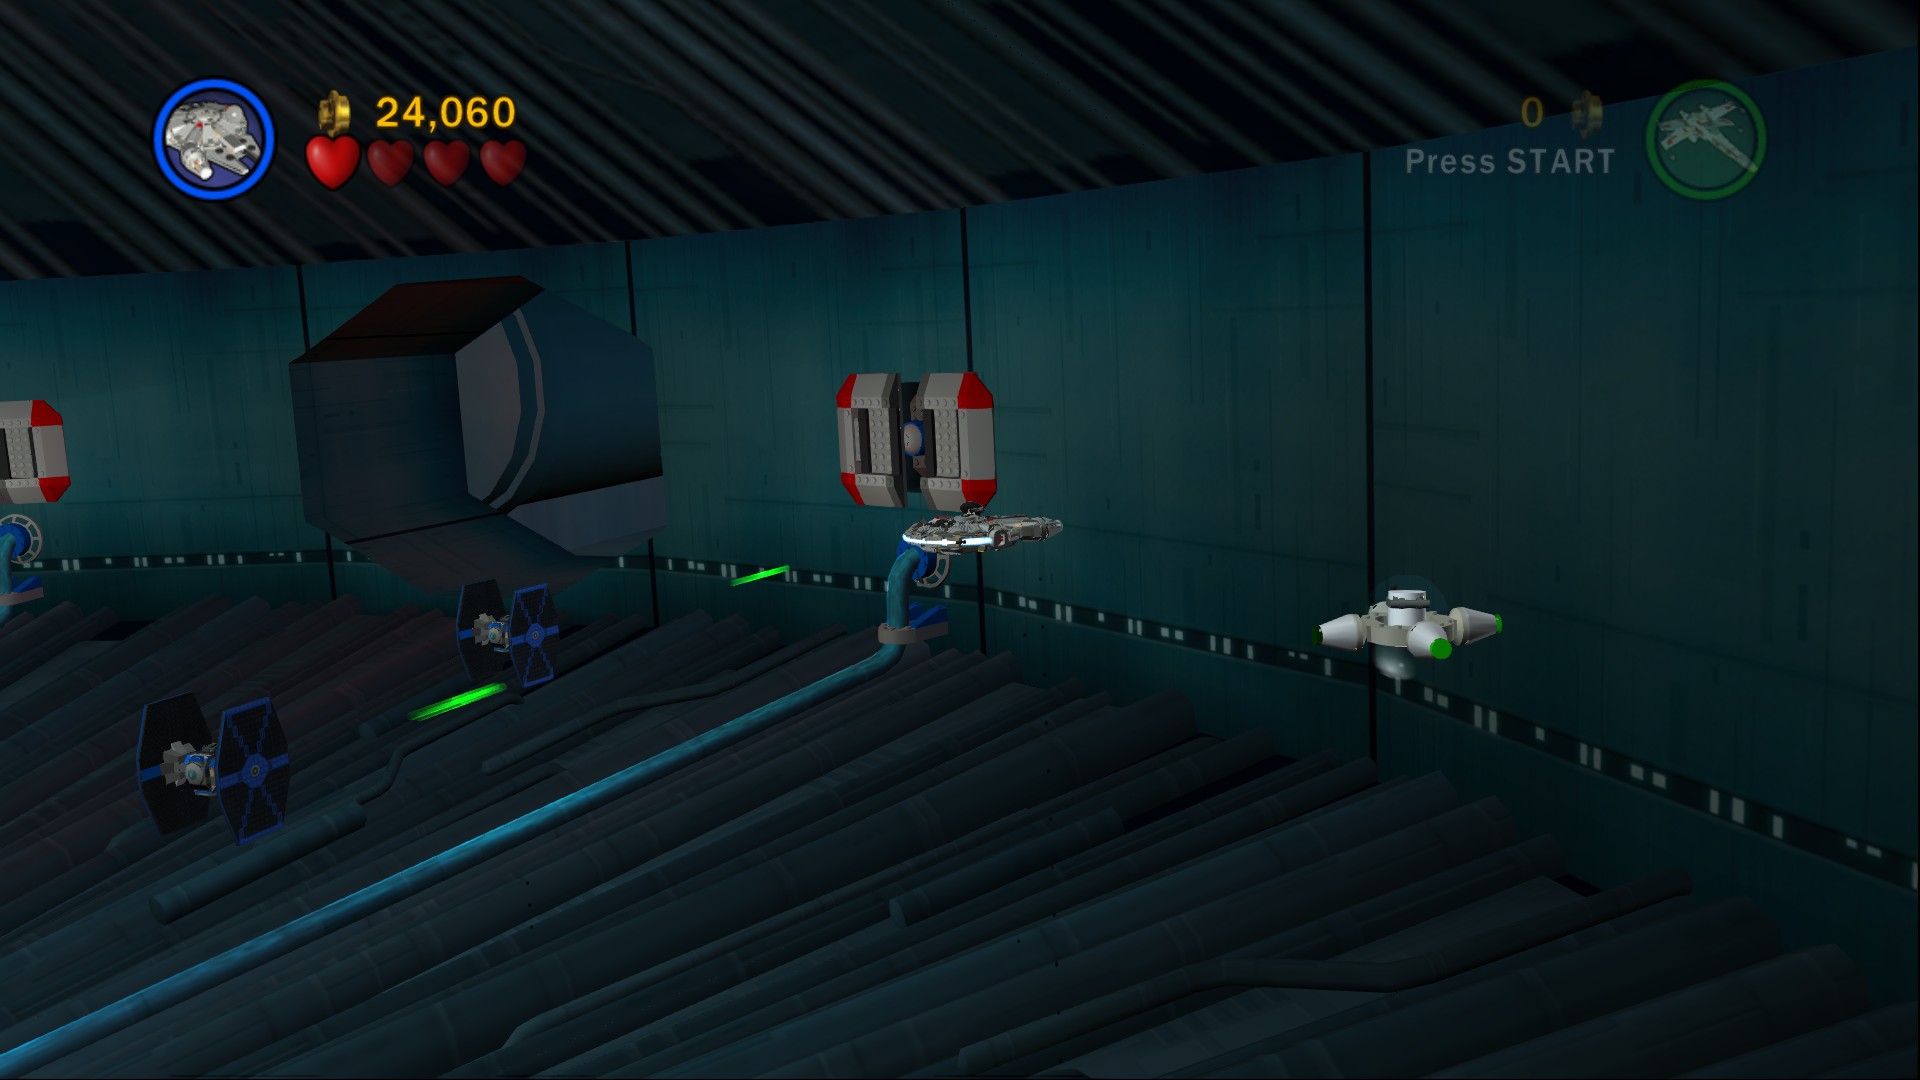
Just floating in the core area, to the right of where the TIE Fighters are coming in from.
Red Brick (Score x10)
Requires: Torpedoes Story Mode: Yes
Use torpedos to blow up the cover on the left side of the area. You can go back out the way you came in to go get some more torpedoes if you didn't bring enough with you.
In the core you'll need to shoot all of the electrical things on the wall that cover and uncover, just don't get too close or you'll get shocked. Once all of the pipes have been disconnected start shooting at the blue core itself through the little gaps in the covers. Once you get enough shots in the covers will explode exposing the rest of the core. Fire a torpedo at the core to start the exit sequence.
Note that if you haven't gotten True Jedi at this point it is unlikely you'll get it on the way out, there are some studs you can get but you'll most likely lose more studs trying to get them.
Minikit 8/10
Requires: None Story Mode: Yes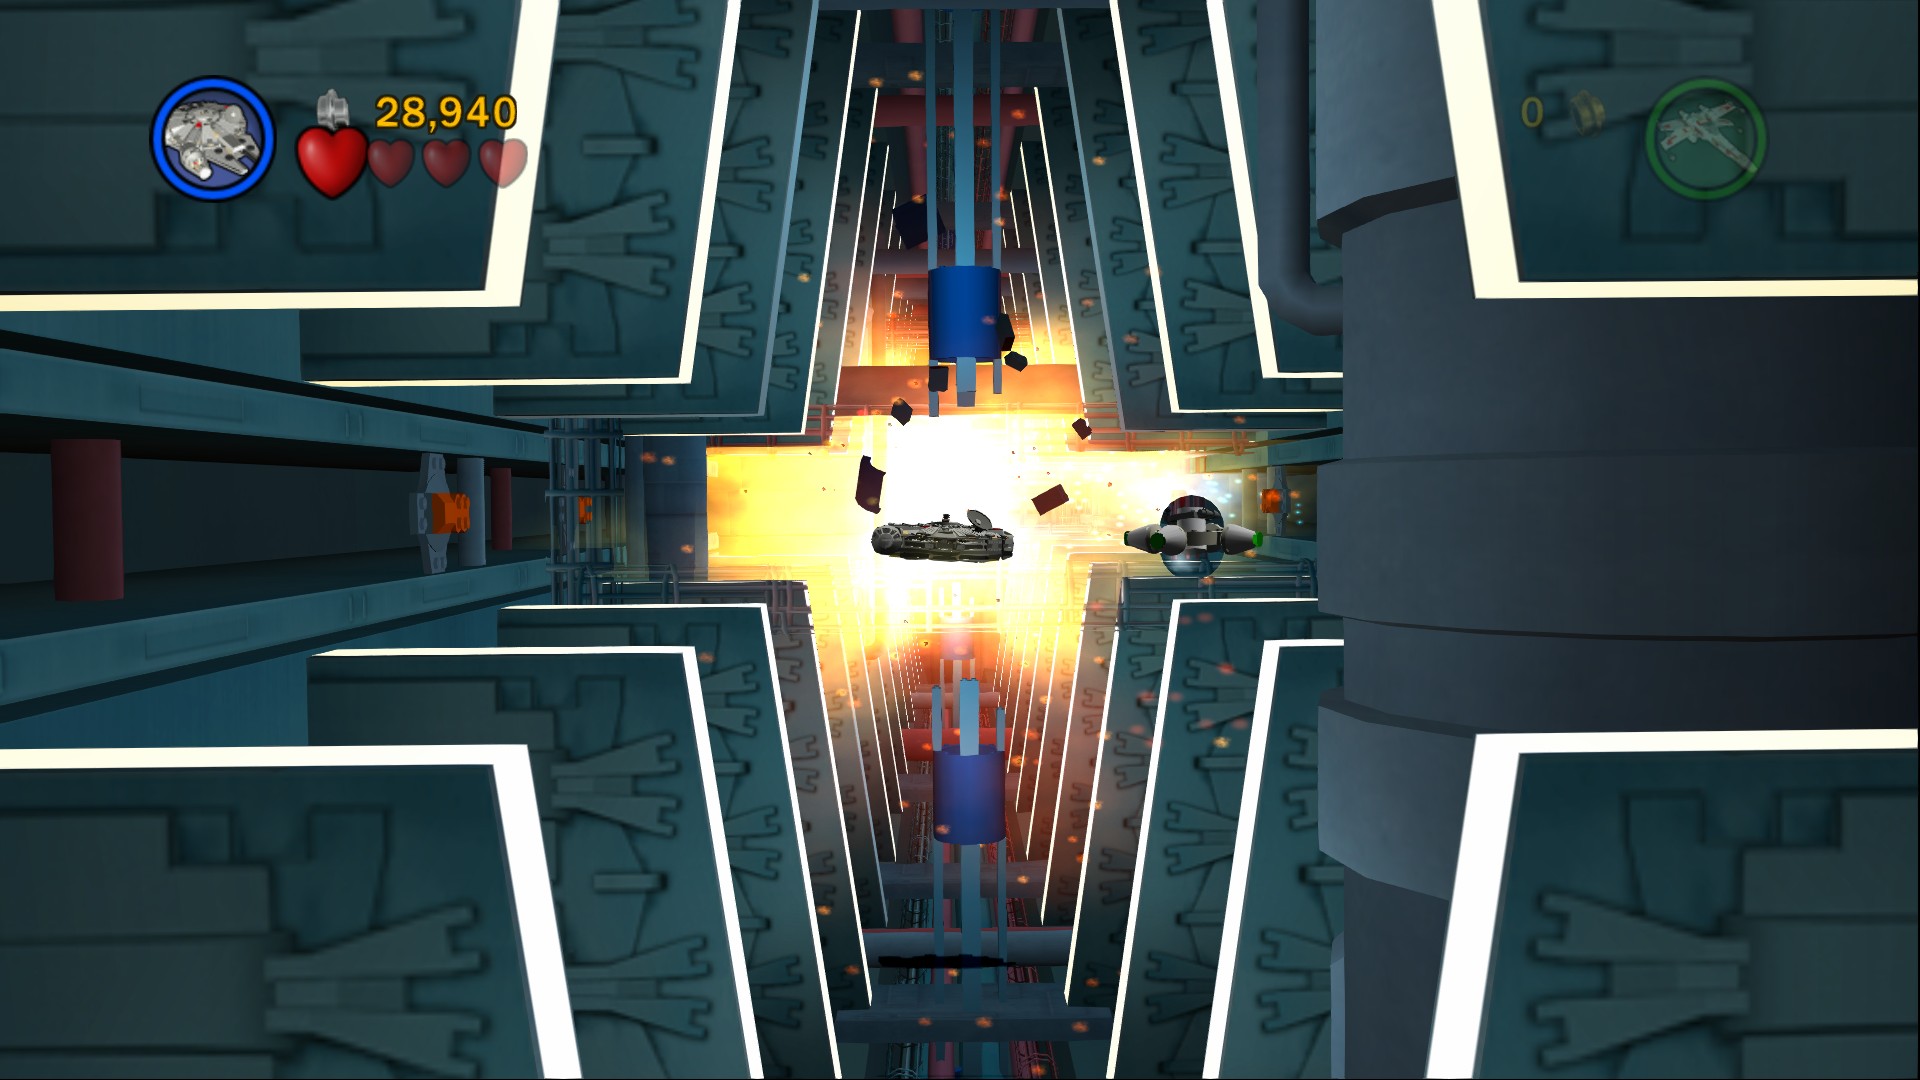
Along the right side during the first section as you are leaving the Death Star, in the third turquoise tunnel.
Minikit 9/10
Requires: None Story Mode: Yes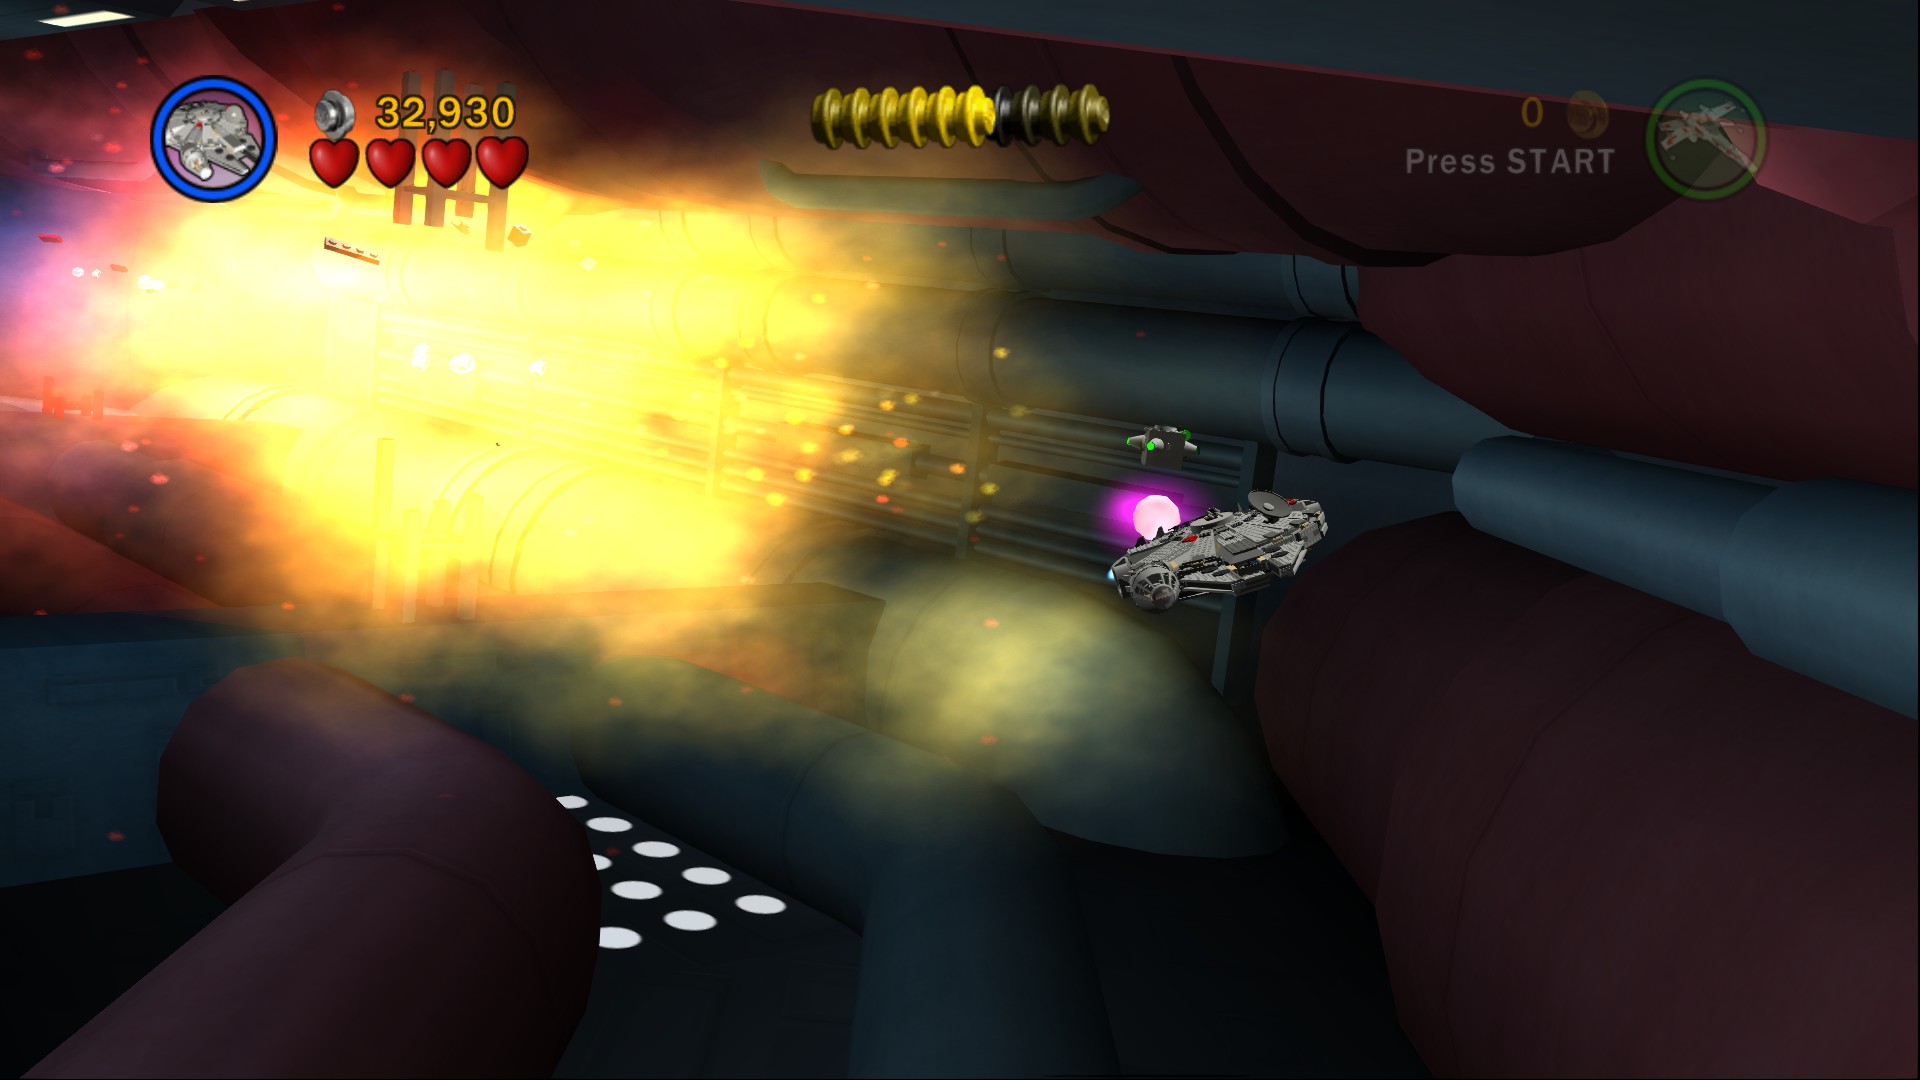
Along the right side on a turn during the second section.
Minikit 10/10
Requires: None Story Mode: Yes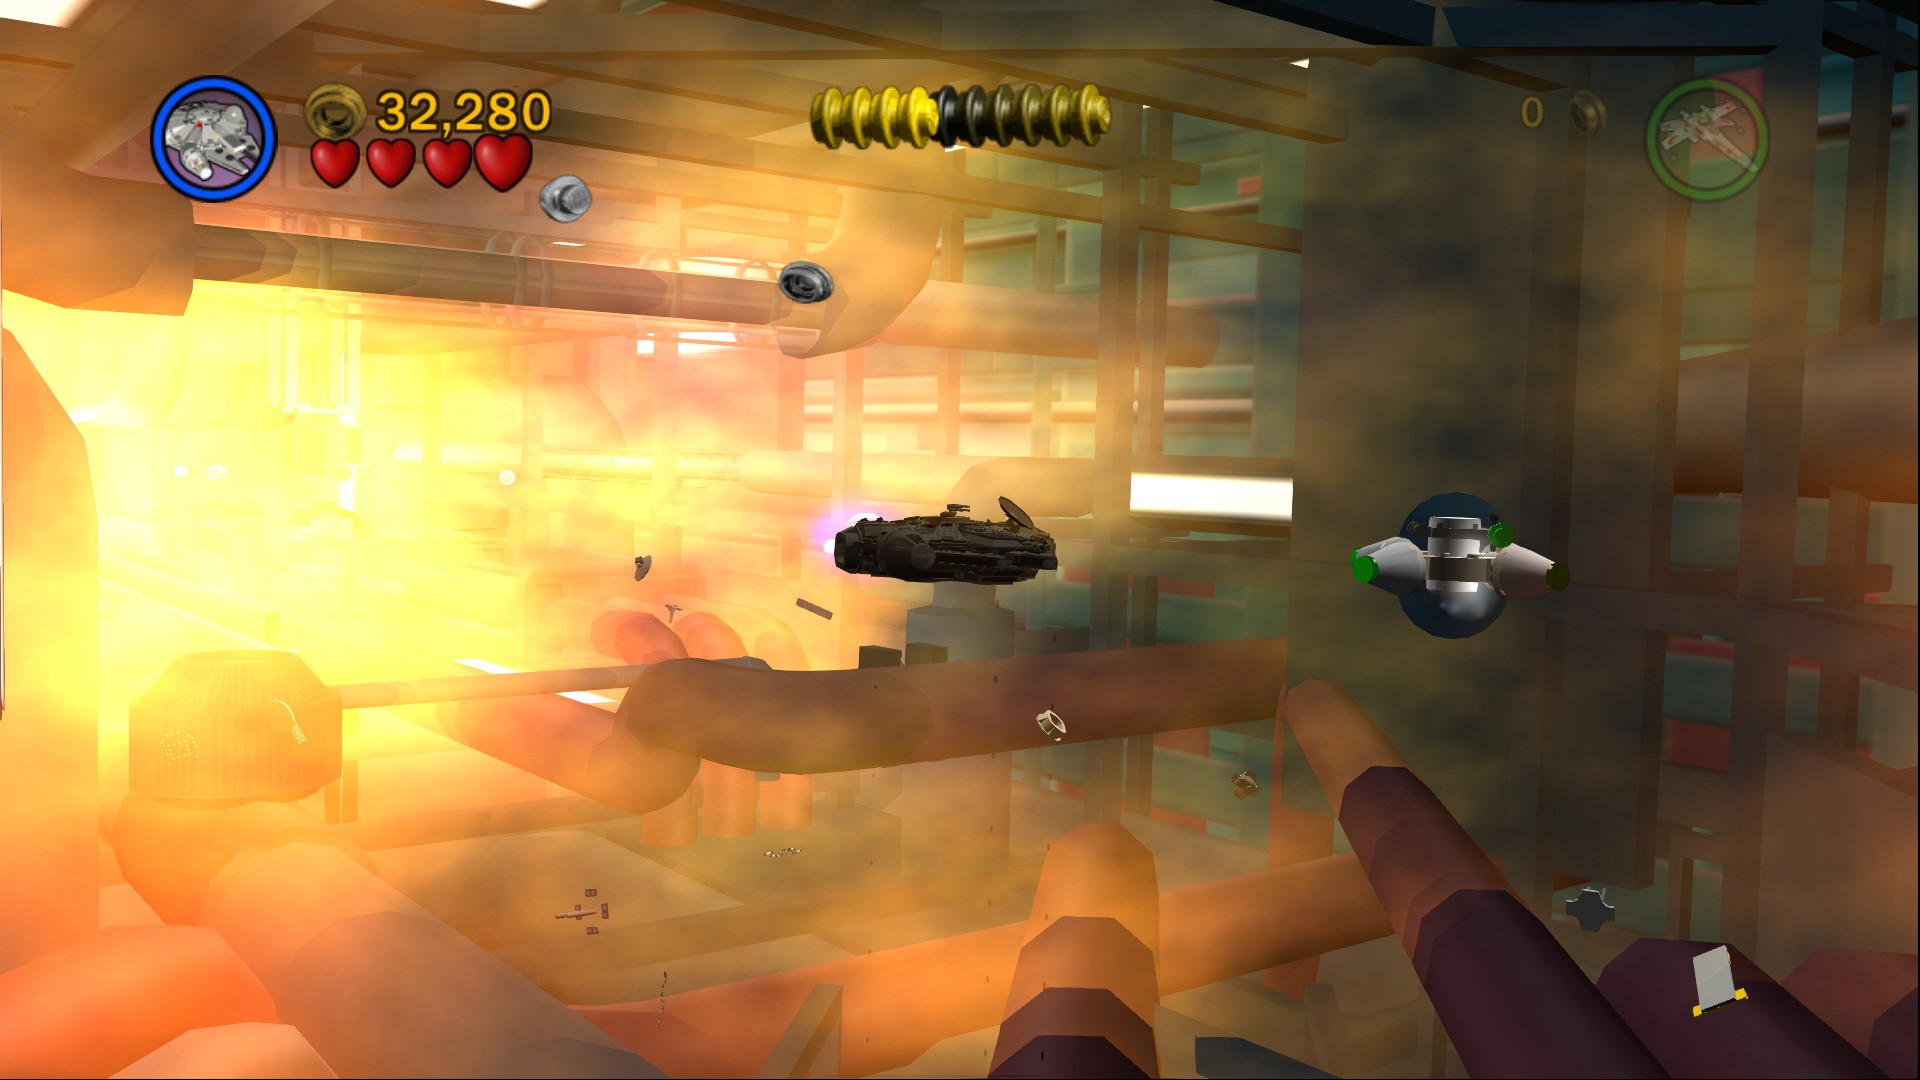
Along the right side of the third part of leaving, on the turn just before the exit.
As you leave just keep firing and moving towards the screen, you're mostly just trying to outrun the explosion behind you.
TIE Interceptor
 Based on set 6965
The only character that this level unlocks in the store by itself is Admiral Ackbar. You will however also unlock the Force Ghosts and IG-88 in the store upon completion of all three Episodes, which is, of course, quite likely to be now.
| Cost | Character | |
|---|---|---|
| 33,000 | Admiral Ackbar | |
| 1,100,000 | Ben Kenobi (Ghost) | |
| 1,000,000 | Anakin Skywalker (Ghost) | |
| 1,200,000 | Yoda (Ghost) | |
| 100,000 | IG-88 |
32 Gold Bricks are required to play the Super Story, Character Bonus, and Minikit Bonus for Episode VI. Here again are some times and stud amounts I got:
| Chapter | Time | Studs | Running Totals | |
|---|---|---|---|---|
| Chapter 1 | 11:00 | 15,000 | 11:00 | 15,000 |
| Chapter 2 | 10:00 | 23,000 | 21:00 | 38,000 |
| Chapter 3 | 11:30 | 38,000 | 32:30 | 76,000 |
| Chapter 4 | 11:00 | 29,000 | 43:30 | 105,000 |
| Chapter 5 | 3:00 | 3,000 | 46:30 | 108,000 |
| Chapter 6 | 6:30 | 19,000 | 53:00 | 127,000 |
For the Character Bonus on Endor one way you can do it is a loop around the left side of the level. To begin rebuild the bridge to your left but then turn around and start going around the path in a clockwise manner as all the other bridges are triggered from that side. Blow up the Silver LEGO when you see it and shoot all the pots, try to ignore the enemies if you can, if you find them overwhelming you just transform into a non combat droid like R2-D2 and move away from the crowd. It should only take three or four loops to reach the million.
For the Endor Minikit Bonus you want to go through to the clearing on the right to find the torpedo dispenser, grab three of them and then pass by each of the three pylons blowing them up. Keep looping around and around shooting stuff along the way to get to that million.
And that's all of the Episodes done but it still leaves us with only 81 Gold Bricks. Where are the other 18?
Eight of them you can buy from the store, one unlocks at the start of each hour of game time you've played. So you need to have played 7 hours or more to unlock all eight.
And then the remaining ten can be earned doing Jabba's Bounty Hunter Missions, you'll need to have all of the Bounty Hunters unlocked to access this. The door is between Episodes IV and V.
Along with all 99 Gold Bricks, to get the full 100% you must buy every item from the shop (including the hints) and complete the bonus LEGO City level that you can unlock at 60 Gold Bricks.
 darkspyro.net