Villain Episode 1. The Riddler's Revenge
Chapter 1. The Riddler Makes a Withdrawal
| Story Mode | Free Play |
|---|---|
| 45,000 | 80,000 |
Minikit 1/10
Requires: Strength Story Mode: Yes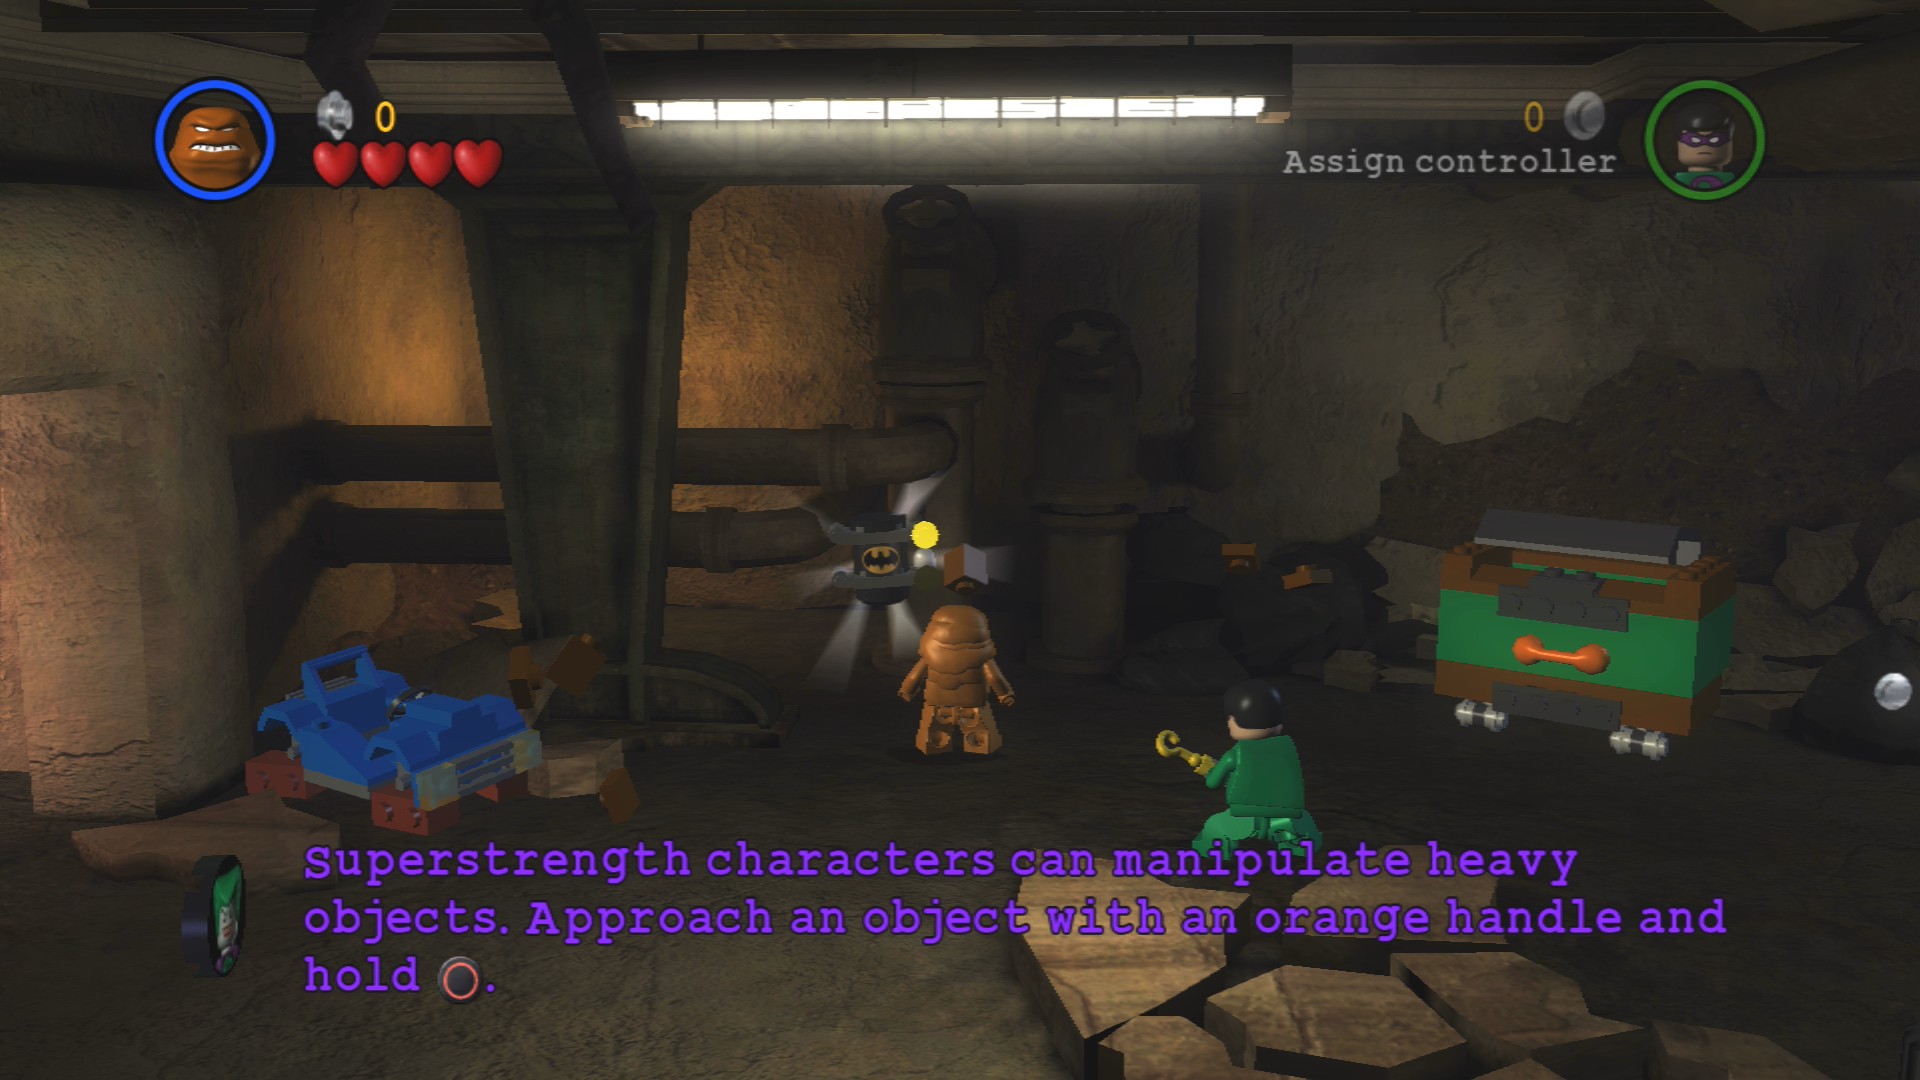
Pick up the dumpster with the orange handle on the left at the start.
Smash the objects at the base of the pillar in front of the closed shutters, you'll find LEGO bricks that can be built into a lever which will open the shutters. Use the Riddler to hypnotise the guard inside and have him push on the spinner switch.
Go up the ramp through the opened gate to find a bunch of parked vehicles and a few police to defeat.
Minikit 2/10
Requires: Strength Story Mode: Yes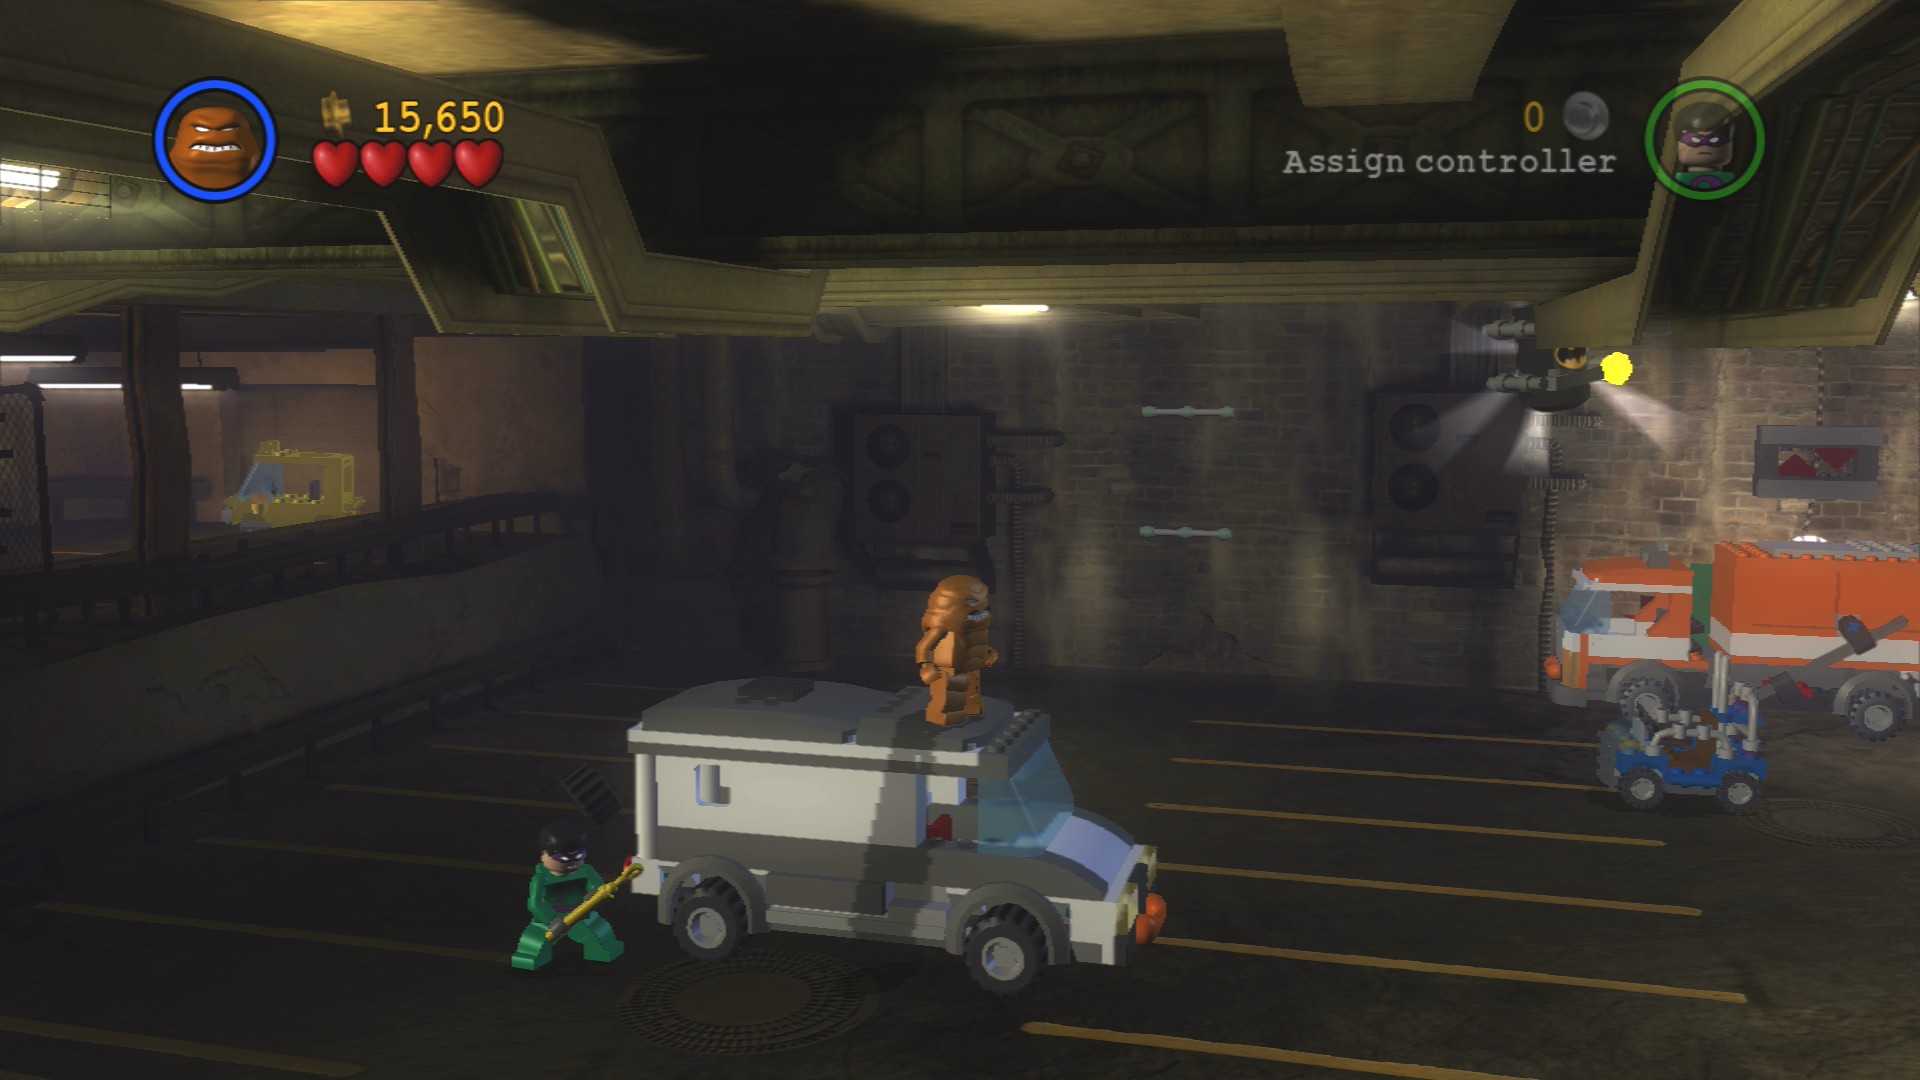
Pull on the orange strength handle on the front of the parked van to move it so you can use it to grab the Minikit in the air.
Minikit 3/10
Requires: High Jump Story Mode: Yes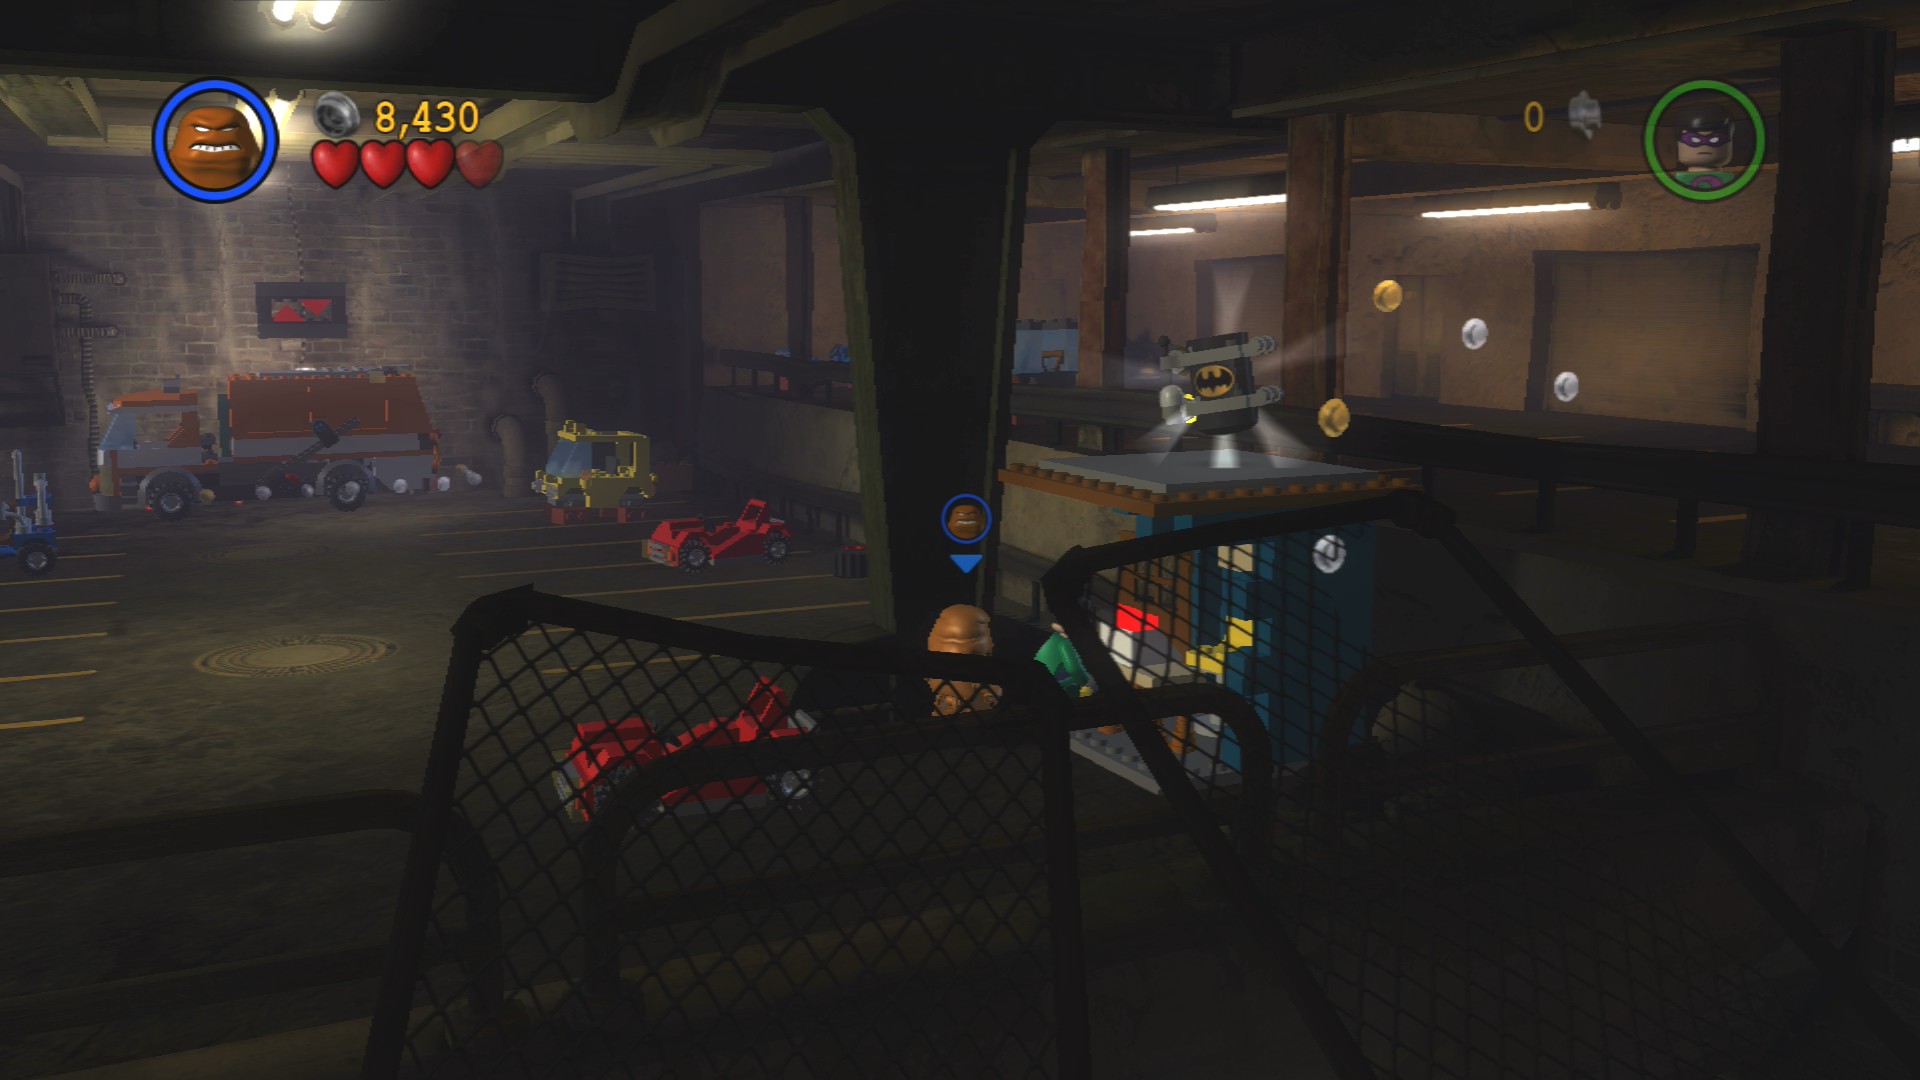
Use a car to smash into the blue booth in the near right corner to reveal a Minikit on top of it.
At the back of the area is an orange truck, go to the back of it and have Clayface use the strength handles to shove it out of the way. Keep pushing it until both levers are revealed and you can pull them at the same time to open the lift with two buttons inside.
Minikit 4/10
Requires: Grapple, Batarang Story Mode: No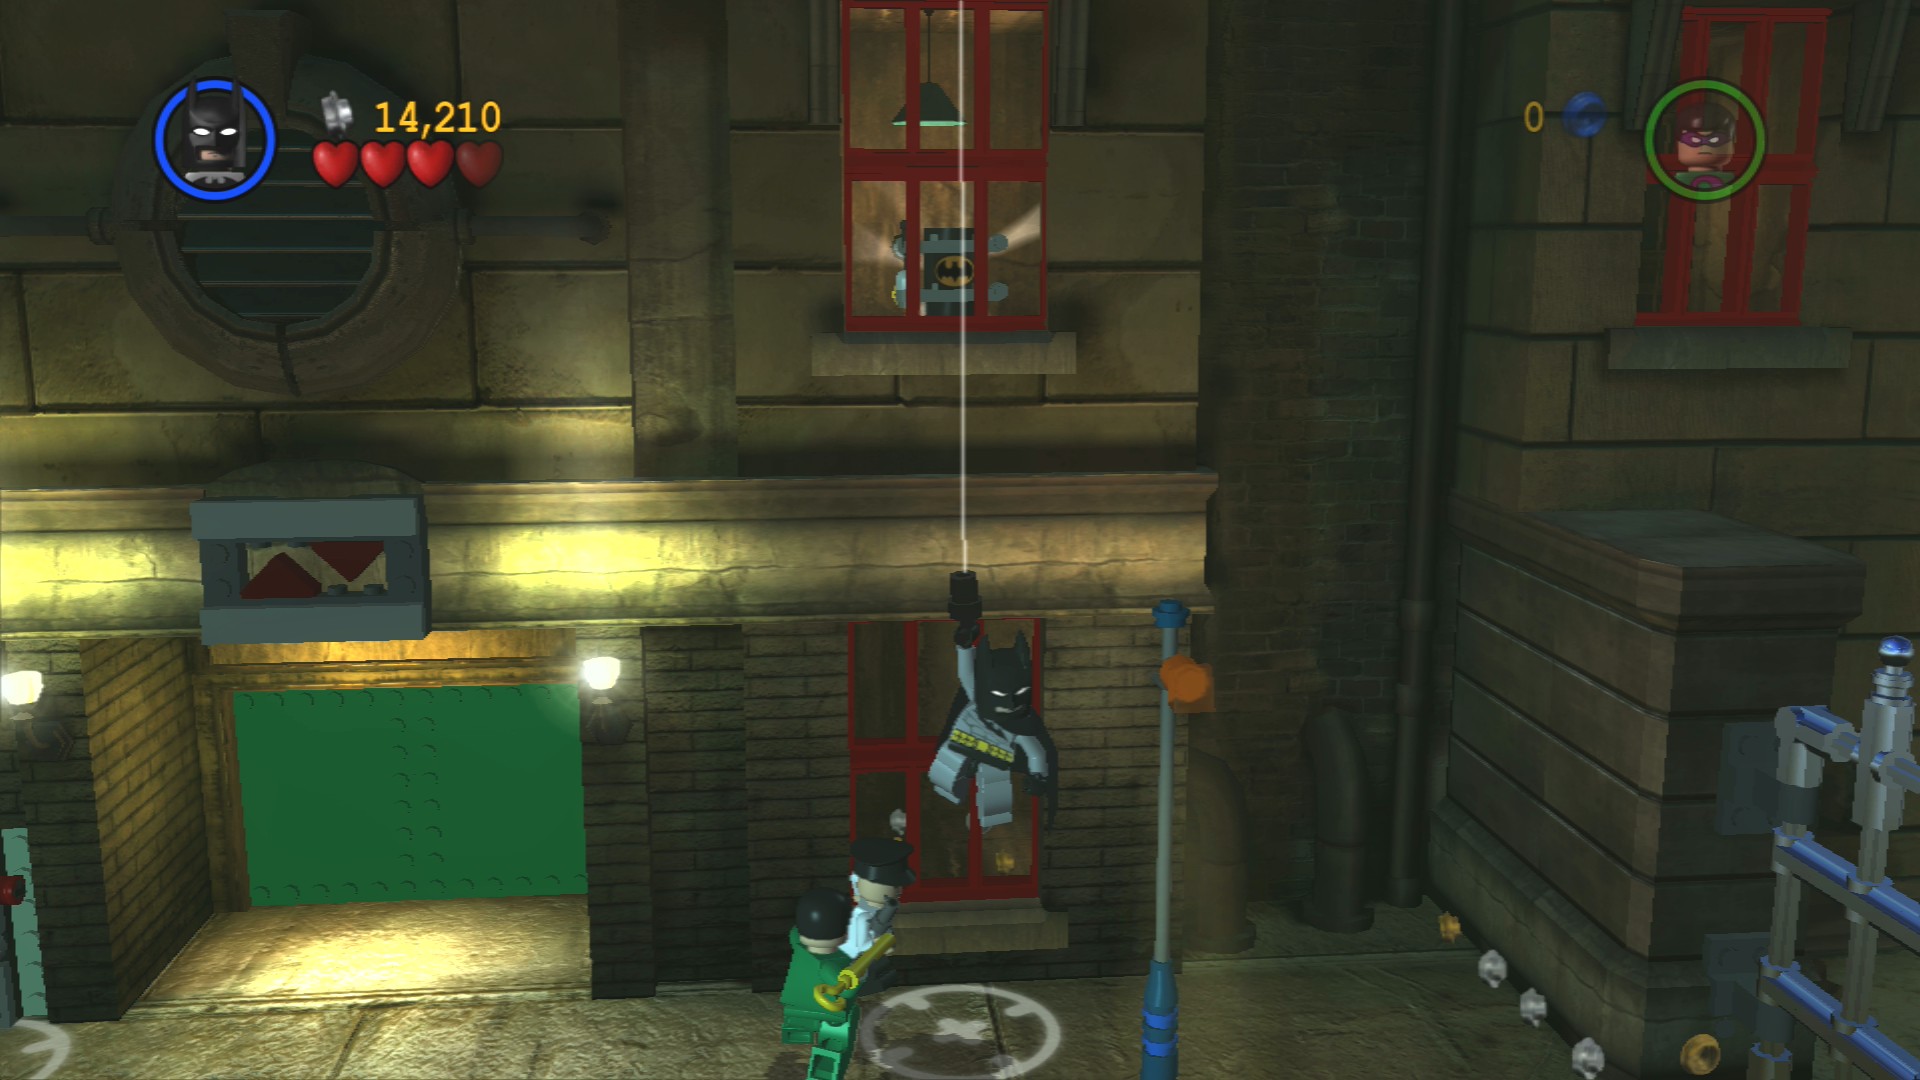
On your right after leaving the carpark is a grapple point. Make sure to smash the upper window with a batarang first though.
Hostage 13/25
Requires: Sonic Suit Story Mode: No
Blow out the windows just to the left of the lift and rescue the hostage inside.
Have Clayface High Jump up to the handholds above the hostage window and then jump to the left to grab the bottom of a folded up ladder to pull it down.
Minikit 5/10
Requires: Explosives Story Mode: No
Blow up the Silver LEGO window to get the Minikit inside.
Climb up the ladder to reach the other side of the gate. Defeat a few Security Guards and then start throwing the trucks out of the way using Clayface's strength. The last one needs to be pulled all the way to the left until it's on the orange plate. That will reveal a lever in a room above.
Use The Riddler's hypnosis to control the man in that room so that he pulls the lever. That will attach part of a crane to the orange vehicle. Assemble the bits of LEGO on the floor behind and in front of it to finish it off so you can start driving it. Smash your way through the Silver LEGO gate.
Keep going to the right smashing through a second Silver LEGO gate just past where you exited the lift.
Minikit 6/10
Requires: Sonic Suit Story Mode: No
Just past the Silver LEGO gate is a window you can shatter with the Sonic Suit.
Red Brick - Score x2
Requires: Magnet Suit, High Jump, Hypnosis Story Mode: No
Magnet walk up the metal wall just to the right of the previous Minikit window and walk along the ledge to the left. High Jump onto the handhold on the sign with the flashing red arrow to spill LEGO onto the street below.
Assemble a small red car out of that LEGO and drive it back down the street to the crusher where you found the first part of the crane. The cage will close once it's in place. To activate the crusher you must first use your batarang to hit the yellow top of the bars that are blocking the second lever in the hypnotism room. Then you can hypnotise the guy again into pulling that second lever. Now just smash the car that pops out to get your Red Brick.
Smash the Silver LEGO at the far end and then use strength to open a hatch on the wall to reach a new area.
Minikit 7/10
Requires: High Jump Story Mode: Yes
High Jump up to the handholds directly above where you enter this new area.
Smash the telephone booth on the right a the end of the alley to get the parts to build a ladder.
Minikit 8/10
Requires: Sonic Suit Story Mode: No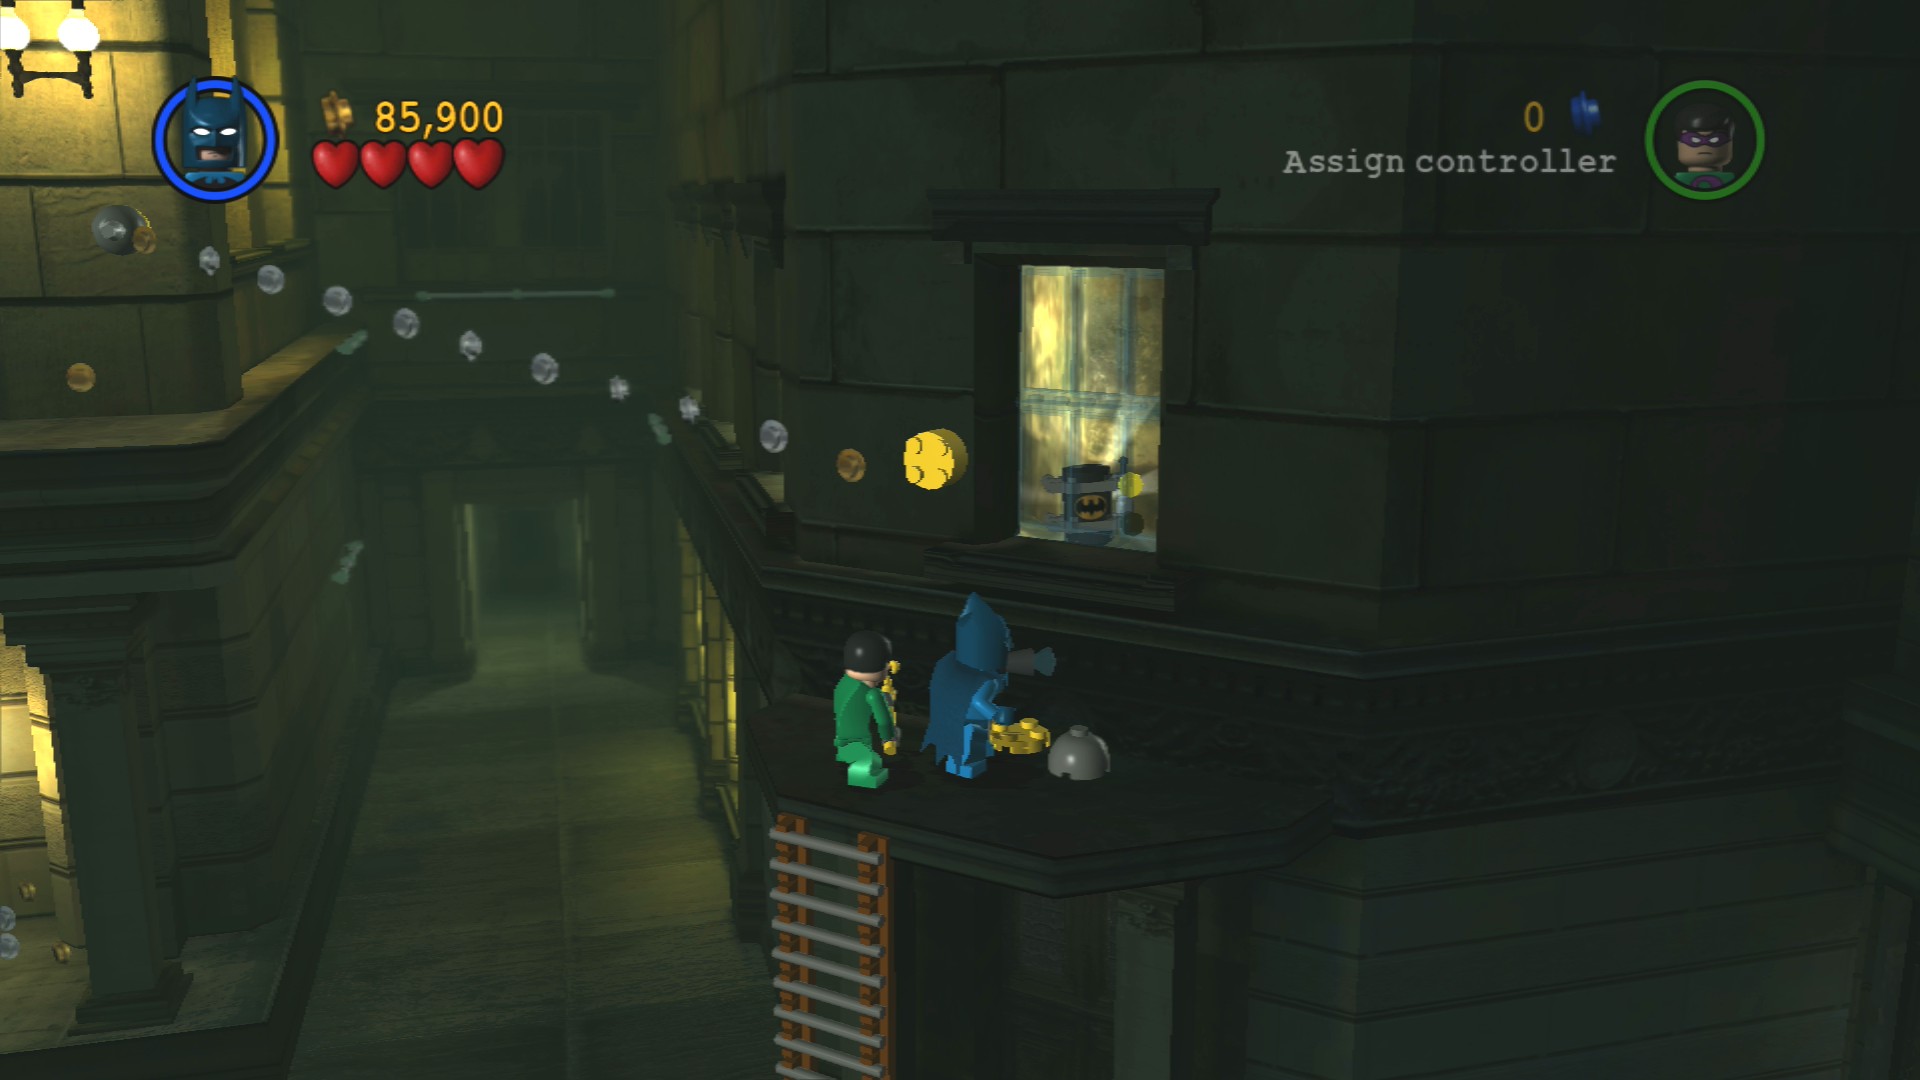
Climb the ladder to a window you can smash with the Sonic Suit.
At the top of the ladder you can also build a tightrope point to climb over to the ledge across. Hypnotise the man inside the building and have him jump to grab the handhold on his wall. That will dislodge the statue on the front of the building.
Minikit 9/10
Requires: None Story Mode: Yes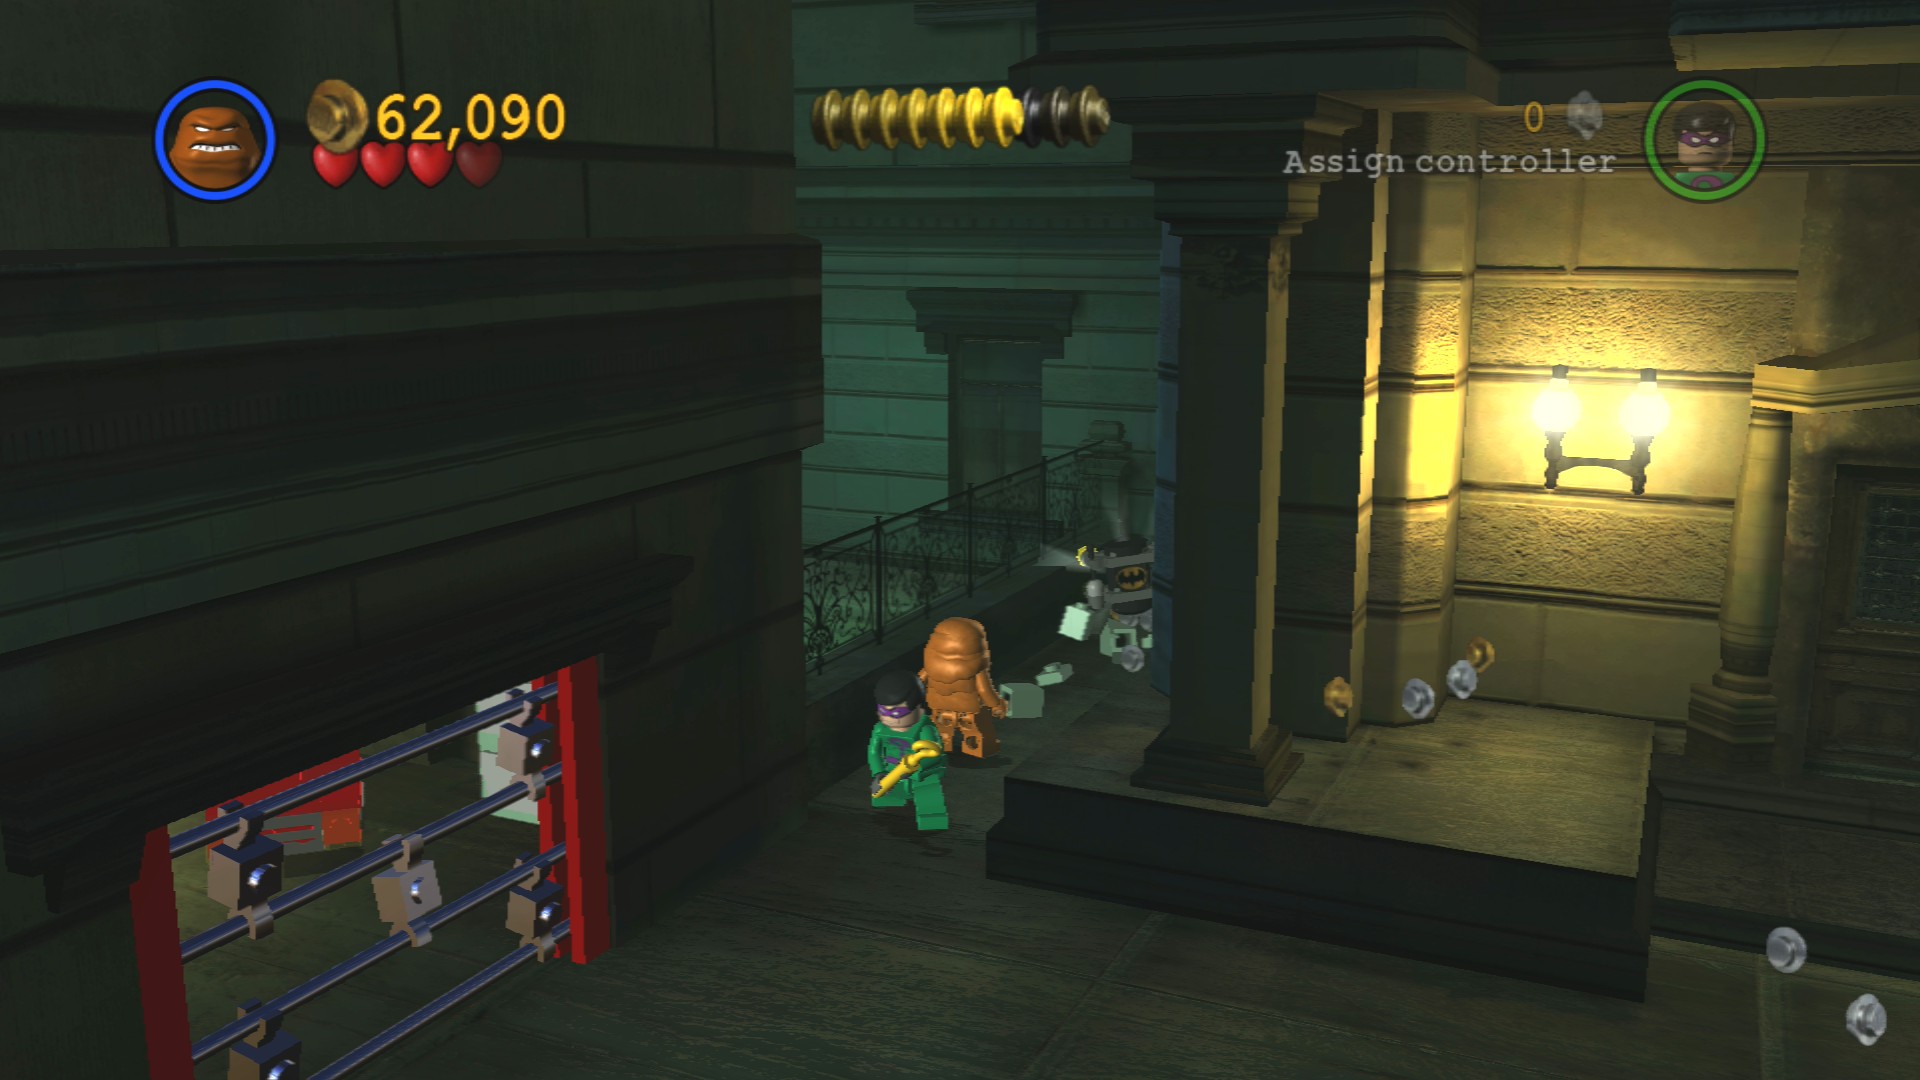
Down the alley on the left side of the building you knocked the statue off.
Minikit 10/10
Requires: Explosives/Car Story Mode: Yes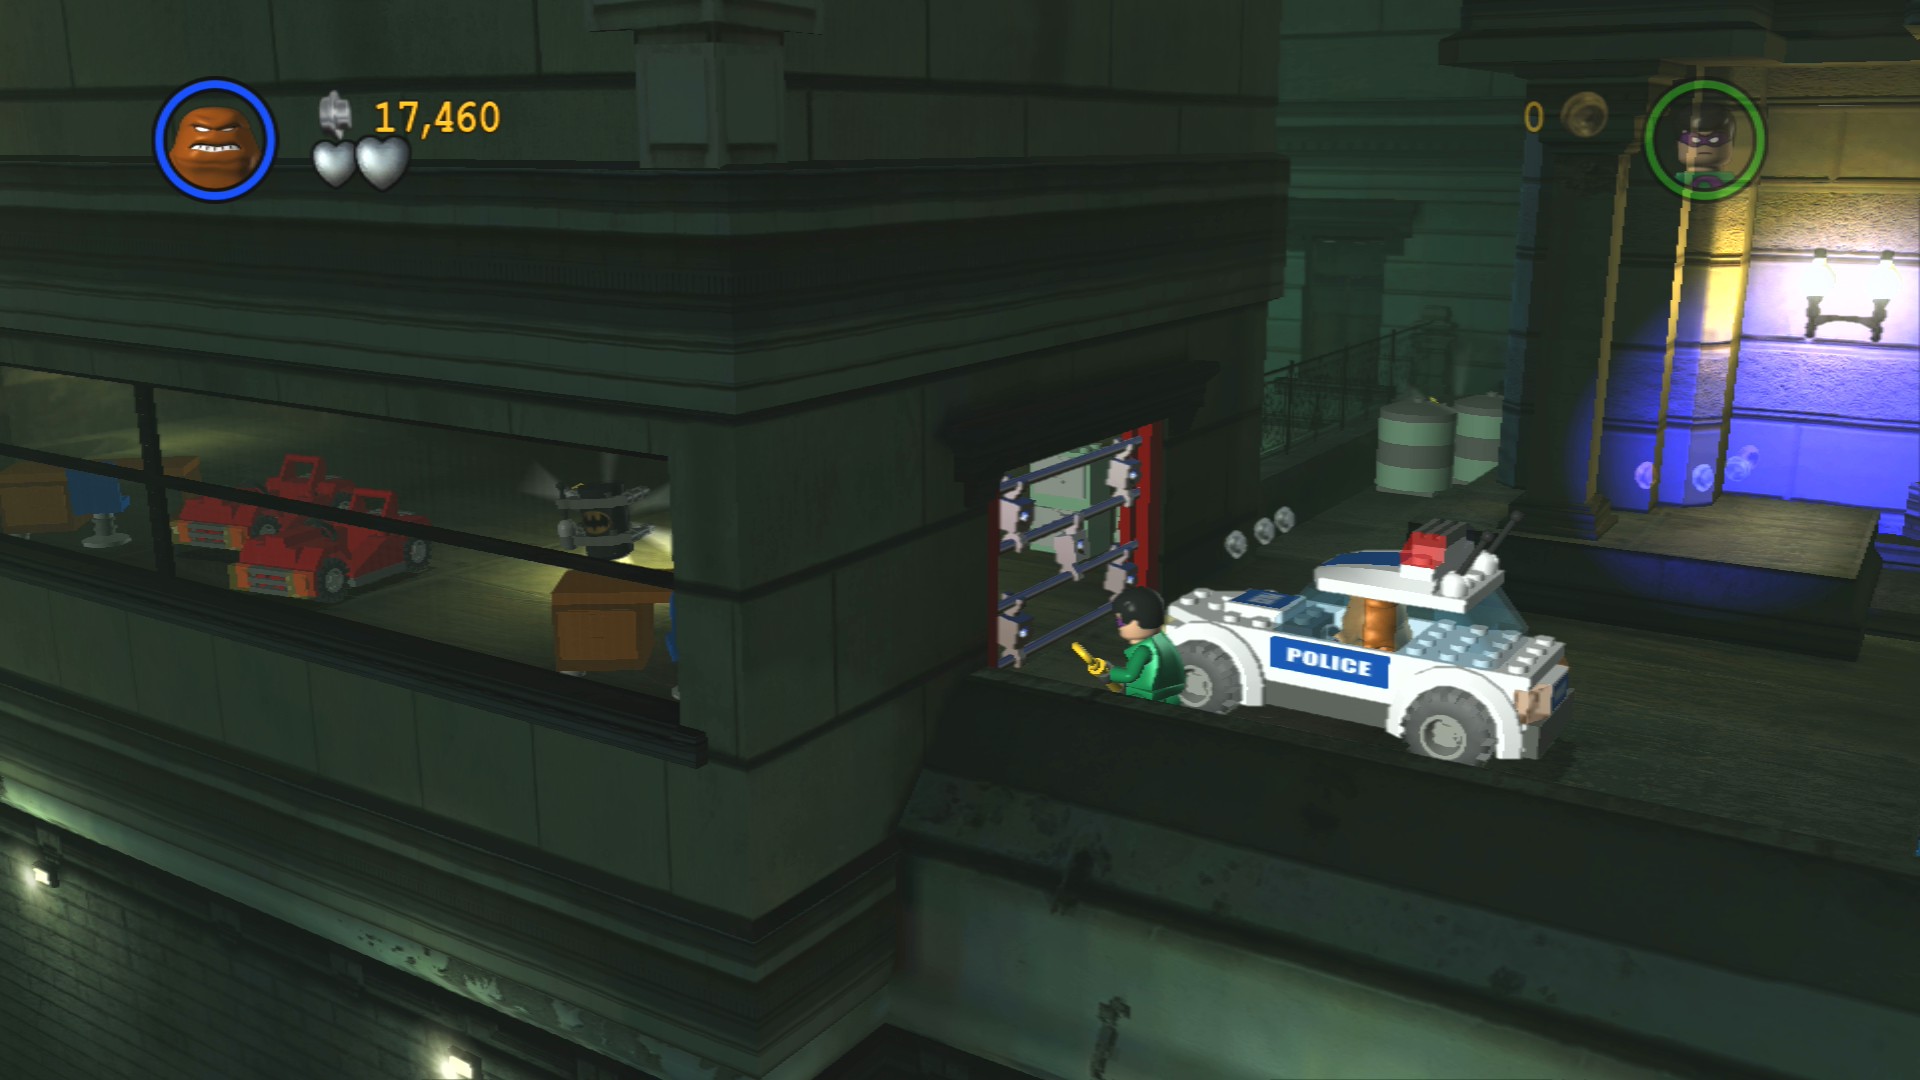
Smash through the Silver LEGO barrier on the left in the Police Car to find the Minikit in the car showroom.
Assemble the parts from the fallen statue along with the parts from the benches and the Silver LEGO box that you can open by driving the Police Car through it. To finish the level jump on the plunger.
| Cost | Character | |
|---|---|---|
| - | Clayface | |
| - | The Riddler |
Chapter 2. On the Rocks
| Story Mode | Free Play |
|---|---|
| 58,000 | 104,000 |
First take out the large number of police that are attacking you, the ones up top should jump down when they're the last ones left.
Use Mr. Freeze's superstrength to pull on the orange handle on the pipe in the back left corner. You can then ride a blast of air up onto the top of the snowman billboard where a few more cops will attack.
Minikit 1/10
Requires: None Story Mode: Yes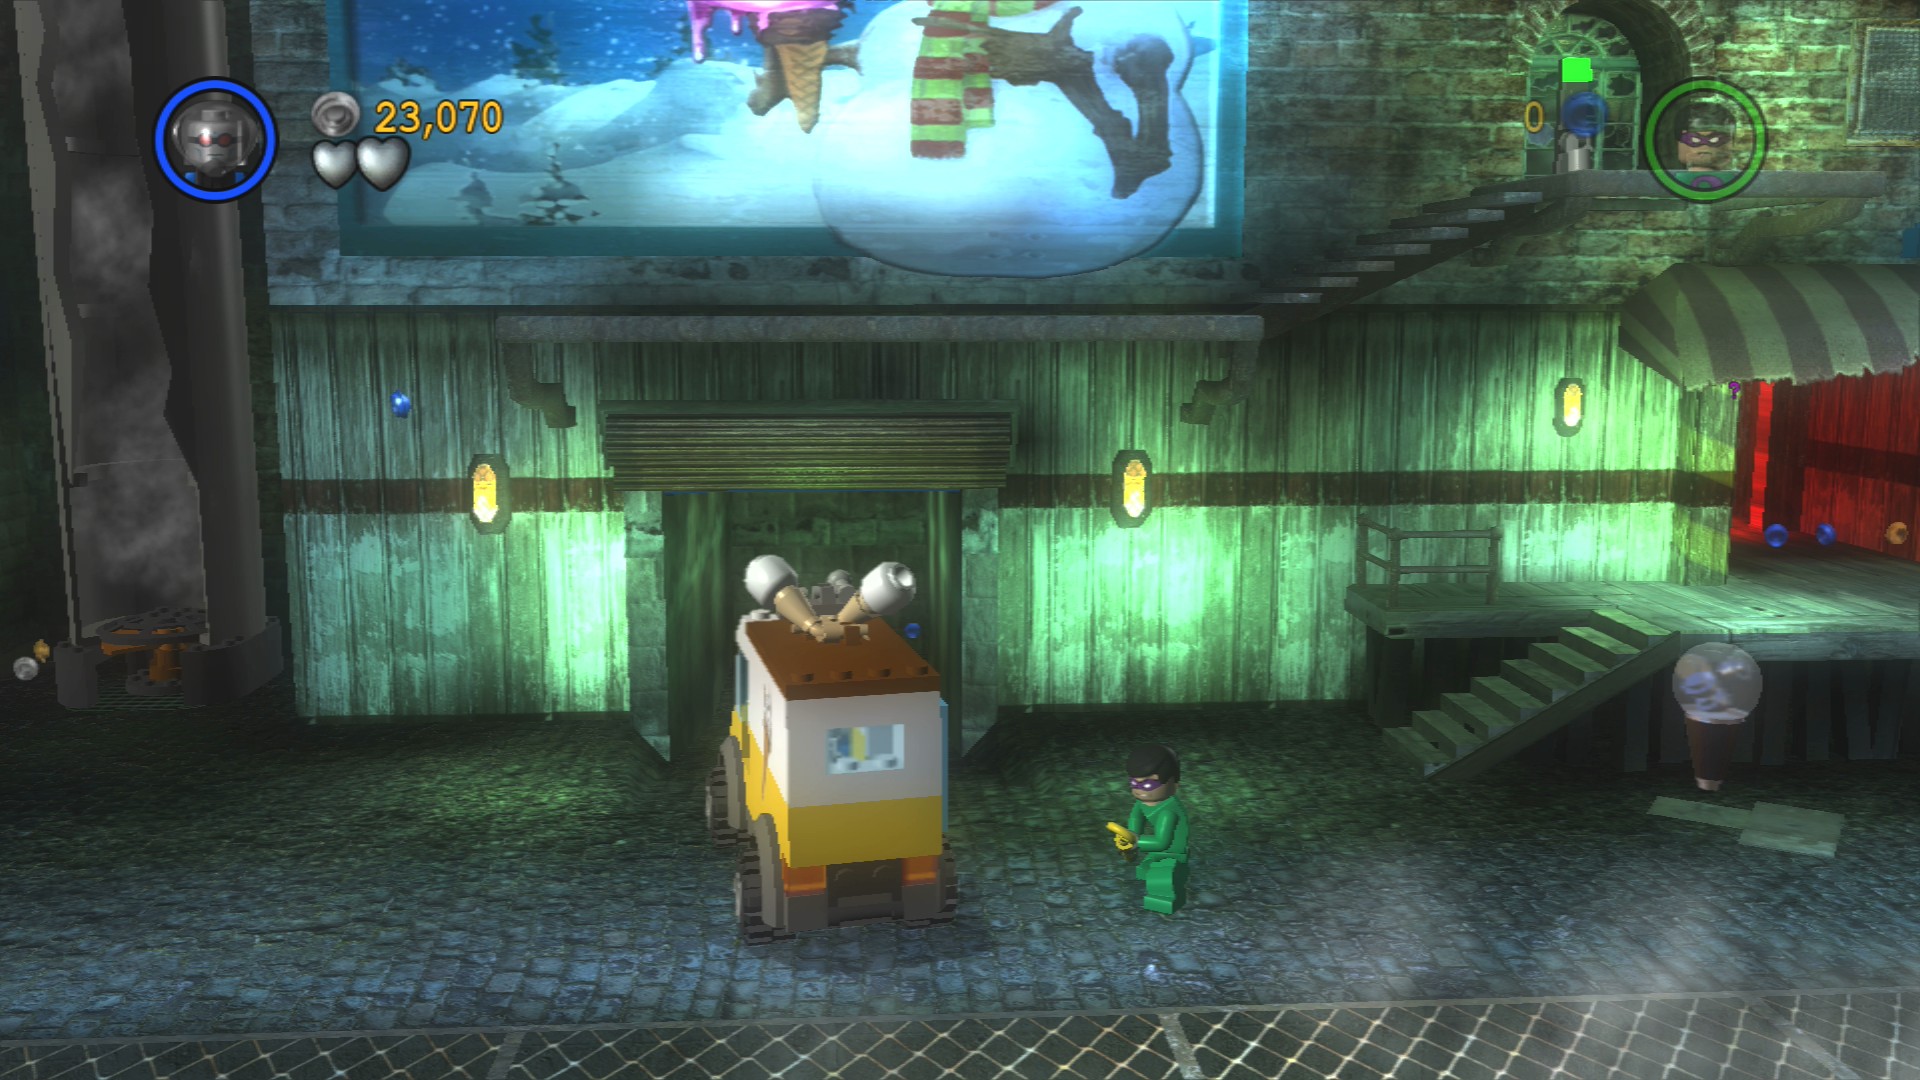
Smash the red object in front of the Ice Cream Van in the near left corner to find the pieces to fix it so you can drive it. Drive it to the blue garage door beneath the snowman billboard and park it inside (after defeating the policemen). The Minikit will appear above.
Minikit 2/10 - Part 1/3
Requires: None Story Mode: Yes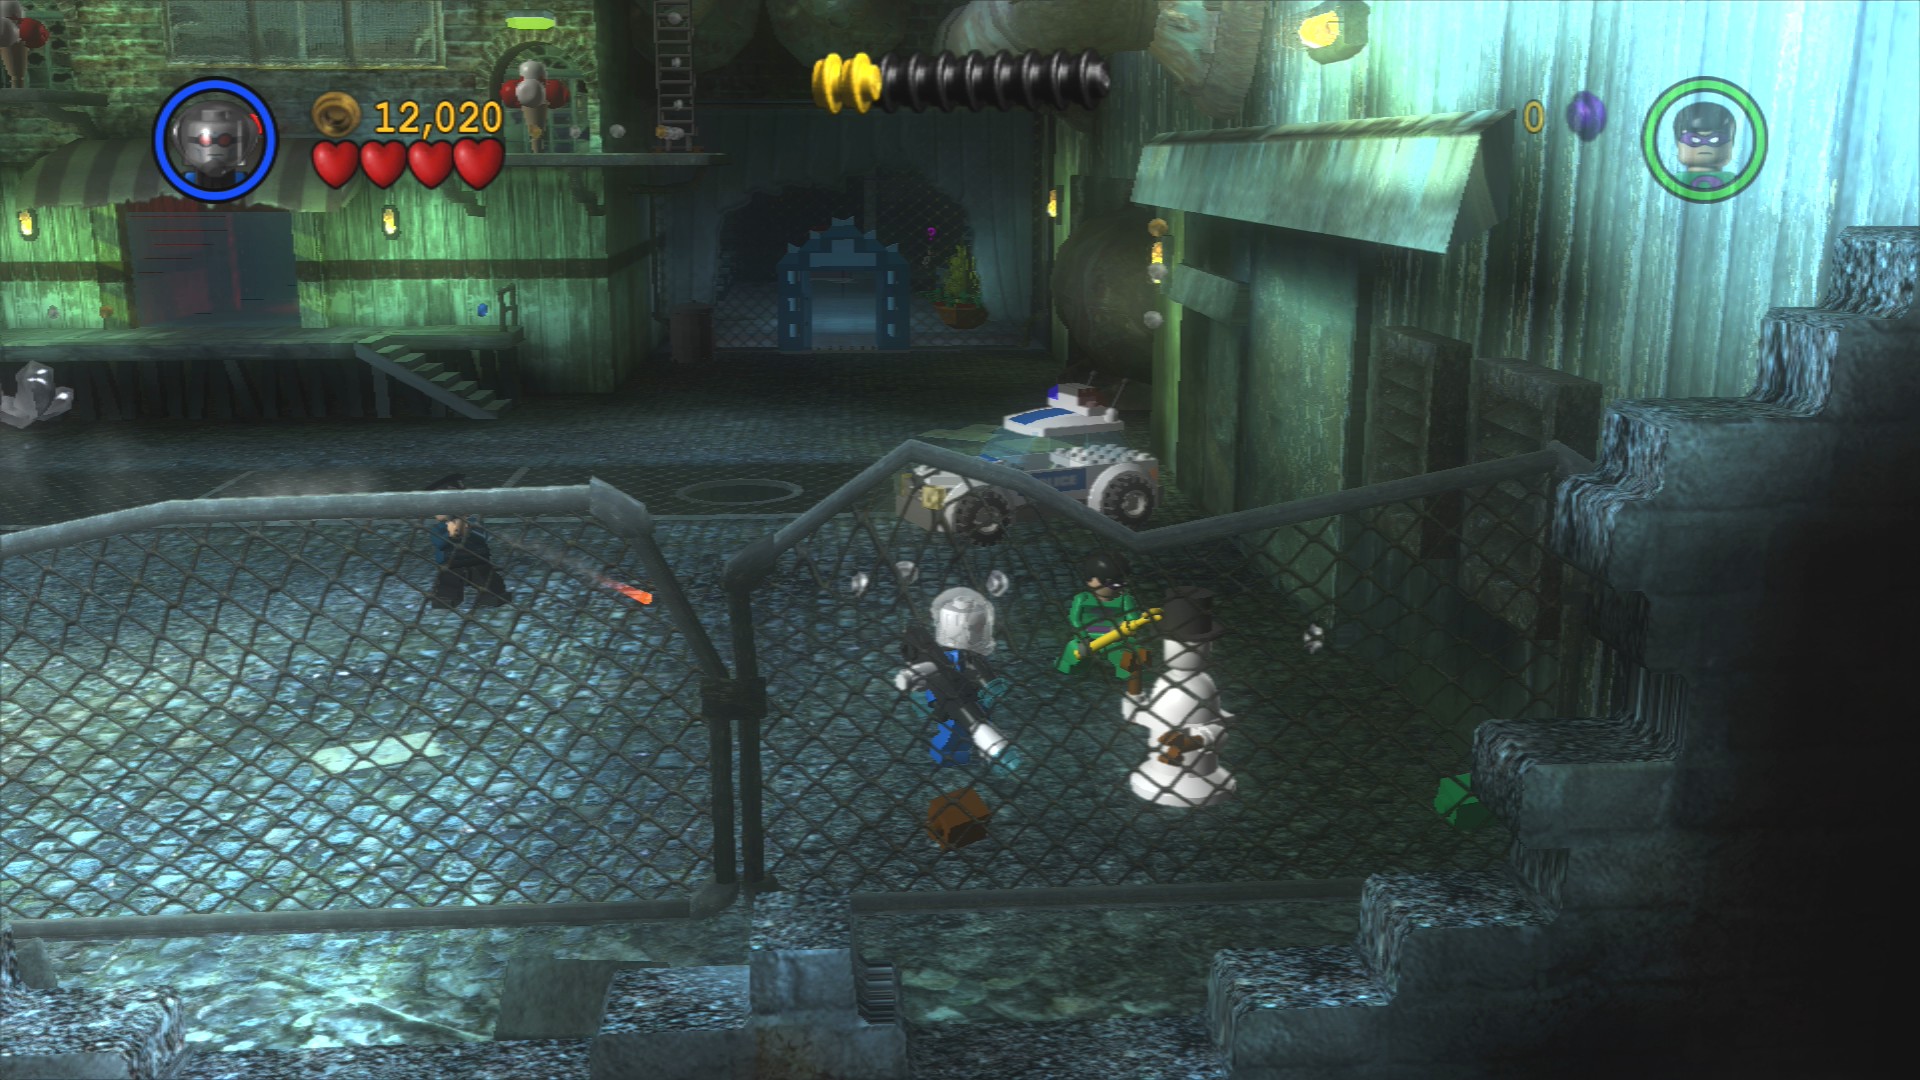
In the near right corner is a plant in a pot that you can smash to reveal a little snowman. The first of three.
Minikit 2/10 - Part 2/3
Requires: Sonic Suit, Hypnosis Story Mode: No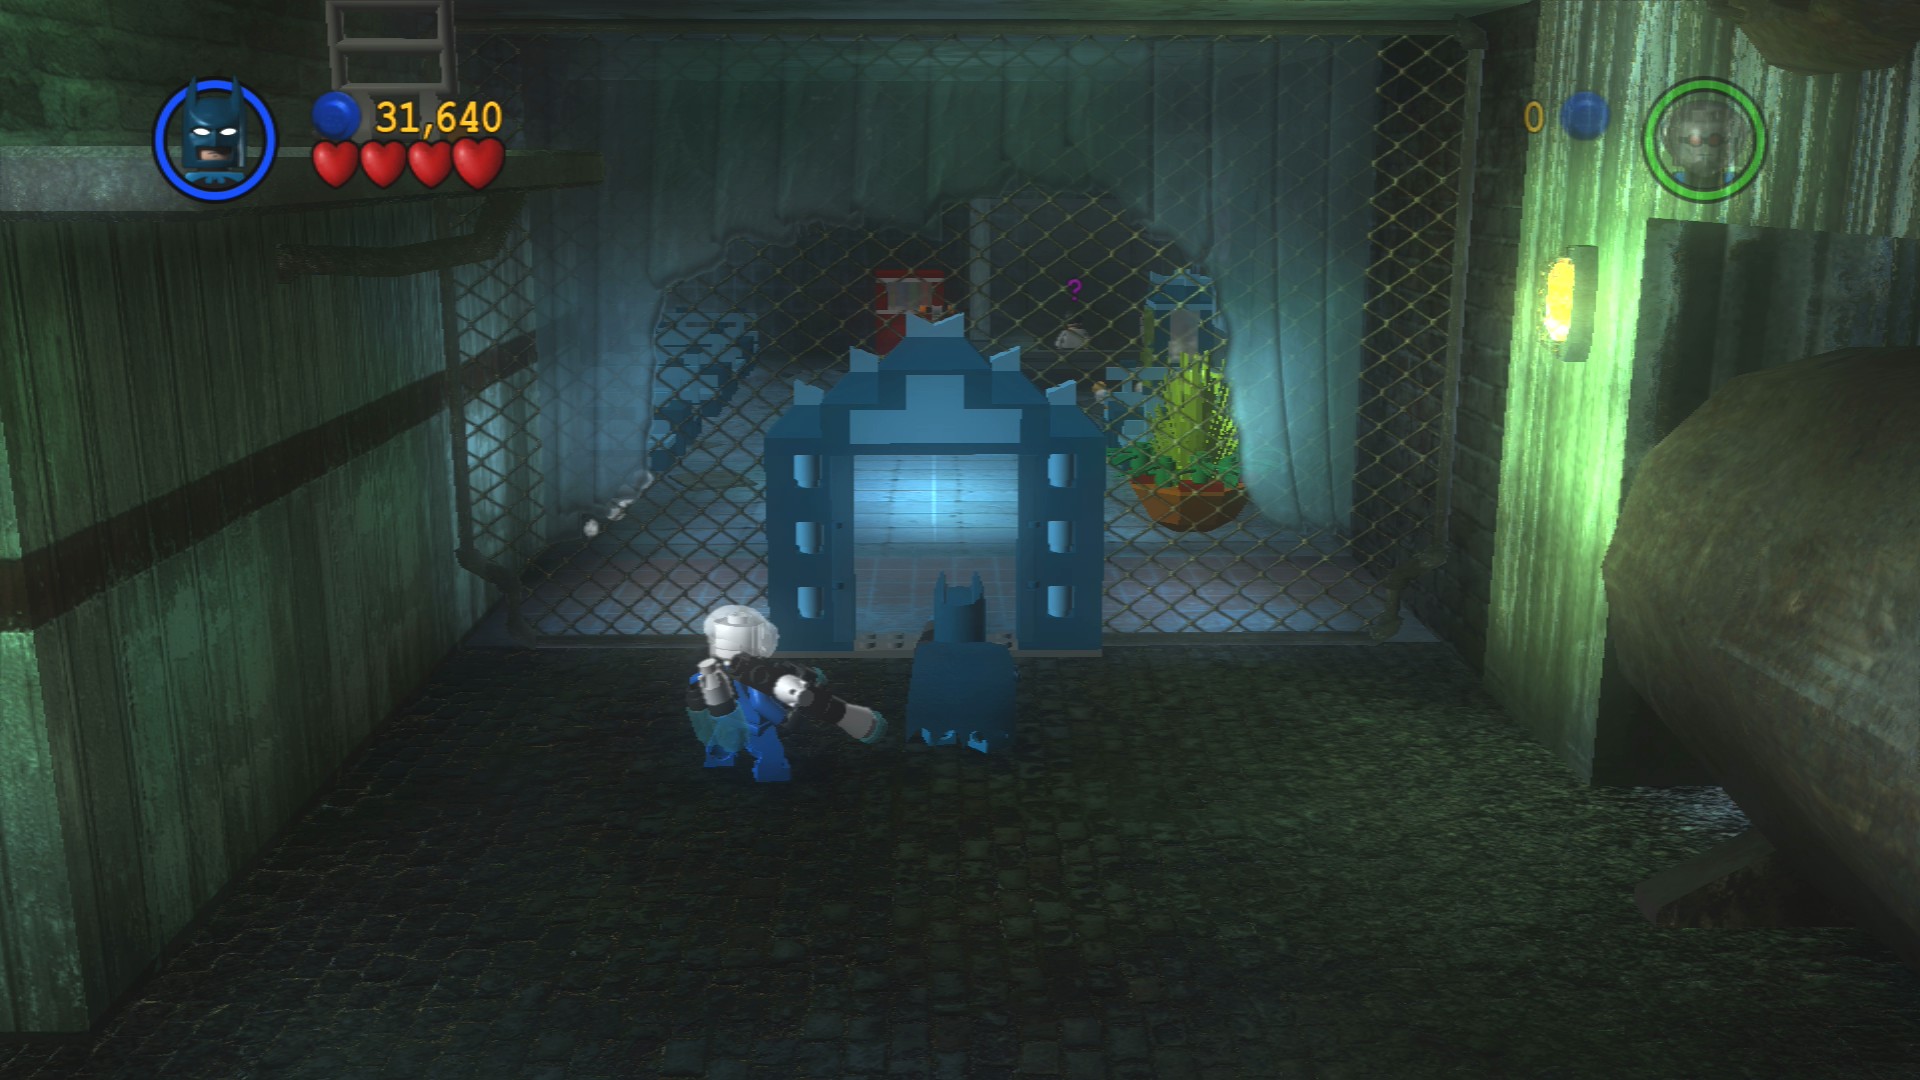
In the back right corner is a doorway with some glass blocking the way, Sonic Suit through it and go inside. The plant pot is not what you're looking for this time, the snowman can be seen inside a little booth against the wall a little further in. To open it hypnotise the man behind the glass and have him pull the lever.
Minikit 3/10
Requires: Strength Story Mode: Yes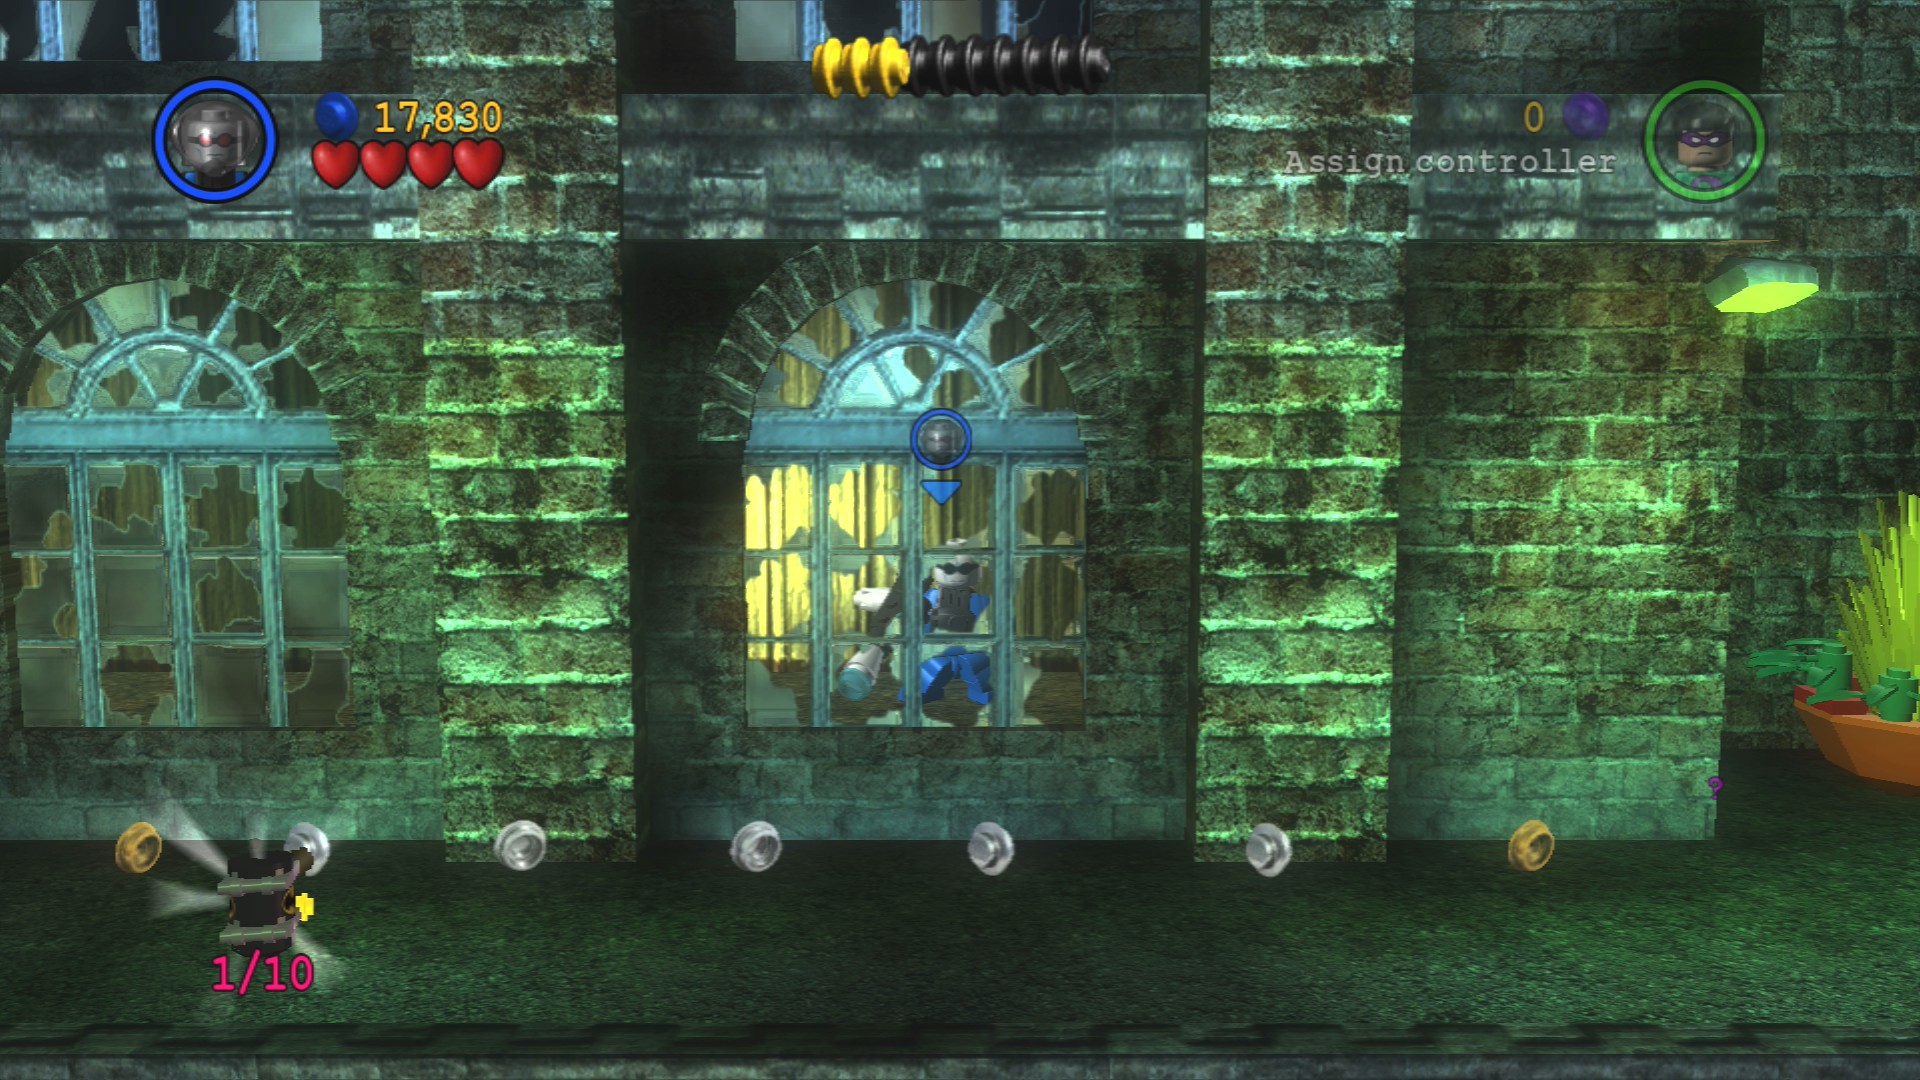
Pull on the orange handle above the snowman billboard and go inside the window, the Minikit is at the right end.
Minikit 2/10 - Part 3/3
Requires: Strength Story Mode: Yes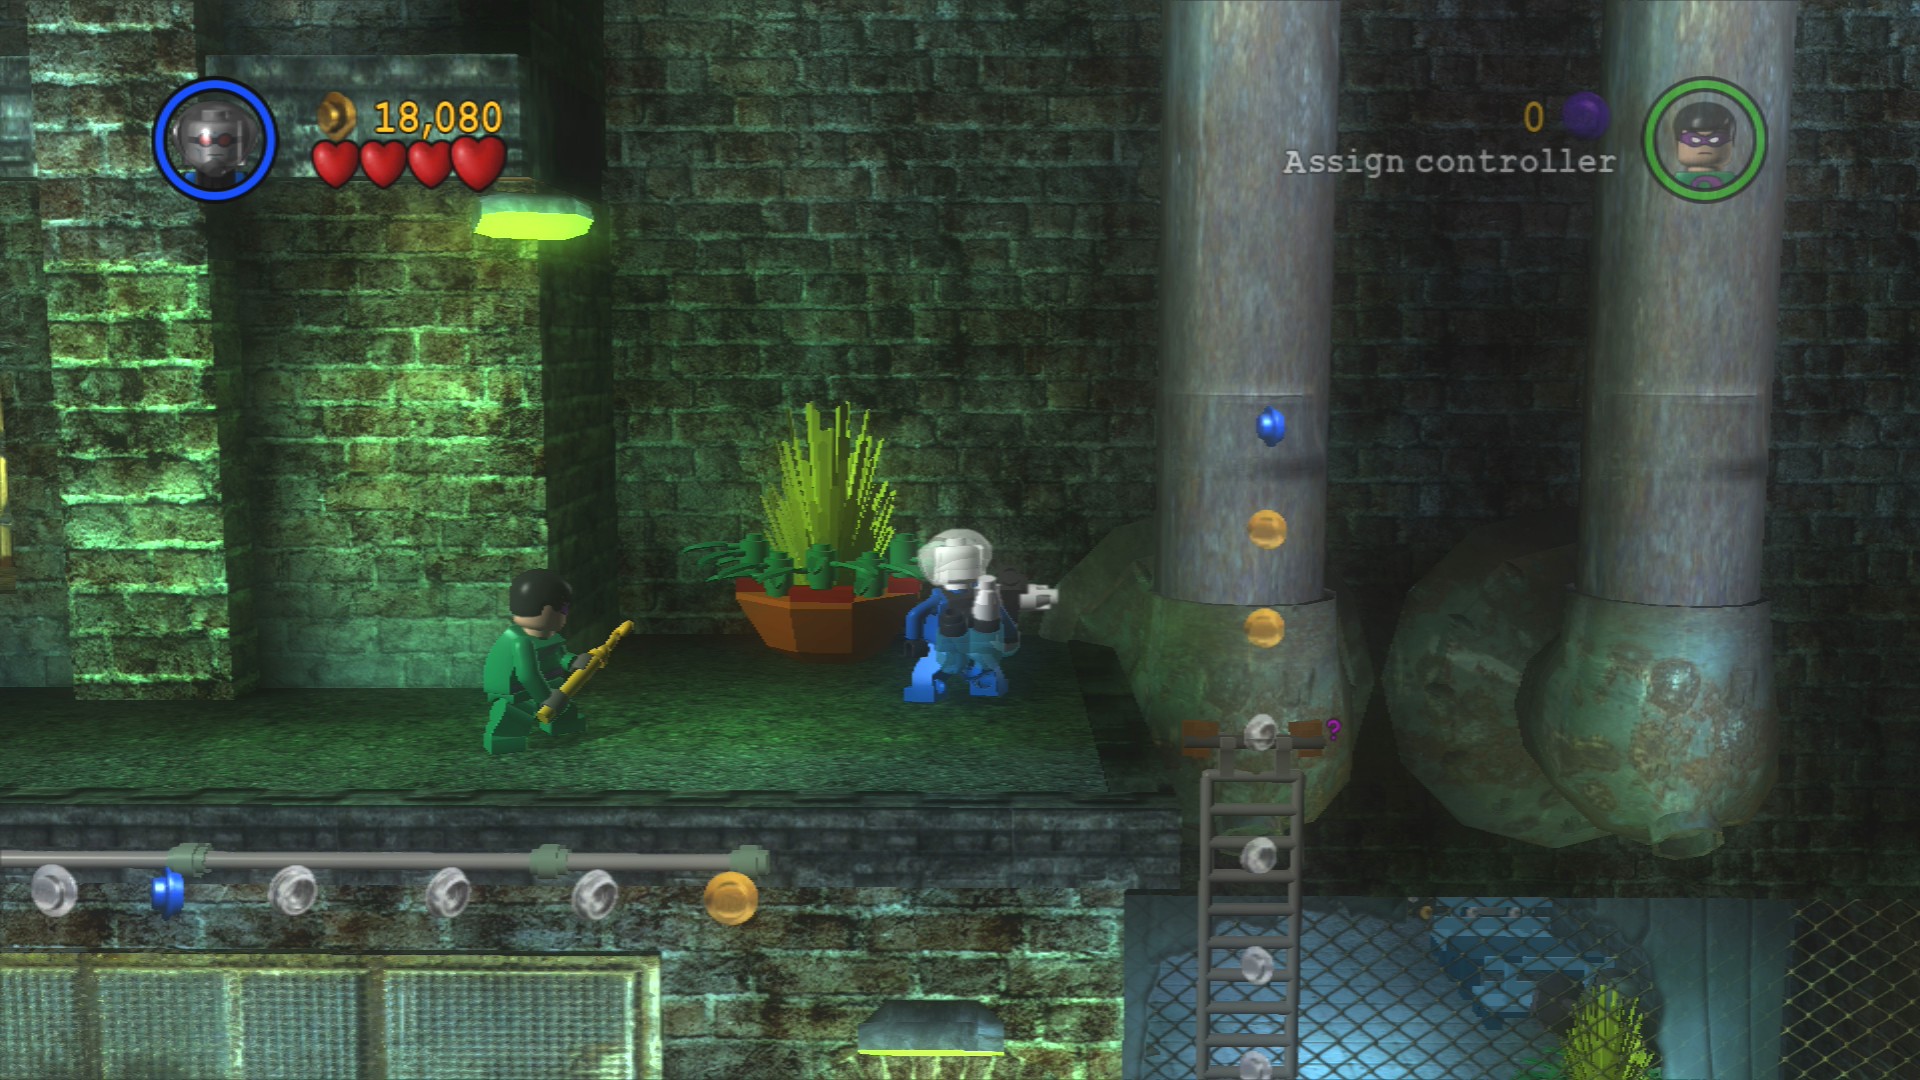
At the far end of the ledge above the snowman billboard is the last plant in a pot to smash. The Minikit will appear under the nearby long handhold.
Jump down to the ledge that's in front of the billboard and assemble the first lever here after smashing the ice cream. Pull it and then jump back up using the long handhold and smash the other ice cream to build a second lever. After pulling both the exit to the area will open, letting in a few policemen as it does.
Once you're inside defeat a few police that come down the icy slope and then pull on the orange handle to create some steps to reach the handhold on the wall. Shimmy to the right to the top of the slope.
Advance to the right a short distance, take out the polic that attack, and jump down onto the blue platform in the red waters. From there you'll be able to freeze the sparkling section to the right, and from that platform freeze a second spot.
Minikit 4/10
Requires: Explosives Story Mode: No
Before you hypnotise the guy above make sure to freeze the next two platforms and blow up the Silver LEGO hatch and go through it. You'll now be behind the glass where there's a Minikit.
Hostage 14/25
Requires: Explosives Story Mode: No
Climb the ladder in the glass room to get on top of it.
Red Brick - Score x4
Requires: Explosives Story Mode: No
From the hostage jump down to the right and build a lever. Pull it then cross over to defeat a few enemies and build the object containing the Red Brick.
In Story Mode you'll need to hypnotise the guy and have him build a spinner switch, rotating it will raise the level of the red water. Note that this will cut off access to the glass area on the right in Free Play so make sure to have done everything you want to back there already.
Minikit 5/10
Requires: Magnet Suit Story Mode: No
In the left corner Magnet walk up the metal wall to get to the ledge with the Minikit on it.
Smash the yellow basket to the left of the large gate and assemble the stuff. It'll explode byitself giving you more LEGO to assemble onto the exit as an orange handle, push it to open the door.
Defeat a few enemies and go up the stairs to the next area.
Minikit 6/10
Requires: Attract Suit Story Mode: No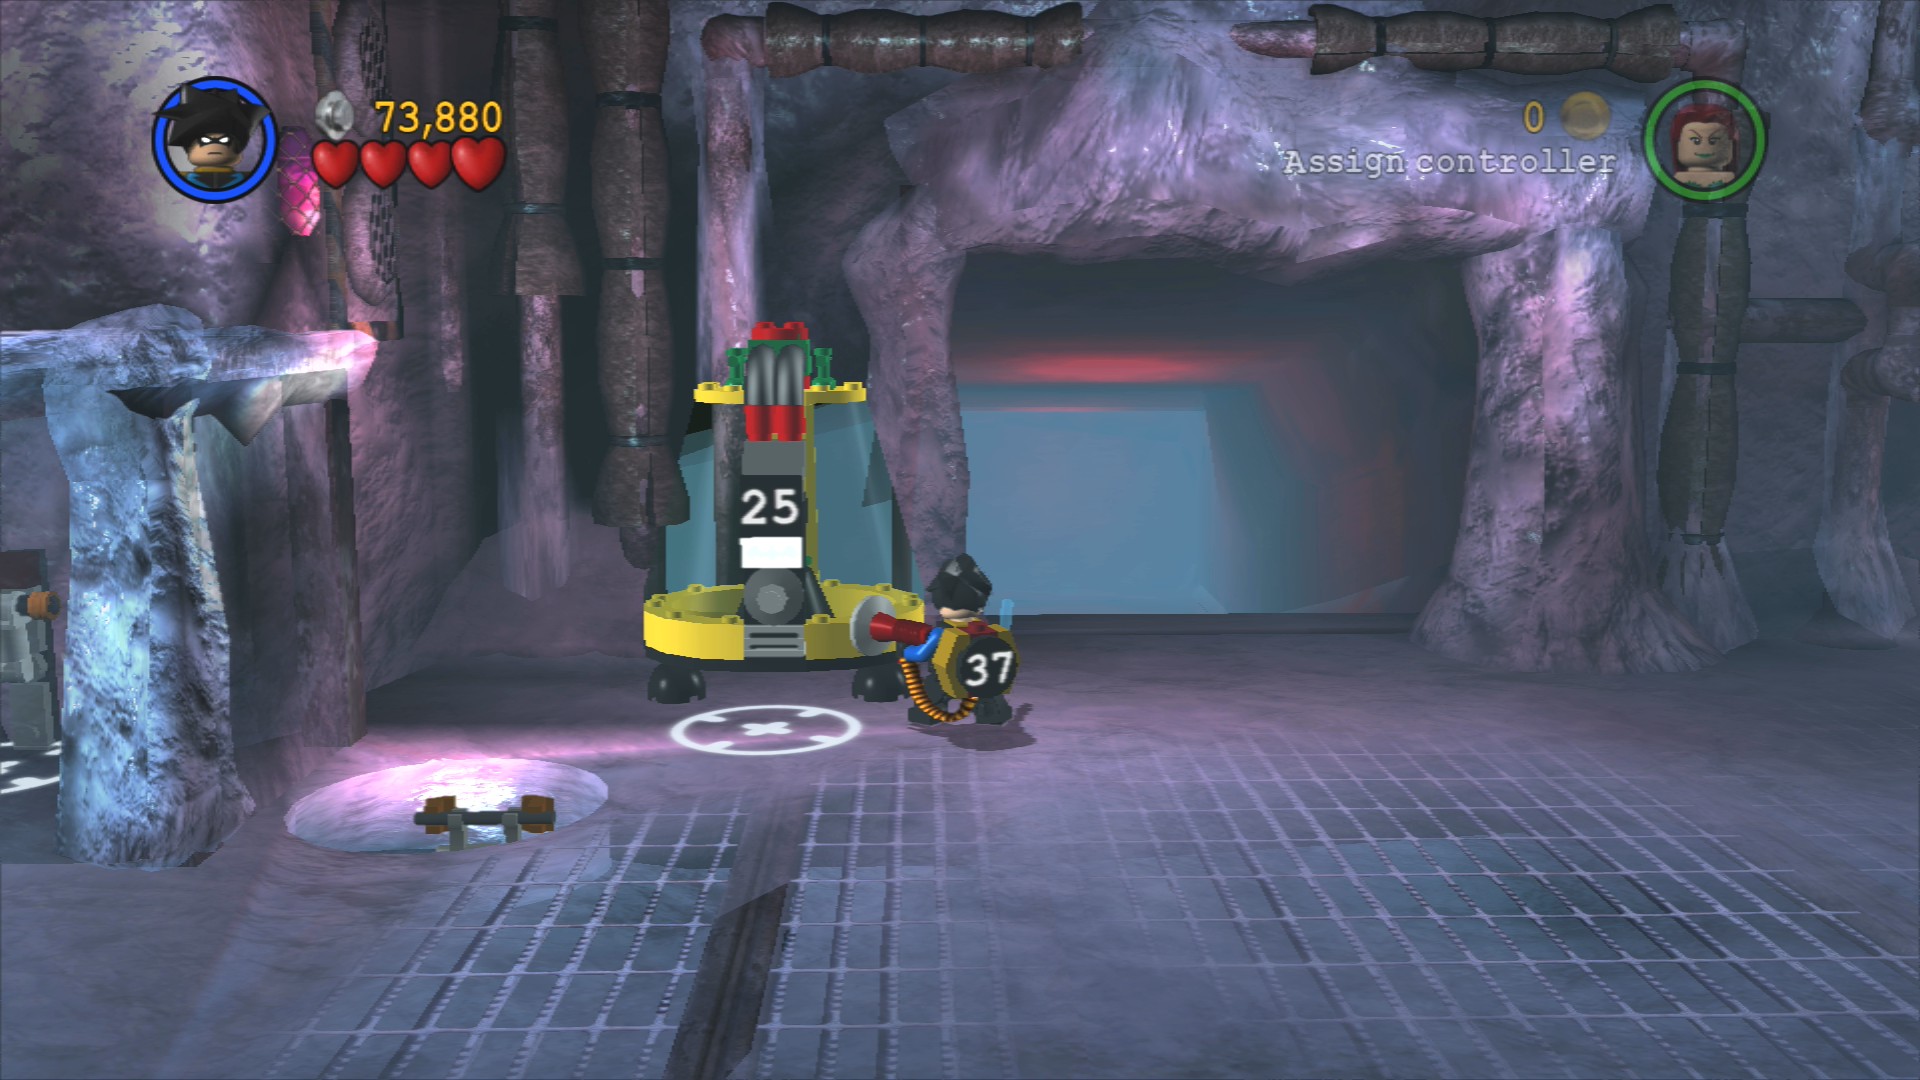
Fill the Attracto Canister with all the loose LEGO you find around this area.
Hypnotise the man in the small enclosure and smash the object next to him so you can build a lever. Have Mr. Freeze stand on the platform on the left before you pull the lever as it will raise the platform, he'll then need to shove the box off to the right to create a hole in the floor.
Minikit 7/10
Requires: Hypnosis Story Mode: Yes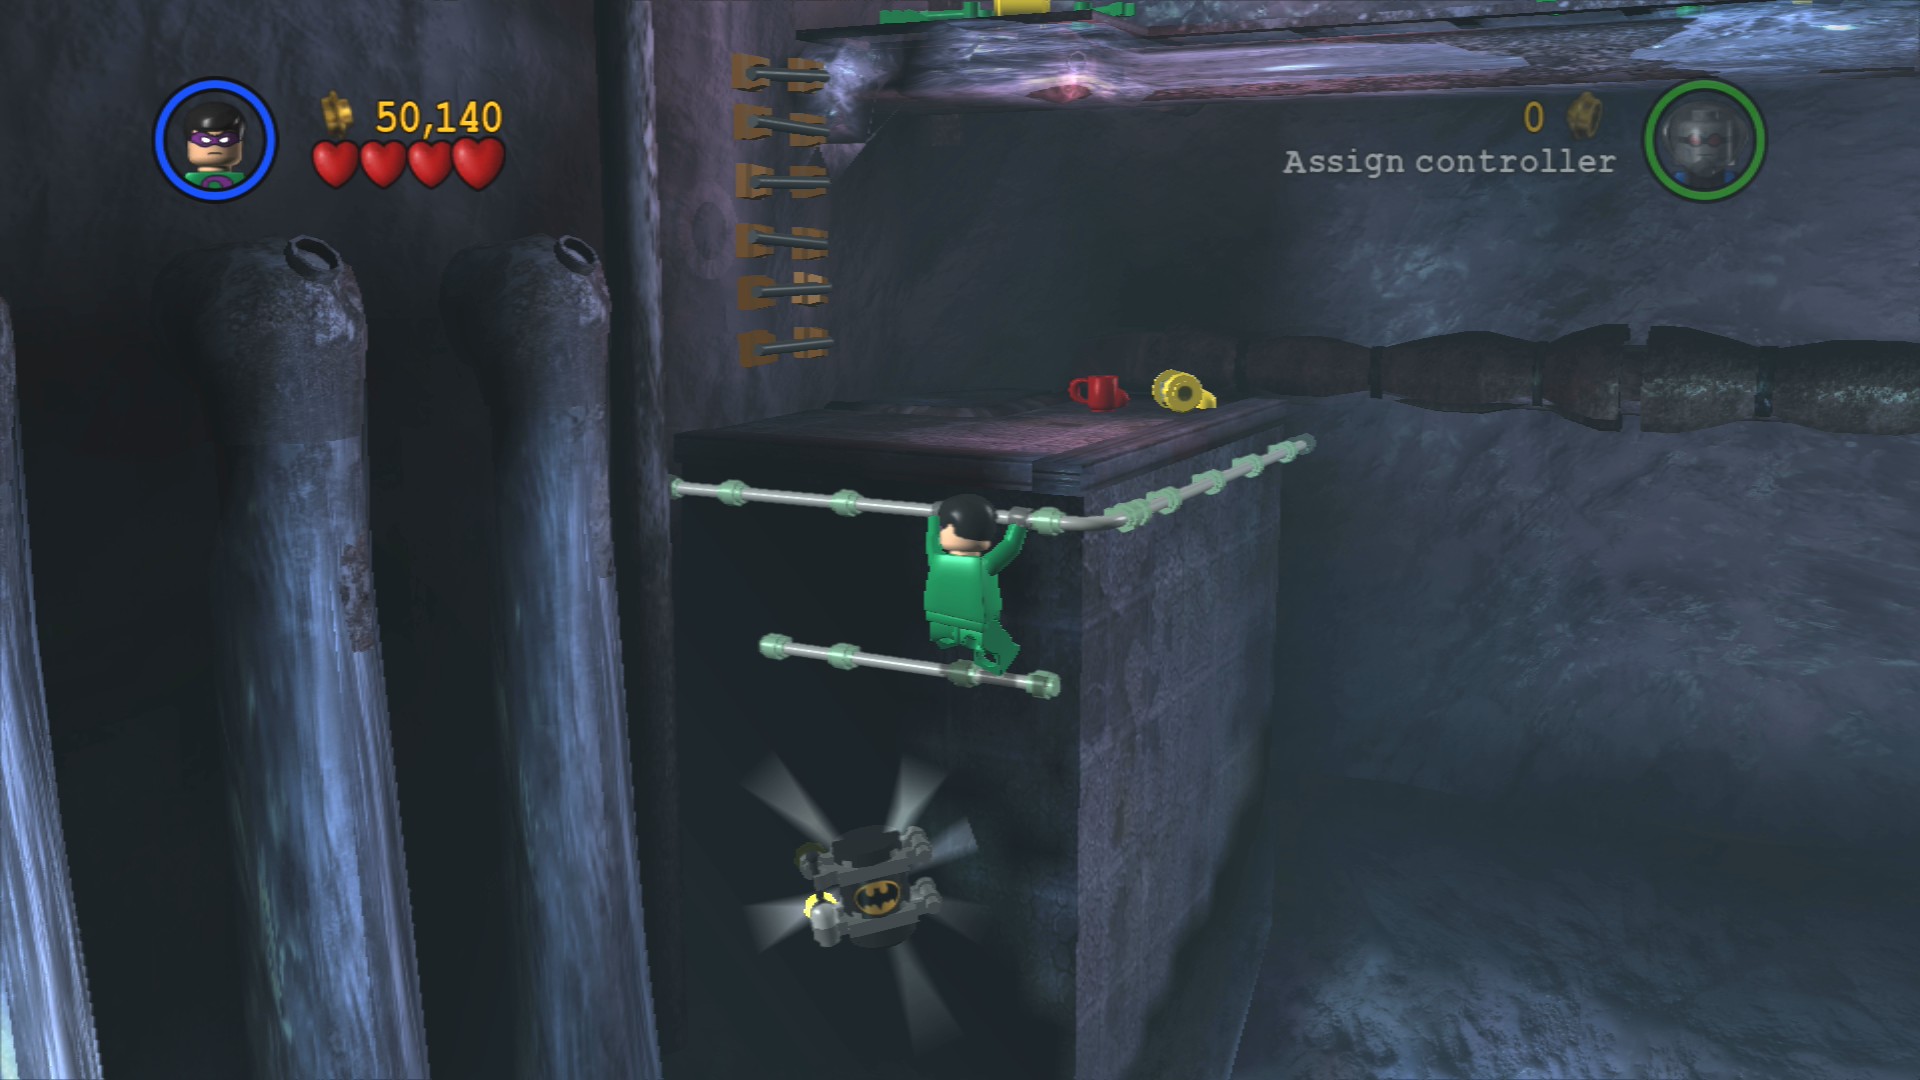
Go to the left and jump down to the section below, if you grab the handholds below that you can grab a Minikit hoving down there. To get back up you build a ladder.
Follow the crate you pushed off and drop through the floor. Defeat the enemies to the right, have Mr. Freeze walk through the green gas and pull on the handle afterwards. Climb up the ladder and defeat a few more enemies before jumping on the wheel as The Riddler so you can hypnotise the man up top into standing on his wheel too.
Minikit 8/10
Requires: Explosives Story Mode: No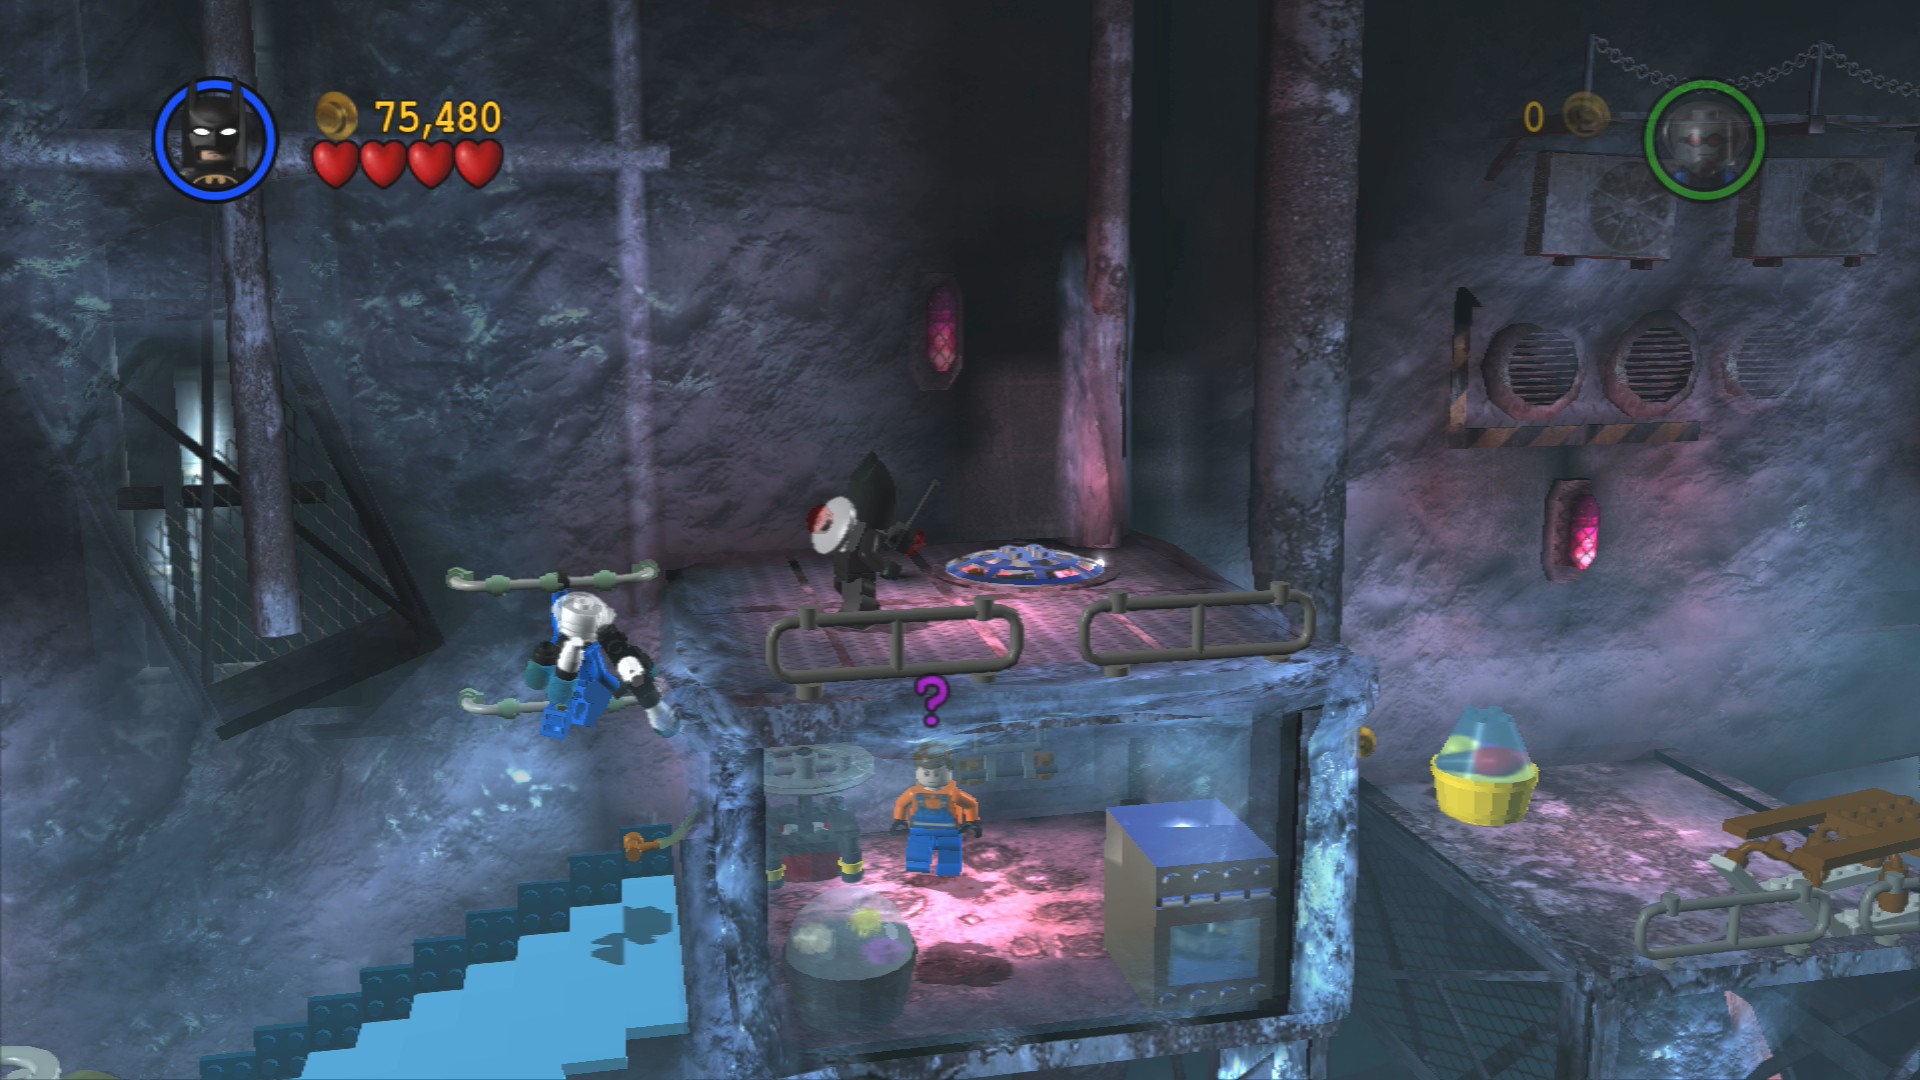
Blow up the Silver LEGO hatch on top of the hypnotised man's frozen cage and then again inside it to blow up the crate.
Smash the stuff down to the right of the hypnotised man to build a lever that will fill up the vat on the right. Freeze the vat and the hypnotise the guard post to open the door to the final area.
Defeat the police at the start and then assemble a cannon to fire a ball.
Minikit 9/10
Requires: Magnet Suit Story Mode: No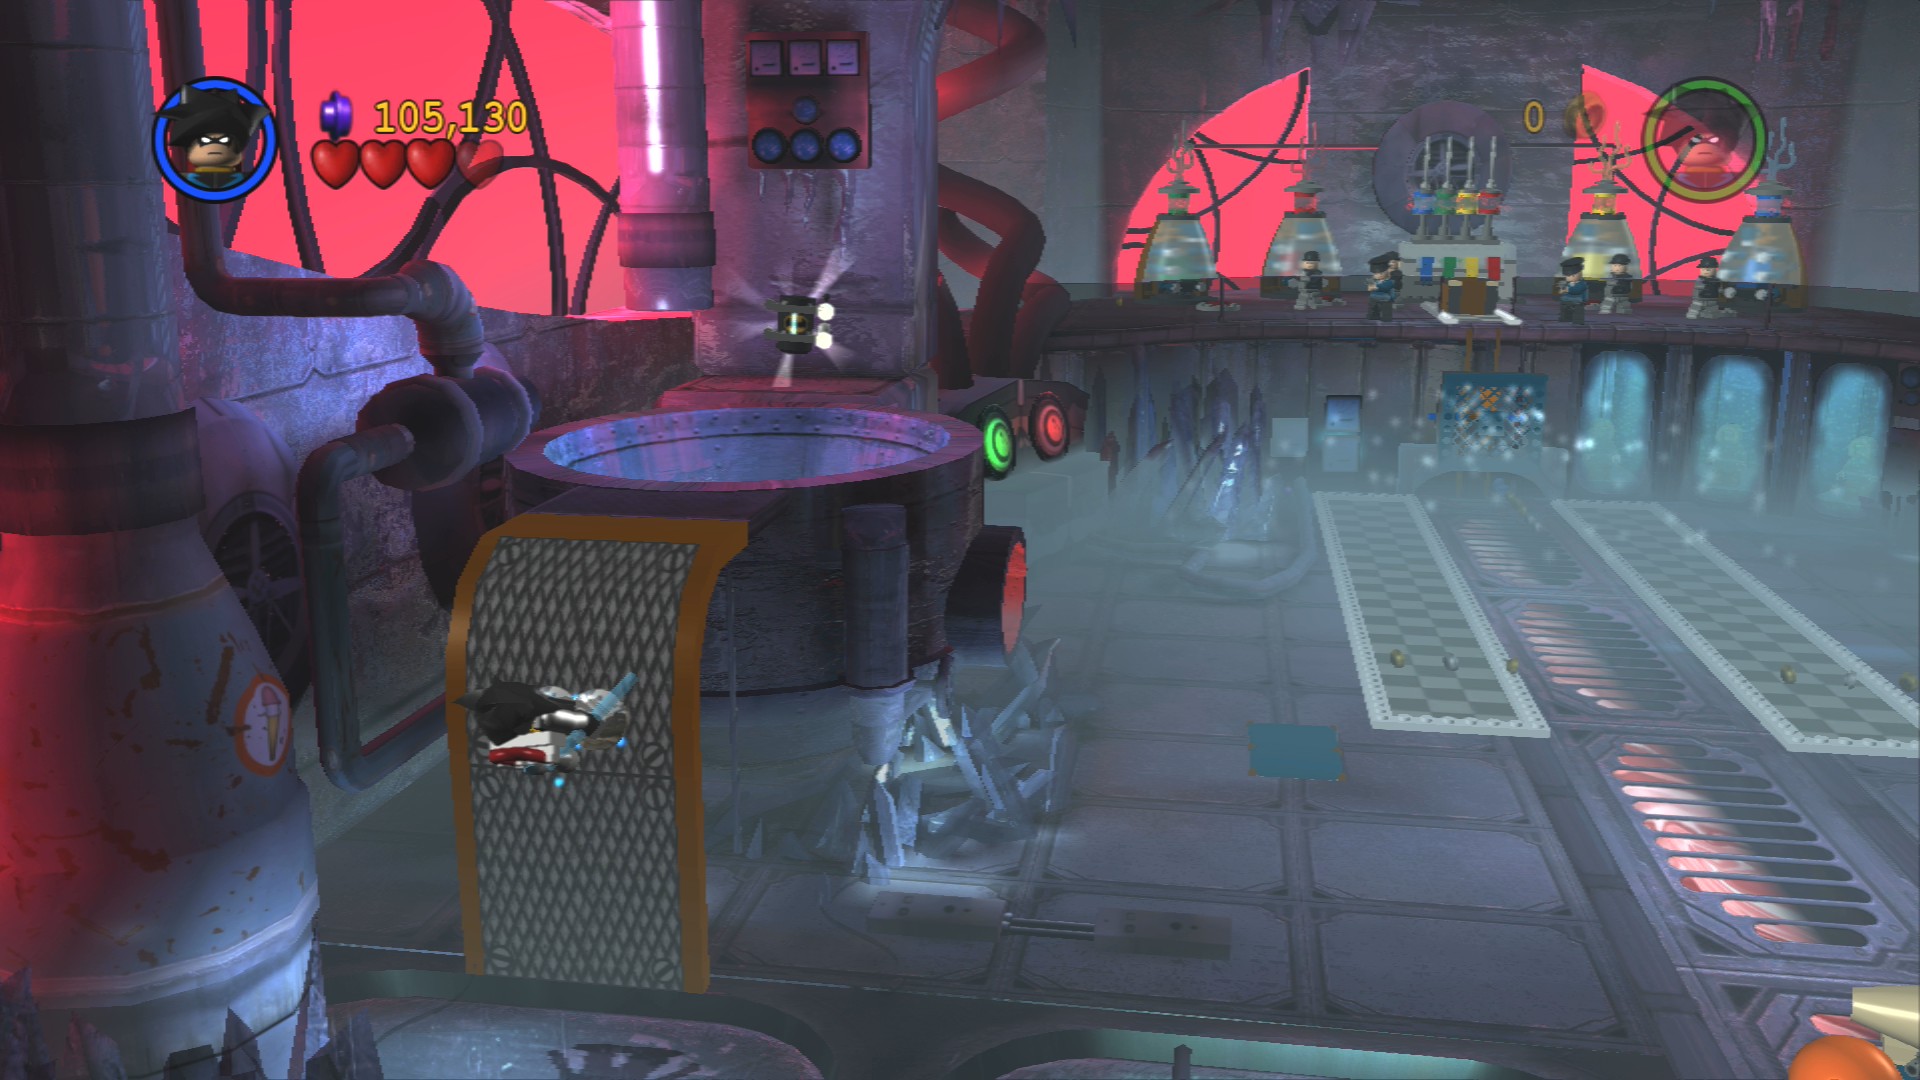
Magnet walk up the left vat and glide over the gap to get the Minikit.
Approach the far end and hypnotise one of the people above.
Minikit 10/10
Requires: Hypnosis Story Mode: Yes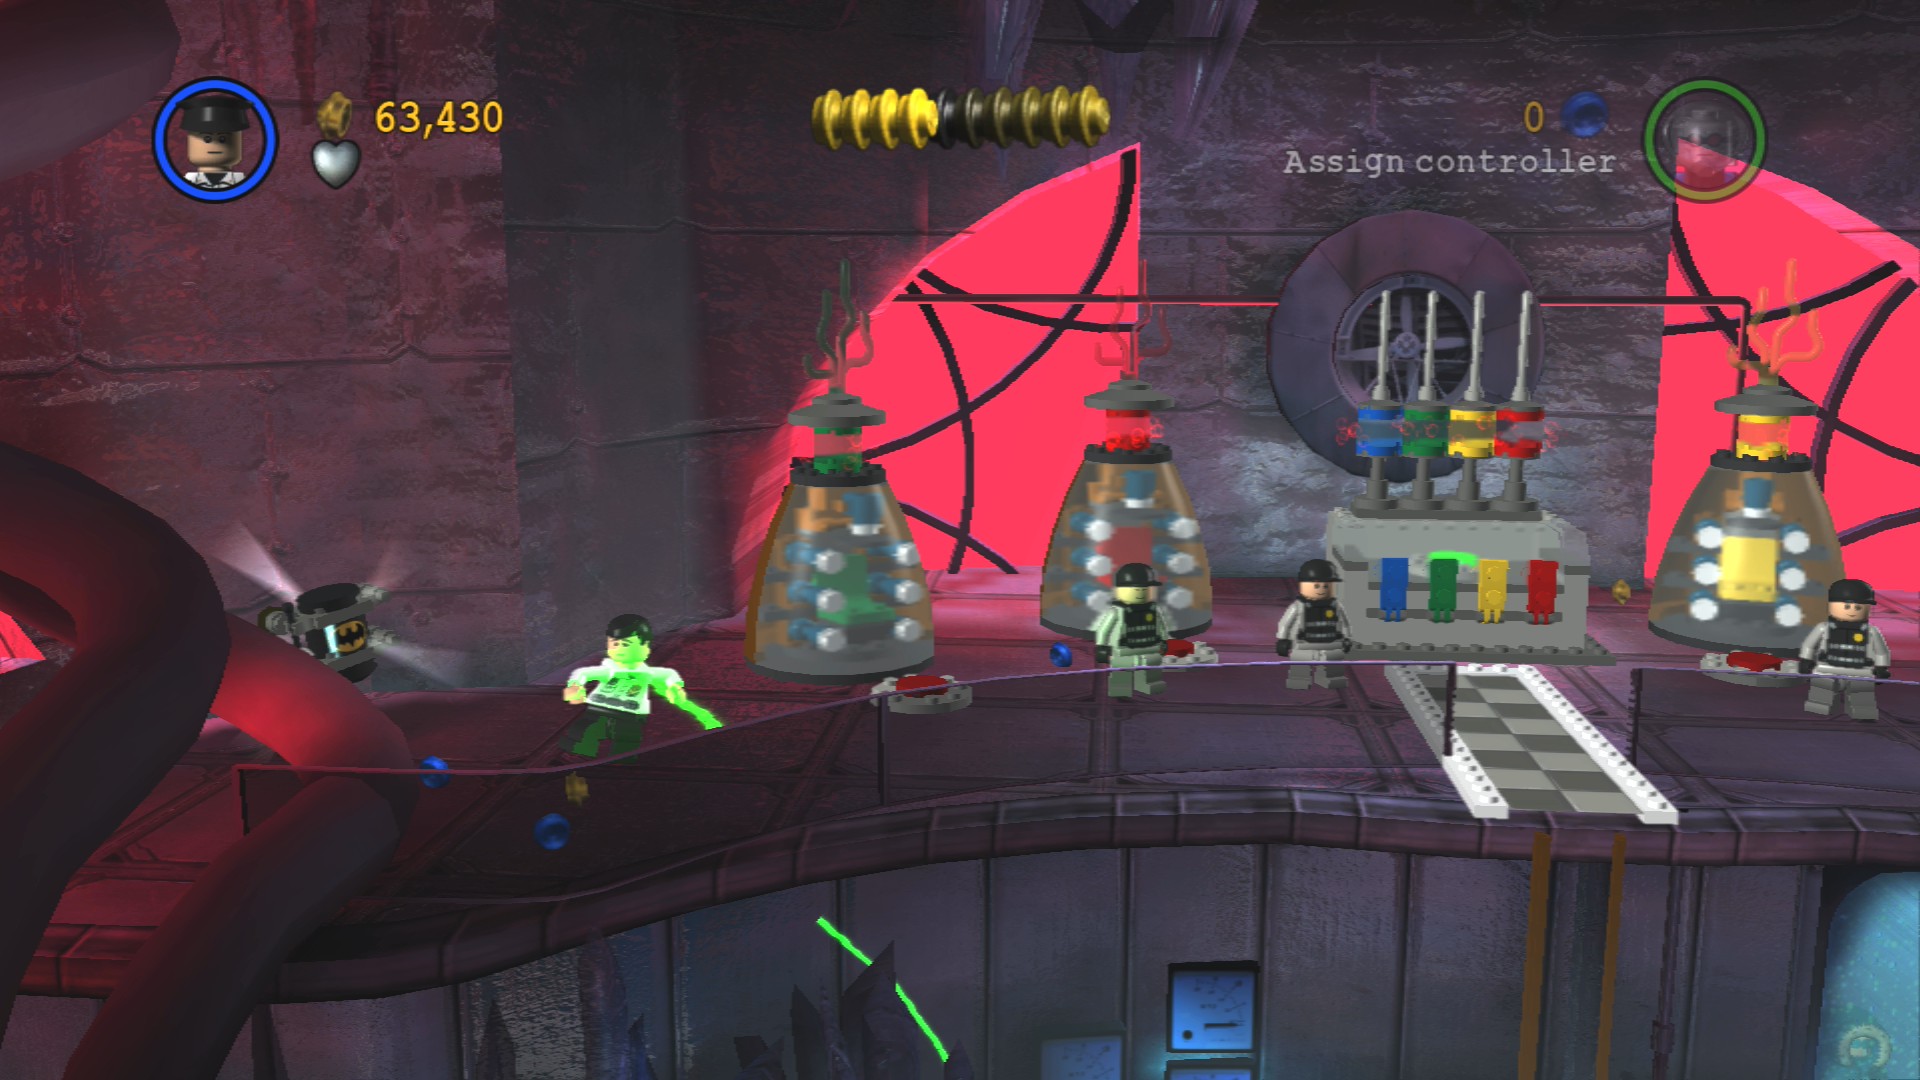
Grab the Minikit on the left using the hypnotised man.
Shove the crate off the edge and then build it. Climb up and defeat the guards, then a second wave of guards. Now you need to solve a puzzle, all that's involved is stepping on the buttons in front of the coloured canisters in the order shown in the middle. So blue, green, yellow, then red.
| Cost | Character | |
|---|---|---|
| - | Mr. Freeze | |
| 25,000 | Mr. Freeze's Kart | |
| 23,000 | Mr. Freeze's Iceberg |
Chapter 3. Green Fingers
| Story Mode | Free Play |
|---|---|
| 88,000 | 150,000 |
Minikit 1/10
Requires: Technology Suit Story Mode: No
Use the Technology Suit on the Tech Panel to the right at the start of the level to open the barrier (use the analog stick to move it) and go through to a small racetrack. Hop into one of the red cars and drive it once around the track to earn the Minikit.
Take a left before the Silver LEGO gate and defeat a few security guards. Opposite the brown door to the building smash the objects to find the bricks to build a flower car. This can smash through Silver LEGO so take it to the right and smash through the gate there.
Minikit 2/10
Requires: Explosives, Grapple, High Jump Story Mode: No
Blow up the gate on the right (the vehicle won't fit through to reach it unfortunately) and go through into a garden area. Grapple up at the back a couple of times and then High Jump up to the last platform with the Minikit on.
Behind the gate are some gardeners and then some flowerbeds to smash so that you can build a spinner switch. Push on it when the other character is on the hanging basket at the back so that you lift them up. Once they're up you'll be able to ride the basket up and then use Poison Ivy's High Jump to reach the handholds high above.
After shimmying along the handhold, smash the statue and finish off the tightrope so that The Riddler can follow. Poison Ivy will be able to walk through the poison gas so have her go to the second lever to pull it while Riddler pulls the first to open the door below.
Minikit 3/10
Requires: None Story Mode: Yes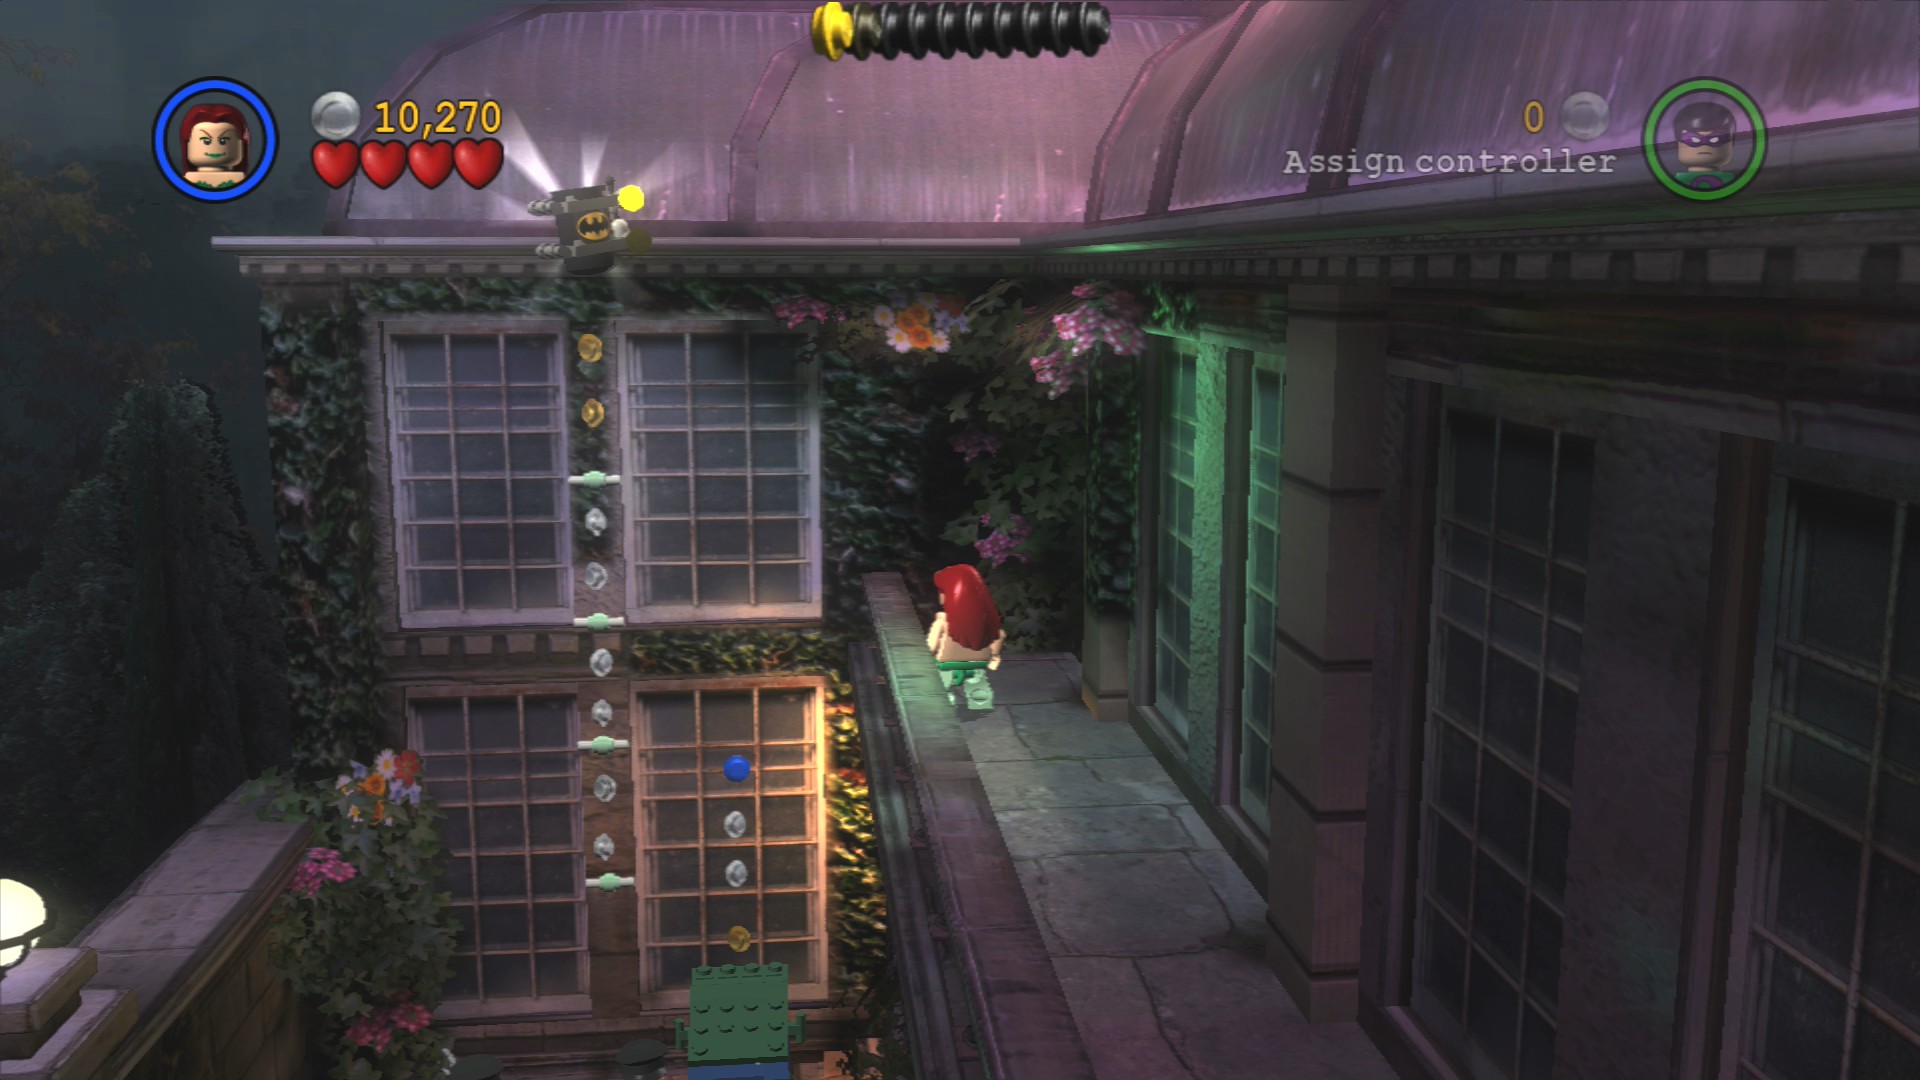
Around the corner you can see a Minikit in the air above a set of four small handholds.
Go inside the building and have Poison Ivy use her plant growth ability on the sections in the green water that are glowing with pink hearts. This will help The Riddler get across as Ivy can just swim through it no problem.
Use her plant growth ability again on the pot next to the giant plant cage to grow a bouncy mushroom. Bounce on it to the second one and then up to a handhold to help you get up onto the ledge above. Shove the statue off the edge.
Hostage 15/25
Requires: Explosives Story Mode: No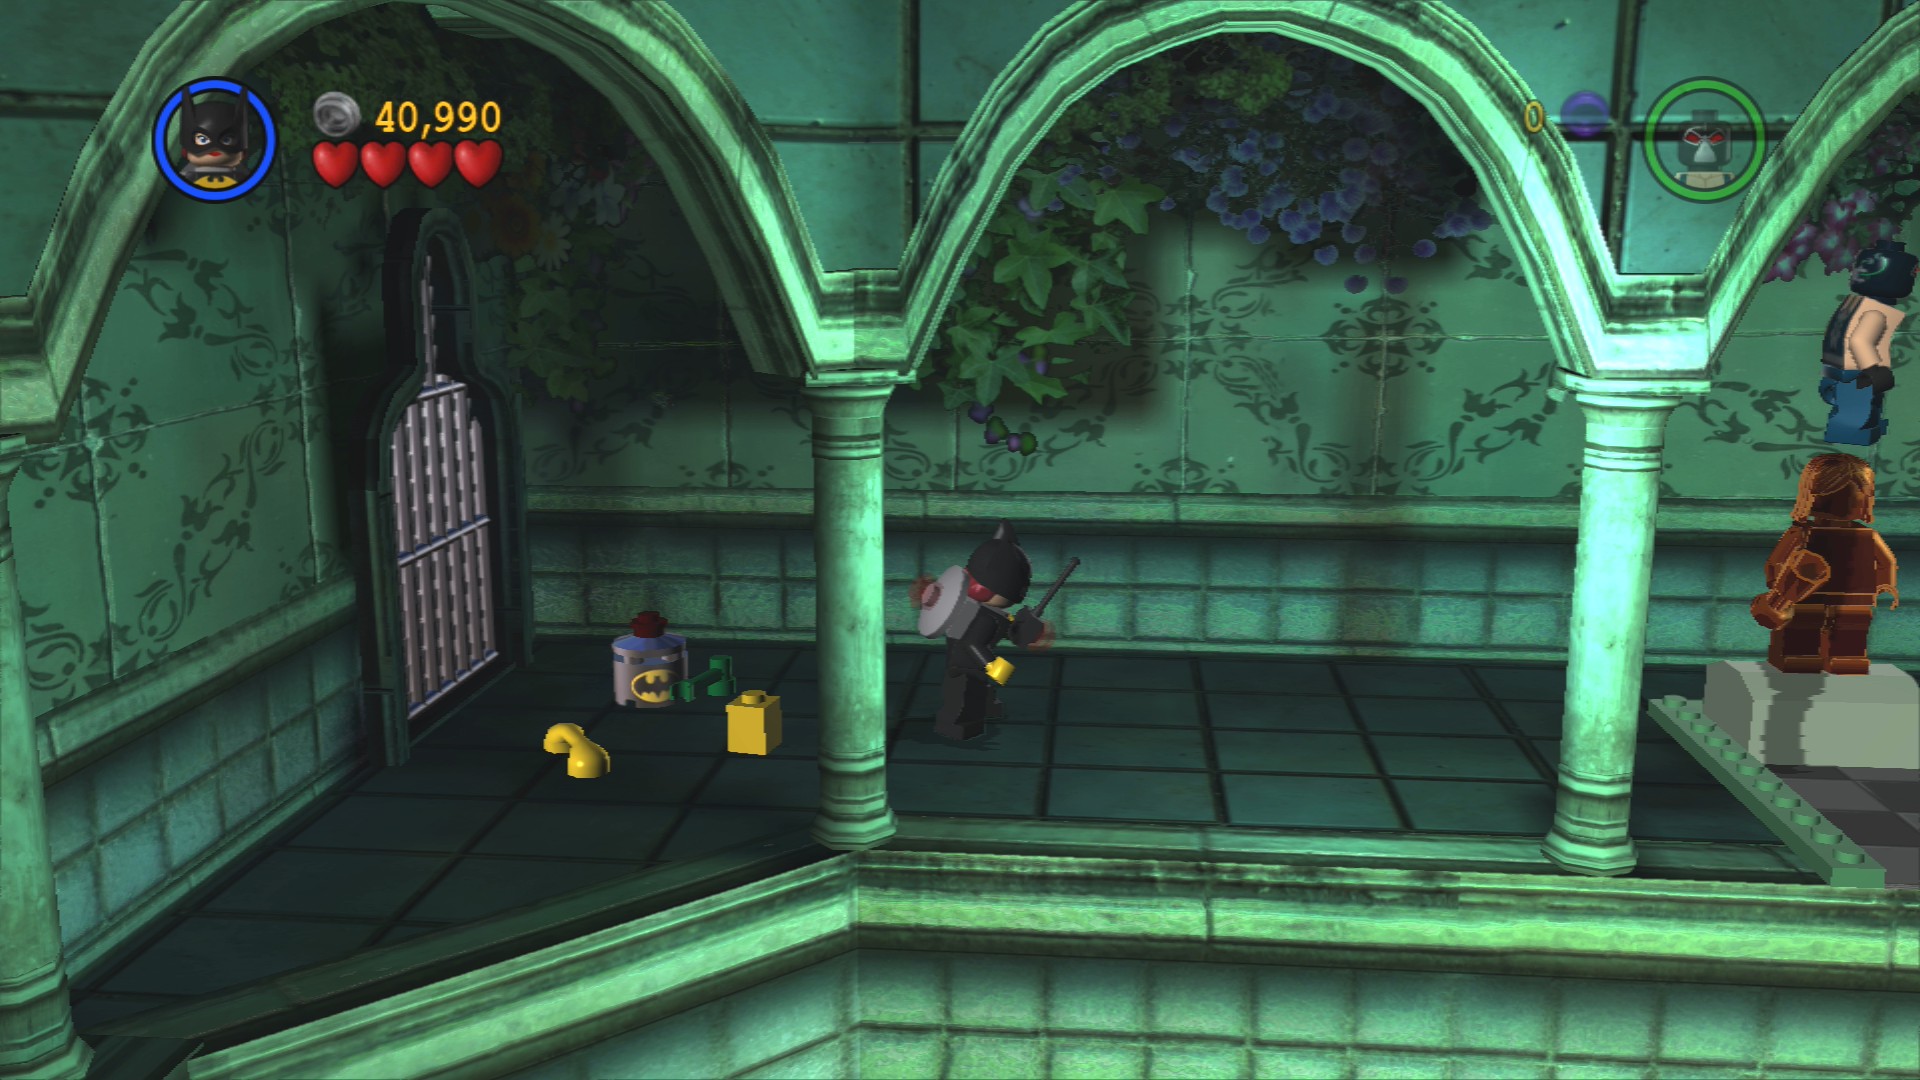
Blow up the Silver door to the left of the statue and go through to a room with the hostage in.
Red Brick - Score x6
Requires: Explosives, Attracto Suit Story Mode: No
In the same room as the hostage fill up the Attracto Canister with the loose LEGO you saw in the previous room and by smashing all the stuff in here. Make sure to smash the counter so that when you use the Tech Panel to drive the little cake vehicle that gets built you can drive it into the oven at the back to get your Red Brick.
After smashing the plant cage you'll find the parts to build a hypnosis window, have the Riddler use it to get the gate open.
Go down the steps and defeat a few gardners before smashing all of the plants in the area next to the Silver LEGO gate ahead. After doing so you'll be able to build a walking plant vehicle, it's not quite ready to drive just yet though. First you'll need to hypnotise the man in the room at the back into pulling the lever to get the last few parts.
Now you can roam around eating guards and smashing Silver LEGO.
Minikit 4/10
Requires: Explosives Story Mode: No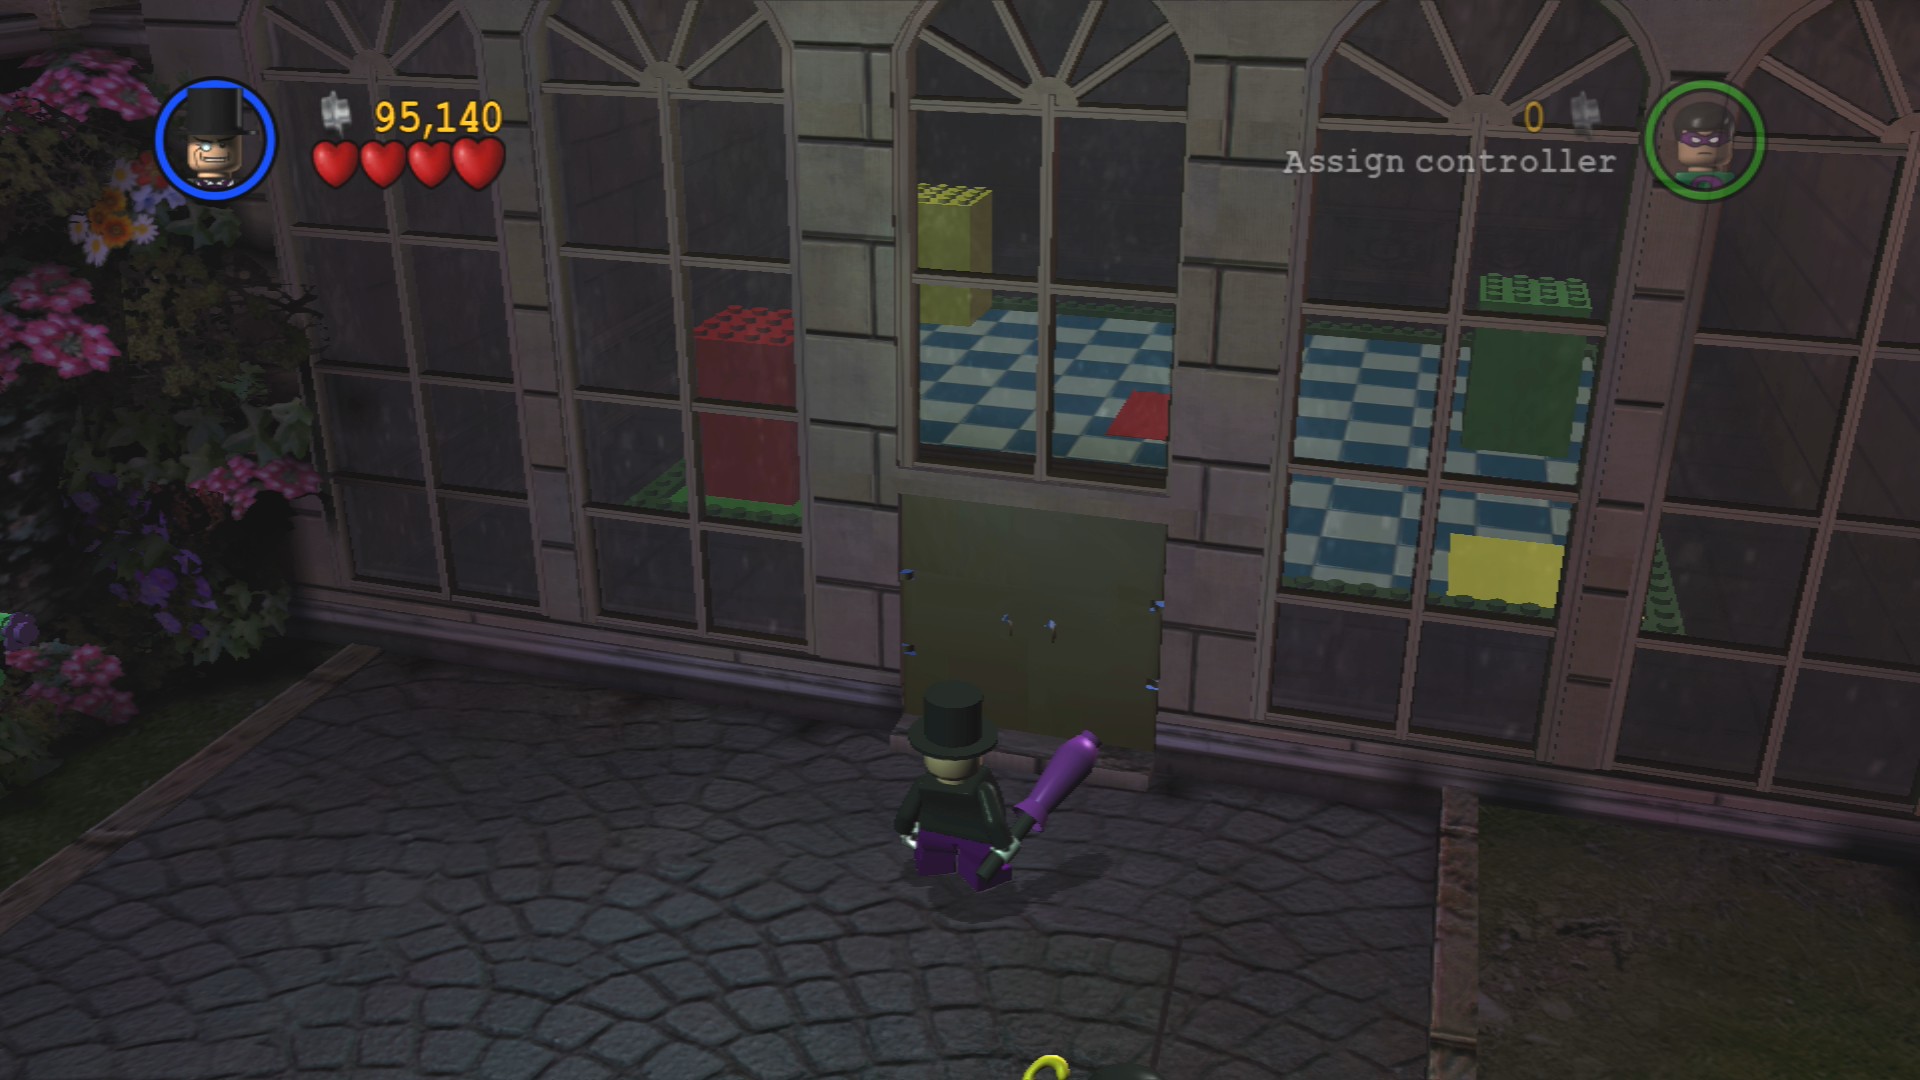
Blow up the door to the room at the back on the left (the walking plant can't seem to smash it) to reach a coloured block puzzle inside. Simply push the blocks onto their matching squares. The red block in the bottom left corner goes to the middle, the yellow block in the top left corner goes to the bottom right corner, and the green block on the right goes to the bottom right corner.
Use the plant to smash through the Silver LEGO gate, you'll then unfortunately have to leave it behind thanks to some bollards blocking the way.
Smash the objects on the shore here to get the LEGO to repair the nearby swan boat. Sail it across the water following the path of studs around the mines.
Minikit 5/10
Requires: Swimming, Sonic Suit Story Mode: No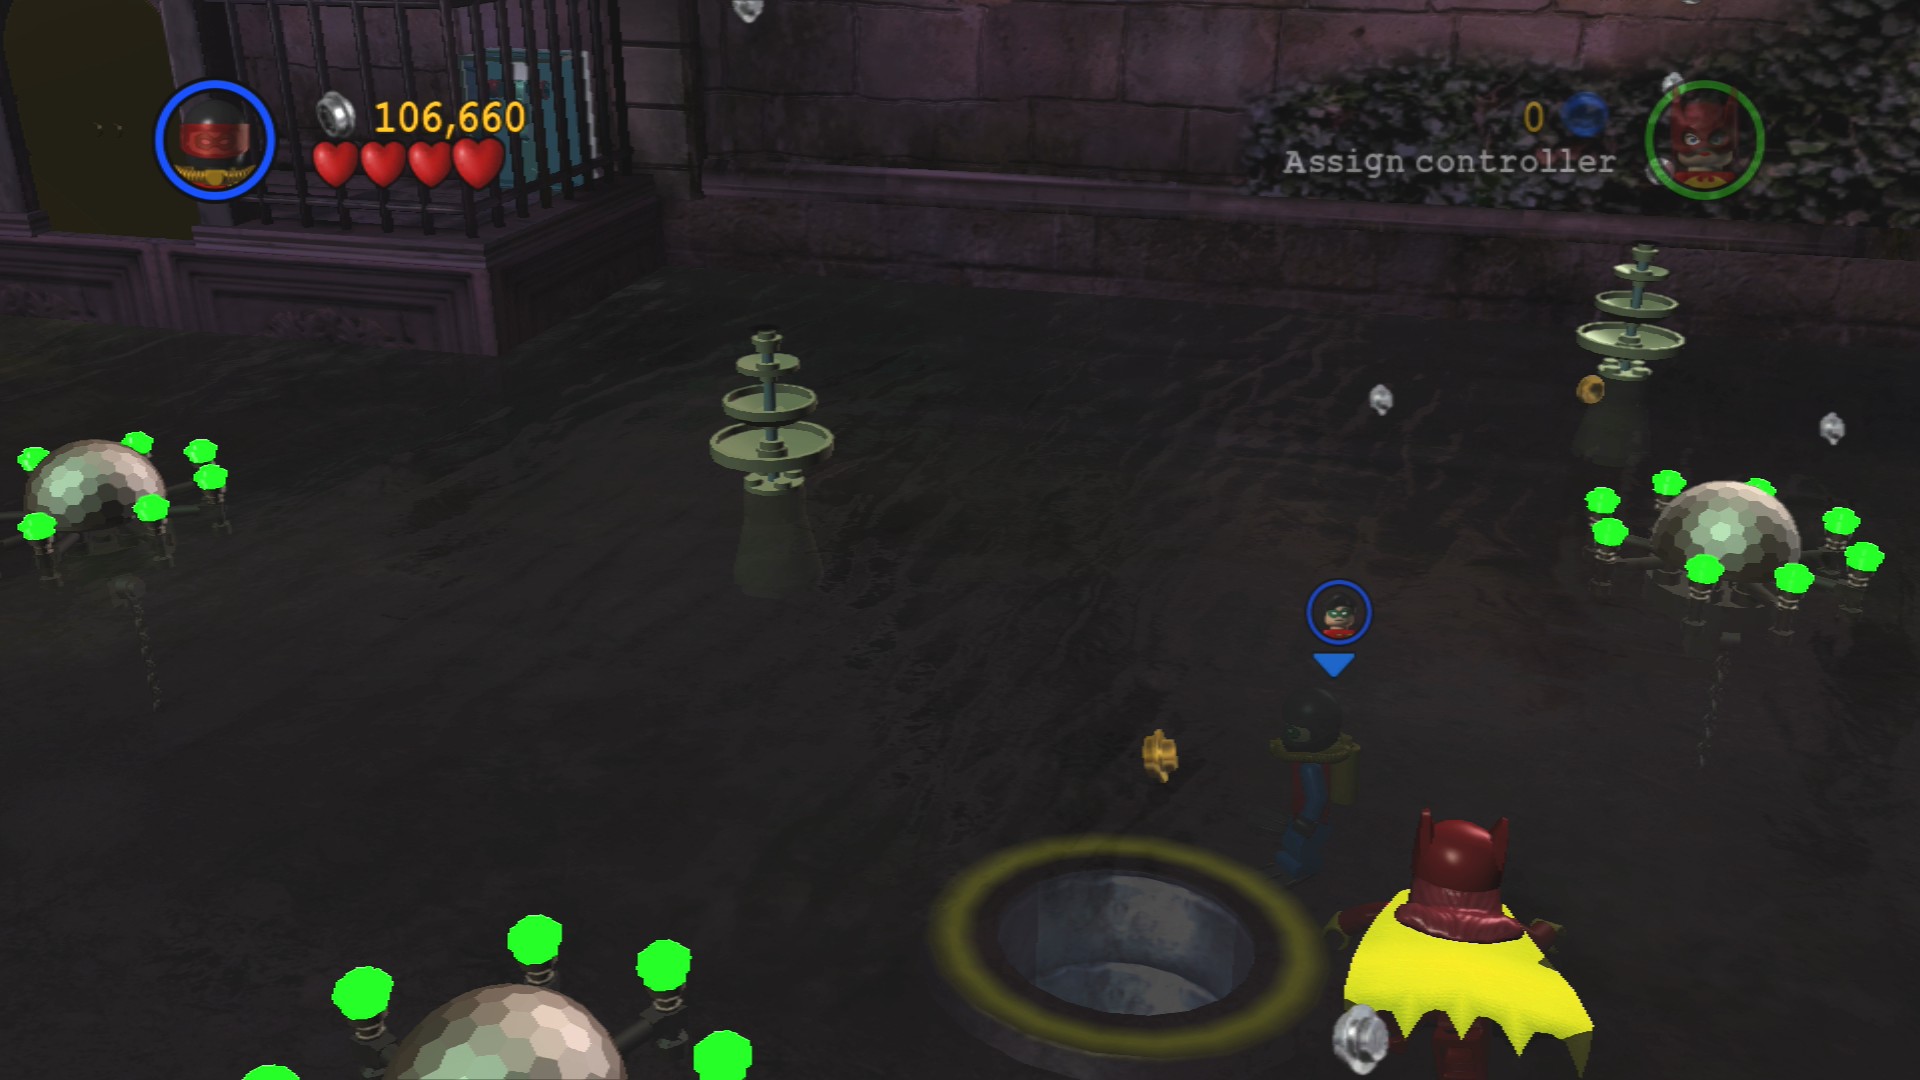
Swim down through the hole in the middle of the water to pop out in the cage on the back wall. In here use the Sonic Suit to smash the glass so you can pull the lever opening the door and turning the fountains on. Ride the middle one to get the Minikit above it.
Smash through the gate on the far side and jump out. Hypnotise one of the men behind the fence and have him smash the two canisters. Jump on the plunger to open the gate so that Ivy and Riddler can get in. Build a lever out of the second one to open the door to get inside.
Minikit 6/10
Requires: Sonic Suit, Magnet Suit Story Mode: No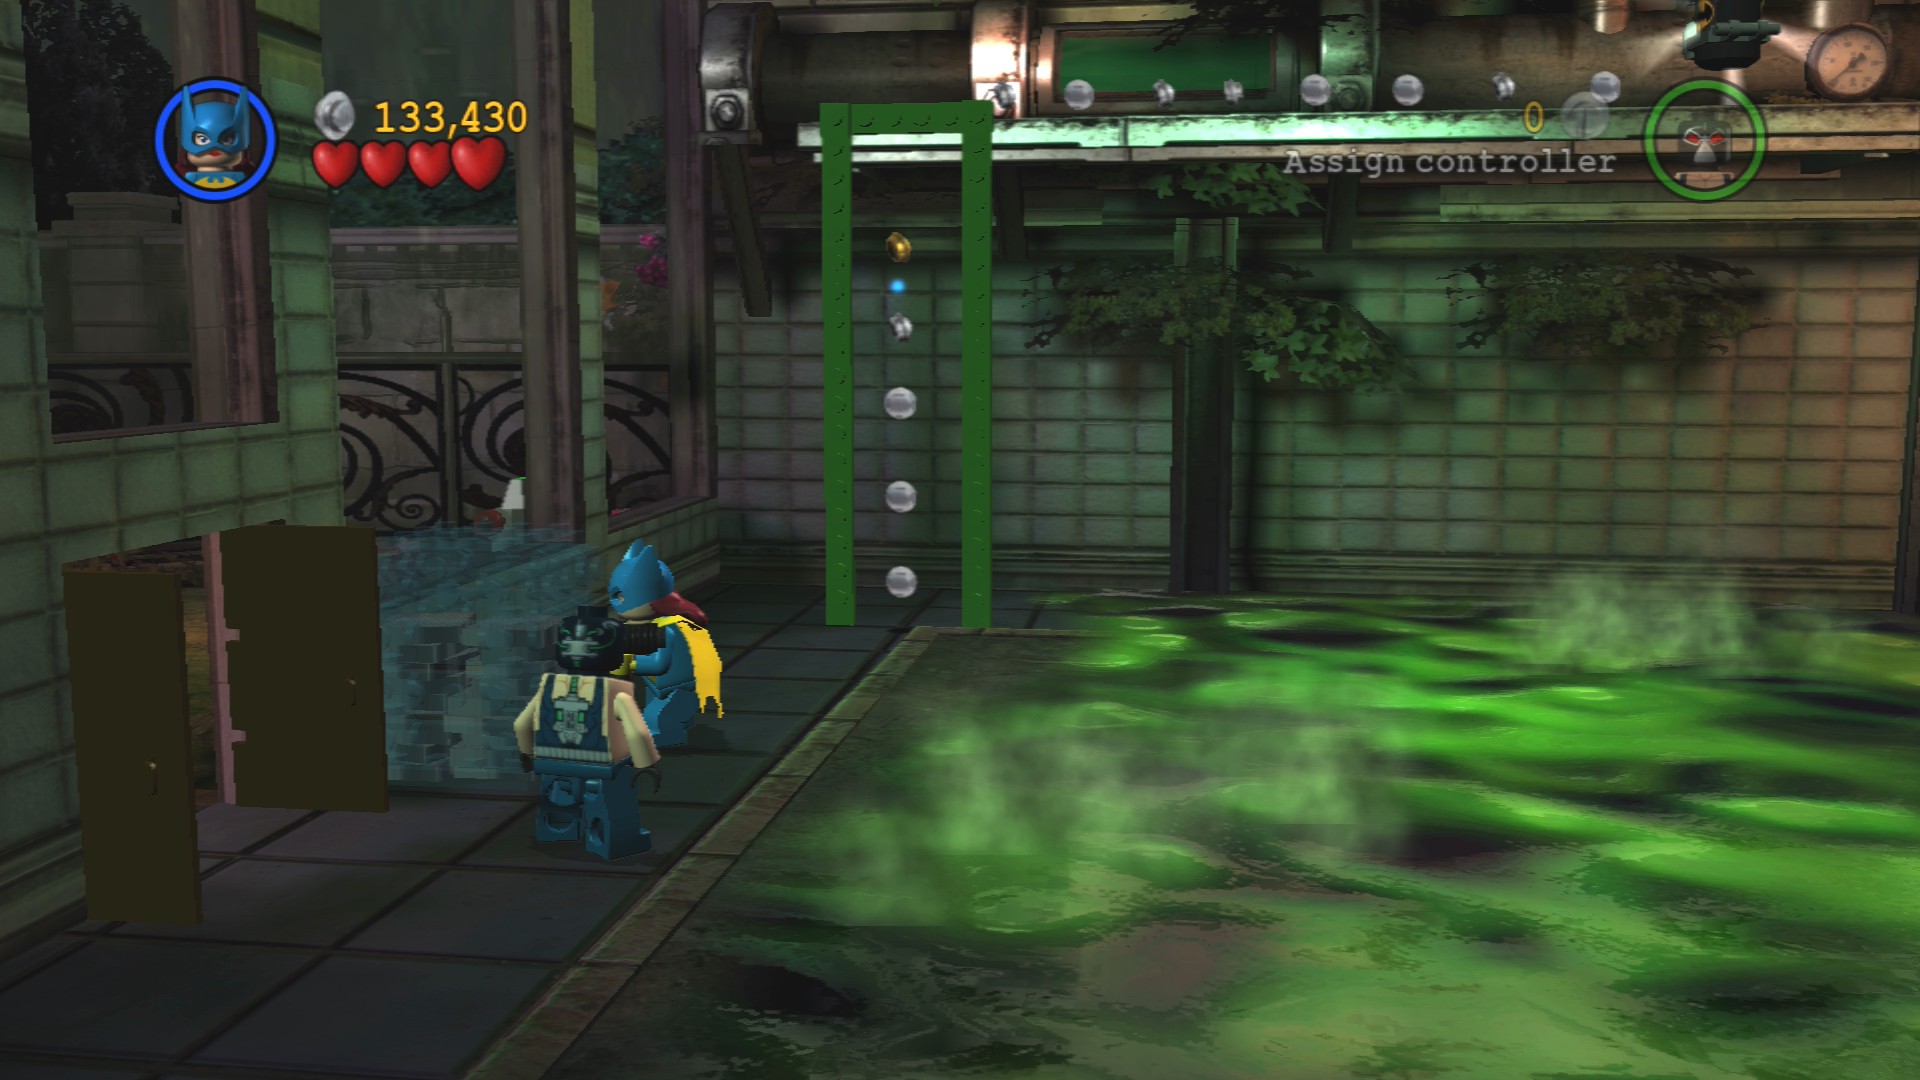
Use the Sonic Suit on the glass just inside the entrance to get the parts to build a metal wall for Robin to Magnet walk up to reach the Minikit up top.
Use Poison Ivy to cross the green goo and smash all the stuff on the far side so that you can repair the vehicle and drive it back to the Riddler so that he can safely drive across the goo and hypnotise the guard post. Drop down the ladder.
Minikit 7/10
Requires: Explosives, Strength, Magnet Suit Story Mode: No
Blast through the Silver LEGO door on the left and then build a metal tube. Use the orange handle to shove it backwards to form a wall to walk up in the Magnet Suit. Drop down on the left to get the Minikit.
Walk through the poison gas and stand on the pink button to shut it off. Next climb the ladder and pull the lever to open a hatch and then stand on another pink button to shut off the rest of the gas. Go through the opened tube.
Minikit 8/10
Requires: Heat Protection Suit, Grapple Story Mode: No
While wearing the Heat Protection Suit, grapple up and go through the hole to reach the Minikit far above.
Go down the steps to the right and smash the objects next to the yellow platform to find the parts to finish it off.
Minikit 9/10
Requires: Sonic Suit, Swimming Story Mode: No
Continue past the platform up some stairs into a room with a glass door on the far side. Sonic Suit through it and then swim through the water to hit a button at the bottom. That'll lower the water level and open a door to the opposite tank. In there stand on the button to raise the water level so you can get the Minikit above. To get back out reverse the process.
Use Poison Ivy's plant growth on the pots next to the yellow platform to grow a couple of plants that you can high jump up to reach the ledge above. Up there smash the canisters to find the final parts to the lift.
After riding the yellow elevator you'll make your way to the final area of the level. A greenhouse with a rather annoying constant stream of security guards attacking you while you're trying to solve the puzzle. You get barely two seconds between defeating the last of the current wave and the arrival of the next lot.
The goal here it sot power up the three lights in the middle. The middle light you can start up straight away, just jump on the middle button For the second light you must first hypnotise the man up on the platform to the left, have him shove the statue off the edge so that you can rebuild it and complete the first circuit. Jump on the left of the three red buttons to light up the second light.
Minikit 10/10
Requires: Explosives Story Mode: No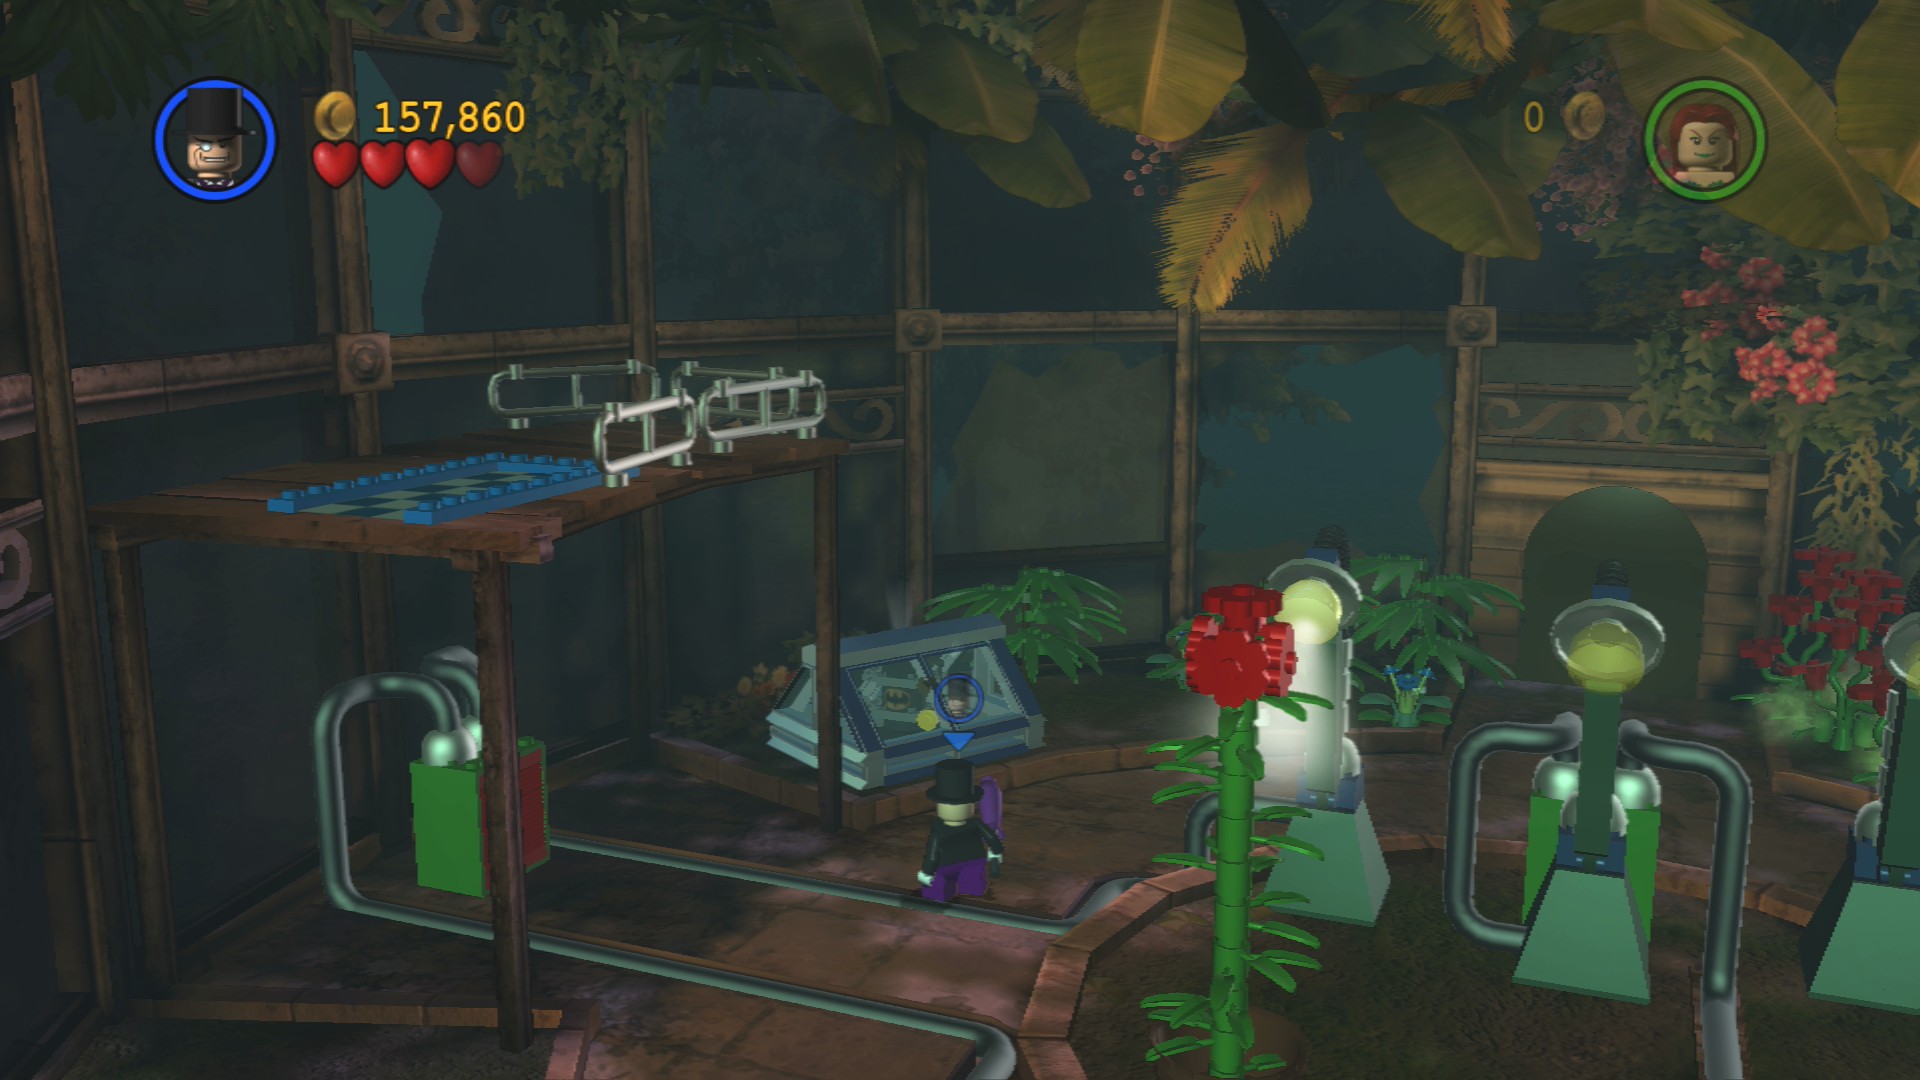
Blow up the Silver LEGO case just below the hypnotisable man.
For the final light go to the right side of the area at the back where there's some plants covered with poison gas. Poison Ivy will be able to smash them safely and then assemble a pump out of the remains. Jump on it a few times to complete the final circuit, then to finish the level just jump on that last red button.
| Cost | Character | |
|---|---|---|
| - | Poison Ivy |
Chapter 4. An Enterprising Theft
| Story Mode | Free Play |
|---|---|
| 48,000 | 97,000 |
Minikit 1/10
Requires: Sonic Suit, High Jump Story Mode: No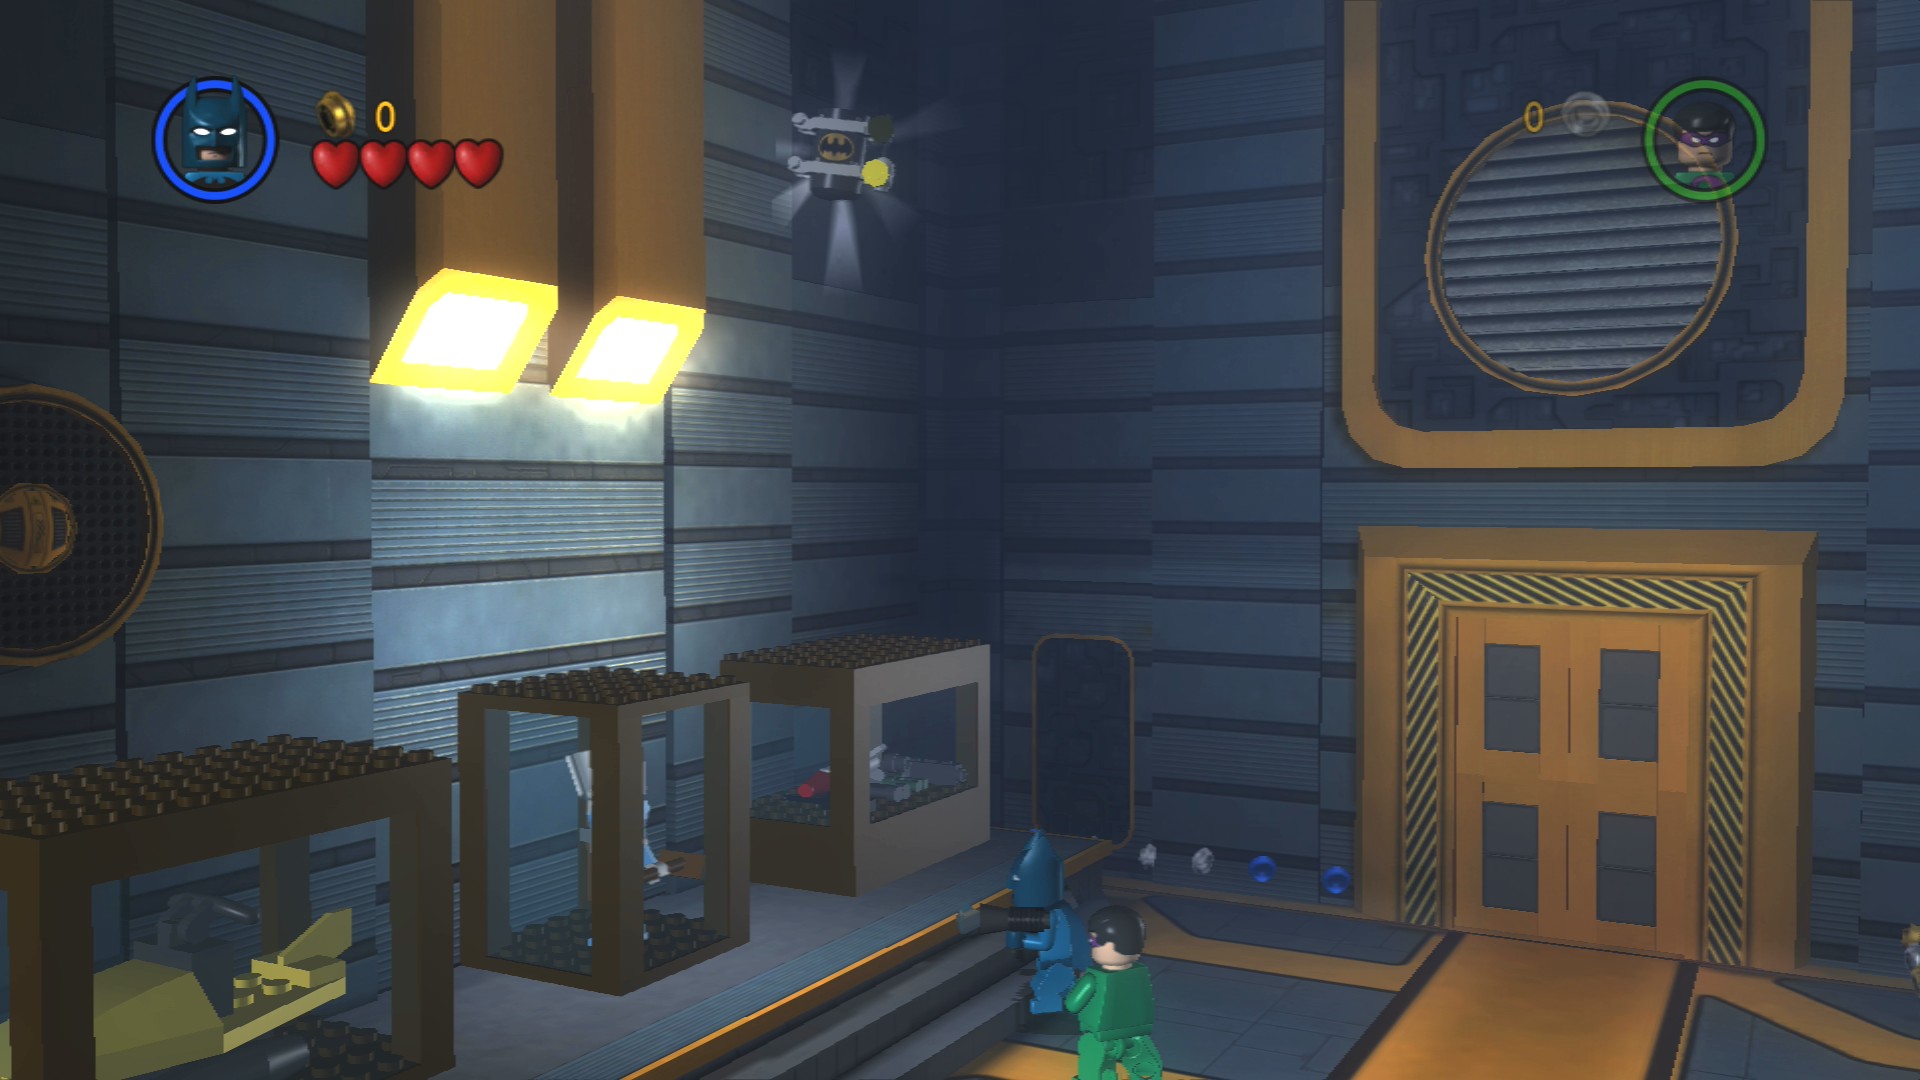
To the left at the start smash the glass cabinets with the Sonic Suit. From the cabinet at the back build a lever to raise the cabinet slightly. High jump on top to reach the Minikit high above.
As you advance to the right past the flowerbeds you'll encounter a few guards near the bottom of the escalators. After defeating them smash the chairs in front of the escalators to build a spinner switch that will reverse the escalator direction.
Hostage 16/25
Requires: Sonic Suit Story Mode: No
To the right of the escalators is a room with a glass door, after smashing it with the Sonic Suit you can rescue the hostage inside.
Minikit 2/10
Requires: Sonic Suit, Technology Suit Story Mode: No
And to the right of the hostage room is another room blocked by a glass door. Once you're inside smash everything and build yourself a large robot mouse which you can drive. Take it out of the room and park it in the open door just to the left of the elevators, this will open the door to its left.
Inside here use the Tech Panel to control a robot around a little maze, you have to drive over each red square in turn to open the path to the next red square, you can just about see the barriers blocking them. Take care not to drive through the wires when they're lit up. The last wire has a slightly different pattern to the rest, it'll flicker off and back on again quickly before it turns off for a long enough time to actually get past. The Minikit will appear in the hostage room.
Go up the escalators.
Minikit 3/10
Requires: Explosives Story Mode: No
Blow up the Silver LEGO crate at the top of the escalators and jump on the button you build a few times to crank open the elevator door.
Minikit 4/10
Requires: Sonic Suit Story Mode: No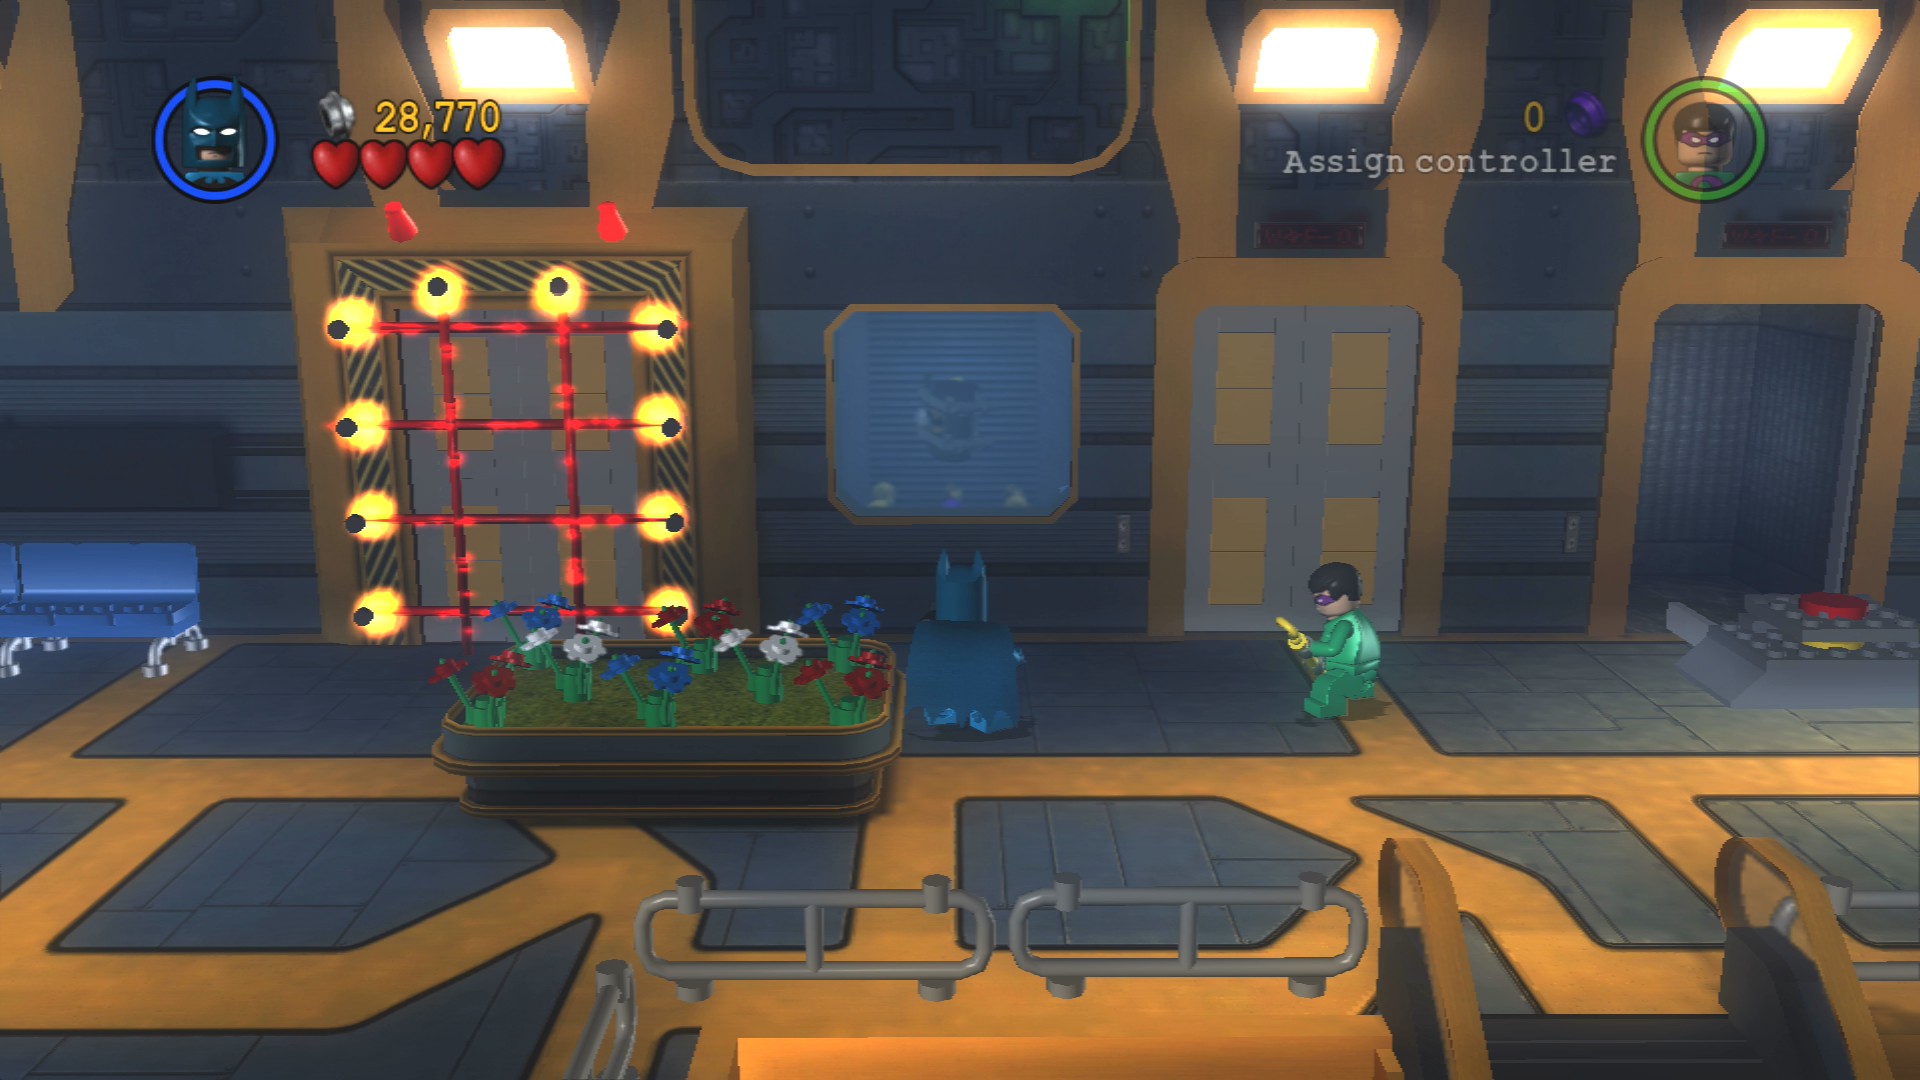
Through a glass window at the top of the escalators.
Smash the blue benches and red cabinets to the left of the laser blocked door to build yourself a quick colour puzzle. You have to step on the buttons in the order that they are shown to you on the wall. So blue, red, yellow, green. Or from the left it's 3, 1, 2, 4.
Use your guns to shoot the guards on the high platforms in the room you reach. Climb up the ladder to the left of the entrance and use the handhold above the entrance to get over to some jiggling LEGO that can be formed into a plunger button. This will fill the bottom level of the room with toxic waste so don't go swimming in it as The Riddler, Two-Face is fine though.
Minikit 5/10
Requires: Hypnosis, Hazard Protection Story Mode: Yes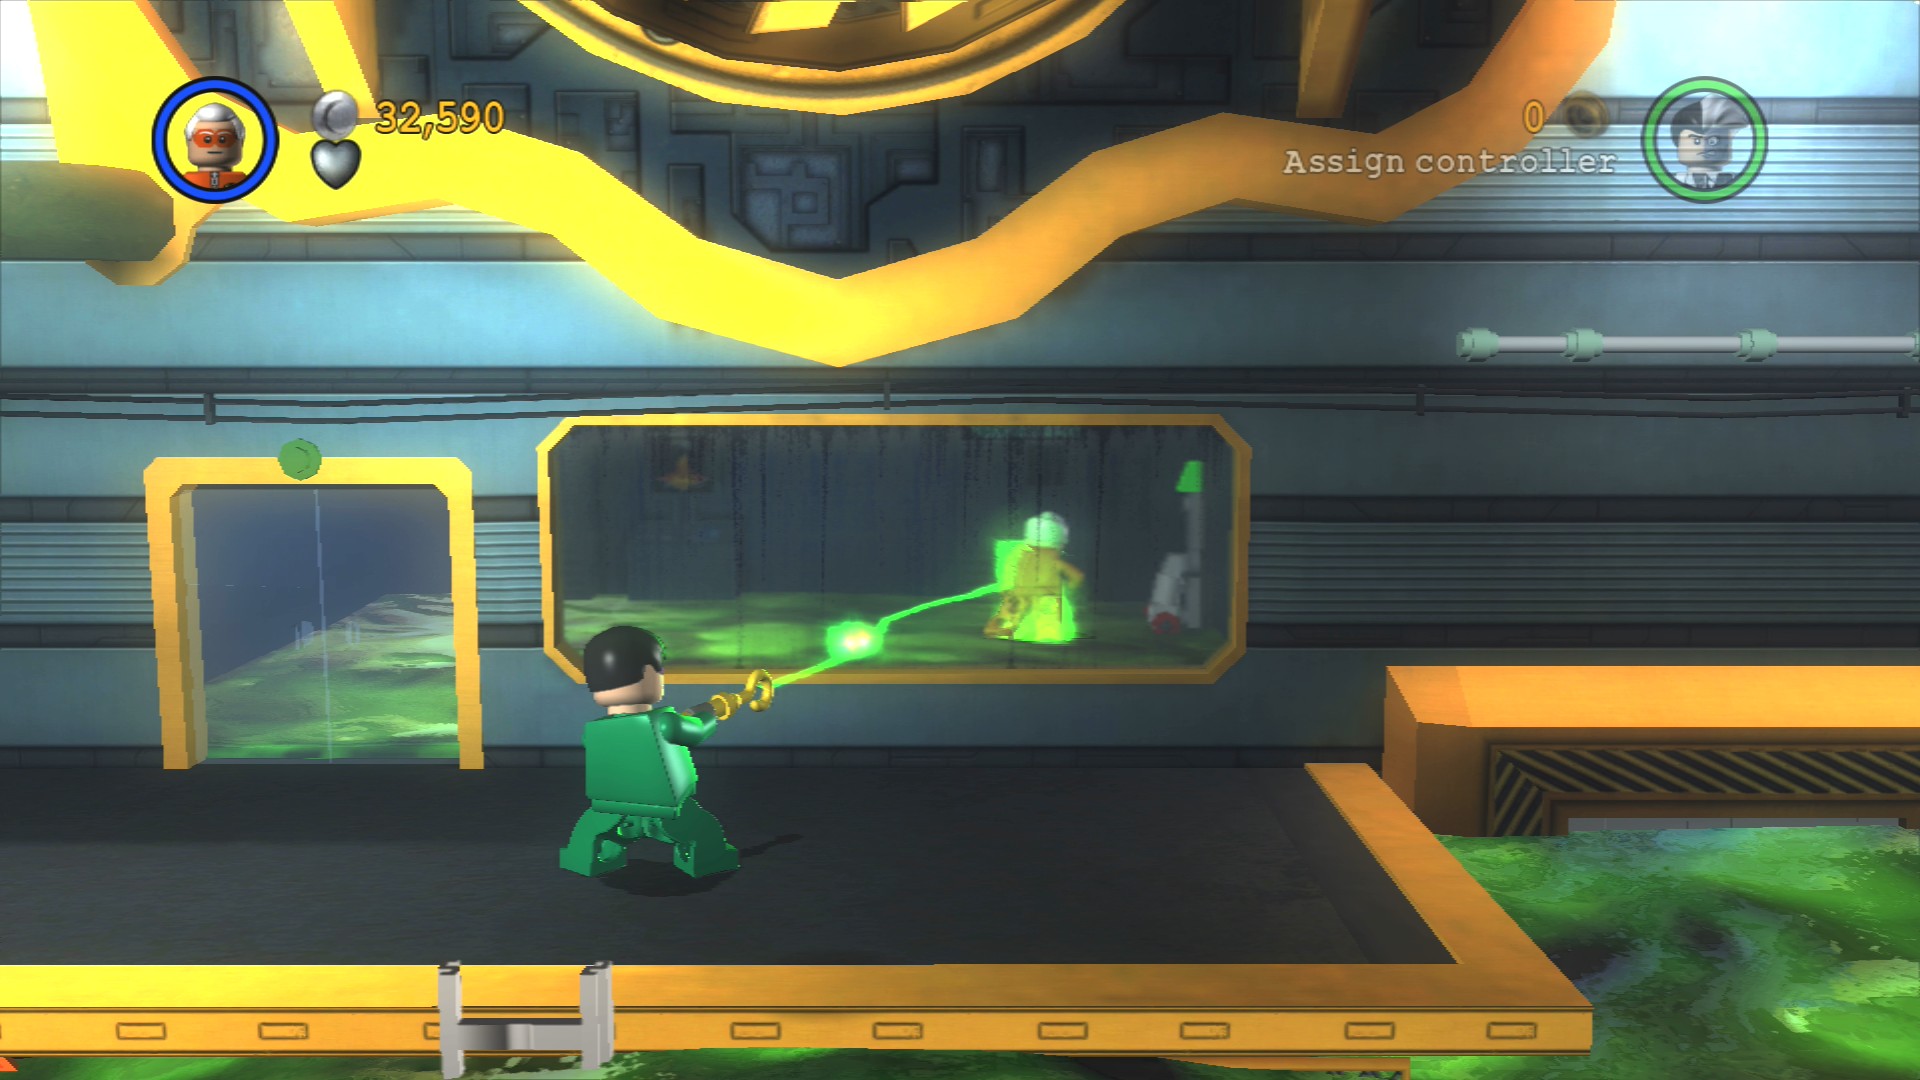
Once the toxic waste level has been raised you can hypnotise the man in the room into pulling a lever. This will open a metal tube across the room, if you jump into it you'll get a Minikit.
Minikit 6/10
Requires: Explosives, Technology Suit Story Mode: No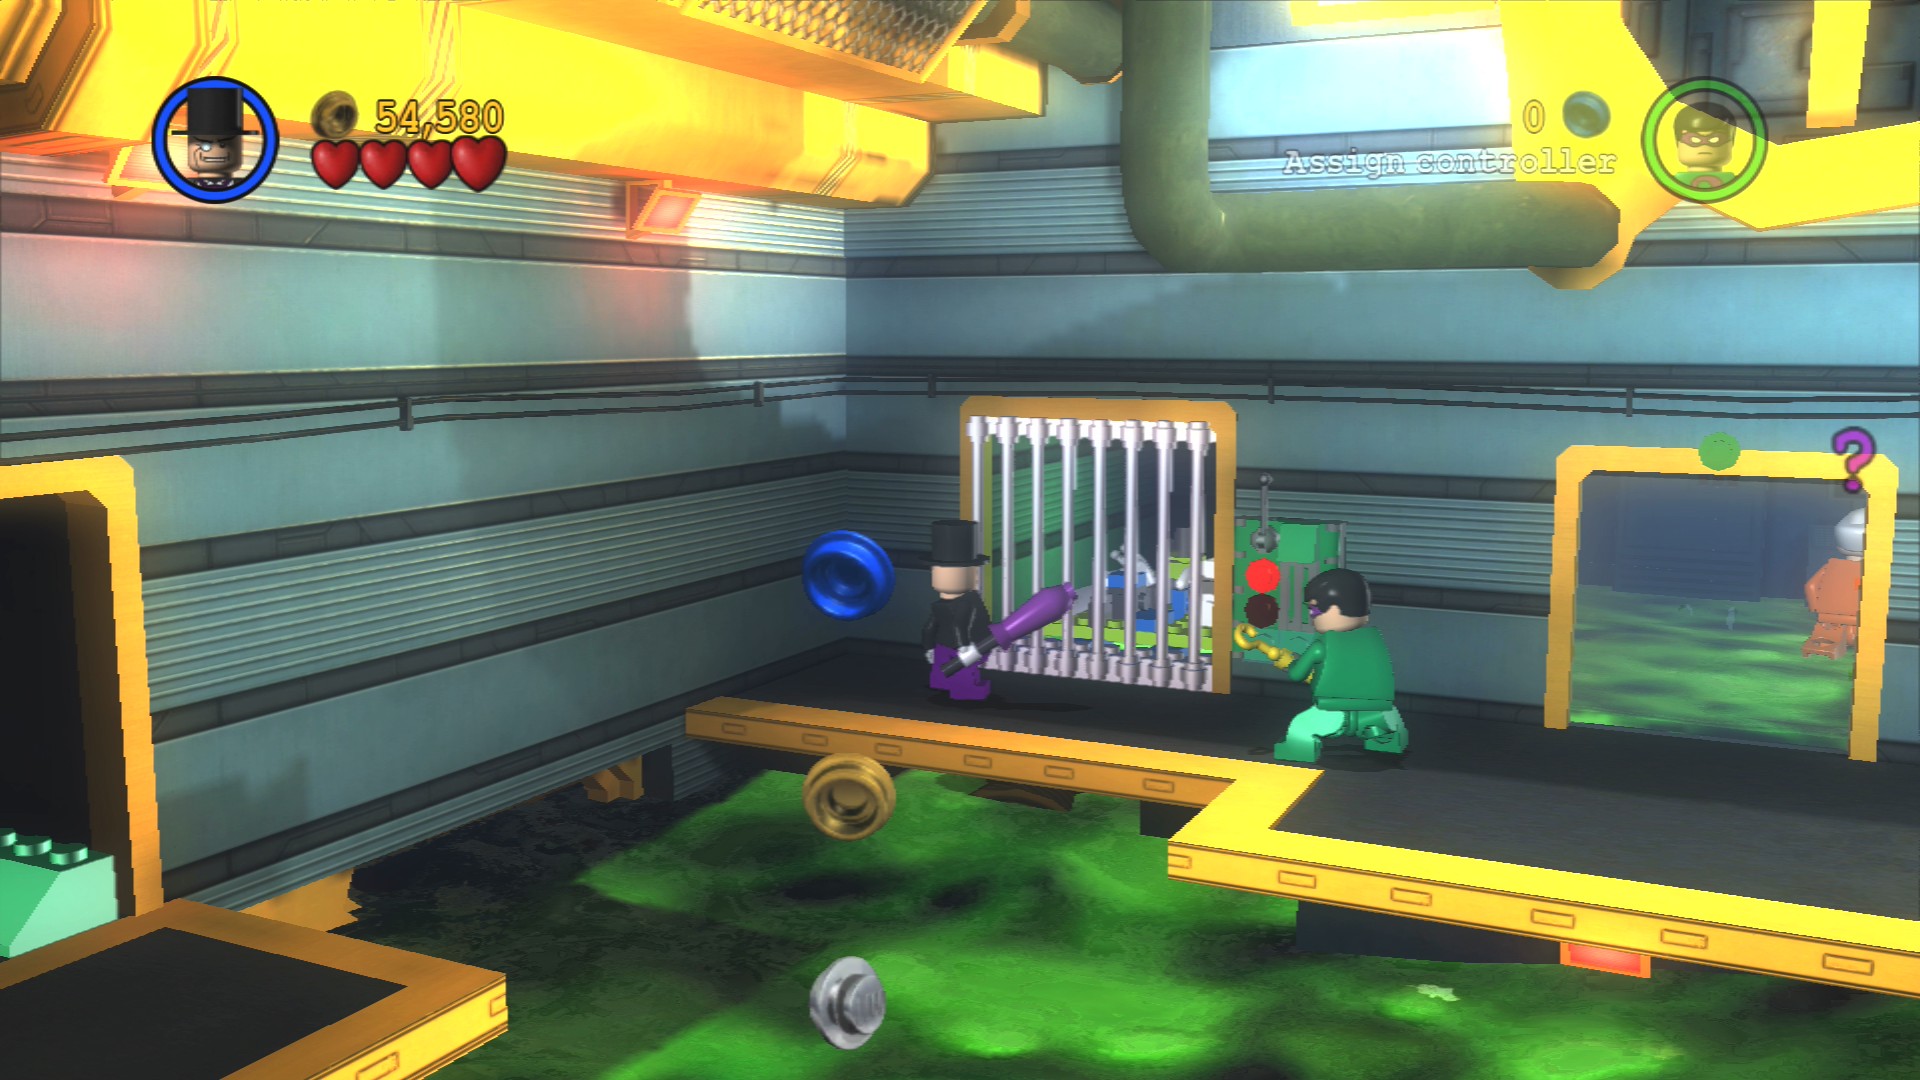
Blow up the Silver LEGO bars to the left of the hypnotism room and build a remote control helicopter from the parts inside. Use the Tech Panel to control the chopper to fly it up to grab the Minikit.
Jump to the platform at the left side of the room and rebuild the green power box to unlock half of the exit. To open the other half you need to swim through the toxic waste (as Two-Face) to get to a platform on the right side of the room. Once you're there smash the existing box and rebuild it on the tiled floor so you can push it into the wall and open the exit.
Assemble the parts to the machine at the start of the new area, using Two-Face for the bits in the toxic waste puddle, and then hypnotise the man behind the glass to take control of the assembled robot. Walk him through the laser barriers and smash the power conduit on the other side to shut them off.
Minikit 7/10
Requires: Explosives, High Jump Story Mode: No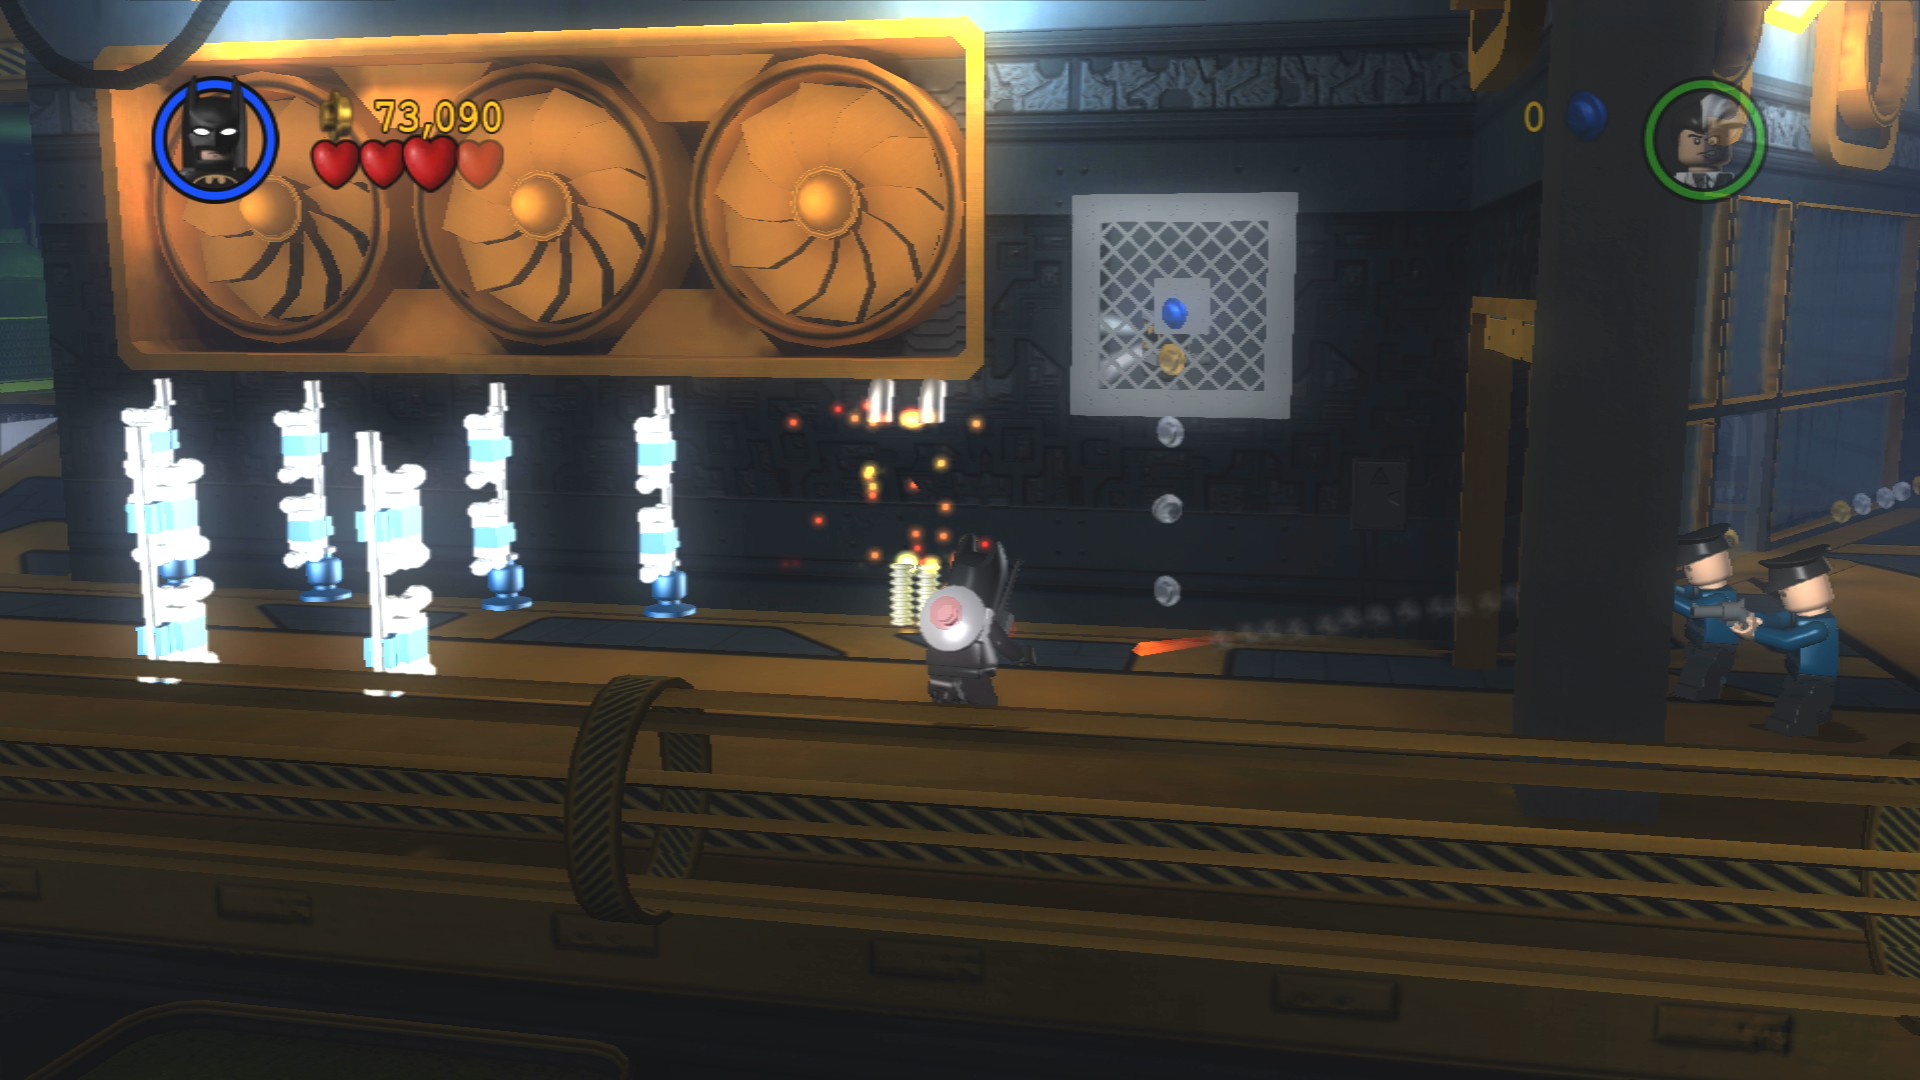
Blow up the Silver LEGO panel just past the laser barriers. You'll need to High Jump to reach the Minikit inside.
Minikit 8/10
Requires: Sonic Suit Story Mode: No
Sonic Suit the glass door of the first room past the laser barriers and at the back smash the objects and build a large weight that gets sent up the tube. It'll drop down on a scale further in the level and open a door to reveal the Minikit. You can grab it in a bit.
Red Brick - Score x8
Requires: Explosives, Hazard Protection Story Mode: No
Blow up the door to the second room and smash all the stuff inside. In the back left corner you'll be able to build a projector which will reveal a door you can go through.
Enter Bruce Wayne's office (I guess) and stand on the red button at the back three times to open up a floor puzzle. You have to stand on the squares in the same order as the game shows you:
| 9 | 2 | 6 |
| 5 | 8 | 1 |
| 4 | 3 | 7 |
Once you've done that the painting of Bruce Wayne will slide open to reveal the Red Brick.
Go through into a large open area, defeat all the guards you see and jump up the handholds at the back beneath where a few of them were standing (at the top is where Minikit #8 is revealed). Have Two-Face walk through the puddle of toxic waste to the left and then smash the sparking yellow panel to shut off the lasers below.
Pull the lever where the lasers were to open the door so you can release a goo sucking vehicle. There's no goo to suck this time, instead just drive it around the central circle over all of the red squares to light them up. The central dome will open and allow you to push the spinner switch which will extend a bridge up next to the toxic waste.
Climb up the handholds again and this time go to the right, hit another sparking yellow panel and all the lasers will shut off.
Minikit 9/10
Requires: Heat Protection Suit Story Mode: No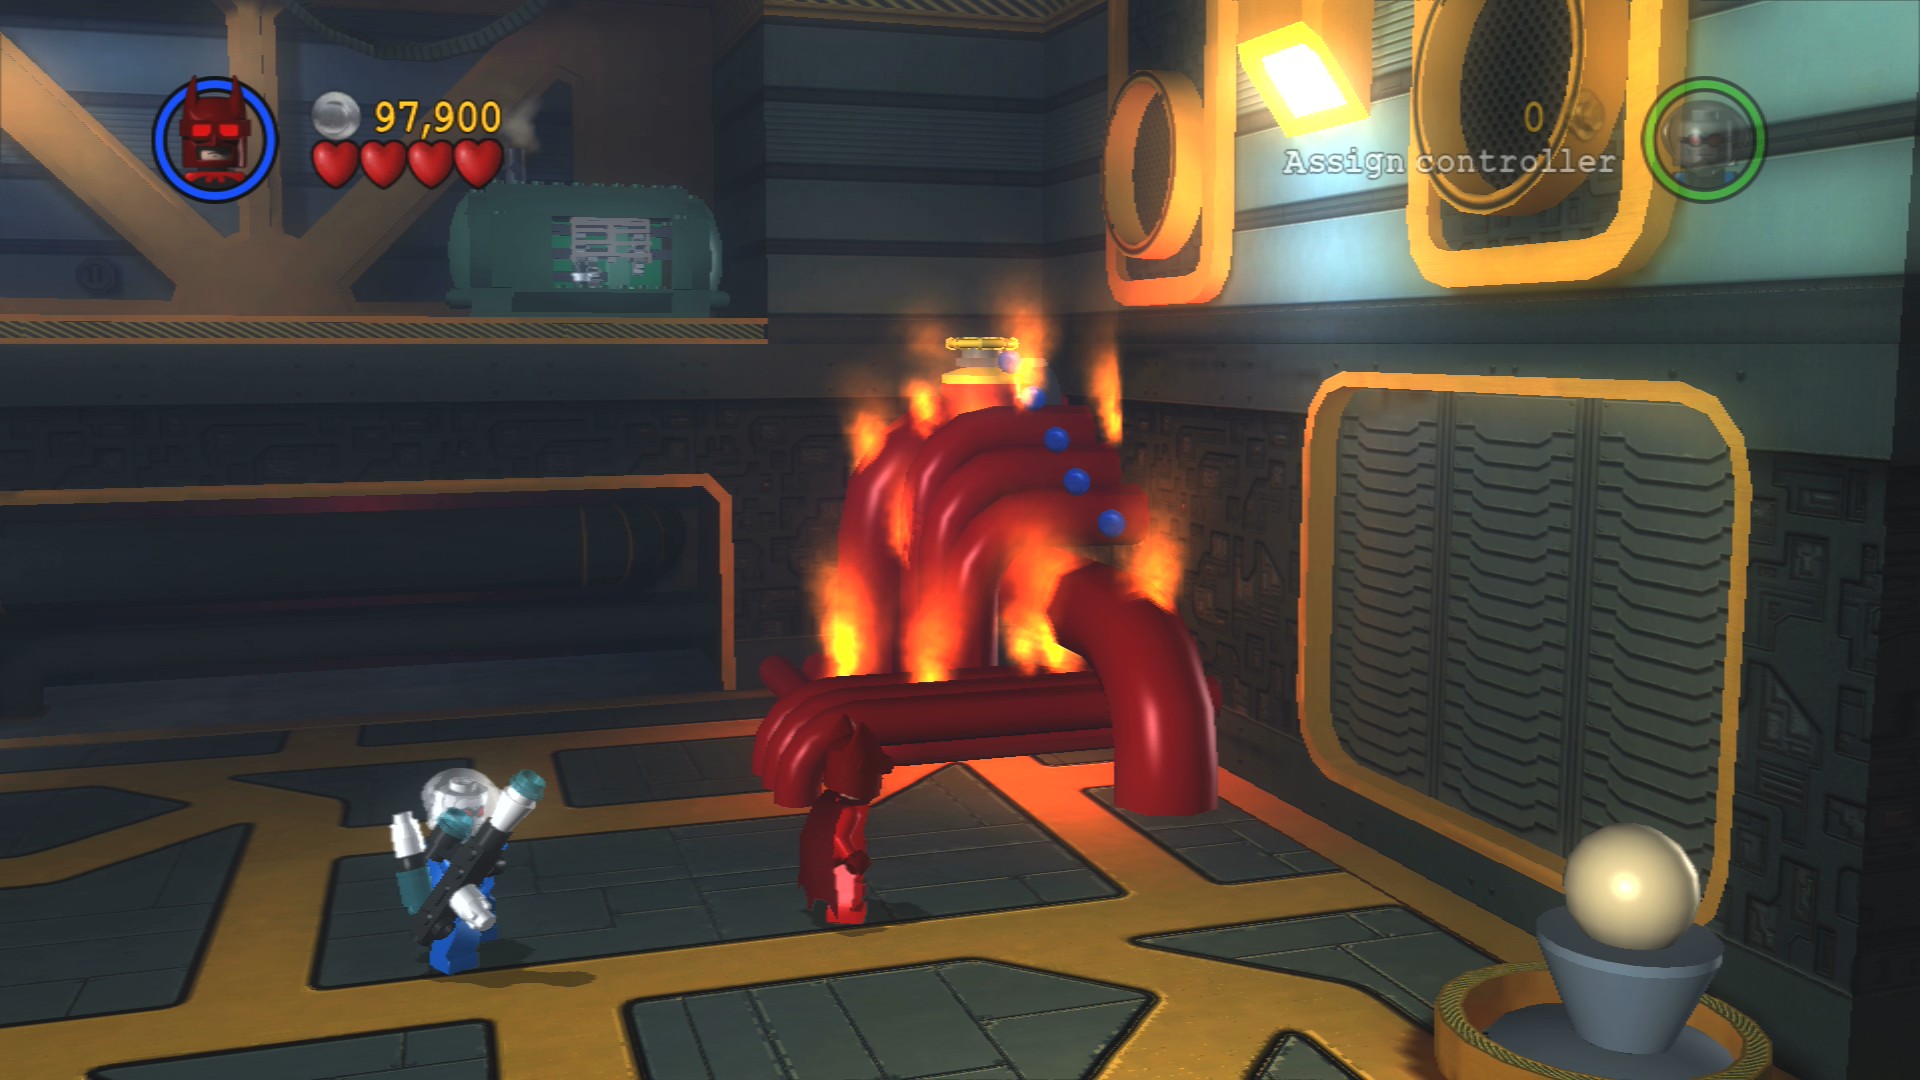
Use the Heat Protection Suit to clamber up on top of the red hot pipes in the corner and smash the valve on top to release a gust of air that'll raise you up to get the Minikit high above.
Go through the exit to another large room, a colour puzzle will appear as you reach the middle.
Minikit 10/10
Requires: None Story Mode: Yes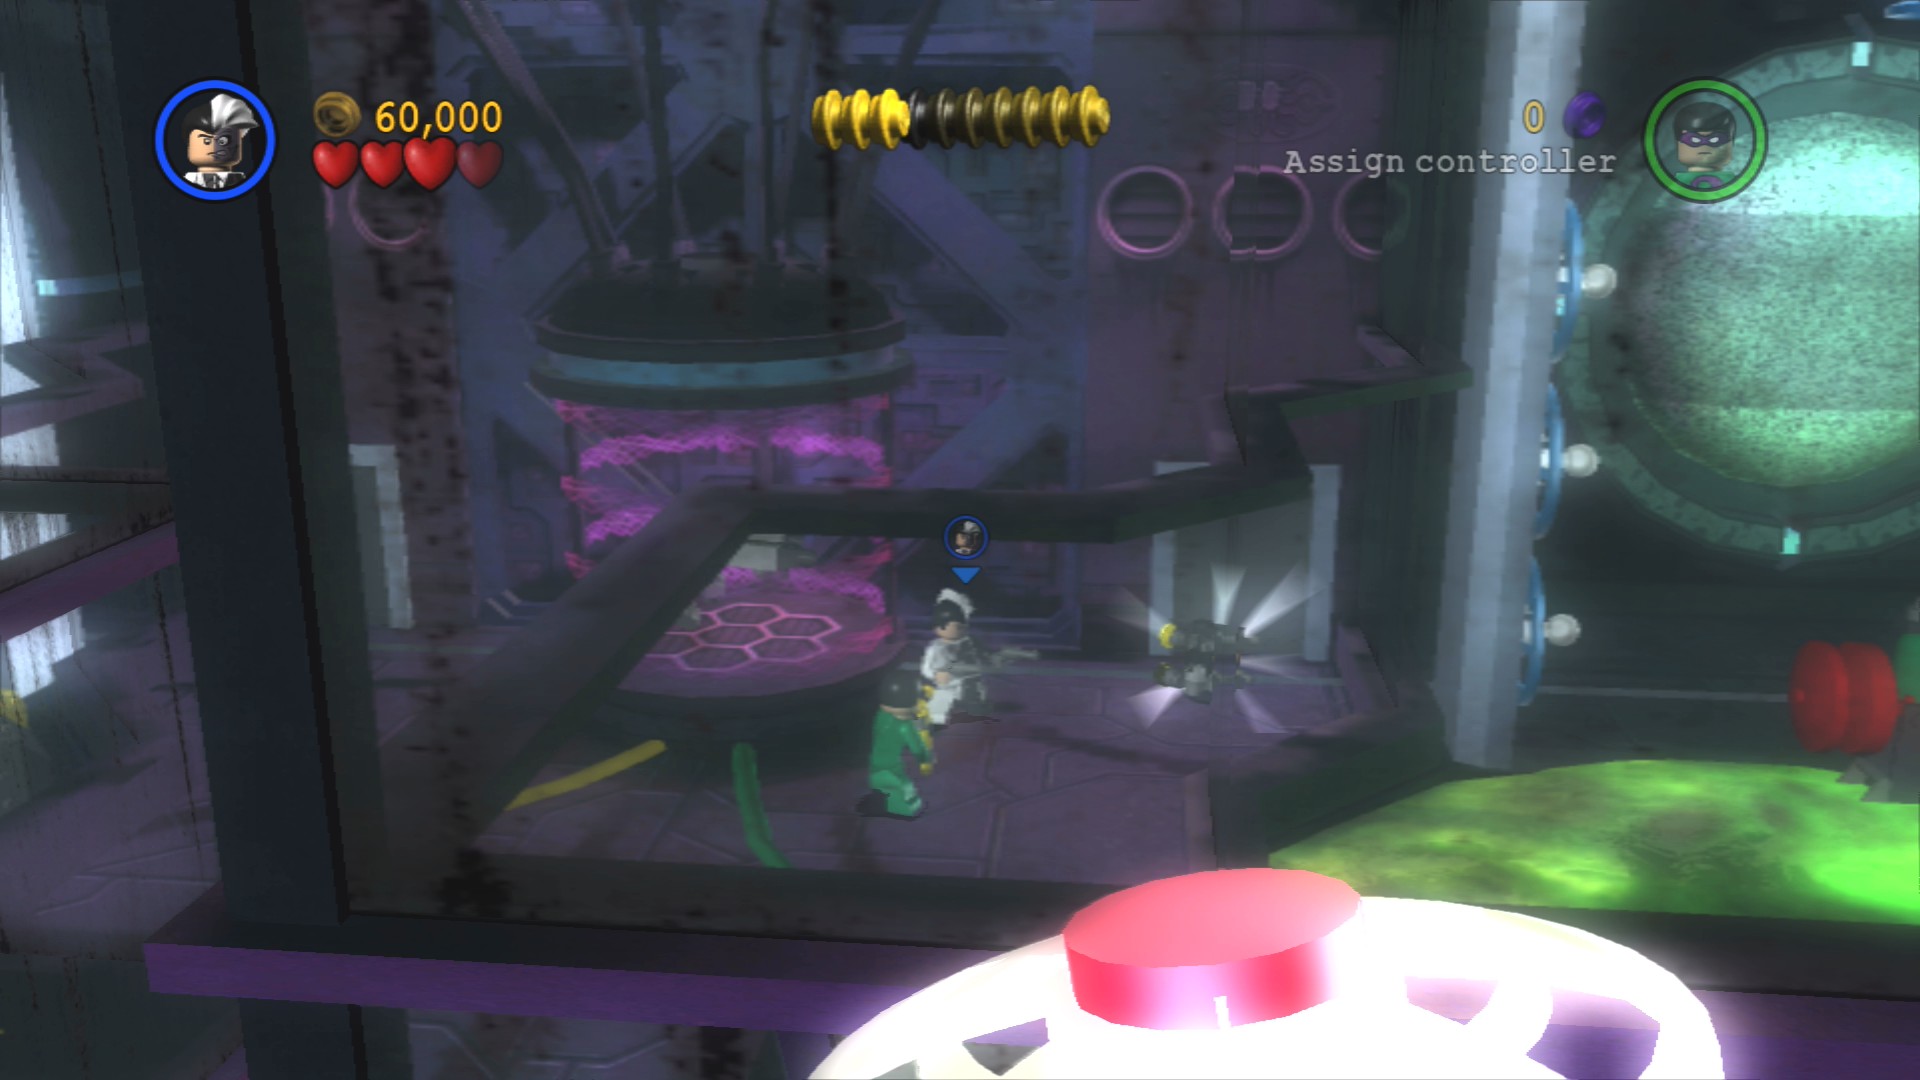
Go behind the colour puzzle screen and to the right of the glowing purple cage is where you'll find the final Minikit.
The combination is yellow, red, green (or front, back, middle). Solving it will lower a black and yellow object into view and raise up a couple of yellow and black crates behind it. Smash those crates and attach the pieces to the dangling object.
Go to the back left side of the room and hypnotise a man behind the glass wall into pulling a lever. This will raise up some more parts to attach to the yellow and black machine. On the right side of the room punch the door and have Two-Face walk through the toxic waste to pull the lever at the back himself.
Finish assembling the mech and hop it. Use it to smash all eight of the glowing red pylons to disable the glowing purple cage at the back. Approach the cage to finish the level.
| Cost | Character | |
|---|---|---|
| - | Two-Face | |
| 6,000 | Scientist | |
| 24,000 | Two-Face's Armoured Truck |
Chapter 5. Breaking Blocks
| Story Mode | Free Play |
|---|---|
| 71,000 | 106,000 |
Try to avoid getting in the helicopter's search light as it'll shoot at you if you do.
Minikit 1/10
Requires: None Story Mode: Yes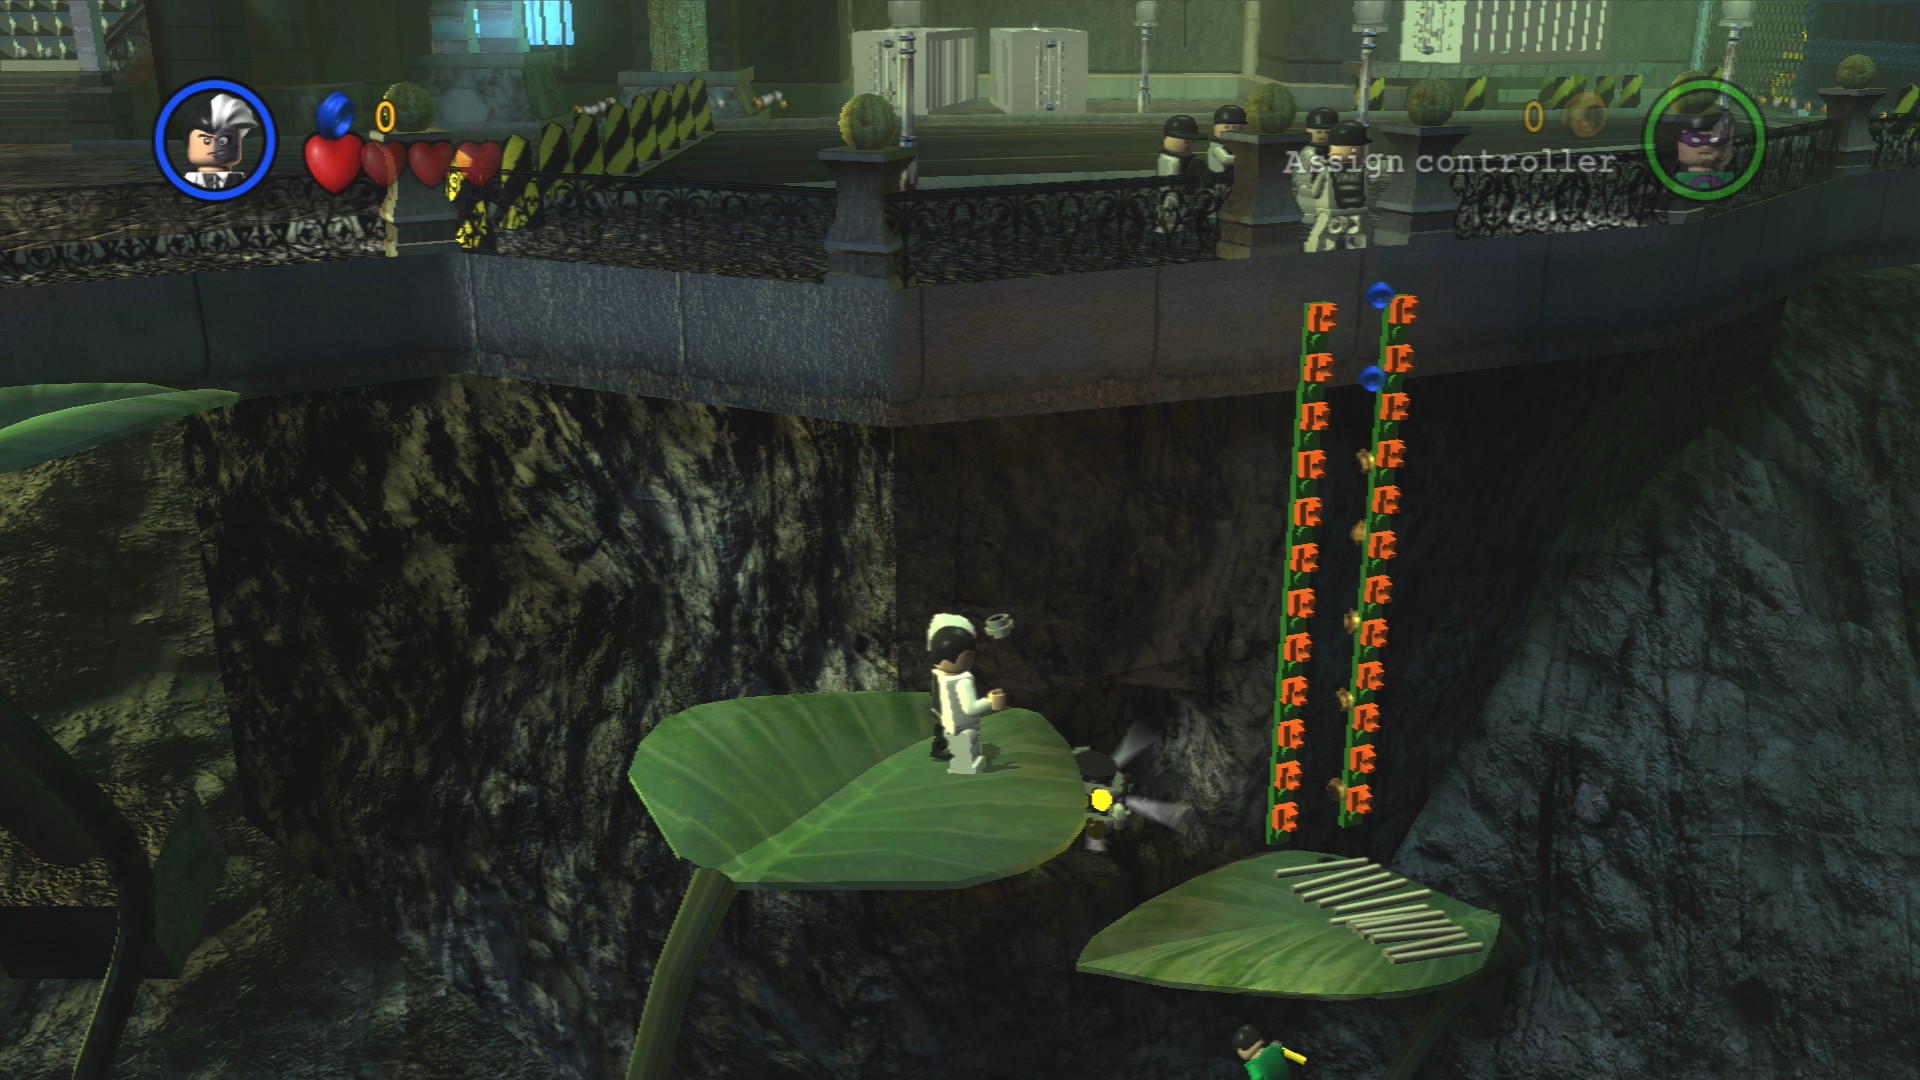
Off the edge just past the bollards to the right, you should be able to see the orange clips lined up off the side where you jump down onto some large leaves.
Head to the right and defeat a few SWAT. At the closed gate at the far end use The Riddler's power of hypnosis on a man on the other side and have him smash all the red objects towards the screen so that he can build some dynamite and a plunger to detonate it.
Now you can get in and smash the rest of the objects in order to repair the large yellow digger so that you can drive it.
Use the digger to smash the Silver LEGO crate blocking the ladder of handholds just outside the gate. Jump up those handholds (it's quite a long way) and smash the searchlight at the top. That'll drop a couple of bricks that can be assembled on the tiled path and then pushed into position.
Pull the lever next to the path to activate the first half, then assemble the tightrope and use it to get across, down to where you just powered. Go past it to the far end and have Two-Face shoot the padlock, that'll drop a ladder so you can get up to the second searchlight where you can do the exact same thing and fully power the central light. Which of course will make it explode.
Have Riddler sit in the mind control chair to take control of the helicopter that was annoying you earlier.
Minikit 2/10
Requires: Hypnotism Story Mode: Yes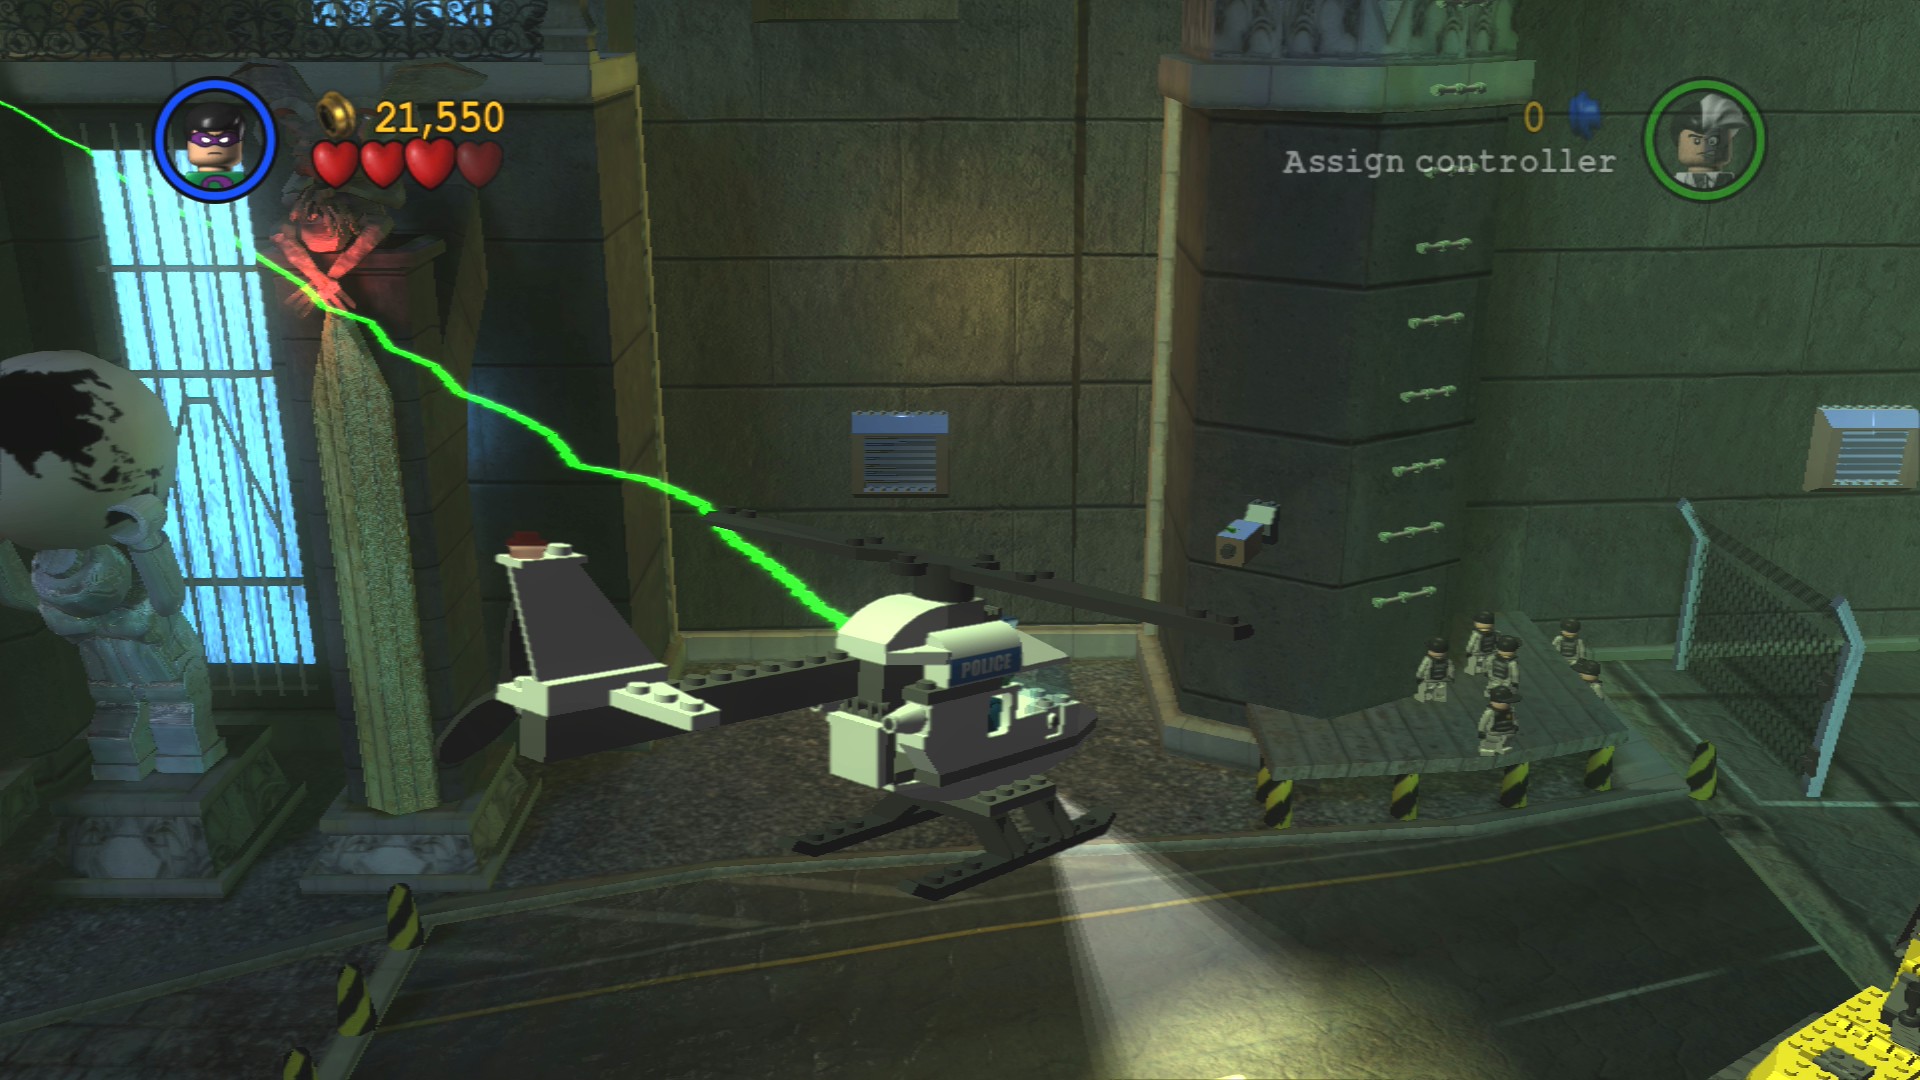
Use the helicopter to blow up three security cameras on the wall. Two on the right side and one to the left of the main entrance.
The helicopter can blow up the door to let you inside Fort Blox.
Defeat a few guards inside and then smash the sofas in front of the glass windows. You should find the parts to build a couple of spinner switches. Once you've opened both the doors use hypnosis to control the man behind the glass and have him pull the lever at the far end.
Minikit 3/10
Requires: Sonic Suit, Attract Suit, Magnet Suit Story Mode: No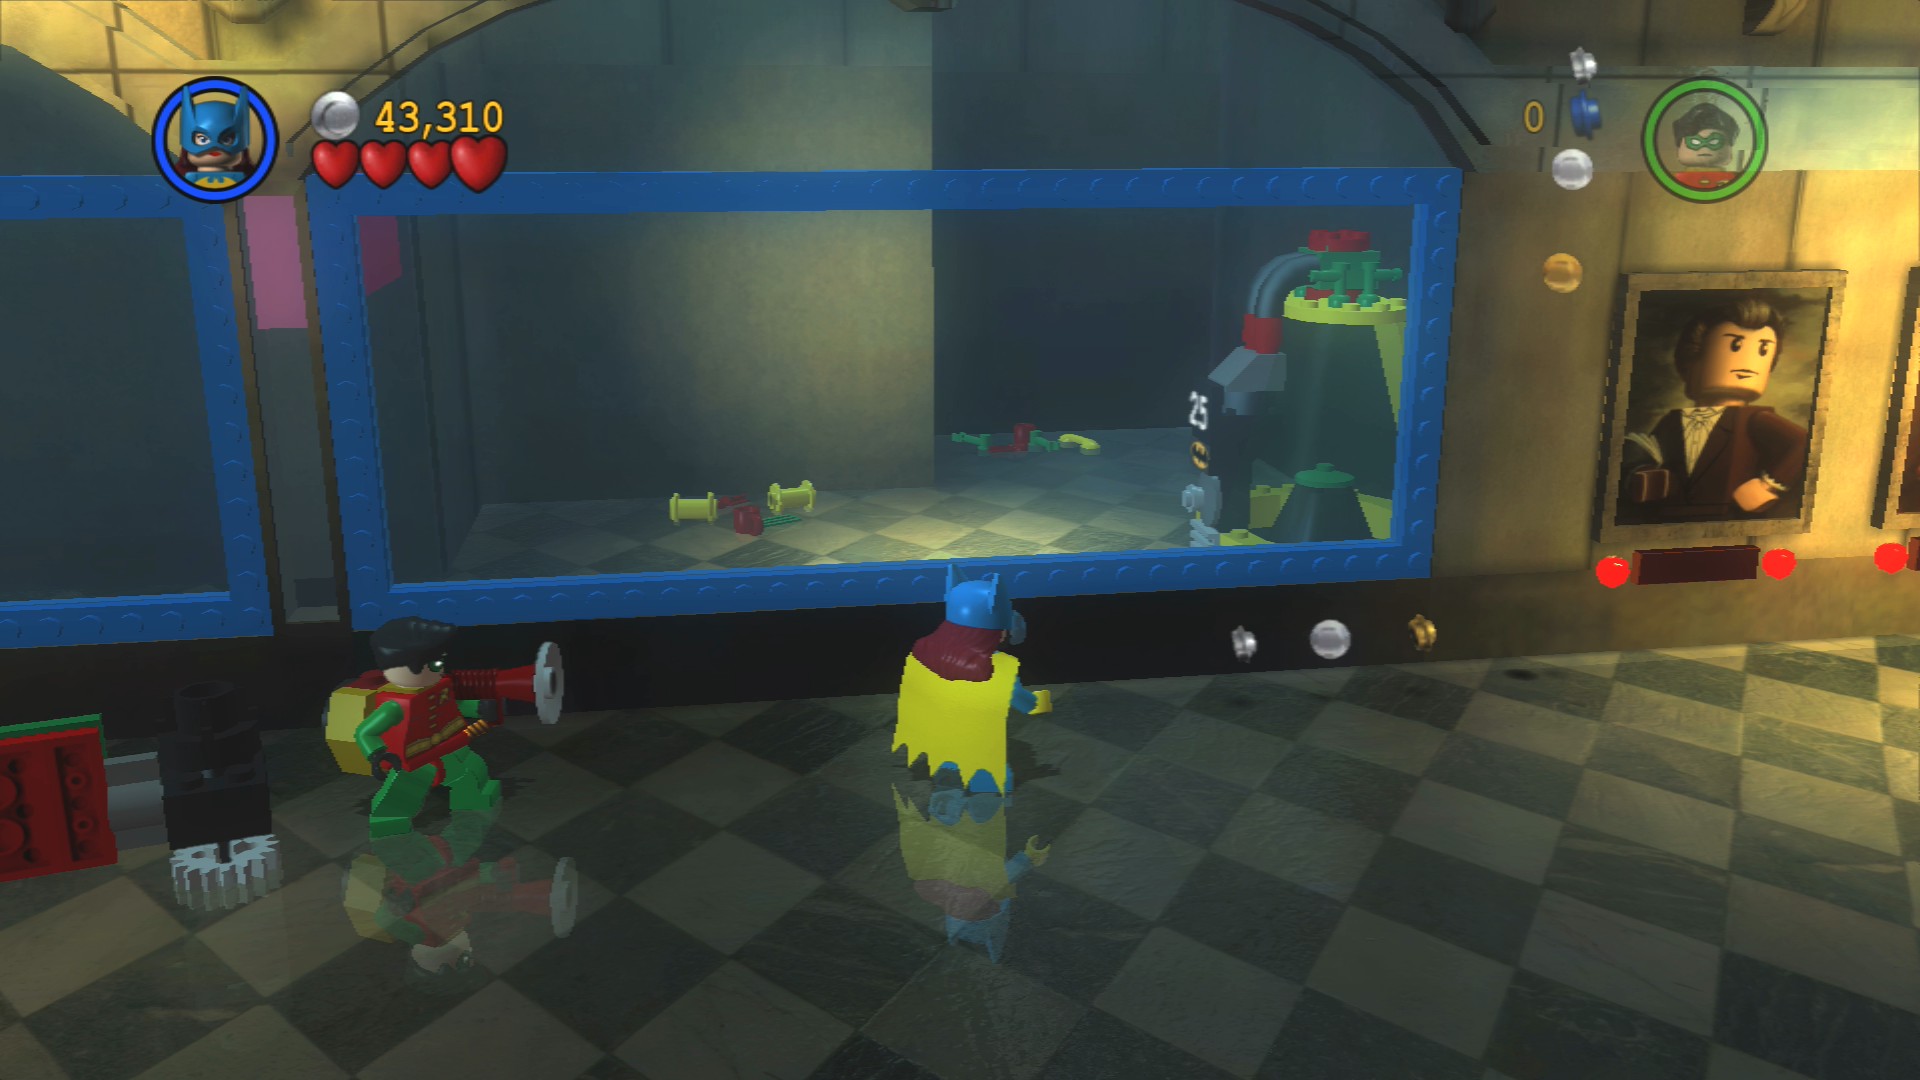
Use the Sonic Suit to smash the glass windows that the hypnotised man is behind to get to the Attracto Canister so you can fill it up.
That will create a thin metal wall for Robin to Magnet walk up to reach a ledge with the Minikit on.
Minikit 4/10
Requires: Explosives Story Mode: No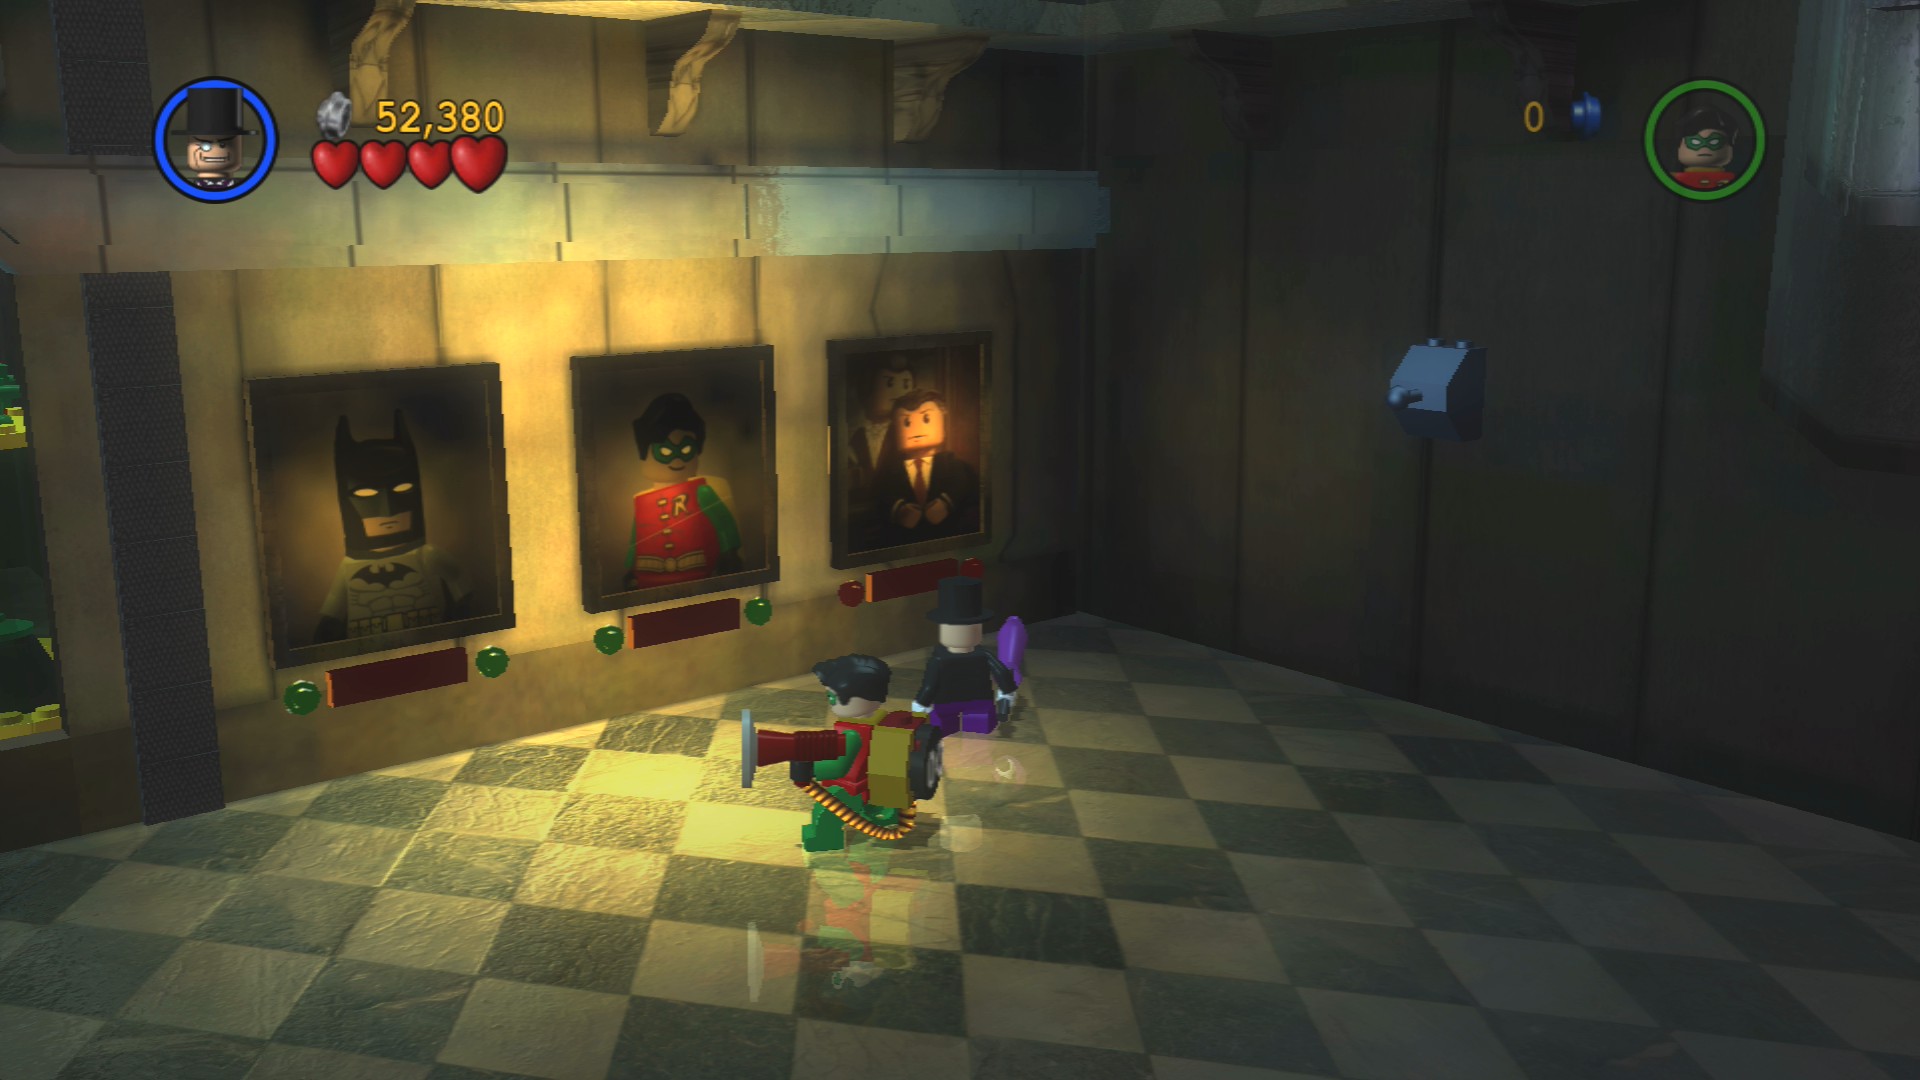
Use explosives on the three portraits in the back right corner of this room. The third one will flip around to a picture of a Minikit and spill out LEGO that can be built into a lever.
The hypnotised lever pull will have opened the gate leading to the right. After defeating a few guards you'll come to a long thin checkered floor. Shoot the junction box on the wall next to the gate at the end of it to open the gate. Smash all the stuff behind there to build a large golden object that you can push along the track.
Push it all the way into the lasers at the end to blow them up and then defeat the SWAT guys on the other side.
Minikit 5/10
Requires: Strength Story Mode: No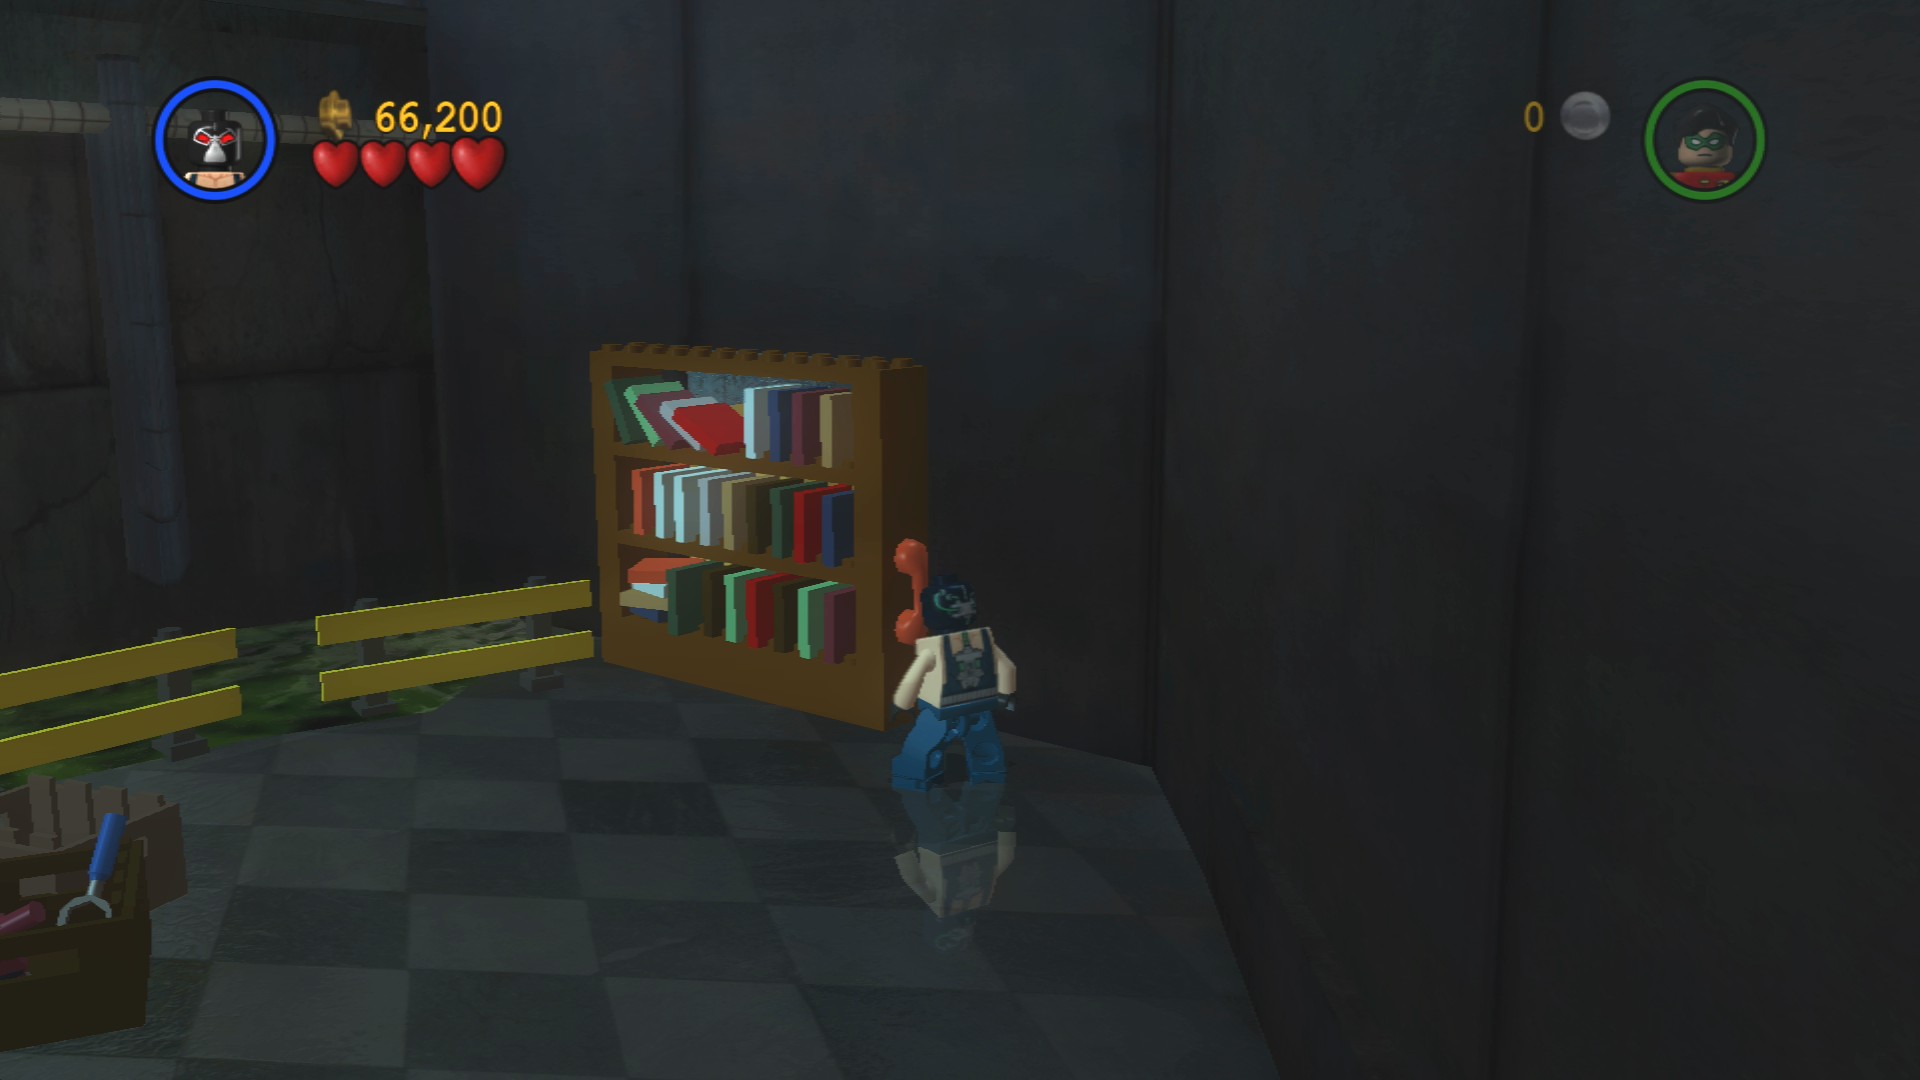
To the right after the lasers is a bookcase with an orange handle on the side. Shove it out of the way and smash the wall behind it.
Hostage 17/25
Requires: Explosives Story Mode: No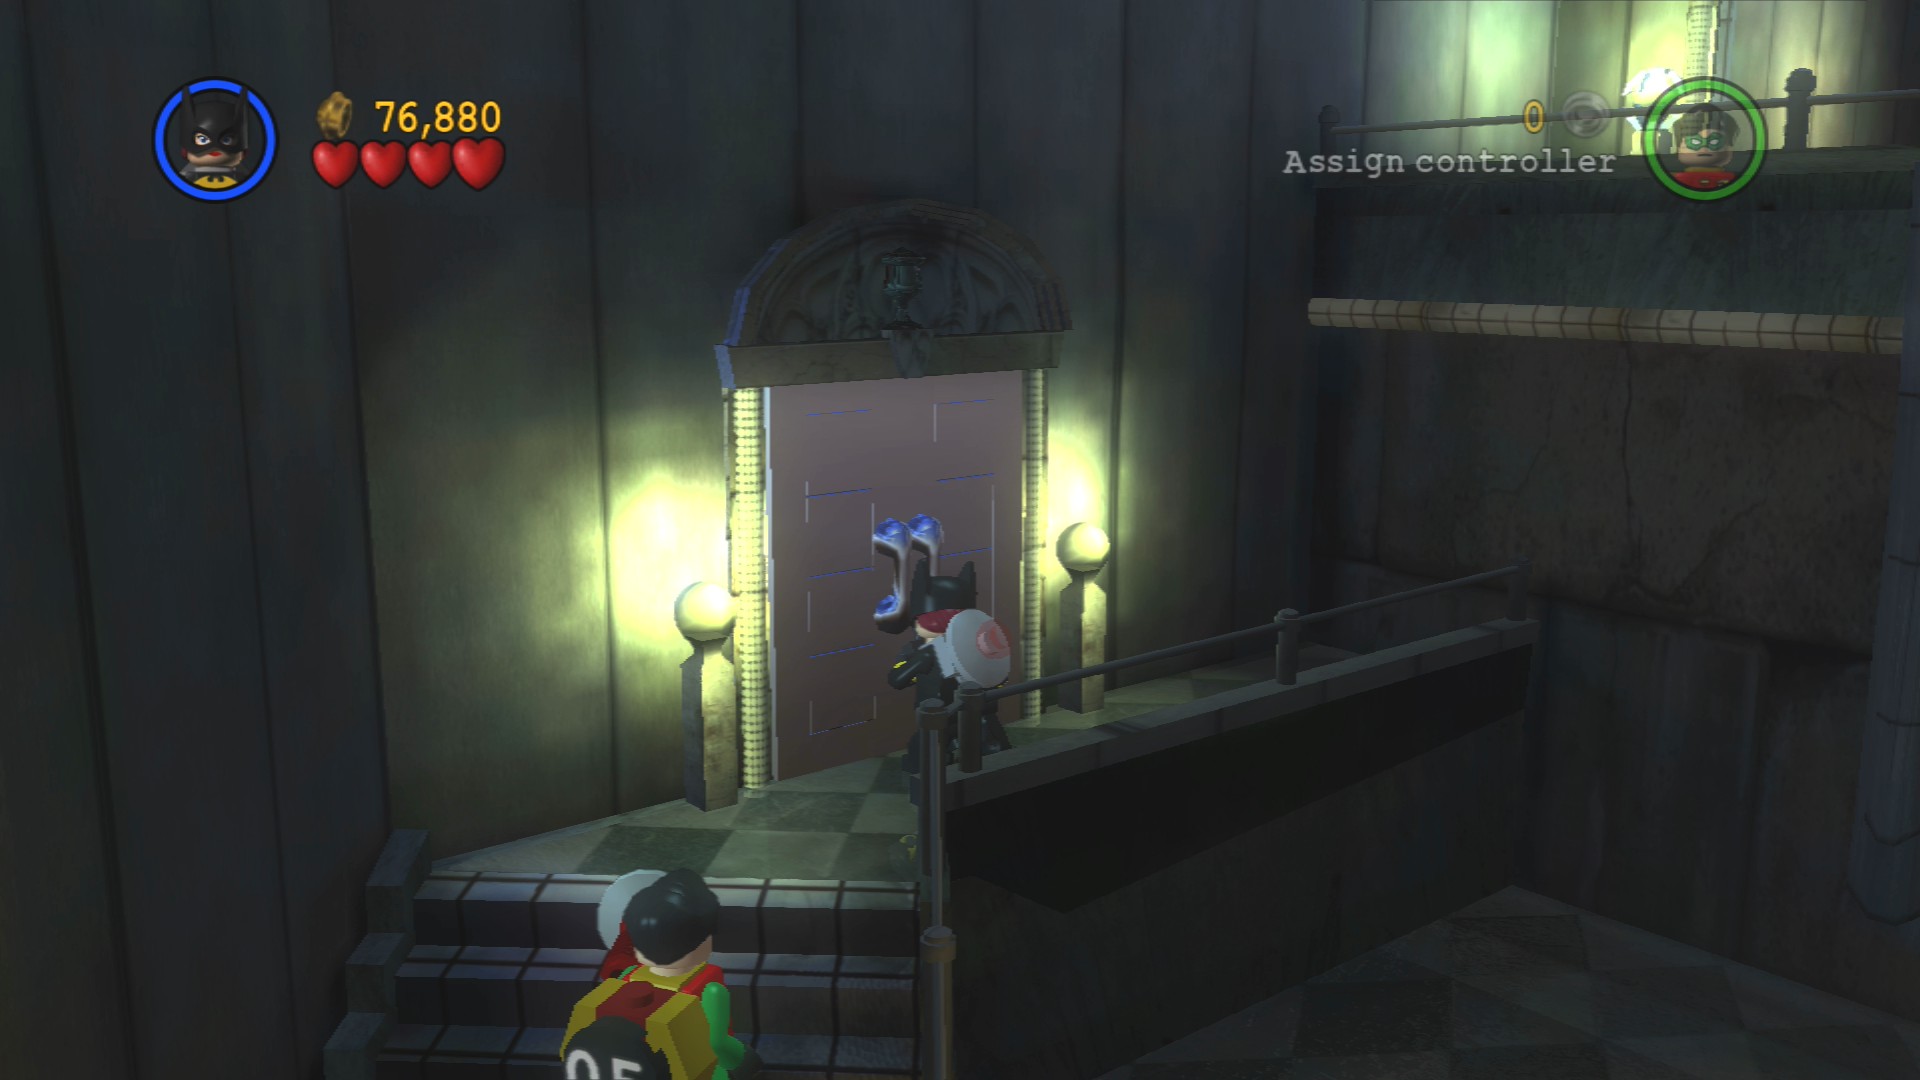
Blow up the Silver LEGO door on the left side and go through into the room beyond.
Minikit 6/10
Requires: Explosives Story Mode: No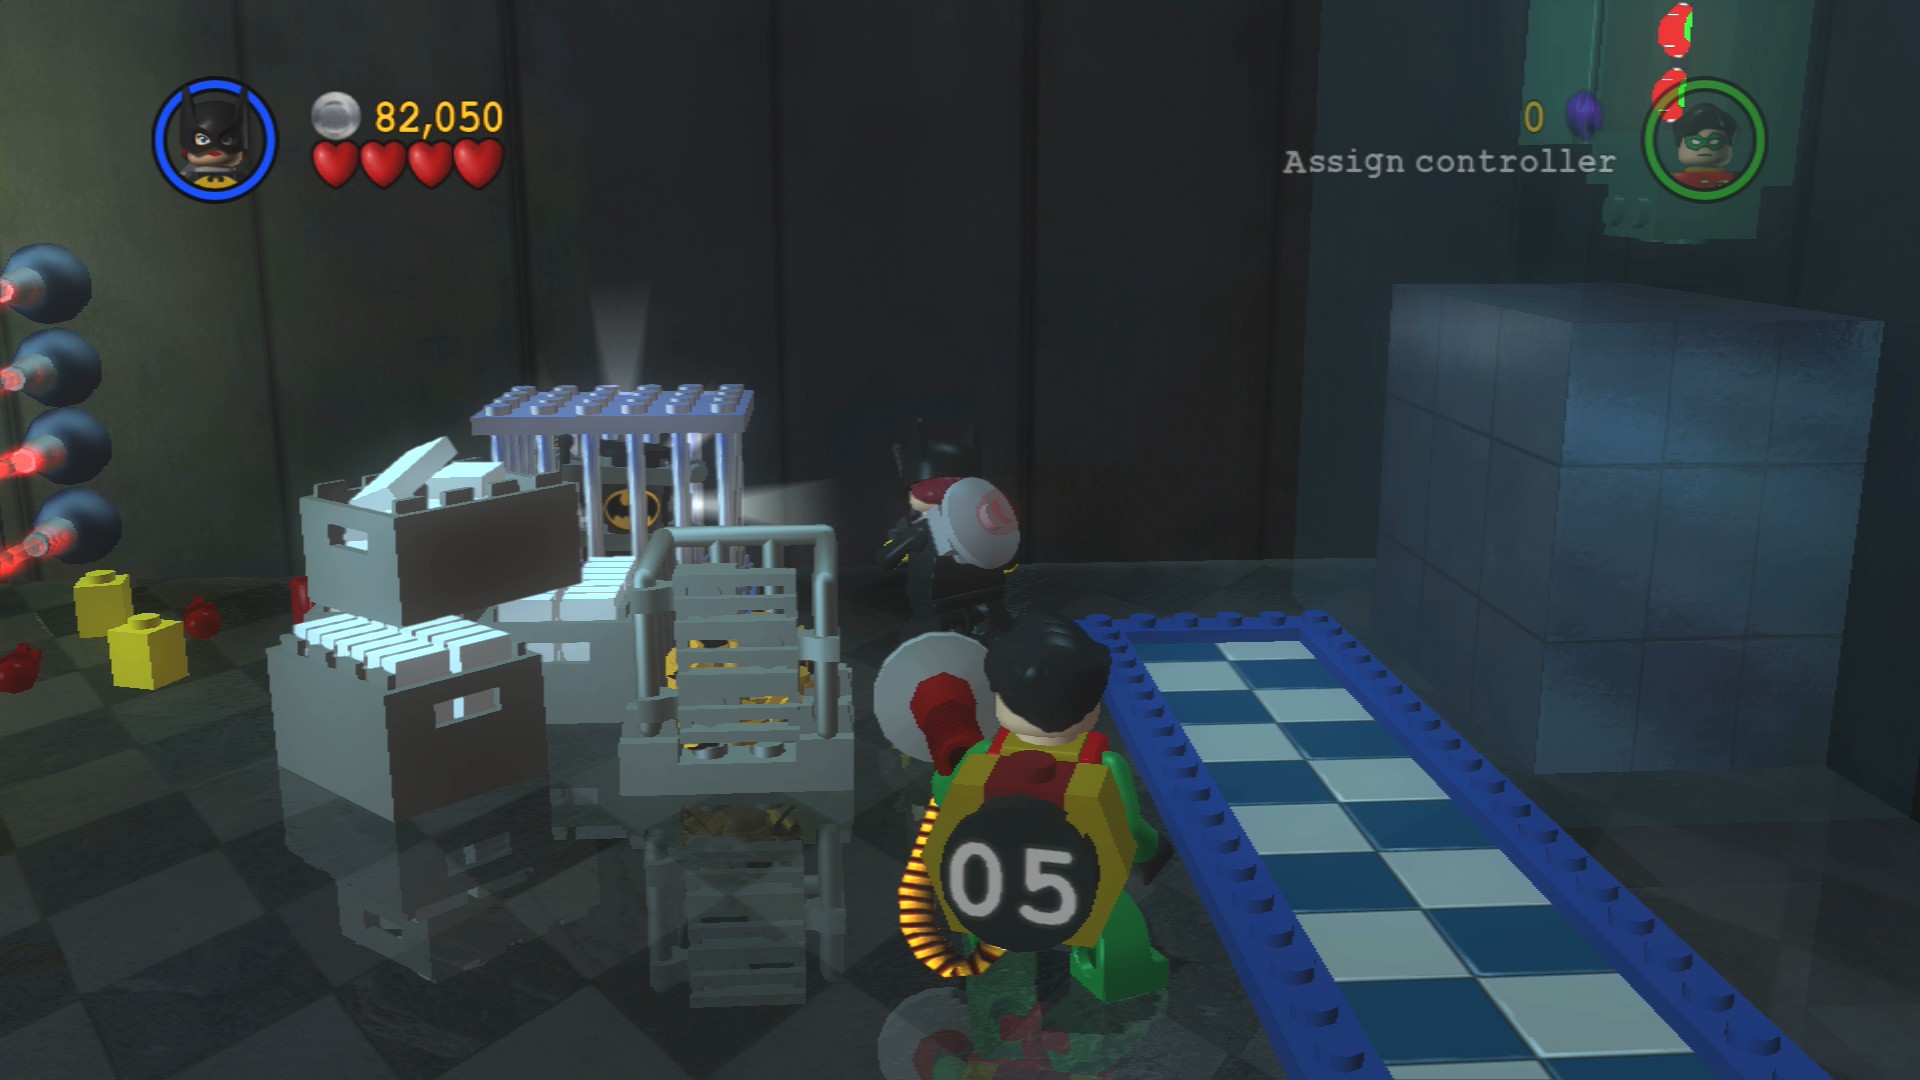
In the same room as the hostage blow up the Silver LEGO cage at the back.
Red Brick - Score x10
Requires: Explosives, Sonic Suit Story Mode: No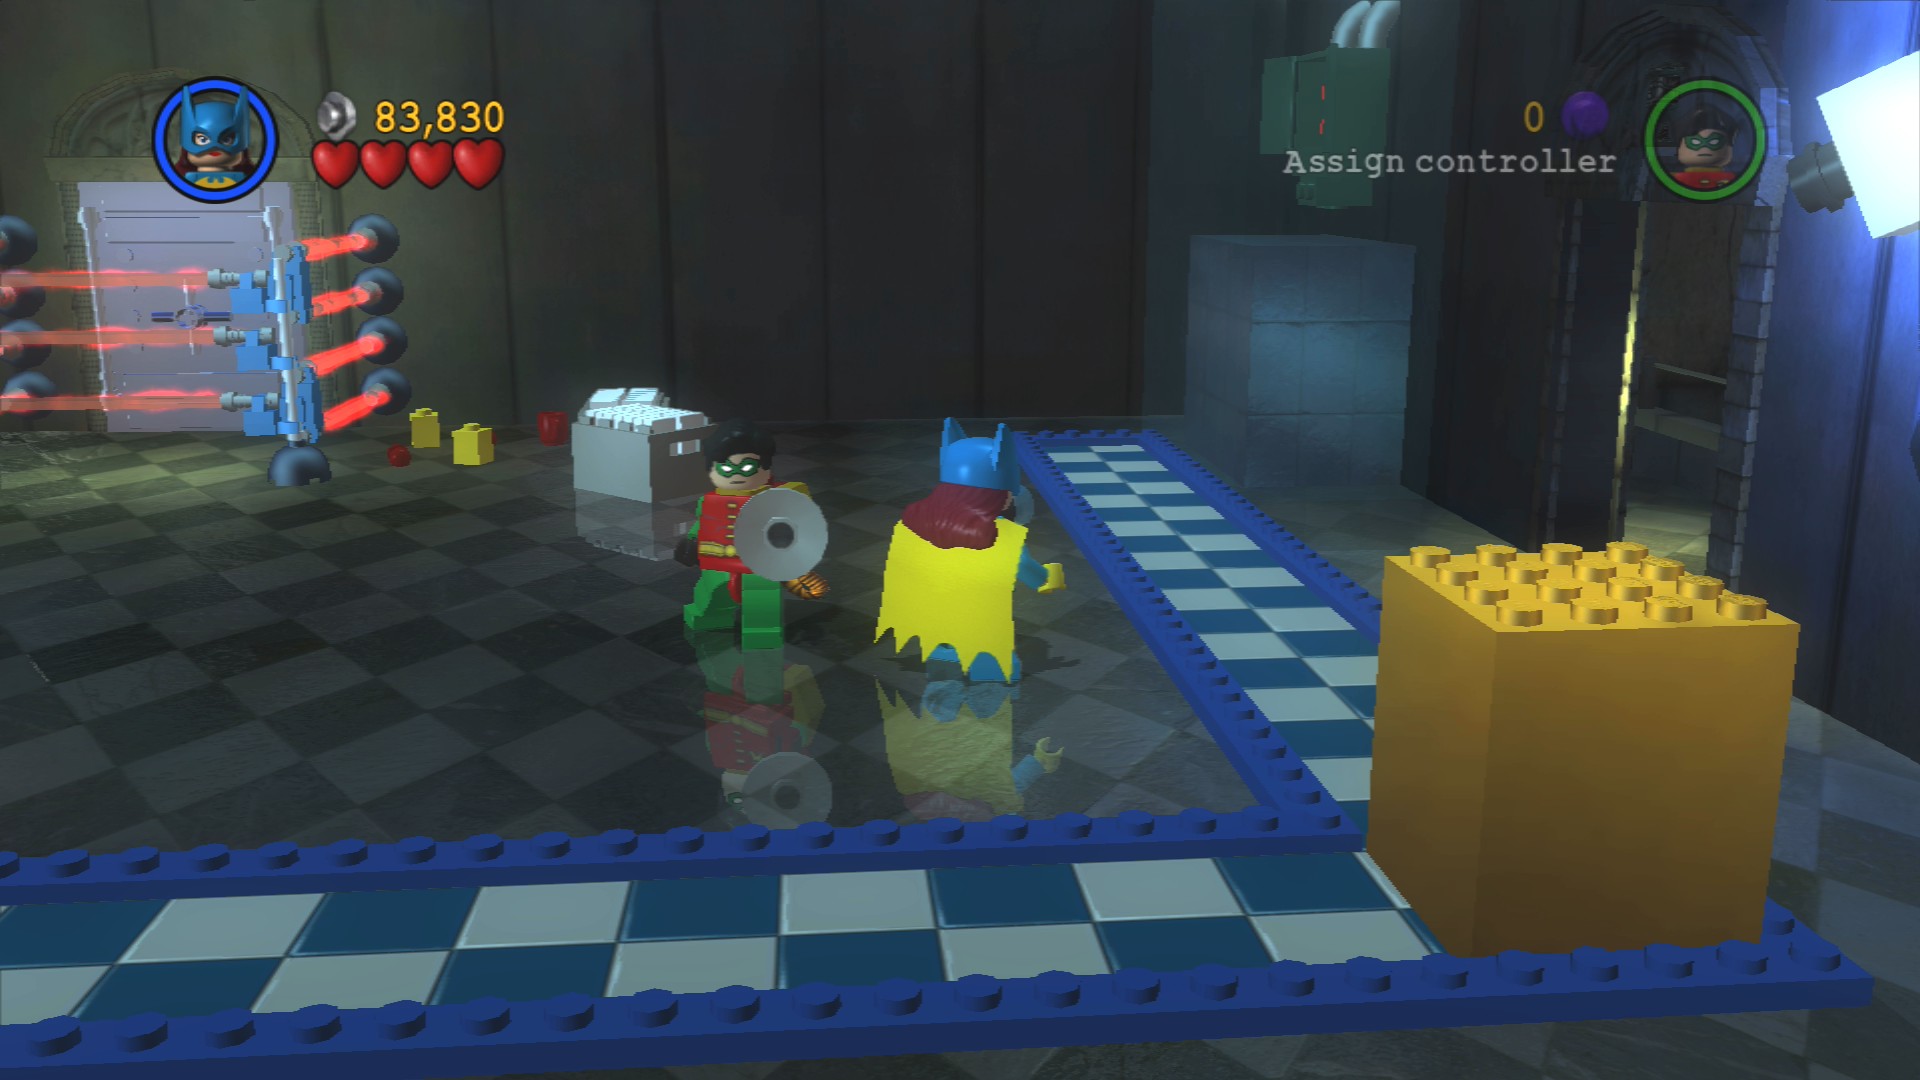
Still in the same room as the hostage, smash the crates at the end of the checkered track and assemble a gold block to push along it. Sonic the glass and smash the junction box up top to lower the lasers on the left side. Blow up the Silver door behind them to reveal the Red Brick.
Smash the pile of objects in front of the yellow fence to build a spinner switch. The elevator door at the back will pop open as you build it. Have Two-Face run through the toxic waste and stand in the elevator while the Riddler pushes on the spinner switch to lift him up.
Up top punch the padlock and pull the lever that gets revealed. That'll open a ladder for the Riddler to climb up so that he can hypnotise the man at the end into pulling the lever behind him.
Shoot the guards behind the lasers and then hit the junction boxes on both sides of the laser fence to open a panel on the wall which when you smash will blow up the lasers.
Minikit 7/10 - Part 1/4
Requires: Electric Buzzer Story Mode: No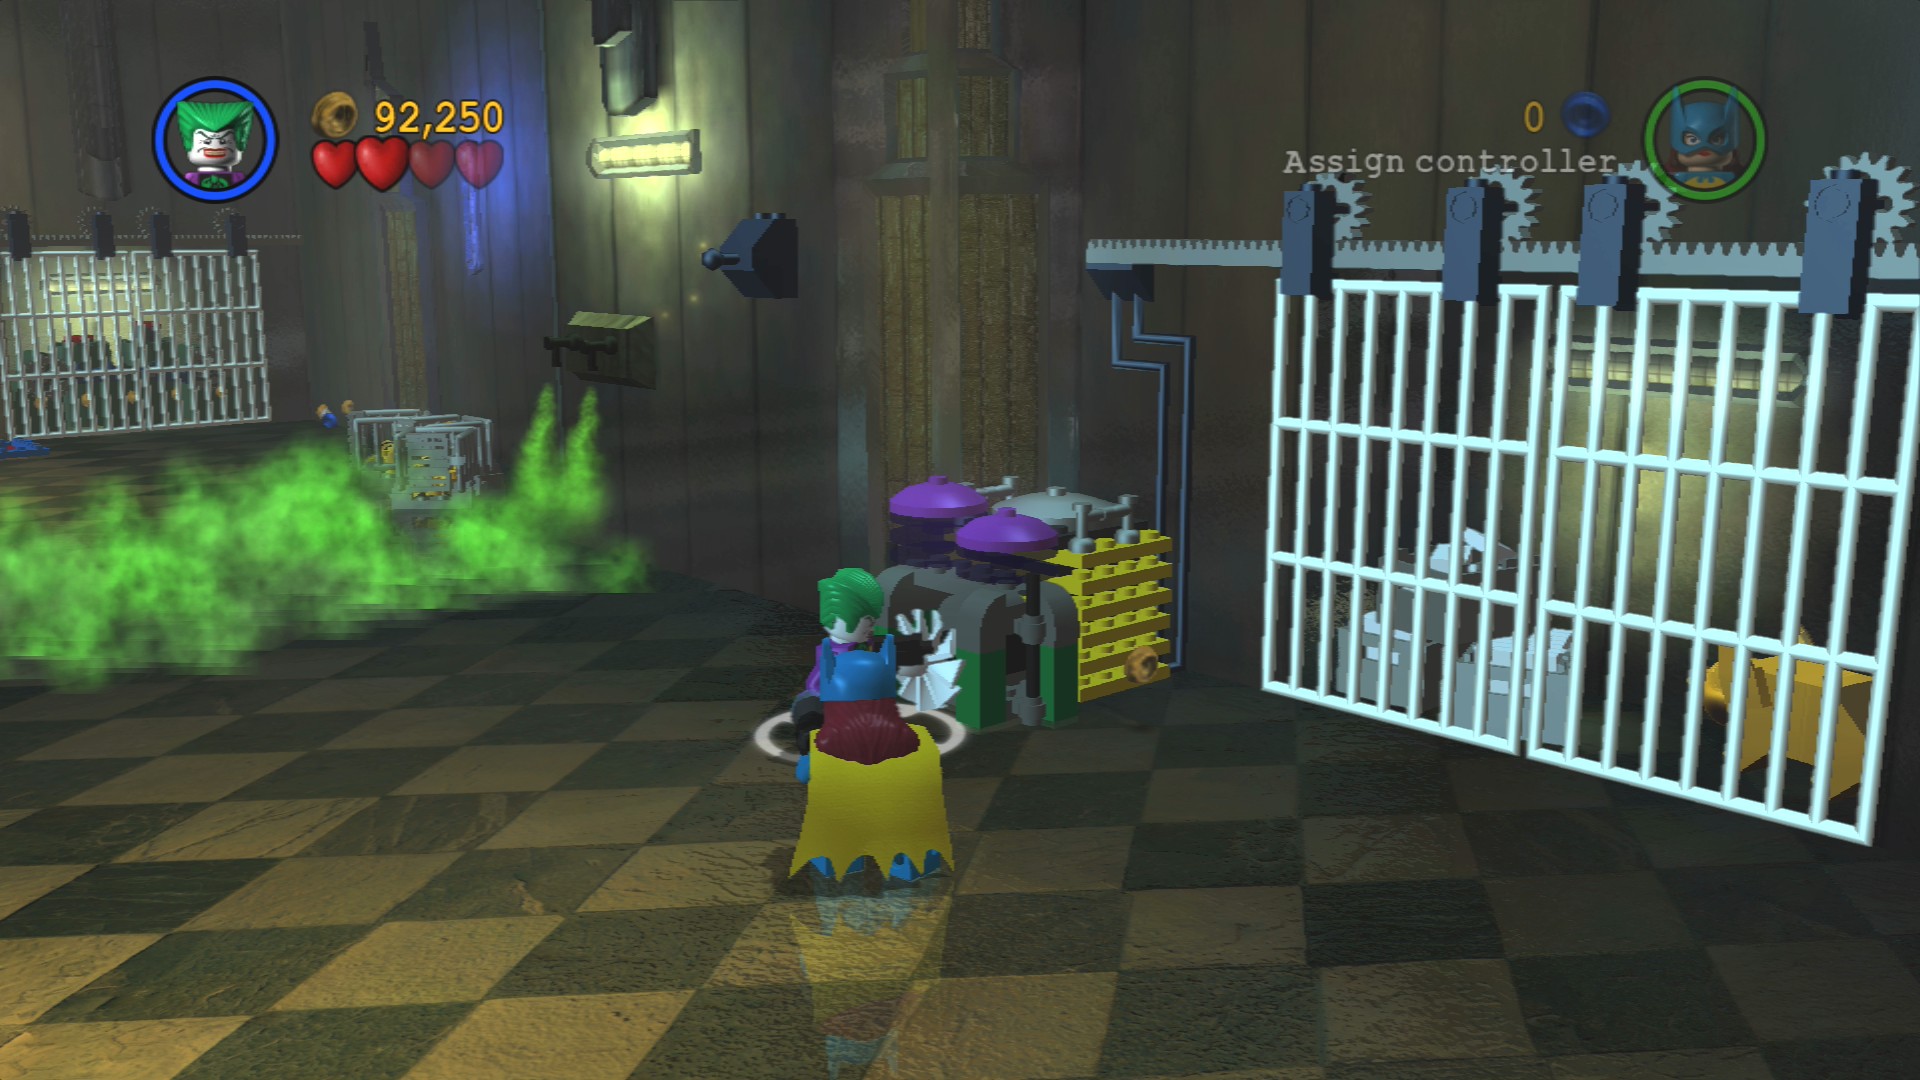
On the right just before the wall of gas is an electric generator, power it to open the gate so you can smash the first of four golden piggy banks.
Two-Face can safely walk through the poison gas. Have him pull the lever at the back and then shove the object along its path.
Minikit 8/10
Requires: Explosives Story Mode: No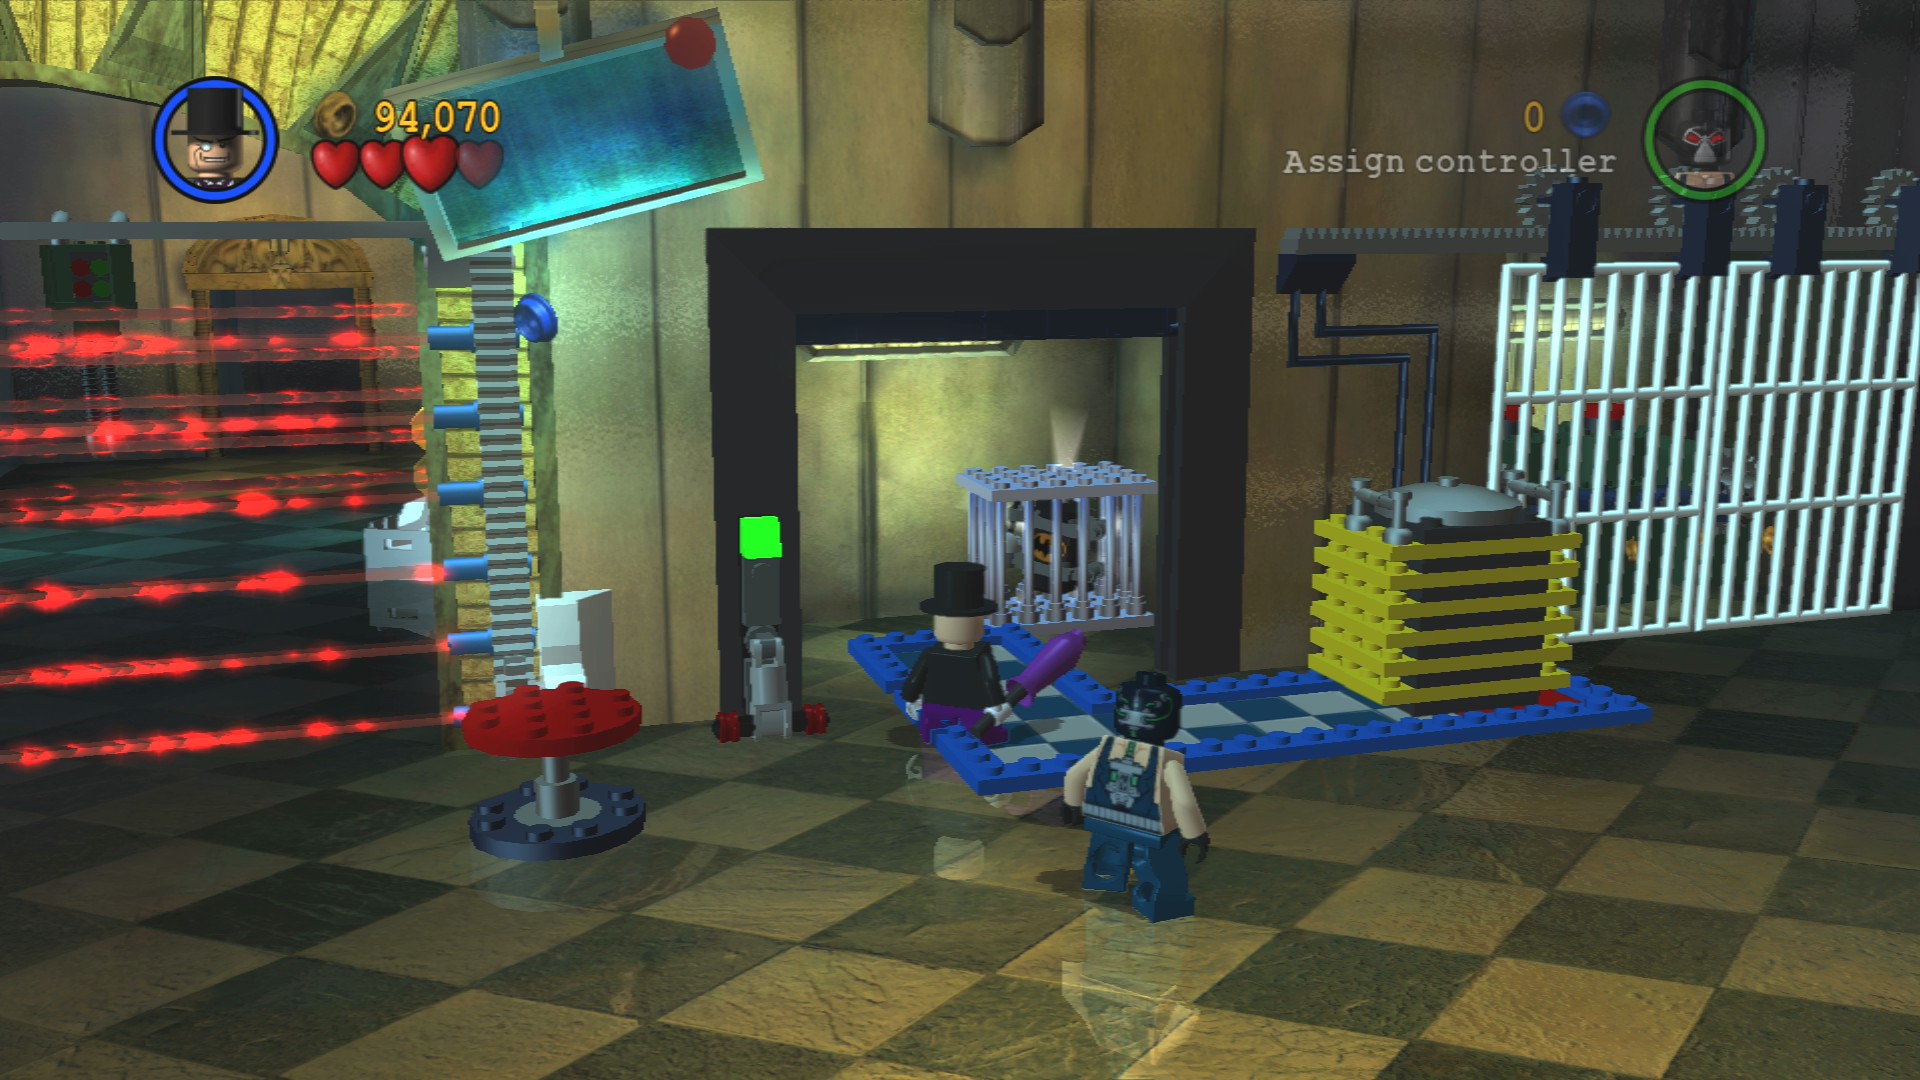
Blow up the Silver LEGO cage in the small room that opened up using the lever after the gas.
Smash the machine behind the gate to shut off the gas so that the Riddler can join you.
Minikit 7/10 - Part 2/4
Requires: None Story Mode: Yes
In the corner behind where the gas machine was.
Minikit 7/10 - Part 3/4
Requires: High Jump Story Mode: No
Behind a portrait where the gas was flowing. You'll need to High Jump to reach it.
Stand on both red plungers at the back to lower the laser fence then shoot the junction box at the back to shut off the last set of lasers.
Minikit 7/10 - Part 4/4
Requires: None Story Mode: Yes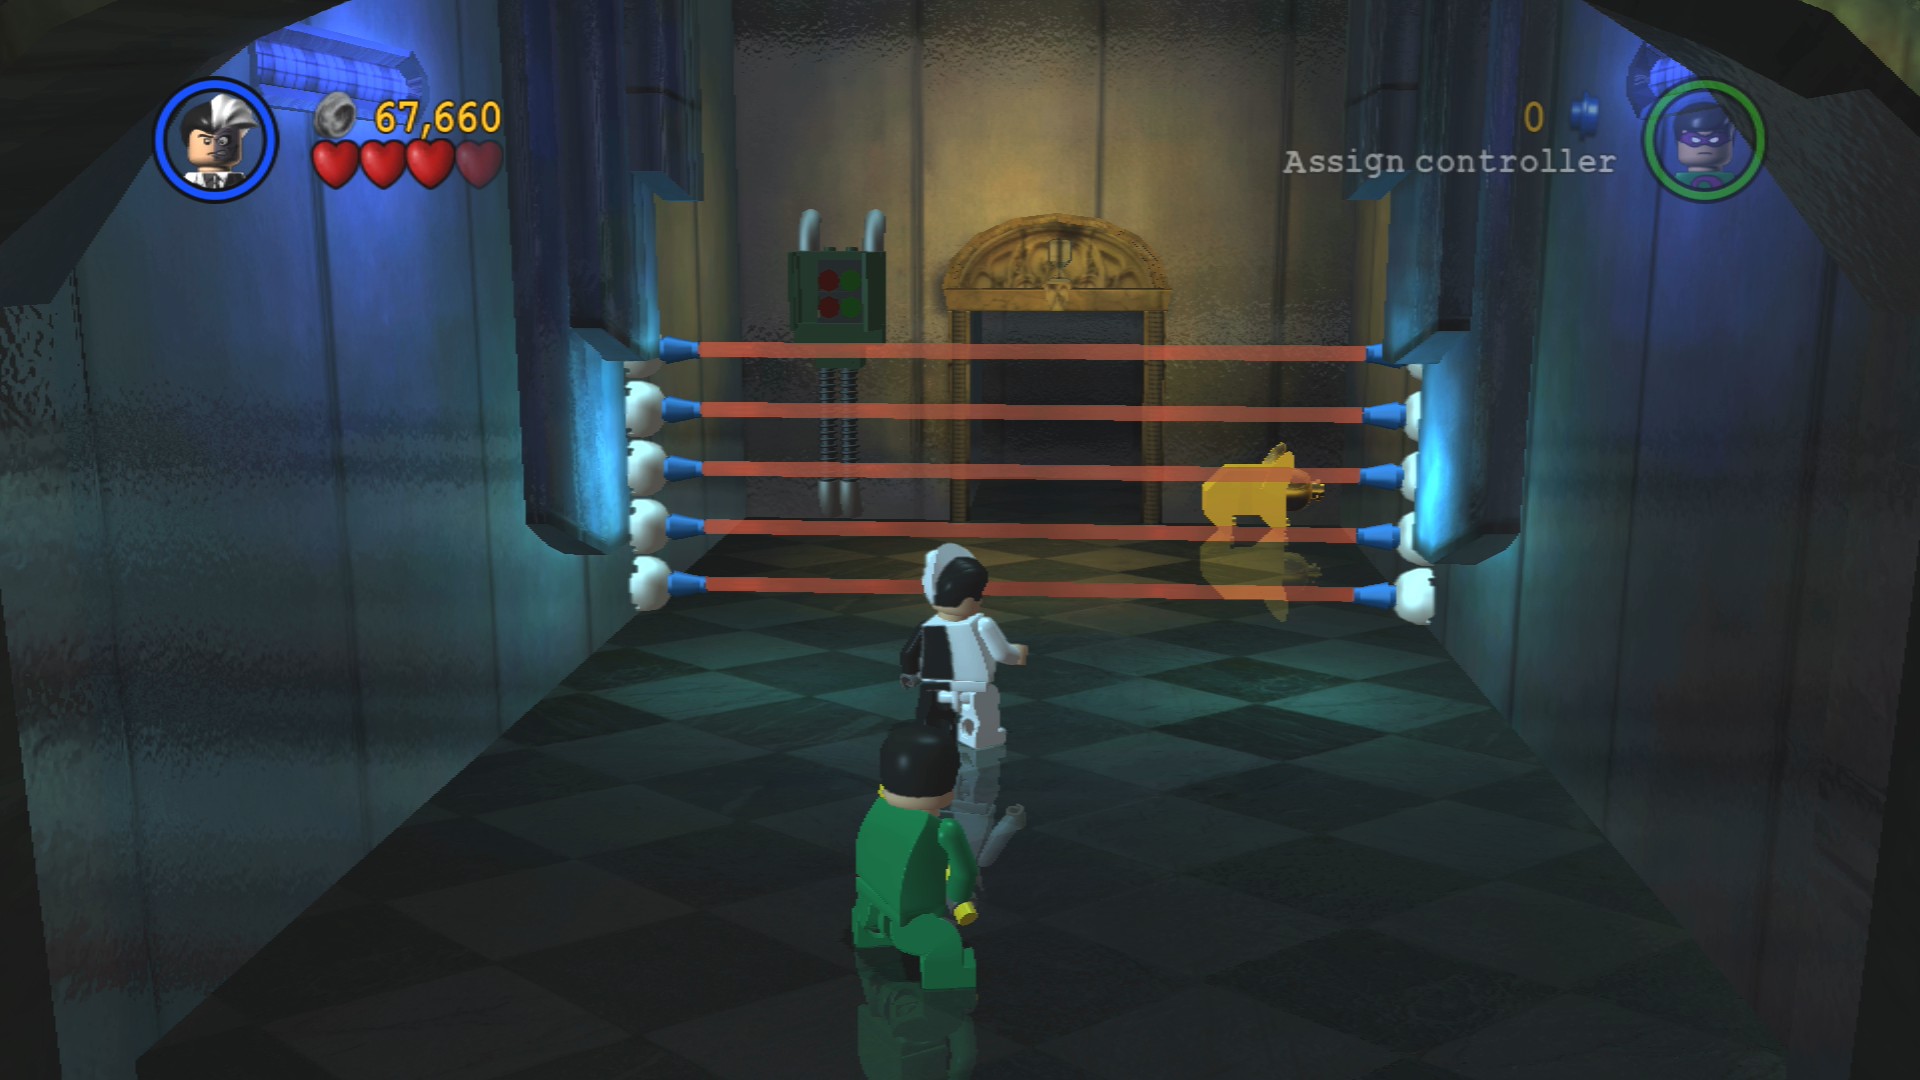
Behind the final laser fence.
Defeat a couple of waves of SWAT when you enter the final area.
Minikit 9/10
Requires: Sonic Suit, Magnet Suit Story Mode: No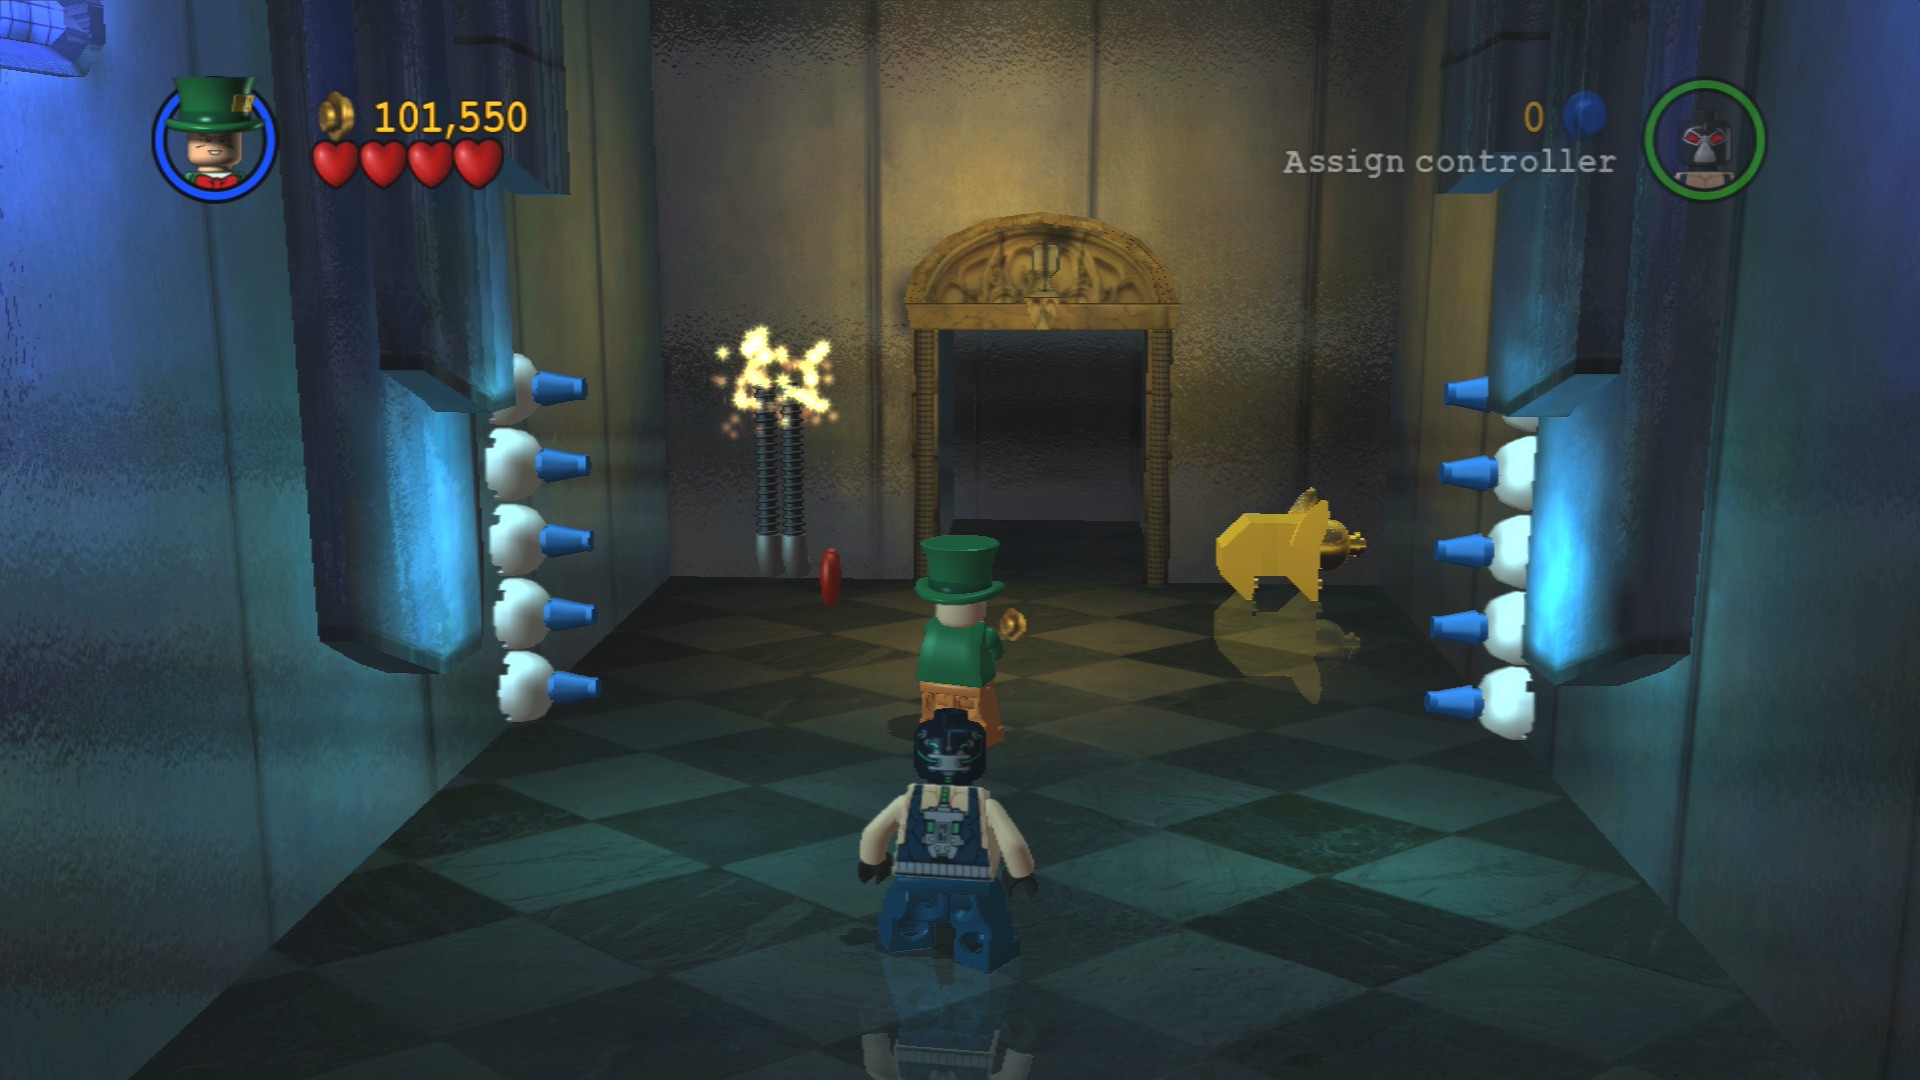
Use the Sonic Suit to smash the glass crate at the back in order to release some metal LEGO. Walk up it and then shove the cage off the edge to release the Minikit inside.
Have Two-Face smash the cages in the toxic waste puddle in the back left corner so he can reach the lever behind them. This will open the large vault door and knock over that large dollar sign.
Just to the right of the large vault door you can build a small bouncy platform to use to reach the ledge above where you can shove an object off the edge. That will create a lever for you to pull and open the metal shutters to your right.
Minikit 10/10
Requires: Explosives Story Mode: No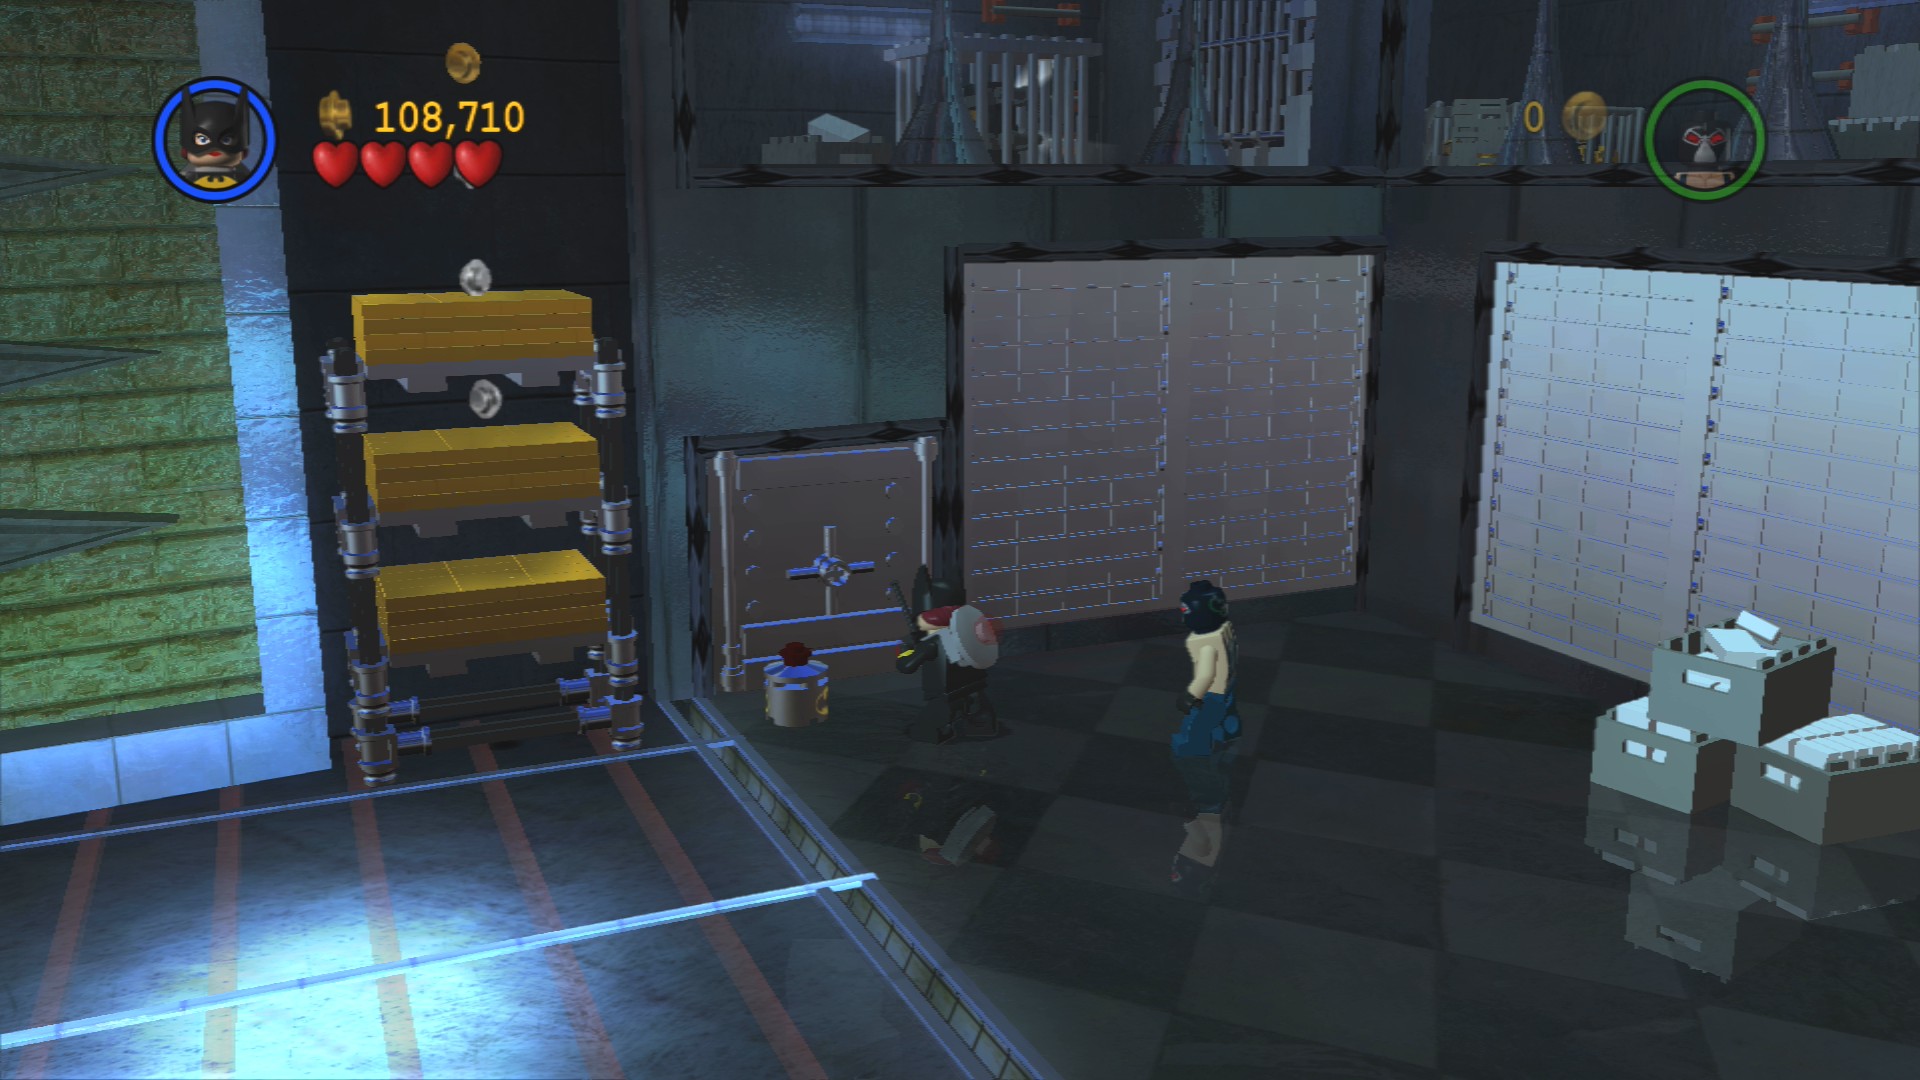
Blow up the small Silver LEGO vault door to the right of the large one and go up the ladder inside. Blow up the Silver LEGO cage up here to free the Minikit.
Hypnotise the guy in the right section and have him rebuild the ladder in his room. Climb it and smash the cages so that he can now build a spinner switch. Push that and jump down the ladder in the next room so you can pull the lever in here.
That will cause a whole load of more LEGO bricks to spill out of the vault. Assemble the mech and blast your way into the vault, jump out and enter the vault to finish the episode.
| Cost | Character | |
|---|---|---|
| 10,000 | S.W.A.T. | |
| 17,000 | Riddler's Jet |
And on we go to Villain Episode 2: Power Crazed Penguin.
 darkspyro.net