Episode VIII
THE LAST JEDI
- The FIRST ORDER reigns.
- Having decimated the peaceful
- Republic, Supreme Leader Snoke
- now deploys the merciless
- legions to seize military
- control of the galaxy.
- Only General Leia Organa's
- band of RESISTANCE fighters
- stand against the rising
- tyranny, certain that Jedi
- Master Luke Skywalker will
- return and restore a spark of
- hope to the fight.
- But the Resistance has been
- exposed. As the First Order
- speeds toward the Rebel base,
- the brave heroes mount a
- desperate escape....
An Urgent Communique
[Make contact with the First Order.]
D'Qar Space
A simple case of flying towards the marker to start the first level.
Chapter 1
Dameron's Defiance
| Silver | Blue | Purple |
|---|---|---|
| 13,333 | 26,666 | 40,000 |
[Destroy the surface cannons.]
The first level is a vehicle level. Your first objective is simple, destroy five of the turrets on the surface of the Dreadnought. There are plenty of them so just keep blasting away at the red markers for a little bit.
[Destroy the remaining ship defences and TIE fighters.]
Those extra turrets weren't just for show, you'll have to destroy the other 10 for the second objective along with 10 TIE Fighters that have joined in.
[Defend the bombers from the First Order.]
The free flying is over for the moment, now you're on a set course just shooting at TIE Fighters. Ten of them to be exact.
[Close the Dreadnought hangars.]
Back to free flying, this time you will need to gather up some torpedoes to attack the big red things on the sides of the Dreadnought. The torpedoes can be found by blowing up the TIE Barons that have a trailing purple/pink glow. If for some reason the game is glitching and won't let you lock on you can still fire them straight ahead and they will still work as long as they hit. Job done, level complete.
Level Challenges
- Ace Pilot
- Complete the level without being defeated.
- Keep a close eye on your health and avoid flying straight into the Dreadnought or any of the TIE Fighters/Barons.
- How's My Shooting?
- Destroy 3 TIE Fighters in 5 seconds.
- Probably easiest to do during the on-rails shooting section. At one point a large group of TIE Fighters will pass by.
- Return to Sender
- Defeat 3 TIE Barons using Proton Torpedoes.
- During the section where you are asked to destroy the hangars instead use the torpedoes on the ships that drop them.
Minikits
Minikit 1/5 - Window Cleaner
Requires: None Story Mode: Yes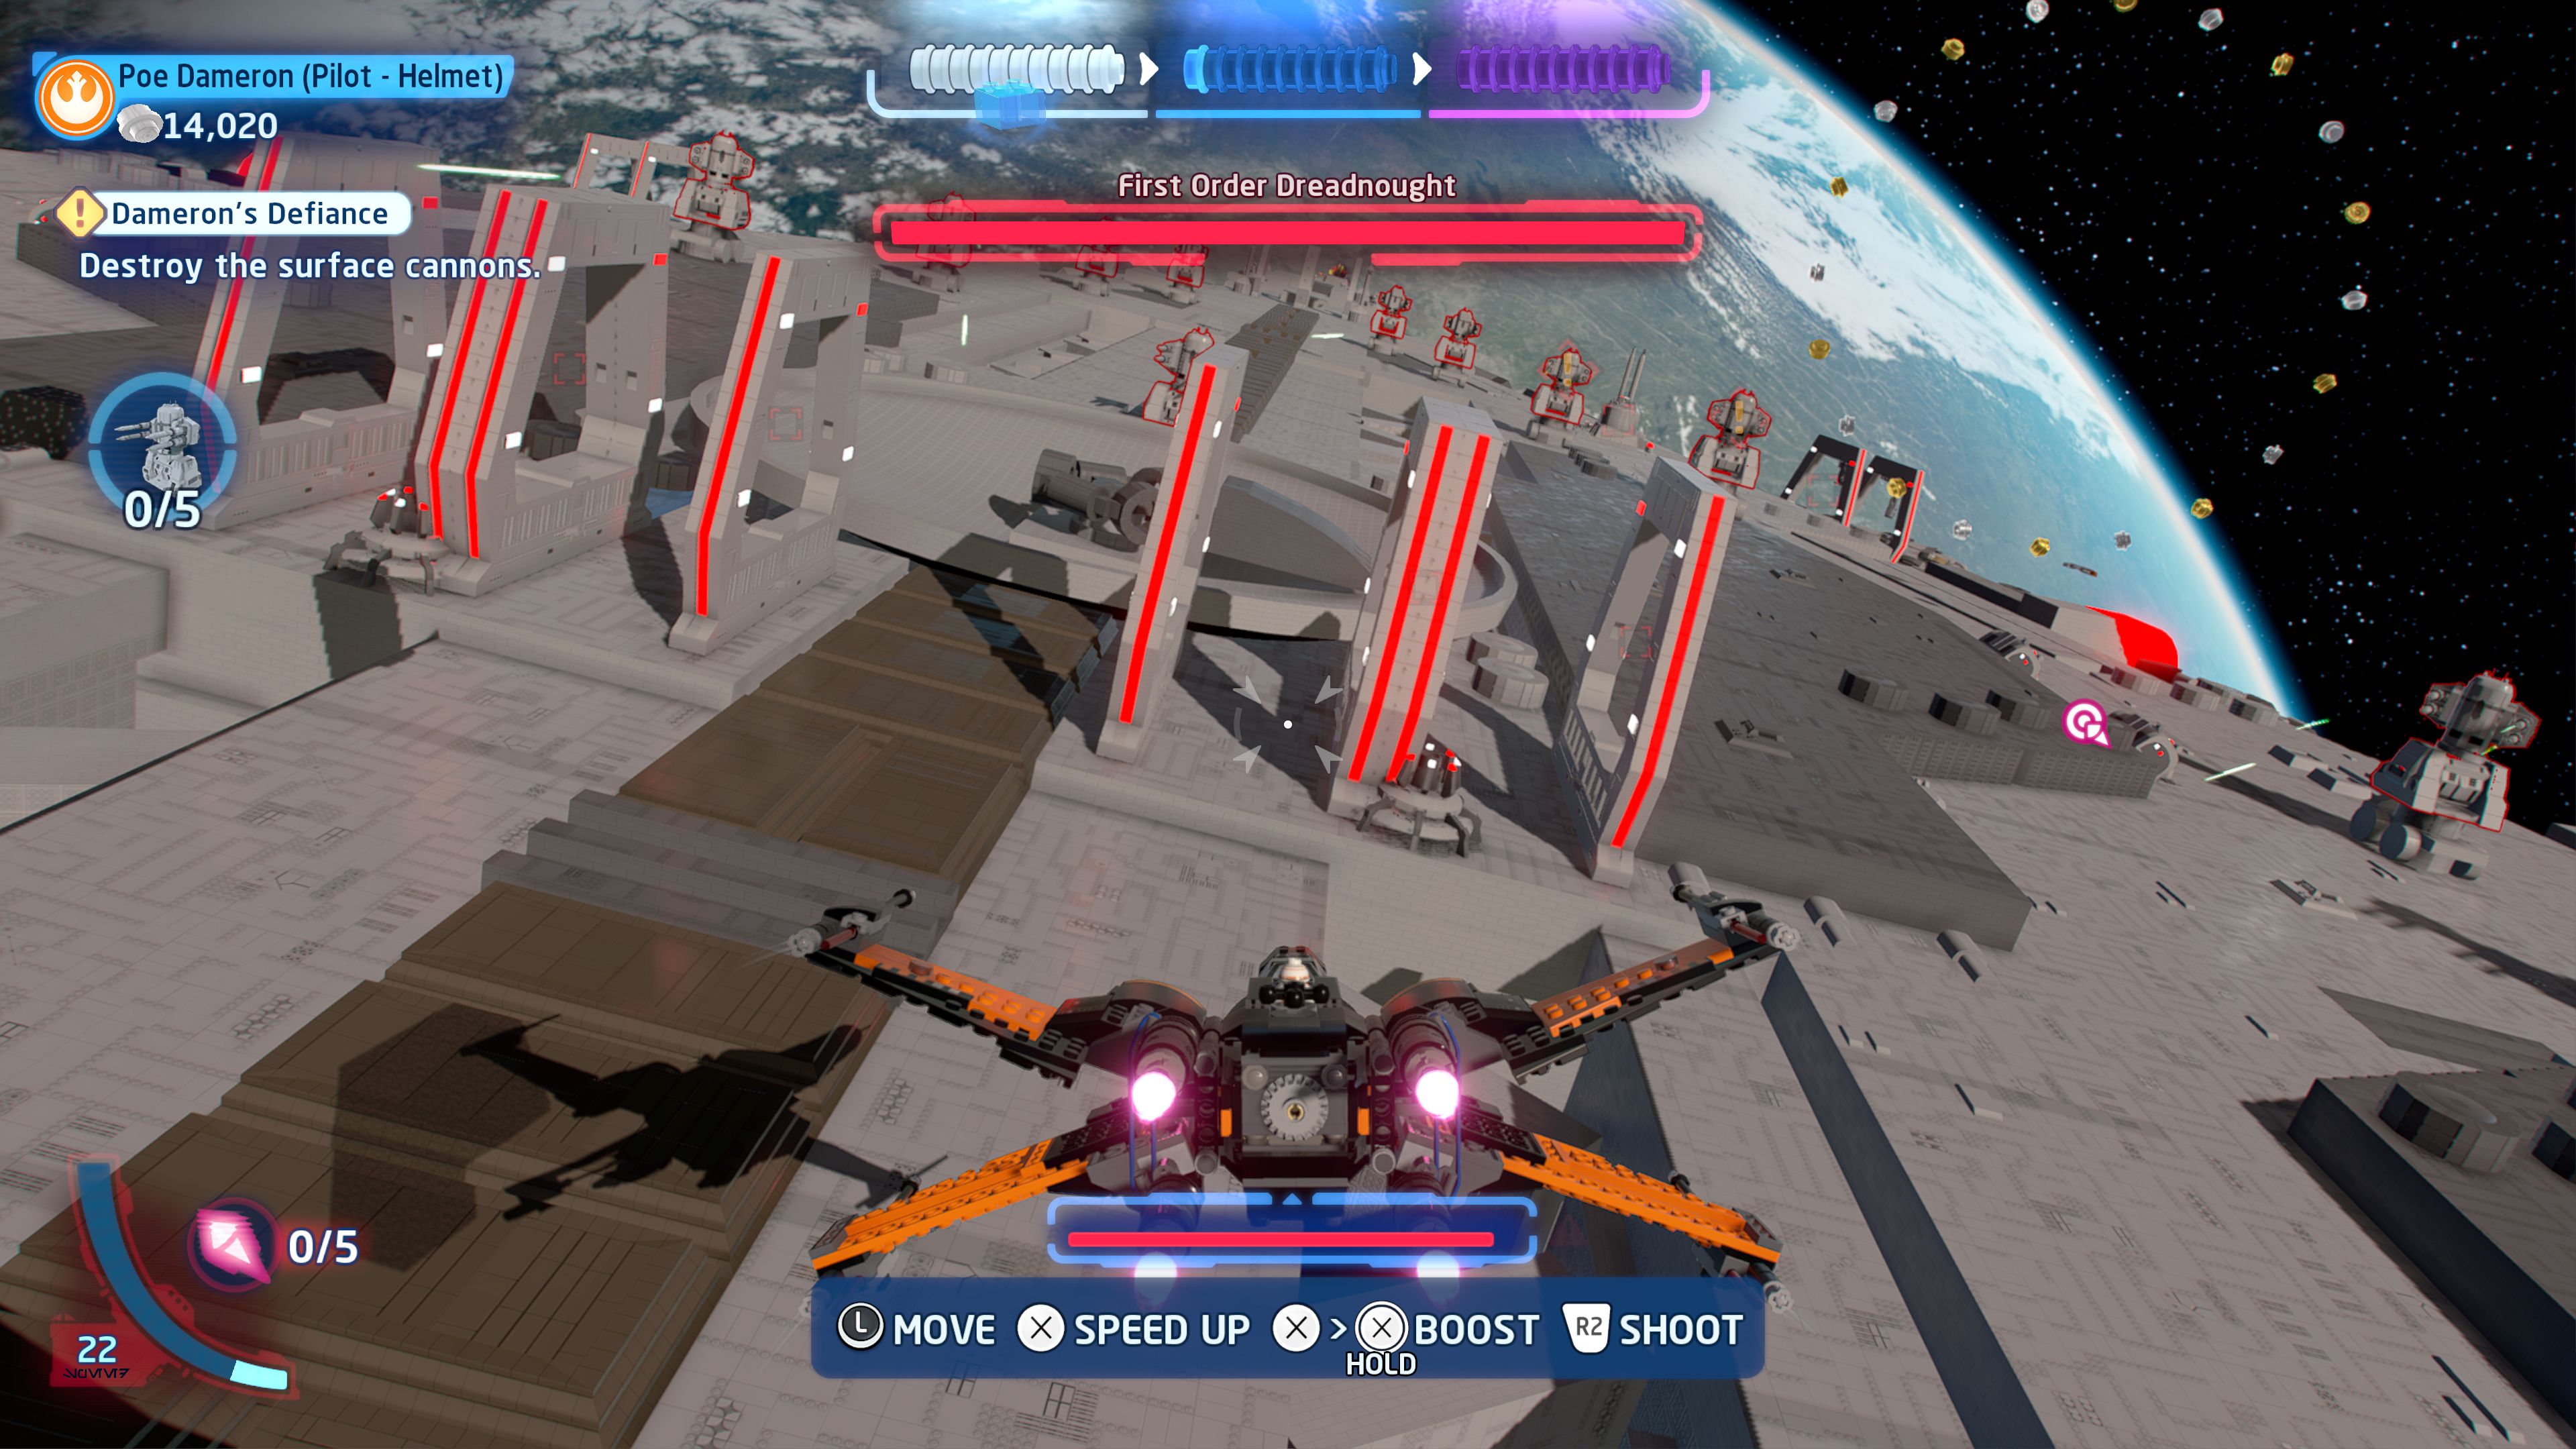
The Dreadnought could do with some deconstruction here.
Shoot 10 arch structures on the surface of the Dreadnought.
Minikit 2/5 - Straight to Voicemail
Requires: None Story Mode: Yes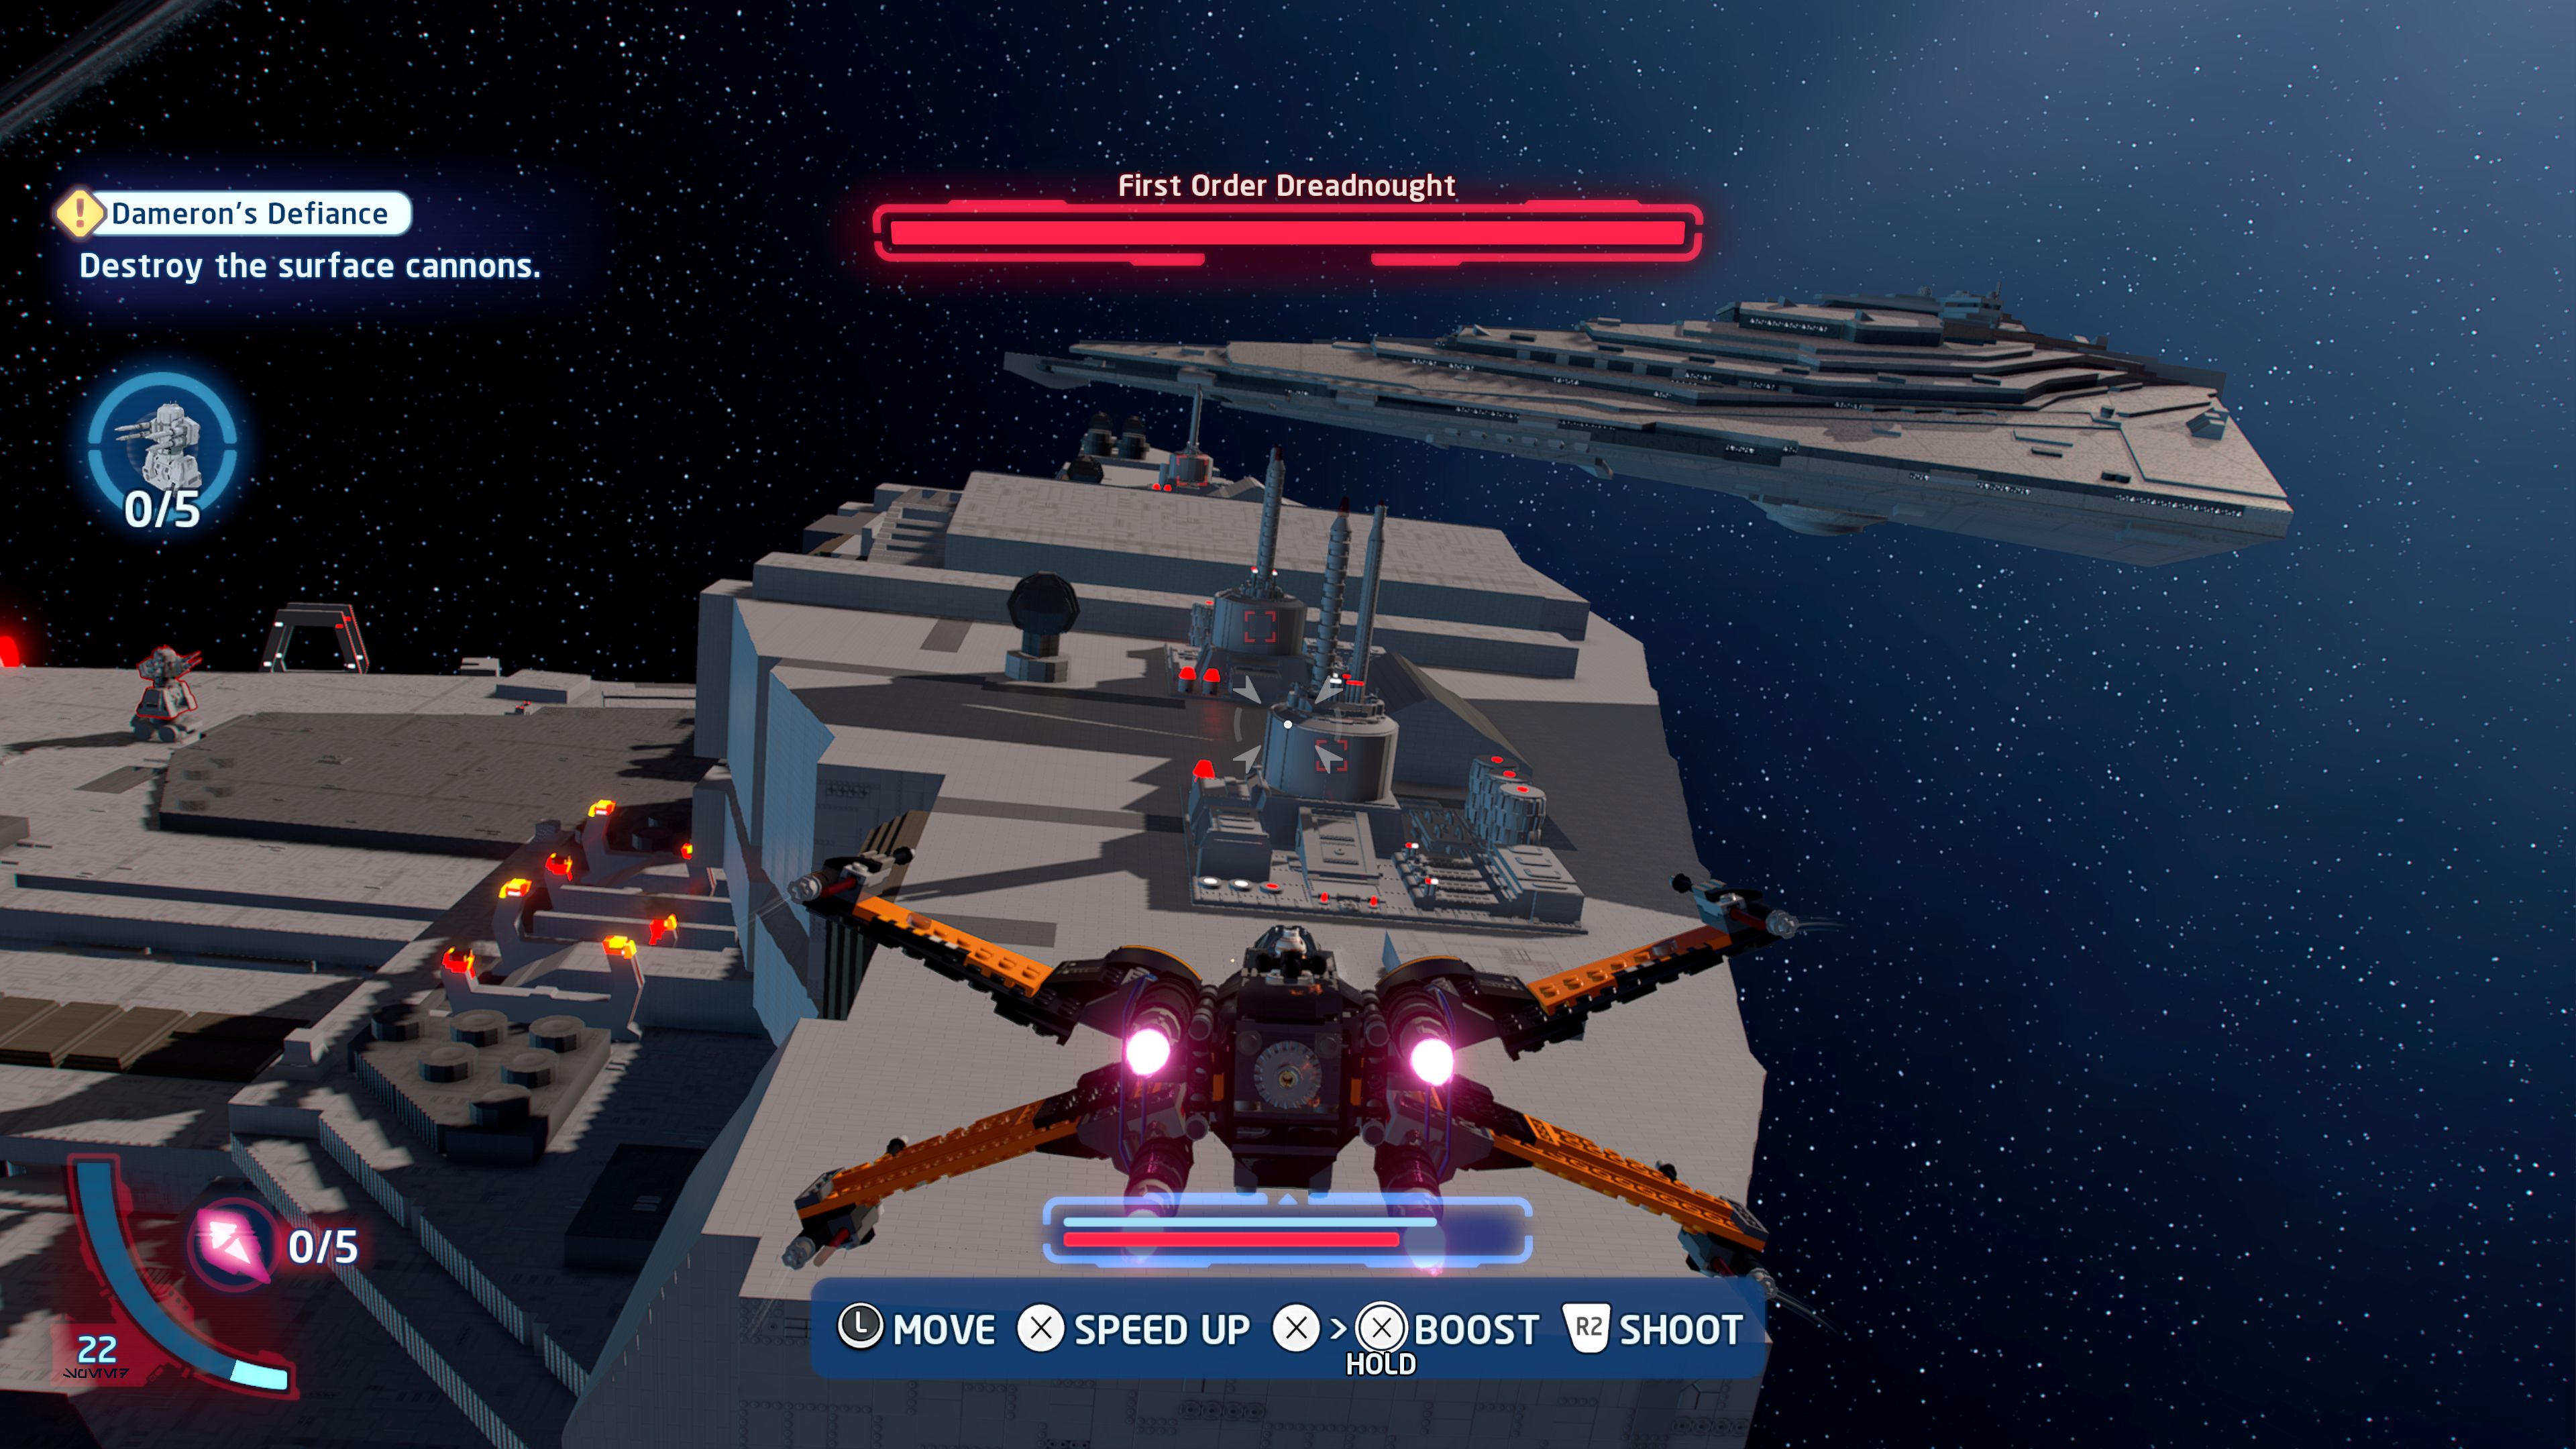
Stop the dreadnought from making any communications!
There are seven communication towers spread across the Dreadnought including on top of the bridge section.
Minikit 3/5 - Where Are You Going?
Requires: None Story Mode: Yes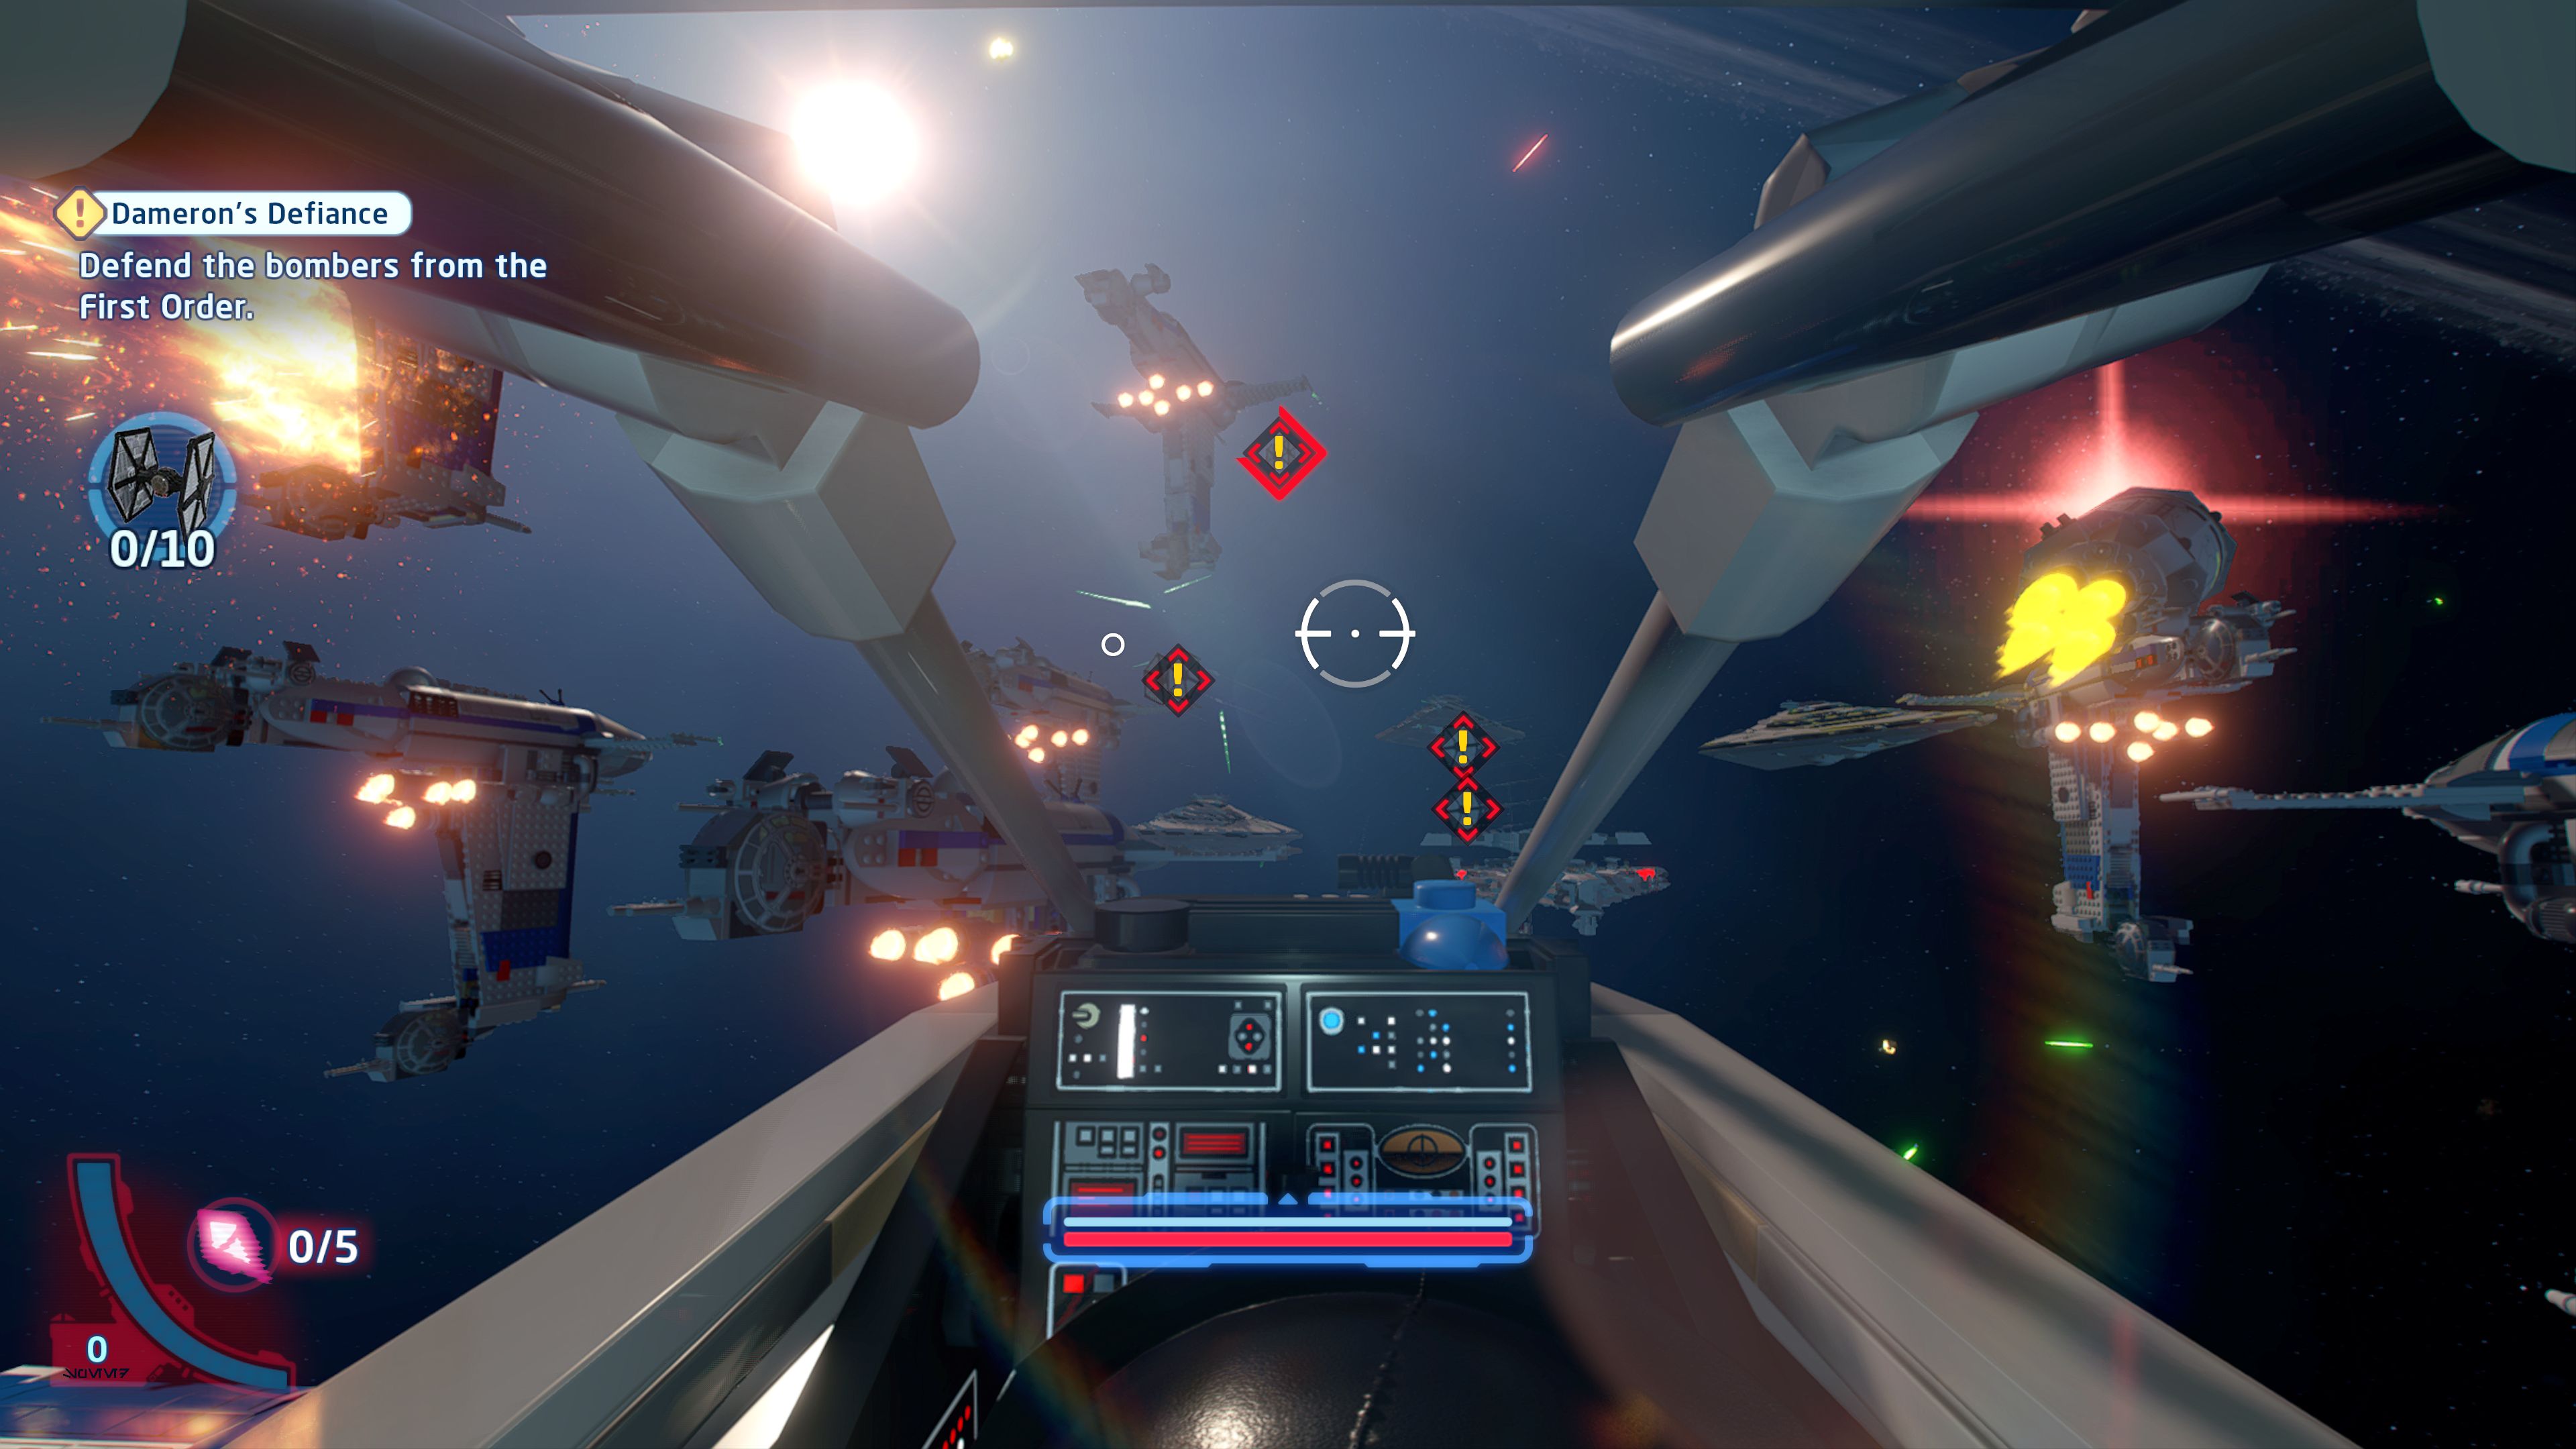
Someone didn't want to stick around and fight.
During the on-rails shooting section an escape pod will fly by with a glowing red beacon going off.
Minikit 4/5 - TIE'd Together
Requires: None Story Mode: Yes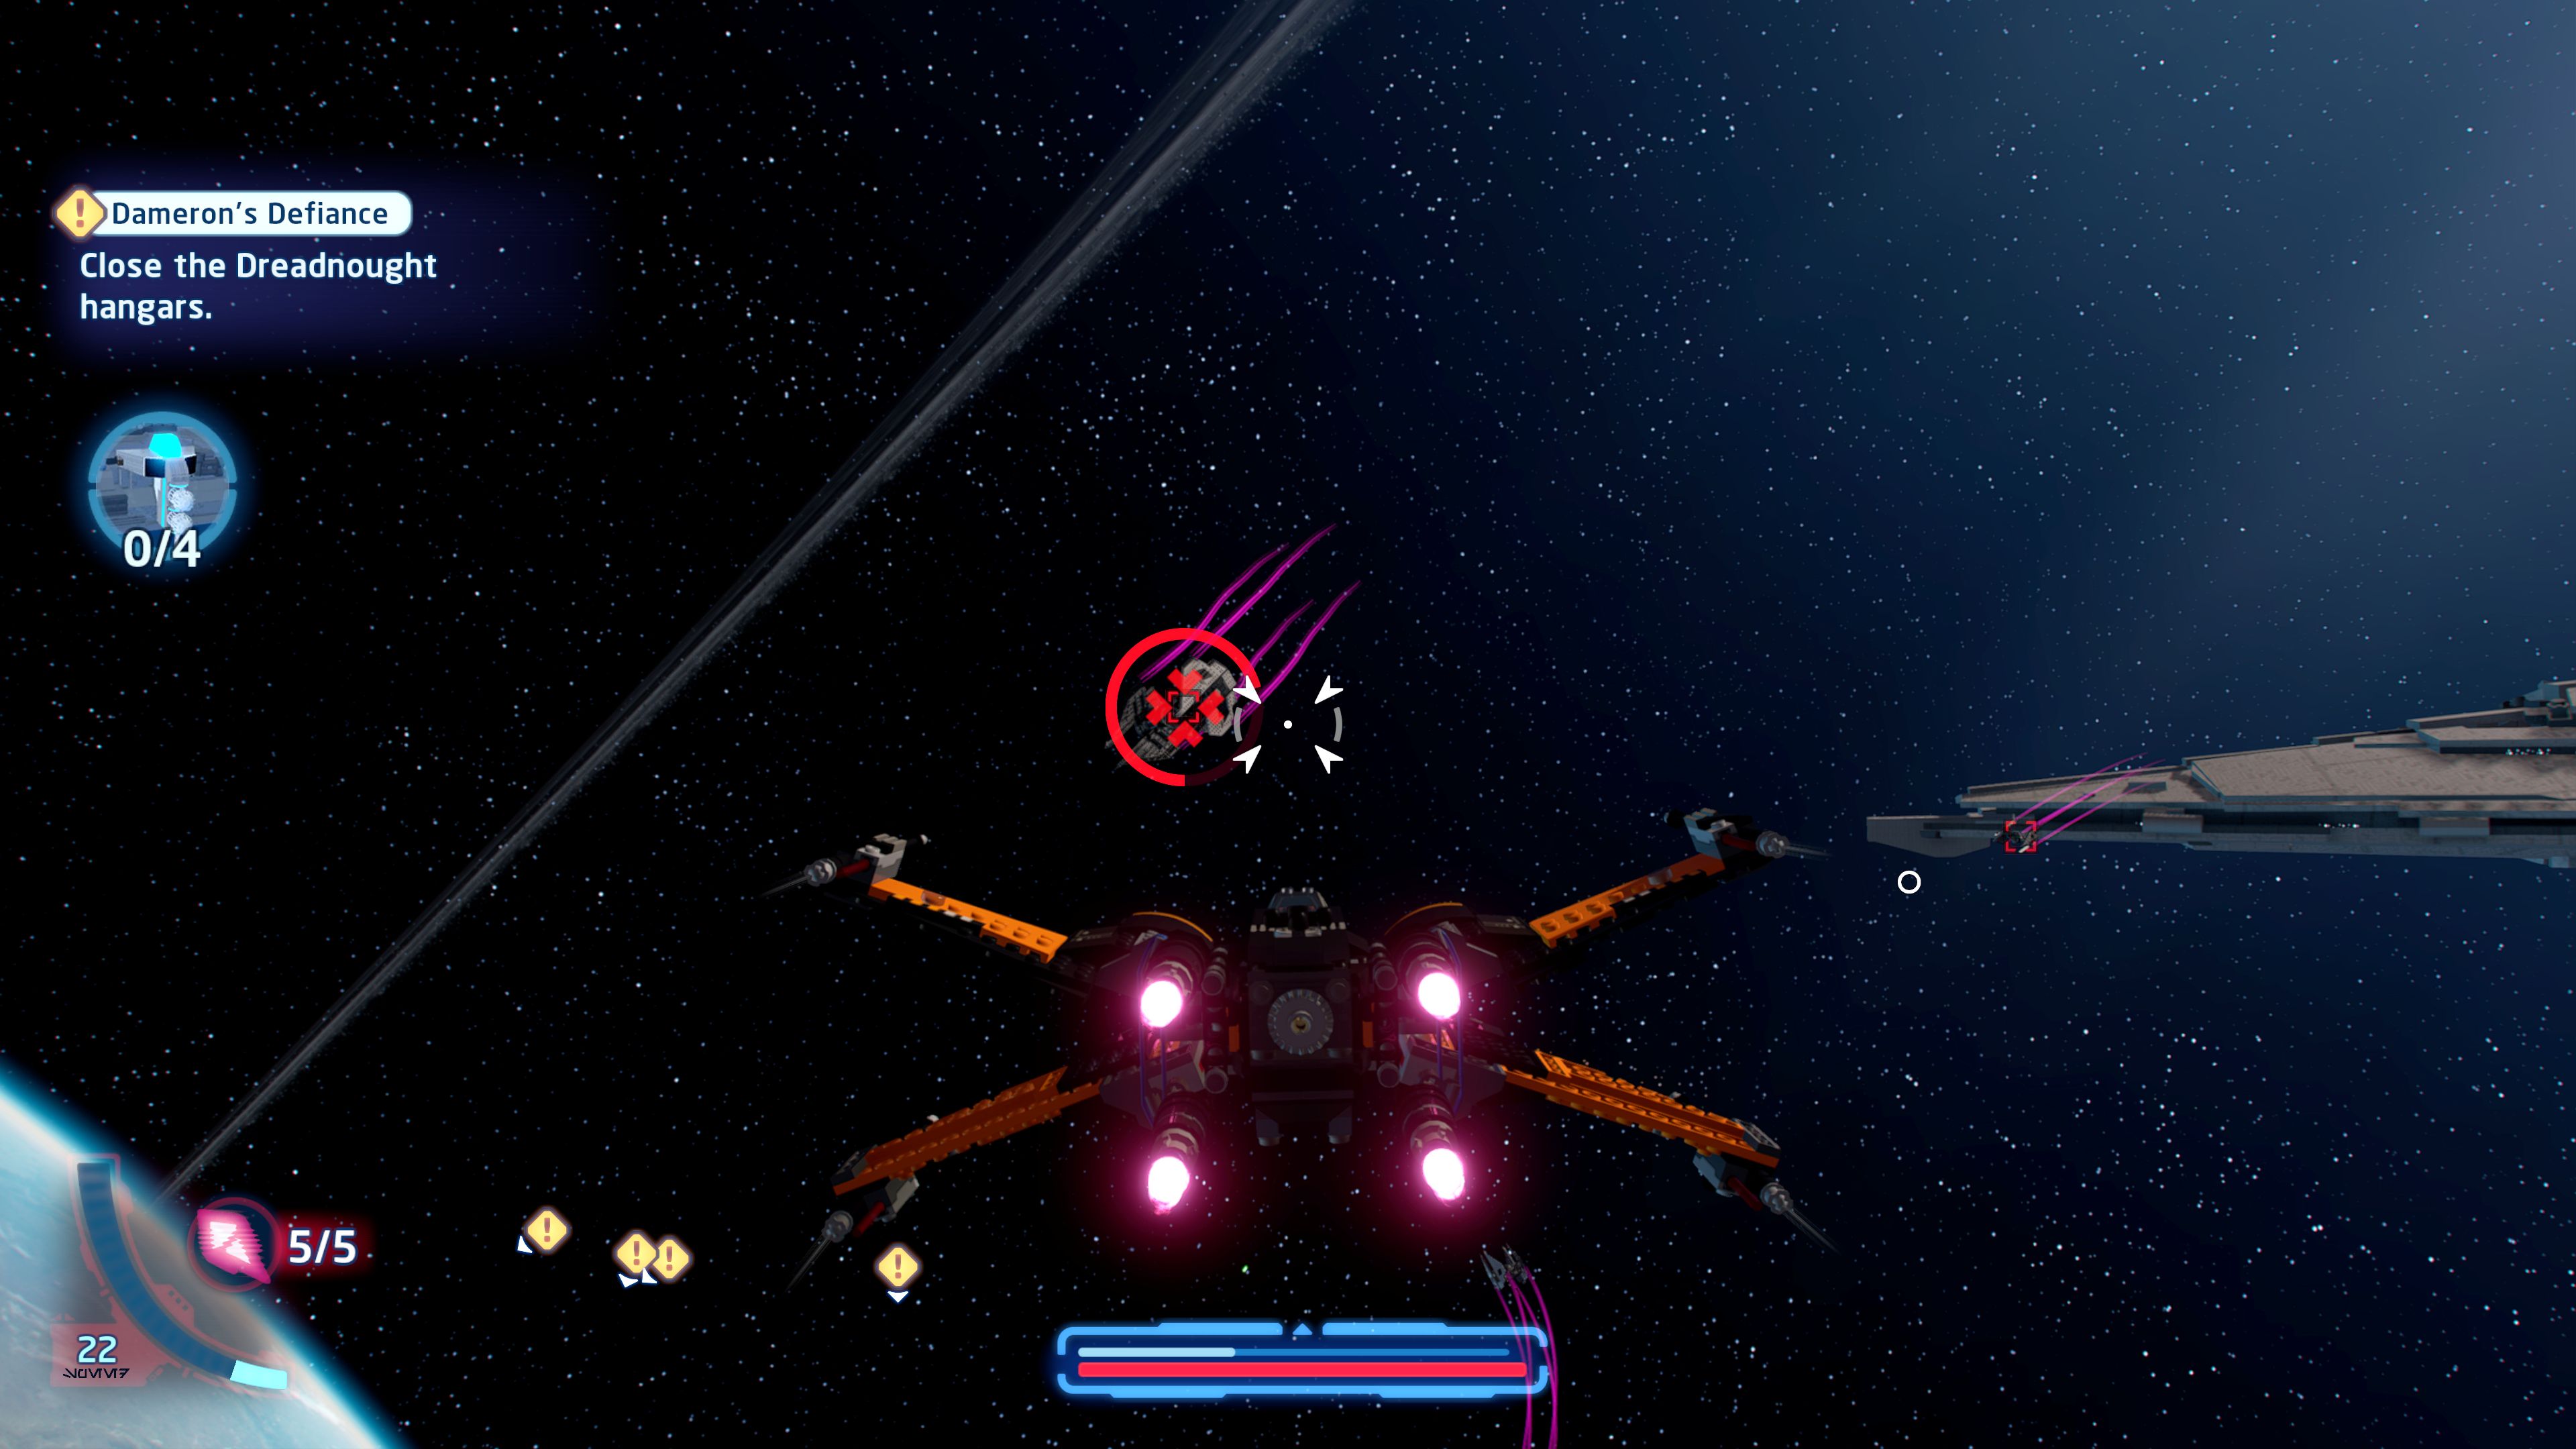
Look out for the TIE carrying something valuable.
It's really difficult to actually see but during the final section with the torpedoes, one of the TIE Barons is flying with a minikit attached. Just keep blowing them up and you'll eventually get this. In fact you'll probably get it without doing anything as the TIE Barons seem to love blowing themselves up.
Minikit 5/5 - Trash Collector
Requires: None Story Mode: Yes
So that's where the trash compactor releases space trash.
On the underside of the Dreadnought at the back is a large red circle with what looks like a plug in the middle. Shoot it to release the minikit.
Resistance A-wing

Based on set 75196
A-Wing vs. TIE Silencer Microfighters
| Cost | Character | |
|---|---|---|
|
|
100,000 | General Leia Organa |
|
|
100,000 | General Leia Organa (Silver/Grey Robes) |
|
|
100,000 | TIE Baron |
|
|
100,000 | MG-100 StarFortress SF-17 |
Episode VIII
THE LAST JEDI
The story so far...
- The battle between the
- Resistance and First Order is far
- from over. Commander Dameron
- defied General Organa's orders
- and attempted to take down a
- Dreadnought.
- The Resistance was victorious in
- destroying the fleet killing
- Dreadnought but lost many of
- their own ships in the process.
- Not exactly what Leia would
- consider a success.
- Poe has now joined up with the
- rest of the Resistance, but it
- seems the First Order may still be
- on their tail....
Resistance Cruiser
Finn... Leaking... Bag?
[Find a change of clothes for Finn.]
Go south along the corridor until you get to a locked door on the left. Open it up by solving the Hero Terminal next to it. Inside is a marker to continue the story.
Nothing here so we head west now to Poe's room, it's the door after the door that's locked with three targets. Smash open the closet in the far corner and the top and legs will pop out. Grab them and return to the room you were in before.
[Go to the Raddus bridge.]
Further down the corridor just past the turn you made to find the clothes is a marker to continue the story.
[Report Finn for desertion.]
Walk around for a moment so Rose and Finn can talk.
[Speak to Poe.]
Go up the ramp and over to the room next to Poe's which is locked by three targets on the wall. Shoot all three quickly to open it to find Poe, C-3PO, and BB-8 inside waiting for you to continue the story.
The Master Codebreaker
[Travel to Canto Bight and find the Master Codebreaker.]
Open up your Galaxy Map and make your way to Canto Bight in the Cantonica system.
Cantonica, Canto Bight
[Find the Master Codebreaker in Canto Bight.]
It's quite a long walk up through Canto Bight to the casino, follow the marker if you get lost but generally you're just heading north.
Inside the casino there are a few people to talk to. Talk to as many of them as you like, you'll need to switch to BB-8 if you want to talk to the Protocol Droid near the entrance to the party.
[Speak to the Master Codebreaker.]
Anyway, to get in smash the glowing piano and the guard will move out of the way to investigate. Now's your chance to get by and start the next level.
Chapter 2
Master Codebreak-Out
| Silver | Blue | Purple |
|---|---|---|
| 16,666 | 33,333 | 50,000 |
[Access the prison's central control room.]
To get into the central control room you need to get the door open and there are a variety of ways to do that.
The simplest way is to set off the alarm. On the western side of the building are a couple of floor buttons, you'll need to rebuild one of them from parts by smashing the nearby objects. To actually set the alarm off though you need something to keep on one of the buttons as you also need to pull a lever because all good alarms need three people to set them off. Luckily there's a crate nearby that you can push on top of one of the buttons. This will cause two of the guards to exit the central control room and start patrolling. You can now either sneak around them to get inside or just attack them.
Or there is an alternative alarm over on the eastern side of the building. Again you have to assemble the second button but this time there's no crate to shove onto them, instead you need to open up the cell opposite which contains a GNK droid. You can walk him over and have him sit on one of the buttons. Now you can pull the alarm.
Another way is to get that same GNK droid from the inner eastern cell and take it to the southern point of the building where there is a GNK droid terminal for it to power. This will give you a statue in the shape of the guards. If you push that statue towards the central control room's door you can then push the button and the camera will detect a guard and let you in.
And a fourth way is to go to the southeastern inner cell where there's some gym equipment set up. The switch to open the cell is to the right of the door. Smash all the gym equipment inside and reassemble it into a fake Finn and Rose. Pull the lever to set the trap. Duck back out of the room and wait just past the door switch until the guards have gone inside. Pull the switch closed to trap them. They will have left the door to the central room open so you can walk straight in.
[Retrieve your equipment.]
Now you're in the central control room you don't need to worry about sneaking around any more. Defeat any guards that are left in here and then use the trampoline to bounce up onto the bars at the top of the central console. Jump up on top and walk to the lever on the eastern wall that it's connected to to lower the shield.
[Destroy the Power Core!]
Jump down and attack that power core until it blows up and the alarms start ringing.
[Escape from the prison!]
Press the button to open the northern door and then grapple open the manhole cover. Jump on in to escape the level.
Level Challenges
- Isn't it Ironic?
- Lock a guard in a cell.
- The southeastern inner cell has a buildable trap inside that will lure guards. Move out of the cell and once the guards have walked in pull the switch to lock them in there.
- Prison Break
- Enter the guard room undetected.
- Use any of the methods to get the guards out of the central room but then just sneak through the opened door instead of attacking them.
- Guards Down
- Defeat 8 guards during the jailbreak.
- There are plenty of continually appearing guards during the final section.

Minikits
Minikit 1/5 - Rising Strong!
Requires: Grapple Story Mode: Yes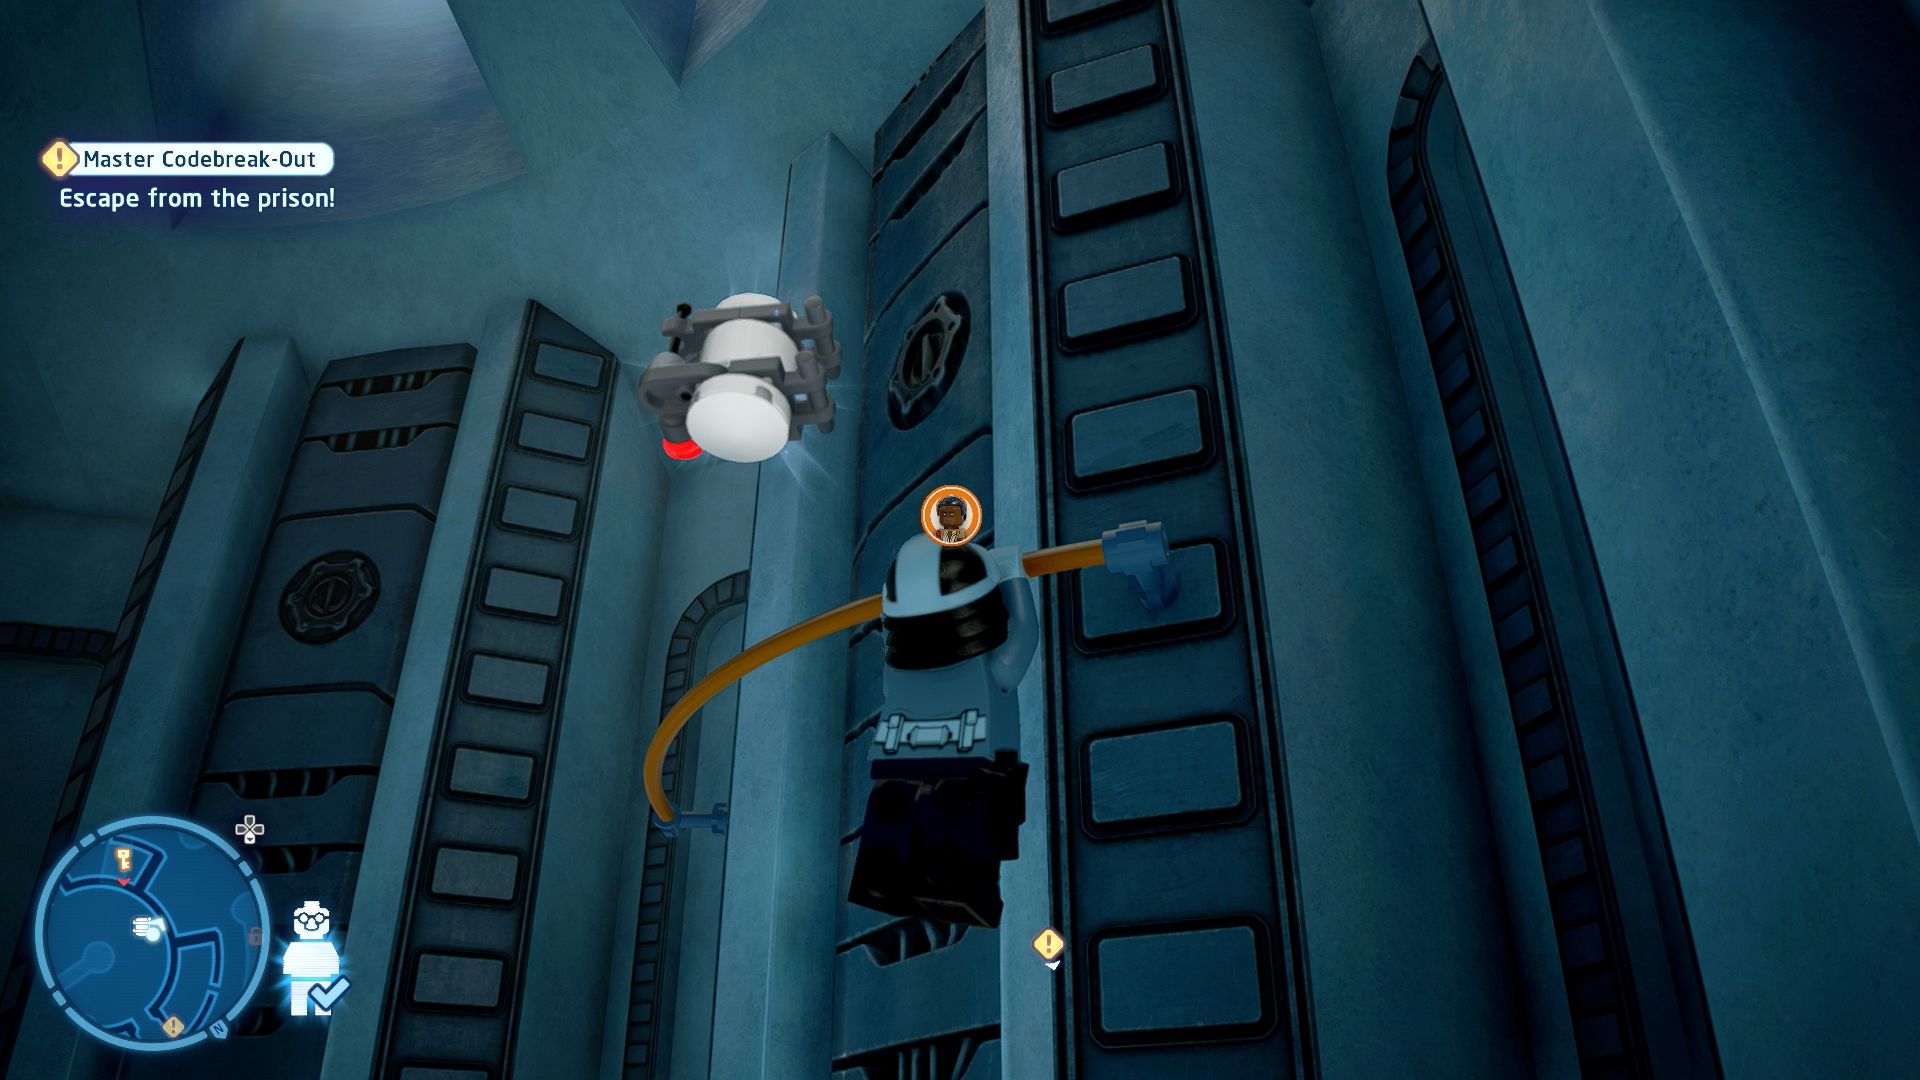
The central room has a high ceiling. Anything could be up there!
Once you have the grapple climb back up the central console and grapple even higher.
Minikit 2/5 - In Safe Hands
Requires: Grapple, Protocol Droid Story Mode: No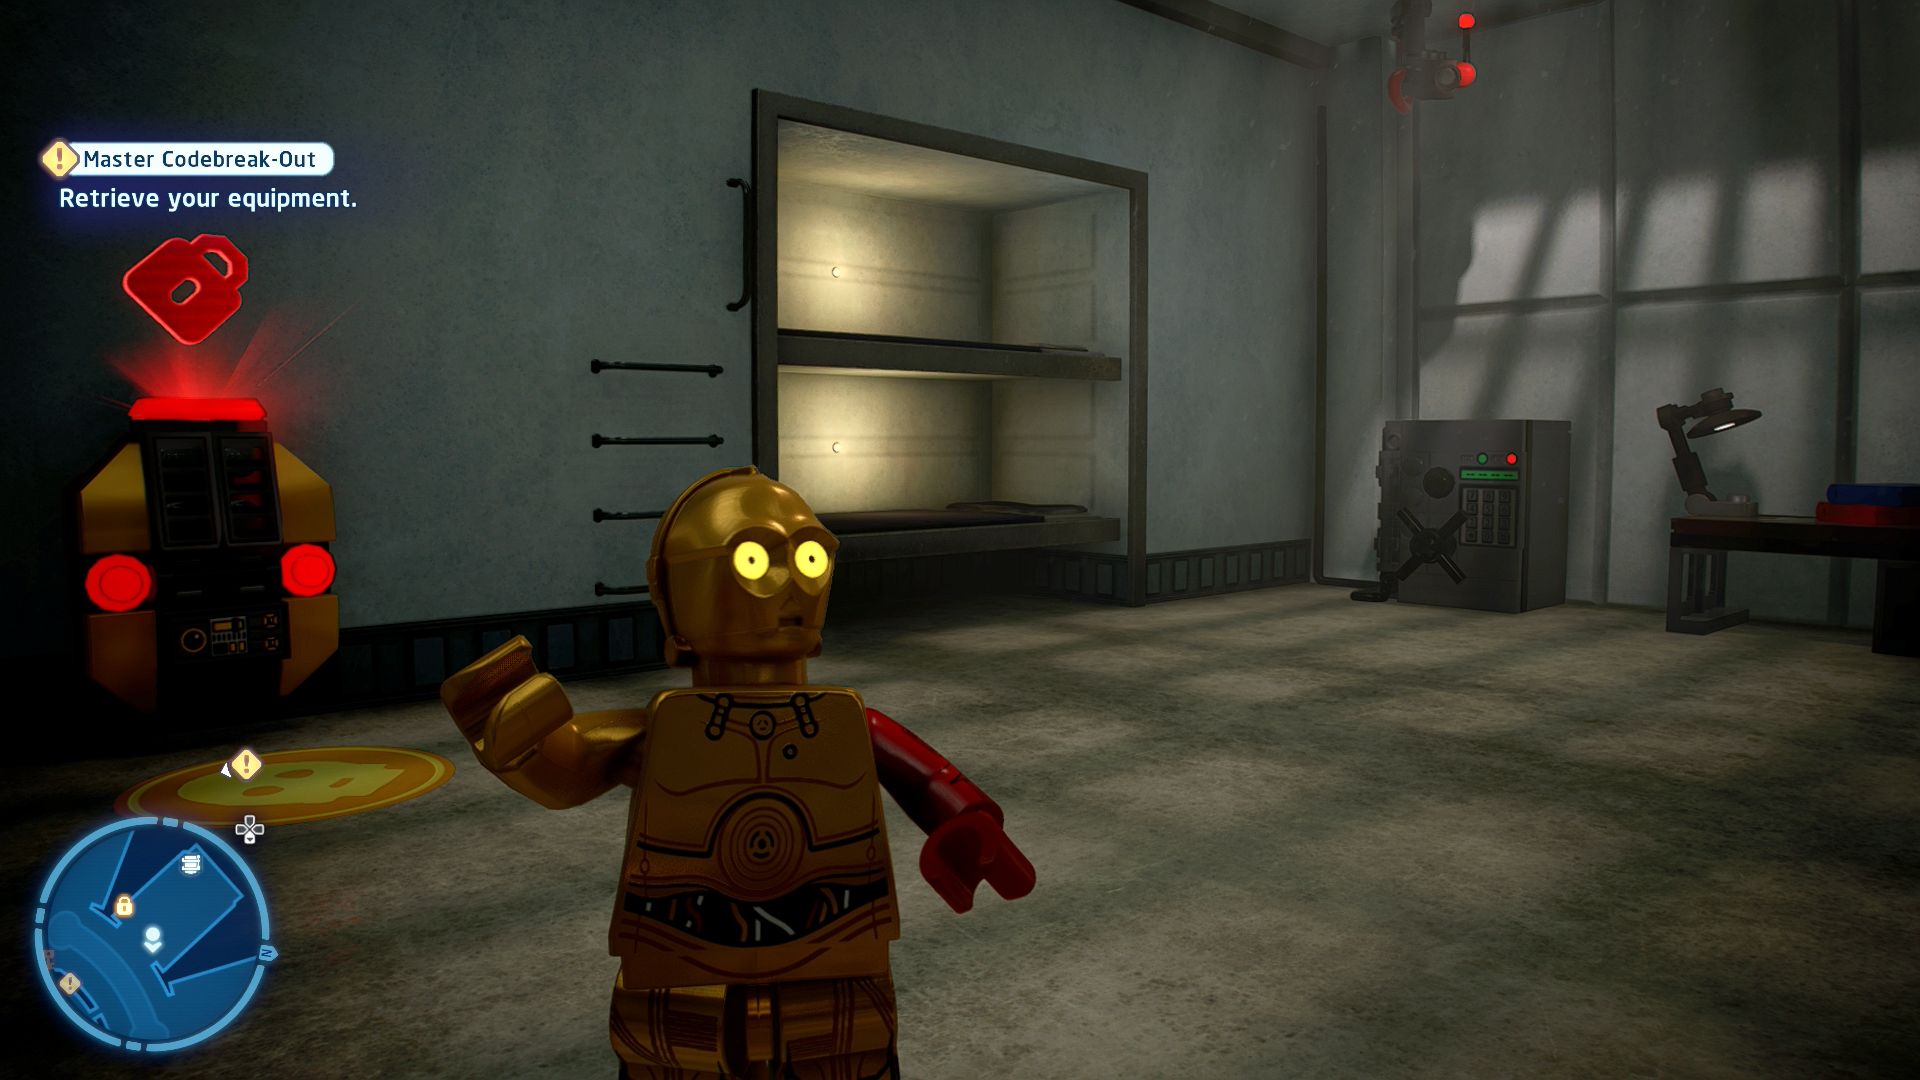
It's safe to say this safe is in a safe place.
In the northwestern cell is a password terminal. To get the password you must enter the central control room, grapple up on top of the console, and then jump over to the southwest.
Minikit 3/5 - Rose By Any Other Name
Requires: The Force, Hero Story Mode: No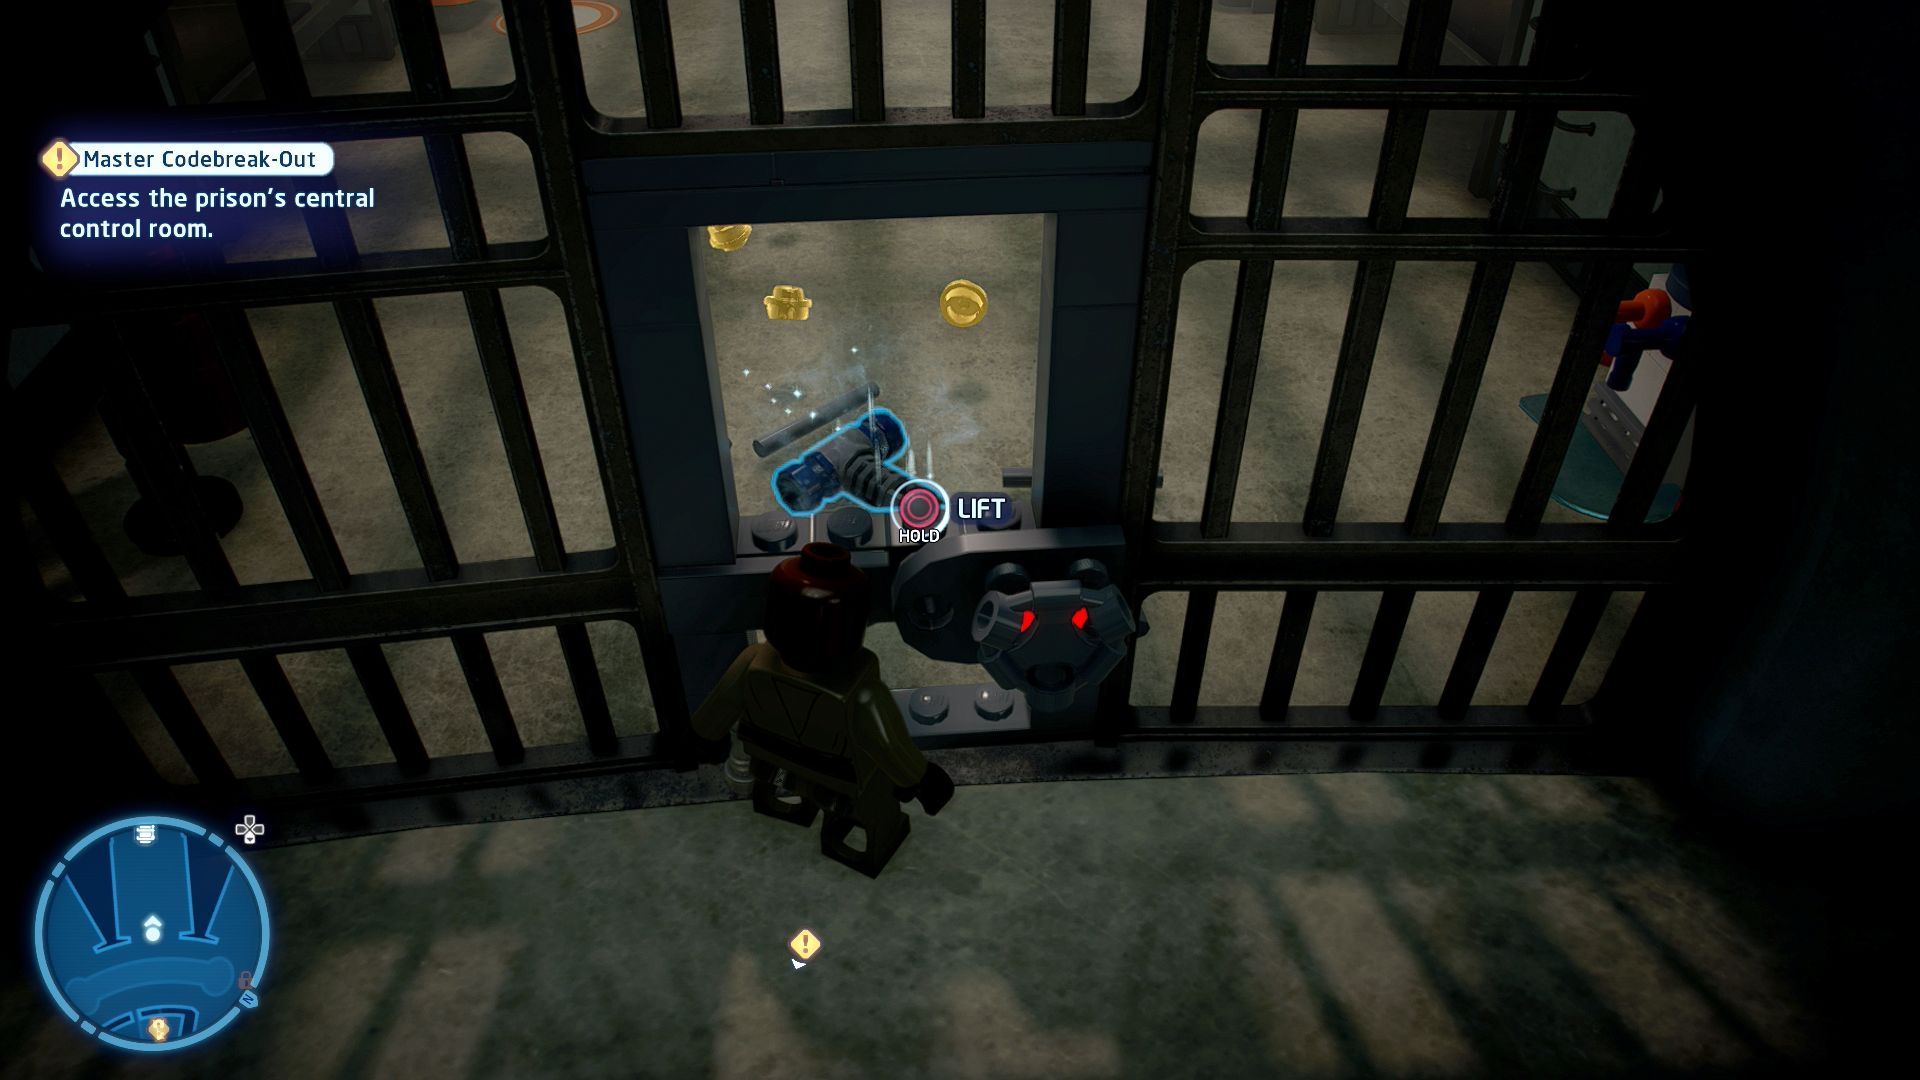
There are records of everyone in here. Frame the correct one!
At the door to a southwestern cell use the Force to pick up a broken piece of switch and bring it out to place it on the switch nearby. Pull that and go inside. Solve the Hero Terminal and then jump on each button until the four pictures on the wall are all the same character. Then press each button once each to switch to a second character. Then again for a third character. And again for the fourth character to get the minikit.
Minikit 4/5 - Pipe Dreams
Requires: Villain Grenade Story Mode: Yes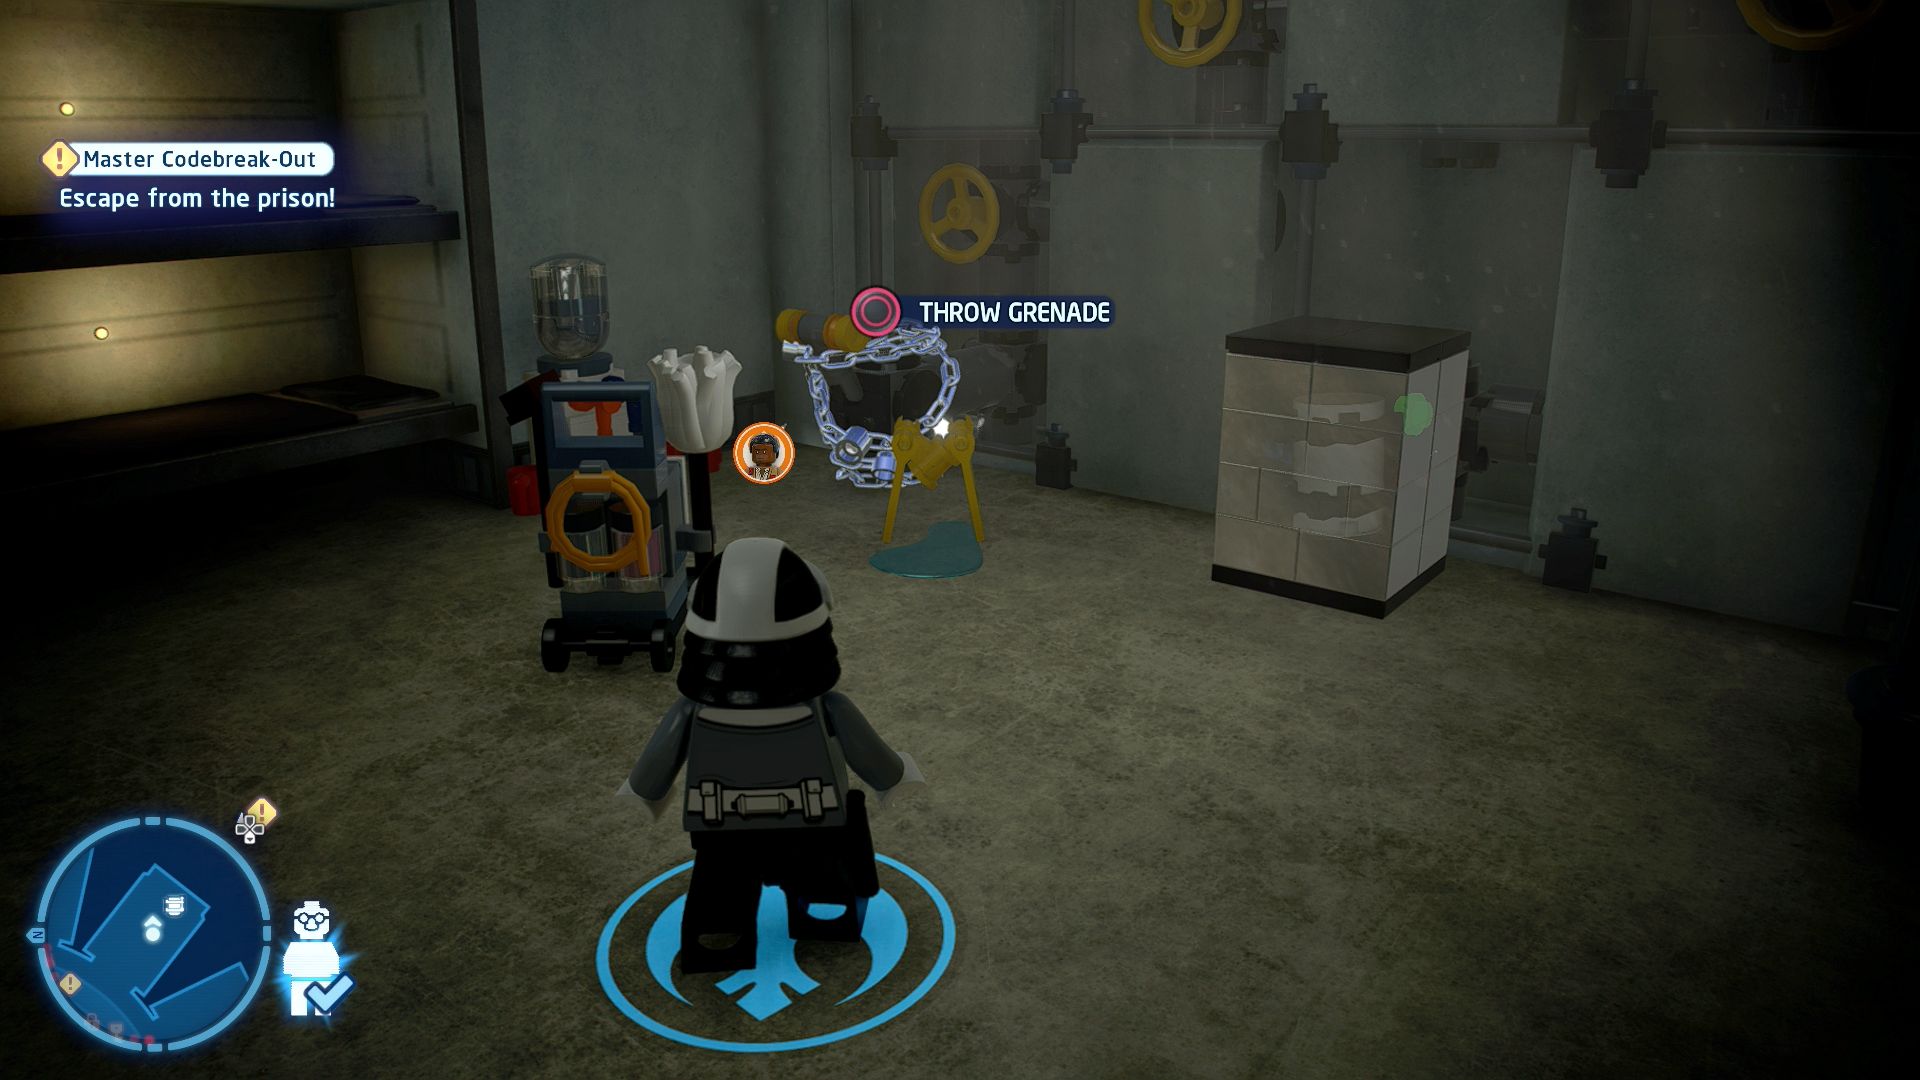
The plumbing in these cells really needs some work...
In a southeastern cell use a Villain Grenade to blow up some chains to release a switch. Smash the nearby items so that you can assemble a pipe part out of the pieces. Assemble the lower pipe and then pull the switch.
Minikit 5/5 - The Masterpieces
Requires: None Story Mode: Yes
An artist can find inspiration in just about anything!
In the southern cell smash the minikit canister painting in the corner of the room.
Libertine

Episode VIII
THE LAST JEDI
The story so far...
- After the First Order attacked
- the Resistance Cruiser, Poe, Finn,
- and Rose hatched a plan to stop
- them from pursuing their fleet.
- Travelling to Cantonica, they
- searched for the Master
- Codebreaker, who could shut
- down the First Order's tracking
- system. A parking violation
- almost thwarted their plan, but an
- alternative solution fell into their
- laps in the form of the mysterious
- DJ.
- Meanwhile, on the remote planet
- of Ahch-to, Rey continues her
- mission to bring Luke Skywalker
- back to the Resistance....
Ahch-To, Temple Island
Convincing Luke
[Find Master Skywalker.]
Follow the path down to the Jedi Village on the northern side of the island where you'll find Luke. Once he slams the door in your face jump up the handholds to the left and get up to the glowing window at the top. Smash through it and jump in.
[Follow Master Skywalker.]
Follow Luke as he meanders towards the southern part of the island. At one point he'll start running but will slow down again after a while. When you reach the Thala-sirens he'll ask you to go fetch his milk bottle for him.
[Recover Luke's milk bottle.]
You'll be shown a Porg carrying the milk bottle on its head to the west. Chase after it until it drops it in the Caretaker Village. Once you've picked it up turn around and go straight back to where you left Luke. Step into the marker behind him to continue the story.
[Receive the Jedi training from Luke.]
After the cutscene you're not too far away from where you were before and have to get to the cave just to the north. It's quite a long way around back through the Caretaker Village and then up and around. You'll find Luke standing on a ledge next to a marker to continue the story.
Jedi Training
[Explore the mysterious cave.]
The mysterious cave is on the far western edge of the island, follow the path there and then jump in.
Inside the cave you'll have to solve some puzzles that involve moving mirror duplicates of Rey onto buttons and over obstacles. Everything you do the mirror image will copy. So first you move a little to the right until the copy stands on the red button on the floor. Once the button turns green the mirror image will stop moving and a white circle will form, once it has fully formed you can go through to the next puzzle.
Here you have two copies, move each of them onto their buttons to open the portal. They stop moving once they're stood on their button so you don't actually have to do anything all that complicated to get them both on their buttons at the same time, just do one at a time.
The third puzzle requires you to move forwards and jump to get the copy to jump up to the button and also get the copy on the right to jump over the wall blocking her. Once she's over keep moving to the left so that she runs onto the button to complete the circle.
The final puzzle again has two copies that you should concentrate on one at a time. First get the left copy to jump up to the right then up onto the bar above and then drop off down onto her button. The right copy may have made her way up a little so you'll just need to get her to jump up to the right and then onto her button to complete the solve.
Once you're through the final circle walk forwards to continue the story and watch a cutscene.
[Confront Luke.]
Time for a quick fight with Luke. It's not quite a lightsaber battle but it's fairly similar. Jump away from the red circles and then run in and attack afterwards, moving away whenever he sets up a red circle attack. It's just the one bar of health so should be over quite quickly.
[Fly to the Supremacy in Crait Local Space.]
Ahch-To Space
After the cutscene open up your Galaxy Map and fly off to Crait Space.
Crait Space
Once you arrive turn around and locate where the Supremacy is and fly towards the marker to start the next level.
Chapter 3
No Snoke Without Fire
| Silver | Blue | Purple |
|---|---|---|
| 28,333 | 56,666 | 85,000 |
[Escort Rey to Supreme Leader Snoke.]
The actual level here is mostly just walking slowly. Go straight on and follow the path to the left after the door the Stormtroopers open for you. From there it's a long straight walk to a jammed doorway that a mechanic is trying to work on. Use the Force to force it open.
Take a right towards an elevator at the far end of this open section. Just before it on the wall to your right is a yellow electric panel with a grab bar on it. Have Rey jump and grab the handle to open it so that Kylo can use the Force to take the power cell out.
Next to the lift is a panel with markings on it that you should recognise as implying that you need to use a lightsaber to cut it open. Do so with Kylo Ren's lightsaber and then use the Force to remove the faulty power cell from behind it. Use the Force to pick up the one you took from the other wall and jam it in here to power the elevator.
Go into the opened elevator to go up to meet with Snoke.
[Defeat the Elite Praetorian Guards!]
There are eight of these Praetorian Guards to defeat and you'll take them on one at a time automatically switching between Rey and Kylo after each one or two you defeat (at least in single player). The health bar is for all of them as a group, as you defeat each one the shield icons will turn black and the bar will slowly tick down.
These are going to be your standard lightsaber battles. Jump away from the red markers and run in to attack straight away afterwards being careful watching out for their retaliations.
Level Challenges
- You're Embarrassing Me!
- Have Kylo restrain Rey three times.
- As Rey try to attack the Stormtroopers. After a few hits Kylo will restrain her. Do this three times.
- Supreme Loser
- Defeat all of the Praetorian Guards within 5 minutes.
- The timer doesn't start until you reach the fight. Just keep attacking the guards, trying your best not to get hit by the red circle attacks.
- Total Destruction
- Knock a Praetorian Guard down a shaft.
- Circle around one of the two pits and wait for one of the guards to perform the larger jump. They should land just over the lip and momentarily fall in.

Minikits
Minikit 1/5 - Spinning Around
Requires: The Force Story Mode: Yes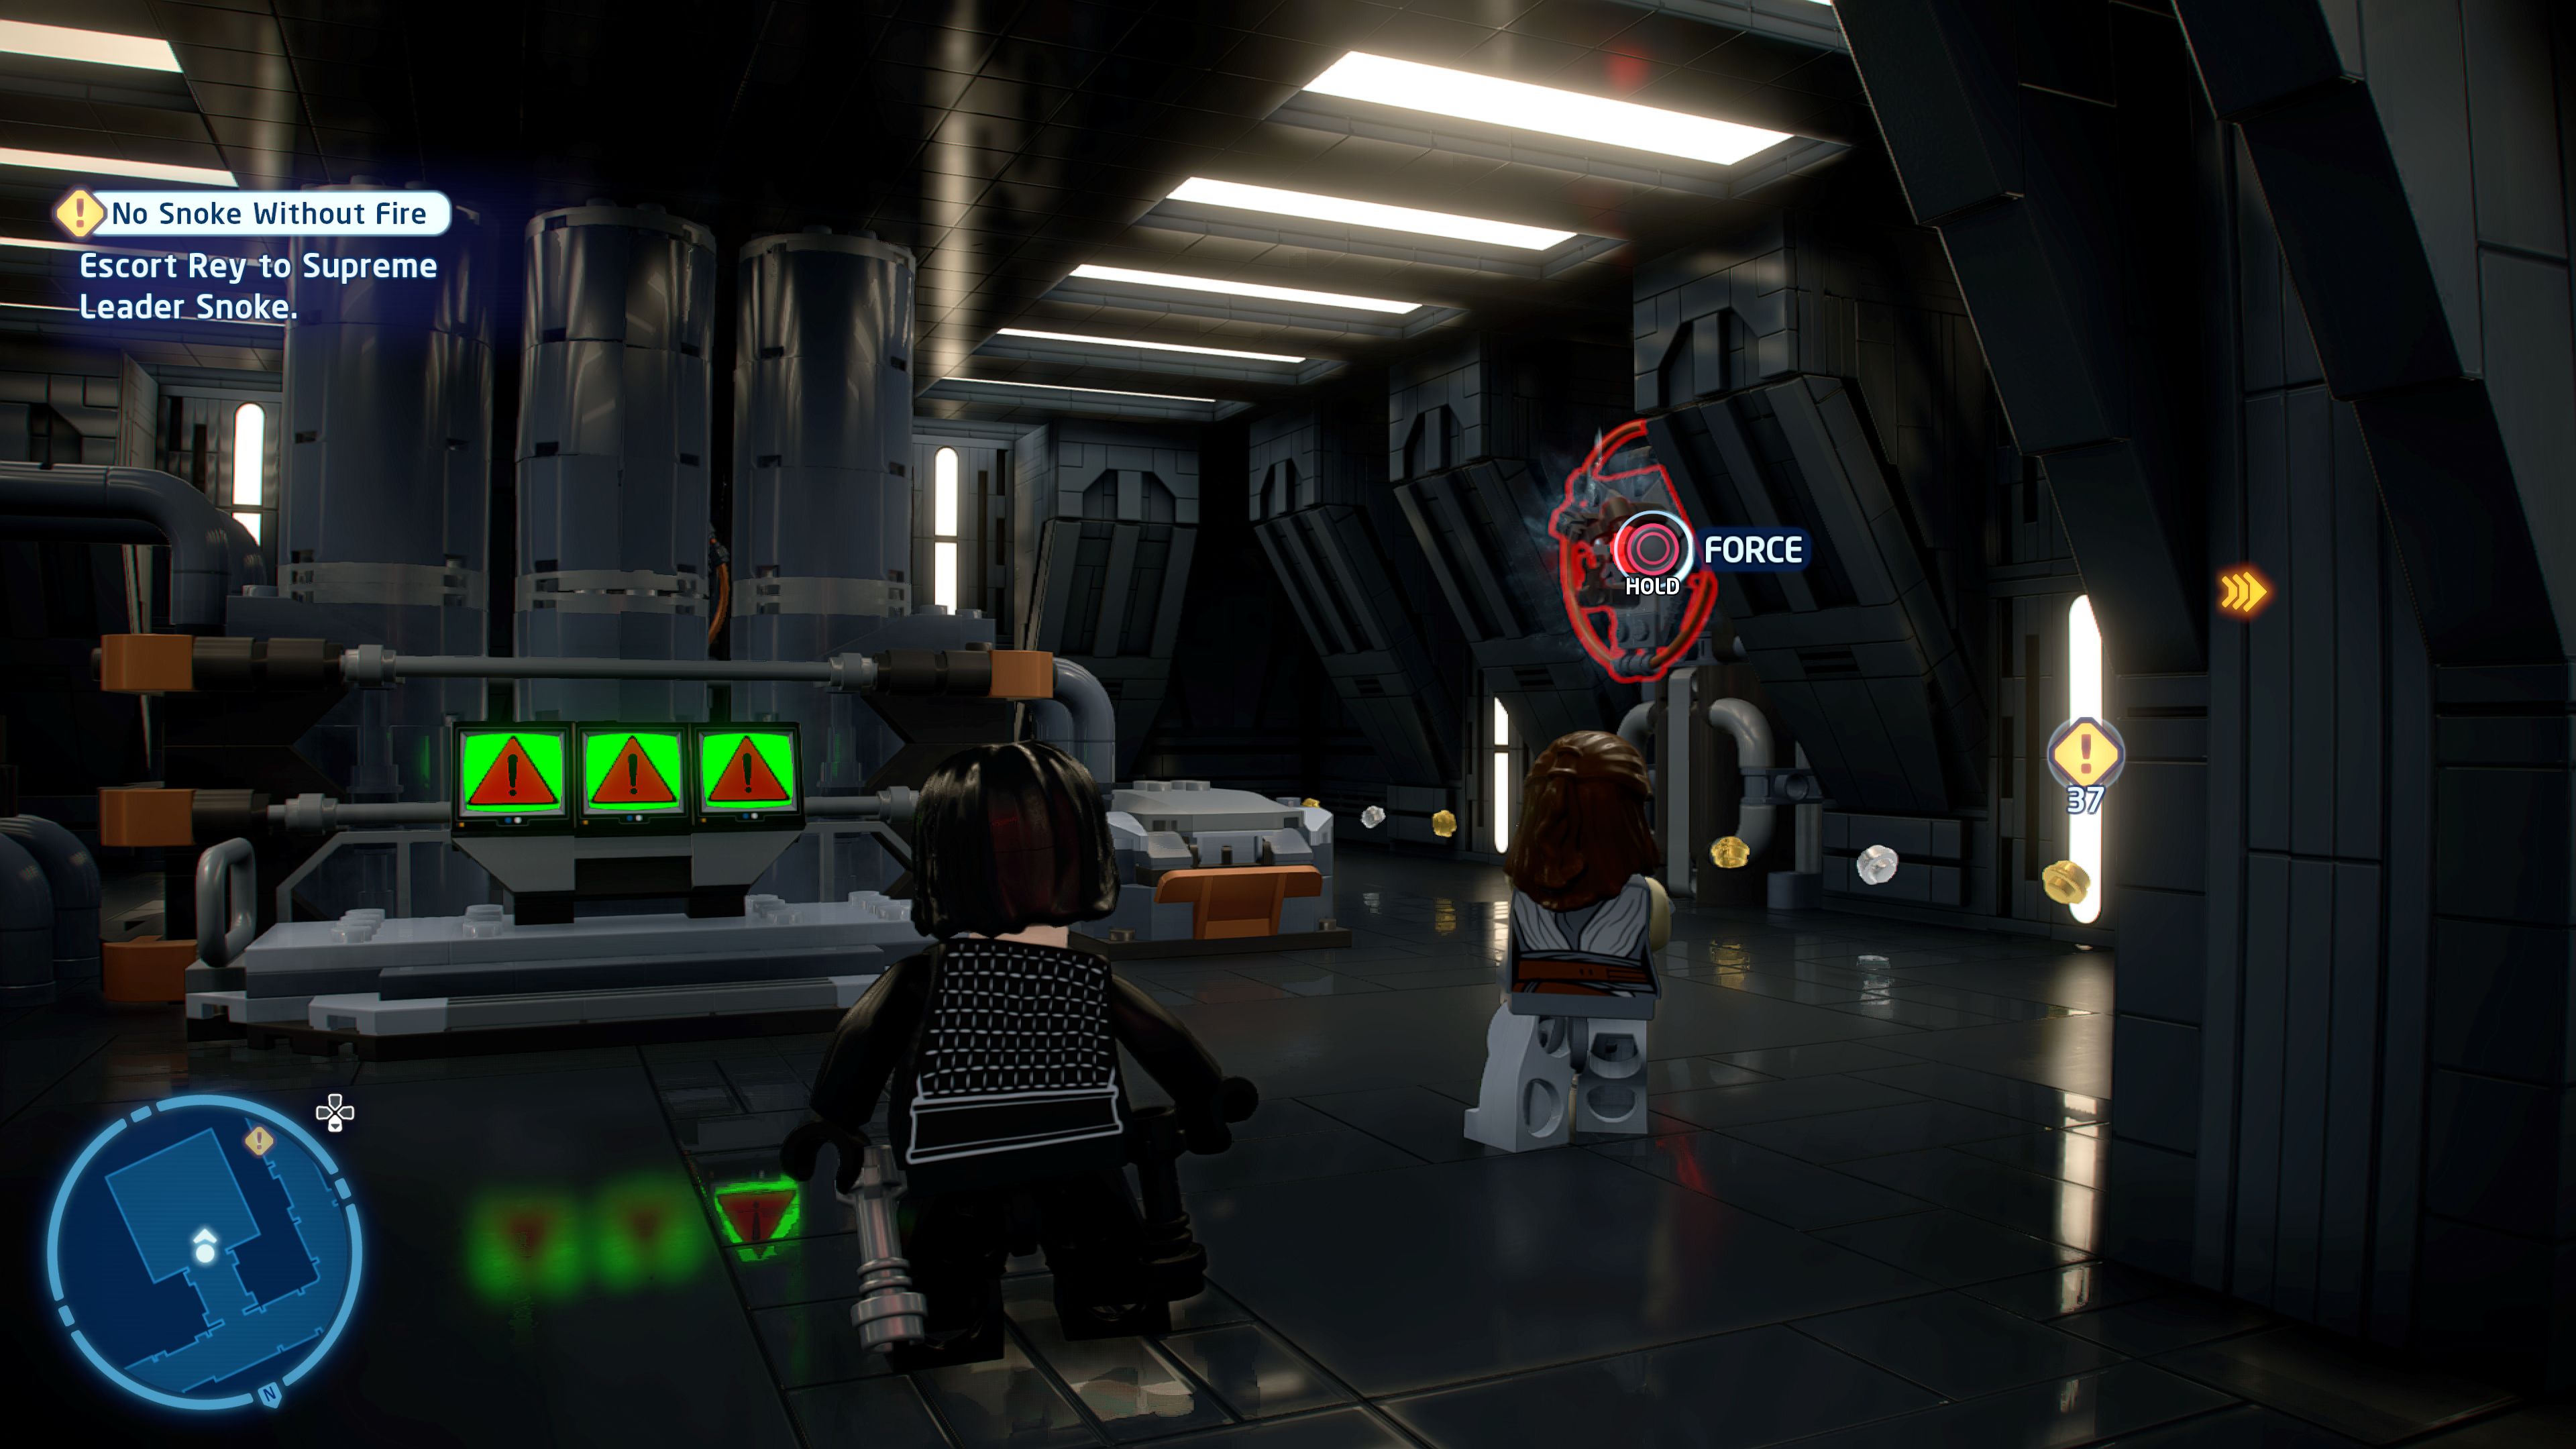
If this one's stressing you out, try blowing off a little steam first...
Use the Force or the Imperial Terminal to open the first room off the starting corridor. In there you'll find three wheels on the walls, one on the left, one on the right, and one at the back. Use the Force to spin them all until their centre turns green. Once all three are lit up the minikit will pop out.
Minikit 2/5 - Furiously Fast Firing Range
Requires: Imperial/The Force, Bounty Hunter Story Mode: No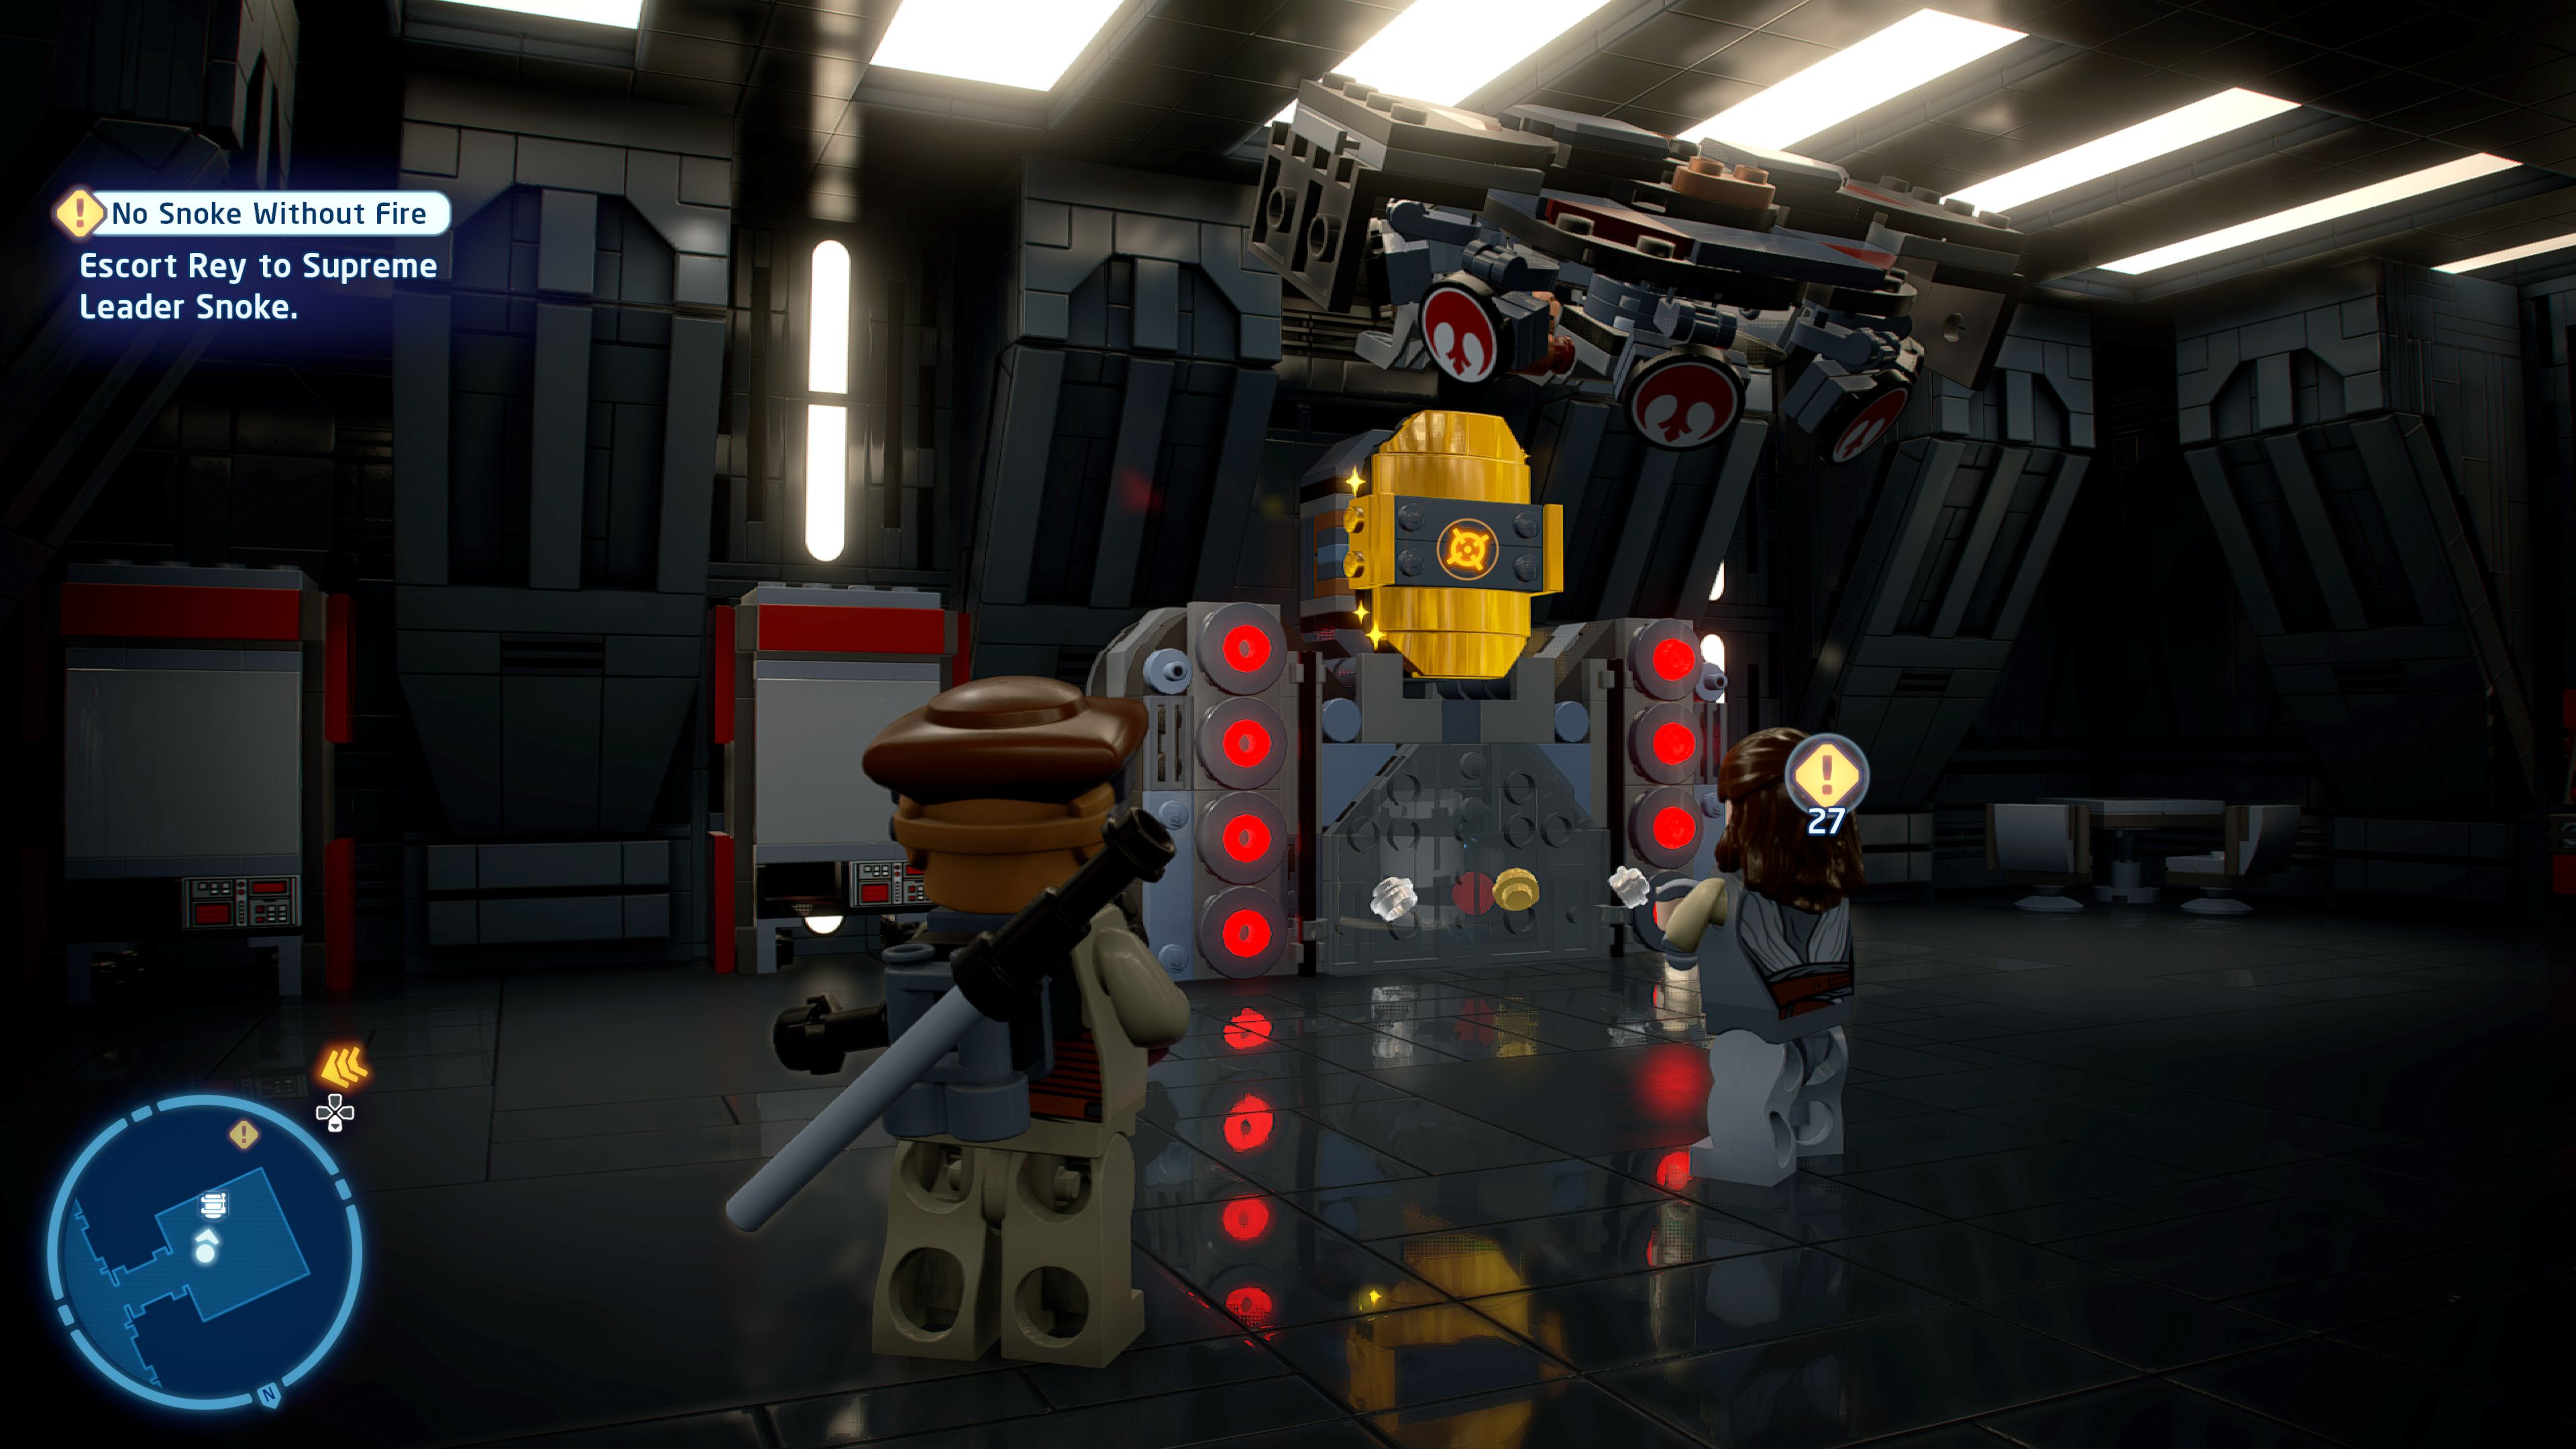
It'll take some quick shooting to complete this training machine!
The second room again requires either the Force or a Villain to open. Inside is some Gold LEGO to shoot with a Bounty Hunter. Once that's destroyed a set of moving targets will pop up, shoot all of the Rebel Alliance symbols to release the minikit.
Minikit 3/5 - Puzzling Power Cell Path
Requires: The Force Story Mode: Yes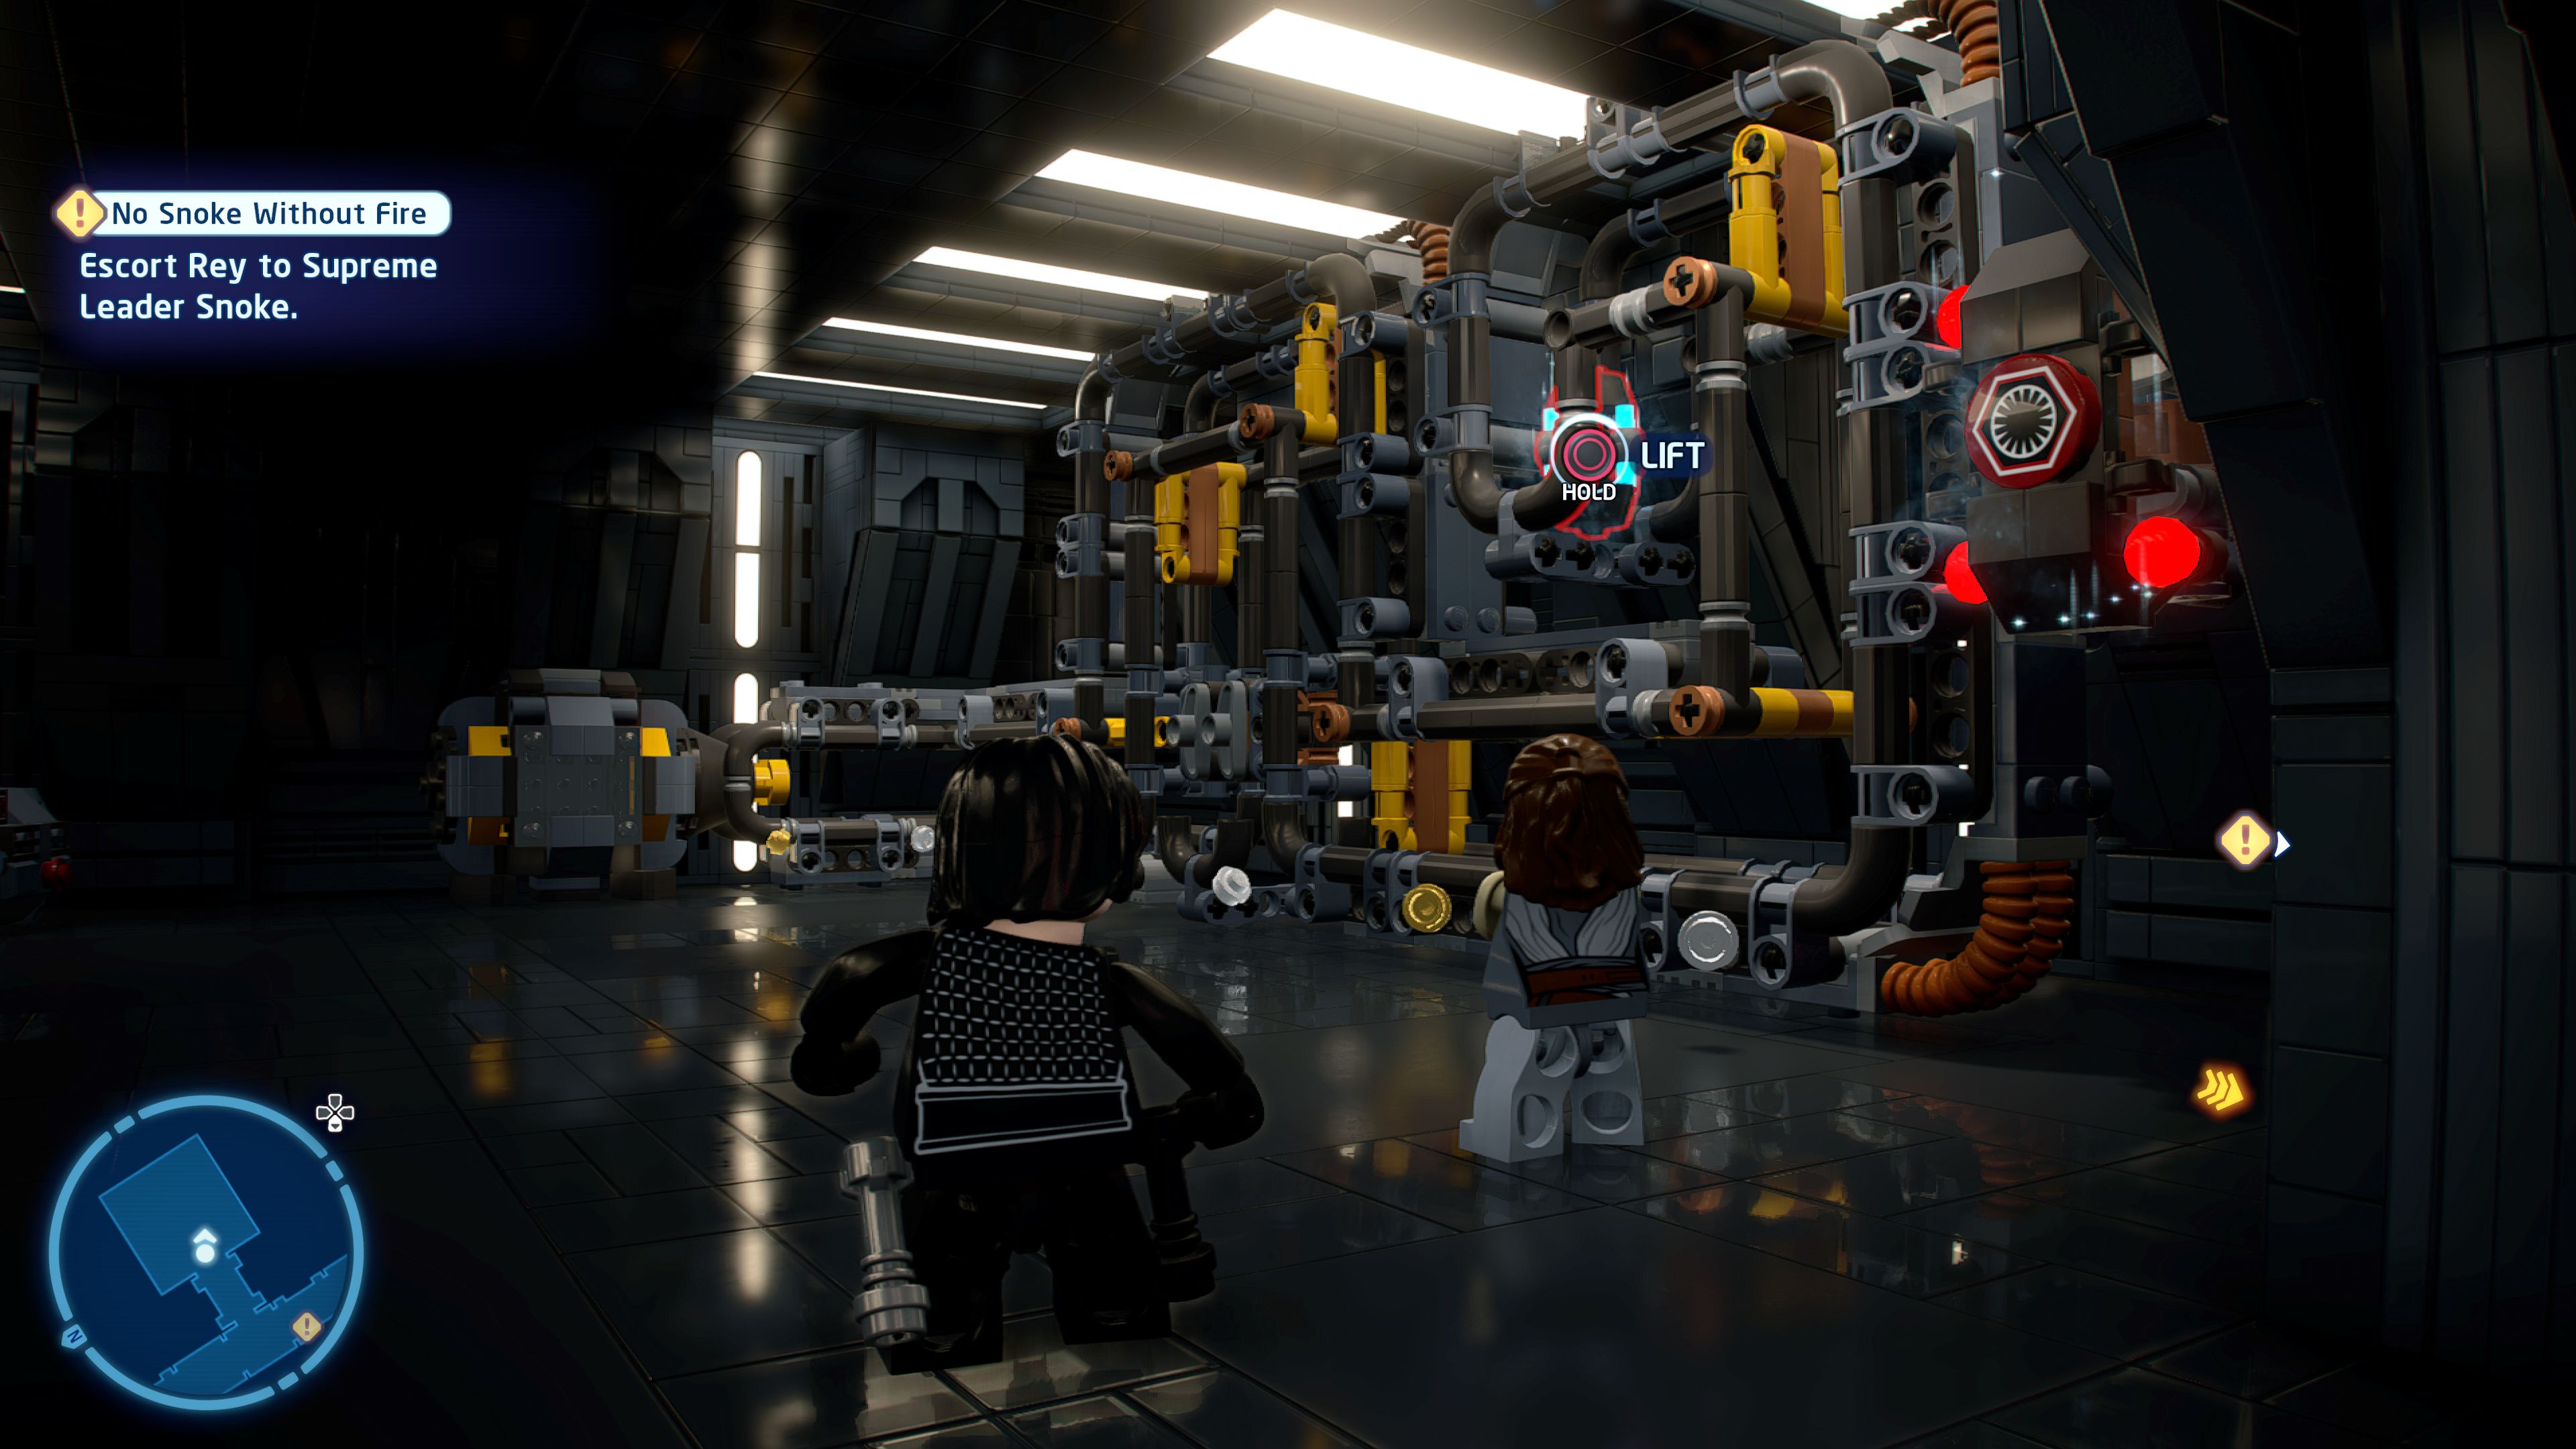
Moving the power cells around could be useful for something...
In the third room off the starting corridor (again Force or Villain to open) is a puzzle where you need to use the Force to move an object along a track. Pull the nearby plug out of the wall or put it back in again to flip the barriers when they get in your way. Partway down you'll need to move the plug to a second location to continue moving along.
Minikit 4/5 - Tricky Techno Tower
Requires: Astromech Story Mode: No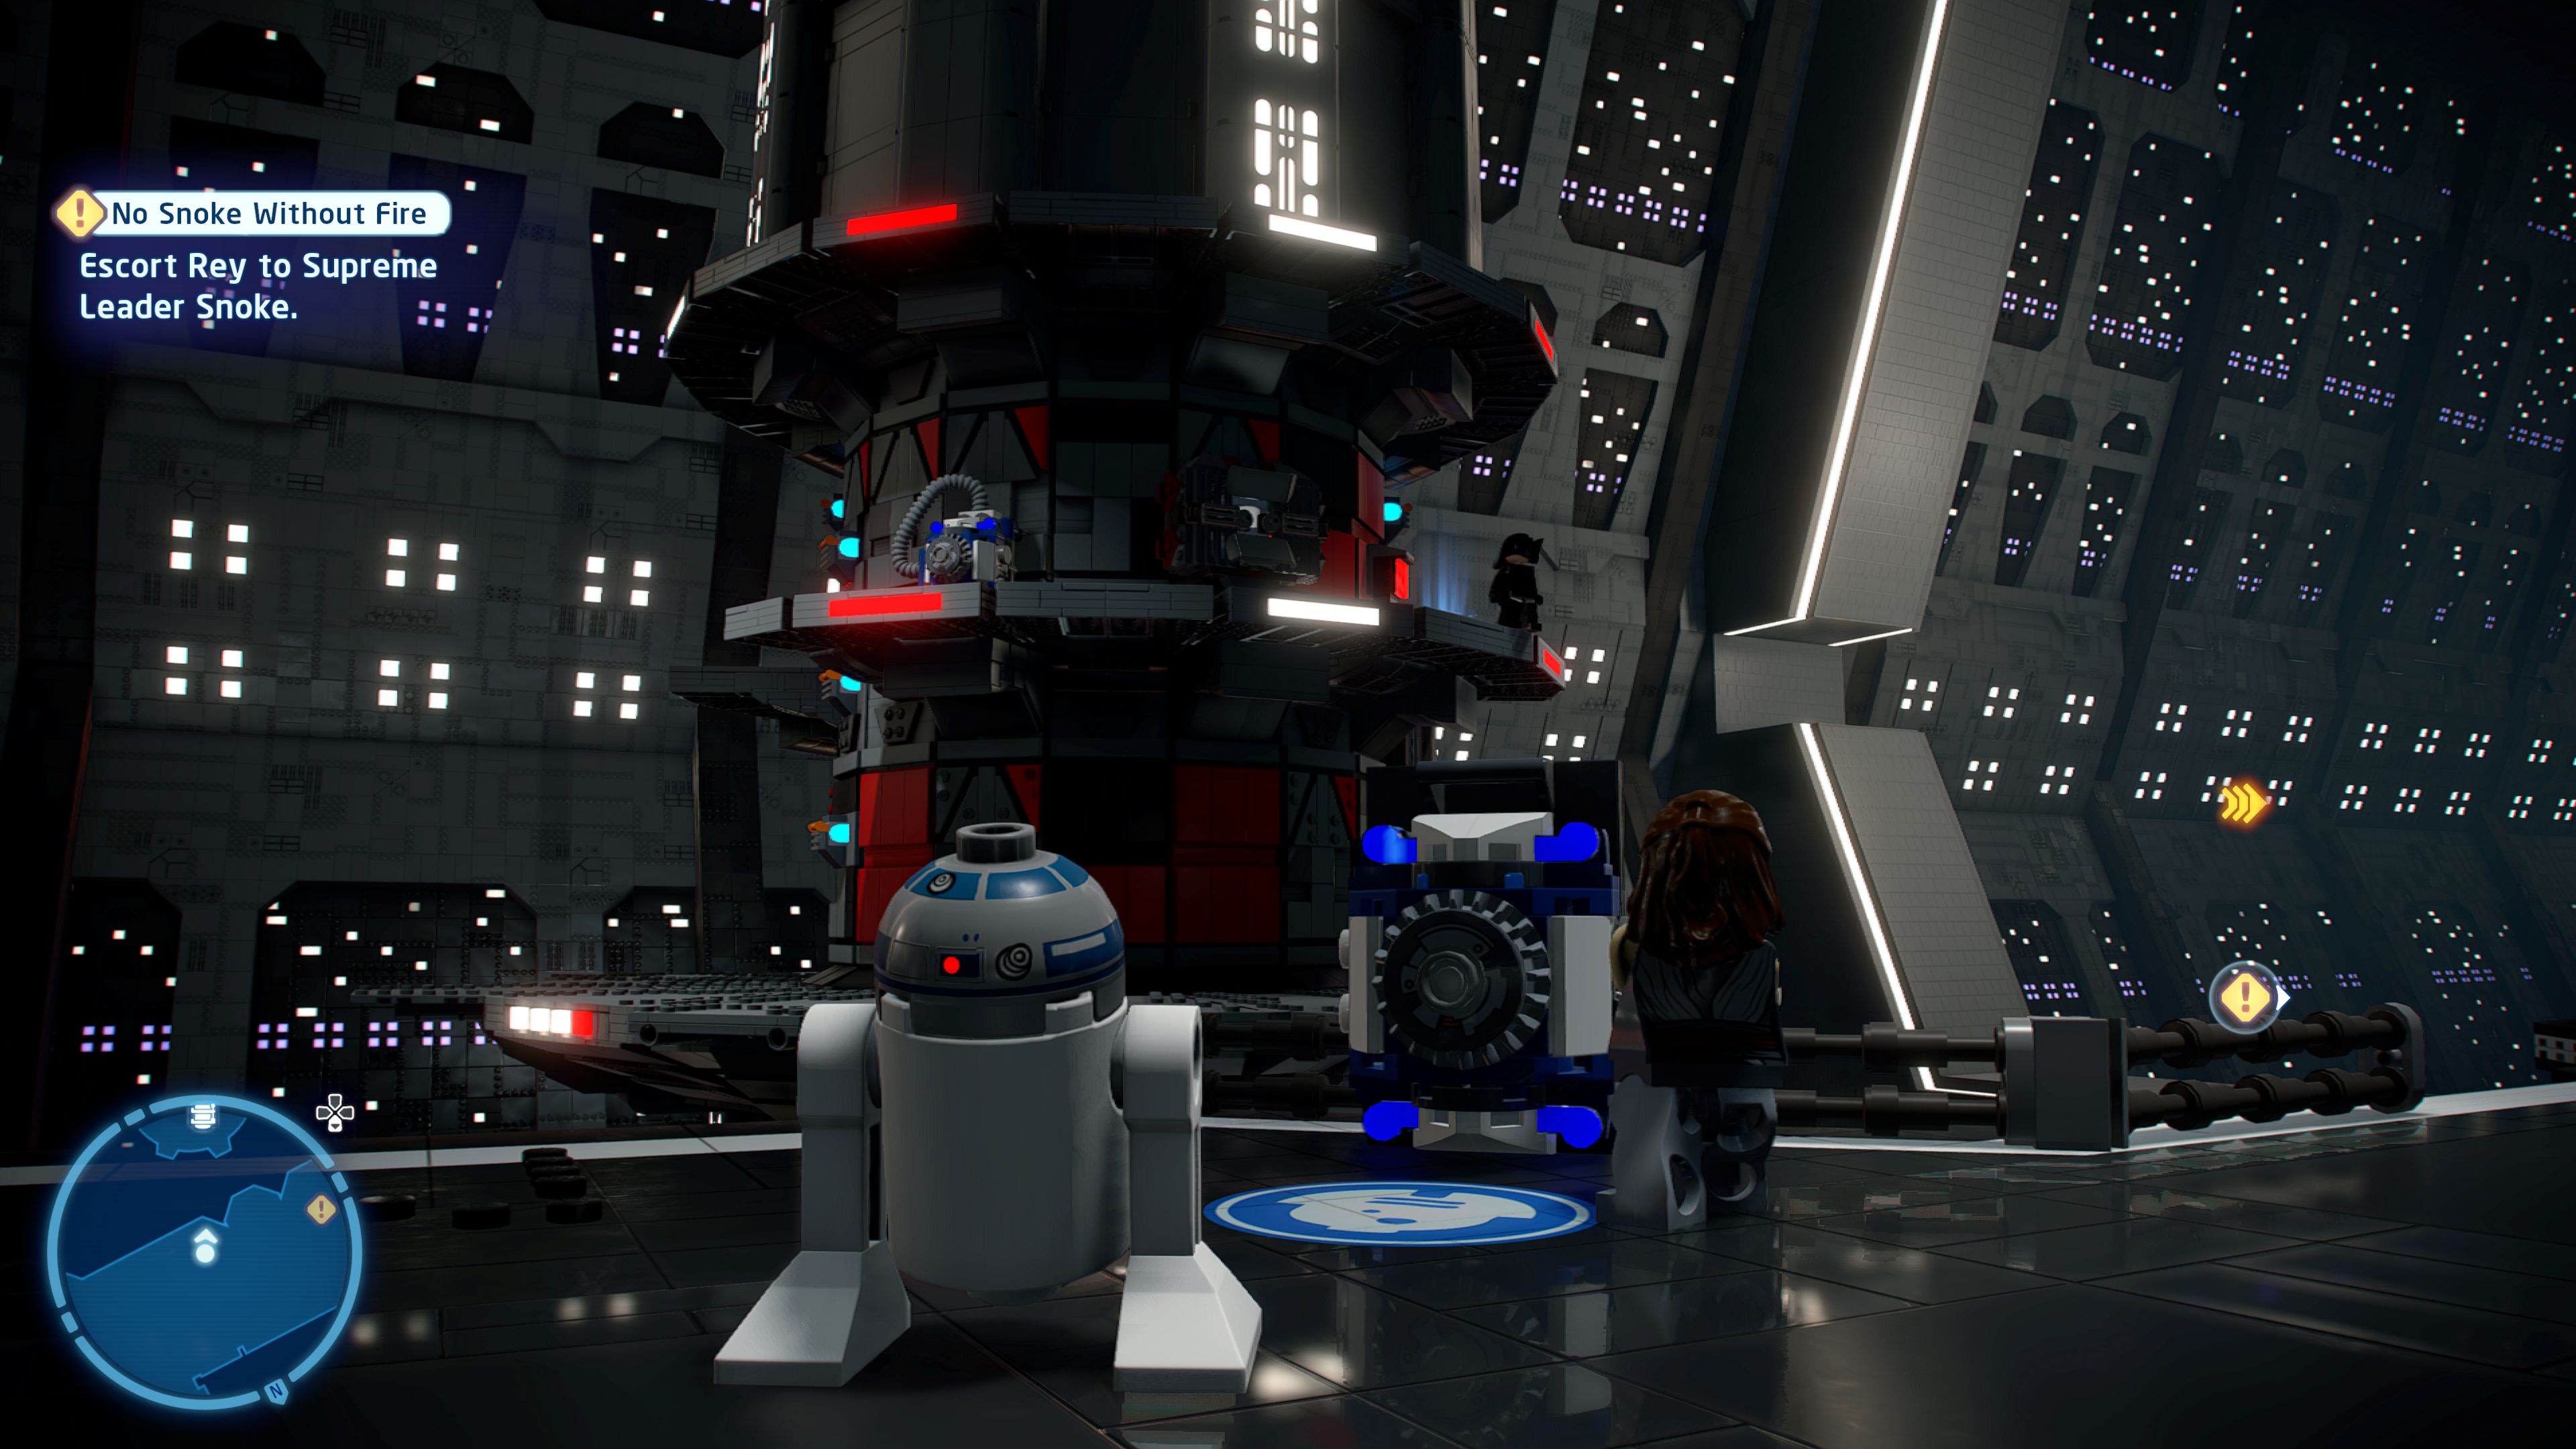
It's almost like this tower was designed to be tricky to climb...
In the massive open area is a large tower that is not connected to the main section. To reach it you either have to use the Force to mind control someone into flipping the switch on the back of the tower or an Astromech Droid to solve the nearby Astromech Socket. Once the bridge has opened cross over and grapple up to the upper level where there's another Astromech Socket to solve to unlock the minikit.
Minikit 5/5 - Good Enough
Requires: None Story Mode: Yes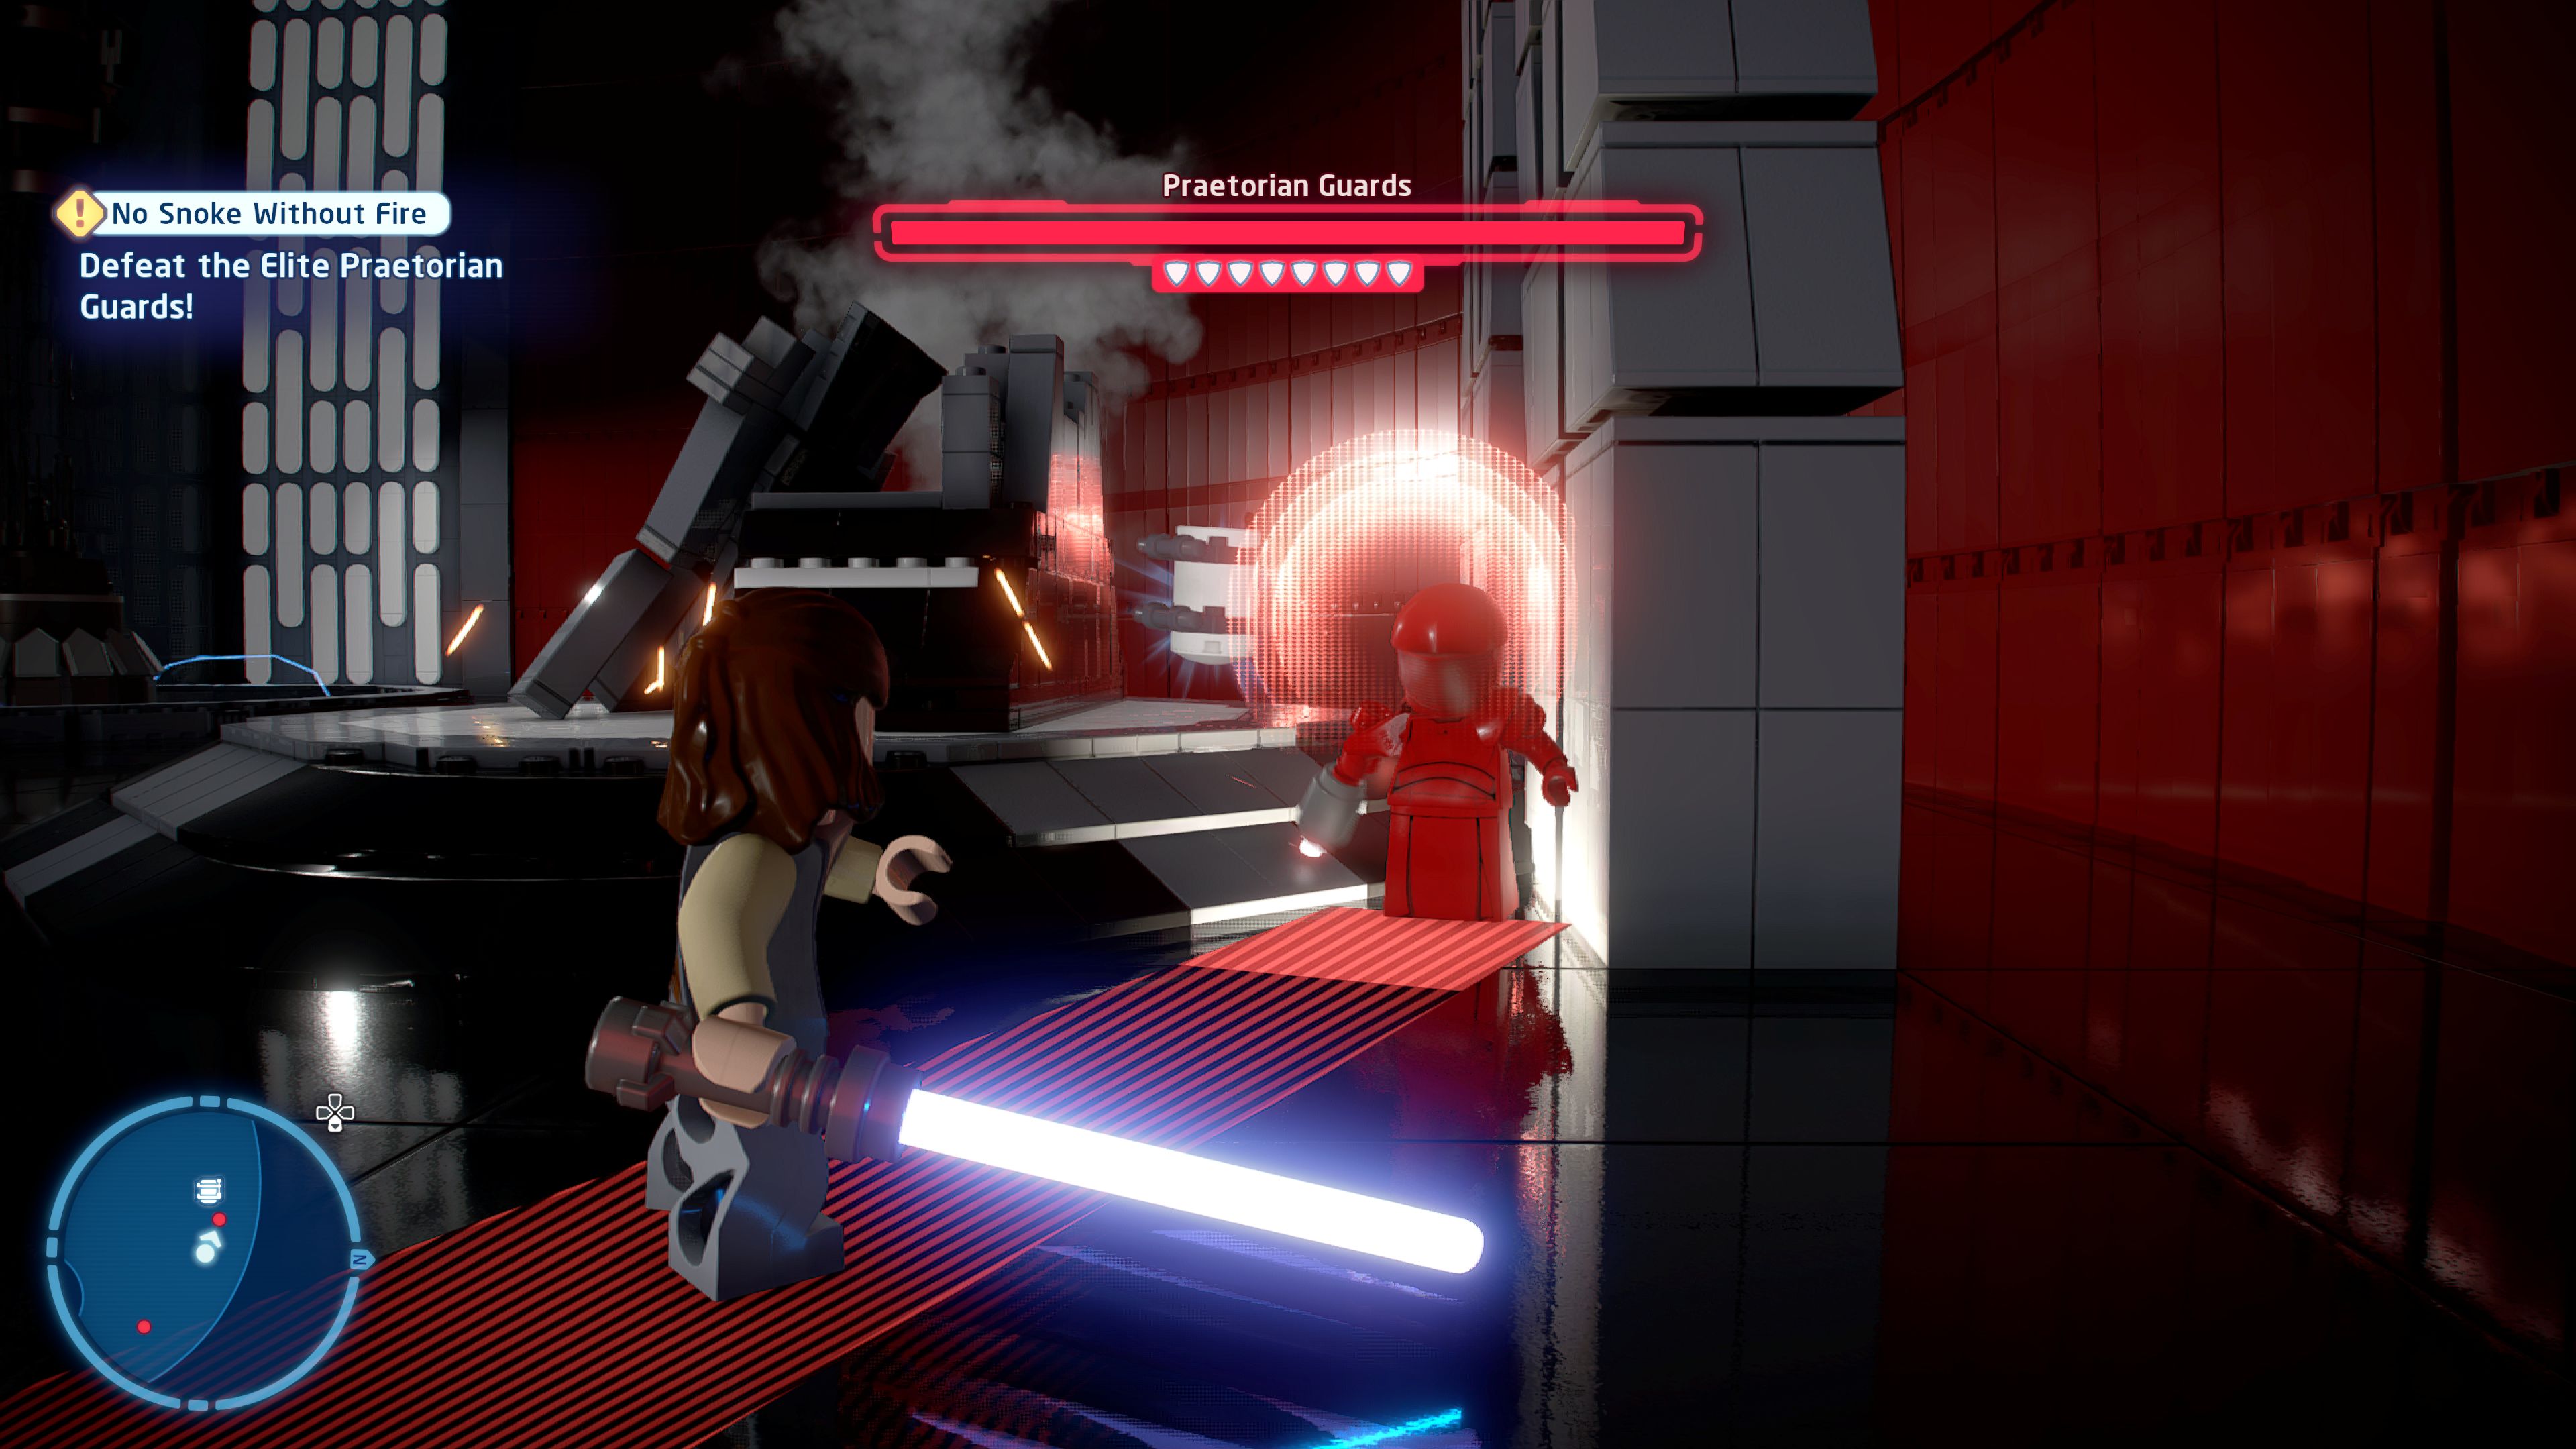
When you need to hide something but can't be bothered getting off your throne!
While you're fighting with the Praetorian Guards move behind Snoke's throne to find this one.
TIE Silencer

Based on set 75196
A-Wing vs. TIE Silencer Microfighters
| Cost | Character | |
|---|---|---|
|
|
- | Rey (Grey Jedi Wrap) |
|
|
100,000 | Luke Skywalker (Old - Raincoat) |
|
|
200,000 | Praetorian Guard (Eighth Guard) |
|
|
200,000 | Praetorian Guard (Third Guard) |
Episode VIII
THE LAST JEDI
The story so far...
- Luke Skywalker hasn't been
- forgotten about. At least not by
- Rey, who finally made it to
- Ahch-To in the Falcon. After
- convincing Luke to show her the
- ways of the Force, Rey's eventful
- training was cut short as she
- pledged to save her friends alone.
- An excuse familiar to the Jedi
- Master.
- Desperate to lure Kylo back to
- the light, she flew to the
- Supremacy, where Kylo escorted
- her to Snoke, determined she
- would turn to the dark side.
- In a moment of clarity, Kylo
- struck down the Supreme Leader.
- He pleaded with Rey to join him,
- but Rey refused his hand.
- Meanwhile, Finn, Rose and DJ are
- attempting to infiltrate the
- SUPREMACY and disable the
- Hyperspace tracking system....
Crait Space
Enemy Territory
[Land on the Supremacy.]
Fly a little towards the Supremacy and interact with the marker to board.
Supremacy
[Find a way to blend in with the First Order.]
Switch to BB-8 and you'll be able to walk straight past any Stormtroopers without them noticing you. So just follow the markers up the stairs, around to the right, down the stairs, and then off to the right to the marker by the laundry room that continues the story.
[Gain access to the hyperspace tracker room.]
The door to the west is now open so follow that path around the corner to the left after the officer opens the next door for you. Then it's just a right to the marker to start the next level.
Chapter 4
Chrome Dome Down
| Silver | Blue | Purple |
|---|---|---|
| 15,000 | 30,000 | 45,000 |
[Defeat Captain Phasma!]
Your goal in the first part of this level is to disrupt the shield in front of Phasma to damage her. You can do this in many different ways, some have one shot while others you can repeat a few times. But first defeat the Stormtroopers to get them out of the way.
Just ahead from where you start is a couple of glowing crates, one with a neon blue net covering it. Smash them and from the pieces build a laser targeting net launcher. Hop in to fire it at her.
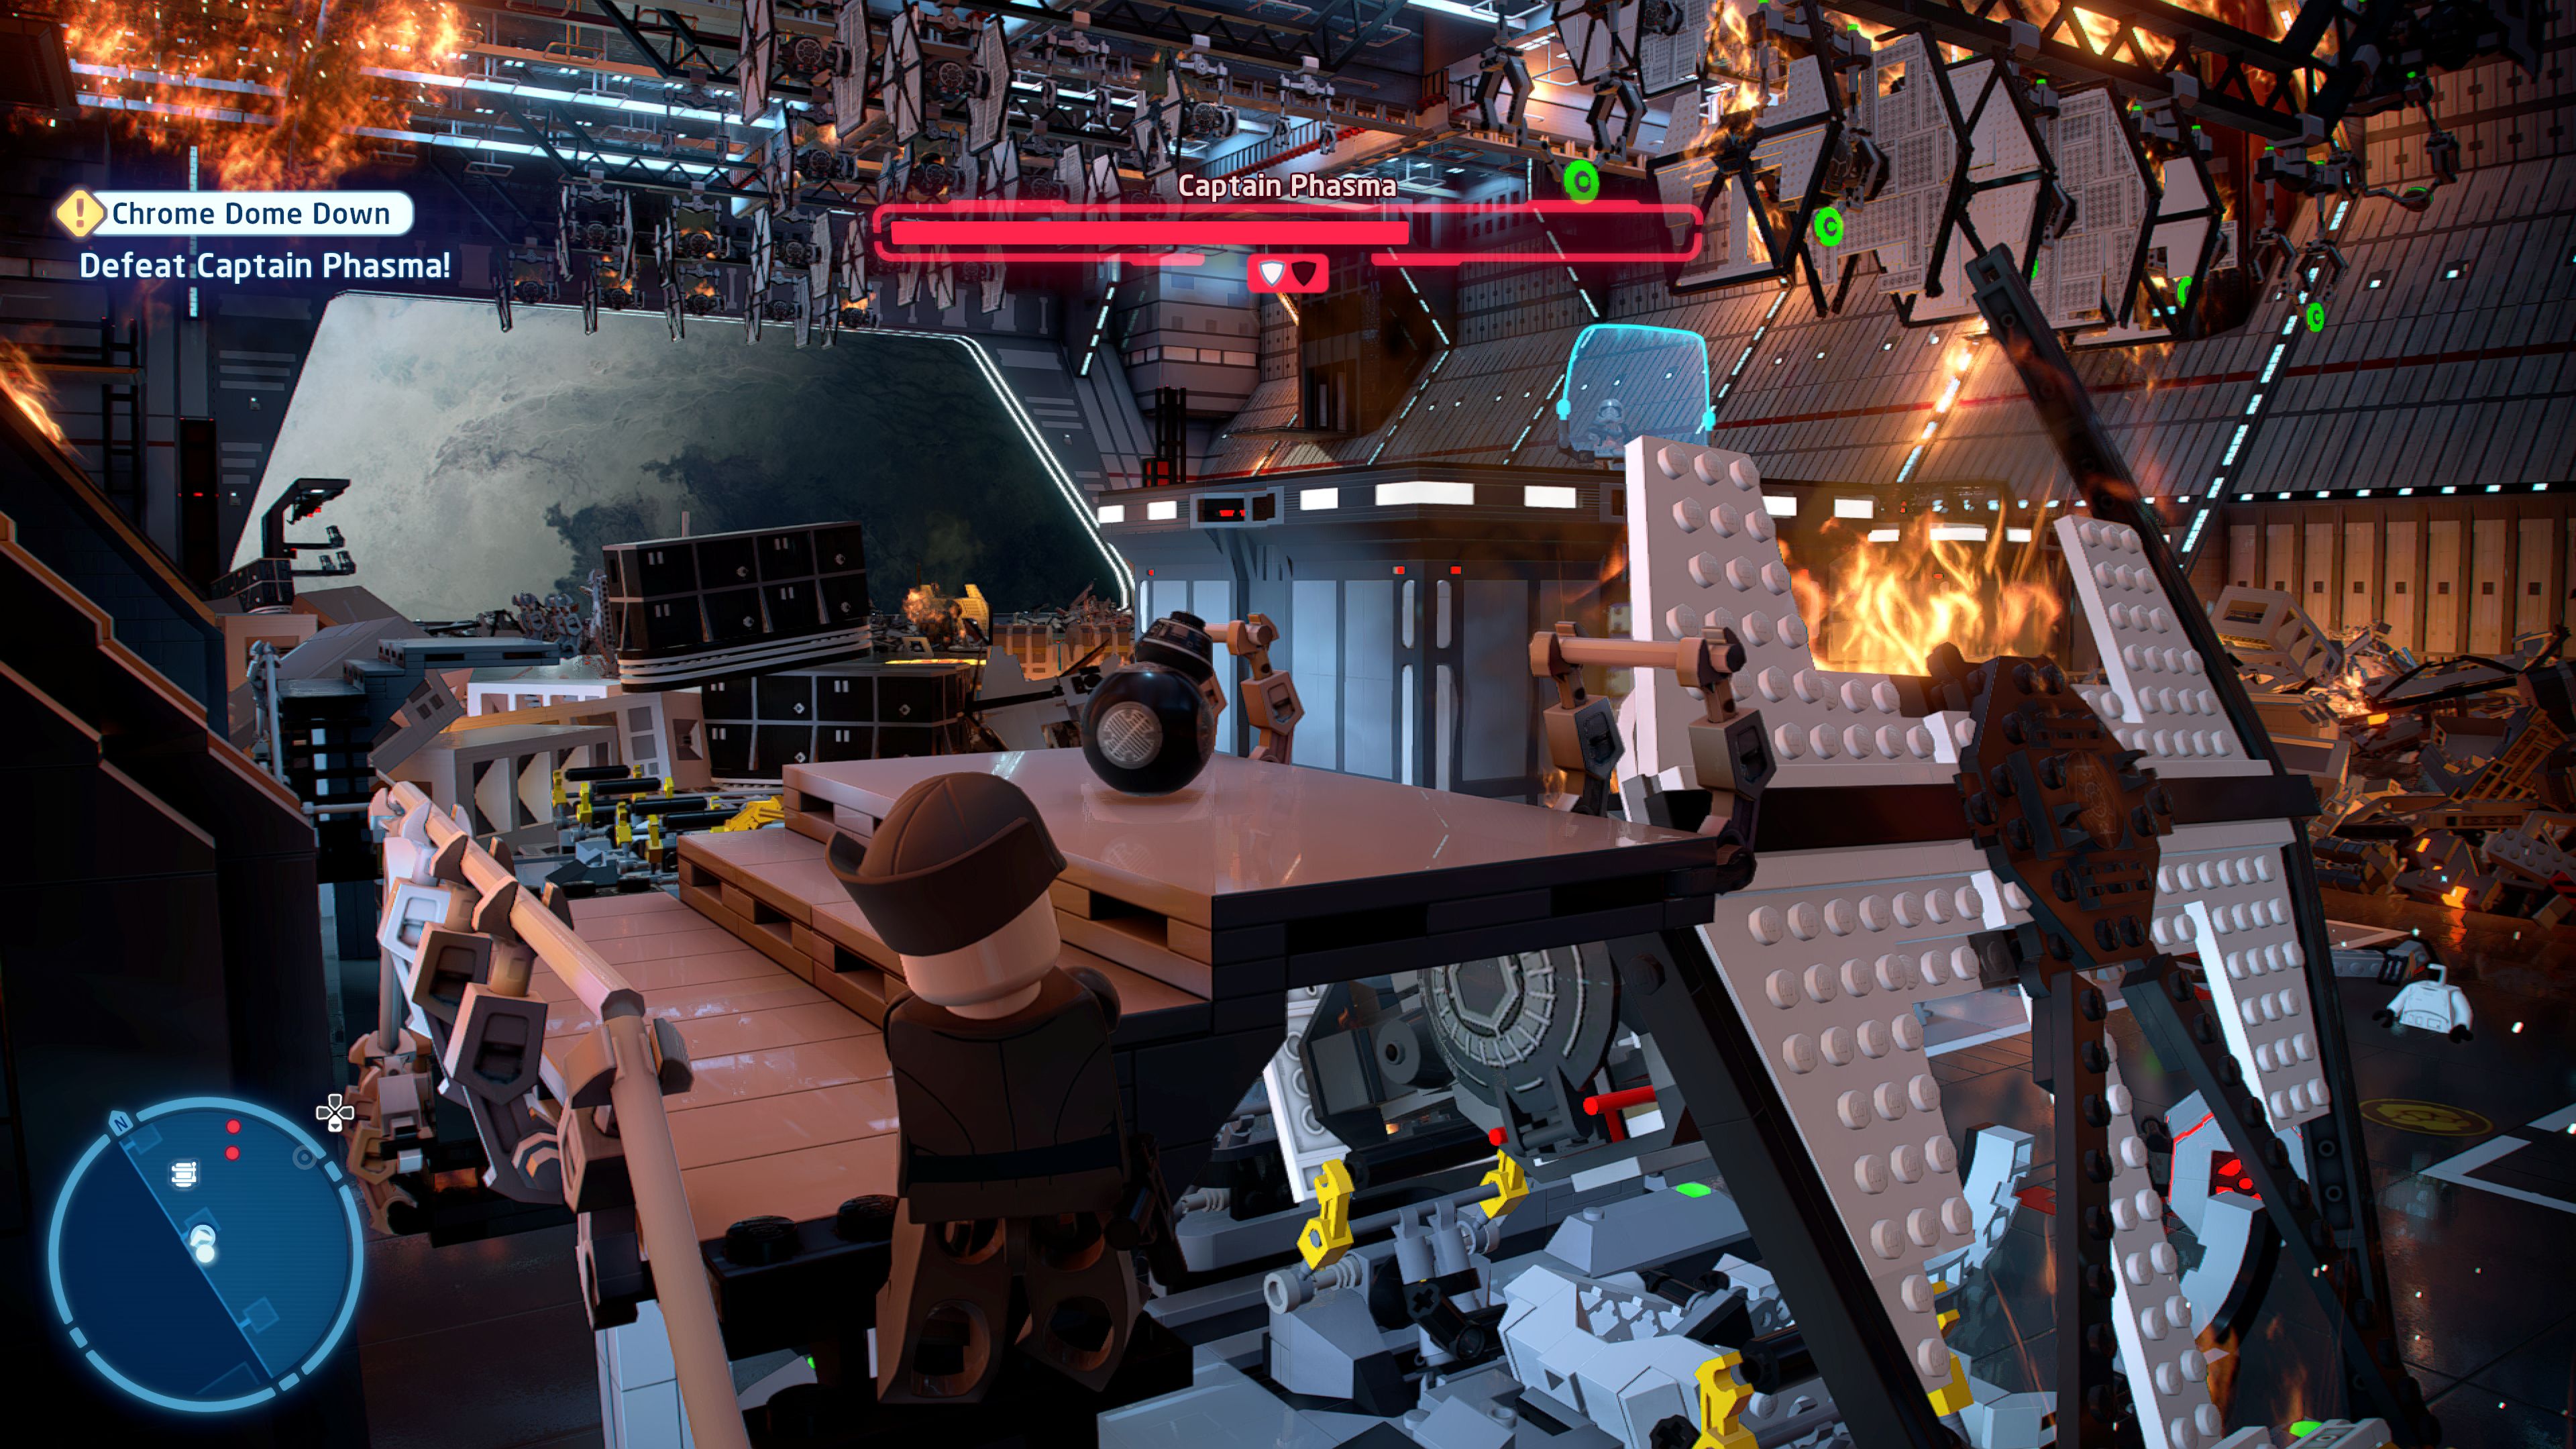
Approach the base of her platform and just on the left side is a black sphere you can hop up onto and roll to the elevator platform beneath her. This will fling up and explode.
Shoot the green targets on the TIE Fighters that are being moved along above her. Time it right and it'll fall onto her.
Once her first health bar is depleted we'll move over to the left side of the level. BB-8 will take care of a few Stormtroopers but will leave a couple for you to defeat including one on a turret just over the fallen debris.
After they're gone you can start your attack on her by jumping into the vacated turret and using it to shoot her.
Use a Villain Grenade (you are still partially disguised as Imperial Officers) on the Silver LEGO just underneath where Captain Phasma is standing and then shoot the glowing red thing that gets uncovered.
A third way to damage her is to use the Imperial Terminal over to the left near the TIE Fighter to launch it at her.
Down to the final health bar we jump on over to the right side of the level.
Again you'll want to start off by getting rid of the Stormtroopers on the ground.
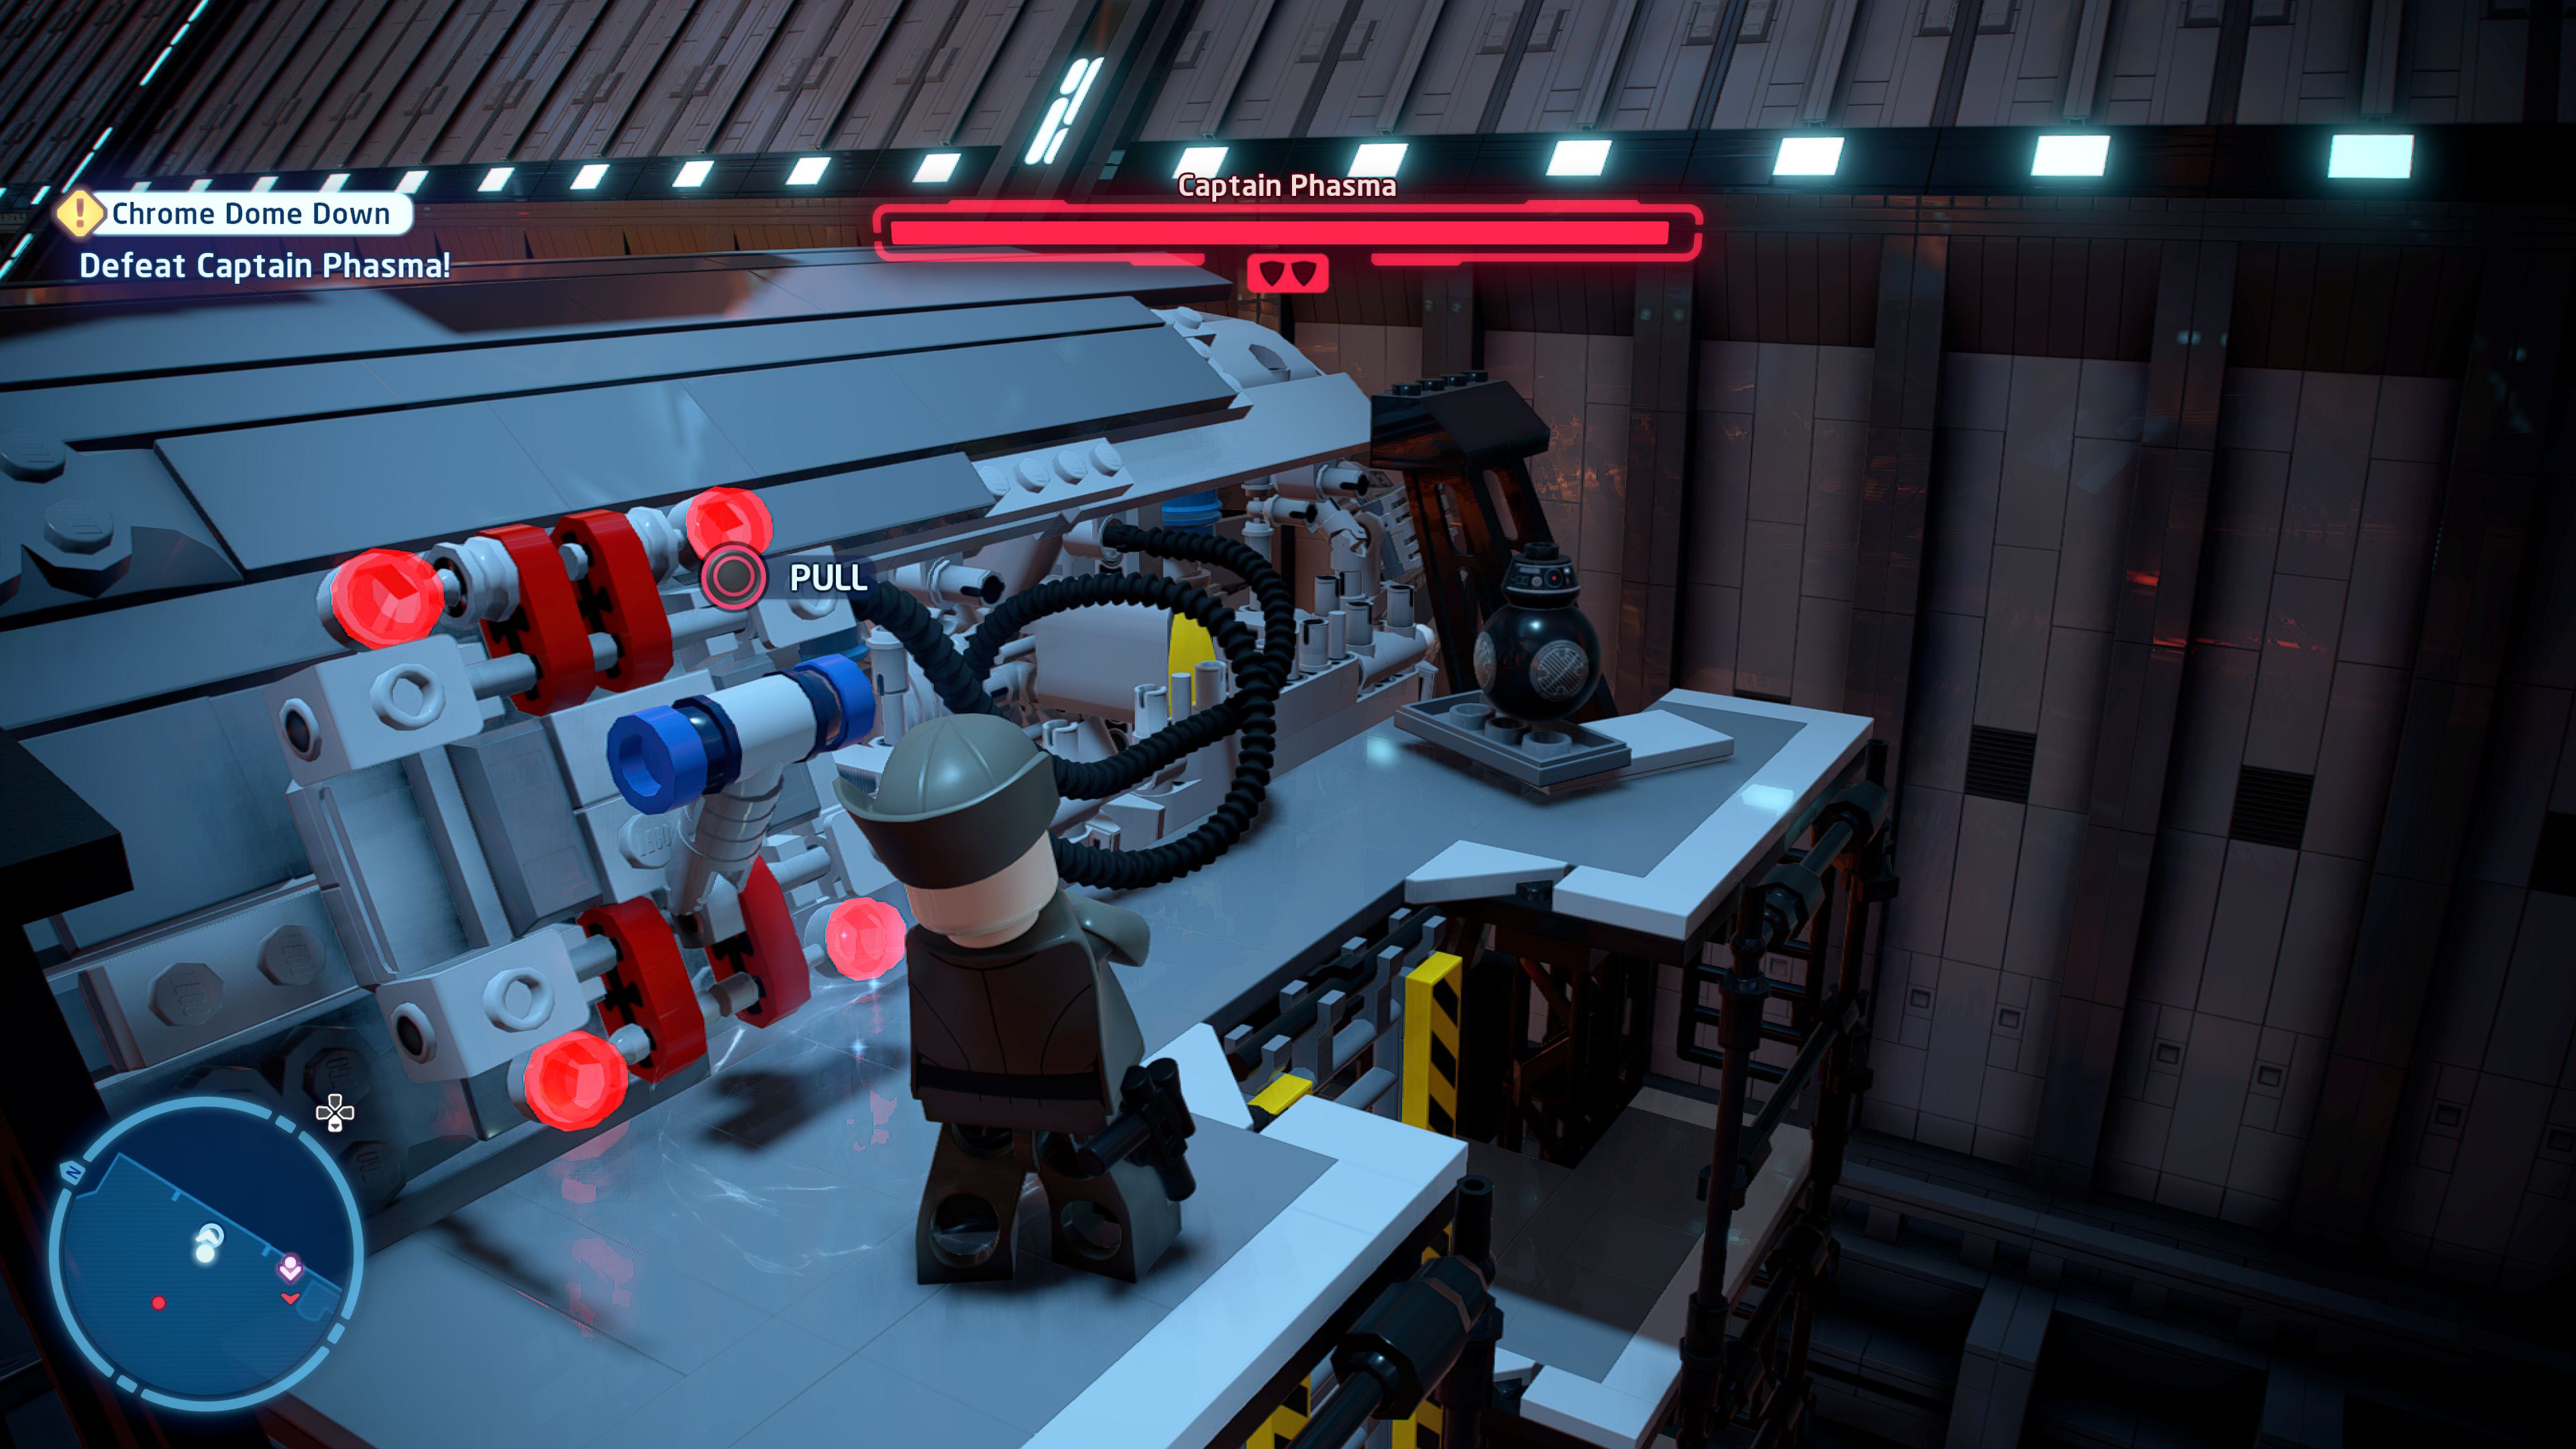
One of the methods here is to climb up the ladder to Phasma's right and pulling the switch to start the engine.
On the right side of the area is a switch you can pull to get the AT-ST line above her to start moving. You can then shoot the targets on them to drop them on her.
On the right side of the area is a weapons cache, if you open it you can use one of the weapons to shoot at Phasma to deplete the shield and hurt her. There should be enough ammo to do that twice at least.
To finish Captain Phasma off you just have to win the button mashing.
[Reach the shuttle and escape the hangar!]
This final section of the level involves you shooting all the obstacles that get in your way and using the debris to cross the chasms. Don't worry too much about the individual Stormtroopers. To get through you want to zigzag to the left then back to the right, the level will end as you approach the transport.
Level Challenges
- Heads Up. Chrome Dome!
- Find a way to drop a TIE Interceptor on top of Captain Phasma.
- The TIE Interceptors are the ones with the pointed wings with a gap in the middle. Drop one on her in the first part of the fight.
- Phasma-tastic!
- Inflict damage on Captain Phasma in 9 unique ways.
- Each area has three different ways to damage her. The first section has TIE Fighter dropping, a bomb bounce, and a net turret. The second section has a TIE Fighter launch, a turret, and a Silver LEGO explosion. The third area has an AT-ST drop, an engine, and a repeating blaster.
- Trouble Underfoot
- Trample 10 Stormtroopers in the AT—ST.
- During the final section stomp around on the Stormtroopers.

Minikits
Minikit 1/5 - Through Fire and Flames
Requires: Grapple Story Mode: No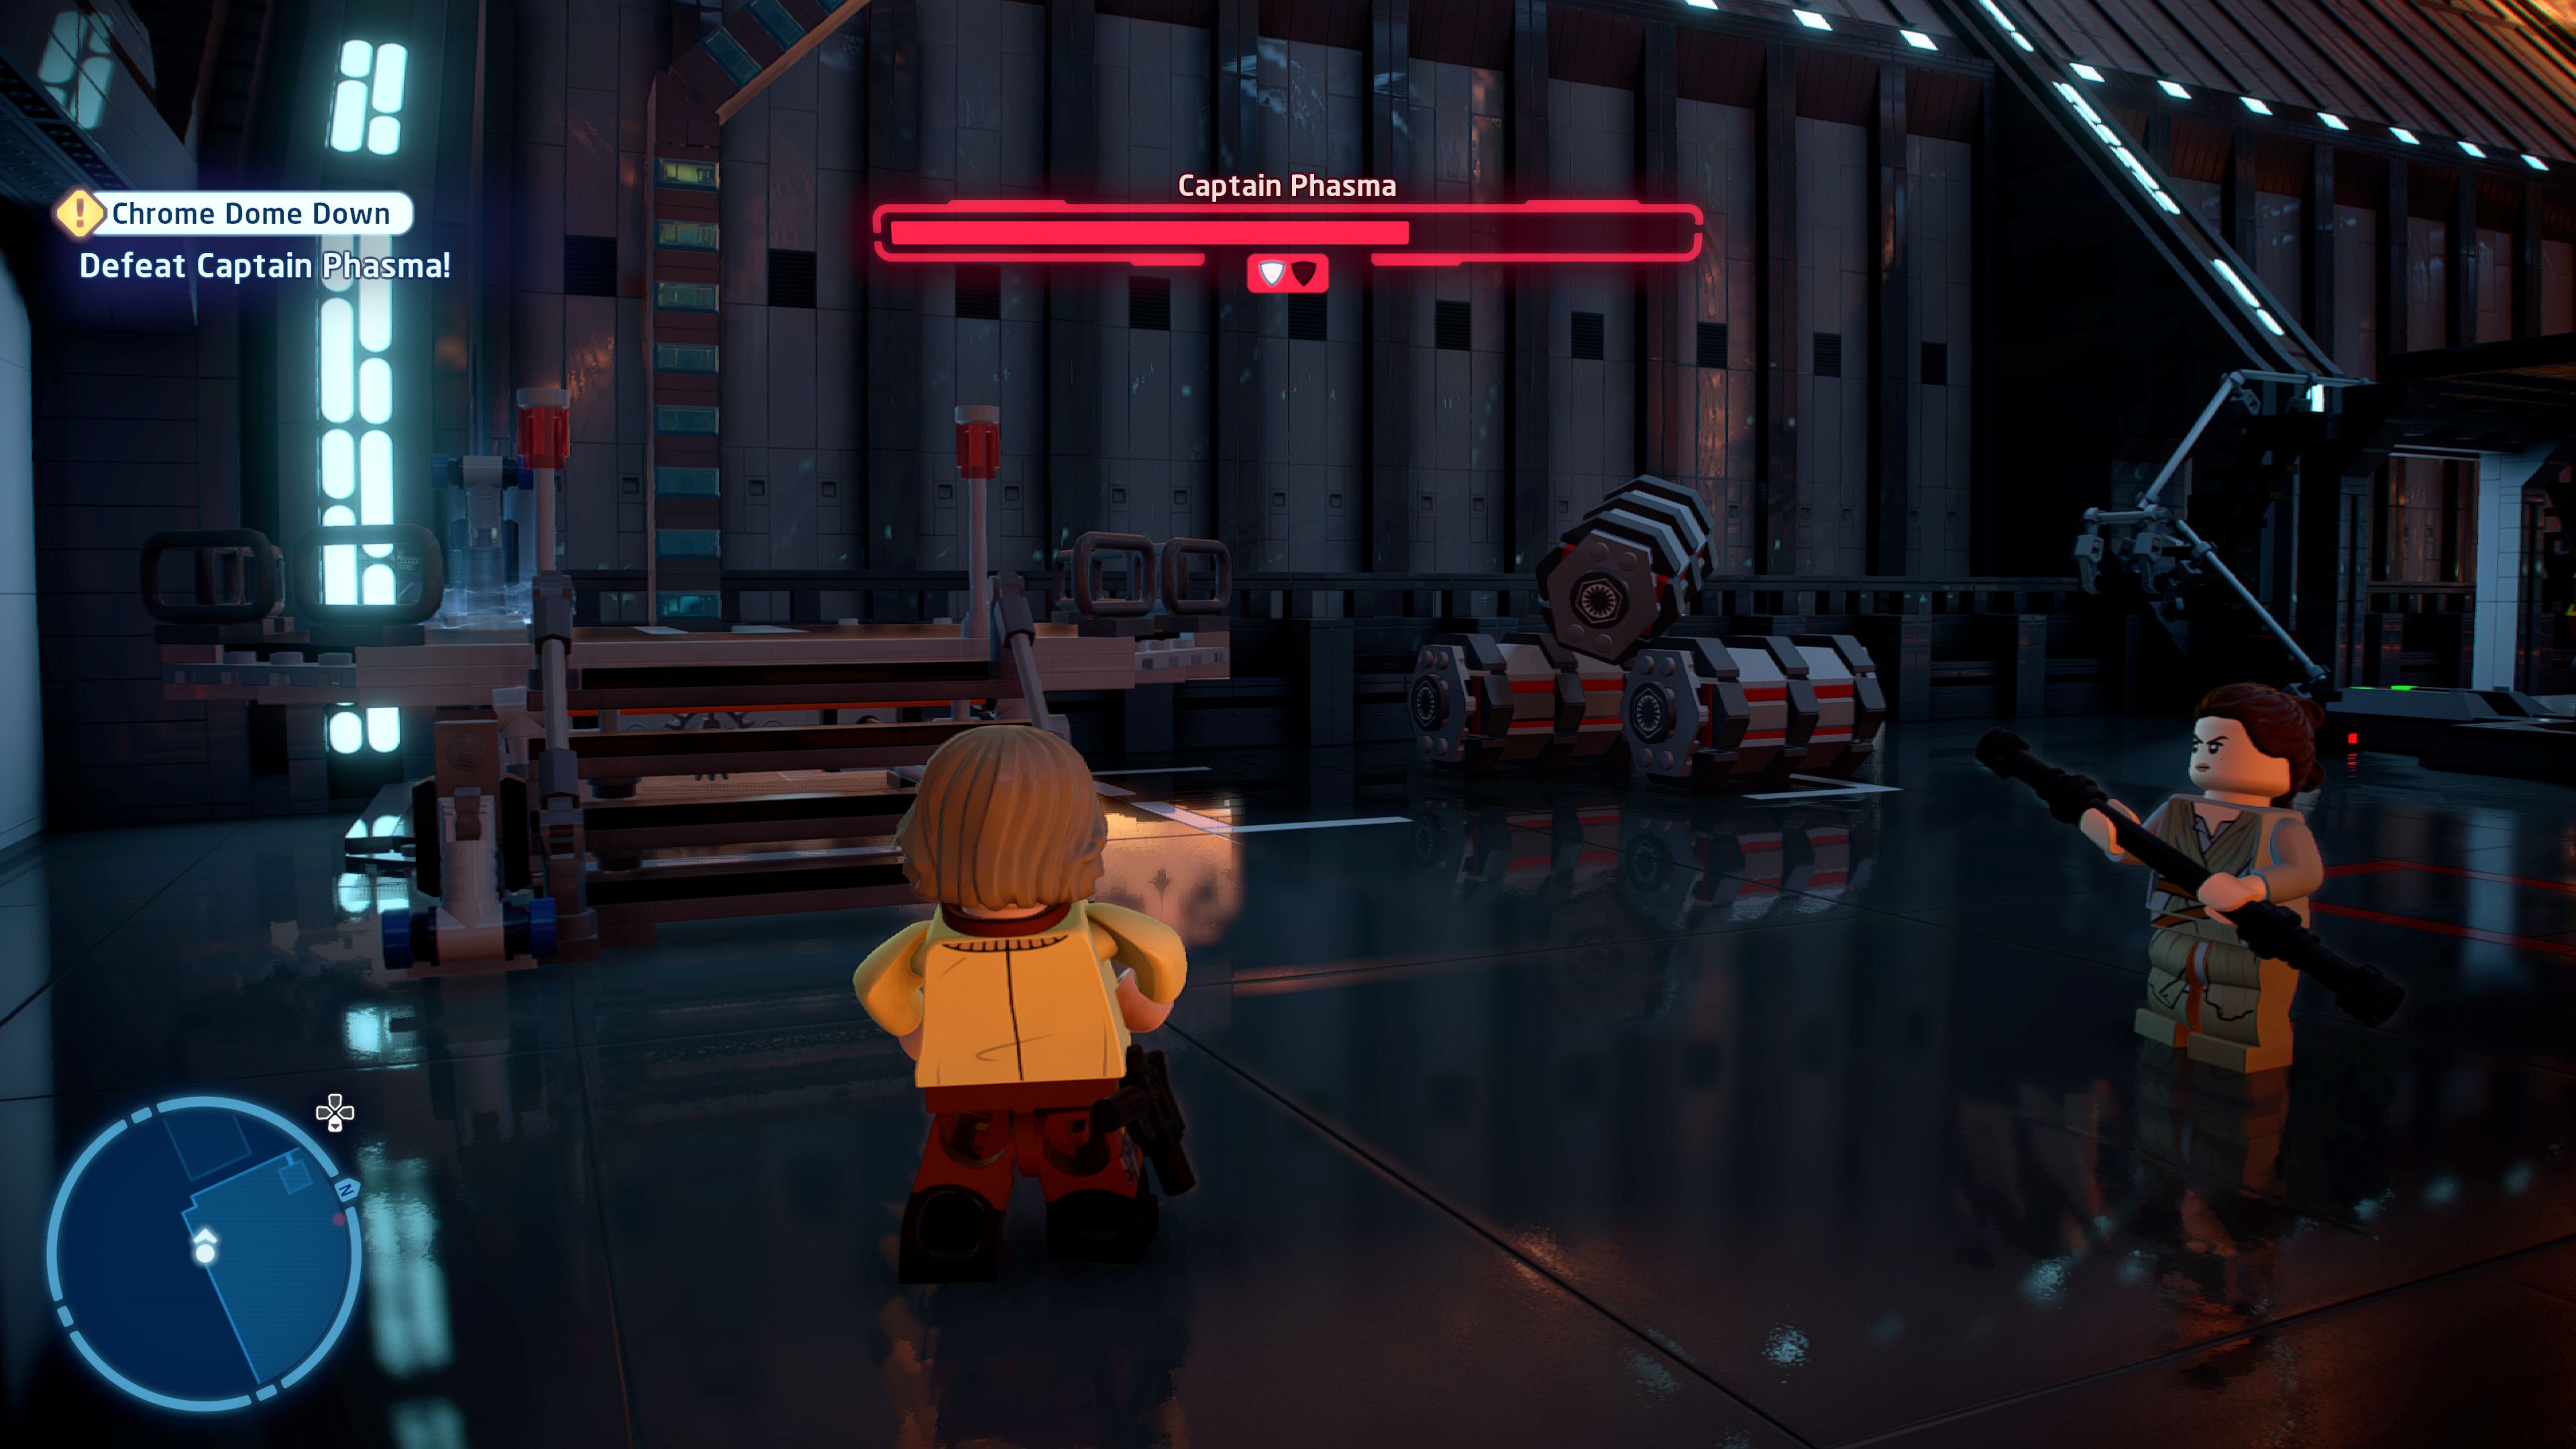
Brave the fire to claim the prize!
In the second part of the fight against Phasma use a grapple to grab hold of the glitching elevator in the bottom corner. Then ride it up to the minikit.
Minikit 2/5 - Golden Opportunity
Requires: None Story Mode: Yes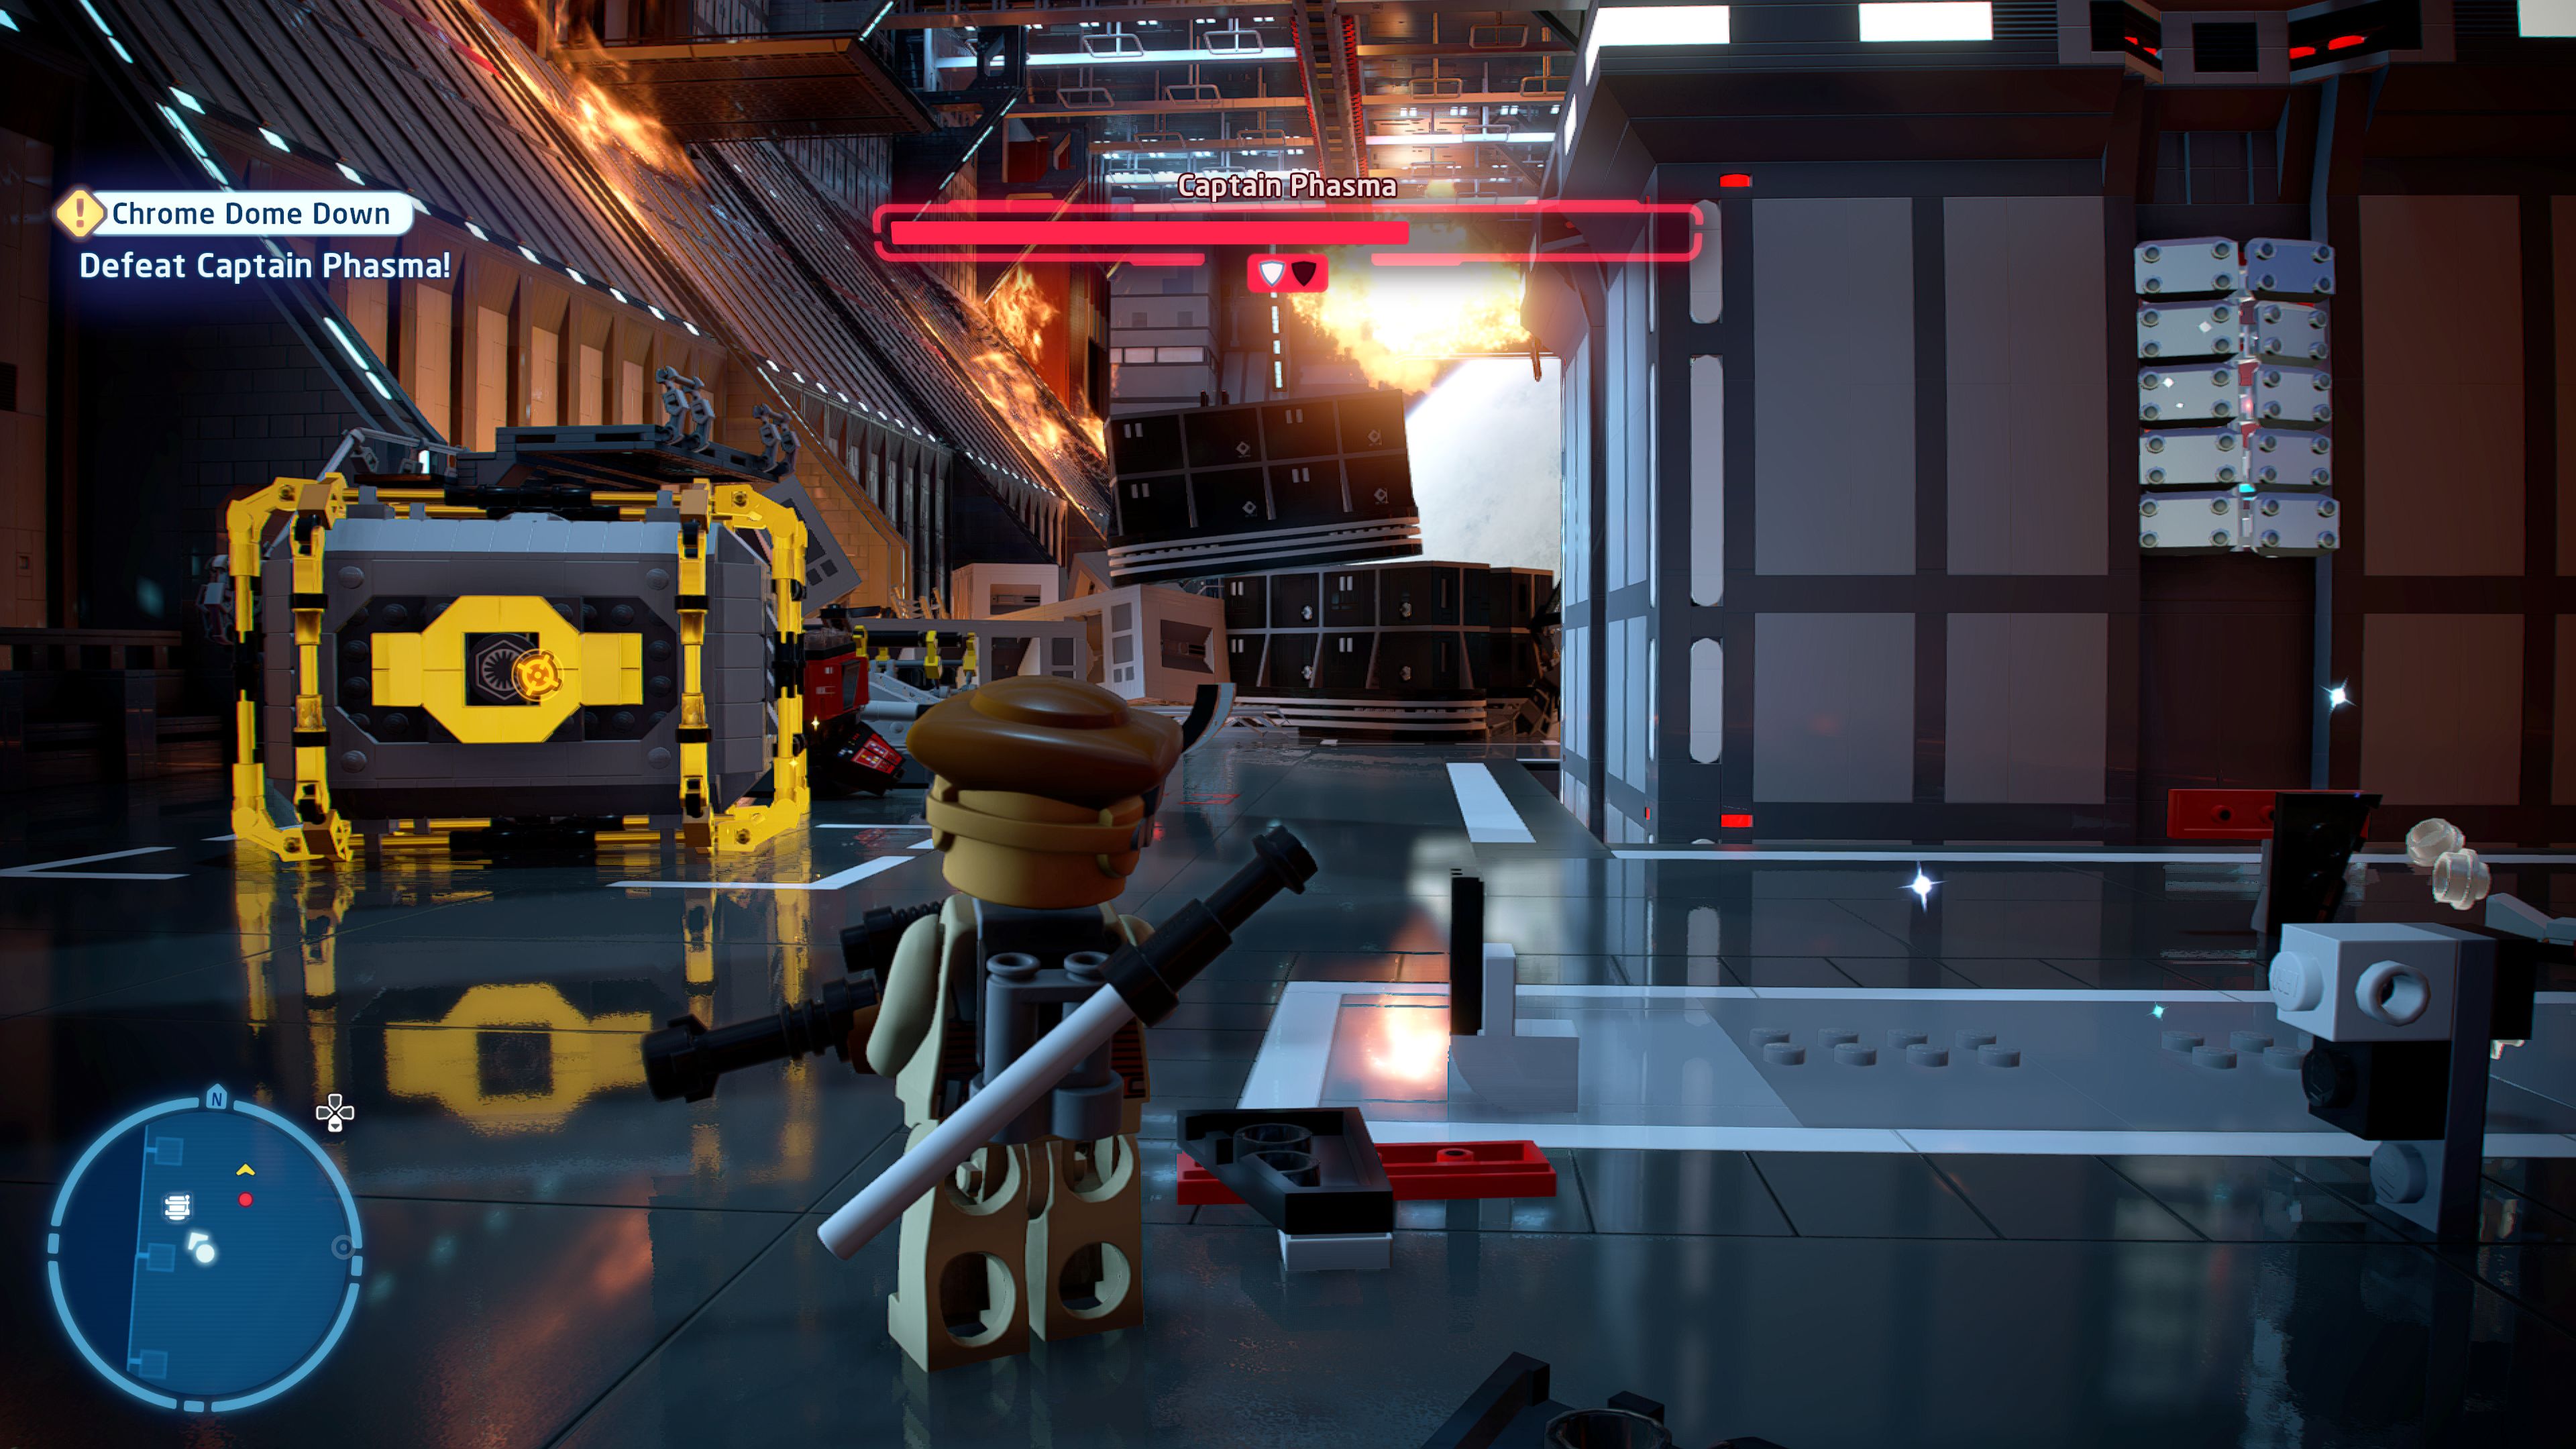
Grab it before it's too late!
In the second part of the fight with Phasma blow up the Gold LEGO crate beneath where she stands. You can use the turret to do this, you don't need a Bounty Hunter.
Minikit 3/5 - Loose Kits Sink Ships
Requires: None Story Mode: Yes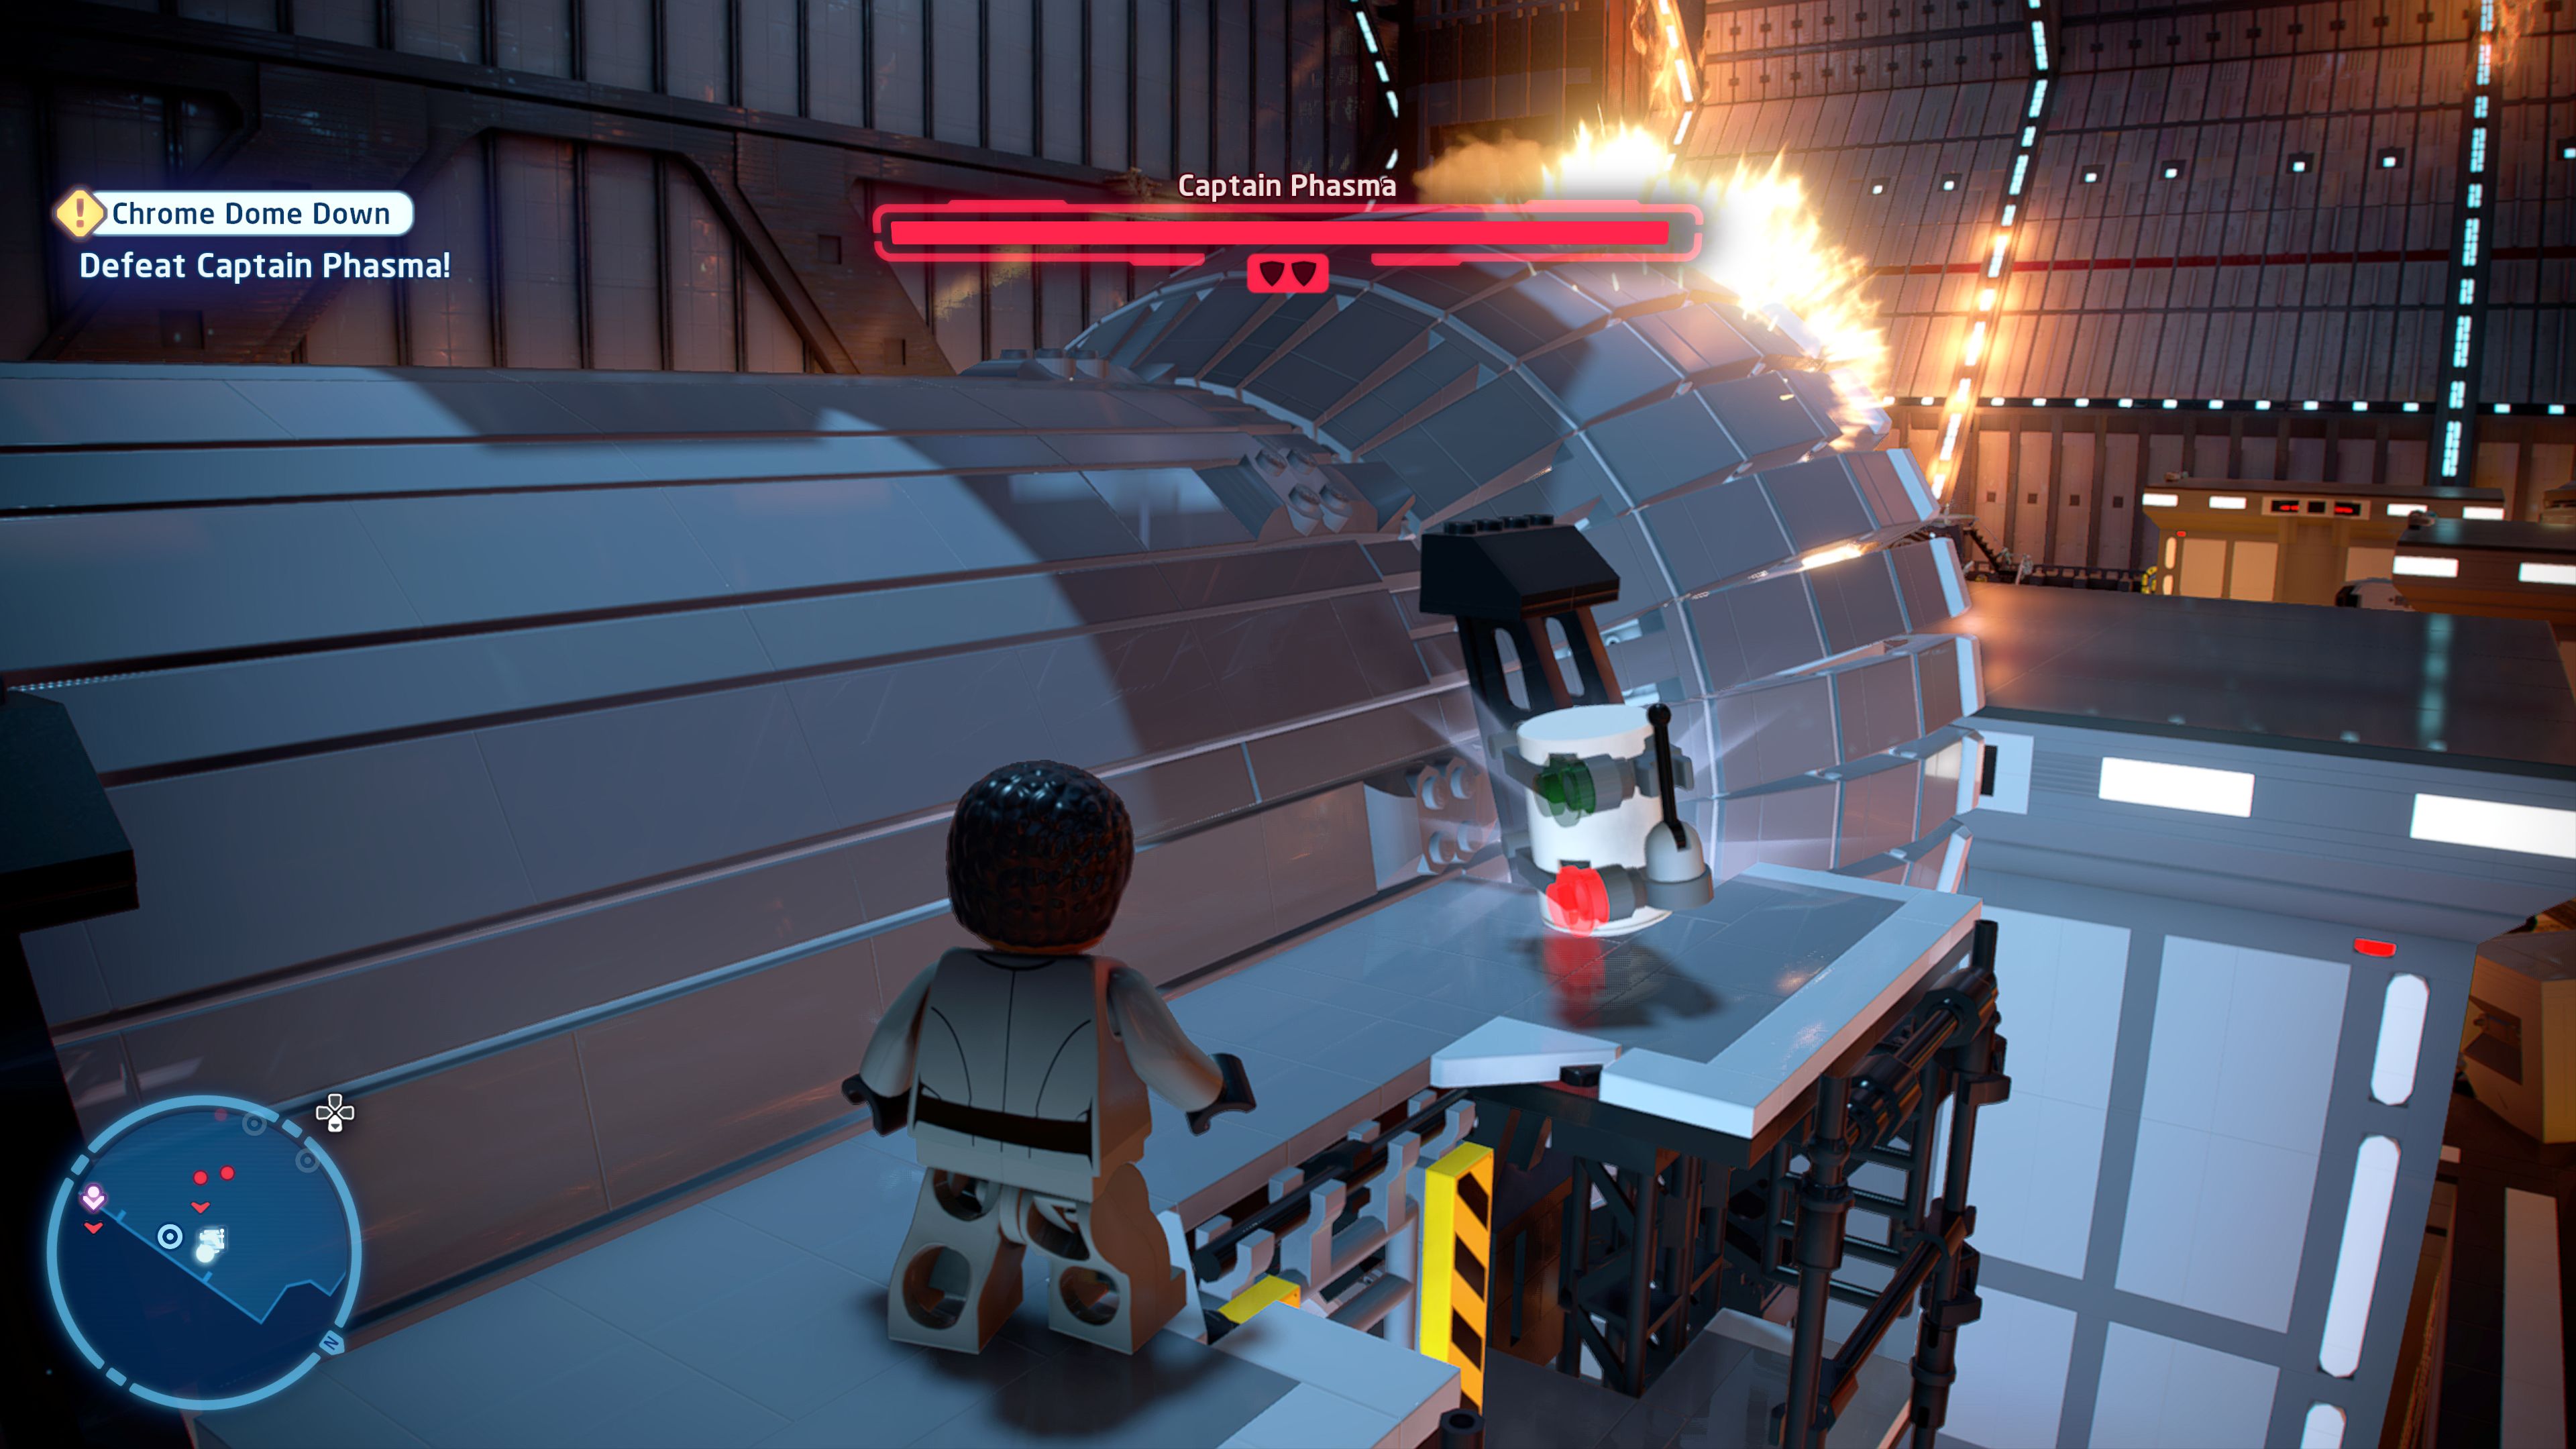
The ship is falling apart! Snag this minikit on the way out.
In the third part of the fight with Phasma climb up the ladder on the other side of the large engine next to her.
Minikit 4/5 - Pile of Junk
Requires: None Story Mode: Yes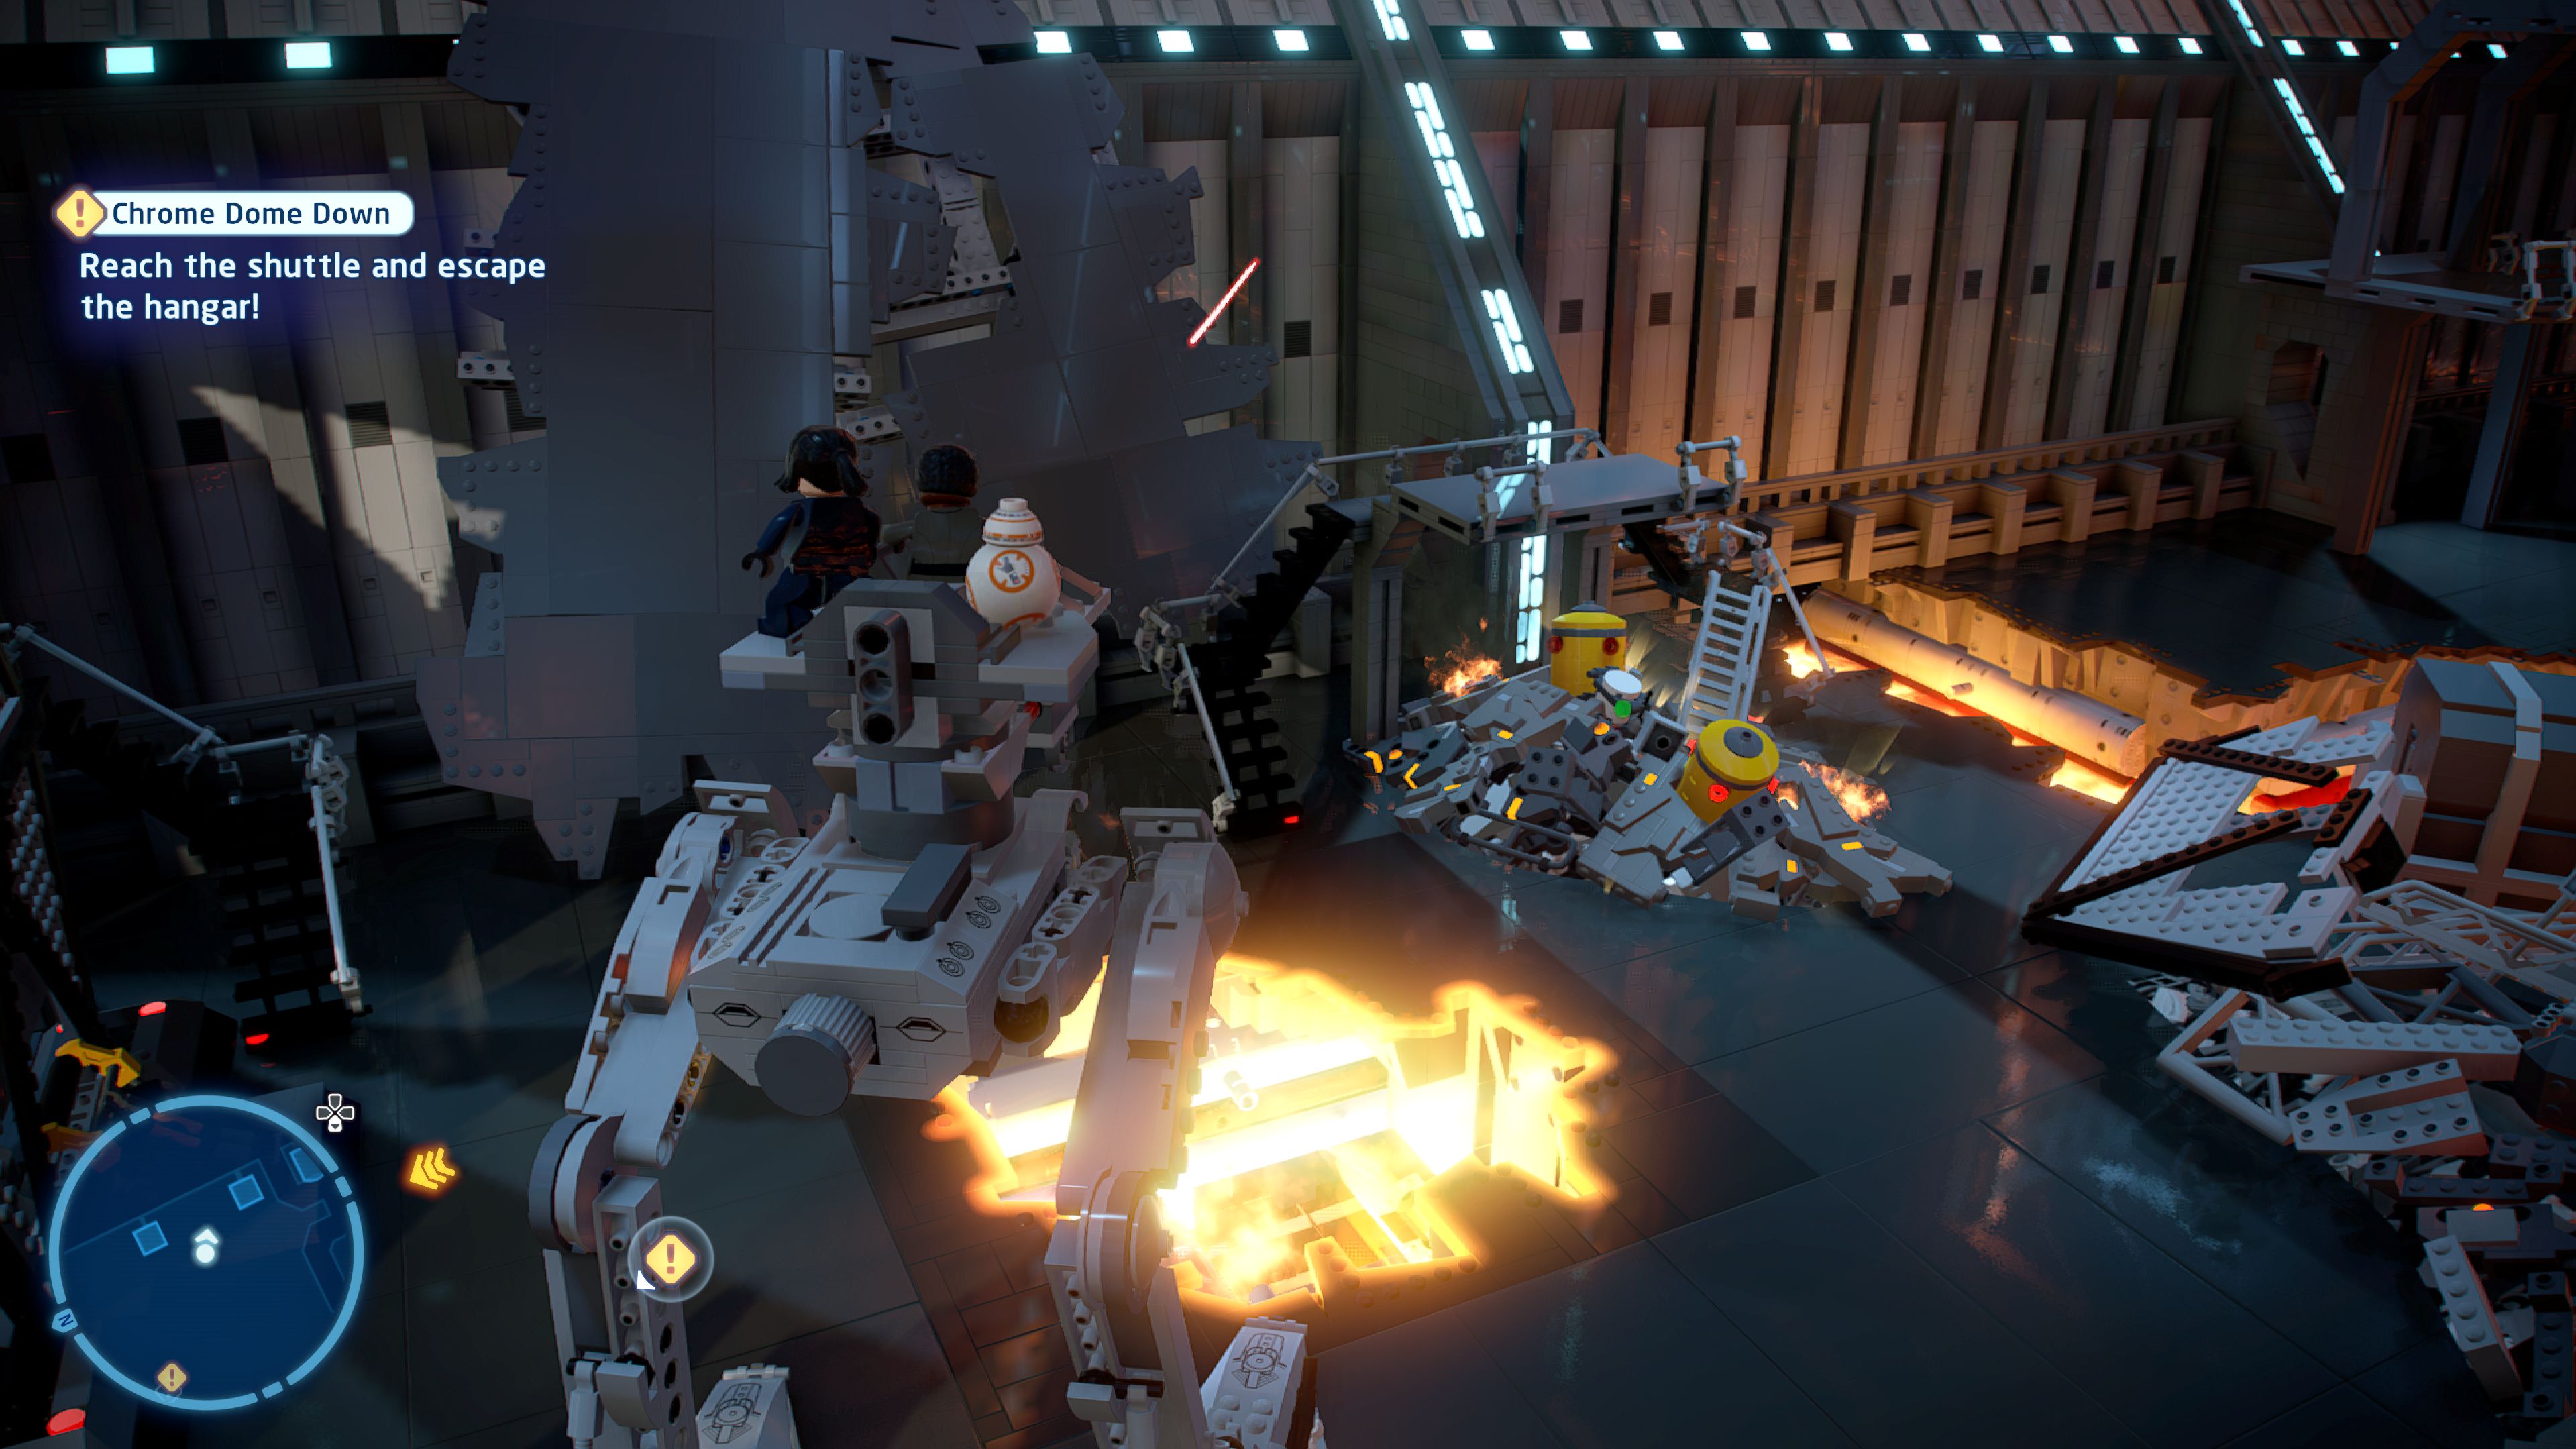
Stomp and shoot everything you can!
Under some debris in the final section just before the second bridge.
Minikit 5/5 - Three Strikes and You're Out
Requires: None Story Mode: Yes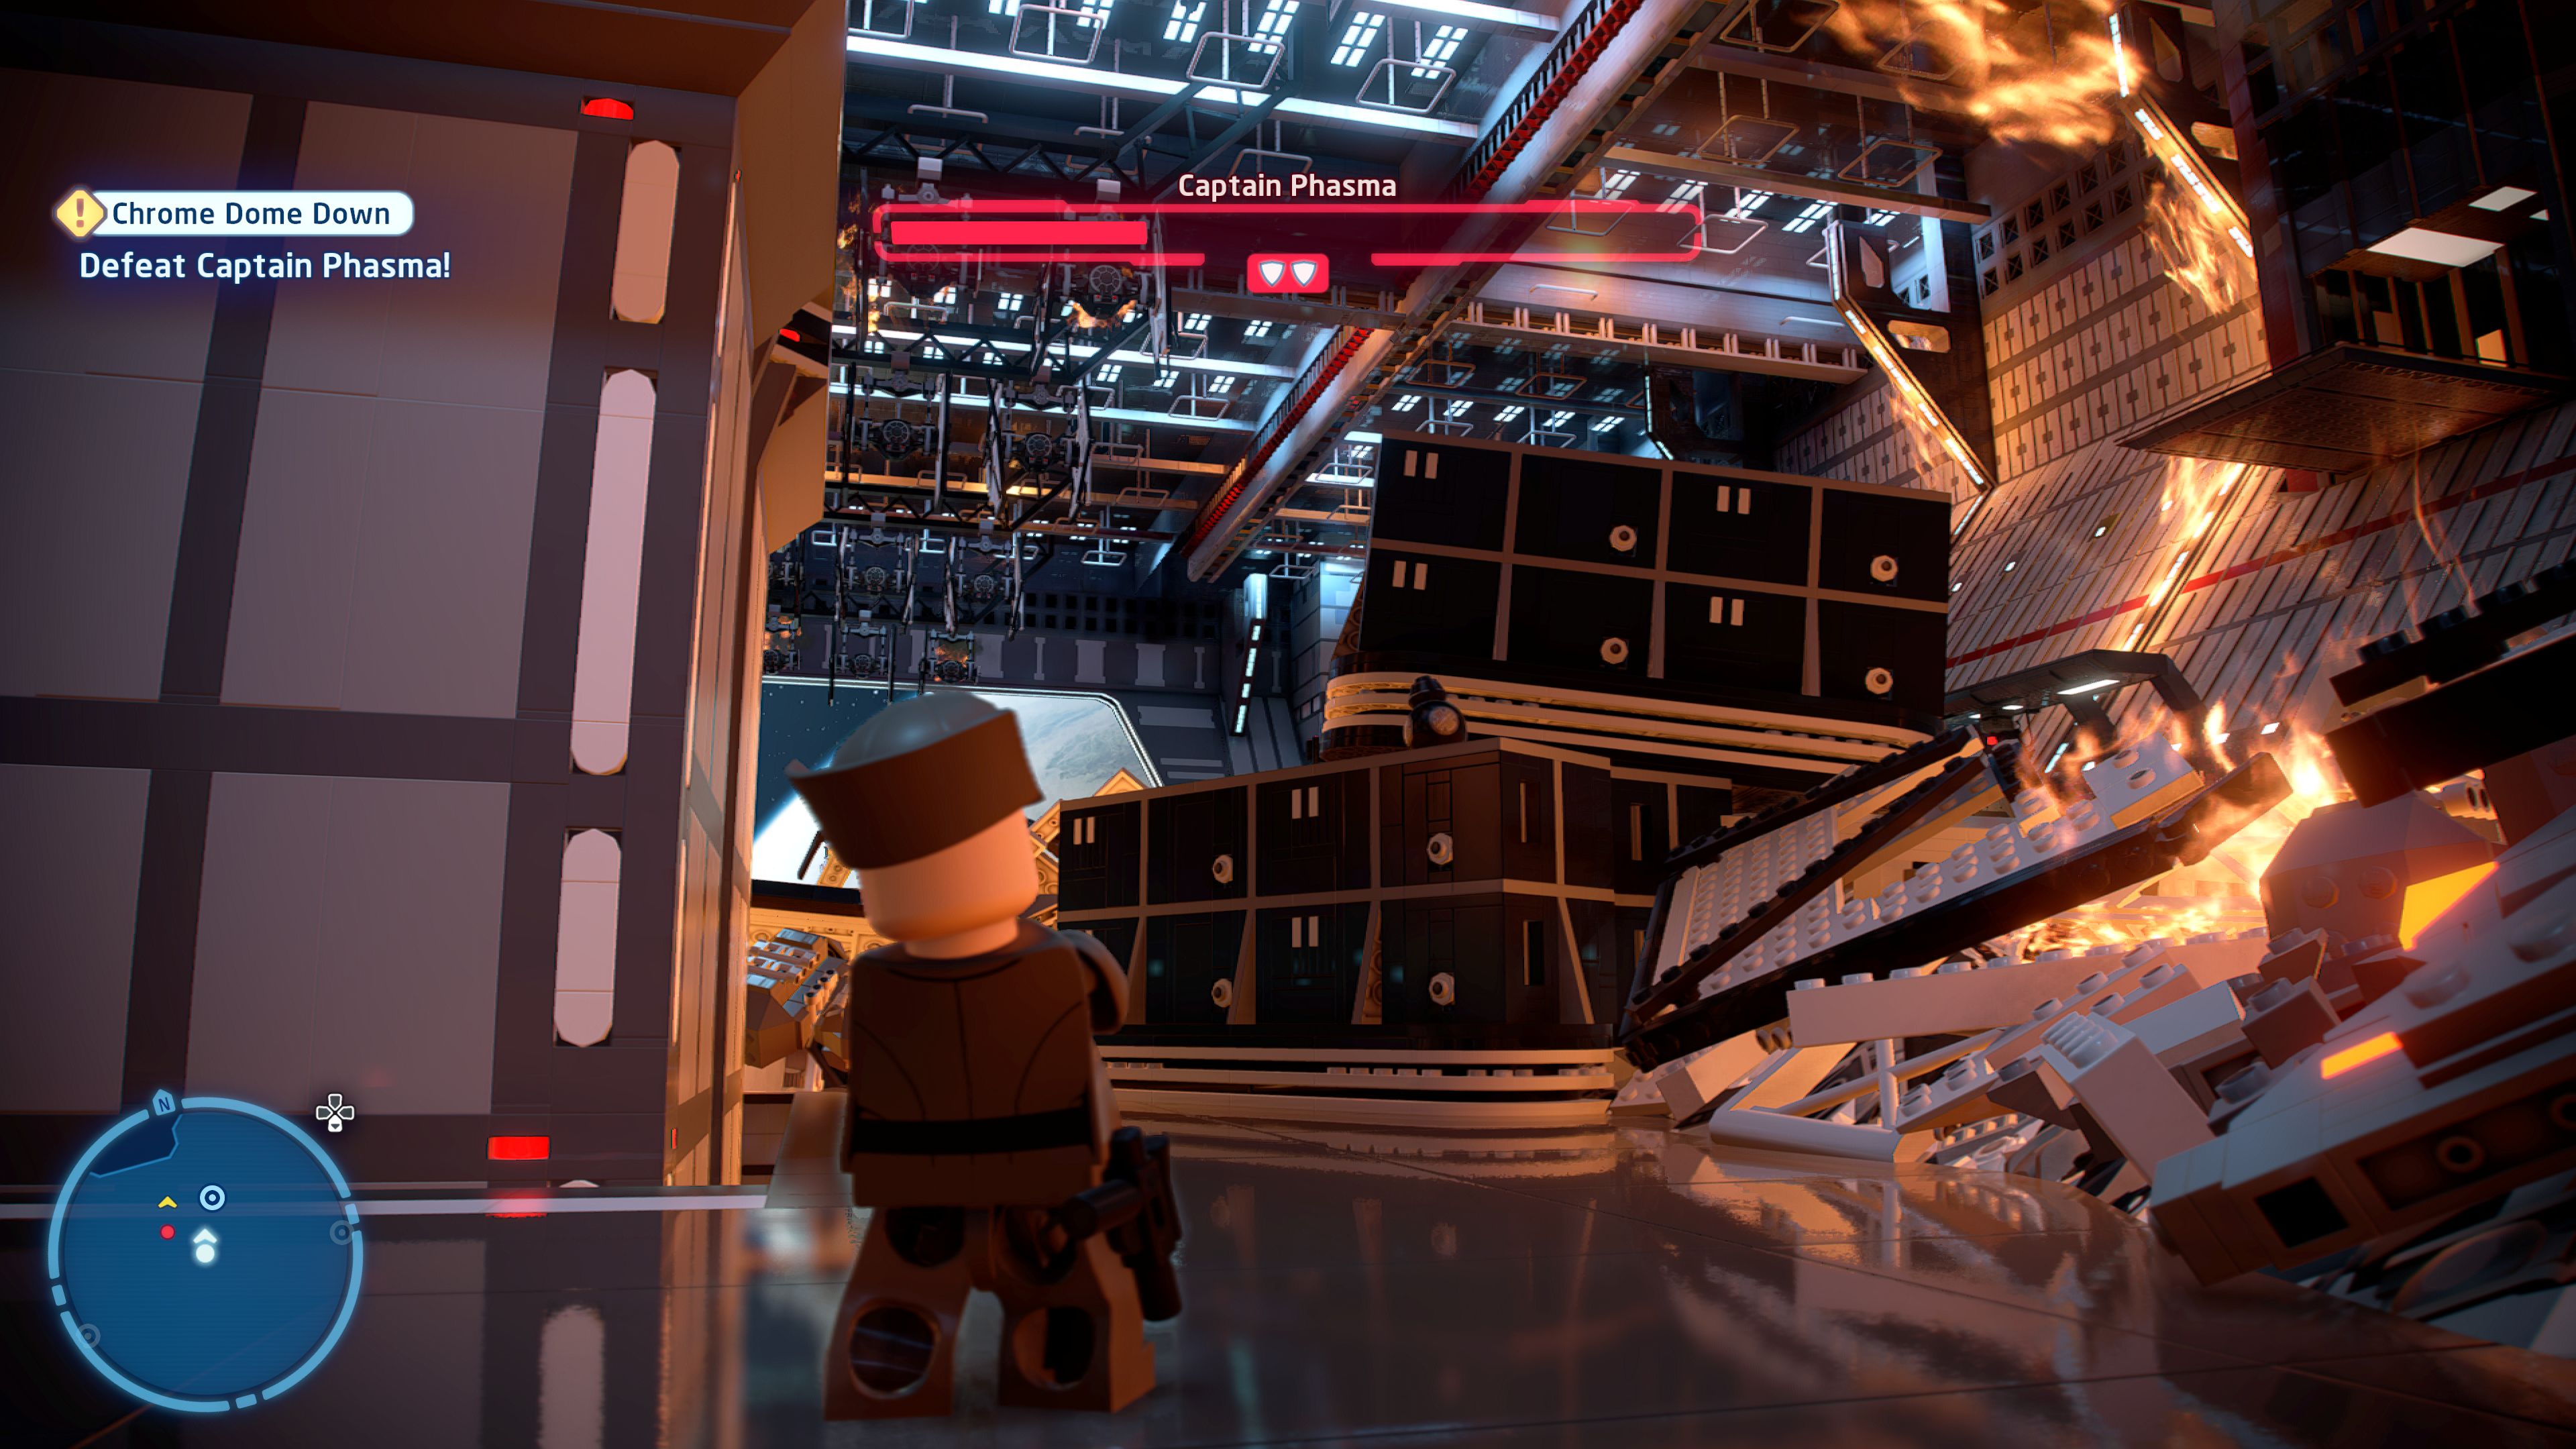
Those BB droids can be pretty annoying!
In each of the sections of the fight with Phasma you can find one of those black BB-9E droids to shoot.
Supremacy

| Cost | Character | |
|---|---|---|
|
|
- | Finn (Crait) |
|
|
- | Finn (Episode VIII - Supremacy) |
|
|
- | Rose Tico (Crait) |
|
|
- | Rose Tico (Episode VIII - Supremacy) |
|
|
200,000 | Captain Phasma |
|
|
200,000 | Captain Phasma (Cracked Helmet) |
|
|
35,000 | Stormtrooper (First Order Squad Leader) |
Episode VIII
THE LAST JEDI
The story so far...
- The Supreme Leader and his ship
- have both been disassembled!
- Vice Admiral Holdo brought a
- starship to a blaster fight and
- launched the Raddus straight
- through the Supremacy. It looked
- pretty AWESOME.
- Whilst trying to escape the
- wreckage and regroup with the
- Resistance, Finn finally exacted
- his revenge on Captain Phasma,
- thanks to help from Rose and
- BB-8.
- Naturally, the First Order is not
- very happy at the moment, and
- the Resistance looks to take
- refuge on CRAIT. There, they will
- wait for the First Order's arrival in
- an old rebel base and make their
- final stand....
Crait, Crait Outpost
Crait Danger
[Speak to Poe.]
A little step forwards to enter the marker to continue the story.
[Send the distress signal to call for aid.]
Go up the steps and through into the next room where a resistance member is asking for your help. Use your grapple on the crate to their right and then pull out the object from within and put it in place next to the power supply.
When it's in place the front will open up after a moment and you'll be able to solve a Hero Terminal to fully power it up.
Duck back out of the room and climb the ladder nearby to get to the "roof". Use your grapple on a scaffolding tower over to the right and use the bricks to build a trampoline to bring BB-8 up.
Solve the Astromech Socket to finish sending the signal.
[Speak to Poe.]
Jump back down and make your way across to the opposite side of the area where there's a set of three ladders to climb to reach where Poe was. Go through the tunnel and you'll find the marker to start the next level at the end.
Chapter 5
Ground A-salt
| Silver | Blue | Purple |
|---|---|---|
| 38,333 | 76,666 | 115,000 |
[Distract Kylo Ren!]
In single player you can switch between characters whenever you like or just wait for the game to force you to switch. In co-op you can do both sides of this level at the same time.
Distracting Kylo consists of nothing more than following the onscreen button prompts as they pop up, it's not a regular lightsaber fight at all.
[Follow the vulptices and find a way out.]
As Finn follow the little crystal fox vulptices through the tunnel up to a point where it runs through a gap in some boulders.
[Find a way through the caves.]
To keep following you'll need to smash the objects over to the left. From the debris you can assemble either a Mining Drill or a Boxing Glove Drill that you will then need to shove onto the front of the drilling machine.
To power it up hop up onto the back raised section over to where there's a shelf with nine slots. On the floor next to it is a set of nine buttons that correspond to each of those slots, stand on the middle right button to have the arm grab the GNK Droid.
Mount the GNK Droid and move it into place to power the drill. With it fully powered up jump in and start driving it at the boulders. Smash through and keep inside the drill driving it down the tunnel and smashing all of the obstacles along the way.
If you've finished the fight with Kylo Ren as you approach the boulders in the tunnel a little past where you jump out of the drill you'll switch to Rey. If you haven't finished the fight switch back to Luke and finish it.
[Clear the boulders.]
Use the Force to move the boulders to complete the level and the episode.
Level Challenges
- I Can Dig it!
- Punch your way through the crystal caves.
- Take the northern route and build the boxing glove for the mining drill.
- Knock-Knock!
- Discover the wind-up MSE droid to destroy the emergency doorway.
- After you get through the first part of the southern path go up the stairs, grapple a ladder, then climb it and solve the Hero Terminal. That will cause a crane to pick up and smash a large crate below. Jump down and assemble a giant MSE droid which you can then wind up with a grapple.
- Tight Squeeze
- Discover a shortcut via the Protocol Terminal.
- If you take the southern route go up the stairs to a Protocol Droid panel to activate a Droid in the next room. Use that Protocol Droid to access the Password Terminal and then use the password on the other nearby terminal to open the shortcut.

Minikits
Minikit 1/5 - Vulptex Food
Requires: None Story Mode: Yes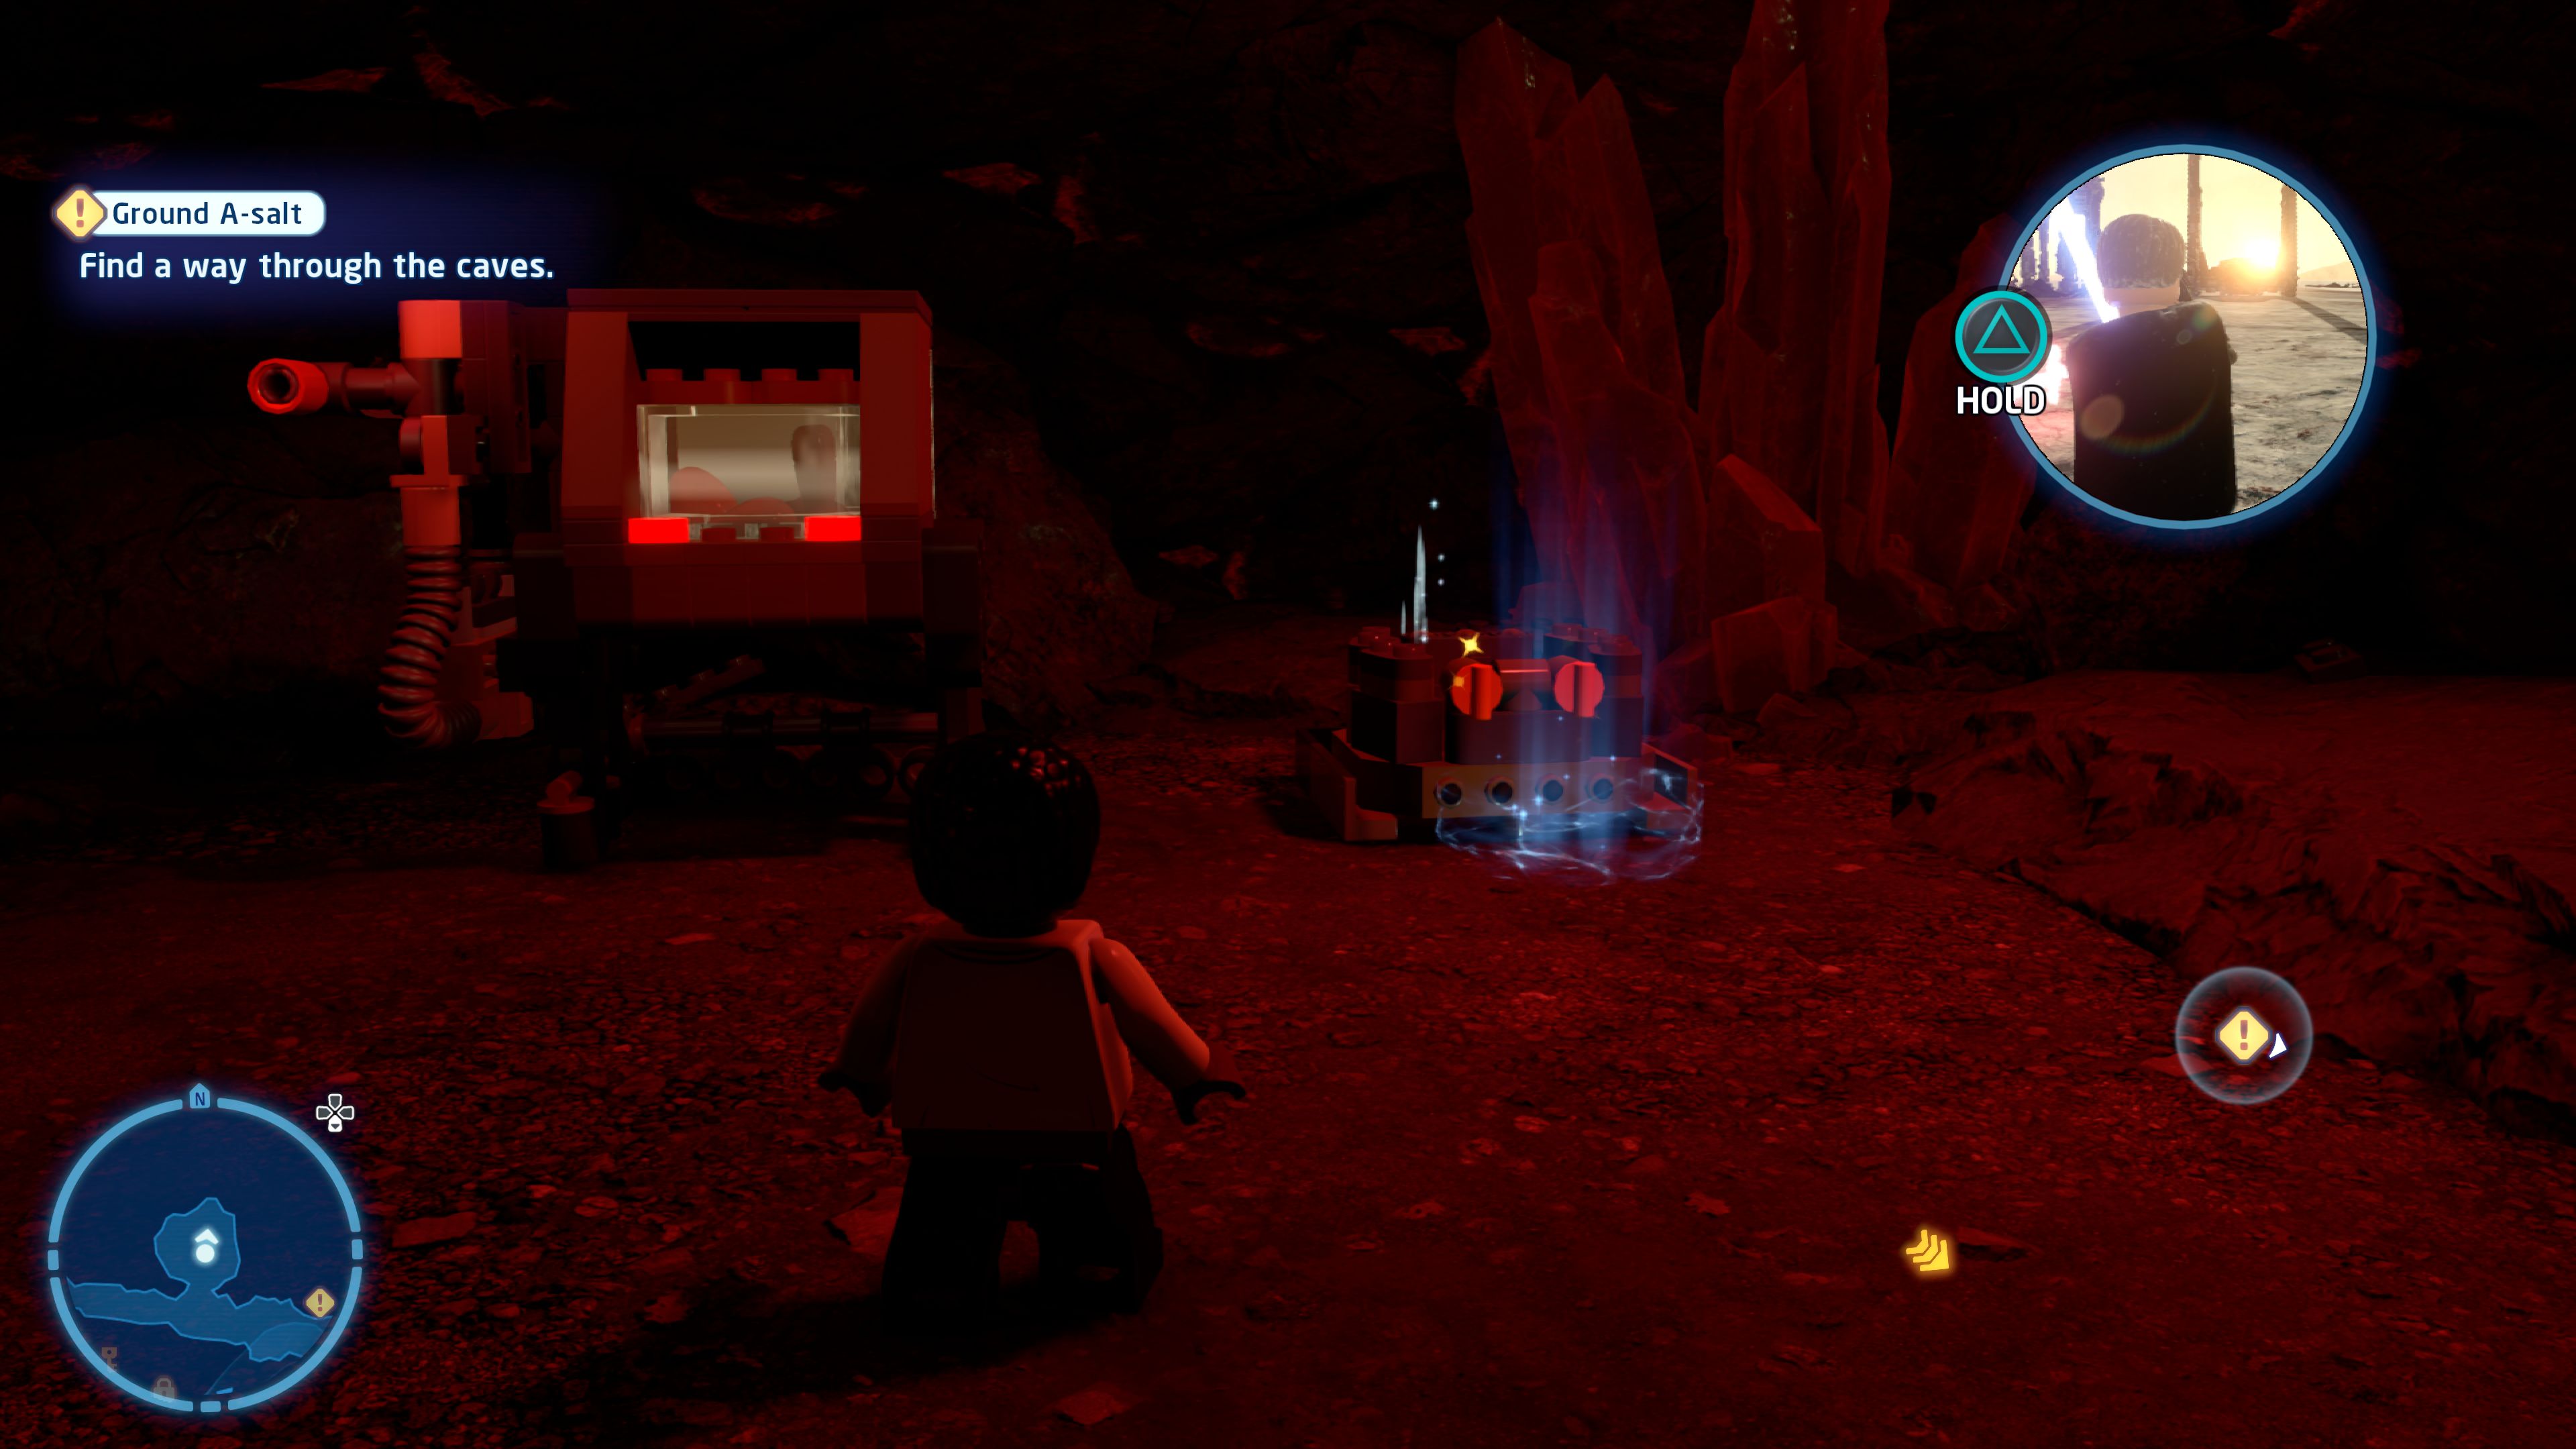
That good boi definitely deserves a treat...
After smashing all the way through the northern tunnel double back to an offshoot cave. Move the draggable object underneath the dispenser and then jump onto the handle. Pull the object back out and put it in place to feed the Vulptex. Wait a moment for them to eat and you'll get the minikit.
Minikit 2/5 - Rebuilding Hope
Requires: The Force Story Mode: No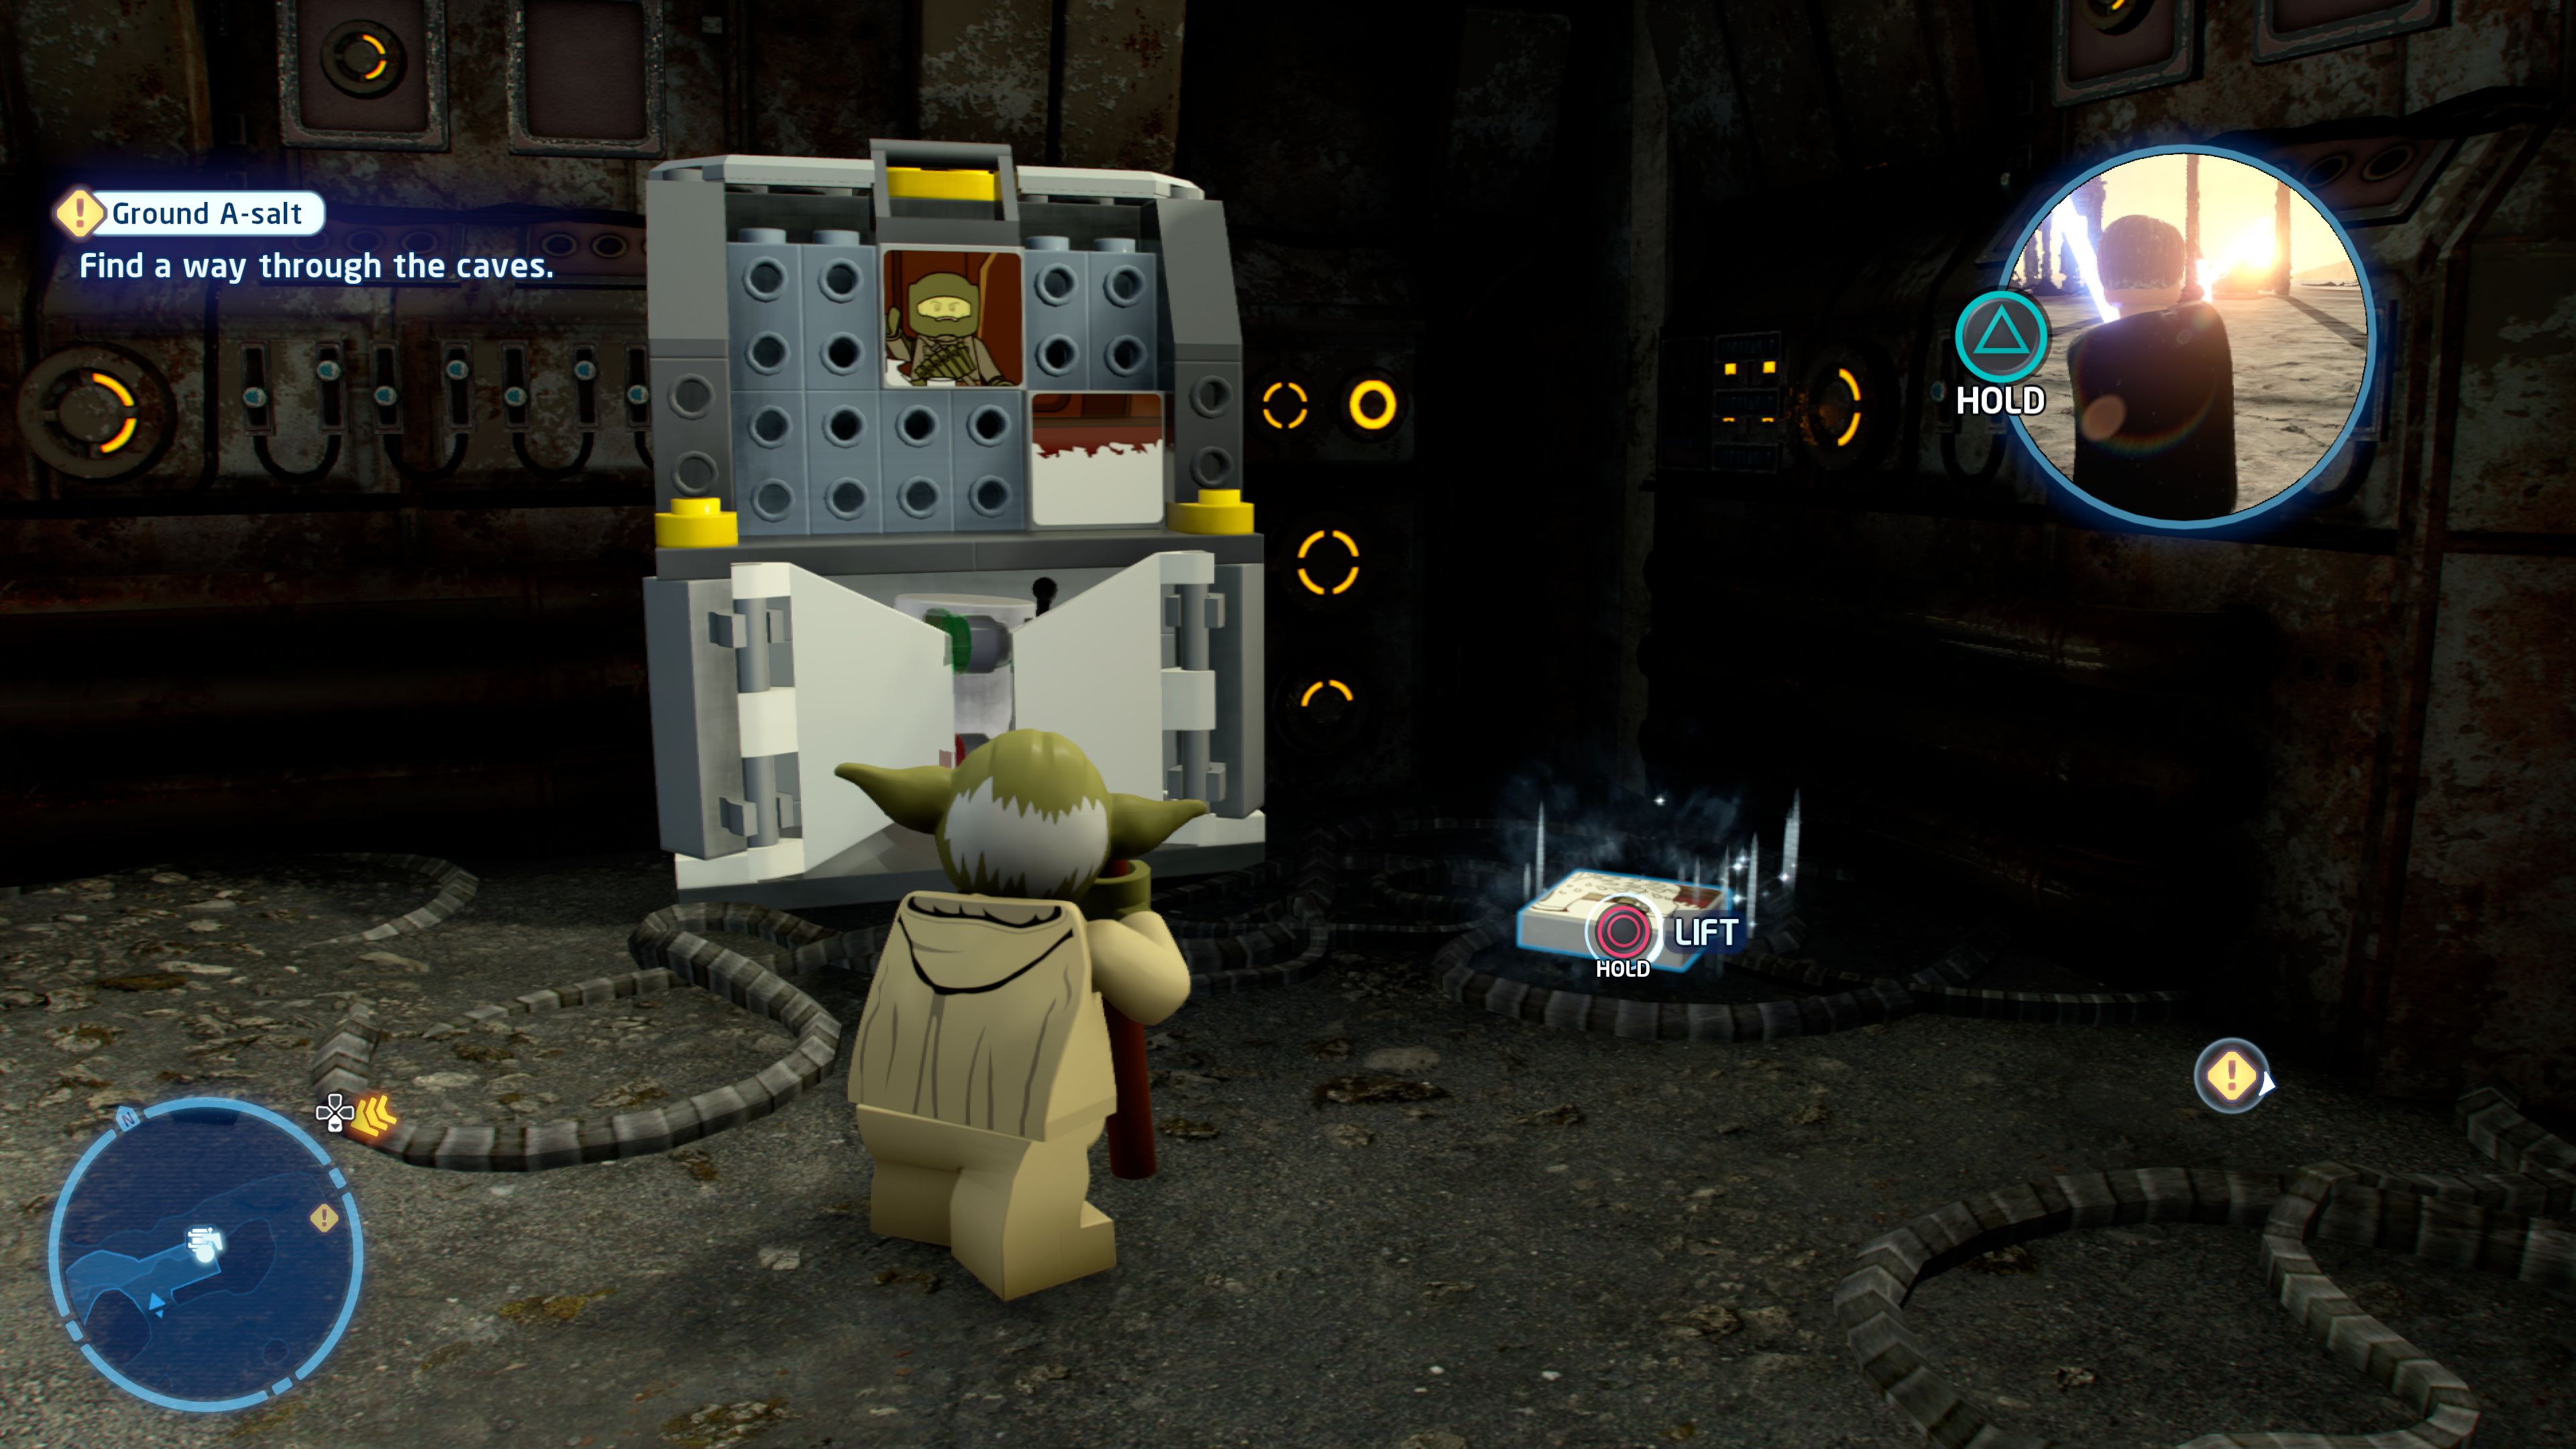
Piece together the symbol of hope.
In the second part of the southern path go up the stairs to a board with a partial picture on it. Smash the nearby objects and an object on the platform above to find the missing parts to the picture. Use the Force to reassemble it.
Minikit 3/5 - Caved in
Requires: The Force Story Mode: No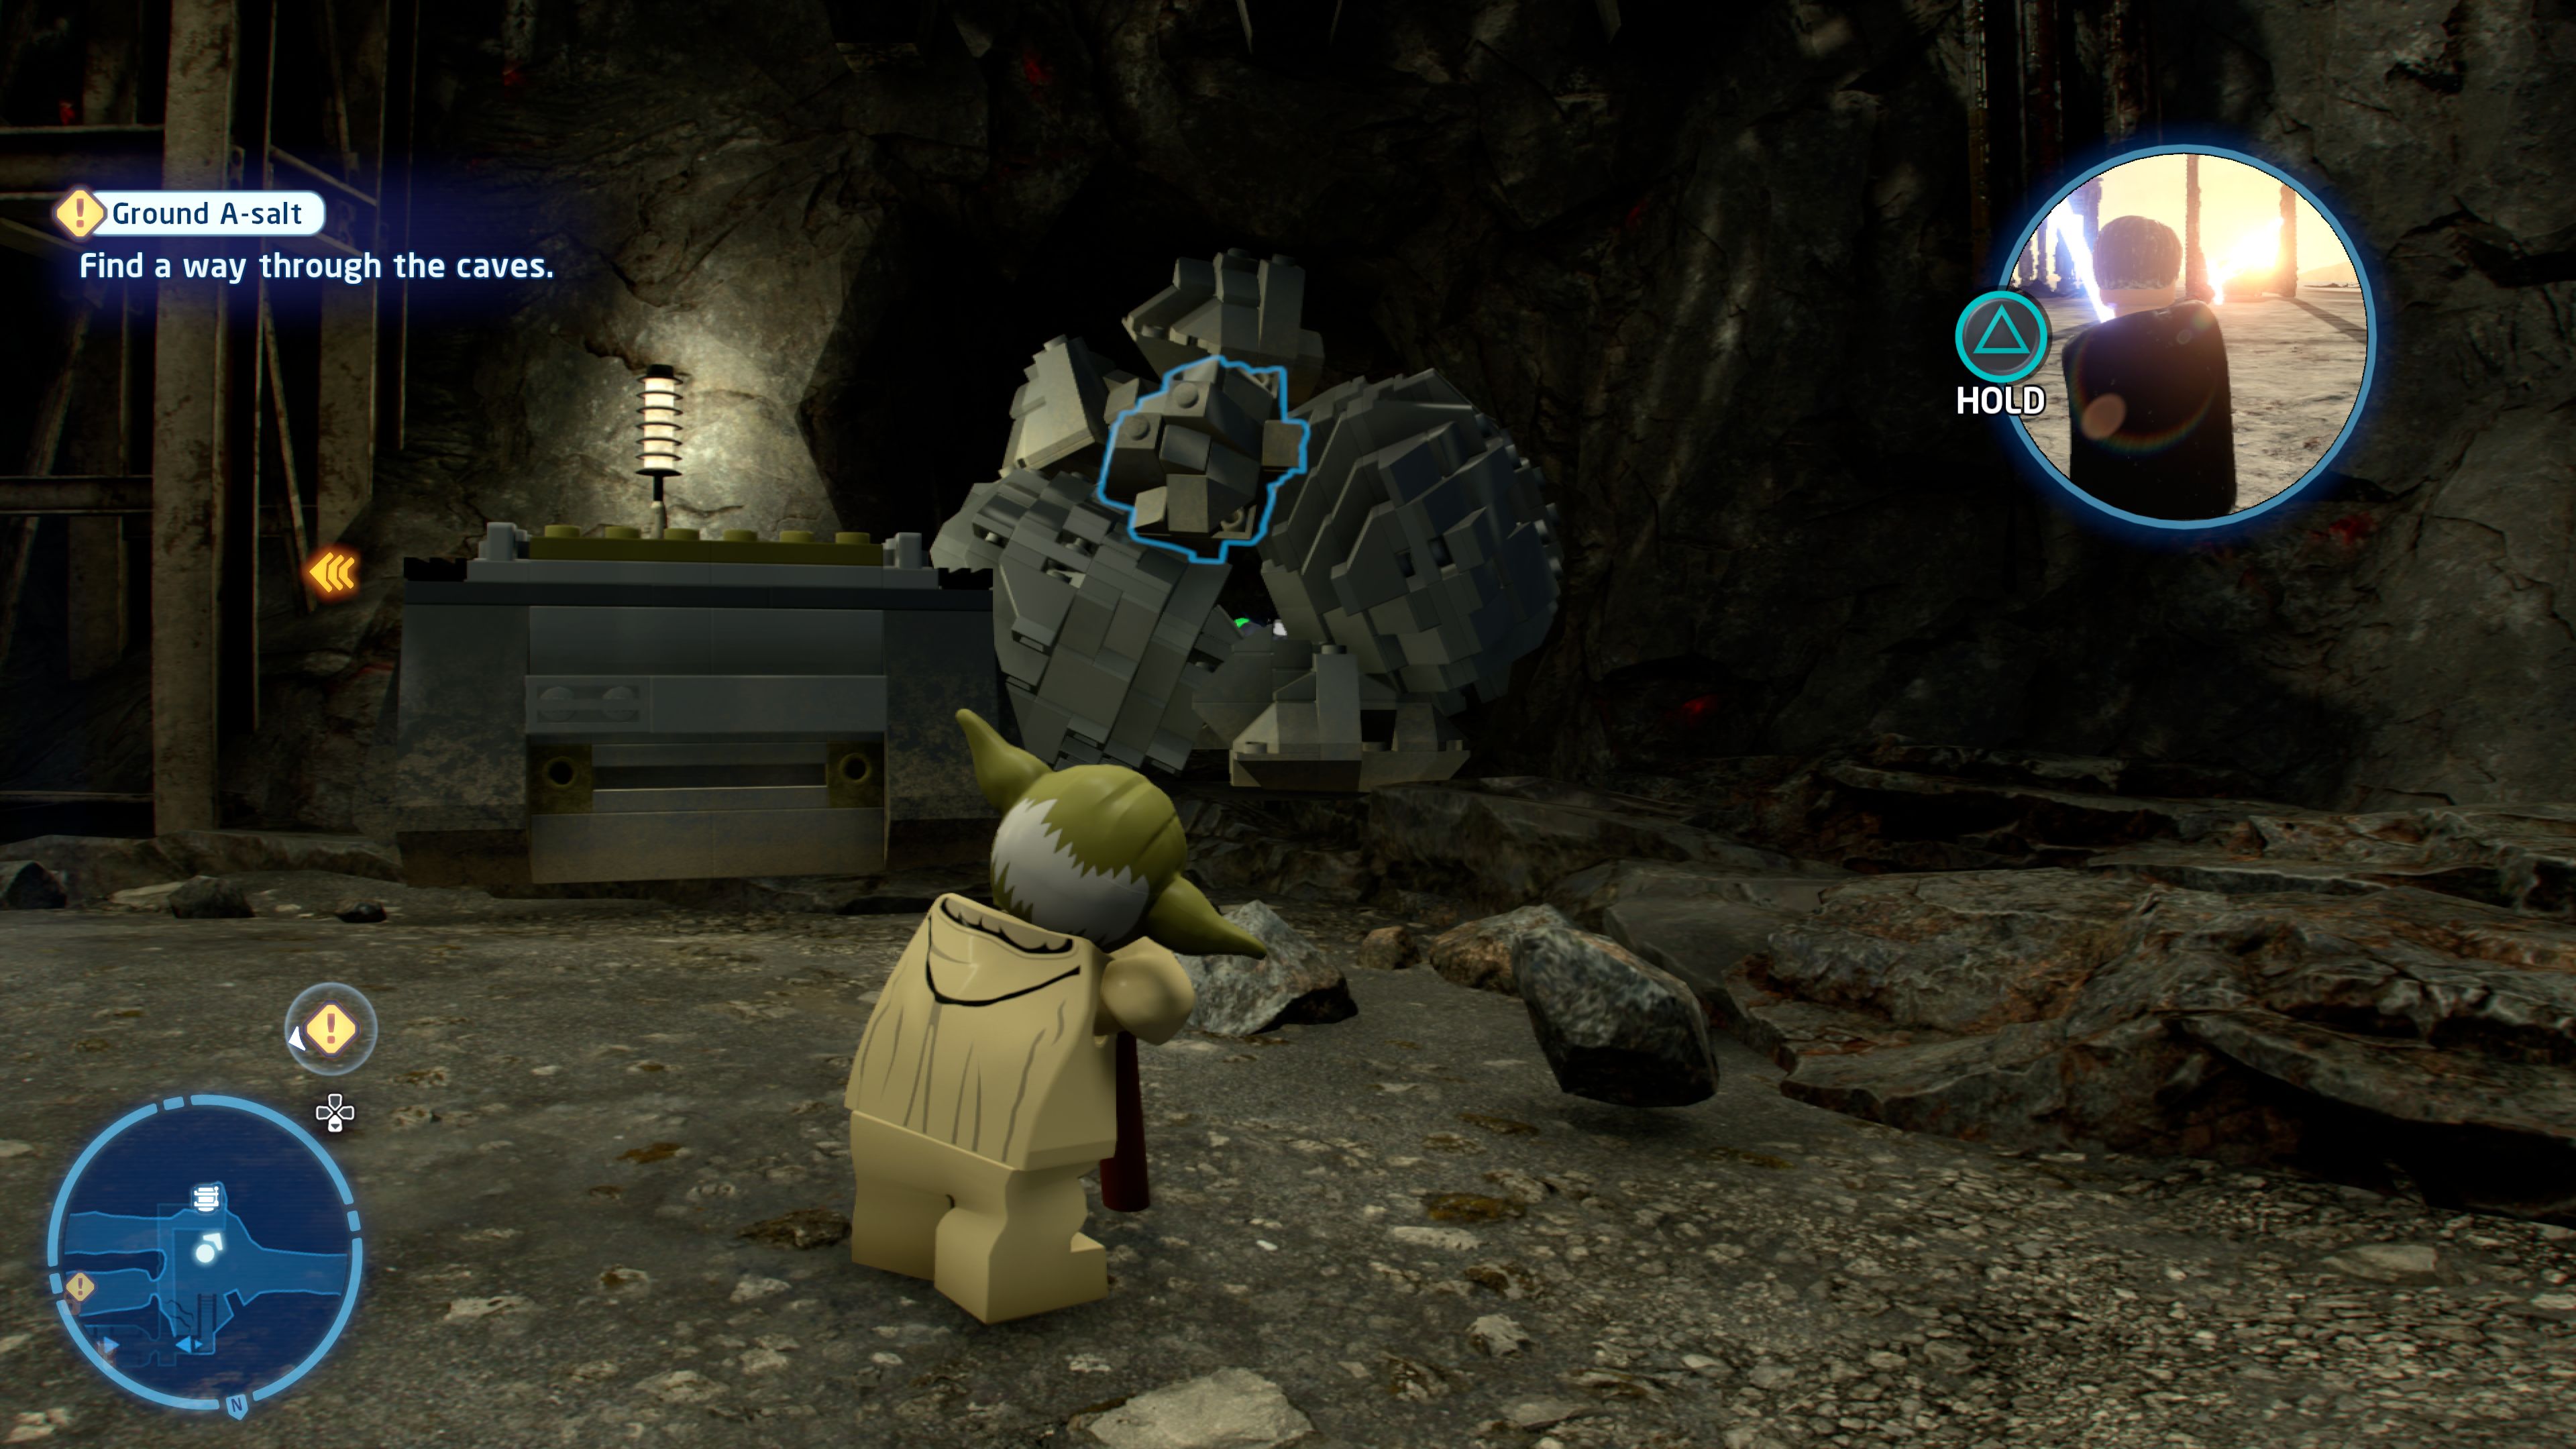
Look for hidden objects amongst the rubble.
In the first part of the southern path is a pile of rocks you can move using the Force.
Minikit 4/5 - Crait Expectations
Requires: Protocol Droid, Bounty Hunter Story Mode: No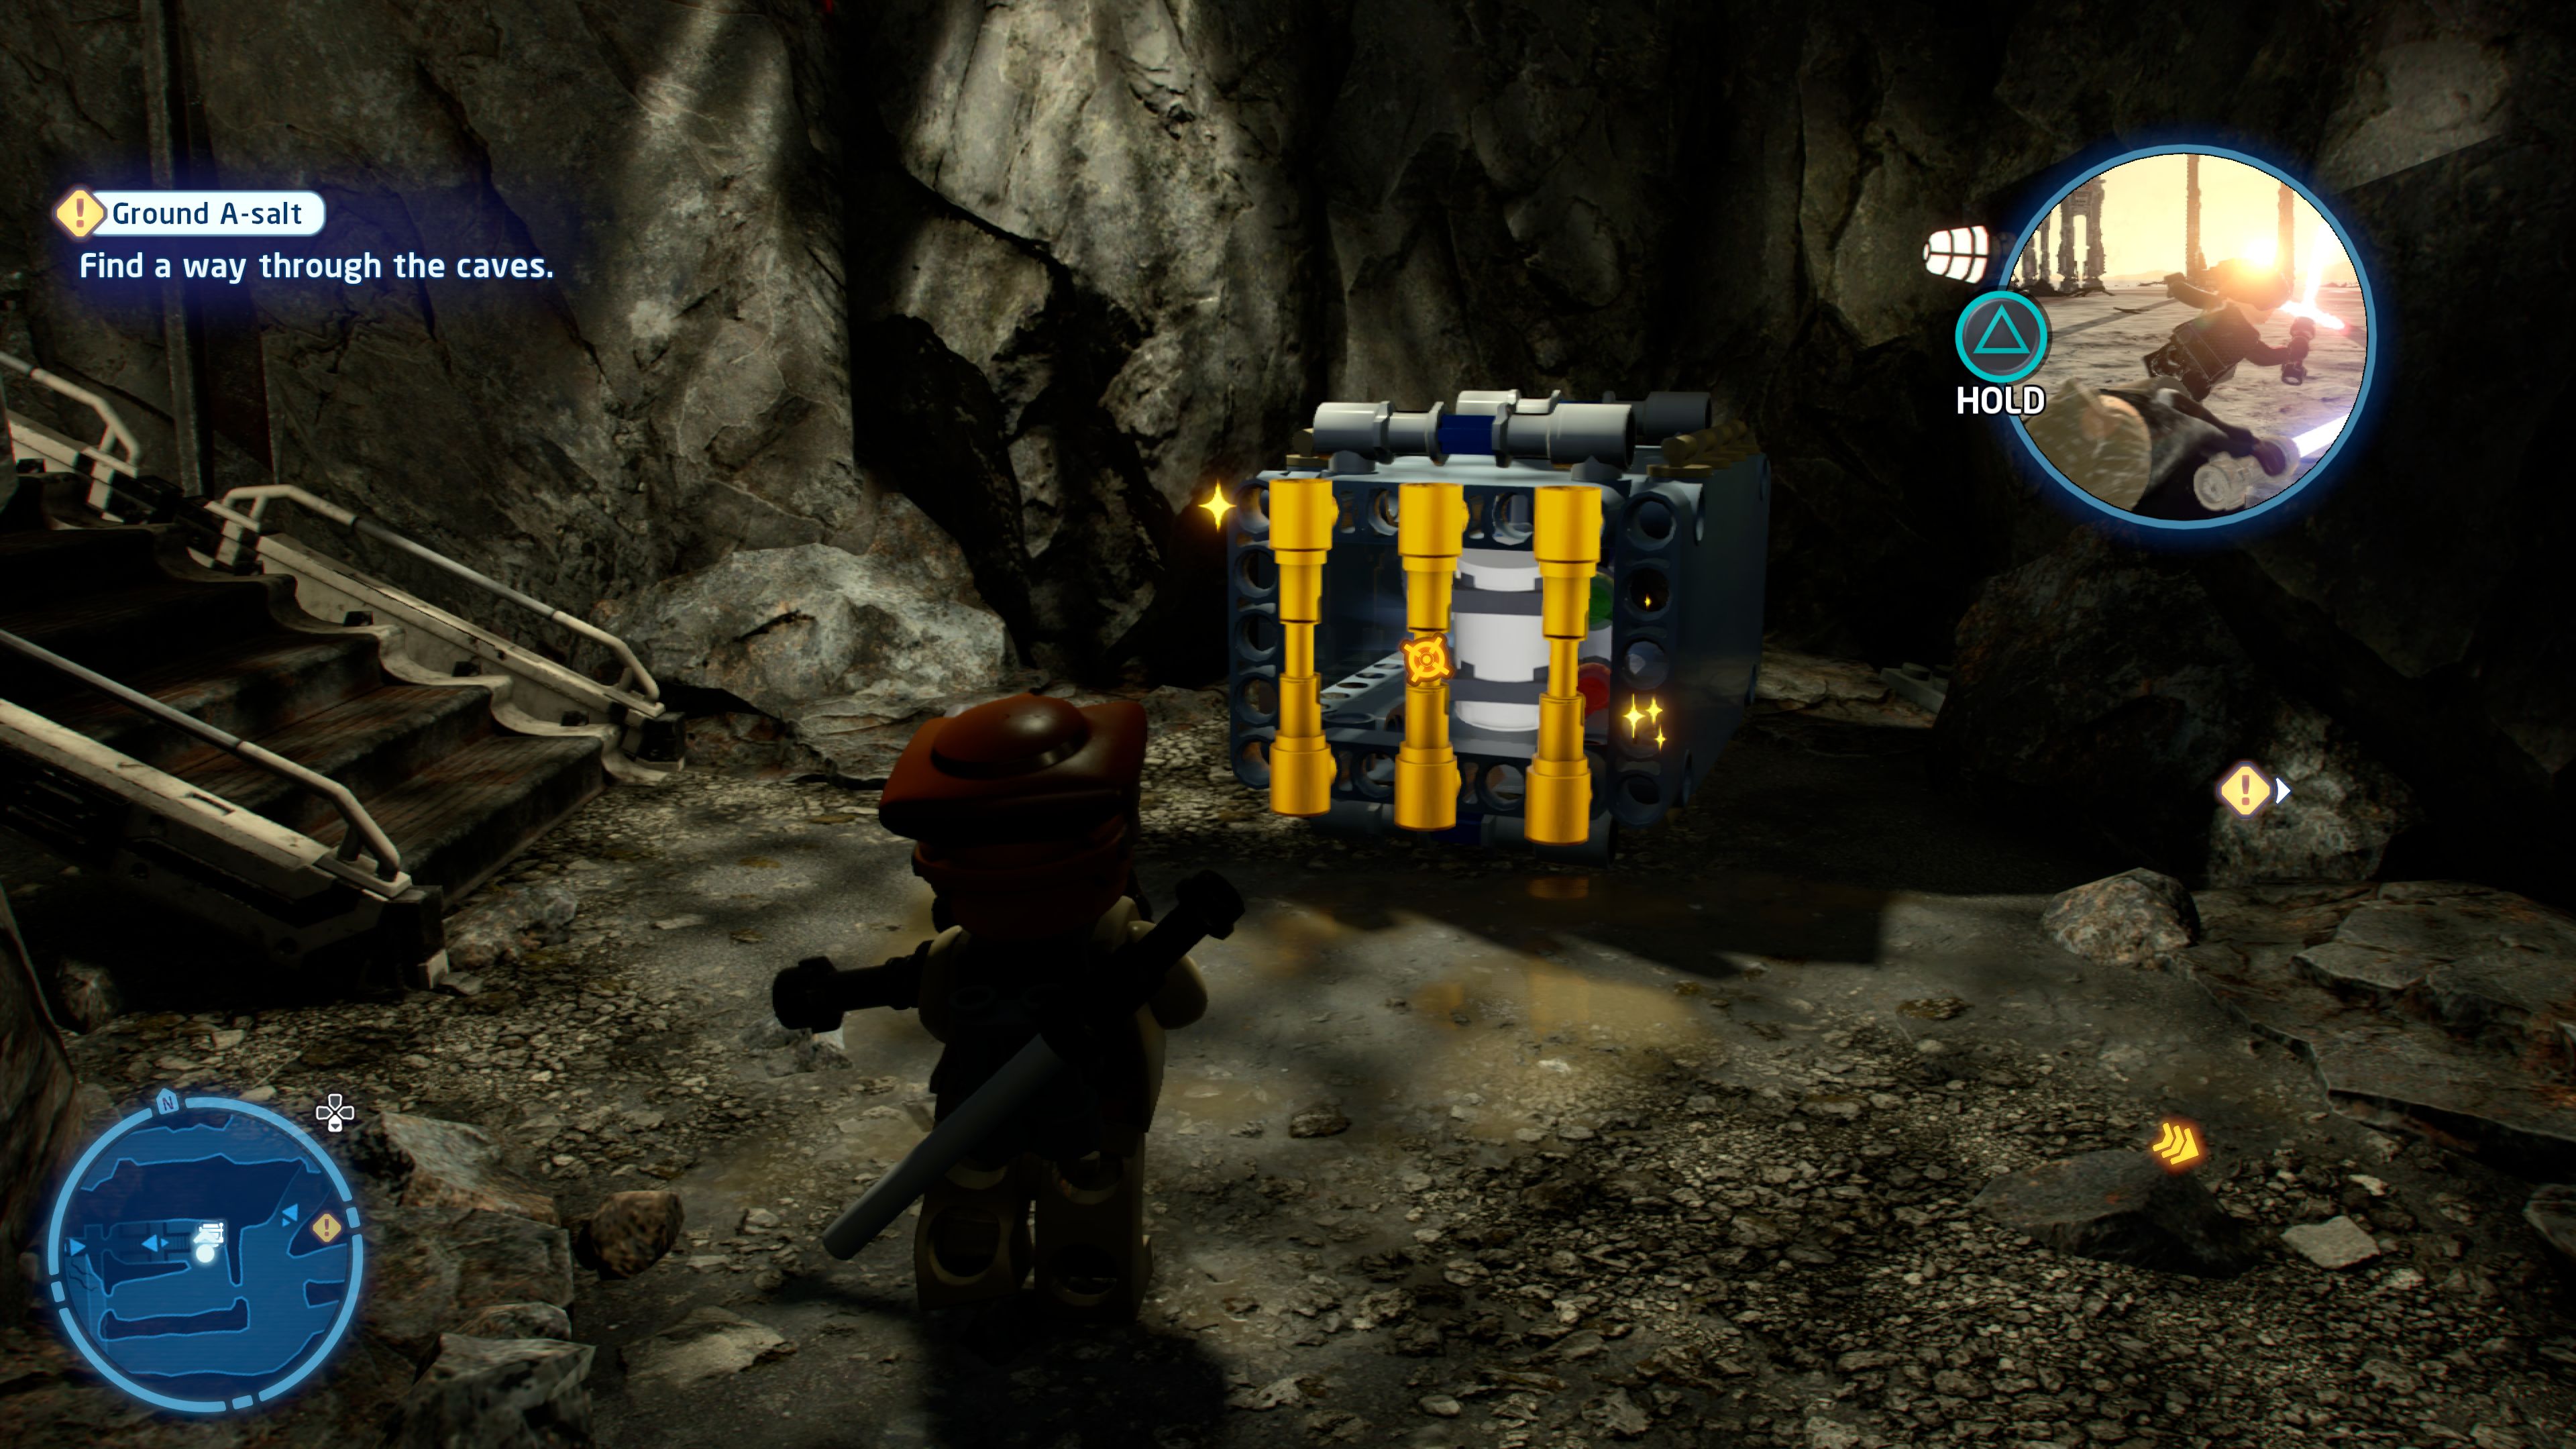
Discover and unlock this safely protected object.
In the Protocol Droid shortcut area is a crate with Gold LEGO bars.
Minikit 5/5 - Crackdown
Requires: Scavenger Story Mode: No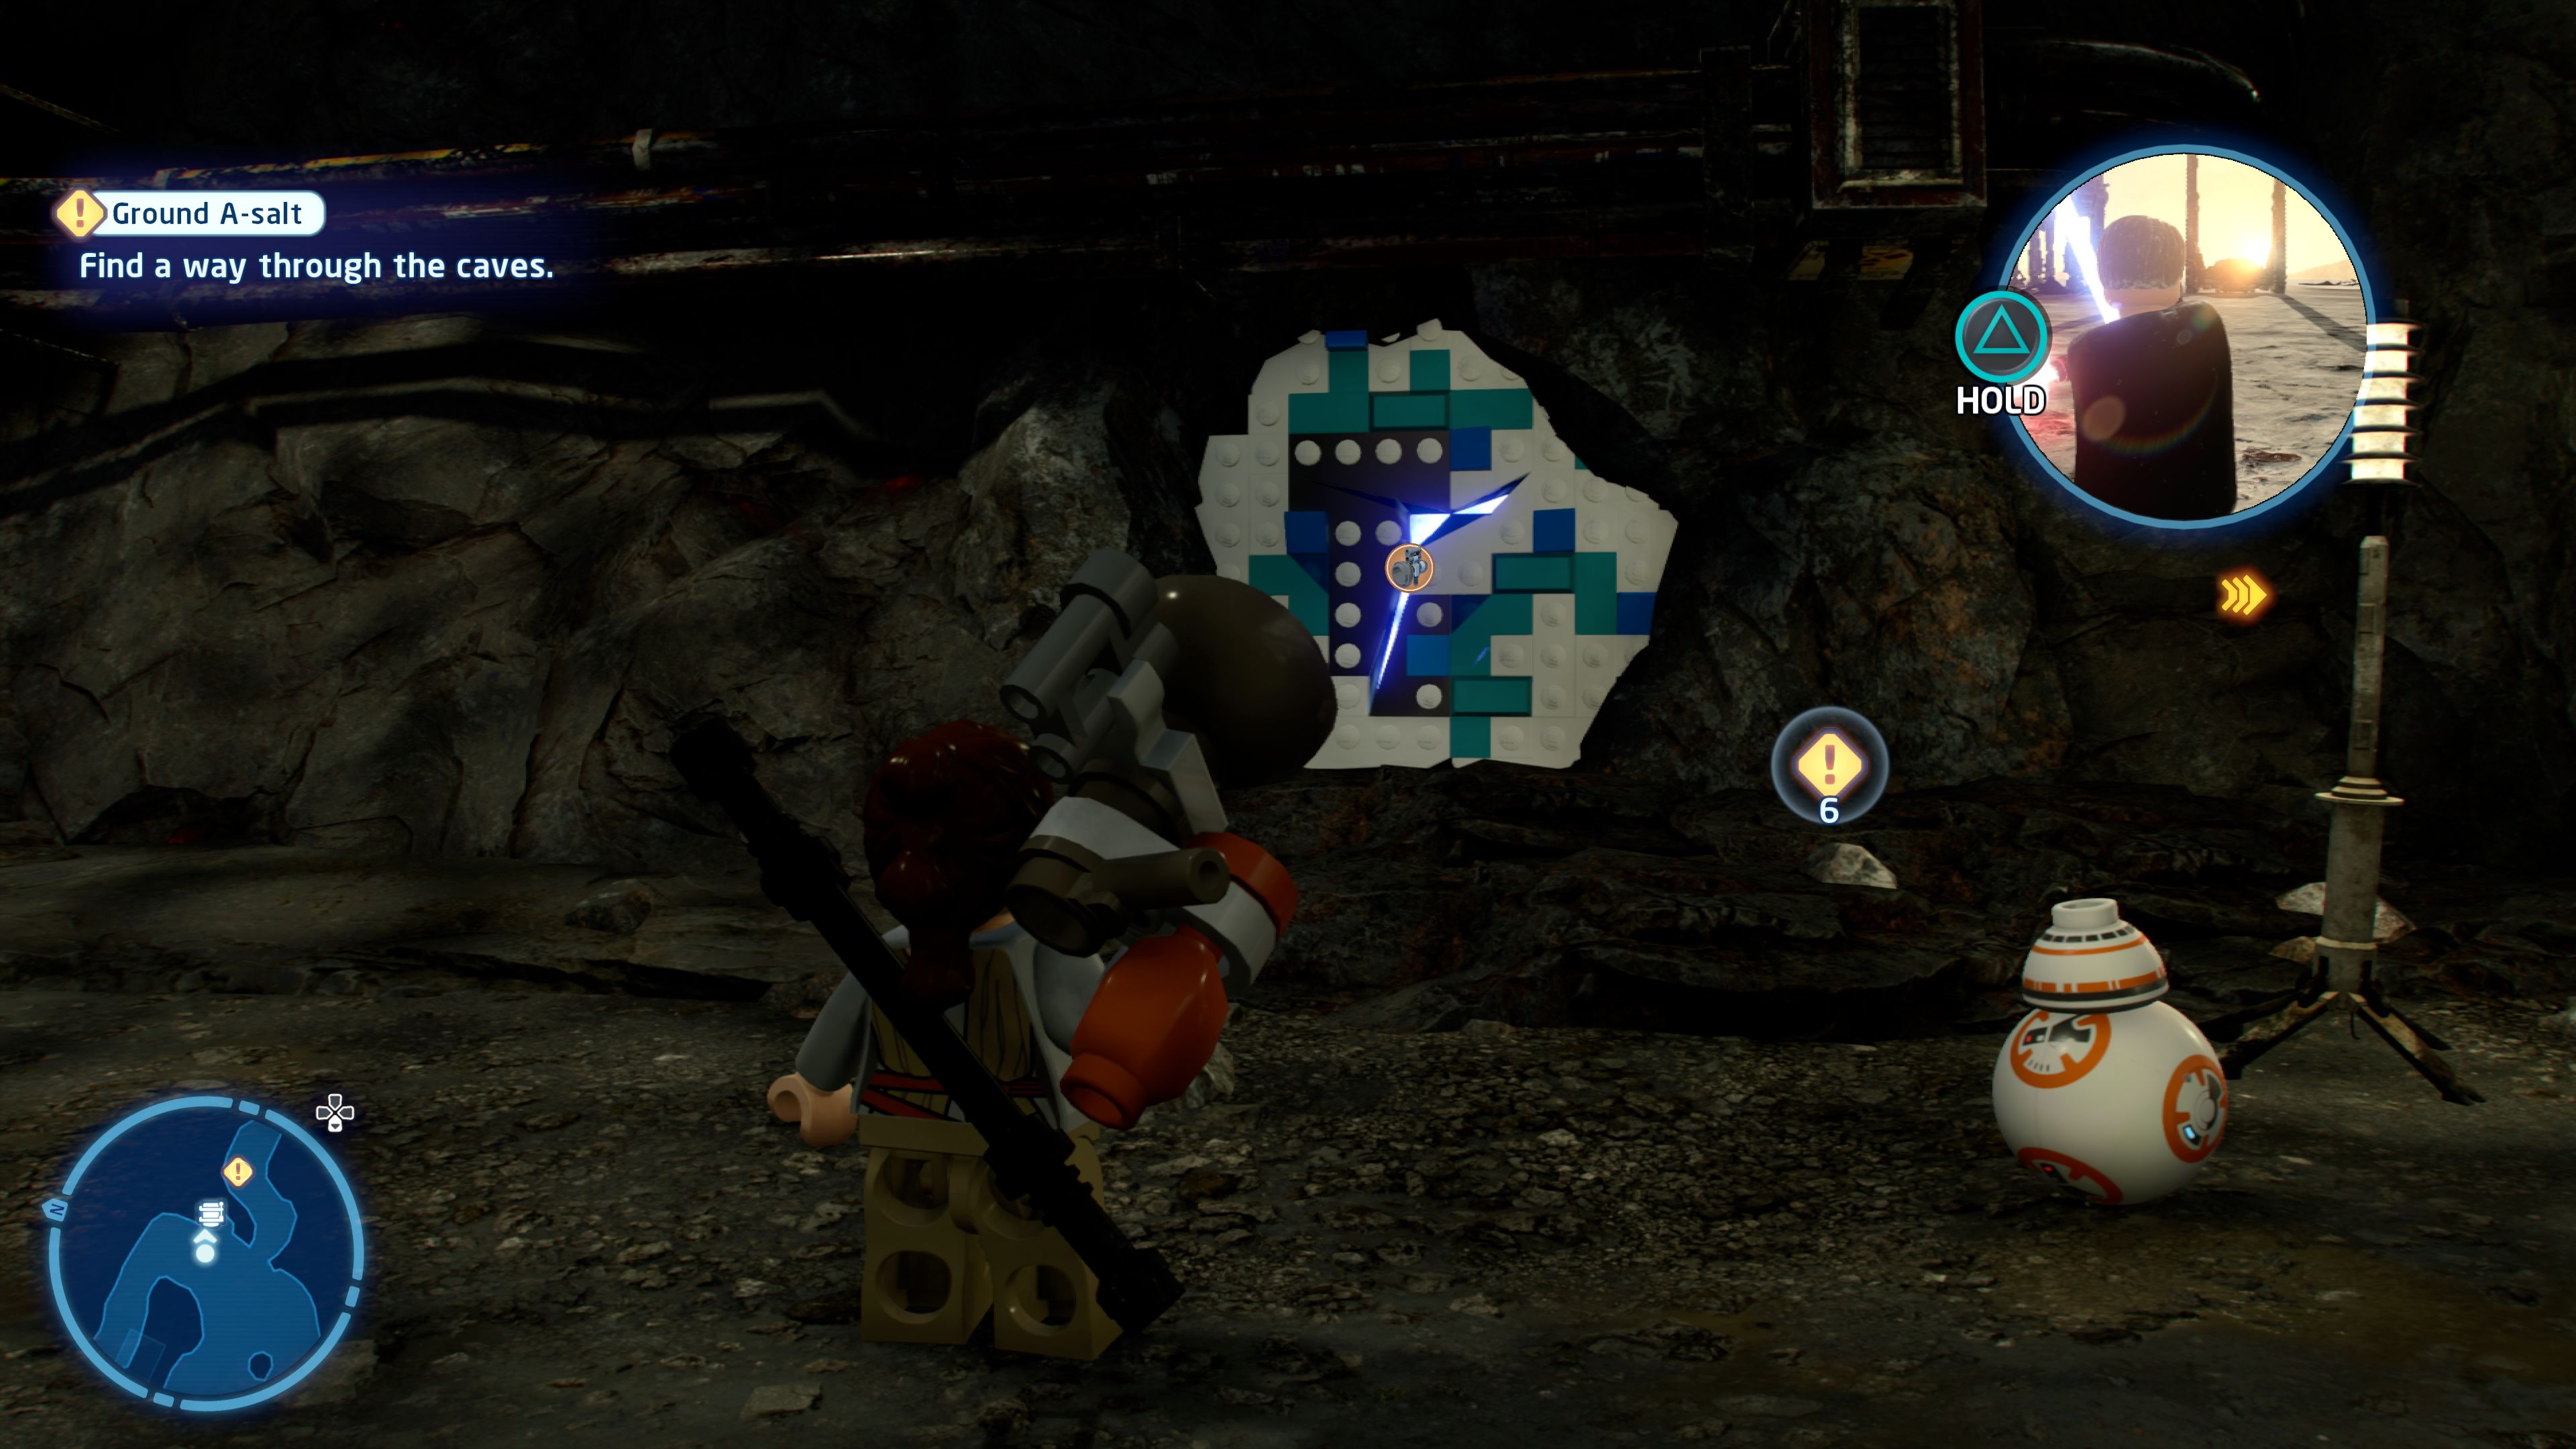
These caves are unstable, but a slight detour may be worth the risk...
Near the final tunnel to where you meet up with Rey is a cracked wall that a Scavenger can use their Breaker Blaster to destroy.
Kylo Ren's Shuttle

Based on set 75264
Kylo Ren's Shuttle Microfighter
| Cost | Character | |
|---|---|---|
|
|
- | Kylo Ren (No Helmet - Scar) |
|
|
- | Luke Skywalker (Old - Crait) |
|
|
35,000 | General Hux |
|
|
200,000 | Kylo Ren (Topless) |
|
|
100,000 | General Leia Organa (Black Robes) |
|
|
35,000 | Temiri Blagg |
And with that you have unlocked Episode IX: The Rise of Skywalker.
 darkspyro.net