Episode IV
A NEW HOPE
- It is a period of civil war.
- Rebel spaceships, striking
- from a hidden base, have won
- their first victory against
- the evil Galactic Empire.
- During the battle, Rebel
- spies managed to steal secret
- plans to the Empire's
- ultimate weapon, the DEATH
- STAR, an armoured space
- station with enough power to
- destroy an entire planet.
- Pursued by the Empire's
- sinister agents, Princess
- Leia races home aboard her
- starship, custodian of the
- stolen plans that can save
- her people and restore
- freedom to the galaxy....
Chapter 1
Boarding Party
| Silver | Blue | Purple |
|---|---|---|
| 33,333 | 66,666 | 100,000 |
Find a way to get the Death Star plans off the ship.
Move forwards along the corridor and you'll see C-3PO and R2-D2 running past. You've got to follow them so turn right up a ramp and then left and up another ramp to a junction. Here you'll see a rebel soldier standing at a console, he'll open the door for you and if you go through you'll encounter some Stormtroopers.
Pull out your blaster and start shooting at them, you can take cover if you like but they're not great shots. Avoid the large red circles that appear on the ground as that's where they're throwing a grenade (you can interrupt them if you shoot the trooper that's about to throw it). Once you've defeated enough of them Darth Vader will appear and chase you out of the area.
To the right of the previous door you will need to assemble a grapple point from the bricks on the ground, use your grapple to pull it out to reveal a target that you can shoot with your blaster. Hitting it will open the door here and let in a couple of Stormtroopers for you to punch.
After beating up the troopers go forwards to another group of them that are assembling behind some cover with a stack of cans on it. There are a variety of ways through this section but the simplest is to just go straight forwards and shoot them. Go along the corridor behind them and then to the left. As you approach the section where the corridors join back together you'll fall through the floor.
Once you've fallen down approach the electrified floor and use your grapple to pull the lever on the wall to reveal a bar that you can grapple up to, using your weight pull down to shut off the power. If you jump off the power will return so switch to the other character and have them cross the deactivated floor to pull the lever on the other side that permanently shuts the power off and unlocks the door ahead. Now your first character can follow.
Keep walking down the corridor through a door to where you see Darth Vader fighting some rebels, ignore that and turn to the right. You'll see a couple of Stormtroopers messing with a grenade that will block your path forwards by disabling the door and causing a fire.
Luckily you can use your grapple on the wall to the right of the fire and pull out some LEGO bricks to build a contraption. You have a choice here, you can either build a Laser Turret to blast through the broken door or a Water Cannon to put out the fire. Both paths join together again fairly quickly so there's not much difference.
If you choose the Turret you can continue to use it to blast the Stormtroopers on the other side of the door. If you choose the Water Cannon you will need to go to the end of the corridor and activate the Hero Terminal to evacuate the other corridor. Quickly tap the on screen button to avoid getting blown out too. Follow the corridor along to where there's a red chest with an Empire symbol on the floor in front of it. You can open it up if you're in a full stormtrooper disguise to get a couple of weapons but it's not important. You do however need to use your grapple on a couple of points on the ceiling to the right to reveal a couple of targets to shoot. That will open the door to let you move on.
Inside the next room are a couple of troopers on ledges that have disabled the exit and a couple of troopers on the ground next to some large cubes. Shoot them all and smash the cubes to get some LEGO. Assembling that LEGO will create a hologram desk, pull it backwards onto the circular spot until it spins around. Once it has done that you can push it towards the wall beneath where one of the high up Stormtroopers was.
Once you've pushed the desk against the wall you can jump on it and bounce up to where that Stormtrooper was and pull the lever up there. Jump back down and pull the desk back to the middle, it'll spin again and now face the other side of the room. A few Stormtroopers will burst in, defeat them and then push the desk again and then bounce up to where the second trooper was to pull a second switch.
With both switches pulled the door will open so you can continue. Defeat the two troopers hiding under the boxes then go up the ramp to the right. As you approach another ramp to the left you'll see some rebels being escorted by some Stormtroopers as well as another glimpse of R2-D2.
Up the ramp and straight on into the corridor where R2-D2 is waiting for you.
Reach the escape pod!
We've switched focus and are now playing as R2-D2 and C-3PO, your goal is now to find the escape pod and get off the Tantive IV.
Straight on we go, avoid the dangling live wires and the flailing tubes of fire all the way to the end where you'll find an Astromech Socket and a Protocol Droid terminal. You have a choice here, you can use C-3PO to either activate a fire alarm to quickly clear out the room, or you can use a turret to shoot the troopers and the locks on either side of the door to open it. Take a right after the hologram room.
Or you can have R2-D2 rotate the Astromech Socket to open the other door next to it. Around the corner is a large pit with a dangling live wire blocking the way. Use R2's grapple to pull the crate into the pit so you can use it as a platform to jump to the other side. Just past another live wire is a door, approach it and it'll open for you. Take a right.
Now take a right again, at the end of that corridor is your ultimate goal. Smash the crate here to get the parts to build another Astromech Socket that R2-D2 can use to open up the door to the escape pod and finish the level.
Level Challenges
- Sometimes I Amaze Myself
- Defeat an enemy with an explosive canister.
- The easiest point to do this is right at the first encounter with stormtroopers. Carefully aim and fire at the red canister on the wall to the left of where the troopers gather and it'll fly around for a bit before exploding, hopefully taking out one of the stormtroopers. There are a few more chances dotted around, just look for the canisters on the wall.
- I Suggest a New Strategy
- Defeat a Stormtrooper with their own weapon.
- At the spot where you can send a corridor full of stormtroopers out into space there is a Villain Crate that you can take a weapon from (provided you are playing as a Villain class or are fully disguised as a stormtrooper). Use one of these weapons in the next room to defeat a stormtrooper.
- Vacuumed Up!
- Flush Stormtroopers out into space.
- At the point where you choose whether to build a laser turret or a water cannon build the water cannon to put out the fire and use the hero terminal at the end of that corridor to vent the stormtroopers into space. Obviously do not go down the other corridor and kill all of the stormtroopers first.

Minikits
Minikit 1/5 - An Acrobatic Mission
Requires: The Force/Scoundrel Story Mode: No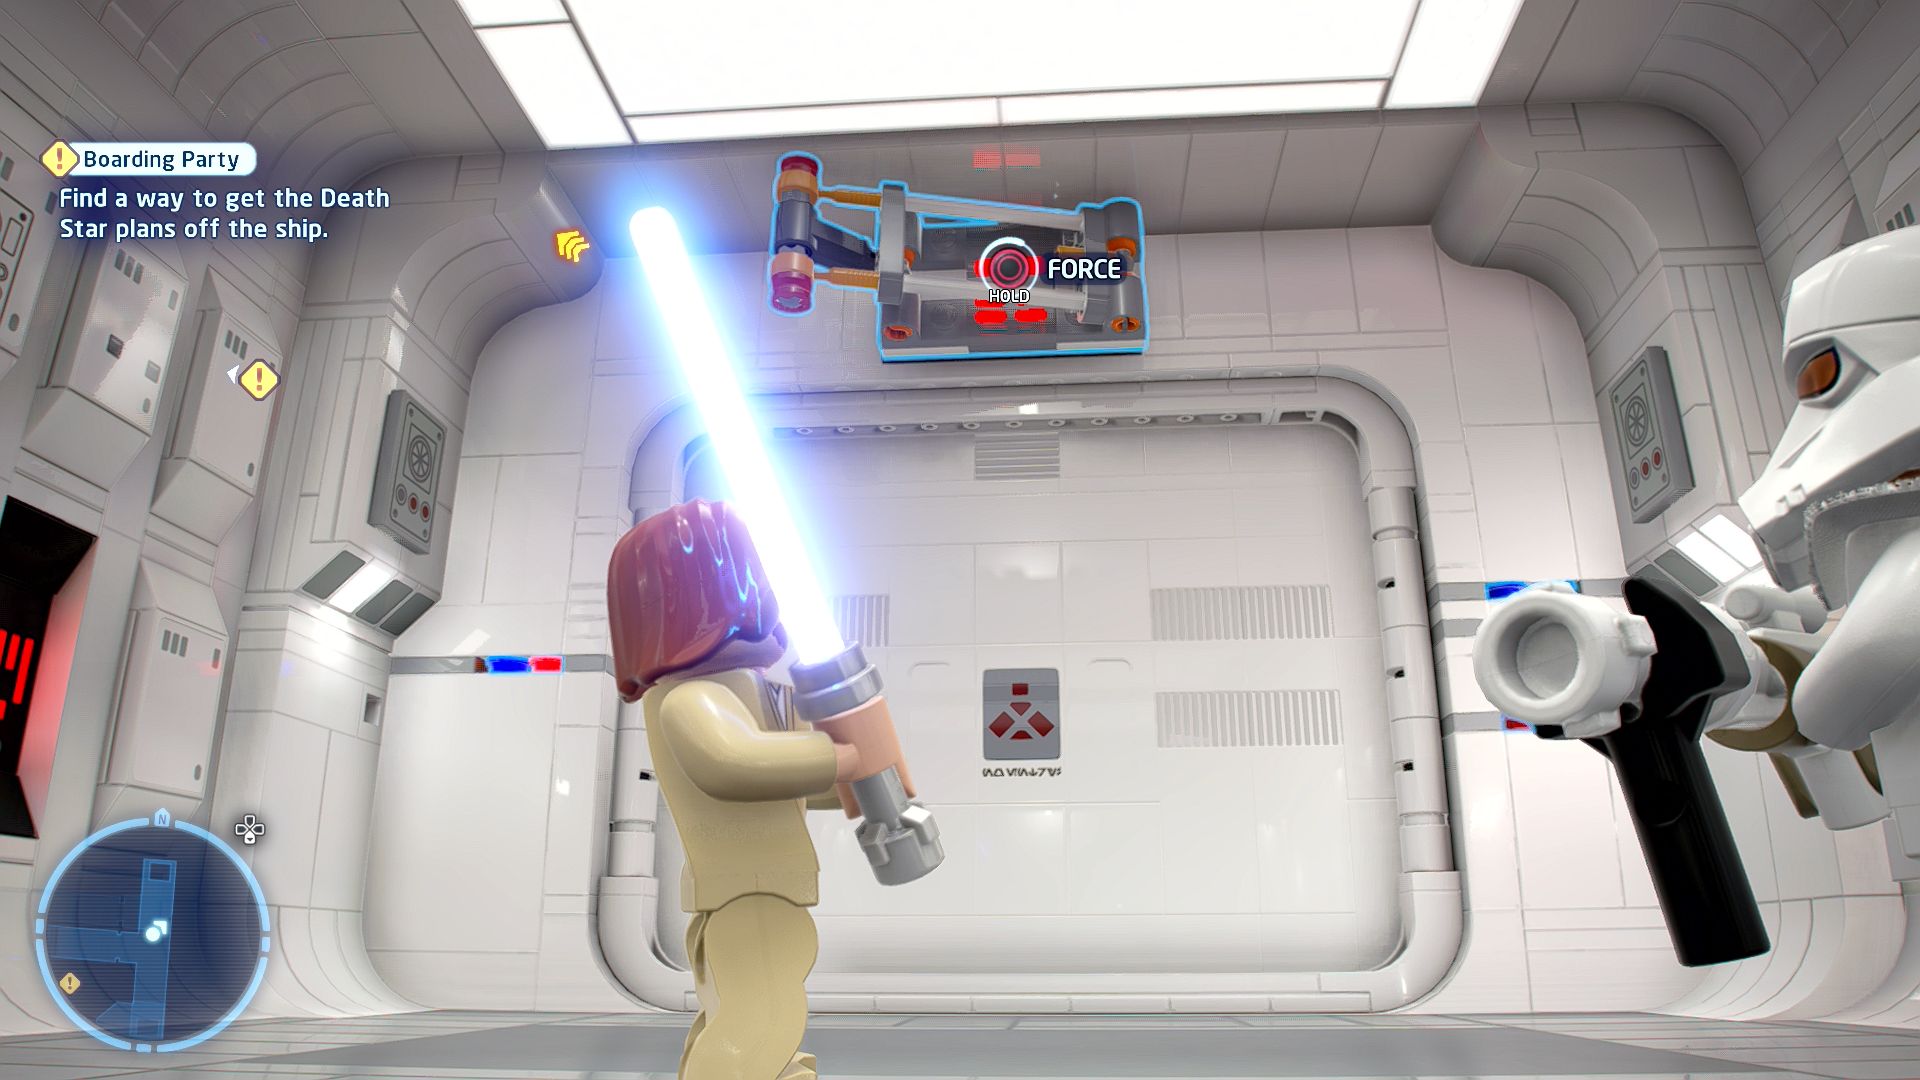
Show off your acrobatic abilities for a special reward!
At the point where you see Darth Vader chase a few rebels in a corridor ahead of you that you can't reach (just before the laser/water turret build) if you go to the left there is a door you can open using the Force. Drop down the hole and make your way past the obstacles to reach the minikit at the end.
Minikit 2/5 - Storage Wars
Requires: None Story Mode: Yes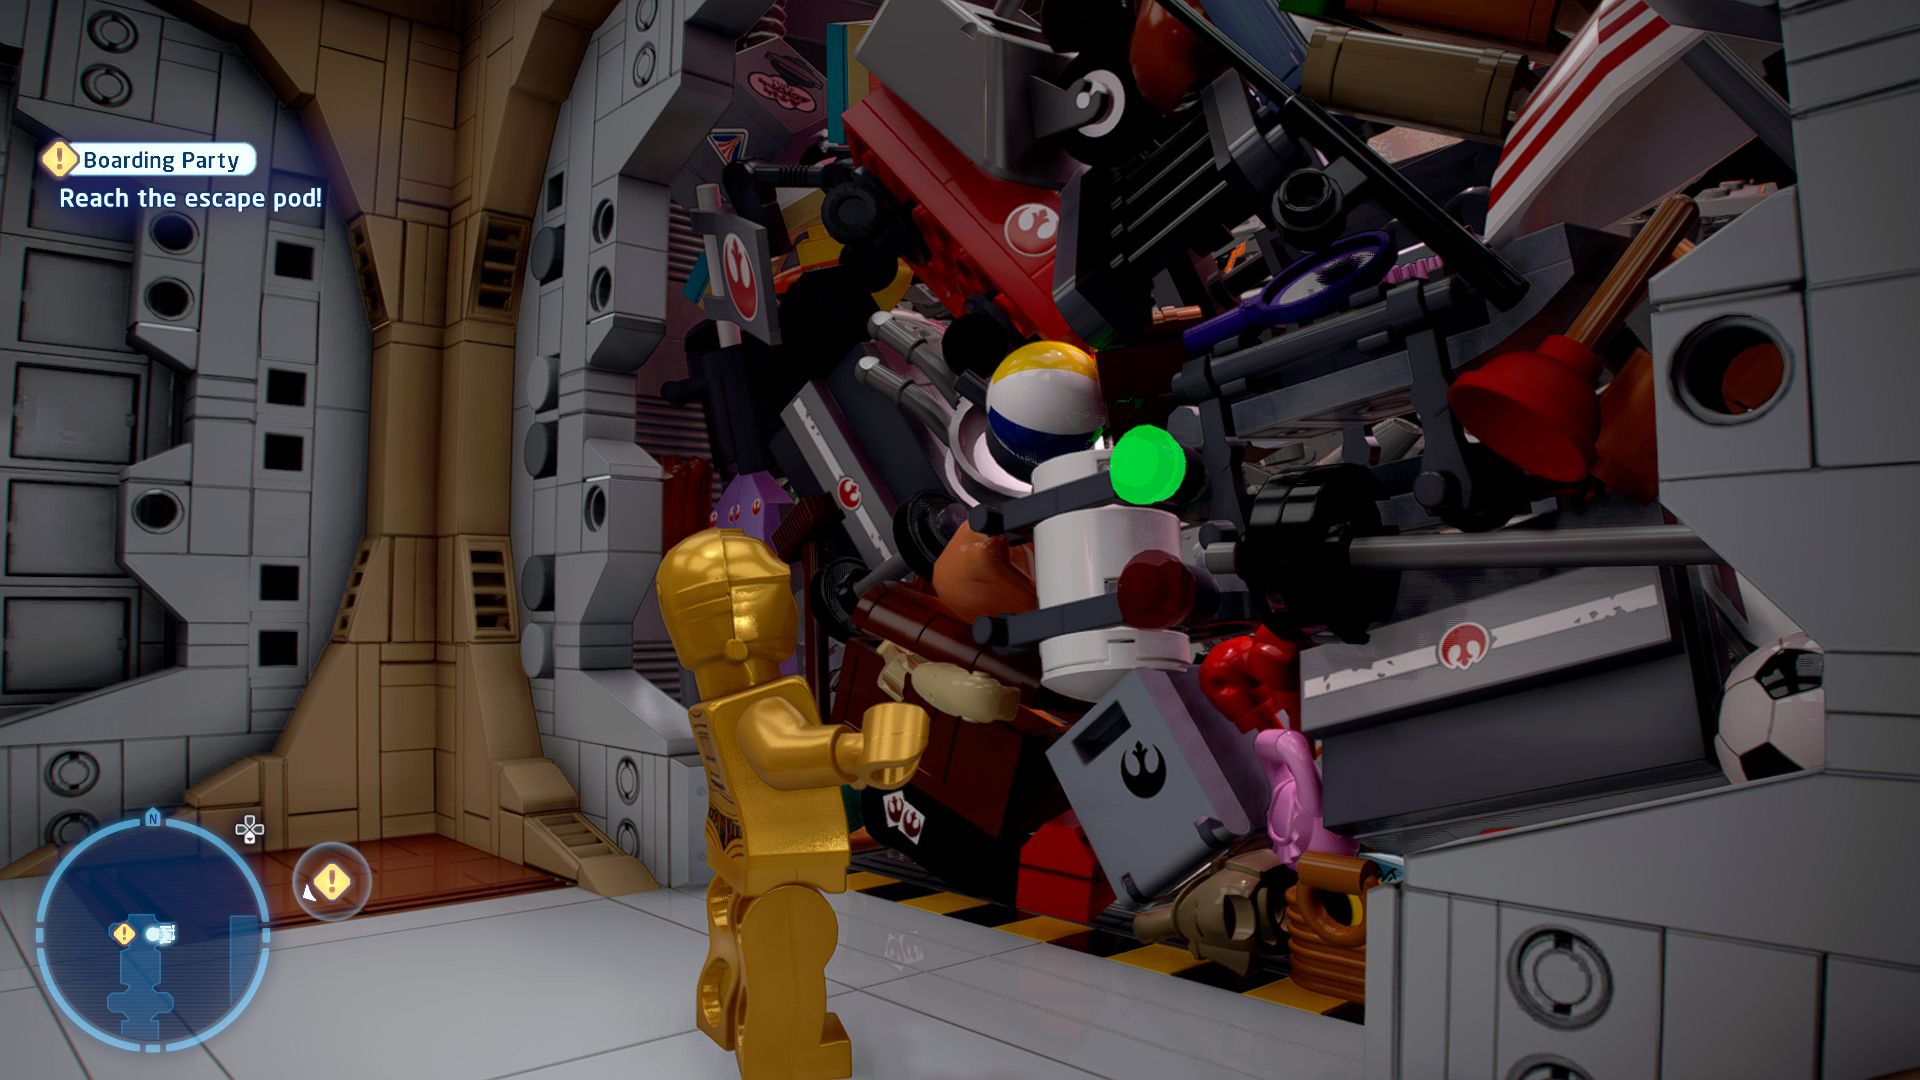
The cleaners must have been in a rush to finish...
At the very end of the level just before you get into the escape pod is a door that you can open to reveal a whole mess of junk with a minikit canister in the middle. Smash it and then assemble the minikit to collect it.
Minikit 3/5 - Rhythm Rebels
Requires: The Force/Scoundrel Story Mode: No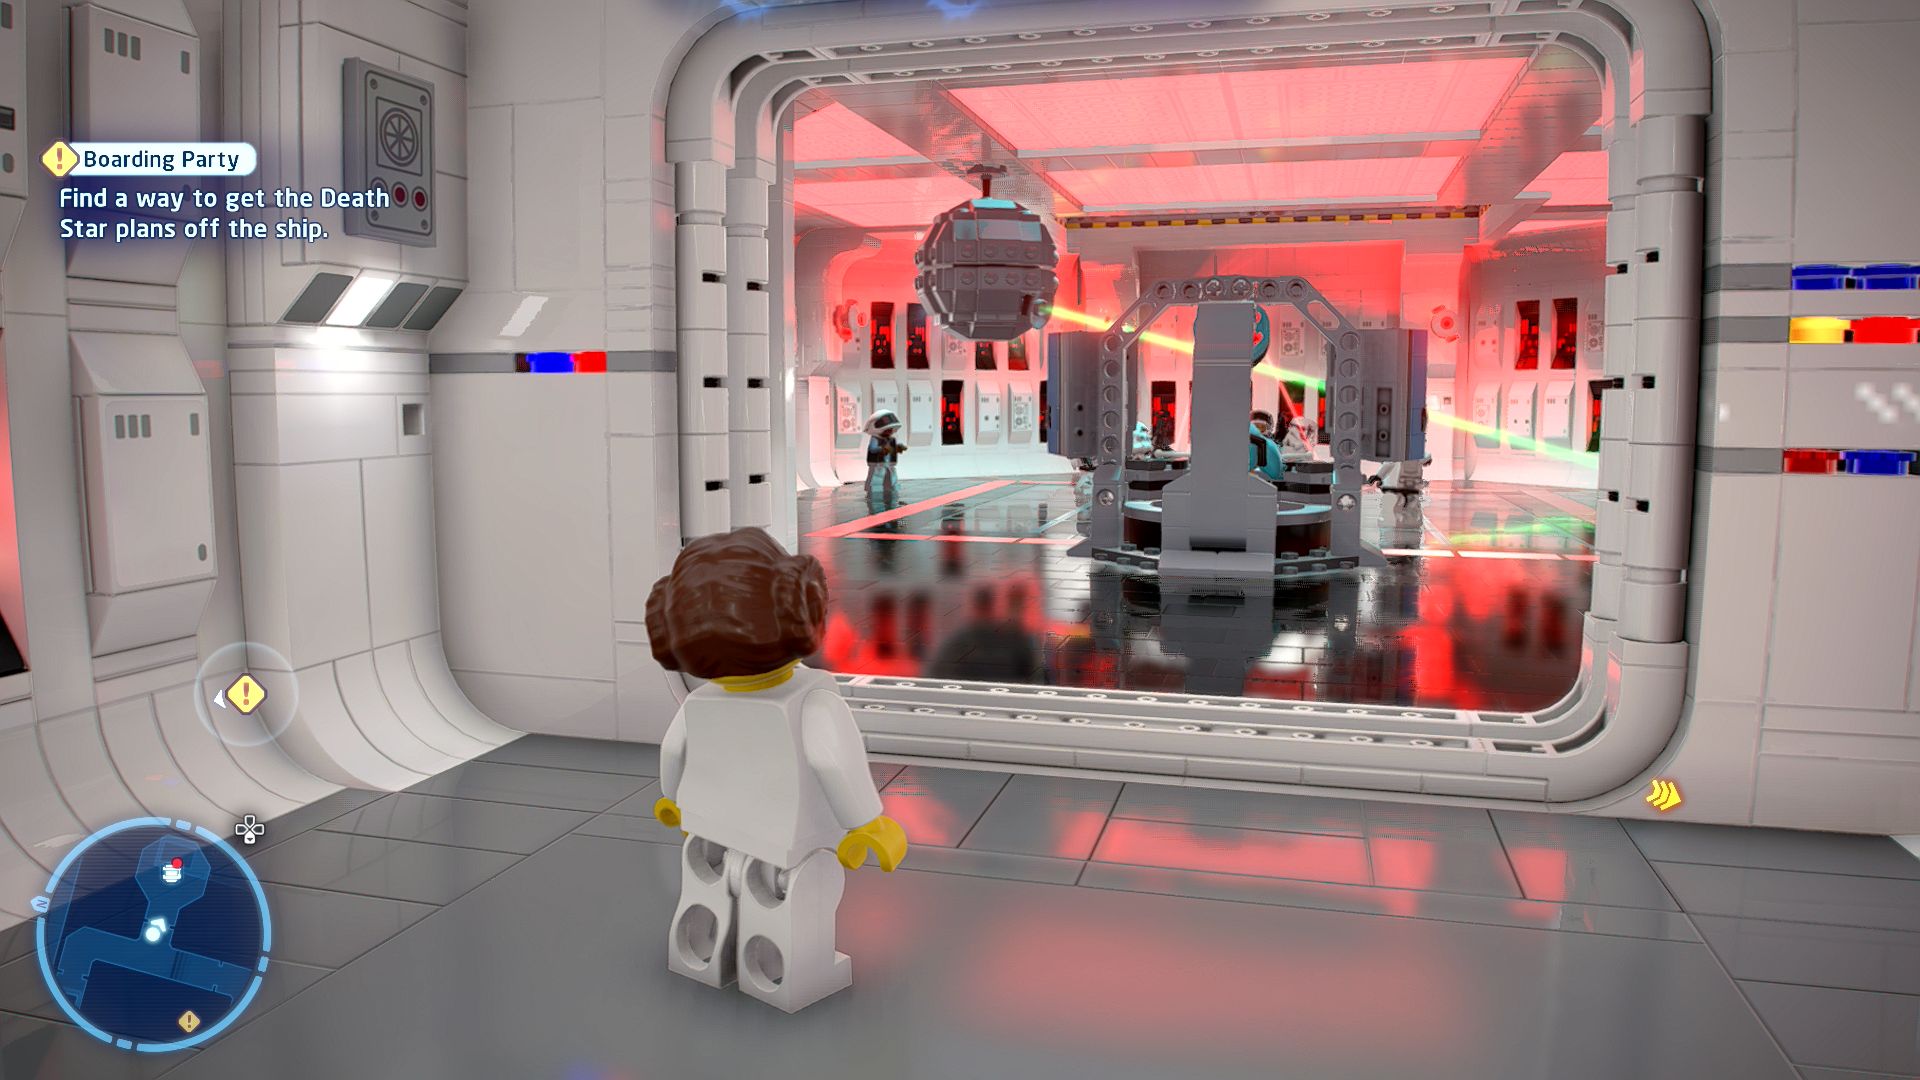
Time for a dance break!
There are a few ways to get to the disco hall, one is to continue past where you get the "An Acrobatic Mission" minikit you'll eventually stumble onto it. A second way is to use a Scoundrel to hit the purple target above the place where you build the laser turret/water cannon. Grapple up and go along the corridor then drop into the disco. Another is just before you switch to R2-D2 and C-3PO to use the Force on a switch above a door, the disco hall is just down that corridor. At the disco room defeat all of the stormtroopers and then use the Force to "distract" the rebel soldiers so that they all start dancing. Once all three are dancing the parts for the minikit will fall out of the disco death star for you to assemble.
Minikit 4/5 - Gonk This Way!
Requires: None Story Mode: Yes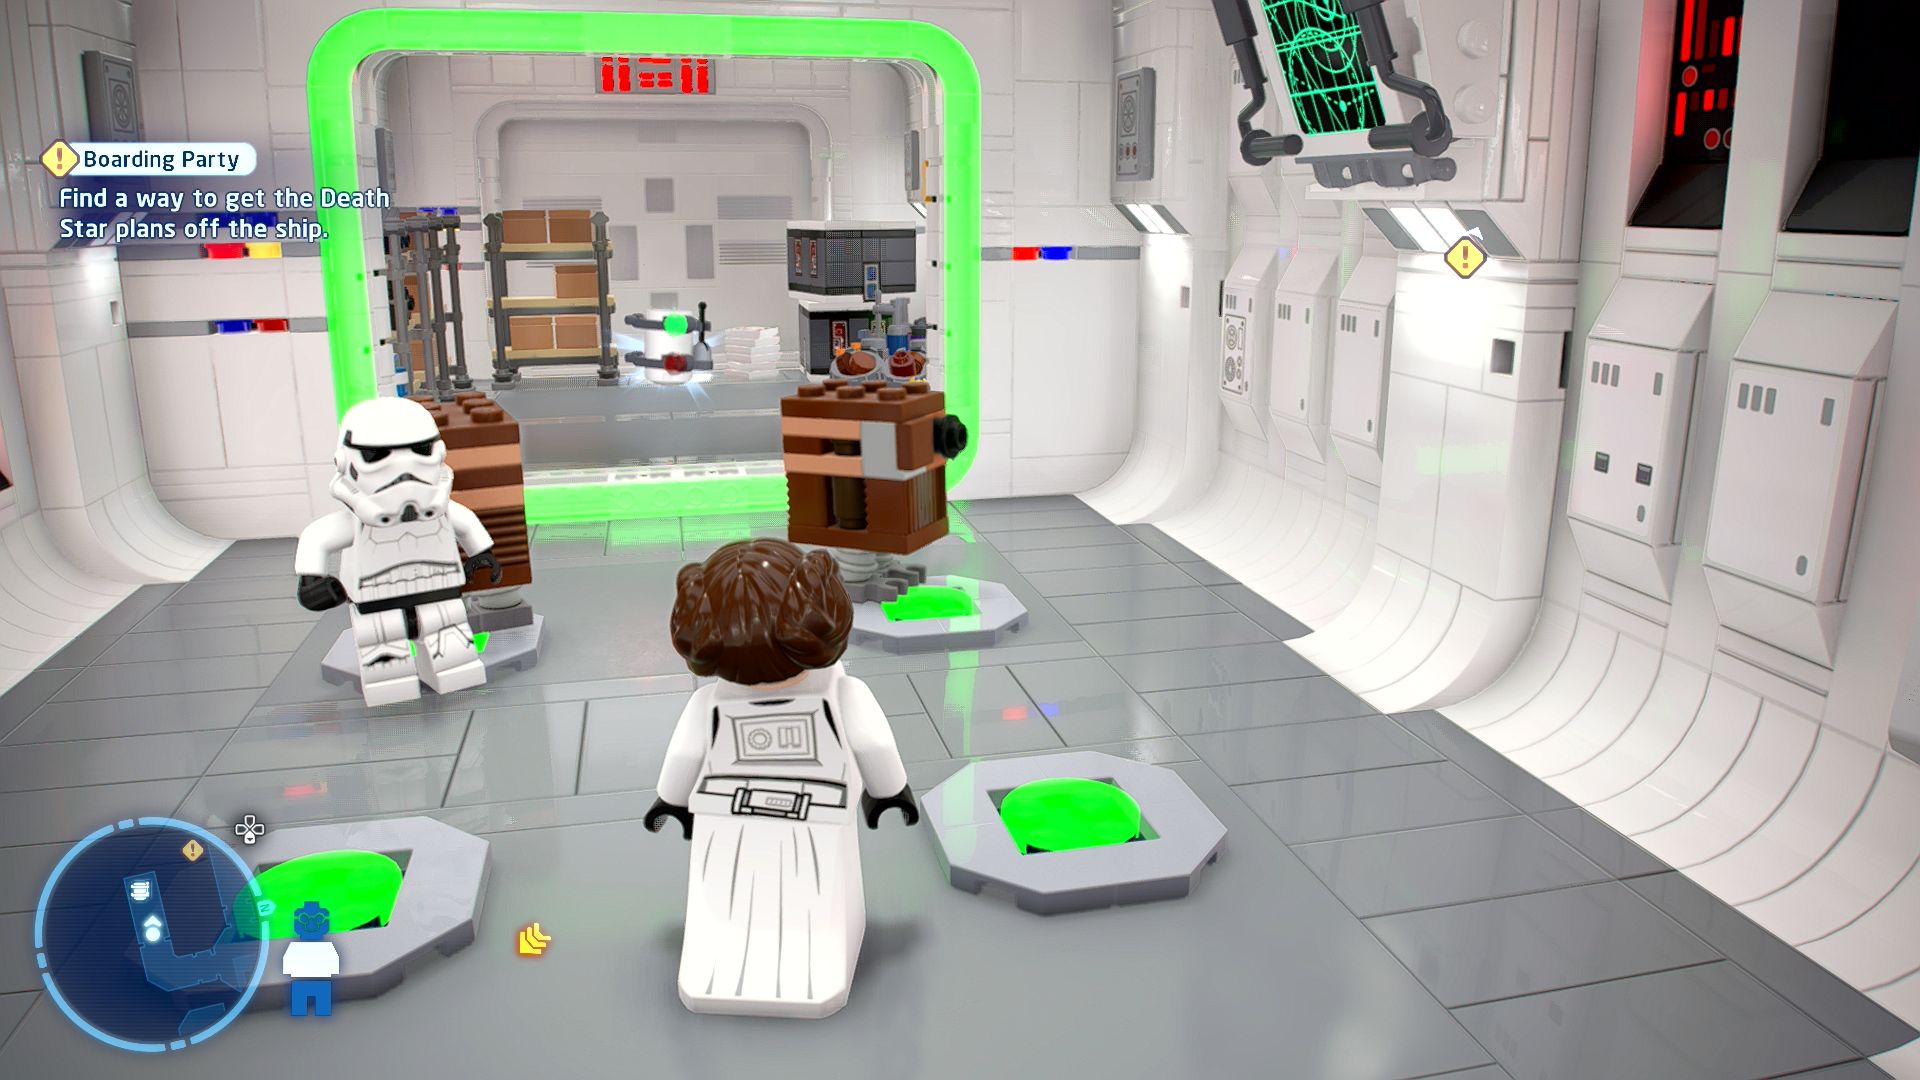
Grab a couple of gonks for free entry!
During the sequence where you assemble a trampoline that you move around to reach some switches you will open up a corridor to the left of where you entered. Down this corridor is a Gonk droid and four red buttons on the floor. Backtrack through the level a bit to the corridor that was blocked by fire that you could put out with the a water turret, in that corridor is a second Gonk droid. Ride it to the four buttons and jump off it once you've activated one of those buttons. Place the other Gonk on a second button and then have both your characters stand on the other two buttons to open the door.
Minikit 5/5 - Mynock! Who's There?
Requires: Grapple, Hero, The Force Story Mode: No

How did these mynocks get on board? Somebody do something!
There are four mynocks (winged batlike creatures) hidden through the level, defeat all four to get a minikit. One is located in the upper section of the corridors just after the trampoline room. A second is found in a corridor unlocked by a hero terminal in that same area, you must carefully avoid the floor collapse in front of it as you will otherwise be unable to get back up. The third is found just after the "An Acrobatic Mission" minikit, you either need then Force or a Scoundrel to enter this section. And the fourth is found in the corridors above the "Rhythm Rebels" minikit room which again you need either the Force or a Scoundrel to reach.
Tantive IV Escape Pod

Based on set 75228
Escape Pod vs. Dewback Microfighters
| Cost | Character | |
|---|---|---|
|
|
- | R2-D2 |
|
|
- | C-3PO |
|
|
- | Captain Antilles |
|
|
- | Leia (Episode IV) |
|
|
- | CR90 Corvette (Tantive IV) |
Episode IV
A NEW HOPE
The story so far...
- The GALACTIC EMPIRE located
- and boarded the Rebel starship
- TANTIVE IV, searching for the
- Death Star plans. PRINCESS LEIA
- ORGANA knew she would be
- unable to deliver the plans to the
- Rebel Alliance herself, so she hid
- them inside a droid, with the
- instruction to take them to an old
- friend.
- The droids boarded an escape
- pod, narrowly evading the grasp
- of the evil Empire. However, Leia
- was not so lucky and was
- captured by DARTH VADER.
- The droid's escape pod has
- landed on the desert planet of
- TATOOINE. Here, they must
- complete their mission....
An Urgent Message
Find a way out of the canyon.
The path forwards isn't exactly hidden, just follow the canyon along until you get asked whether you want to continue the story.
Jundland Wastes, Lars Homestead
[Find R2-D2.]
Follow the waypoints up to ground level where you'll find R2-D2 inside a glowing marker that asks you to continue the story.
[Follow R2-D2.]
R2 will start heading towards the canyon, follow him until he stops and you get ambushed by Tusken Raiders.
Jundland Wastes, Tusken Raider Village
[Defeat the Tusken Raiders!]
Use Luke's blaster to shoot them until Old Ben Kenobi shows up and scares them all off.
[Follow Ben Kenobi.]
Another bit of following. He'll take you all the way back to his hut.
Jundland Wastes, Old Ben Kenobi's House
[Speak to Ben Kenobi.]
Continue the story at the marker and you'll get a cutscene to watch.
New Beginnings
[Travel to Mos Eisley.]
Jundland Wastes, Lars Homestead
Jundland Wastes, Tosche Station
Setting off to Mos Eisley next, follow the waypoints back to Luke's speeder and use it to get to Mos Eisley in a flash.
Mos Eisley, Taxi Rank
[Find the Mos Eisley Cantina.]
Walk forwards until you get to a closed gate where a Stormtrooper will block your way.
[Find a way through the Stormtrooper checkpoint.]
Switch to Old Ben and use a Jedi Mind Trick on the Stormtrooper. Influence him and then control him into using the Villain Terminal to open the gate.
[Ask about a pilot in the Cantina.]
Keep following the waypoints south then east and then north to the cantina.
Mos Eisley, Chalmun's Cantina
Once you're inside talk the Twi'lek to the right with a green speech bubble over her head, she'll mention Chewbacca and you'll then get into a fight with some other customers.
[Defeat the brawlers!]
There's just two of them, once you've beaten them you'll enter a cutscene and meet Han Solo.
The Millennium Falcon
[Meet up with Han Solo at Docking Bay 94.]
Go back outside again and make your way to the south. The marker will start the next level.
Chapter 2
Hunk of Junk
| Silver | Blue | Purple |
|---|---|---|
| 26,666 | 53,333 | 80,000 |
[Defend the Millennium Falcon from the Stormtroopers.]
This level is set entirely within this docking bay. Your overall goal is to get the Millennium Falcon ready to fly while fending off the Stormtrooper attacks.
First clear out the group behind the cover in front of you, once all four are defeated Chewbacca will run off to get ready to start repairing the Falcon.
[Help Chewbacca get on top of the Millennium Falcon to start repairs.]
To help him do that go over to the marked floating platform and drag it to the opposite corner of the square it is located in next to one of the Falcon's escape pods. Once it is in position pull the switch on the side to raise it up so Chewbacca can get on top.
[Find the missing parts of the Millennium Falcon.]
The first part is to the east, use the Force to open the panel at the back to reveal it and have a platform raise up out of the ground. Press the big red button on the left to get the crate onto the platform which will then deliver itself to Chewbacca on top of the Falcon.
[Defend Chewbacca from the Stormtroopers.]
Defend yourselves from the Stormtrooper attack while Chewbacca assembles the cannon. Keep fighting until the cannon is fixed. You can reduce the number of enemies that attack by shutting the doors using R2-D2 on the Astromech Sockets.
[Find the missing parts of the Millennium Falcon.]
And the second part is inside a large shipping crate on the opposite side of the Falcon. To open it up you'll need a lightsaber so have Old Ben cut it open. LEGO bricks will fall out, use them to build the cockpit.
[Defend Chewbacca from the Stormtroopers.]
Chewbacca will begin work on it as a new wave of Stormtroopers appears. Defeating them will bring more through the same door at the back behind them, keep on defeating them until they stop appearing.
[Reach the overhead crane and lower the Sensor Dish in place.]
Once both parts are in place a third part will become accessible. Chewie will shoot some troopers on an elevator which you should run over to and help finish off. Use the Force to fix the elevator by replacing the part that fell off. Once it's fixed ride it up to the top and go east to a catwalk across the docking bay.
In the middle is a crane, rotate the switch to get the Sensor Dish onto the Falcon.
[Continue defending Chewbacca from the Stormtroopers.]
A few more Stormtroopers will appear as Chewbacca continues the installation, most of them will be coming in through the doors on this upper level so to start with stay up here to fight them but there will be a few on the ground too. You can shut the doors up here for a short time using R2-D2 on the panel near the lift.
You're not quite done just yet, keep on defeating the Stormtroopers as Chewie works on the ramp.
[Escape on the Millennium Falcon!]
Once the ramp is done just run over to it to finish the level. You should just ignore any remaining Stormtroopers as they will keep on appearing until you leave.
Level Challenges
- Absolute Scoundrel
- Use the environment to your advantage against the Stormtroopers.
- You can do this immediately, use Han Solo's Scoundrel ability to shoot the stuff above the first group of Stormtroopers you fight.
- Don't Get Cocky!
- Defeat 3 Stormtroopers with hidden turrets.
- Ride a GNK droid onto the activation point just south of the Falcon. This will activate some auto turrets around the level that will fire on any Stormtroopers it sees. When some attack just stand back and let the turret do the work, it has to deal the finishing blow to count.
- Chewie, Get Us Out of Here!
- Find different ways of blocking the Stormtrooper reinforcements.
- The different ways include using R2-D2 to close the door in the southern section, building an electric trap on the western door, using a grapple to pull out some scaffolding to block the eastern door, and finally using R2-D2 to shut the upper level doors.

Minikit 1/5 - High Maintenance
Requires: Scavenger Story Mode: No
See anything good up there?
In the south-west corner is a place for a Scavenger to shoot some nets to climb up to this minikit.
Minikit 2/5 - Lost Property
Requires: Villain Story Mode: Yes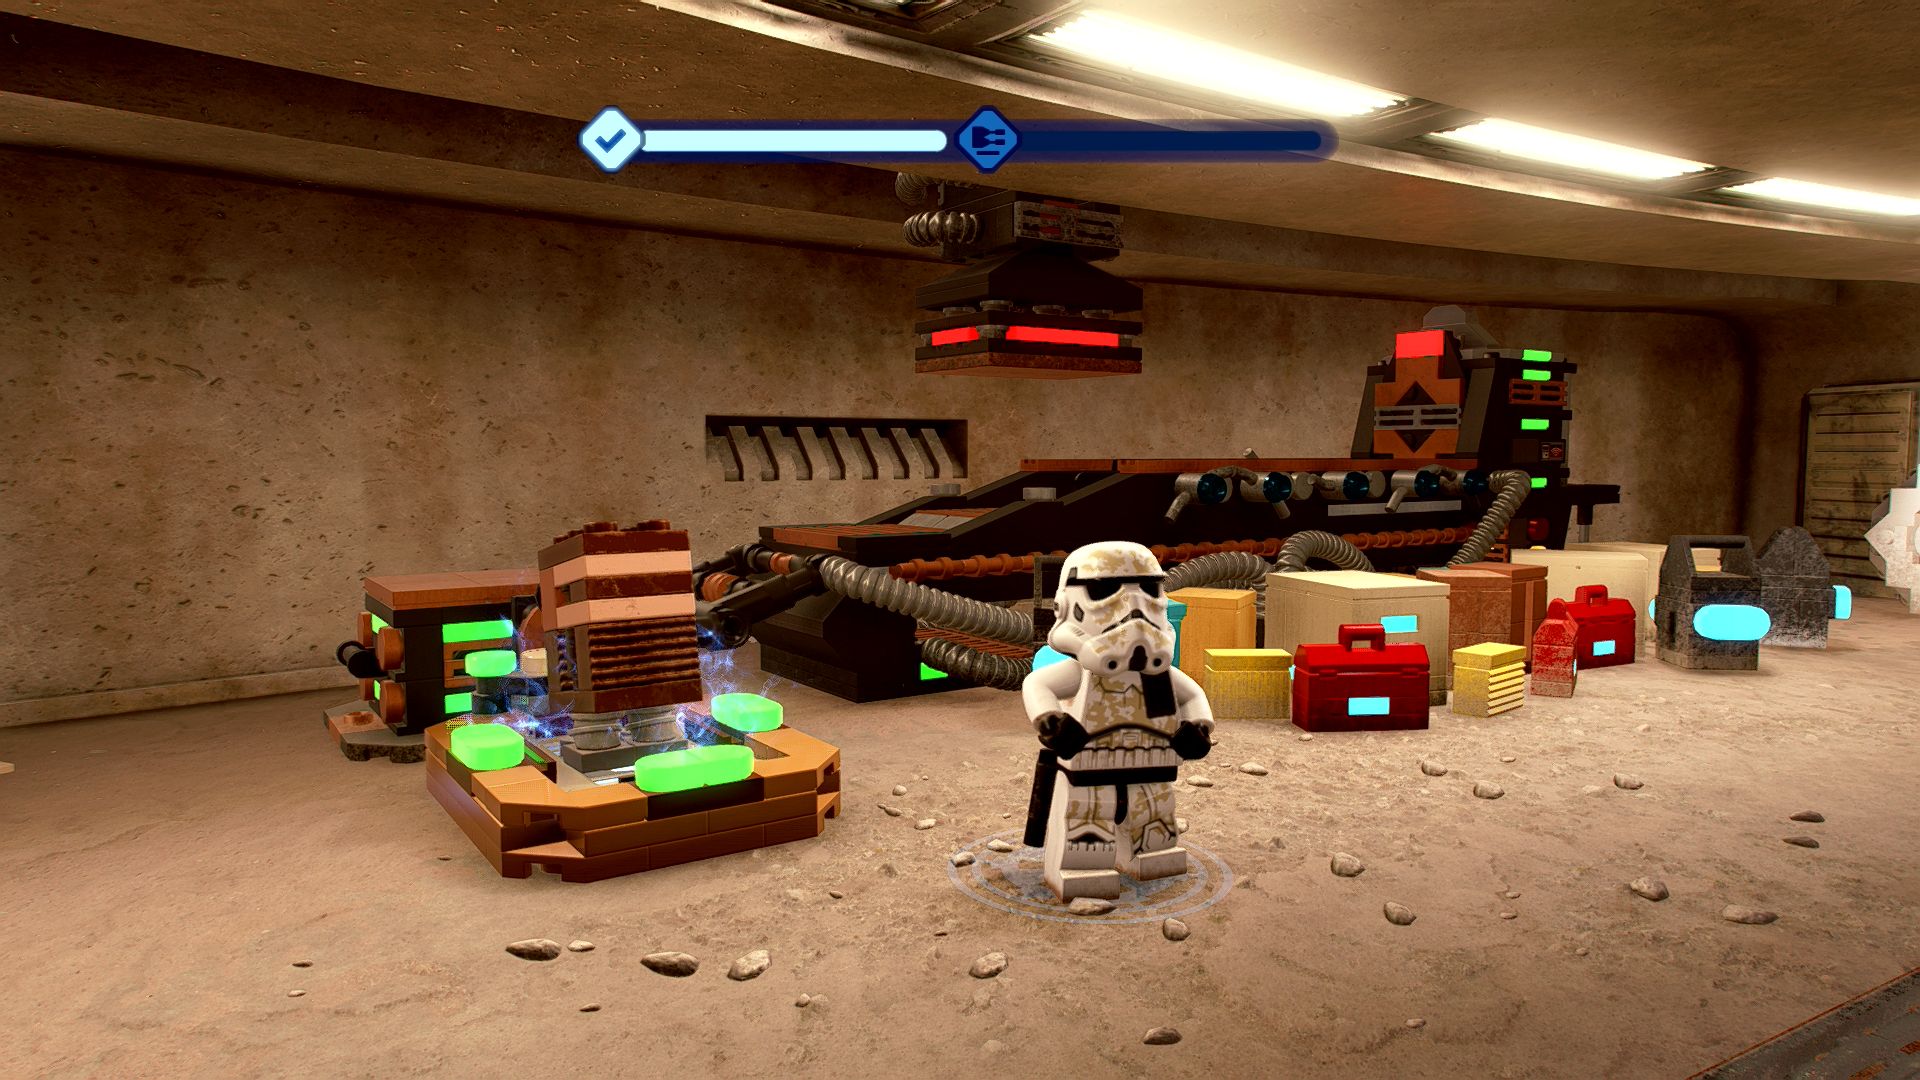
Any lost belongings must be retrieved and processed.
In the north-east corner is a section closed off with a Villain Terminal locking it. In Story Mode you can dress up as a Stormtrooper to access it. Behind there is a conveyor belt with a GNK panel on the floor next to it. Ride a GNK onto the panel to activate the conveyor and release the minikit.
Minikit 3/5 - Secret Stash
Requires: None Story Mode: Yes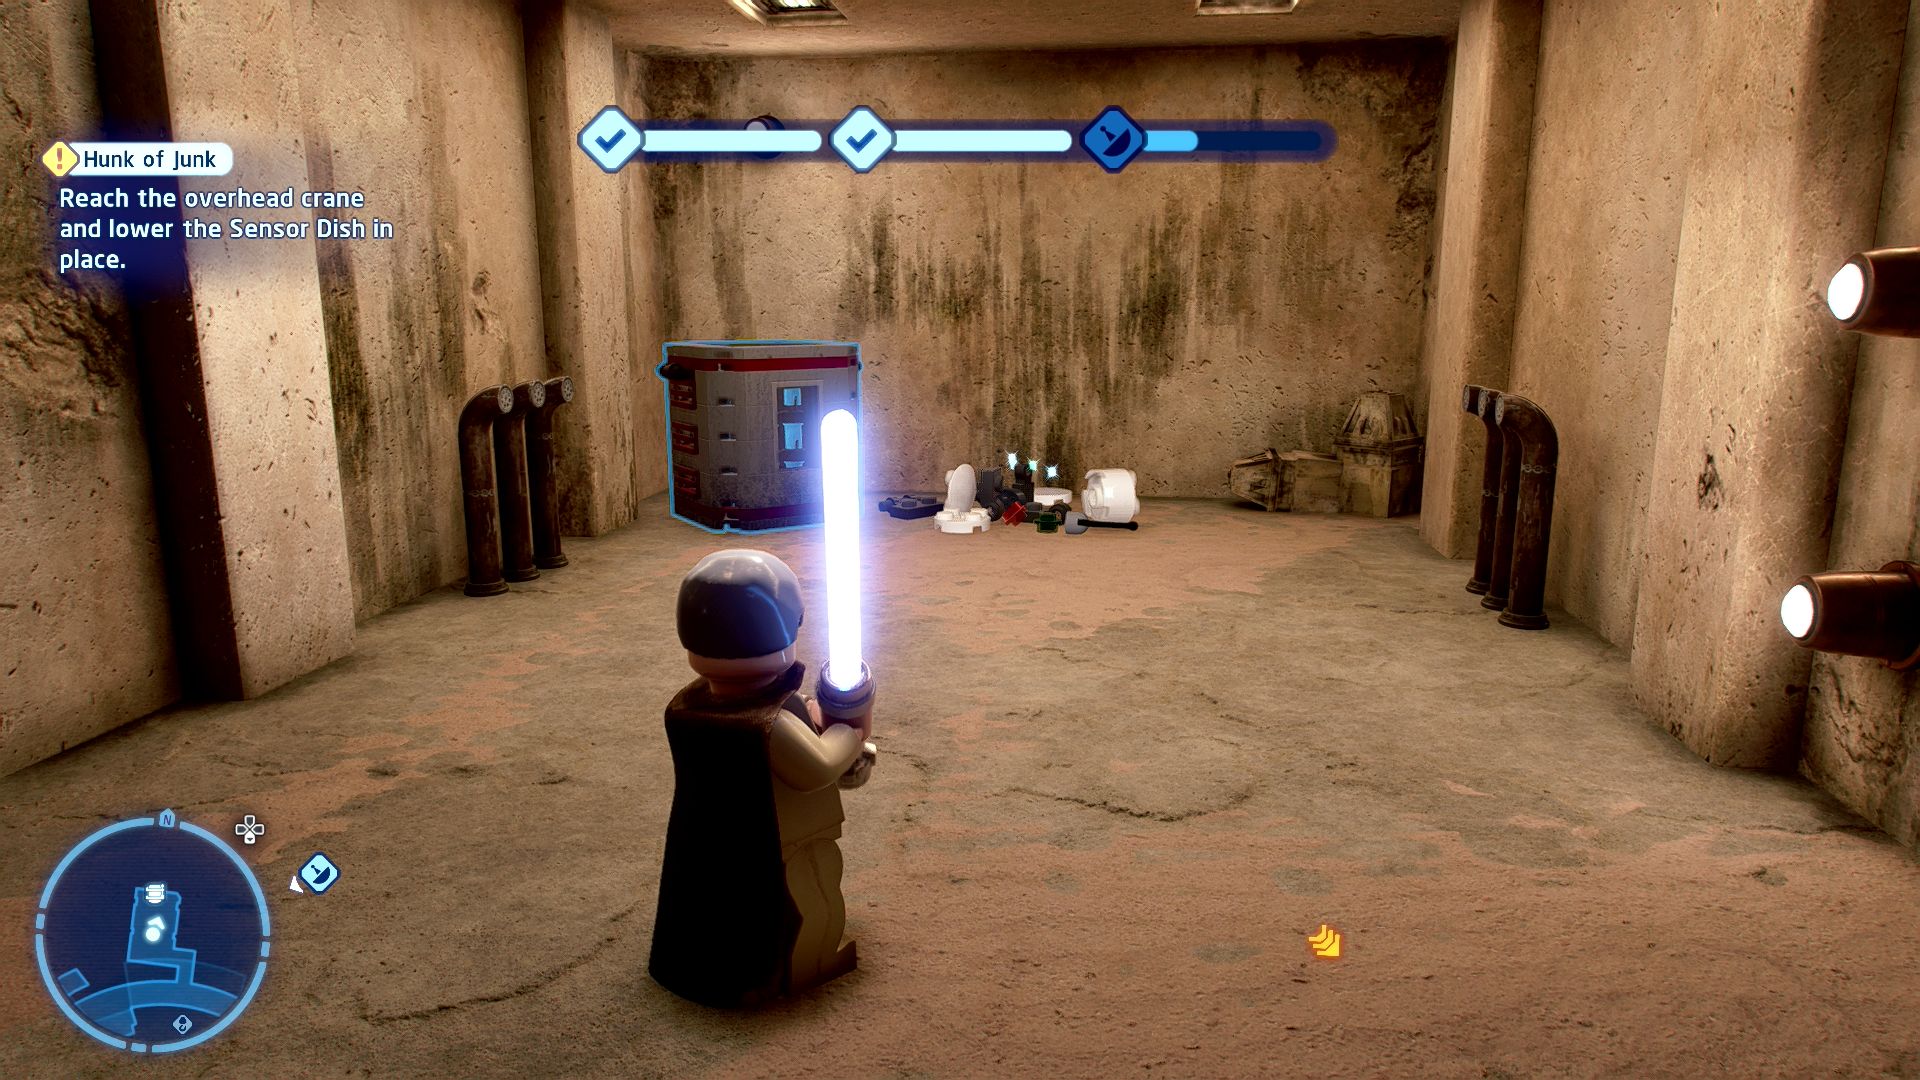
Found within a hidden stash of valuable resources...
On the northern side of the upper level is a room with a few crates inside, smash the crates to find the bricks to build a minikit canister.
Minikit 4/5 - Docking Bay Storage
Requires: Hero Story Mode: Yes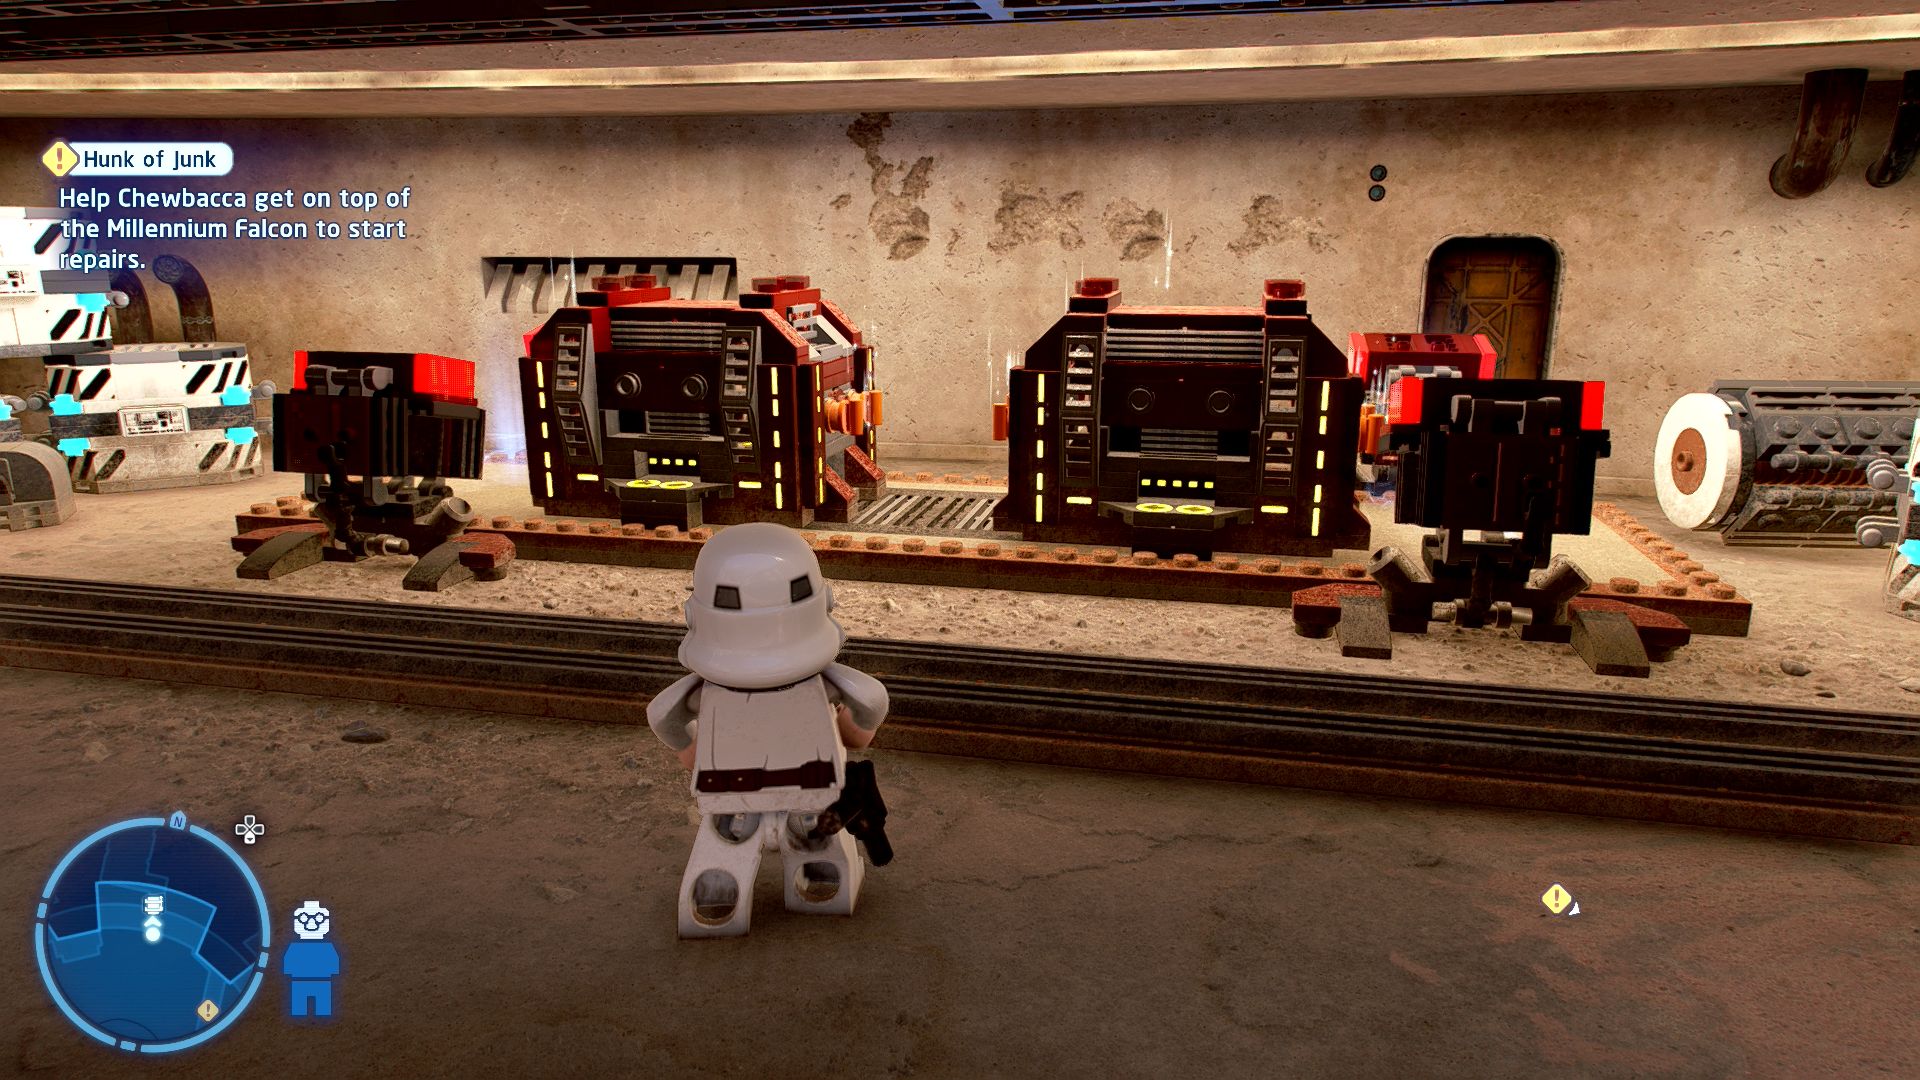
You never know what you'll find when you shove some boxes around!
On the northern side is a Hero Terminal to activate and open a small area where there are a couple of crates you can pull to the side to lock into position. The minikit will appear out of the ground between them.
Minikit 5/5 - Emergency Exit
Requires: None Story Mode: Yes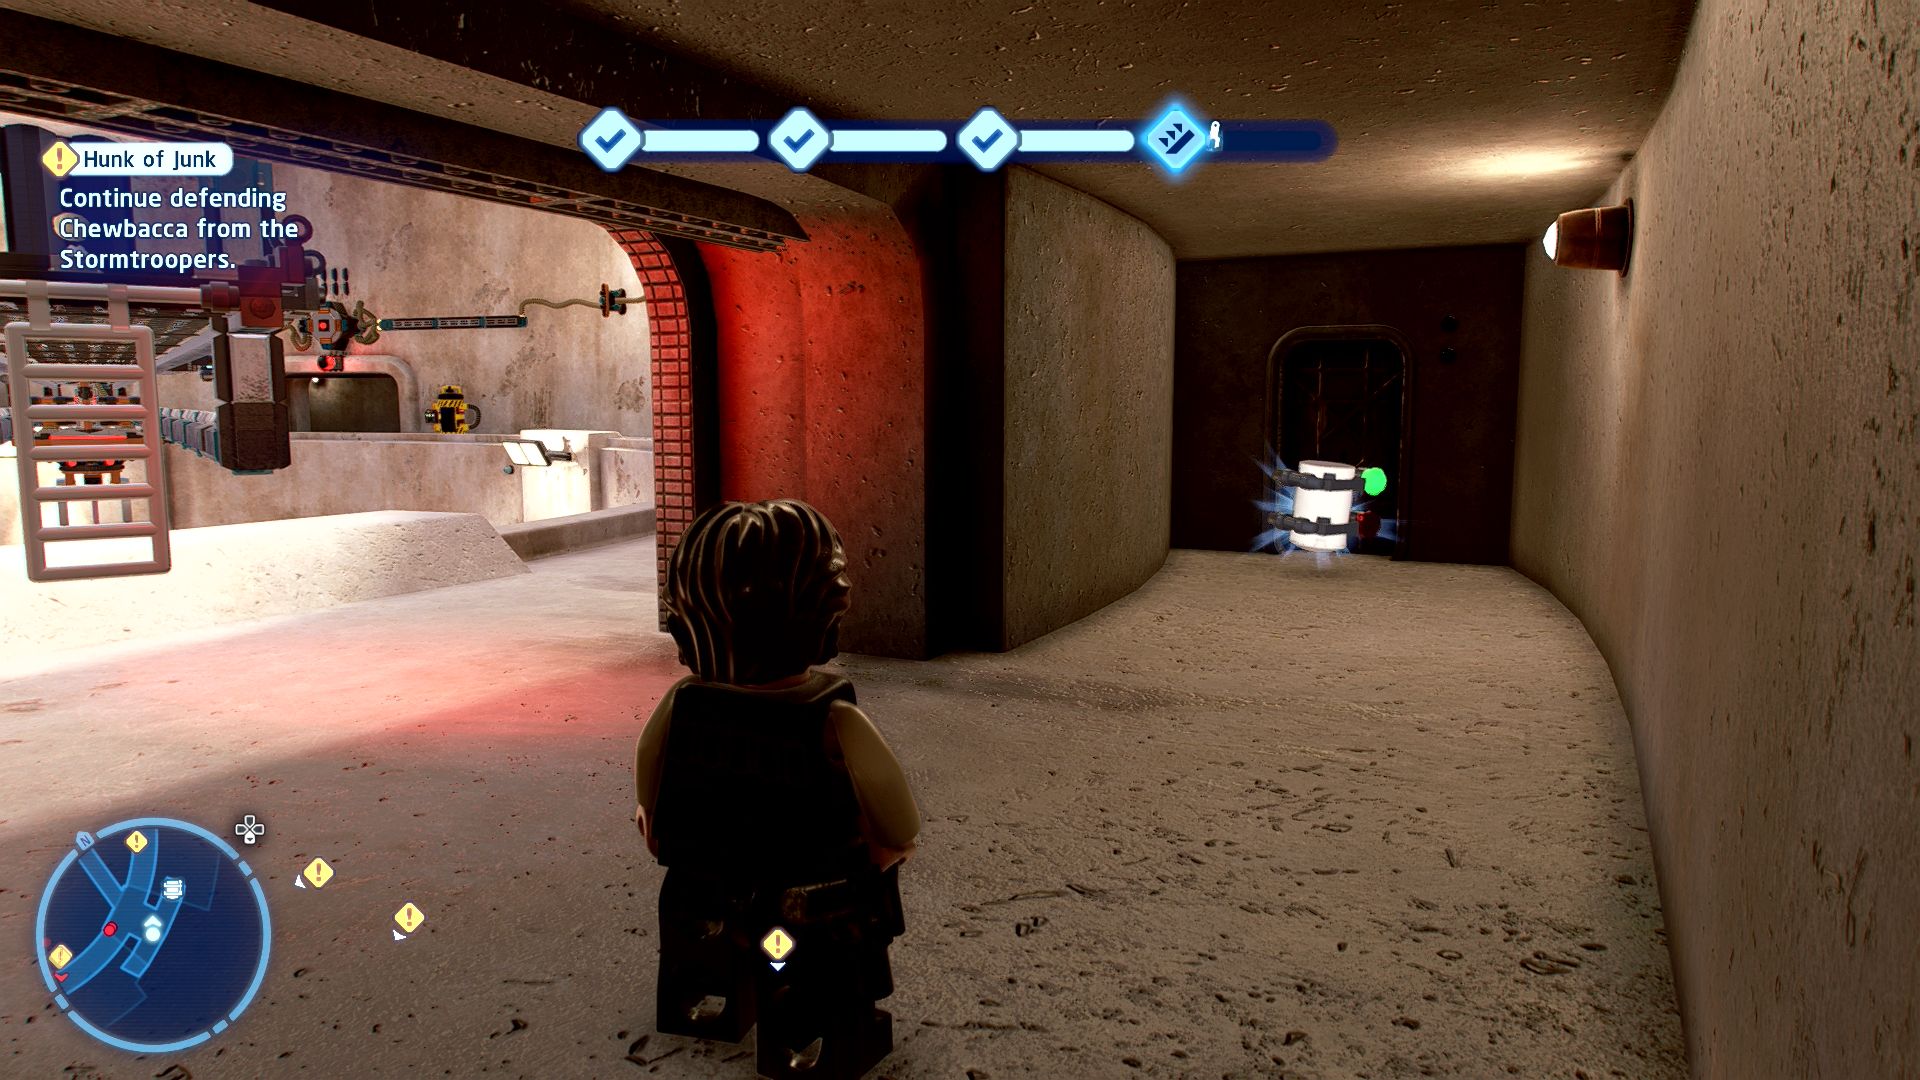
Exits can be found on the first floor! Did that minikit try to make a break for it...?
When the doors on the upper section open to let some Stormtroopers in you will be able to find this minikit in the south-eastern door up there. Make sure to grab it before locking the doors (they will open again if you wait for more troopers to spawn).
Millennium Falcon

Based on set 75193
Millennium Falcon Microfighter
| Cost | Character | |
|---|---|---|
|
|
- | Han Solo (Episode IV) |
|
|
35,000 | Sandtrooper (Commander) |
|
|
35,000 | Sandtrooper (Sergeant) |
|
|
- | Millennium Falcon (Episode IV - VI) |
Episode IV
A NEW HOPE
The story so far...
- With the help of a local blue milk
- enthusiast, LUKE SKYWALKER,
- the droids delivered their
- message to its target, ex-Jedi
- Knight and current hermit, BEN
- KENOBI. He revealed that he
- served in the Clone Wars
- alongside Luke's father, and
- definitely had nothing to do with
- his death. Ben heard Leia's
- message and agreed to take the
- droids to the Rebellion on
- Alderaan.
- After finding his home destroyed
- by the Empire, Luke resolved
- himself to become a Jedi like his
- father, and Join Ben on his mission.
- Venturing to Mos Eisley, they
- enlisted the help of smugglers
- HAN SOLO and CHEWBACCA to
- escort them.
- However, after fleeing Tatooine
- from pursuing Stormtroopers,
- they discovered the EMPIRE
- destroyed Alderaan. Now, they
- find themselves in the tractor
- beam of the DEATH STAR....
Death Star Space, Hangar
That's No Moon
[Search for the Death Star control room.]
Run forwards past Obi-Wan and then to the left where there's a Stormtrooper battling a faulty door. Talk to him and then continue past to an Villain Terminal that you can use while dressed as a Stormtrooper. Solve the direction remembering game to open the door.
Inside the unlocked room is a Silver LEGO chest that you can blow up with a Stormtrooper's grenade. Once it's blown up switch to R2-D2 to solve the Astromech Socket behind it. Switch back to Luke or Han and press the first button on the wall, quickly run to the second button and press that too. If you're too slow it'll turn off again and you'll have to press the first button again. Press the second button in time and it'll fully power up to fix the faulty door.
Go up the ramp behind that fixed door and follow the corridor along going up another ramp to the control room entrance where you will find the marker to start the next level.
Chapter 3
Best Leia'd Plans
| Silver | Blue | Purple |
|---|---|---|
| 20,000 | 40,000 | 60,000 |
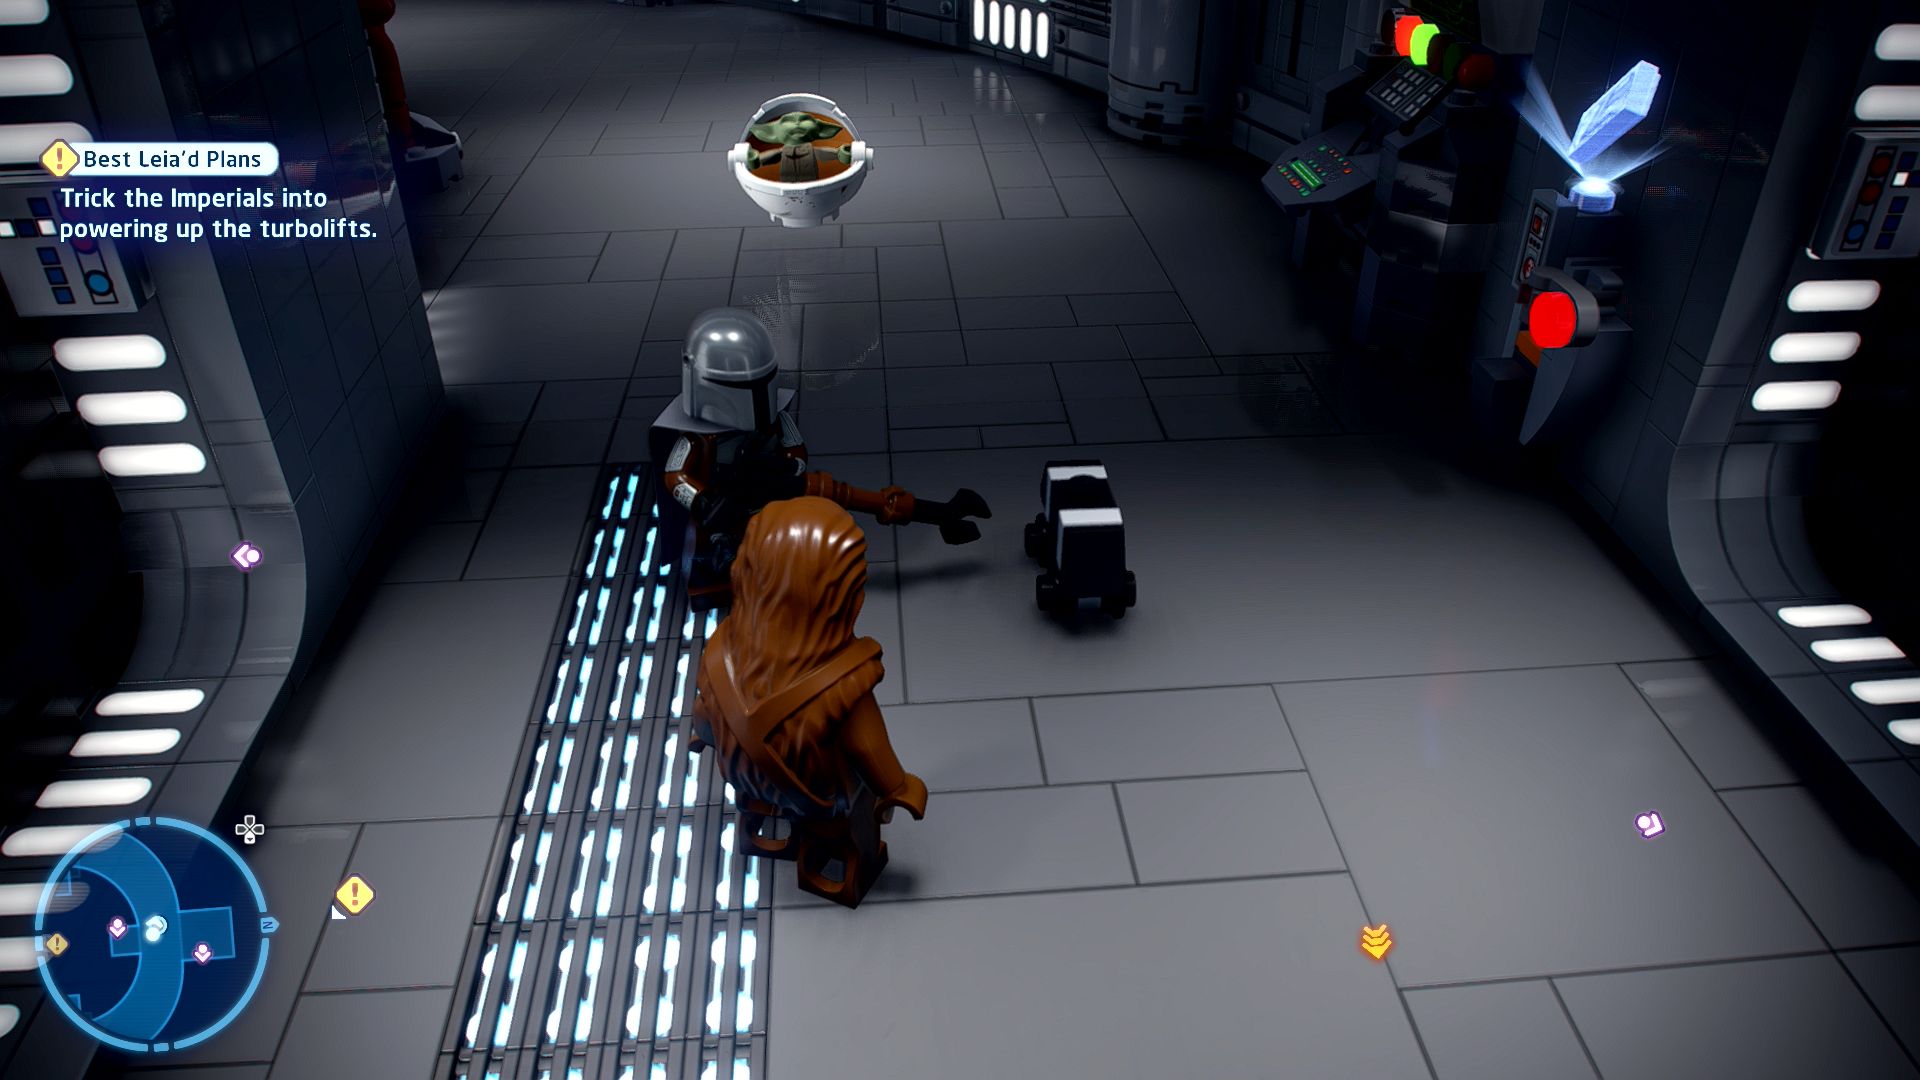
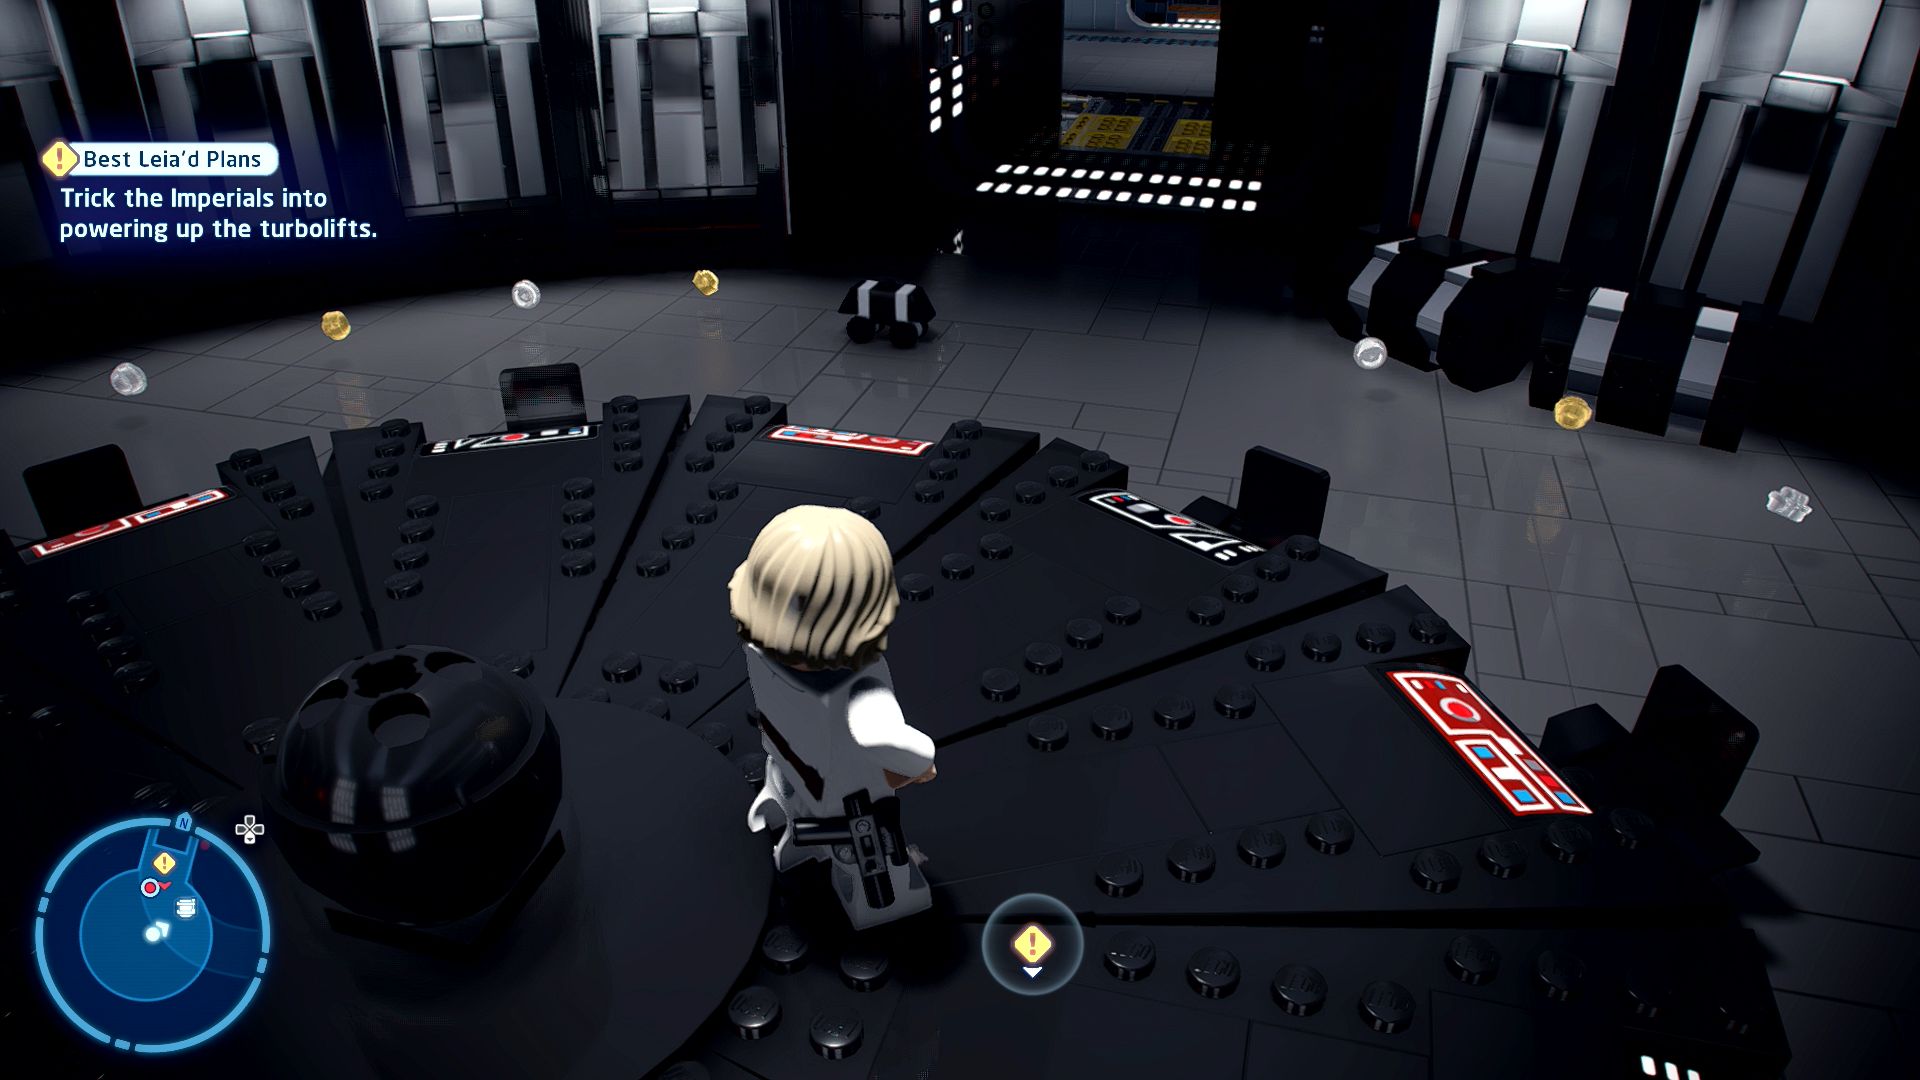
[Trick the Imperials into powering up the turbolifts.]
Take a left ahead, walking through the Stormtroopers who will all ignore you for the moment so long as you don't do anything crazy like attack them.
At the end of the curved part is a blockage, smash a couple of crates and some scaffolding. From the LEGO bricks on the floor assemble a handle for the containers and move them to the opposite side of the moveable area to where they start. Make sure the smaller container is next to the larger one so that you can use it to jump up to the top.
From the top of the taller container jump up through the hole in the ceiling to a corridor covered in spiderwebs. Blow up the Silver floor at the end and jump through the hole you've created.
Go all the way to the other side of the circular path and enter the room with a camera and a projection screen. Smash the cleaning cart, the bench, and the lockers in the corner and build a fake Vader out of the bricks before sliding it into view of the camera using the red X on the floor as a marker.
[Activate the detention block elevator.]
Press the button in the elevator to get up to the detention level.
[Reach the Princess' cell.]
You may have reached here without being detected but you'll pretty much have to alert the guards here now (although you can just enter the password Triangle, Circle, Square). You can use Chewbacca to Scoundrel shoot the stuff above the guards to defeat them all in one blow (and complete a challenge) or you can just fight them normally. Either way blow up the Silver LEGO covering the security camera button at the back of the room.
When all has calmed down press the security camera button a few times until you see Leia's cell. She will have written a code on the wall, change the three symbols on the left to match her code and the security barrier will drop.
Some more Stormtroopers might attack but you can ignore everything now and just make your way down the corridor to Leia's cell.
[Defeat the Dianoga!]
The Dianoga can be damaged by shooting its eye. The problem is that it will immediately duck back down into the water after doing so and then grab your character. Switch to another character to attack the tentacle to free them.
Again shoot the Dianoga's eye when it pops up and avoid the tentacles waving about all over the place. Don't just shoot the eye once, keep shooting it until it fully disappears. It will pop up a few times around the room so keep shooting at it when it does. Once you get it to about half health all the tentacles will disappear and a large red circle will appear around you. Run around to avoid it if you can but if it grabs you you'll have to switch character to get yourself free again.
Repeat that to about 25% health and then all over again one more time but at the end of that final time it will appear wearing a Silver LEGO helmet. Use a Stormtrooper grenade to blow it up and then shoot it to defeat it.
After a short time some LEGO bricks will fall into the room that you can use to assemble a pole to try to keep the trash compactor from squishing you. That completes the level.
Level Challenges
- Boring Conversation Anyway
- Break the console panel to cut off the Empire Captain.
- While Han is trying to convince the captain that there is no problem in the detention level just smash the consle panel.
- Slight Weapons Malfunction
- Clear out the detention block guards like a true scoundrel.
- Have Chewbacca aim at the lights above the guards when you reach the detention level. This will of course only count if you do it while the guards are alive.
- Your Weapon, You Will Not Need it
- Get through the first floor without being detected.
- Fairly straightforward, simply don't attack anyone before you enter the elevator. Make sure to wait for the Stormtrooper in the camera room to leave before you start smashing stuff just to be safe.

Minikit 1/5 - MSE Trap
Requires: Grapple Story Mode: No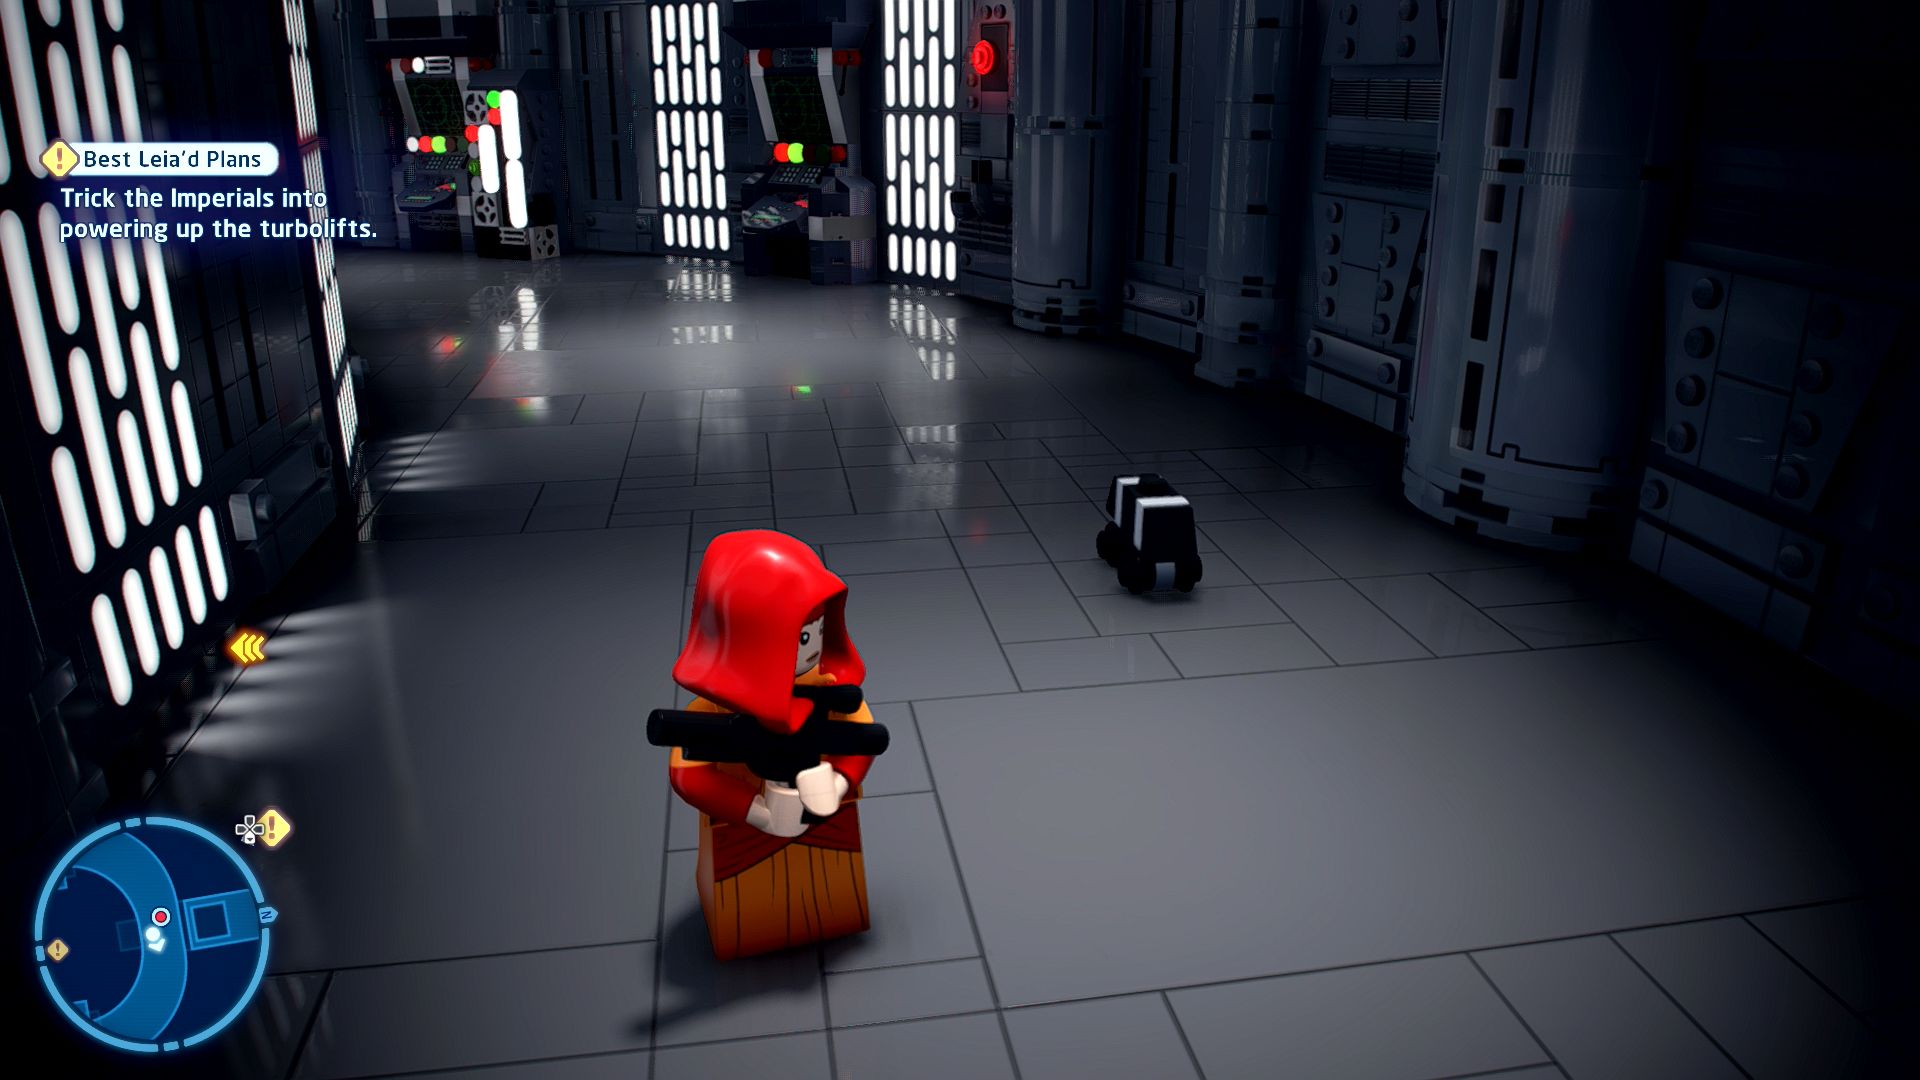
These mouse droids are such a pest...
There are three mouse droids scattered through the level, you'll need to defeat them all. The first is on the second level driving around the circular section. To get here you'll need to grapple up the centre of the level from the ledge directly in front of the elevator. The second is on the fourth level, again circling the level. The third one is in a secret room found above the ladder to the fourth level, turn around and use a grapple to open it up.
Minikit 2/5 - Do You Mind?
Requires: Grapple Story Mode: No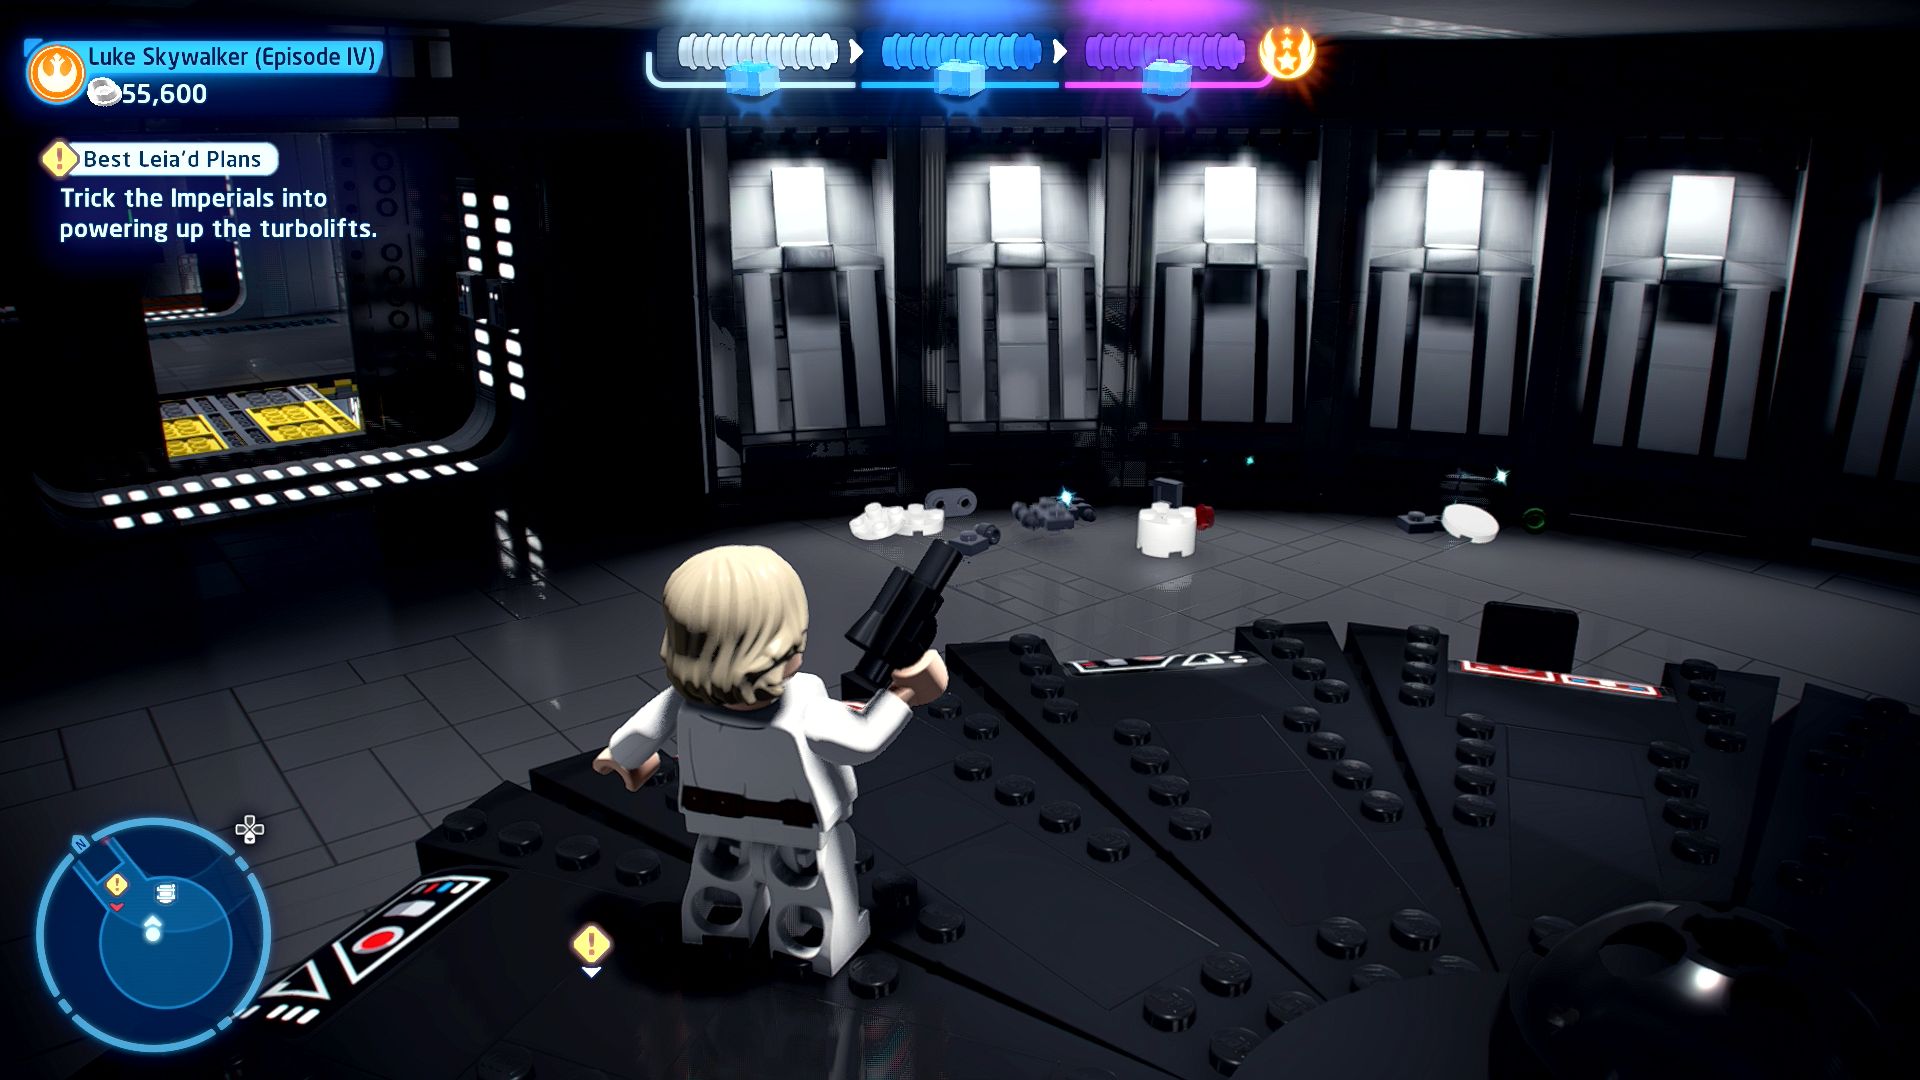
Find out what the Emperor is up to... Then regret it.
In the same room as the third MSE droid (the room with the large circular table and had a hologram of Palpatine) are some objects you can destroy to get the parts for this minikit canister.
Minikit 3/5 - Glide to Provide
Requires: Grapple Story Mode: No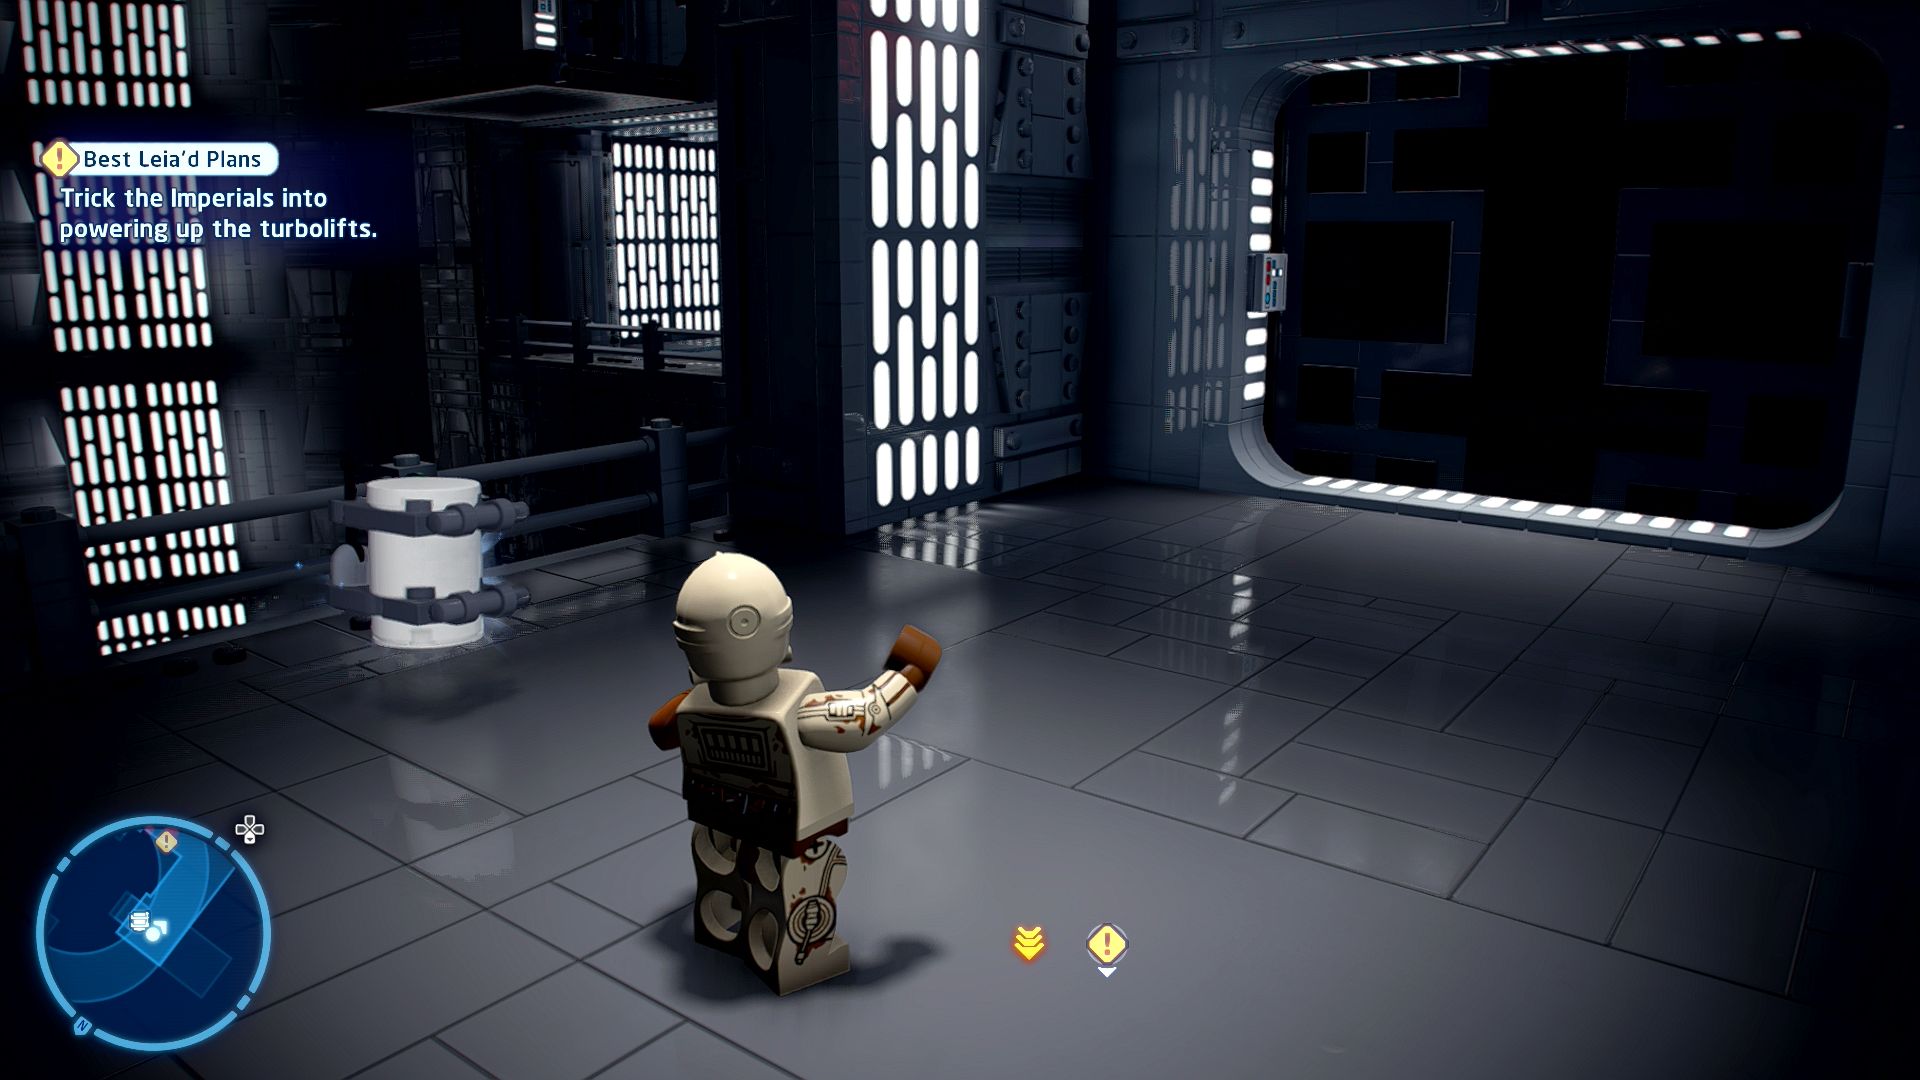
That minikit is REALLY out of reach! Or is it...?
From the fourth level you can drop down from the western ledge to the level below where the minikit is waiting. You're probably supposed to use a Scavenger to glide from the opposite side on the fourth level but there's no need.
Minikit 4/5 - Break's Over
Requires: Grapple, Scoundrel Story Mode: No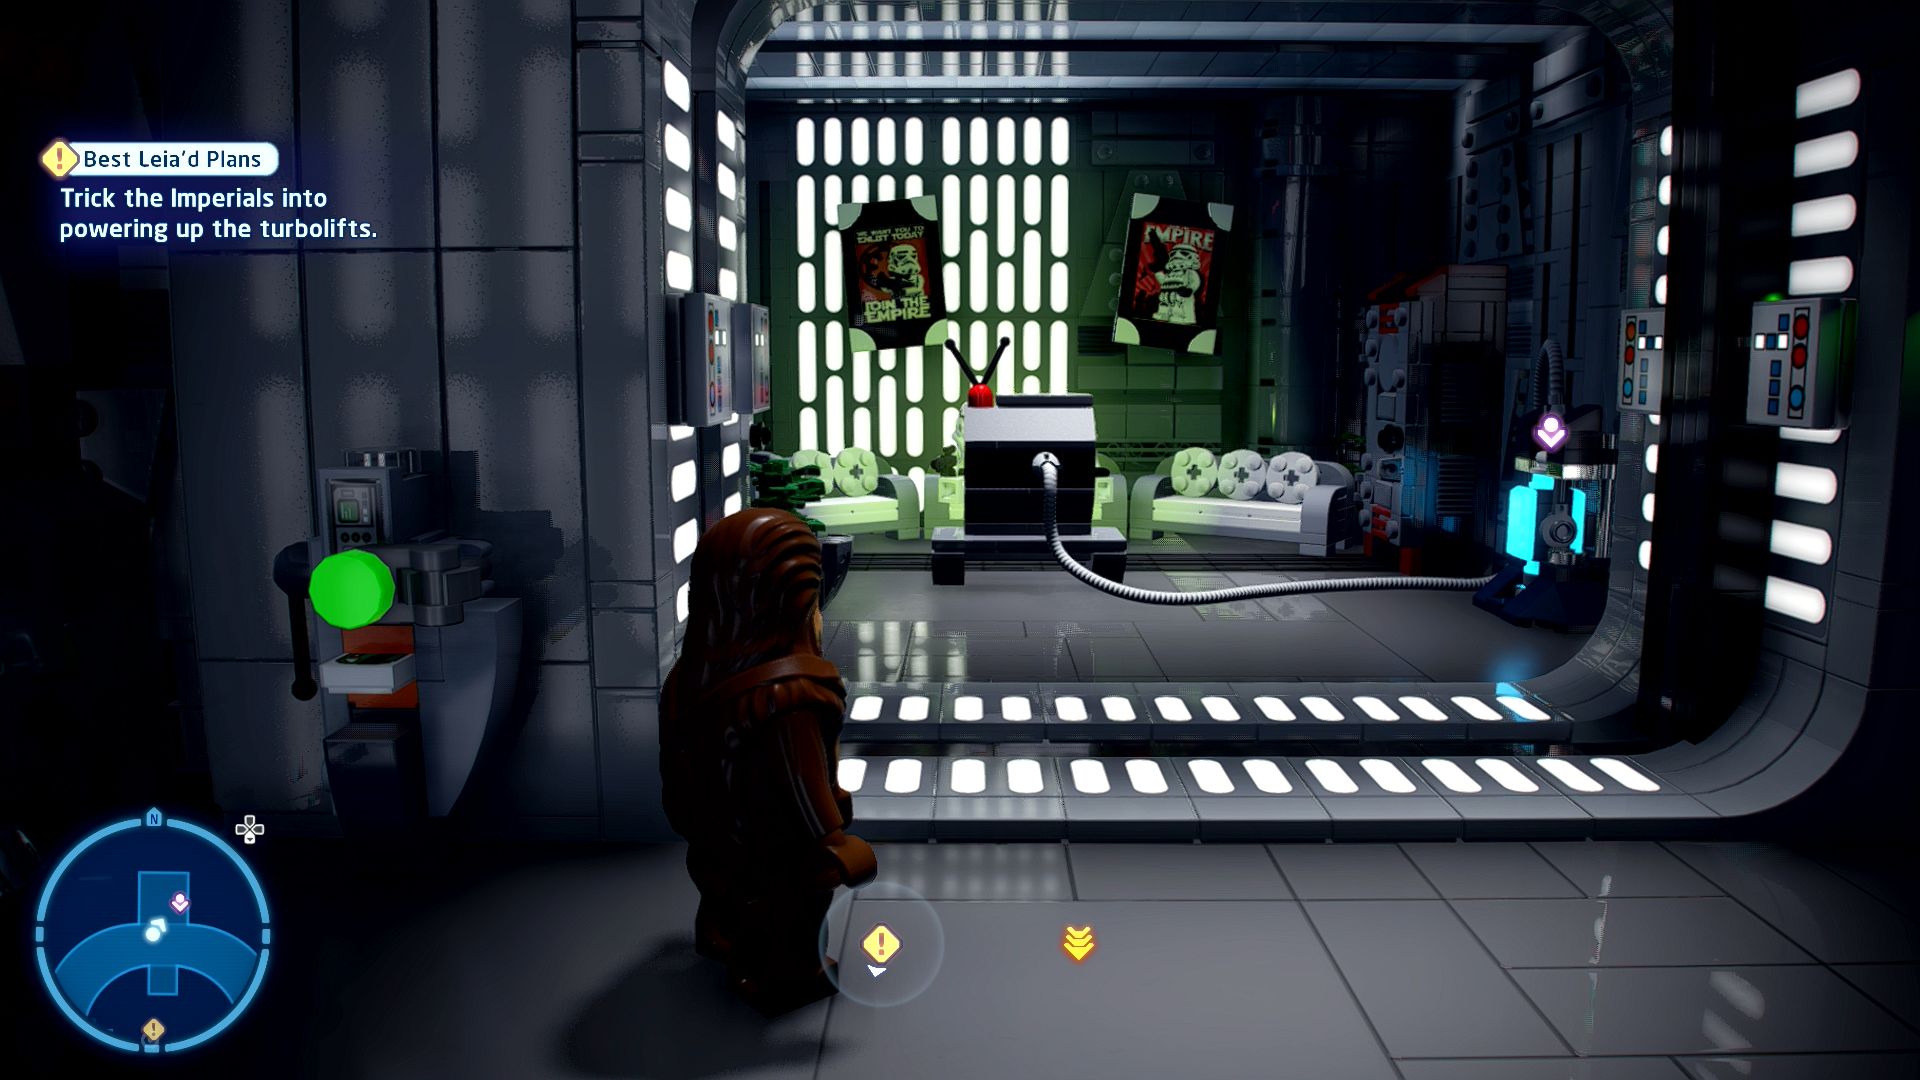
Take back the stolen power cell!
When you climb the ladder to the fourth level you'll see a Stormtrooper remove a power cell and run off. You can't directly follow him as he'll slam a door locked behind him.
Instead go to where he took the power cell from and look out into the central section. Over to the left is a keycard defended by a few Stormtroopers, you can shoot them from here but to actually reach the card you'll need to use a Scoundrel to shoot an object up to the right that will smash down and open up the door on the right side.
You can now go through that door, pull a lever, and then zip along the rope to where the keycard has been dropped. Press the button to open this door and then use the keycard on the door opposite to get into the locked room where you can grab the power cell. Take it back along to where it was originally taken from to open up the minikit room.
Minikit 5/5 - Priorities
Requires: None Story Mode: Yes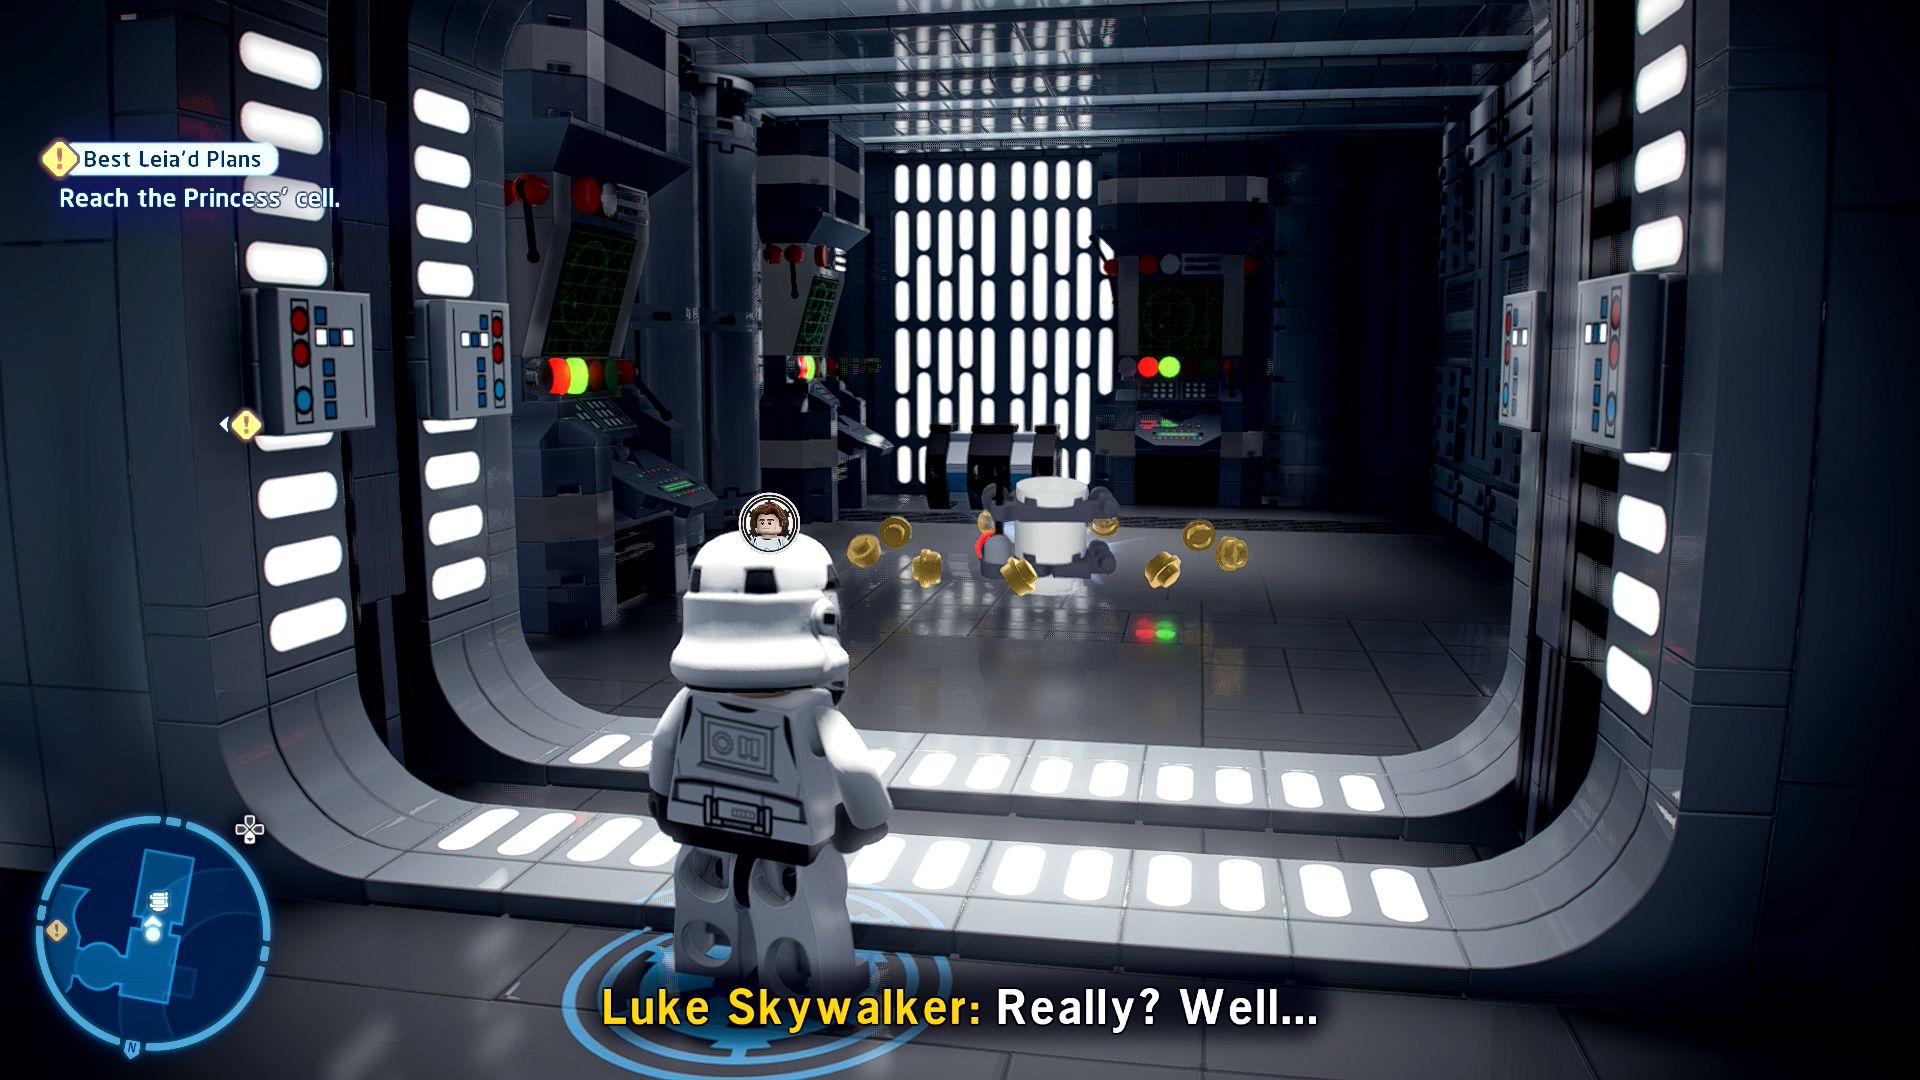
The princess isn't going anywhere. Best conduct a thorough search of the detention area!
When you reach the detention level double back through the other side of the elevator and take a left through a door to find this minikit.
Imperial TIE Fighter

| Cost | Character | |
|---|---|---|
|
|
- | Chewbacca |
|
|
- | Han Solo (Stormtrooper - No Helmet) |
|
|
- | Luke Skywalker (Stormtrooper - No Helmet) |
Episode IV
A NEW HOPE
The story so far...
- Trapped on the Death Star, Luke
- and his companions are unable to
- escape while the tractor beam is
- operational. While escorting
- Obi-Wan to the control room,
- Luke discovered that PRINCESS
- LEIA was also on the Death Star,
- being held captive.
- Desperate for a pay day, Han and
- Chewbacca joined Luke in
- locating the princess. After
- breaking her out of her cell, they
- fled enemy fire by falling into a
- trash compactor. There, they
- battle the vicious DIANOGA,
- narrowly avoiding death.... by
- smelling like they hadn't.
- Joined by C-3PO and R2-D2,
- Obi-Wan Kenobi continues his
- quest to switch off the tractor
- beam....
Death Star Space, Interior
Tractor Beam Takedown
[Find the tractor beam controls.]
Another exciting follow the marker section. Walk north down the slope then around the corner and south down a curved corridor then down some more steps. Take a left and then a right through a door to go up a slope. On your right will be a locked door with an Astromech Socket in front of it, switch to R2-D2 to solve it and open the door.
[Find a way to access the control platform.]
On the other side of the door is a chasm with two Stormtroopers on the bridge crossing it. You've got a few choices here, you can use Obi-Wan's Jedi abilities to influence the Stormtroopers into jumping off the edge, you can have C-3PO activate the Protocol Terminal to use a Turret to shoot them (not exactly subtle though), or you can just rush in and attack them.
Anyway, once they're dealt with go to the middle of the bridge and use the Force to flip a switch on the northern platform guarded by loads of laser beams. You can jump over there and start the next level.
Chapter 4
This is Some Rescue
| Silver | Blue | Purple |
|---|---|---|
| 18,333 | 36,666 | 55,000 |
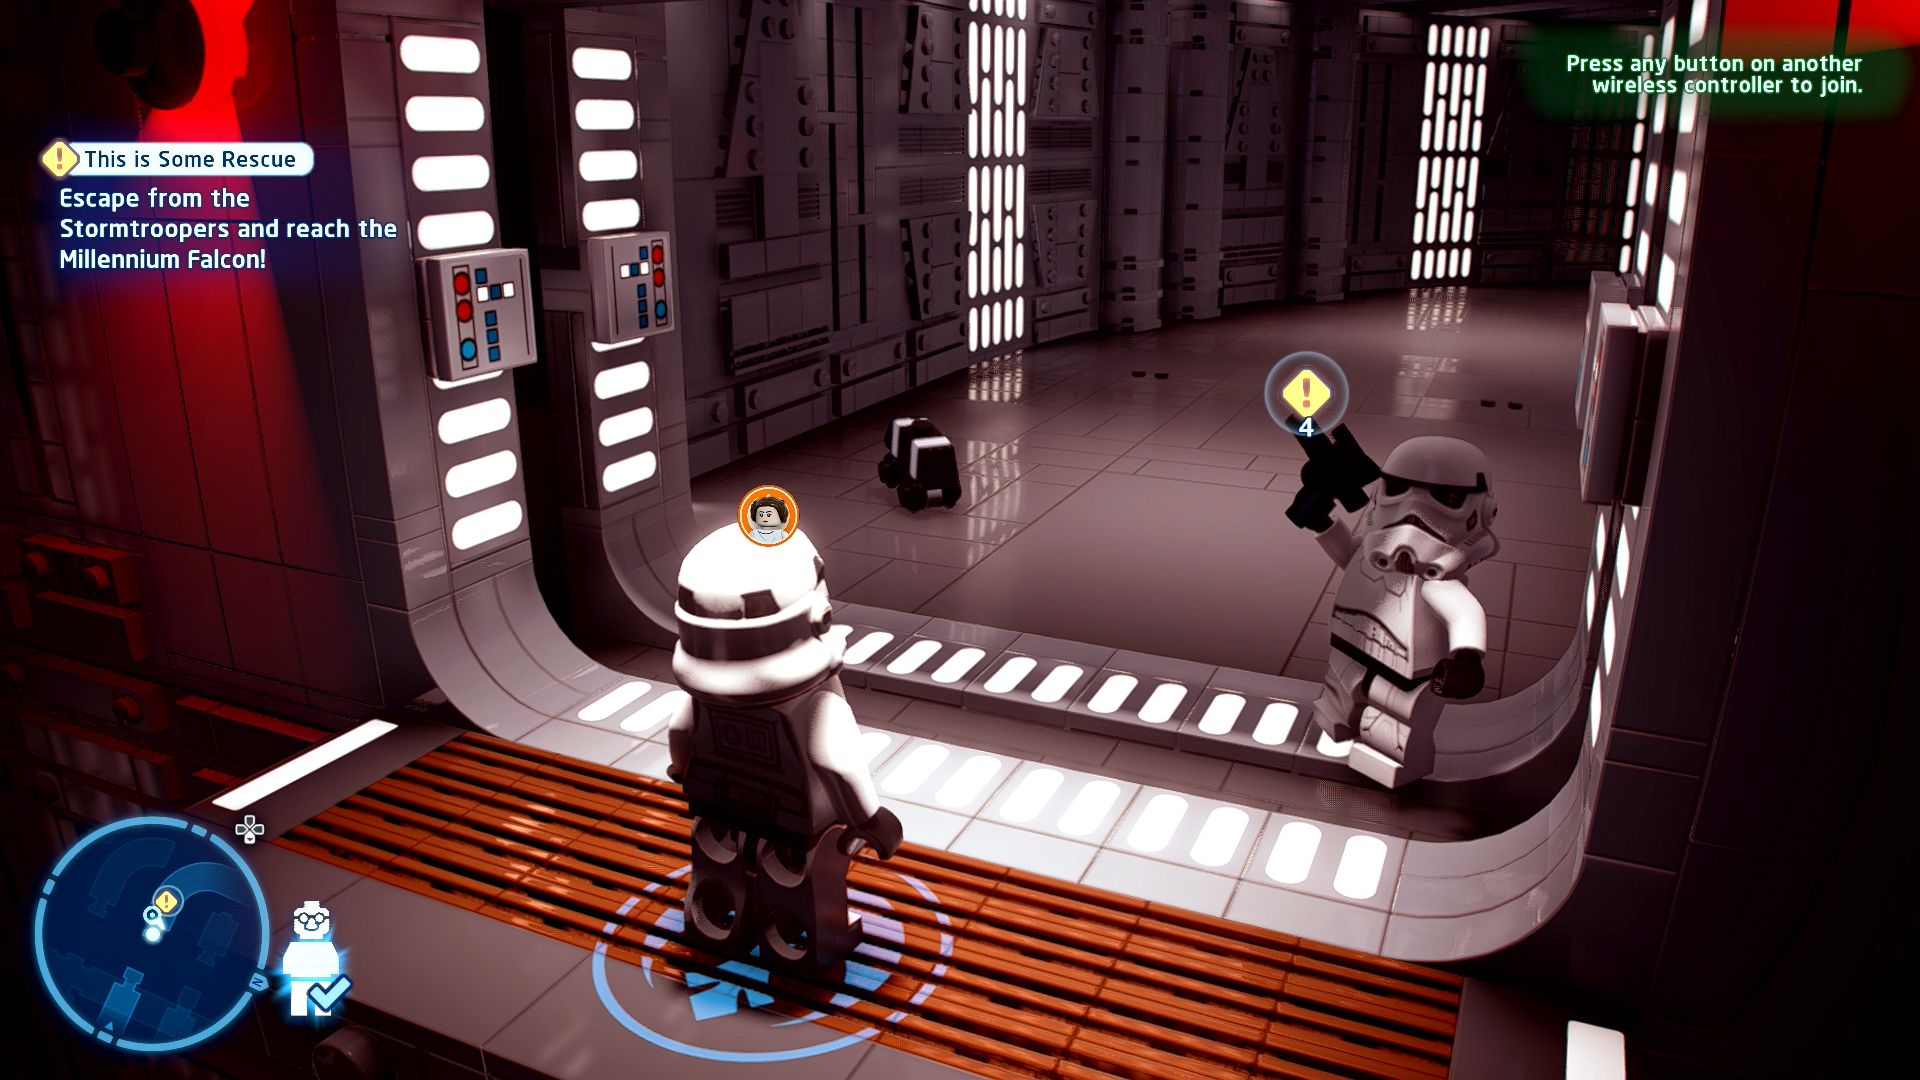
[Find a way back to the Millennium Falcon!]
Take a right and rather than directly shooting the Stormtroopers that are trying to run have Han Solo aim at the object on the wall to their right to trigger a Scoundrel Opportunity that opens the door and kills them all at the same time. We're not doing stealth this time.
Go up the ramp through the door and you'll be shown an Imperial Officer using a keycard before setting off the alarm. Shoot the troop of troopers then advance southwards along the corridor. At the corner you'll see some more Stormtroopers being protected by an automated turret on the ceiling. Shoot the turret and the Stormtroopers before attacking the Officer hiding behind the glass.
Take the keycard the Officer dropped back to where he first used it to open the door and head up the slope eastwards. You'll now be shown Luke and Leia down below waiting for your assistance.
[Help Luke and Leia get through the locked doors.]
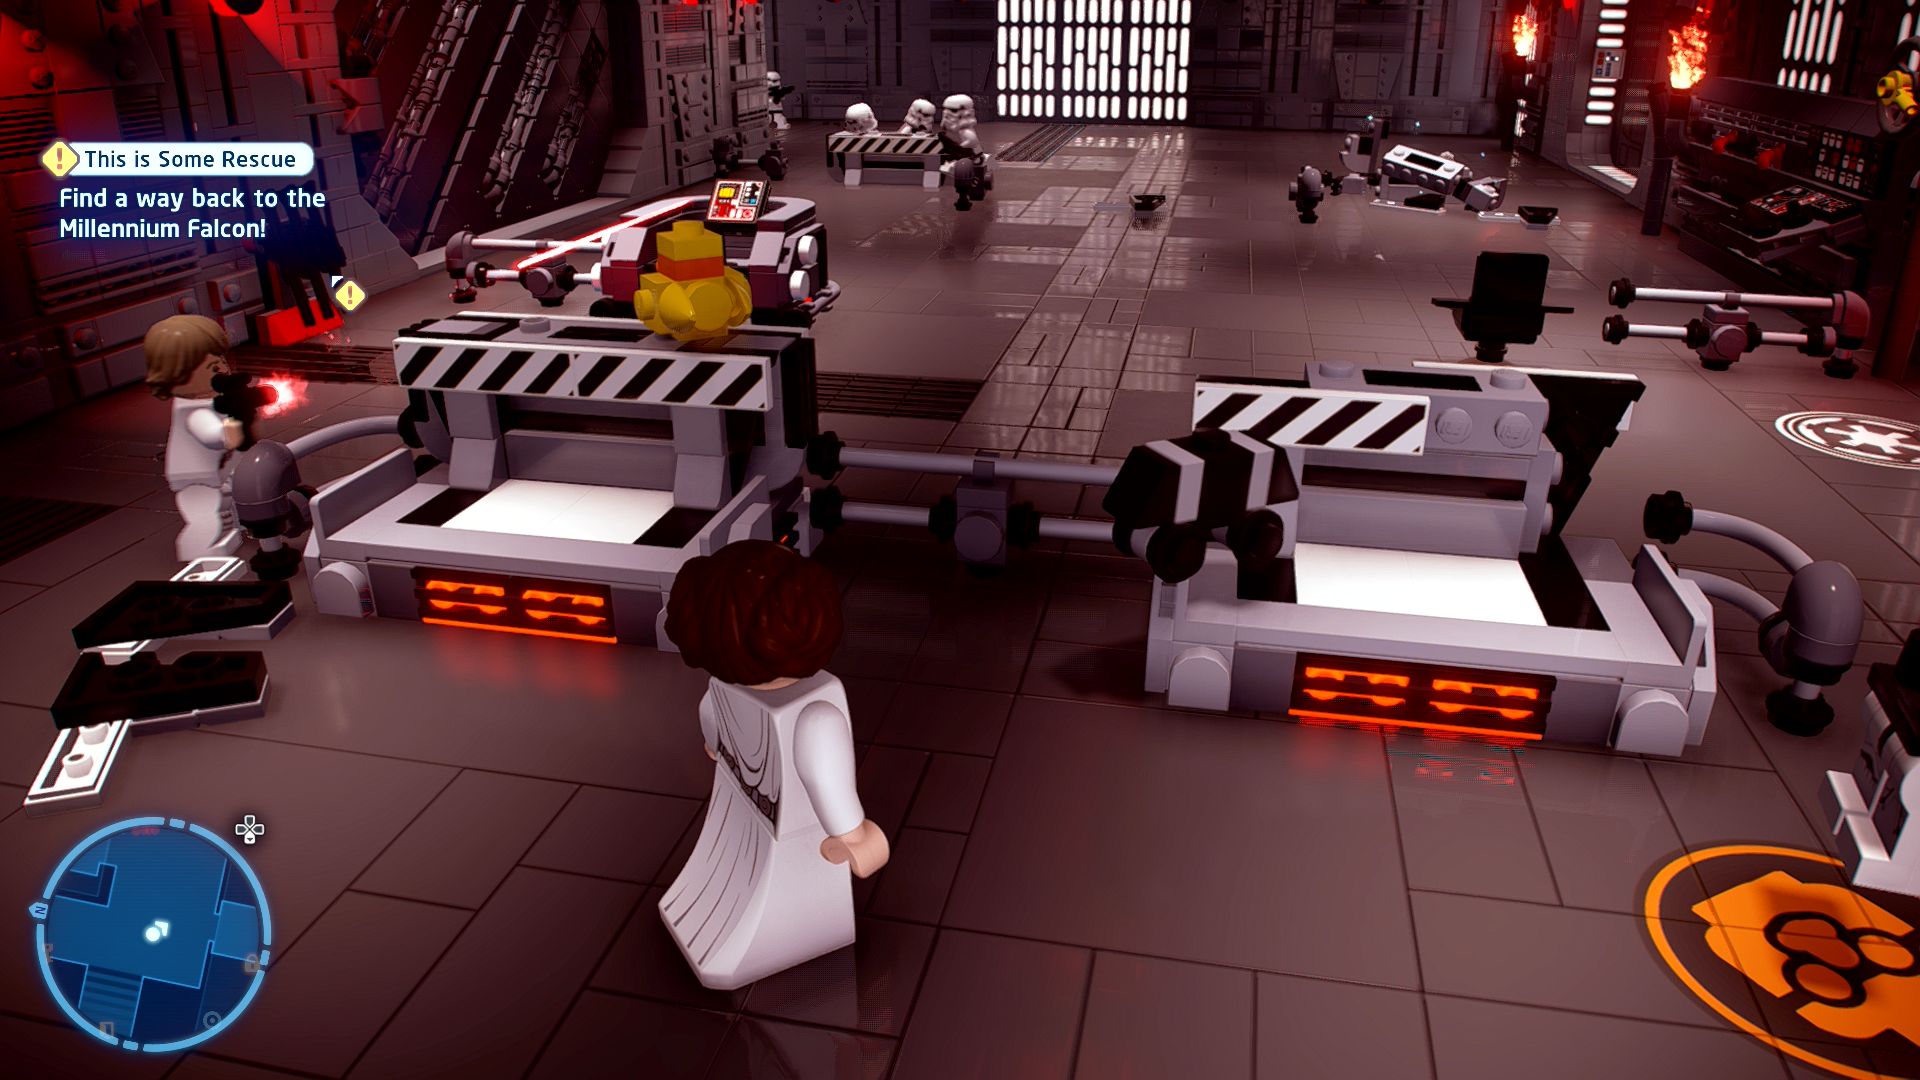
Shoot the Stormtrooper at the end of the corridor and then smash his console. From the LEGO bricks it drops build some handles to pull out. Have one character stand on the red button to the right and the other jump up onto the lever above. That'll open the door for the others and we now switch control to them.
There's a lot of Stormtroopers in this room to shoot at. Once you've cleared them out equip a full set of their armour (helmet + torso + legs) and then exit via the northwestern path up and around to the control room. The Stormtroopers in here should ignore you if you're fully disguised so you can walk over to the corner and use the Villain Terminal to disable the red forcefield that the Imperial Officer is hiding behind.
[Escape from the Stormtroopers and reach the Millennium Falcon!]
Grab the keycard from his hands (no need to attack) and go back down to the main room. This time take the western exit up a small slope to a locked door that can be opened with your new keycard.
Pass by the Astromech Socket and straight through the door, unfortunately the bridge is missing. Shoot a couple of Stormtroopers down to the left and then focus on the Stormtroopers up to the right, one of them will wield a sniper rifle. Keep attacking the sniper rifle trooper until he accidentally blows up the object in the air between you and the other side. You can now grapple swing across the gap to finish the level.
Level Challenges
- Bullseye
- Find a more uncivilised way to help Luke & Leia.
- When you're opening the door for Luke and Leia instead of pressing the button and pulling the switch you should instead aim down into the hangar at the red circle above the door they are stuck behind and shoot it.
- For Luck
- Discover an alternate method across the gap to escape the Stormtroopers.
- Just before you go through the door that leaps to the gap there is an Astromech Socket, use it to create a simple bridge.
- Special Edition
- Discover the hidden room within the Death Star.
- Behind where the first keycard carrying Officer cowers is a door covered in Gold LEGO, use a Bounty Hunter to shoot all the pieces to open it up.

Minikit 1/5 - Stacked Up
Requires: The Force Story Mode: No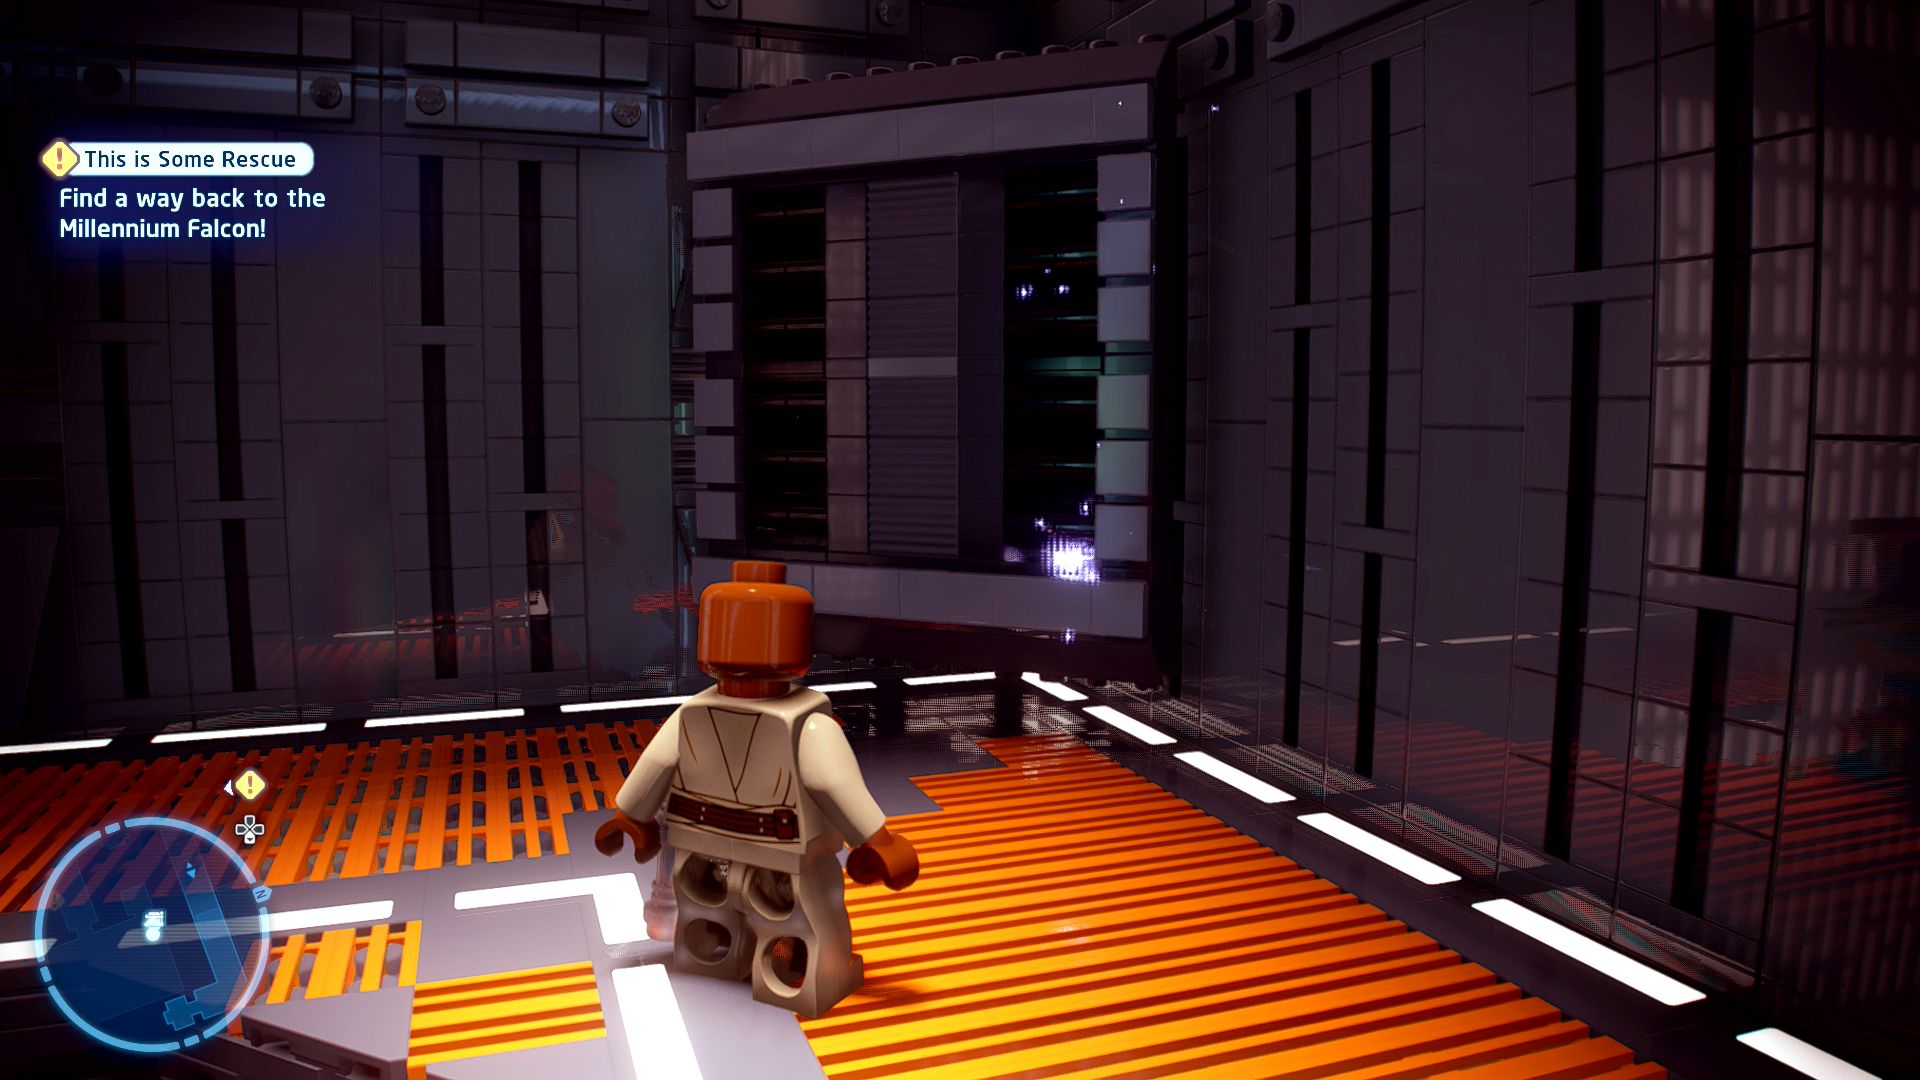
Use the environment to your advantage when checking the hangar.
In the "secret" TIE Fighter hangar room is a pile of crates that you can use the Force to stack together. Build some steps up to the platform above them and then use a lightsaber to cut open the panel there.
Minikit 2/5 - Twirling Around
Requires: Jedi/Sith/Scavenger Story Mode: No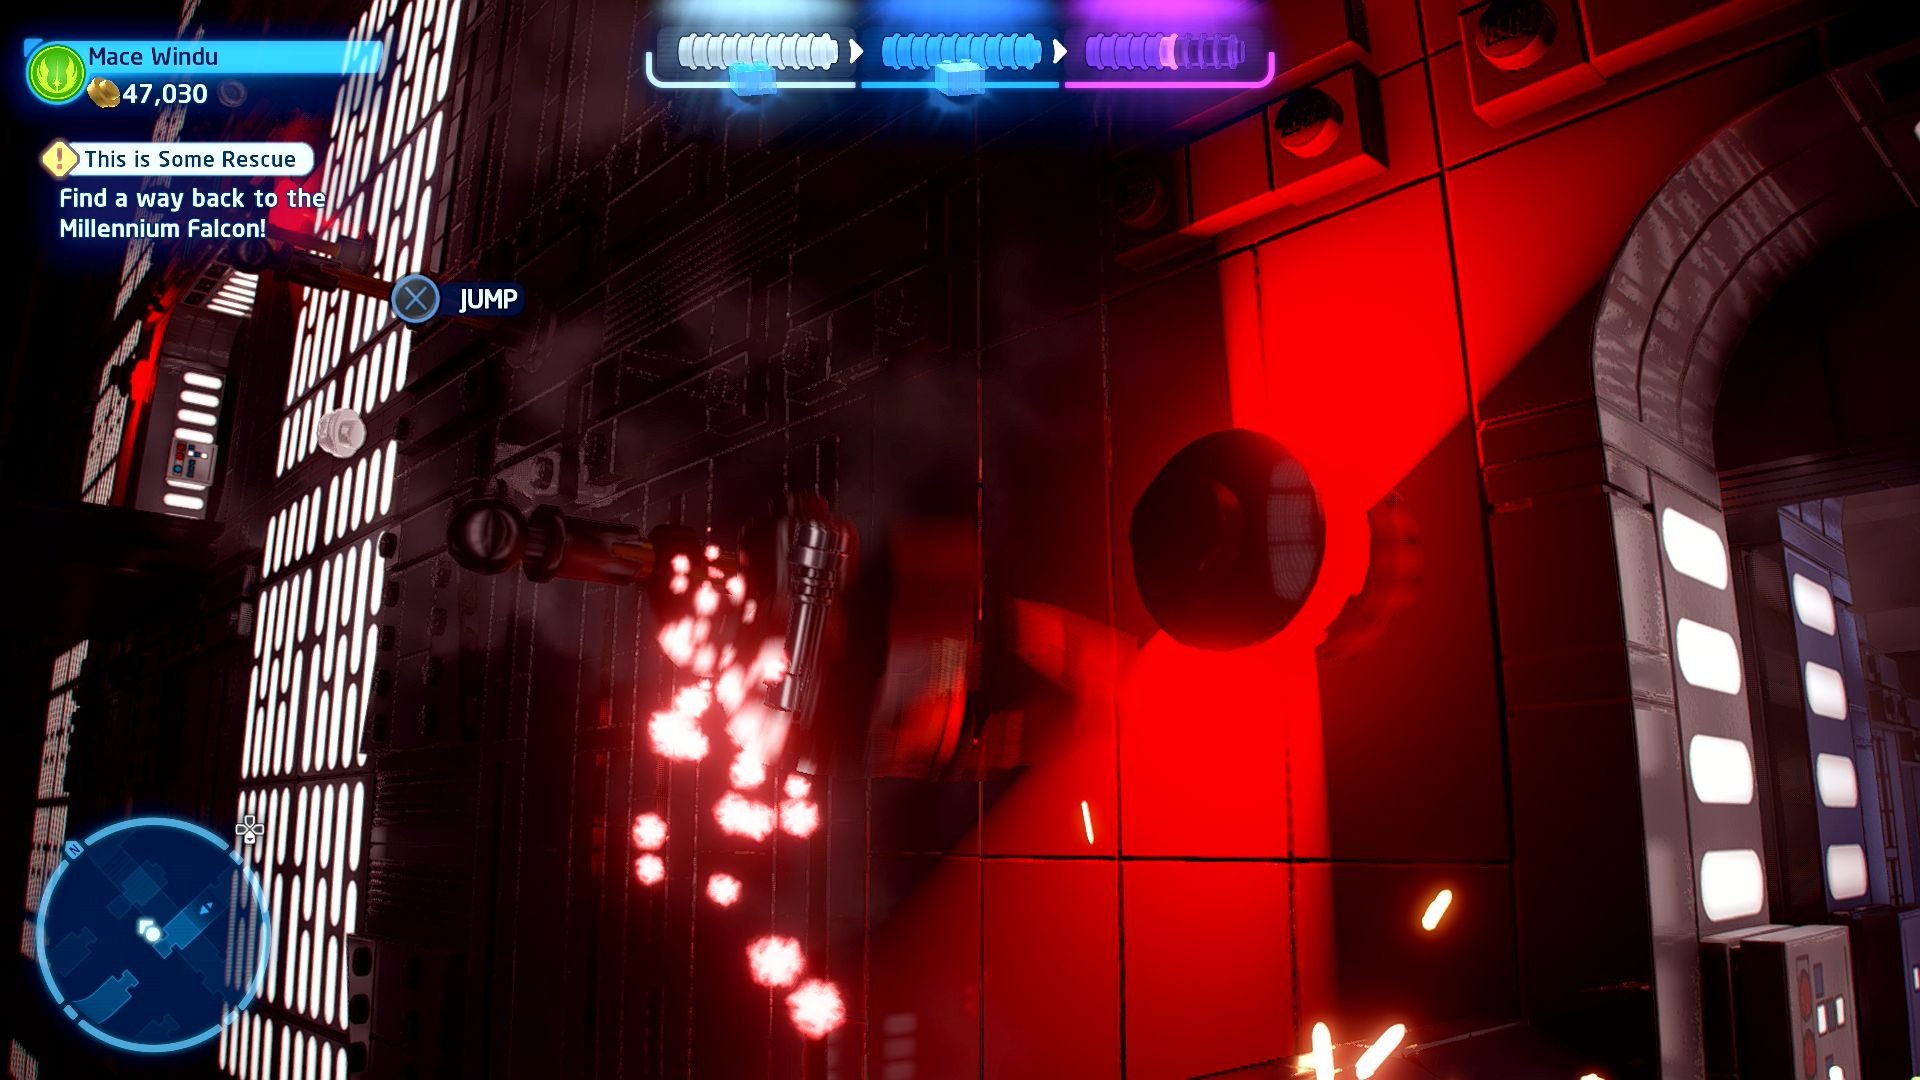
Discover a hidden room by channelling your inner acrobat!
When you get to the gap at the end of the level look up at the wall on the right and you should see some bars that a Jedi, Sith, or Scavenger can swing on. Swing up to the ledge opposite one of the Stormtrooper balconies to find the minikit.
Minikit 3/5 - Rebels in Disguise
Requires: Villain Story Mode: Yes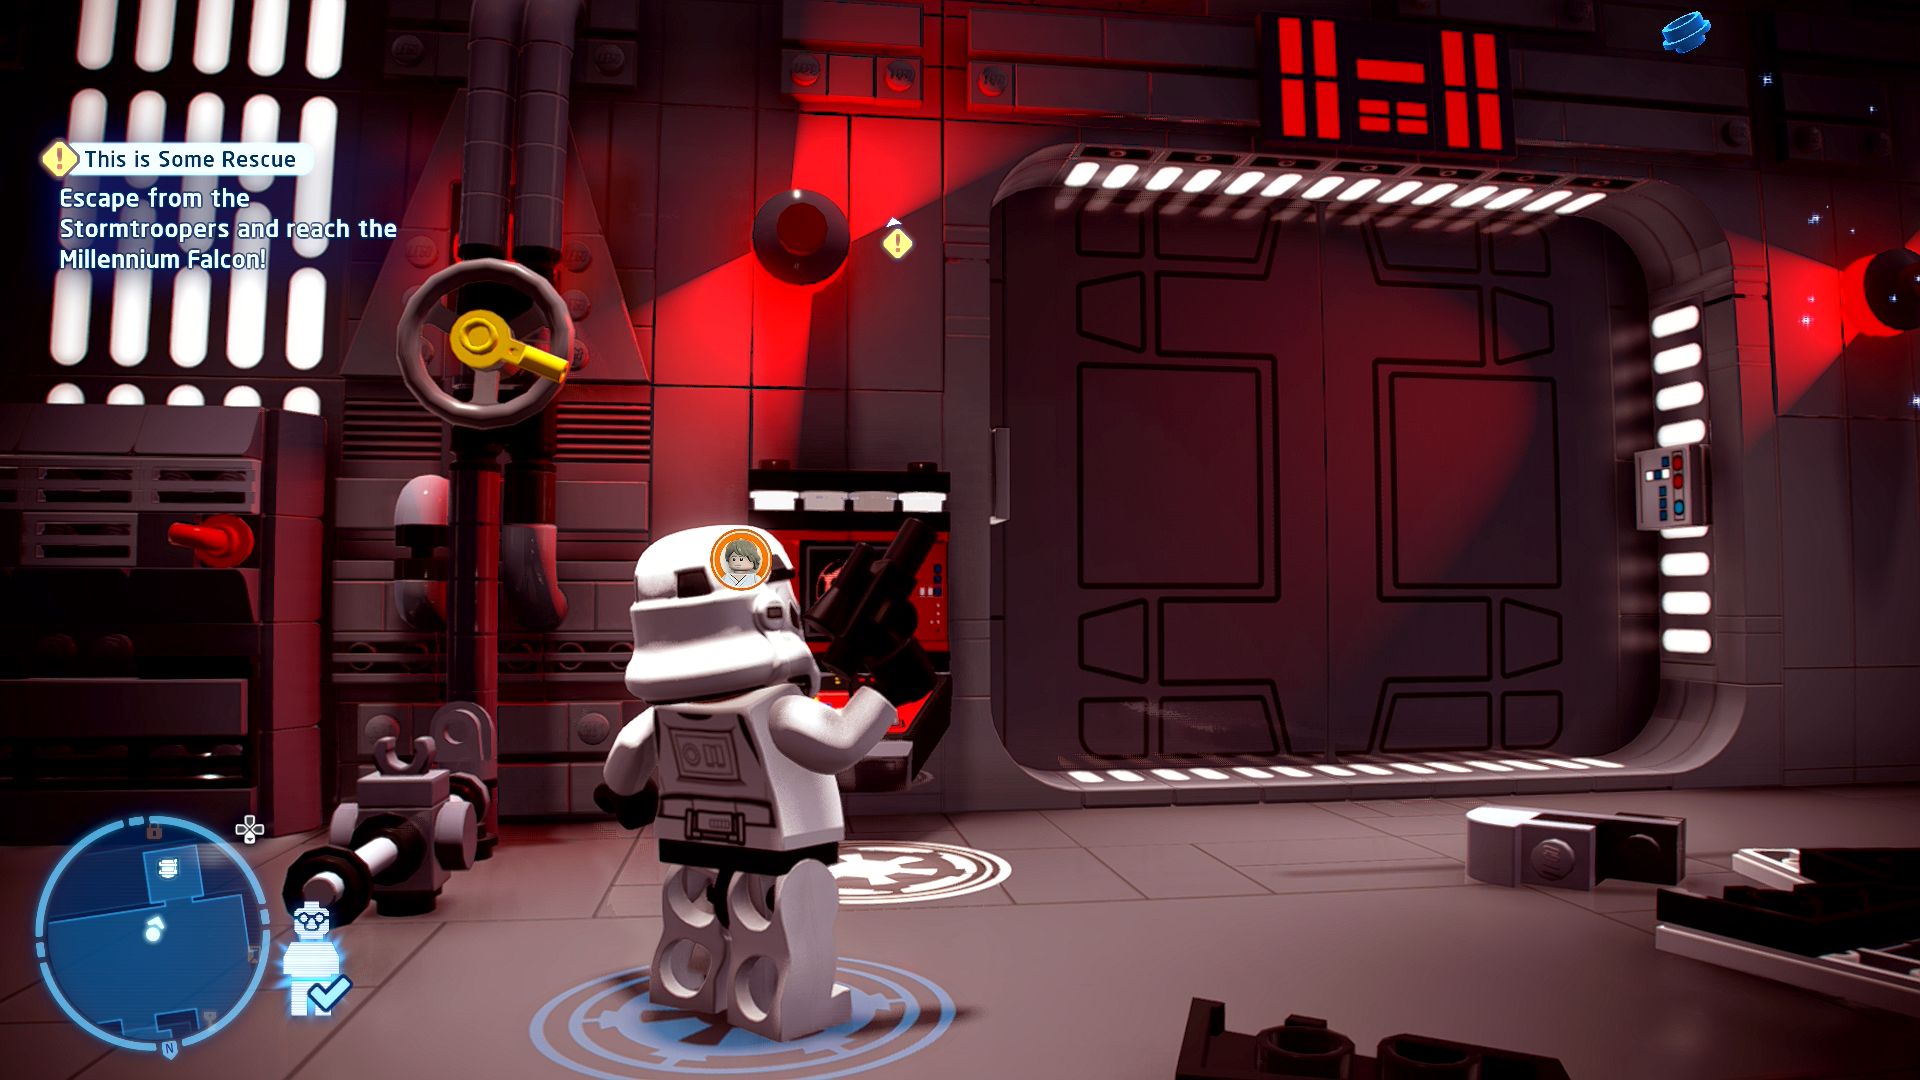
These trooper disguises can get you into all sorts of places...
In the section where you are asked to dress up as a Stormtrooper open the Villain Terminal door in the lower room where you fight the Stormtroopers themselves.
Minikit 4/5 - MSE Hunt
Requires: Grapple/Astromech Story Mode: Yes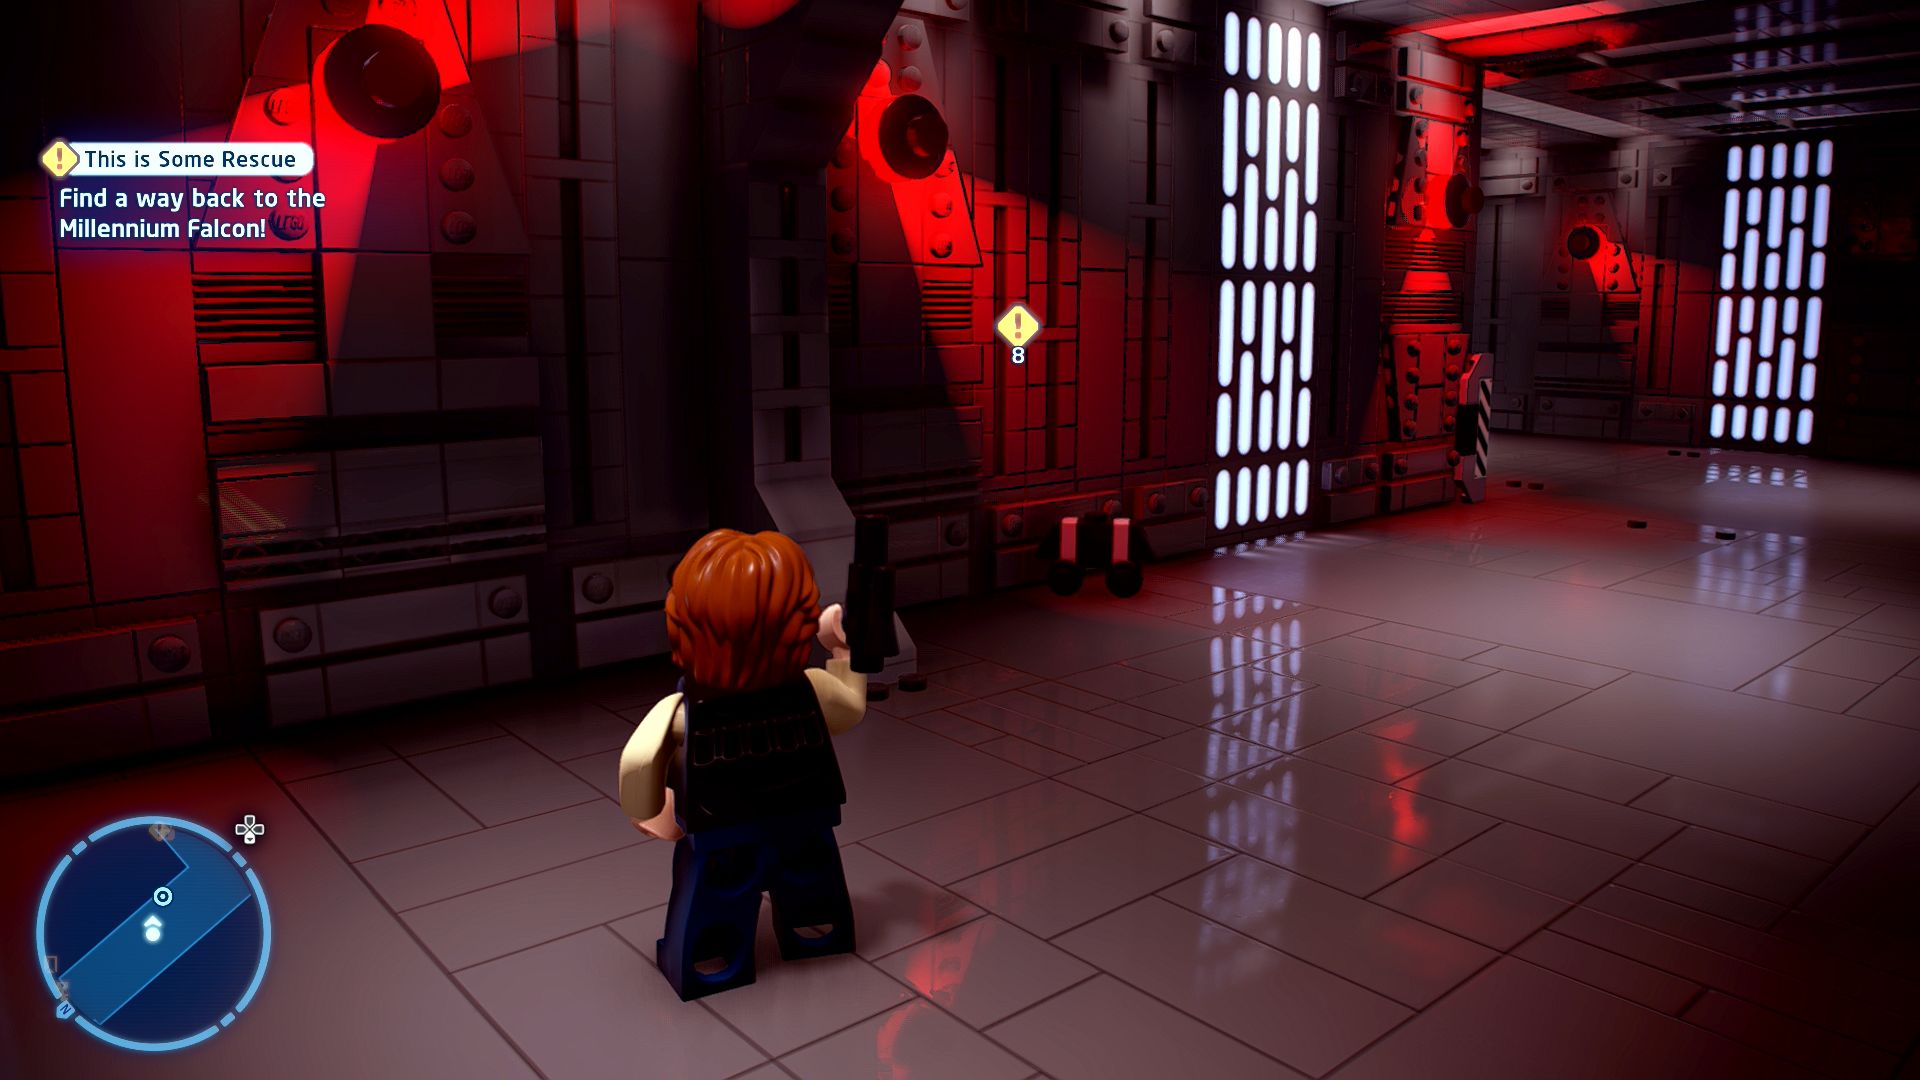
Keep an eye out for those mouse droids!
Three of these are found within the level. First one is in the corridor just before you reach the automated turret protecting a keycard carrying Officer. The second is in the hangar. And the third is through the final door after you swing across the gap.
Minikit 5/5 - Password Protected
Requires: Protocol Droid Story Mode: No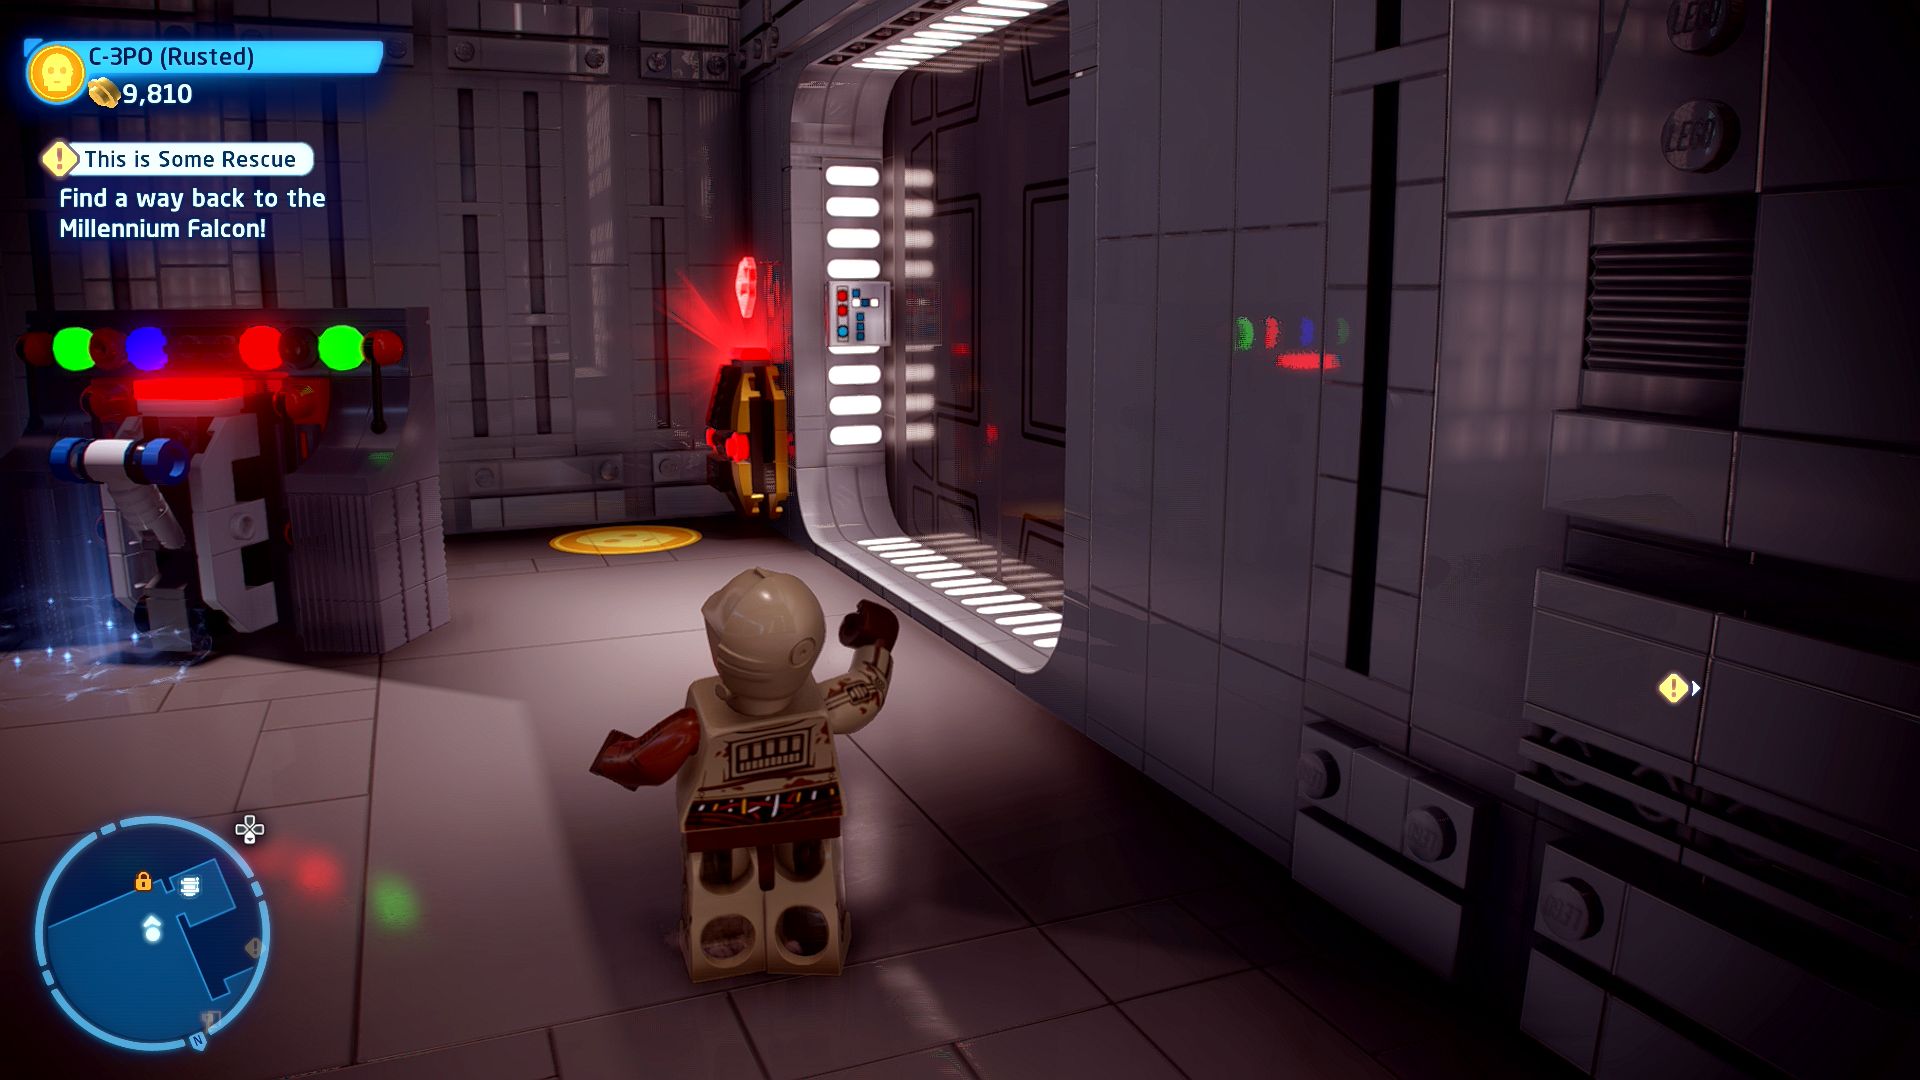
Enter the code to redeem a fabulous prize! (All transactions are final. No substitutions. Minikit has 0.0001 stud value)
At the very start of the level just to your right is a Protocol Terminal that will give you a password to use later on. That point is in the secret TIE Fighter hangar reached by blasting through a Gold LEGO door.
Y-wing

Based on set 75162
Y-Wing Microfighter
| Cost | Character | |
|---|---|---|
|
|
35,000 | Empire Captain |
|
|
100,000 | Stormtrooper (Empire Commander) |
|
|
35,000 | Stormtrooper (Empire Sergeant) |
Episode IV
A NEW HOPE
The story so far...
- Obi-Wan Kenobi was able to
- switch off the tractor beam but
- encountered an old friend whilst
- doing so. Coming face to face
- with DARTH VADER, Obi-Wan
- Kenobi could not get the high
- ground and sadly fell victim to
- Vader's strength.
- Luke arrived in time to witness
- the final blow, but Obi-Wan's
- ghostly voice, and Chewbacca's
- strong biceps, ensured the
- devastated farmboy reached the
- Falcon unscathed.
- Narrowly escaping the Empire's
- fire, the Millennium Falcon now
- makes its way to YAVIN 4, where
- its crew will deliver the Death
- Star plans to the Rebels....
New Territories, Yavin 4 Space
Delivering the Plans
[Deliver the Death Star plans to the Rebel base on Yavin 4.]
Land at the Great Temple on Yavin 4 which should be directly ahead of you.
Great Temple, Temple Hangar
Literally all you need to do is follow the glowing lights up a load of stairs to the command room.
Chapter 5
Stay on Target
| Silver | Blue | Purple |
|---|---|---|
| 10,000 | 20,000 | 30,000 |
[Destroy the Death Star defences!]
The first section flying through the trench is as literally straight forward as you can get. The first task is to shoot 15 objects that count as part of the Death Star defences. Those are going to mostly just be TIE Fighters in the distance but there are also turrets along the floor you can shoot.
[Navigate the Meridian Trench.]
Once you've destroyed the required 15 things a squadron of X-wings a Y-wings will move ahead of you, your job now is to shoot any TIE Fighters that get near them. After a while you'll reach a wider section and want to veer off to the left to keep going.
[Protect the Rebel Y-wings!]
Now you'll be given an actual objective to shoot down 7 TIE Fighters that are endangering the Y-wings. Keep shooting and avoiding the obstacles until you get to the next cutscene.
[Collect torpedoes and destroy the smaller thermal exhaust ports!]
In this section there are four sort of pyramid shaped thermal exhaust ports that will require the use of a torpedo to destroy rather than just your lasers. The torpedoes will spawn on top of the taller skinnier pyramid structures, fly through the glowing pink icons to pick them up (you can hold up to 5 at a time) and then fire them at the thermal exhaust ports once the red reticule has fully locked on. While this is going on you'll also need to occasionally do a roll to avoid Darth Vader's attacks.
[Destroy the Death Star!]
After blowing up the fourth exhaust port you'll automatically be give a couple of torpedoes and pointed in the direction of the main thermal exhaust. So fly forwards and press the button that matches the onscreen prompt to fire the torpedo and blow up the Death Star. In fact you don't even need to press the button, the game will do it for you if you ignore it. Episode IV complete!
Level Challenges
- Clever Flying
- Use a "loop manoeuver" to break out of Darth Vader's targeting systems 3 times.
- When he locks on press both shoulder buttons to perform a loop instead of a roll that pressing just one of them would do.
- Hope That's Insured
- Destroy 10 turrets while doing the trench run.
- Ignore the TIE Fighters and just shoot the turrets lining the bottom and sides of the trench.
- That's Not Going to Buff Out...
- Cause severe damage to Darth Vader's ship.
- During the torpedo section, hold off on destroying all four exhausts first. He's kind of difficult to spot but his ship is the only one that has a health bar so you should know which one it is when you do find it.
Minikit 1/5 - Teeny Tiny TIE
Requires: None Story Mode: Yes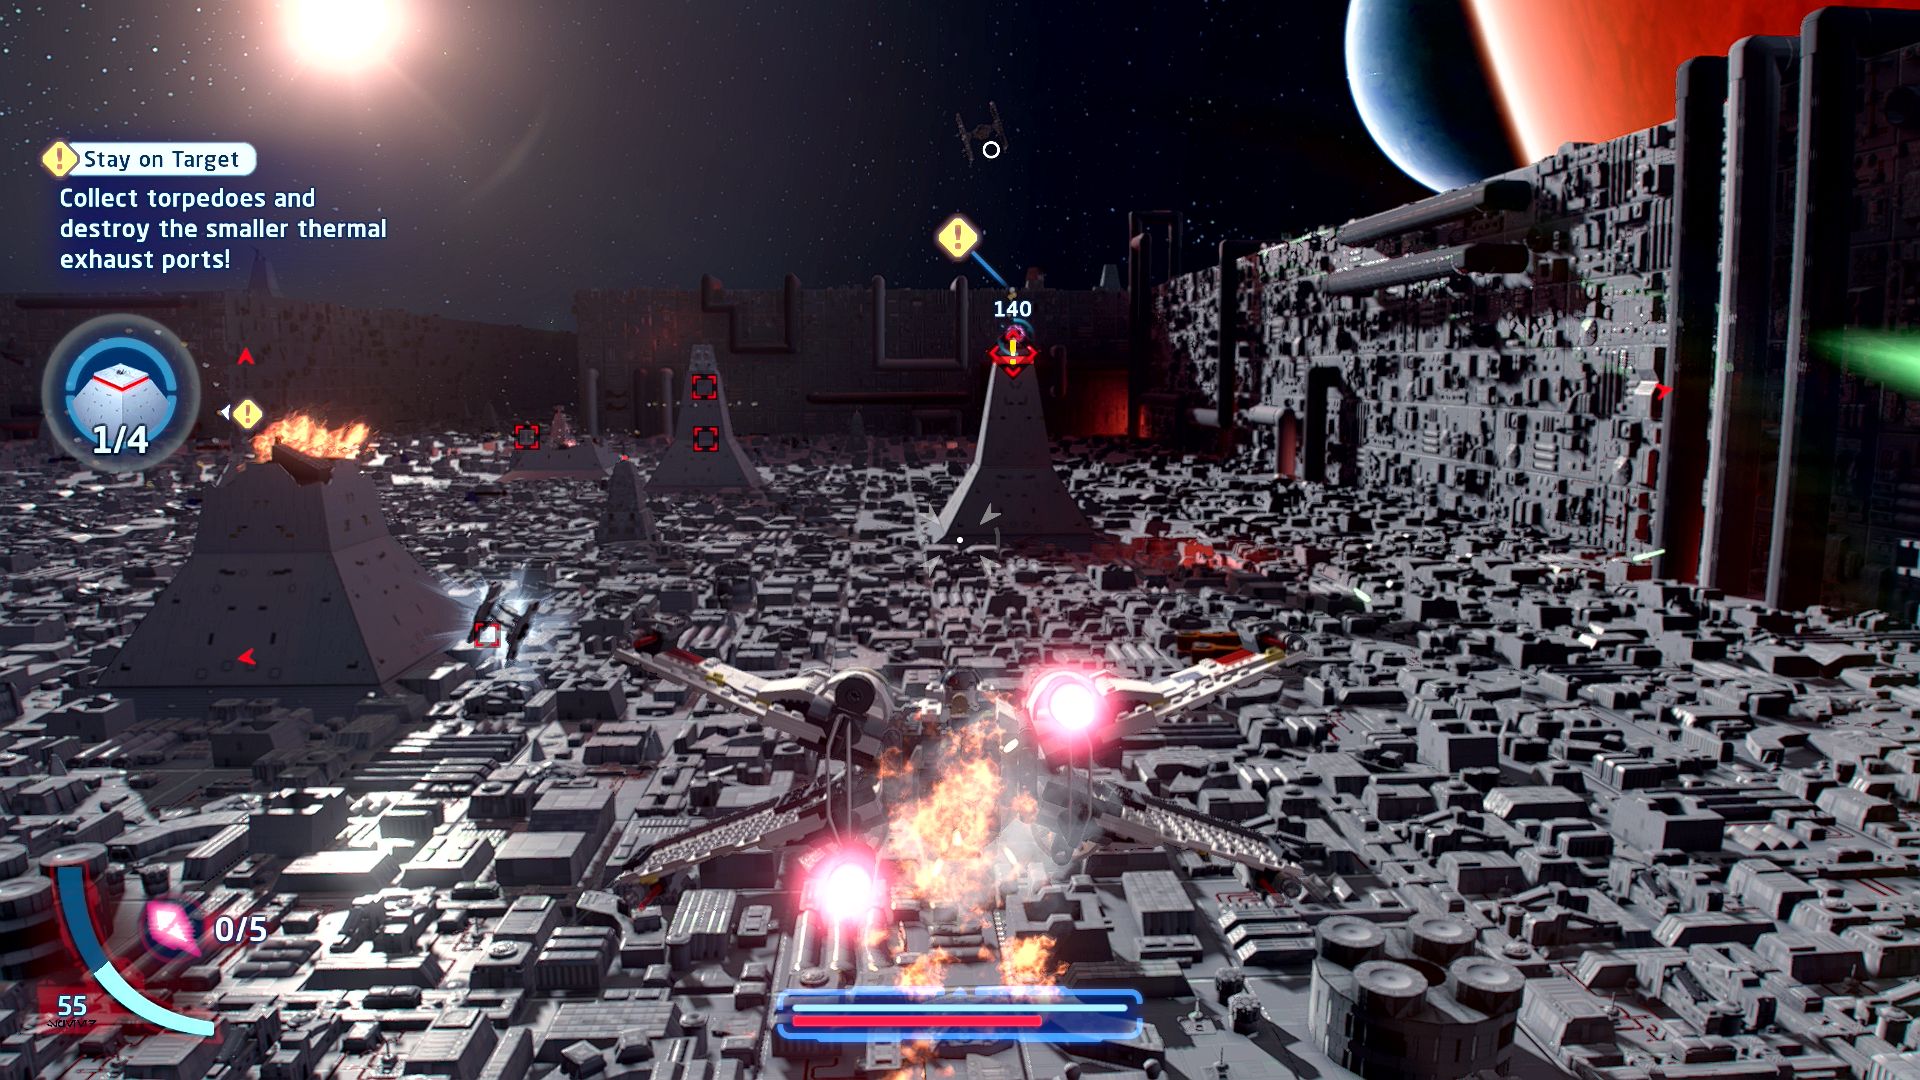
Almost too cute to blow up! ... Almost.
During the torpedo collection section a mini TIE Fighter will be flying around for you to shoot.
Minikit 2/5 - Small Probe-lem
Requires: None Story Mode: Yes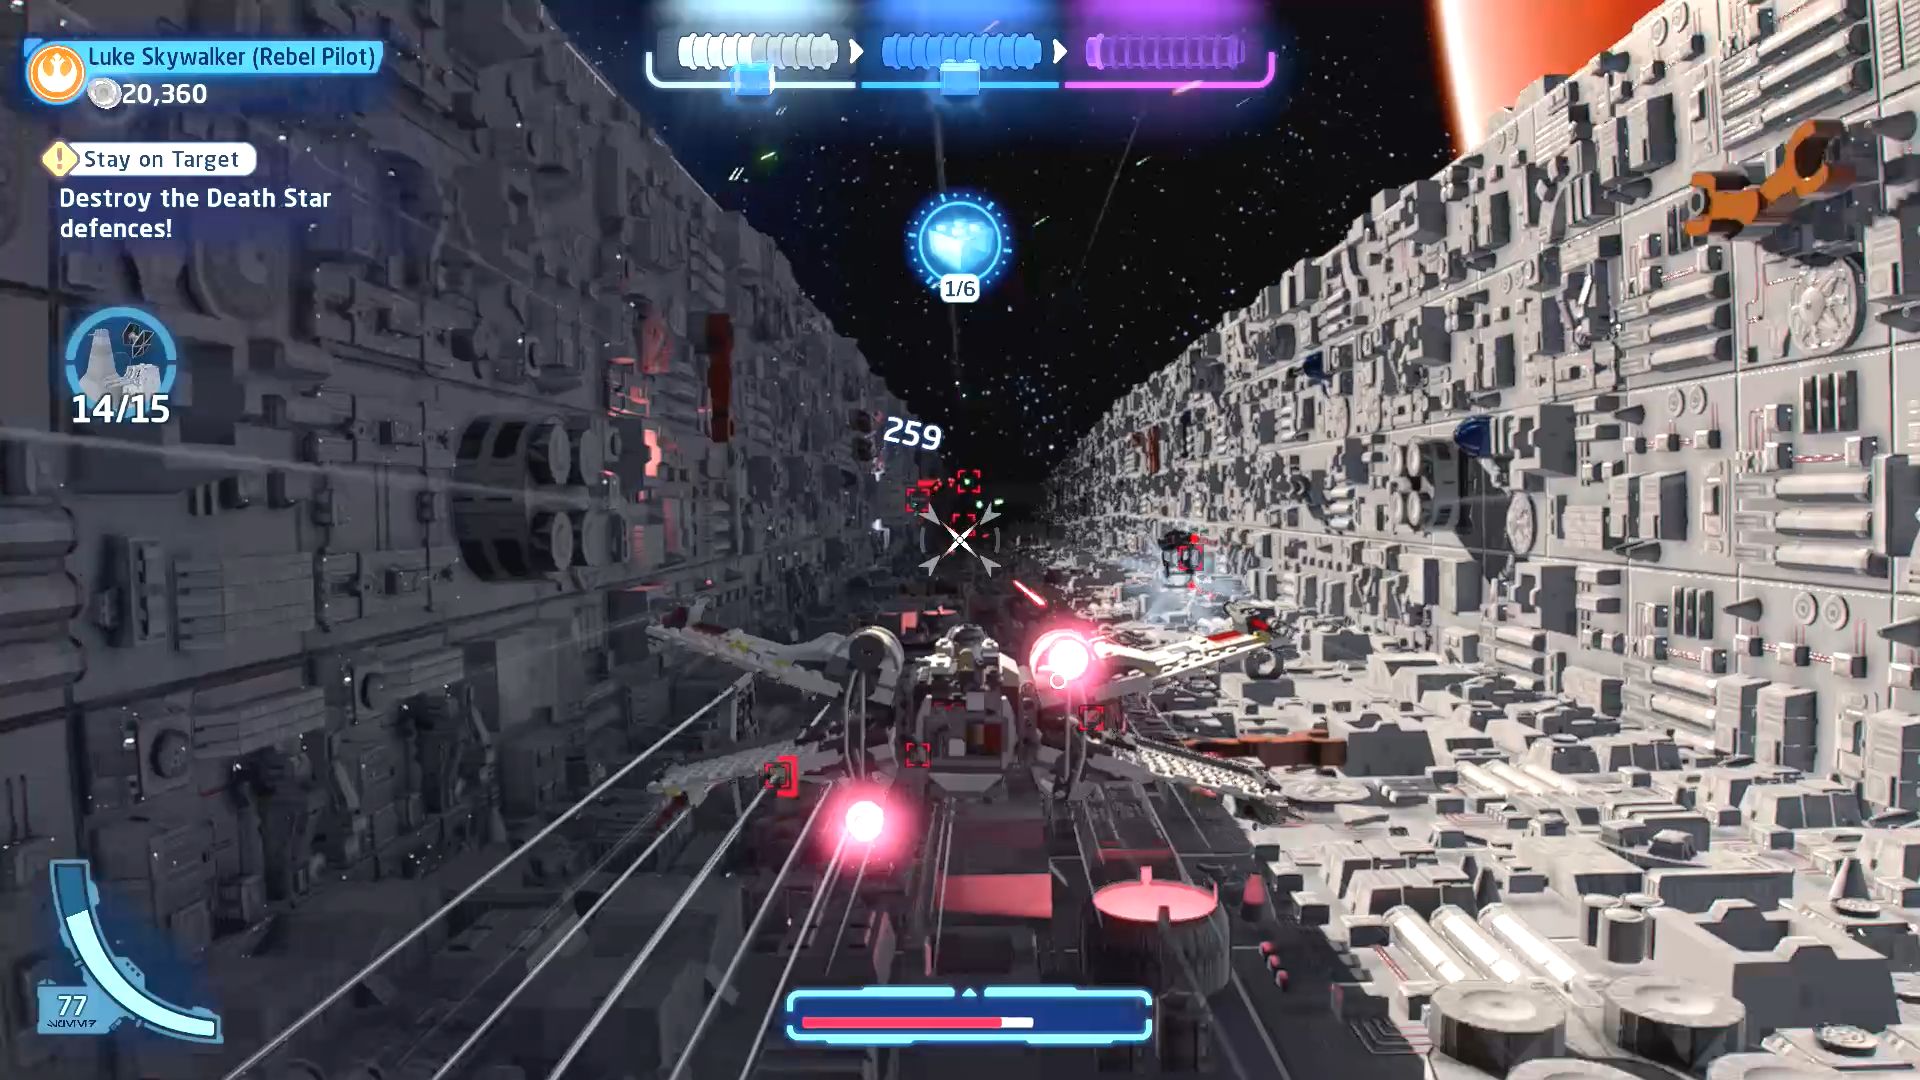
That probe droid has something of ours...
During the first section of the level a probe droid will appear carrying a minikit canister, shoot it down.
Minikit 3/5 - Teeny Tiny TIE Returns
Requires: None Story Mode: Yes
This one is even cuter! Now blow it up!
During the first section of the level a glowing microfighter sized TIE Fighter will appear for you to shoot down. This is named like it would be the second tiny TIE Fighter you encounter but this one is actually the first.
Minikit 4/5 - Not Up to Code
Requires: None Story Mode: Yes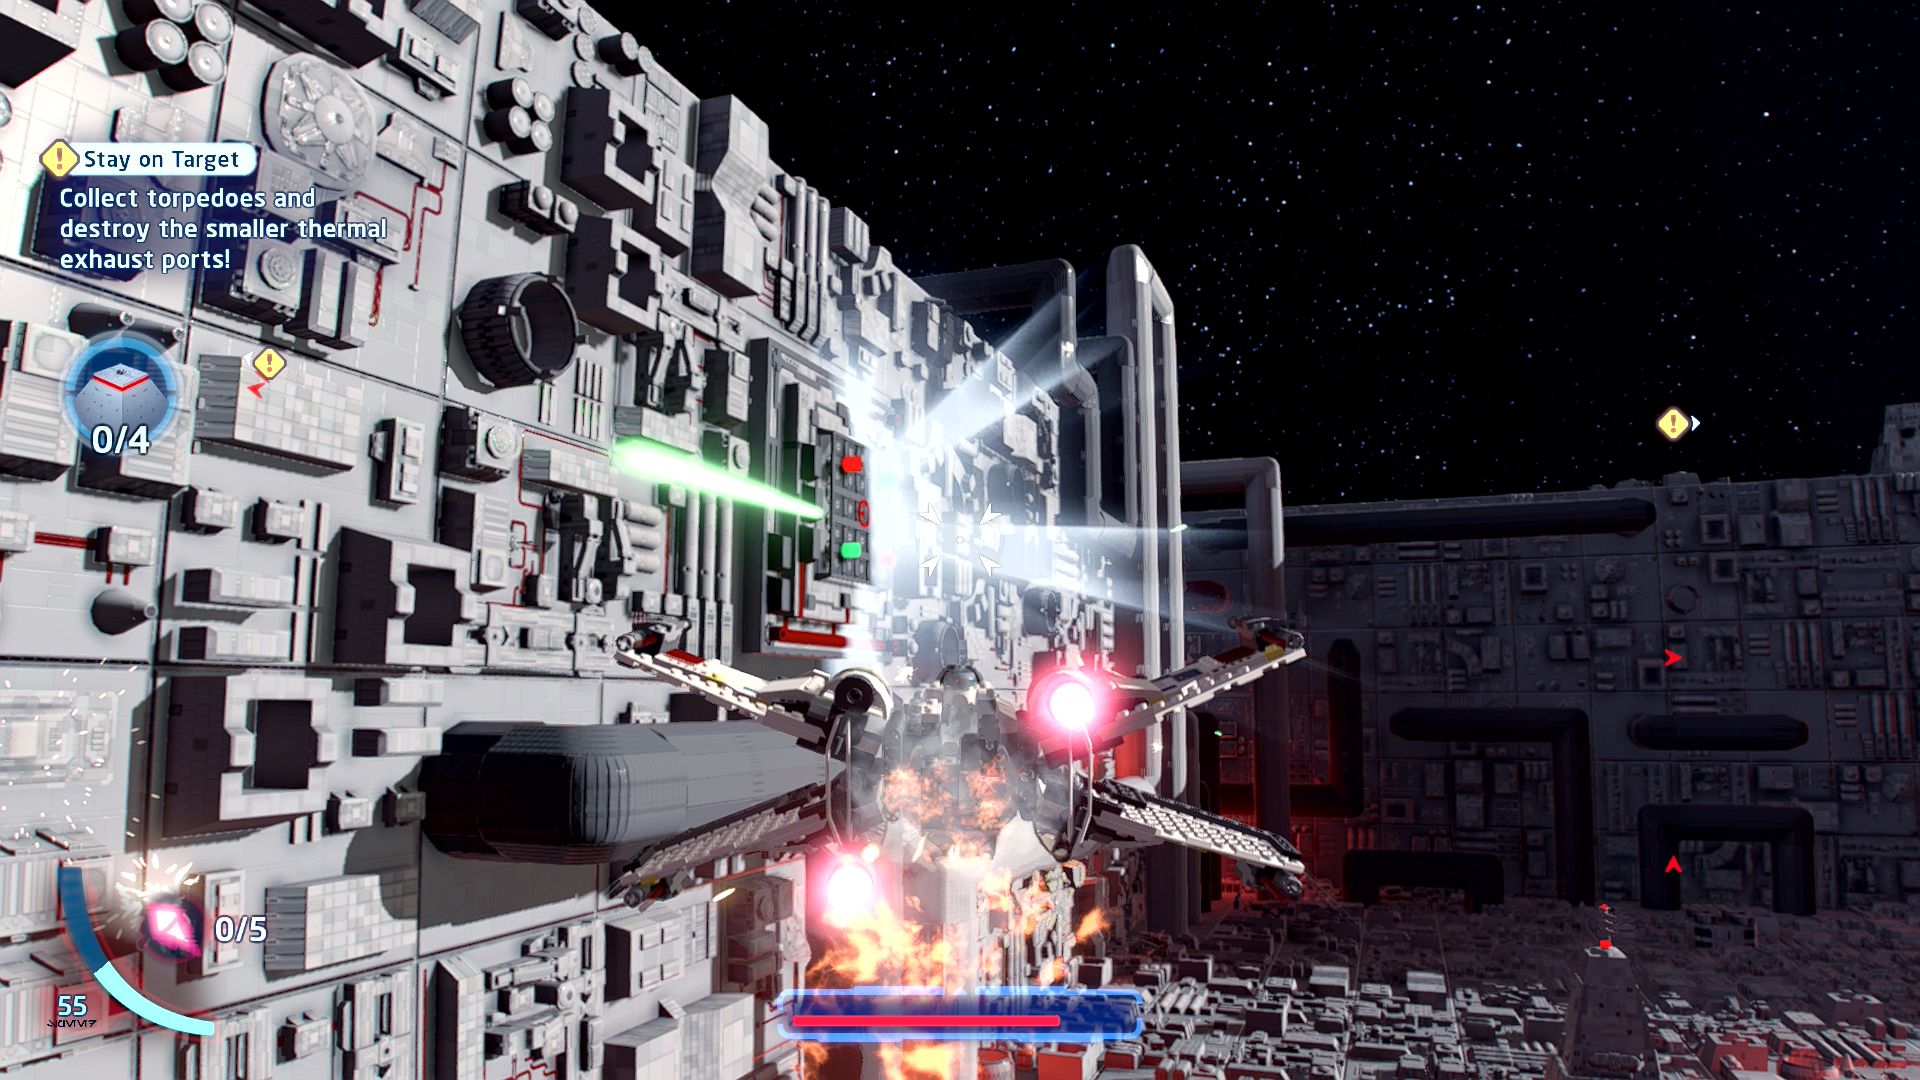
That panel by the exhaust port looks loose...
In the section where you collect torpedoes shoot a glowing section on the wall to the left of where you enter.
Minikit 5/5 - Minimalism
Requires: None Story Mode: Yes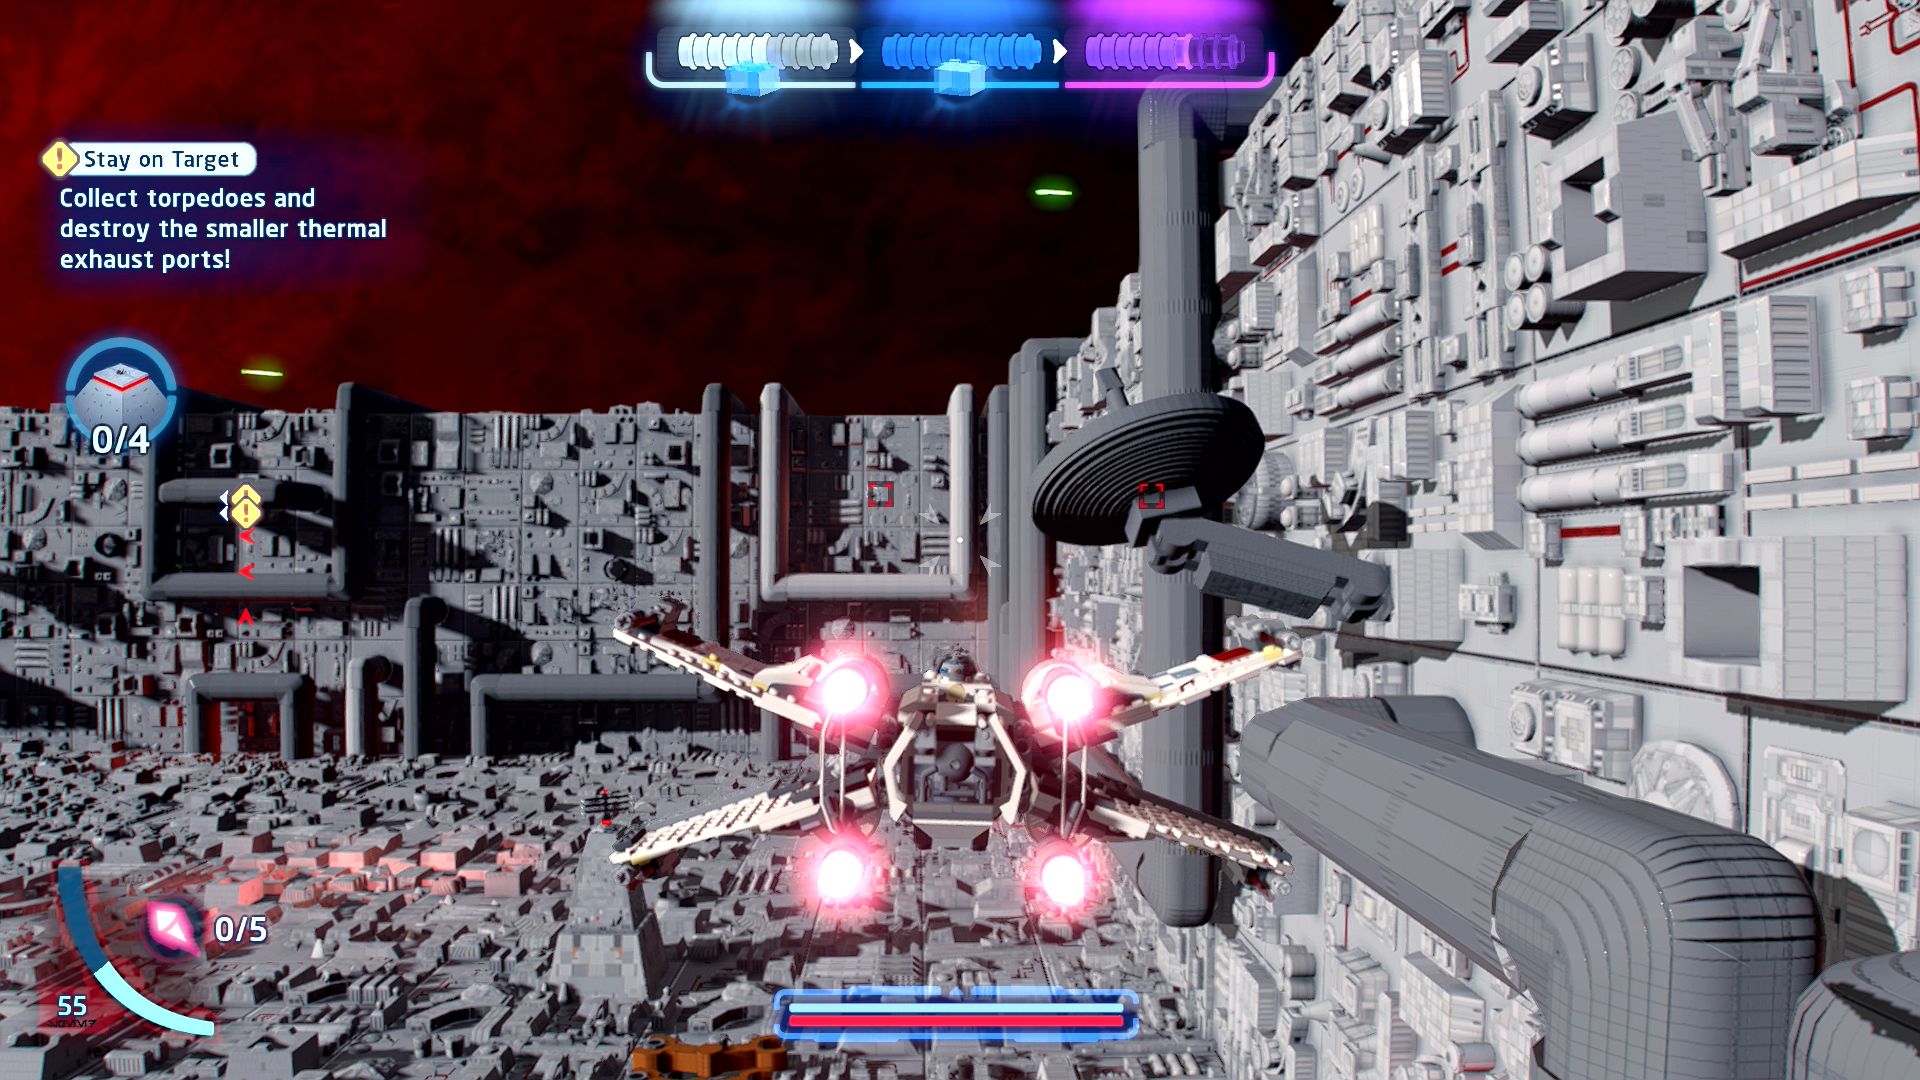
Those ghastly satellites just have to go, dahling!
Along the walls of the section where you collect torpedoes are some dark grey satellite dishes, destroy all four of them to get the minikit.
Death Star

| Cost | Character | |
|---|---|---|
|
|
- | Luke Skywalker (Ceremony) |
|
|
- | Luke Skywalker (Rebel Pilot) |
|
|
- | Wedge Antilles |
Episode V: The Empire Strikes Back unlocked for play!
 darkspyro.net