Villain Episode 3. The Joker's Return
Chapter 1. A Surprise for the Commissioner
| Story Mode | Free Play |
|---|---|
| 57,000 | 78,000 |
Minikit 1/10
Requires: Strength Story Mode: No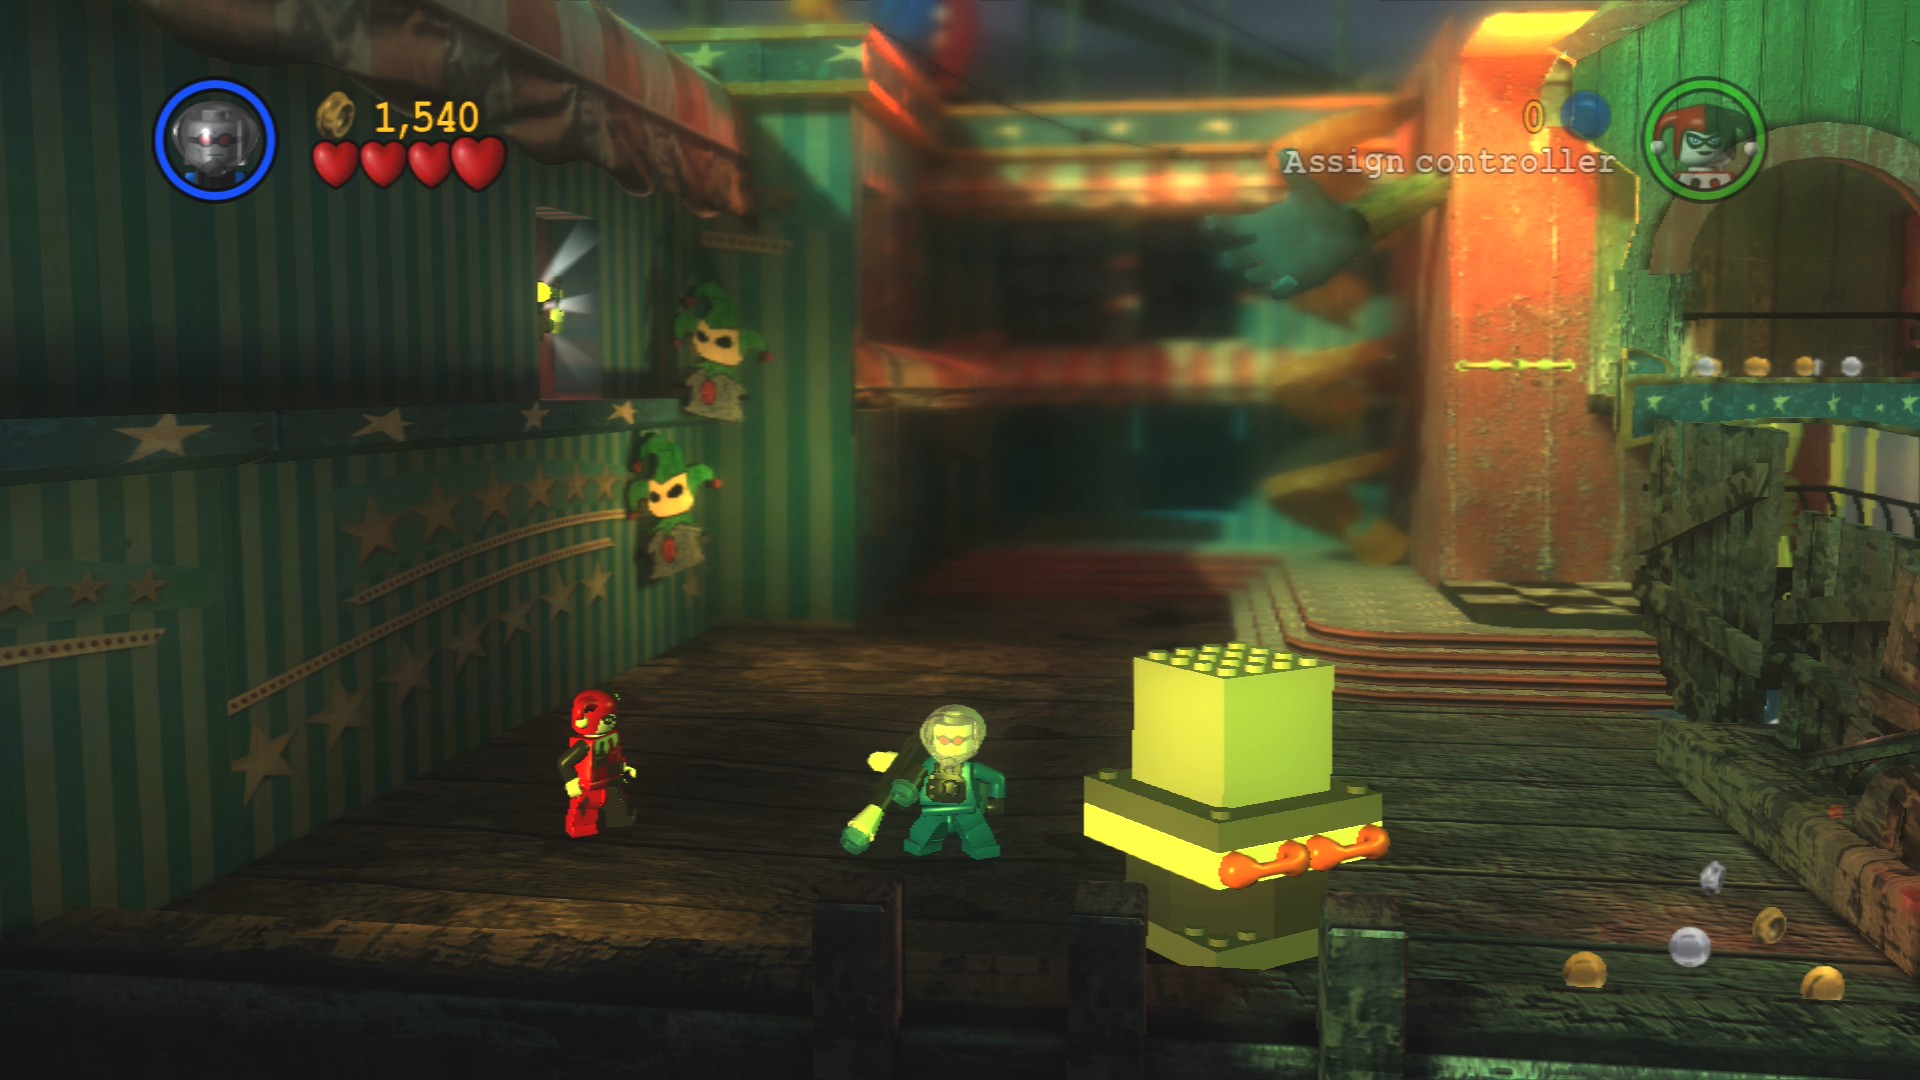
Use strength to push the block at the start over to the left so you can jump up to the Minikit on the ledge.
Head to the right having Joker enter the lower level and standing in the glass tube. Switch to Harley who should have jumped up to the top layer and have her rotate the spinner switch so that the glass tube below has its entrance rotated around.
Switch back to the Joker and make him stand on the other side of the scales to raise the barrier above and then switch it back so that Harley can continue on. Now have Harley smash the object on the wall that's emitting the blue lines and then have her build the red object and Joker build the bomb below.
After detonating the bomb jump on the yellow platform to let Joker through below then switch to him so he can jump on the yellow platforms down there to let Harley through to the end of this path.
Minikit 2/10
Requires: Sonic Suit Story Mode: No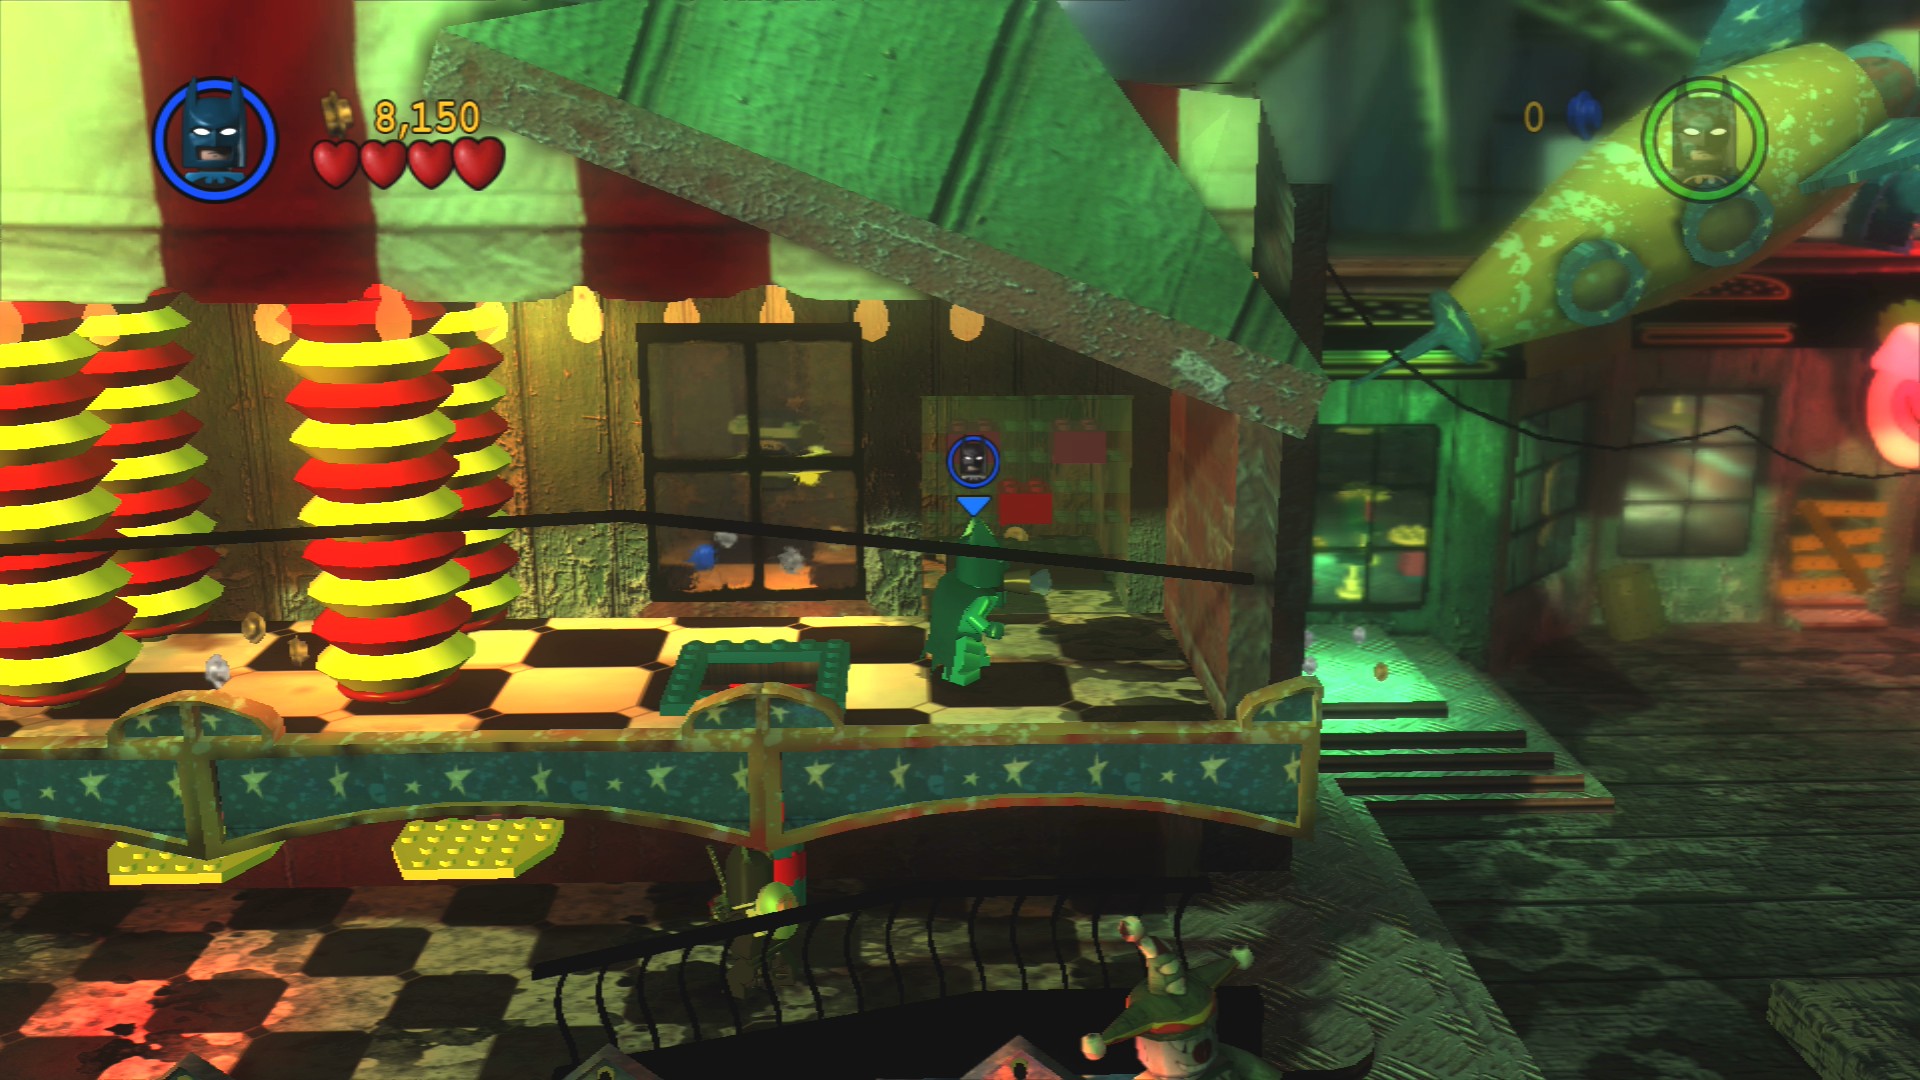
Use the Sonic Suit to smash through the glass brick wall at the end of the upper section.
Minikit 3/10 - Part 1/3
Requires: Freeze Ray Story Mode: No
Go back along in front of the upper/lower section and freeze the water at the left end to create the first of three ice creams.
Hostage 22/25
Requires: Explosives Story Mode: No
After the upper/lower section smash through a boarded up door and then blow up a Silver LEGO barrier blocking your entrance to the room with the hostage inside.
Minikit 4/10
Requires: Explosives Story Mode: No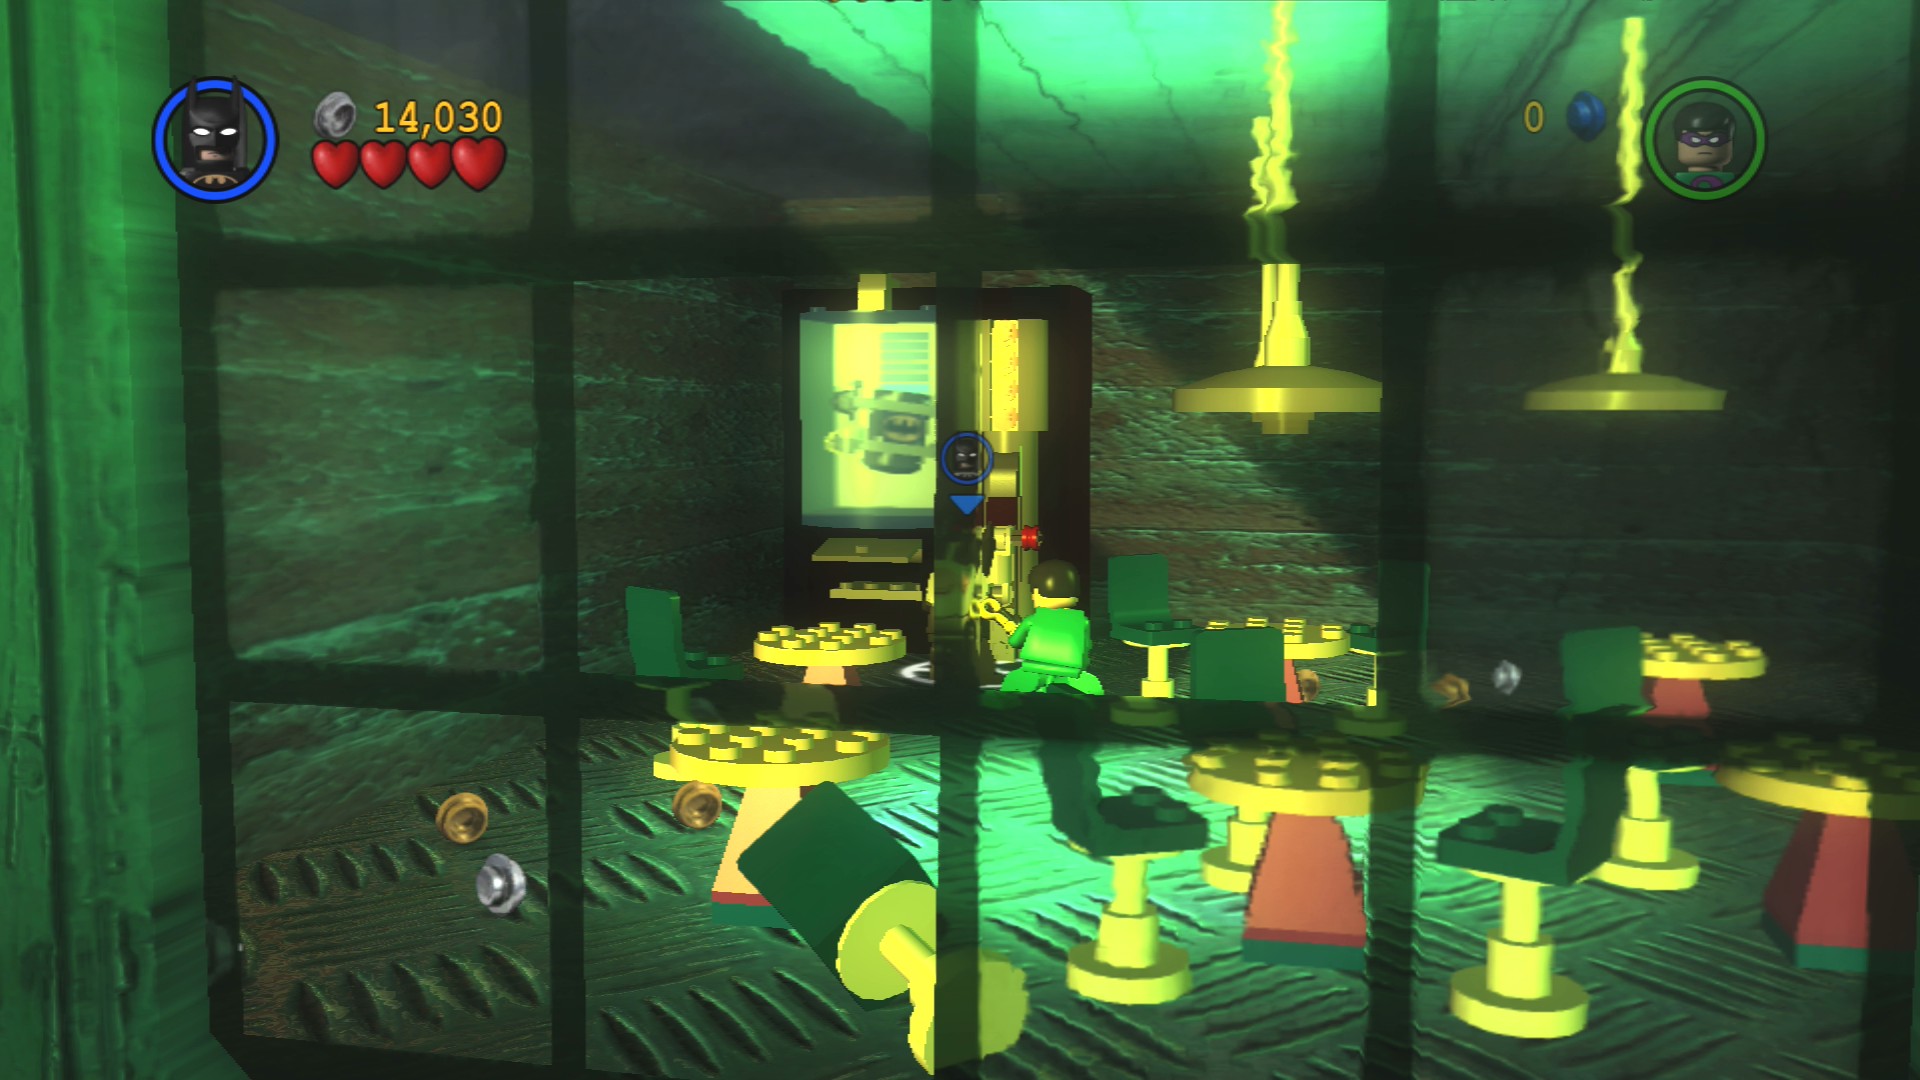
In the back of the room with the hostage, build a lever to open the vending machine.
Continue to the right after defeating a few guards.
Minikit 3/10 - Part 2/3
Requires: Freeze Ray Story Mode: No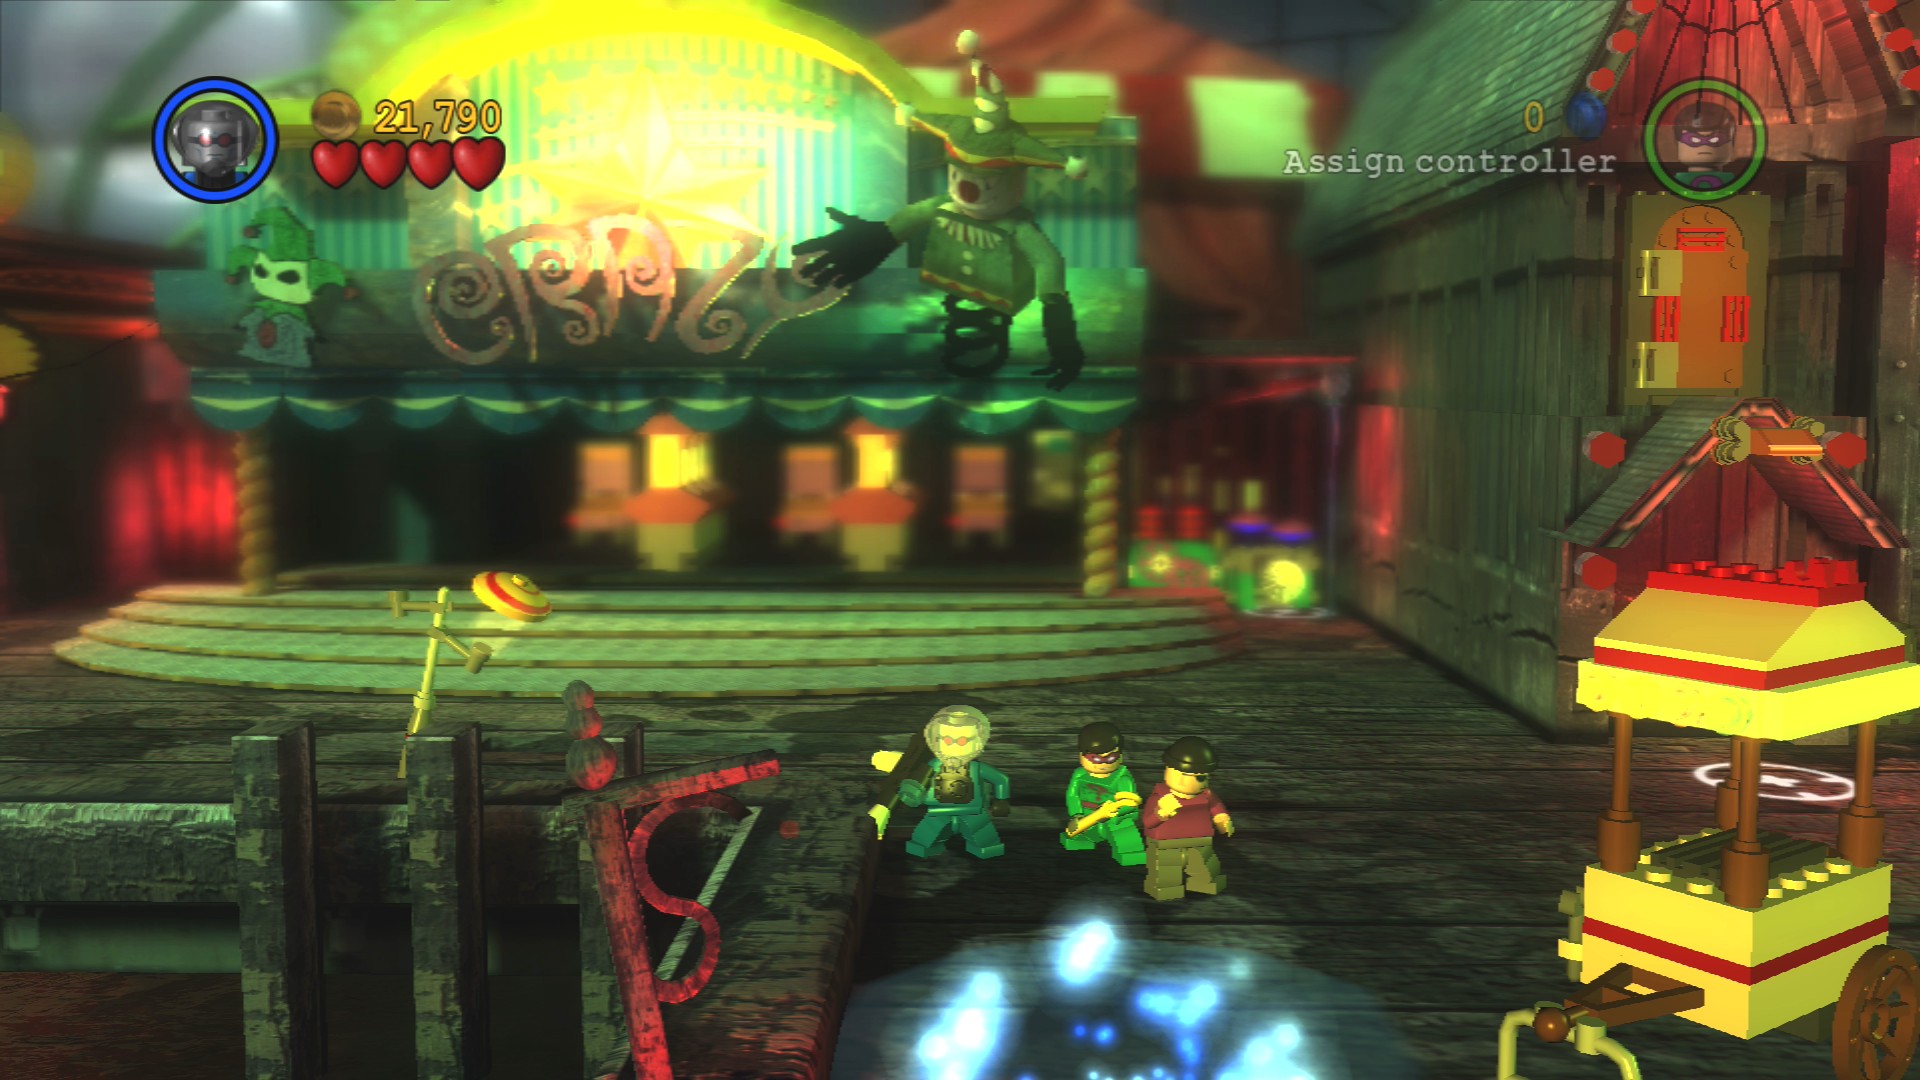
A puddle in front of the CRAZY building.
Minikit 5/10
Requires: Grapple Story Mode: No
Magnet walk up a wall next to the level's second generator and go pull the lever to open the two doors up here. Pull the levers in both doors, there's one behind the jack-in-the-box, to open a door back to the left that requires you to grapple up to it.
Power the electric generator at the far right end of the area to open the door next to it then go and stand in the bottom basket of the ferris wheel to its right. Your partner should raise you up to the rollercoaster track where you can get off and jump on the button up here to bring them up too.
Minikit 6/10
Requires: High Jump Story Mode: Yes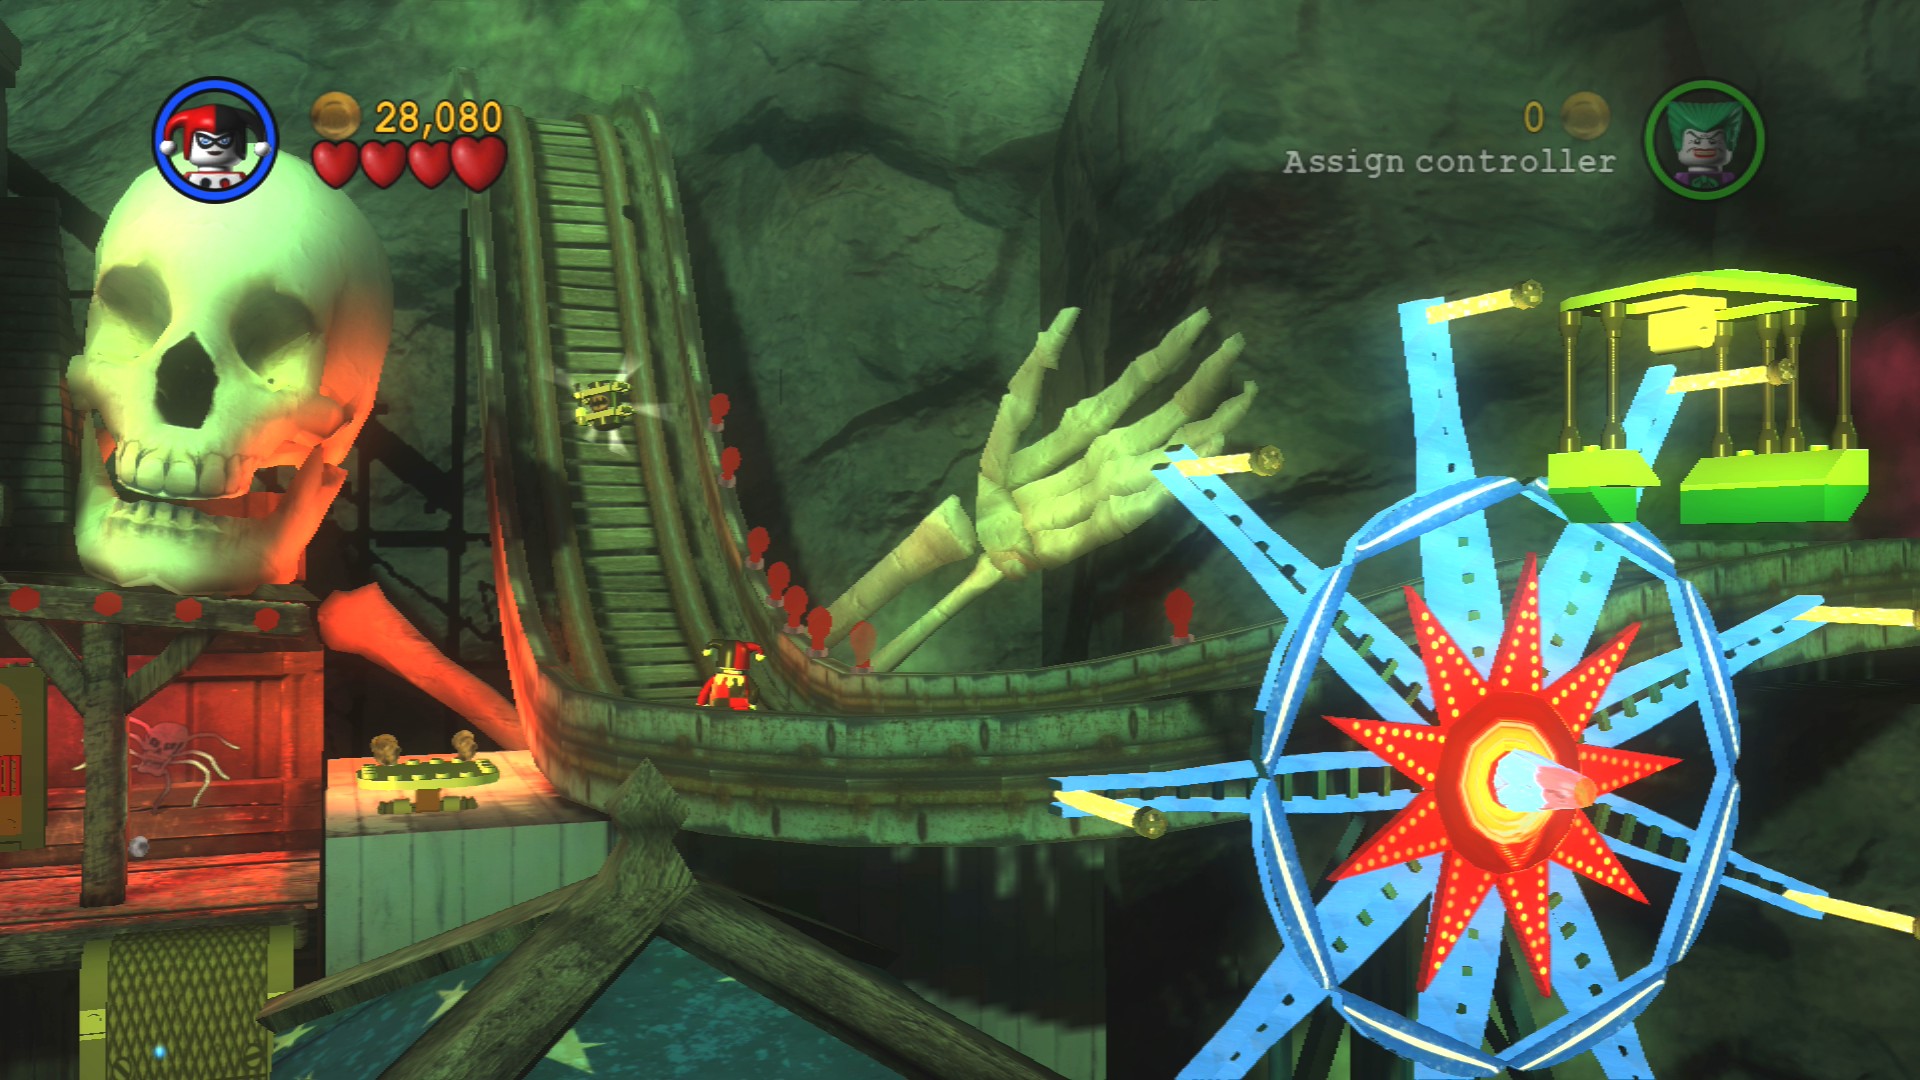
High Jump to grab the Minikit on the rollercoaster track slope.
Go into the tunnel to the right and go down the rollercoaster slope to the bottom where it is broken. High Jump to the ladder and pull the lever to lower it for the Joker.
Minikit 7/10
Requires: Explosives, Grapple, Magnet Suit Story Mode: No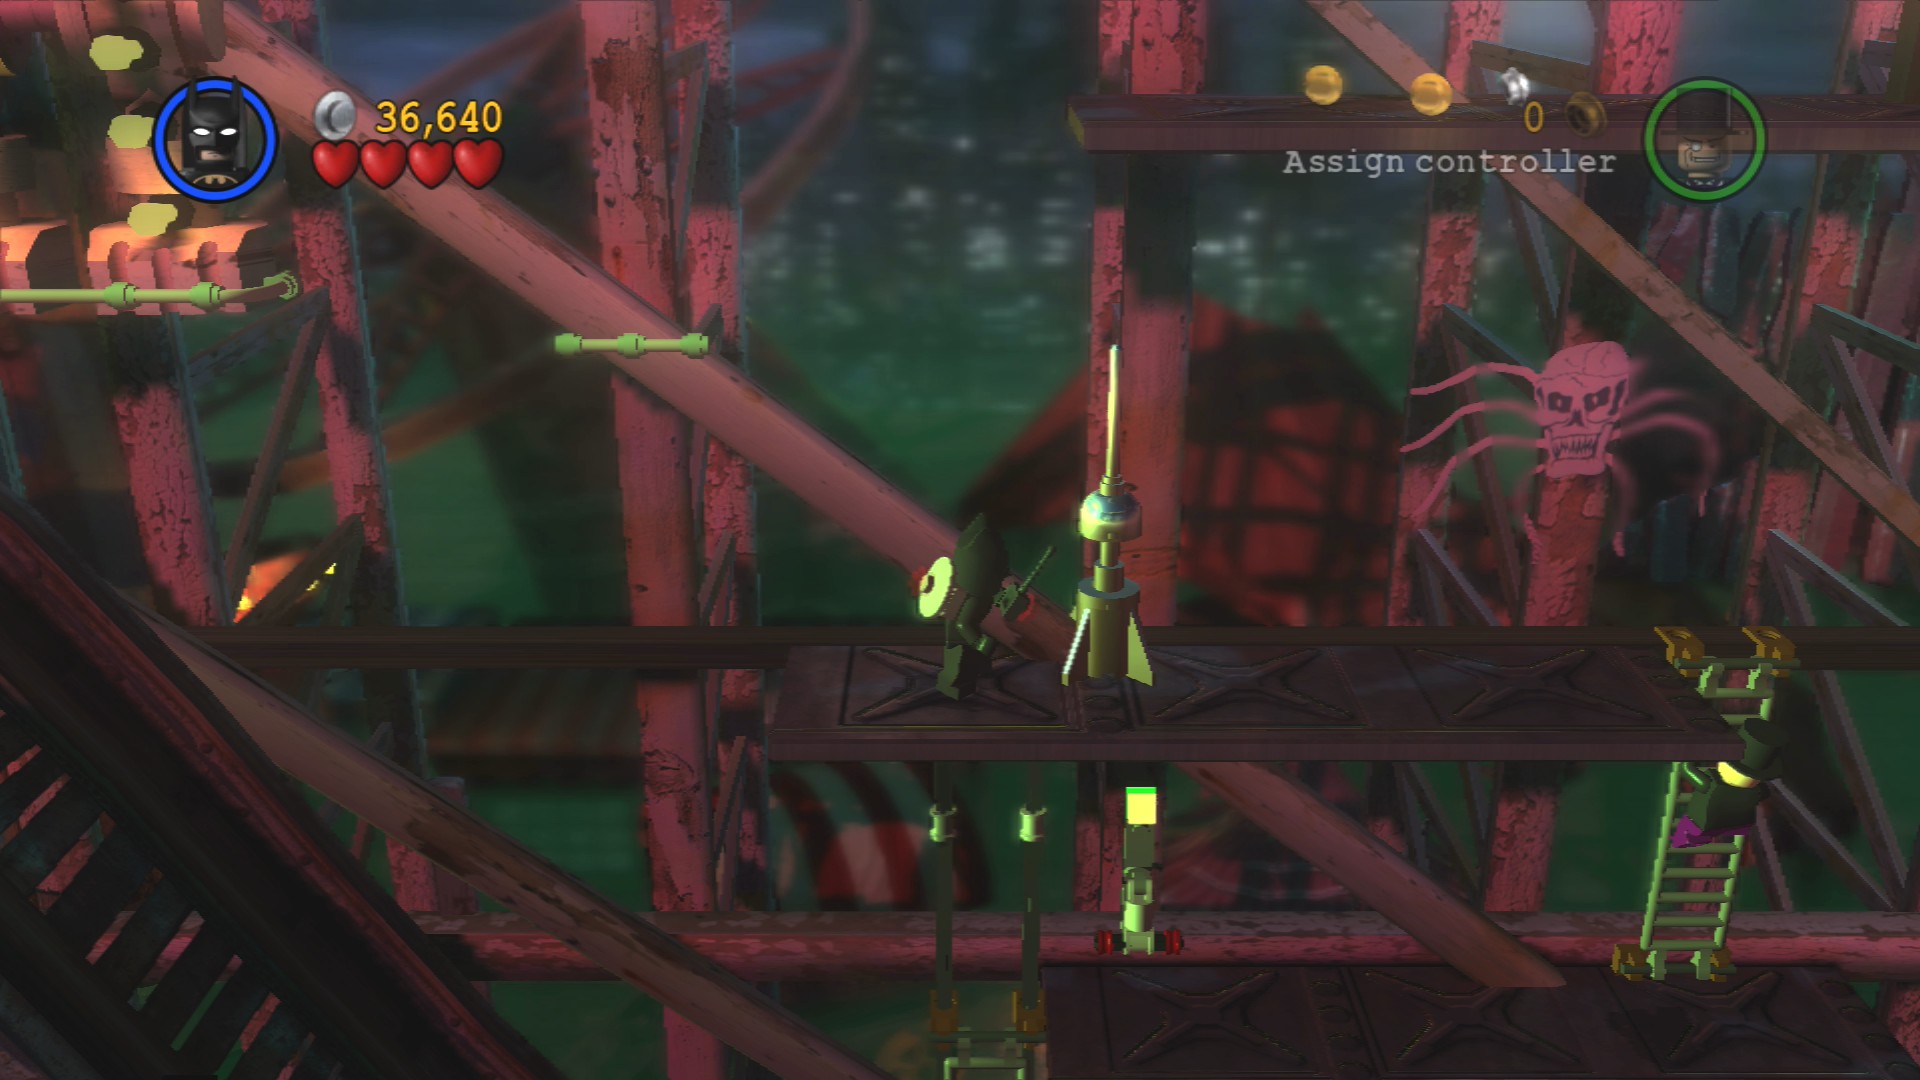
Climb up the ladder and blow up the Silver LEGO pylon so you can build a grapple point above. Grapple up and then walk up the metal wall, at the top is a ledge with the Minikit.
Make the Joker jump down to the right to power a generator which will cause the little yellow platform next to it to start moving. Smash through the wooden planks on the red track so you can build a tightrope and a little platform to help the Joker reach it.
Smash all the crates after the tightrope to find the parts to build some handholds that you can jump up. Climb up the ladder and then high jump up to the left. Defeat a few guards and pull the lever to lower the ladder into position so that the Joker can get up to jump over to the generator.
Red Brick - Fast Build
Requires: High Jump/Glide, Grapple, Explosives Story Mode: No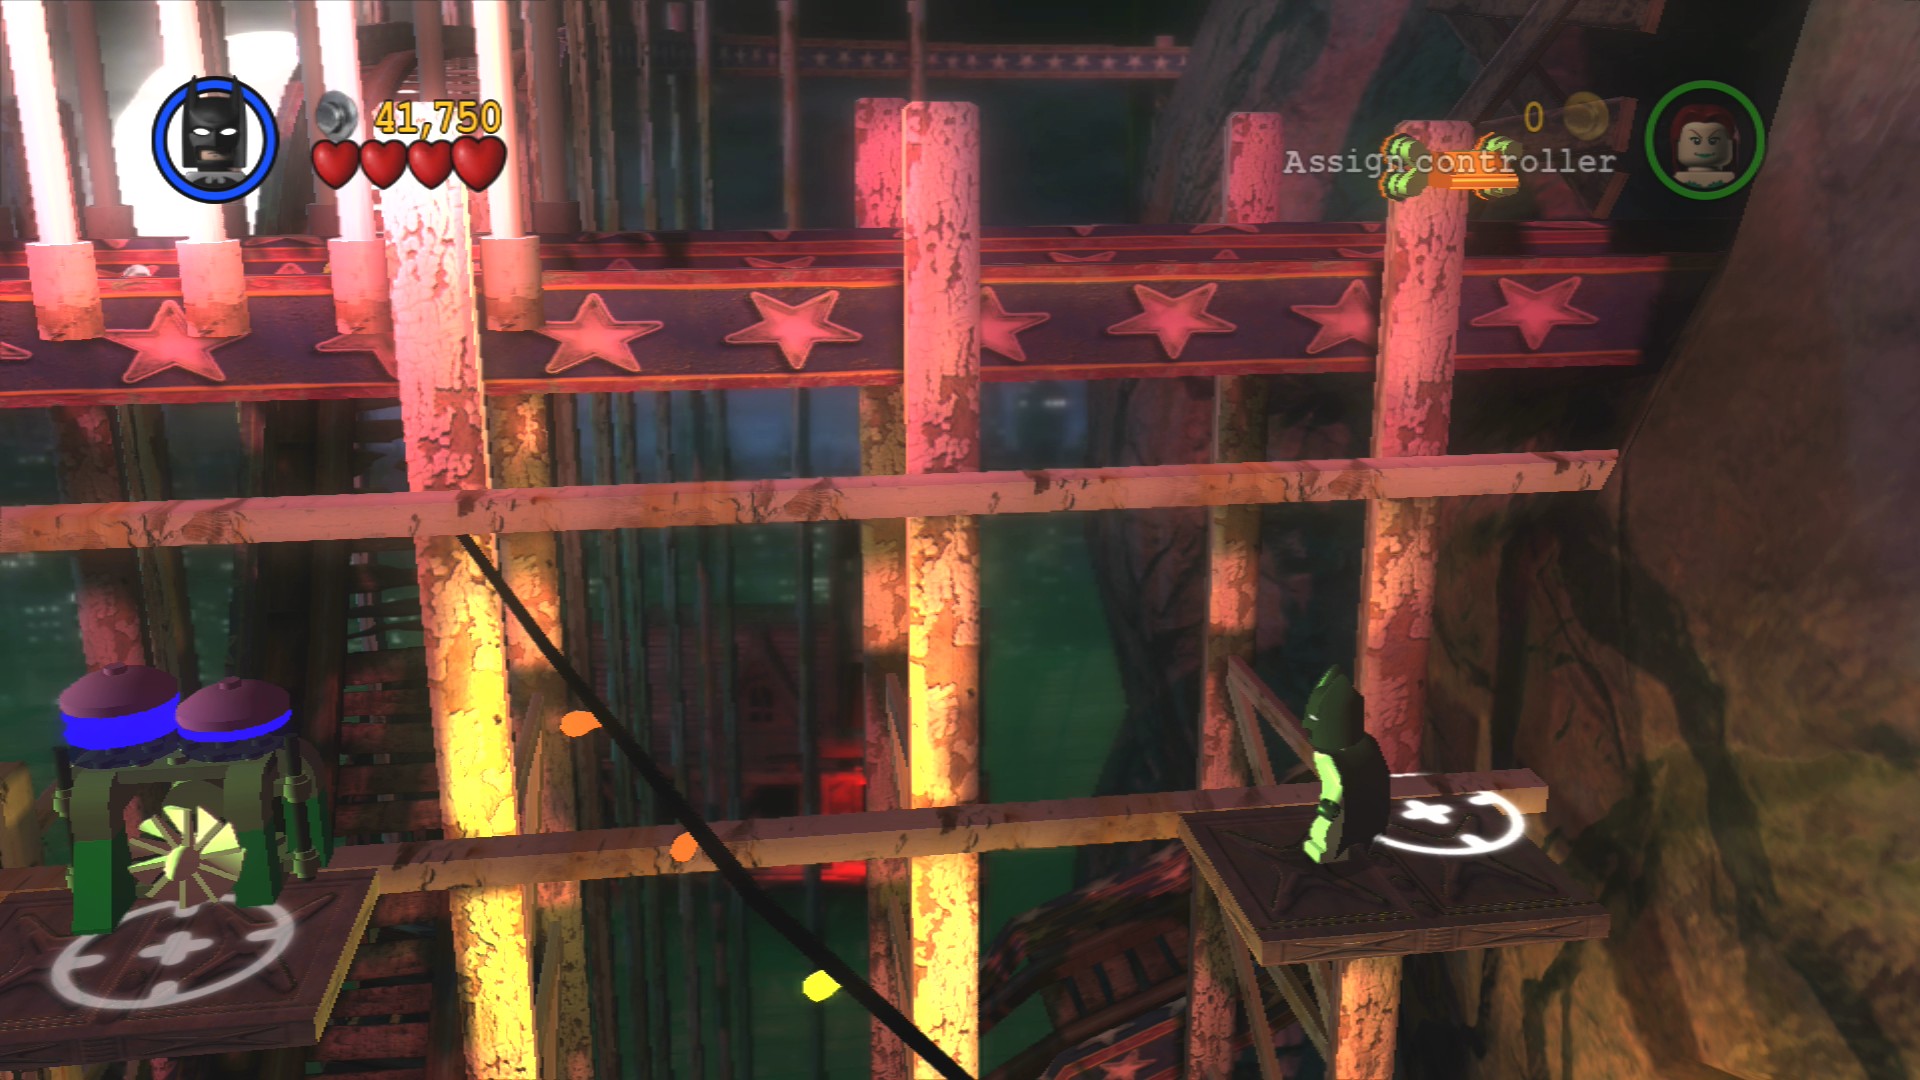
From the generator that powered the rollercoaster you will need to double jump or glide over to the right where there's a grapple point that you can use to get on top of the track. Go to the left and blow up the Silver LEGO to reach the Red Brick beyond it.
Jump down to the track beneath the generator and go through the newly opened tunnel.
Minikit 3/10 - Part 3/3
Requires: Freeze Ray Story Mode: No
Jump off the track where you see the ladder and smash the stuff below until you find the parts to build a small water cannon. After assembling it jump on the plunger a few times to create a puddle you can freeze to make the third and final ice cream.
Jump down and beat up a few police officers.
Minikit 8/10
Requires: Attract Suit, Technology Suit Story Mode: No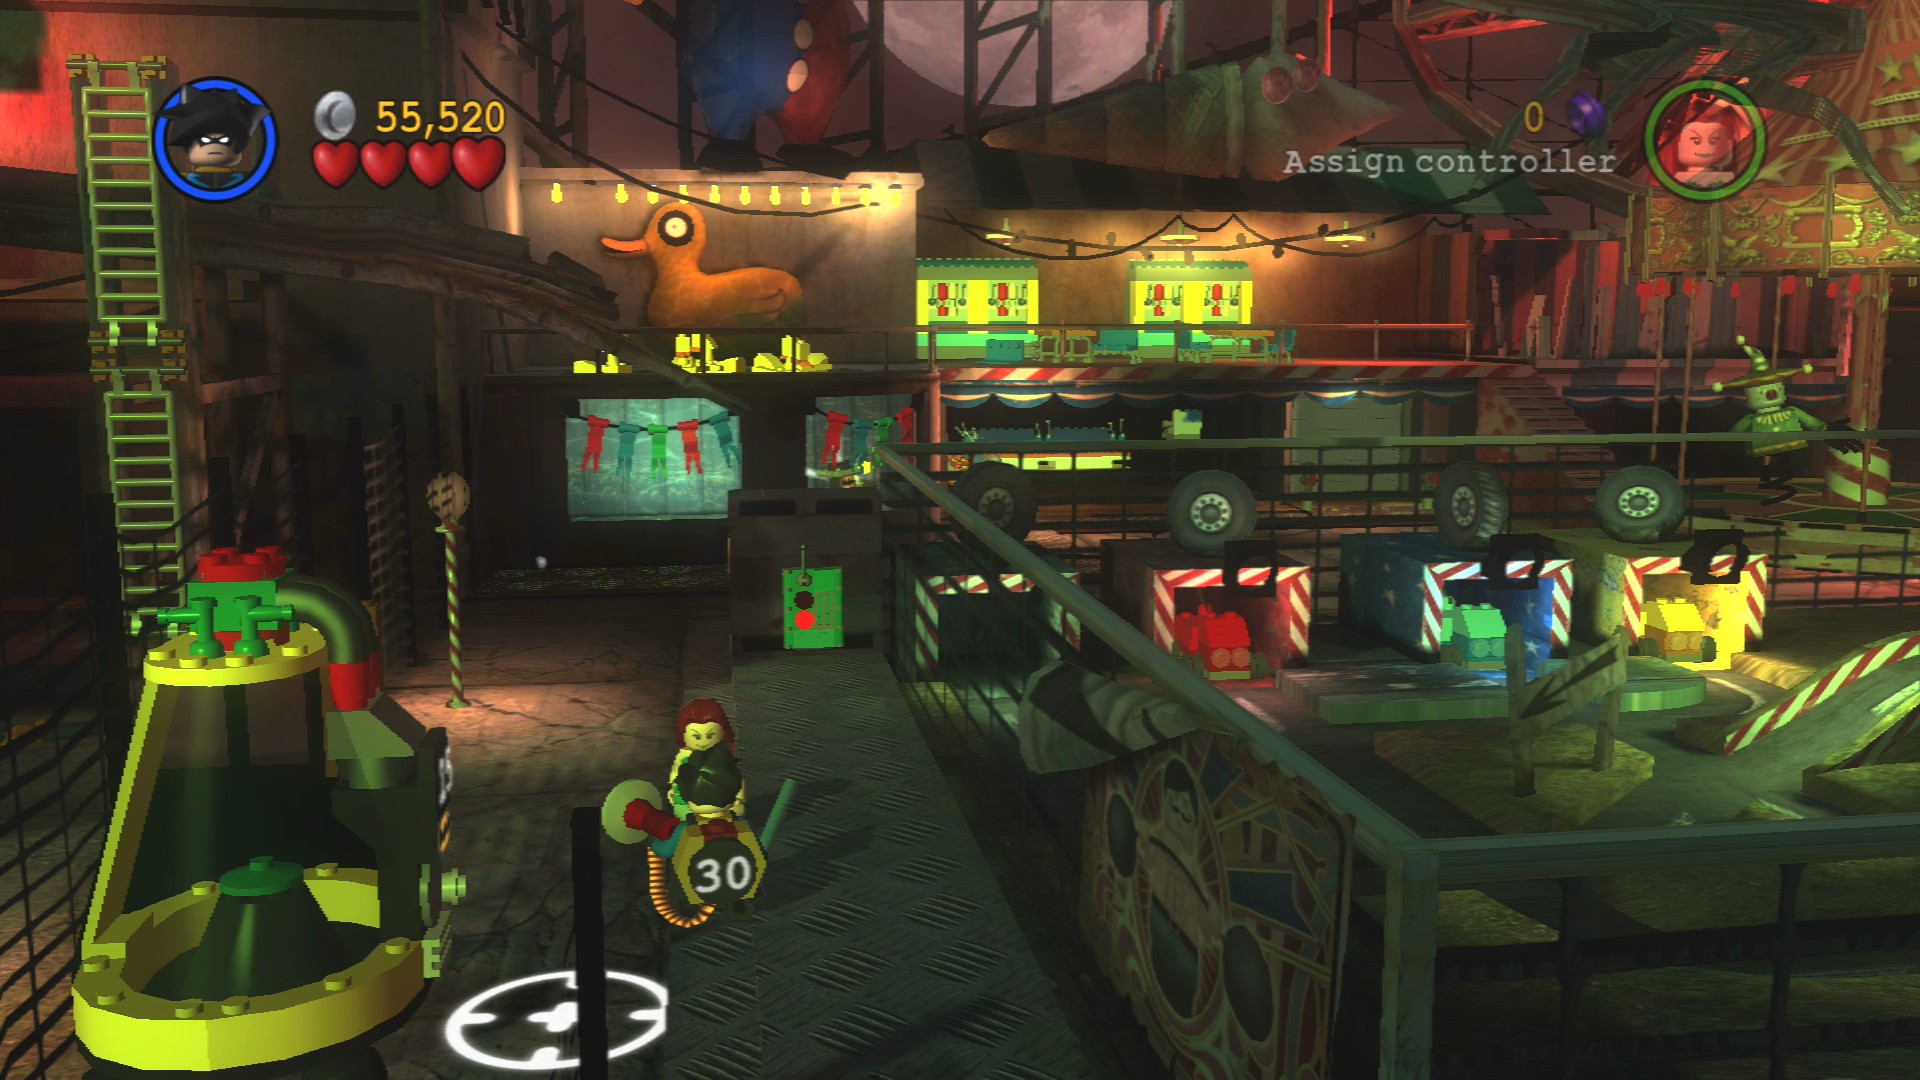
Fill up the Attracto Canister with the loose LEGO from around the area and then use the Tech Panel to start moving all the little coloured trucks along the little roads. Park each of them over on the right side in their matching colour spot. The green one will be in the one closest to the screen, then red in the second one from the back, the blue in the back one, and then the yellow in the remaining spot.
Minikit 9/10
Requires: Swimming Story Mode: No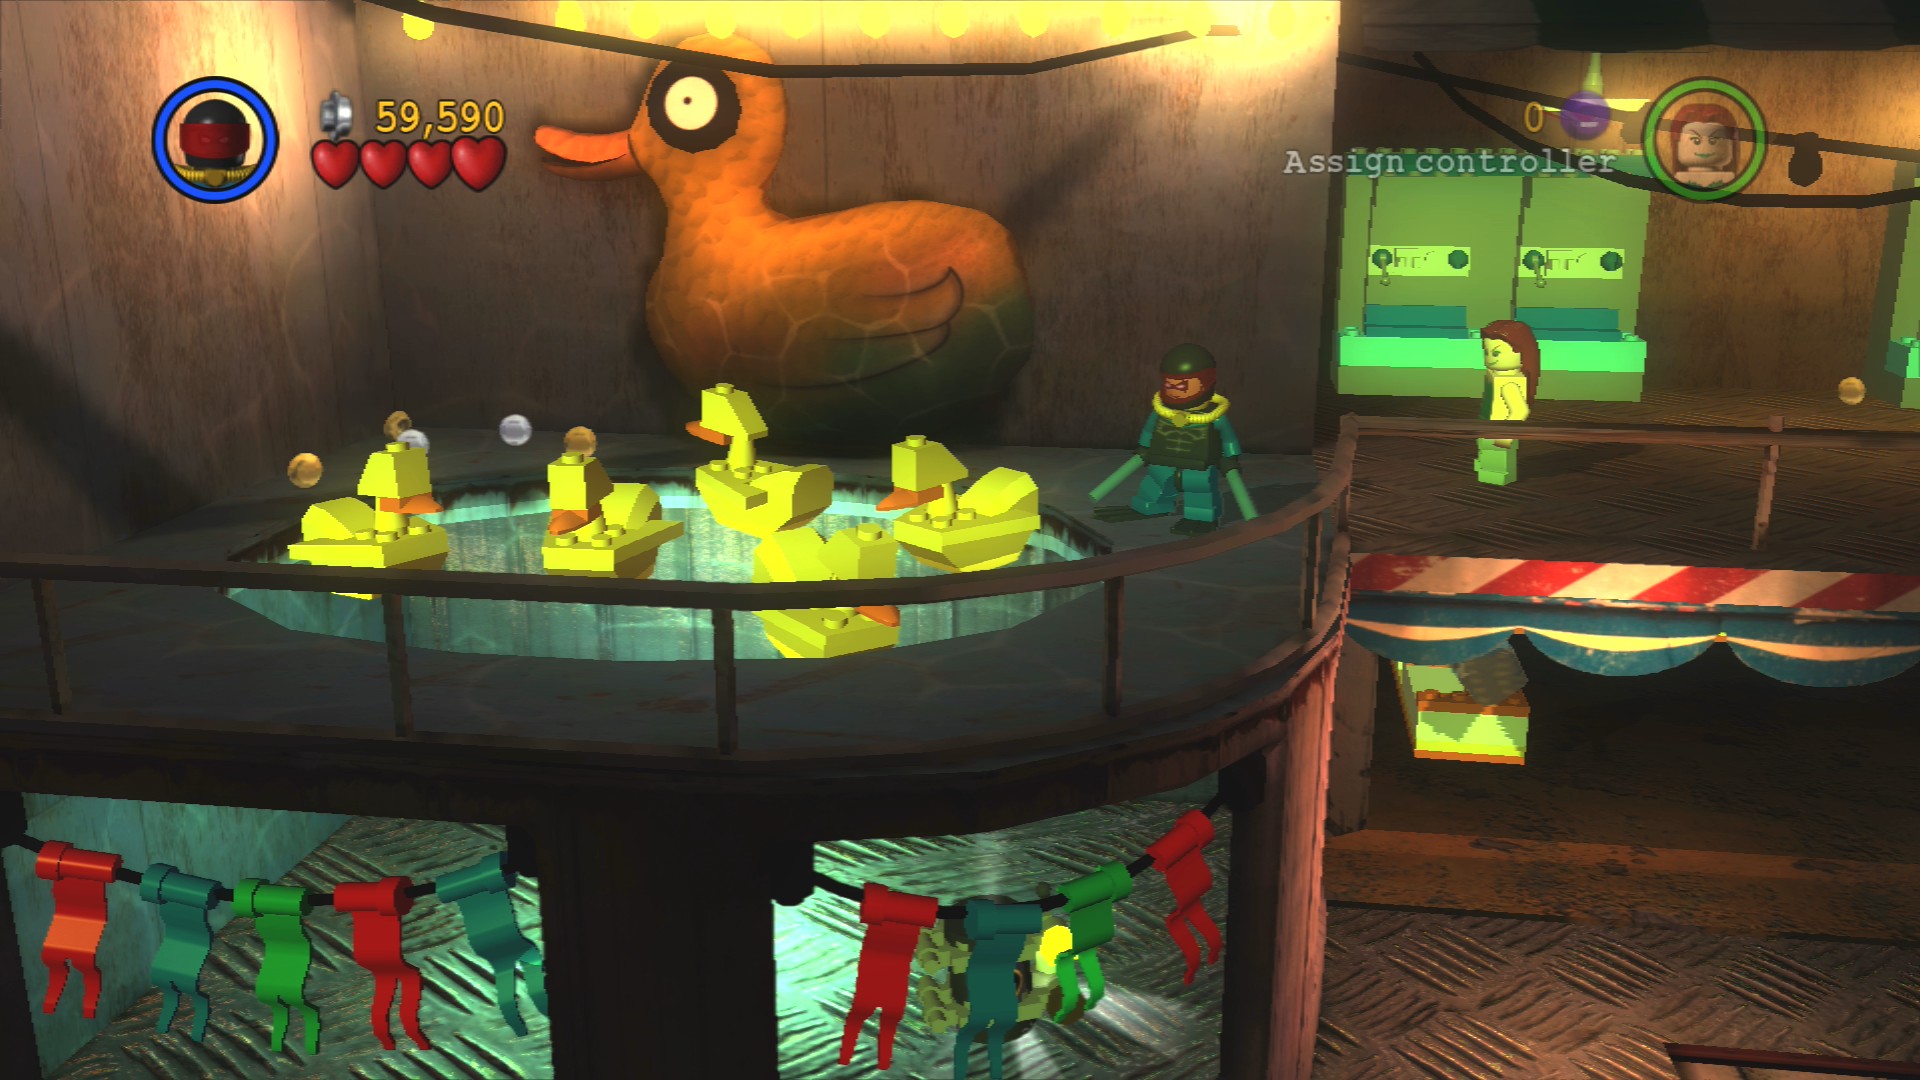
Swim down into the water beneath the yellow ducks at the back of the area.
Go past the merry go round and smash the objects along the water front until you get the parts to build a little cannon. It'll fire automatically and blow up the door to the building opposite. Smash open the safe inside there to see a code pattern appear: blue, red, yellow. Go outside and jump on the plungers behind the van in the same order. Then pull the activated lever to open the gate.
Minikit 10/10
Requires: None Story Mode: Yes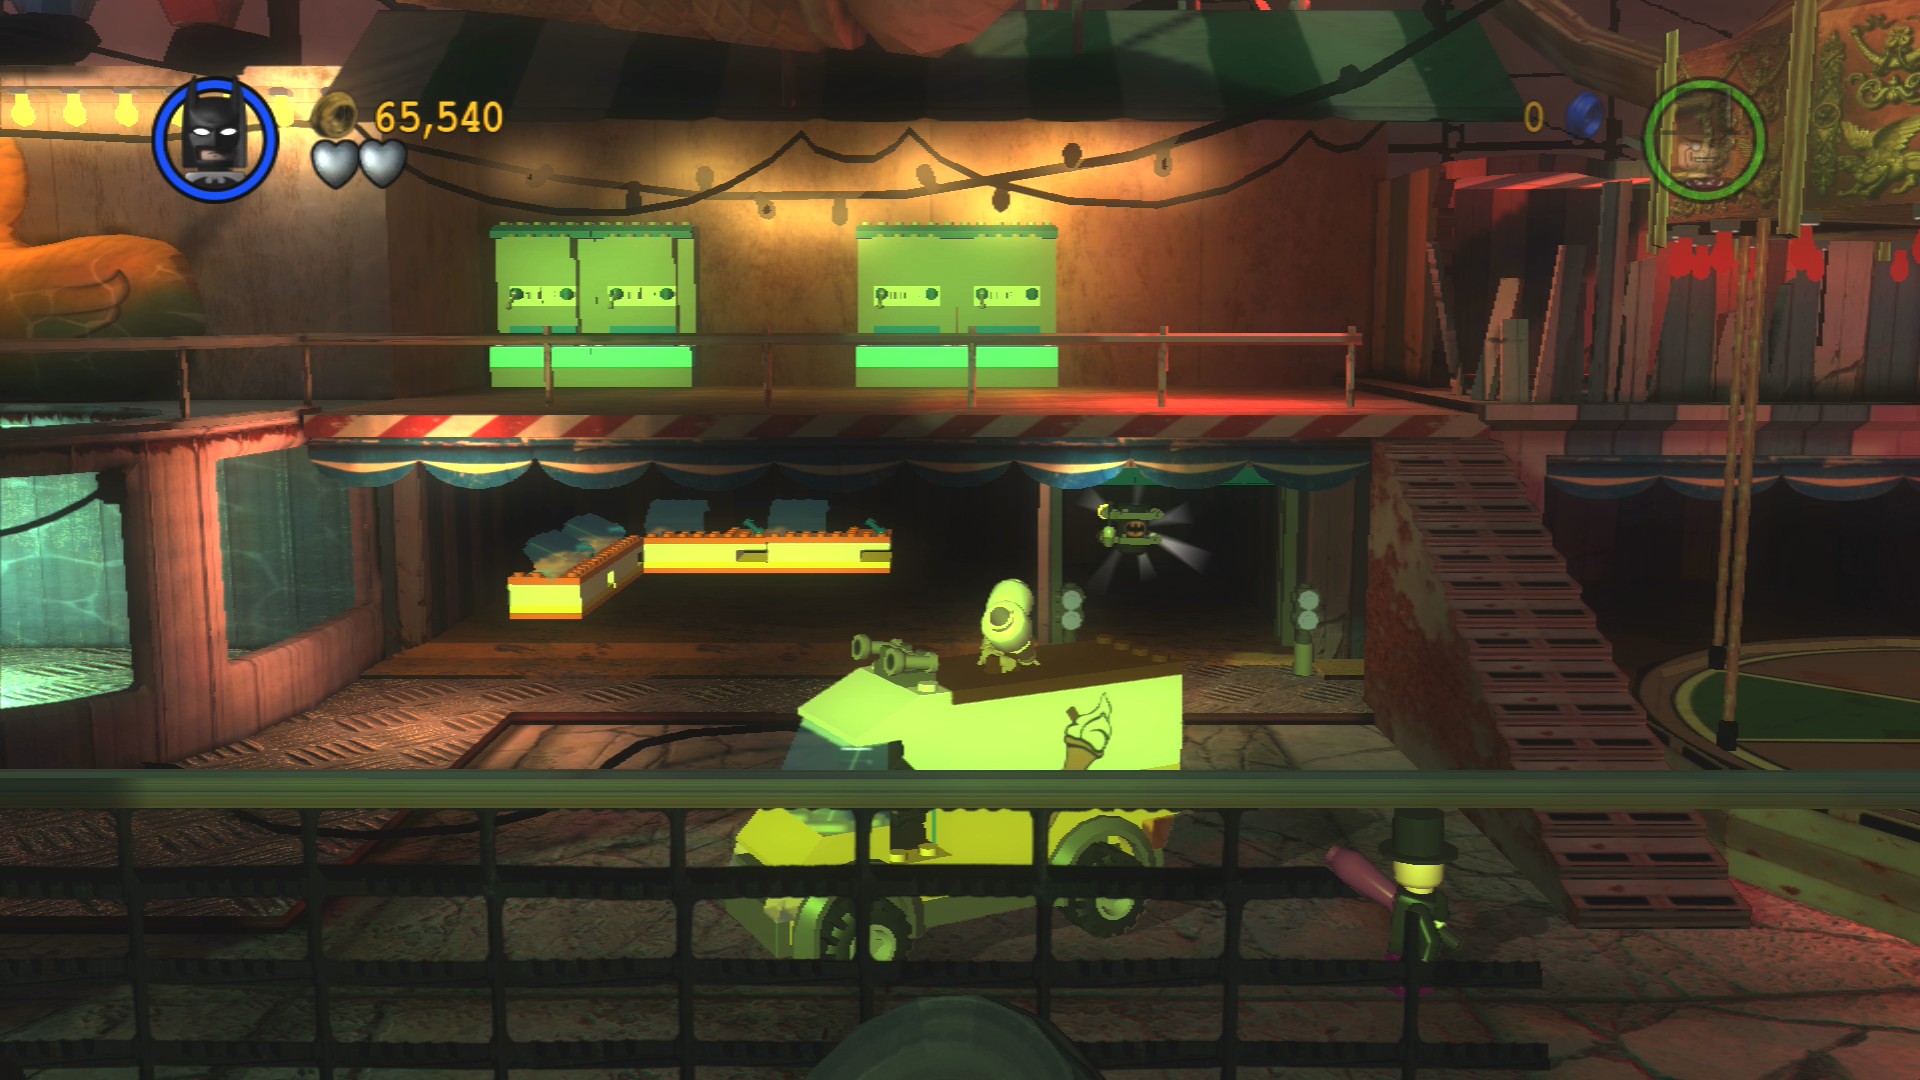
Drive the van to the left of the merry go round up to the closed shutters where you can see a Minikit behind, they'll open to let you in.
Go through the opened gate to the end of level fight. Power the generator at the base of the crane before climbing the ladder and getting in. Grab some explosive Catwoman toys from the skip and drop them on each of the three Silver LEGO spots.
Once the Silver LEGO is all blown up jump out of the crane and defeat the police officers and cuase three hearts of damage to Commissioner Gordon so that he runs away.
Defeat the police that pop out of the van that rushes in and then get back in the crane to drop and explosive on the van. Defeat any more police that have appeared and take another three hearts off Gordon.
A second van will appear, defeat the police and then drop another explosive on it. Take off Gordon's final three hearts to finish the level.
| Cost | Character | |
|---|---|---|
| - | Harley Quinn | |
| - | The Joker | |
| 25,000 | Commissioner Gordon | |
| 80,000 | Harley Quinn's Hammer Truck |
Chapter 2. Biplane Blast
| Story Mode | Free Play |
|---|---|
| 28,000 | 40,000 |
Next to where you start is a glass building that you can shoot to reveal a mine. The Joker's Helicopter can drag it over to the right to blow up the barrier.
Minikit 1/10 - Part 1/10
Requires: None Story Mode: Yes
Throughout the level you'll see some brown water towers that you can shoot, there's just the one in this first area.
Red Brick - Immune to Freeze - Part 1/5
Requires: None Story Mode: Yes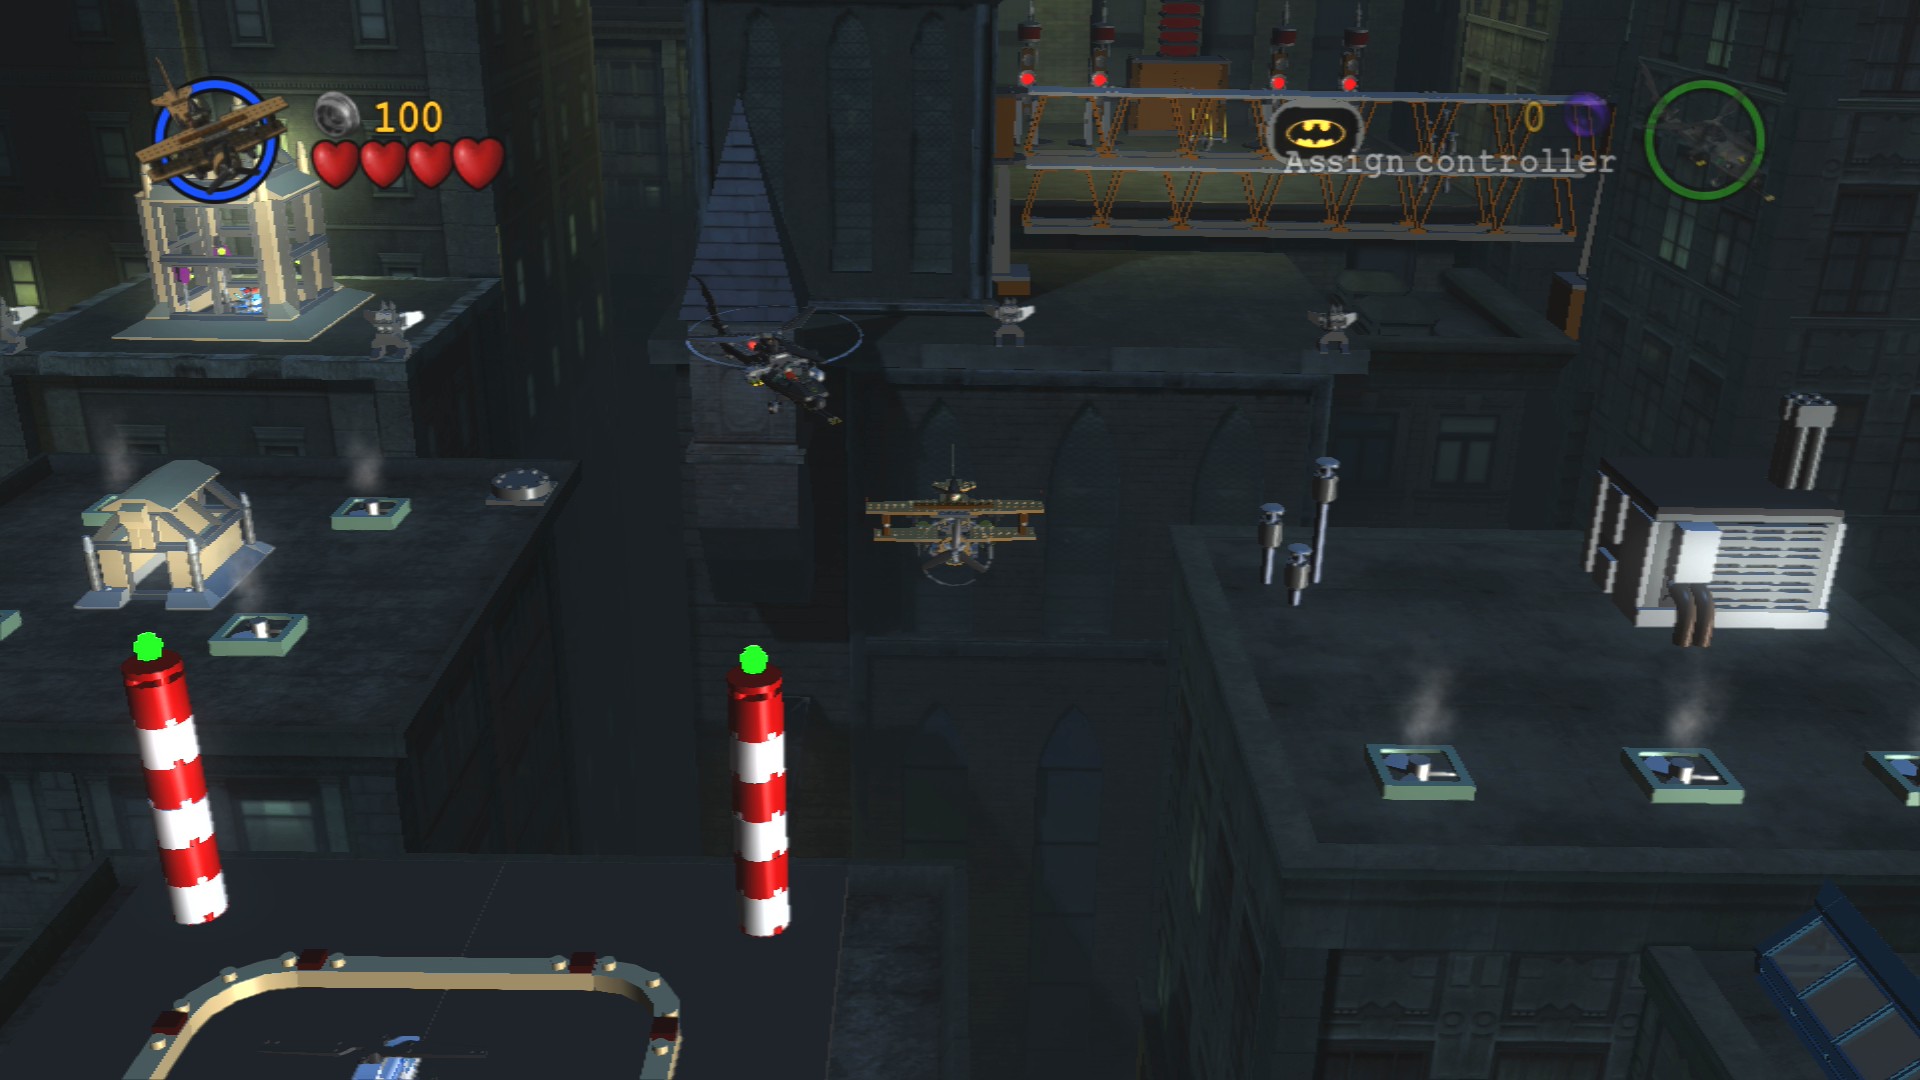
Towards the screen from the start is a white rounded square with red and white poles on each corner. If you can shoot the helicopter on it before it takes off the blue lights on the square will turn green and you will have completed the first part of this five part task.
This one is very easy to mess up as you won't be able to get it once the helicopter has taken off and will have to go through the entire level again to try again. If the lights on the square are red and there's nothing to shoot, you've failed.
As you go through the barrier you'll be shown a turret activate. You can't actually destroy it but instead must grab a green torpedo from the Scarecrow dispenser on top of one of the buildings. It'll temporarily go out of control blowing up the barrier.
Minikit 1/10 - Part 2+3+4/10
Requires: None Story Mode: Yes
There are another three brown water towers in this second part of the first area.
Minikit 2/10
Requires: Grapple Story Mode: Yes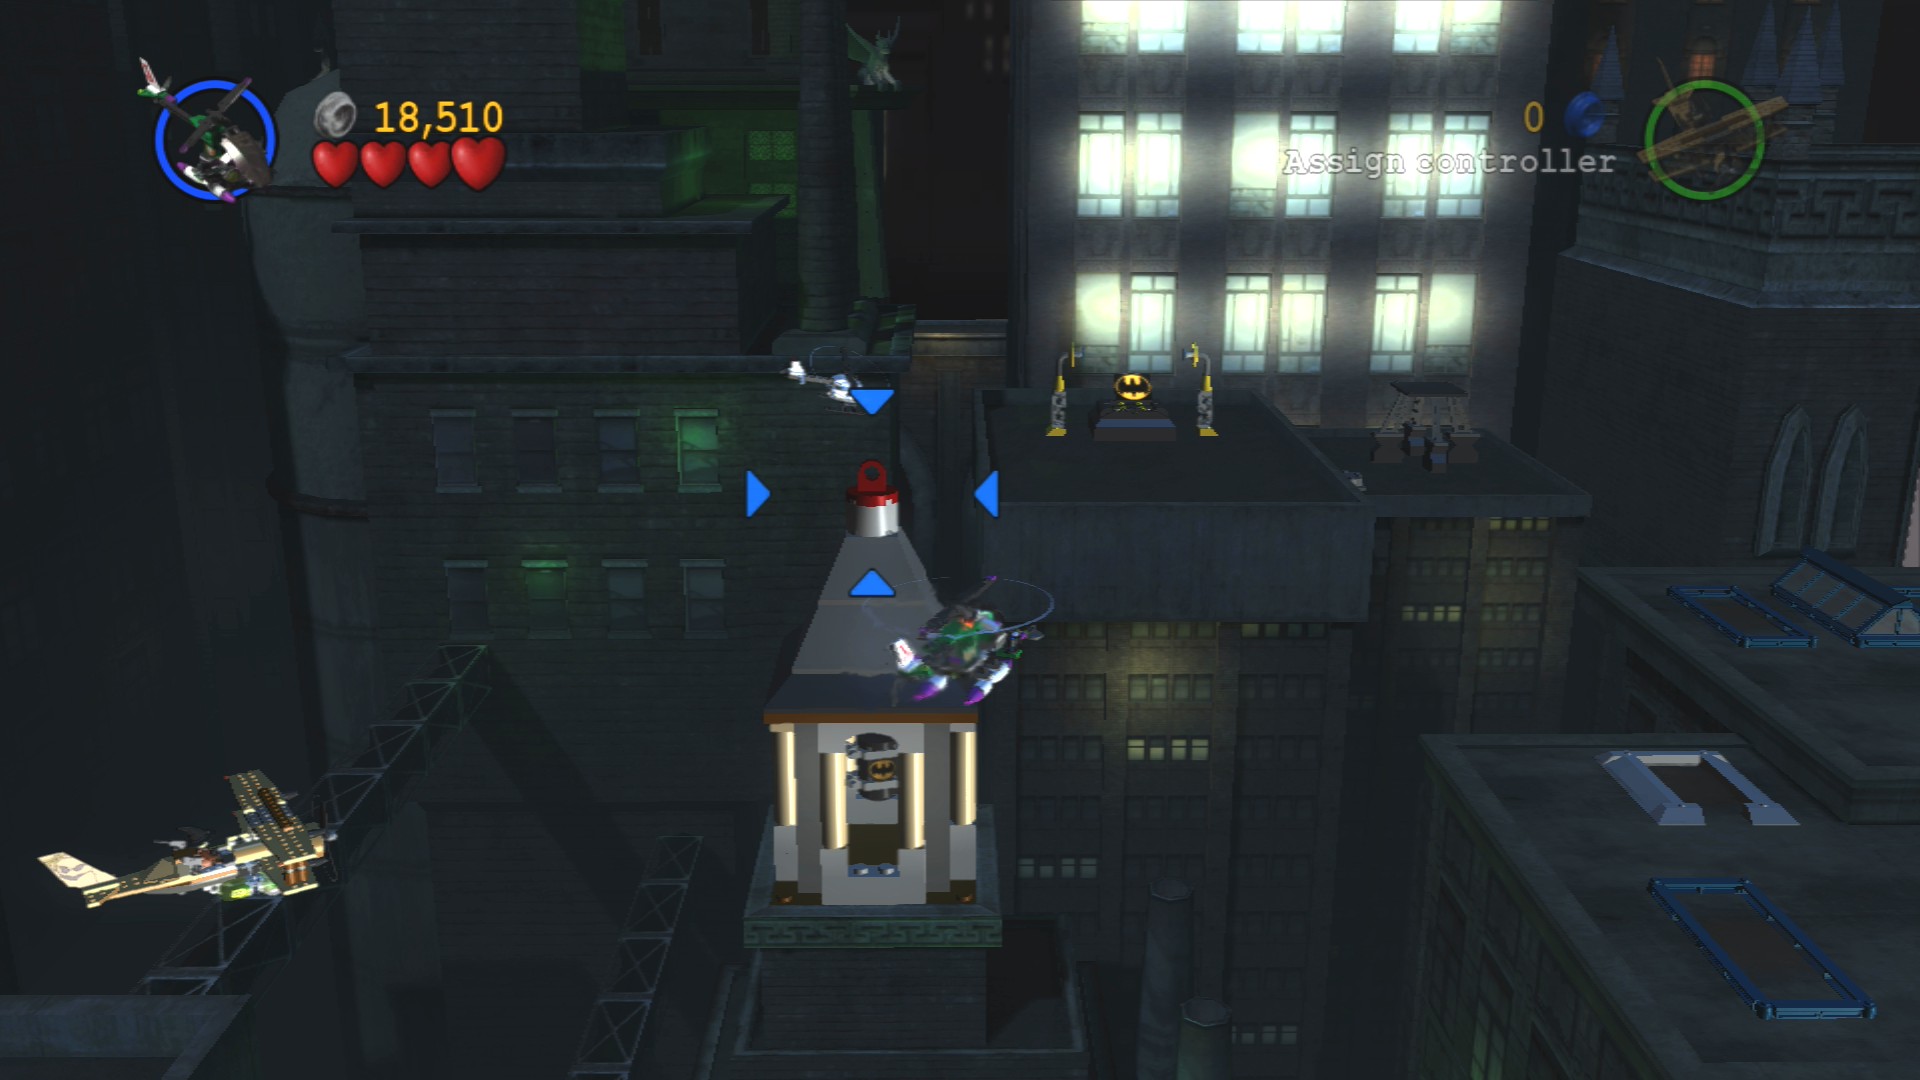
Use the Joker Helicopter's grapple to pull on the top of the pointed tower with a Minikit inside.
Minikit 3/10
Requires: Batwing, Grapple Story Mode: No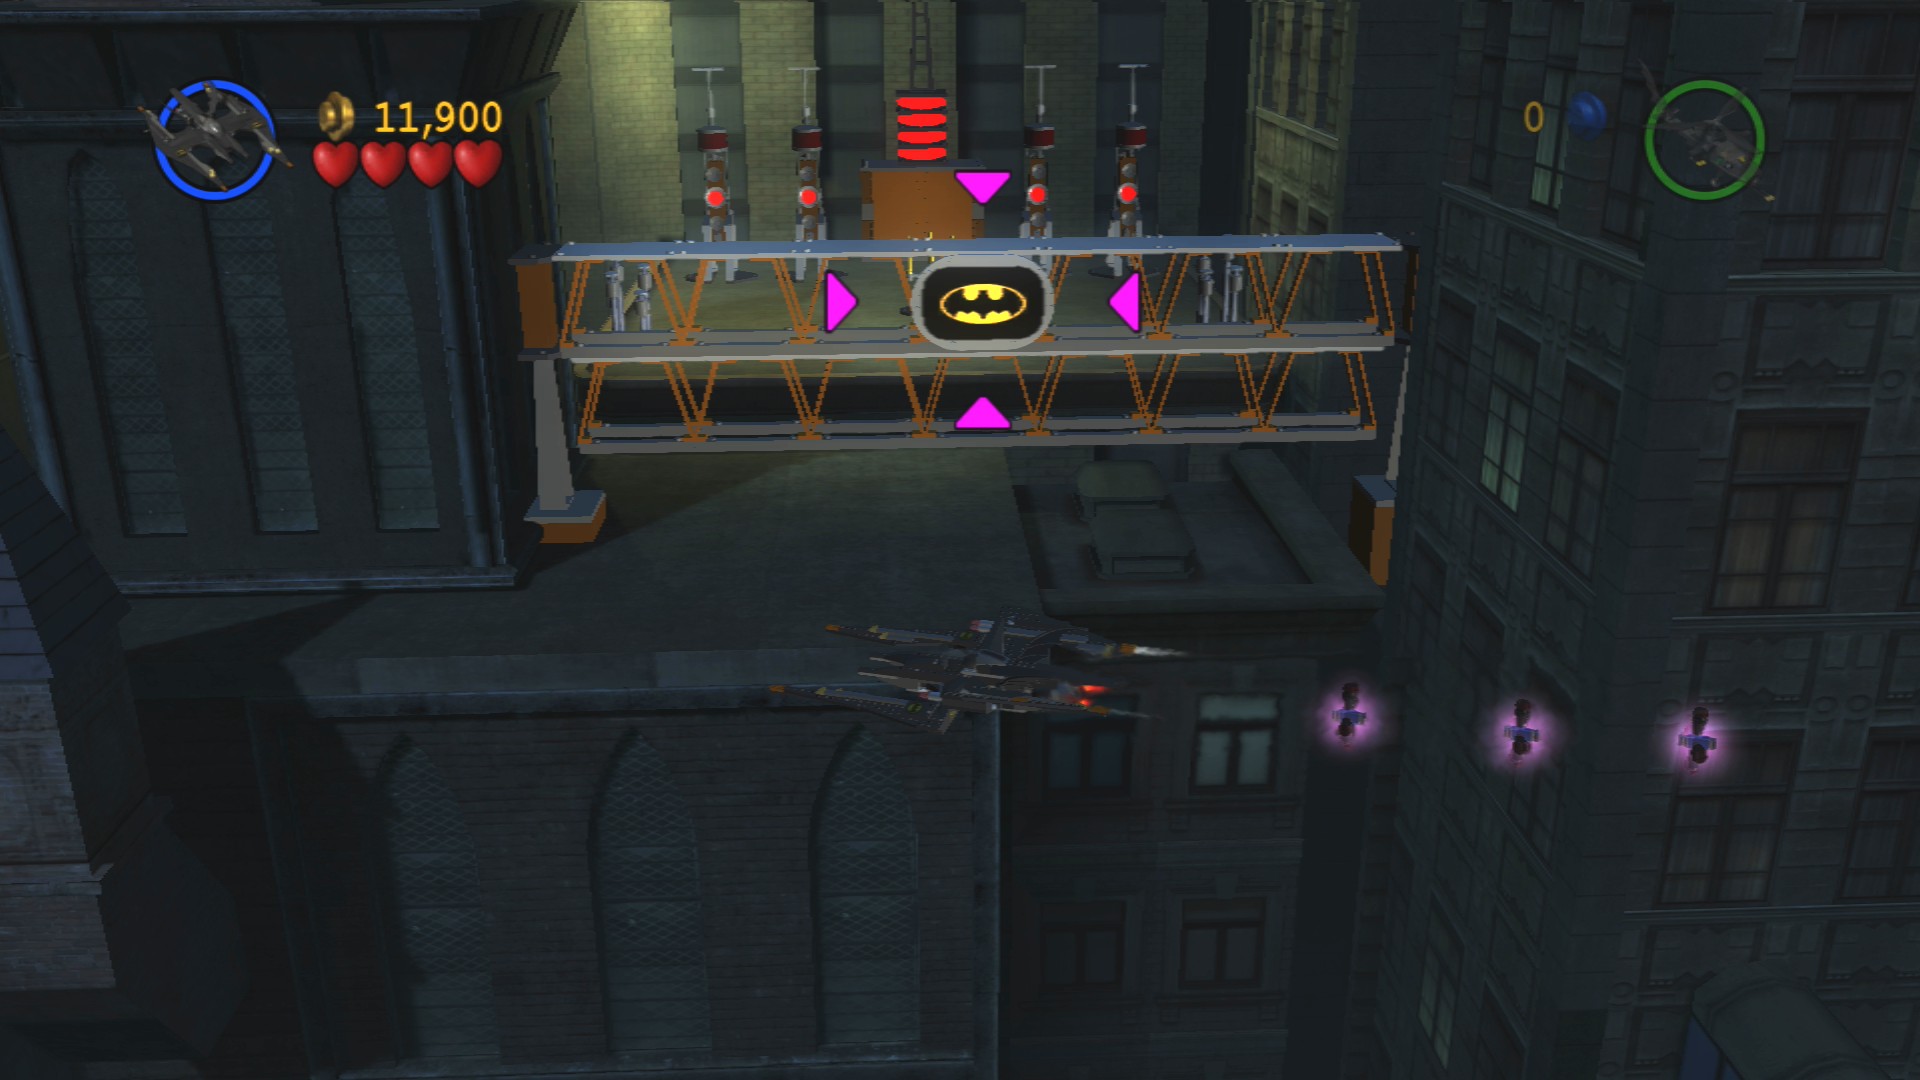
At the back of this second part of the first area is a bat symbol that you can smash to reveal purple torpedoes that the Batwing can collect. Take one back to the first part and blow up the fence at the back that has the bat symbol on.
Shoot the four buttons and then grapple the red hook that appears in the middle to reveal the Minikit.
Minikit 4/10
Requires: Grapple Story Mode: Yes
To the right of the bat symbol dispenser is a Silver LEGO bit of wall, drag a mine into it from the start of the level to release a set of three green balloons. Shoot them to get the Minikit.
Red Brick - Immune to Freeze - Part 2/5
Requires: None Story Mode: Yes
At the far right end of this area is the second helicopter taking off.
Go through to the second area. One the far side is a barrier with a clock, smash the glass building just before it and drag four mines into the clock to blow it up.
Minikit 5/10 - Part 1/3
Requires: None Story Mode: Yes
At the start of the second area is a purple shield with red and green handles, shoot the green to flip the shield around and reveal a Joker face. Nothing will happen for the moment but remember where this is as you'll need to come back to it later.
Minikit 6/10
Requires: Grapple Story Mode: Yes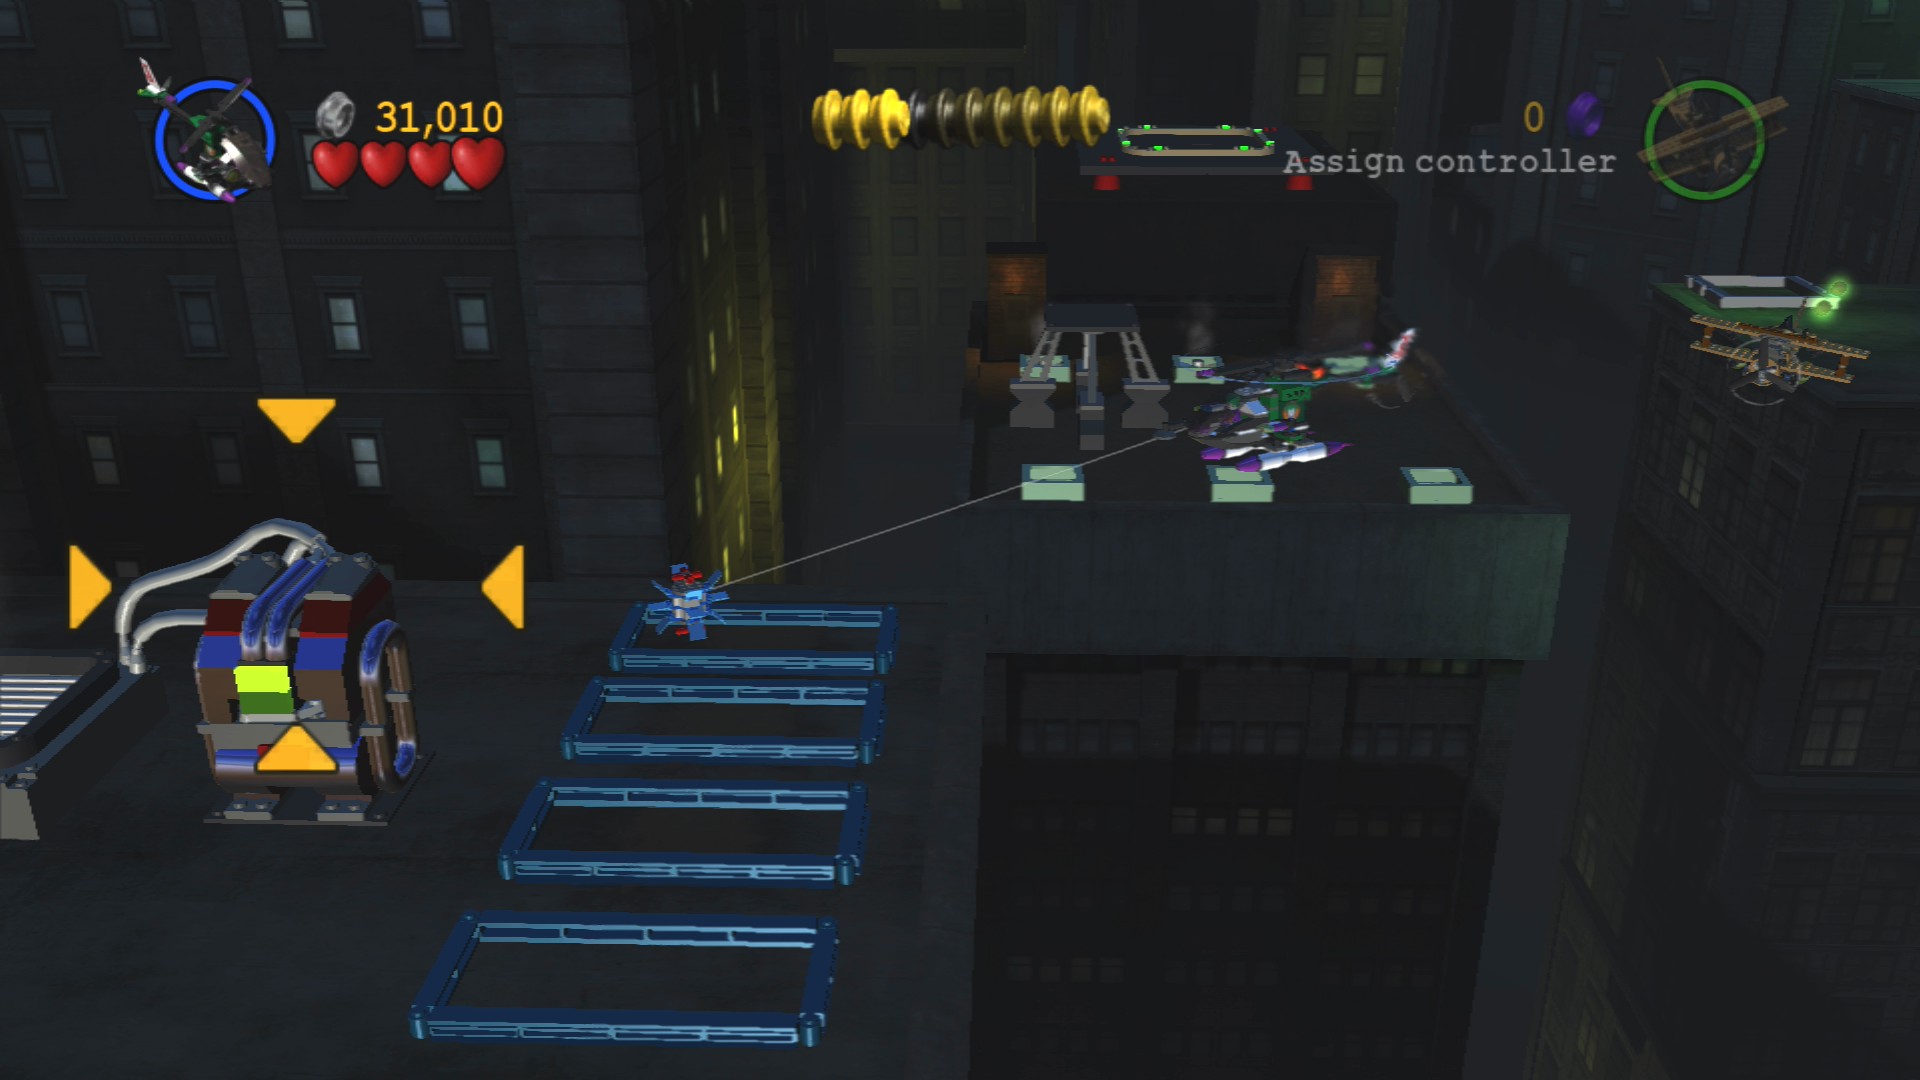
Drag a mine into the Silver LEGO air conditioner unit on the roof in front of the purple Joker shield.
Minikit 1/10 - Part 5+6/10
Requires: None Story Mode: Yes
At the start of this second area there are two more brown water towers.
Red Brick - Immune to Freeze - Part 3+4/5
Requires: None Story Mode: Yes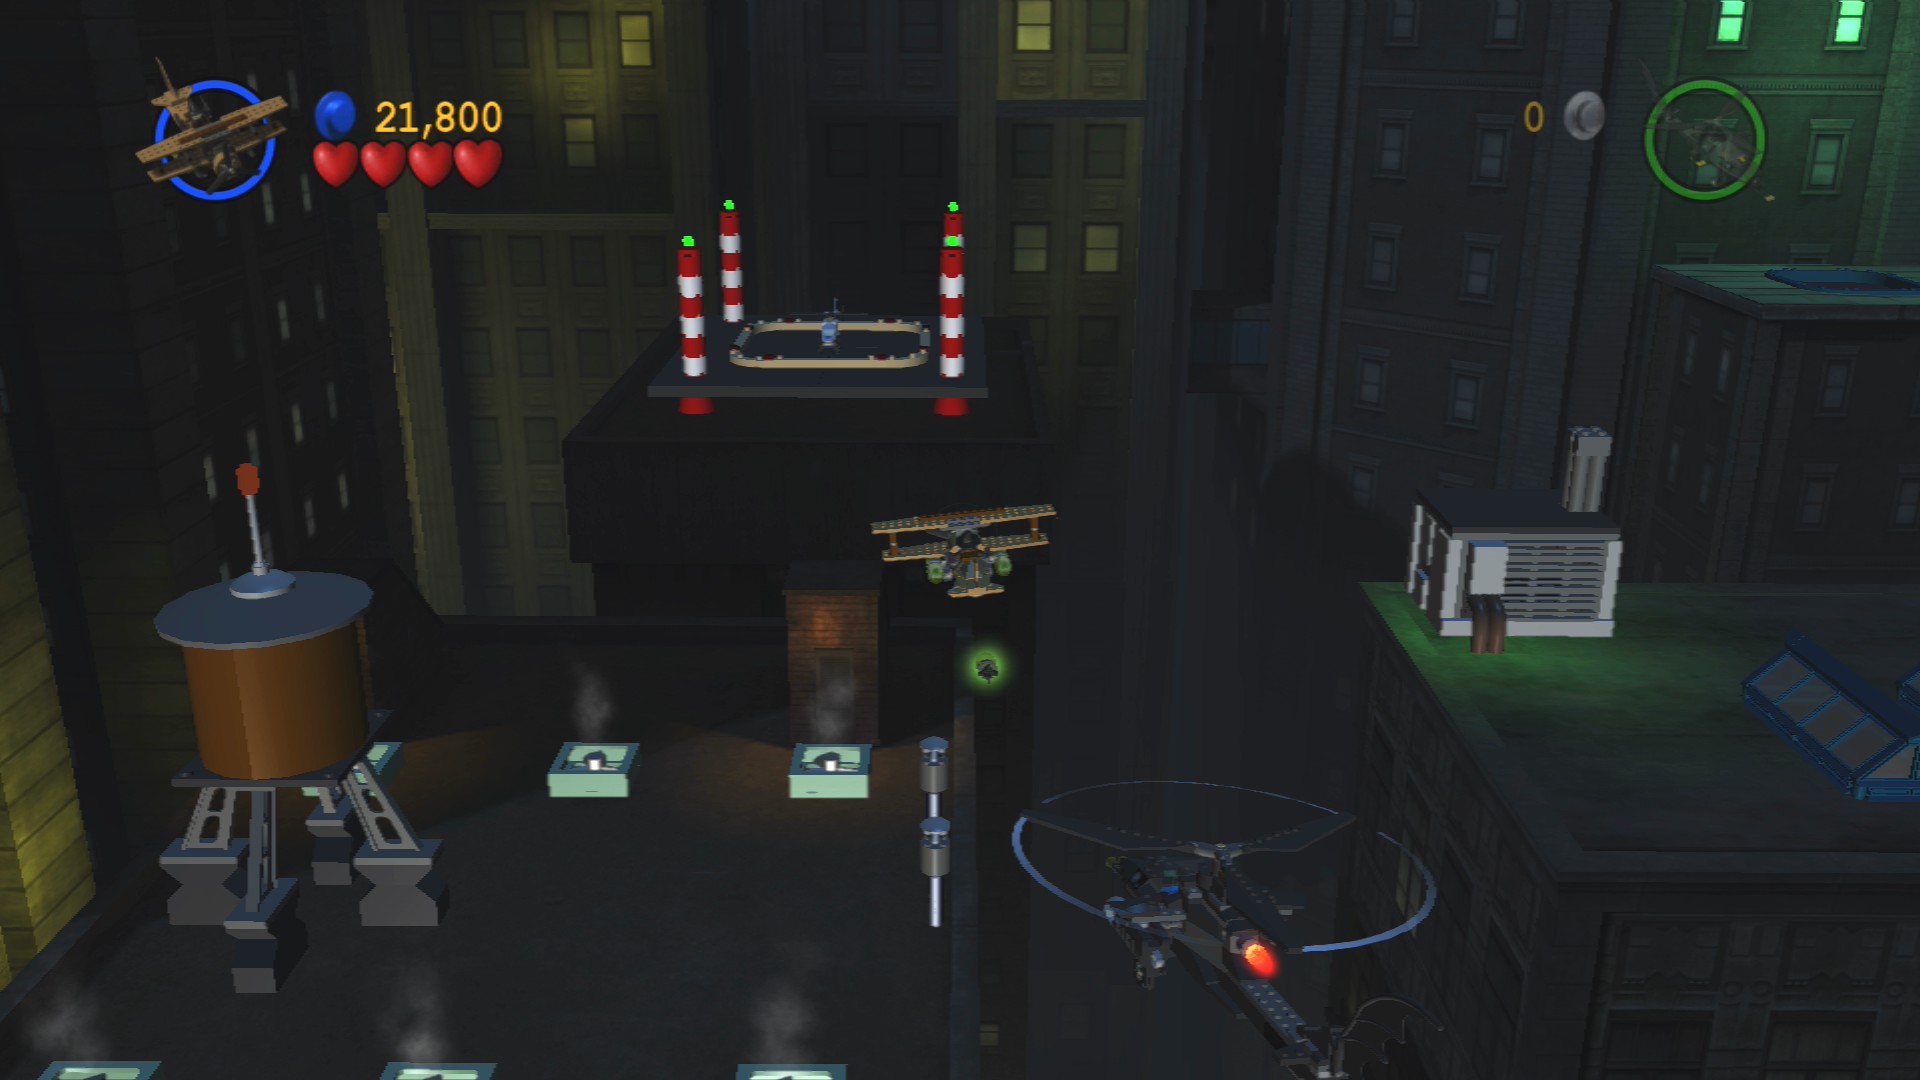
At the back of the start of the second area is another helicopter about to take off. And the fourth one is on the far right side near the clock barrier.
Minikit 7/10
Requires: Batwing, Grapple Story Mode: No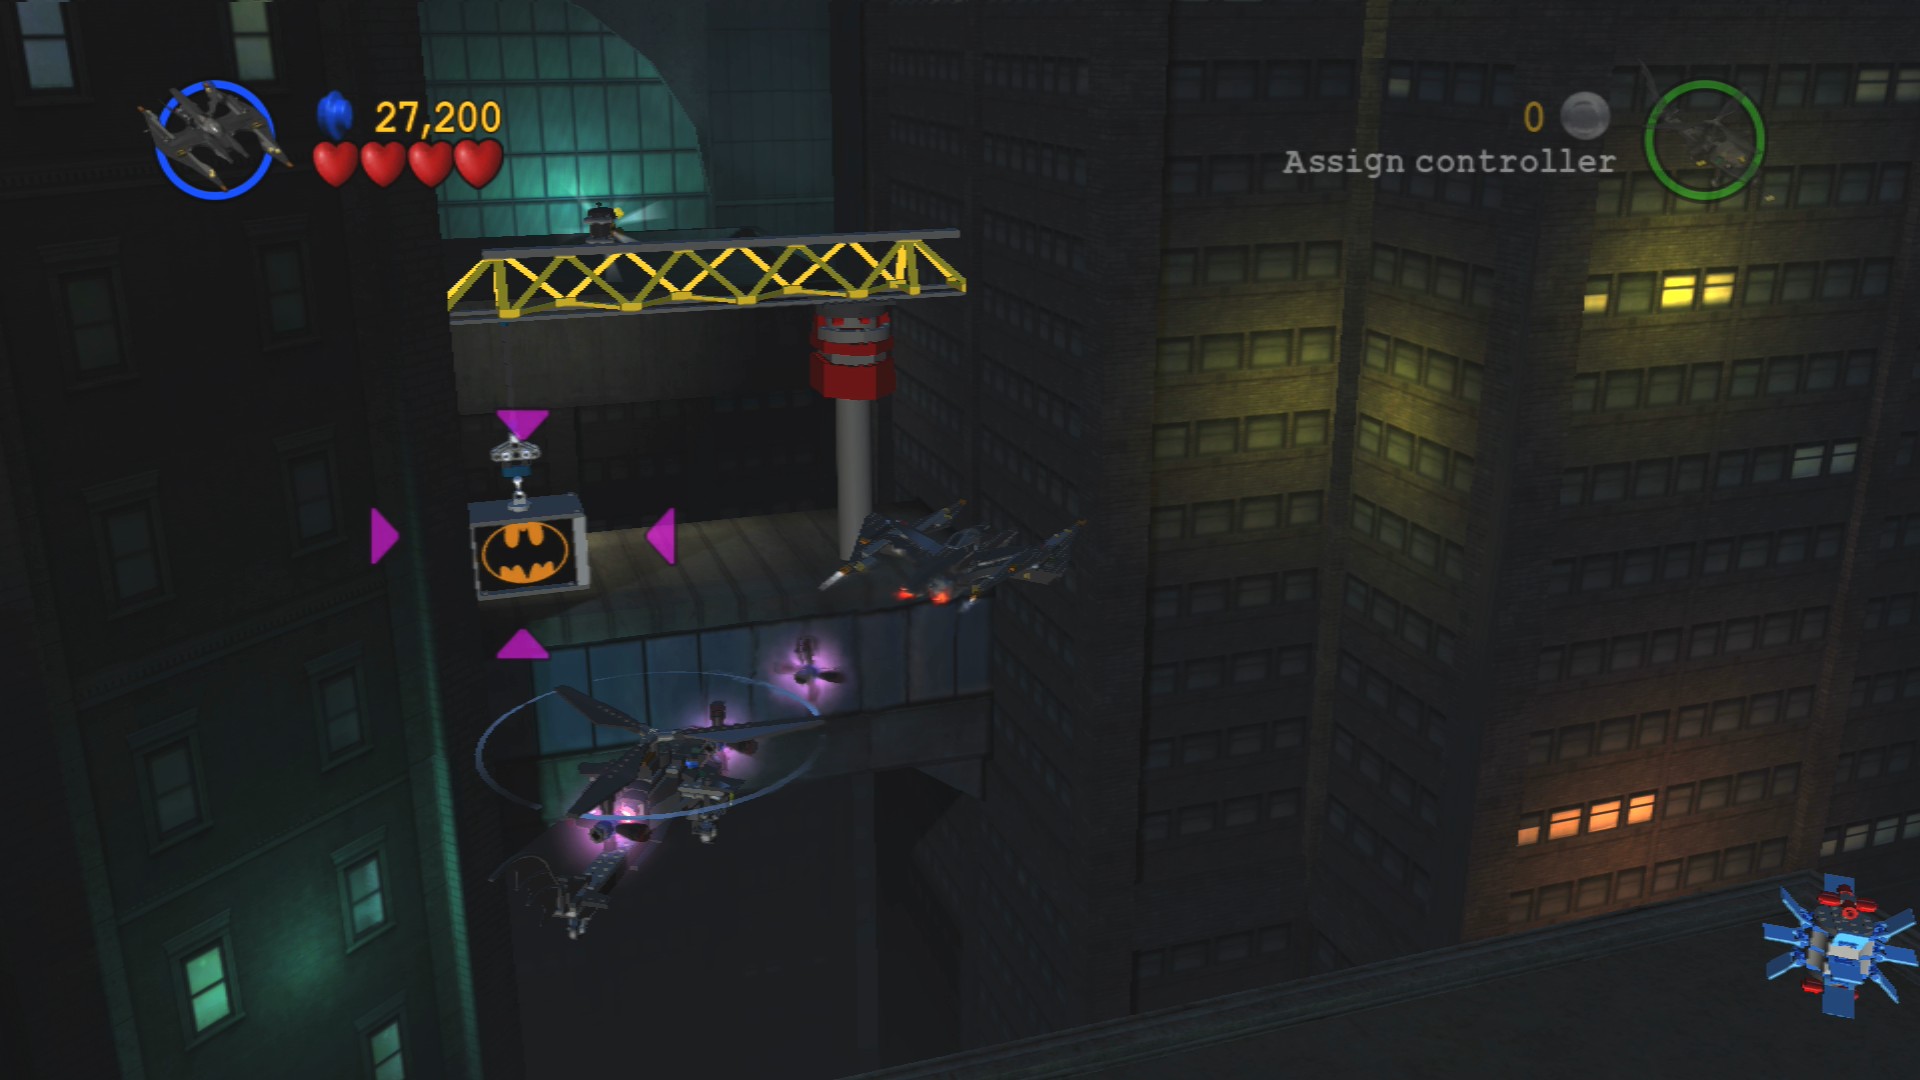
At the back is a crane holding a bat symbol. You can go back to the first area if you don't have any purple torpedoes and use one to blow up the bat symbol box. After that grapple the crane to move it out of the way so you can get to the Minikit behind it.
Go through the fallen barrier and on the far side shoot the brick wall between the two turrets (you can distract them with gas torpedoes if you like). Once you've done that you can drag a mine into it to blow it up.
Minikit 1/10 - Part 7+8/10
Requires: None Story Mode: Yes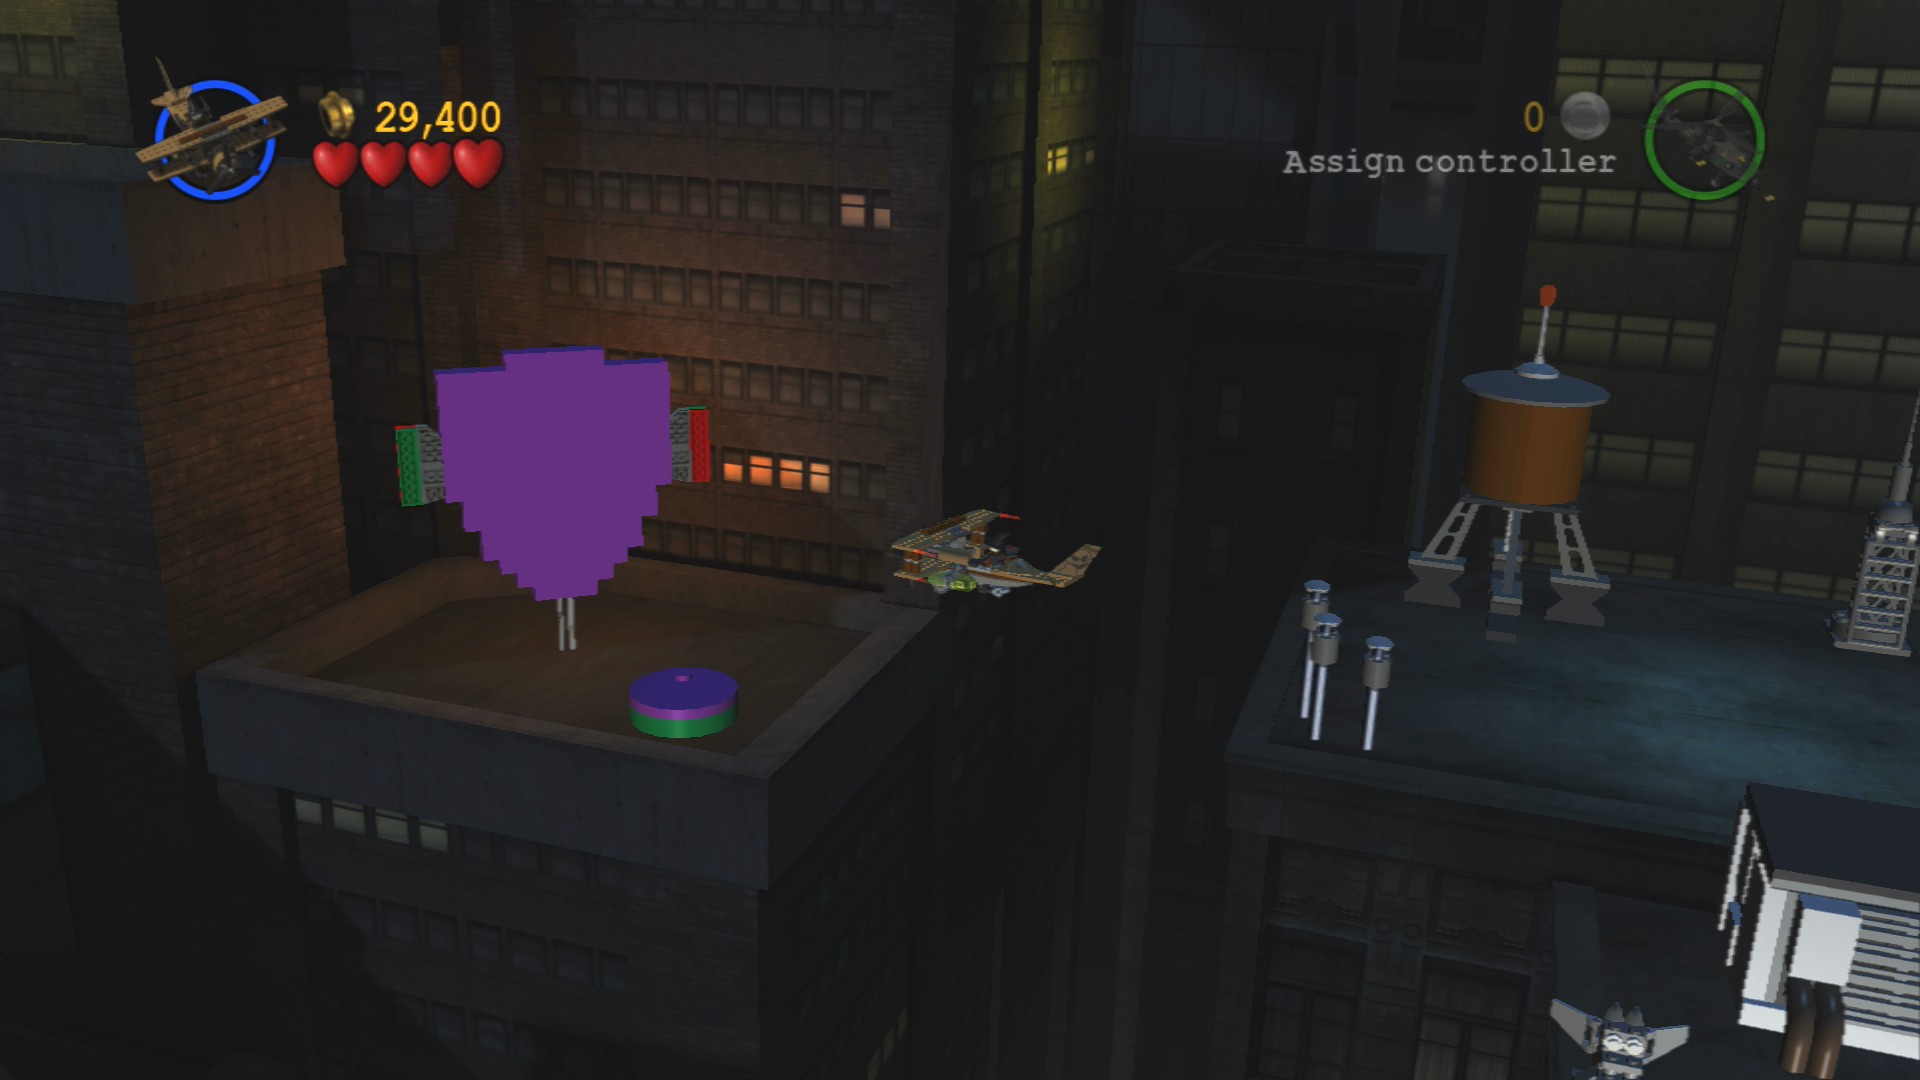
Another couple of brown water towers are found in this second half of the second area.
Minikit 5/10 - Part 2+3/3
Requires: None Story Mode: Yes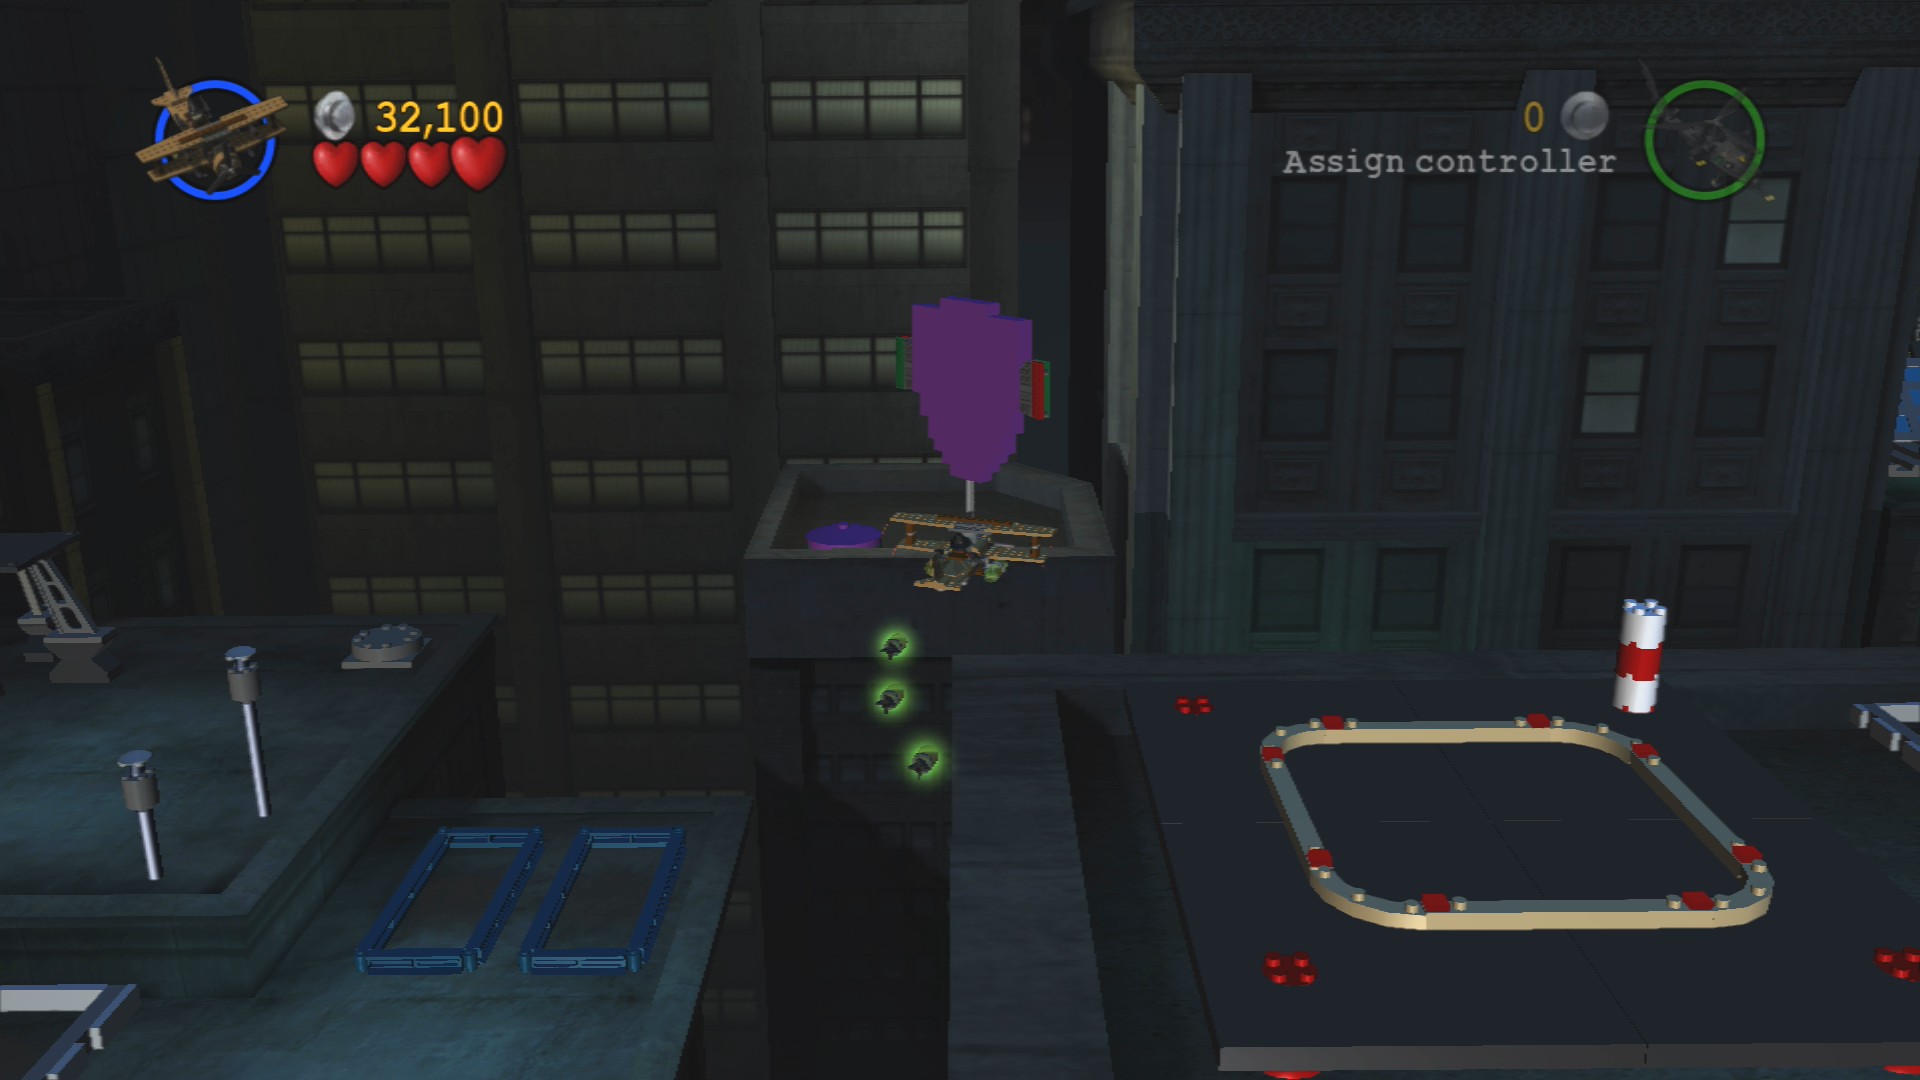
And in this second section of the second area are two more purple Joker shields to flip around. Once you've flipped the third one you'll notice a cage appear in front of it, shoot it and now return to each of the others and shoot the cages that are now in front of them to get the Minikit.
Red Brick - Immune to Freeze - Part 5/5
Requires: None Story Mode: Yes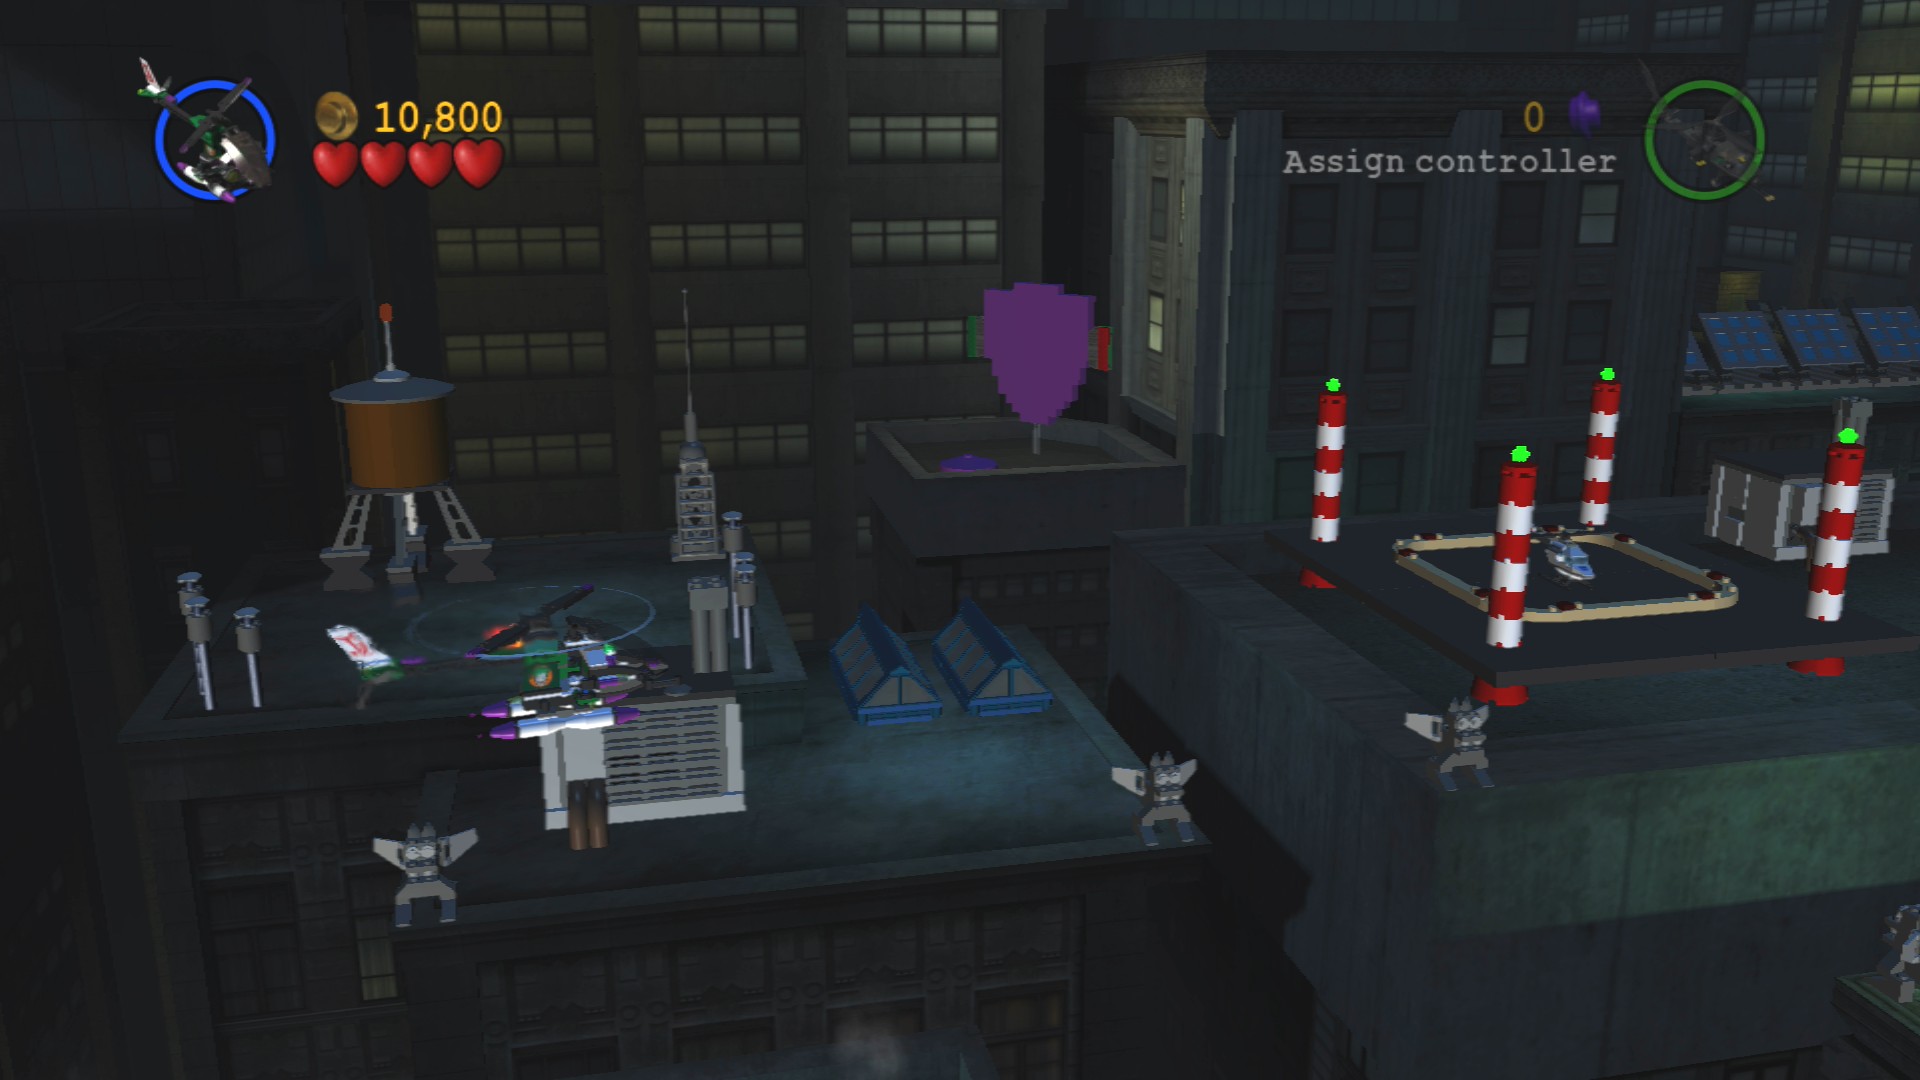
The final helicopter taking off is found just in front of the third Joker shield.
Minikit 8/10
Requires: Torpedo Story Mode: Yes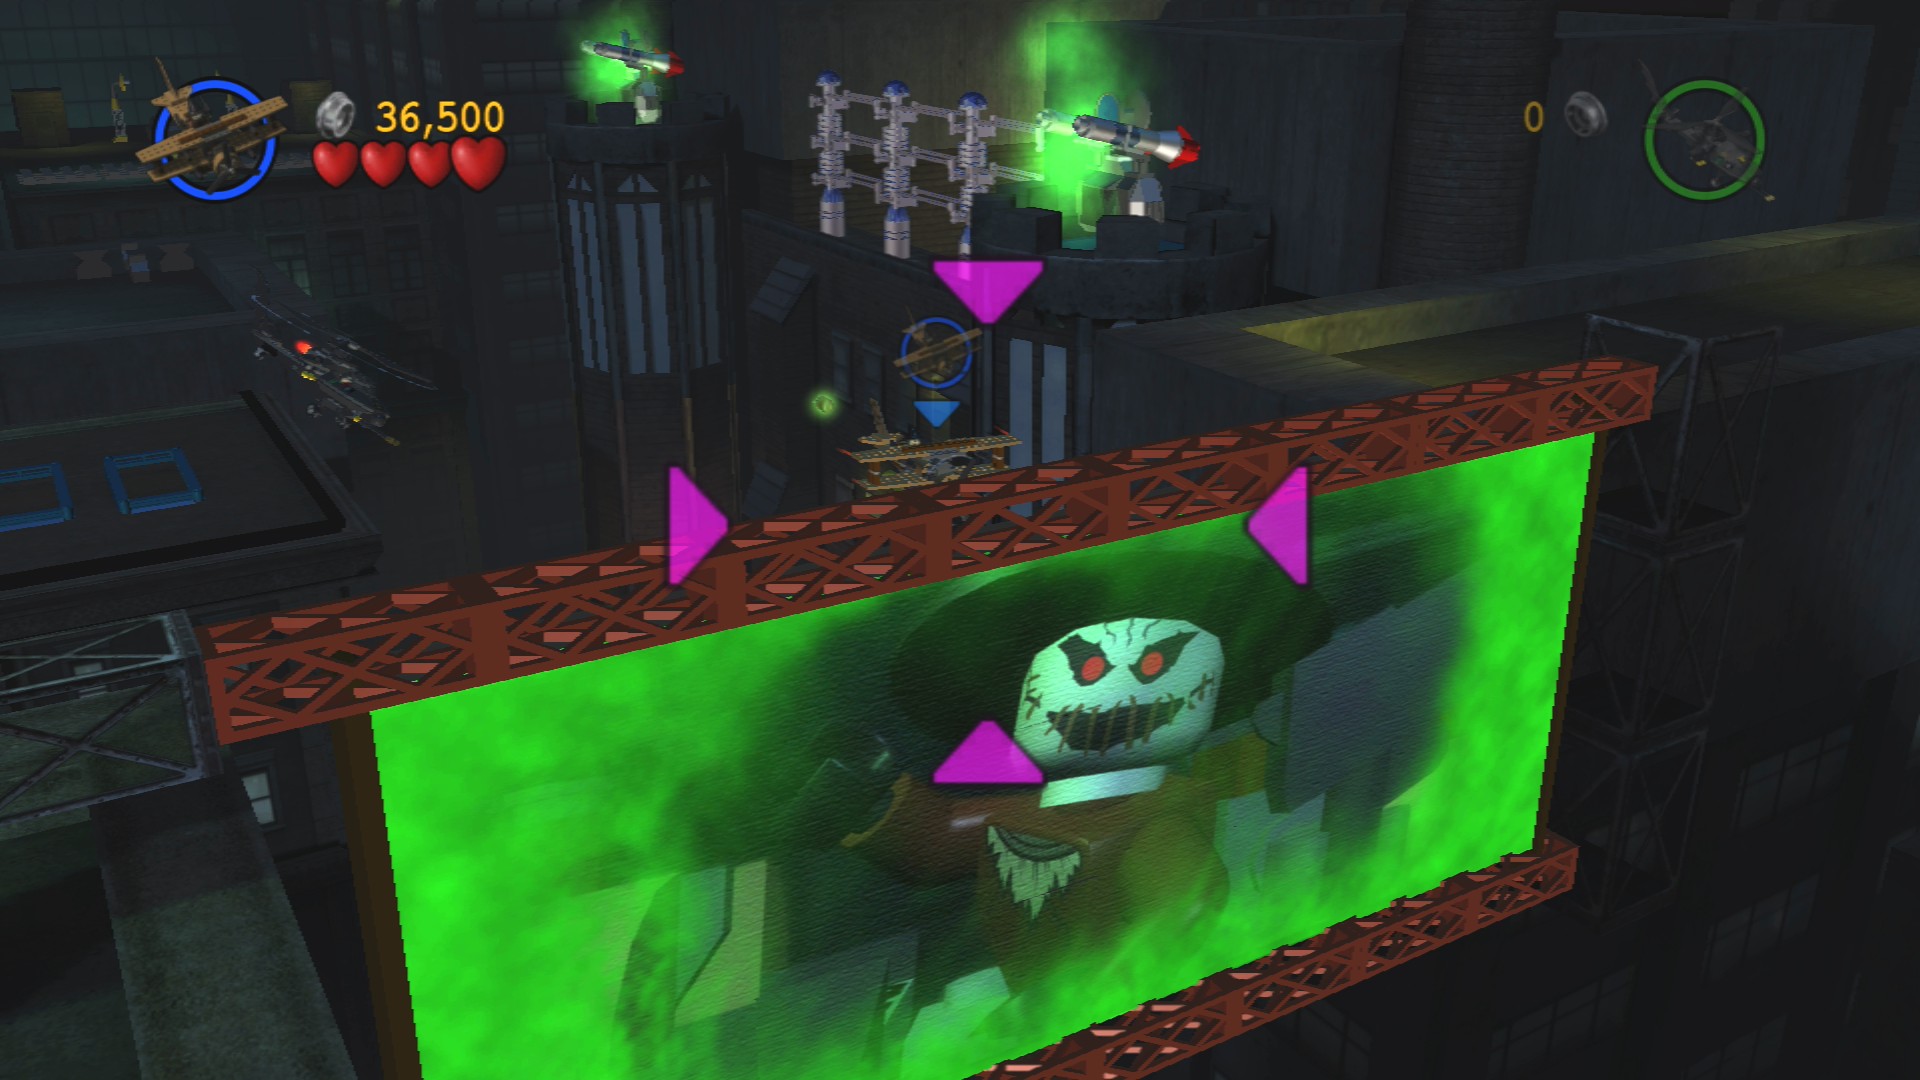
In the corner towards the screen near the pair of turrets guarding the brick wall is a Scarecrow poster, fire a torpedo at it to blow it up and go through. Past a pair of turrets in there that you can do nothing to is a Minikit.
Time to start the fight with the Police Battle Helicopter! Fly to the left and blow up the billboard so you can get behind it. Back there is a bat torpedo dispenser for use in Free Play and, more importantly for the Story, a mine dispenser.
Minikit 9/10
Requires: Batwing, Grapple Story Mode: No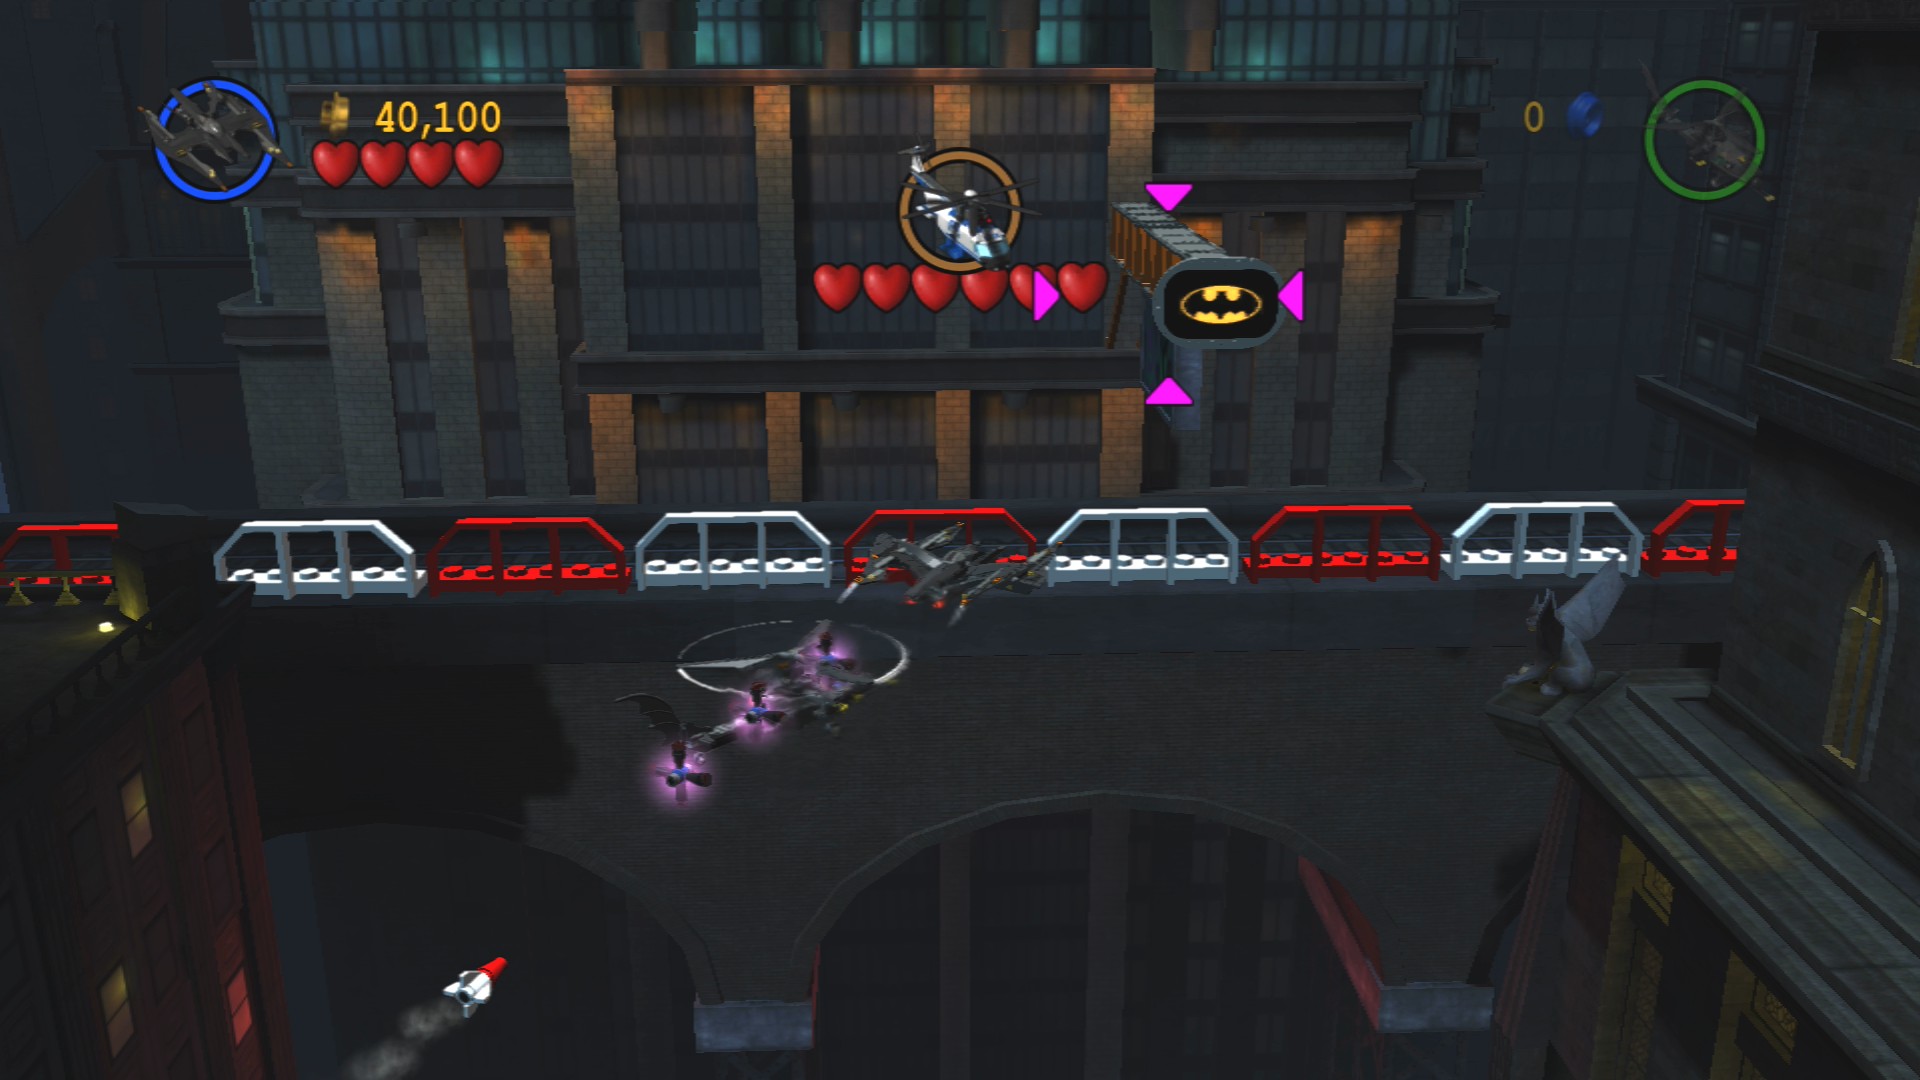
Blow up the bat symbol at the back of the Police Battle Helicopter area and then drag a mine into the crashed train to blow it up and get the Minikit.
Minikit 10/10
Requires: Batwing, Grapple Story Mode: No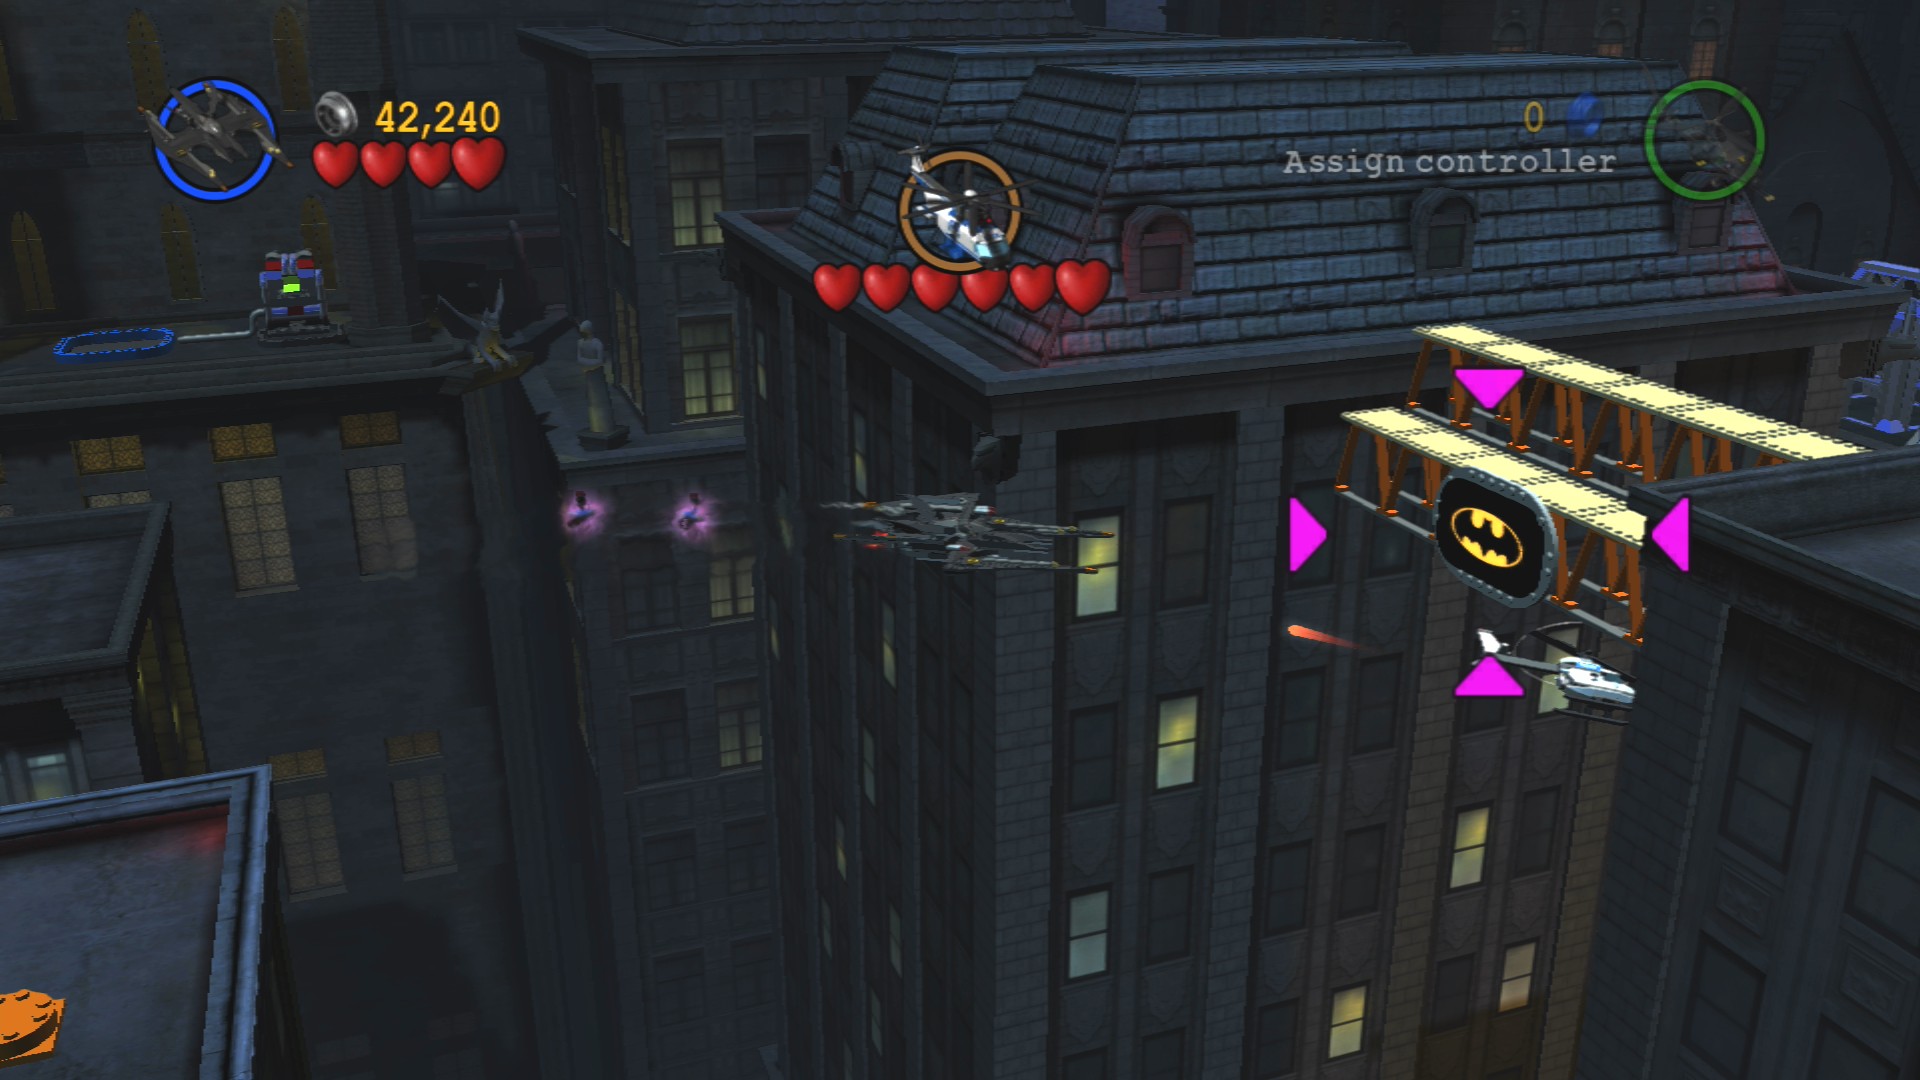
With your torpedoes blow up the bat symbol barrier on the right side of the area. Behind there is a Silver LEGO cage that you will need to roll a bomb into.
Minikit 1/10 - Part 9+10/10
Requires: Batwing Story Mode: No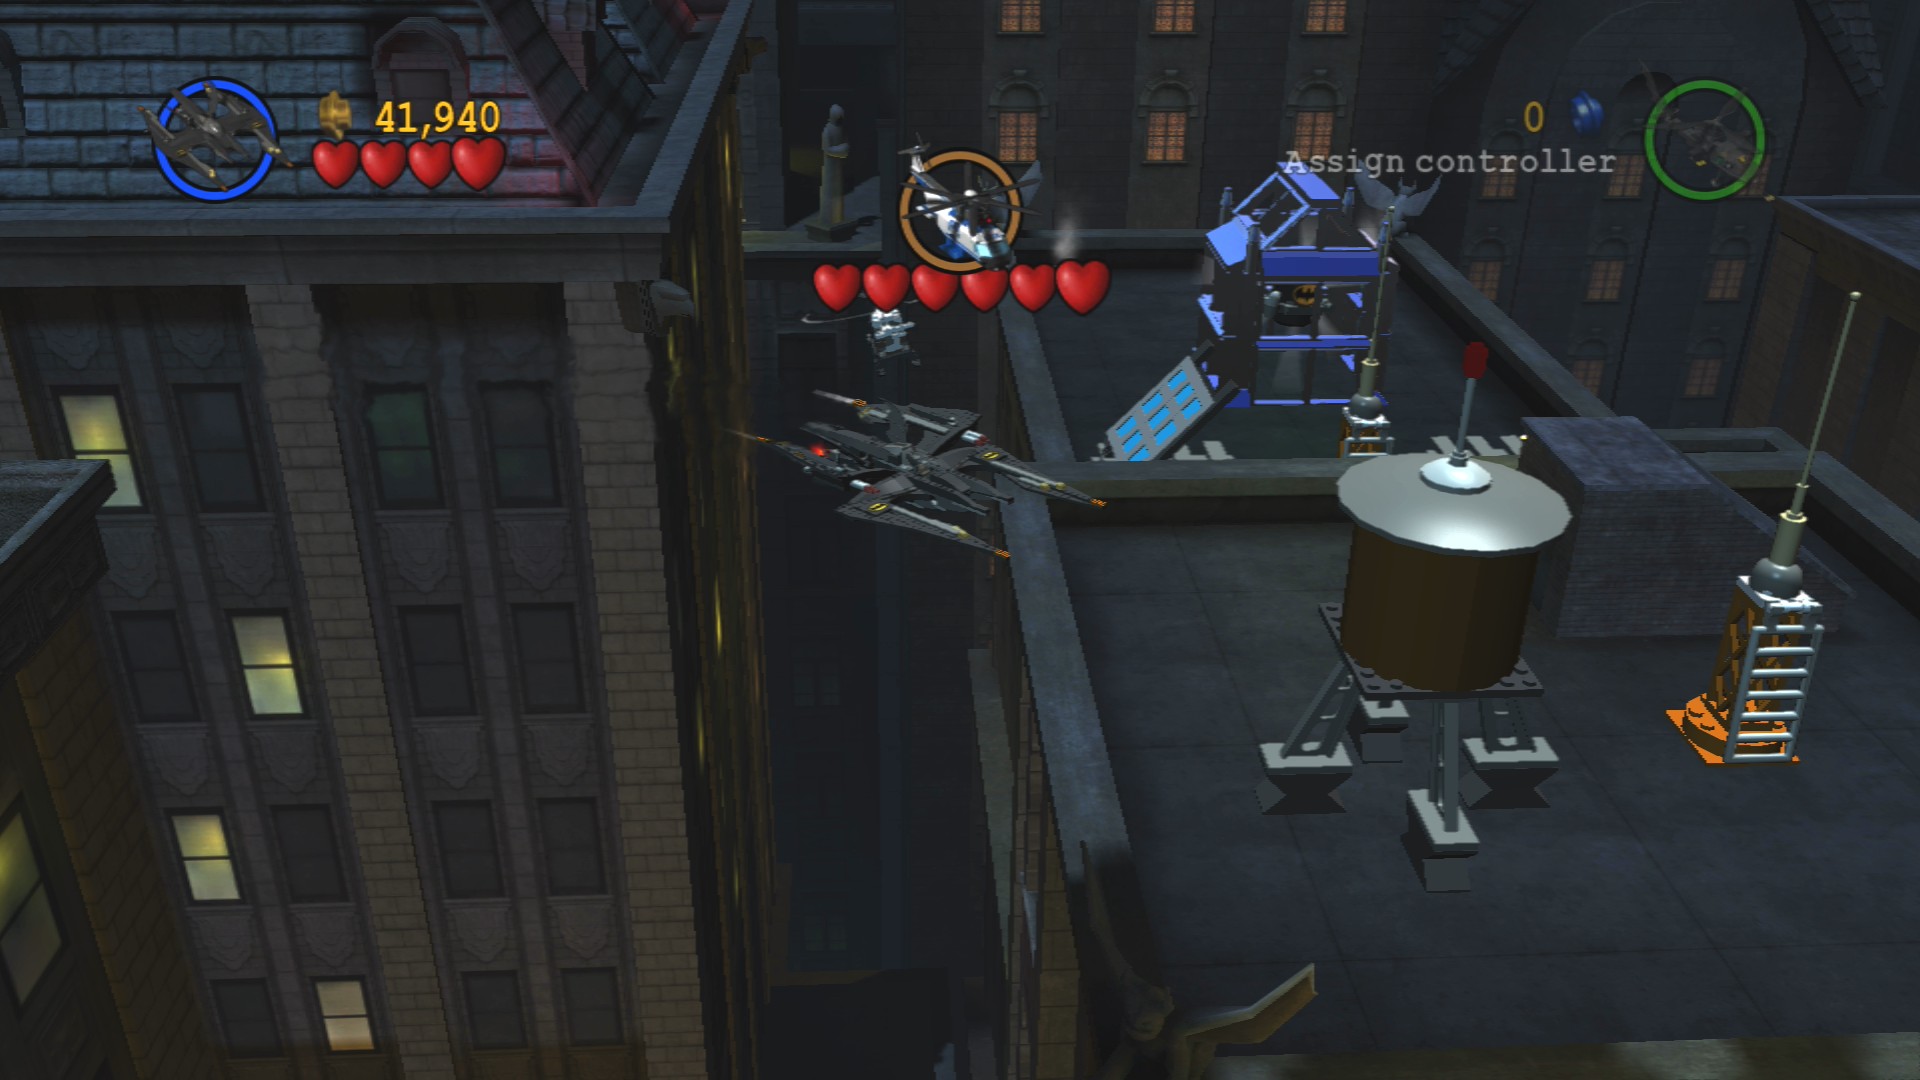
There's one in the main area with the Police Battle Helicopter and then the last one is in the area behind the bat symbol barrier on the right side. So yes, you can only get nine of them in Story Mode.
Drag a mine to the main area and use it to blow up one of the Silver LEGO machines next to the blue squares on either side of the helipad. This will activate a turret! Distract it by gassing it and then repeat for the other blue square.
Once both turrets have been distracted and the Police Battle Helicopter has taken two hearts of damage you are free to attack it head on, keep shooting until it's destroyed and the level is complete.
| Cost | Character | |
|---|---|---|
| - | The Scarecrow's Biplane | |
| - | The Joker's Helicopter | |
| 14,000 | Police Helicopter | |
| 11,000 | Goon Helicopter |
Chapter 3. The Joker's Masterpiece
| Story Mode | Free Play |
|---|---|
| 81,000 | 98,000 |
Minikit 1/10 - Part 1/3
Requires: None Story Mode: Yes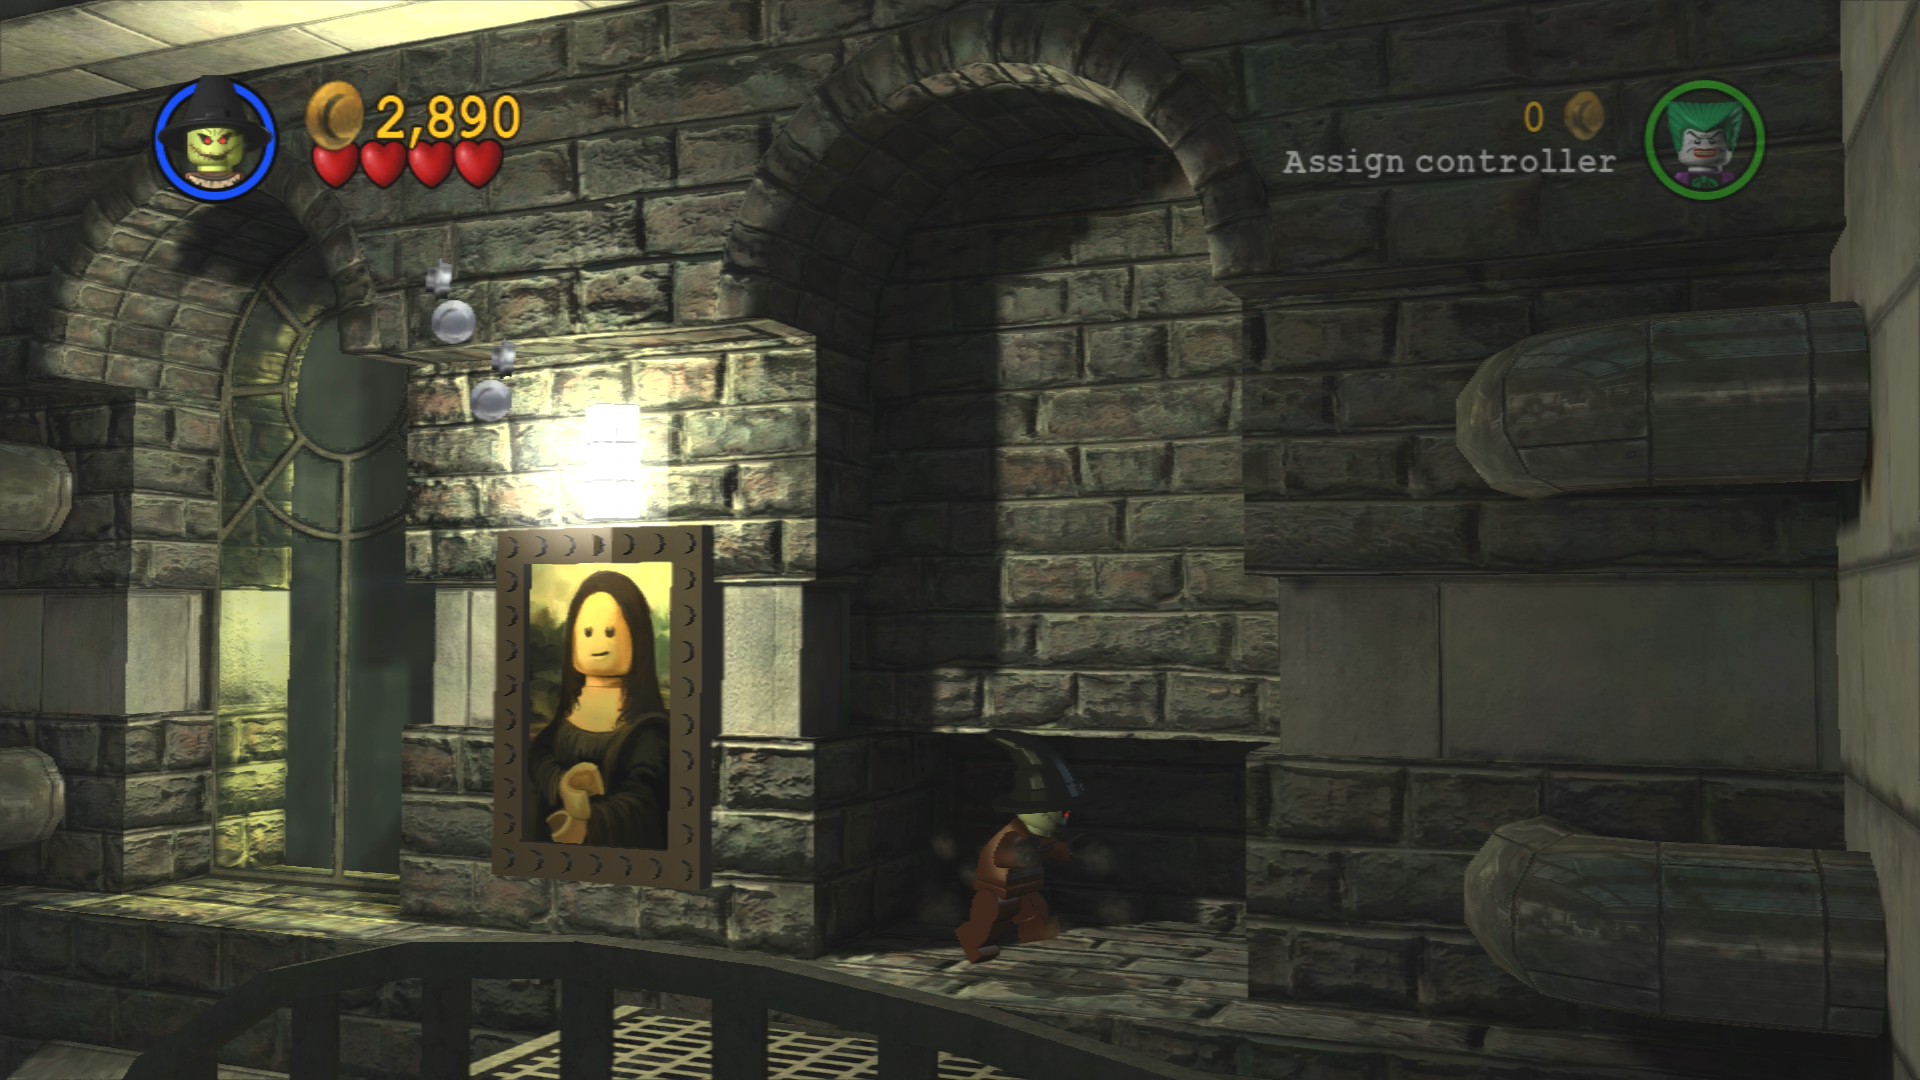
On the right side of the room smash a glass cabinet to get the parts to a fan. Ride the fan up to the ledge above and smash a double glass cabinet. That's the first of three.
Forwards a little bit to assemble a grey, green and purple object just to the left. This will be a generator that the Joker can power but you still need to push the objects on the tiles on the nearby steps first as one of them has a lever to activate it.
Have the Scarecrow pull the lever while the Joker moves into position on the generator. After pulling the lever switch to the Joker and power the generator to get the platform to finish rising. Jump to the platform on top of the objects you just pushed and then across to the ledge that will let you reach the doors at the far end.
Defeat a couple of SWAT and then smash the black and red gargoyles that are holding the chadelier up. You'll be able to build a ramp for Scarecrow to get up so that he can hypnotise the guard at the door.
Hostage 23/25
Requires: Explosives, Heat Protection Suit Story Mode: No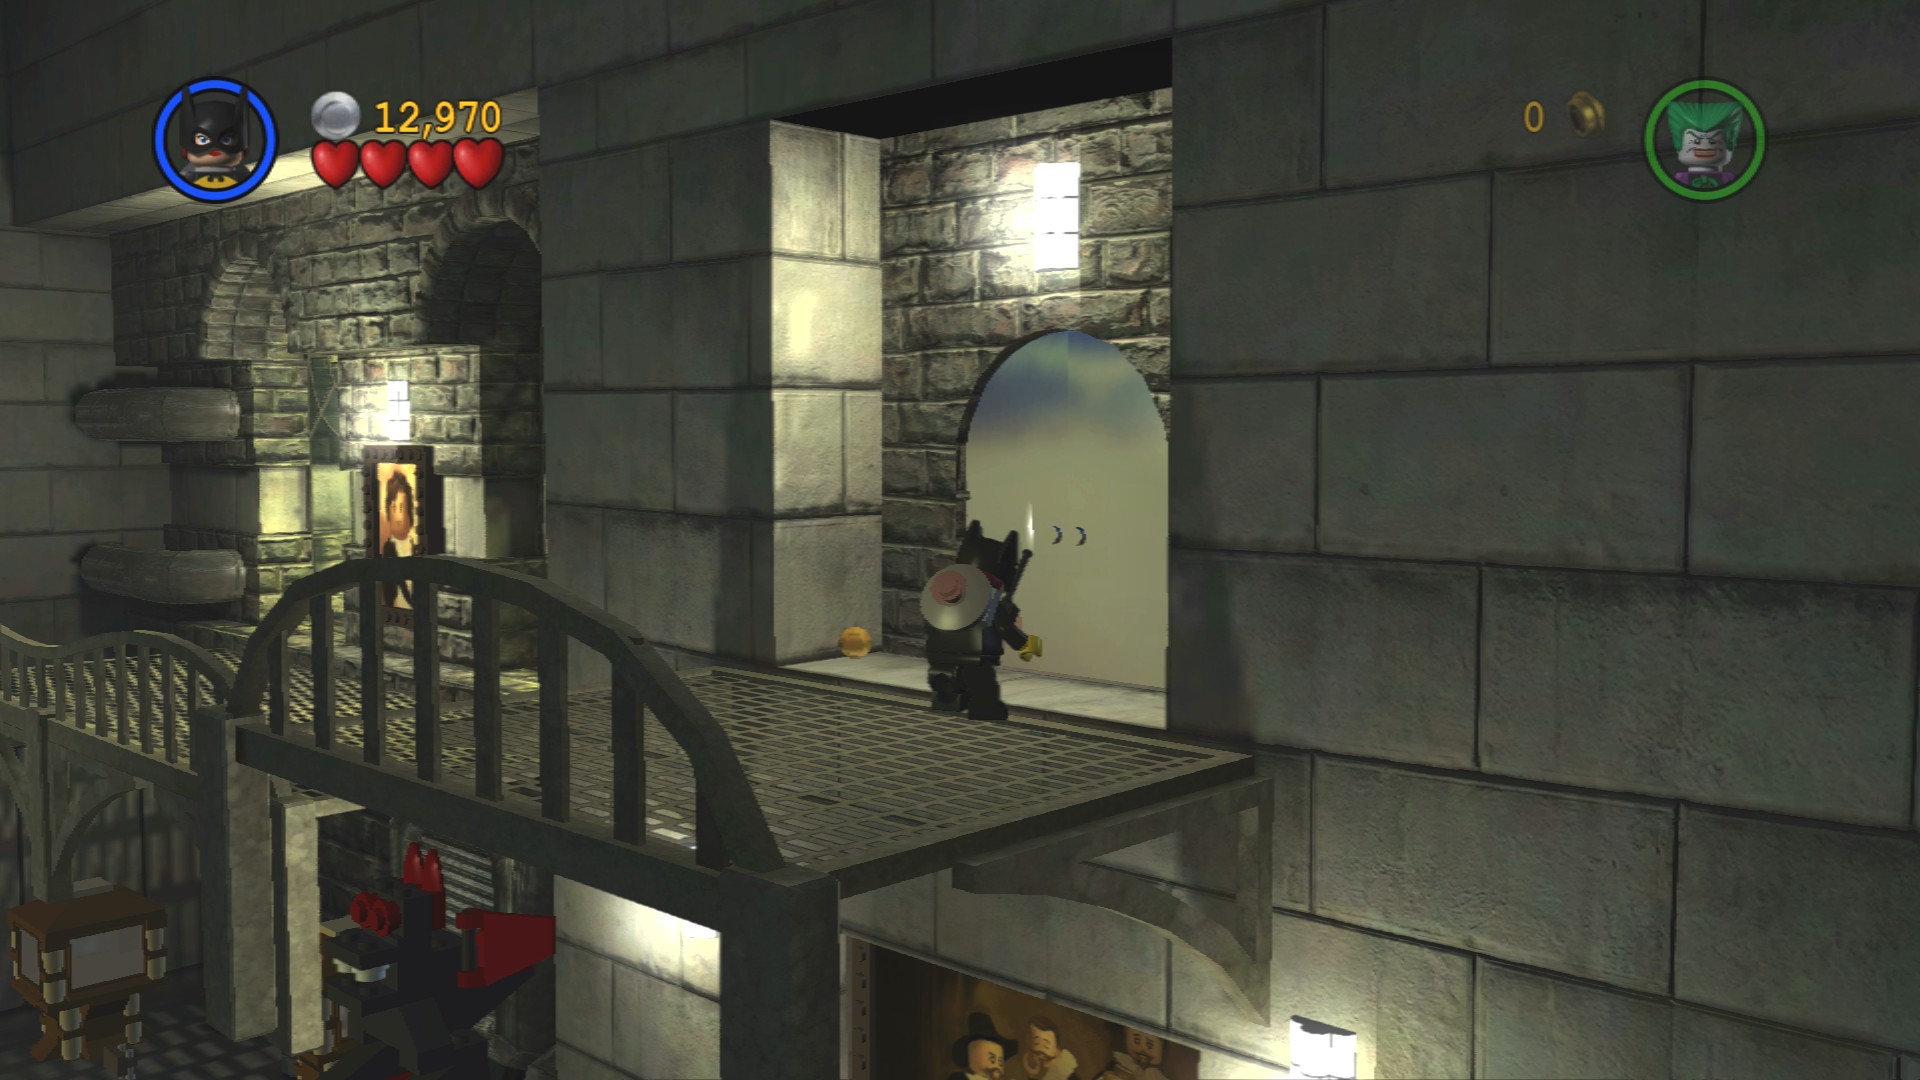
Before leaving the first room continue around to the right of the exit and up to a ledge on the right side of the room. Blow up the Silver LEGO door and then use the Heat Protection Suit to walk through a flame to enter a new room where you'll find the hostage being held.
Red Brick - Regenerate Hearts
Requires: Explosives, Heat Protection Suit Story Mode: No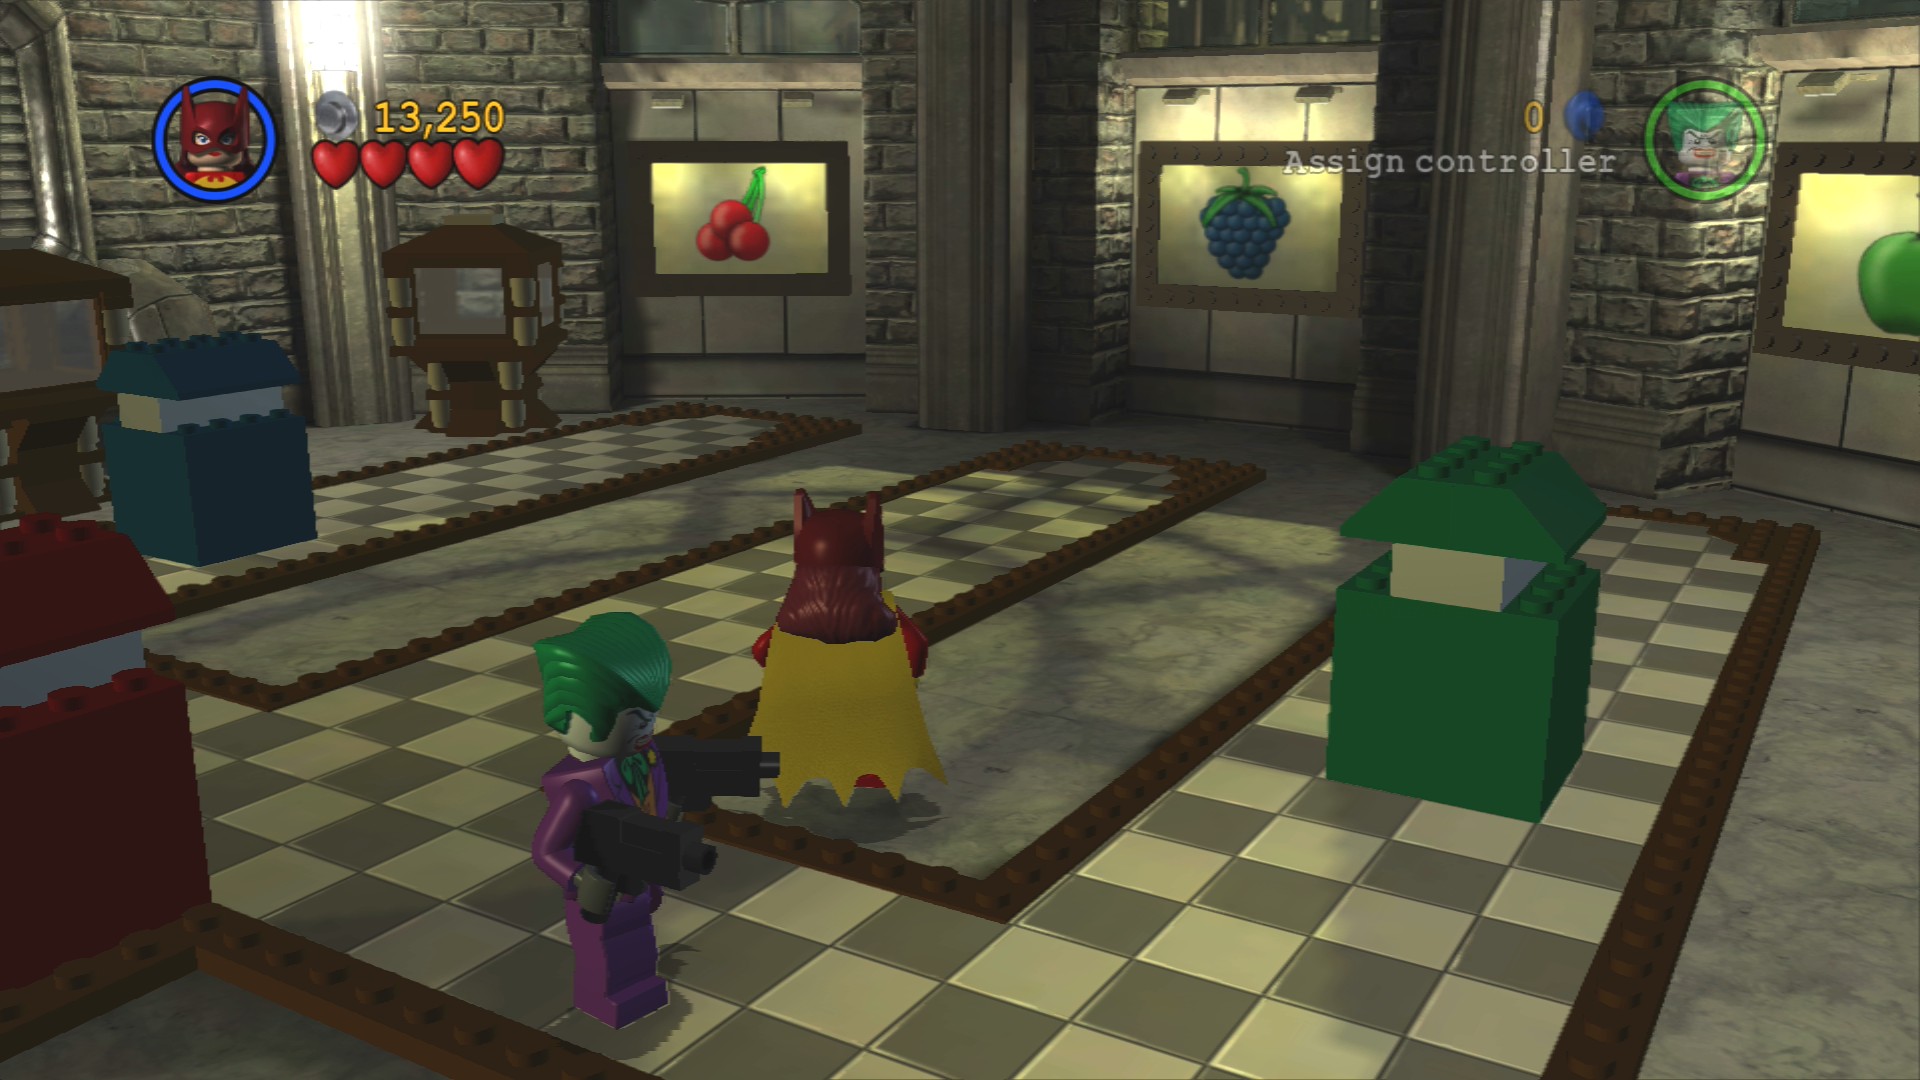
In the hostage room you need to shove the coloured blocks so that they're in front of the fruit paintings that match their colour. Red in front of the cherries, blue in front of the grapes, and green in front of the apple. You'll know it's in position when the painting starts spinning.
Minikit 2/10
Requires: Batarang Story Mode: No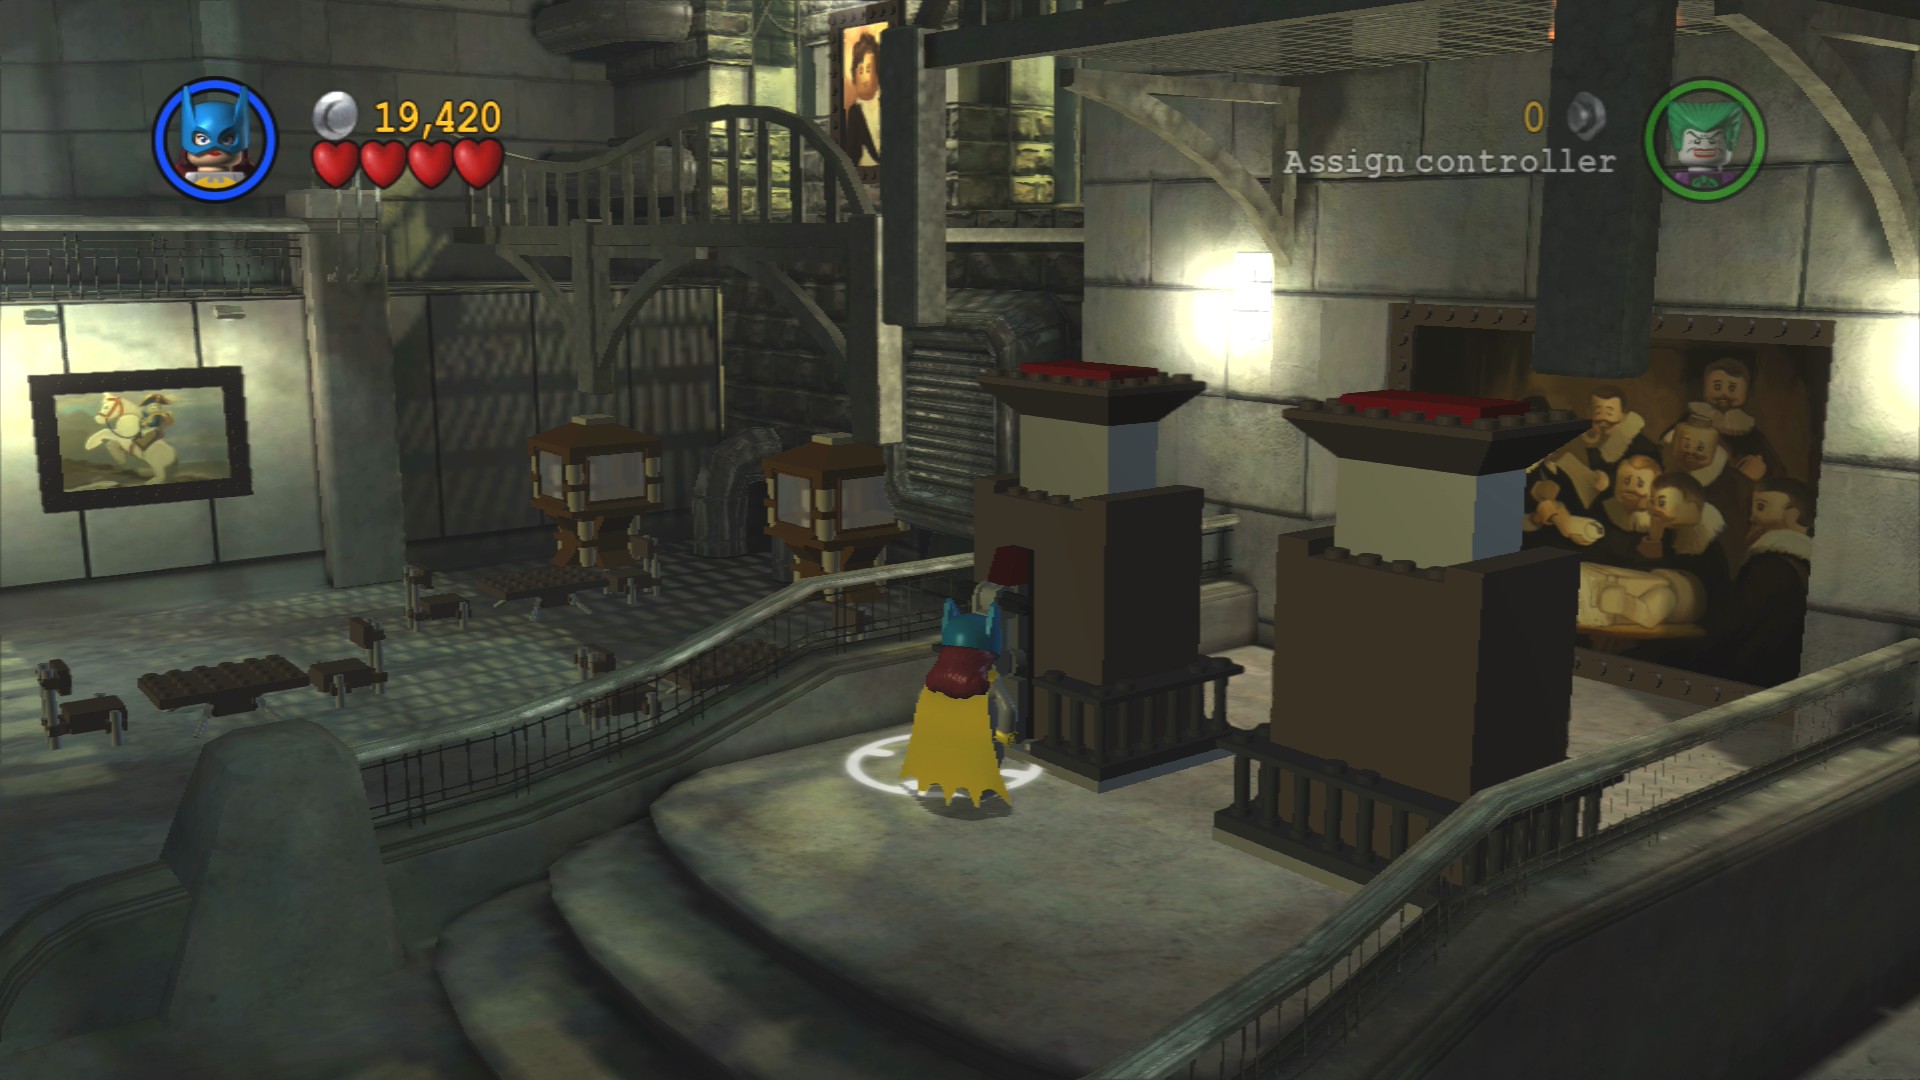
Directly beneath the platform with the Silver door are a pair of pedestals. Smash the black and red gargoyle on one of them with a batarang and then build the lever from the parts it drops. Then have both characters stand on the top of the pedestals and the large painting behind them will move to reveal the Minikit.
Defeat the guards that attack as you go through the door and up the steps beyond it.
Minikit 3/10
Requires: Ranged Story Mode: Yes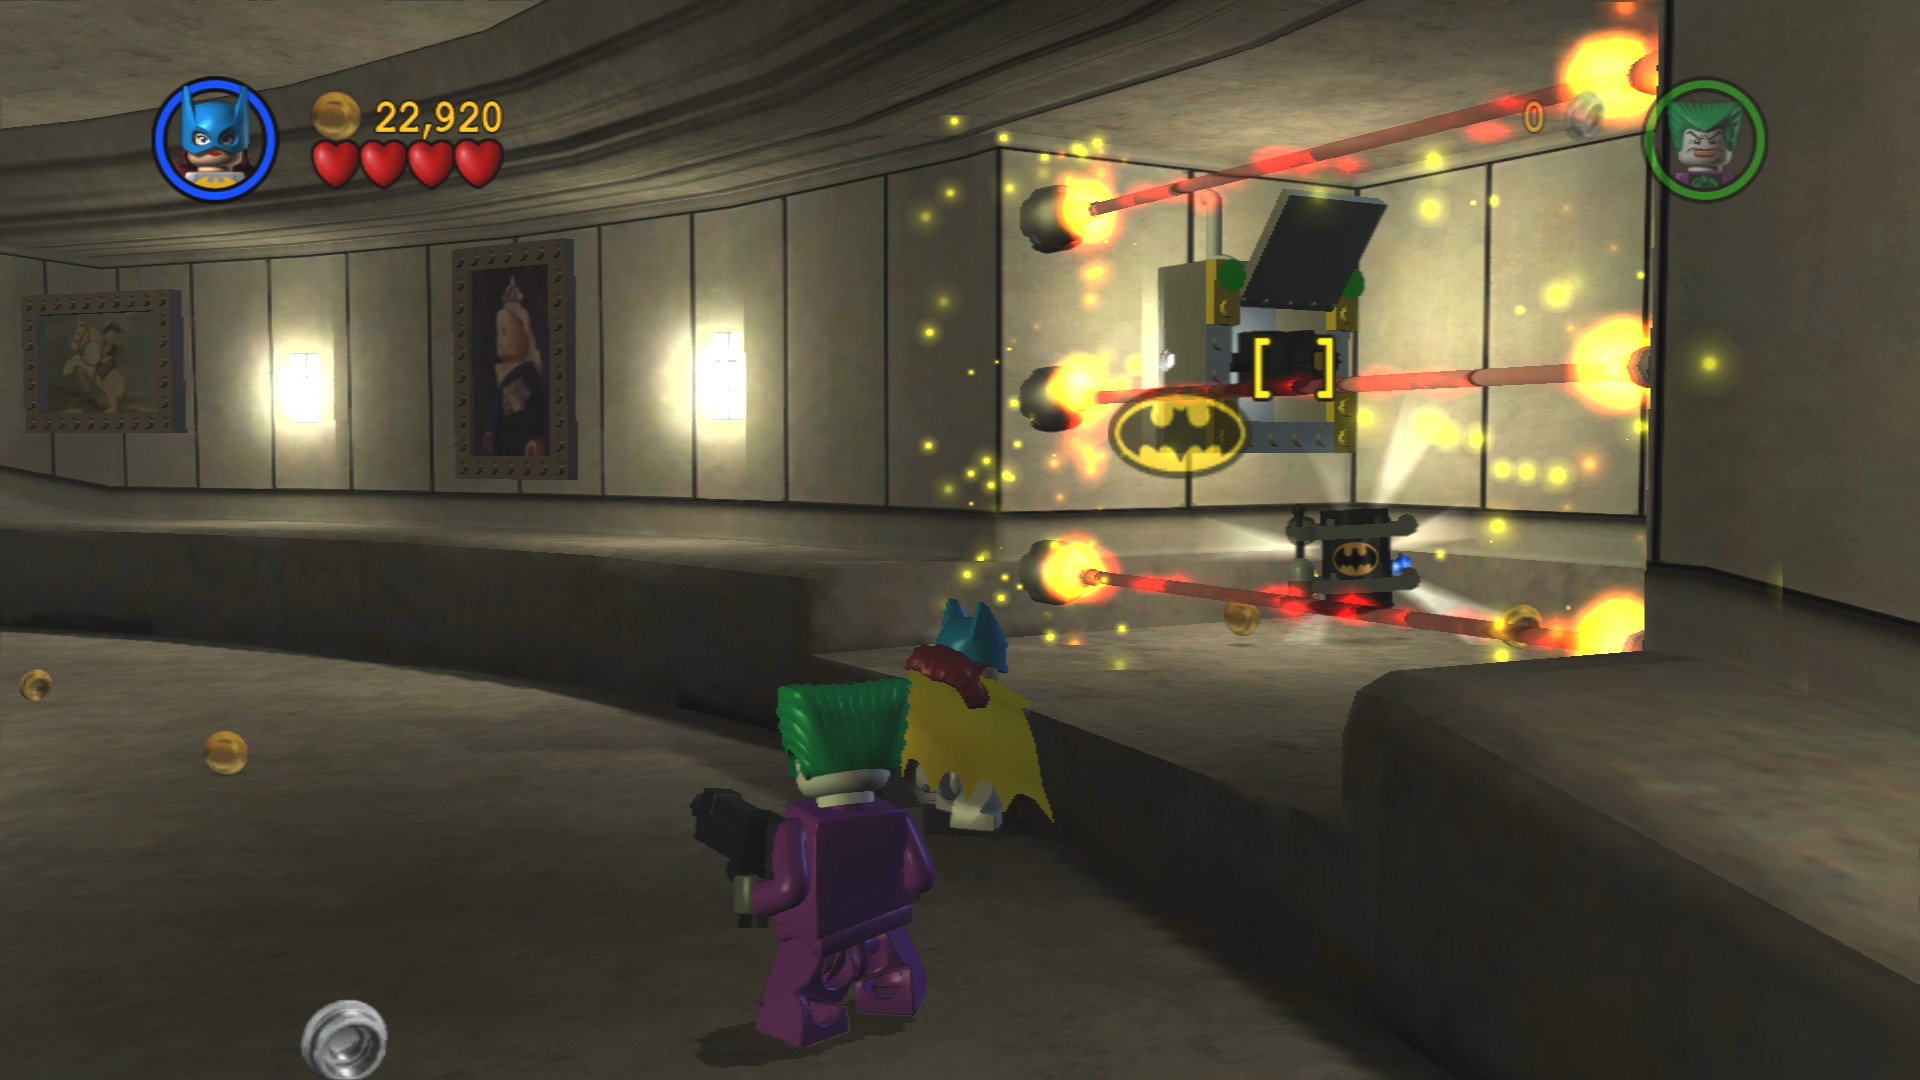
On the right side you'll see a Minikit behind some lasers, shoot the thing on the wall next to the Minikit to knock out the lasers.
At the end of the hallway you'll be shown a set of three guards standing in front of a laser covered door. Defeat them and then build a spinner switch on the right side of the room. Rotating it will reveal an electric generator for the Joker to power and open the laser doors.
Minikit 4/10
Requires: High Jump Story Mode: No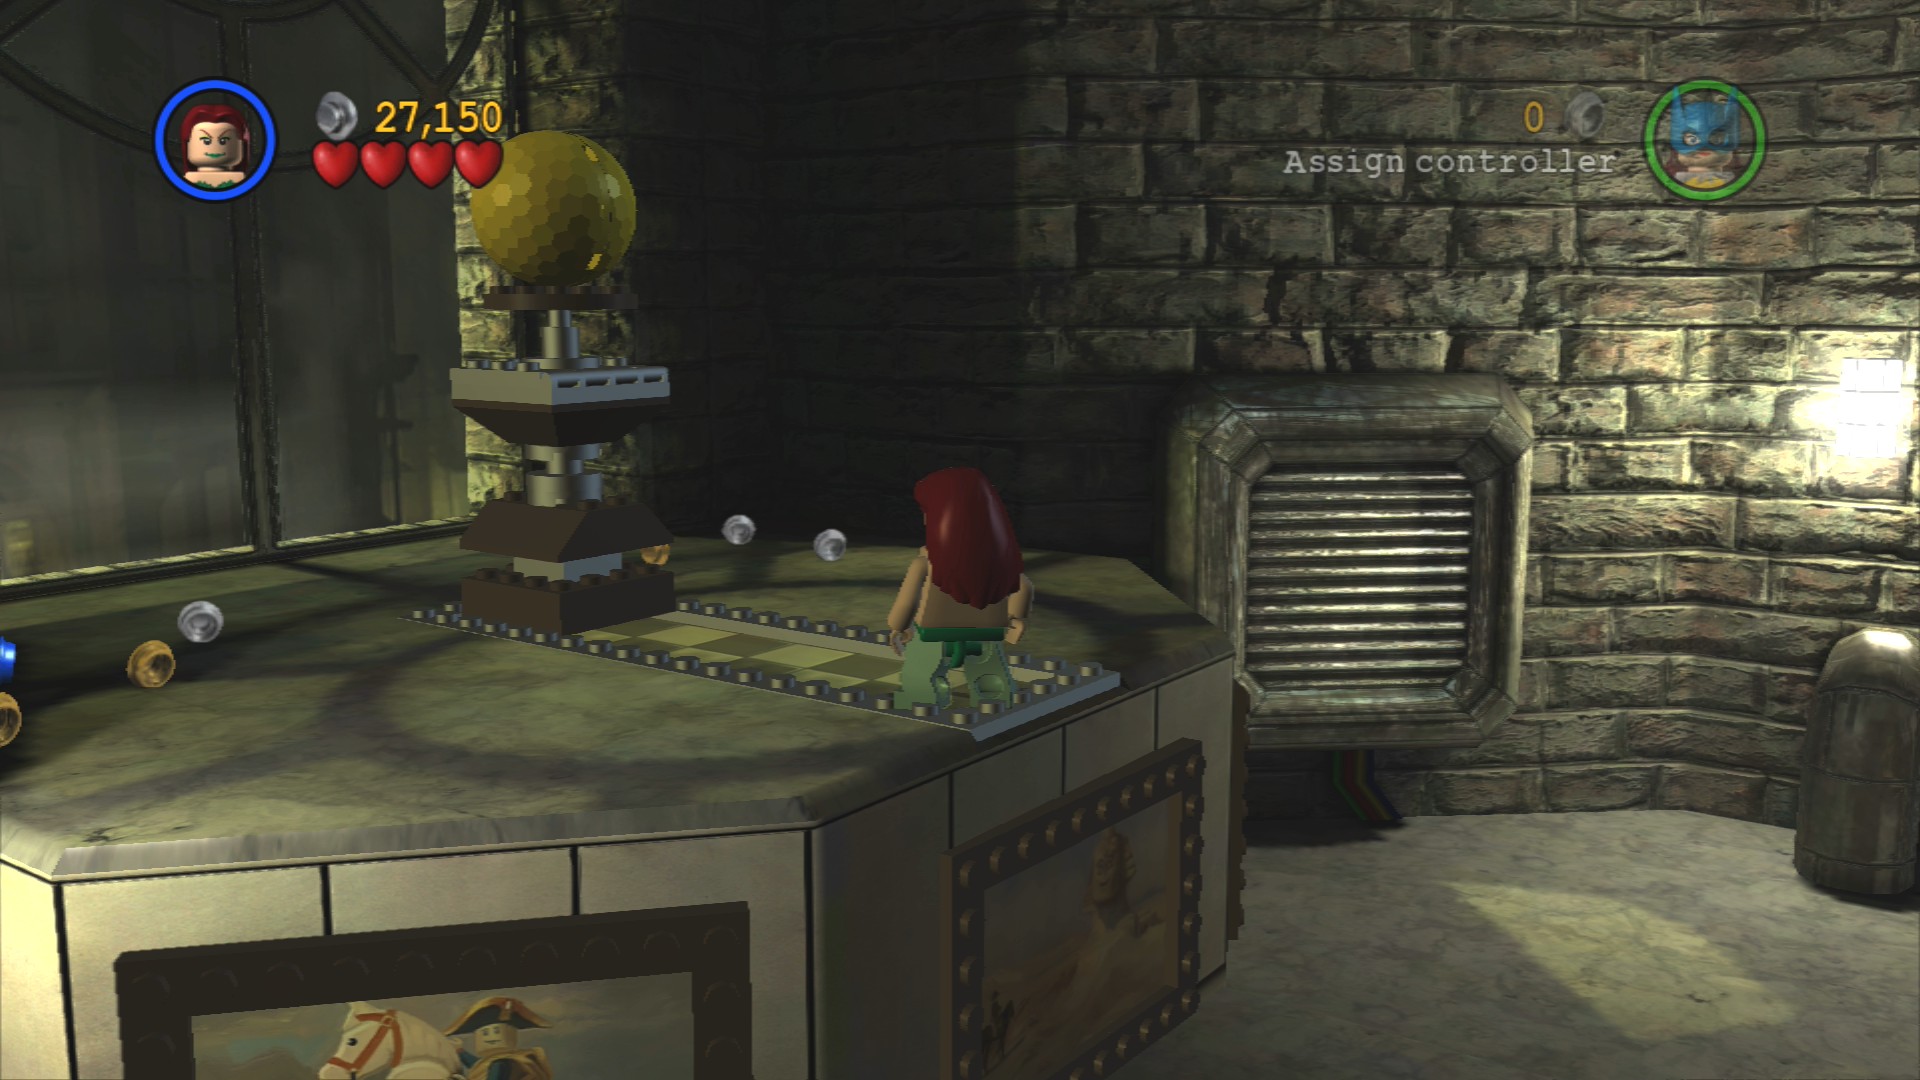
On the left side of the laser door room you need to High Jump up onto the platform and shove the pedestal with a large golden ball on it along its tiled path.
As you enter the second main area of the level you'll be spotted by security cameras that pump out some poison gas.
Minikit 5/10
Requires: Sonic Suit Story Mode: No
In side a glass case at the bottom of the steps in the gas room, use the Sonic Suit to break the glass.
Minikit 1/10 - Part 2/3
Requires: None Story Mode: Yes
The second double cabinet is just to the right of the stairs in the gas room.
Have the Joker go up the stairs and walk through the gas. Go to the left and defeat a whole load of SWAT before you pull the lever on the wall. Once it's been pulled hit the object that flipped open next to it and jump back down to where Scarecrow is waiting.
Smash the checkered paintings to get the parts to fix the tracks so that you can push the object along it to use as a step to help Scarecrow jump up. Back up where yuo fought the SWAT smash all the tables and chairs and build a pair of handholds on the wall.
Minikit 1/10 - Part 3/3
Requires: None Story Mode: Yes
The final cabinet is behind the tall pushable block.
Have one character jump up the handholds and stand on top of the tall pushable block, switch to the other character and have them push the block to the right. Switch back to the first and have them build a fan that blows part of the gas away.
Take the Joker through the gas again to the right side and this time aside from a few guards all you have to do is go up the curved staircase and build the second fan straight away.
As soon as you enter the next room you'll want to start shooting the guards, once all are defeated go to the right side of the room and destroy the three paintings on the wall. Once all three are smashed the lever up top will light up and be ready for use.
Go to the back of the room and smash the black and red statues to get the parts to a spinner switch. Have the Joker jump onto the platform when you lower it so that he can go through the gas.
Smash the red and black statues in the gas and build a handhold to get up to where there were some guards shooting at you and where the active lever is ready to be pulled.
Minikit 6/10
Requires: Fire Protection Suit, Explosives, Sonic Suit Story Mode: No
Pull the lever behind the fiery blast to open the glass case in the middle of the room. Blow up the Silver LEGO fences and then Sonic Suit the glass. Now all you've got to do is smash the LEGO and then build the mosaic underneath to earn the Minikit.
Minikit 7/10
Requires: Strength Story Mode: No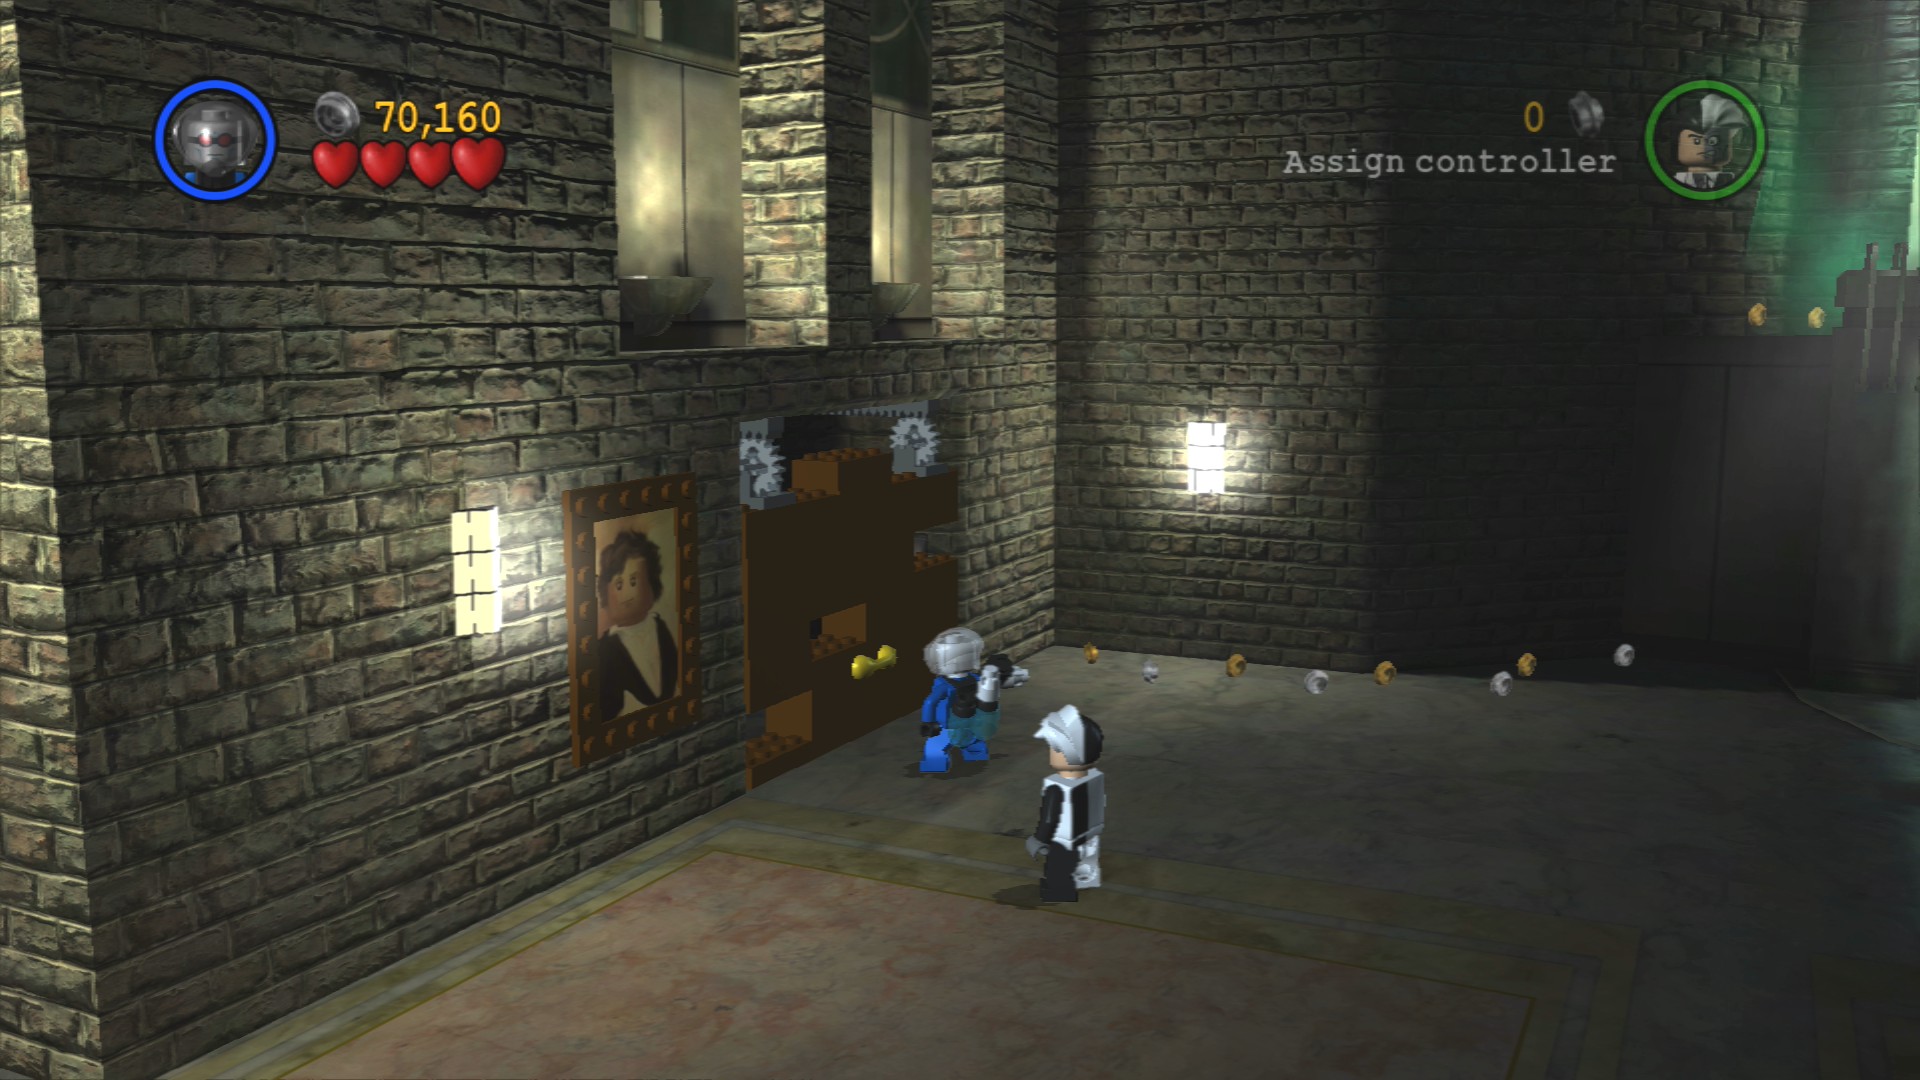
On the left side of the room is a strength handle for you to push in and reveal a Minikit.
Assemble the LEGO that fell out of the chutes behind the smashed paintings when you pulled the lever and power the generator that you build to open the lift door.
Minikit 8/10
Requires: High Jump, Hypnosis Story Mode: No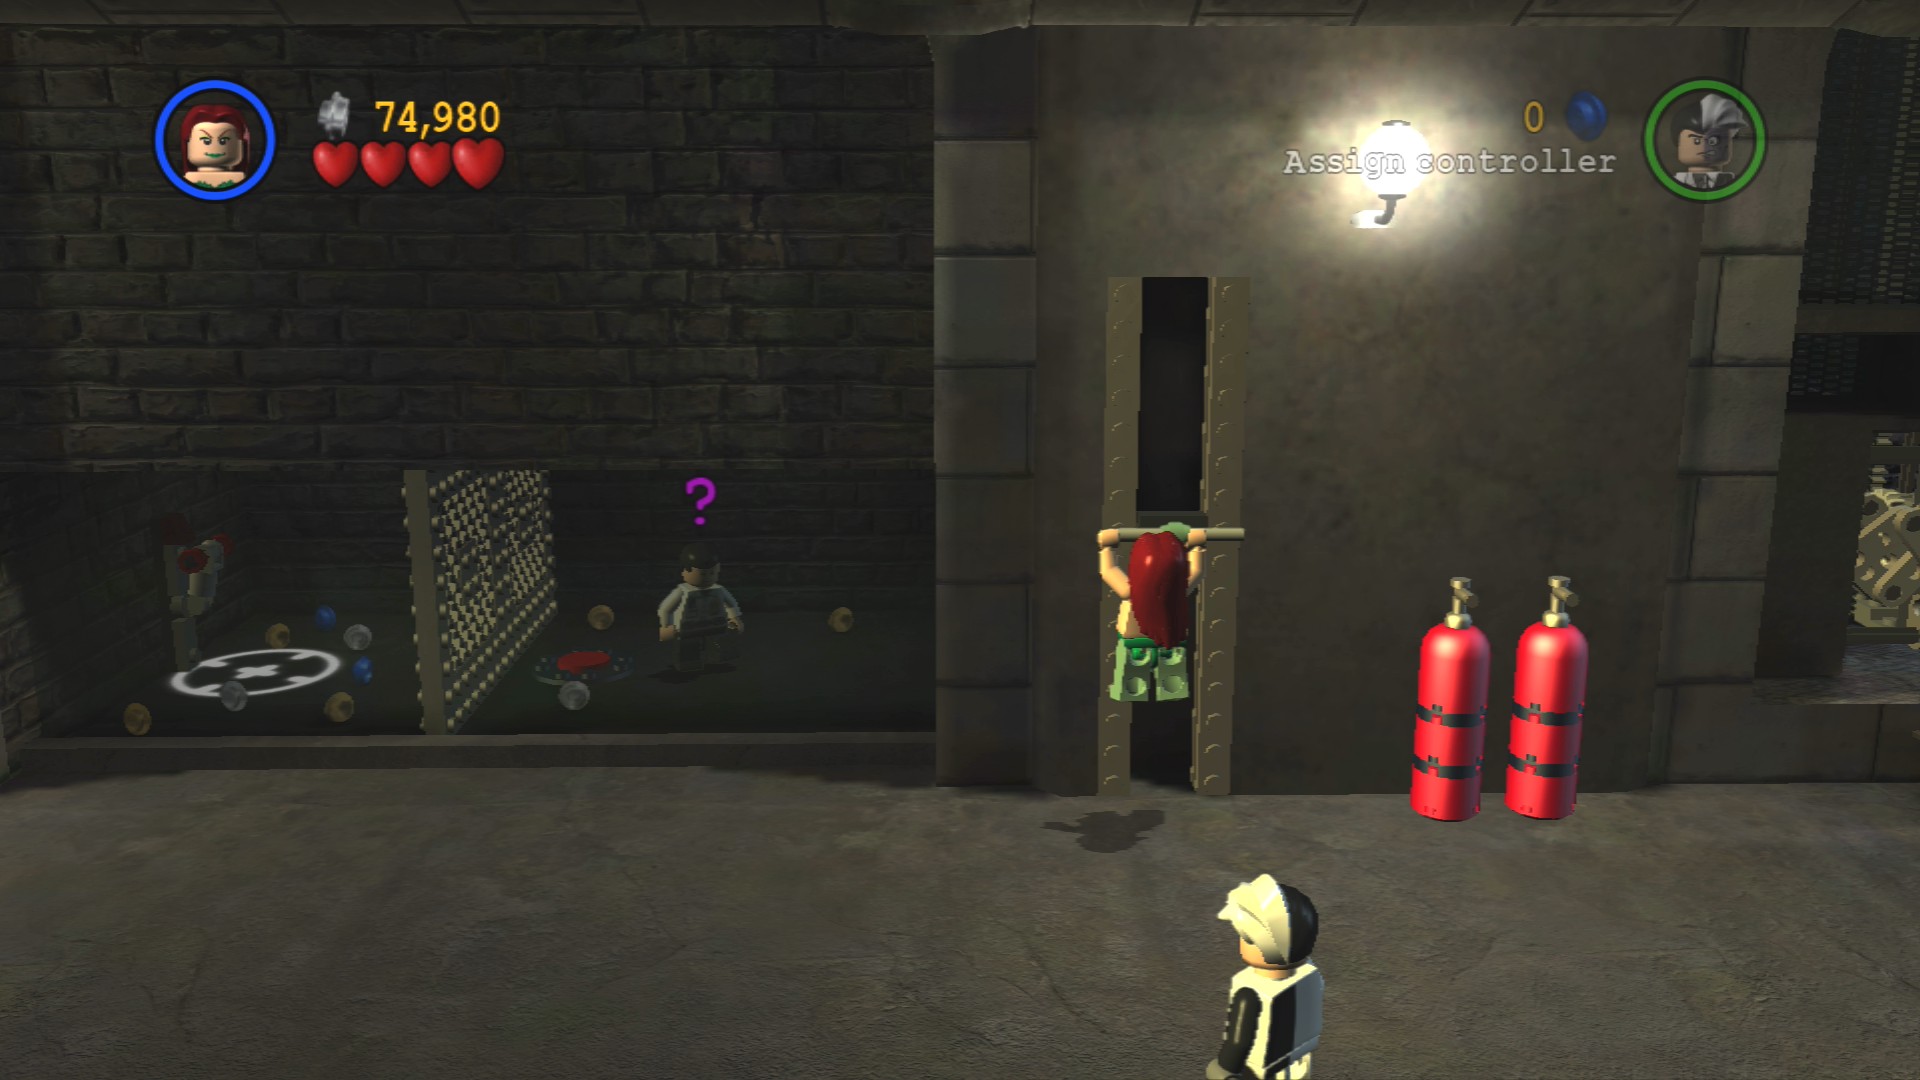
To the left of where you enter the warehouse is a handhold that you can high jump up to. Pulling on it will open a panel on the left revealing a man you can hypnotise into standing on a button and then pulling a lever. Smash the wooden crate that drops.
Smash the wooden crates that are against the chainlink fence on the right side of the area, that will release some brown LEGO you can assemble into a ramp so that you can get up to jump over the fence. Defeat all the guards over there including shooting the guards over the other side of the green water.
Minikit 9/10
Requires: High Jump Story Mode: No
High Jump into a vent above the guards against the right wall.
Pull the lever on the right wall to bring up a crate. Push it along the checkered path and then power the generator to get the conveyor belt moving.
Minikit 10/10
Requires: None Story Mode: Yes
Pull the lever for a second time to bring out a new crate. Push that along the path and power the generator again. This time when the crate arrives on the other side of the water it will explode revealing the Minikit.
Now have the Joker jump into the green water and smash the wooden pallets to get the parts to build a second crate and to gain access to a lever that will raise the crate up slightly.
Jump out of the water and get into the crane controls in the back left corner, move each crate and drop them on the large red buttons to extend the bridge so that Scarecrow can cross over. Hypnotise the guard to open the large corrugated door and finish the level.
| Cost | Character | |
|---|---|---|
| - | The Scarecrow |
Chapter 4. The Lure of the Night
| Story Mode | Free Play |
|---|---|
| 86,000 | 105,000 |
Smash the junk against the buildings at the back to find some purple and green LEGO that can be built into a fan. Ride the fan up onto the fire escape above, climb the ladder up to the top and head to the right to defeat a couple of police on the roof.
There's a few more enemies inside the doorway on the next building, go past them to the end of the balcony and shoot the two in the distance. As Killer Moth glide over to where they were and smash the flowerpot so you can build a tightrope for Joker to cross over as well.
Use the existing tightrope to go to the right then smash through some planks to reach the electric generator that the Joker can power up. Walk over the newly raised metal awning and jump around the corner, careful not to walk off the edge.
Hostage 24/25
Requires: High Jump Story Mode: No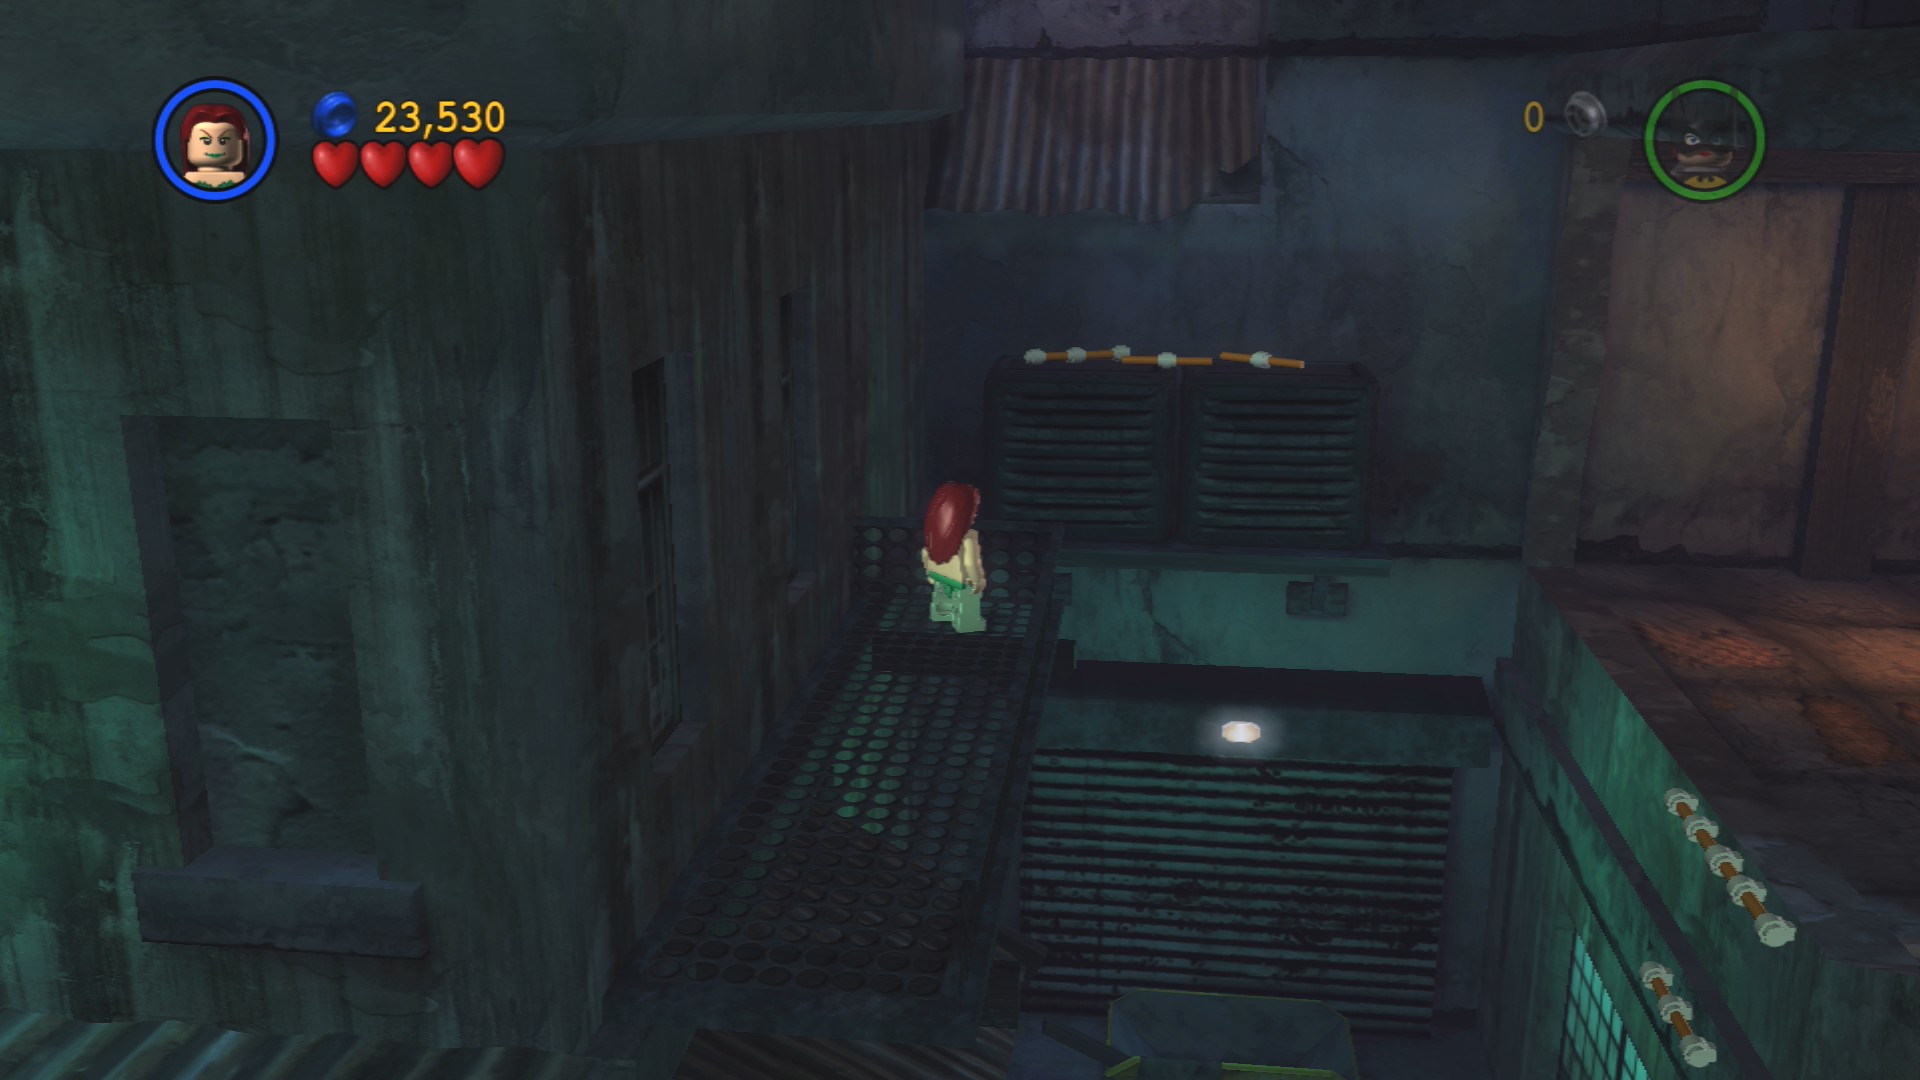
At the back after the raised metal awning are some handholds you can build. High Jump up to them to reach the roof and save the hostage.
Minikit 1/10
Requires: High Jump, Explosives Story Mode: No
On the roof with the hostage blow up the Silver LEGO dustbins and repair the pump on the water tower. High Jump onto the plunger so that the flowers grow, then smash the flowers to get the pieces to build a green "?" and get the Minikit.
Minikit 2/10
Requires: High Jump, Glide Story Mode: No
From the hostage roof glide to the right to a section with a tiled path and some LEGO jumping around, build the battery and shove it along the path to release the Minikit.
Glide over to the building to the right of the metal awning and defeat a couple more SWAT. Finally shove the green and purple box off the edge.
Minikit 3/10
Requires: Hypnosis Story Mode: No
Directly under where you power an electric generator is a room with a hypnotisable man inside. Have him smash the objects and the back and then build handholds so he can get over to the other side. Shove the box out the window and then blow up the Silver LEGO.
On the ground build a bomb out of the parts from the green and purple box and jump on the plunger. Defeat the large number of police attacking the goons on the other side.
Minikit 4/10
Requires: Strength Story Mode: No
Use strength to throw the large crates out of the way so that you can build a spinner switch and lower the yellow dingy into the water. Do three laps of the round circuit to earn your Minikit (it seemed a bit poor at detecting the laps properly so you might need to do more, the onscreen counter should help).
At the far end smash a blue dumpster underneath the tiny high up ladder to get the parts to complete the ladder. Power the generator at the top and then ride the lift further up to a set of three SWAT.
As you go to the right make sure to jump to each platform carefully as there are huge deadly gaps between them, the studs should help you see where's safe to go. Defeat all the police as you go and follow the tracks into a tunnel.
In the new area you'll immediately be attacked by a few more police, defeat them then smash the objects at the back to reveal a large square purple button that will raise the nearby handhold when you step on it. Have Joker jump to grab the handhold and Killer Moth should stand on the button automatically. Jump to the next handhold and then down into the area behind the fence so that you can power the generator.
The door the generator opened will have spilled out LEGO you can use to build a mini helicopter that can fly around blowing up Silver LEGO.
Minikit 5/10 - Part 1+2/5
Requires: Explosives Story Mode: Yes
On the left side of the area is the first of five shiny red fire hydrants that you can blow up while driving the helicopter. The second one is just to the right near the fires.
Minikit 6/10
Requires: Explosives, Magnet Suit Story Mode: No
Blow up the Silver LEGO crates next to the barricade of fire and finish off the metal duct so that you can walk up it using the Magnet Suit.
Use the helicopter to blow up the Silver LEGO fence in the middle of the barricade of fire to blow a hole in it. Defeat the large number of SWAT that attack.
You can build a second helicopter for your co-op partner if you want, the bricks to make it are behind the smashable fences just on the other side of the barricade.
Keep going to the right to defeat another large number of police who will run in and then drive in on motorbikes.
Minikit 5/10 - Part 3+4+5/5
Requires: Explosives Story Mode: Yes
And the other three fire hydrants are found along the side of the road starting where you meet the motorbikes.
Minikit 7/10
Requires: Explosives Story Mode: Yes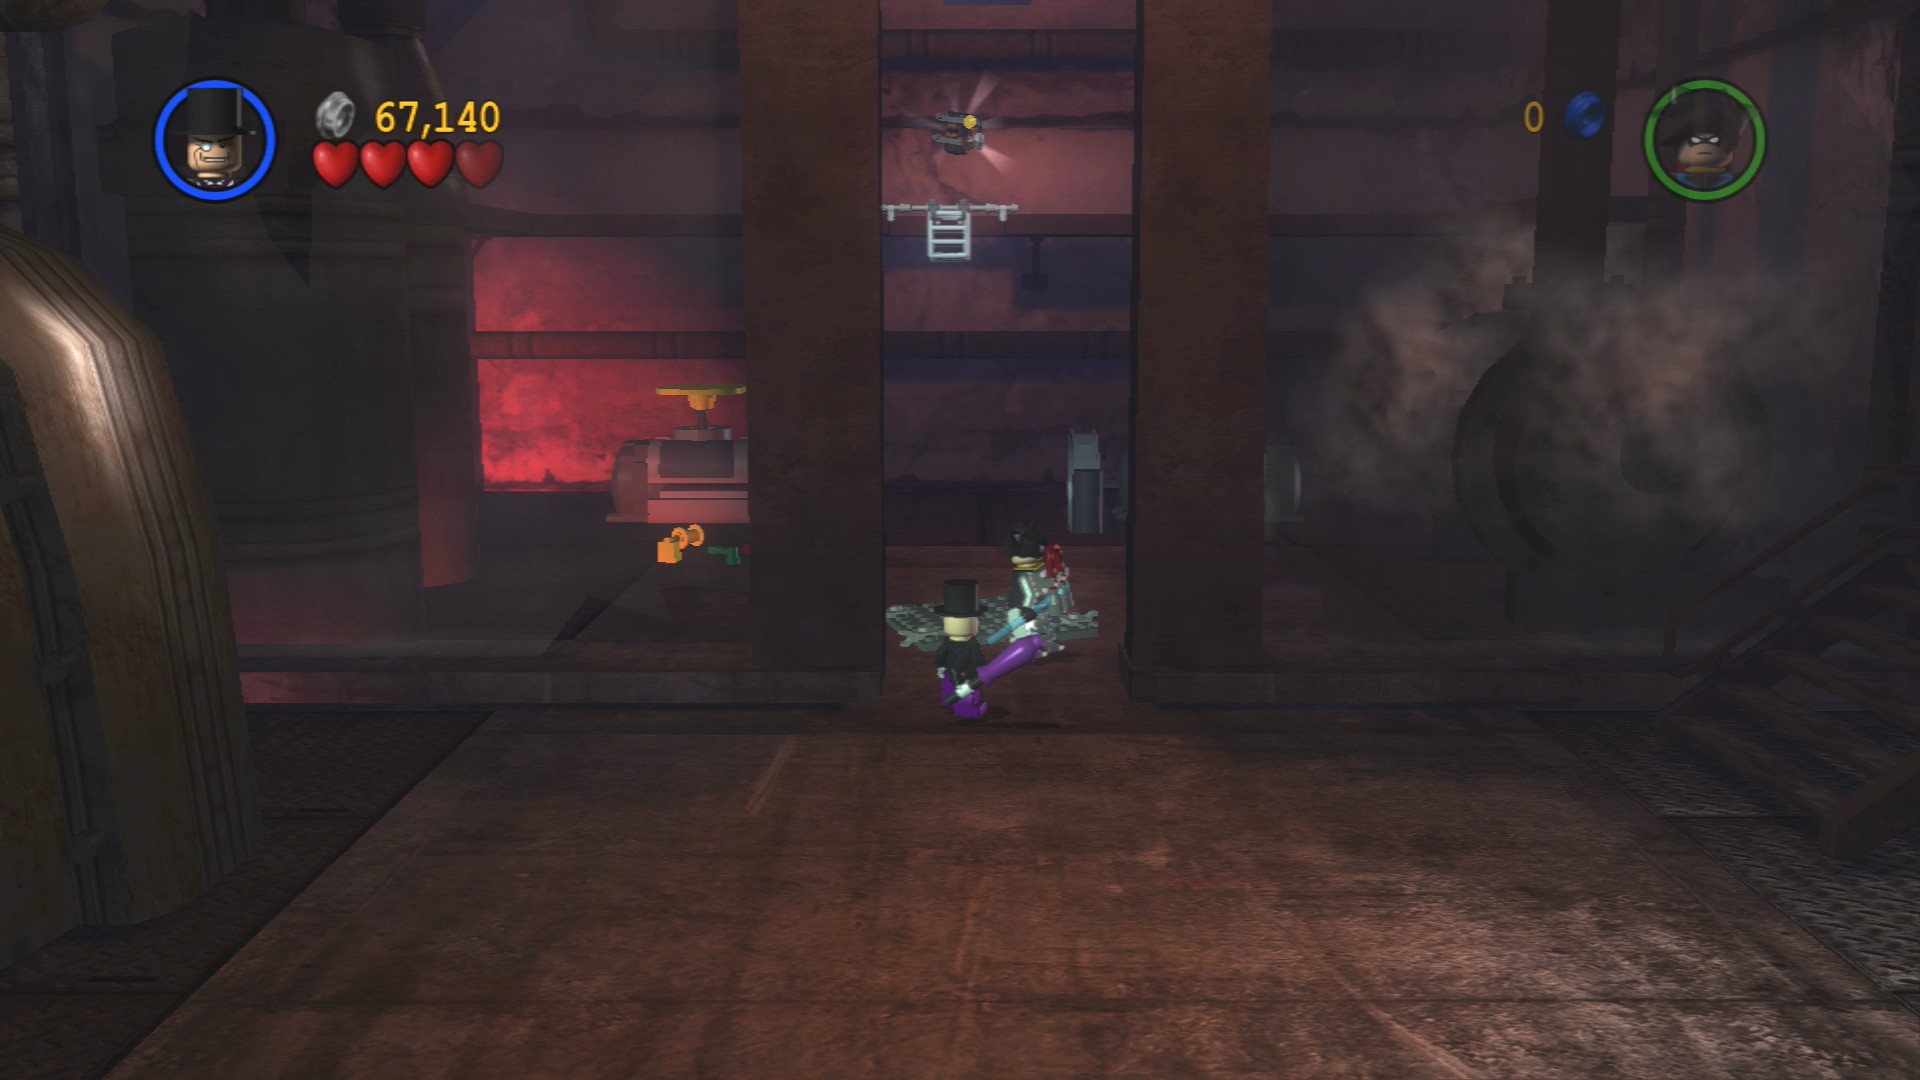
Blow up the Silver LEGO door in the building behind where you encounter the motorbikes and jump on both yellow plungers to lower a ladder up to a Minikit.
At the end of the road you'll find a few more police to defeat before you blow up the Silver LEGO gate to a playground.
Defeat the SWAT that rappel in as you enter the playground (you might recognise some of the equipment if you've played LEGO Star Wars) and make your way to the back left corner.
Minikit 8/10
Requires: None Story Mode: Yes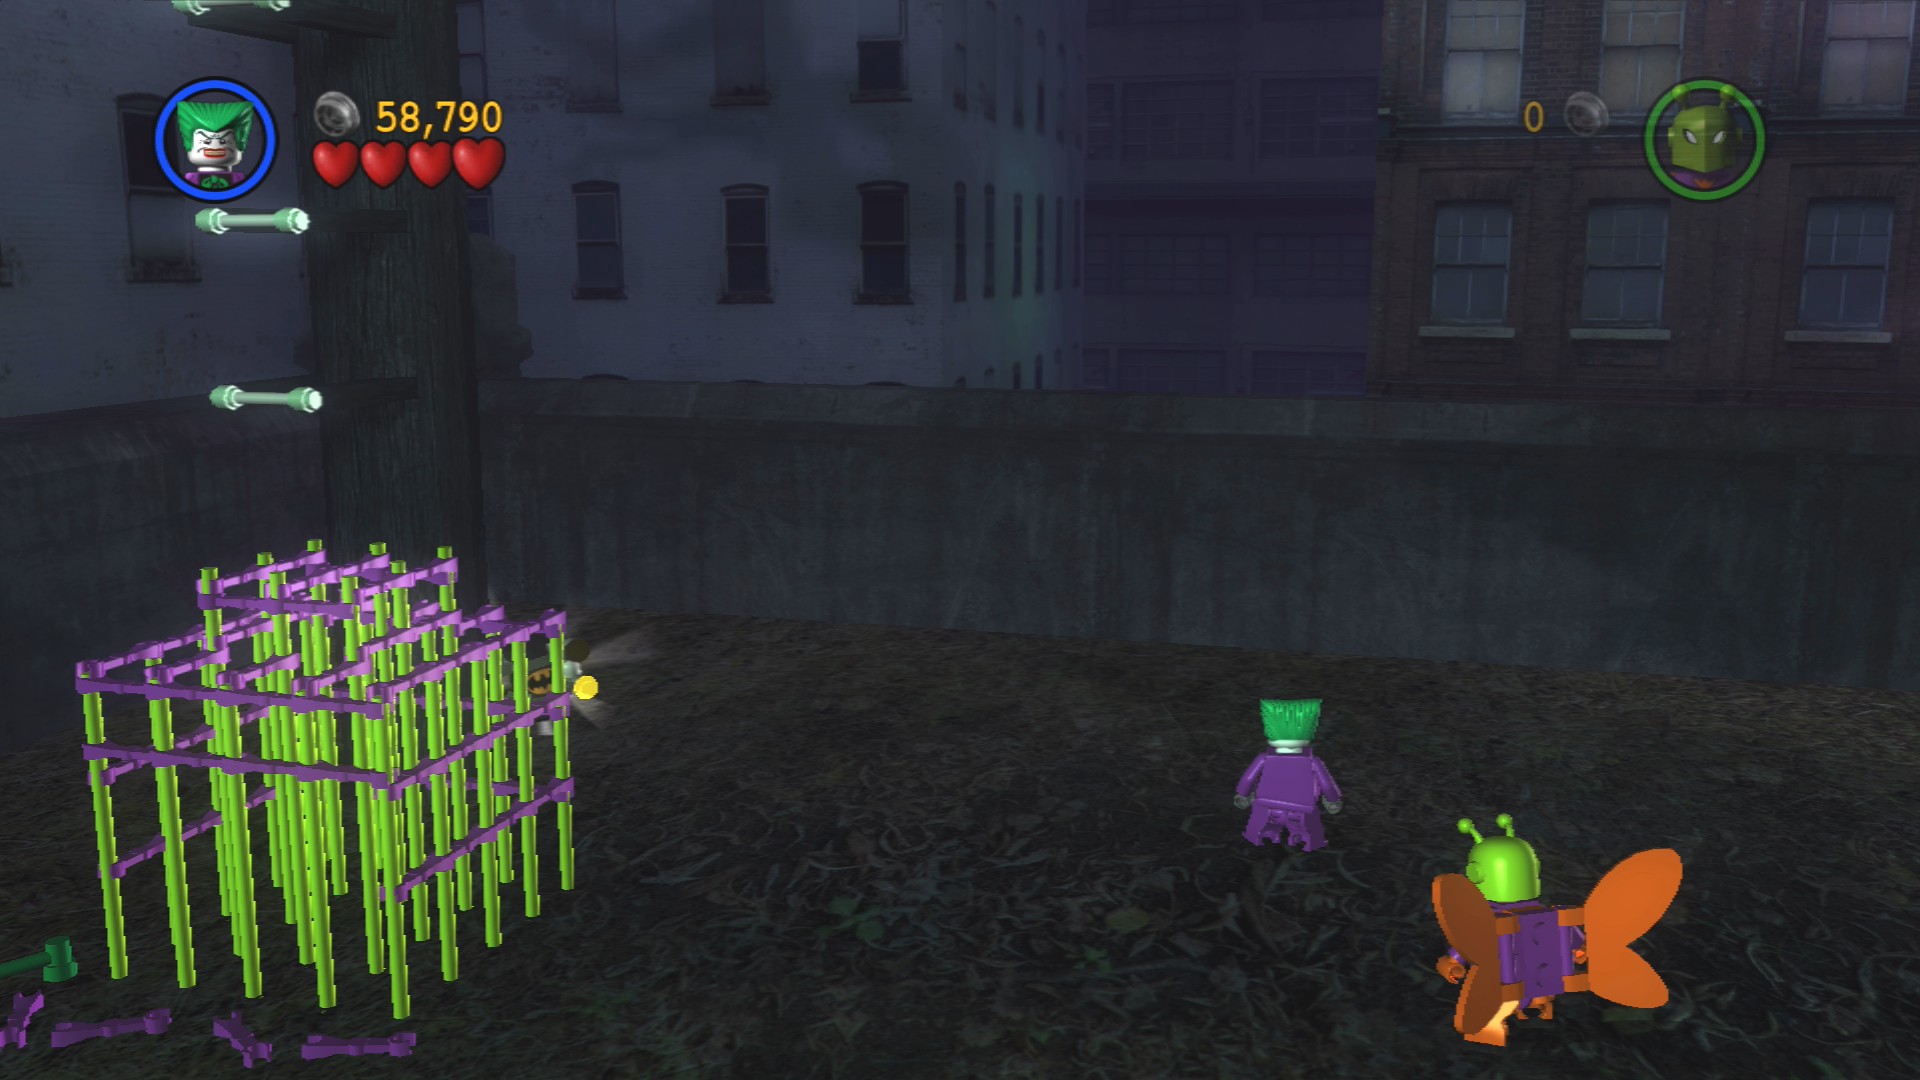
Behind the green and purple climbing frame in the back left corner of the playground.
Red Brick - Extra Hearts
Requires: Attract Suit, Plant Growth Story Mode: No
Gather up all the loose LEGO from around the area and shove it into the Attracto Canister in the near left corner of the playground. That will create a couple of plant pots that you can use Poison Ivy's plant growth on to create platforms so you can reach the Red Brick floating in the air above.
Smash the plants in front of the climbing frame so that you can complete it in order to jump up the handholds. Cross the bridge to the right and glide over the gap to where a couple of police may still be shooting at you. If you smash the object between them you'll knock a ladder down (and you can actually hit that from the ground).
Shove the gnome off the edge and have the Joker assemble the pieces as they've fallen in the toxic waste puddle. Shove the spinner switch to open the gate.
Minikit 9/10
Requires: Explosives Story Mode: No
Blow open the Silver LEGO doors at the start of the final area.
As you go to the right you'll eventually reach a section with a large toxic waste puddle with a purple and green box in the middle. Have the Joker approach and repair all of the parts that are jumping around in the goo.
Jump on the flap on the front of the jack-in-the-box and then climb aboard the Joker mech. Use the mech to smash through the barricade blocking the road to the right.
Minikit 10/10
Requires: Explosives, Swimming, Sonic Suit Story Mode: No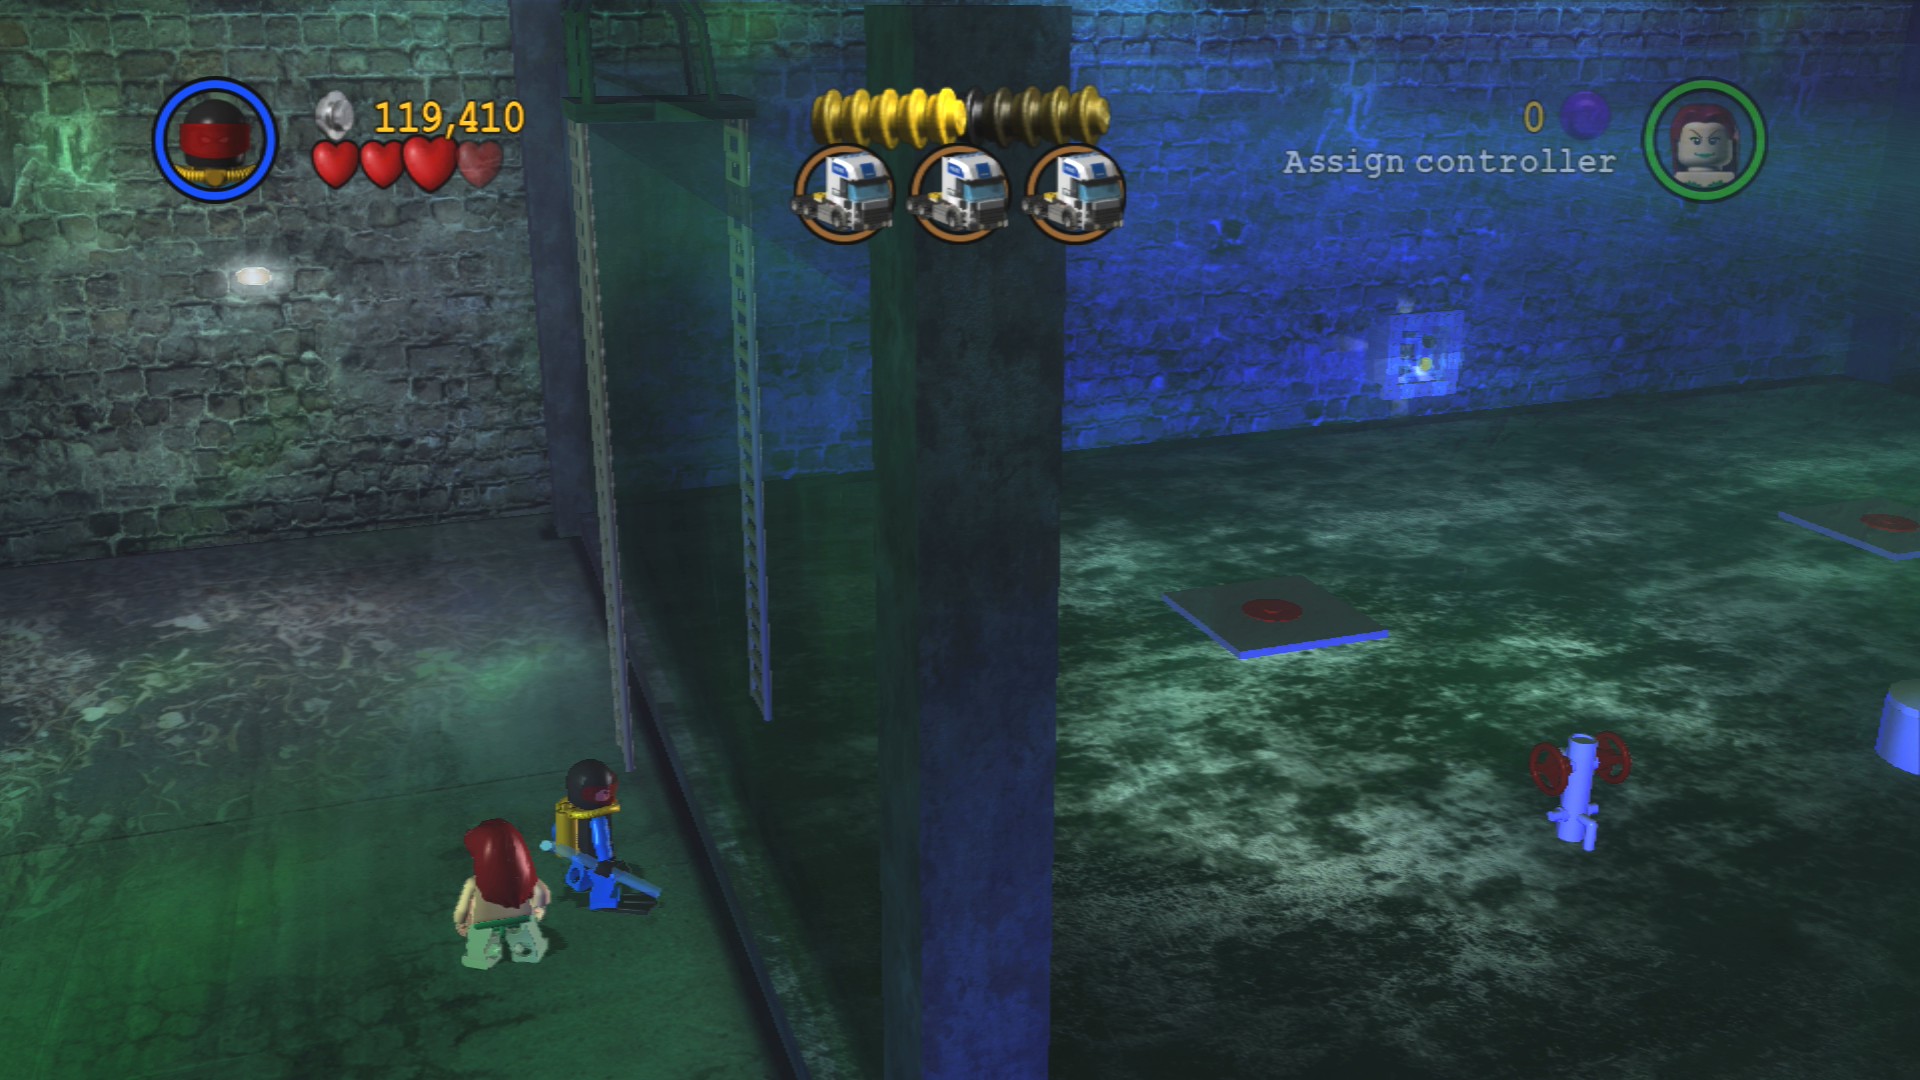
Smash through the Silver LEGO gates at the back of the area beyond the barricade and then climb up the ladder on the left side of the large water tank. Swim down to the bottom and stand on the two buttons to lower the water level. Finally use the Sonic Suit to smash the cage at the back to free the final Minikit.
While driving the mech around shoot all the police you can and blow up each of the three trucks when their sides open to let out more police. Smashing the third truck will complete the level.
| Cost | Character | |
|---|---|---|
| - | Killer Moth | |
| 99,000 | Garbage Truck |
Chapter 5. Dying of Laughter
| Story Mode | Free Play |
|---|---|
| 86,000 | 102,000 |
Minikit 1/10
Requires: Plant Growth, High Jump Story Mode: No
To the left at the start you'll find three flowerpots that you can use Plant Growth on. Jump up the grown plants and high jump onto a tightrope that will take you over to the Minikit.
Minikit 2/10
Requires: High Jump, Sonic Suit Story Mode: No
Hop onto the largest of the fallen columns in the middle of the room and use it to high jump onto the wooden platform next to it. From there just use the Sonic Suit to smash the glass and free the Minikit.
Defeat the police and approach the steps at the back of the cathedral so that a few more drop in and attack you.
Minikit 3/10
Requires: Strength Story Mode: No
Use strength to pull the orange handles on each side of the altar and a Minikit will pop out.
Red Brick - Invincibility
Requires: Batarang Story Mode: No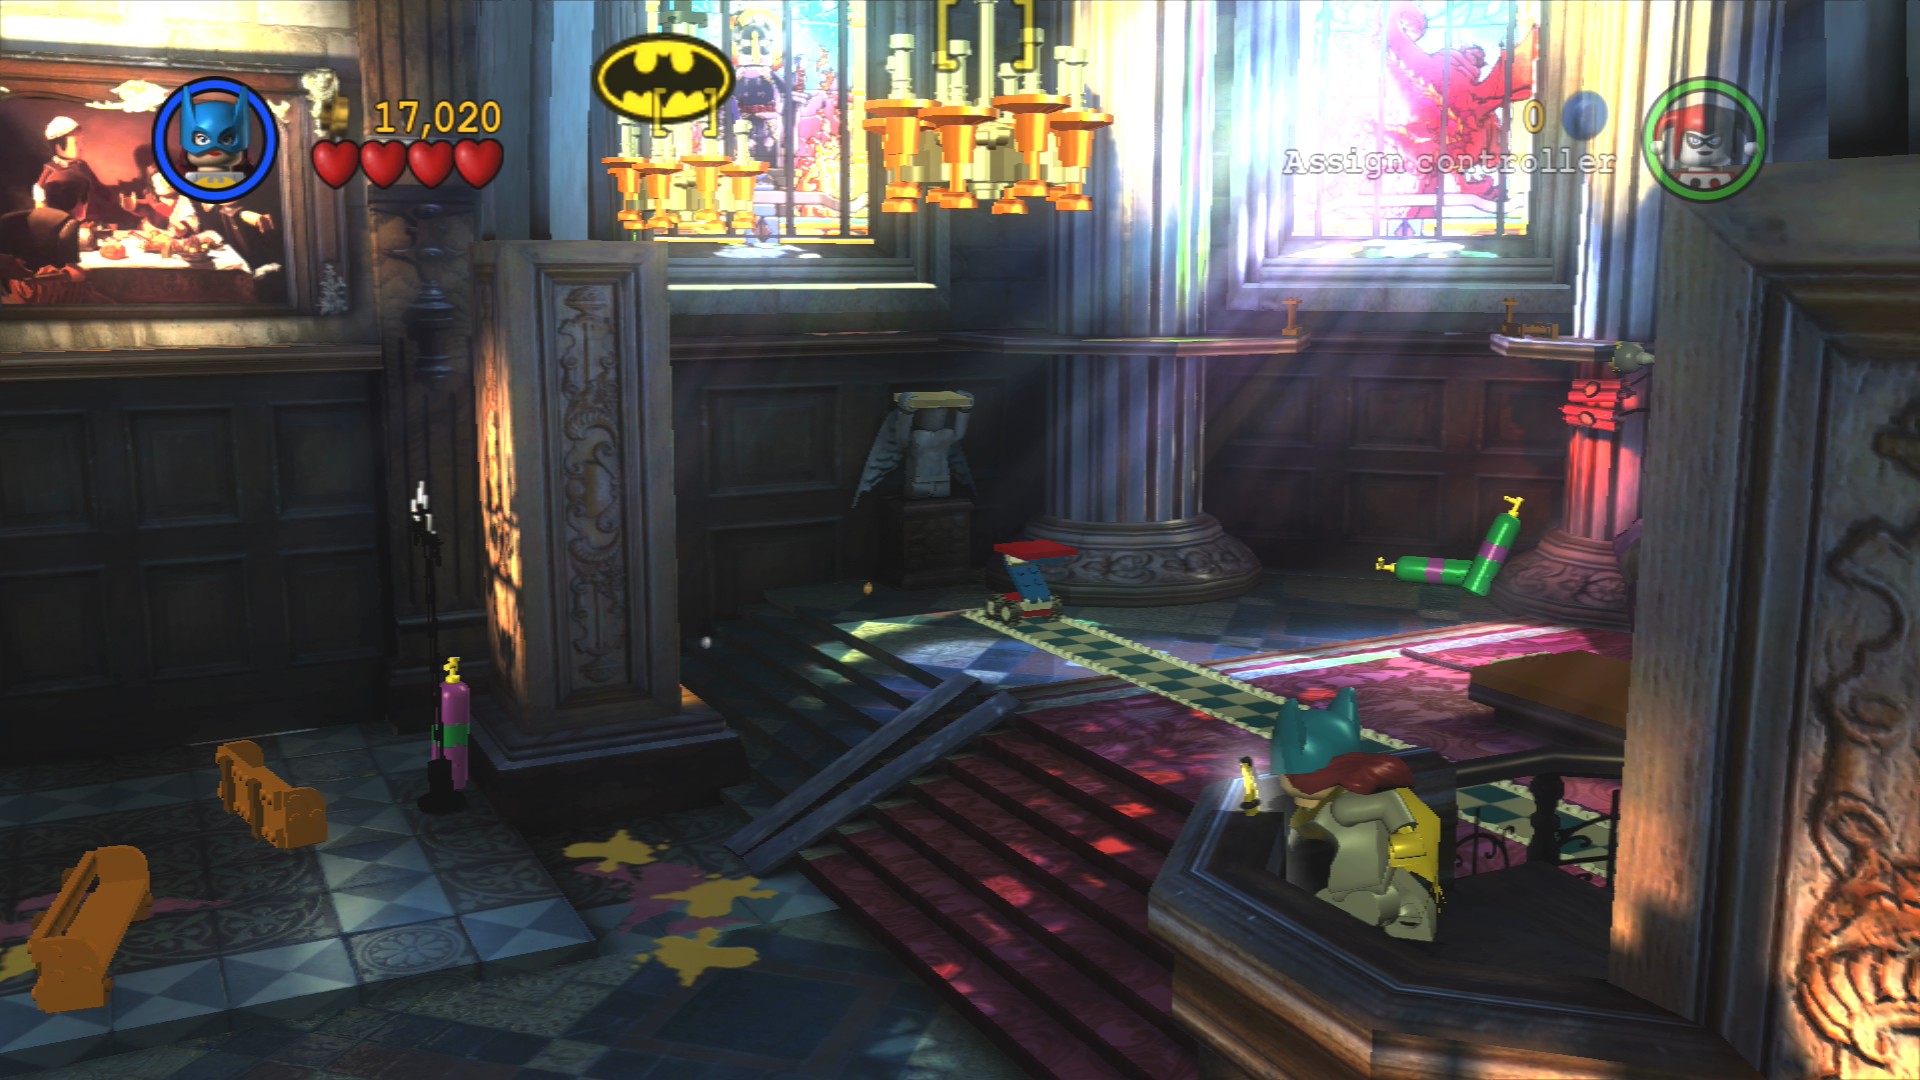
On the right side of the room there's a spiral staircase that you can go up to a section where the camera will look at a pair of chandeliers, use a batarang to smash them and then build a cleaning vehicle out of the parts that fall.
Now you've got to clean up all the purple and yellow spills on the floor of the cathedral, the first ones are just to the left of where you build the vehicle, there's some on the upper section and a lot in amongst the pews. There's no confirmation of each cleaning or how many to do so if the Red Brick hasn't appeared on the pulpit just keep searching around.
Once everybody's been taken care of go to the right end of the tiled path and have the Joker power the generator.
Reassemble the engine into a little pushable platform that you will then want to push all the way to the opposite end of the track. Use Harley's High Jump to use that platform to get up to where some police were shooting at you from and then jump to the right where you can build a tightrope.
Walk over the tightrope and pass by a generator, you'll need to hit the folded up ladder to its right so that the Joker can get up to power it. Jump onto the platform that lowered into place and stand on one of the red buttons, your partner should automatically step onto the other.
Hostage 25/25
Requires: None Story Mode: Yes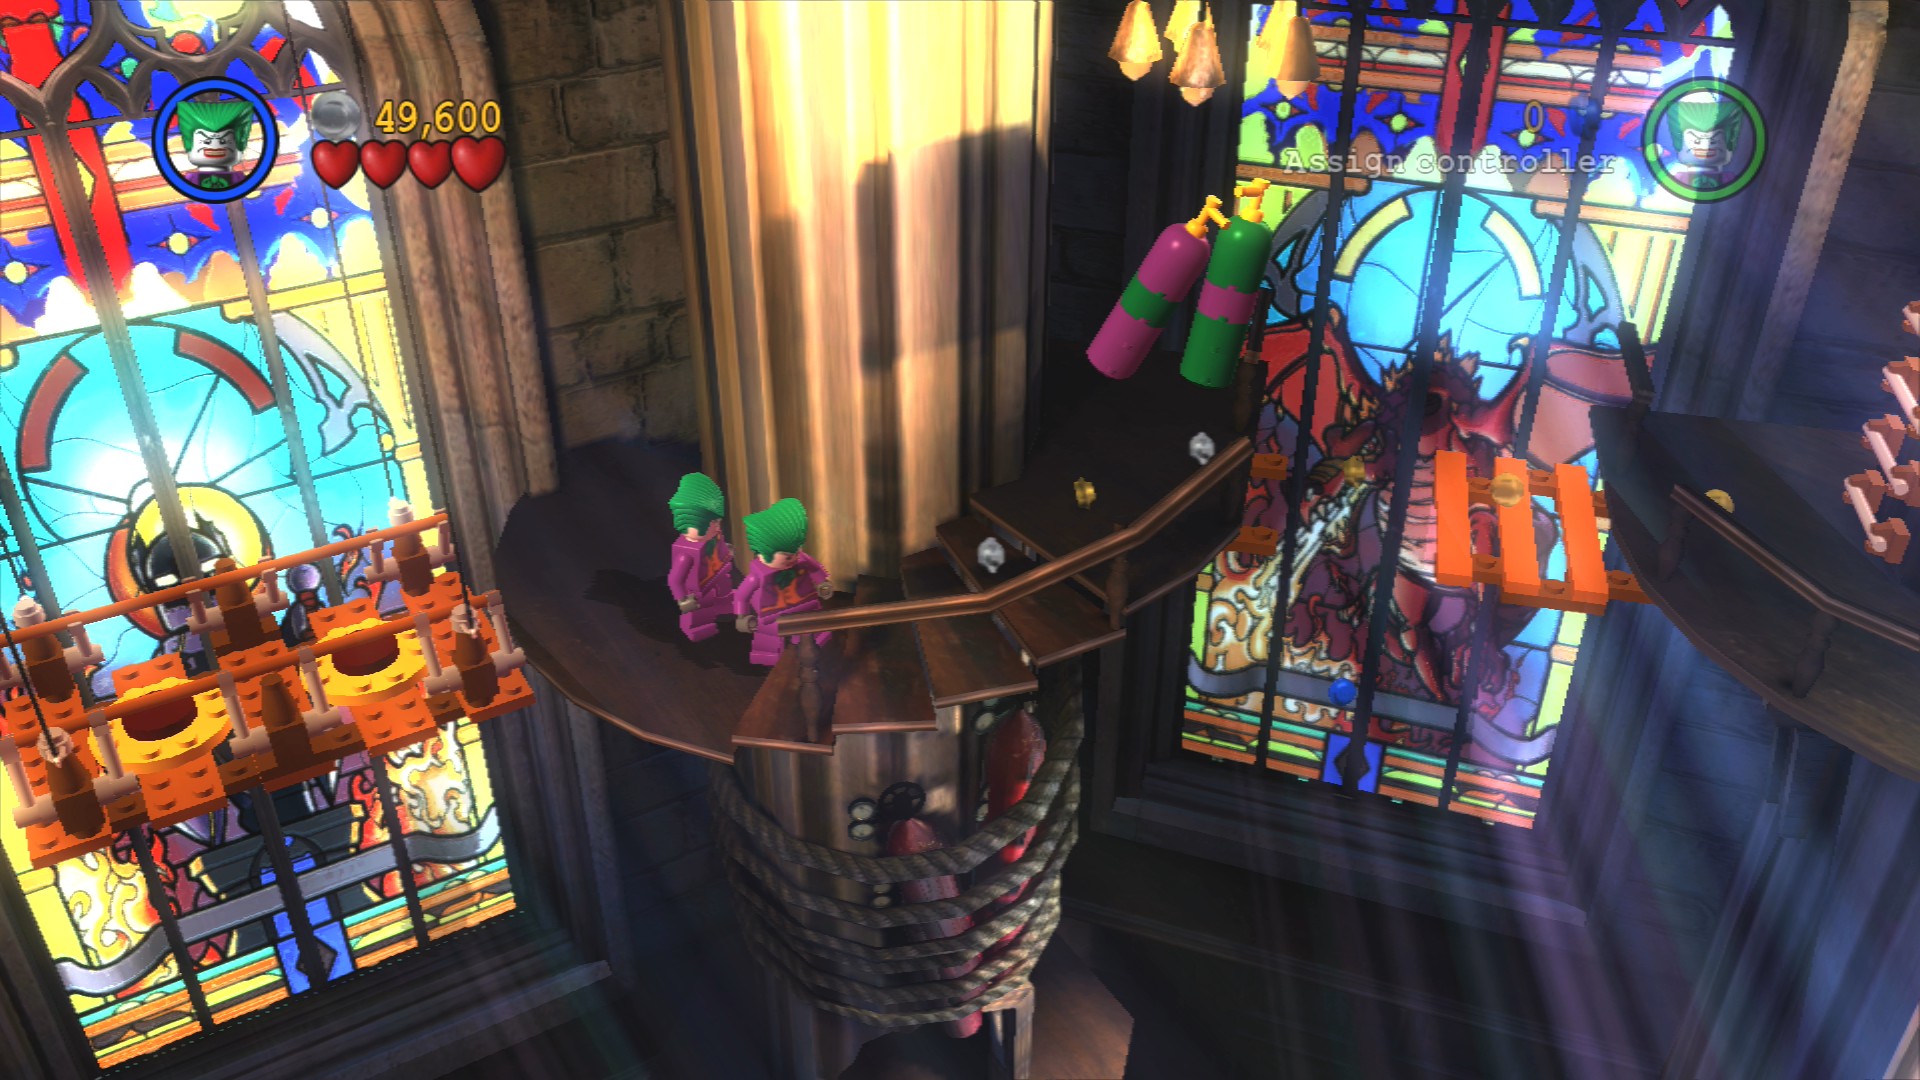
You probably won't even notice getting this, the hostage is being held on a collapsing platform to the right as you start the second area and will be freed when it collapses automatically.
If you've freed all 25 hostages you will now be able to purchase a new character from the computer when you get back to Arkham Asylum/The Batcave.
The generator on the left is just used for if you want to go back to the first area.
Minikit 4/10
Requires: Explosives Story Mode: No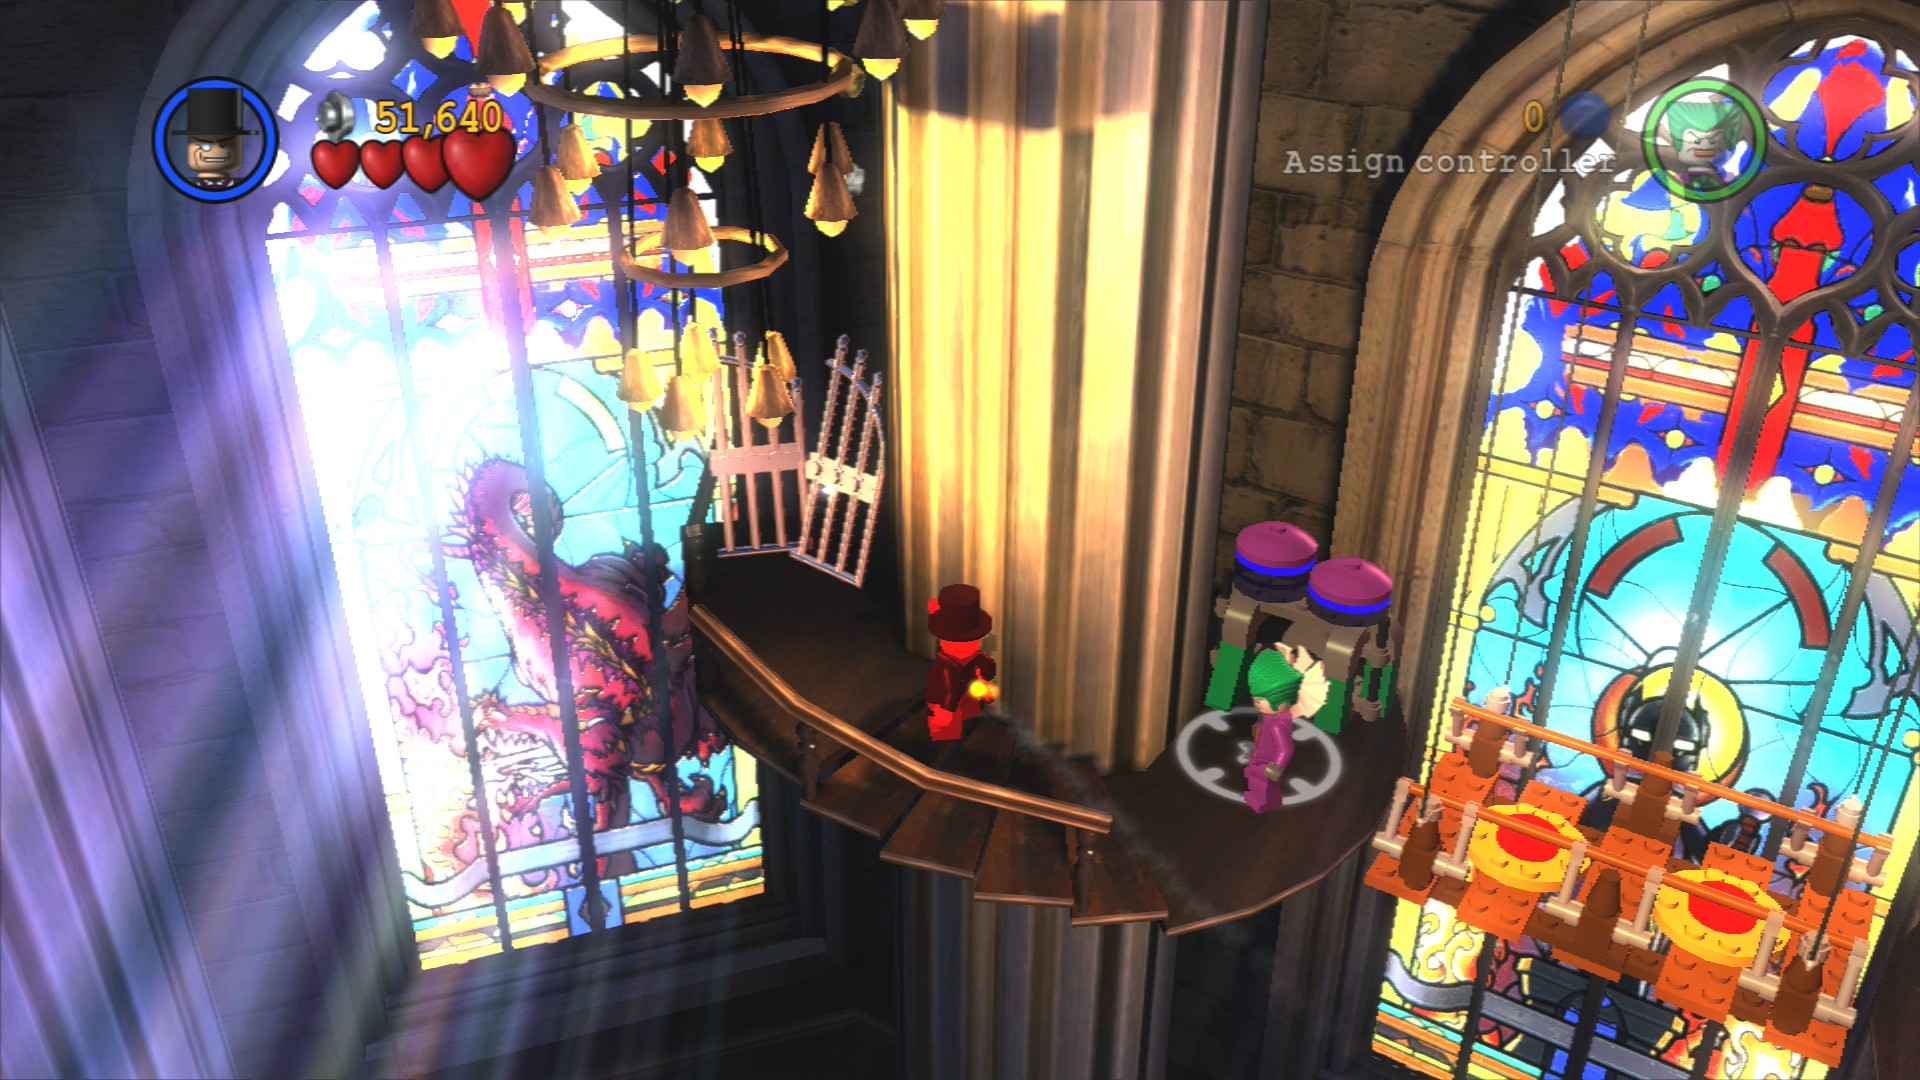
Blow up some Silver LEGO gates to the left at the start of the second area and then climb the ladder you build.
Go to the right, careful of the orange planks as they'll collapse as soon as you touch them. Have Harley high jump up to the area where a few police are shooting at you from and go to the right to build a tightrope for the Joker to use. Power the generator up the steps to lower another double button platform into place.
Minikit 5/10
Requires: High Jump Story Mode: No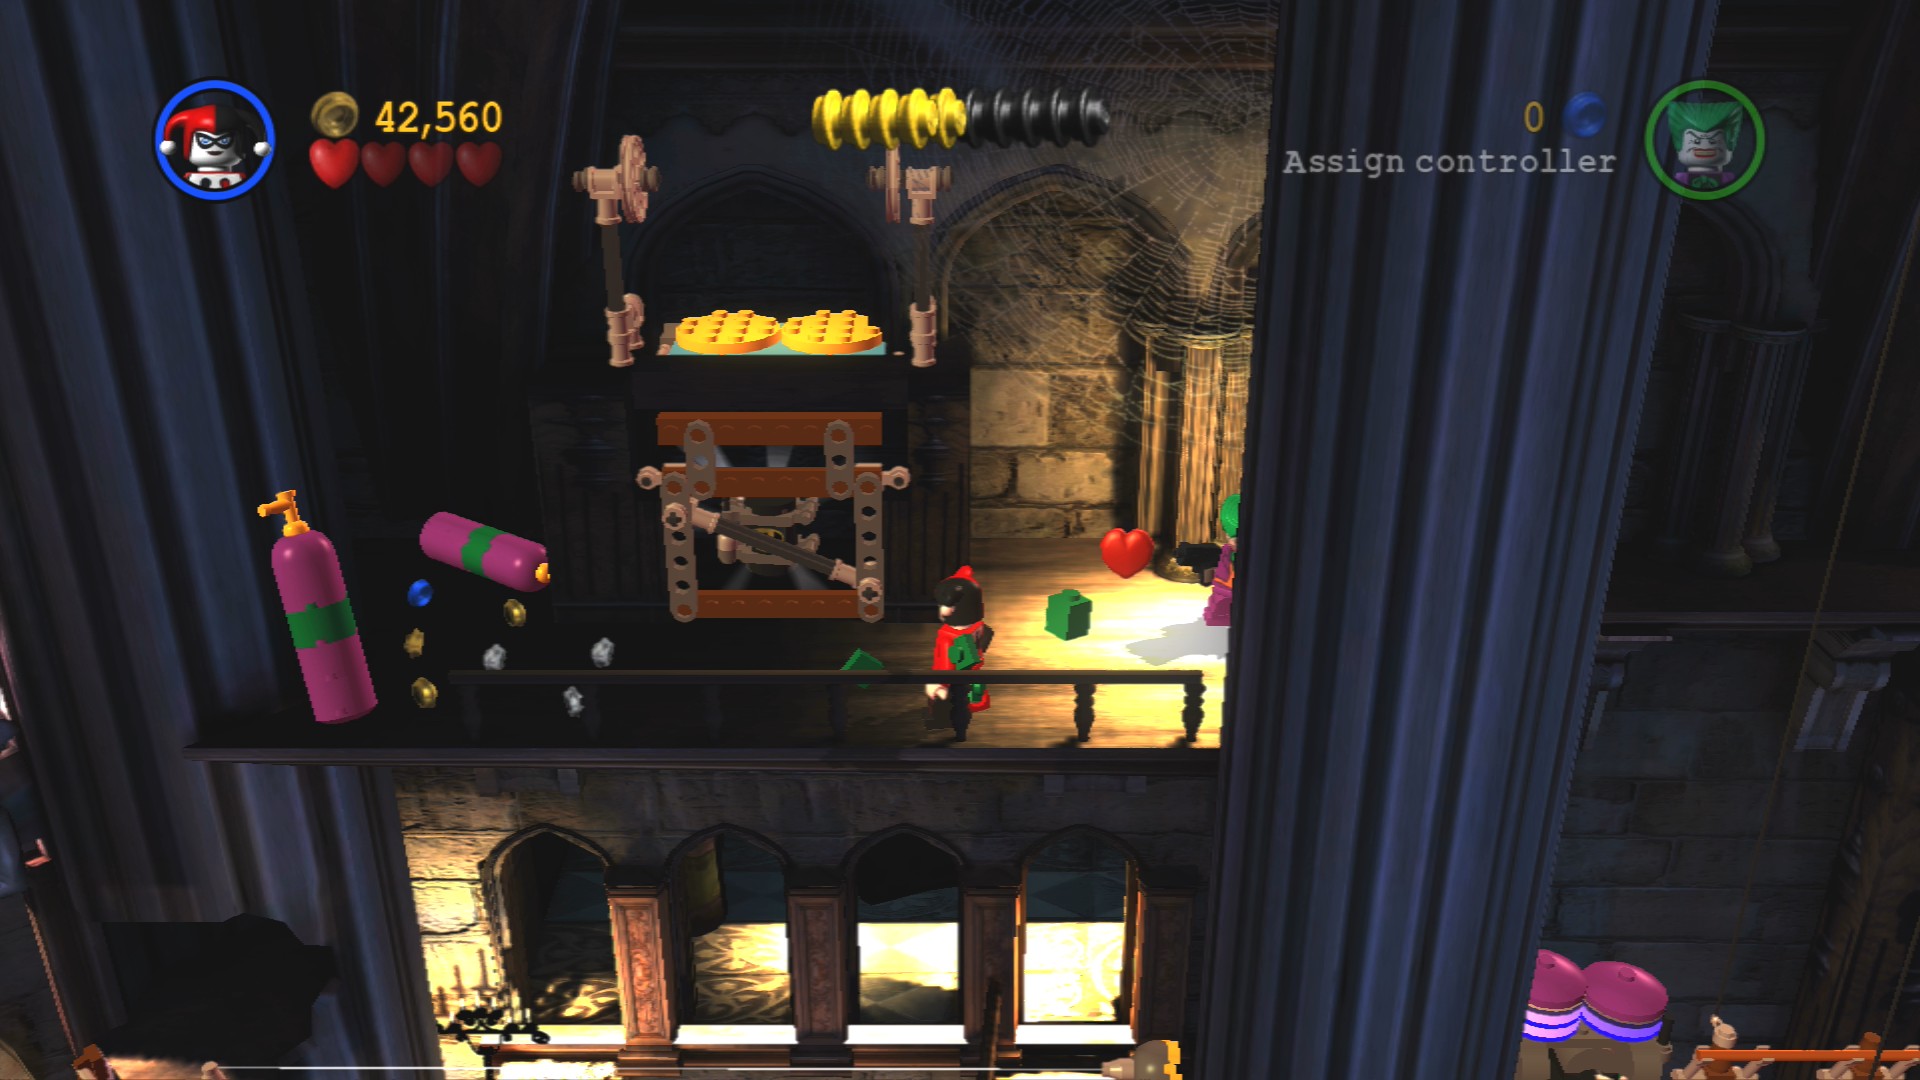
Go to the left after the second double button platform and high jump onto a pair of small yellow circles above the Minikit locked in a box.
Minikit 6/10
Requires: Glide Story Mode: No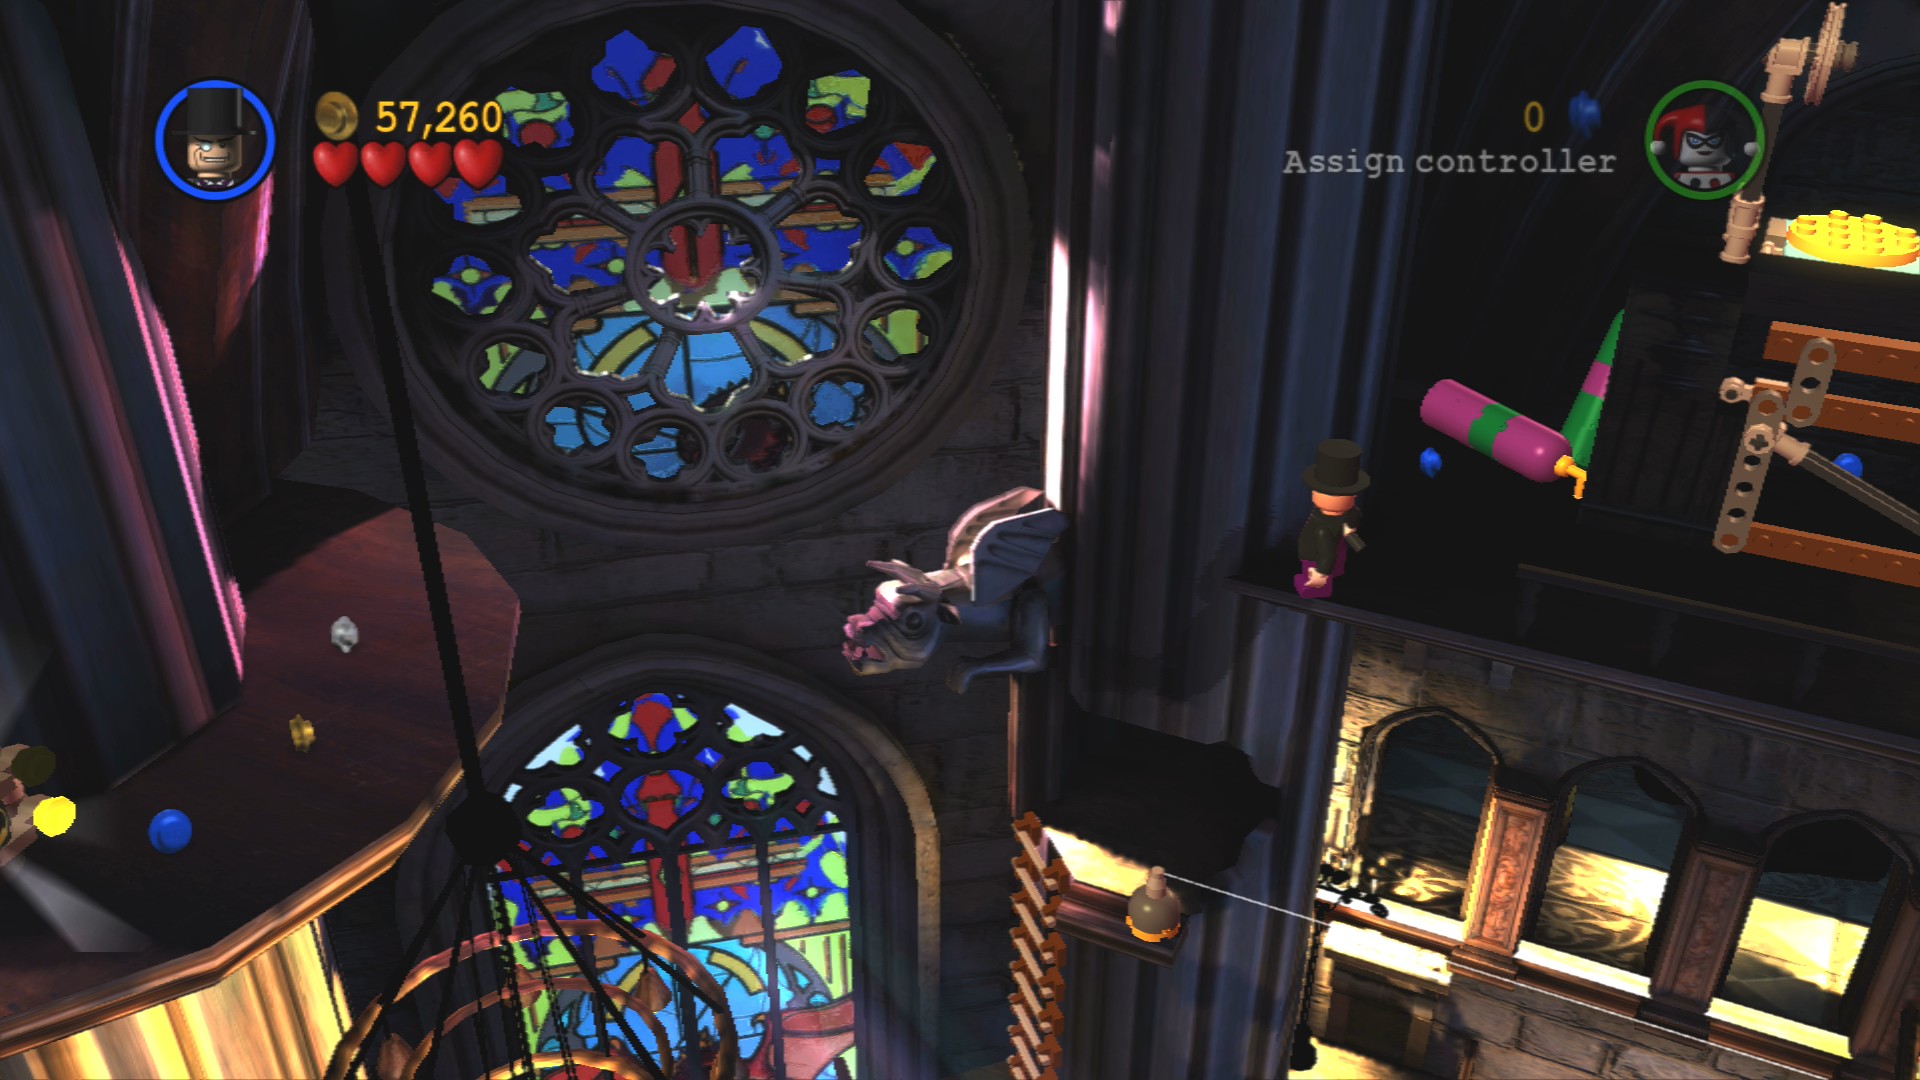
If you go to the very left edge of the platform with the double yellow button cage you should be able to see another platform you can glide to to the left. On that platform is a Minikit and a purple stud.
Minikit 7/10
Requires: Magnet Suit Story Mode: No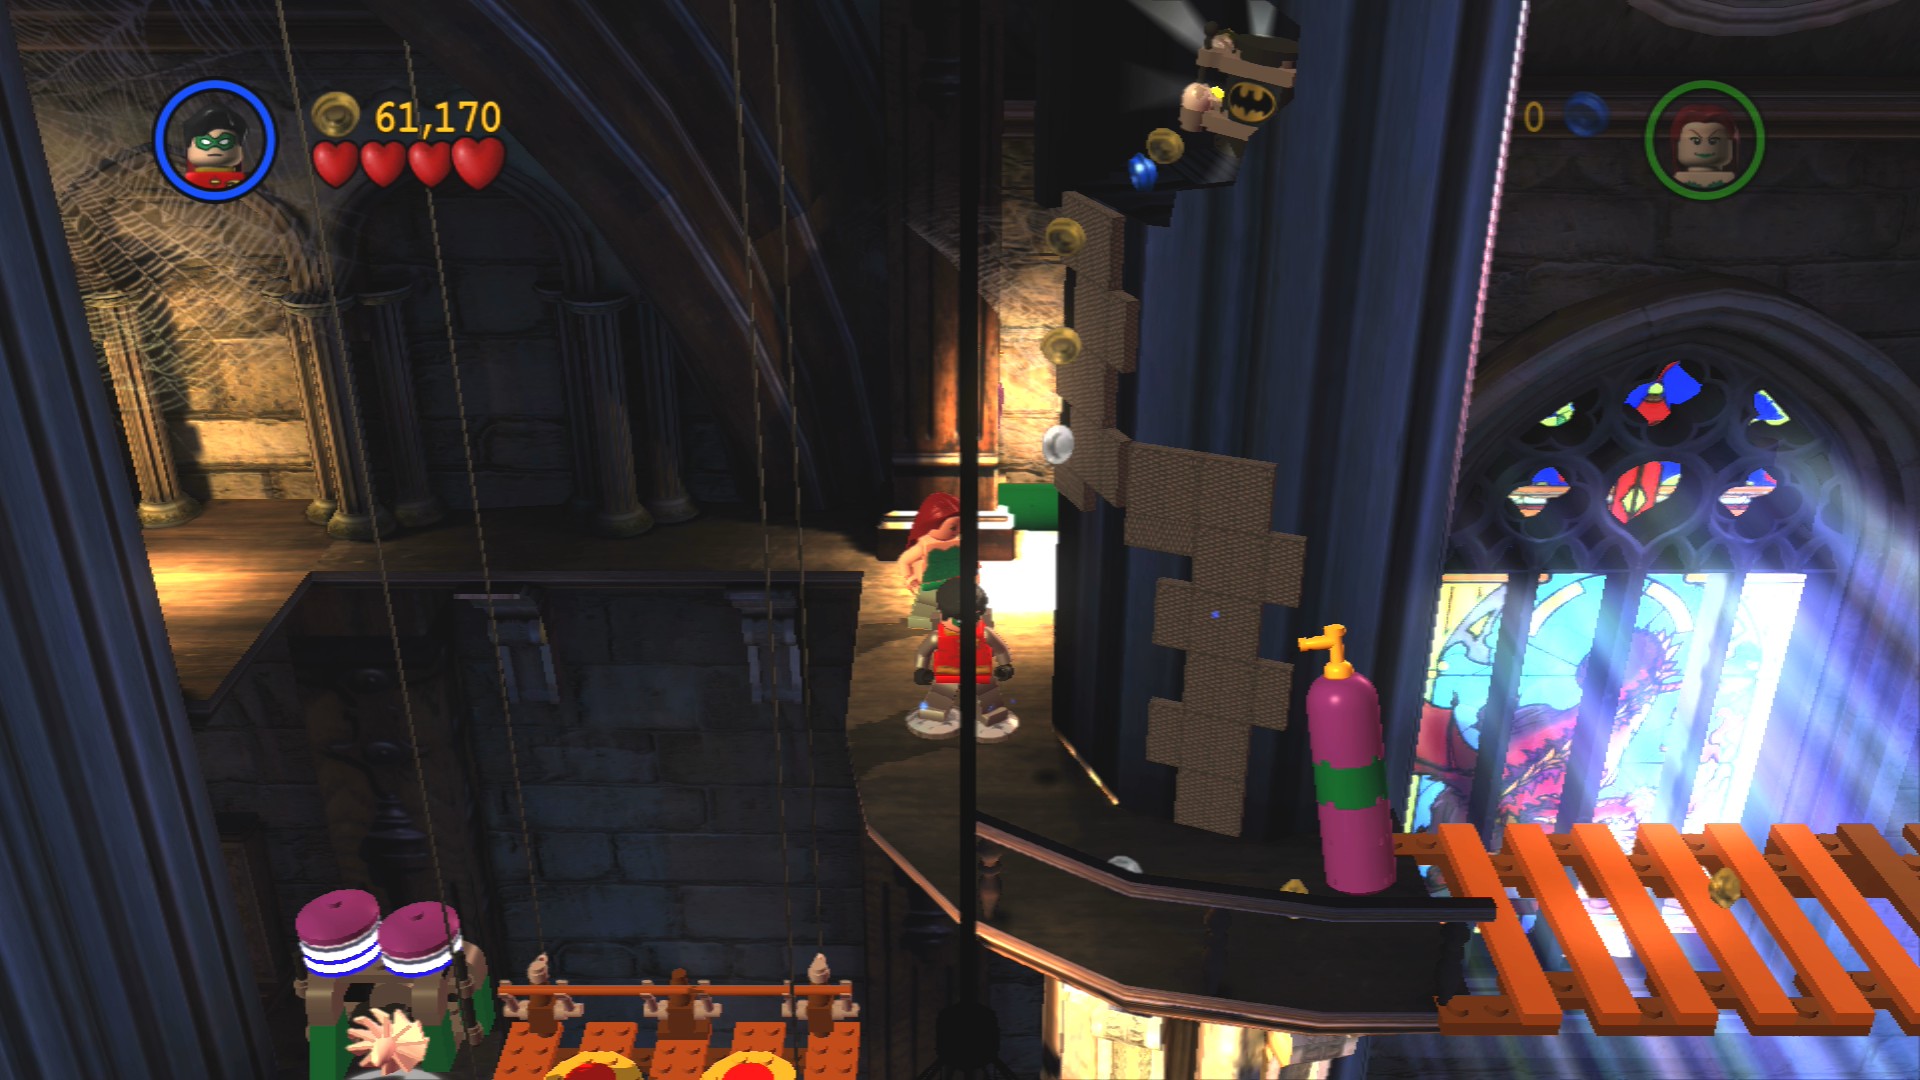
On the right after the second double button is a bit of metal wall that you can magnet walk up to get the Minikit inside the column.
Go to the right over a set of wooden planks, the very middle which is a bit darker is stable but the lighter planks will collapse. Go up the spiral stairs defeating a few police and then assembling the first part of an object at the top.
Minikit 8/10
Requires: Freeze Ray Story Mode: No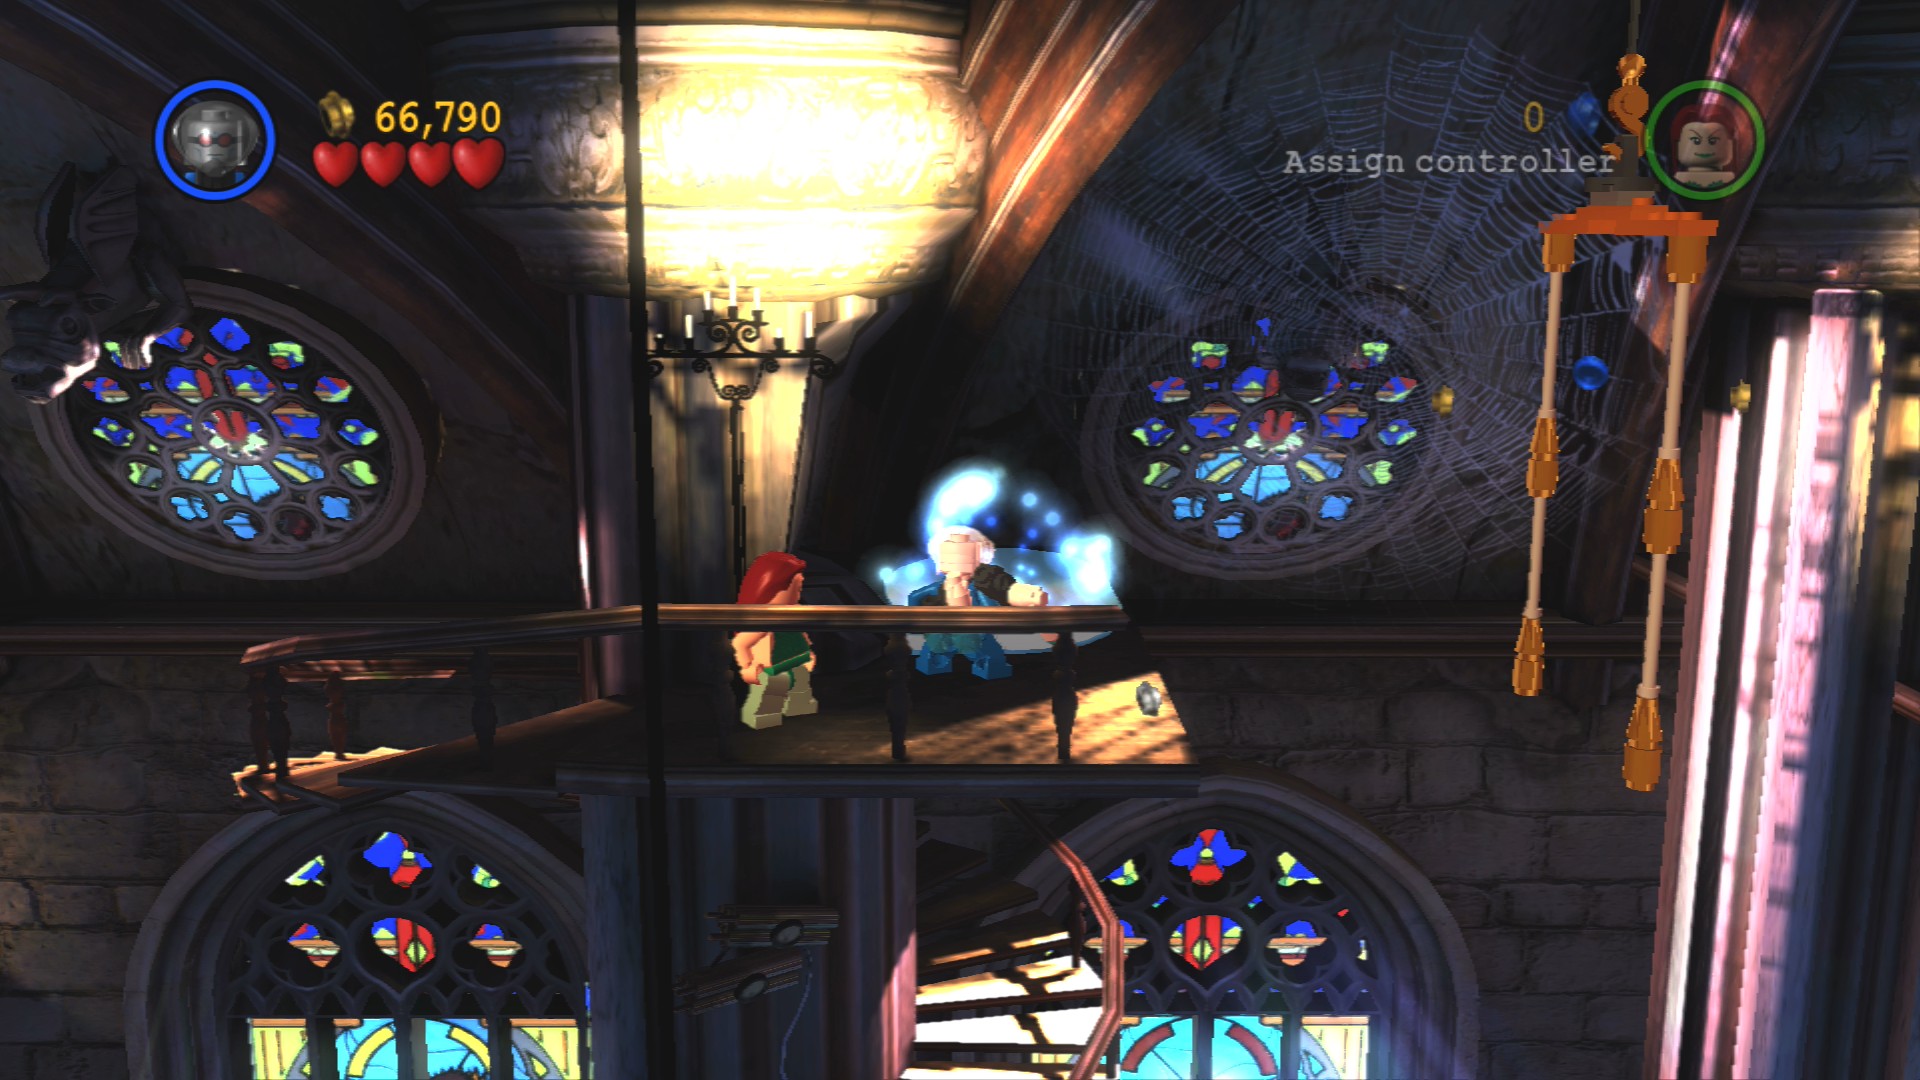
At the top of the spiral staircase is a puddle of water you can freeze. Smash the object that forms.
Use Harley to double jump over the gap going through the object you partially built. Defeat the police on the other side and then finish off the platform with the pieces on this side. Joker can now get across and power the generator to reach the final room up the ladder.
Minikit 9/10
Requires: Explosives Story Mode: No
Blow up the Silver LEGO barriers so you can build a pair of turrets. Jump into the right one. Fire it into the air towards the screen and you'll hit a pair of bells, if you shoot them both so they're ringing at the same time a Minikit will get dislodged.
Go to the right side of the room and high jump onto the platform at the end of the tiled path, up there you should find some bricks to build a platform. Jump up onto that platform to lower it and raise the second platform at the same time. The Joker should hop on and jump off onto the other side automatically. High Jump up to meet him and have both characters stand on the orange buttons to hit the bell.
On the left side of the room High Jump up to the platform that's standing down the steps and smash the objects on top of it. From them you'll get the parts to build a few handholds for the Joker to use. High Jump onto the bell ringing platform and smash the gas canisters at the back to reveal the parts to build a lever. Pulling that will lower a platform into place so the Joker can join you here. Stand on both buttons to ring that second bell.
Minikit 10/10
Requires: None Story Mode: Yes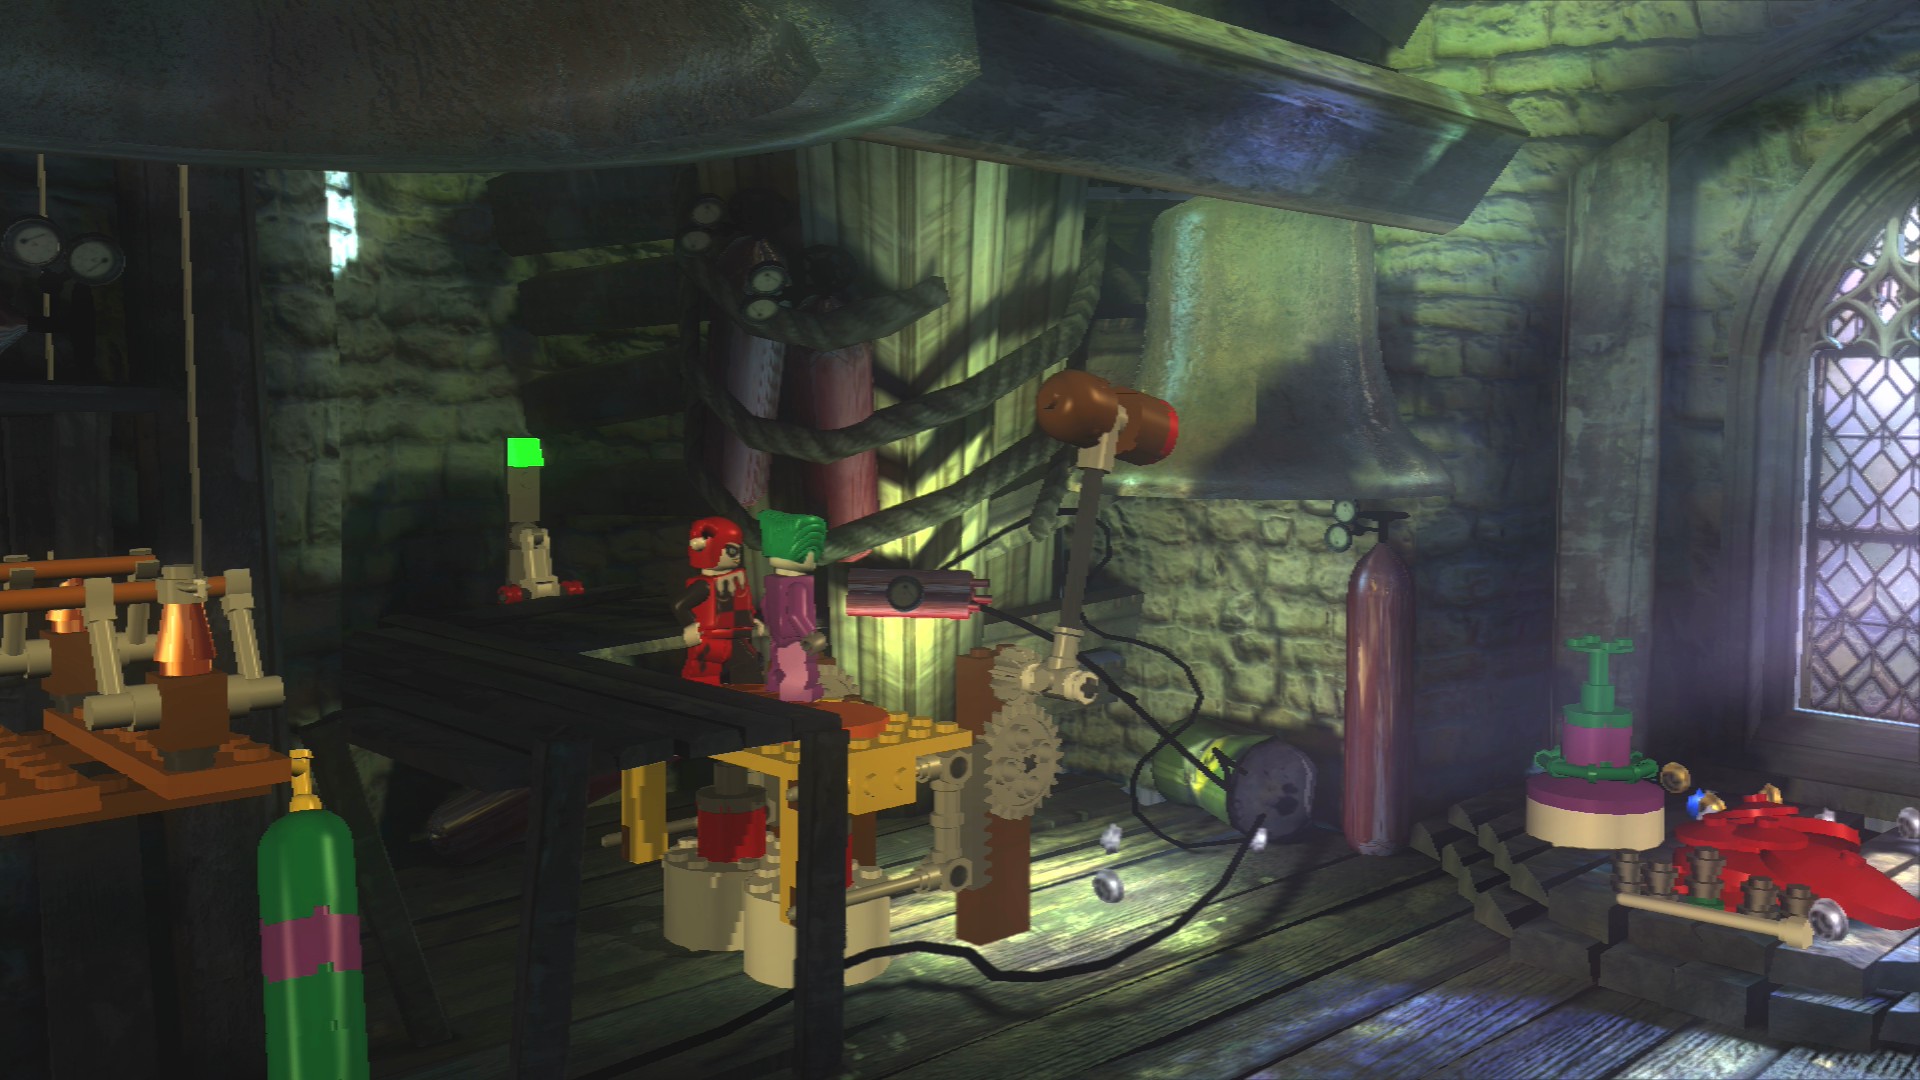
If you ring the left bell five or six times a Minikit will drop out.
Defeat the police and assemble both pylons to finish the level and complete the game.
| Cost | Character | |
|---|---|---|
| 5,000 | Police Marksman | |
| 30,000 | The Joker (Tropical) |
Well, except for the bonus levels which are coming soon...
 darkspyro.net