Episode IX
THE RISE OF SKYWALKER
- The dead speak! The galaxy has
- heard a mysterious broadcast,
- a threat of REVENGE in the
- sinister voice of the late
- EMPEROR PALPATINE.
- GENERAL LEIA ORGANA
- dispatches secret agents to
- gather intelligence, while REY,
- the last hope of the Jedi, trains
- for battle against the diabolical
- FIRST ORDER.
- Meanwhile, Supreme Leader
- KYLO REN rages in search
- of the phantom Emperor,
- determined to destroy any
- threat to his power....
Chapter 1
A Skip and a Jump
| Silver | Blue | Purple |
|---|---|---|
| 33,333 | 66,666 | 100,000 |
[Defeat the TIE fighters!]
The level kicks off with you flying the Millennium Falcon through a long tunnel. Shoot the TIE Fighters as they pass in front of you, make sure dodge under the pipes and to turn whenever the path splits.
[Shoot down the crane!]
After defeating the required 10 TIE Fighters you'll then be asked to shoot down a "crane". After a while you'll reach a point where there's a line of three target markers on the ceiling, shoot them once and you're done. If you miss it'll appear again and again and again until you hit it.
[Escape the First Order!]
The rest of the level is a series of quicktime events. Tap the button that is asked to keep lightspeed skipping.
Level Challenges
- Lock Off
- Avoid being locked on 3 times in a row.
- You'll get targeted a lot during this, just tap the roll buttons to avoid being shot by the missiles.
- Here Comes the BOOM!
- Take out 3 enemies with Proton Torpedoes or Rockets.
- The TIE Fighters will drop proton torpedoes for you to use so shoot the first three regularly and then blow the next three up with torpedoes.
- Poe-etic Flying
- Activate the Hyperdrive in time for all light speed jumps.
- During the last section you have to react really quickly and press the button as soon as it pops up. It'll always be the same button but don't press it too early either.
Minikits
Minikit 1/5 - Crane and Gain
Requires: None Story Mode: Yes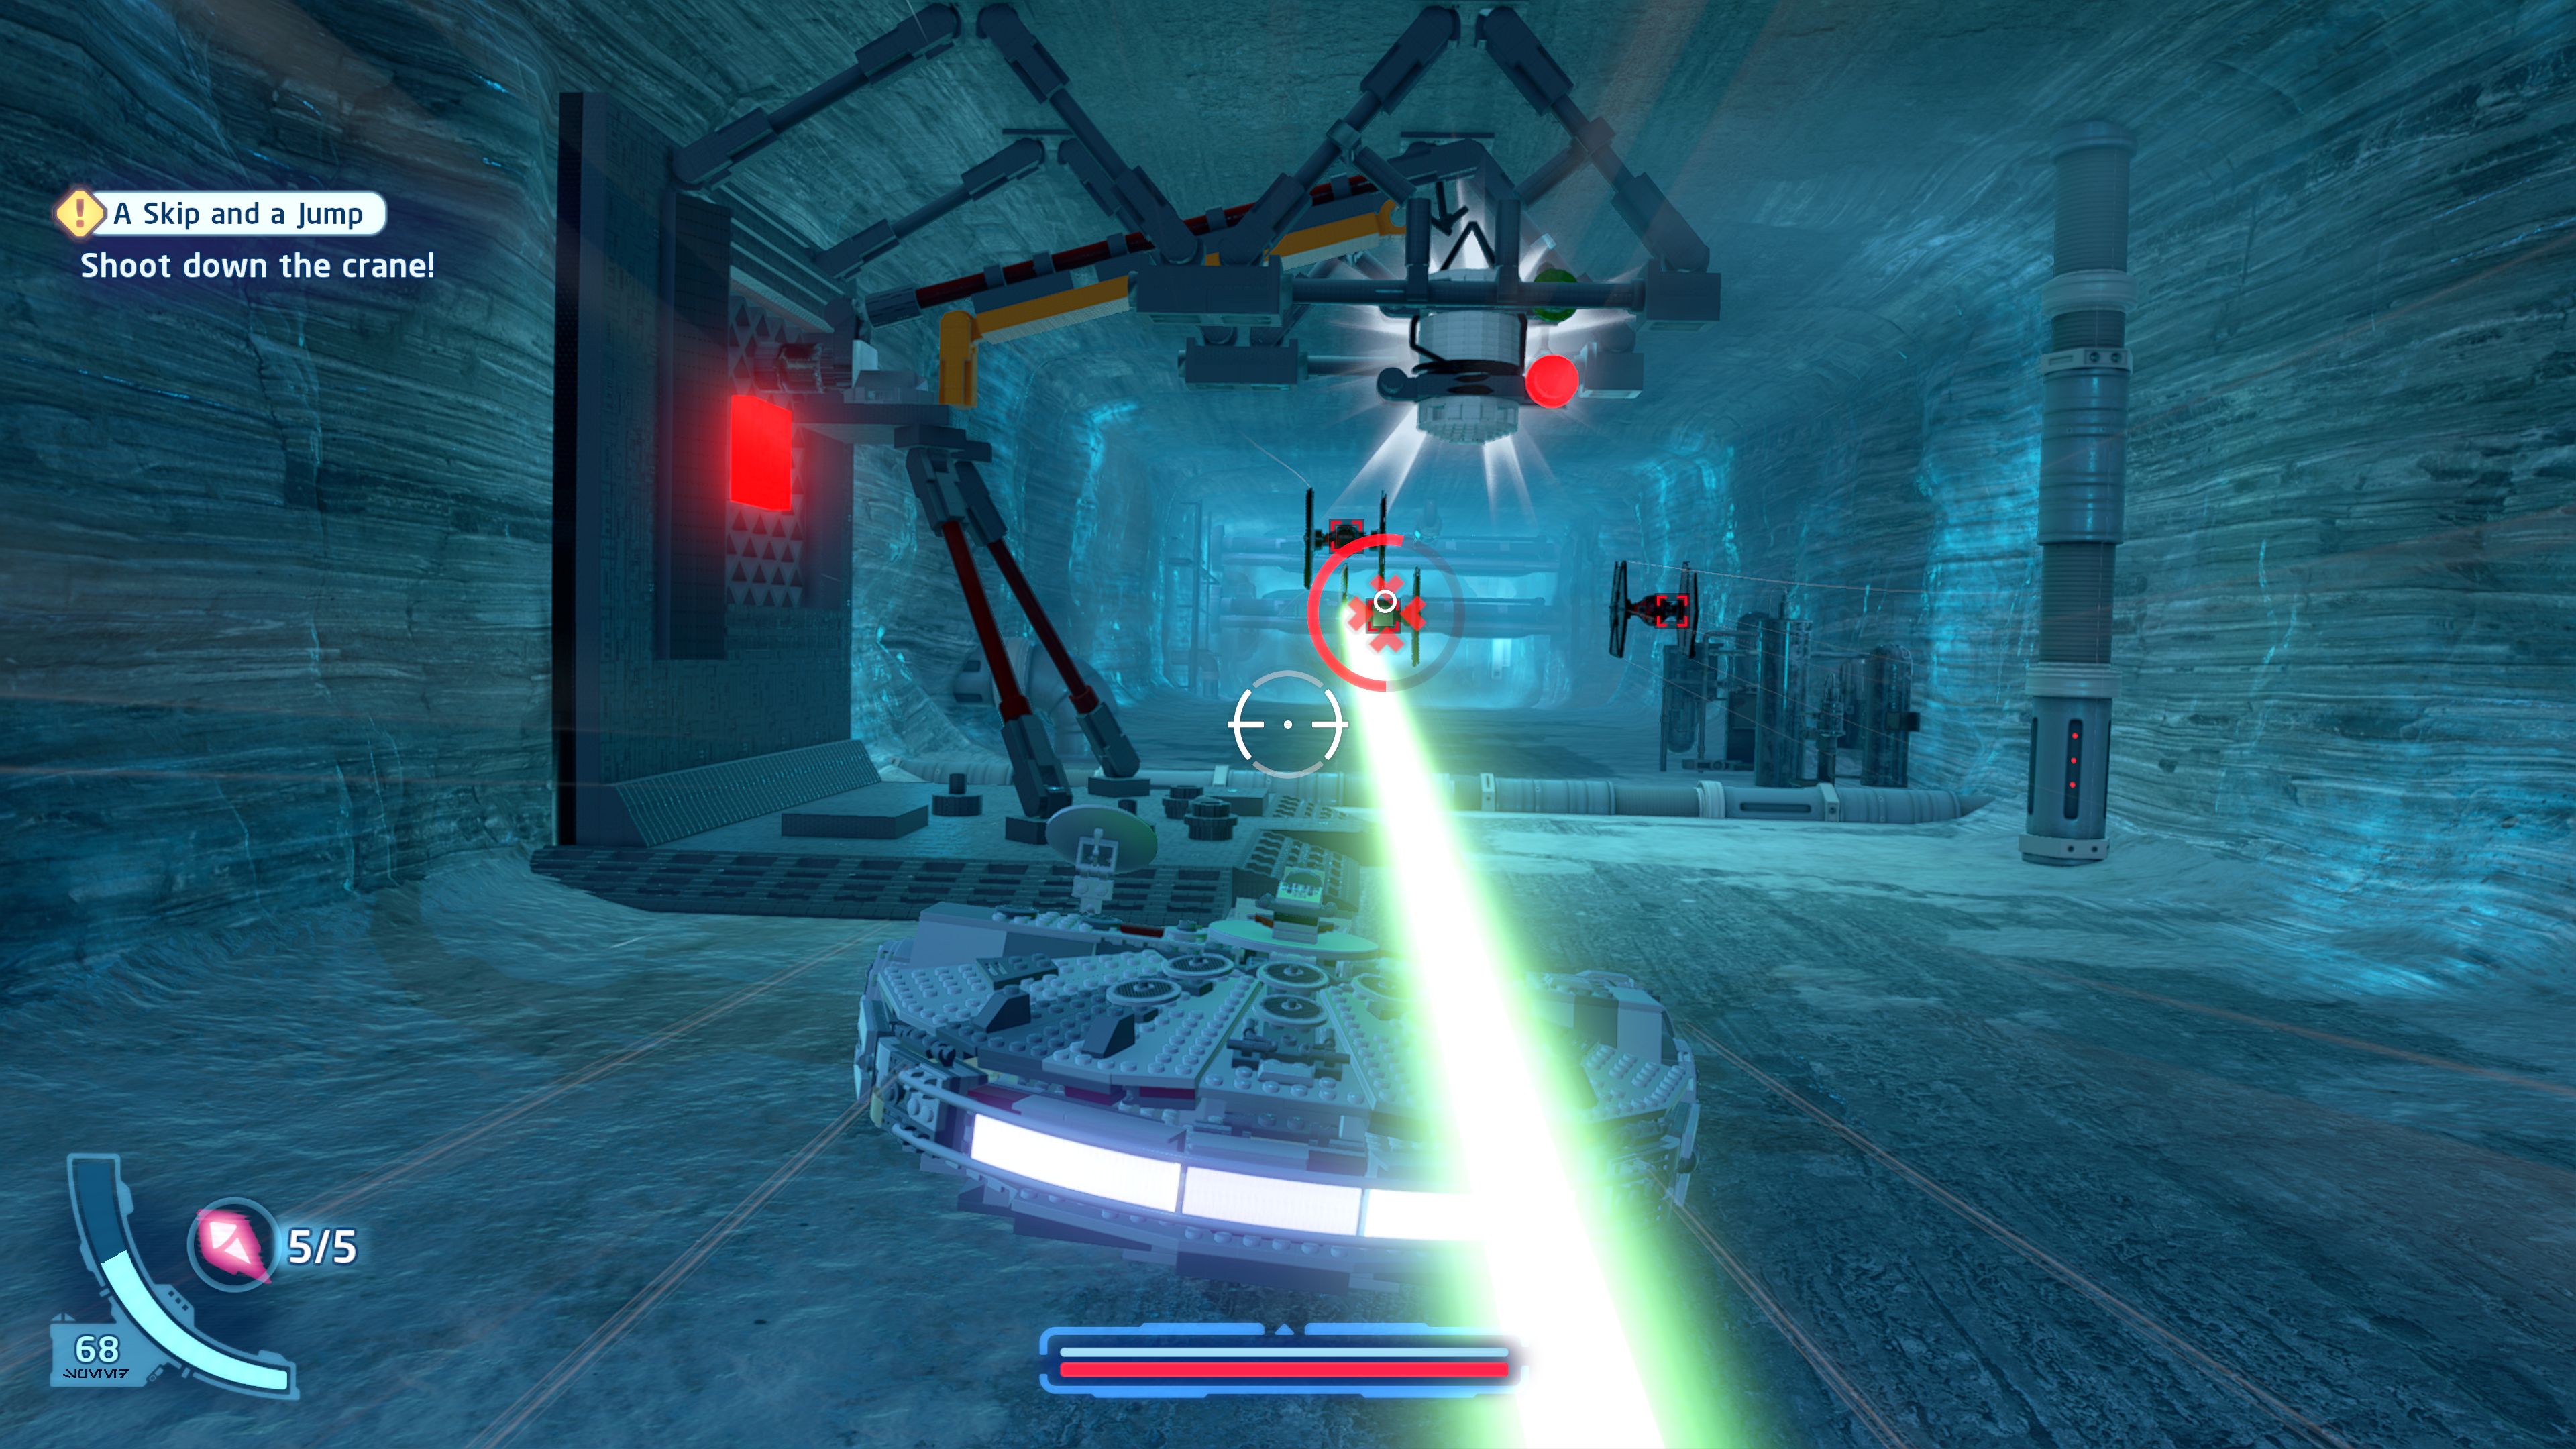
That crane is holding something valuable!
A large brick built minikit held close to the ceiling of the tunnel.
Minikit 2/5 - It's Mine Now
Requires: None Story Mode: Yes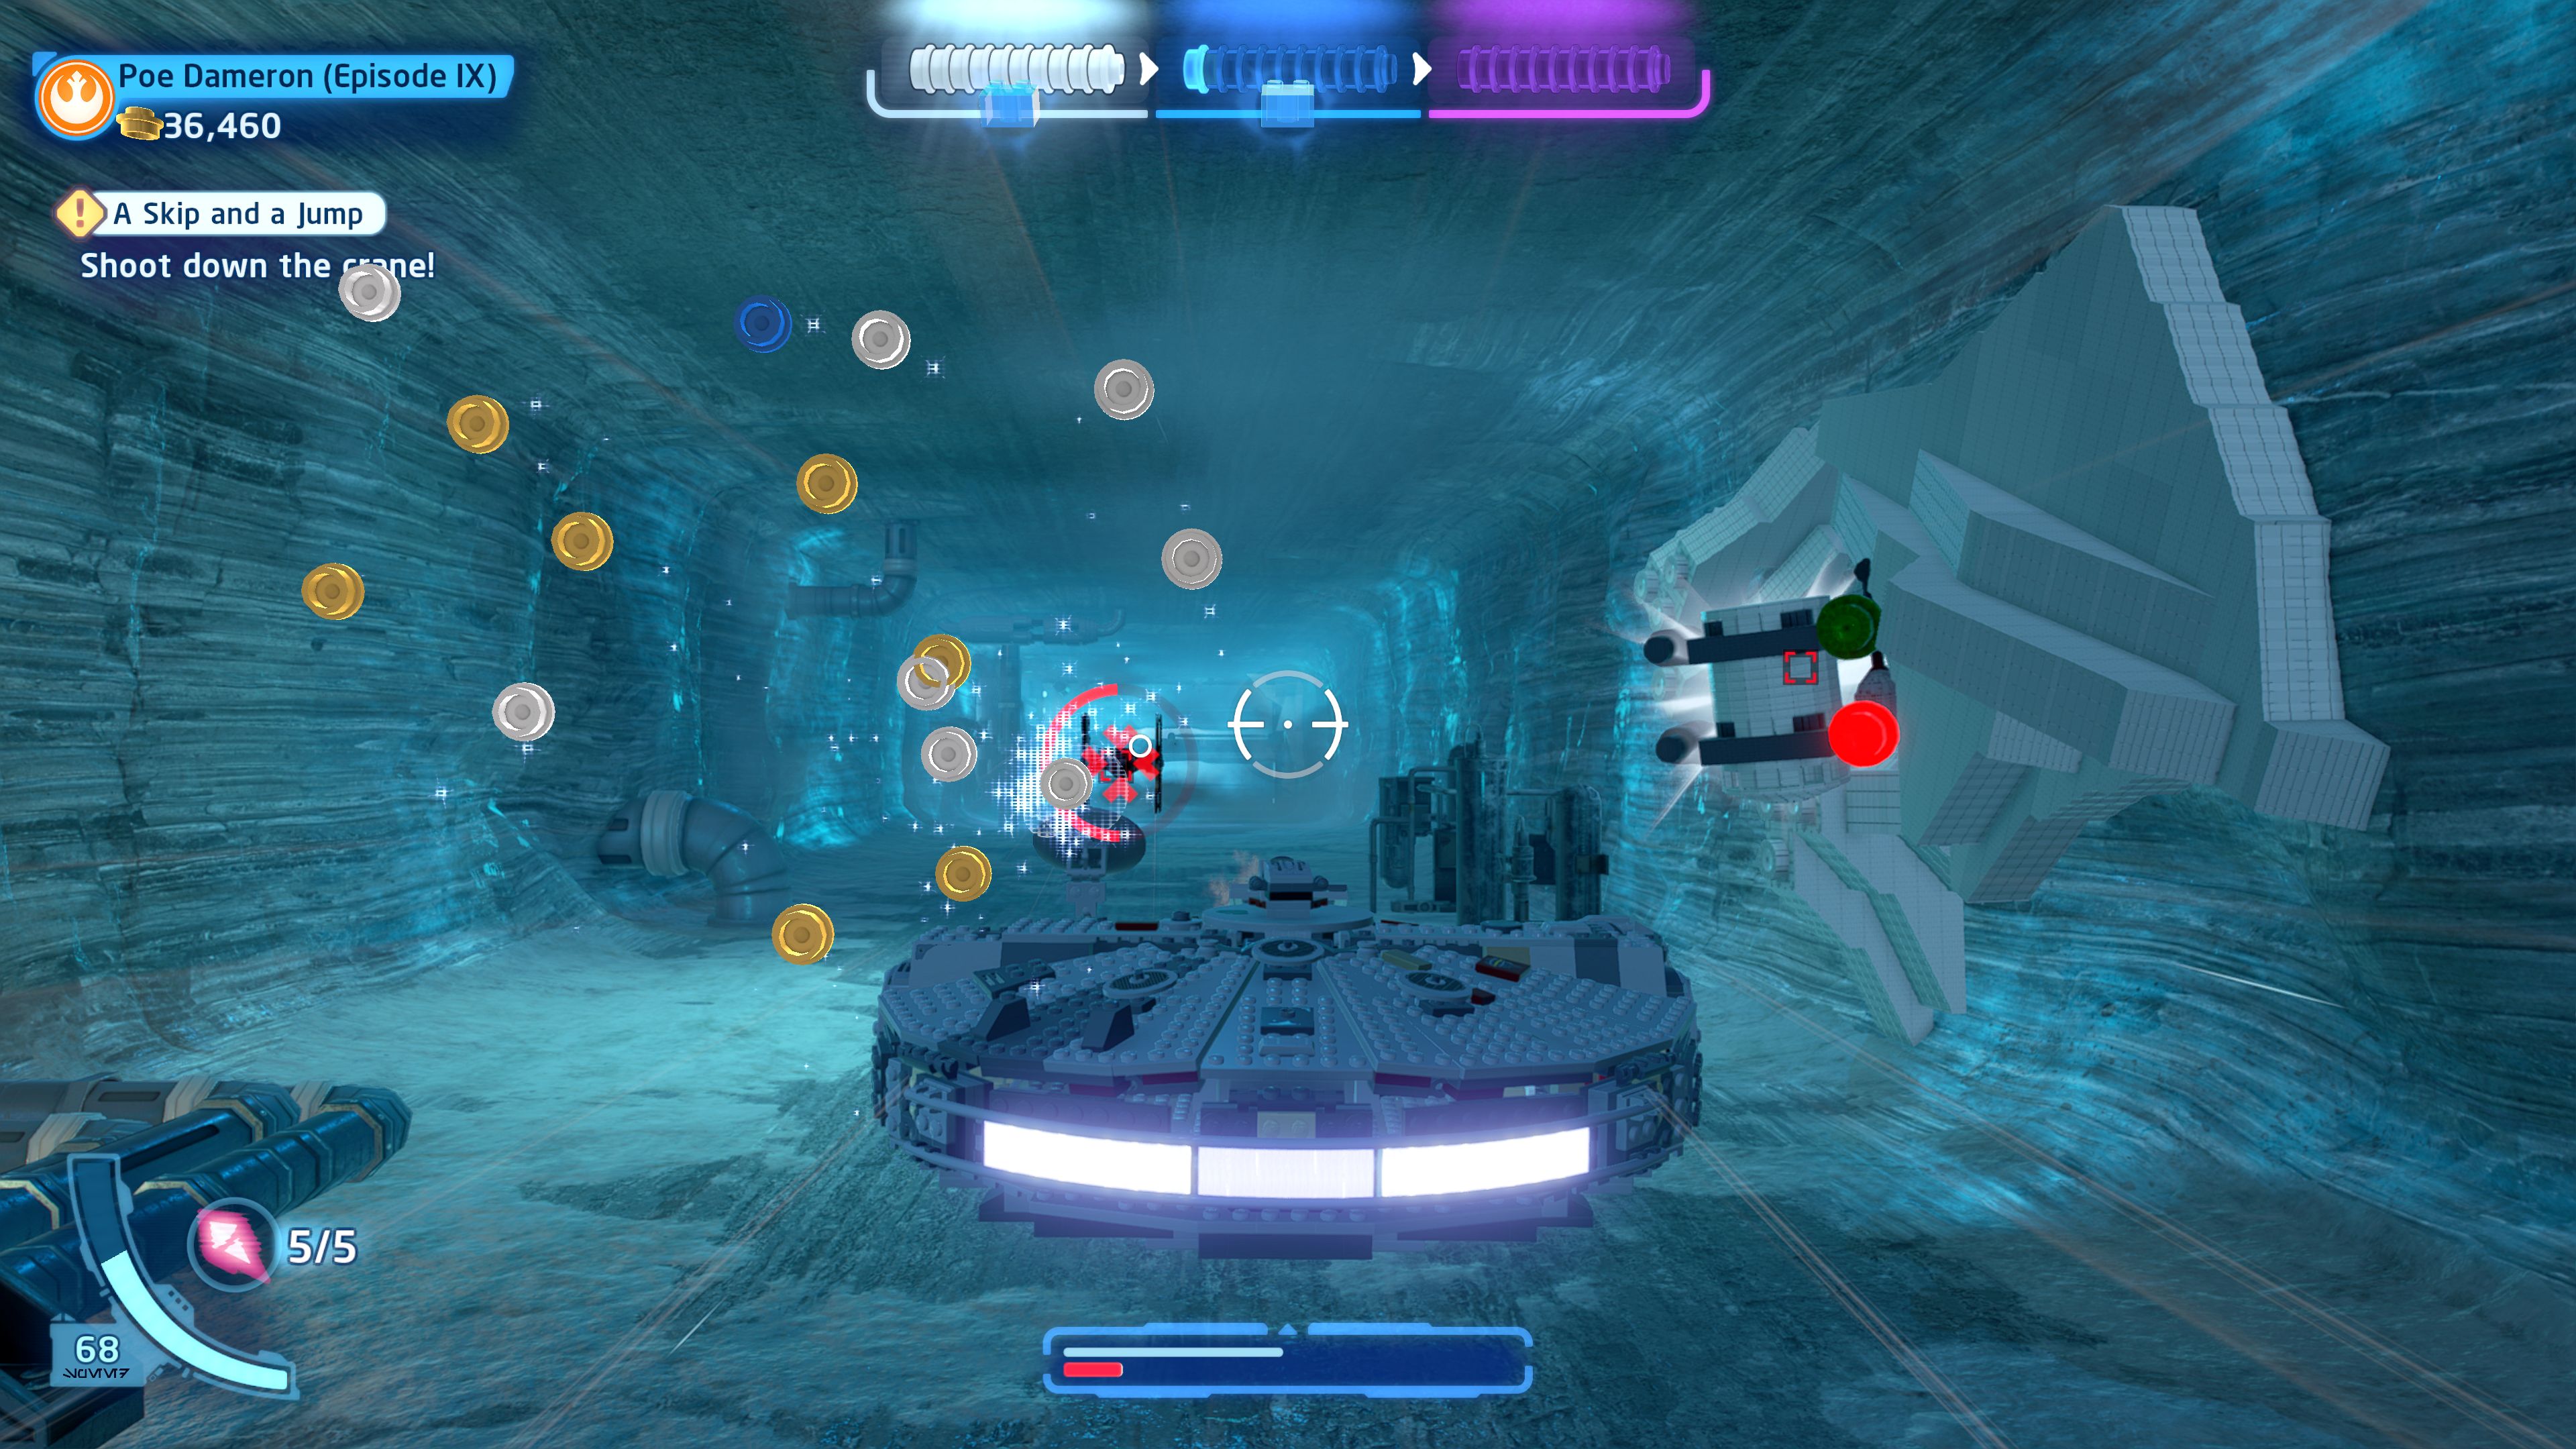
All sorts of things can be found in the walls of the Sinta Mine!
Stuck to the side of the tunnel during the TIE Fighter shooting section.
Minikit 3/5 - TIE in Disguise
Requires: None Story Mode: Yes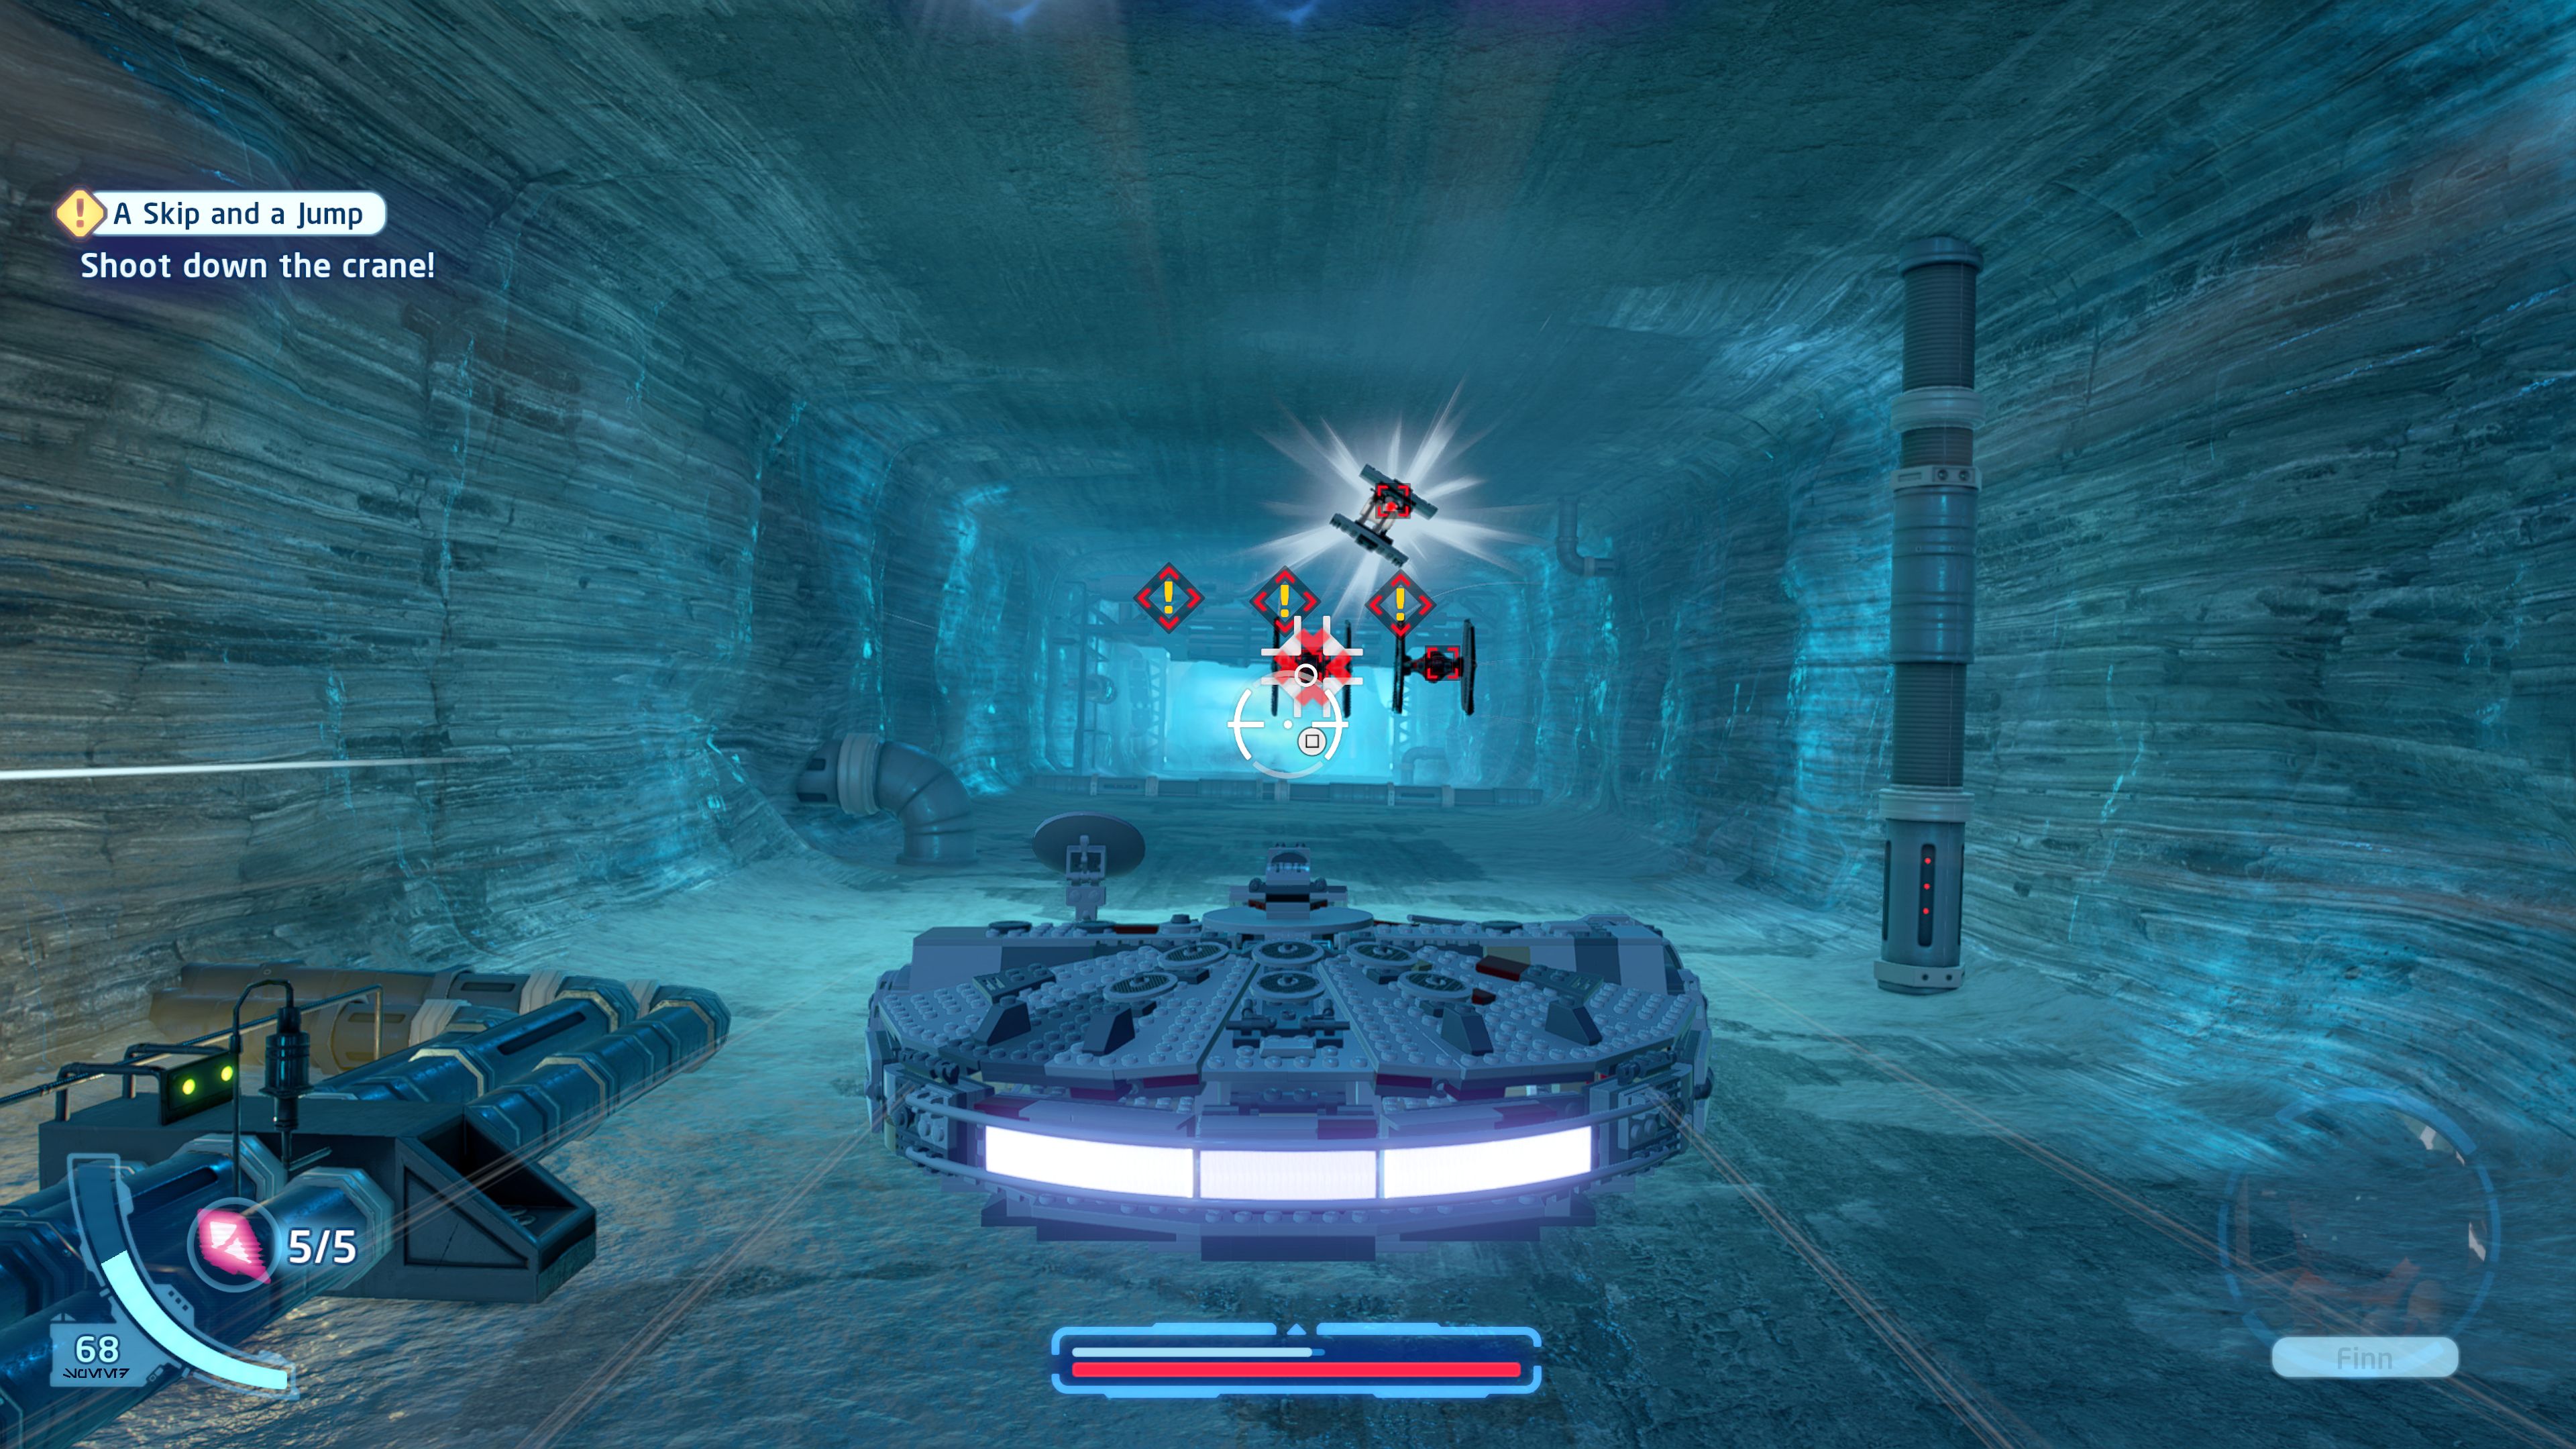
One of these TIEs is not like the others...
At one point a glowing TIE Fighter will appear. If you look closely it is actually a minikit canister with wings attached.
Minikit 4/5 - Steam On!
Requires: None Story Mode: Yes
Something's caught in the machinery smoke...
A probe droid will fly along carrying this during the shooting section. This one's name seems to have been mixed up with the next one.
Minikit 5/5 - Dealing with Dodgy Droids
Requires: None Story Mode: Yes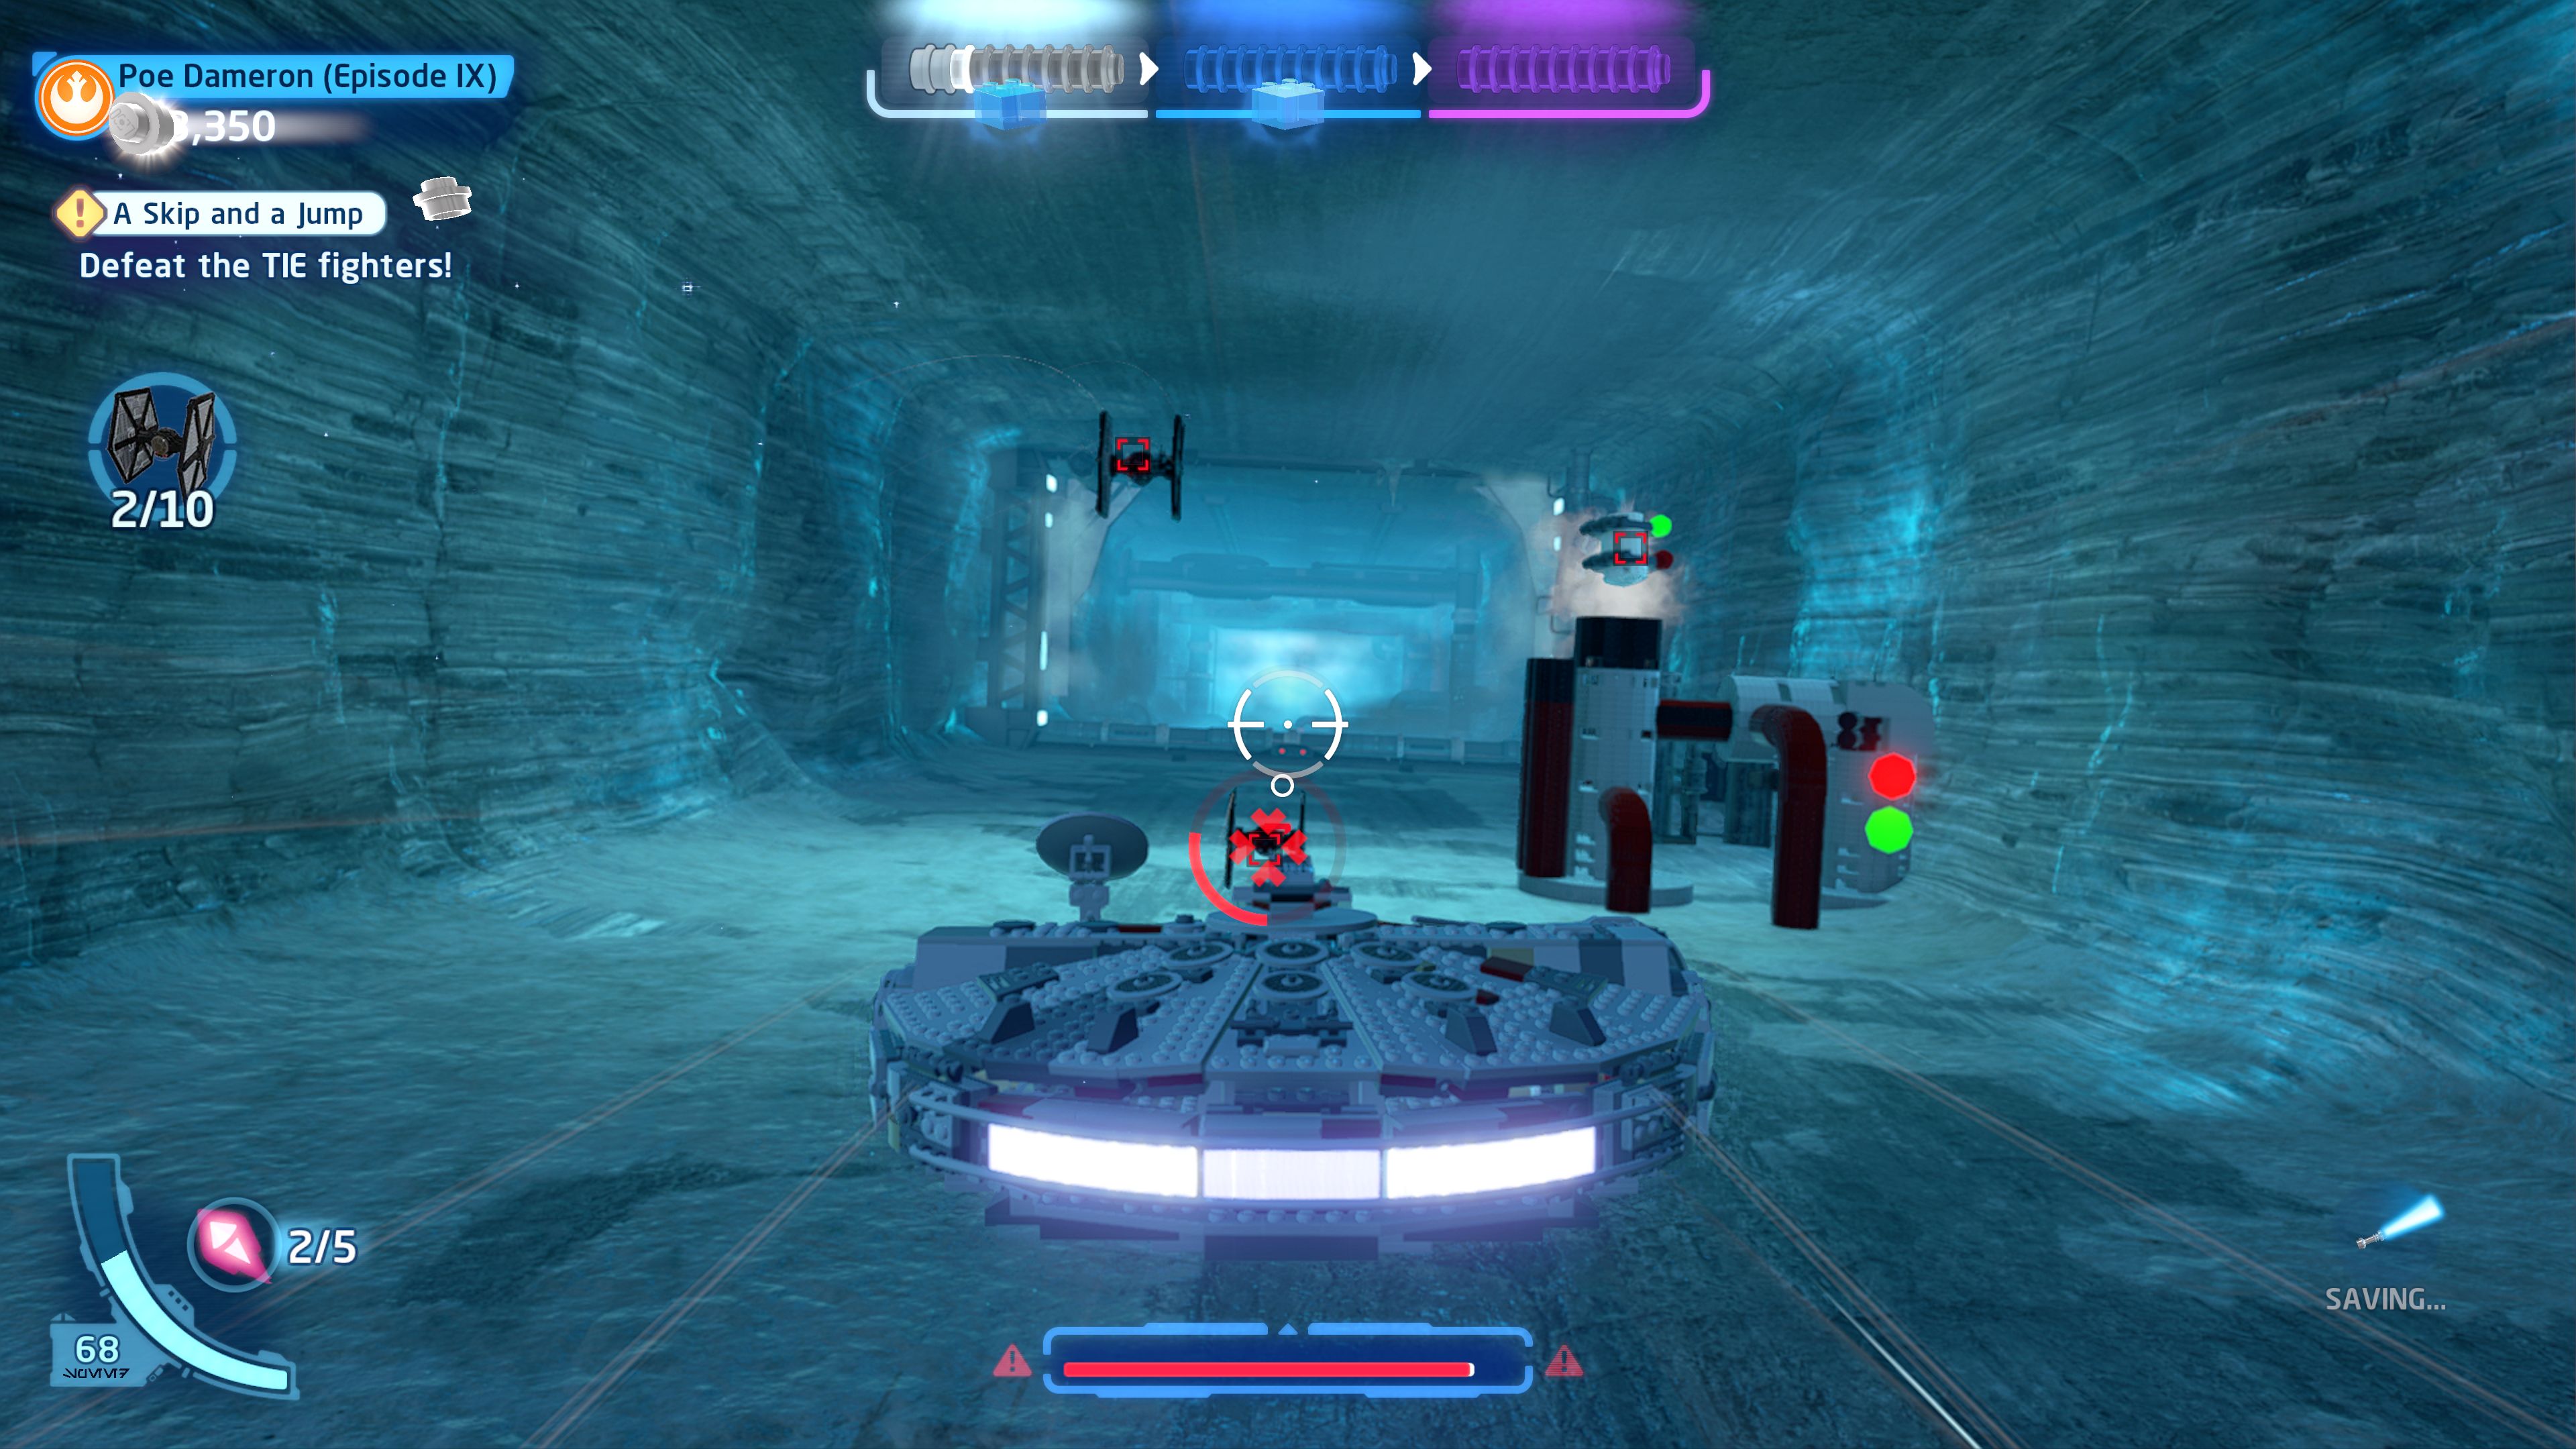
That droid's got my minikit! Well, it's not mine yet. But it WILL be!
Stuck in a steam pipe against the wall during the shooting section. The name appears to have been mixed up with the previous one.
Resistance Y-wing

Based on set 75263
Resistance Y-wing Microfighter
| Cost | Character | |
|---|---|---|
|
|
- | Finn (Episode IX) |
|
|
- | Poe Dameron (Episode IX) |
|
|
100,000 | Boolio |
|
|
- | Millennium Falcon (Episode IX) |
Episode IX
THE RISE OF SKYWALKER
The story so far...
- EMPEROR PALPATINE is back
- and has been discovered in the
- Unknown Regions by Kylo Ren.
- Palpatine offered Kylo a fleet far
- superior to his own, which he also
- took from a robed, old man.
- On the other side of the galaxy,
- the Resistance got their hands on
- a vital message from a First Order
- spy. Using some questionable
- flying techniques, Poe Dameron
- got the intel and the Millennium
- Falcon back to their base.
- Now on Ajan Kloss, the
- Resistance heroes reconvene to
- discuss the news and bicker
- about correct ship
- maintenance.....
Ajan Kloss, Resistance Camp
Running the Training Course
[Collect the training ribbons.]
Some Jedi agility training to do now. Run forwards and walk over the beam. Follow the path a short distance to some upright logs in the water you should hop over and then keep following the path as it curves to the right. Ahead is a set of five tree stumps of increasing size that you can use to jump from one to the other. At the top is a red training ribbon in the air.
After grabbing the first ribbon keep on straight on until you reach a couple of poles sticking out of the cliffs on your left. Start twirling up them to a balance log. From there onto the cliff ledge and then up some more logs and poles now heading back in the direction you came from.
Go back through the set of upright poles all the way to the waterfall you crossed earlier. Now there's a ribbon on the little island halfway up the waterfall. Use the poles and logs to jump up there and from there jump onto a vine. Swing it a little before jumping forwards to a raised platform and from there to another vine. This is the first of a series of vines you jump from one to the next making sure to swing a little before each jump.
Once you have the fourth ribbon use your lightsaber to attach to the rocky wall next to it and use that to climb over to the left side where the fifth ribbon is waiting on a zipline.
[Greet your friends off the Millennium Falcon.]
After the cutscene jump down to the central area where the Millennium Falcon is sitting with a marker to continue the story.
Festival of the Ancestors
[Travel to the Festival of the Ancestors on Pasaana.]
Open up your Galaxy Map, select the Pasaana system and select the Forbidden Valley to travel to.
Pasana, Forbidden Valley
Once you land go straight on through the pass to the main festival area.
[Ask the festivalgoers for information on the Sith wayfinder.]
There are five people here you can talk to at first.
[Ask a local for more information.]
Once you've spoken to the tourists you'll be able to talk to a local over on the southeast side of the festival who will start the next level for you.
Chapter 2
They Fly Now!
| Silver | Blue | Purple |
|---|---|---|
| 10,000 | 20,000 | 30,000 |
[Defeat the pursuing First Order troopers!]
There's really not much to this level. Just shoot the Stormtroopers that are following you. After a shooting the first two on speeders they'll start flying with jetpacks. The first section will end with a lone speeder jumping over a ramp.
You'll switch to the other group to shoot a few more speeders and flying Stormtroopers before the level ends.
Level Challenges
- When Treadspeeders Fly!
- Destroy the airborne Treadspeeder.
- Right at the end of the first half with Rey's group a speeder will launch off a ramp and stay in the air a while. Shoot it a bit beforehand but make sure to finish it off while it is in the air.
- Never Underestimate a Droid
- Hit a jet trooper with a powder canister as BB-8.
- If you switch to BB-8 you'll drop canisters off the back of the vehicle instead of shooting the enemies.
- Teamwork!
- Shoot a treadspeeder after making the driver dizzy with a powder canister.
- After dropping a canister as BB-8 switch back to Rey or Chewbacca and shoot the driver.
Minikits
Minikit 1/5 - Sneaky Salvage Droid
Requires: None Story Mode: Yes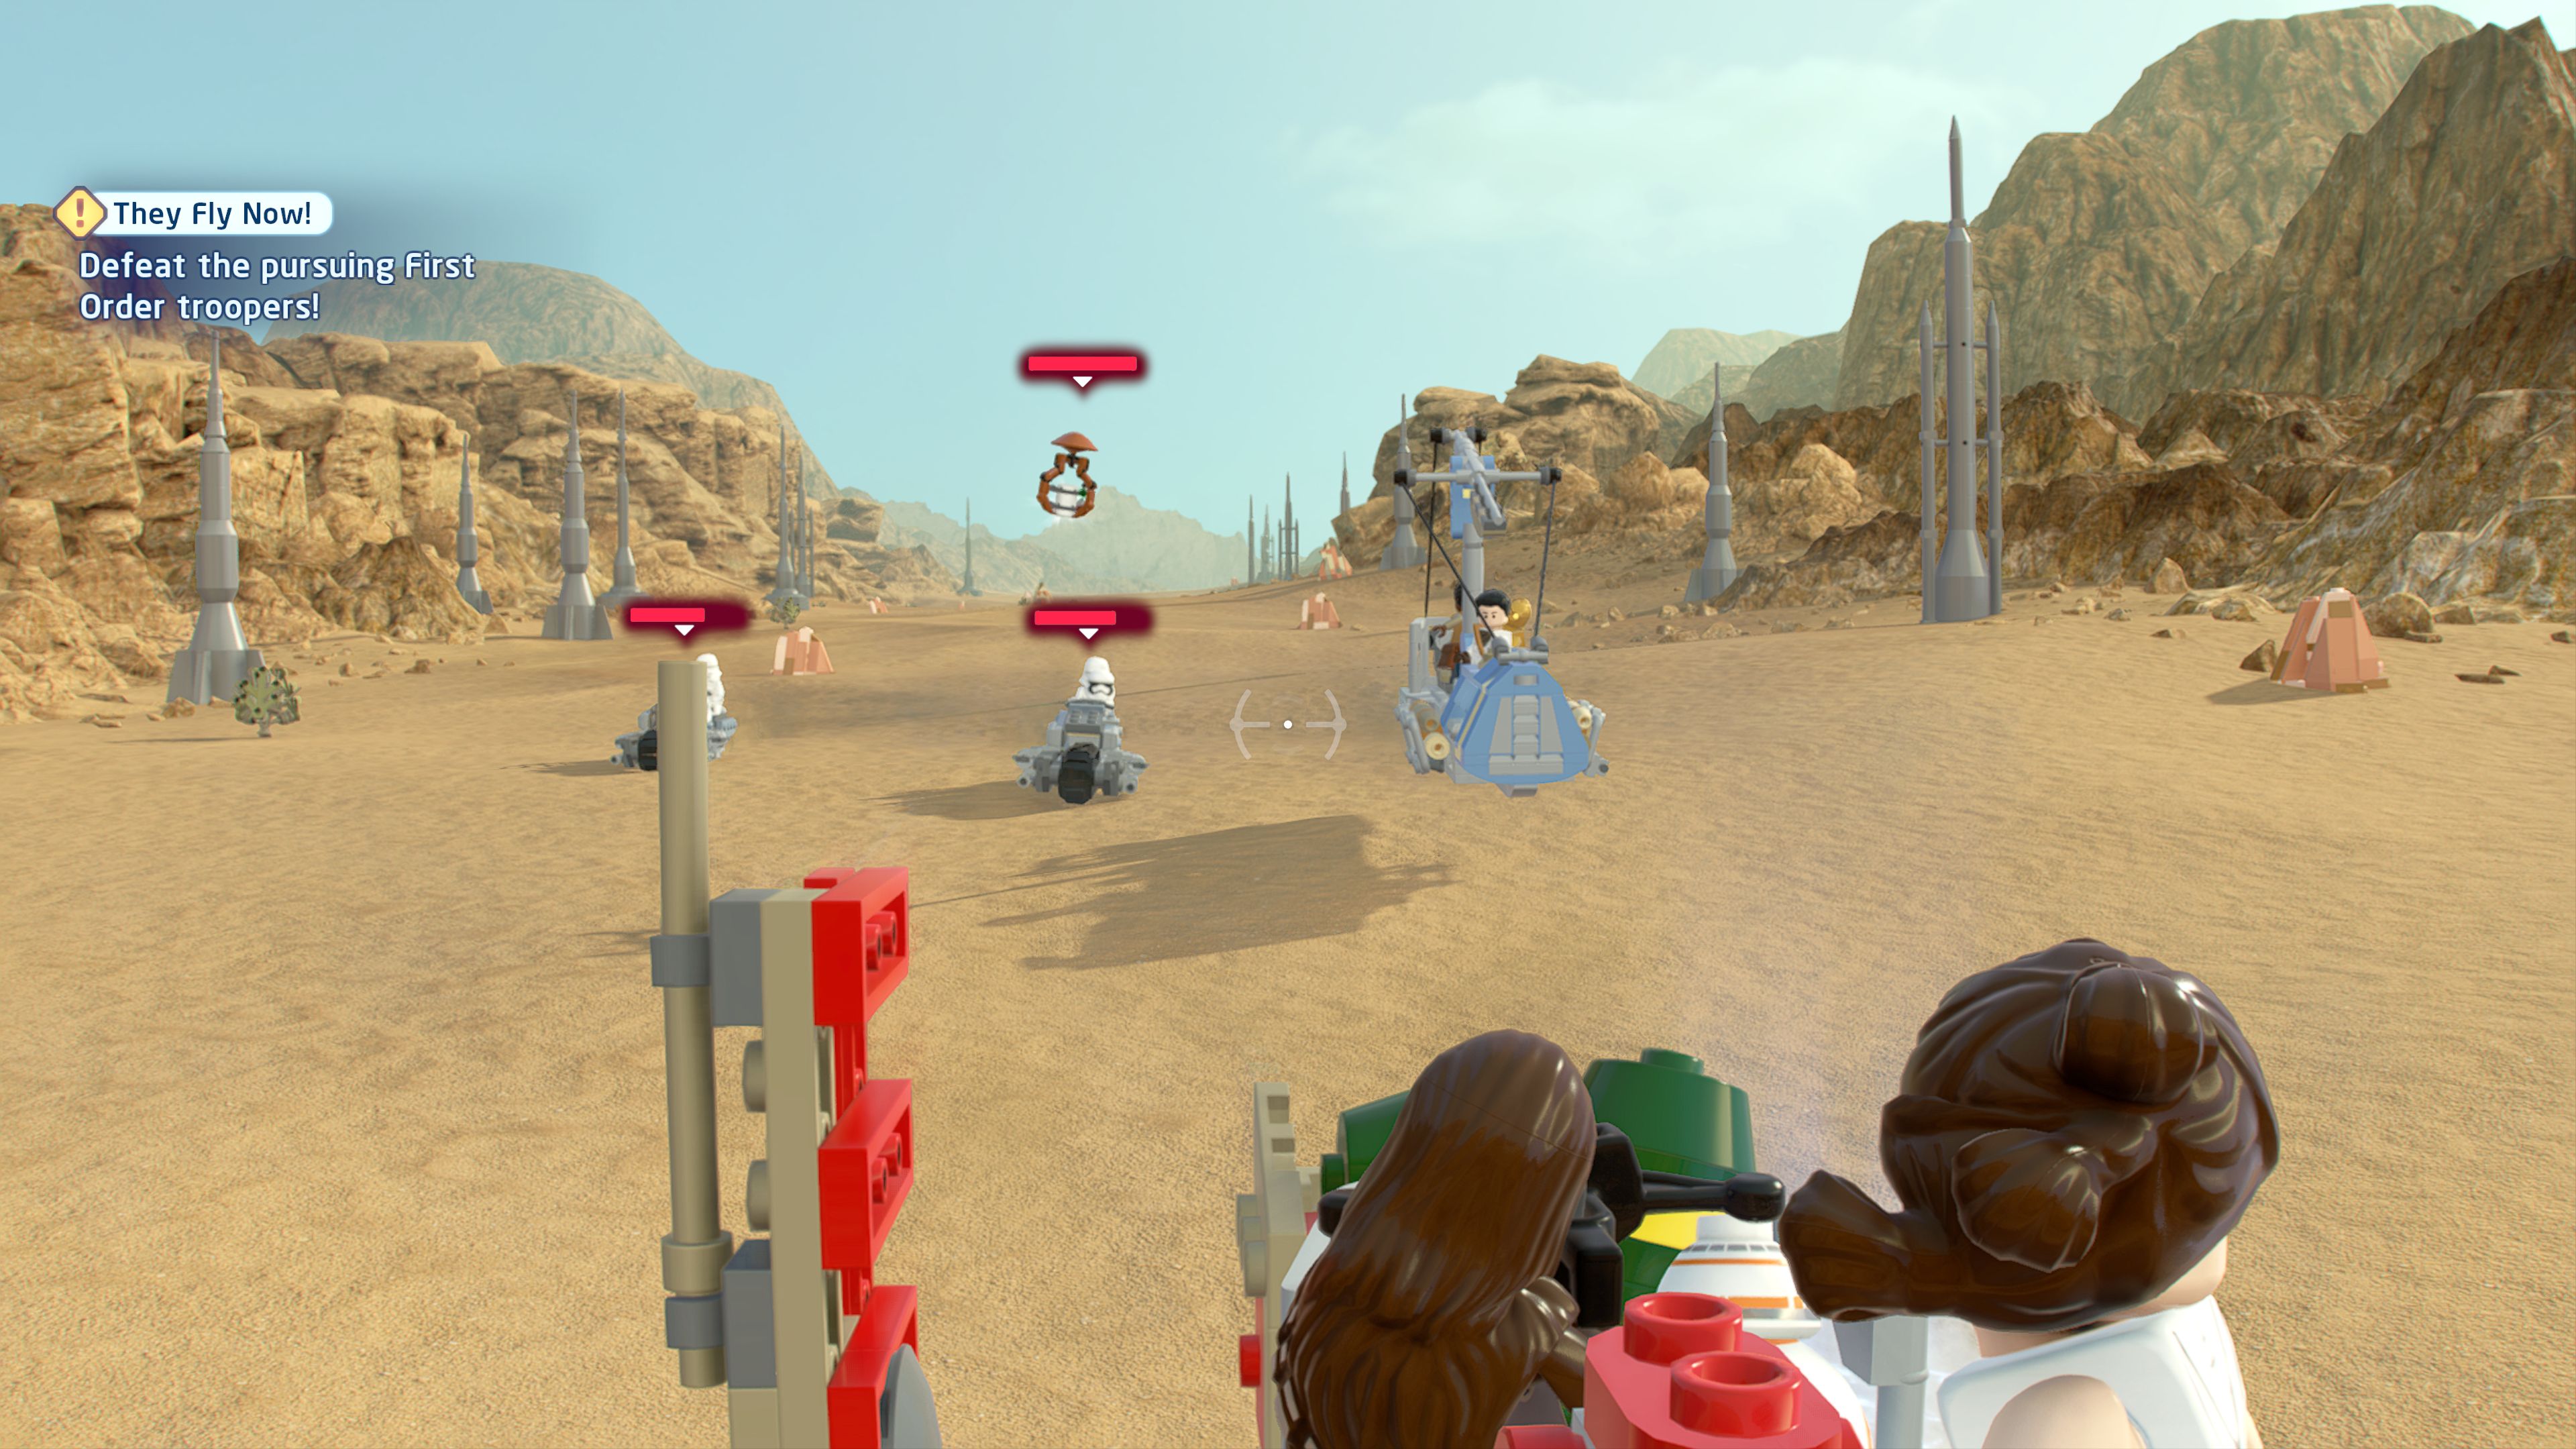
If that salvage droid thinks this chaos is going to mask its escape, it has another thing coming...
This probe droid should appear at the start flying around above the two speeders.
Minikit 2/5 - Scrap Mishap
Requires: None Story Mode: Yes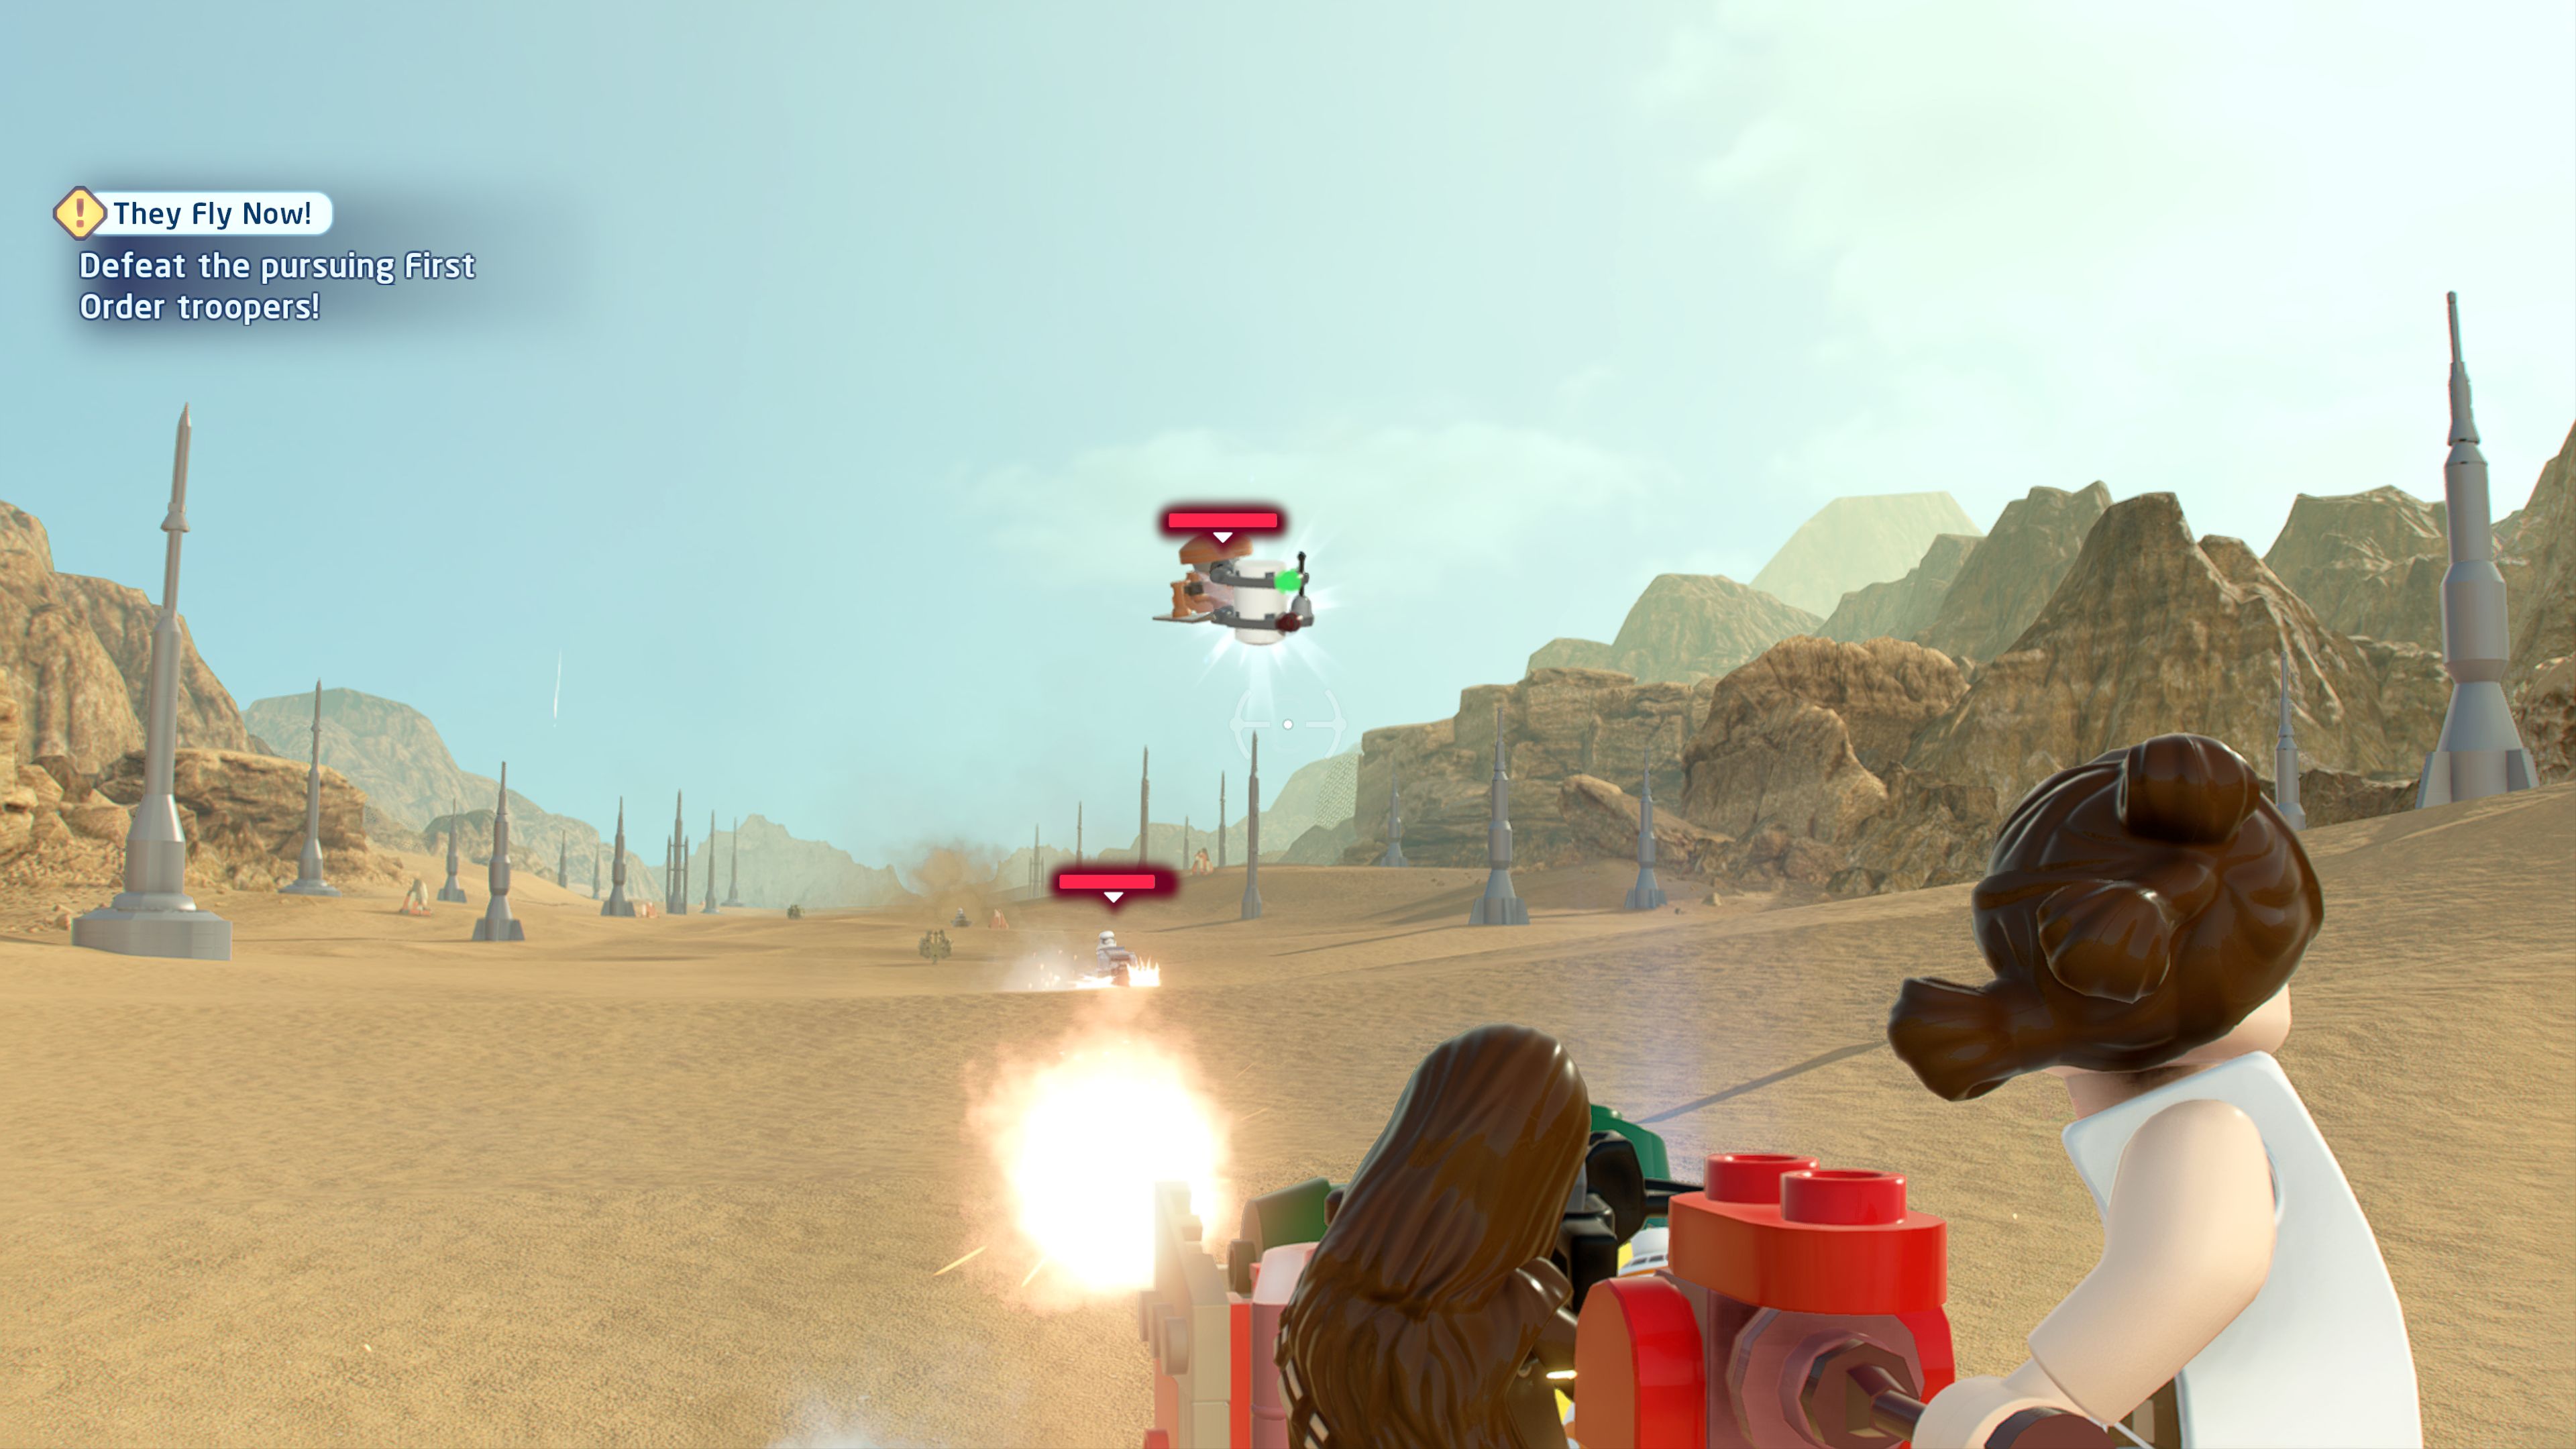
Take down that droid before it turns the minikit into scrap!
Once you take down the flying troopers directly after the TIE Fighter this will fly past carrying a minikit.
Minikit 3/5 - Party Pooper Trooper
Requires: None Story Mode: Yes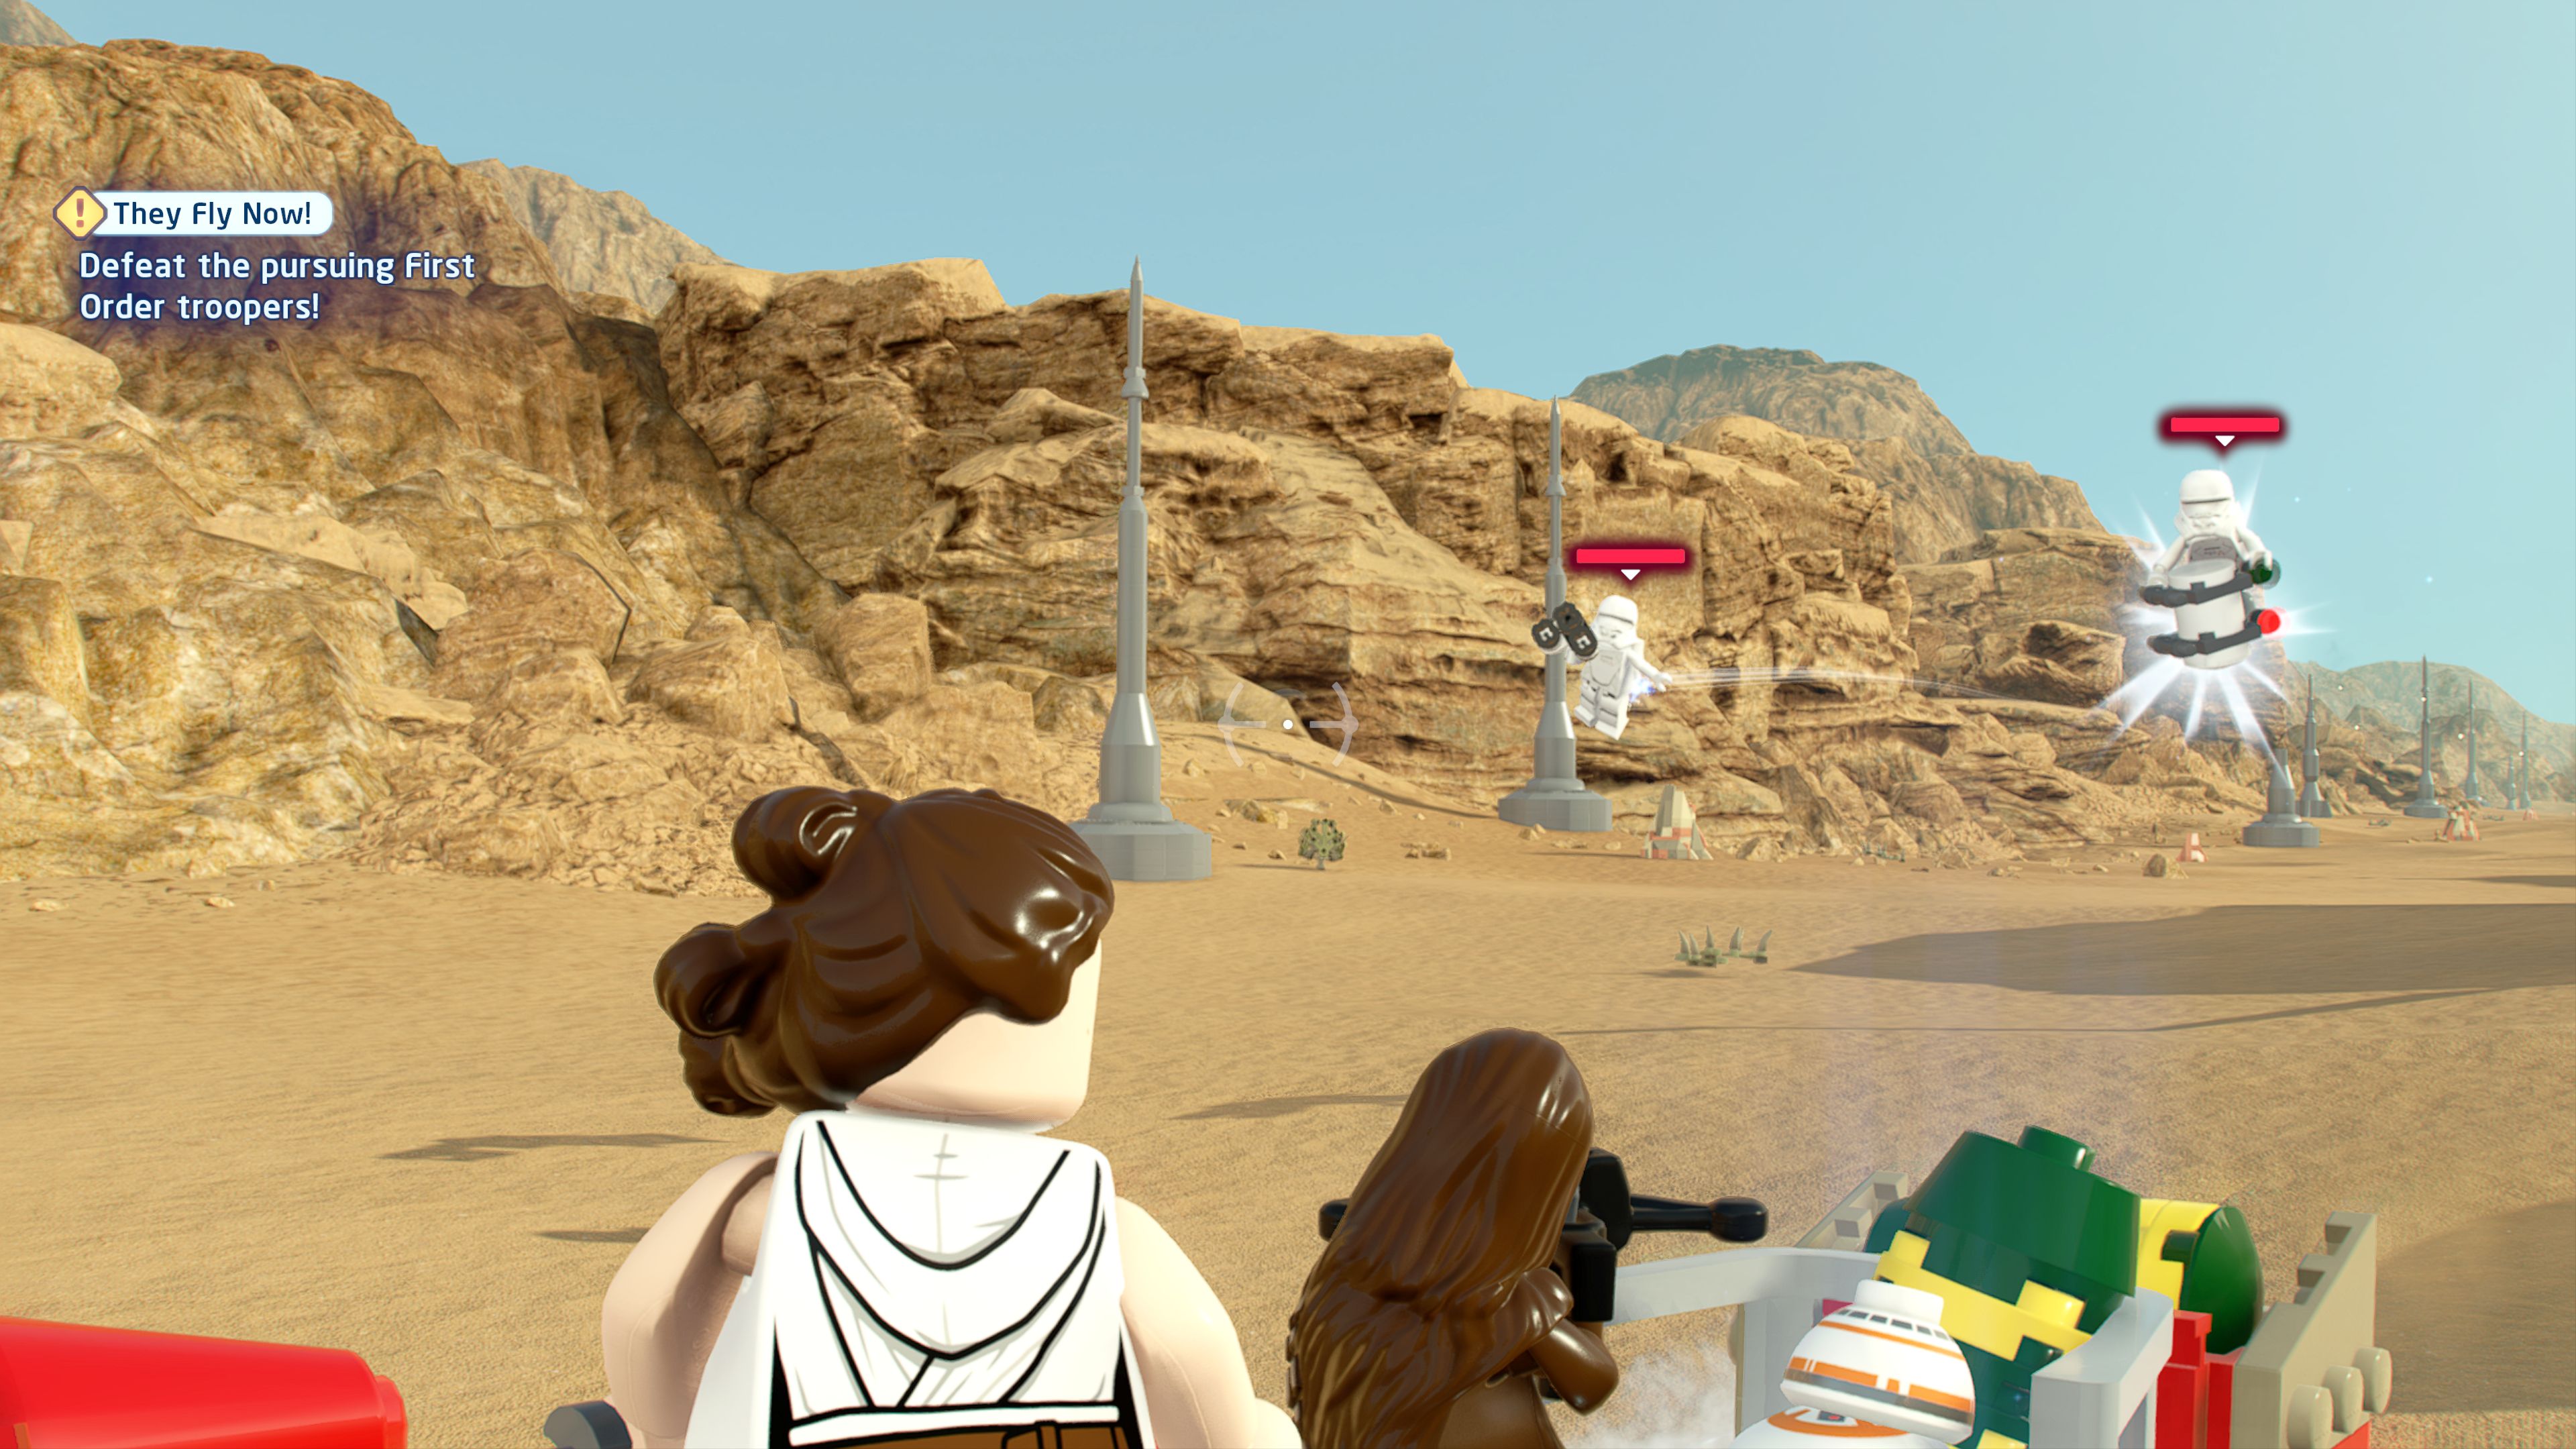
A jet trooper is making off with that minikit! The gall!
The first time the troopers start flying one of them will be carrying a minikit.
Minikit 4/5 - Jet Trooper Sharp shooter
Requires: None Story Mode: Yes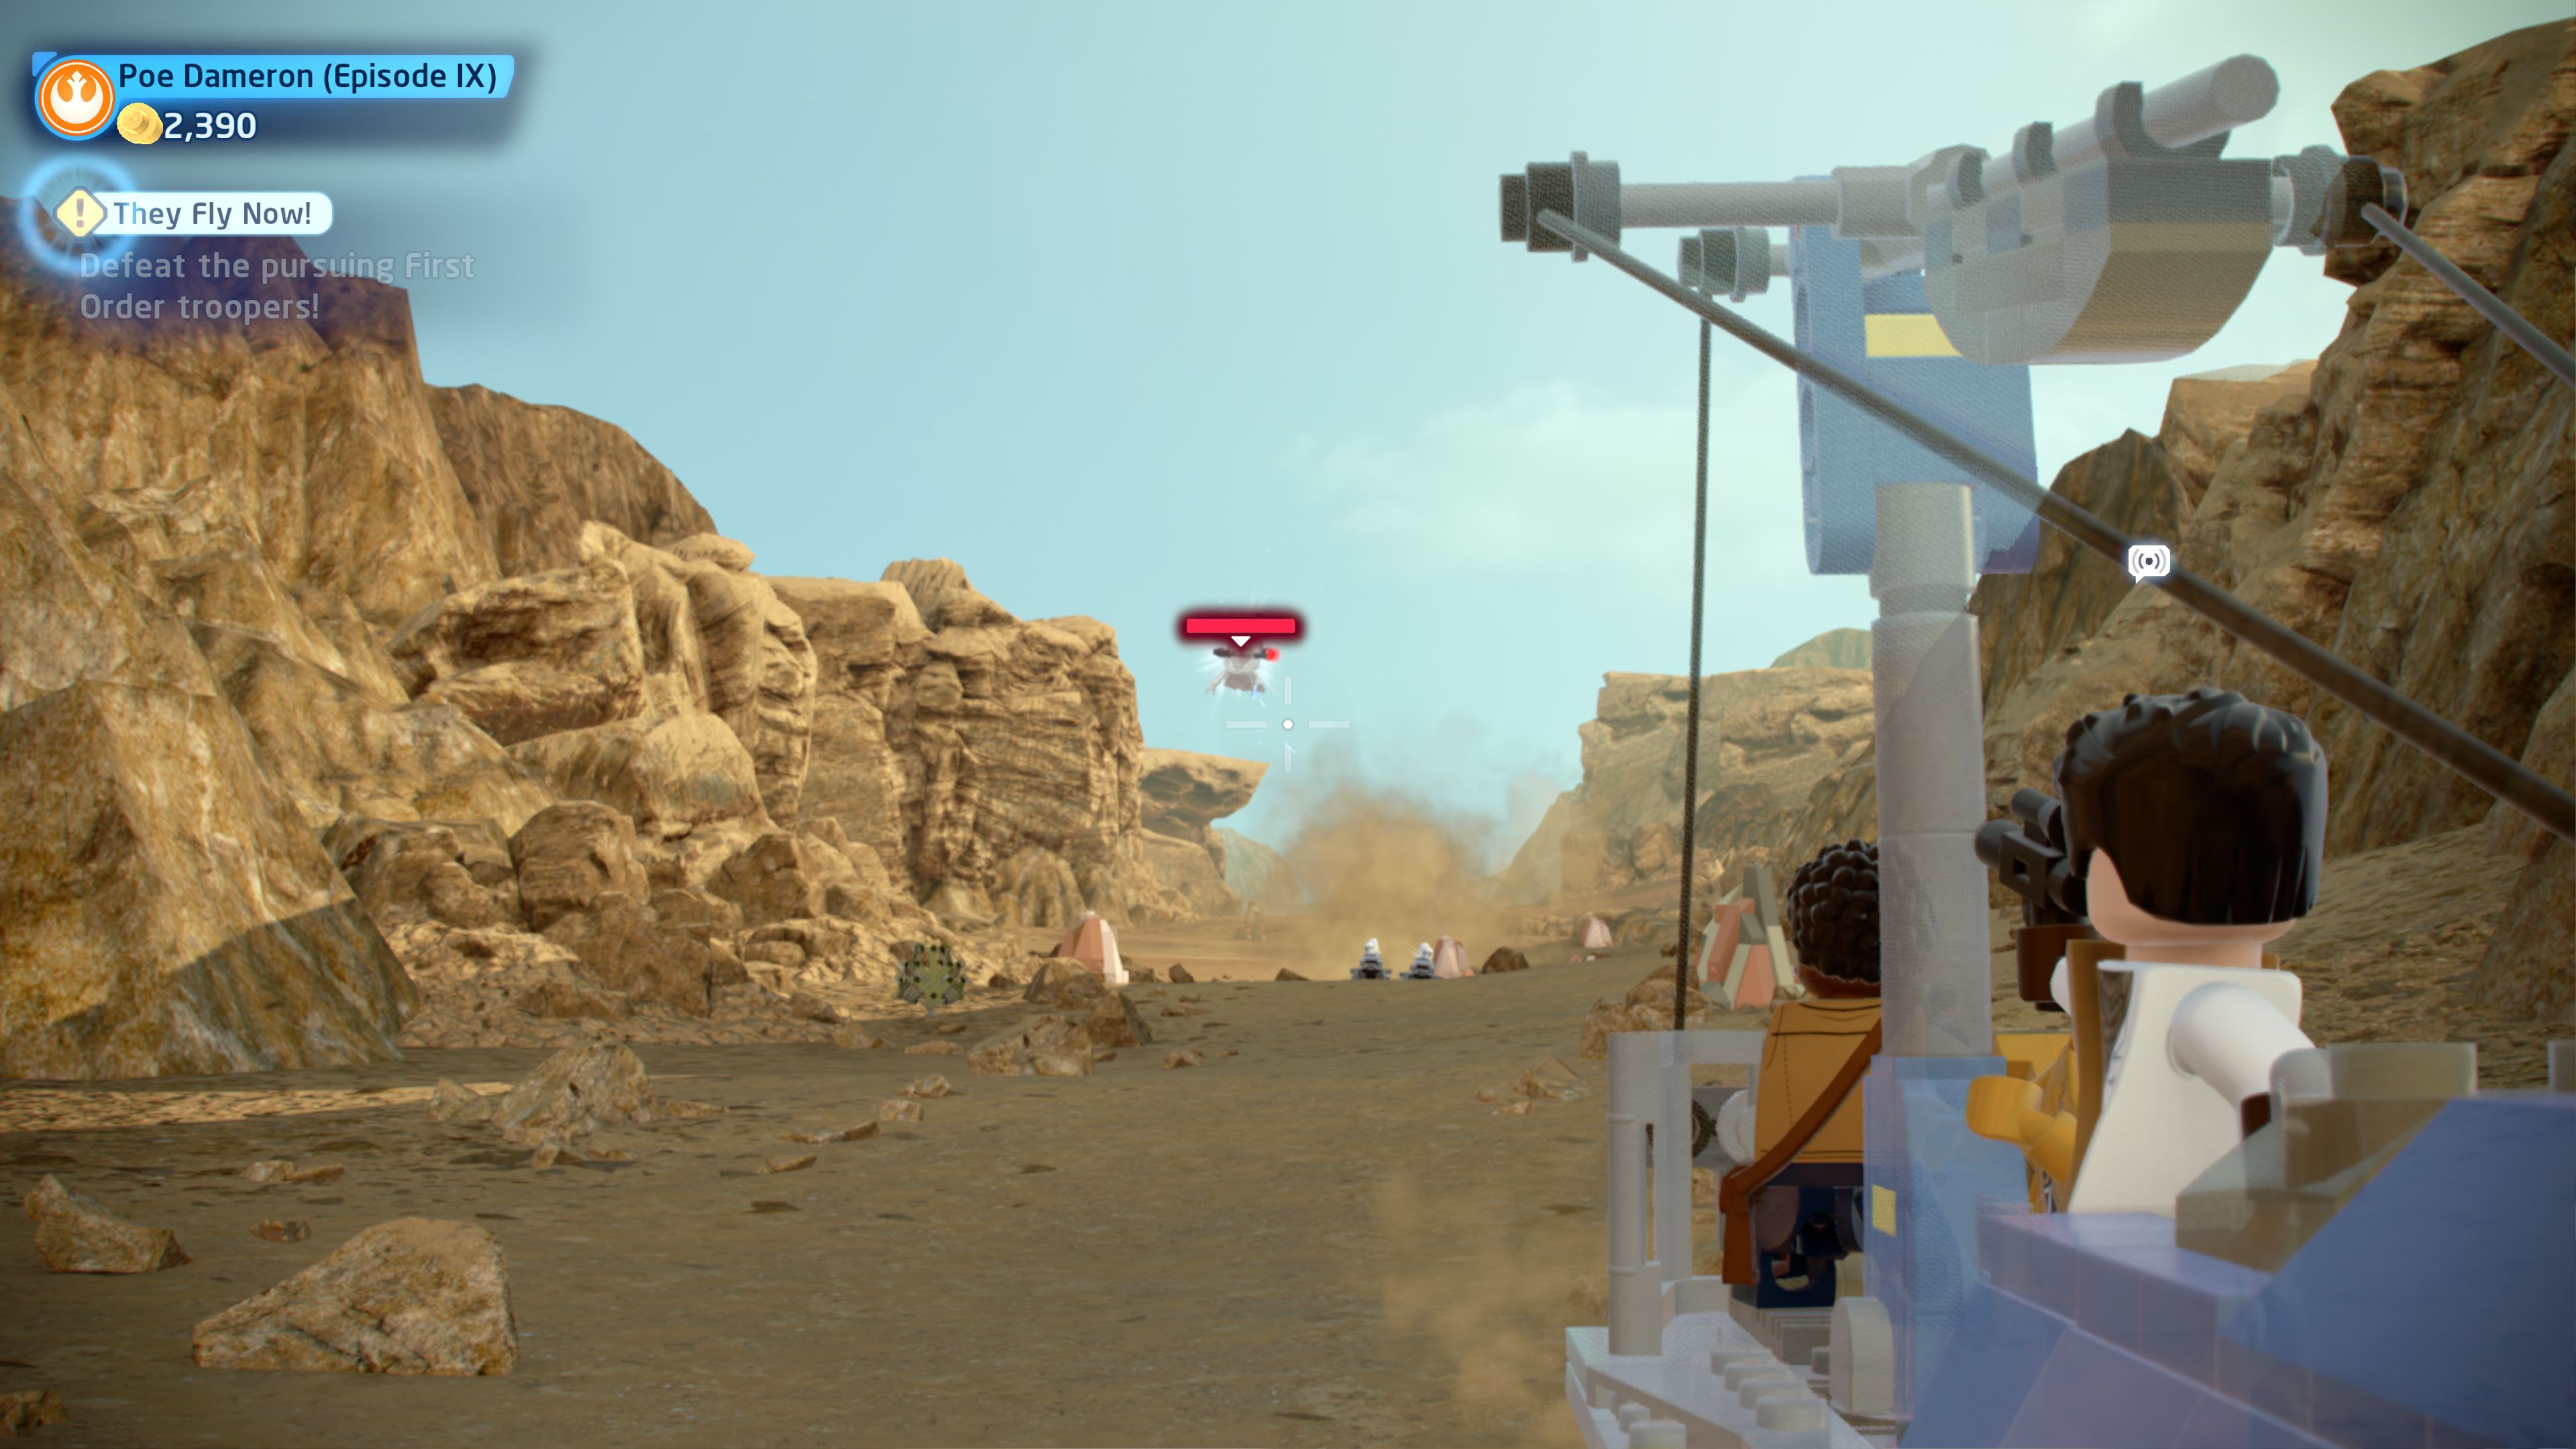
ANOTHER jet trooper is escaping with ANOTHER stolen minikit! What is their deal?
As soon as you switch to the second group you'll see a Jet Trooper flying about with this minikit canister.
Minikit 5/5 - Bye-Bye, TIE!
Requires: None Story Mode: Yes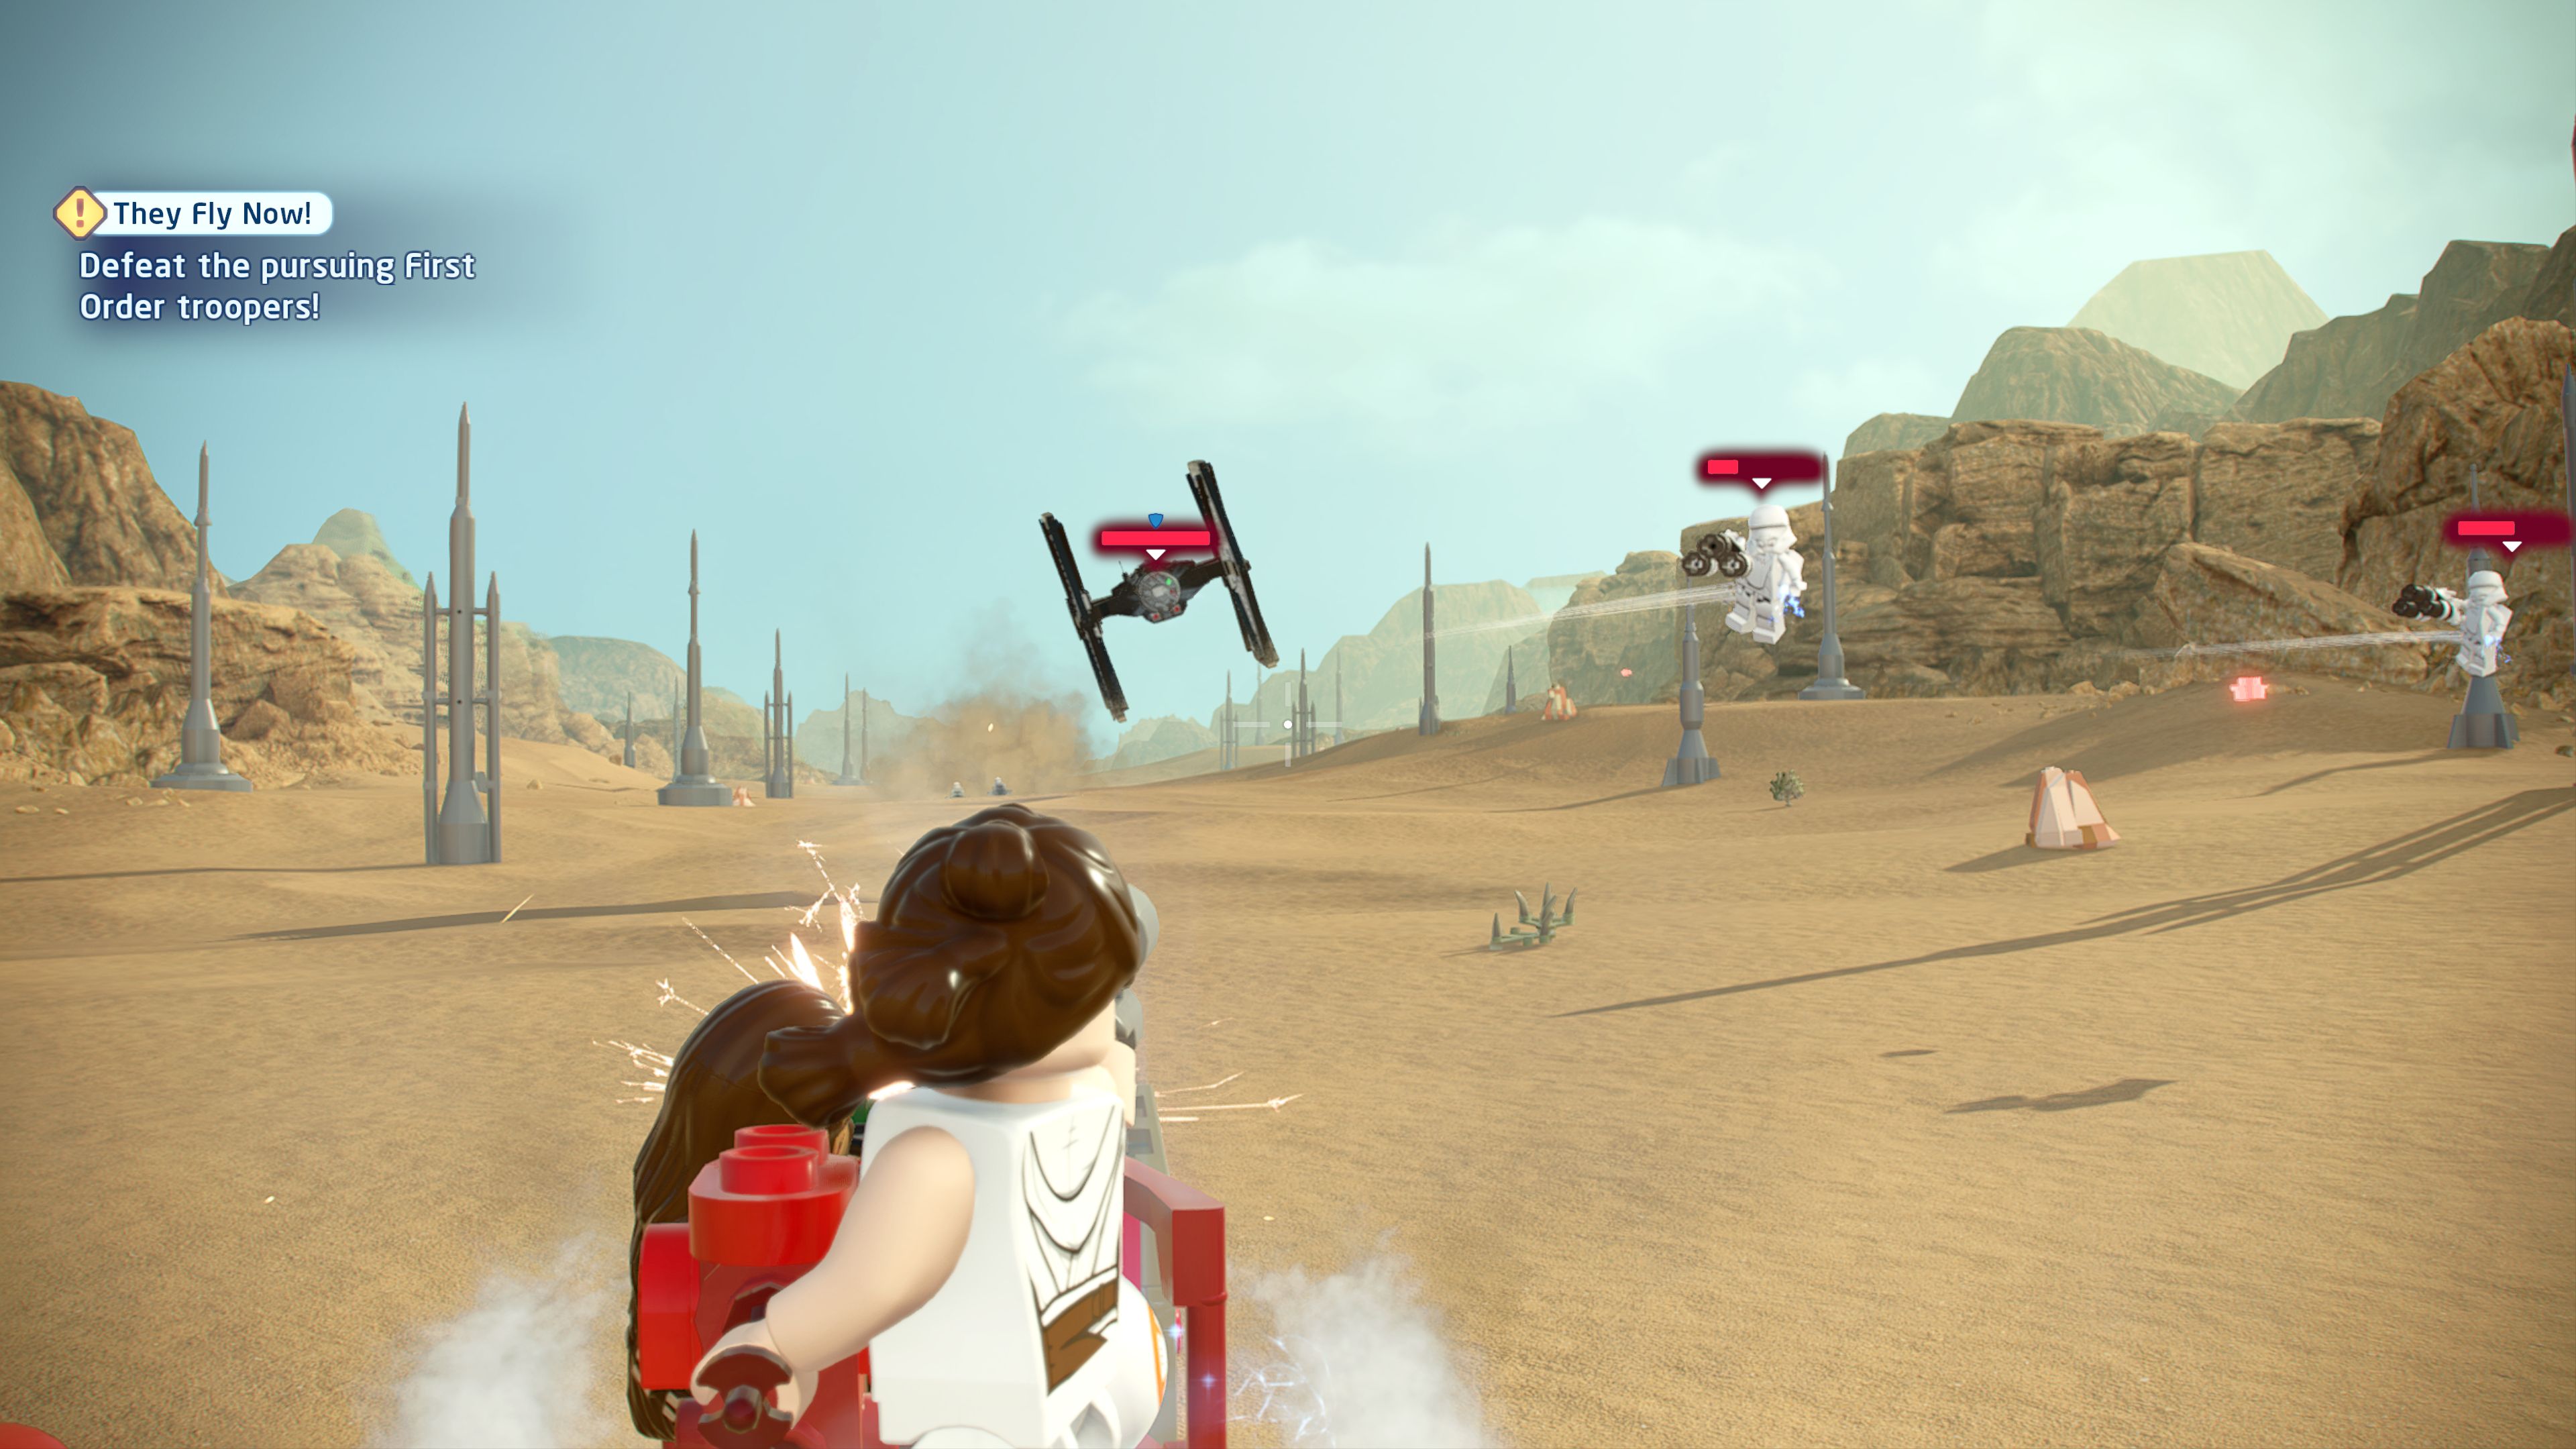
You can't outrun a TIE fighter... Try something else!
After shooting down the first group of flying troopers a TIE Fighter will briefly join in. Shoot it down.
Bestoon Legacy

| Cost | Character | |
|---|---|---|
|
|
- | Lando Calrissian (Hermit) |
|
|
100,000 | Lando Calrissian (Episode IX) |
Episode IX
THE RISE OF SKYWALKER
The story so far...
- The Resistance learned that
- Palpatine has assembled a huge
- fleet on the hidden planet of
- EXEGOL. Desperate to locate it,
- Rey turned to the Jedi Texts,
- where Luke Skywalker recalled
- searching for a WAYFINDER. A
- device capable of leading them to
- the secret world of the Sith.
- Travelling to PASAANA in search
- of this wayfinder, our heroes had
- a brief encounter with LANDO
- CALRISSIAN. The meet and greet
- was cut short when they were
- located by the First Order, due to
- Rey and Kylo's persisting Force
- connection.
- After evading capture by the
- First Order, the Resistance
- Heroes continue their search for
- the wayfinder....
Pasaana, Pasaana Plains, Vexis Cave
Beneath the Shifting Mires
[Explore the strange tunnels.]
Go straight ahead into a larger area and a short cutscene will play showing you the trapped C-3PO and Finn.
[Rejoin the others.]
Turn around and look at the wall above where you just came in, use Poe's grapple to pull down the one on the right and swap back to Rey. Rey should then climb the netting on the right and jump up onto the platform that Poe is hanging onto. Switch back to Poe and grapple to the second platform. Then switch back to Rey and jump the rest of the way across.
From there jump to a twirling pole and then jump across a set of pillars to another raised section. On there is a wall that Rey can run along to reach where Finn is trapped. You'll need to get Poe up here to free them though so push the rock off the edge and switch back to Poe. Move the rock into a position that lets you jump from it onto the pillar in the middle of the moveable area. From the top of there jump to where Rey's wall run ended and up to where she's waiting. Grapple the bones to free the others.
[Escape the tunnels.]
Go through the tunnel they were trapped in to a large set of ribs you can hop along. Follow the path around to the right then down a zipline before curving back to the left.
[Investigate the speeder.]
As you do so you'll see the marker to continue the story next to a yellow speeder.
Forbidden Programming
[Head towards Ochi's Ship.]
Make your way up the slope towards the ship on the cliff where there's another marker that says it will continue the story but it will actually start the next level straight away after the cutscene.
Chapter 3
C-3P-Oh no!
| Silver | Blue | Purple |
|---|---|---|
| 30,000 | 60,000 | 90,000 |
[Follow Poe through the streets of Kijimi.]
Follow Poe as he sneaks forwards through the streets until he reaches a point where you see a UA-TT walker knocking on a door. Avoid the spotlight until it switches off and then go grab the power cell in the corner to plug into the receptacle by the door ahead.
[Find a way through the locked gate.]
Stealth kill one of the troopers that are standing facing away from you and Poe will kill the second. Switch to Finn in order to shoot one of the Troopers up on the ledges in front of you. You don't need to aim for the head or anything for this one.
Switch back to Rey and grab the power cell from the wall beneath where the left trooper was standing and move it to the receptacle above the door that leads out of here.
[Defend yourself from the crooks!]
Some enemies will attack as you get through to the next area. Defeat them.
[Let the First Order pass or fight them!]
Just sit and wait for the Stormtroopers to pass by.
[Find a way through the locked gate.]
Go along the left path following Zorii Bliss who will power the receptacle for you but unfortunately it won't work. Switch to Rey to use the Force to finish opening the gate.
[Reach Babu Frik's workshop as quietly as possible.]
For this final section of the level you have a lot of freedom in how you approach it. The simplest way is to just walk straight across the area avoiding the black and yellow field of vision markers from the troopers and the spotlights. It's not actually a fail state to be spotted though so you can go in guns blazing if you like.
Get to the diagonally opposite corner of the area and approach the glowing doorway to finish the level.
Level Challenges
- Be Rey-ly Quiet
- Complete the level without being detected.
- The scripted fight with the Kijimi Crooks does not count against this. The quickest way across the final section is to just run straight through dodging the vision cones.
- New Orders
- Peacefully clear the main courtyard of Stormtroopers without raising the alarm.
- Carefully wander around sneaking up behind each of the Stormtroopers and performing a sneak attack that will instantly defeat them. If you do get detected you'll have to start the whole level over.
- Right in the Eye
- Disable a UA-TT's searchlight with a blaster.
- You can do this at the start of the level. Pull your gun out while in cover and shoot the searchlight. It will detect you though.

Minikits
Minikit 1/5 - Things That Go Gonk in the Night
Requires: Scavenger Net, The Force Story Mode: No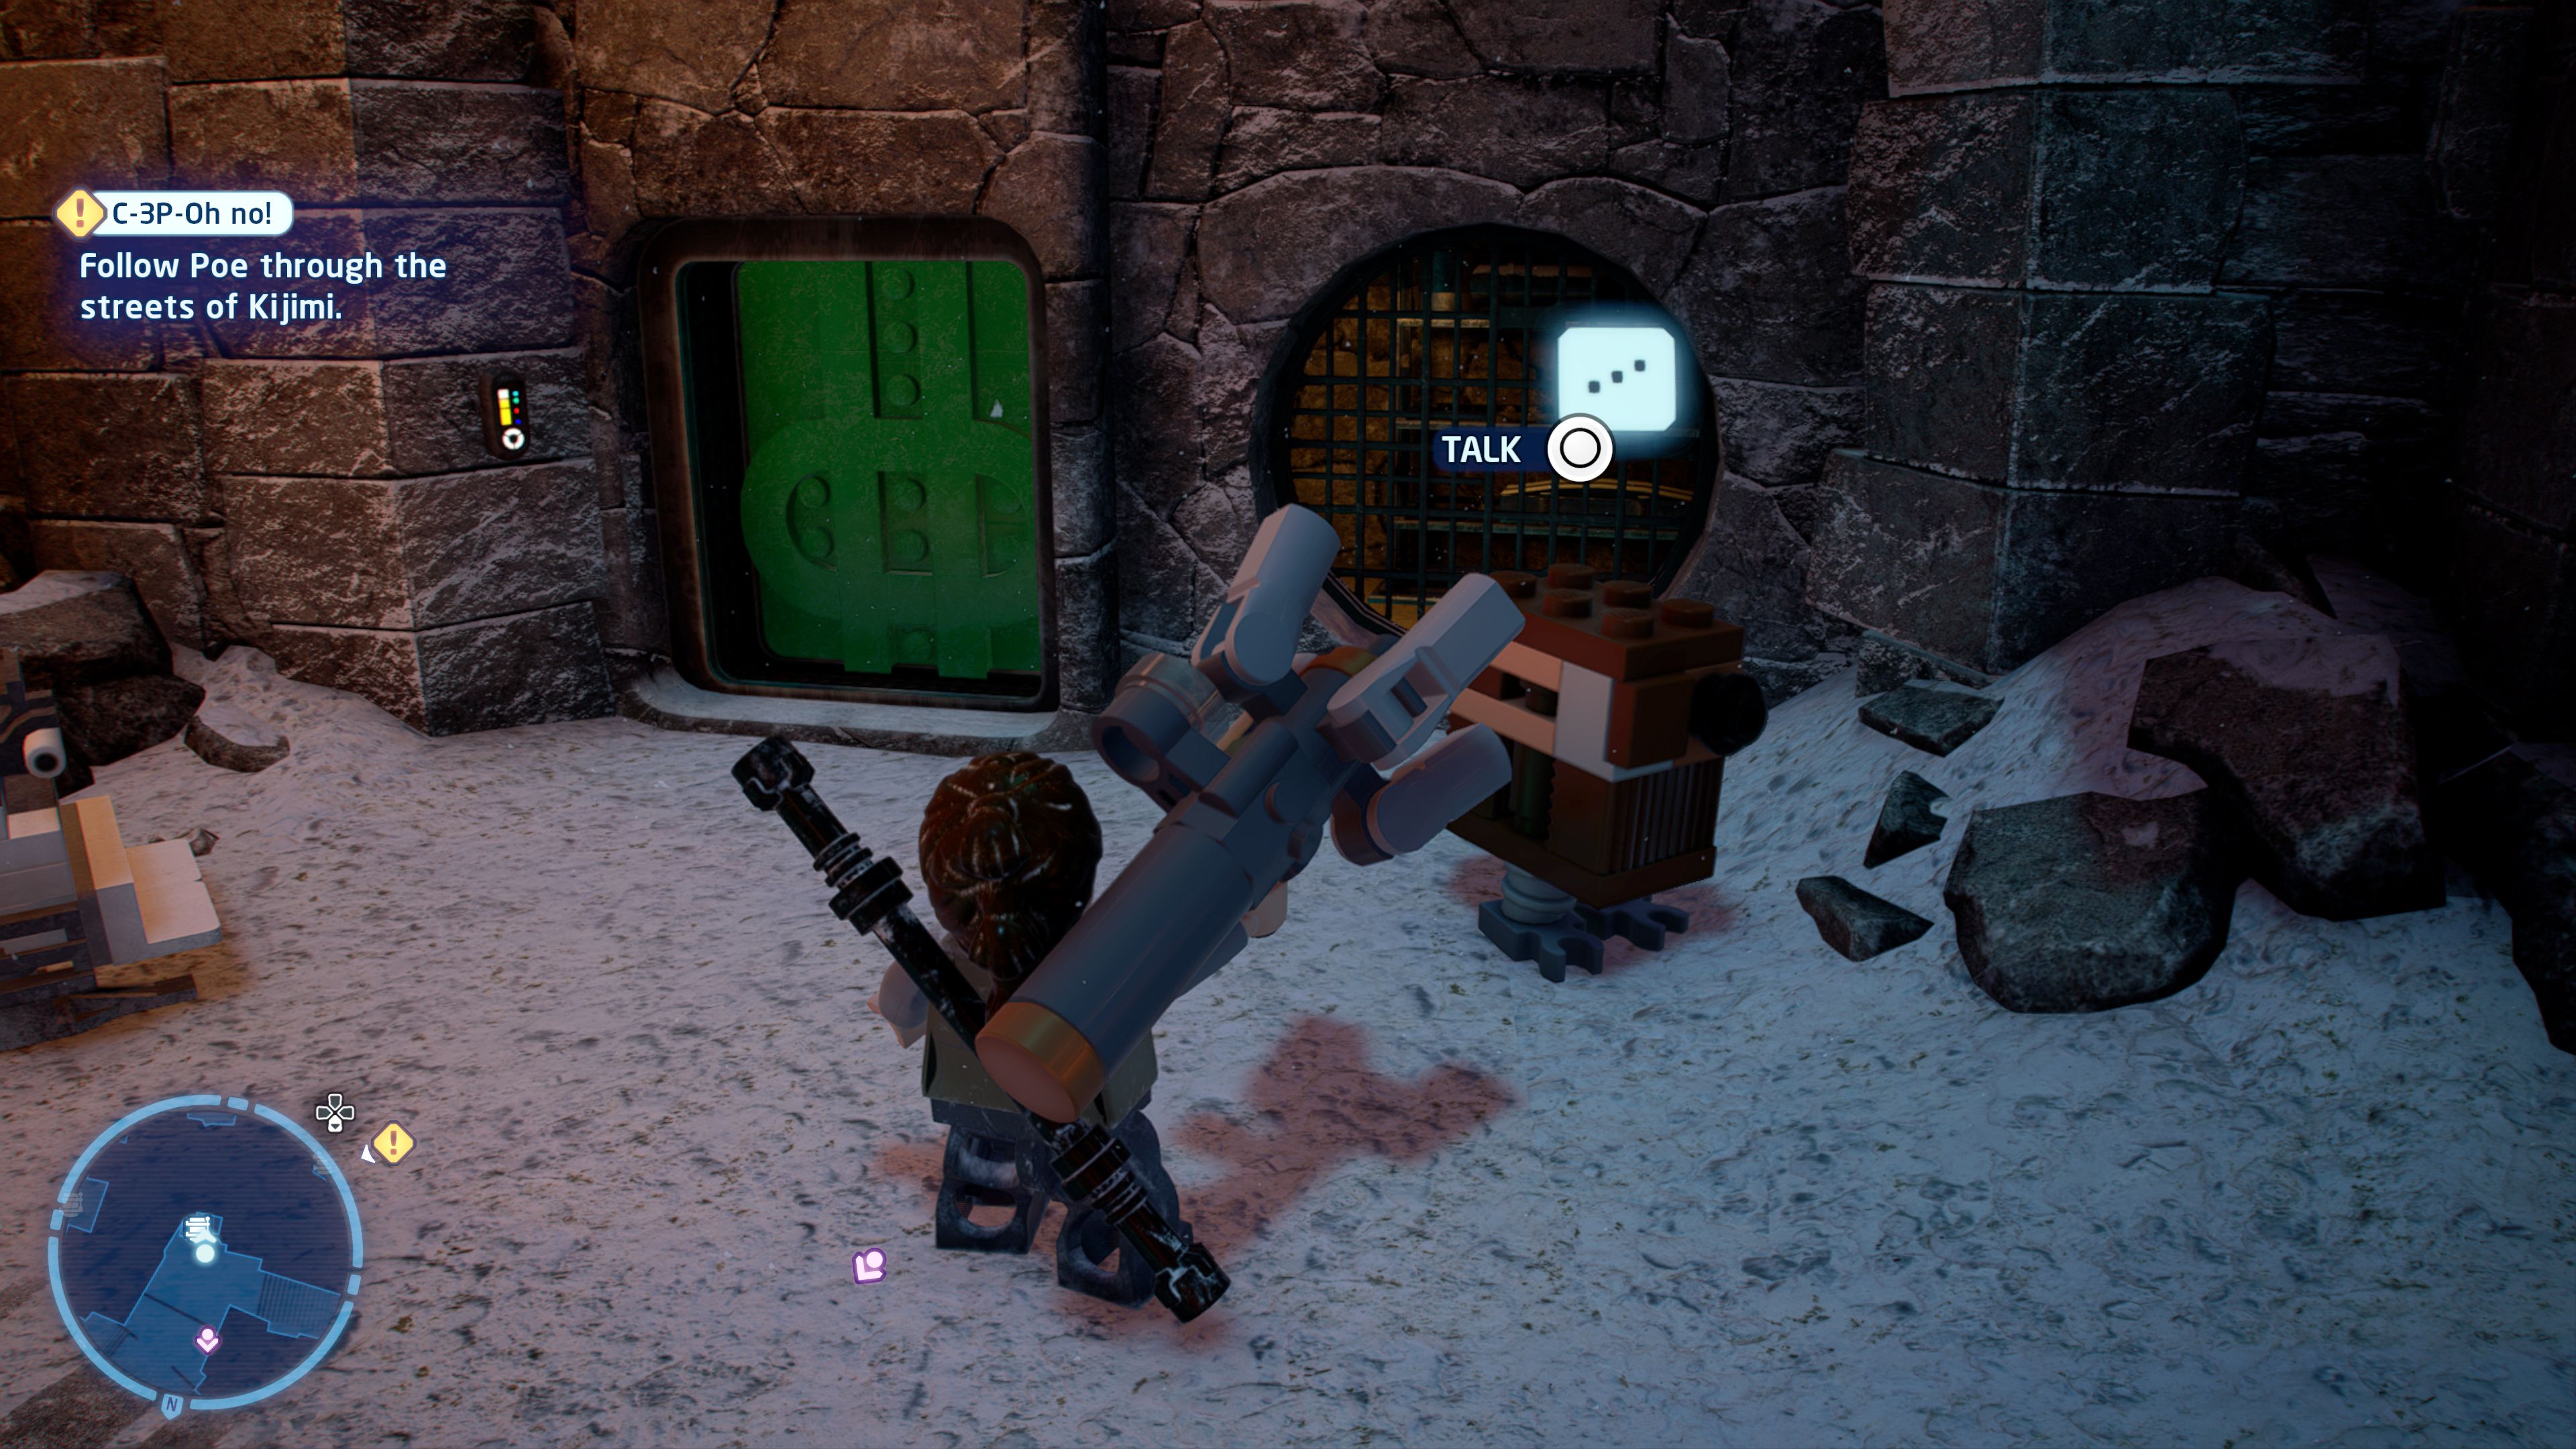
It's uplifting to help those who need it... or is it?
Right at the start where you see a UA-TT with a searchlight use a Scavenger's Net Launcher to climb up to where the walker was standing. Nearby is a GNK droid asking for help to get inside the building next to it. Use the Force to pick it up and place it in the open window. Then, when it runs off with a minikit, apprehend it before it escapes.
Minikit 2/5 - Upmarket Value
Requires: The Force Story Mode: Yes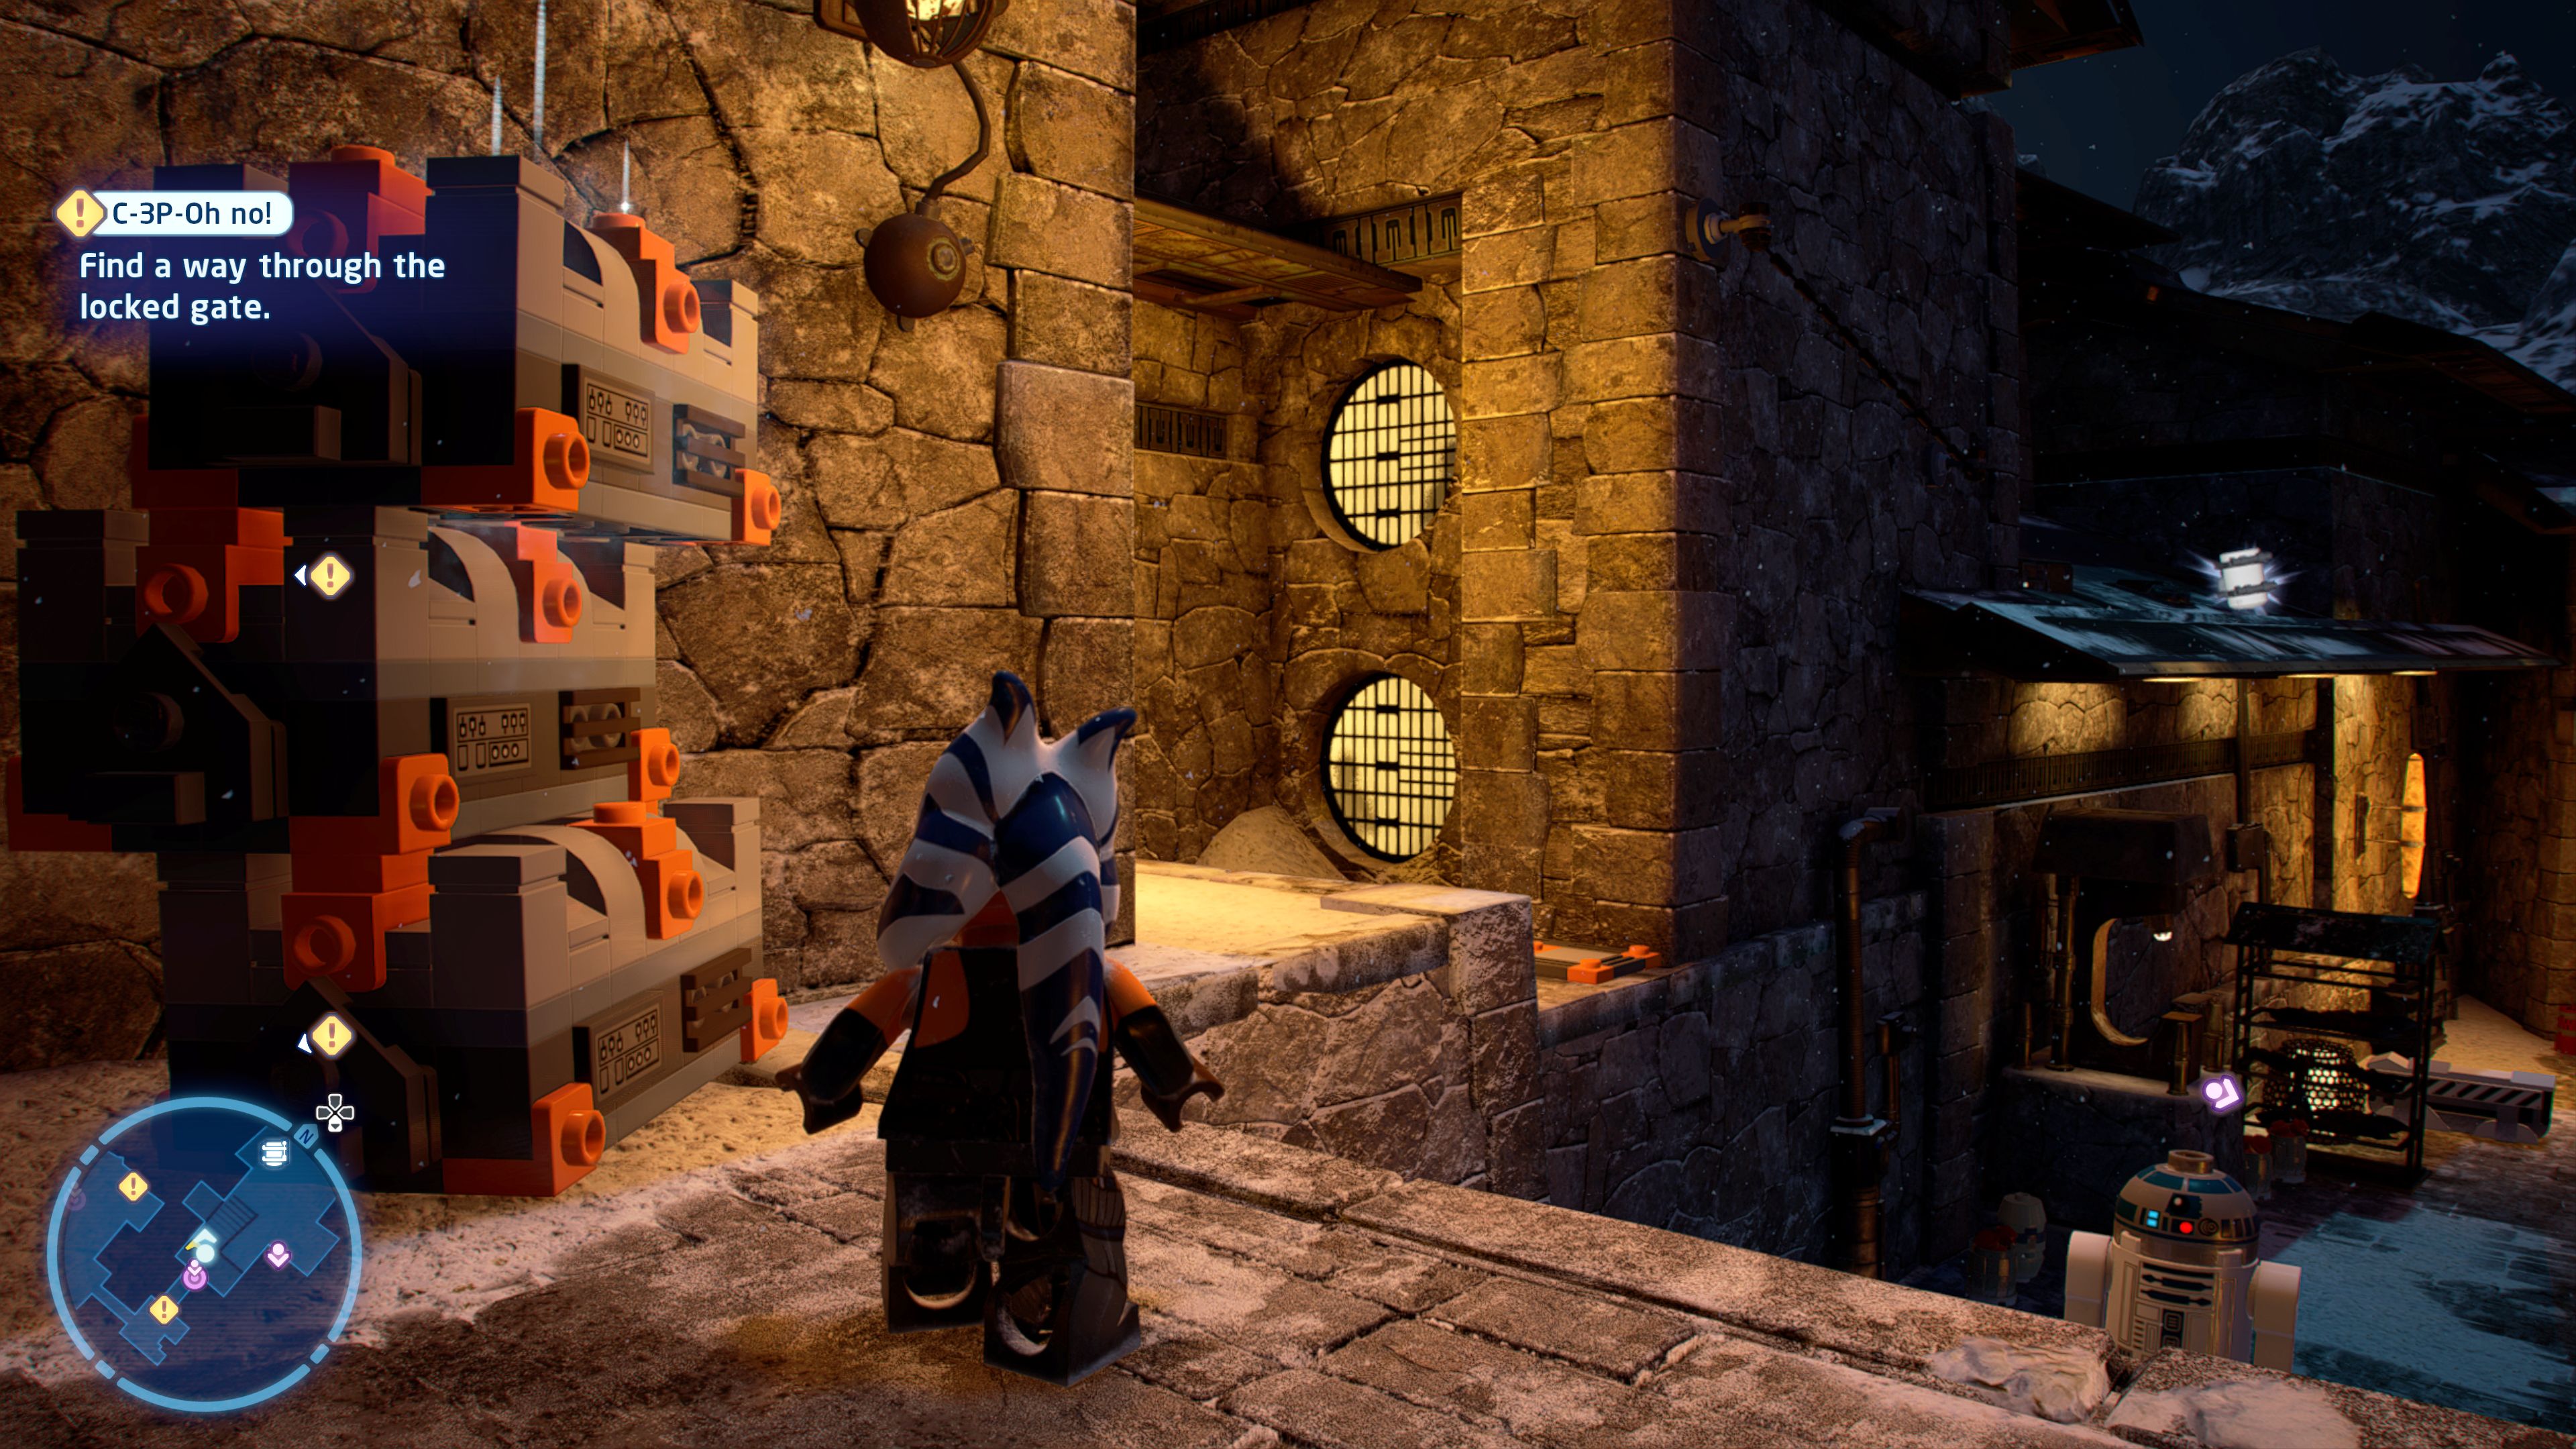
The market can contain items of high prices... in high places.
In the section where you are shown how to sneak attack use the Force to stack a set of crates on the righthand side so that you can climb them onto the roof.
Minikit 3/5 - Last Orders
Requires: Villain Grenade Story Mode: Yes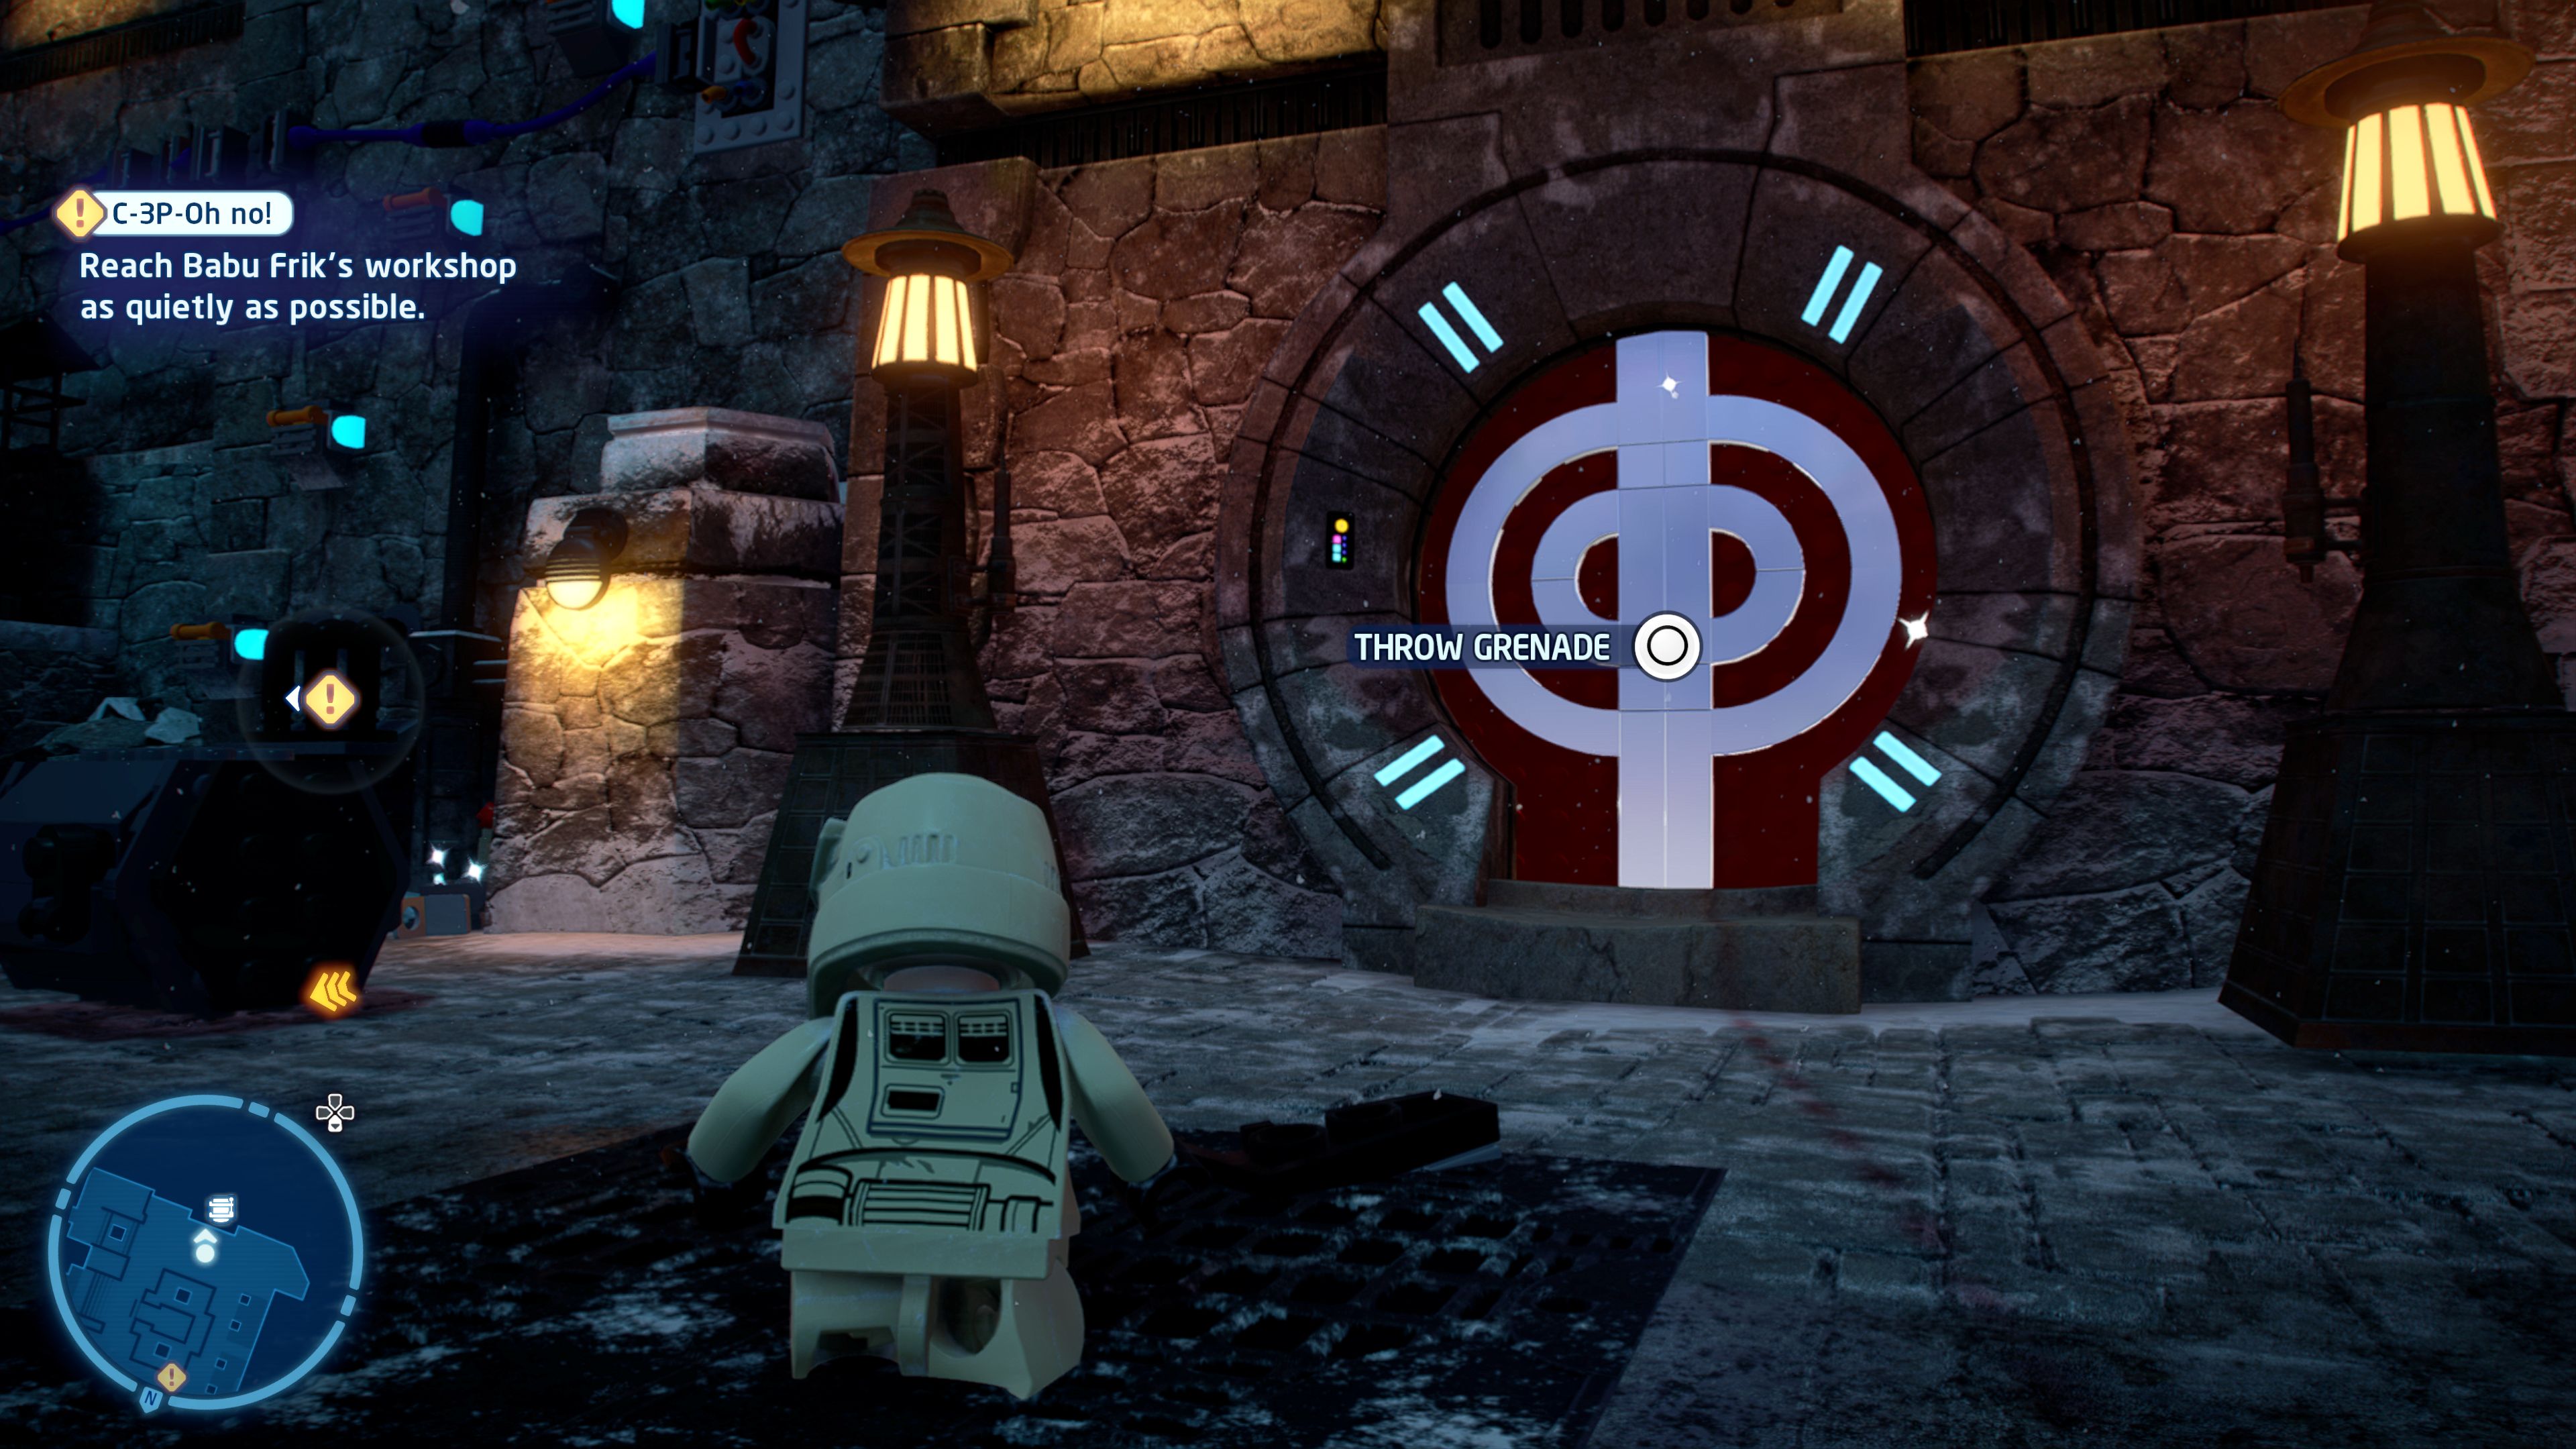
The First Order have taken up all the best spots across the courtyard. One is particularly heavily guarded...
In the final courtyard is a door sealed with Silver LEGO. Use a villain grenade to blast it open.
Minikit 4/5 - Overseeing Kijimi
Requires: The Force Story Mode: Yes
Climb up to the rooftops of Kijimi and take in the view!
As you approach the level's exit there is a crate you can use the Force to move so that you can reach some handholds on the wall and get to the minikit above.
Minikit 5/5 - Disassembly Required
Requires: The Force Story Mode: Yes
Find a way into the abandoned building and see what's been left behind.
Where you fight the Kijimi Crooks take the righthand path and use the Force to pick up a droid (such as C-3PO) and place it in the window. Switch to the droid to collect the minikit inside.
TIE Dagger

| Cost | Character | |
|---|---|---|
|
|
- | C-3PO (Kijimi Coat) |
|
|
- | C-3PO (Red Eyes) |
|
|
- | Finn (Kijimi Coat) |
|
|
- | Poe Dameron (Kijimi Coat) |
|
|
- | Rey (Kijimi Coat) |
|
|
- | Zorii Bliss |
Episode IX
THE RISE OF SKYWALKER
The story so far...
- Disaster! Chewbacca and the Sith
- dagger were seemingly lost after
- Rey's accidental use of Force
- lightning destroyed his transport.
- Luckily, the crucial Sith
- inscription still lived in C-3PO's
- memory.
- To translate the Sith language,
- Poe Dameron took them to the
- planet KIJIMI, where they sought
- the help of legendary droidsmith,
- BABU FRIK.
- The adorable tinkerer was
- successful, and C-3PO
- honourably sacrificed his
- memories to retrieve the
- wayfinder's location.
- Oh yeah, and Chewie is still
- alive....
Kijimi Space
Wookiee Rescue
[Board the Steadfast.]
Land on the Steadfast.
[Look for Chewbacca.]
You'll be immediately attacked by the local Stormtroopers so get rid of them before you head northeast towards a large door in the corner.
Go along the corridor heading to the right defeating the troopers you encounter along the way. The path has a few little dead ends to avoid but keep going along the main path until you get a quick cutscene showing you a sleeping Stormtrooper. Approach him and use Rey's Jedi Mind Tricks to Influence him so you can take control and pull the lever on the wall behind him.
Take a right and enter the continue story marker.
[Find Chewbacca.]
Advance along the corridor shooting the Stormtroopers and you'll reach where Chewbacca is being held.
Kef Bir Space
Delta 3-6, Transient 9-3-6, Bearing 3-2
[Fly to the wayfinder location on Kef Bir.]
Land on Kef Bir.
Kef Bir
Relics of the Empire
[Find the wayfinder in the Death Star II ruins.]
Jump down to the skiff on the shore directly ahead of where you start and then ride it to the Death Star II Ruins.
Death Star II Ruins
Follow the curve around to the left then switch to BB-8 to grapple the bridge down for you. Make your way up the central pillar to the layer above. Just around to the left past the ghostly Stormtrooper is a rope that Rey can climb up or some bars on the wall BB-8 can grapple.
On the next layer go anti-clockwise around to an Astromech Socket that will release some platforms from the wall. They will pop back in and out on a timer so wait for them to go back in and then out again before you start otherwise you won't get to the top.
At the top you can shove a crate off the side. Jump back down to build a trampoline for BB-8 to be able to get up.
Back to climbing the central pillar up the handholds and shimmying around the longer bar to reach some more handholds on the opposite side. From the top jump over to the damaged pipe with boxes around it and across a beam to the opening. This will lead to the marker to start the next level.
Chapter 4
The Strength to Do it
| Silver | Blue | Purple |
|---|---|---|
| 25,000 | 50,000 | 75,000 |
[Defeat Kylo Ren!]
The level kicks off with a standard lightsaber fight against Kylo Ren. Avoid the red markers, defend when he attacks, attack while he recovers from his attacks, etc.
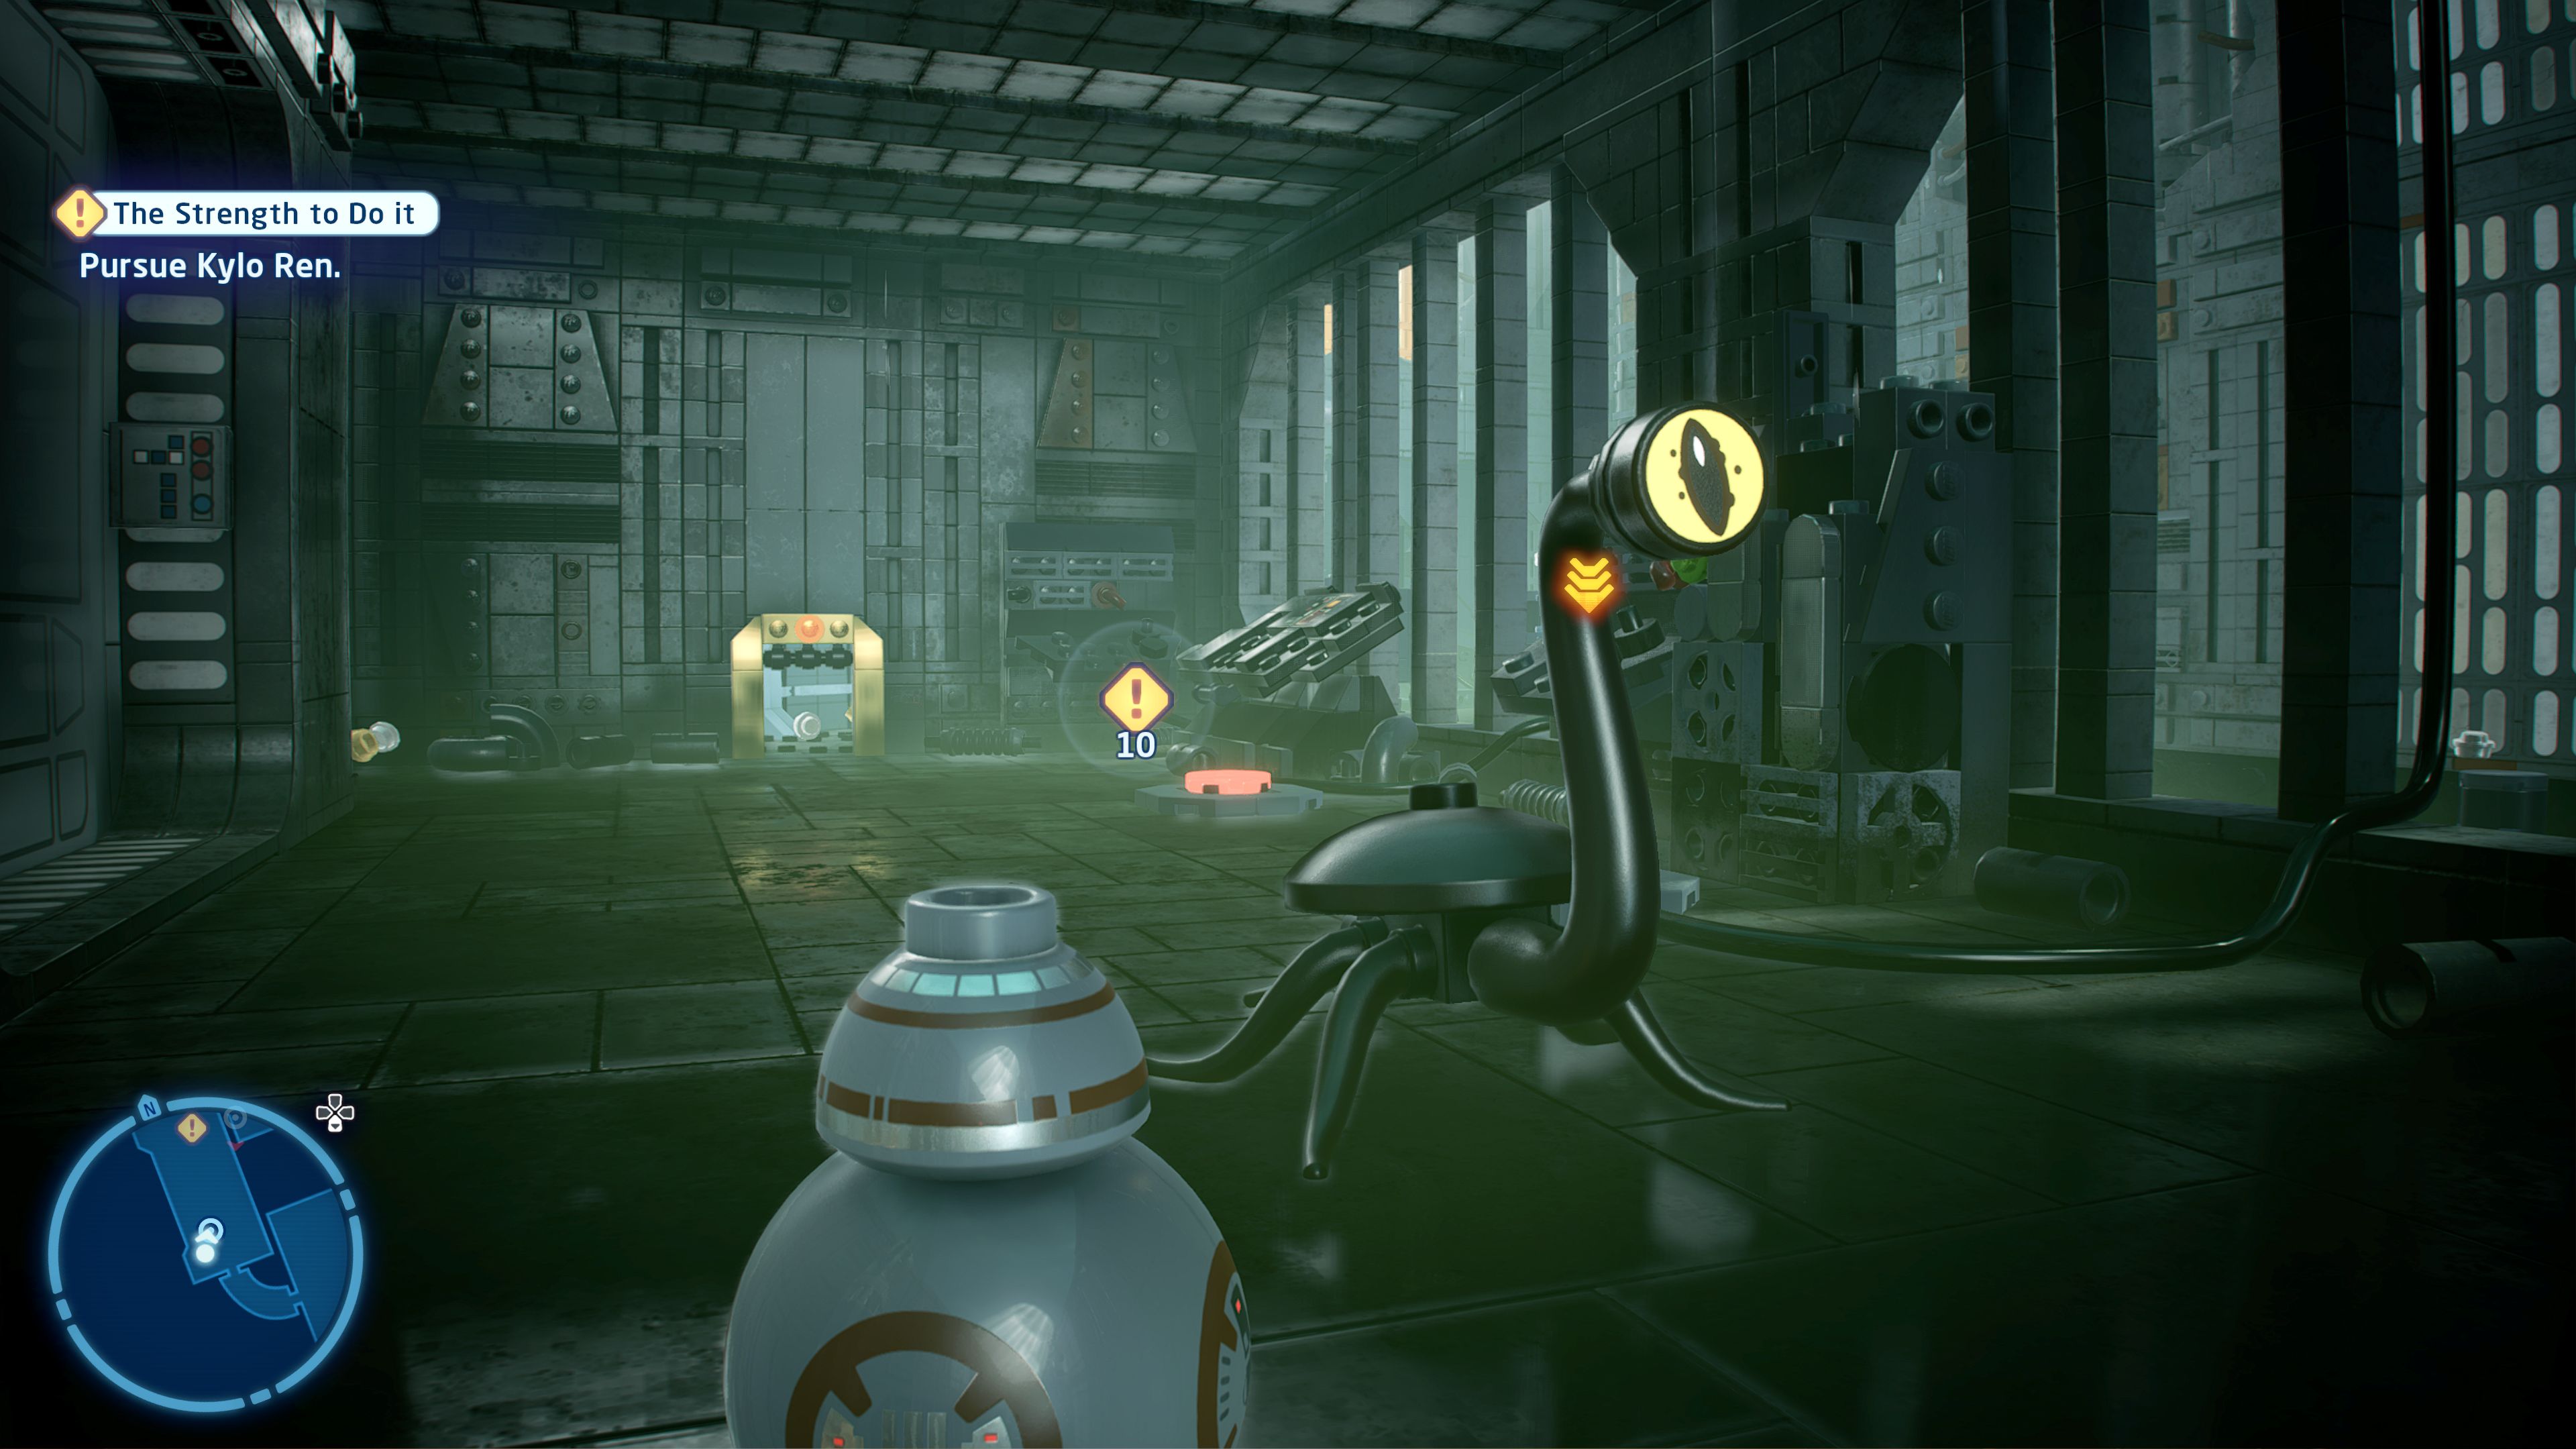
[Pursue Kylo Ren.]
After he jumps away you can follow either as Rey or BB-8. BB-8 can go through the little tunnel over on the right side while Rey can run along a wall on the left side. Continue down the corridor until you get to a pit that Rey can't jump over.
Move the nearby large crate either using the Force or by grabbing the handles on its back and move it right up to the edge of the chasm. It will collapse the ground and uncover a grapple point that BB-8 can pull on to open up a tunnel to go through.
Sit on the first button then switch back to Rey. Make the first twirl jump onto the pillar then switch back to BB-8. Move onto the second button and switch back to Rey again. She can now jump the rest of the way across and use her lightsaber on the wall blocking BB-8 in.
Smash the rubble around here to get the bricks to build an Astromech Socket. Have BB-8 solve it to open the door.
[Defeat Kylo Ren!]
Another fight with Kylo Ren ensues when you step through.
[Pursue Kylo Ren.]
After the cutscene venture outside.
[Find a way to reach Kylo Ren's TIE Fighter.]
As you walk along the path watch out for waves. They give you a handy dark red and black warning marker that brightens as it gets nearer so as soon as you see one of those either stop and wait or quickly get out of it.
Use BB-8 to grapple climb up the round structure at the end of the path and then grapple over the large gap from the end of the beam.
[Defeat Kylo Ren!]
Kylo attacks again. After defeating one health bar he'll jump away and Rey will follow to immediately begin the fourth part of the fight. Then a giant wave will appear and Rey will jump away this time.
Defeat him once more to finish the level.
Level Challenges
- Shocking!
- Activate the dangerous electrical hazards to hurt Kylo Ren.
- During the outside fights with Kylo Ren have BB-8 grapple pull on the conduits so that the water gets electrified. Then lure Kylo into walking into it. There are a few of these but not many.
- Dark Lord of the Surf
- Lure Kylo into the range of a crashing wave.
- During the outside fights with Kylo Ren locate where the waves are hitting and keep moving so that Kylo is on the opposite side of them so he will run into them to try to get to you.
- Golden Opportunity
- Find a route through the Death Star without opening any doors.
- Above the door that leads outside is some Gold LEGO that a Bounty Hunter can blow up to reveal a grapple bar.

Minikits
Minikit 1/5 - It Was Like That When I Got Here
Requires: Lightsaber Story Mode: Yes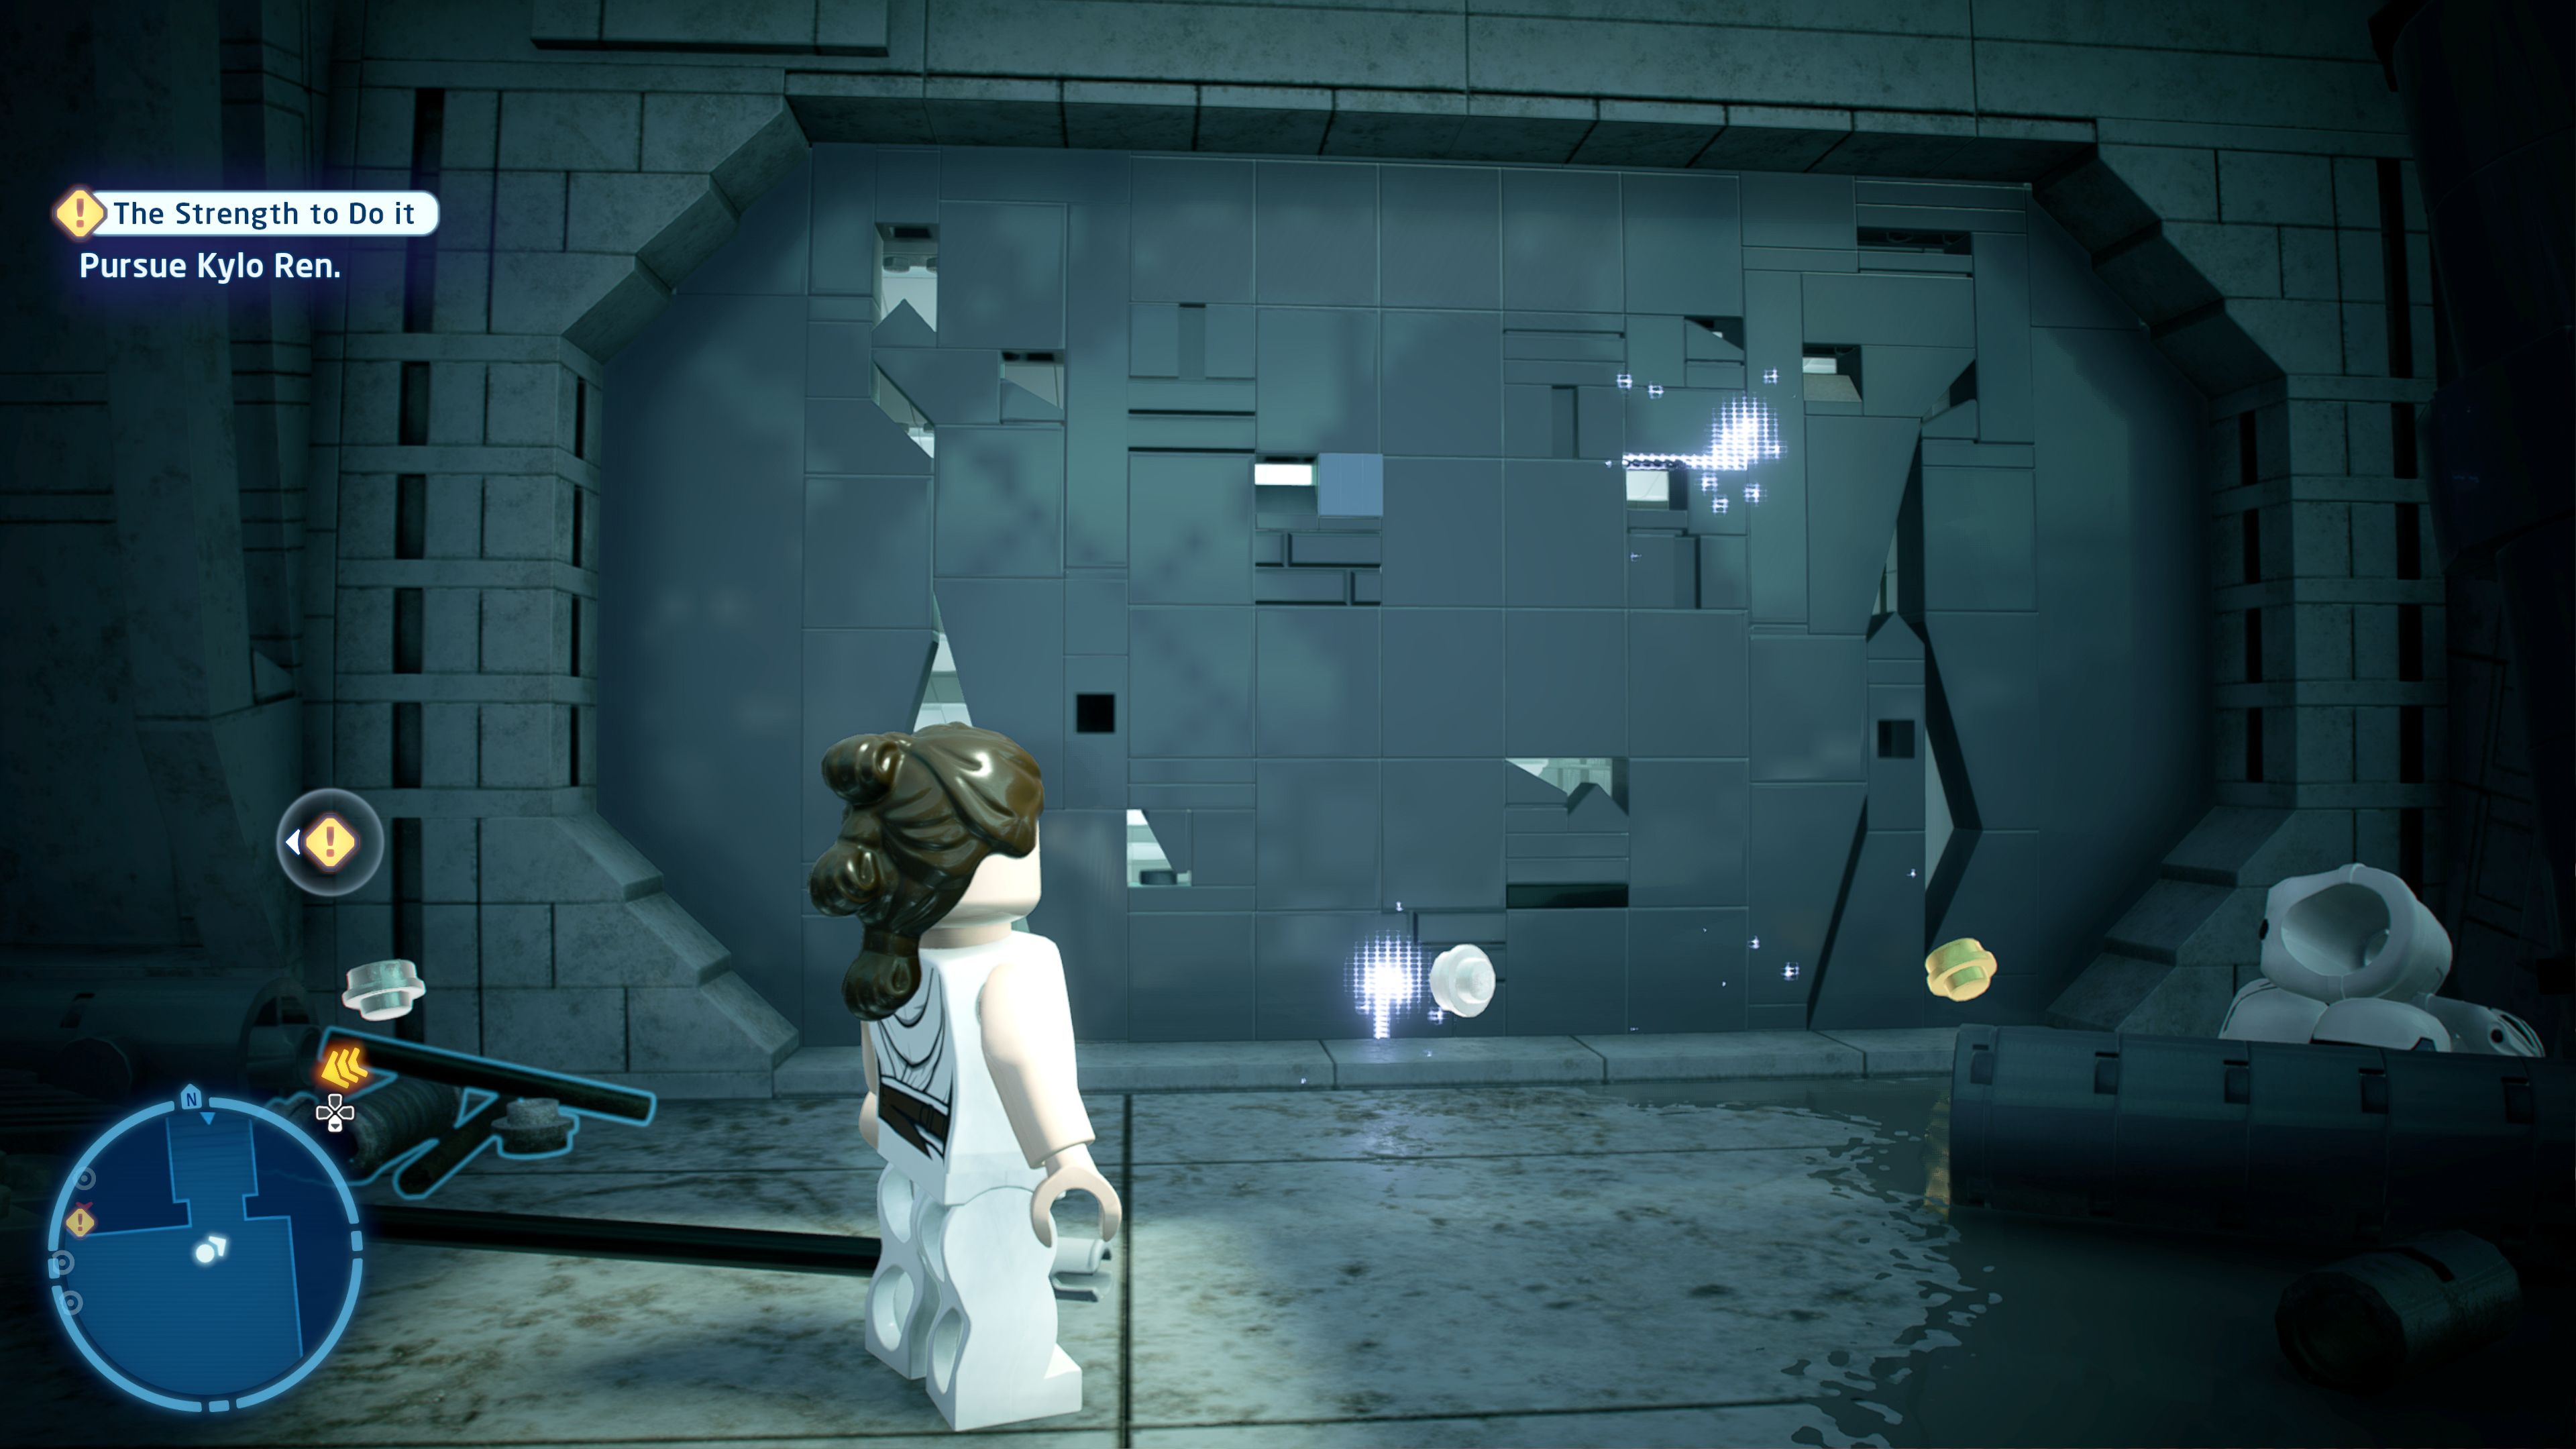
Just one more broken wall won't hurt...
At the start of the level after fighting Kylo Ren turn around and lightsaber through a wall.
Minikit 2/5 - Hardcore Parkour
Requires: Acrobatics Story Mode: Yes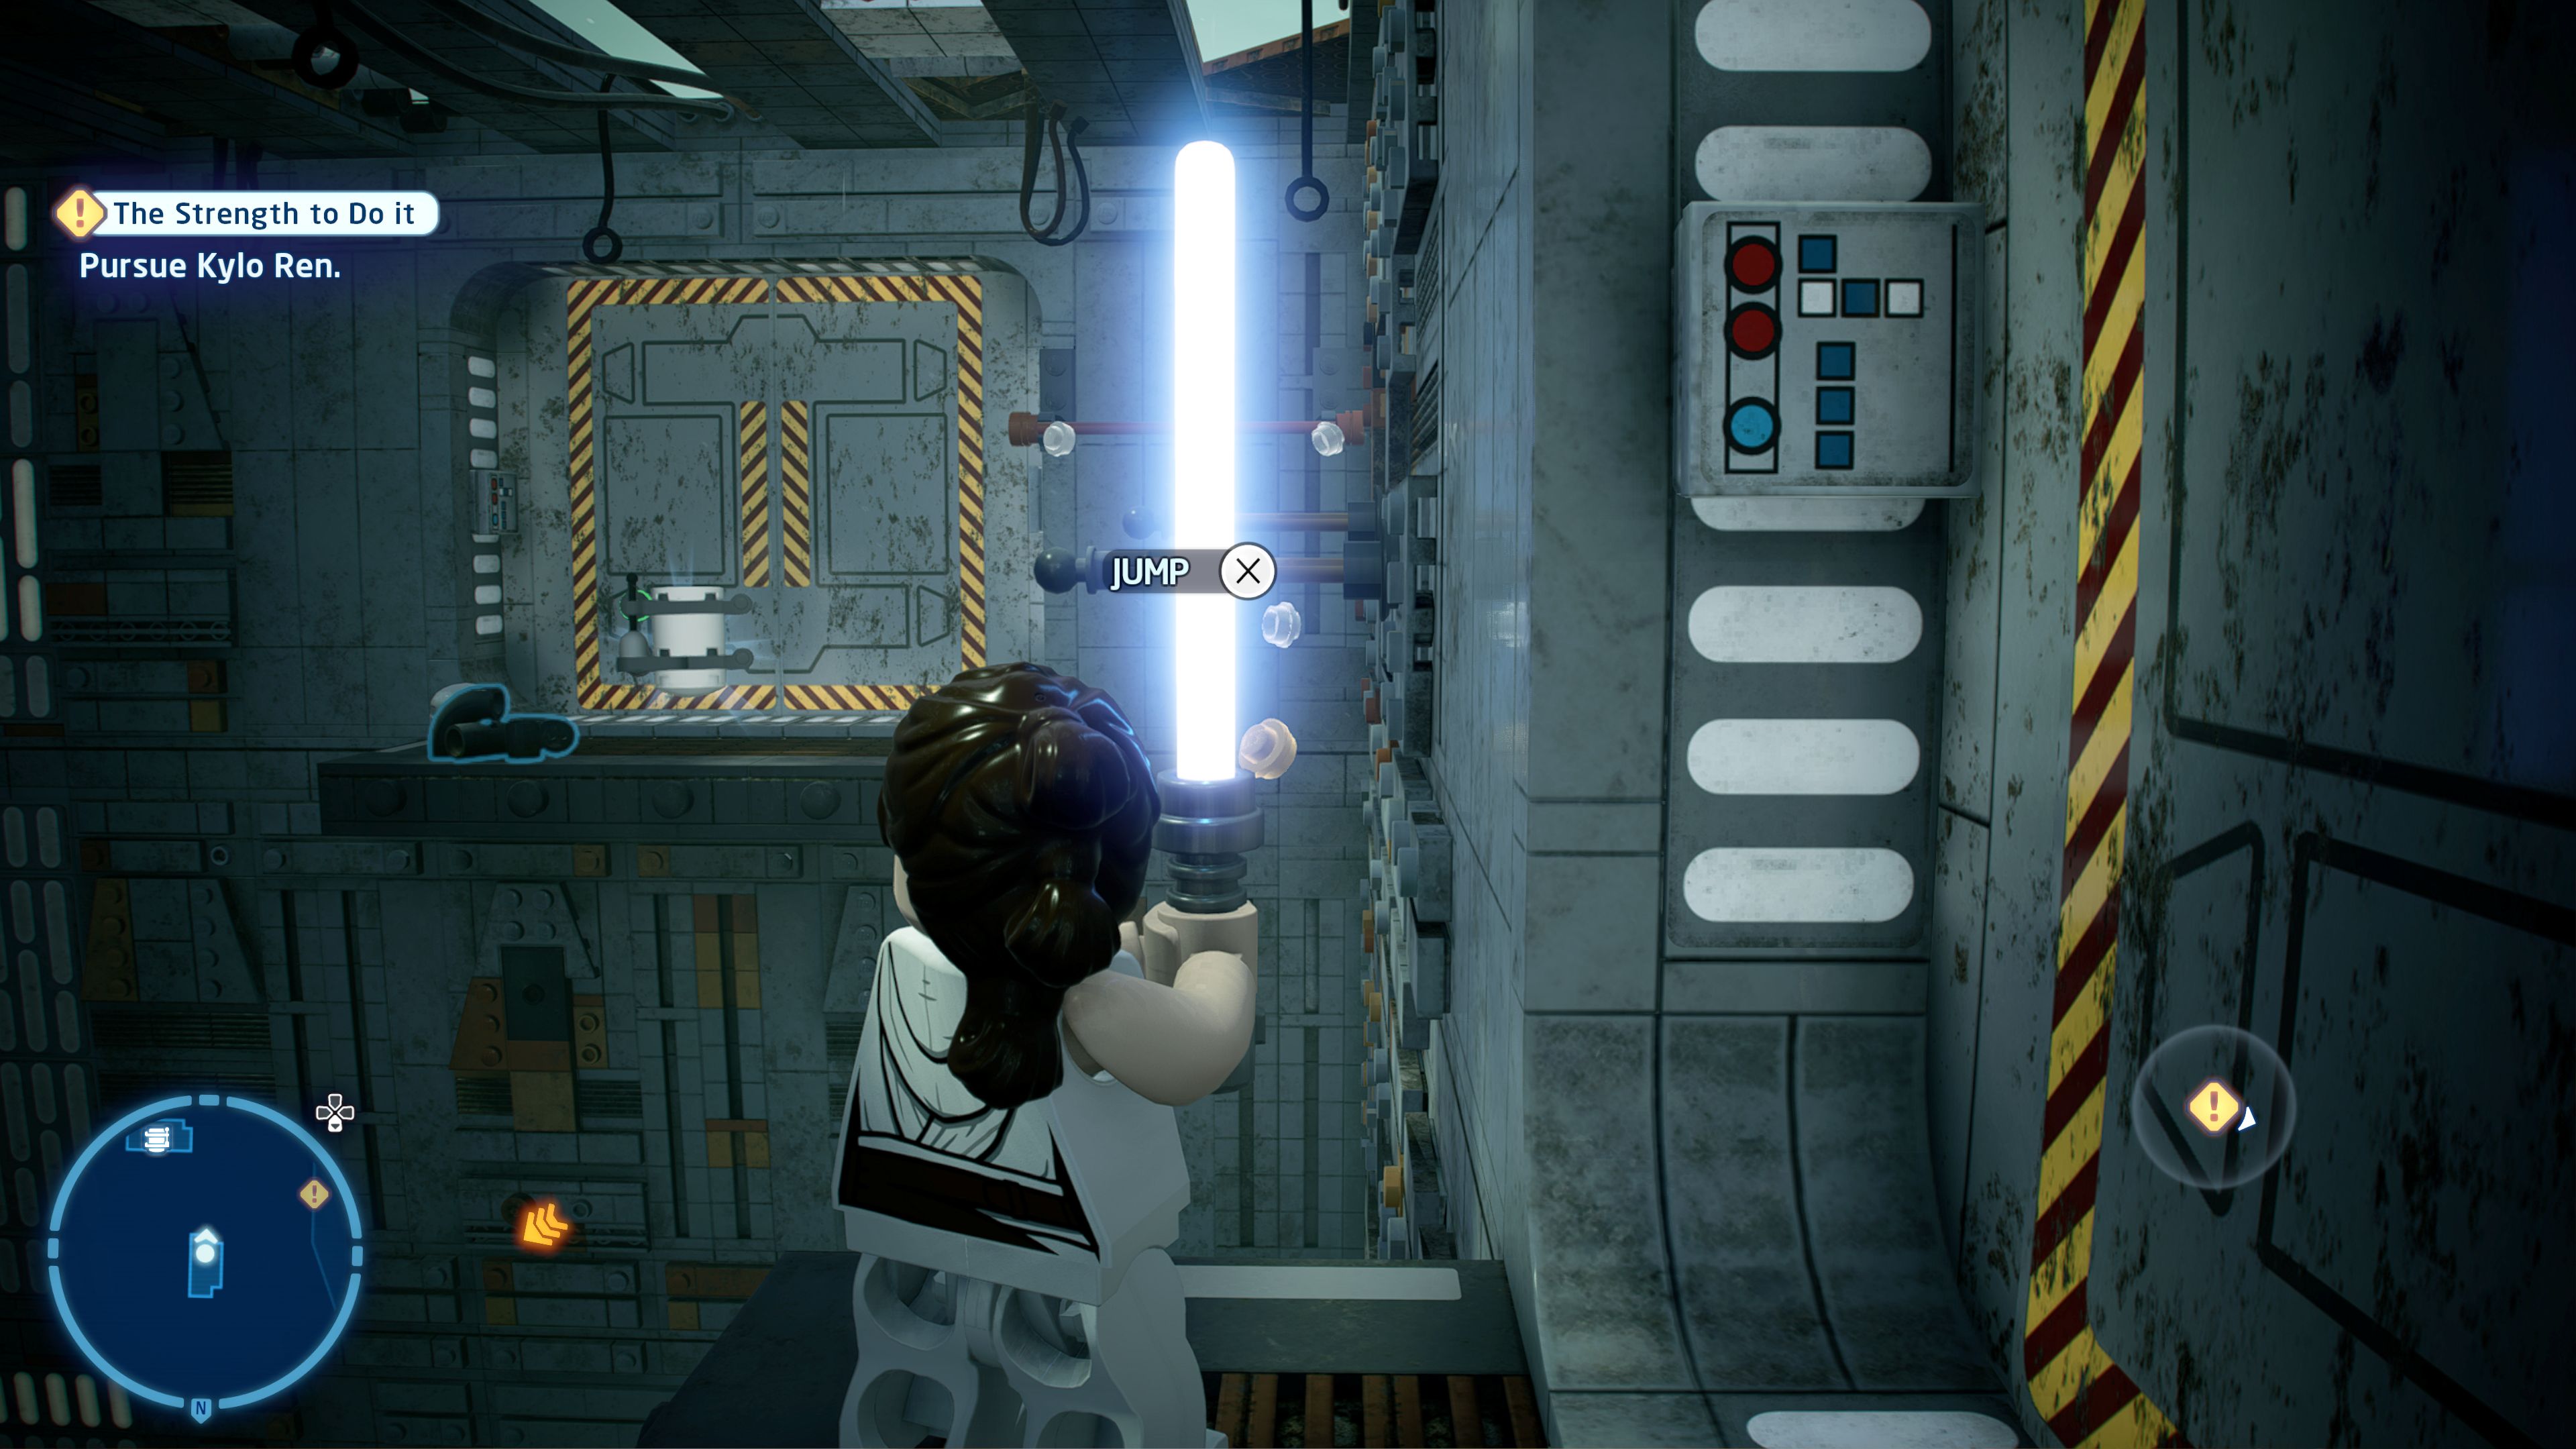
For when walking on the floor is just not exciting enough...
After crossing the first pit turn around and go up a ramp to the upper layer. Down a corridor you'll find a large area with this minikit sitting over on the left. Use the pillars on the floor below to get up to some twirl bars to reach it.
Minikit 3/5 - Pocket Explorer
Requires: Small Droid Story Mode: Yes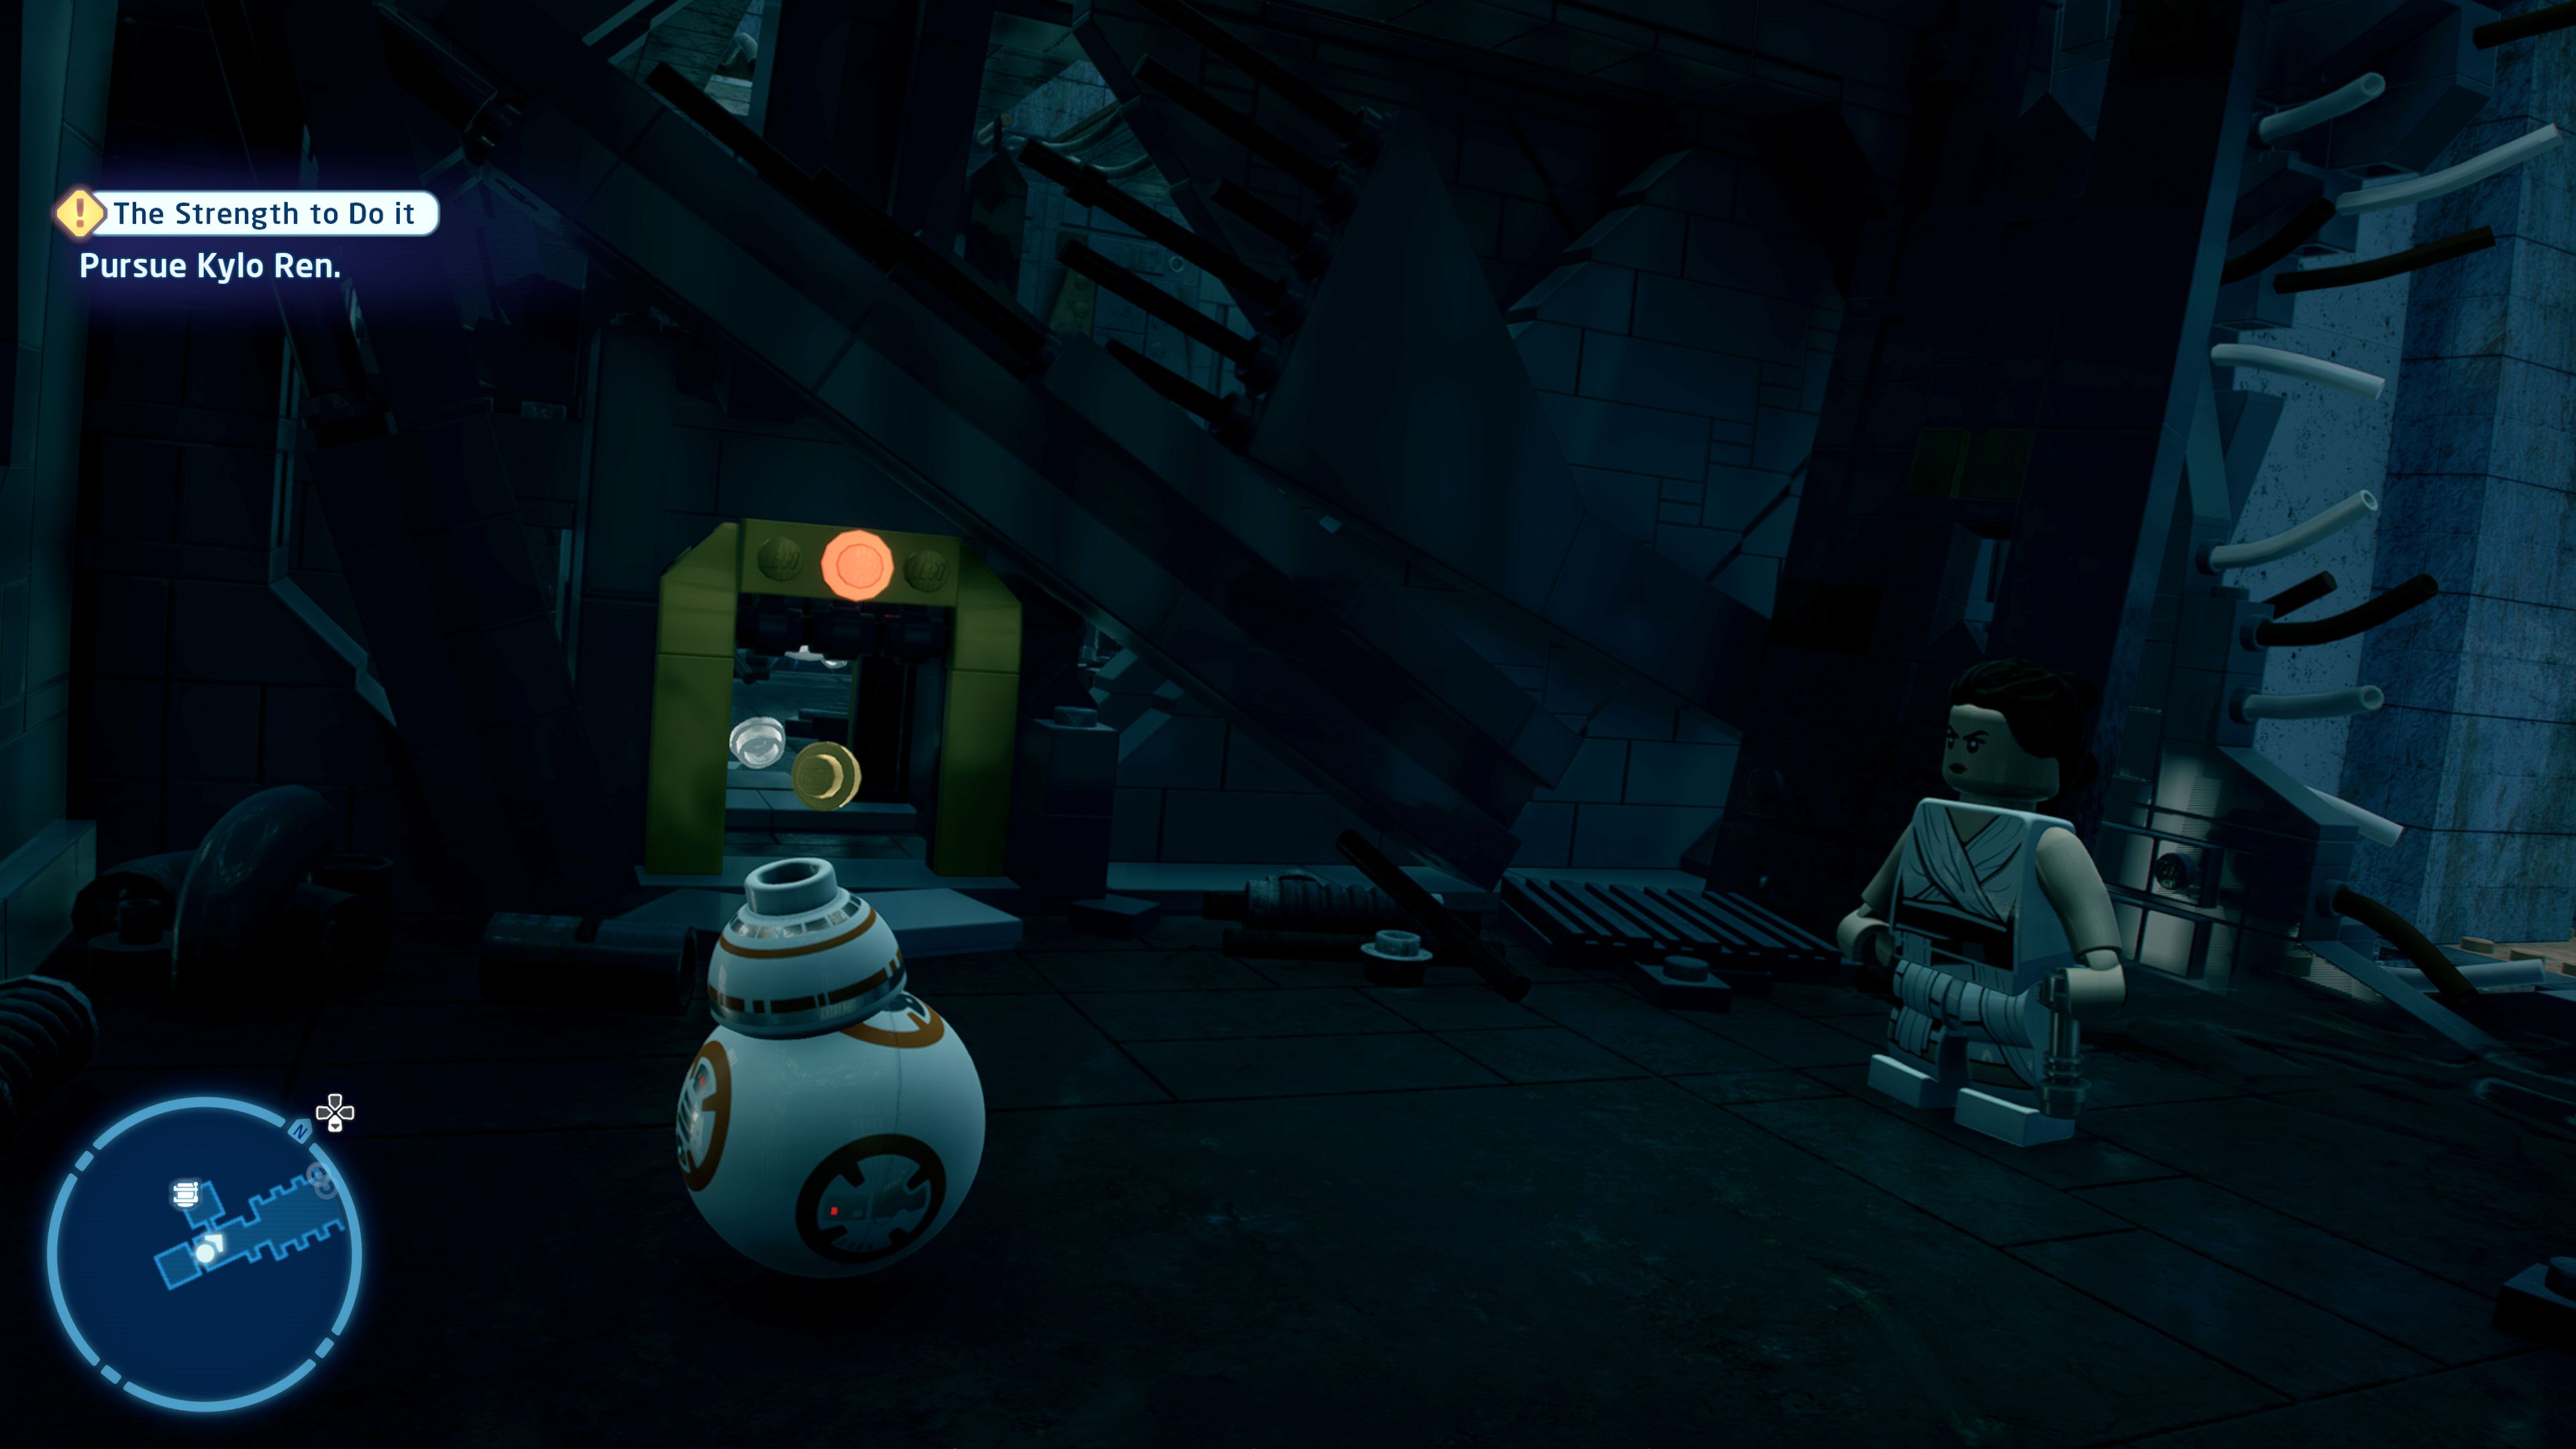
There is so much waiting for the smaller explorer to discover!
At the start of the outside section of the level there's a small tunnel that BB-8 can go through.
Minikit 4/5 - It Lies Below, it's Gotta Go
Requires: None Story Mode: Yes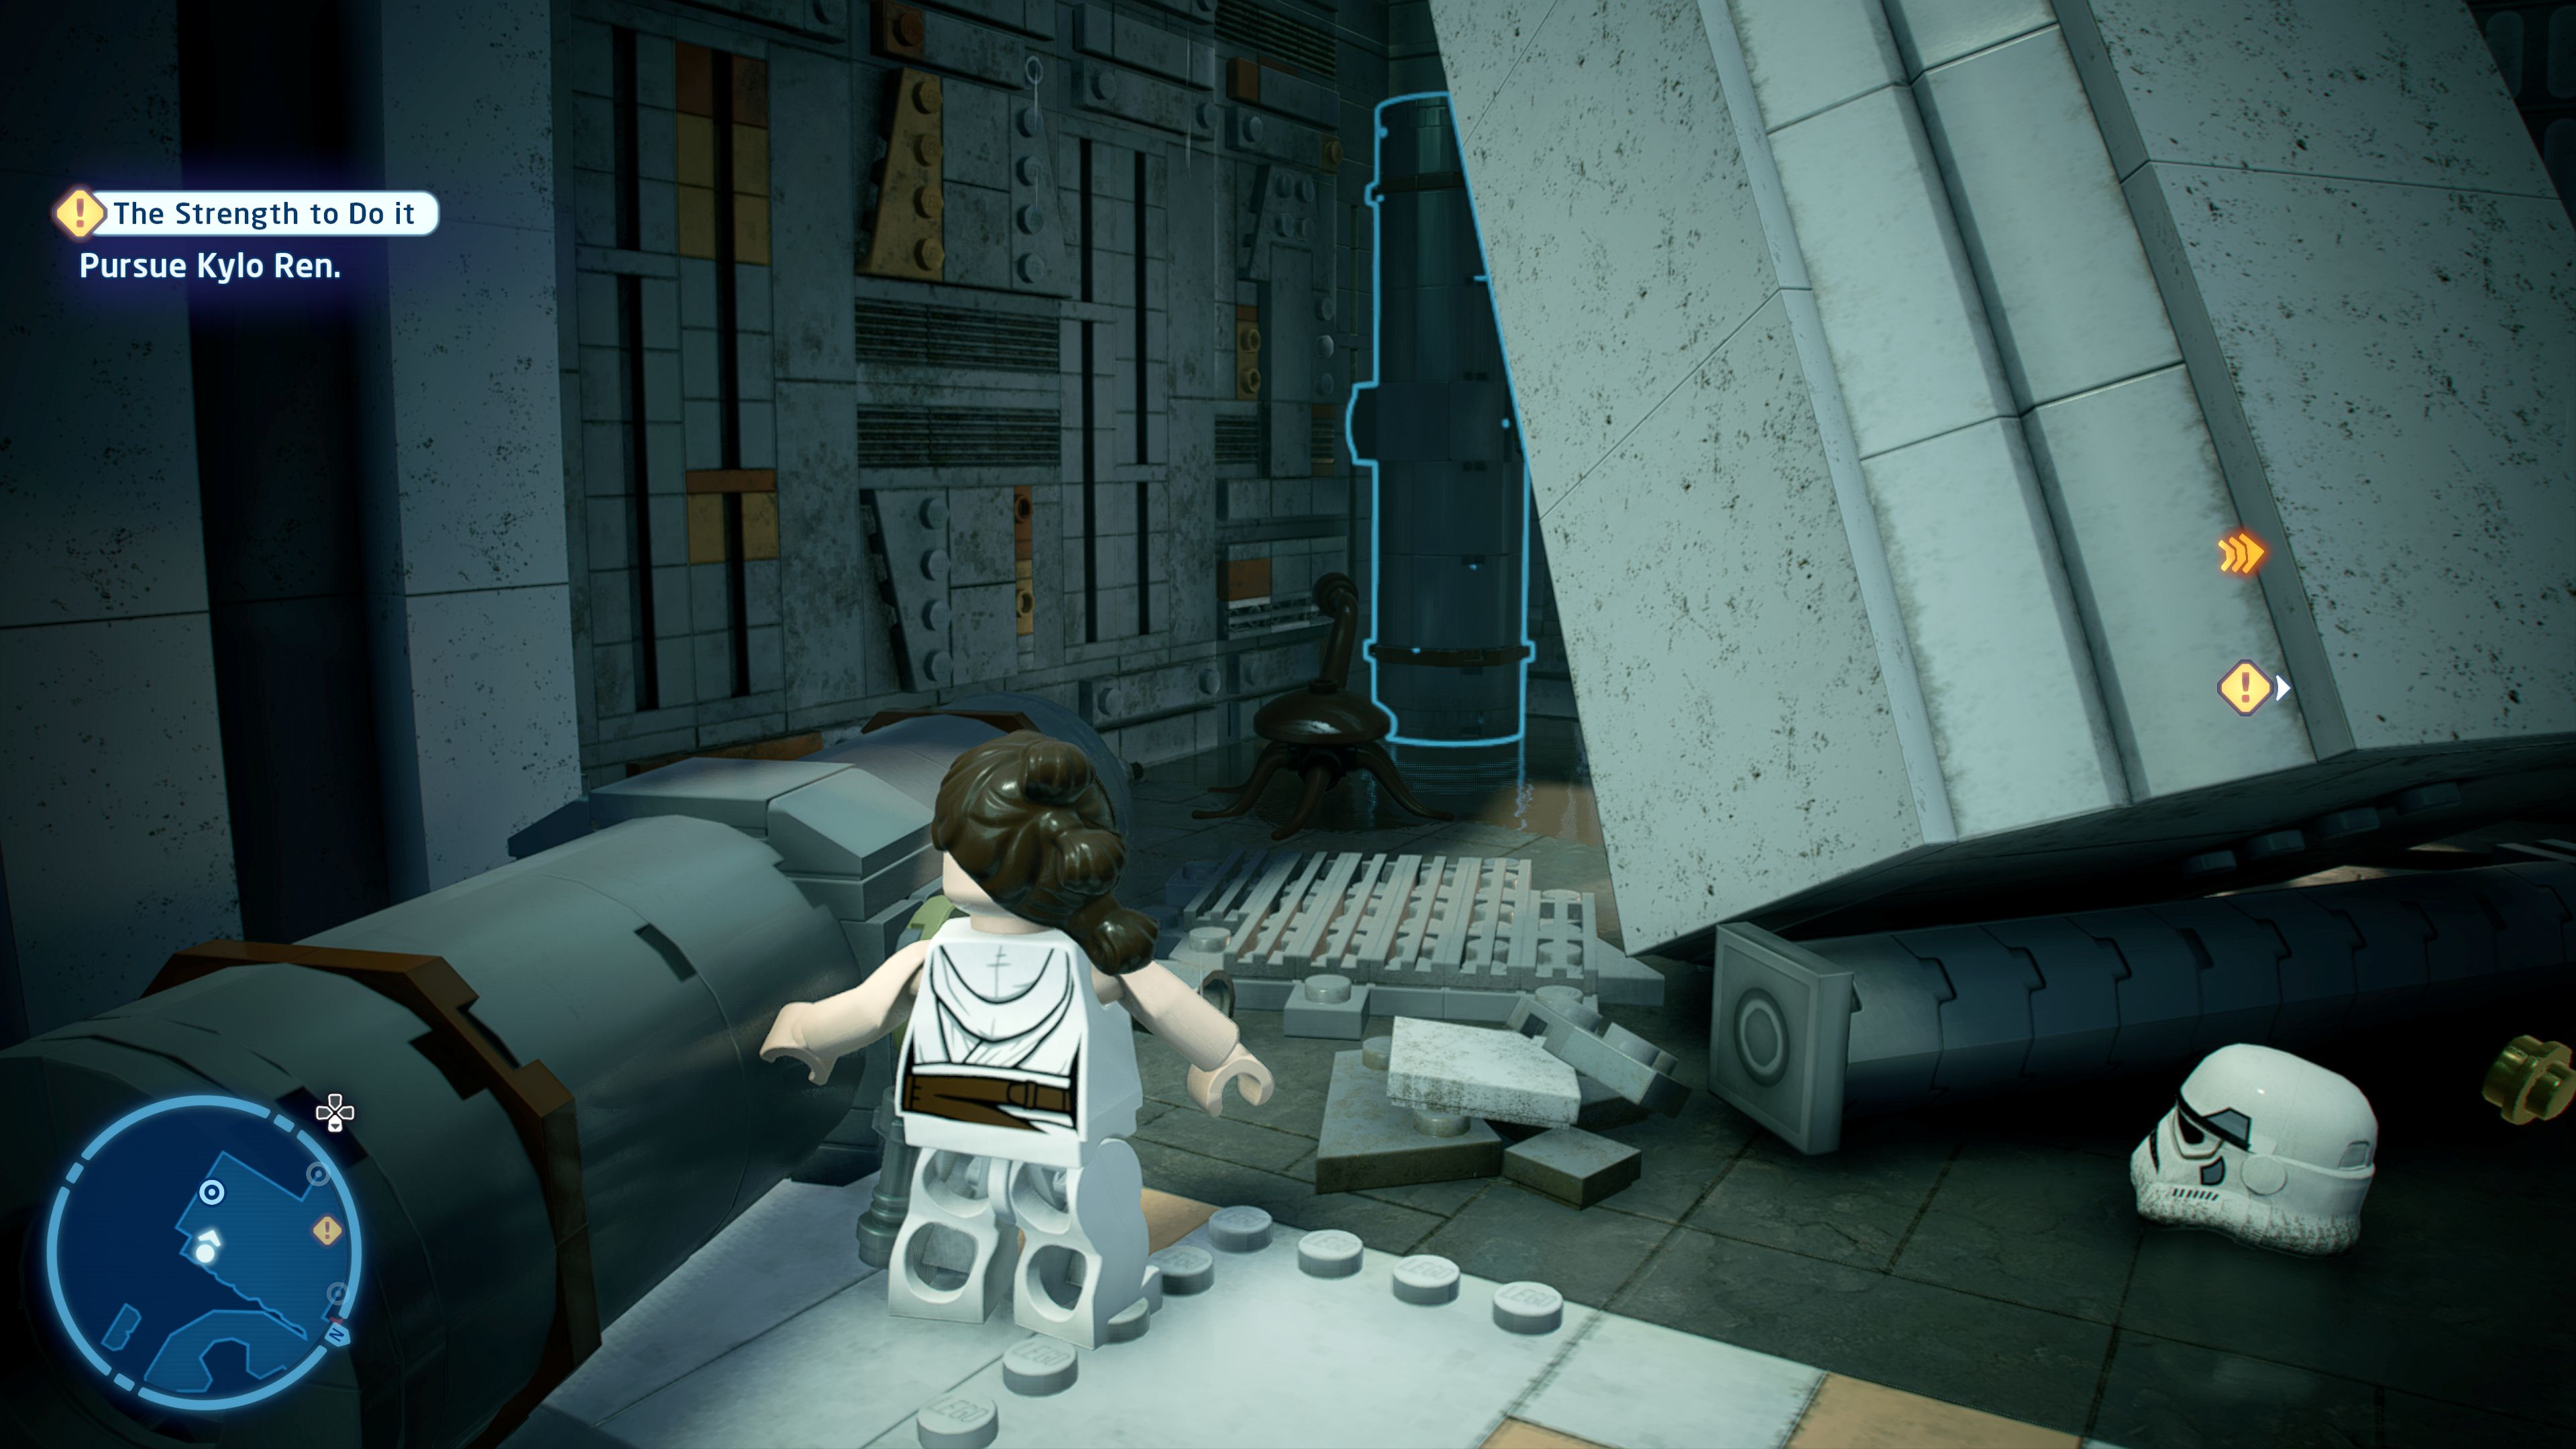

Those Dianogas are looking at you funny...
Three small Dianogas can be found in the level. The first one is over on the left side after clearing the first pit. The second is in the room reached via the ramp above the first pit. And the third is in a room with the two buttons that BB-8 needs to stand on.
Minikit 5/5 - Sidetracked by Scavenging
Requires: None Story Mode: Yes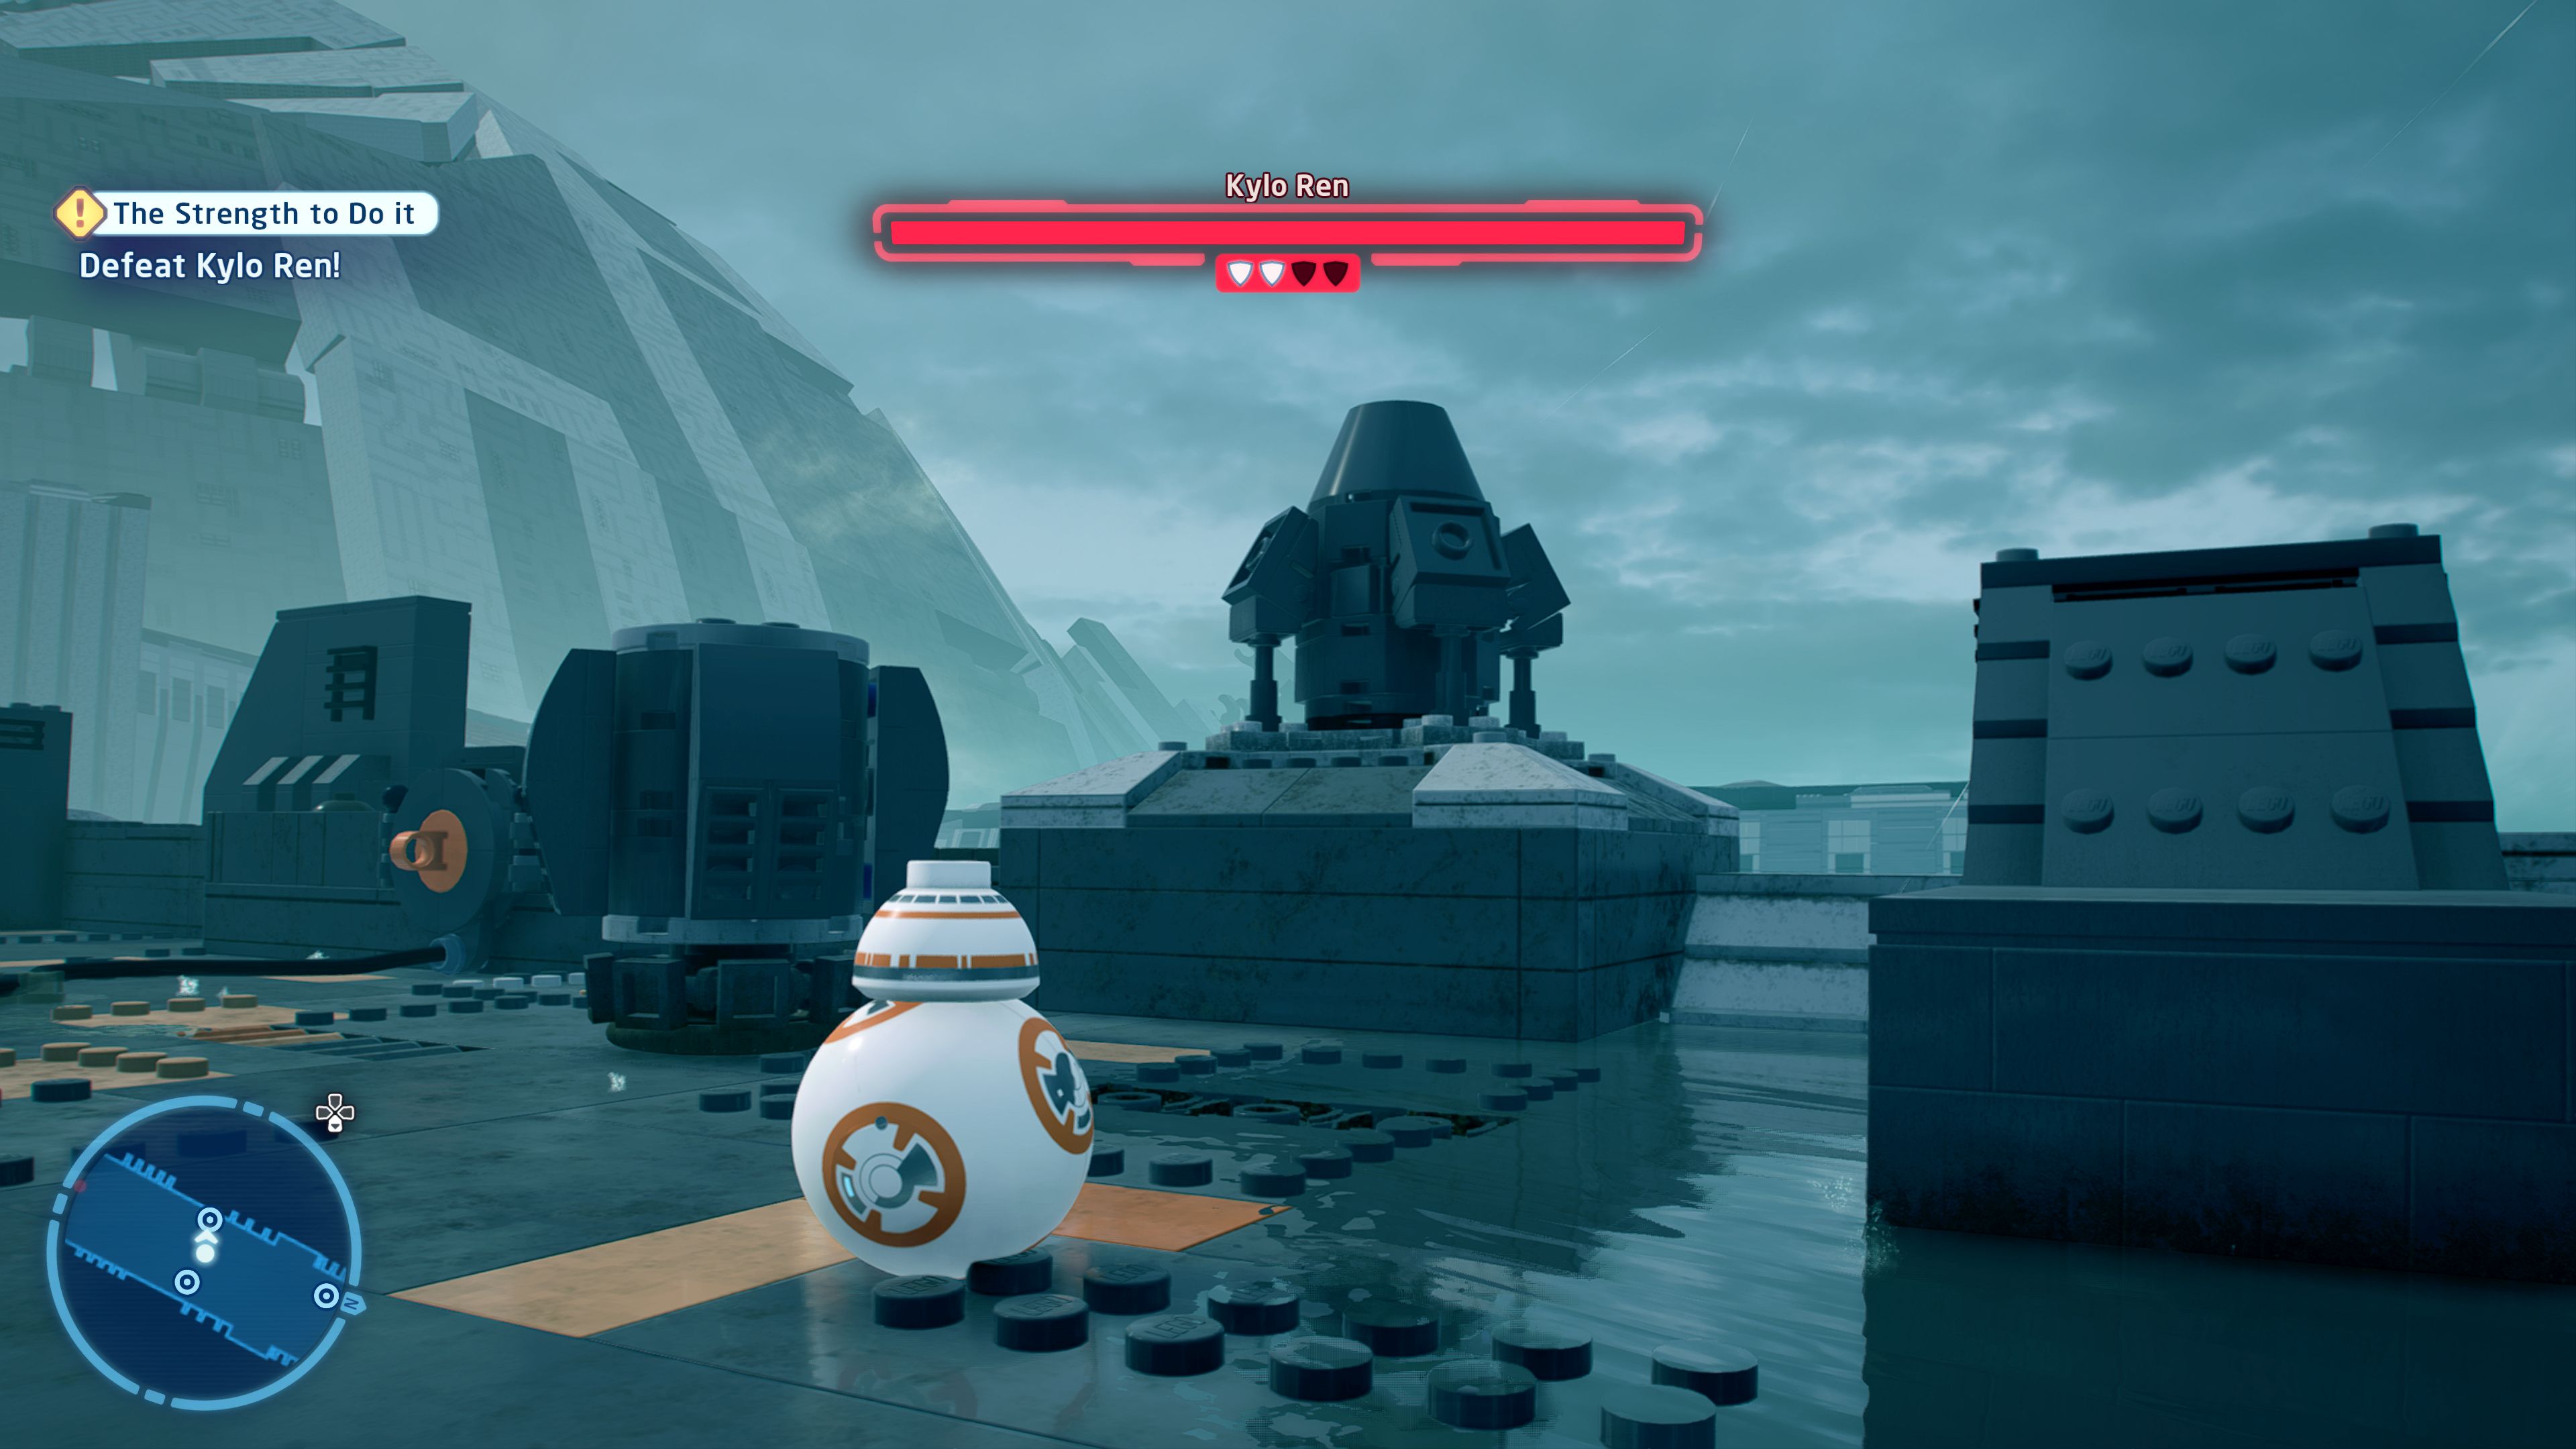
Kylo may want to fight, but look at all the junk crying out to be scavenged!
During one part of the outside fight there are a few specific objects you can smash to earn this minikit.
Kylo Ren's TIE Whisper

| Cost | Character | |
|---|---|---|
|
|
- | D-O |
|
|
- | Rey (Sith) |
|
|
200,000 | Kylo Ren (Episode IX) |
Episode IX
THE RISE OF SKYWALKER
The story so far...
- The truth is out. Rey is a Palpatine!
- Alongside Poe and Finn, she
- travelled to the wayfinder's
- location on KEF BIR, the ocean
- moon of Endor. Not the forest one.
- Sorry, Ewok fans.
- Whilst retrieving the Sith
- wayfinder in the Death Star
- wreckage, Kylo Ren confronted
- Rey and destroyed it in front of
- her. Furious, Rey struck Kylo
- down.
- With the Wayfinder gone, Rey
- lost all hope and fled in Kylo's TIE
- SILENCER. She narrowly missed a
- brief Han Solo cameo, as Kylo
- finally became BEN SOLO once
- more....
Kef Bir
Reporting In
[Report back to Ajan Kloss.]
Open up your Galaxy Map and travel to the Resistance Camp on Ajan Kloss.
Ajan Kloss
[Regroup with the Resistance.]
Go up into the cave where the Tantive IV is parked, you'll find the continue story marker behind it.
Parting Gifts
[Go to Luke's hut.]
Ahch-To
Follow Luke back to his hut in the Jedi Village.
[Search for the wayfinder.]
Follow Luke again, this time back to the damaged TIE Whisper that Rey arrived on. Use the Force on the cockpit to find the wayfinder.
[Follow Luke.]
And we're following Luke again. He'll lead you all the way over to the northwest point of the island where his old X-wing is sitting in the water.
[Recover Luke's X-wing.]
Enter the continue story marker next to the X-wing.
Ajan Kloss
To The Battle of Exegol
[Prepare to depart for Exegol.]
Jump down to the ships below.
[Travel to Exegol.]
Open up your Galaxy Map and travel to Exegol.
Chapter 5
Be With Me
| Silver | Blue | Purple |
|---|---|---|
| 23,333 | 46,666 | 70,000 |
[Defeat the Knights of Ren and Sovereign Protectors!]
The final level of Episode IX kicks off with a fight. First with Rey against four Sovereign Protectors and then Ben Solo against the Knights of Ren. Once again they are a set of your standard lightsaber type fights. Avoid the red markers, defend/dodge their regular attacks, attack after big attacks.
[Reach the Steadfast's navigation tower.]
Gallop forwards along the surface of the Star Destroyer avoiding the TIE Fighter attacks until you reach a set of waist high cover.
[Defeat the Sith Troopers!]
Defeat the Sith Troopers that get dropped off (one will be flying!).
[Reach the Steadfast's navigation tower.]
After that a TIE will crash ahead. Get closer to it and use your grapple to pull on it to create a bridge for the Orbaks to cross the gap.
Cross the bridge yourself and when you get near the Orbaks you'll automatically jump on. Keep going straight on to near the crashed X-wing.
[Defeat the Sith Troopers!]
More troopers will appear and start attacking you including a sniper up on the left.
[Reach the Steadfast's navigation tower.]
After defeating them have BB-8 solve the Astromech Socket on the right next to the crashed pilot to switch off the electricity. Or you can equip a full set of the red Sith Trooper gear and use the moveable platforms to climb up to the Imperial Terminal on the sniper's tower.
A little bit more riding and you reach a boss fight against a BB-9E.
[Destroy the Steadfast's defence system!]
There are four vents, two on each side of the turret, that you need to shoot when they're open and glowing orange.
[Open the hatch and destroy the navigation tower!]
After defeating the BB-Boss use a grapple on the floor in front of it to pull up an Astromech Socket for BB-8 to solve. Now you can push a laser around in a circle to cut your way in.
[Defeat the Emperor!]
Rapidly tap the buttons as they appear on screen. Keep going until you finish the level and the episode.
Level Challenges
- Explo-Sith
- Use the environment to defeat Sith Troopers.
- At the first encounter with Sith Troopers use a Scoundrel Opportunity.
- Incoming
- Don't take any damage from the Sith TIE Fighters while riding Orbaks.
- Avoid the obvious red markers as you're riding.
- Shrug
- Defeat the Knights of Ren as Ben Solo without dying.
- Defend when necessary and dodge out of the way of their and Palpatine's attacks. Ranged attacks are very helpful.

Minikits
Minikit 1/5 - Hurdle Race
Requires: None Story Mode: Yes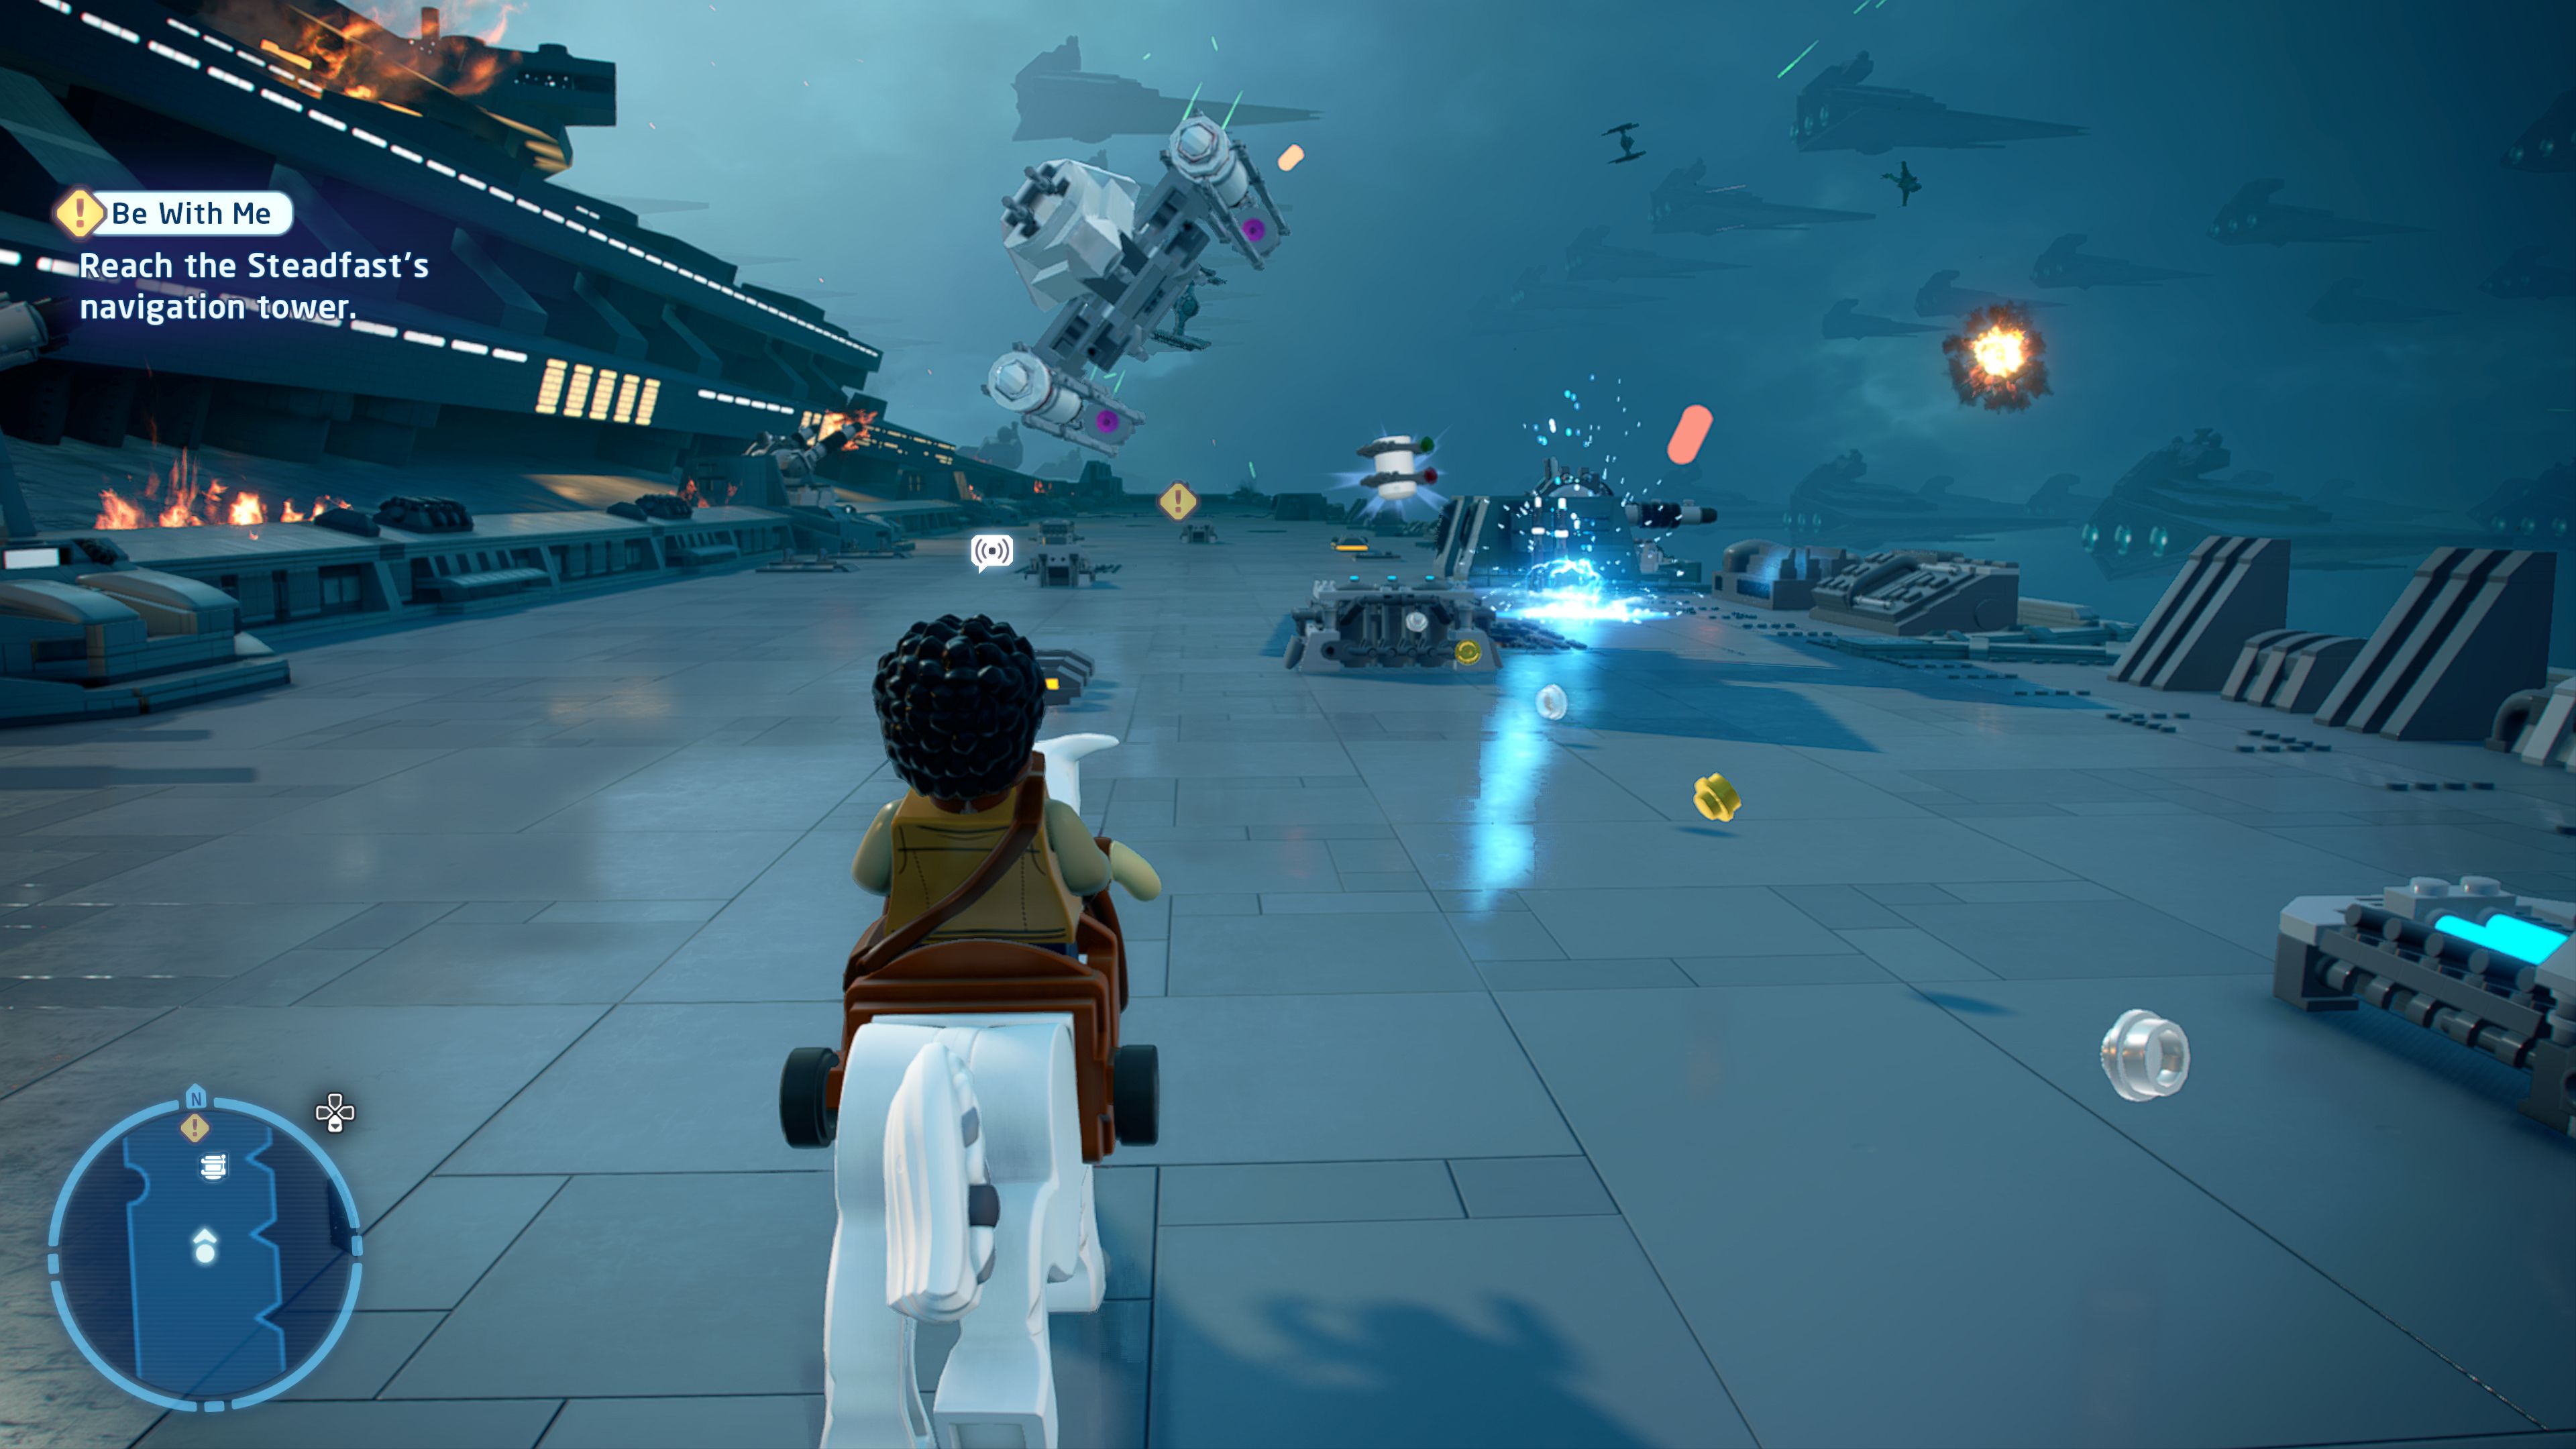
Watch out for obstacles while riding the orbaks!
During the first riding section grab the minikit floating in the air.
Minikit 2/5 - Fanfare
Requires: Bounty Hunter Story Mode: No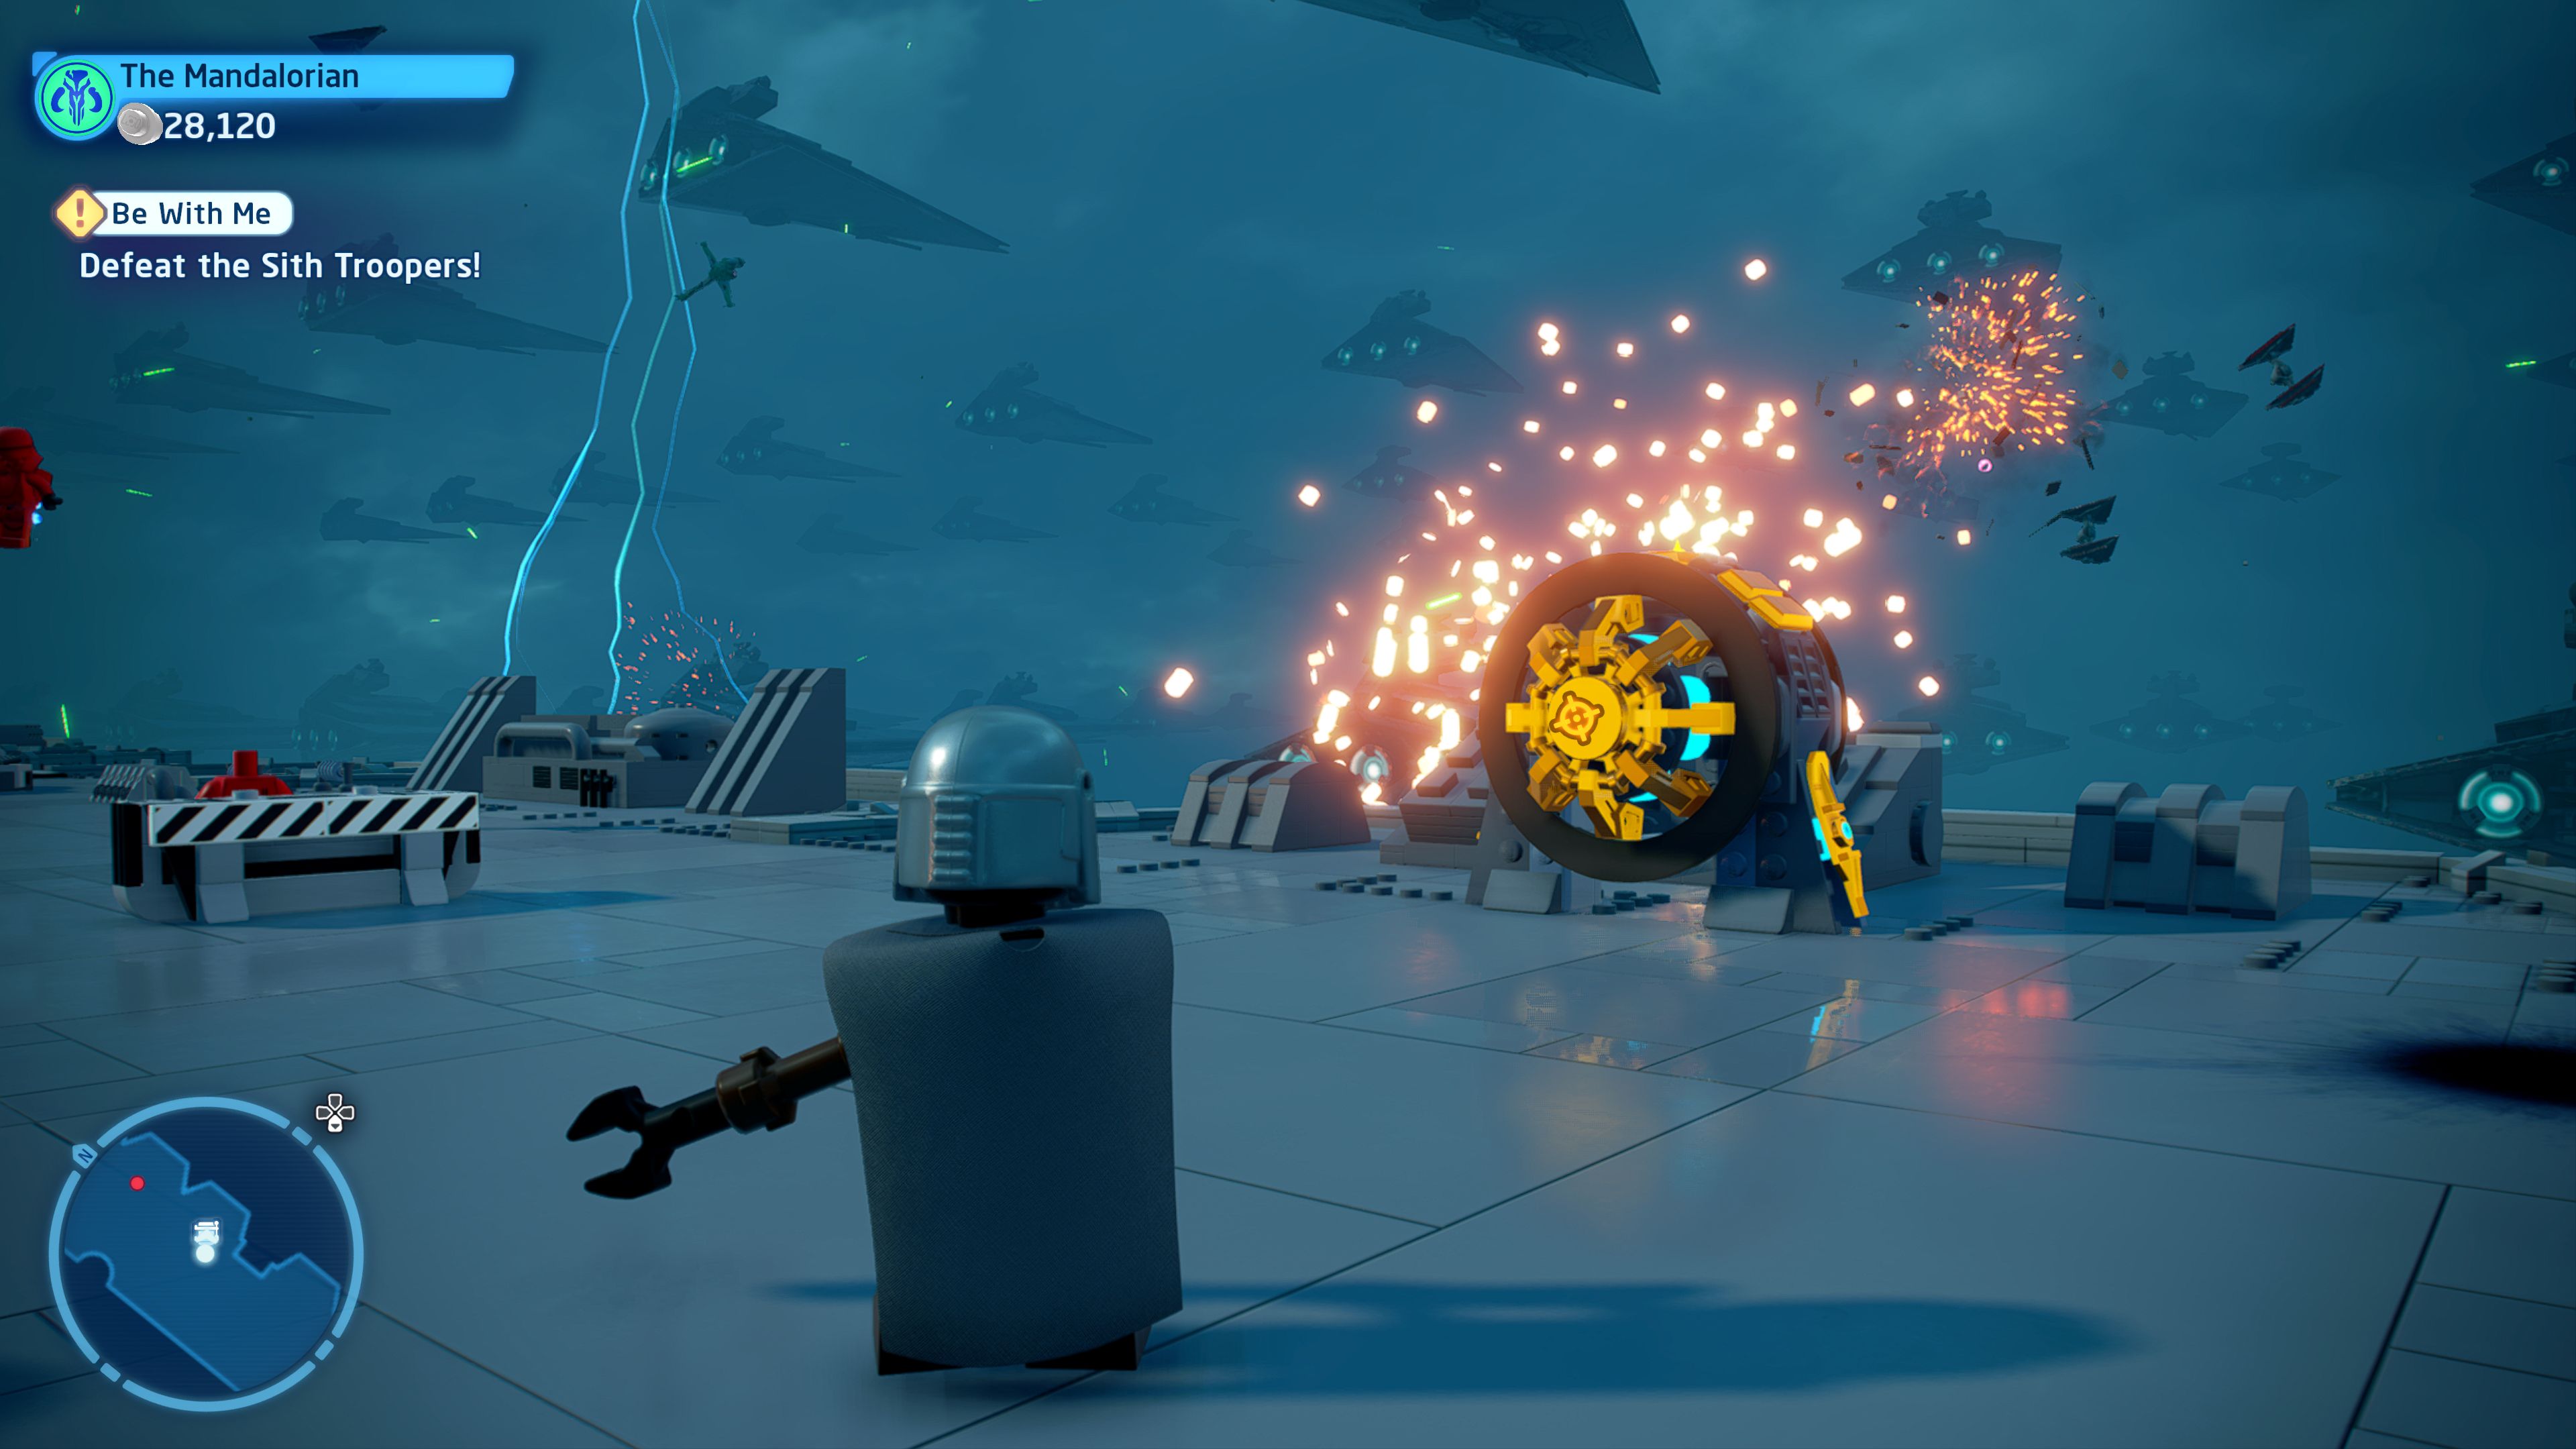
Aim your shots carefully and you'll be golden!
At the first Sith Trooper encounter there is some Gold LEGO over on the right.
Minikit 3/5 - Can't TIE Me Down
Requires: The Force Story Mode: No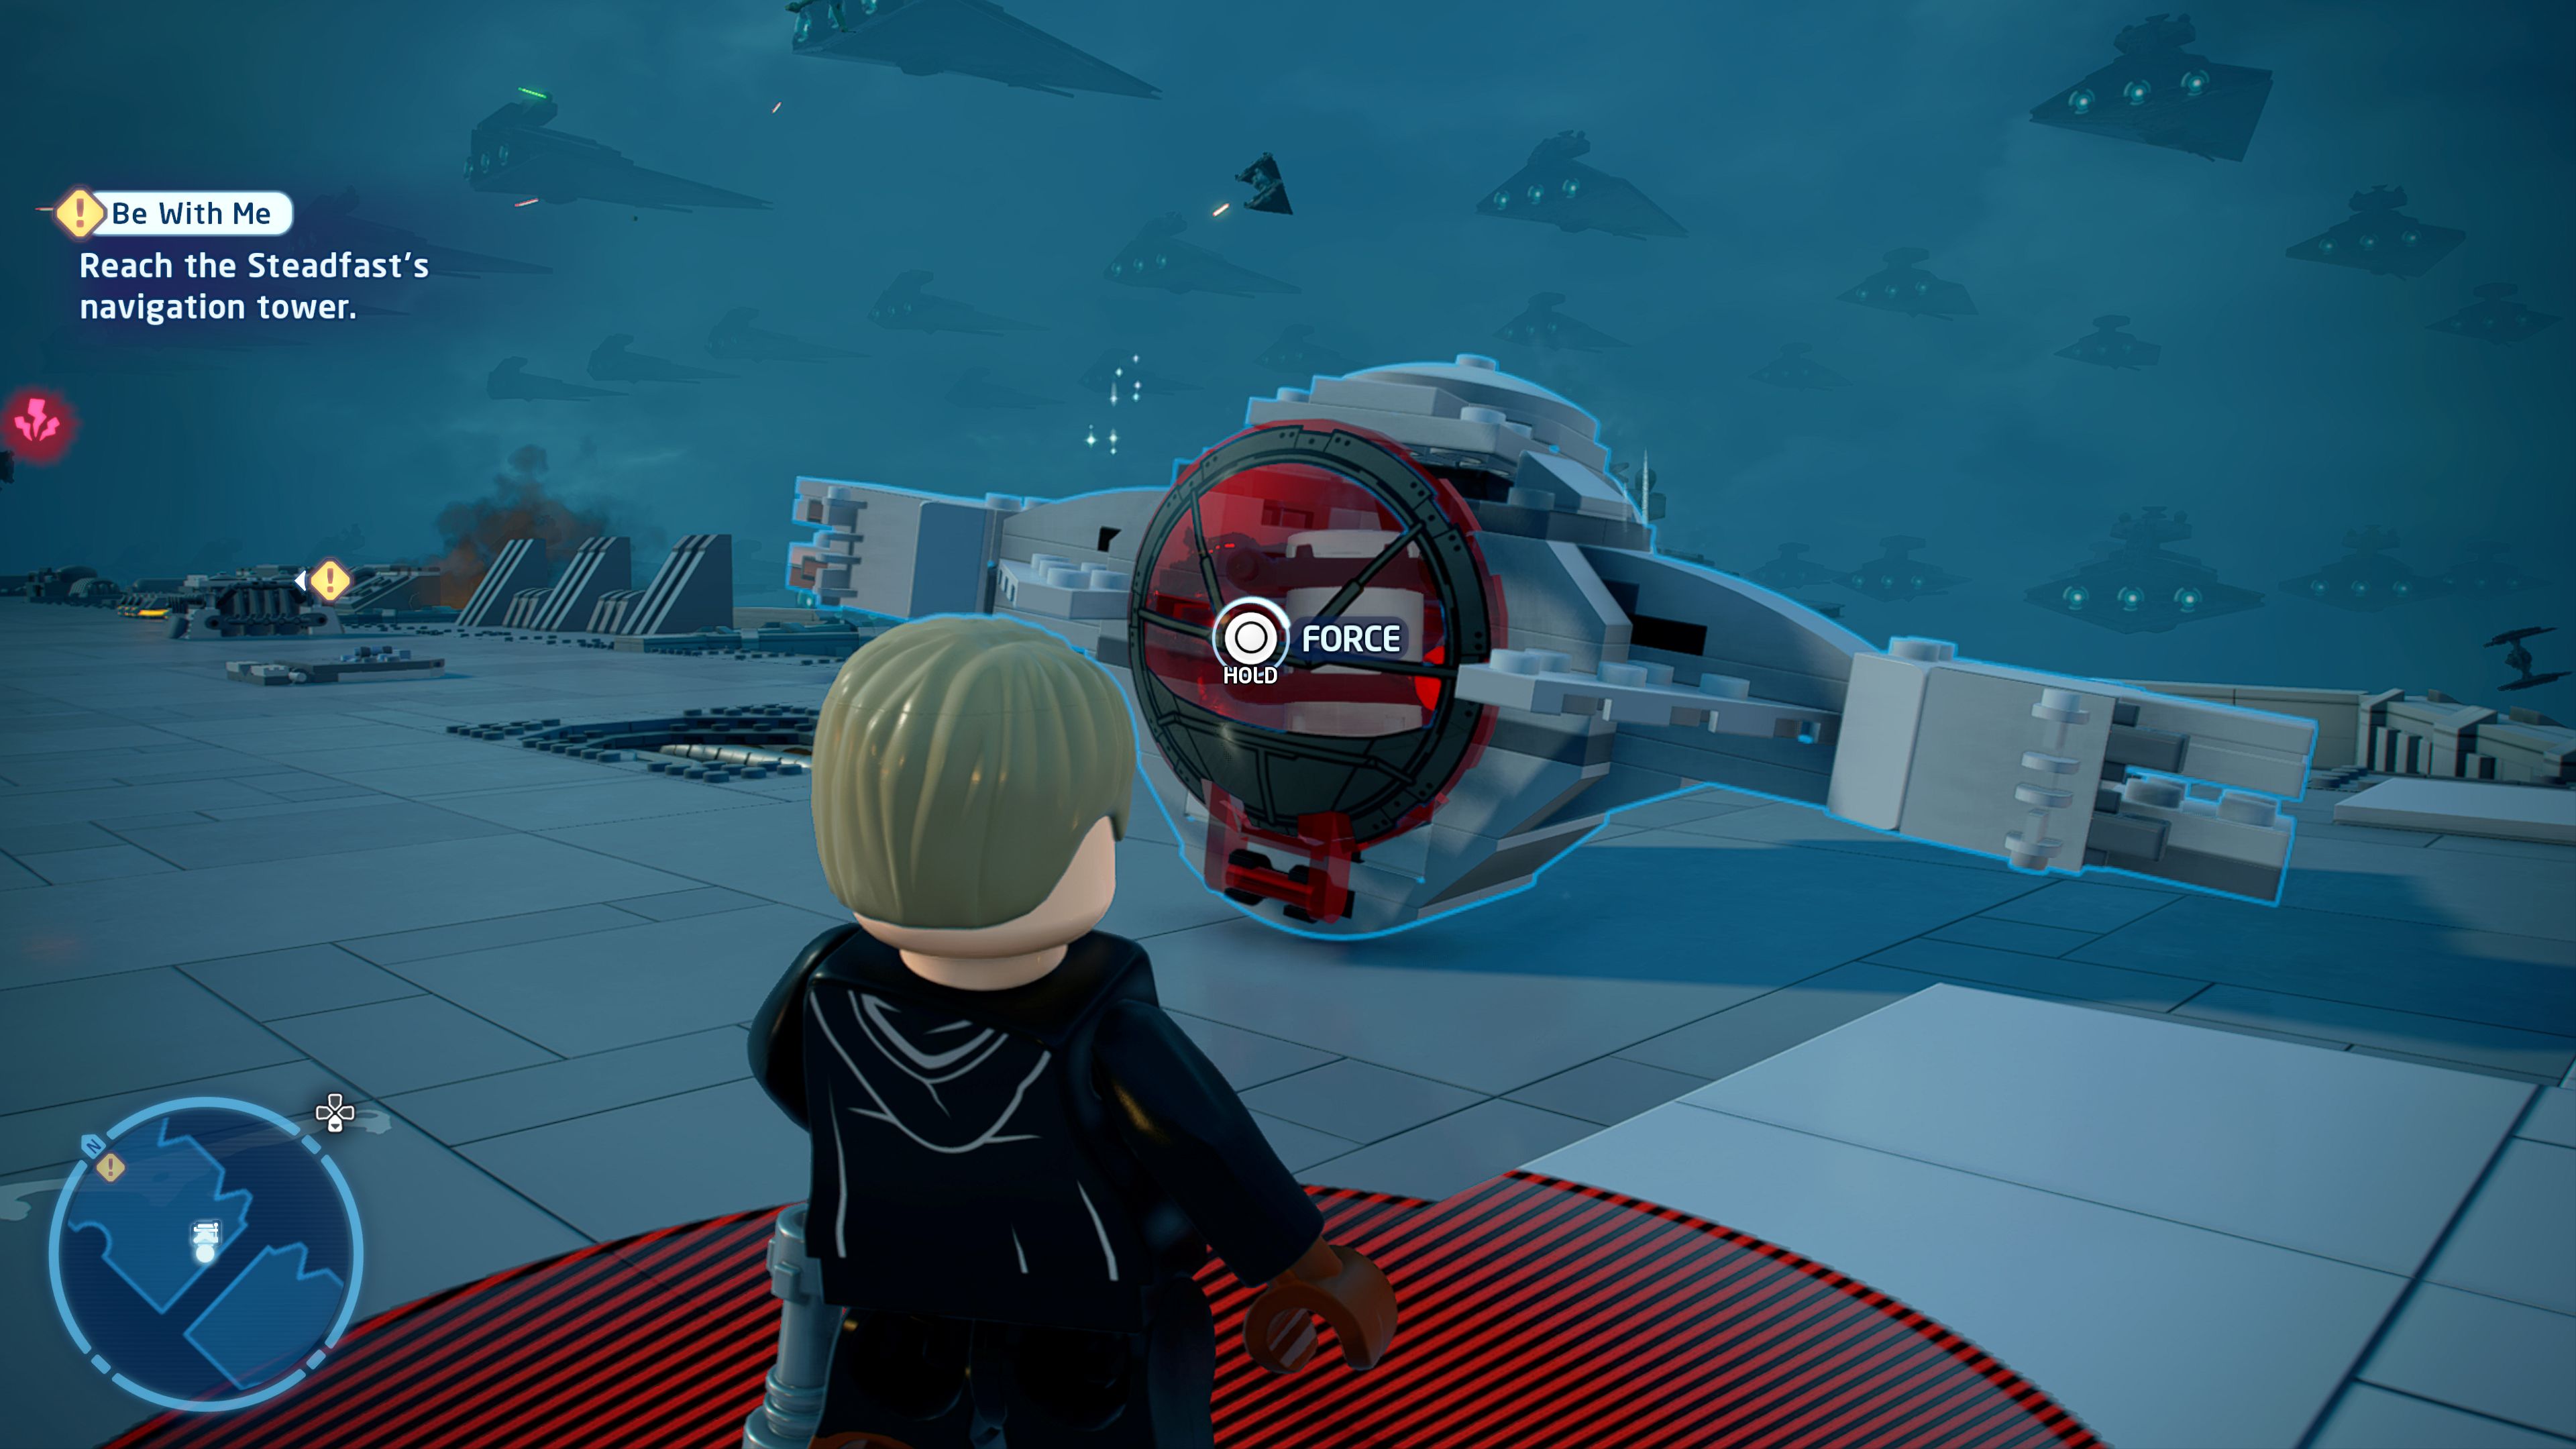
The Battle of Exegol isn't without devastation. Check the remains of one ship in particular...
Use the Force to open the cockpit of the TIE that crashes to form a bridge.
Minikit 4/5 - Ladder to Success
Requires: Villain Grenade Story Mode: Yes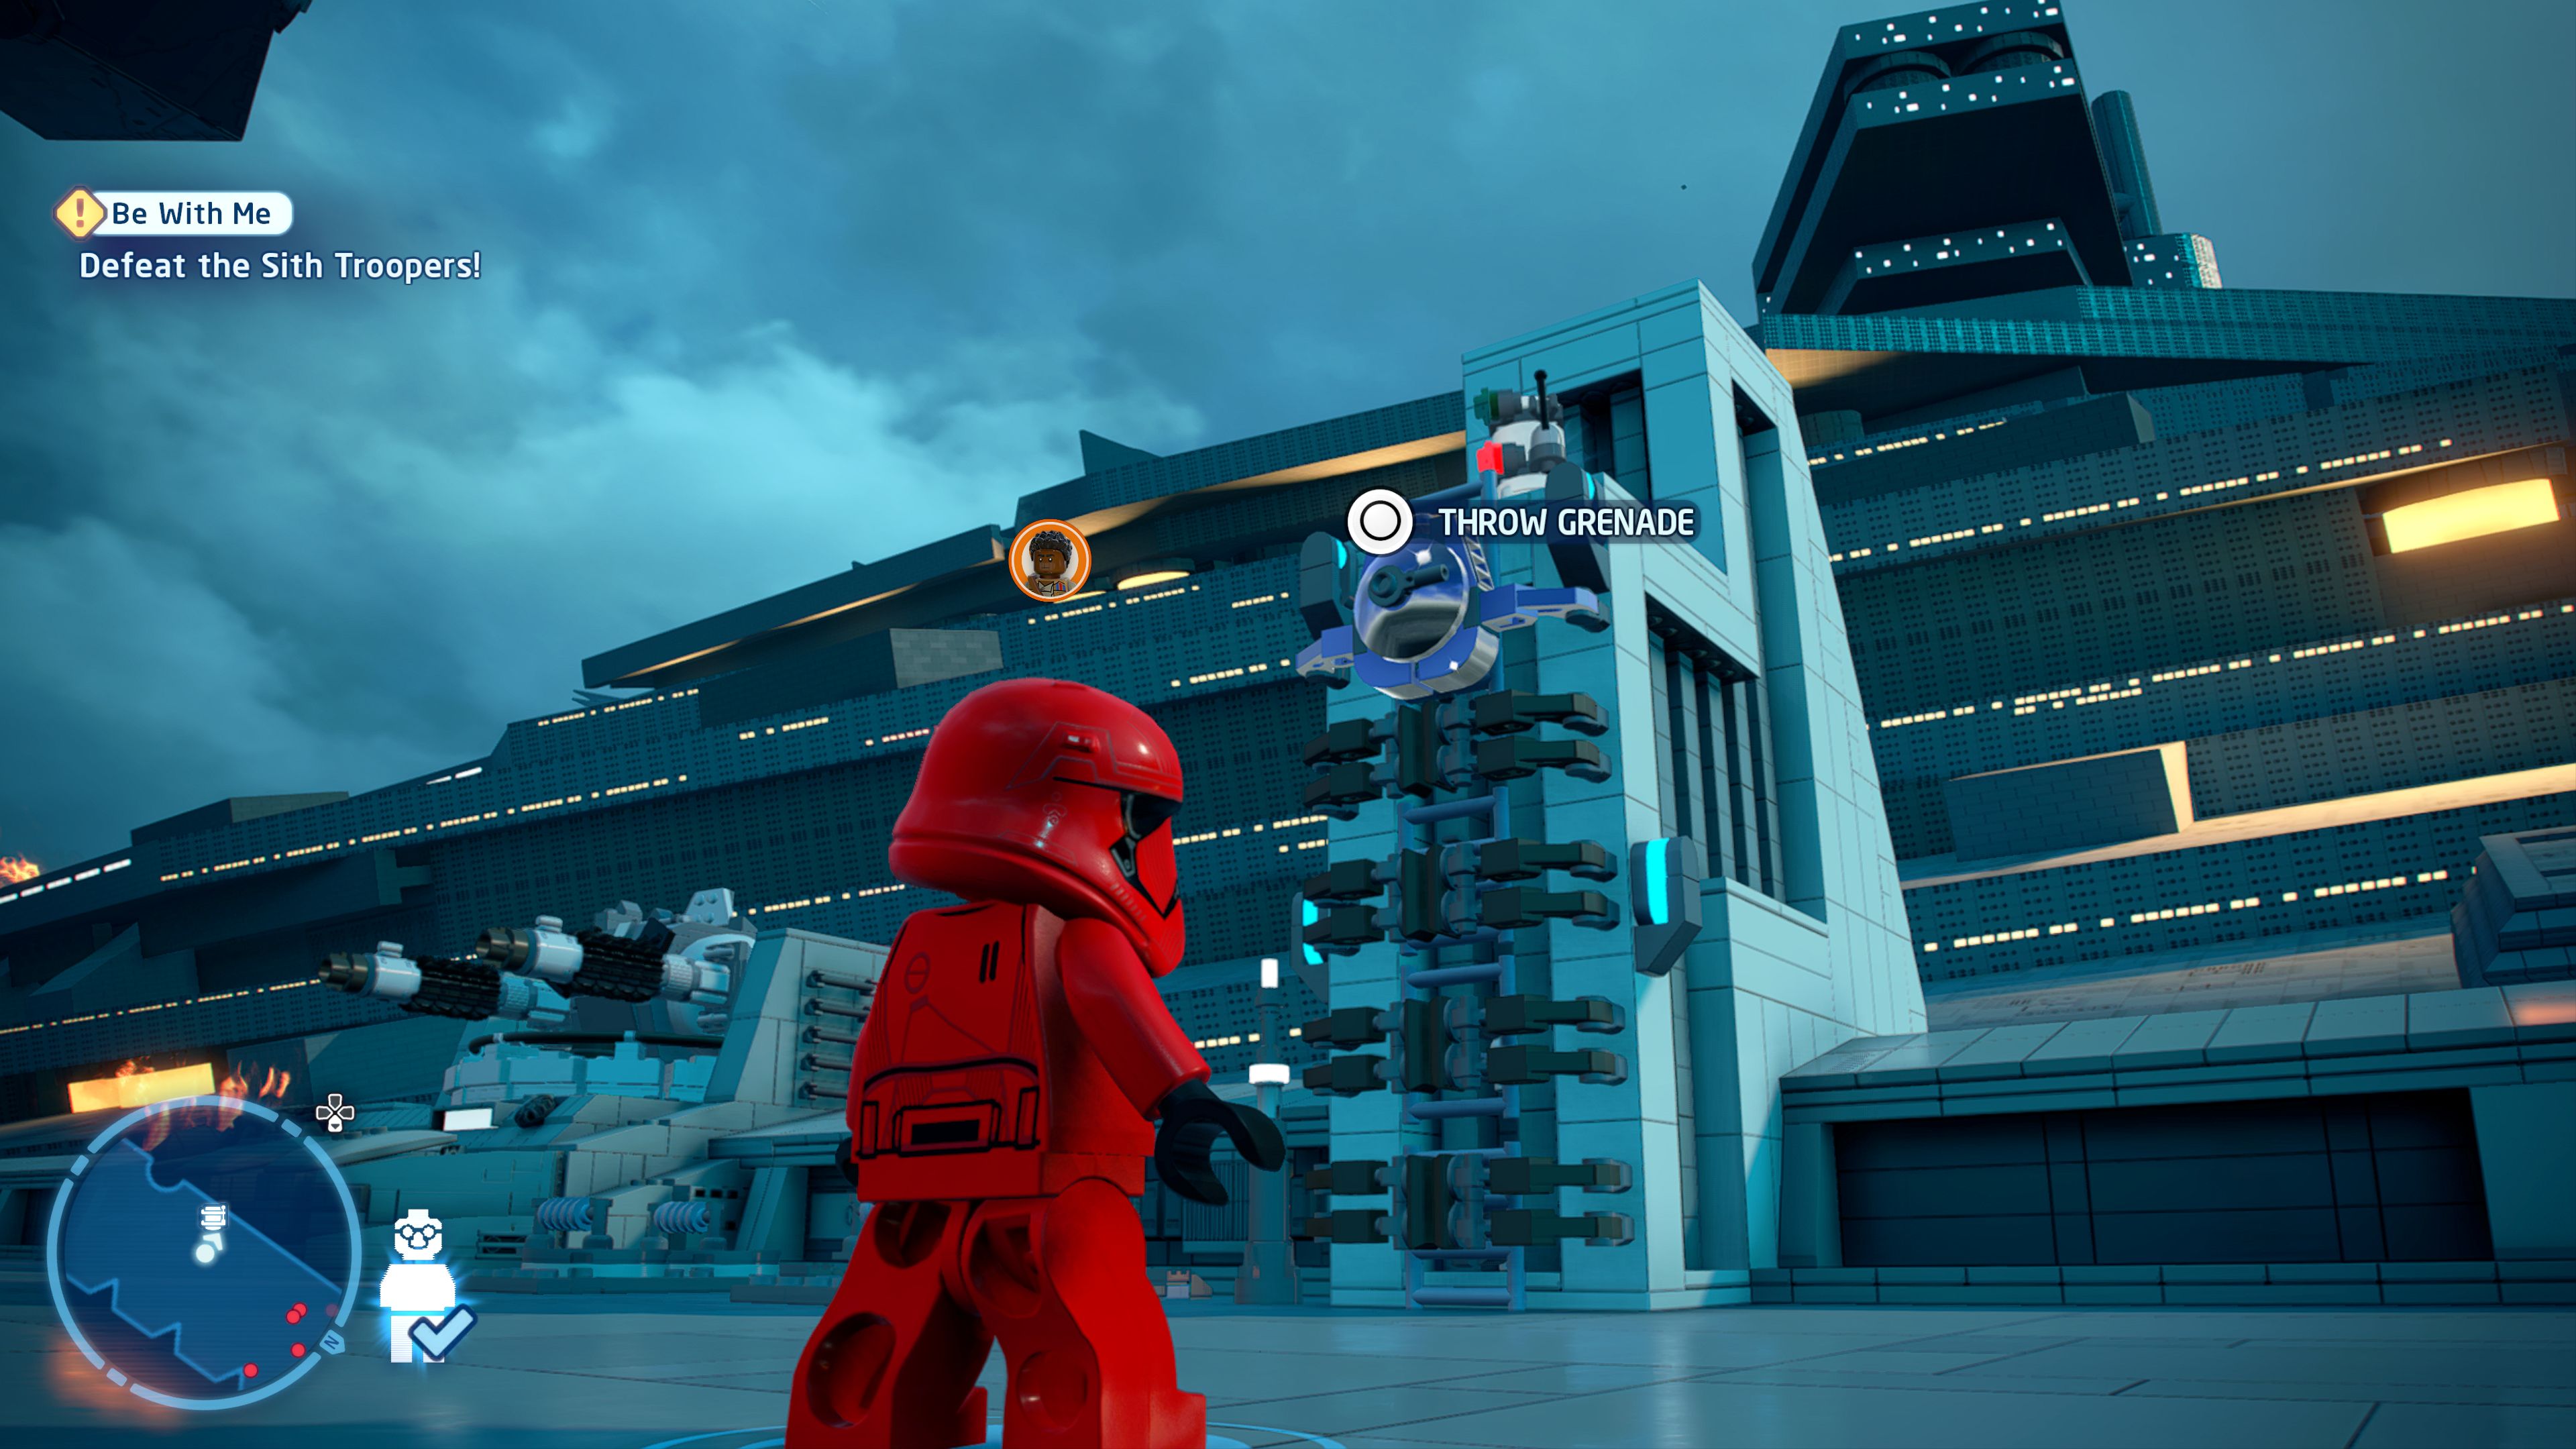
Climb your way to the top.
At the second Sith Trooper fight there is a tower with a ladder blocked by Silver LEGO. Blow it up with a villain grenade.
Minikit 5/5 - Hacker's Delight
Requires: Hero Story Mode: Yes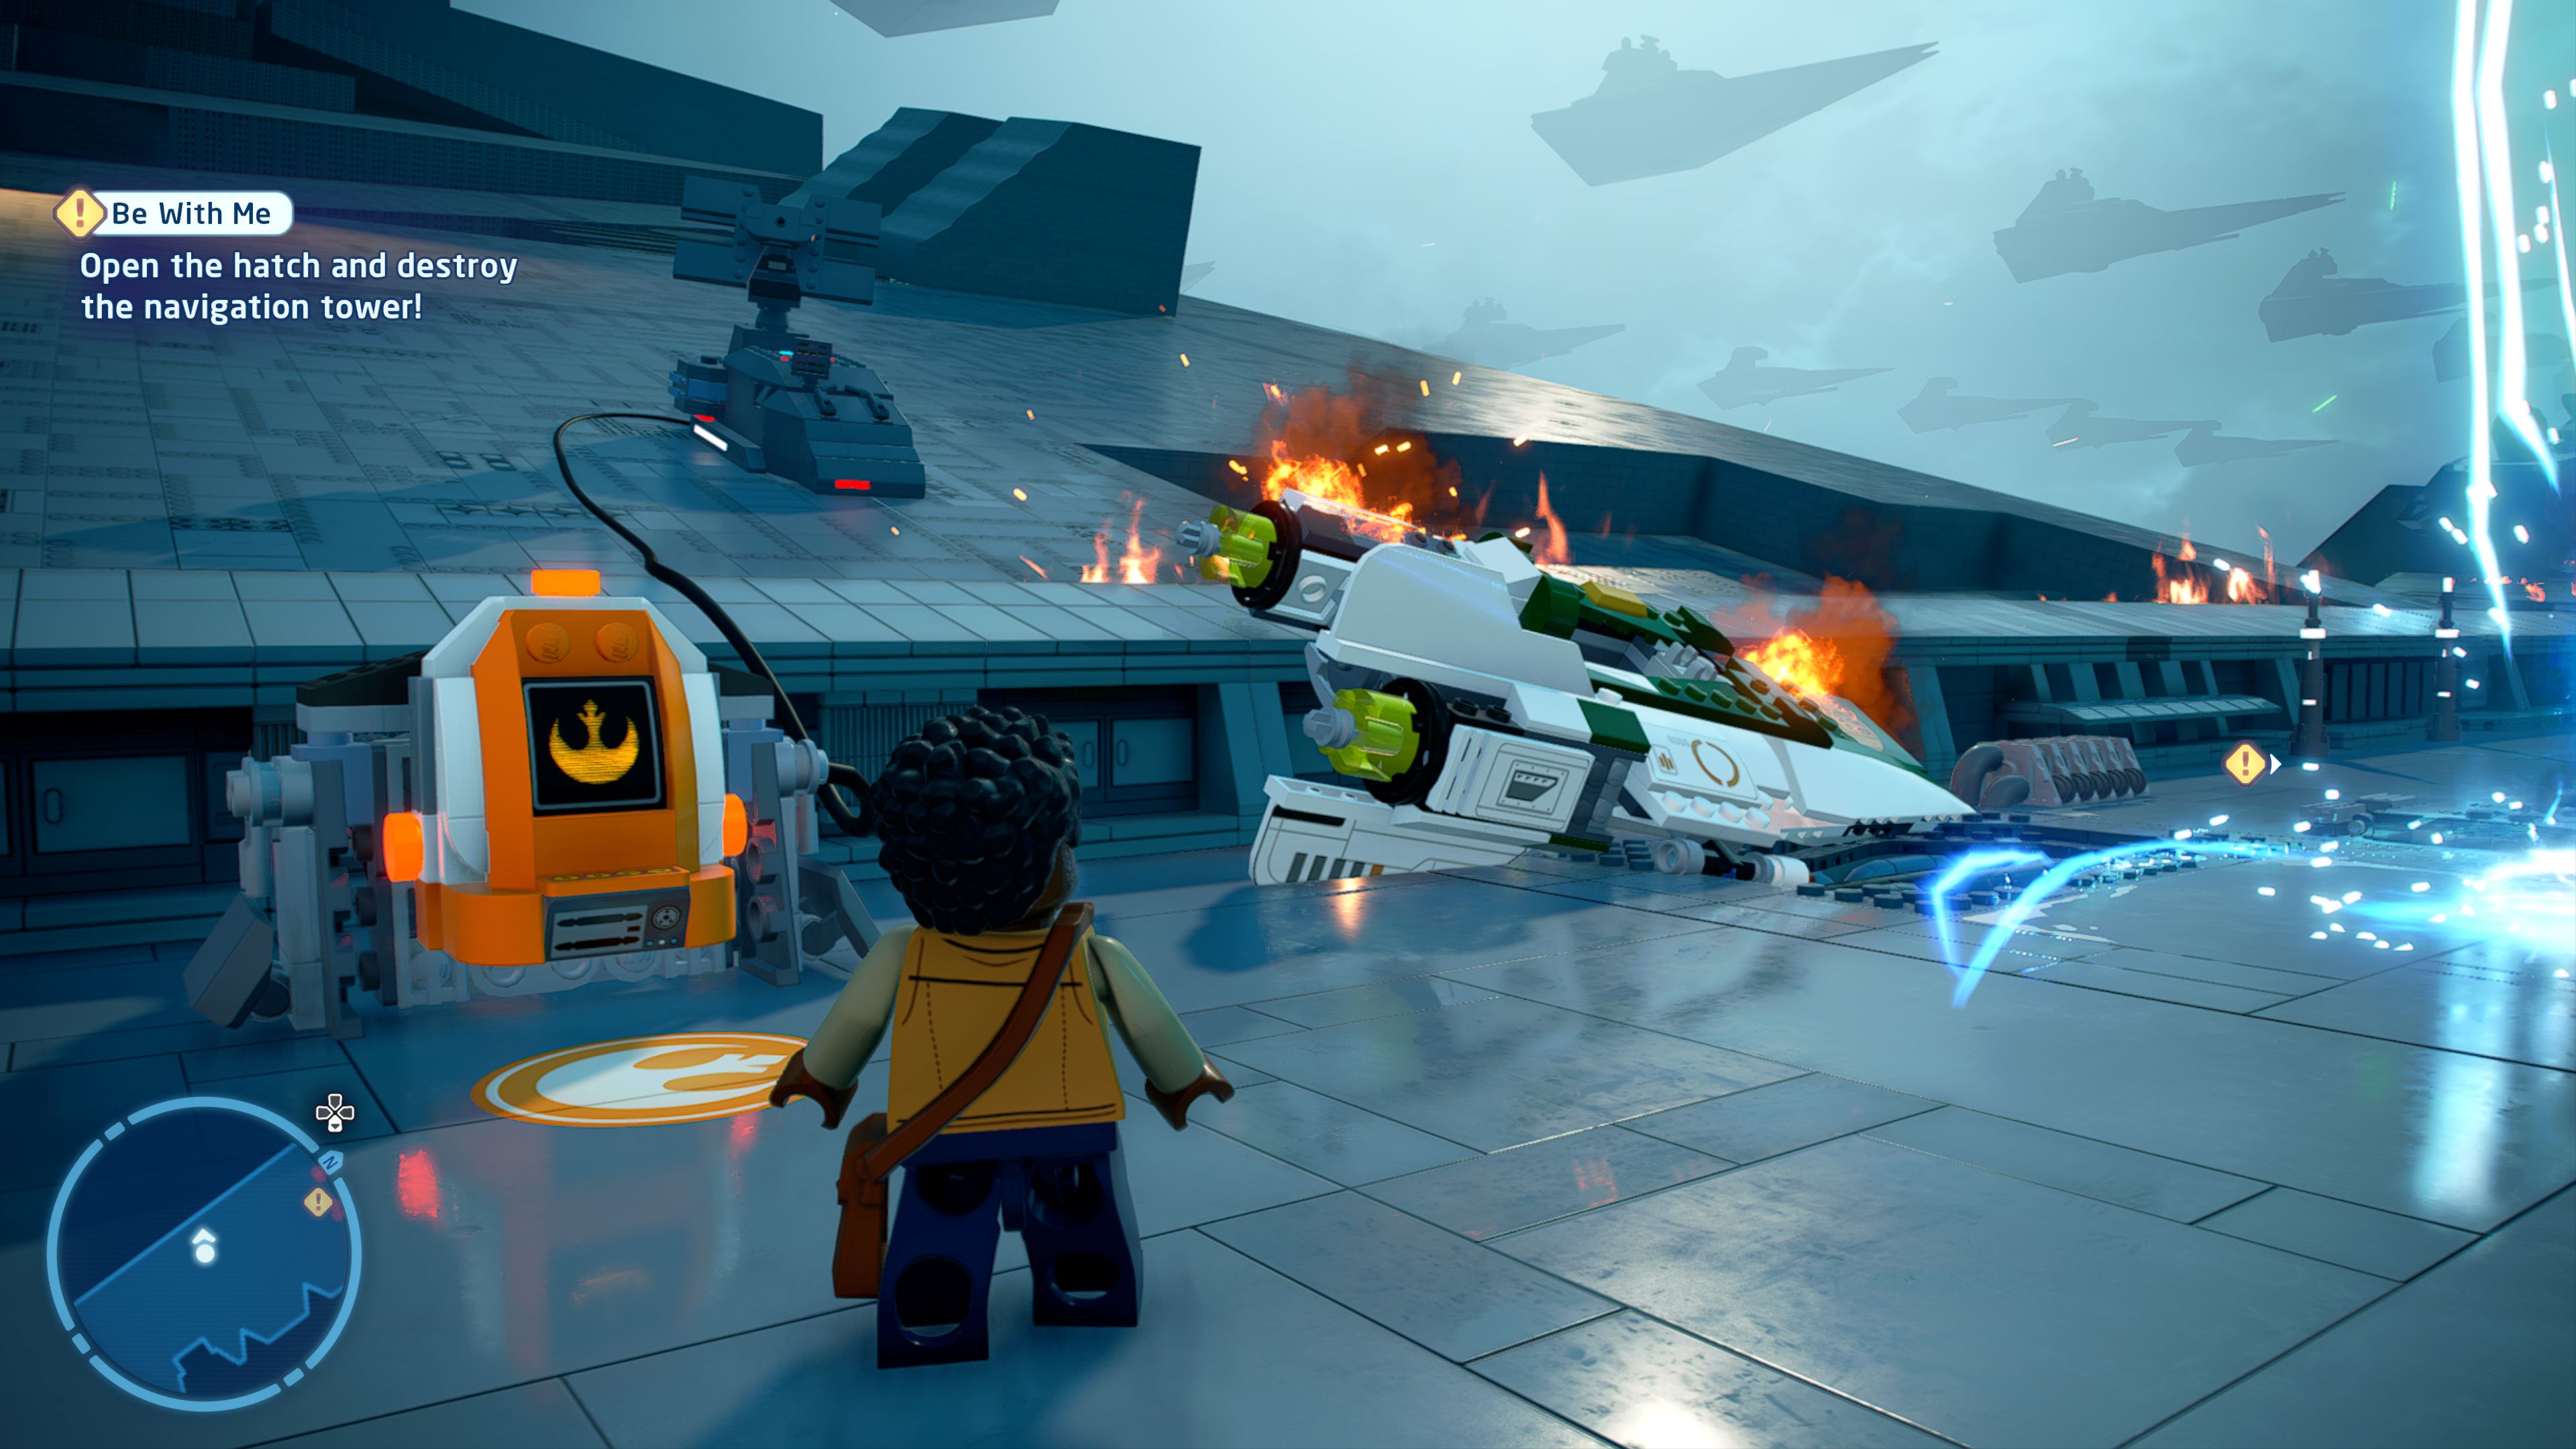
Reroute the signal from a communications dish...
Near the fight with BB-9E there is a communications dish off the edge of the map with a long wire connecting to it. Smash open the cockpit of the nearby ship to get the parts to build a Hero Terminal.
Tantive IV

| Cost | Character | |
|---|---|---|
|
|
- | Ben Solo |
|
|
- | Jannah |
|
|
100,000 | BB-9E |
|
|
200,000 | The Emperor (Clone) |
|
|
200,000 | Ap'lek |
|
|
200,000 | Cardo |
|
|
200,000 | Kuruk |
|
|
200,000 | Trudgen |
|
|
200,000 | Ushar |
|
|
200,000 | Vicrul |
|
|
200,000 | Leia (Training Flashback) |
|
|
100,000 | Luke Skywalker (Training Flashback) |
|
|
200,000 | Rey Skywalker |
|
|
35,000 | Rose Tico (Episode IX) |
|
|
100,000 | Sith Trooper |
|
|
100,000 | Sith Jet Trooper |
Now for 100%!
 darkspyro.net