Hero Episode 3. The Joker's Return
Chapter 1. Joker's Home Turf
| Story Mode | Free Play |
|---|---|
| 60,000 | 110,000 |
Avoid the green goo on the floor and smash your way through the gate ahead, on the other side are some Joker goons. After you've taken out the ones that run up to you you'll want to throw a batarang at the ones shooting at you from afar. Also use your batarang to hit the glowing objects above them, this will knock down the platform and give you the bricks to build an Attract Suit Swapper for Robin.
Smash objects around the area to get the required 25 bricks for the Attracto Canister on the left. Filling that up will get you a vehicle that can suck up the toxic waste if you drive over it. Drive to the right over the large patch of goo to find some more Joker goons.
After defeating them smash the objects next to the tank at the far end so you reveal some bricks to build a couple of handholds. Jump up the handholds and grapple to the top. Build the Glide Suit Swapper and have Batman put it on. I'd recommend continuing to pick up the loose LEGO bricks as you go for later.
Jump down to the left to build a cap for the green steam being vented. Move along to the left to build a second cap and then glide over the next gap. Straight away you can build a tightrope to help Robin over.
Climb up the ladder and have both characters grab onto the little handholds to knock the large barrels free so they smash through the roof.
Minikit 1/10
Requires: Explosives Story Mode: No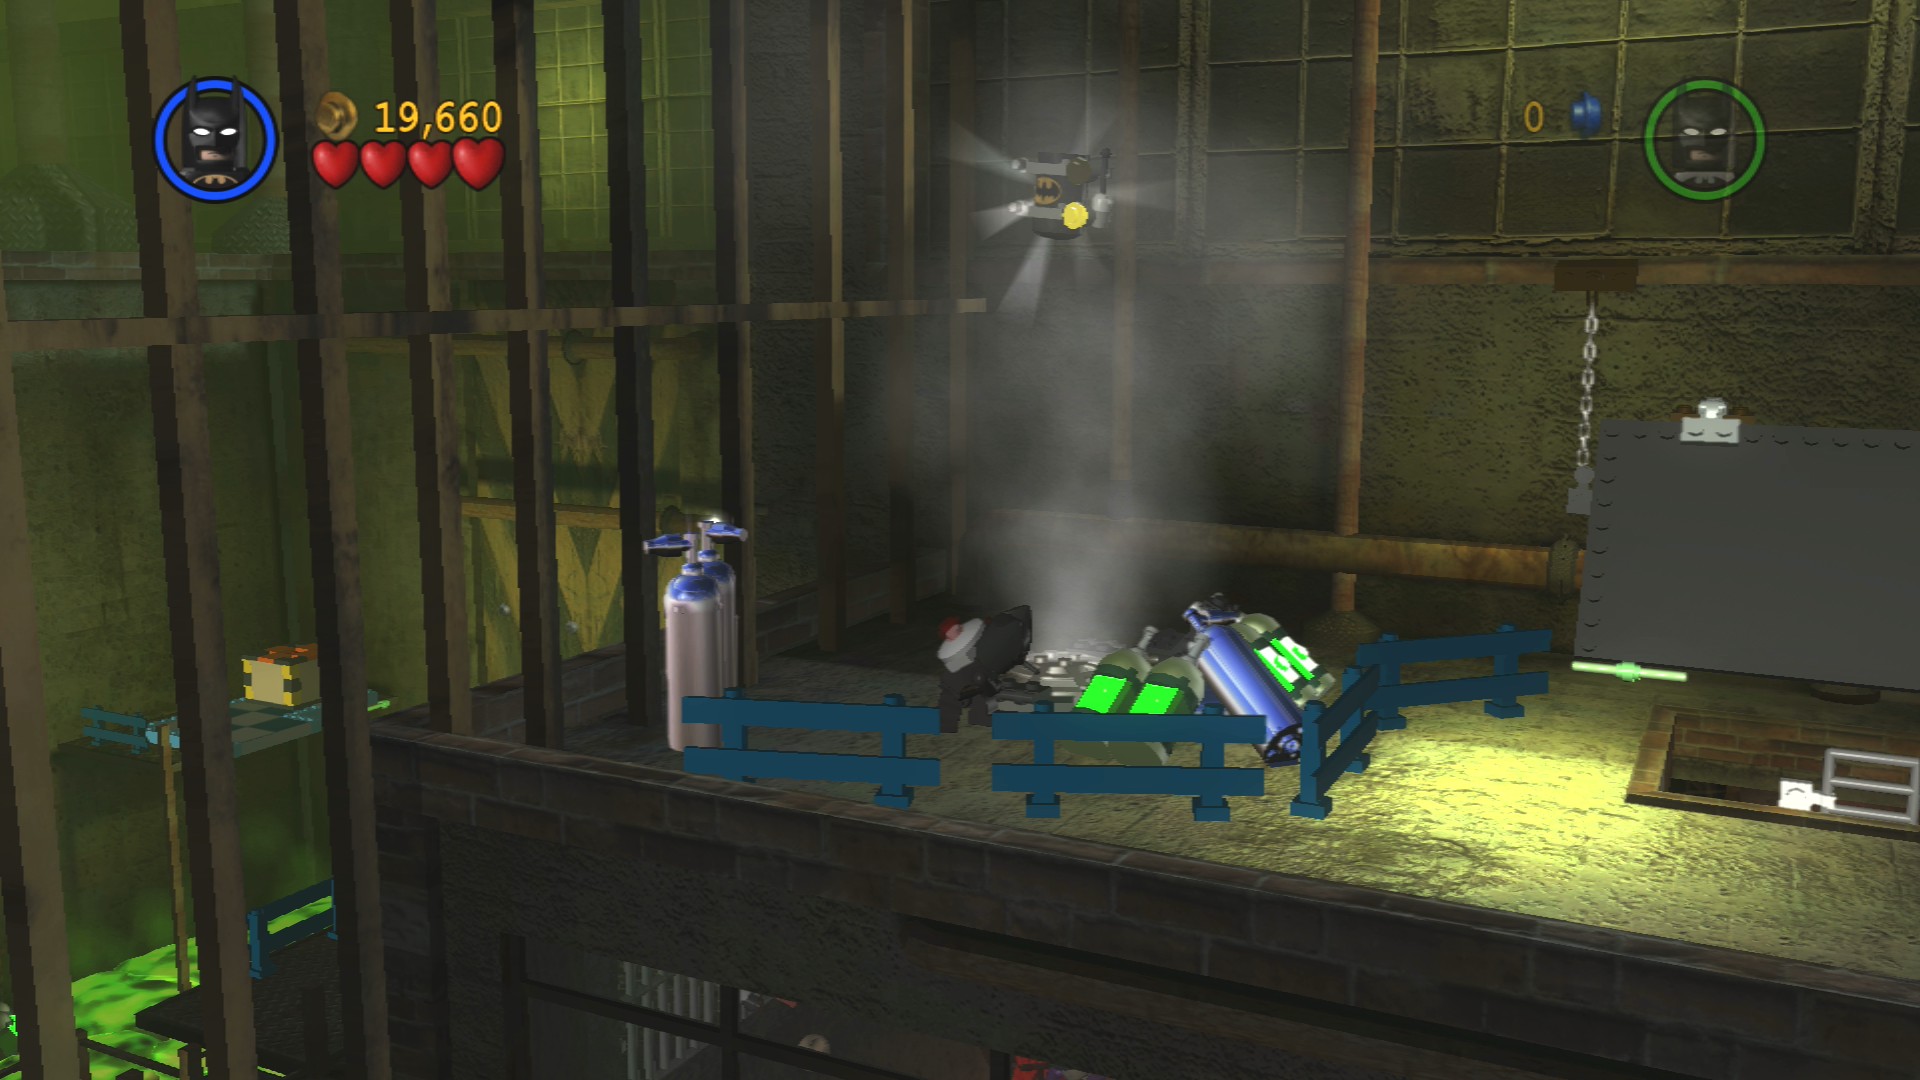
To the left of the hole you smash through the roof are some Silver LEGO canisters you can use explosives to blow up. Build a fan out of the bricks to blow you upwards into the Minikit.
Jump down into the hole and beat up the goons inside before smashing through the gate on the left side.
Shove the crate along its path and off the end down onto the toxic waste below. Glide over to the left side to a second crate which you'll also need to push off. Glide down off this platform towards the screen to avoid the toxic waste and join the fight with the Joker goons.
Minikit 2/10
Requires: Electric Buzzer, High Jump Story Mode: No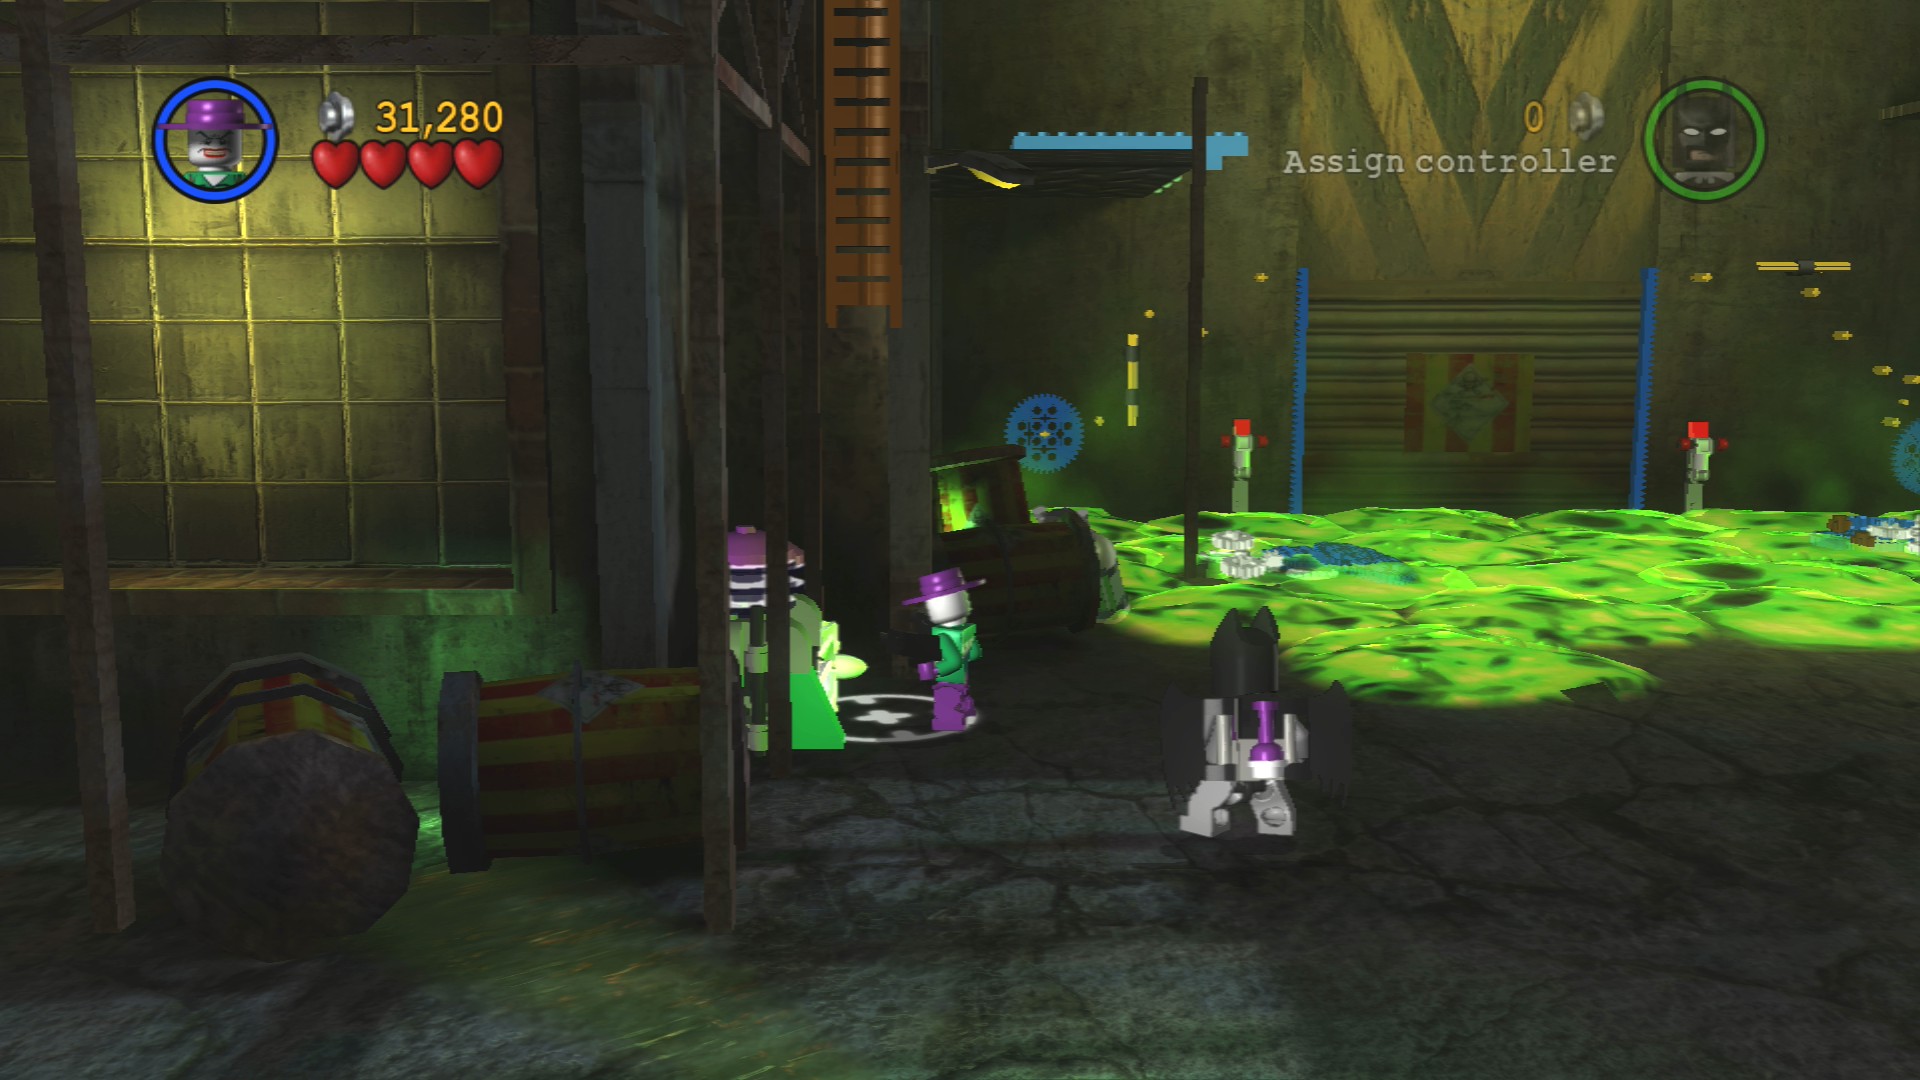
Use The Joker's electric buzzer to shock the generator on the left side of the massive puddle of toxic waste to drop down a ladder. Climb it and then high jump up to a handhold to get the Minikit in the little room above.
Minikit 3/10
Requires: Hypnosis, Heat Protection, Explosives Story Mode: No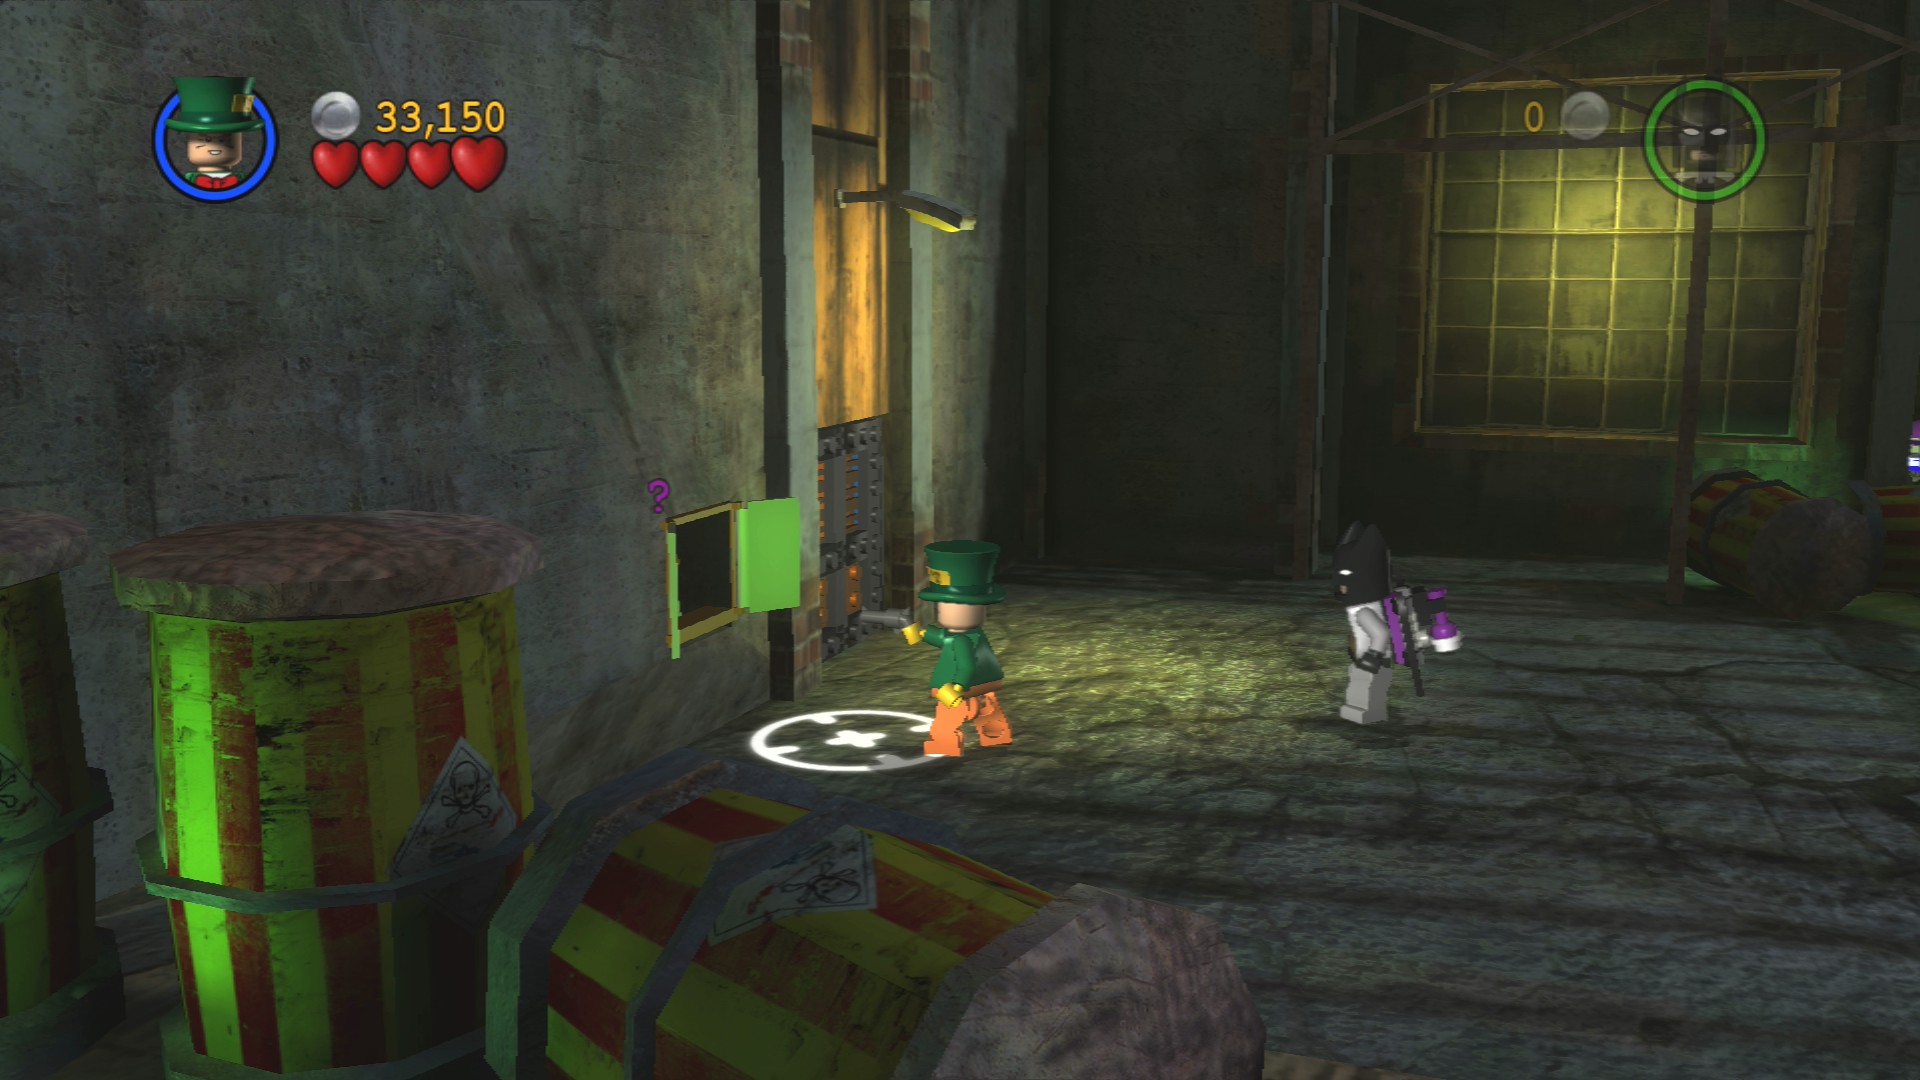
Use hypnosis to get through the guard post on the left side of the area. Time to start fixing pipes. First push the pipe end along the checkered path so that it lines up with the curved pipe. Then smash the objects next to the next bit of the pipe to reveal some red hot parts. Switch to the Heat Protection Suit to repair those parts.
Blow up the Silver LEGO crates on the left side and repair the last part of the pipes. Wait for a moment as it all moves into position and explodes, leaving the Minikit for you to collect.
Gather up enough loose LEGO to fill the Attracto Canister at the bottom of the staircase, this will build a large cannon that will fire some bombs at the door to blow it up. Now you can get back to the earlier section to drive the goo sucking machine again. Bring it inside to clear up the massive puddle of goo.
Minikit 4/10
Requires: None Story Mode: Yes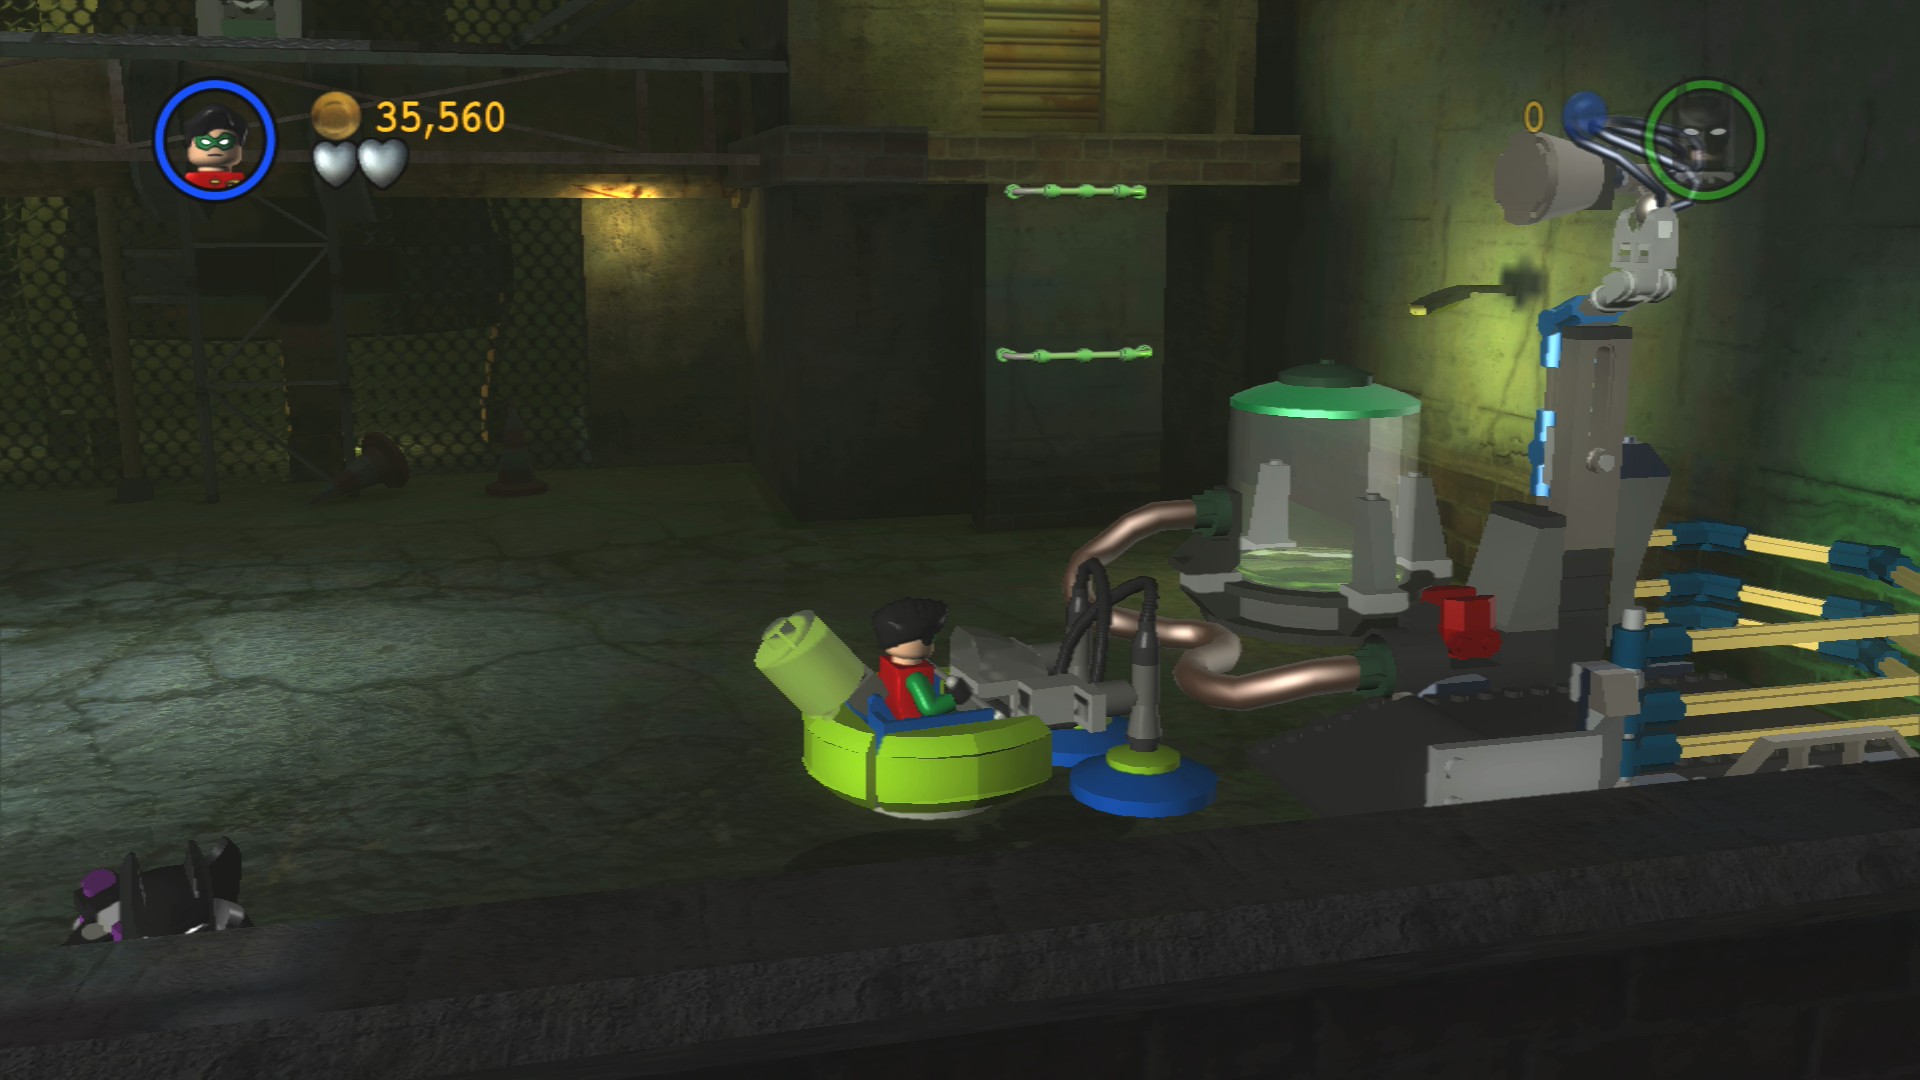
If you collect all of the toxic waste, that includes the stuff that was at the very start of the level, then the canister on the back of the machine will be completely filled up and you'll see the machine on the far right side of the starting area open up. Drive the machine over there and park it in the cage to get the Minikit.
Now that the goo is gone you can assemble the bricks that fell out of the crates you pushed off the platforms. Pull both levers to go through the door to the next area.
Defeat the goons that attack, ignore the bullets coming from above. In Free Play you can blow up the Silver LEGO to build a ladder to get up to them.
Minikit 5/10
Requires: Technology Suit Story Mode: No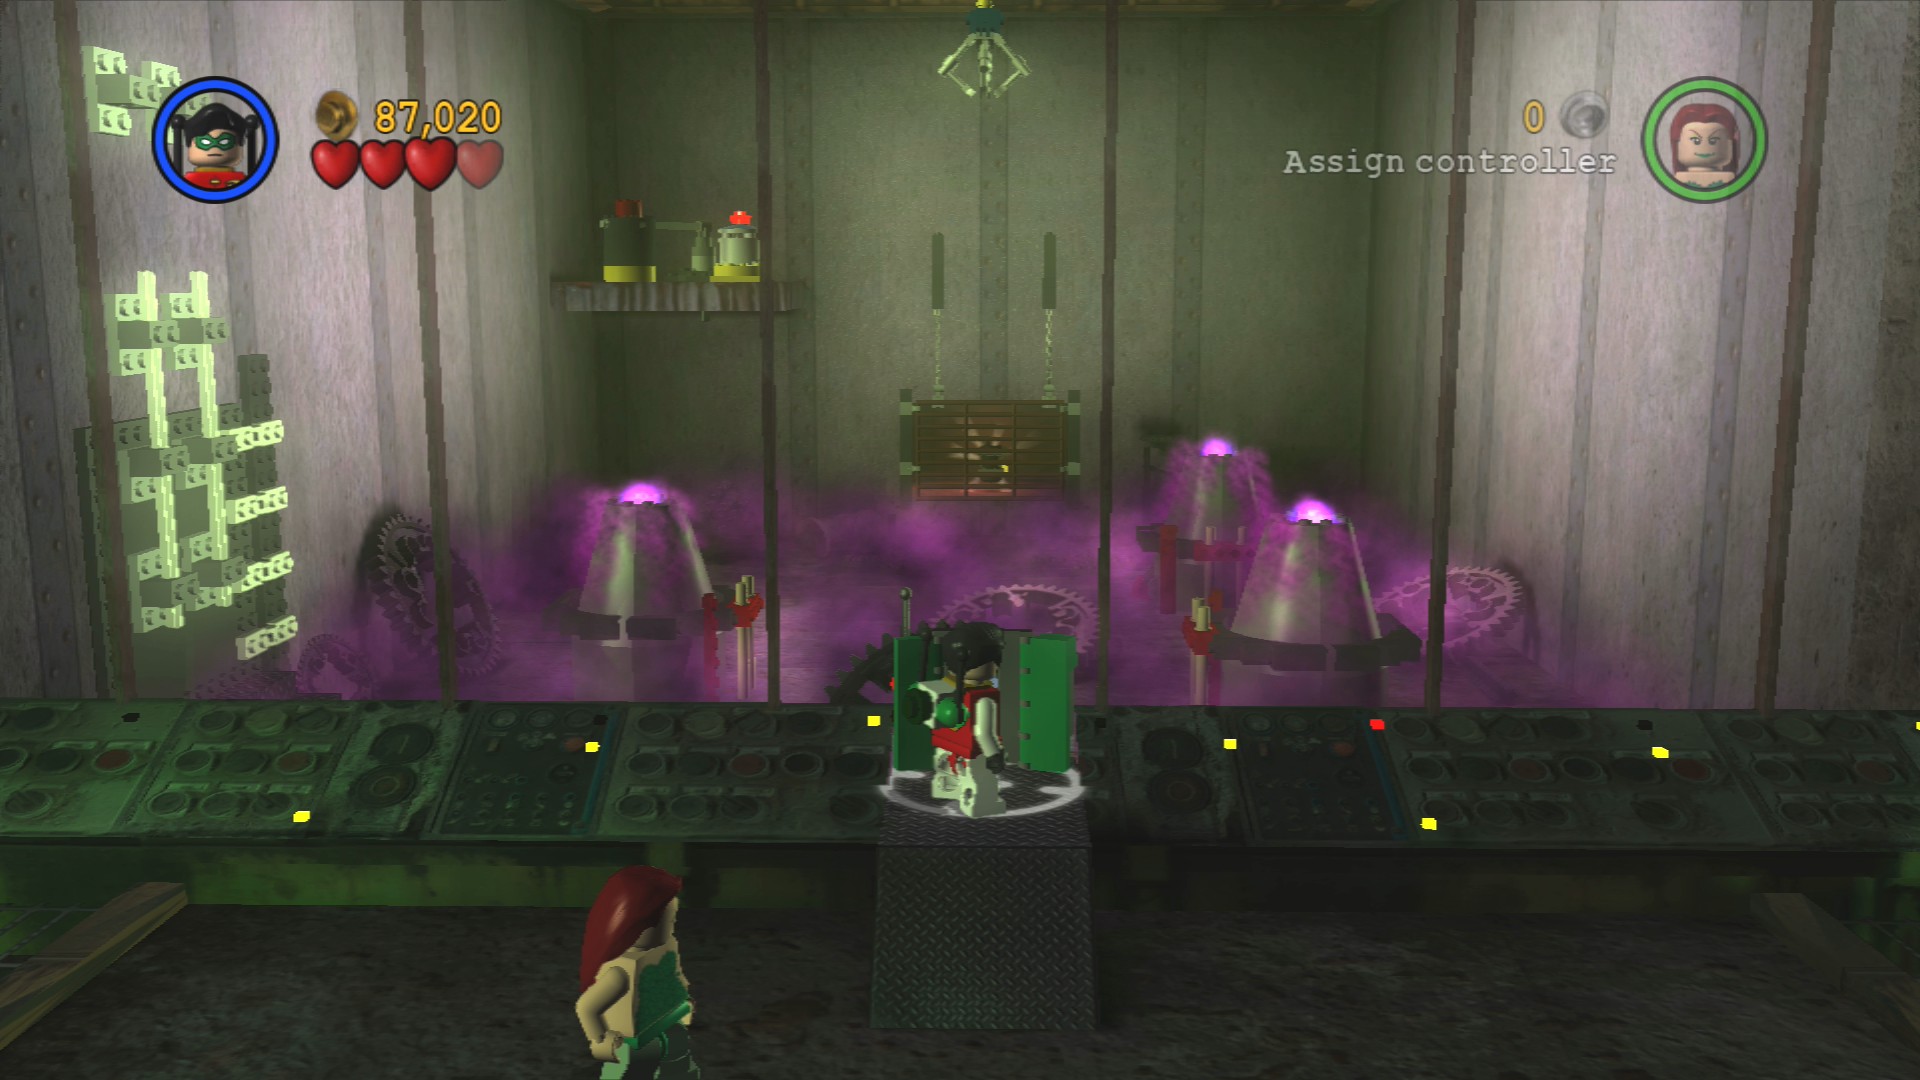
At the back of the start of this area is a purple hazy section, use Robin's Technology Suit to take control of the crane arm and use it to pick up the bombs from the back left corner and drop them on each of the three large cones that are spewing out the gas.
Once all three are gone the gas will clear and the door on the left side will open. Go inside and build the remains of the cones into two plungers for both characters to stand on at the same time, opening the cage at the back so you can get the Minikit inside it.
Go up the steps on the right side to defeat a few more goons who didn't bother to join the fight. Push the two crates off the side and then go to the back and glide over to a third crate which you also need to push off. From the bricks they drop you can build a forklift.
Drive the forklift to the right and smash through some Silver LEGO barrels, this will give you the parts to build a ladder. You can also smash through some more Silver LEGO towards the screen to get the parts to finish off a second forklift.
Ignore the ladder for the moment, instead keep going to the right. Smash the objects in the path and build a small platform to stand on on the wall. This will turn off the green gas above.
Minikit 6/10
Requires: Hazard Protection Story Mode: No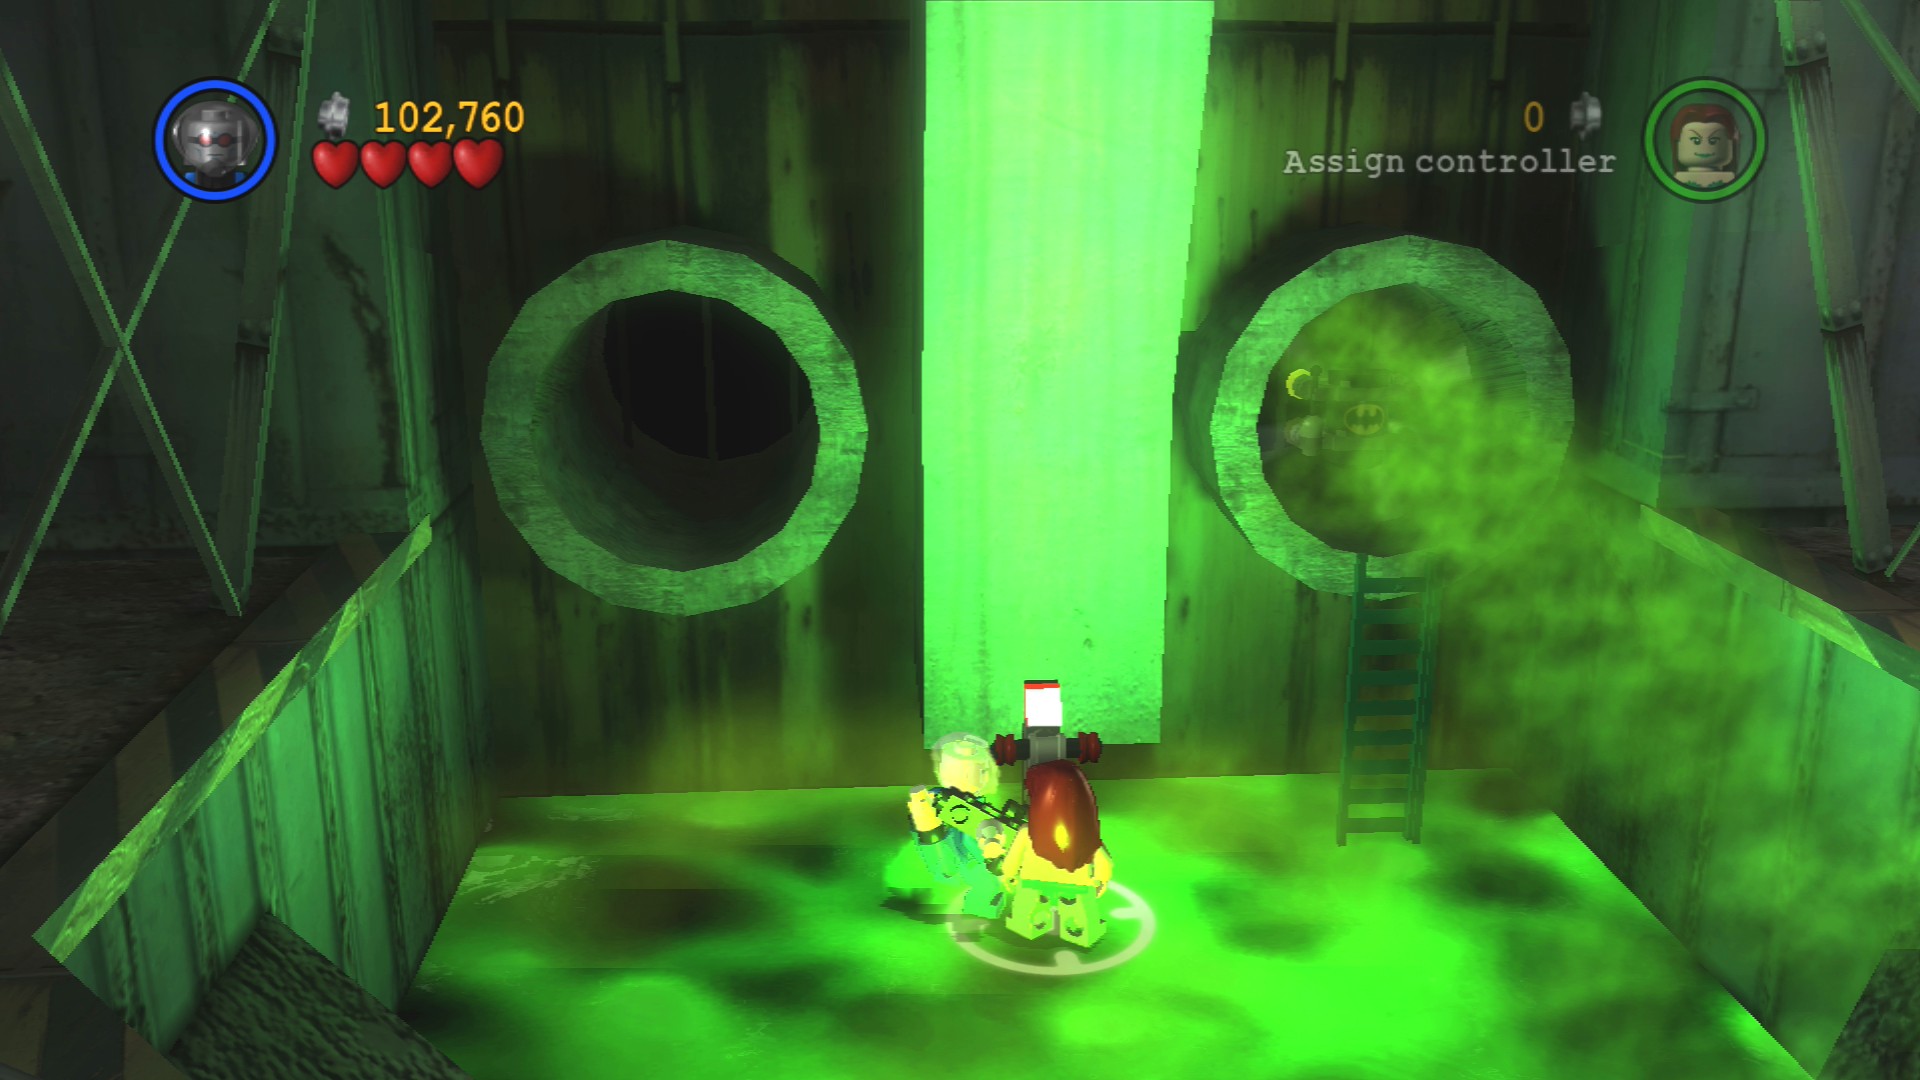
Jump into the toxic waste pool just after the gas switch and pull the lever. The Minikit will appear in the tube on the right.
Now Batman can go up the ladder and continue to the right, gliding over the gap and standing on another paddle to turn off the gas below. Jump down and beat up the goons.
Drive a forklift further to the right to smash through some more Silver LEGO barrels. They'll give up the bricks to a spinner switch which will won't immediately work. You'll first need to jump to the handhold at the back and jump over the goo to the left to assemble a nozzle above.
Now the spinner will work, push it to move the nozzle to the right before jumping back up the handhold and pulling the lever to fill the second pool with goo to make the platforms float. Jump over those newly floating platforms, down onto a black and yellow striped platform and then glide to the right onto some handholds. Pull the lever at the top to raise the bridge below.
Jump down to defeat the goons below and then drive a forklift over the newly raised bridge. Take it all the way to the right onto a large orange plate which will cause a platform to start moving.
Get onto the lift to ride it up to a few more goons.
Minikit 7/10
Requires: Strength, High Jump Story Mode: No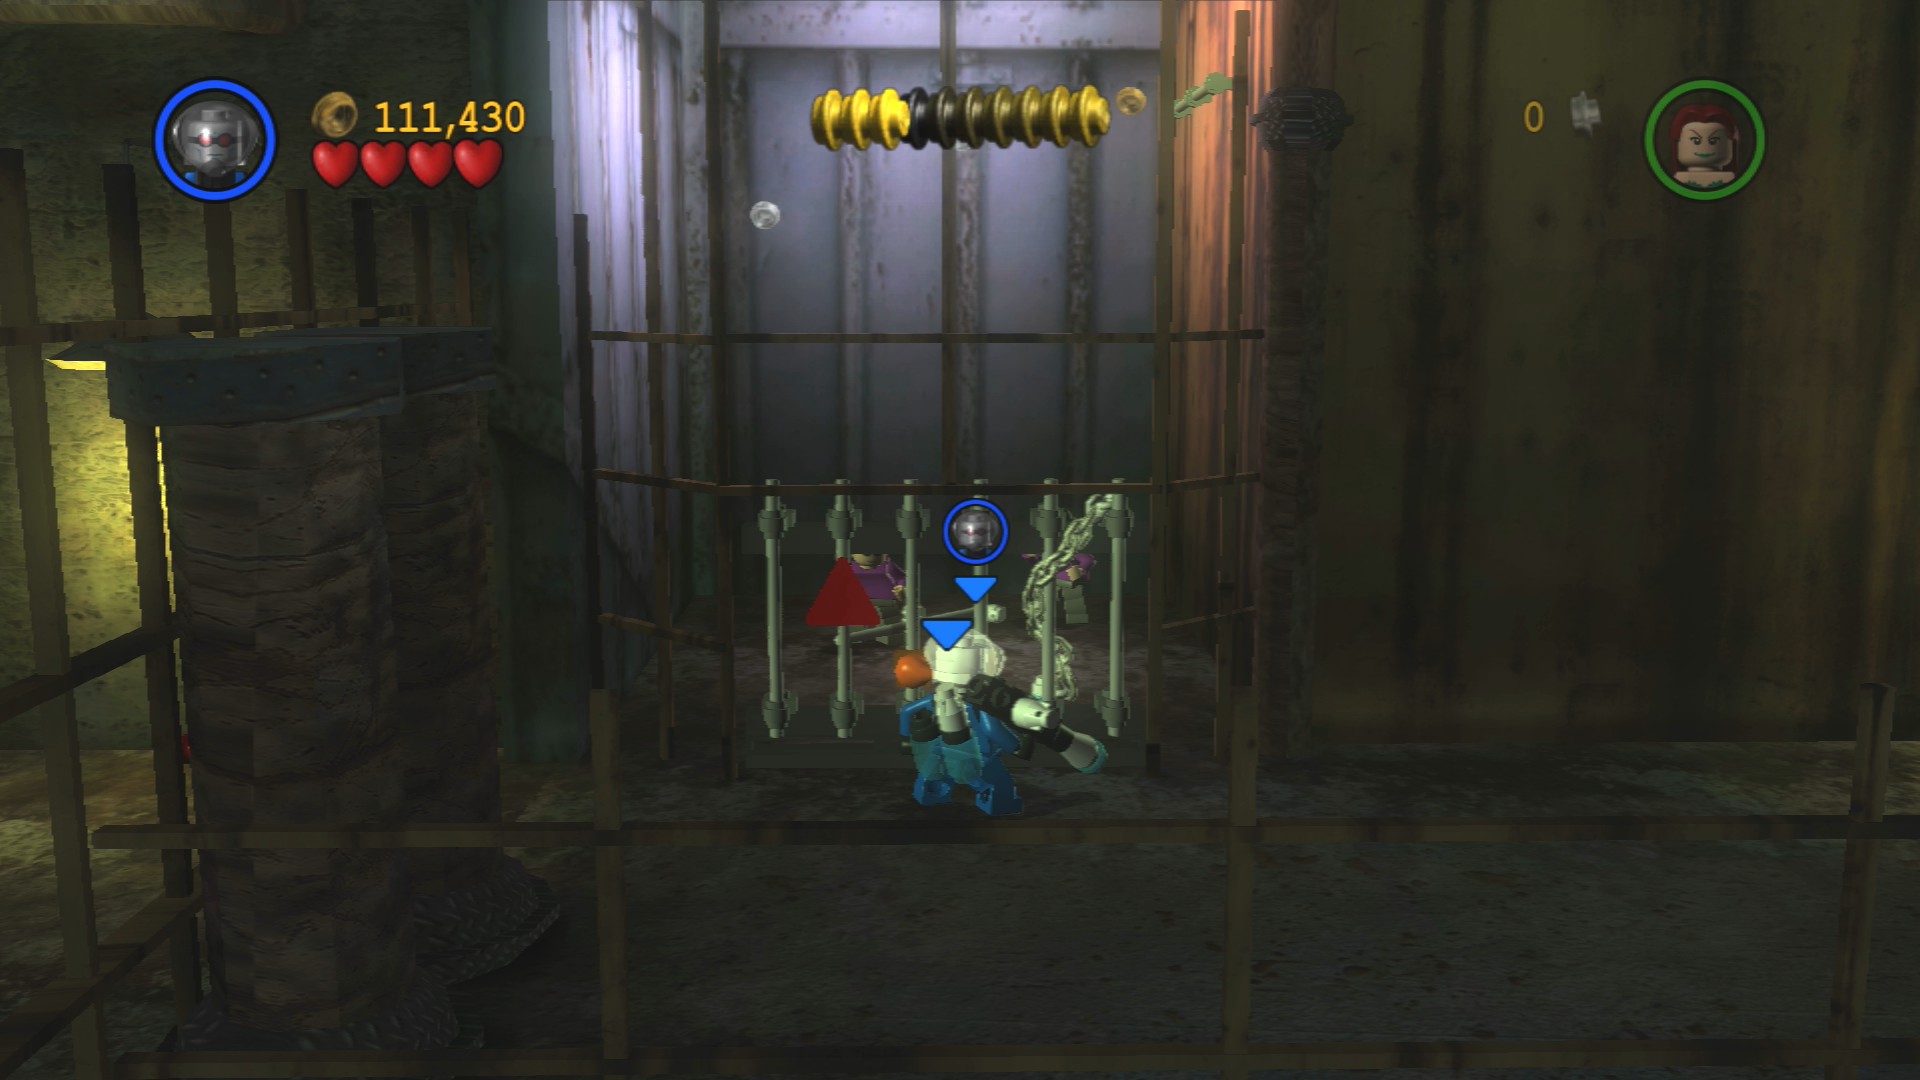
Go to the left after the lift and use strength to open a gate. Defeat the goons behind there and build the handholds. High jump up to the handhold and then across to the opposite side and up to the top where the Minikit is hiding.
Minikit 8/10
Requires: Glide or Hazard Protection Story Mode: Yes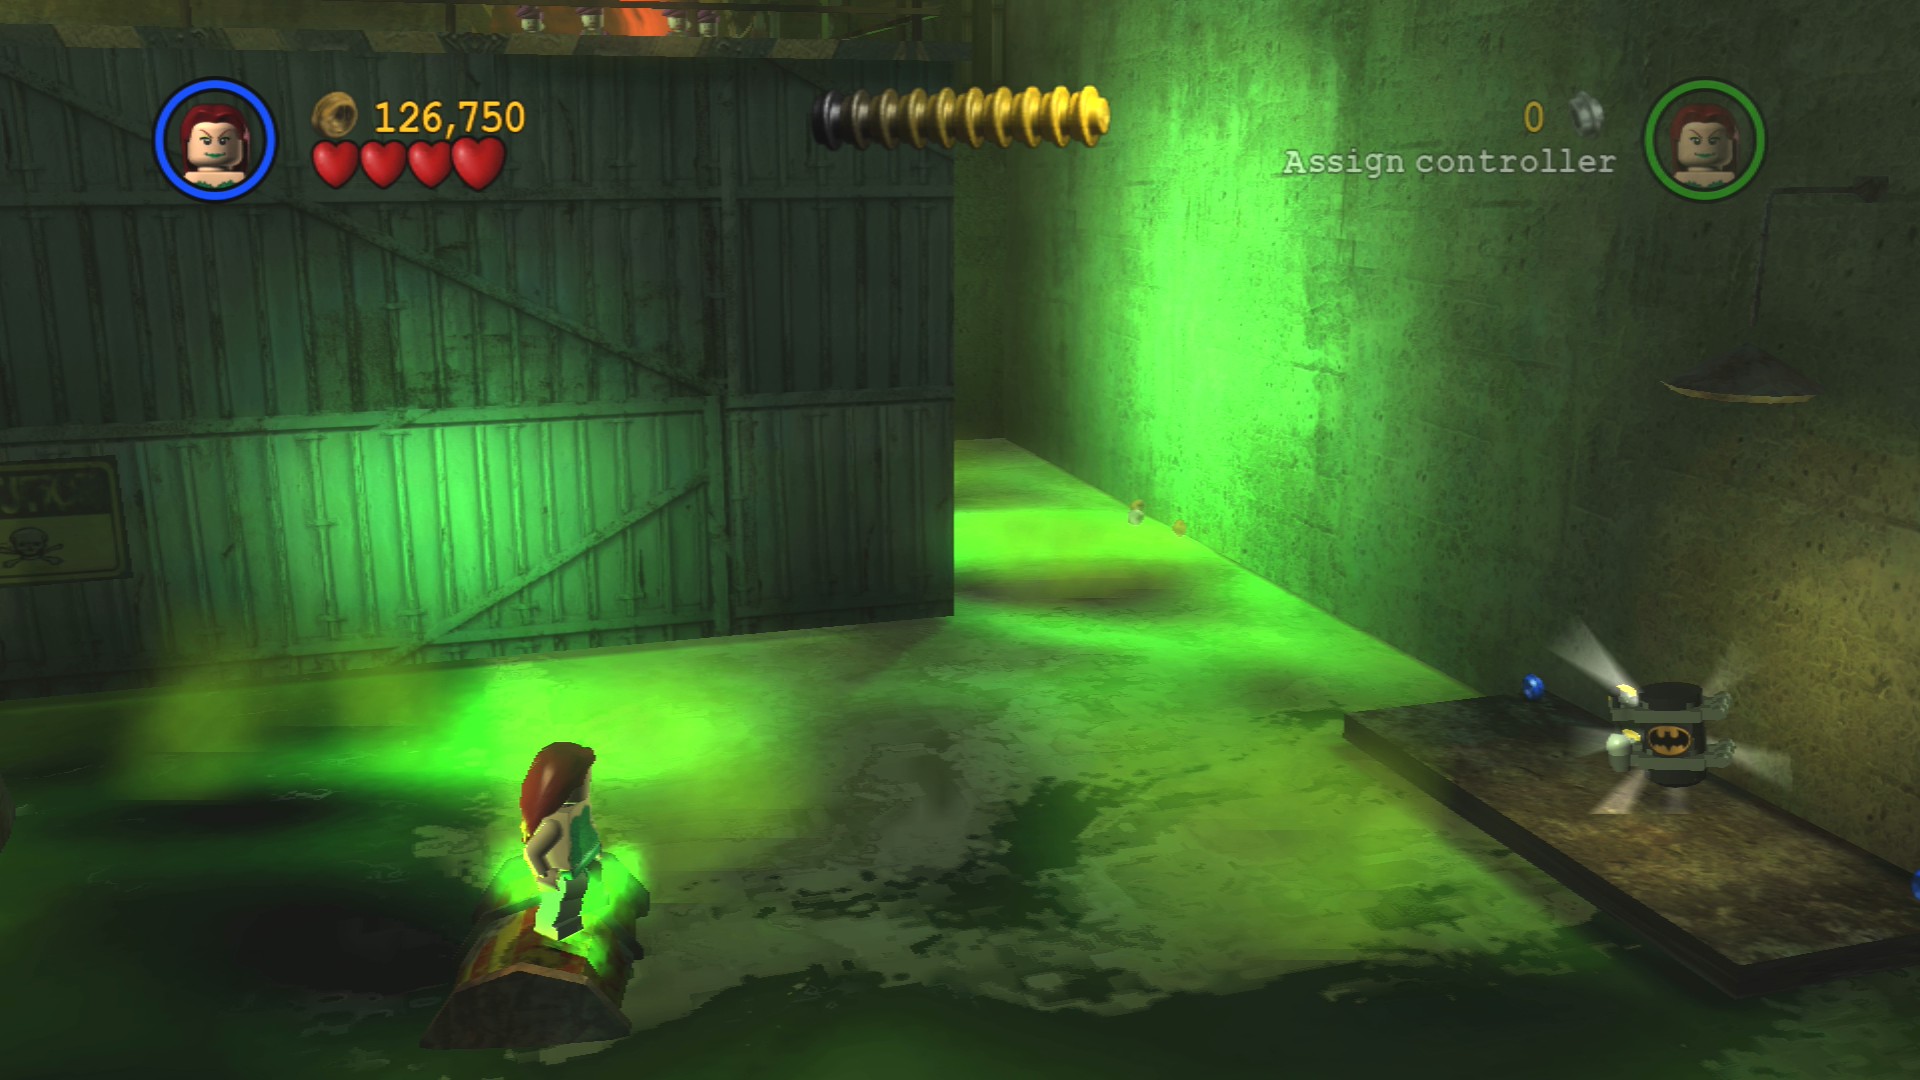
To the right of the lift you'll see a green ladder going down. Jump down it and use the barrels to cross the toxic goo water to find the Minikit on the right.
Going to the right from the lift beat up the henchmen around the corner and go through the red tunnel.
Red Brick - Freeze Batarang
Requires: Freeze Ray, High Jump, Sonic Suit Story Mode: No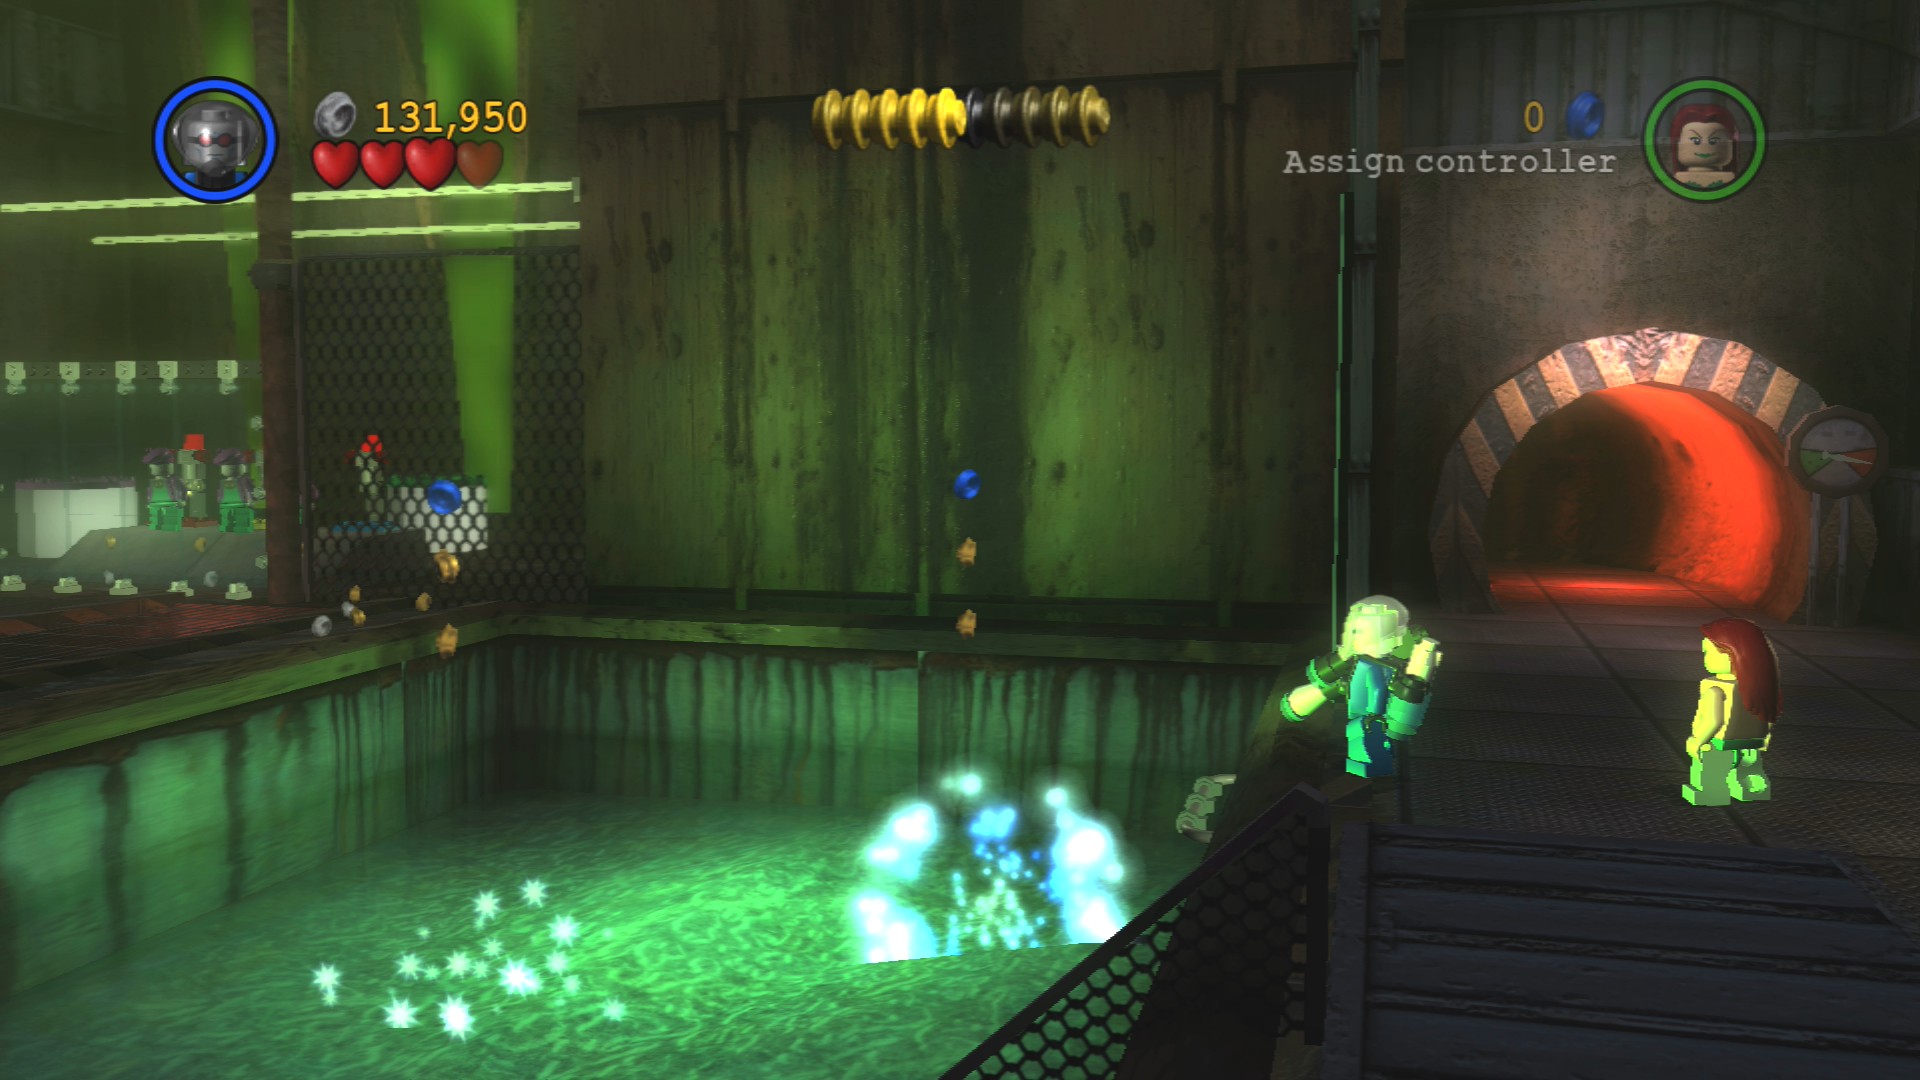
To the left in this new area is some green water with freezable sections. Freeze them and high jump up to the left. Sonic Suit through the glass at the back and solve the puzzle.
You'll need to pull the red and the blue levers to fill the purple pipe on the left. Then pull the yellow and the blue to fill the green pipe in the middle. And finally pull the red and the yellow levers to fill the orange pipe. Once all three are sorted the Red Brick will appear.
Go right and use your batarang to hit the six glowing red canisters in the air. Build the Magnet Suit Swapper and put it on to walk up the metal on the right. Build the object and push it along the track.
Glide over the partially extended bridge and defeat the Joker henchmen on the other side. Assemble the LEGO bricks to finish the bridge so that Robin can get over as well.
Minikit 9/10
Requires: Electric Buzzer Story Mode: No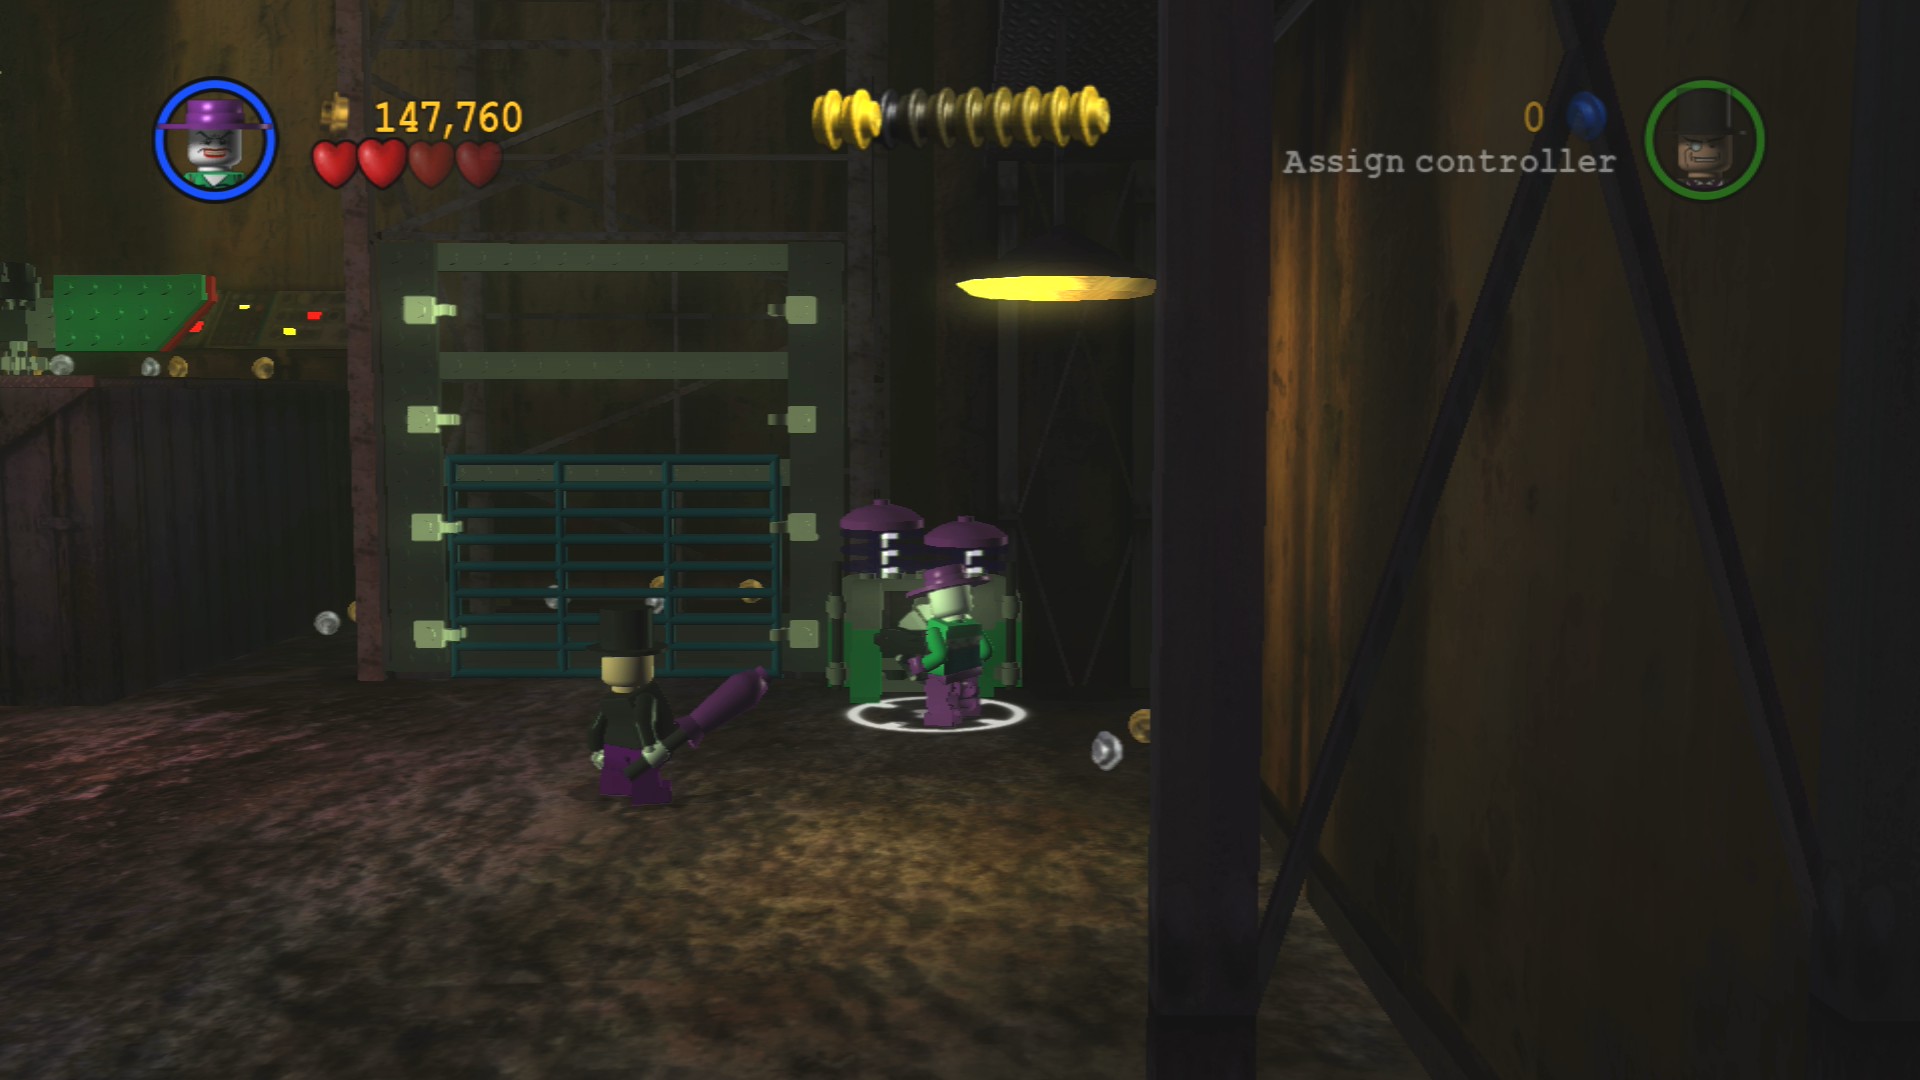
At the far right end use the Joker's buzzer to power the generator and ride the elevator up. Push on the spinner switch to drain the righthand pool of goo and reveal the Minikit.
Hostage 9/25
Requires: Electric Buzzer Story Mode: No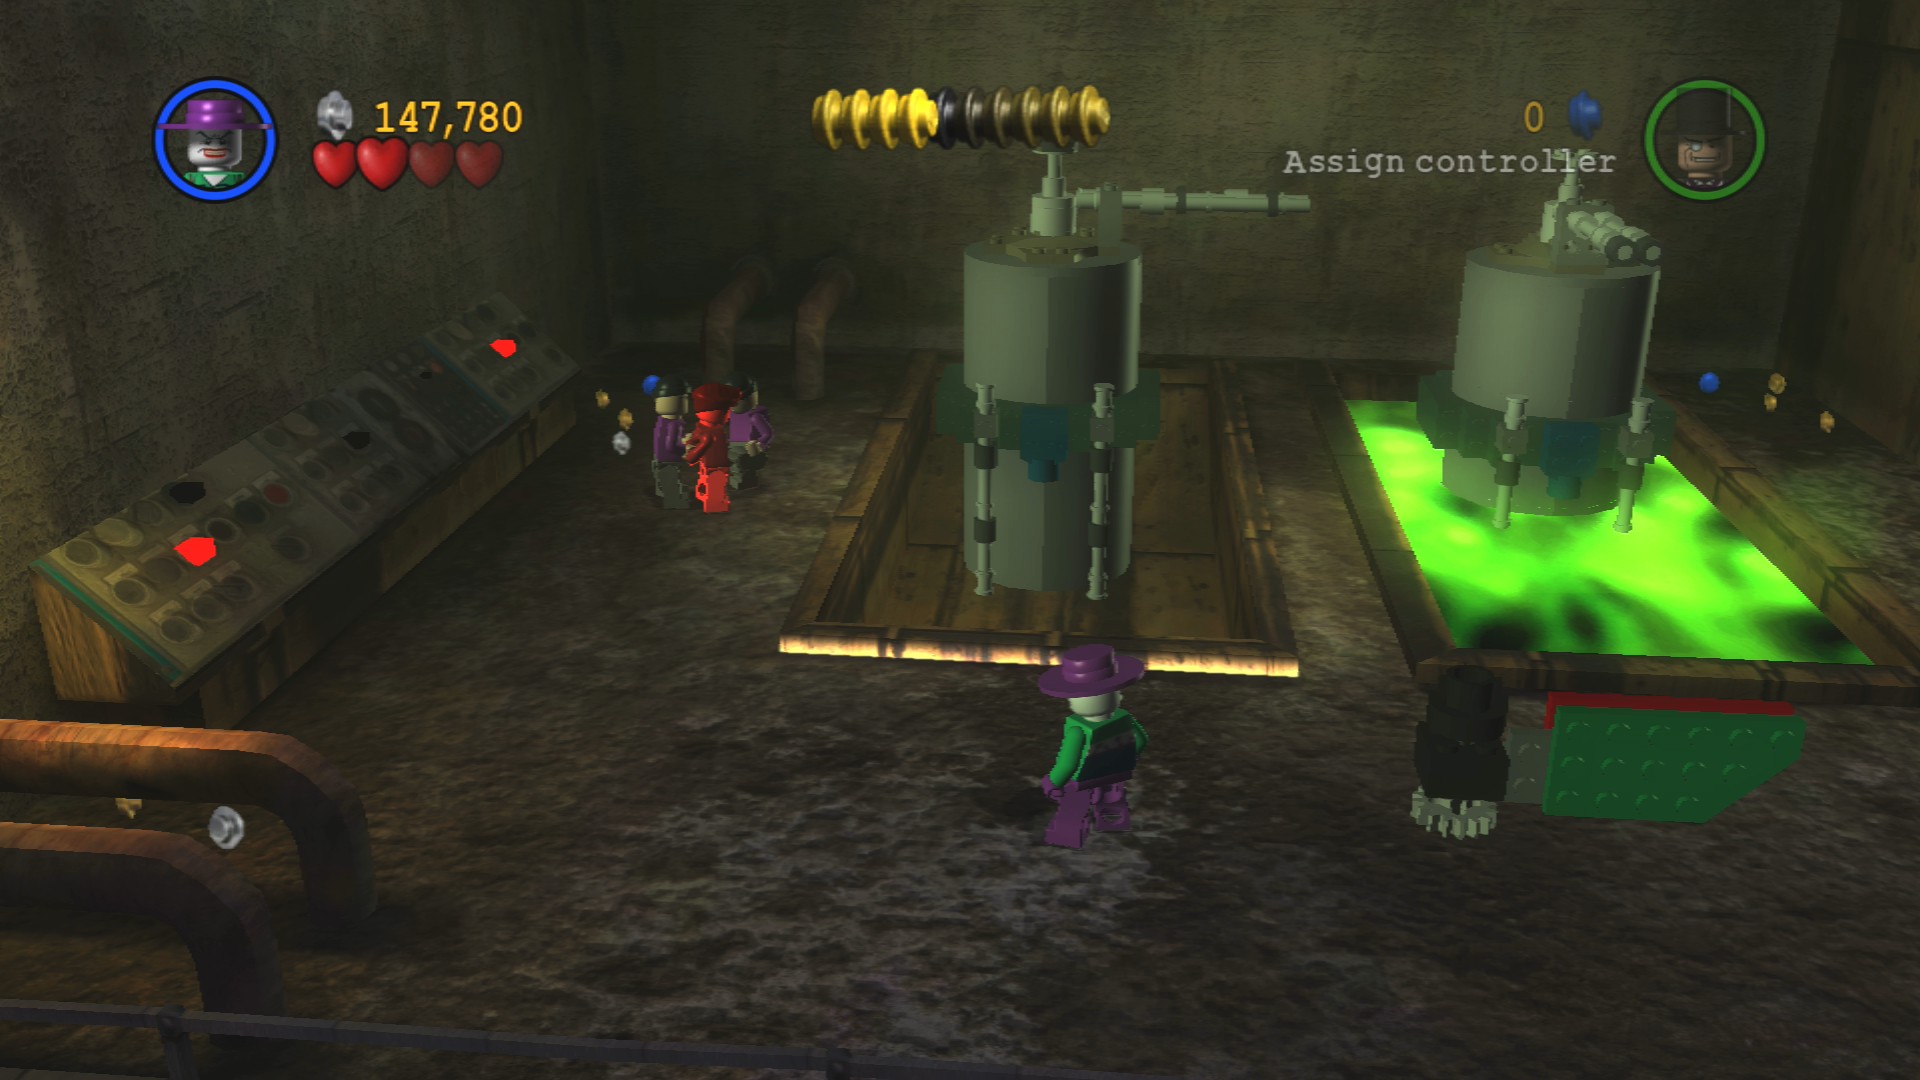
The hostage is also found up here at the back.
At the right end walk up the metal and push on the spinner switch to open the garage door. Head through to face off against Mad Hatter.
Hit him a couple of times and he'll run off through a door. He should then appear in the upper area and stand on one of the two trapdoors at the front. Glitch warning: several times I have had it where he did not appear in the upper area after going through the doors. The only solution appears to be to restart the level, not a big problem if it happens in Free Play but very annoying in Story Mode.
Minikit 10/10
Requires: Explosives Story Mode: Yes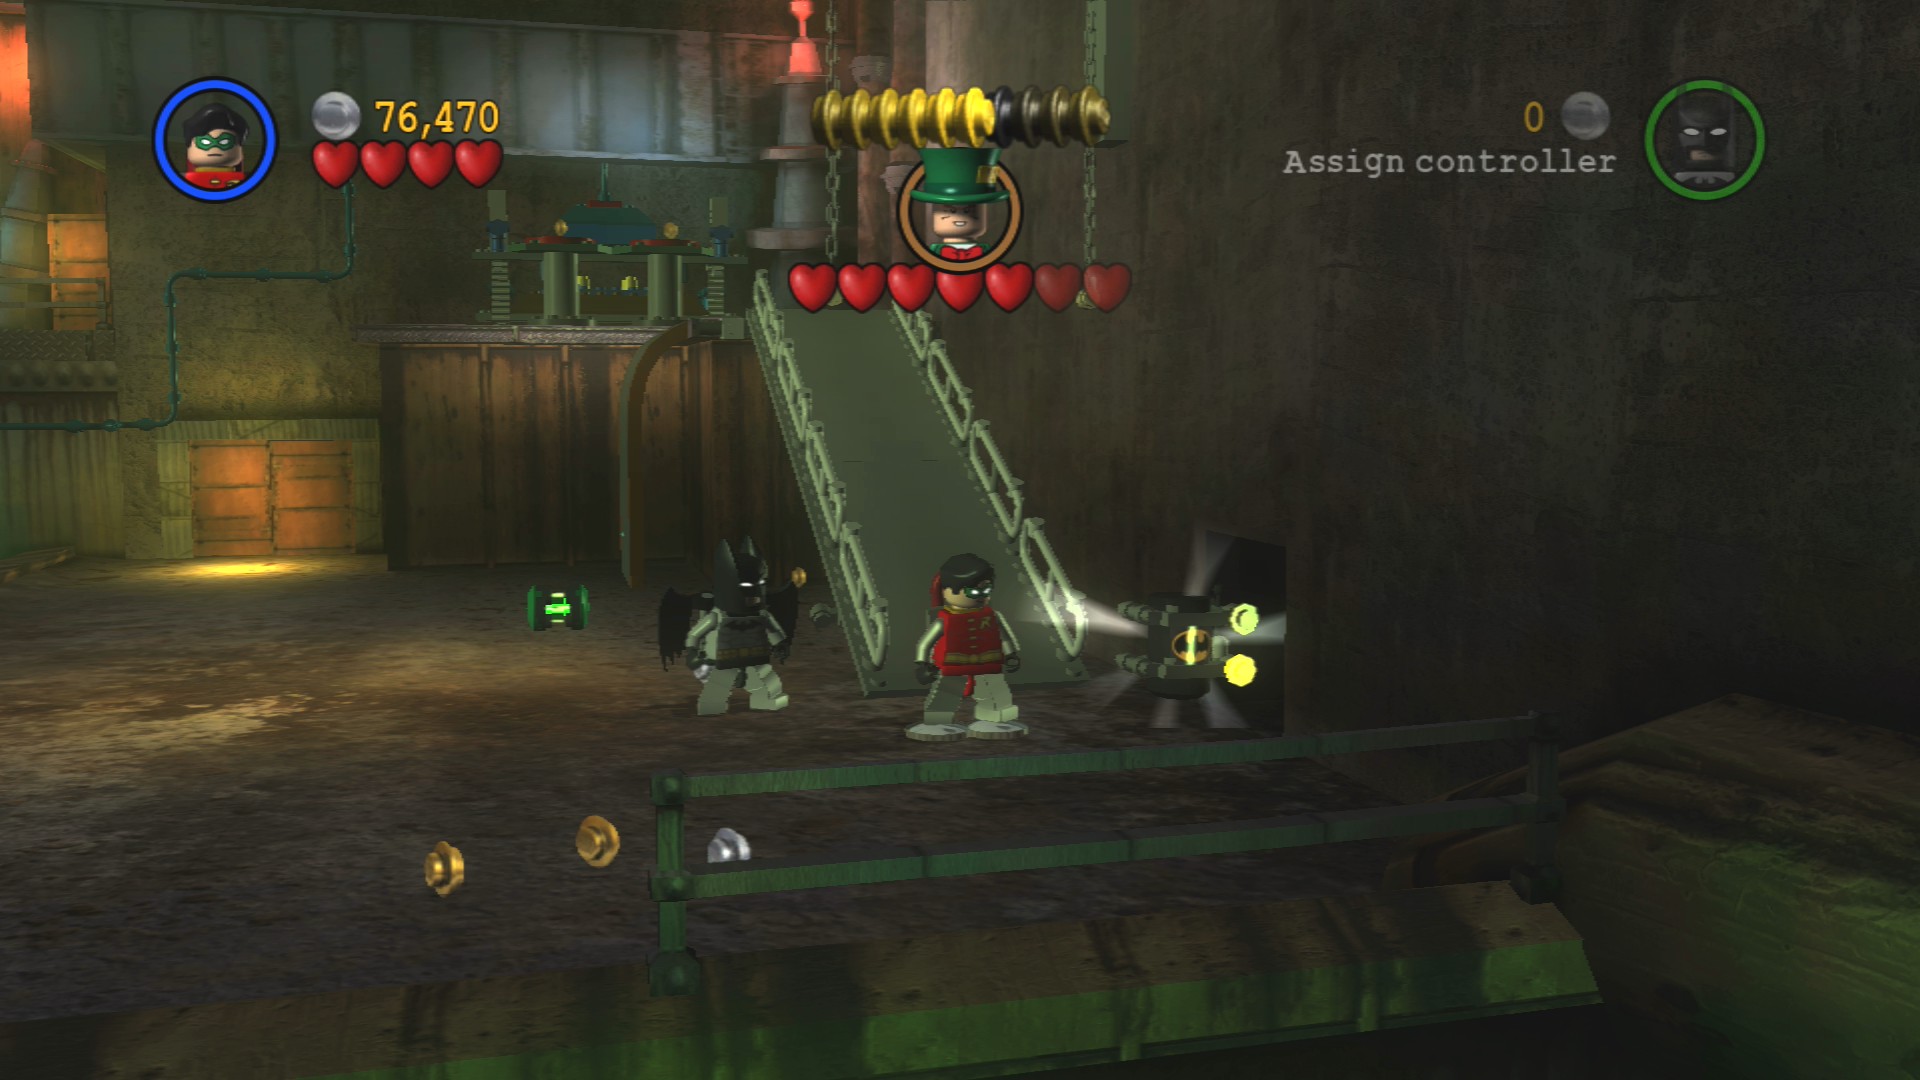
On the right side of the room are some Silver LEGO canisters. Blow them up to find the Minikit behind them, you can get the Mad Hatter to blow them up.
Go to the right side of the area and Magnet walk up the metal. Stand on the catwalk to knock it down so that Batman can join you in standing on the dual buttons up here too. Doing so will drop the Mad Hatter into the toxic waste.
Mad Hatter will jump down, when you approach him you'll be stopped by his hypnotic powers. Immediately switch to the other character and quickly punch him while the first character is being mesmerised. Repeat for a second hit.
Now smash the green barrels near the entrance and repair the lift to ride it up. Stand on one of the two red circles and wait for your teammate to join you. Once you're both on there the left trapdoor will open and drop the Mad Hatter into the toxic waste below him. One simple hit will finish him off.
| Cost | Character | |
|---|---|---|
| 35,000 | Mad Hatter | |
| 7,000 | Joker Goon | |
| 9,000 | Joker Henchman | |
| 23,000 | Mad Hatter's Steamboat | |
| 18,000 | Mad Hatter's Glider |
Chapter 2. Little Fun at the Big Top
| Story Mode | Free Play |
|---|---|
| 68,000 | 127,000 |
Minikit 1/10
Requires: Strength, High Jump Story Mode: No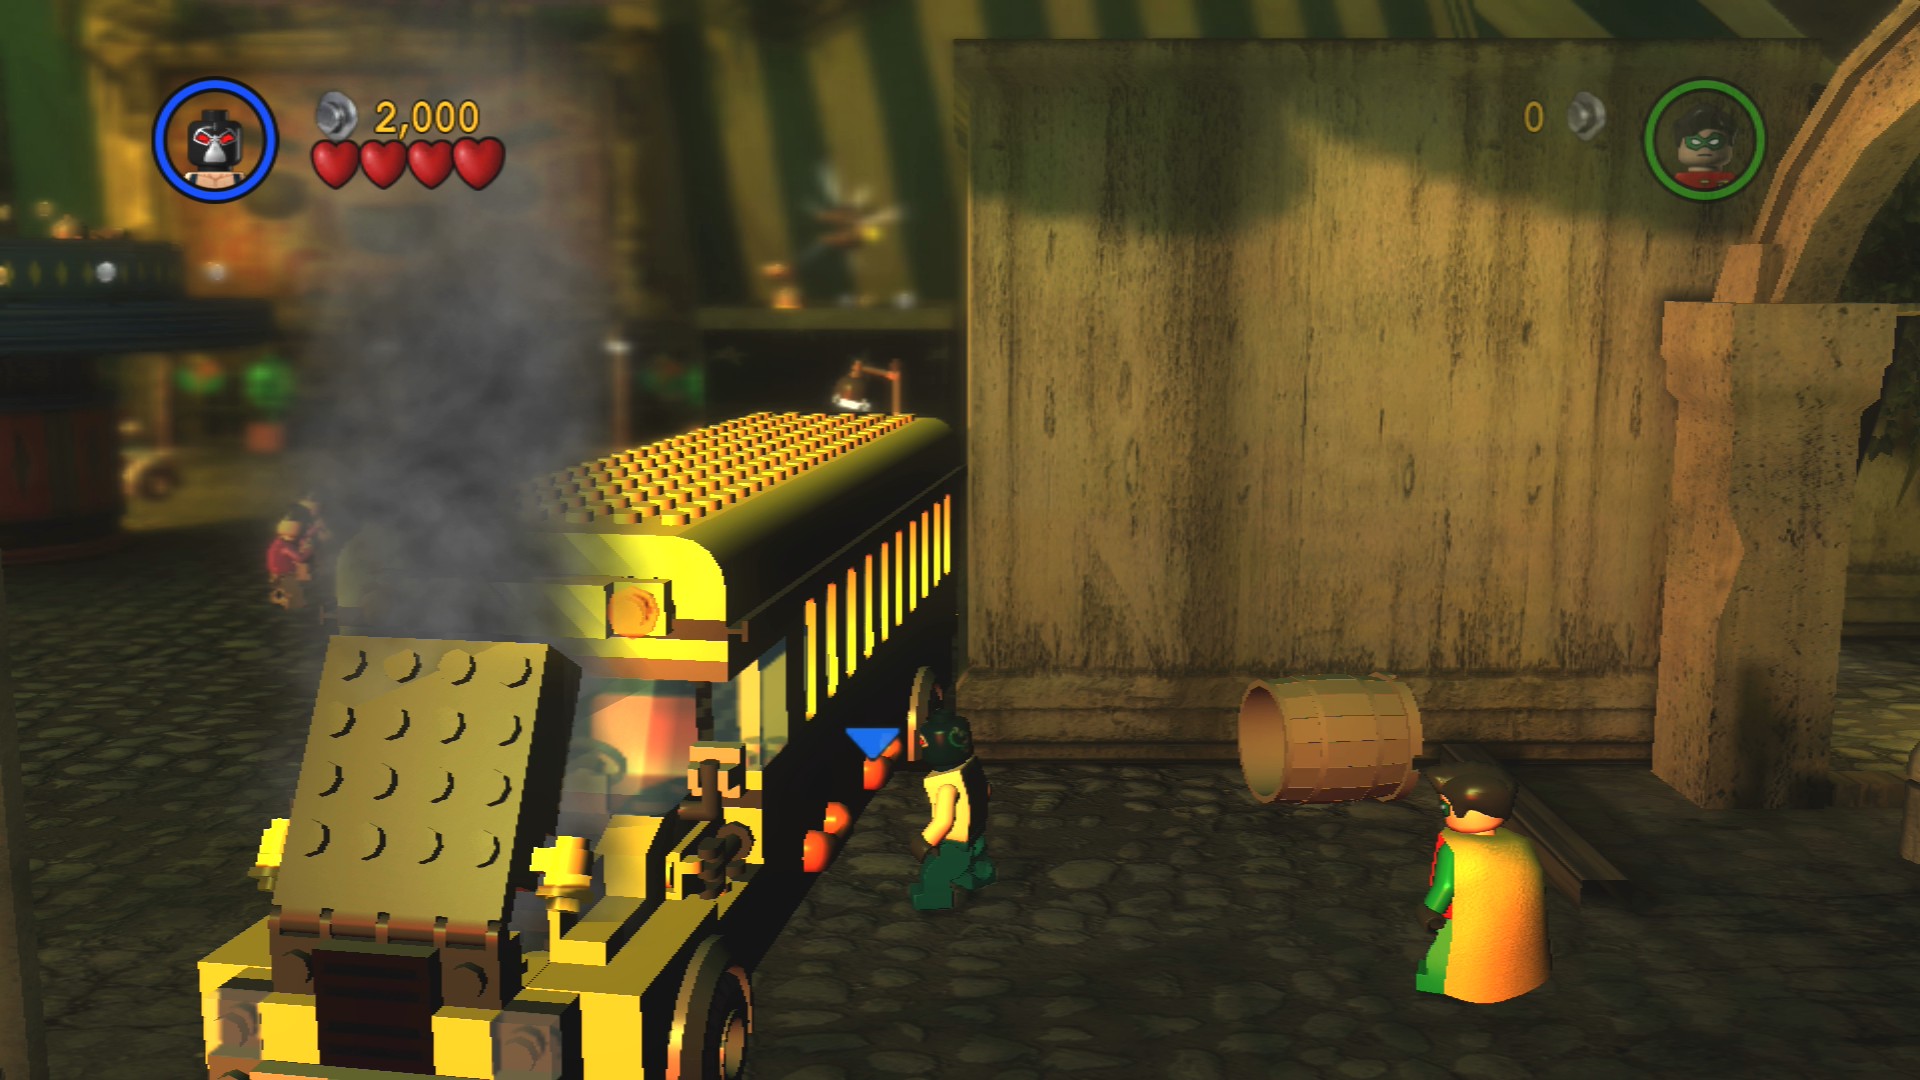
To the left at the start is a bus with some orange handles on it, shove it out of the way using a strength character to reach the area behind.
On the far side pull a dumpster to the middle and use it to High Jump onto the raised section in the middle. Build a tightrope and walk it to the Minikit on the right.
Advancing along the path to the right you'll encounter a few goons, take them out and keep going to the right.
Minikit 2/10
Requires: Sonic Suit, Batarang Story Mode: Yes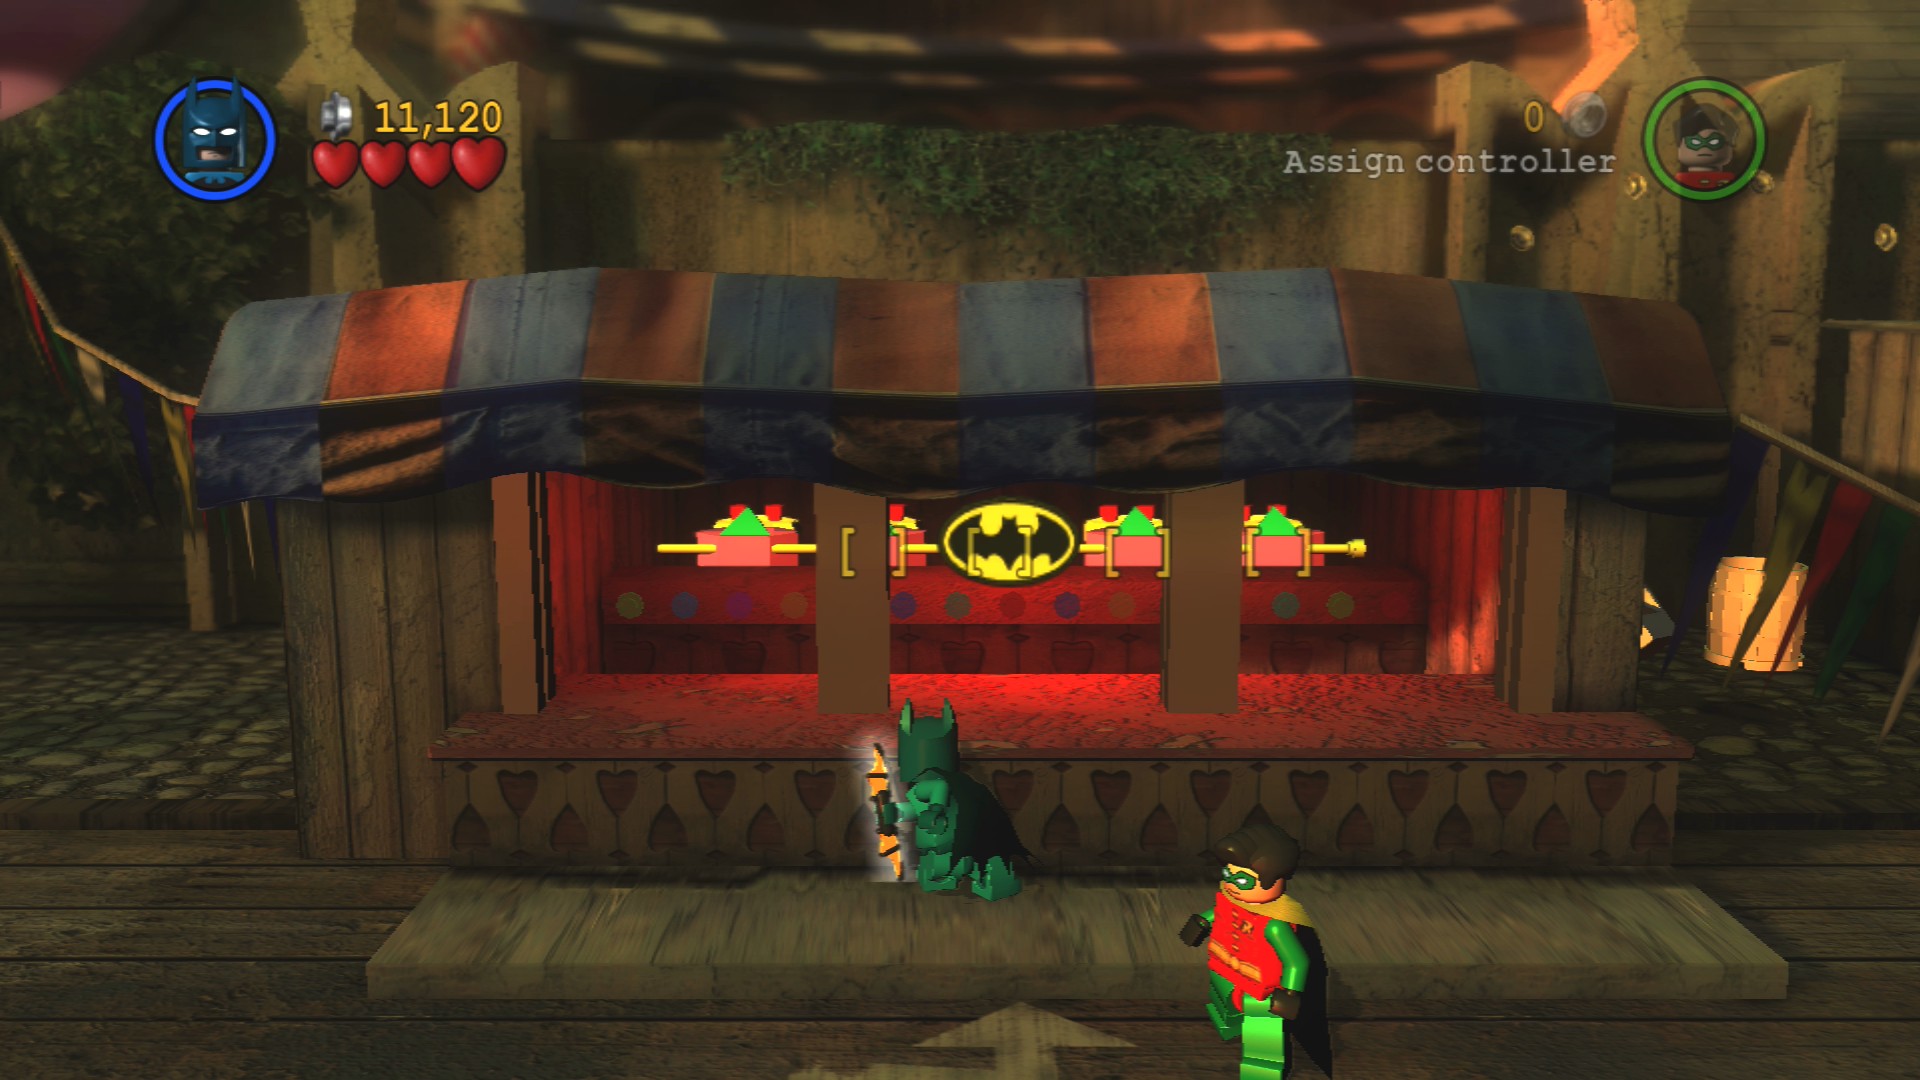
In the first stall smash the windows with the Sonic Suit and then hit all five targets with your Batarang. The Minikit will appear on the roof, you can grab it a bit later.
Some more bad guys will jump down as you pass by the second stall. Smash the barrier on the door of the third stall to go inside and put on Batman's Demolition Suit. Yet more enemies will appear when you get past the third stall. Smash the pinwheels at the back.
Minikit 3/10
Requires: Explosives, Swimming Story Mode: No
Smash the left of the three pinwheels to get the parts to build a ladder up on top of the first three stalls. Blow up the middle cover on the second stall and use Robin's Water Suit to grab the Minikit inside.
You can now also glide or double jump over to the left to grab that earlier Minikit.
Minikit 4/10
Requires: Technology Suit, Batarang Story Mode: No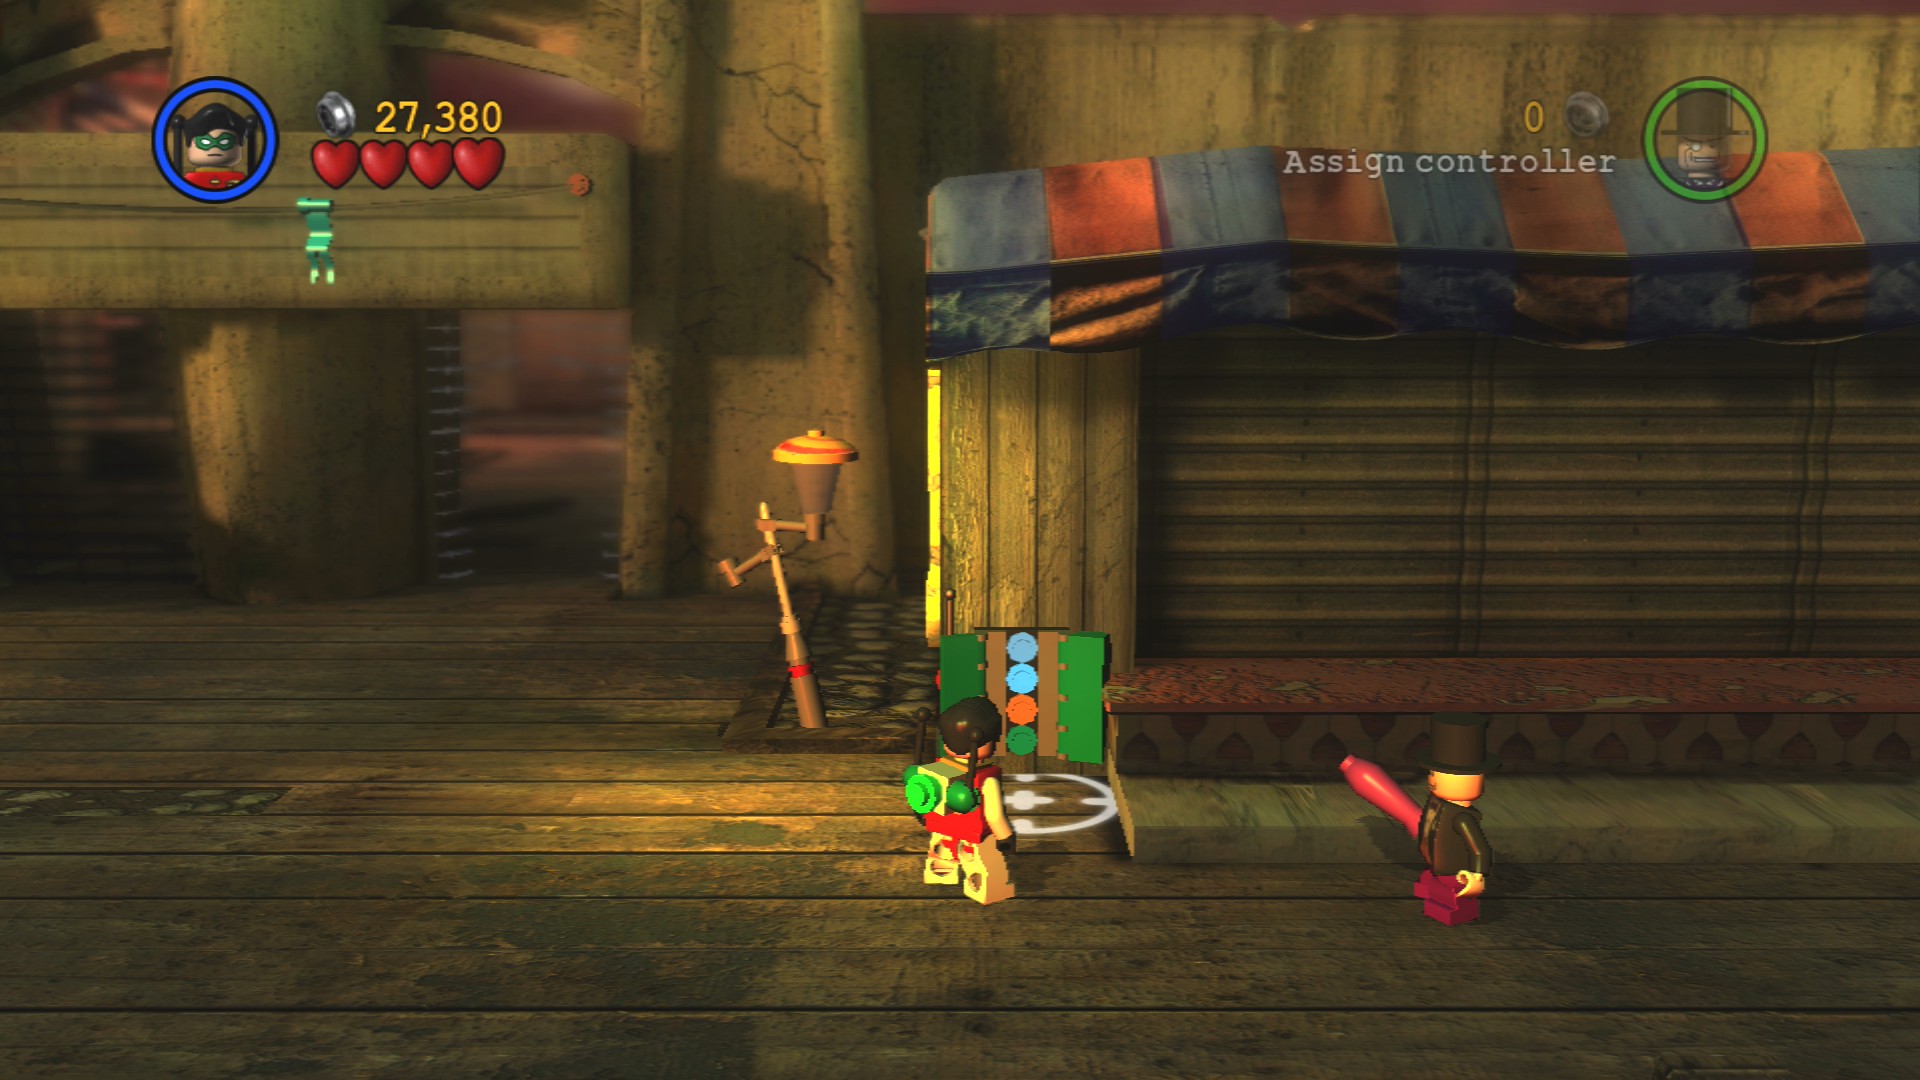
Use the Technology Suit to open the fourth stall and then use a batarang to hit all four yellow ducks to get the Minikit.
Red Brick - Decoy
Requires: Glide, Technology Suit Story Mode: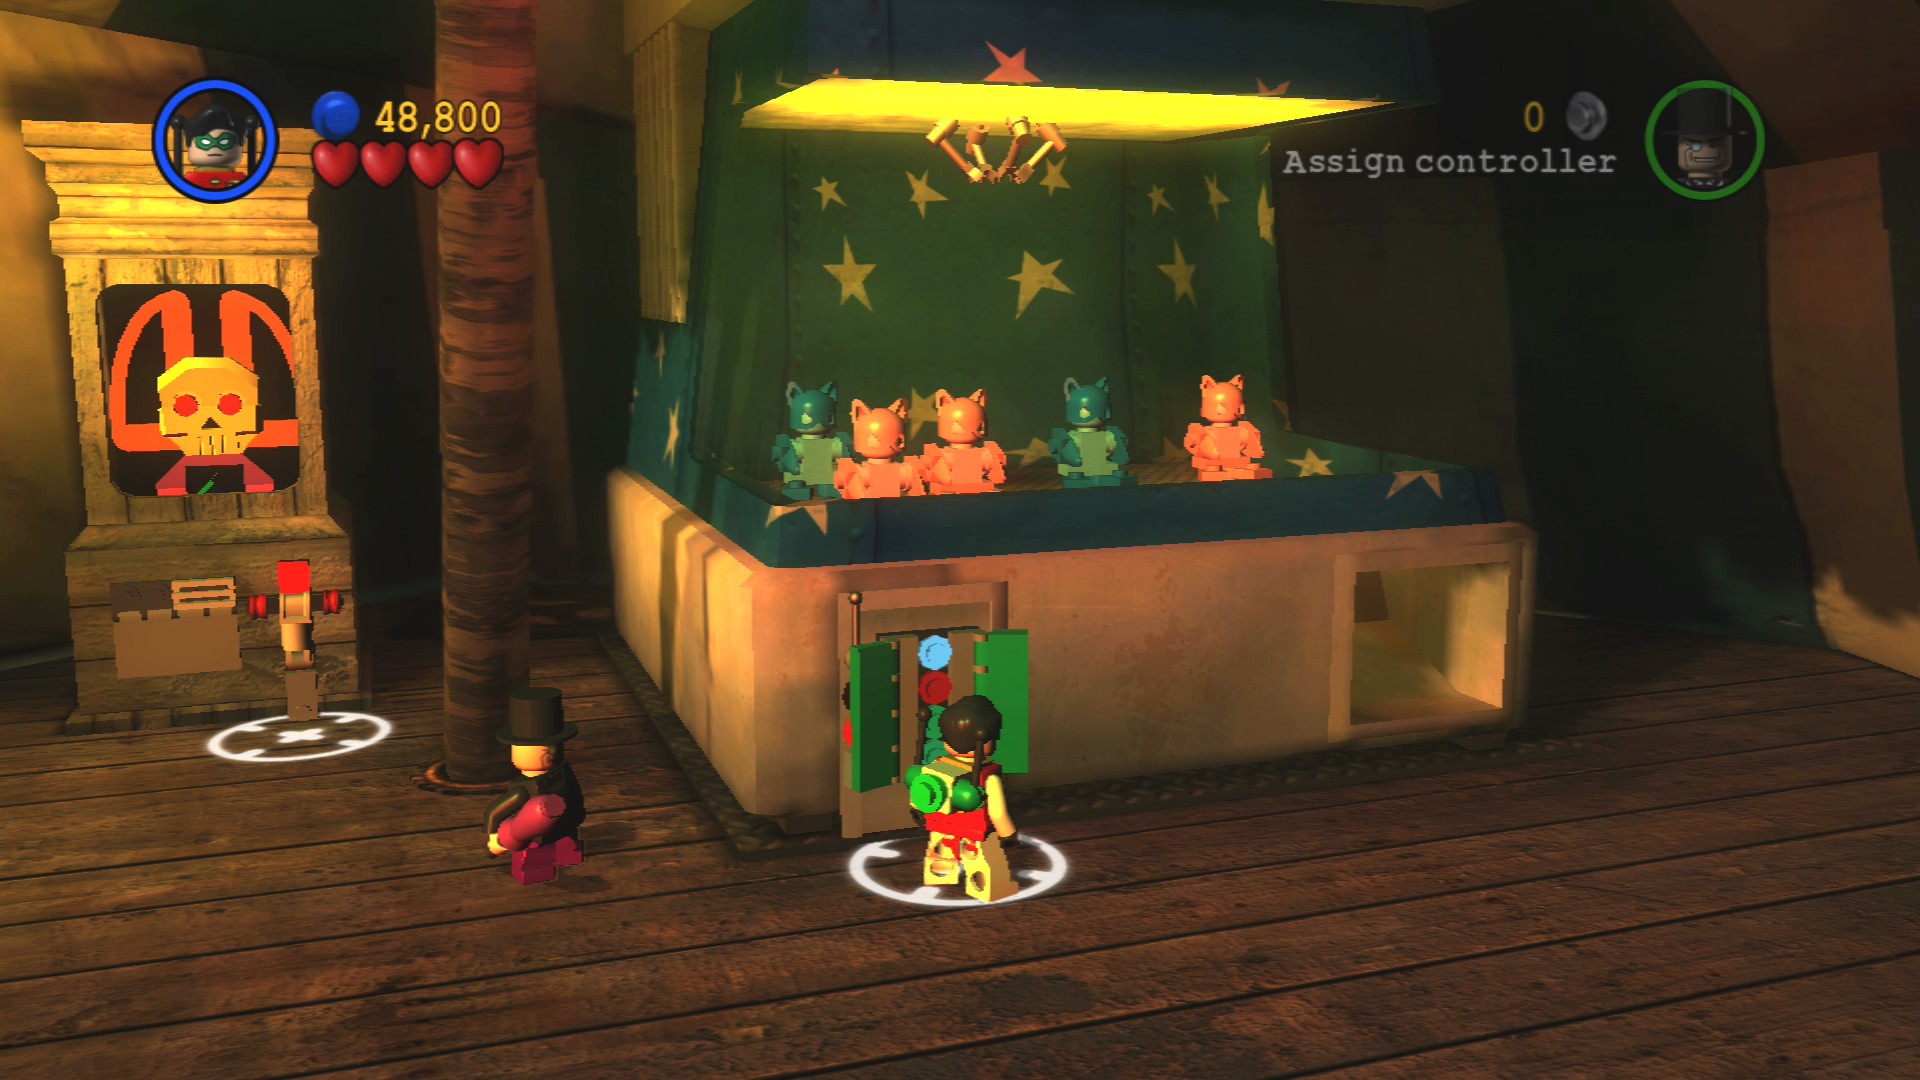
Glide over the water gap and pull the lever in the booth to open the gate on the right. Behind there defeat a few enemies and then use the Technology Suit to activate the claw machine. Pull out each of the pink Catwoman toys and smash them, on smashing the third the Red Brick will appear inside the machine for you to grab as well.
Assemble the two Silver LEGO objects from the right of the two pinwheels between stalls three and four, then blow them up. That'll open the gate behind them so you can go through.
Minikit 5/10
Requires: Sonic Suit, Grapple, Batarang Story Mode: Yes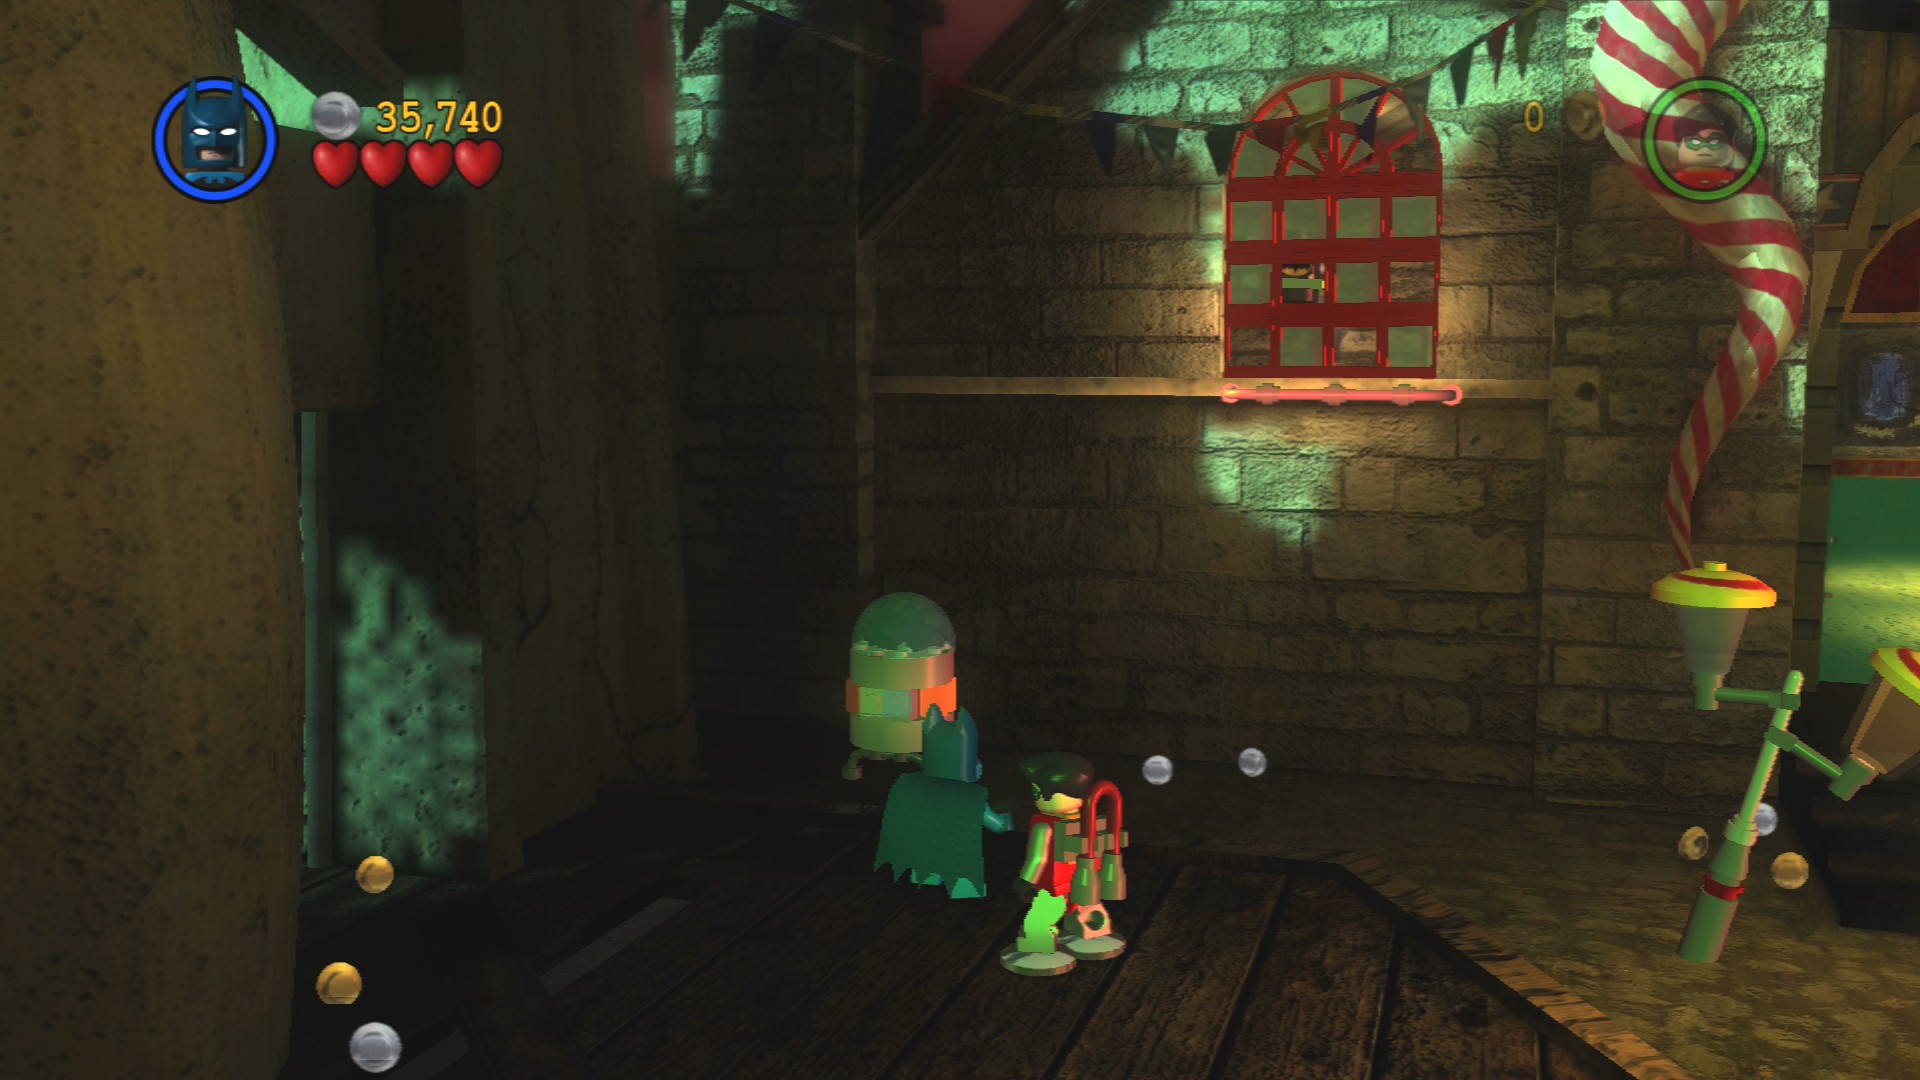
At the back at the start of this new area is a gumball machine you can smash with the Sonic Suit. Build the grapple point out of the bricks left over but make sure to batarang the red window above before using it.
At the far right end of the first part of this area you'll be attacked by a load of enemies, take them out then smash the objects at the end along the water to build a spinner switch. Rotating that will raise up a metal path for Robin to Magnet Suit walk up, but we've got to find the Swapper first.
Put on Batman's Sonic Suit from the Swapper in the alley at the back and use it to smash the windows to the building to its left. After you've got rid of the enemies inside you'll be able to build the required Magnet Suit Swapper.
After walking up the metal wall build a grapple point so that you can jump back down and grapple up and over the fence. If you want to backtrack for some reason you can do so by building a tightrope on the piece sticking out into the water near the fence.
Defeat the enemies over here and then smash the tables and chairs that are directly in front of the Attracto Canister. Put on the Attract Suit and start gathering up all the loose LEGO lying around, there's enough to fill it a second time if you smash everything including the lampposts. Of course you only need to fill it once to progress.
Hostage 10/25
Requires: None Story Mode: Yes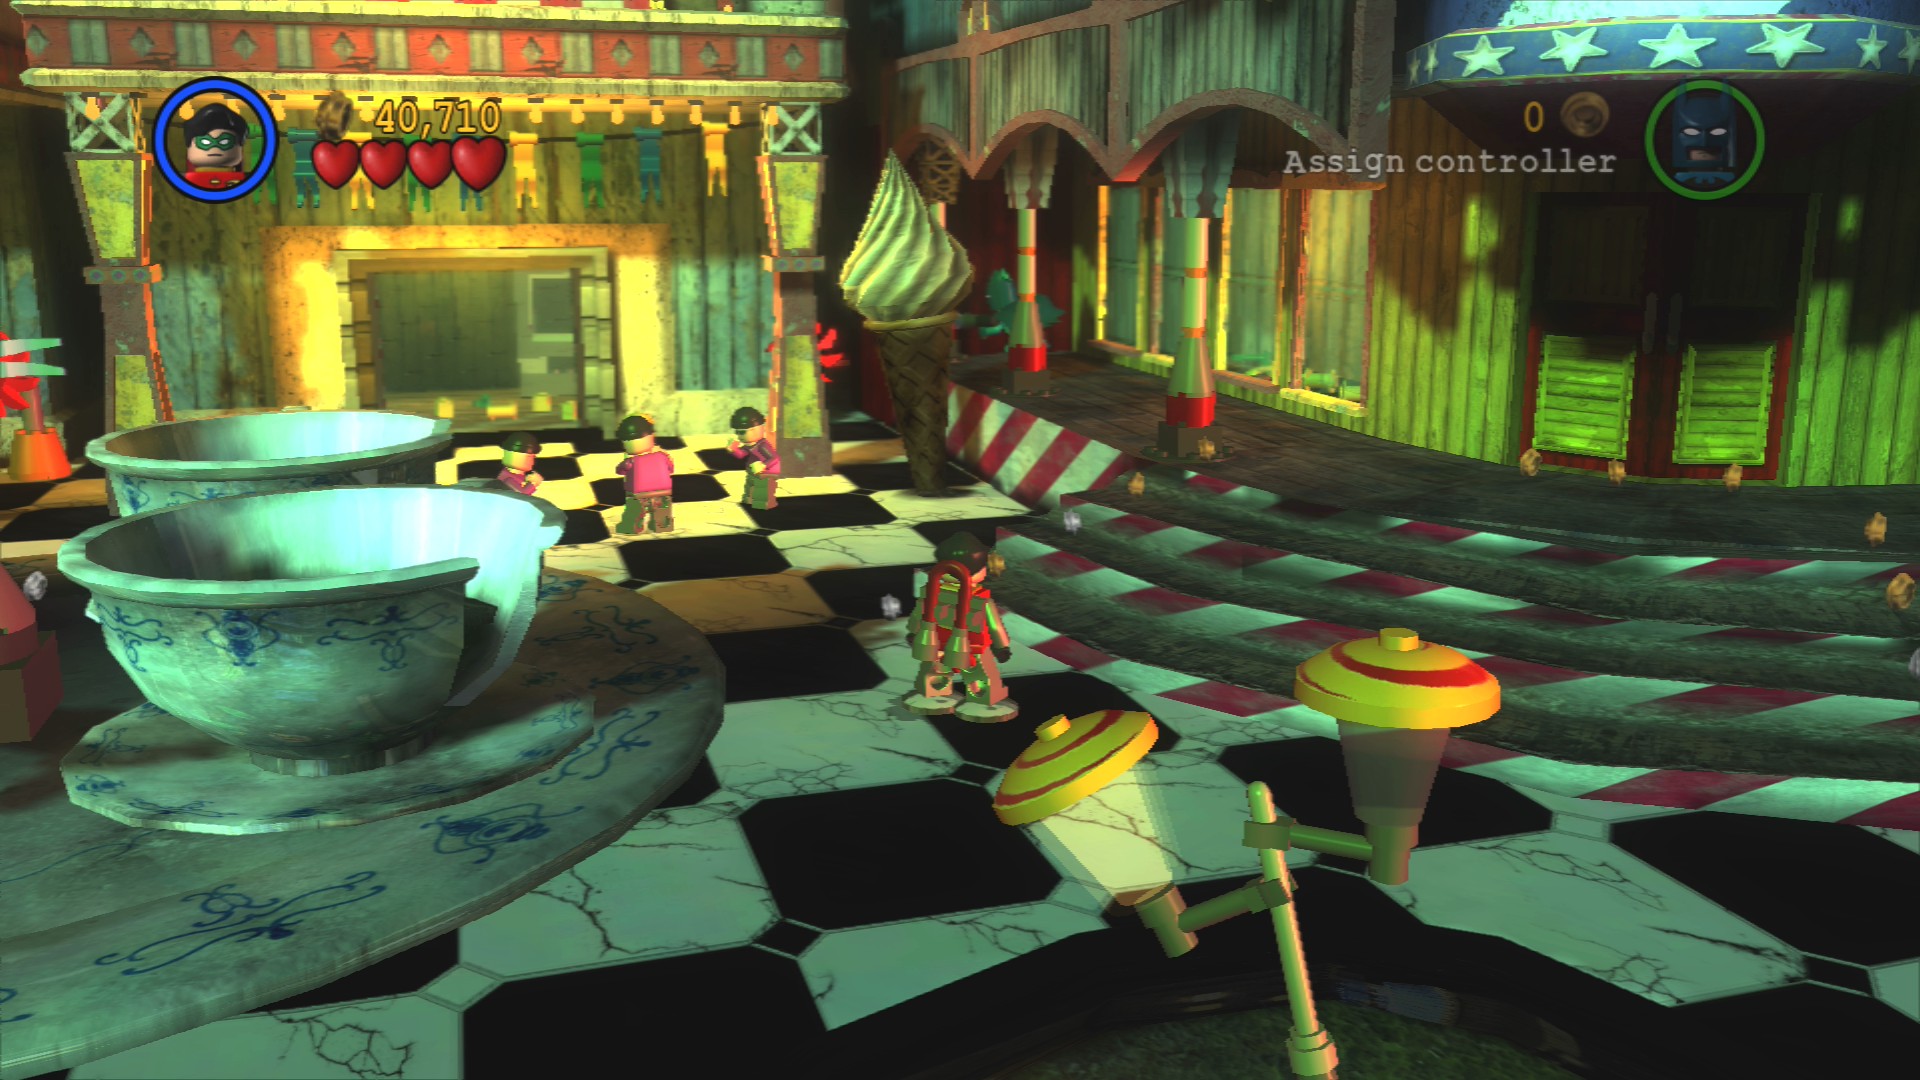
Getting beaten up over by the teacups.
Minikit 6/10
Requires: Electric Buzzer Story Mode: No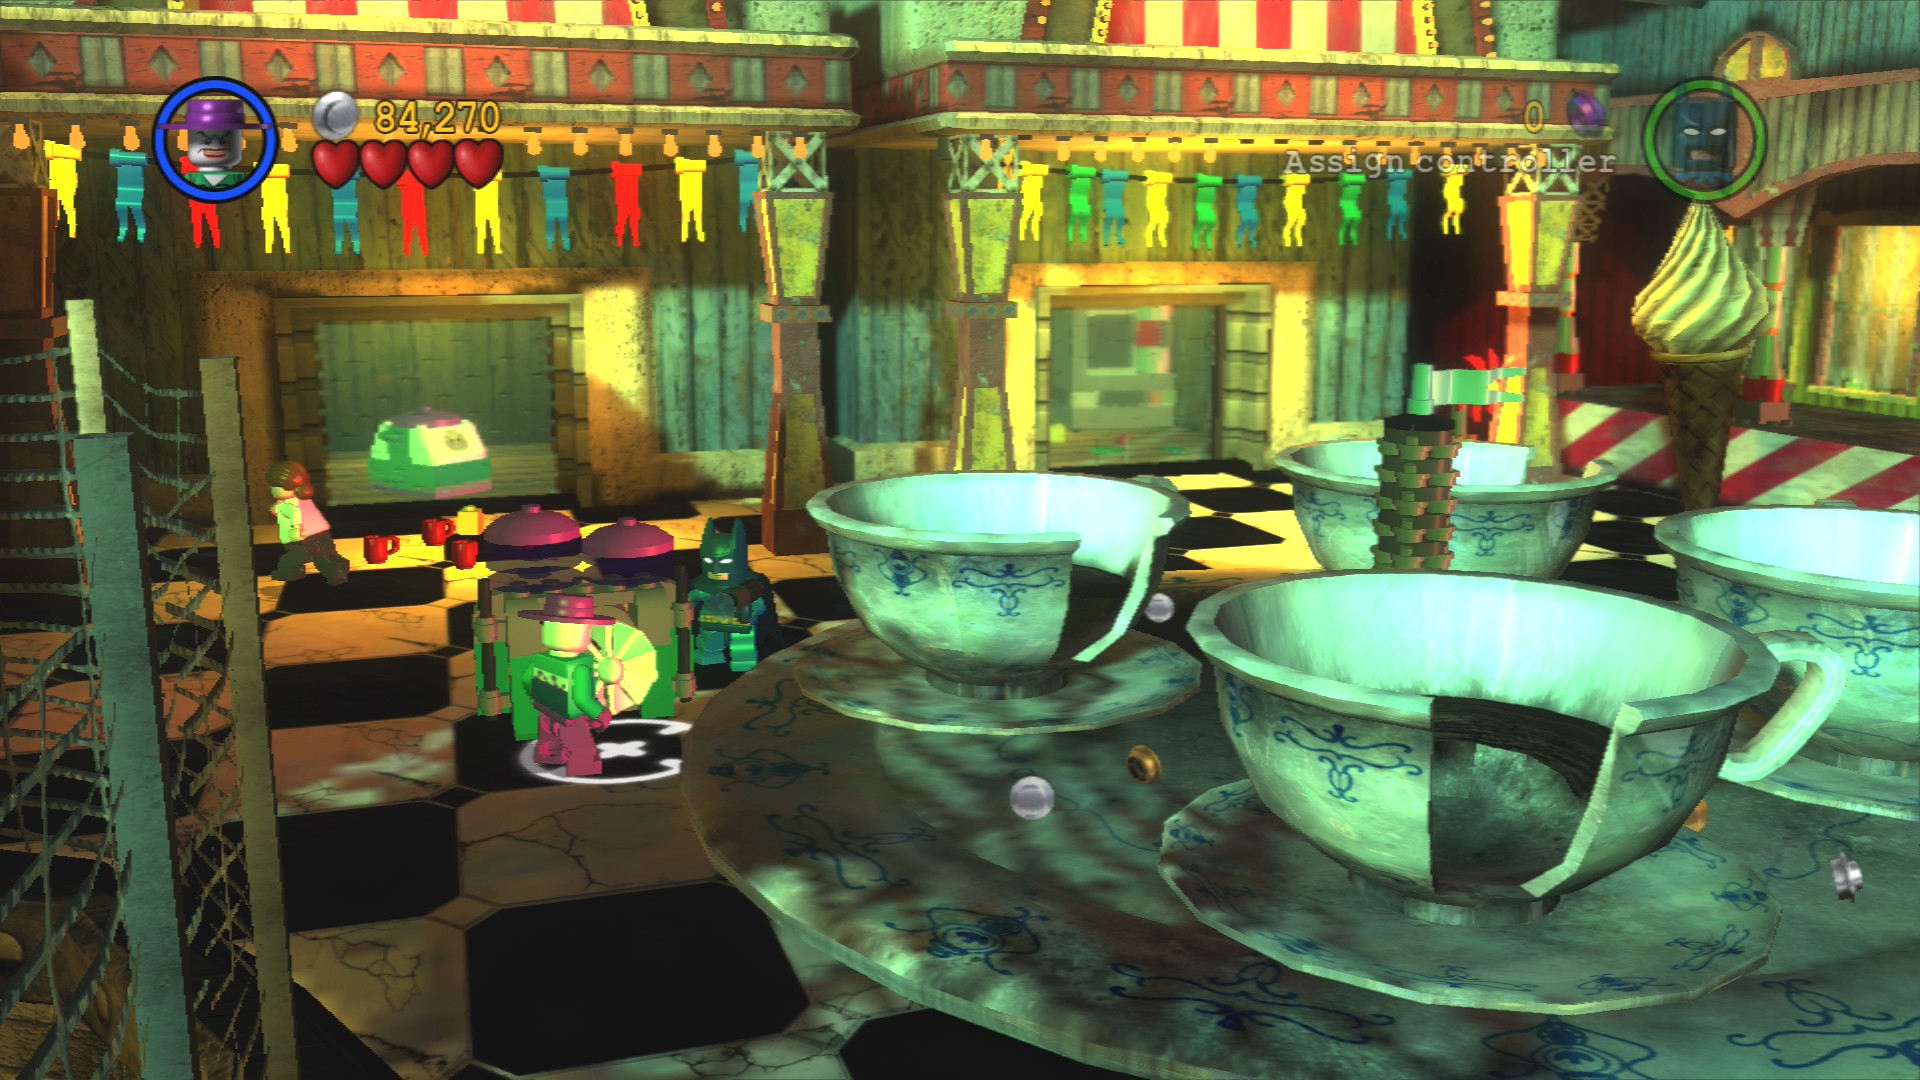
Activate the teacups using The Joker's buzzer.
Fill up the Attracto Canister and climb the ladder it creates for you.
Minikit 7/10
Requires: None Story Mode: Yes
Enter the bottom of the helter skelter to ride it down, grabbing the Minikit on the way.
Go to the right through to the next area where more goons will attack.
Minikit 8/10
Requires: Technology Suit Story Mode: No
Use the Technology Suit to start playing with the toy boats and drive them into their matching colour sheds. To grab the Minikit after you'll probably want to use somebody with Hazard Protection to avoid dying.
Clear out the enemies past the boat pond and smash the objects near the water's edge to build a spinner switch. That will open the door to the boss fight.
Minikit 9/10
Requires: Strength Story Mode: No
Before you go through to the boss instead use strength to open the gate at the back to reach the bumper cars. A few henchmen will jump into three of the other bumper cars so the task is to simply bump into them enough until the Minikit appears.
Time to face Harley Quinn, go through the gate to do so.
Minikit 10/10
Requires: Hazard Protection, Grapple Story Mode: No
But before you actually fight her walk through the toxic waste on the right and then grapple up onto the right of the two raised platforms. Now just build the tightrope and walk on over to grab the level's final Minikit.
The trick to hitting Harley is to simply follow her as she tumbles, waiting until she gets tired. When she takes a break hit her. She'll jump over to the opposite side and you'll have to repeat for the second heart. After clearing out some Jack-in-the-boxes she'll jump back down and this time you have to follow her twice before she takes a break. Repeat that.
Defeat the two waves of enemies and then for the final part you need to follow Harley three times before she takes a break. Defeating her will finish the level.
| Cost | Character | |
|---|---|---|
| 100,000 | Clown Goon |
Chapter 3. Flight of the Bat
| Story Mode | Free Play |
|---|---|
| 29,000 | 39,000 |
The aim in the first section of this flight level is to gather some bombs to throw at the sign that the Scarecrow just knocked down to block your way (why can't you just fly over it?). The bombs are found in the yellow box on the building in the back left corner, shoot it and fly past the dispenser that appears to have a set of three bombs following you.
Fly over to the billboard and use one of the bombs to blow up the purple turret in front of it.
Minikit 1/10 - Part 1/6
Requires: Torpedoes Story Mode: Yes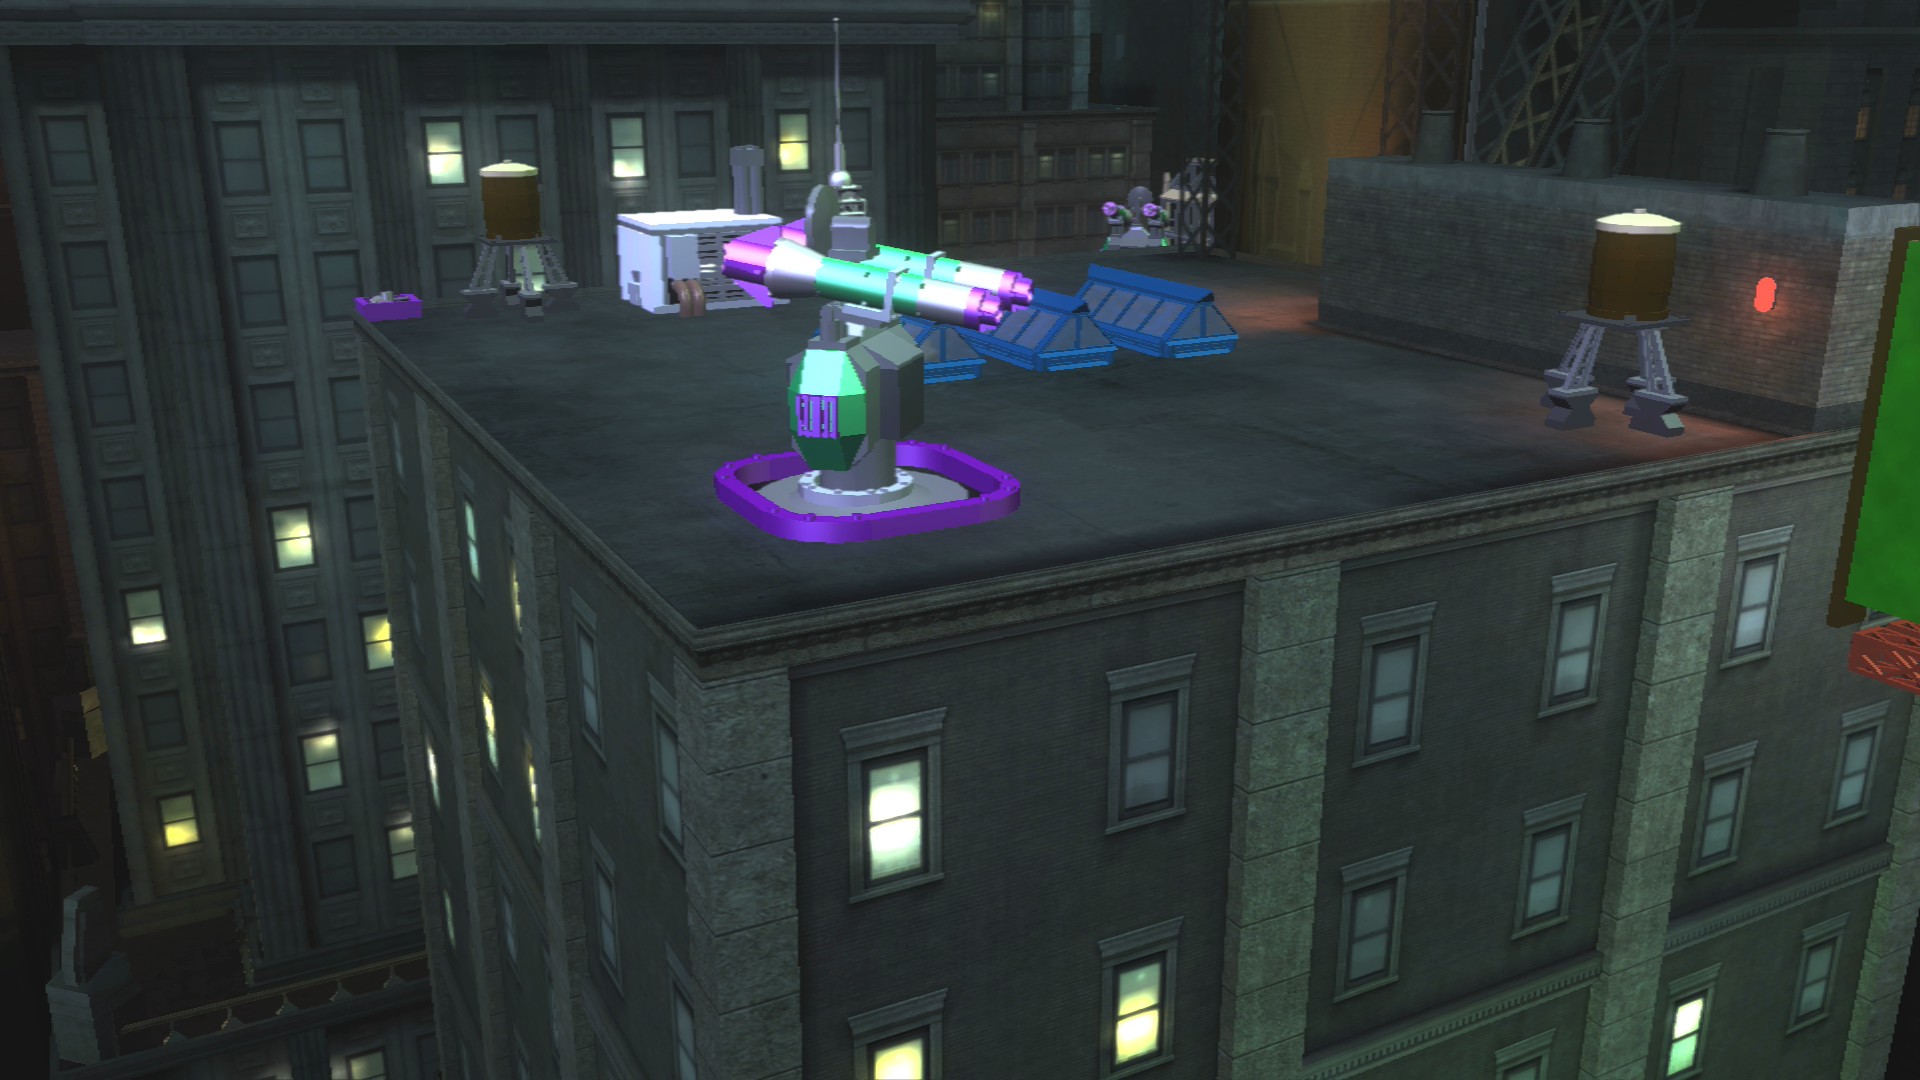
The purple turret that blew up the billboard is also the first of six that you can blow up to find a Minikit.
After you pass the billboard you'll see the Scarecrow fly off past a large Silver LEGO pipe which gets set on fire.
Minikit 1/10 - Part 2+3/6
Requires: Torpedoes Story Mode: Yes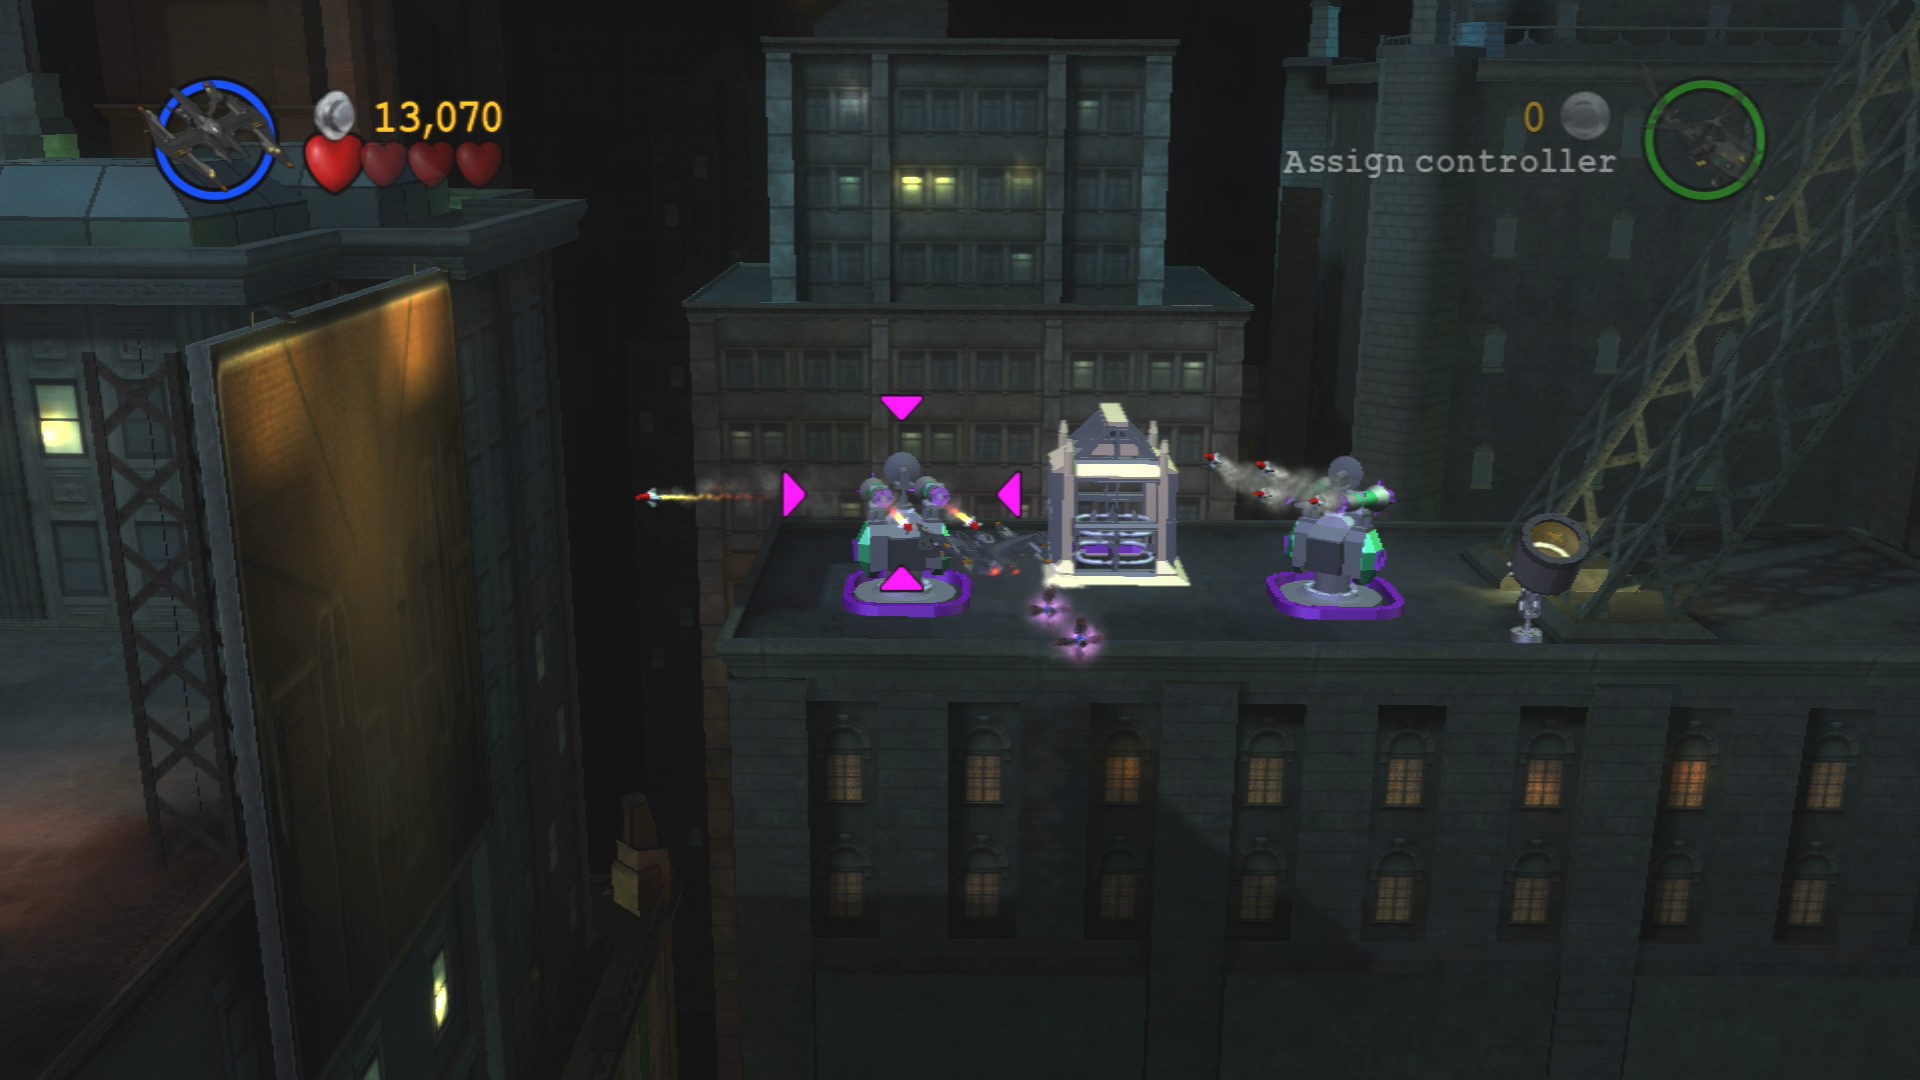
At the back just after going through the billboard are another two turrets to blow up.
To get past that you must first blow up the turret on the railway bridge.
Minikit 1/10 - Part 4/6
Requires: Torpedoes Story Mode: Yes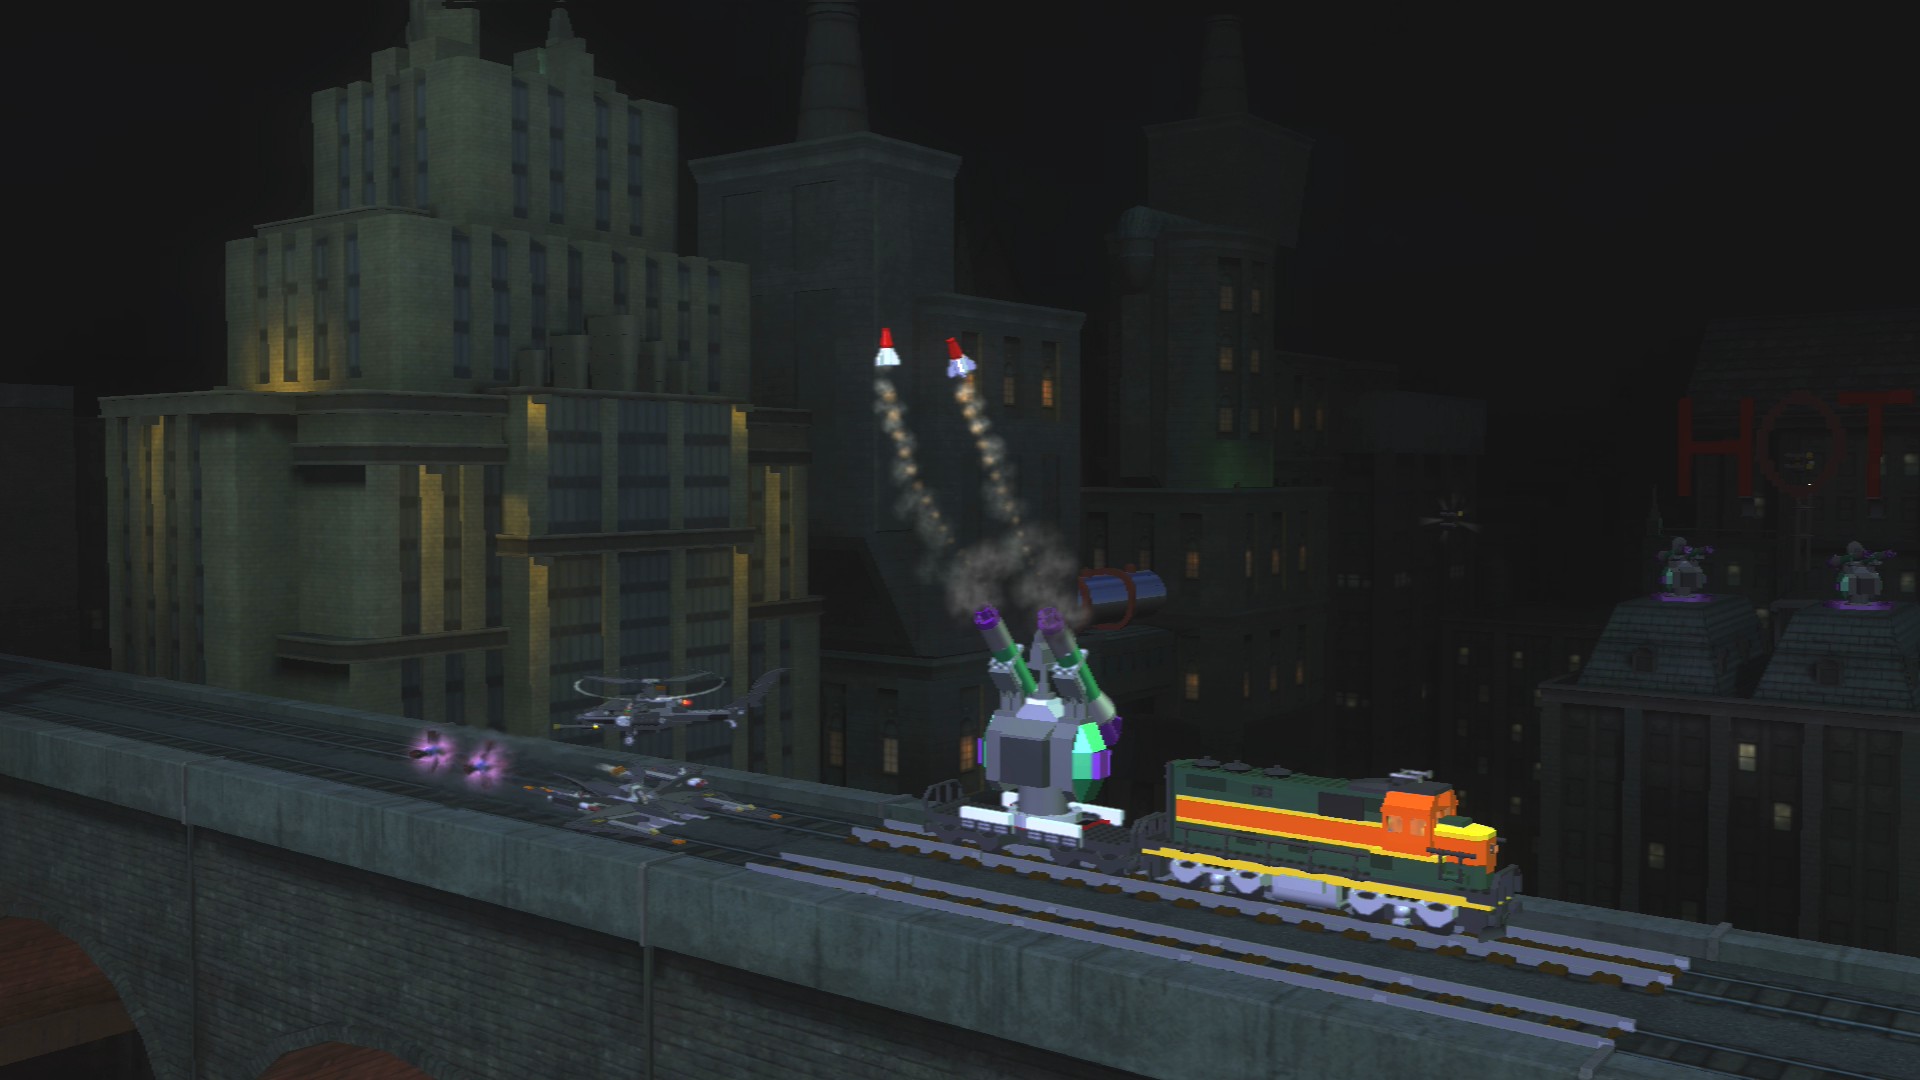
The turret on the tracks, it's mandatory to hit this one.
Minikit 2/10
Requires: None Story Mode: Yes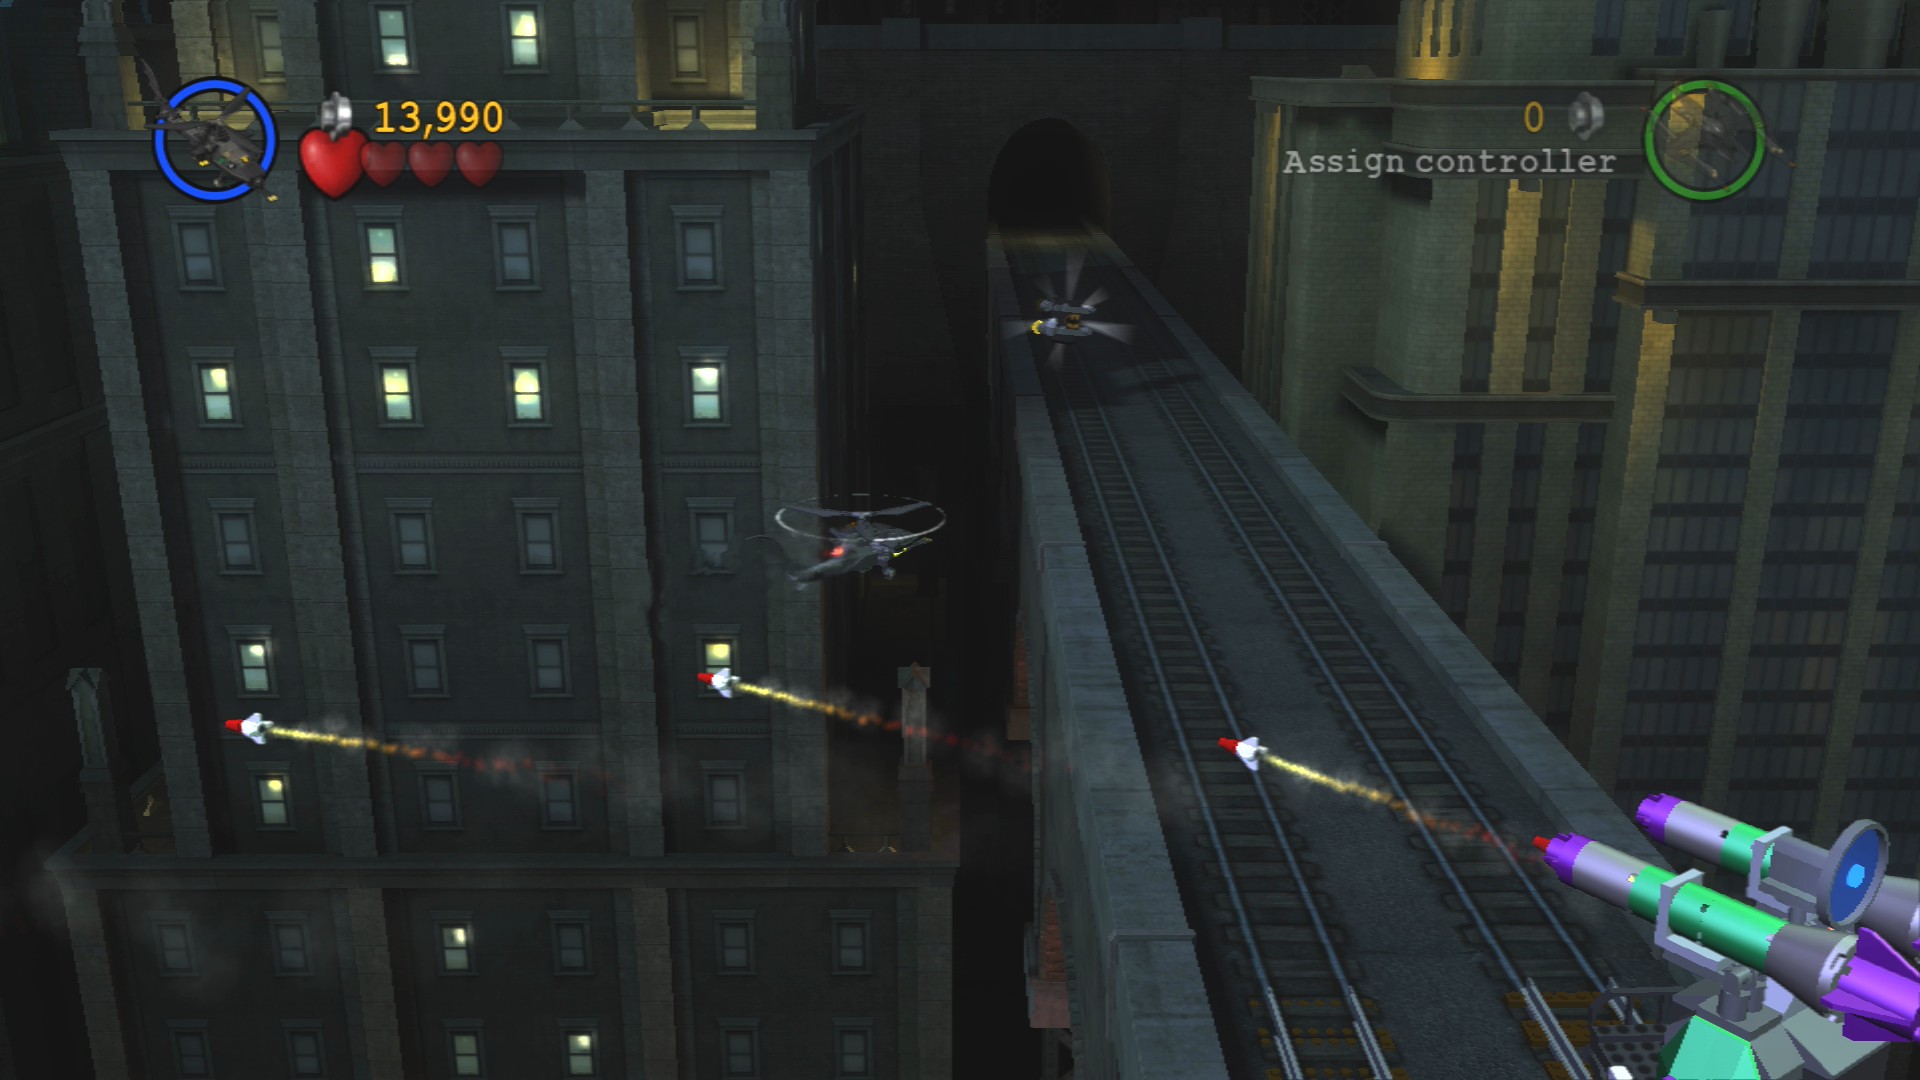
If you follow the tracks towards the back you'll find a Minikit.
Between the two turrets at the back is a dispenser for the Batcopter to grab hold of a mine to start dragging it. You'll want to take it through the new gap in the bridge and swing it into the Silver LEGO pipe that's on fire.
Minikit 1/10 - Part 5+6/10
Requires: Torpedoes Story Mode: Yes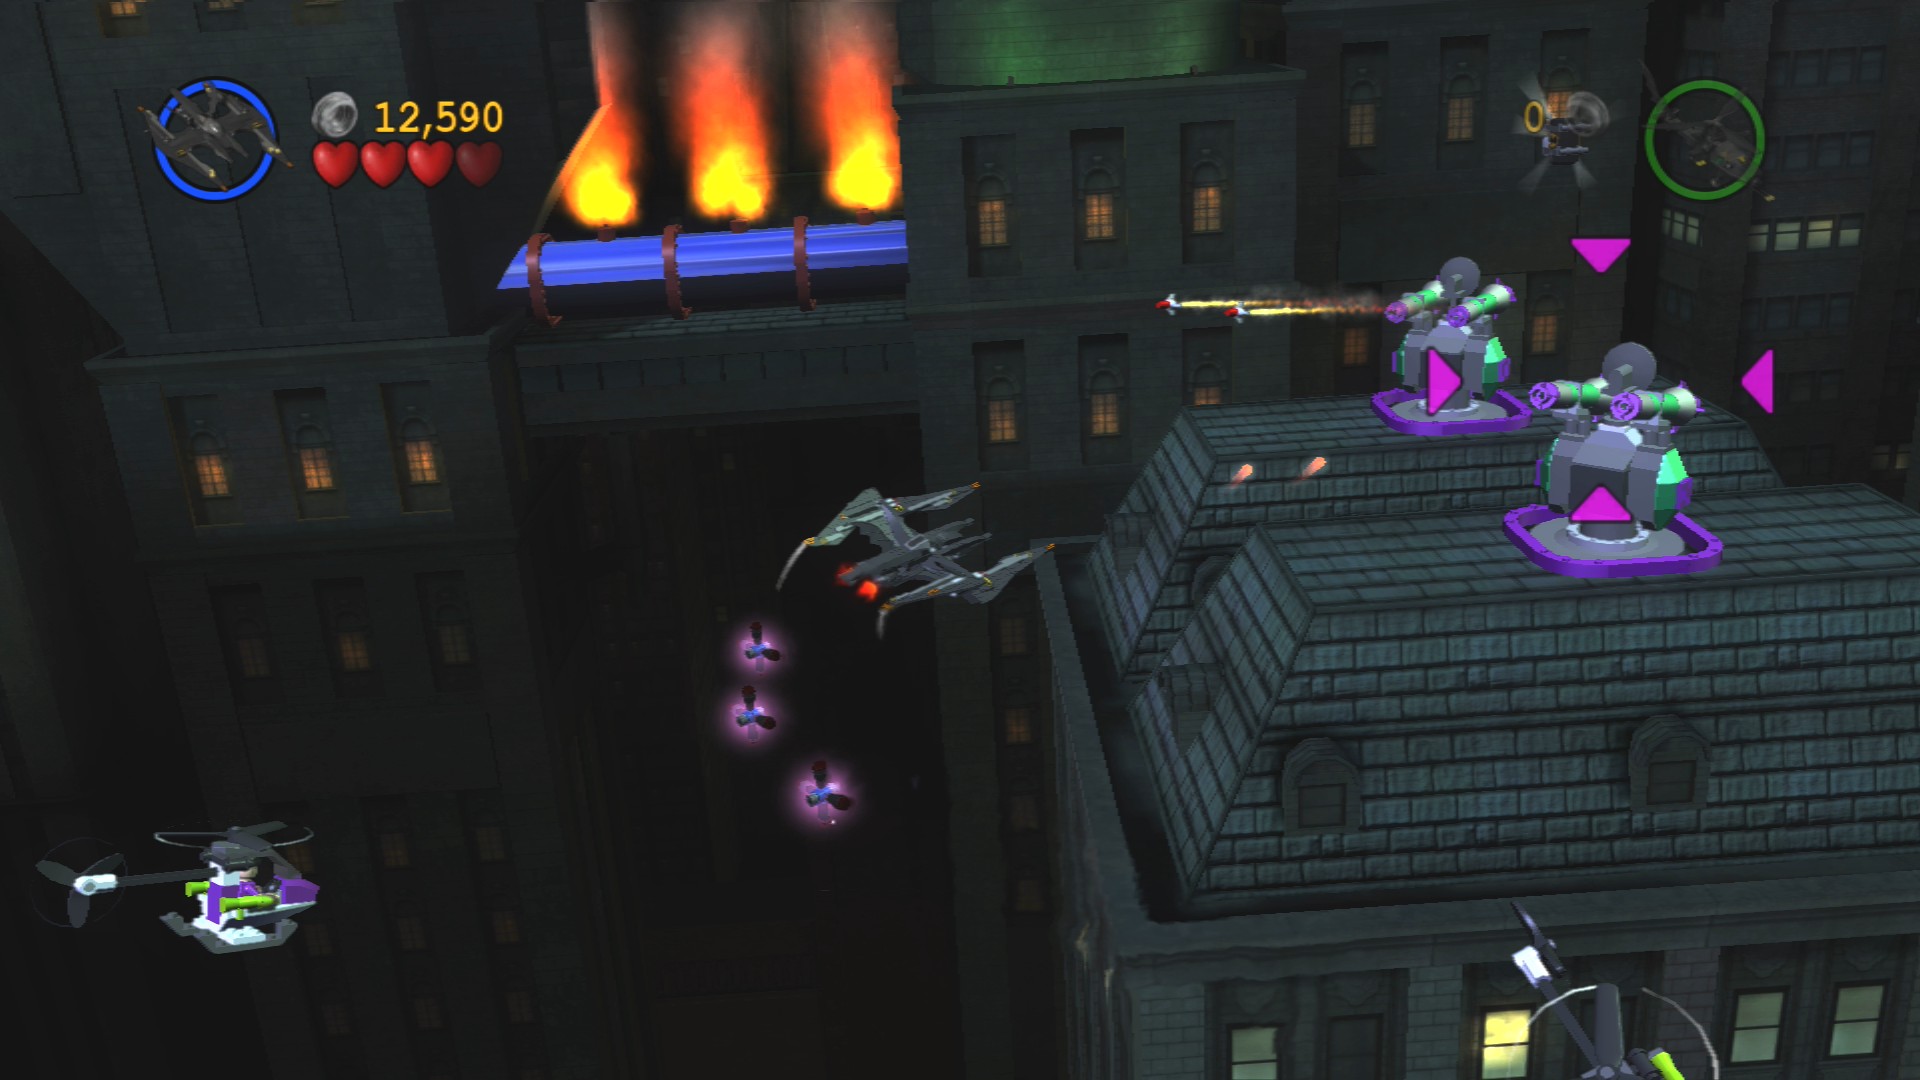
Just to the right of the flaming Silver LEGO pipe are the last two turrets, these ones are not required for the story but are required for the Minikit.
Minikit 3/10
Requires: None Story Mode: Yes
Floating in the air behind the last two turrets.
Minikit 4/10
Requires: Grapple Story Mode: Yes
Behind the last two turrets is a LEGO platform with a Silver LEGO crate on it, drag a mine over here to blow it up and get a Minikit from the Hotel sign above.
After following the Scarecrow past the pipe you'll emerge in a new area, this one filled with objects and enemies. Using the Batcopter grab a mine from near the red square and blow up the Silver LEGO crate on the opposite side of the red square. This will reveal bombs for the Batwing to use to blow up the turrets sitting on the electric barrier.
Minikit 5/10
Requires: Torpedoes Story Mode: Yes
Use a torpedo to blow up a piece of pipe against the back wall at the left end of the area.
Minikit 6/10
Requires: Grapple Story Mode: Yes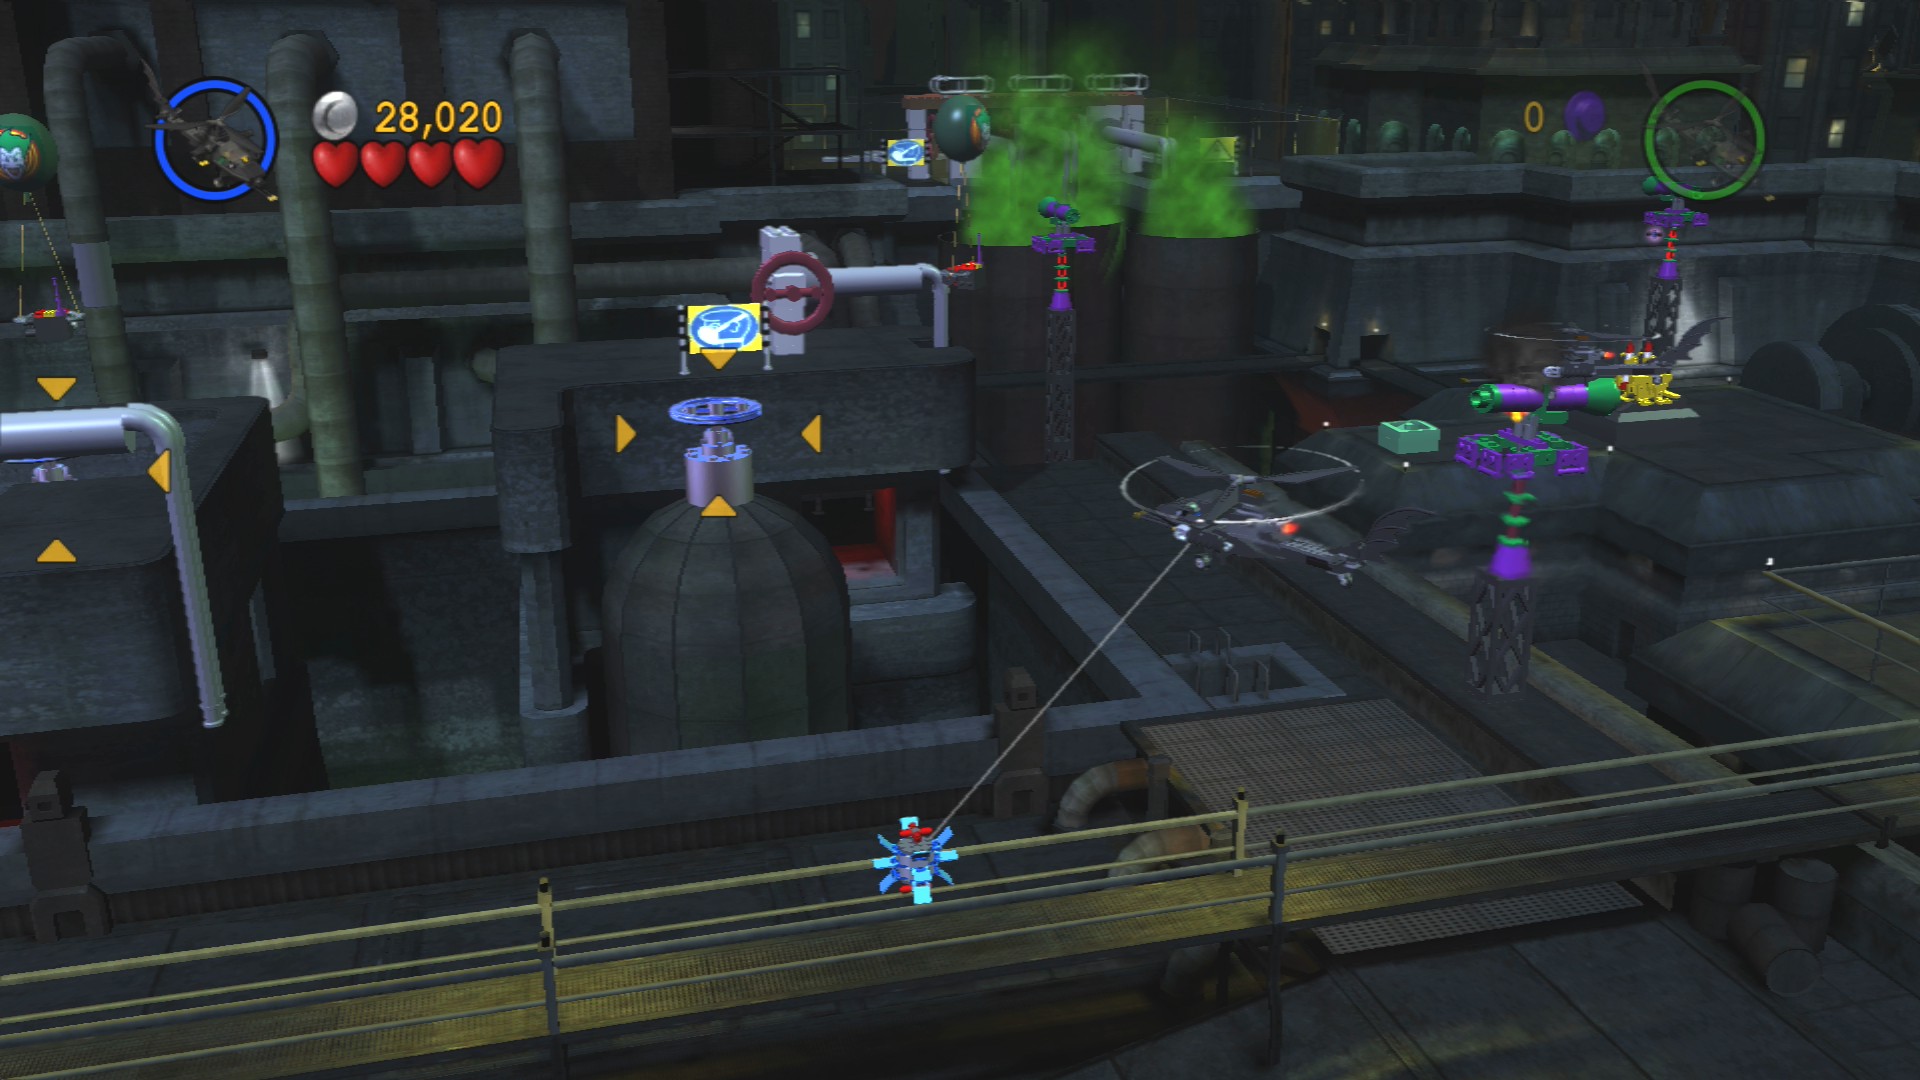
Use the mines to blow up the Silver LEGO valves near the start of the area.
Minikit 7/10
Requires: Torpedoes, Grapple Story Mode: Yes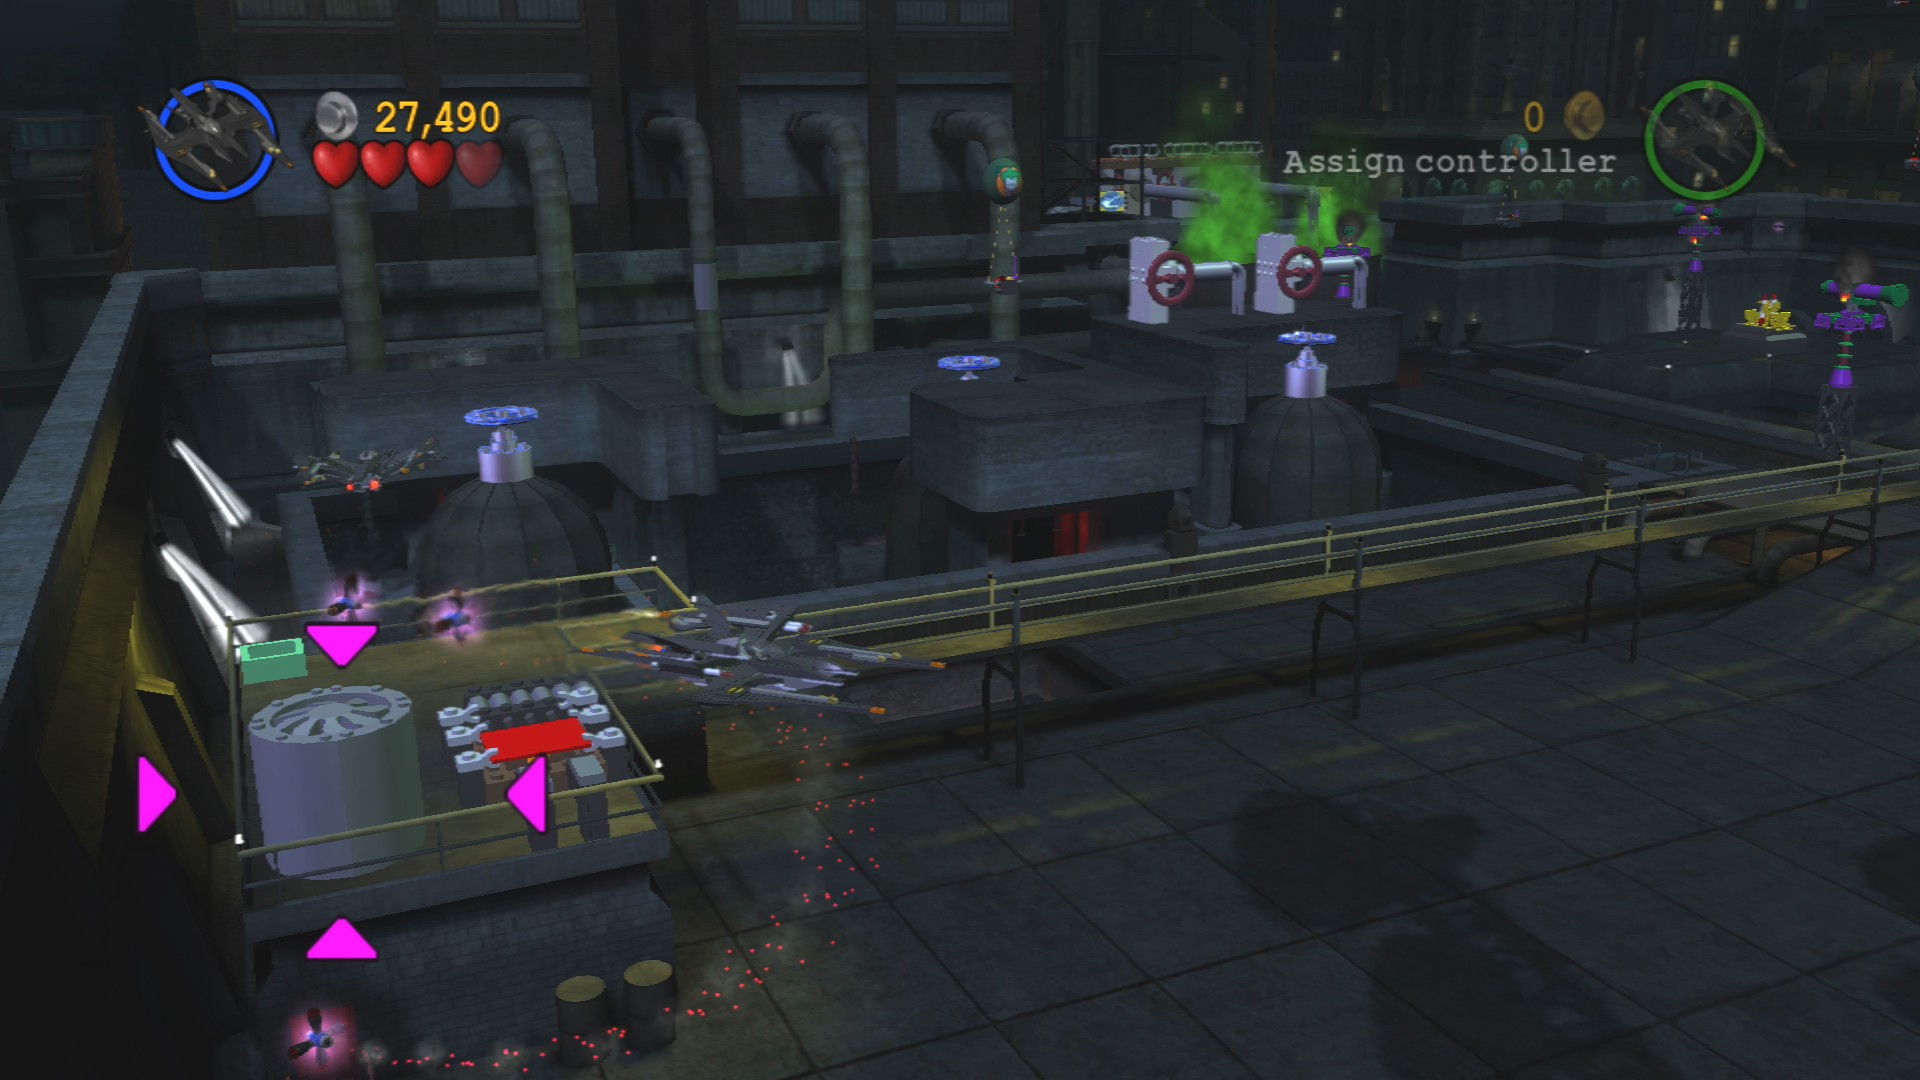
At the far left end towards the screen you can blow up a barrel with one of the Batwing's bombs to reveal a lever. Shoot the lever and then use the Batcopter to pull the barrel onto the conveyor. Once it's reached the end of the track pull it onto the red square button to release the Minikit.
Red Brick - Fast Walk
Requires: Hazard Protection Story Mode: No
Shoot the barrier at the back behind the green gas then fly through it. At the back there you'll find a large spinner switch that you will need to shoot to rotate. That will raise up a second spinner that you also need to hit to release the Red Brick.
Follow the Scarecrow's plane through to the final area.
Minikit 8/10
Requires: Hazard Protection, Helicopter Story Mode: No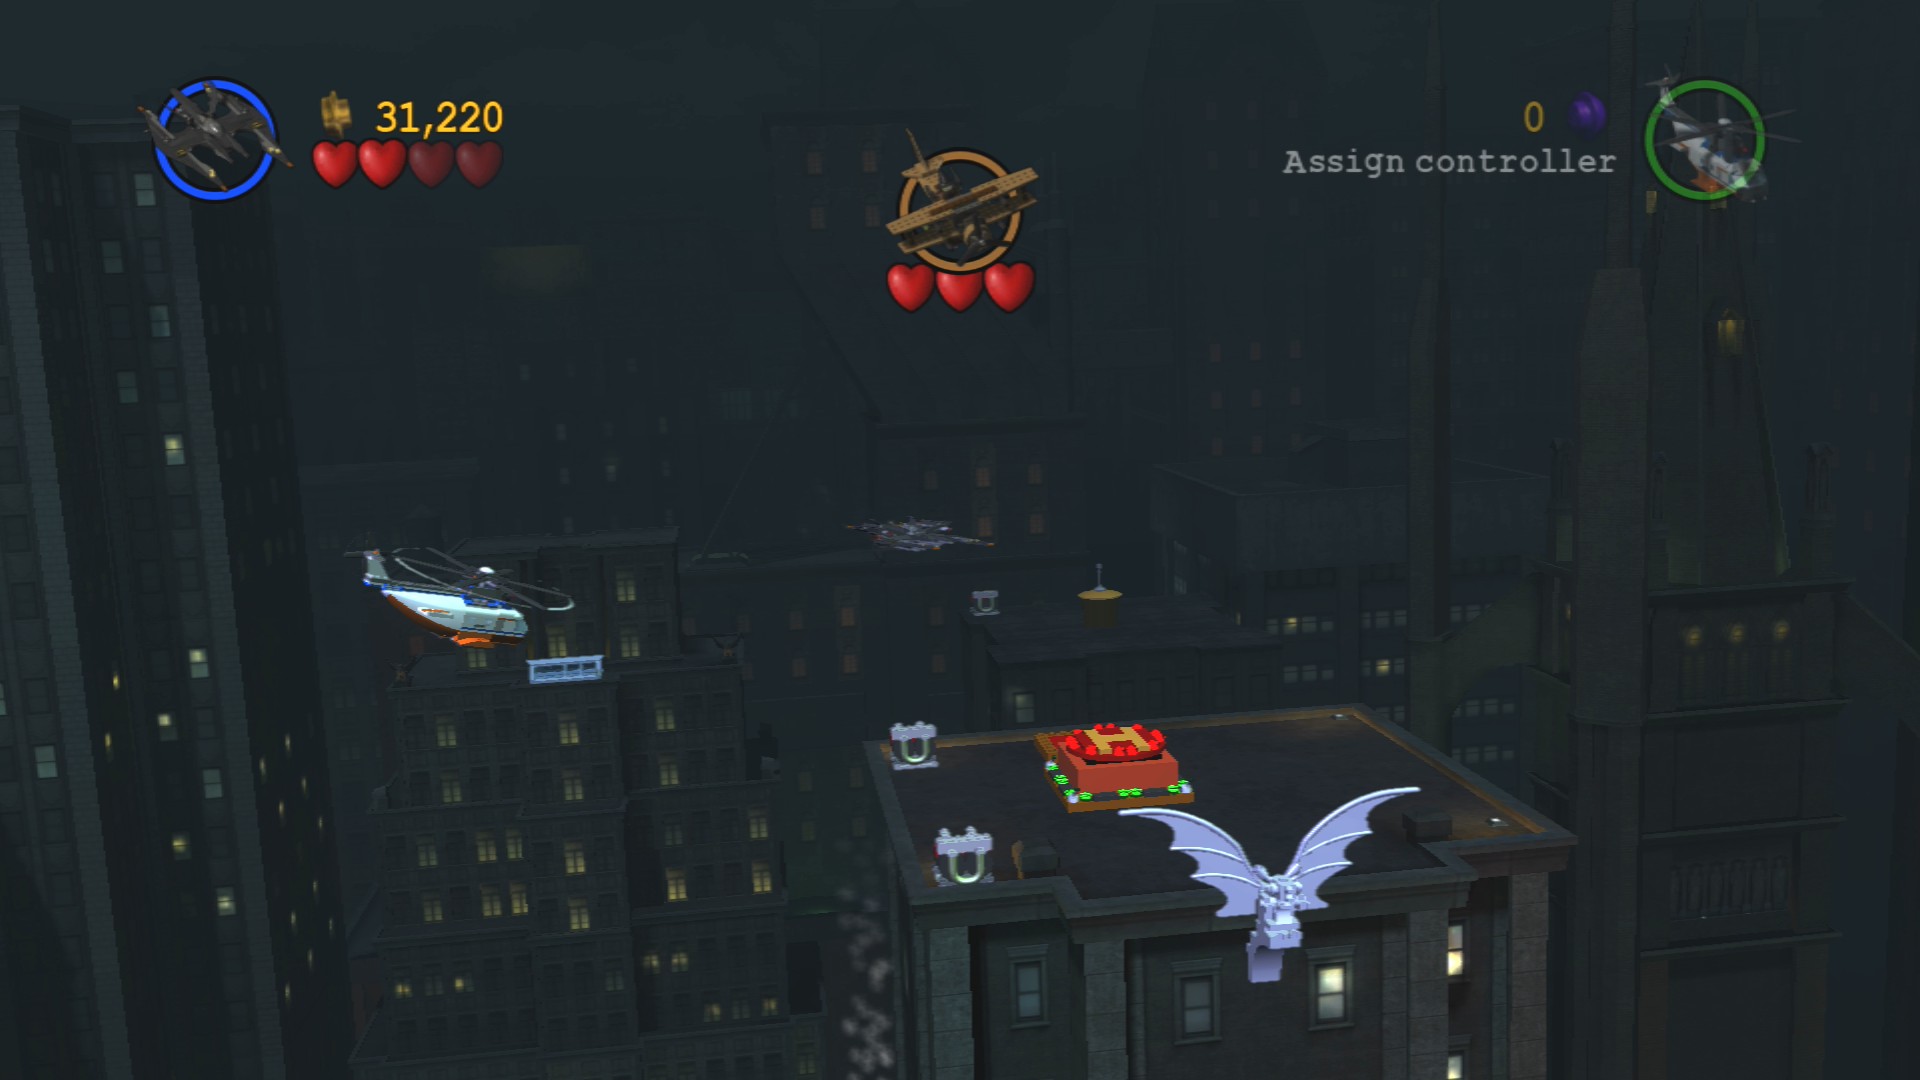
Fly through the gas at the back of this final area and approach the red helipad while driving a helicopter. A platform will pop out and give you the Minikit.
Minikit 9/10
Requires: Hazard Protection Story Mode: No
Shoot the three gargoyles back here, there's two on the same building as the helipad and one just to the left as you go through the gas.
Minikit 10/10
Requires: None Story Mode: Yes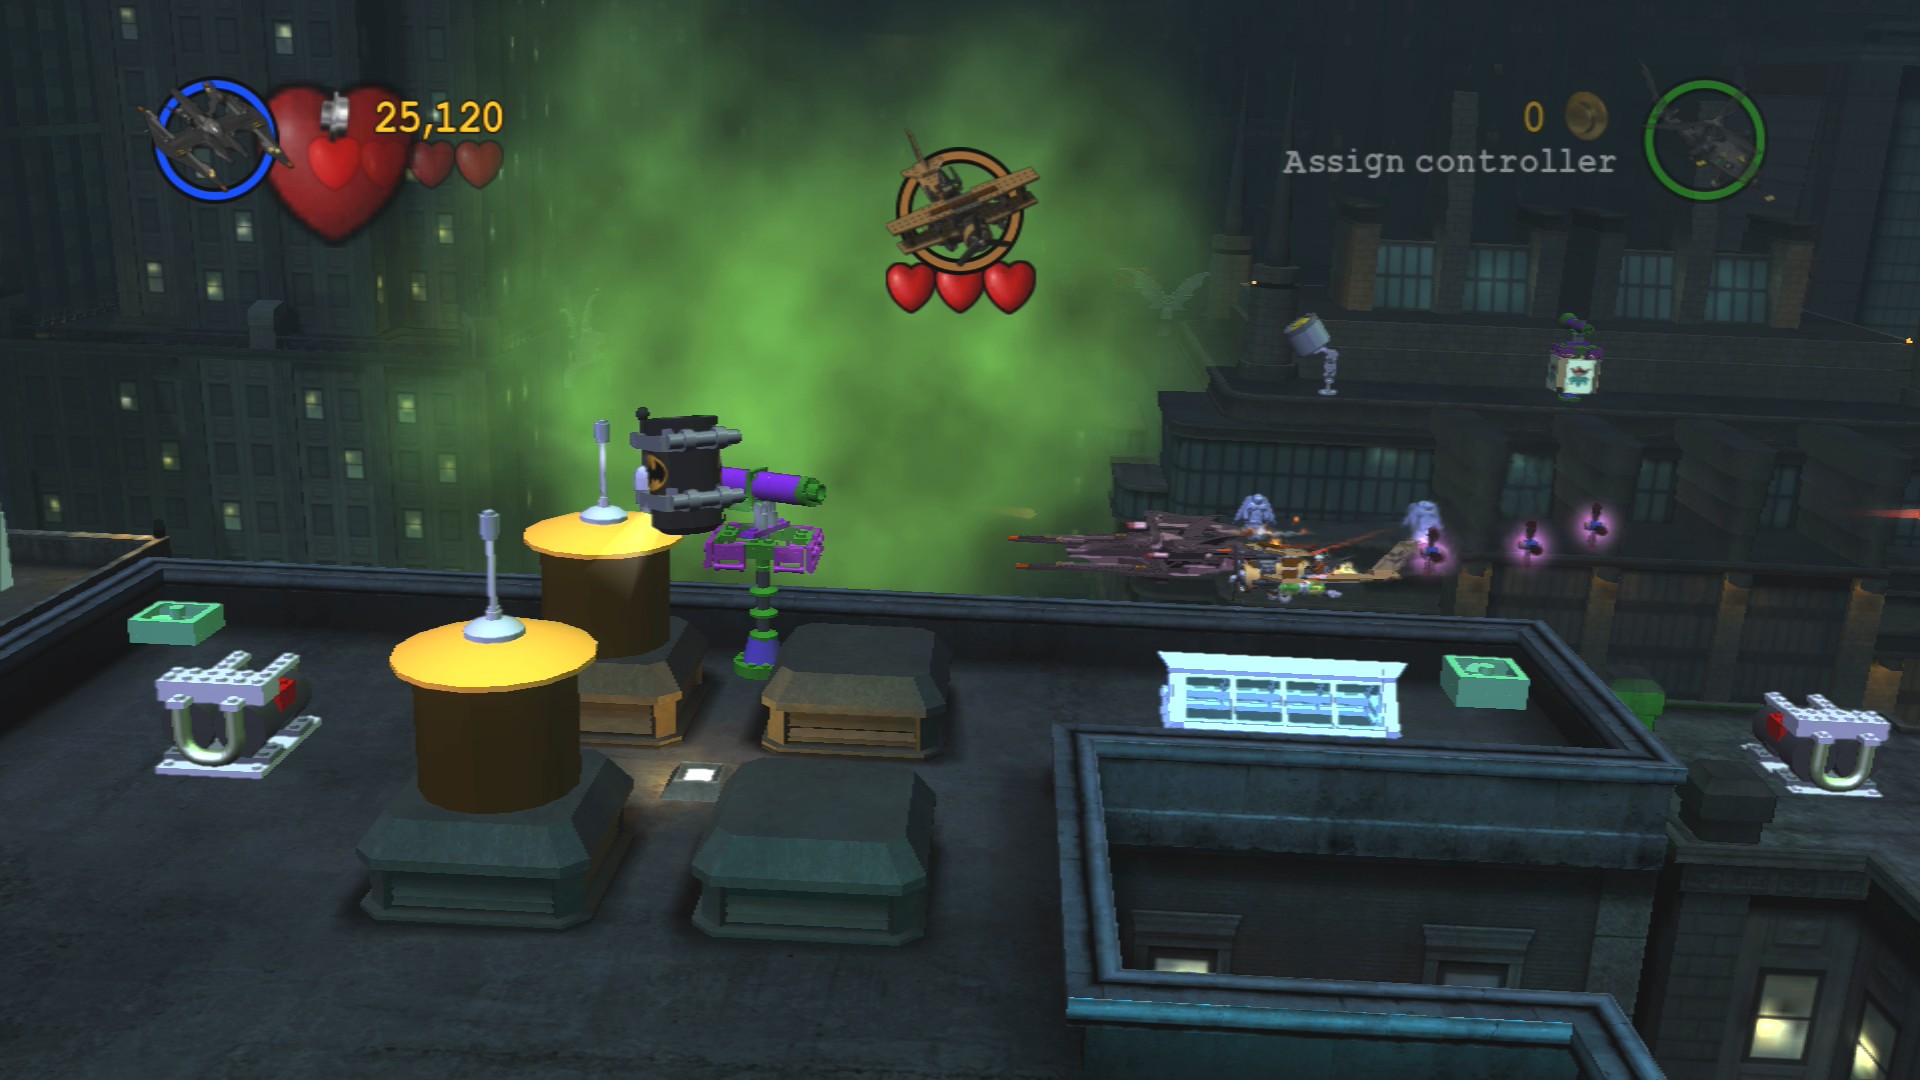
Just floating about in between some yellow saucers on the rooftops along the near edge of the screen where you fight the Scarecrow.
How to take down Scarecrow's plane: using the Batcopter grapple the plane and then switch to the Batwing and use a targeted bomb to damage him while he's hooked. You can find the bombs at the far right end along the near edge. Do that three times to finish the level.
| Cost | Character | |
|---|---|---|
| - | Batwing | |
| - | Batcopter | |
| 15,000 | Bruce Wayne's Private Jet |
Chapter 4. In the Dark Night
| Story Mode | Free Play |
|---|---|
| 73,000 | 127,000 |
Minikit 1/10
Requires: Strength, Sonic Suit Story Mode: No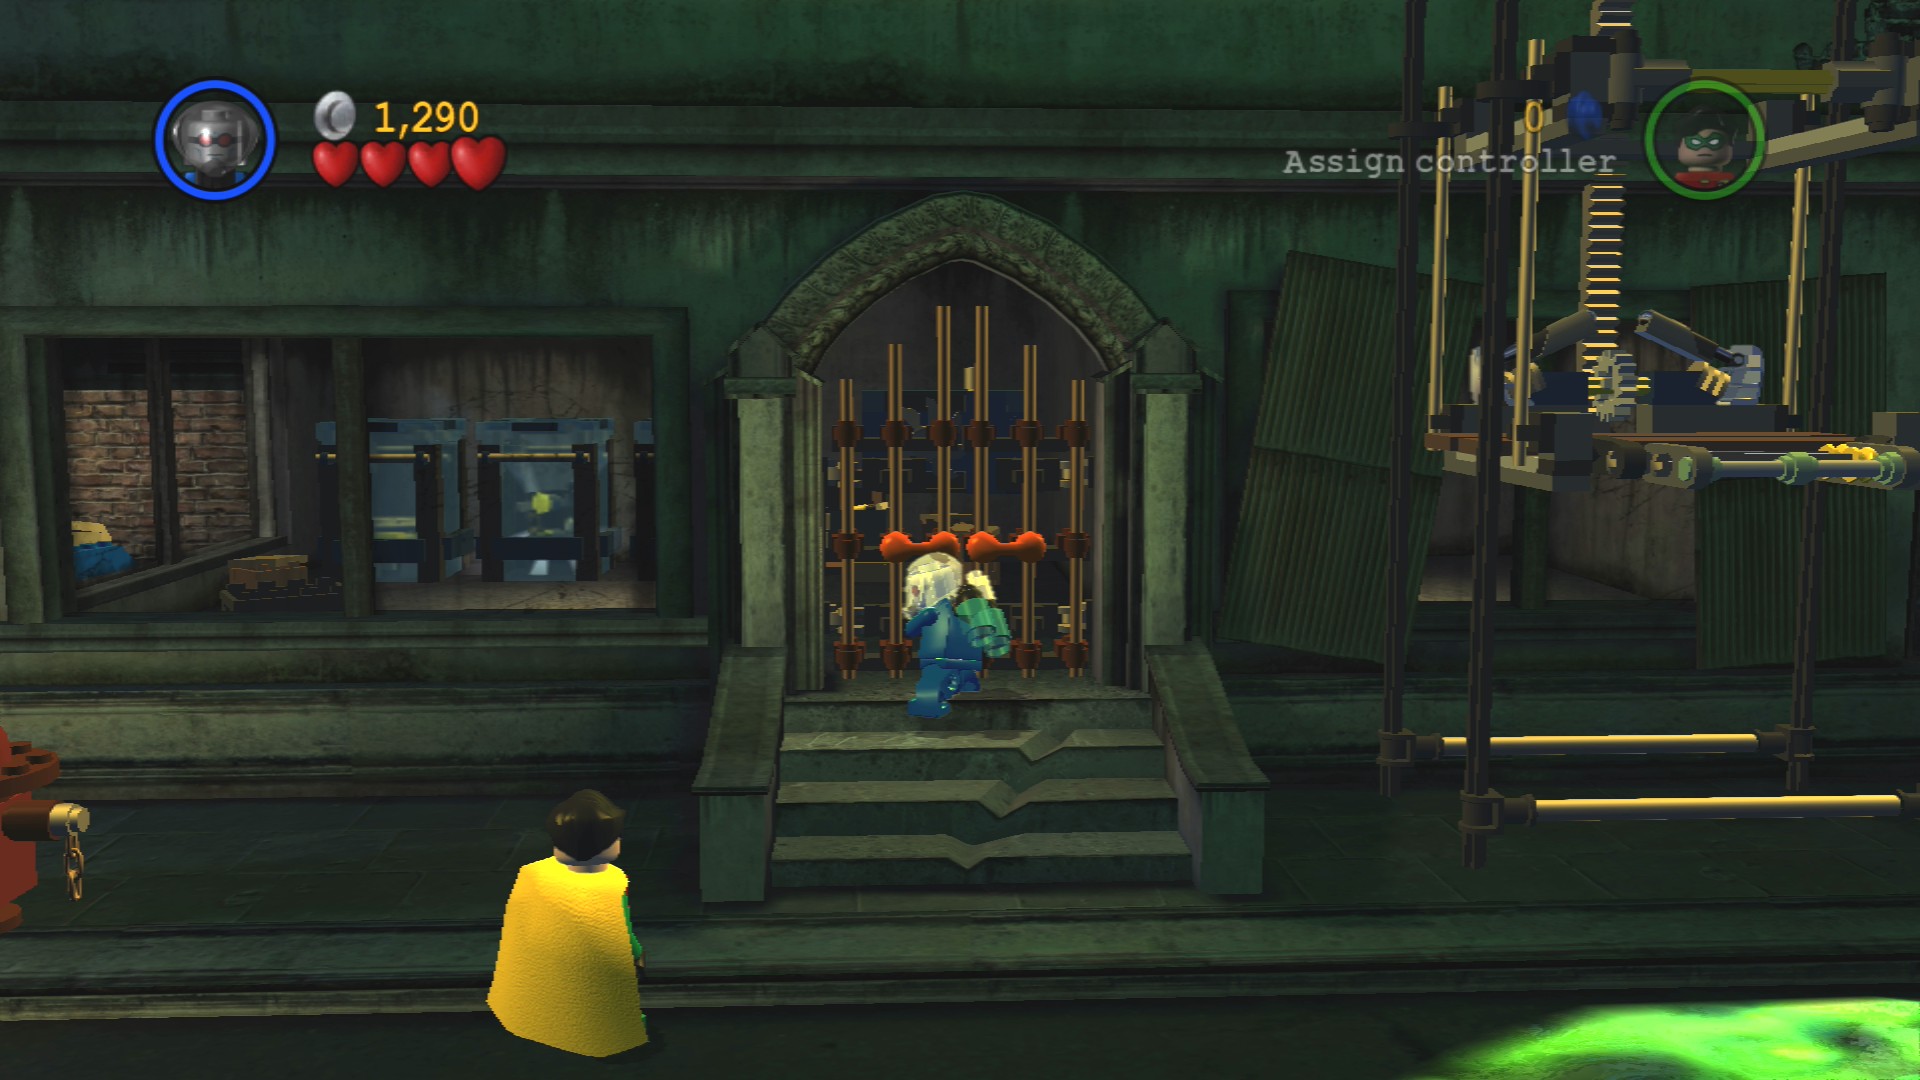
Use strength to open the door at the back next to where Killer Moth was standing. Just inside you'll need to use the Sonic Suit to smash the glass to get the Minikit.
Smash the objects beneath where Killer Moth was standing at first, you'll find the parts to bring the platform down and then you'll be able to add a handhold bar to jump up onto it and from there over the fence to the right.
Minikit 2/10
Requires: Electric Buzzer, High Jump, Sonic Suit Story Mode: No
Immediately on the other side of the fence is a generator to use an electric buzzer on. That'll drop a ladder down for you to High Jump onto, climb up onto the roof and use the Sonic Suit to smash some glass.
Around the corner beat up some more goons as you follow Killer Moth all the way to the entrance to a building. He'll go inside and a Silver LEGO van will park in front blocking the way. Defeat the goons and then go to the left of the entrance to an alley and smash everything there. Build a fan out of the remains and pull the lever you've uncovered on the right to switch it on.
Minikit 3/10 - Part 1/3
Requires: High Jump Story Mode: No
High Jump onto a ladder above the fan ledge to reach a rooftop, smash the first object to reveal the first of three cakes you need to smash.
Follow the ledge around the front then jump over the gap and then smash all the stuff in the building behind the elevator. Eventually you'll get all the parts to build a spinner switch. Have Robin push the spinner around so that Batman can get up to the Demolition Suit Swapper above.
Minikit 4/10
Requires: Glide Story Mode: No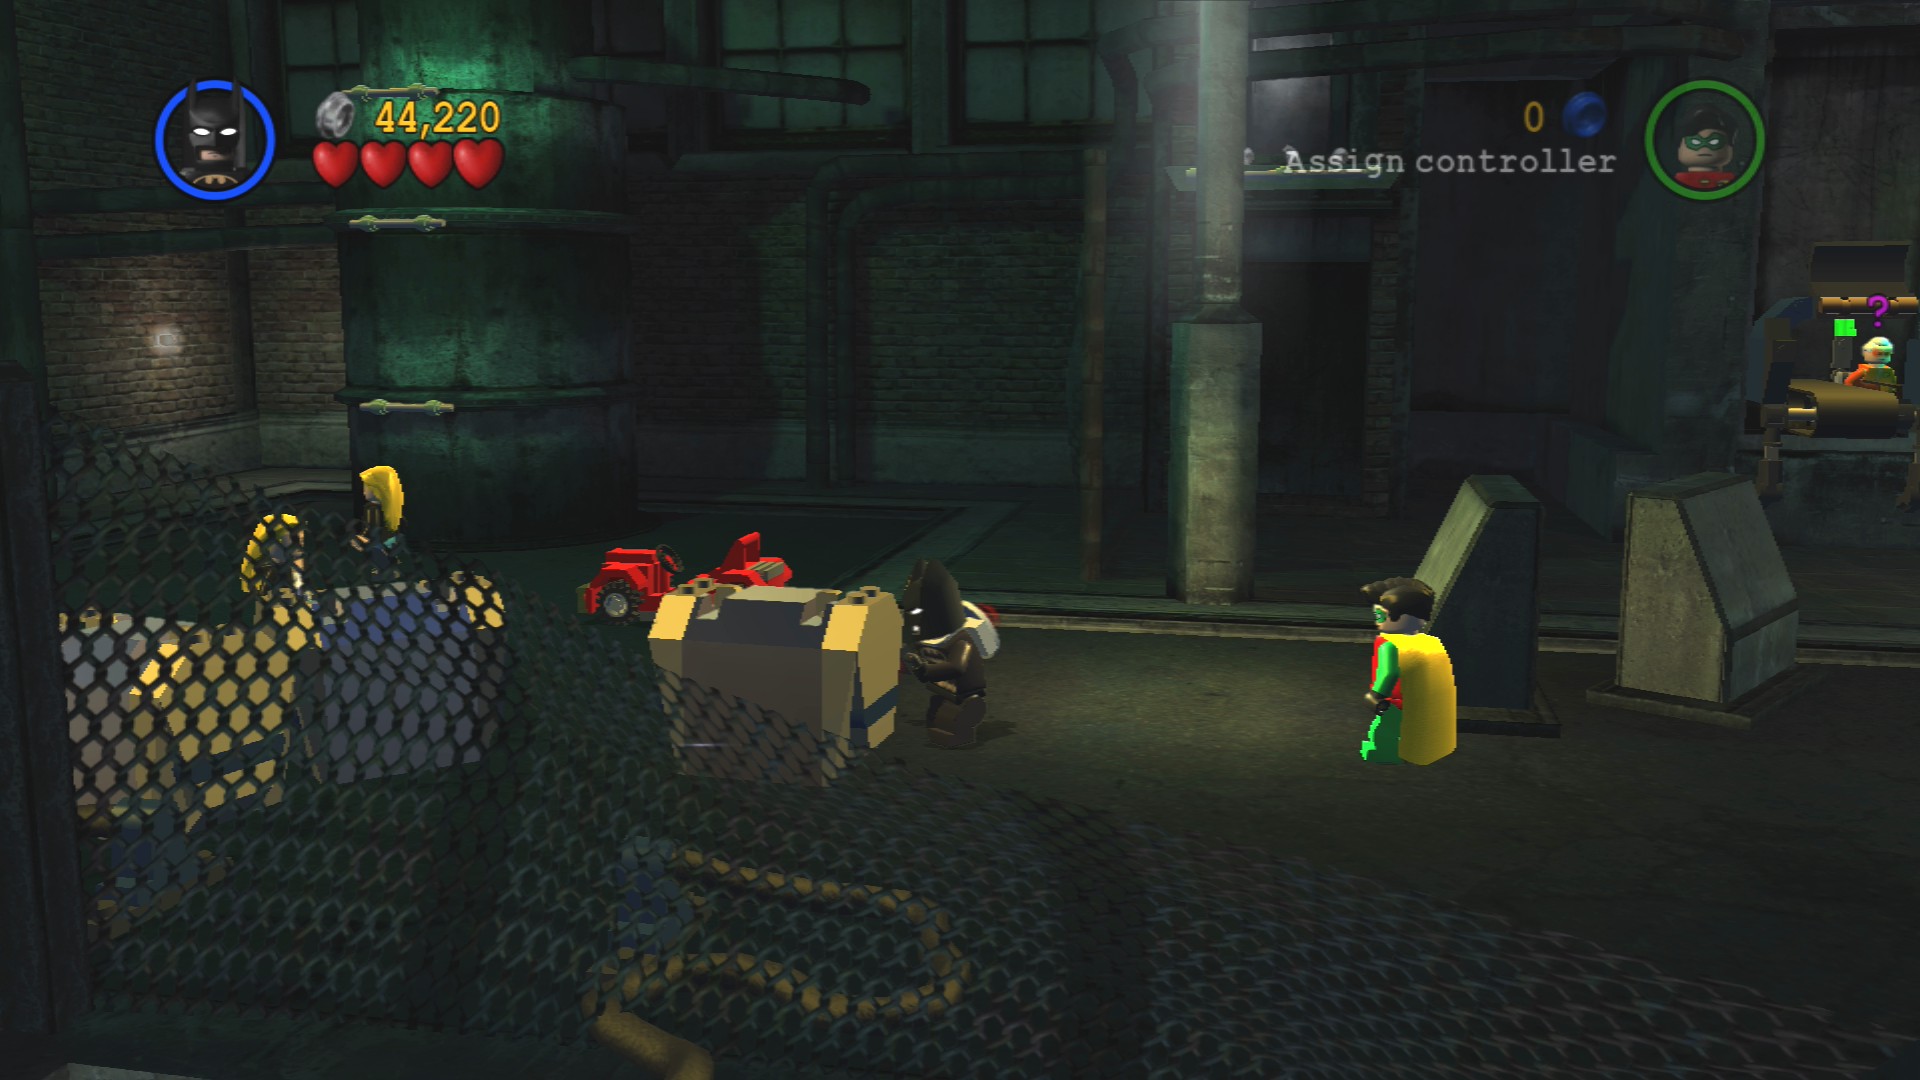
From the top of the elevator glide to the left to land on the ledges sticking out of the next building. Jump to the next ledge and then down to a handhold. From there grapple up onto a rooftop, you'll find the Minikit at the far end just around the corner.
I think you're really supposed to reach this by gliding from the bars you can build on the tank directly below, either way works though.
Minikit 3/10 - Part 2/3
Requires: Explosive Story Mode: Yes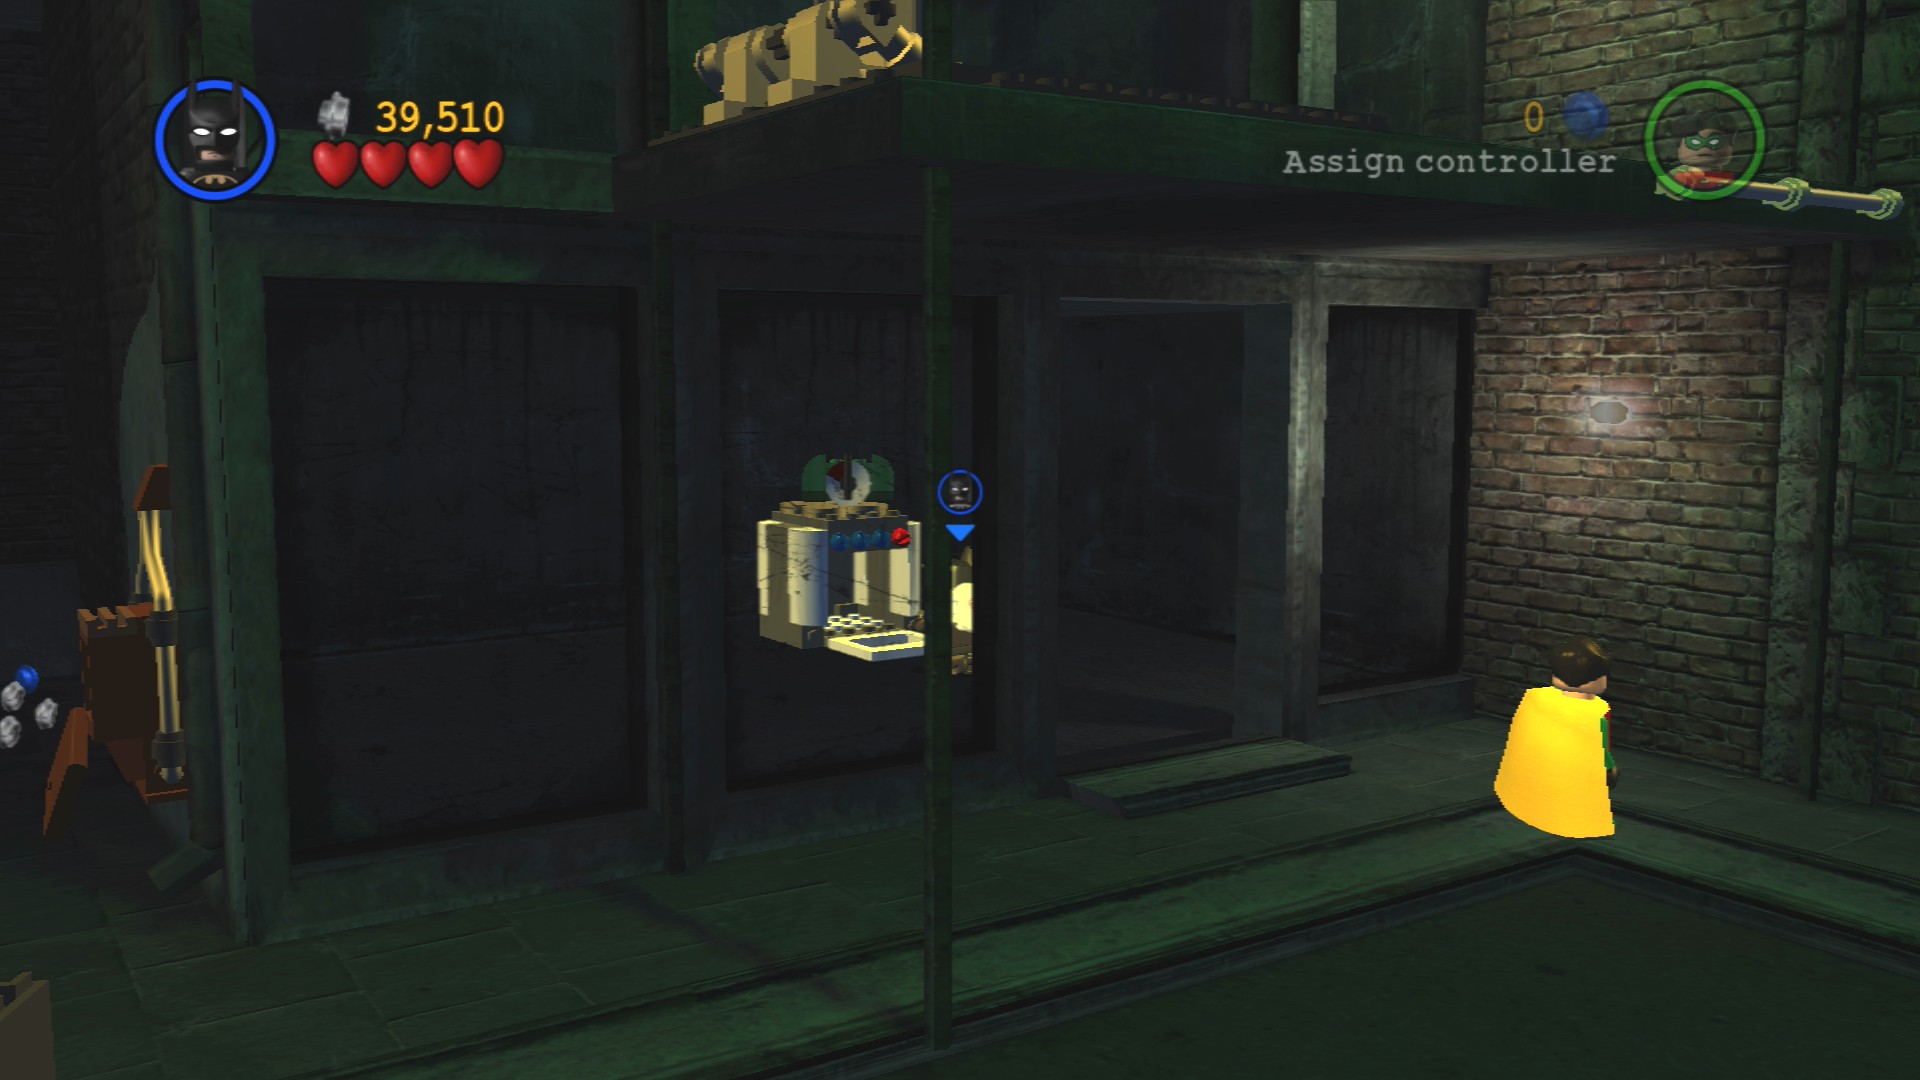
Directly beneath the Suit Swapper elevator is a room blocked up with Silver LEGO, blow that up and smash everything inside to build an oven. Out of the oven will pop the second cake.
Minikit 3/10 - Part 3/3
Requires: Hypnosis, Strength, Explosives, Hazard Protection Story Mode: No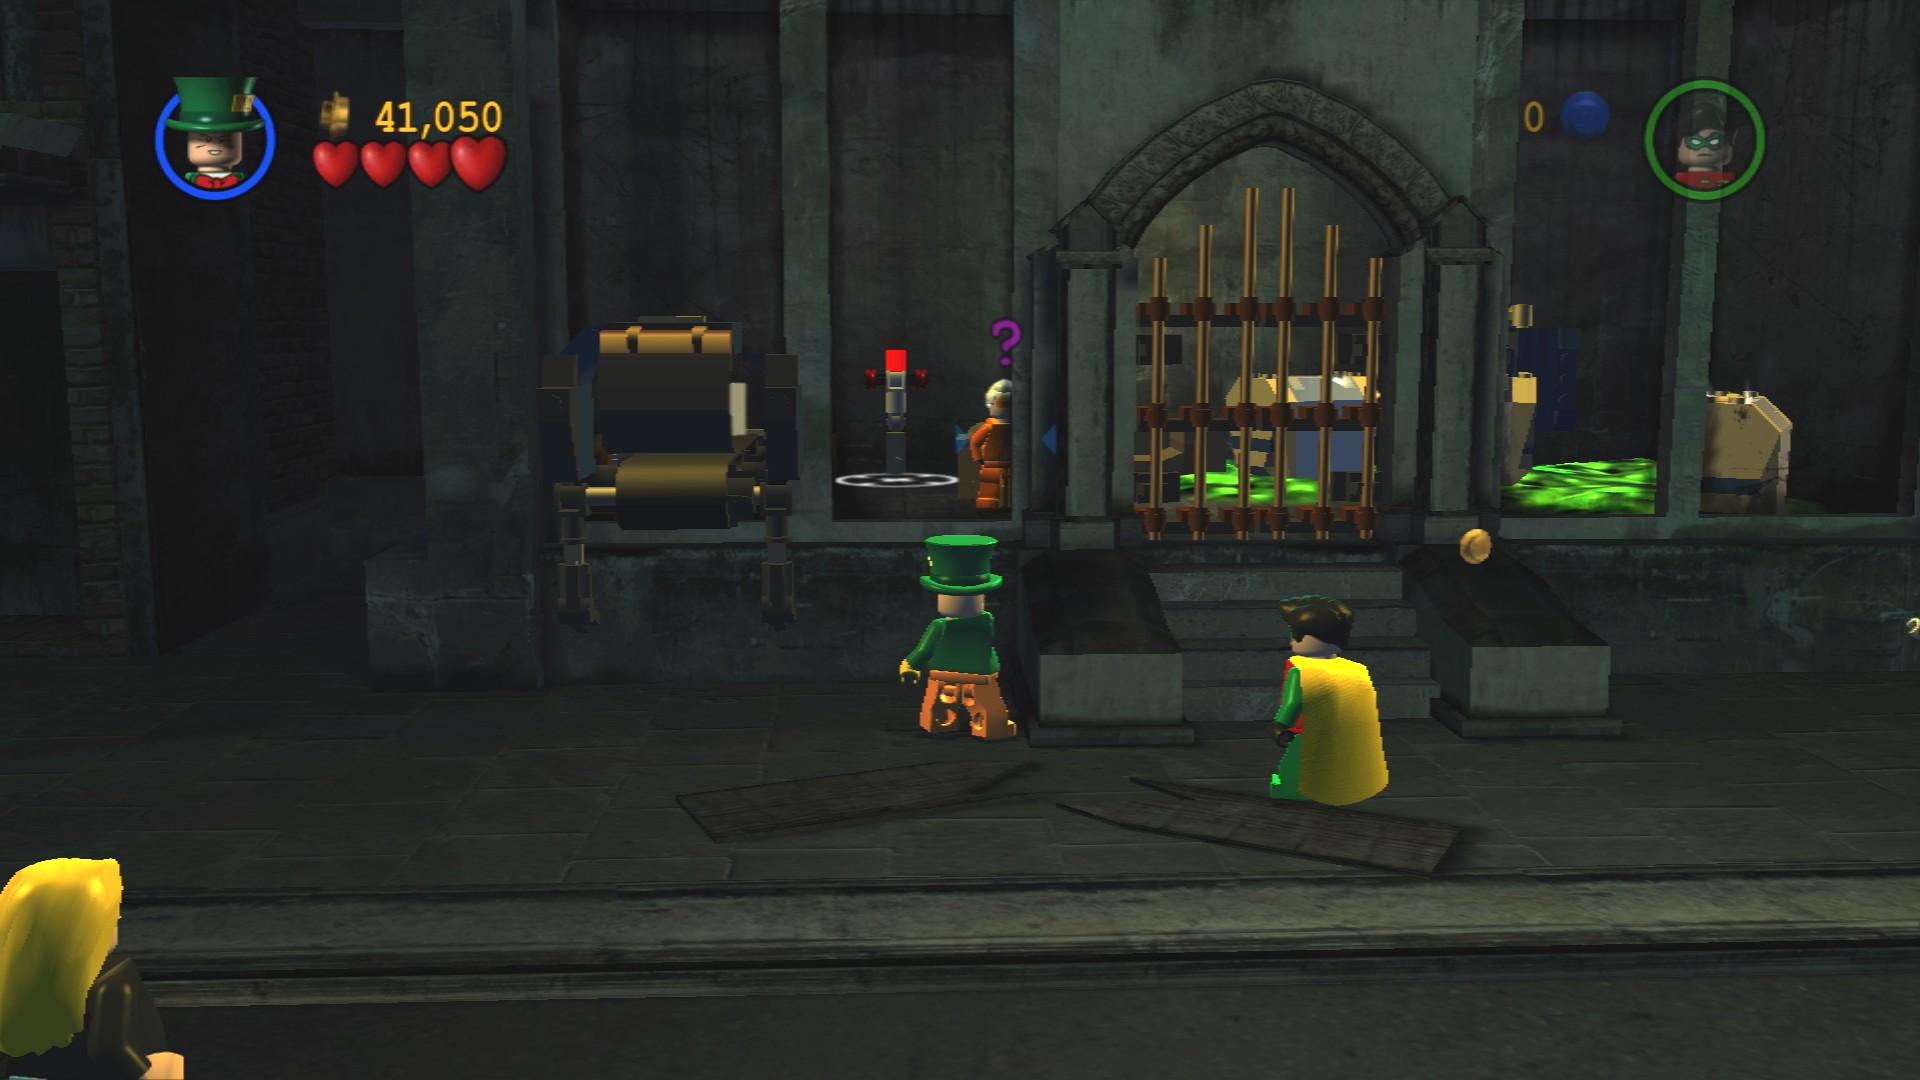
To the left of the oven room is a room with some toxic waste inside. Hypnotise the man into pulling the lever and then blow up the Silver LEGO that pops out. Next use strength to open the door and then blow up the Silver LEGO crates inside. Assemble the last cake and smash it to get the Minikit.
Follow Killer Moth inside by blowing up the van at the entrance.
Minikit 5/10
Requires: Attract Suit, Technology Suit Story Mode: No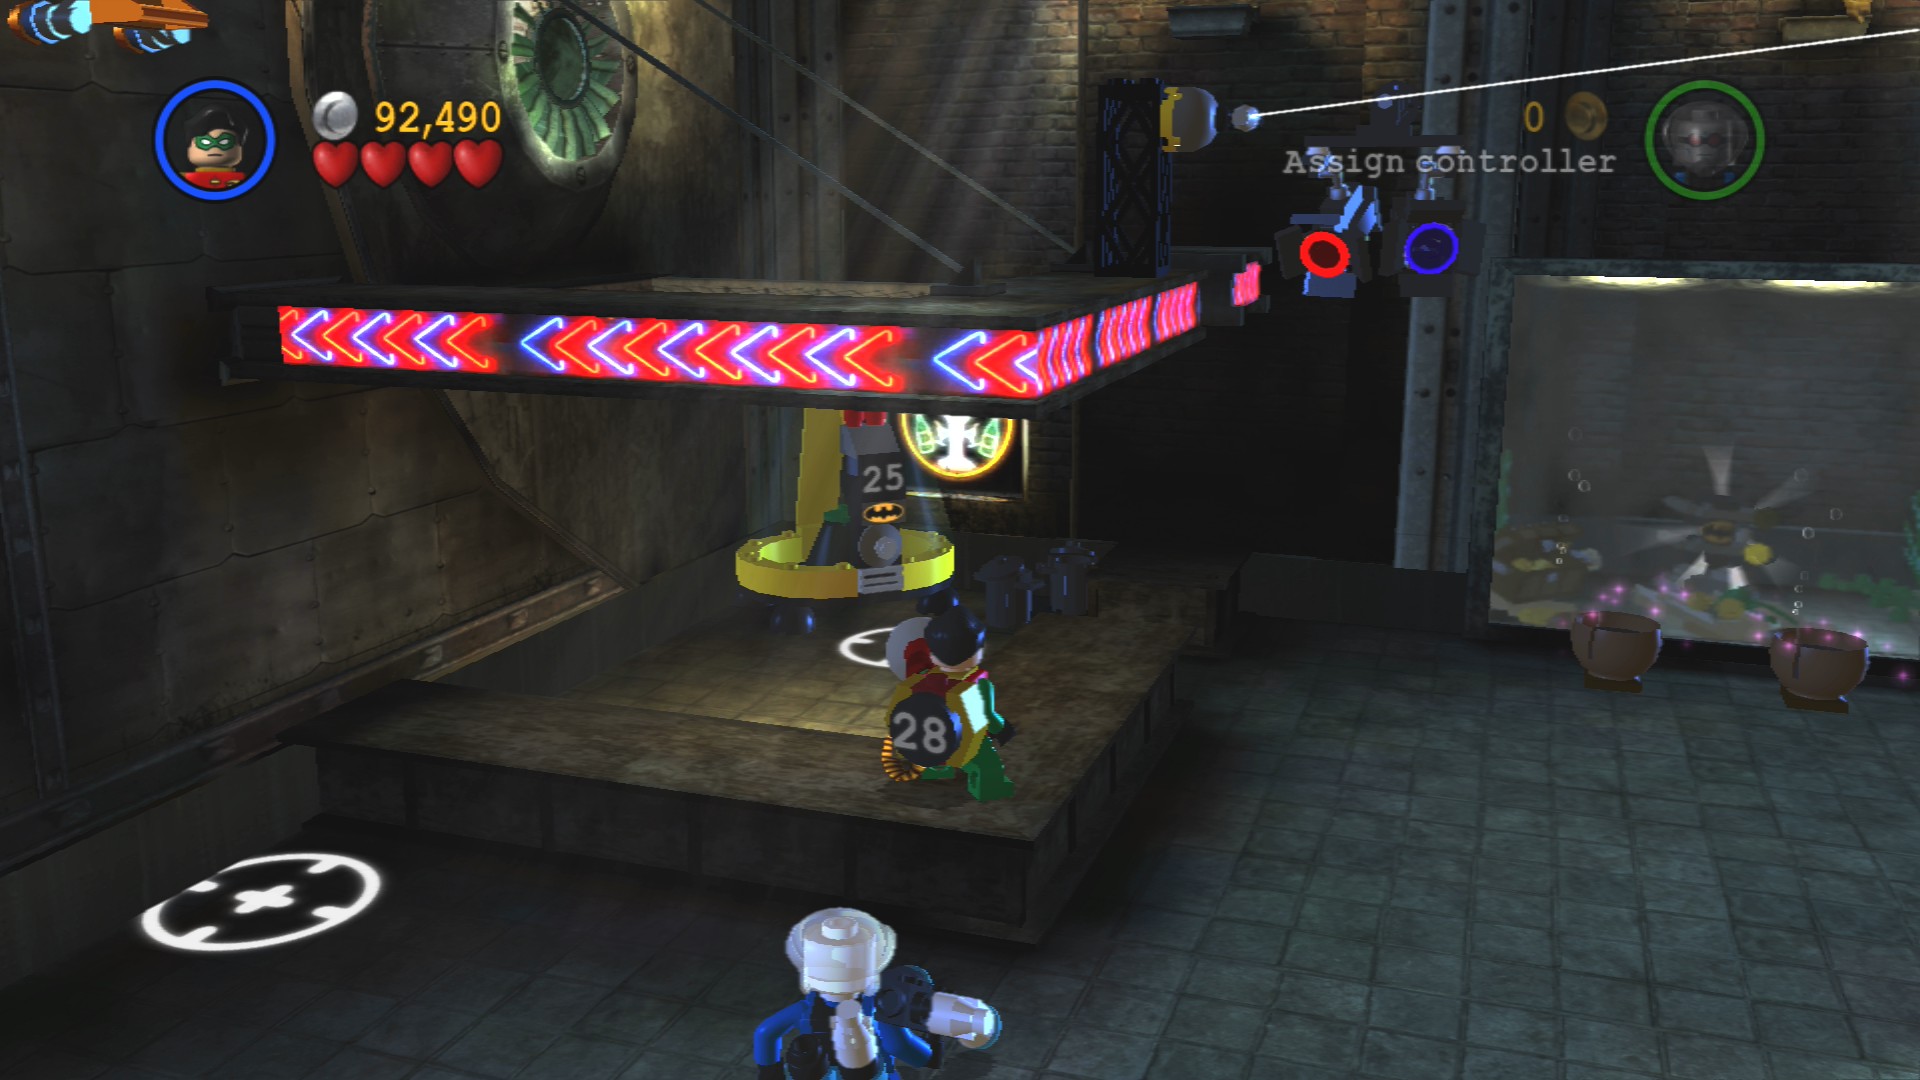
Smash everything in here to find enough loose LEGO to fill up the Attracto Canister in the corner. Once you have the red helicopter built go over to the right and use the Tech Panel to start controlling it. Fly it towards the screen to where there are some lights in the air. Bump into them to light them up, once all ten green lights are lit you'll see the Minikit.
Minikit 6/10
Requires: Plant Growth, Swimming Story Mode: No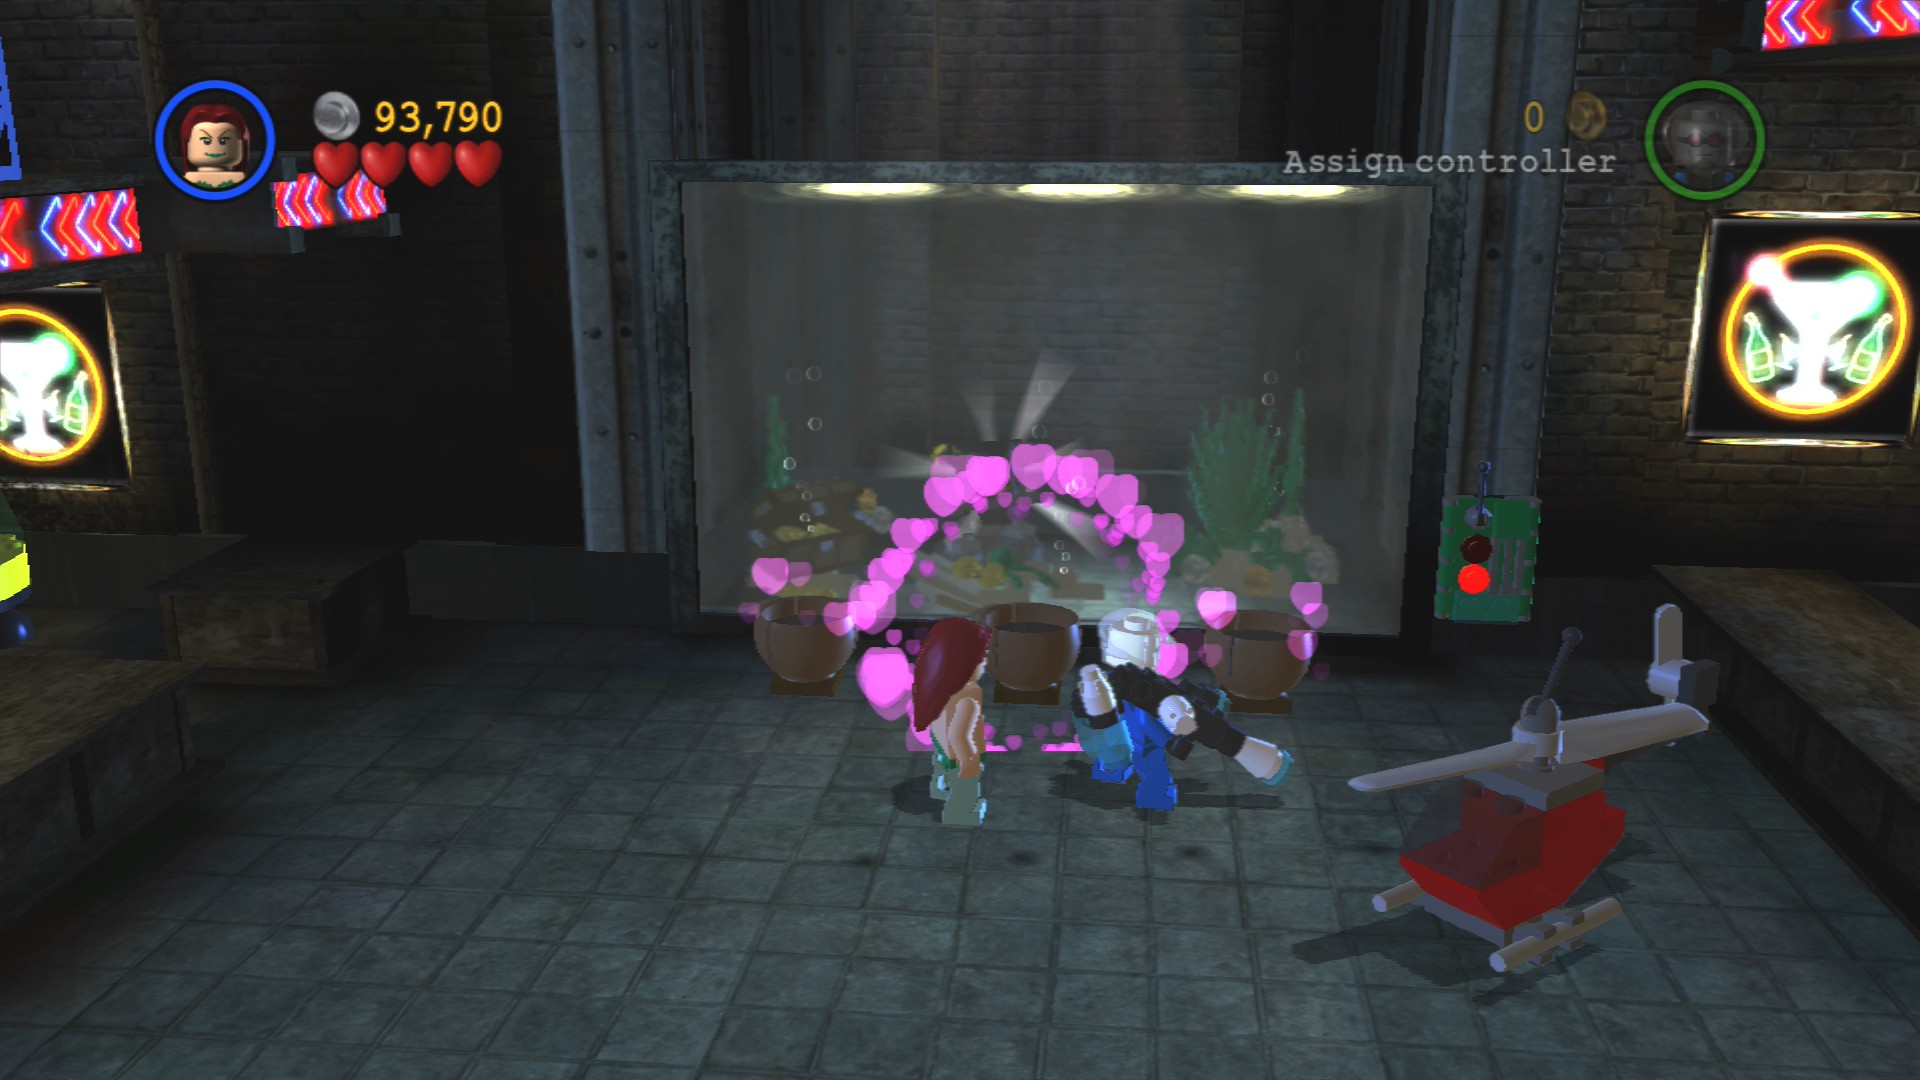
Use Poison Ivy's plant growth power on the three plant pots at the back of the room then use the new plants to High Jump up and into the water tank. Swim down to grab the Minikit.
Once inside defeat the goons and then smash the objects on the left side of the right bar to get the parts to half a tightrope. Next go smash the objects near the door, including the spotlights above it. You'll get the parts to build a grapple that you can use to get up on top of the bar. Once you're up there you can build the second part for the tightrope.
Cross the tightrope to the top of the second bar and use explosives to blow up the two sets of four blue lights. That will rain down the parts to fix the checkered floor so that you can push the object along its path.
Smash the objects near the second pushable object to get the parts to finish it off. You'll then be able to push it along its path as well. Once both are in position you can pull on their levers to open the lift door.
Defeat the enemies and then blow up the Silver LEGO crate on the dance floor to build a disco ball. Also blow up the large Silver statue at the far right end to build a Technology Suit Swapper. Assemble the two speakers either side of where the statue was and then step onto the dance floor to solve a little puzzle. Simply stand on the lit up squares one by one, waiting for your partner to stand on the other one. Puzzle solved!
Once the robot has appeared you'll be able to use the Tech Panel at the back to control it. Use it to smash the multi-coloured wall at the back of the room so you can move on.
Jump down off the ledge and beat up the bad guys.
Hostage 11/25
Requires: None Story Mode: Yes
Being held over to the right after you jump down.
Minikit 7/10
Requires: Strength, Explosives Story Mode: No
Behind the orange bin lorry on the left are some objects to smash so that you can add some orange bars to the back of it. Pull the truck out of the way to reveal some Silver LEGO with the Minikit inside.
Smash the glowing objects on the right just before the toxic waste, from the debris you can build a Magnet Suit Swapper for Robin to put on. Follow the path of studs to the metal wall at the back of the toxic waste to walk over to the other side, I'd recommend using your batarang to hit the goons on the other side of it first though to avoid getting shot at the whole time.
Once you're on the far side of the goo smash the dumpster and assemble the pump to get rid of all the toxic waste. Blow up the Silver LEGO now that Batman can come over to build another metal wall for Robin to walk up.
Minikit 8/10
Requires: Magnet Suit Story Mode: Yes
On the left as you walk up the short vertical metal wall.
Go to the right and walk across the tightrope, pull the lever to lower the ladder so that Batman can get up and blow up the Silver LEGO fence blocking the way.
Behind the fence smash everything, including the objects high up on the wall, and you'll be able to complete the water cannon. Have both characters stand on it to put out the fire in the street below.
Jump down and blow up the Silver LEGO barricade to get to a whole load of goons waiting on the other side.
Red Brick - Faster Pieces
Requires: Heat Protection Suit, Glide, High Jump Story Mode: No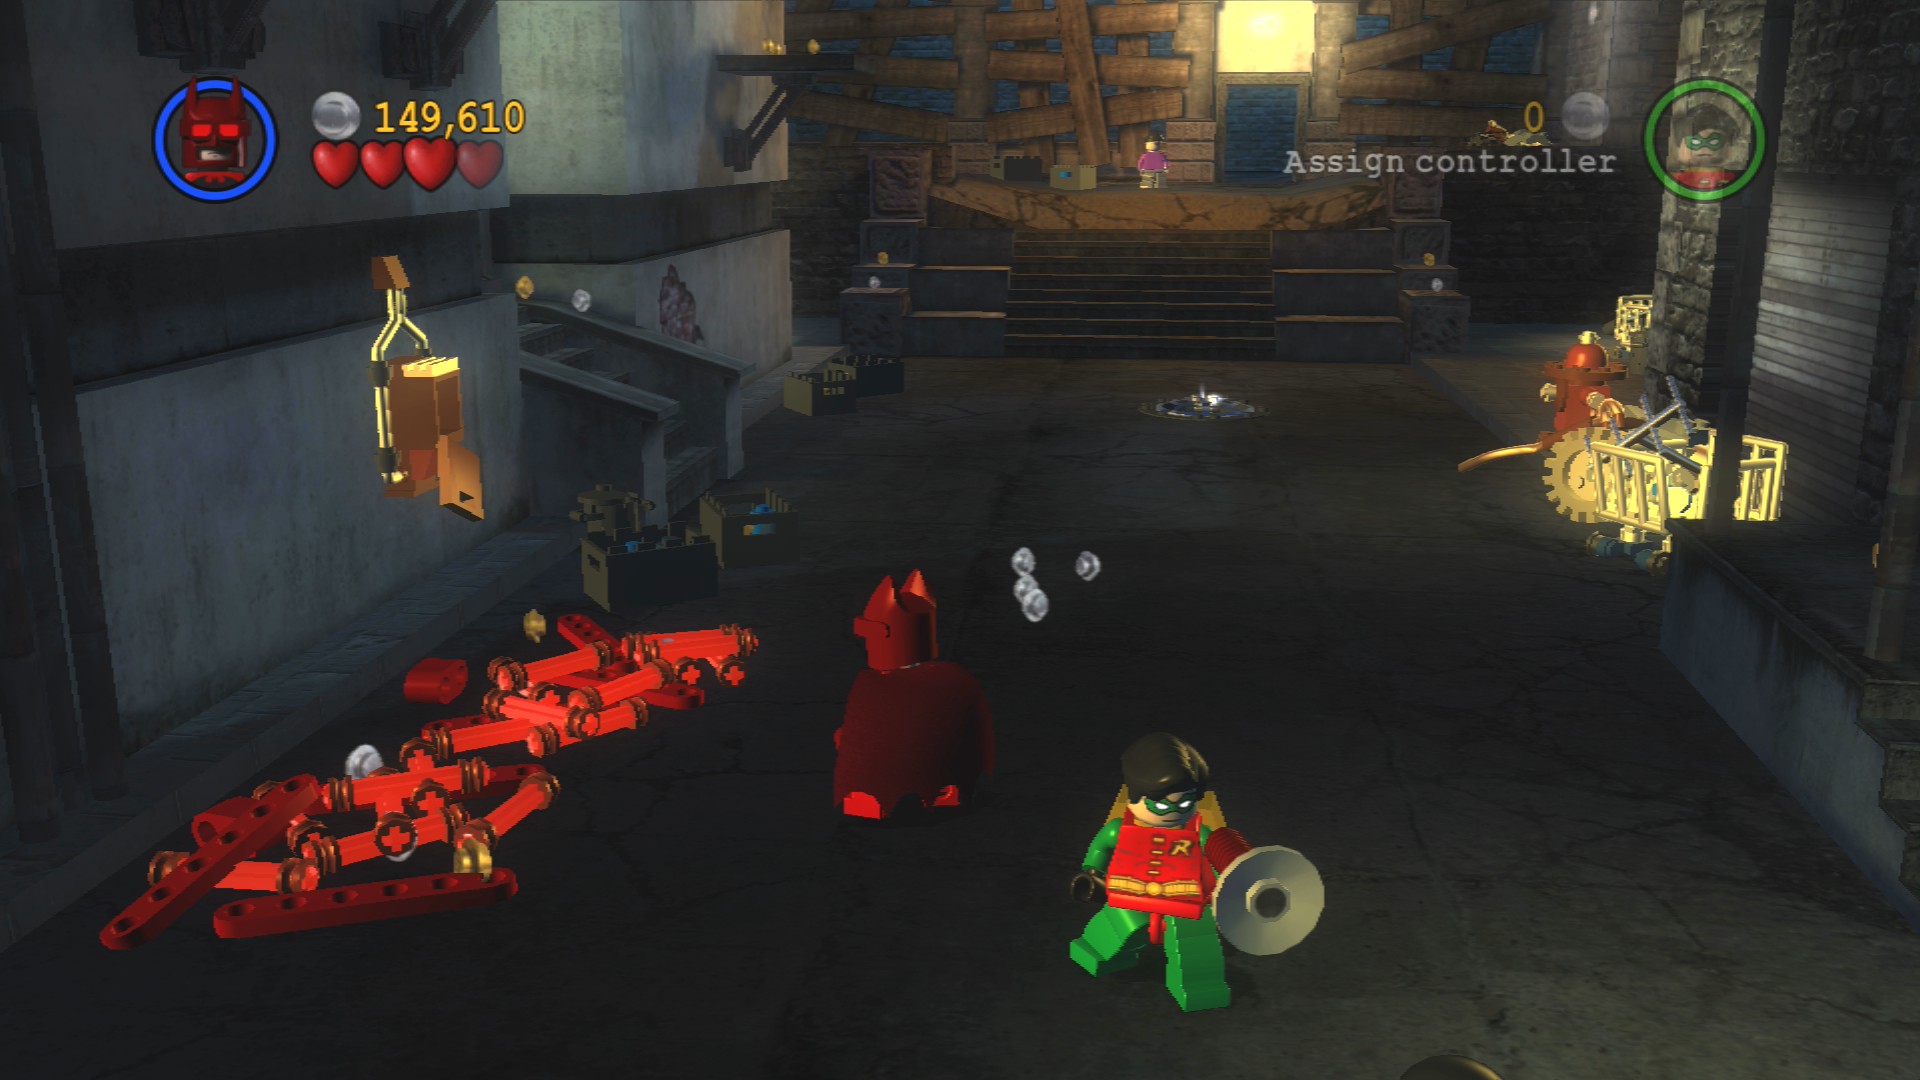
On the left after the fire are some dumpsters, smash them to reveal some red hot LEGO that a Heat Protection Suit will allow you to build a ladder. Still wearing the suit climb the ladder and then glide forwards to the small platform beneath the Red Brick, and from there it's just a high jump.
Minikit 9/10
Requires: Explosives Story Mode: Yes
Blow up the Silver LEGO manhole cover at the end of the street and jump in to get the Minikit.
Go up the steps and head inside to face off against Killer Moth.
Minikit 10/10
Requires: Sonic Suit, Electric Buzzer Story Mode: No
Use the Sonic Suit to blast through the glass at the back. Smash the stuff inside there then build a pressure gauge from the pieces that remain. Use an electric buzzer on the generator to overpower it into exploding, giving you the Minikit.
Give him a couple of whacks and then blow up the Silver LEGO on the left side of the area. Rebuild the engine and then defeat the large number of goons that appear. After clearing them out use the Tech Panel on the engine and hold down the action button to get it running. This will power up the switches below Killer Moth. Pull them both to light up the giant bulb.
Once he's back on the floor give him another couple of punches before you fix the second engine. Defeat the goons that appear and then go into the room on the right where there's a Demolition Suit Swapper. Push the object along its path and the engine's Tech Panel will light up. Fully power the engine and then pull both switches to finish the level.
Chapter 5. To the Top of the Tower
| Story Mode | Free Play |
|---|---|
| 96,000 | 140,000 |
Don't bother attacking the four enemies that the police are battling with at the front of the church, they'll just keep reappearing. Behind the two police vans that have turrets on them are some objects to smash, from the remains you can build a Demolition Suit Swapper for Batman to wear.
Go past the police to the opposite side of the area.
Minikit 1/10
Requires: Attract Suit Story Mode: No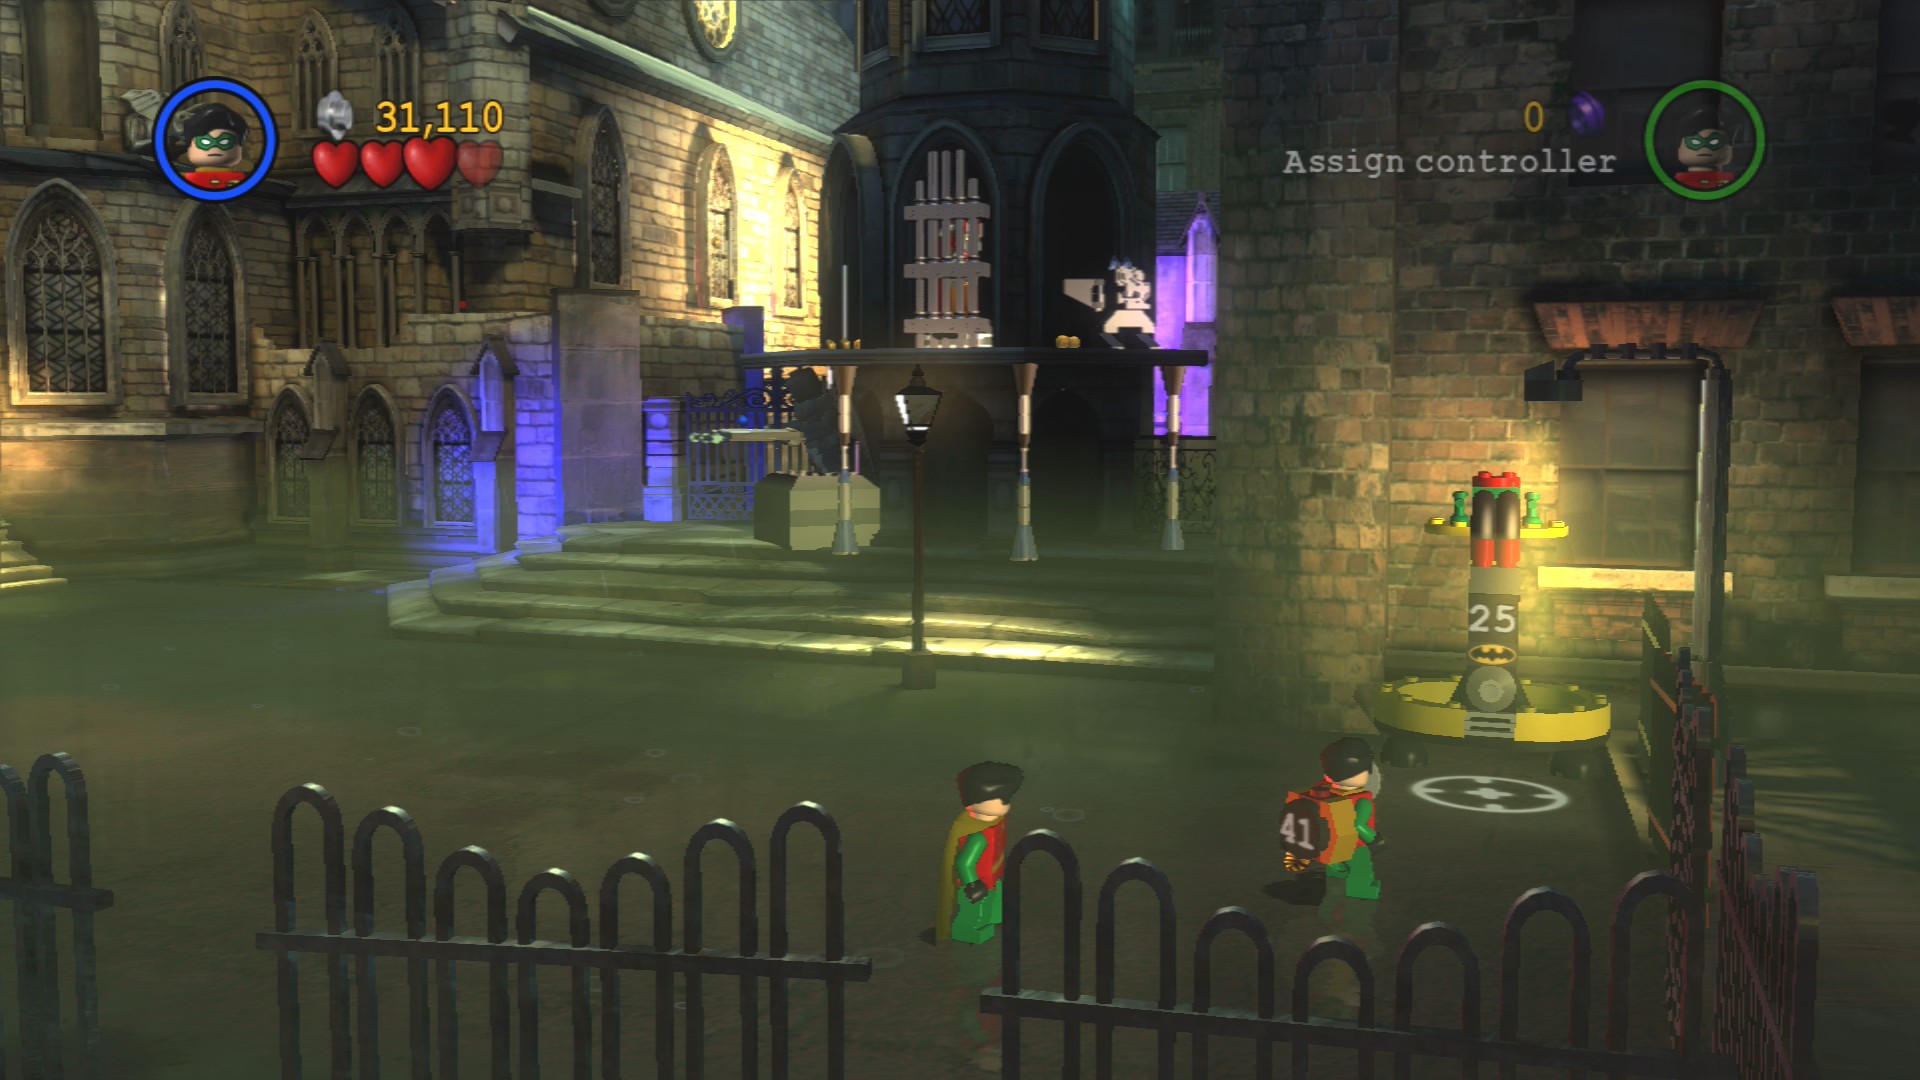
Fill up the Attracto Canister at the far right with all the loose LEGO you find to build a mine. Smash it to blow a small hole in the wall through which you can get the Minikit.
Jump up the handhold at the back and blow up the Silver LEGO grate blocking the Magnet Suit Swapper for Robin to wear.
Minikit 2/10 - Part 1/3
Requires: Explosives Story Mode: Yes
Just to the right of the Magnet Suit Swapper is the second Silver LEGO gargoyle to blow up.
Now head back to the left side of the area.
Hostage 12/25
Requires: None Story Mode: Yes
In the corner to the left at the start of the level.
Minikit 2/10 - Part 2/3
Requires: Explosives Story Mode: Yes
Next to the hostage is a small toppled over Silver LEGO gargoyle. Blow it up, you'll need to find another two of them to get the Minikit.
Minikit 3/10
Requires: None Story Mode: Yes
Smash the flowerbed against the wall on the left to find the bricks to build a ladder. Climb up it and stand on both the red buttons to open the window and reveal the Minikit.
You'd think that the toppled over Silver LEGO gargoyle on the floor at the back would be the third part but it isn't, instead it gives you bricks to build a metal wall that Robin can walk up. Make sure to push the statue along its path to the right before you do that though.
Minikit 2/10 - Part 3/3
Requires: Explosives Story Mode: Yes
The one up top is however the third gargoyle, so blow it up.
Minikit 4/10
Requires: Sonic Suit Story Mode: No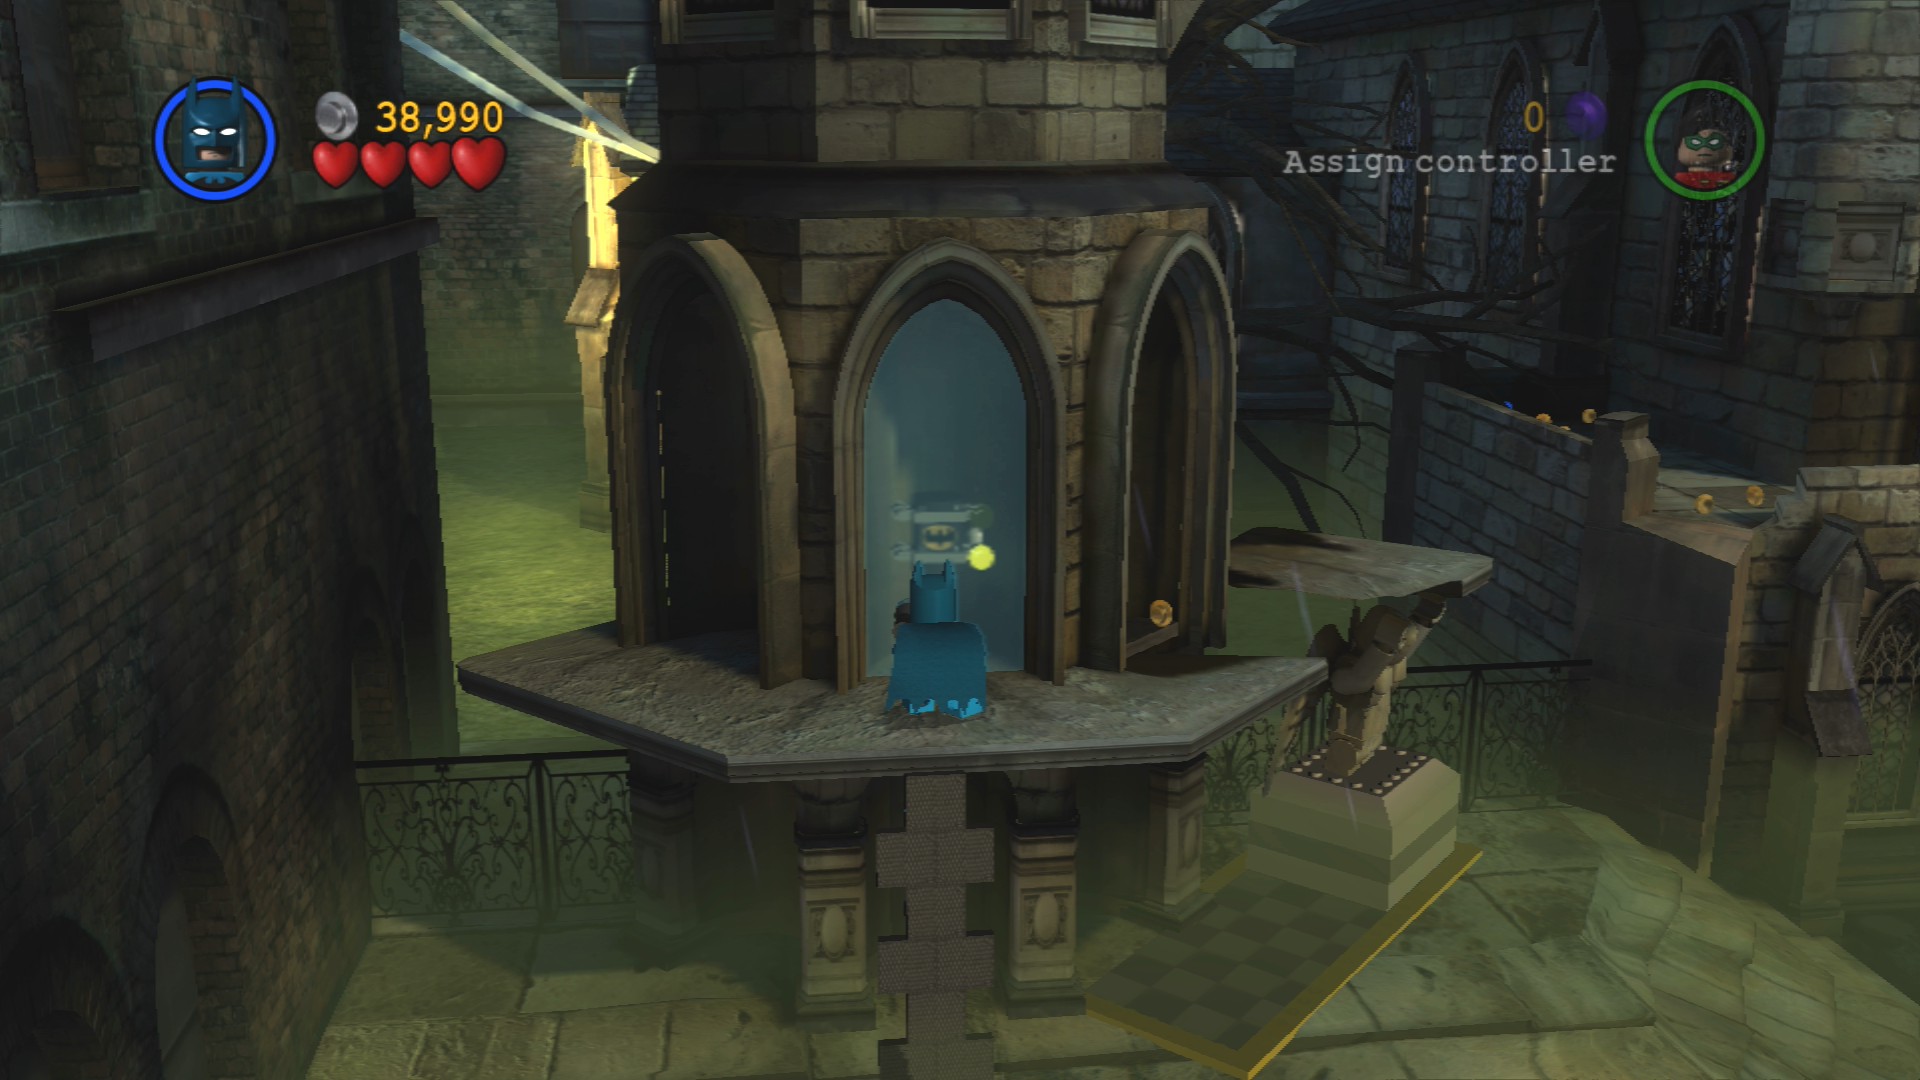
Sonic Suit the glass at the top of the metal wall.
Use the moved statue to jump over to the right to push on the spinner switch. This will open the windows of the church and Harley Quinn will appear.
Jump down and head over to the police vans to hop into their turrets. Shoot Harley with the water cannon once and quickly jump out to avoid taking damage when she blows it up. You can defeat the four goons now by the way, they'll no longer respawn.
Jump into the second turret and hit her again. Once that one's blown up too you can assemble a new turret in the middle. Shoot her one more time so that she retreats back into the church and knocks down some LEGO for you.
Build the fan to get up to where Harley was.
Minikit 5/10
Requires: High Jump Story Mode: No
Before you go inside jump down to the right and pull the lever. This will pop a small platform out of the wall beneath the Minikit floating above around the corner. High Jump to reach it.
That's everything out here so time to follow Harley into the church.
Minikit 6/10
Requires: Electric Buzzer Story Mode: No
To the left from where you start inside the church you'll see a ladder and a generator behind it. Use an electric buzzer to power the generator which will drop a platform down for you to get to from the ladder. Then it's just a matter of jumping to the Minikit.
Go to the right where Harley is standing, she'll jump away. To follow her you need to smash the Jack-in-the-box and then assemble a switch on the wall behind it. That will lower the statue on the right so you can cross over to where Harley is currently standing.
Of course she'll jump away again, this time up to the top of a spiral staircase. Smash the objects in the way as you follow her up there and then build a metal wall once you reach her newly vacated location.
Minikit 7/10
Requires: Magnet Suit Story Mode: Yes
If at the top of the metal wall you go to the left you'll find yourself on a ledge that will take you far to the left where the Minikit is spinning.
The lever up top will move a chandelier into position so that Batman can cross the gap to get to Harley again.
Minikit 8/10
Requires: Magnet Suit Story Mode: Yes
Slightly to the right of the lever that moved the chandelier.
If you go to the top of the little set of stairs after the chandelier you'll find a Glide Suit Swapper for Batman to put on. He'll need it right away, climb up the ladder and glide over the gap to where there's a spinner switch. Rotate it to help Robin get across.
Red Brick - Piece Detector
Requires: Strength Story Mode: No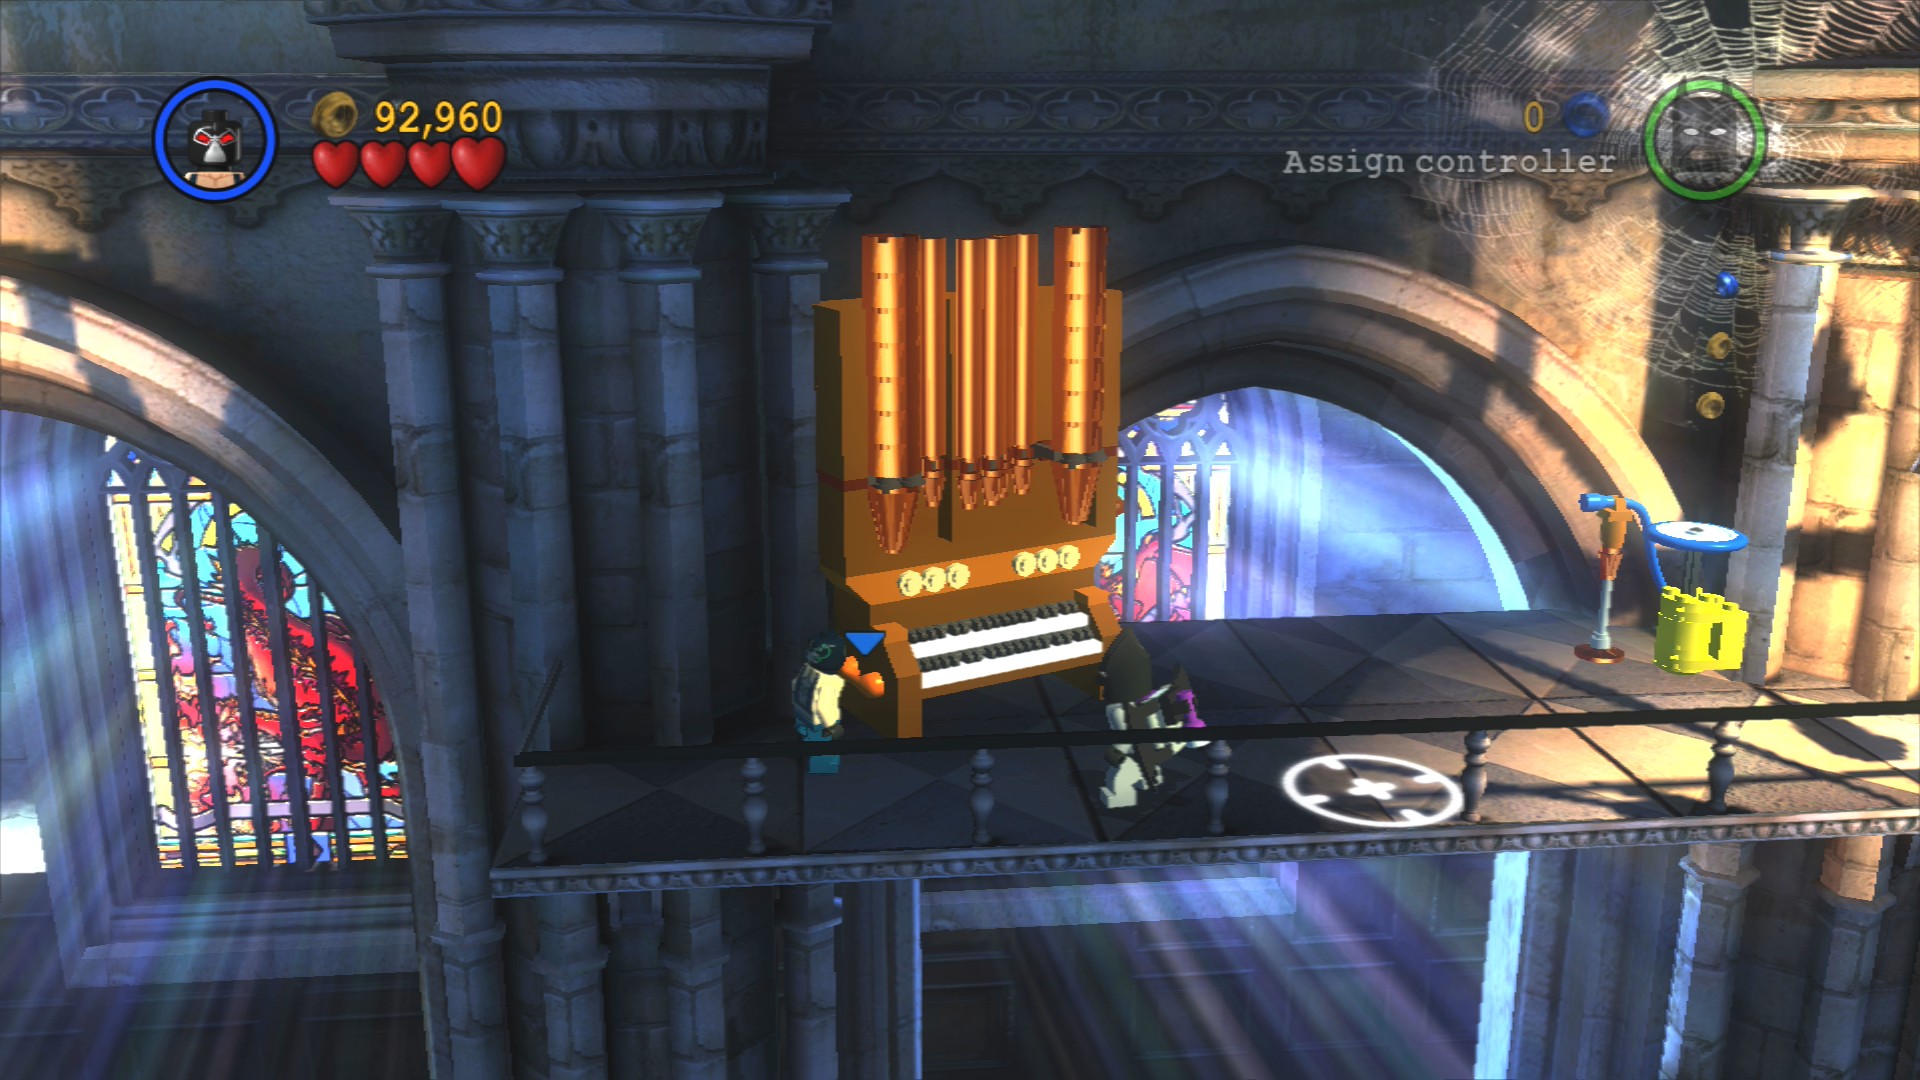
Jump down where you can see the grapple point and use a strong character to push the organ to the right. Then start jumping on the blue pump on the right until a man comes out and starts playing.
Have Batman stand on the button while Robin walks up the metal wall at the end so he can use the lowered statue to get across to where he can build a grapple point for Batman to get up. Now just go to the right and pull both levers to open the door to the boss fight.
Harley and the Joker will both jump into bells so you're not directly under attack straight away.
Go down the steps on the left side and build a LEGO anvil, this will raise up a grapple point from which you can then glide over to the right where there's a handhold to assemble.
Minikit 9/10
Requires: High Jump Story Mode: No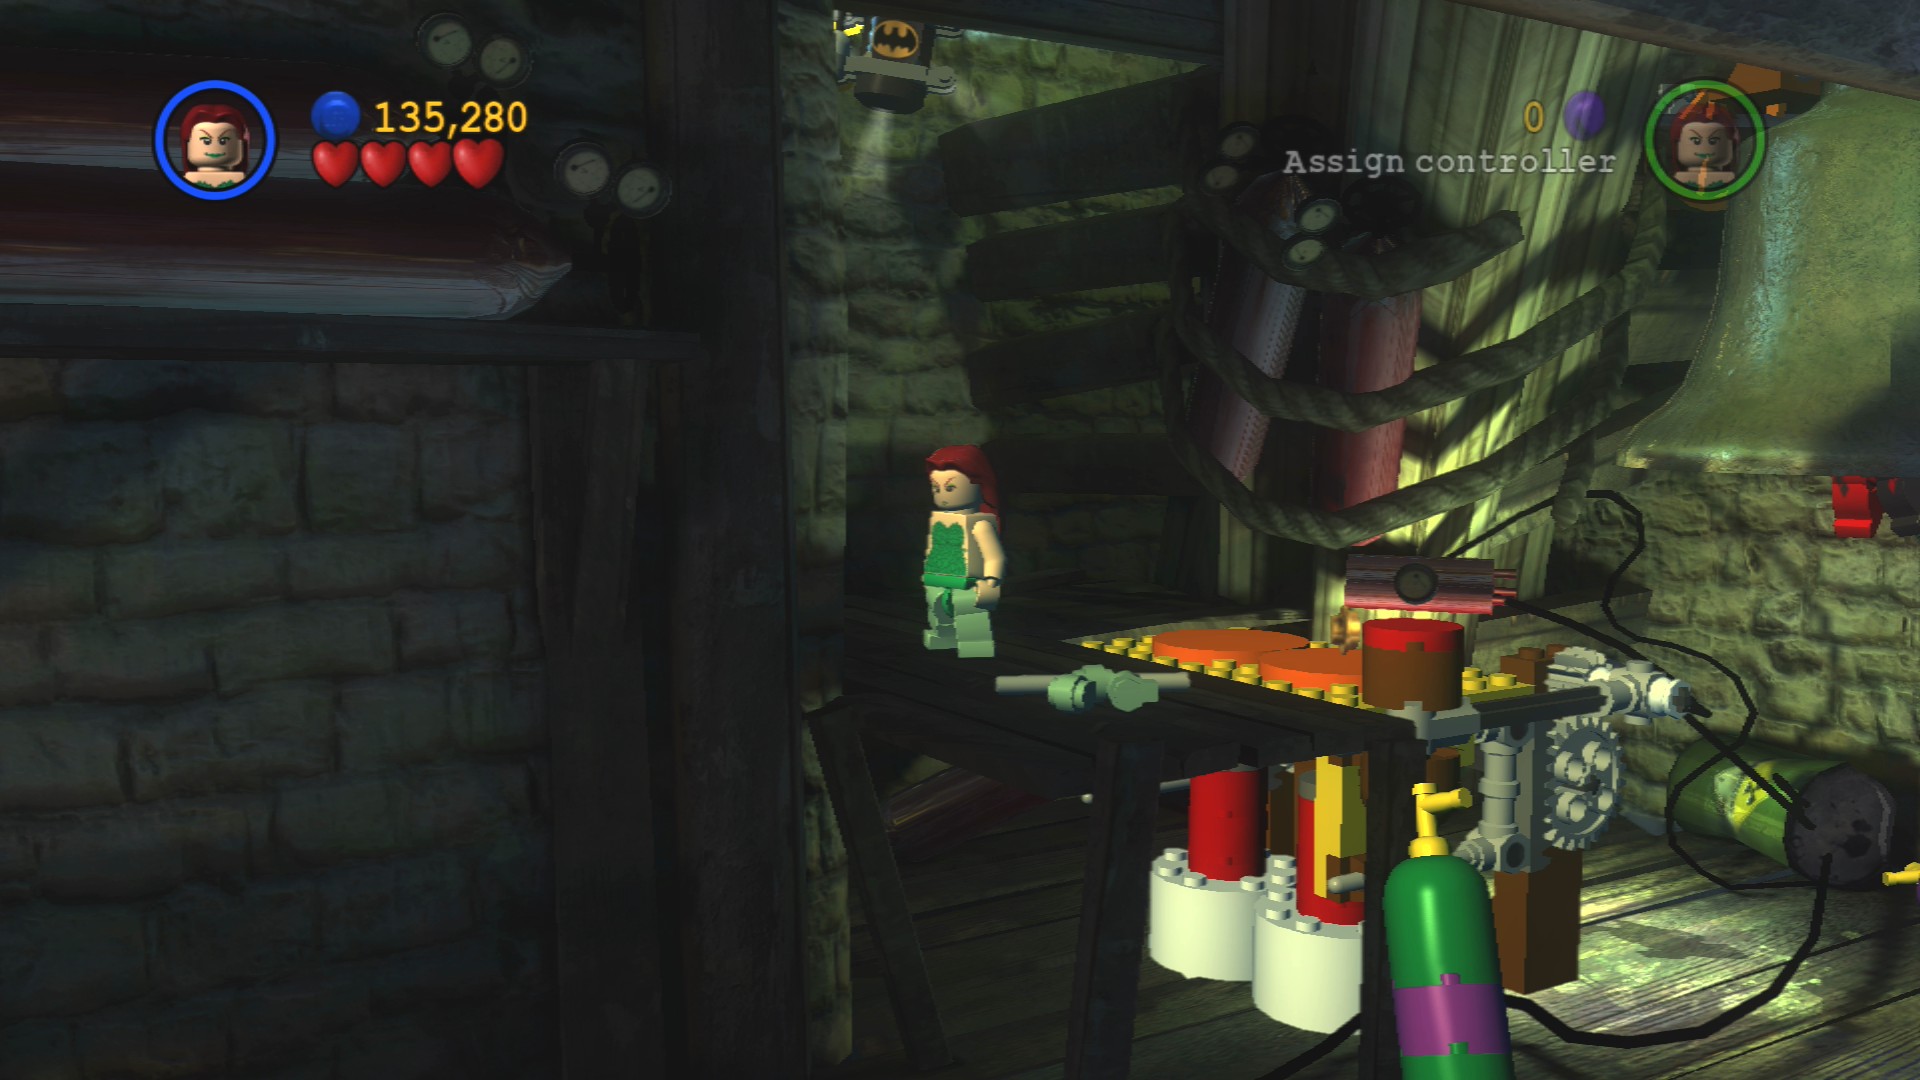
In the air above the left side pair of orange buttons, High Jump to reach it.
Have both characters stand on the orange buttons here to hammer the bell so that Harley jumps out. Time for the opposite side of the room. Fix the path and push the statue along it.
Minikit 10/10
Requires: Explosives Story Mode: Yes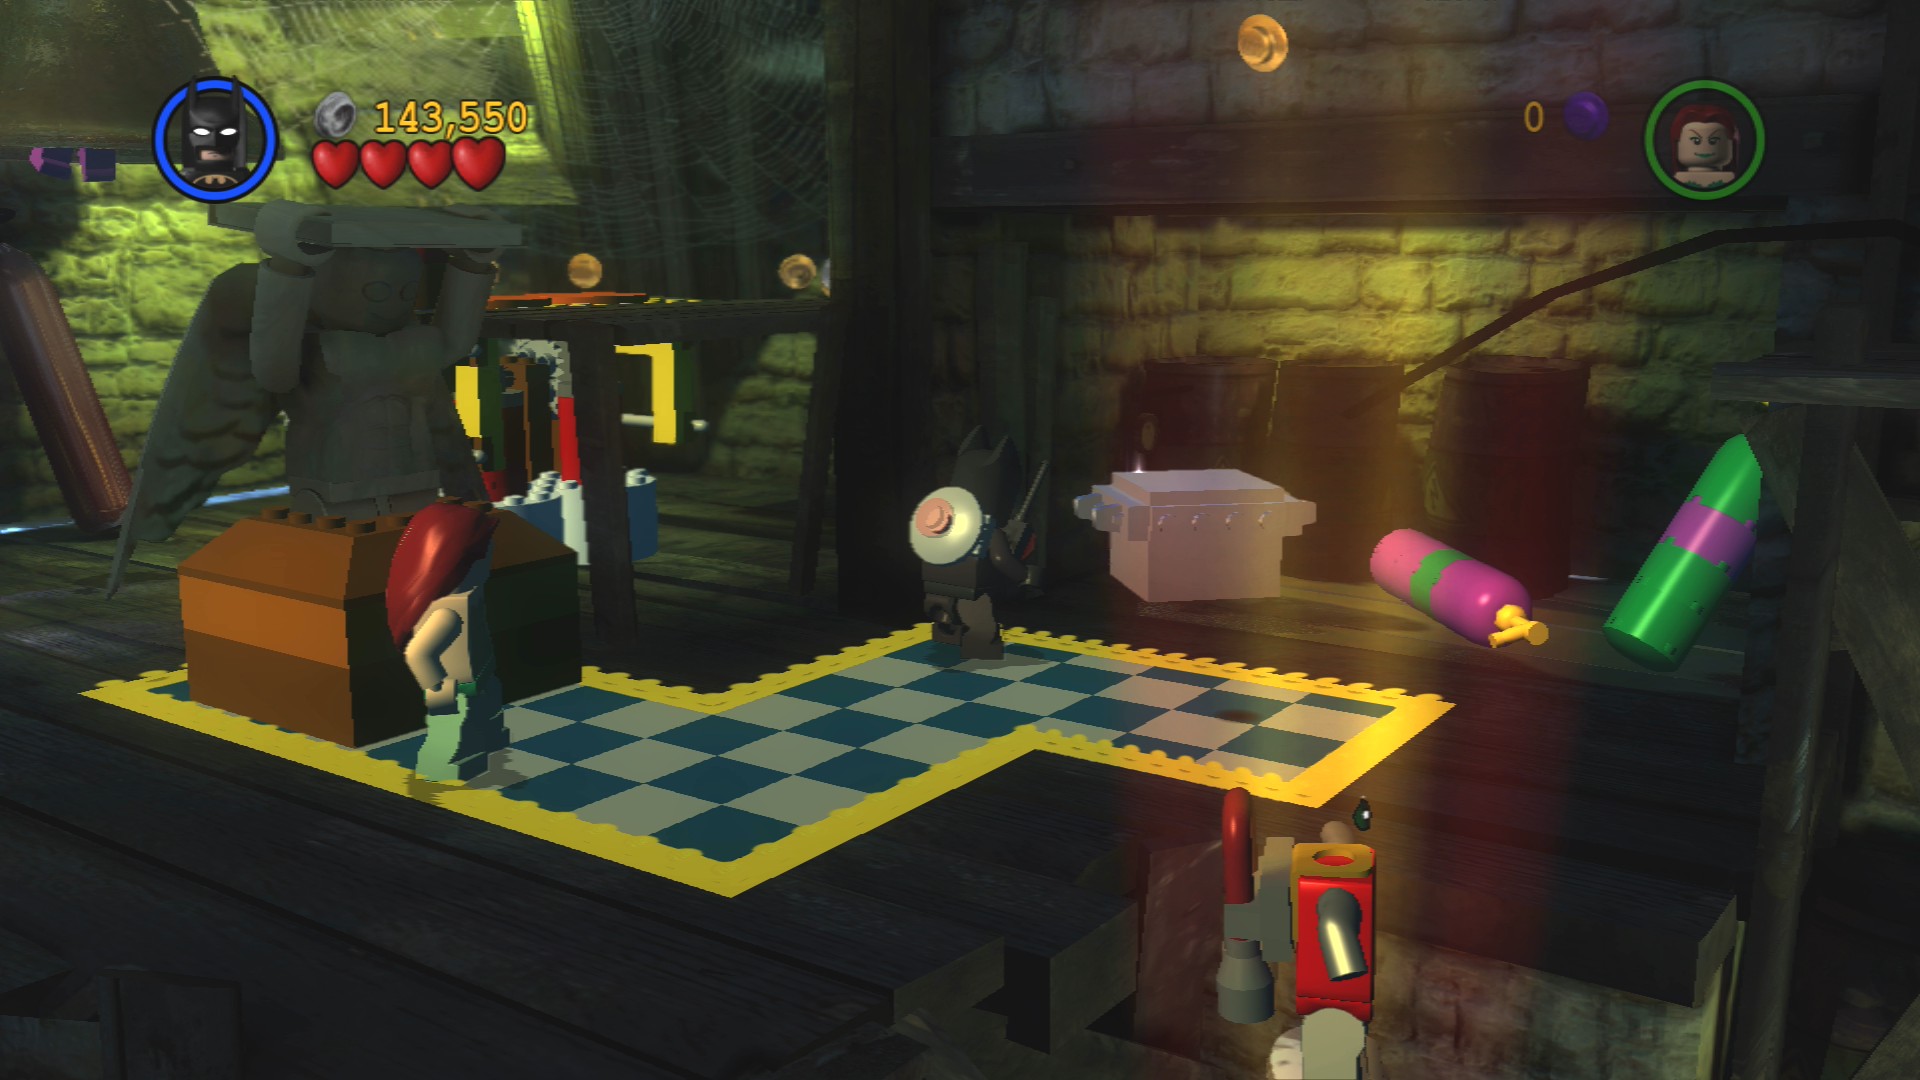
Blow up the Silver LEGO crate next to the statue path.
Next go down the steps and magnet walk up the metal wall. At the top build the handholds for Batman to get up before you jump over to ring The Joker's bell as well.
To take on the Joker's Helicopter you must wait for it to fly off and then assemble one of the turrets. Keep moving away if it's taking too long to avoid getting hit. Once it's built hop in and shoot the helicopter when it comes back. You only need to build the second turret if you're playing co-op, otherwise just keep shooting it when it reappears until all its hearts are gone.
To finish off the level you must now face The Joker in hand to hand combat. Punch him three times then run over to where he jumps to, your character will start to get zapped so switch to the second character and hit the Joker quickly. Repeat those two steps a couple of times to finish the level.
| Cost | Character | |
|---|---|---|
| 200,000 | Bat-Tank |
And that concludes all three of the Hero Episodes. If you've earned Super-Hero status on all fifteen levels you can now play the bonus Wayne Manor level, it's found in the Hero Trophy Room.
Villain Episode 1: The Riddler's Revenge is next up.
 darkspyro.net