Episode I
THE PHANTOM MENACE
- Turmoil has engulfed the
- Galactic Republic. The taxation
- of trade routes to outlying star
- systems is in dispute.
- Hoping to resolve the matter
- with a blockade of deadly
- battleships, the greedy Trade
- Federation has stopped all
- shipping to the small planet
- of Naboo.
- While the Congress of the
- Republic endlessly debates
- this alarming chain of events,
- the Supreme Chancellor has
- secretly dispatched two Jedi
- Knights, the guardians of
- peace and justice in the
- galaxy, to settle the conflict....
Naboo Space
Negotiations
The first thing to do in this game is to learn how to fly a spaceship, the game will walk you through the basic controls of moving, shooting, and accelerating before letting you free.
You must first land on the Trade Federation Battleship located directly ahead of you, as you get near it you'll see a circular icon appear that will fill around the edges while you are pointed directly at it. Once you've looked at it long enough to fill the circle it'll give you a button prompt to land.
Naboo Space, Trade Federation Battleship
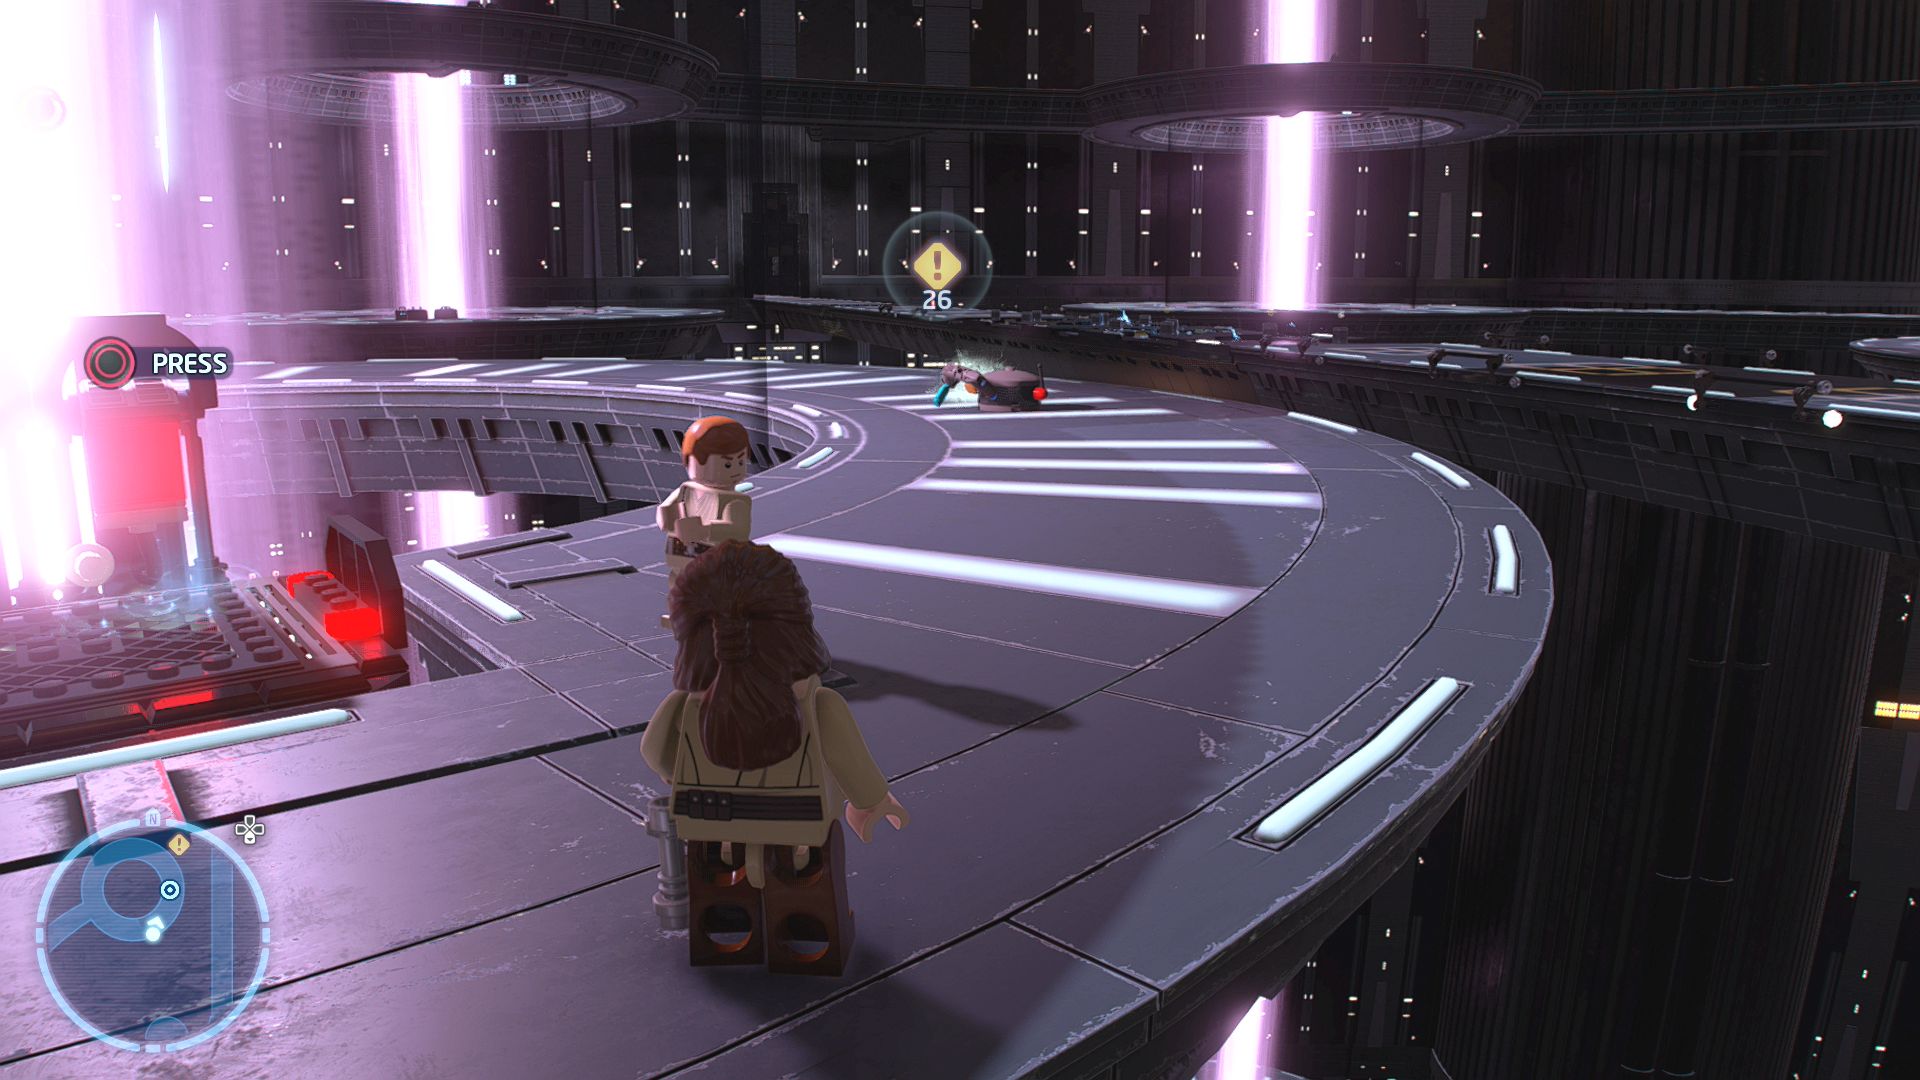
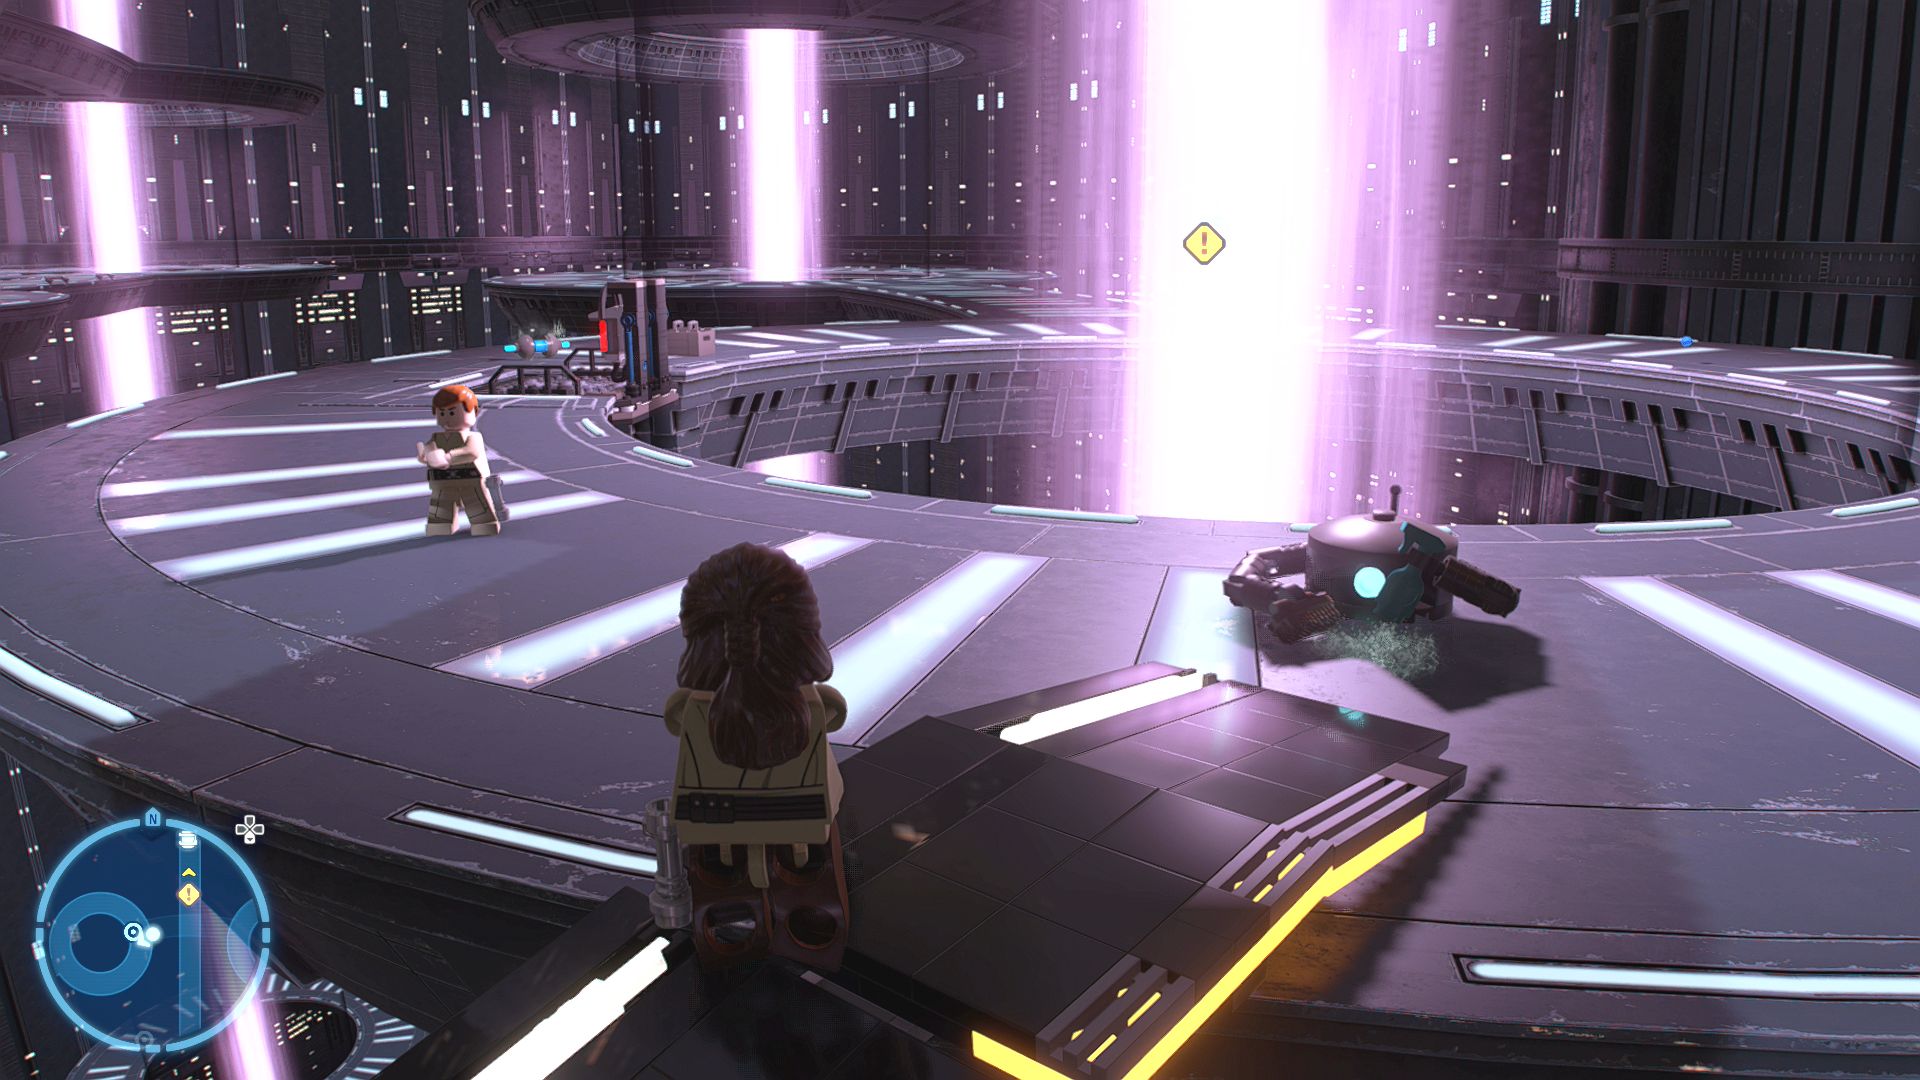
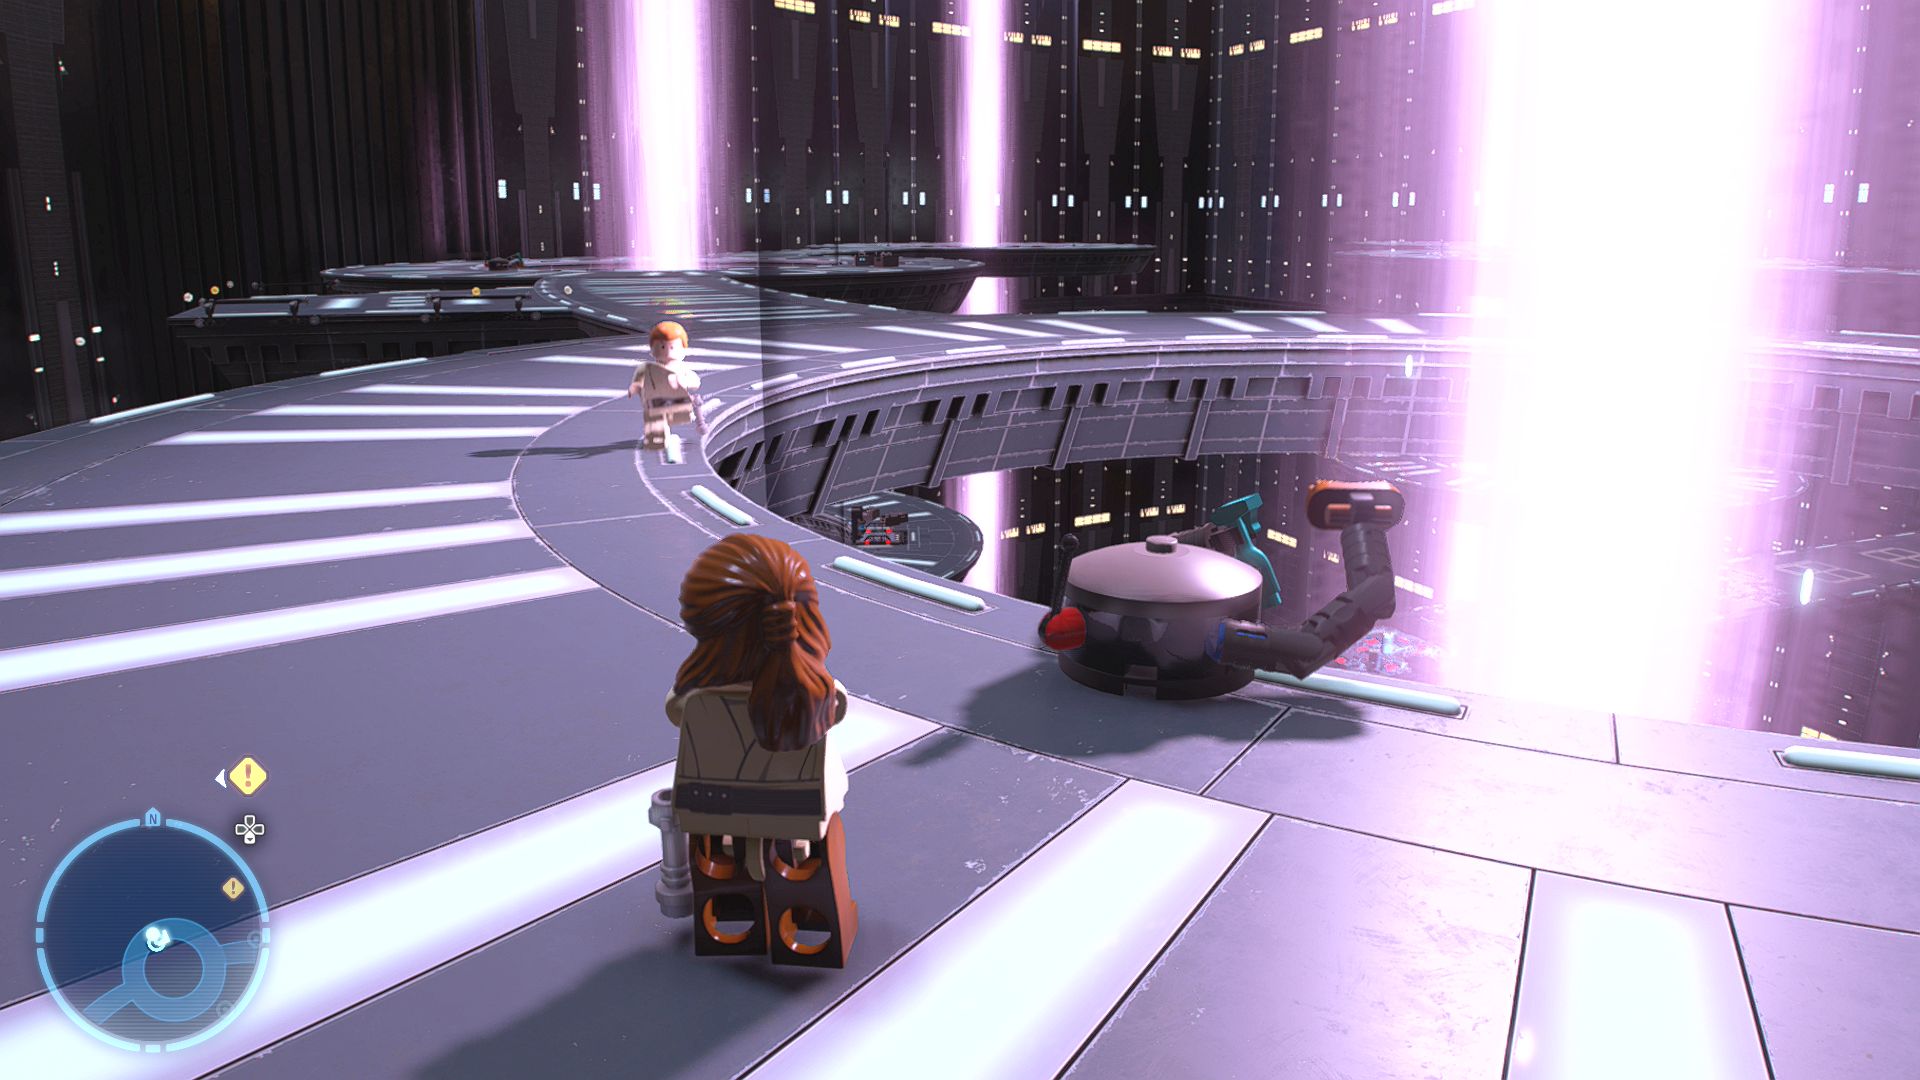
Once on-board walk over to the protocol droid TC-14 who is waiting for you in the hangar. Follow her through to the conference room to get a quick tutorial on how to use the Force. Move the first chair into position and then go around the table putting the other two back as well.
Once all three chairs are set up the room will begin to fill with a deadly gas and some droids will run in and start attacking you. Defeat them and head back out along the corridor attacking any Battle Droids you find. The game will teach you how to perform combos using alternating attack buttons, the action will be slowed down so you should be aware that you can't normally wait so long to press an alternative attack button you actually have to do it while they're still in the air.
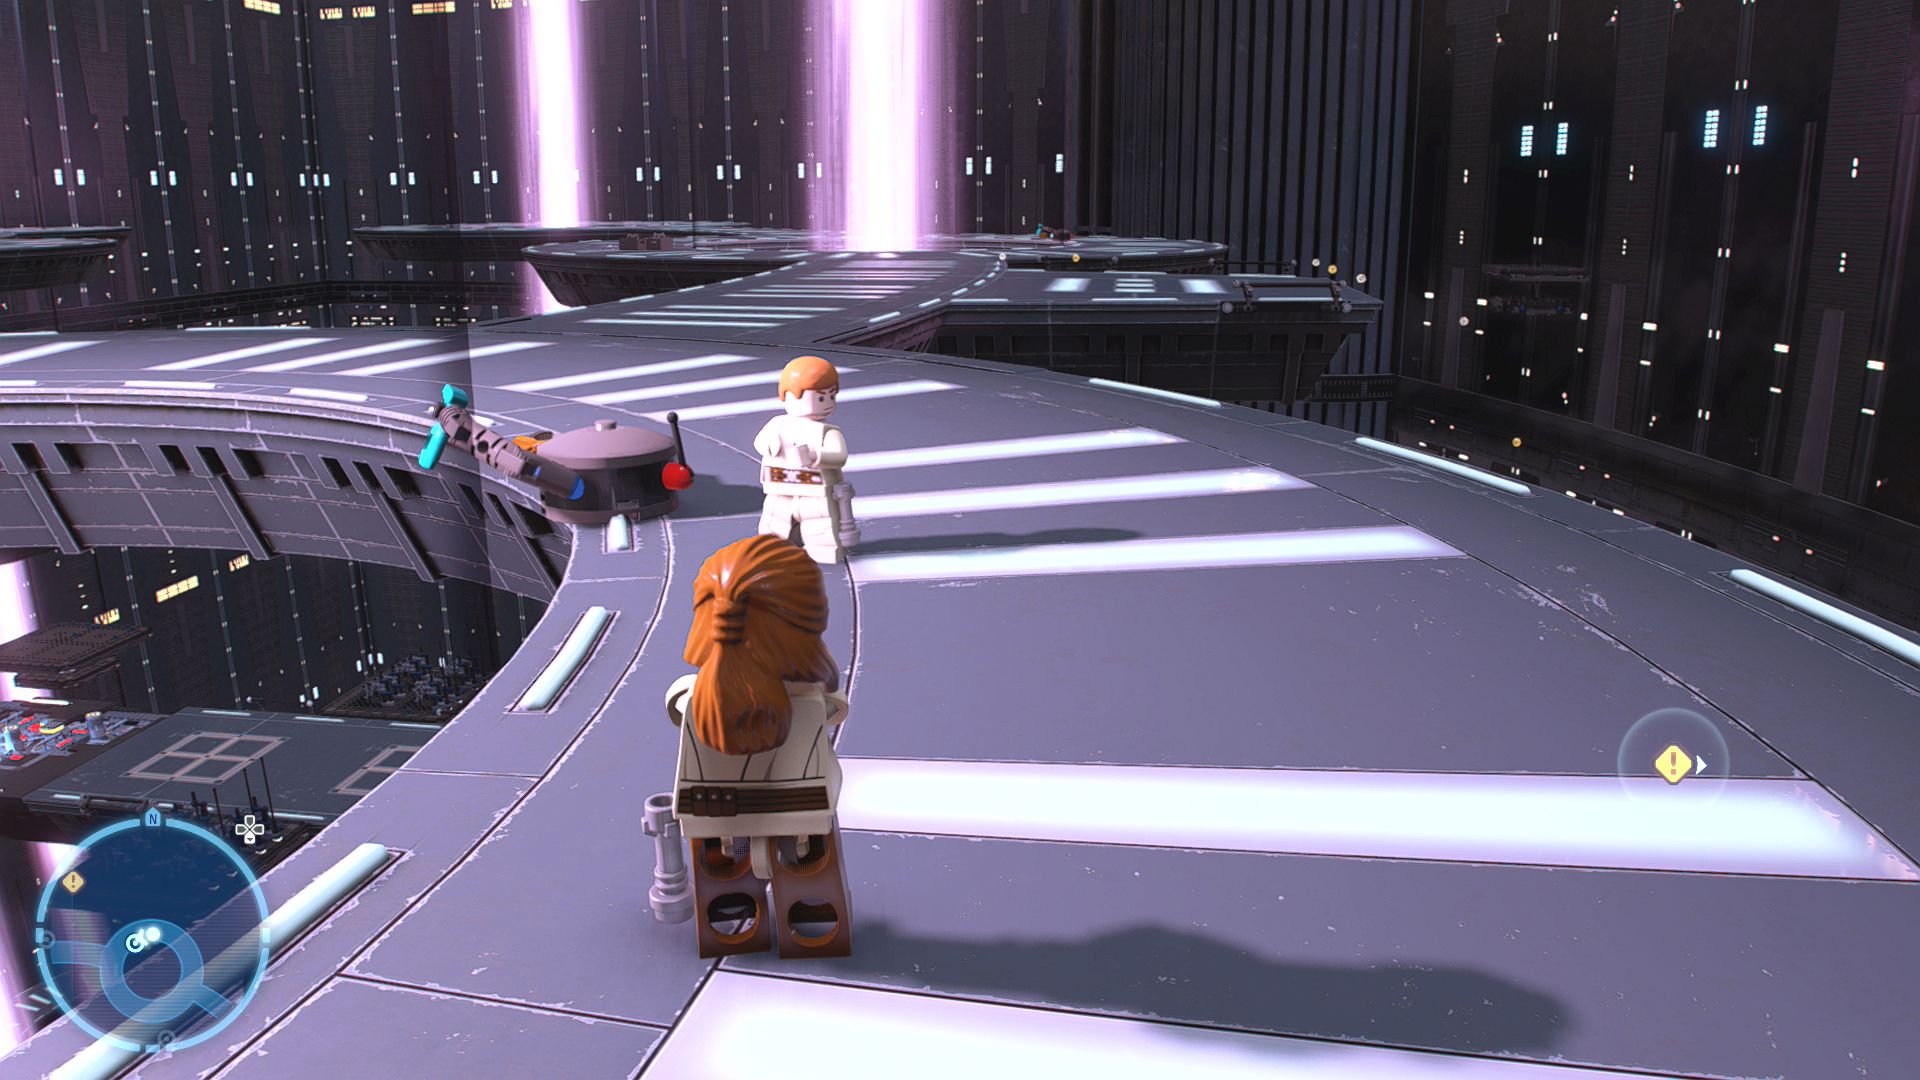
A short way down the corridor a door will shut on you but you can use your lightsaber to slice through it, move it around the lines until you join back up with where you've cut and it explodes.
At the end of the corridor a shielded Droideka will be standing next to the door to the hangar, attack it a few times to break the shield and then destroy it. After that use your lightsaber to get through the door again and you're into the hangar. Approach the brown Multi-Troop Transport on the left to get down to Naboo.
Naboo, Lake Paonga
Approach Jar Jar Binks and he'll start to walk towards a lake in the distance, follow him into the water to swim down to the Gungan City.
Naboo, Lake Paonga, Gungan City
Once you get into the city keep following Jar Jar as he joins Captain Tarpals until you stop by an orange circular door. Use the Force to fix it by moving the two pieces back into position and then pressing the button on the right. Jar Jar will walk through to meet with Boss Nass, you can either jump over the gap or walk around the edge.
Warn the Naboo
After talking with Boss Nass follow the markers down to the submarine door where you'll need to switch to Jar Jar in order to open it. The puzzle to solve is to press the direction when it gets into the middle of the circle, get it right four times in a row to open the door. Now you can start a proper level.
Objectives
- Board the Trade Federation battleship
- Speak to TC-14
- Follow TC-14
- Wait for the Trade Federation Viceroy
- Escape the Trade Federation battleship!
- Speak to Jar Jar Binks
- Follow Jar Jar Binks to Otoh Gunga
- Follow Jar Jar Binks to meet with the Gungan boss
- Head to the tribubble bongo dock
Chapter 1
A Bigger Fish
| Silver | Blue | Purple |
|---|---|---|
| 33,333 | 66,666 | 100,000 |
Shoot at the large fish and then dodge out of the way of its tongue. Shoot it again and then dodge again to avoid its jaws. Keep doing this, shooting a few times and then dodging an attack at the last possible moment, until it is defeated. If it hits you enough times for your health to fully deplete you'll just reappear immediately with full health so there's no real consequences for failure here.
After it's dead you'll lose power for a moment before getting chased by a whole new large monster, the Colo Claw Fish. The attack pattern for this one is pretty much identical, shoot a few times then dodge at the last possible moment. Eventually the bigger fish will take care of the Colo Claw Fish and the level will be complete. That was quick.
Level Objectives
- Defeat the Opee Sea Killer!
- Escape through the Naboo Abyss
- Defeat the Colo Claw Fish!
Level Challenges
- Dis is Nutsen
- Dodge 3 of the Opee Sea Killer's attacks in a row.
- Dodge Every-fin
- Defeat the Opee Sea Killer without taking damage.
- Colo Snore Fish
- Dodge 3 of the Colo Claw Fish's attacks in a row
Minikits
Minikit 1/5 - Back to School
Requires: None Story Mode: Yes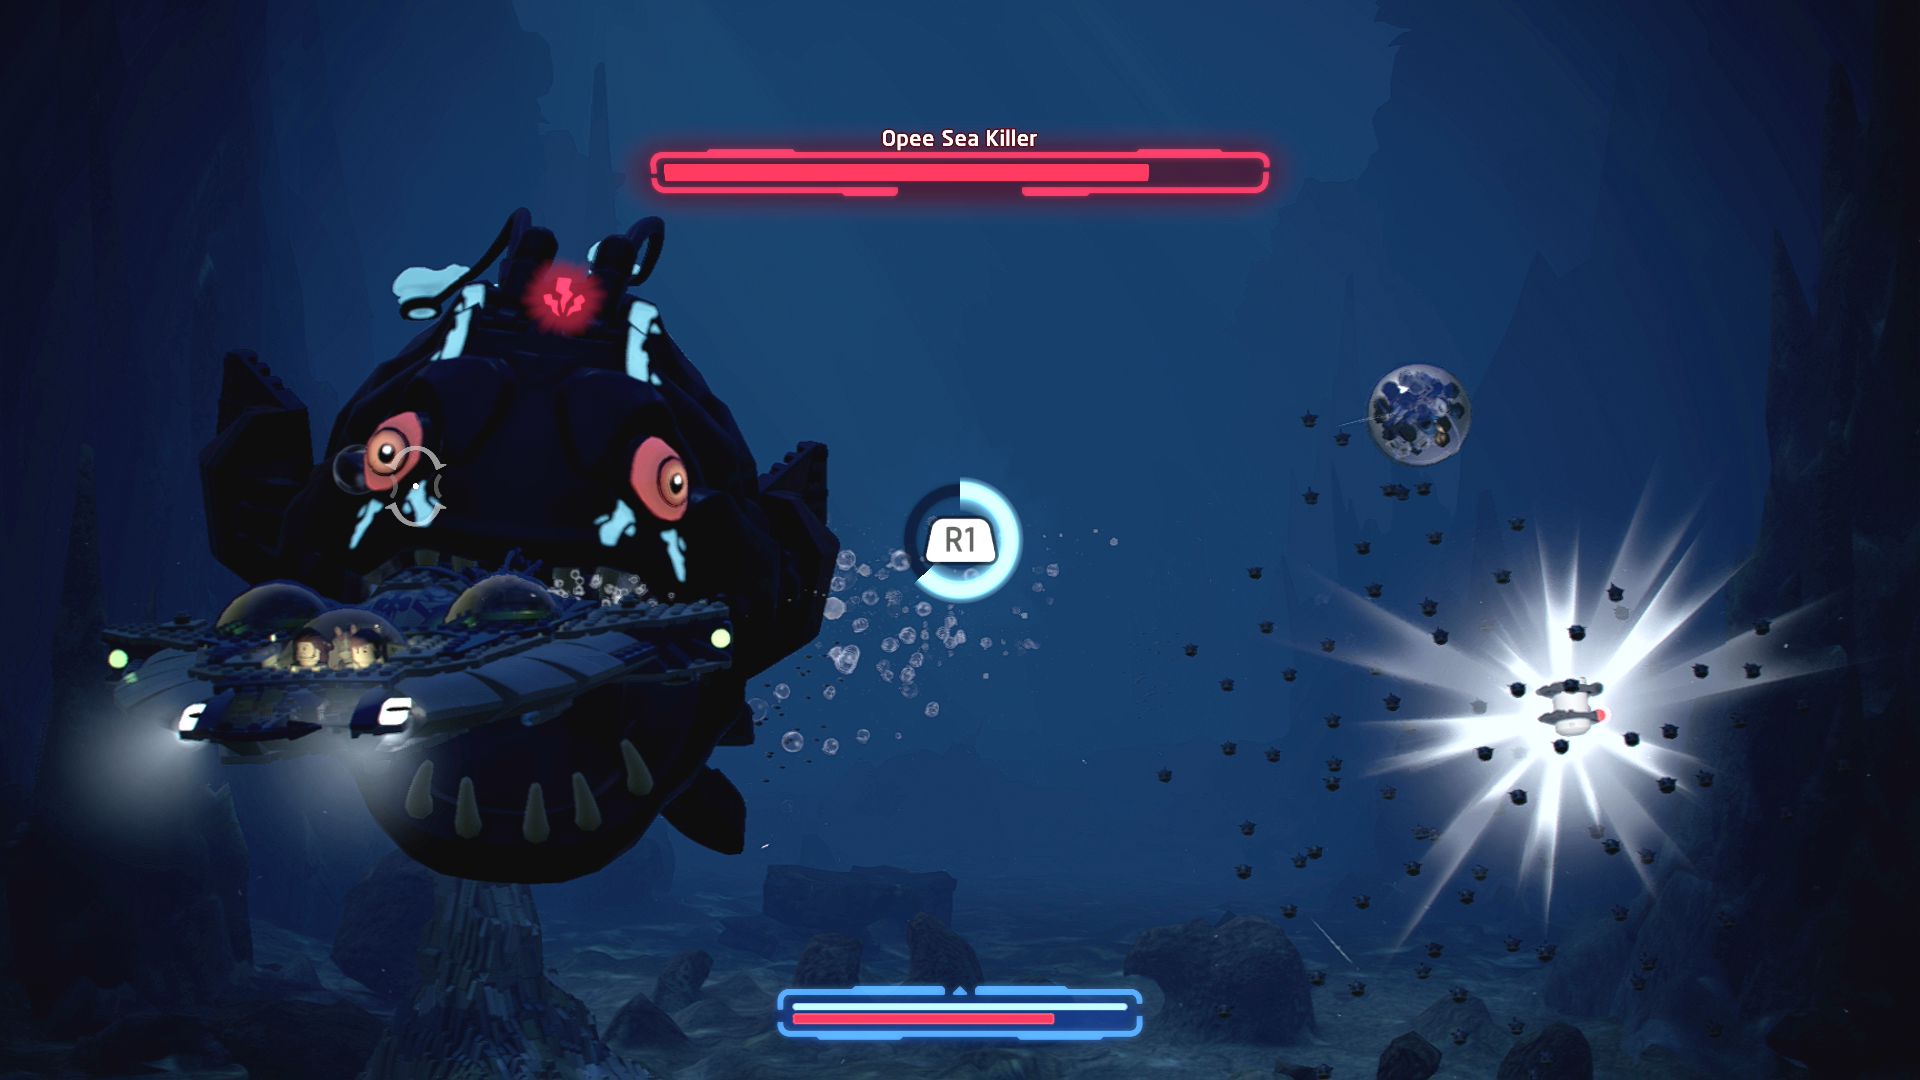
This minikit seems very fishy!
Behind a school of fish that swims by.
Minikit 2/5 - Small Sub Solution
Requires: None Story Mode: Yes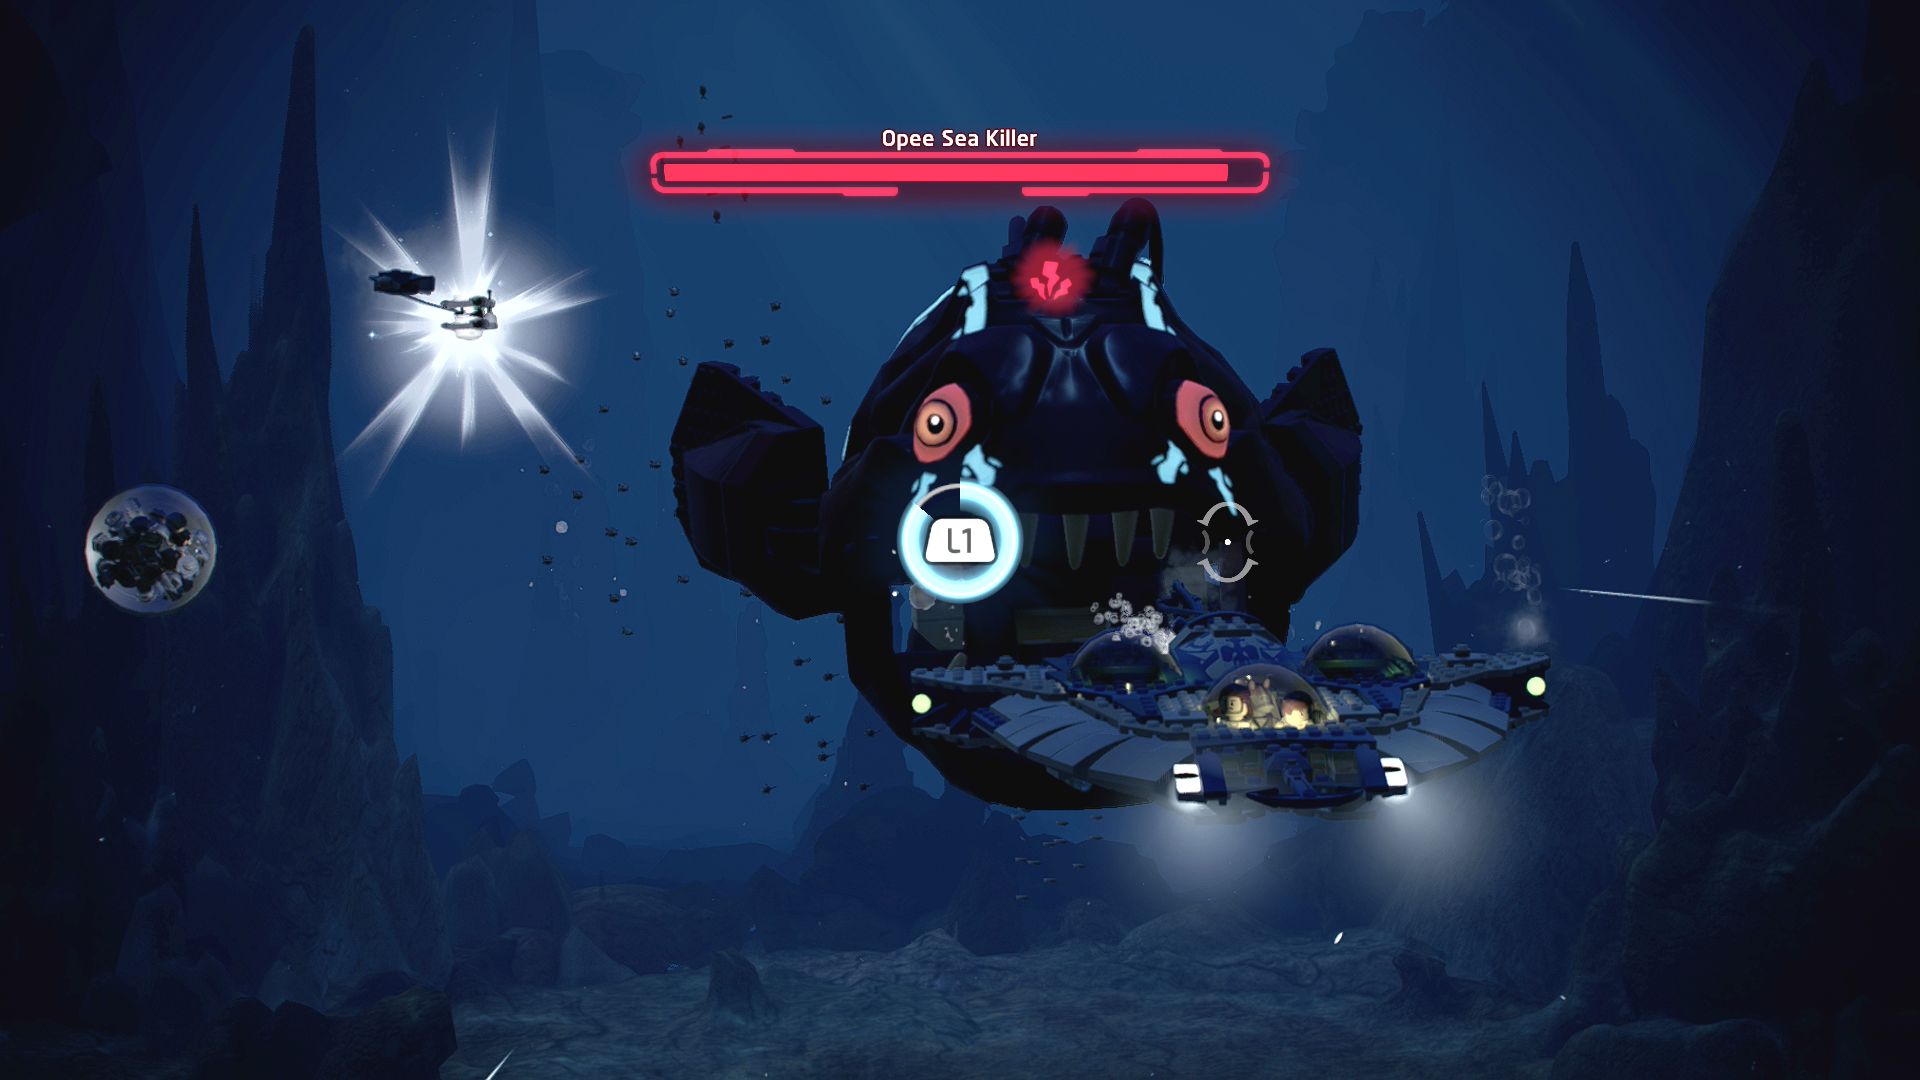
Is that submarine really small, or really far away...?
Being dragged around by a tiny submarine.
Minikit 3/5 - Bubble Trouble
Requires: None Story Mode: Yes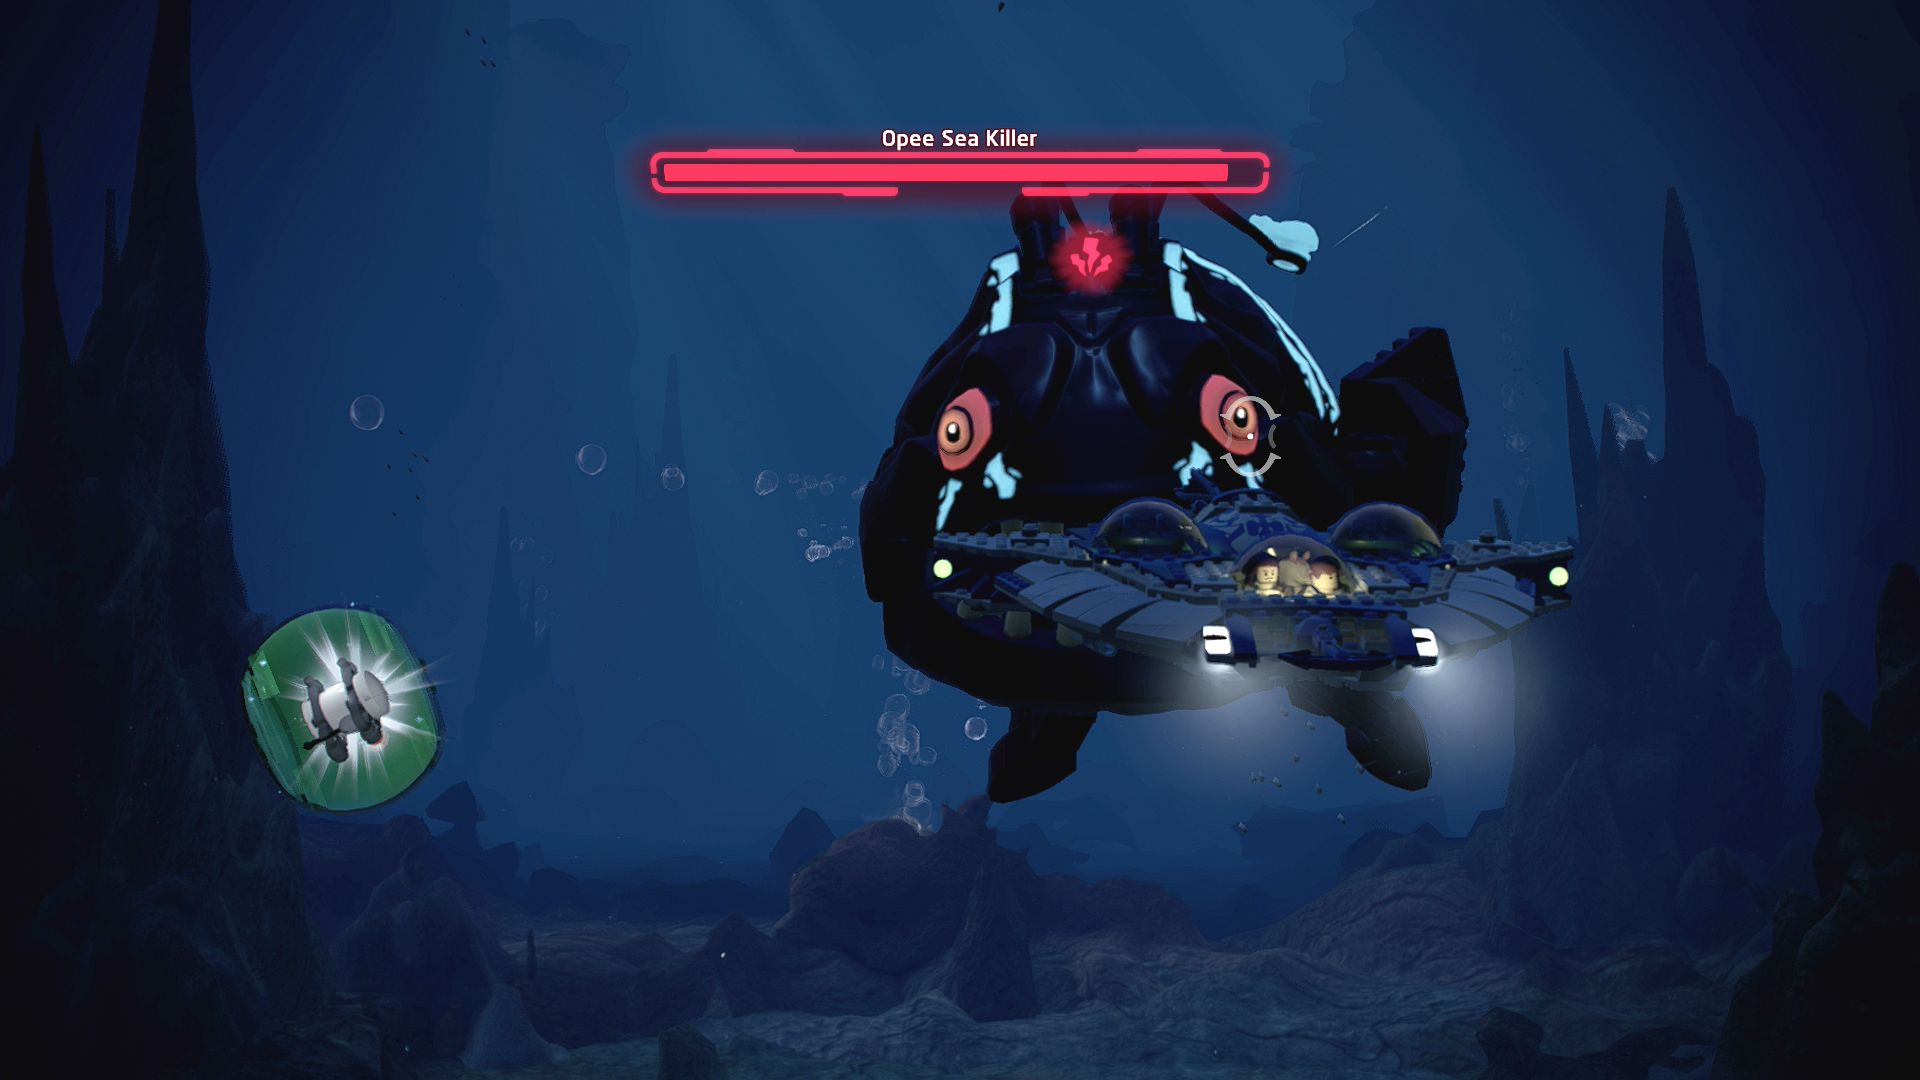
Don't let this minikit drift by!
Inside a green bubble that floats past.
Minikit 4/5 - Pop Goes the Minikit!
Requires: None Story Mode: Yes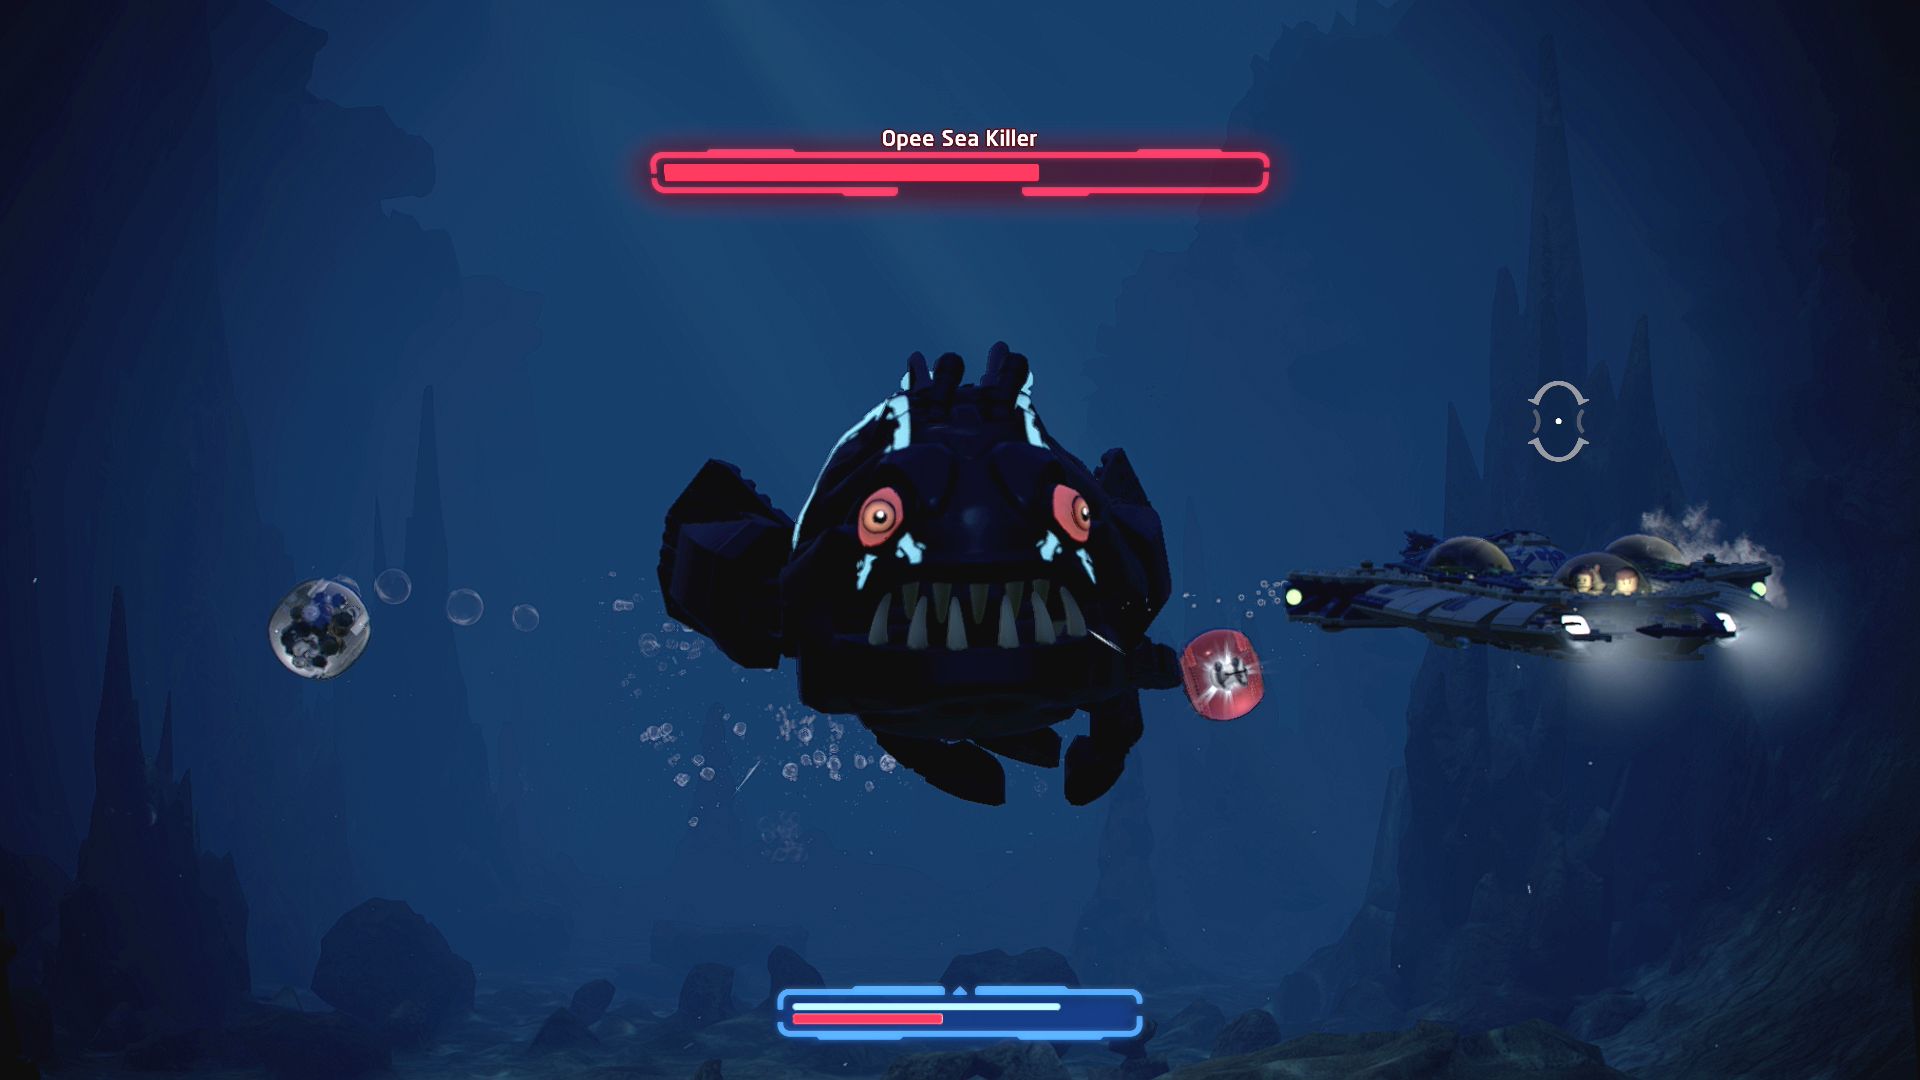
Why not "pop" over and free this minikit?
Inside a red bubble that floats past.
Minikit 5/5 - Back-to-Back Bubbles
Requires: None Story Mode: Yes
Who's been dumping their minikits in the water anyway?
Inside a yellow bubble that floats past.
All of these you can get during either section of the fight, just stall without killing the monster fish and a Minikit should float by. Lure the monster to the opposite side of the screen and then dodge out of the way to get back to the other side so that you can get a clear shot on the Minikit. If you miss it and it disappears you just have to wait for it to appear again. There's no particular order they appear in, it's just random.
Trade Federation Battleship

| Cost | Character | |
|---|---|---|
|
|
- | Jar Jar Binks |
Episode I
THE PHANTOM MENACE
The story so far...
- Negotiations with the Trade
- Federation quickly devolved into
- battle droid slashing action for
- QUI-GON JIN and OBI-WAN
- KENOBI. They found themselves
- at the centre of A PERFECTLY
- LEGAL invasion of NABOO and
- ventured to save its Queen from
- the encroaching droid army.
- A wise and resourceful local
- named Jar Jar Binks aided them
- by taking the Jedi to his
- underwater city. There, jowly fish
- king Boss Nass reluctantly gave
- them a bongo submarine and
- allowed Jar Jar to join them.
- After navigating dangerous,
- monster-infested waters to
- reach the planet's capital, the Jedi
- must now located QUEEN
- AMIDALA and get her to
- safety....
Naboo, Theed
The game will now give you a tutorial on using Kyber Bricks that you have collected, you get one for completing a level so you will have at least one now no matter how many challenges you completed or minikits you collected. Speedy Sprint is a fairly useful ability as it'll make you run faster (despite its description it does also work in levels). Although you probably can't afford anything else now is a good time to look at the other upgrades to see what sort of amounts you'll be aiming for when earning Kyber Bricks.
A Royal Rescue
Follow the markers towards a blue marker to continue the story. Keep following the markers that will lead you to Queen Amidala being escorted by some Battle Droids. Destroy them to free her.
Transport to Coruscant
Start following her as she leads you to the hangar. Along the way you'll be ambushed by a few patrols so make sure to attack them when they appear. Eventually you'll make it to the hangar with one last group of droids to defeat. Approach the silver Royal Starship to take off for Coruscant.
Tatooine Space
The Leaking Hyperdrive
Point the Royal Starship at the Mos Espa icon on Tatooine to land there.
Tatooine, Mos Espa
Talk to the lady at the end of the marker trail. Once you've learned what you need keep following the trail to the next civilian to talk to. Repeat for a third civilian who will give you some actual advice.
Watto's isn't too far away so keep on following those helpful markers and enter the glowing orange doorway to meet him.
Off to the Races!
Now that you've met Anakin it's time to go to the arena to start some pod racing! It's quite a long way there but the markers will lead you.
Objectives
- Rescue Queen Amidala from the Trade Federation
- Speak to Queen Amidala
- Escort Queen Amidala to her transport ship in the Theed Hangar
- Perform an emergency landing in Mos Espa
- Gather information in Mos Espa about repairing the hyperdrive
- Find somewhere to buy ship parts in Mos Espa
- Speak to Watto about repairing the hyperdrive
- Go to the Mos Espa Grand Arena and enter the race
Chapter 2
The Boonta Eve Classic
| Silver | Blue | Purple |
|---|---|---|
| 15,000 | 30,000 | 45,000 |
Pod racing is simple, you just hold the accelerate button and turn to avoid the rocks that get in your way. There are boost pads you can go over to go a bit faster for a while and some LEGO rocks you can smash through to gather studs.
On the second lap you'll have to re-attach your power coupling, to do that you move the cursor so that it hovers over the end of the cable and press the button you're prompted to.
And during the third lap your engine will start to malfunction, aim the cursor at the yellow flap and press the prompted button to fix it and get back to racing. Reach the end before Sebulba to finish the level. If you're having trouble beating Sebulba make sure to constantly hold the accelerator down, try to avoid over correcting your turning, and try to hit as many boost pads as you can.
Level Challenges
- Eat My Exhaust!
- Beat the Ultimate Lap time record
- It's SKYWALKER!
- On Lap 3, use the service ramp
- That's the ramp at the northern end of the map just before Arch Canyon
- Take Over
- Use 3 boost pads in a single lap
Objectives
- Win the Boonta Eve Classic!
Minikits
Minikit 1/5 - Fork in the Road
Requires: None Story Mode: Yes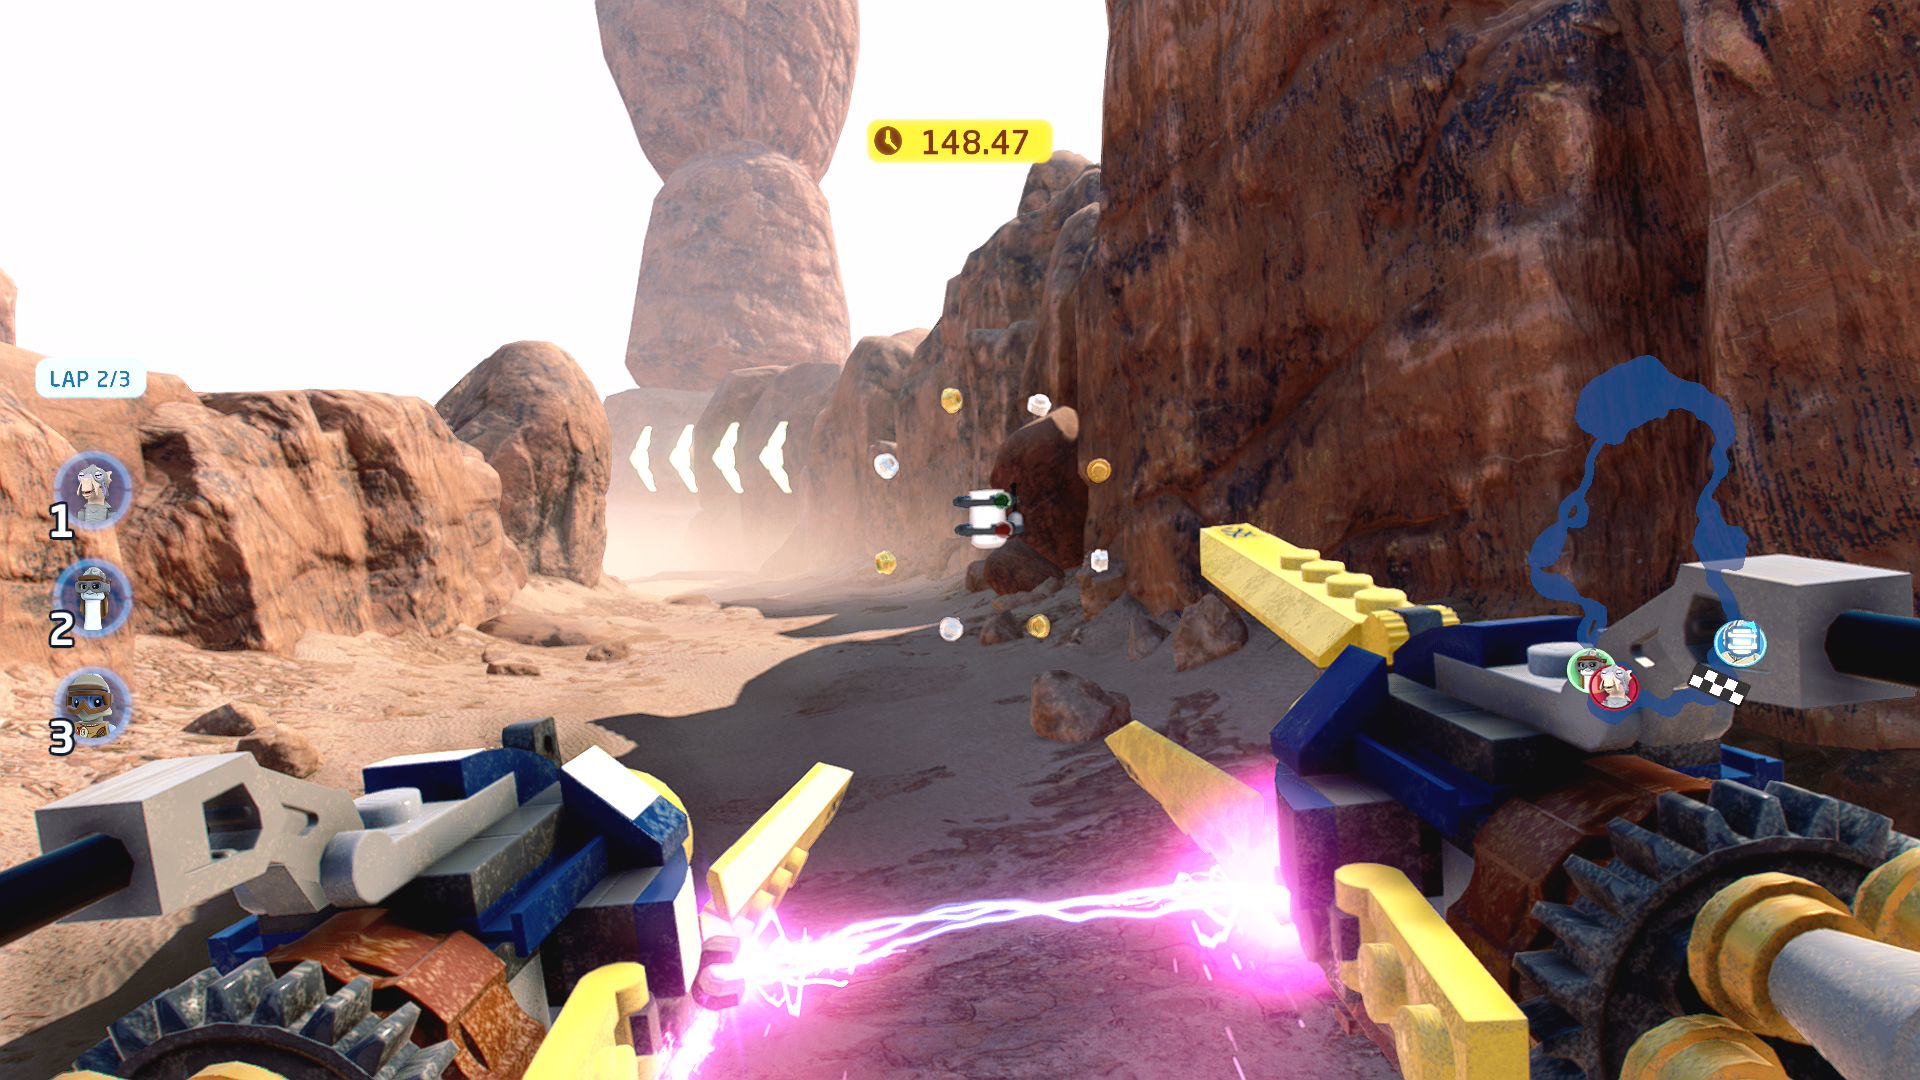
Go higher or lower!
At the very first turn hug the wall to the right to go down the dip.
Minikit 2/5 - Arch Canyon
Requires: None Story Mode: Yes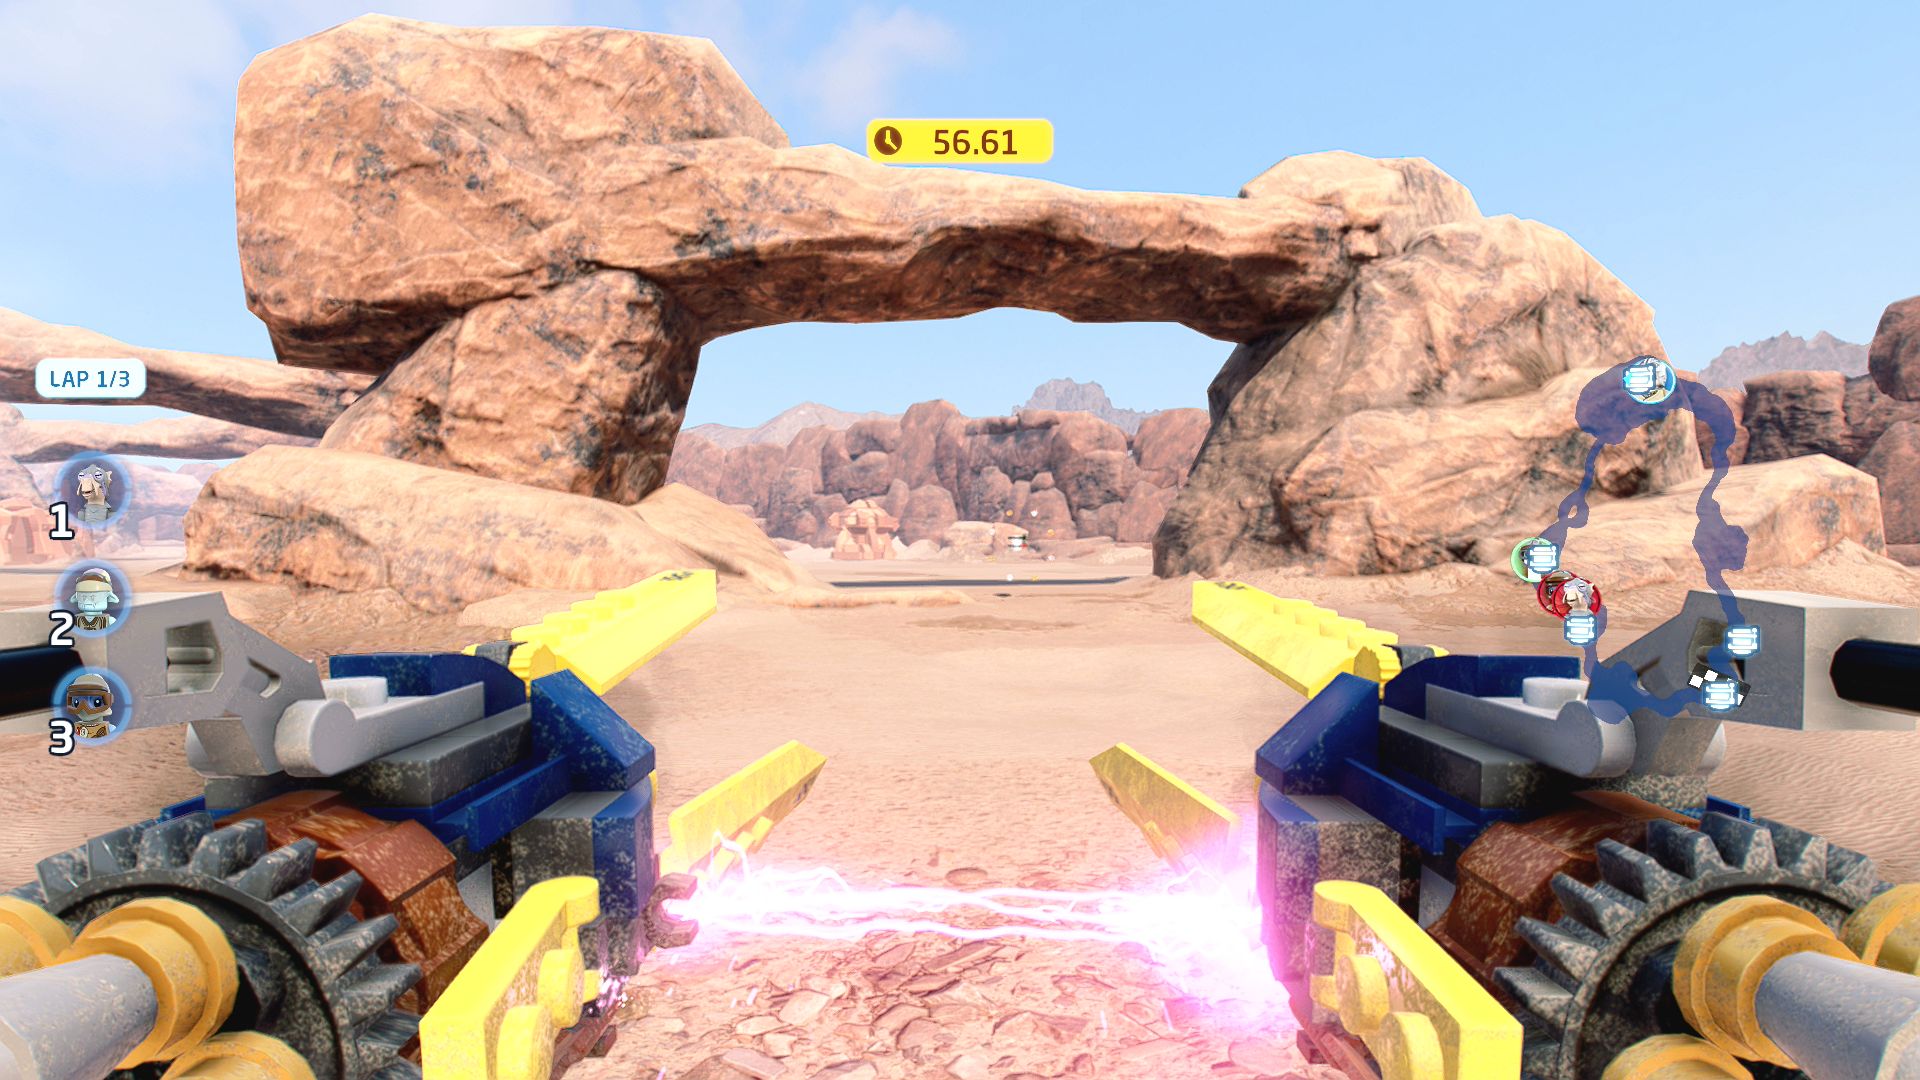
Choose your route wisely...
Go through the righthand arches at the north of the track.
Minikit 3/5 - Spare Parts
Requires: None Story Mode: Yes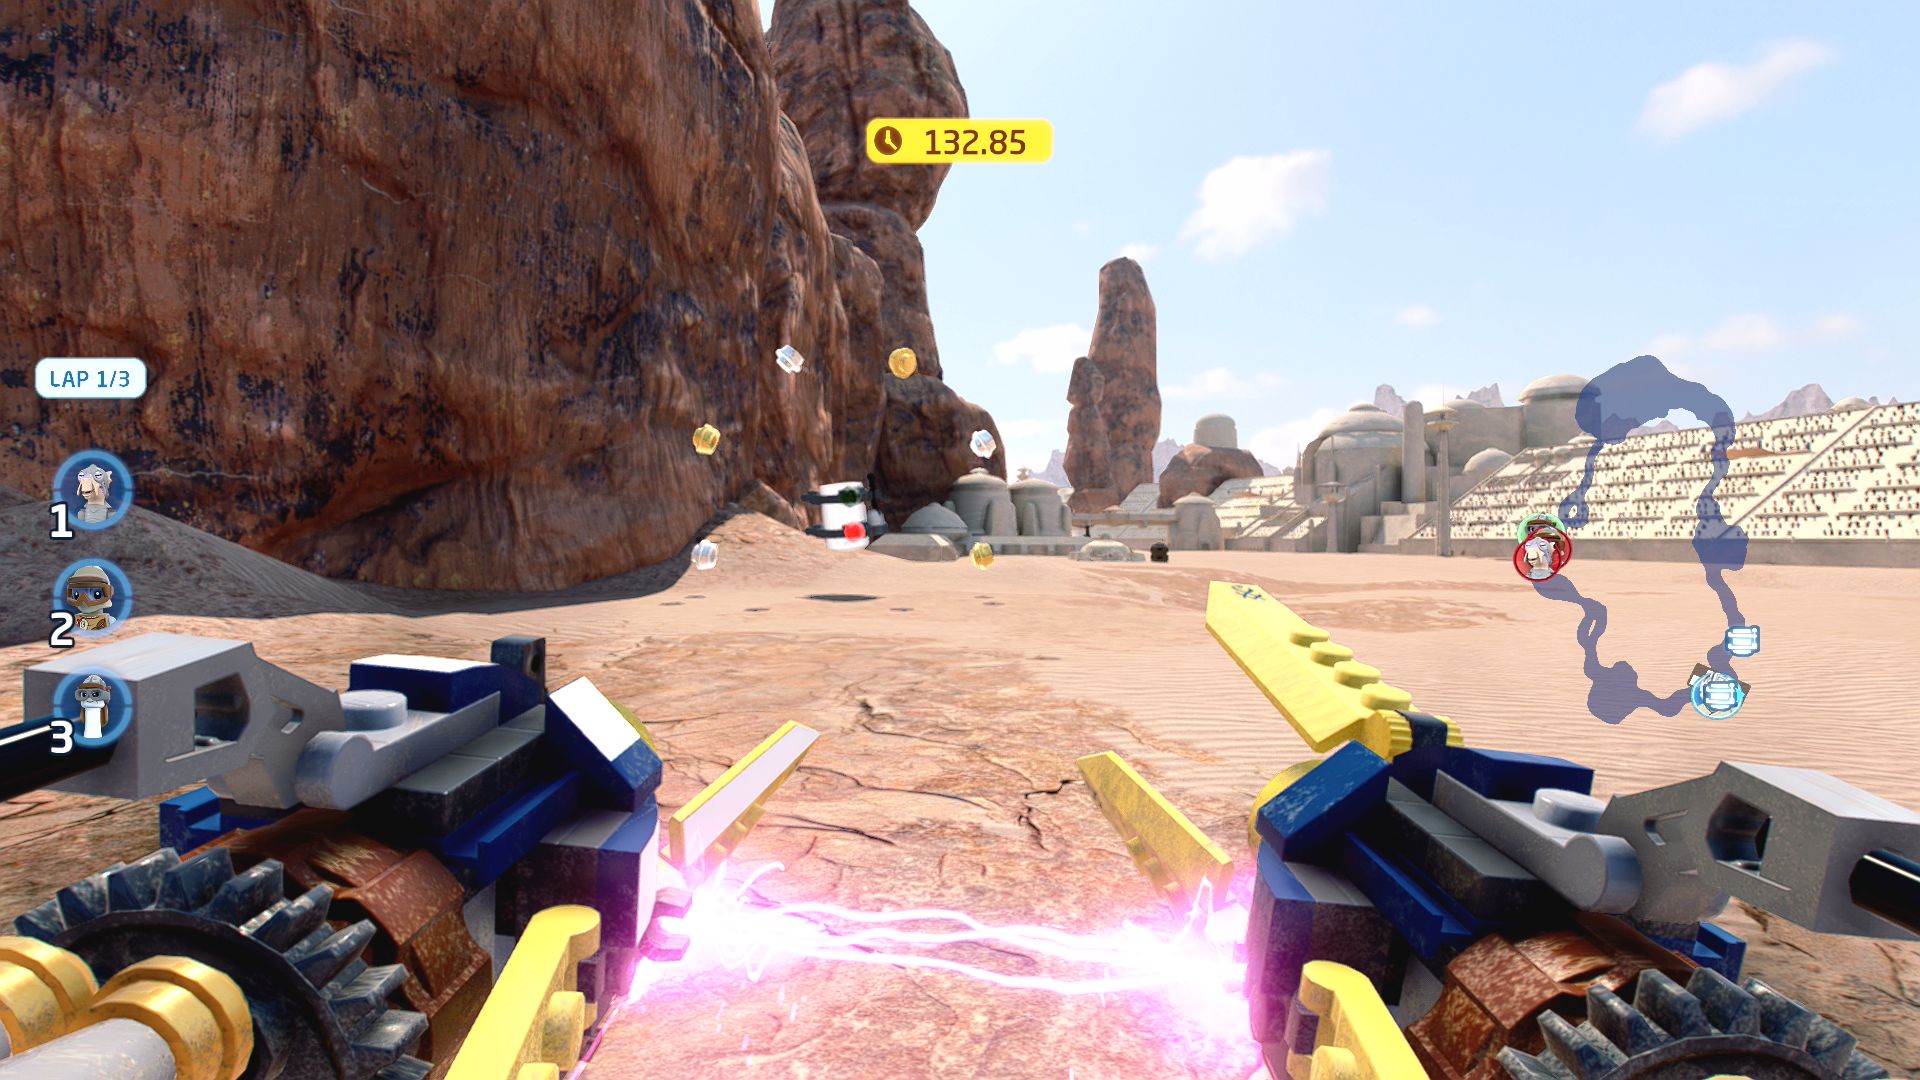
Maybe the pit droids can help locate this one!
On the left just before the finishing line.
Minikit 4/5 - Waldo Flats
Requires: None Story Mode: Yes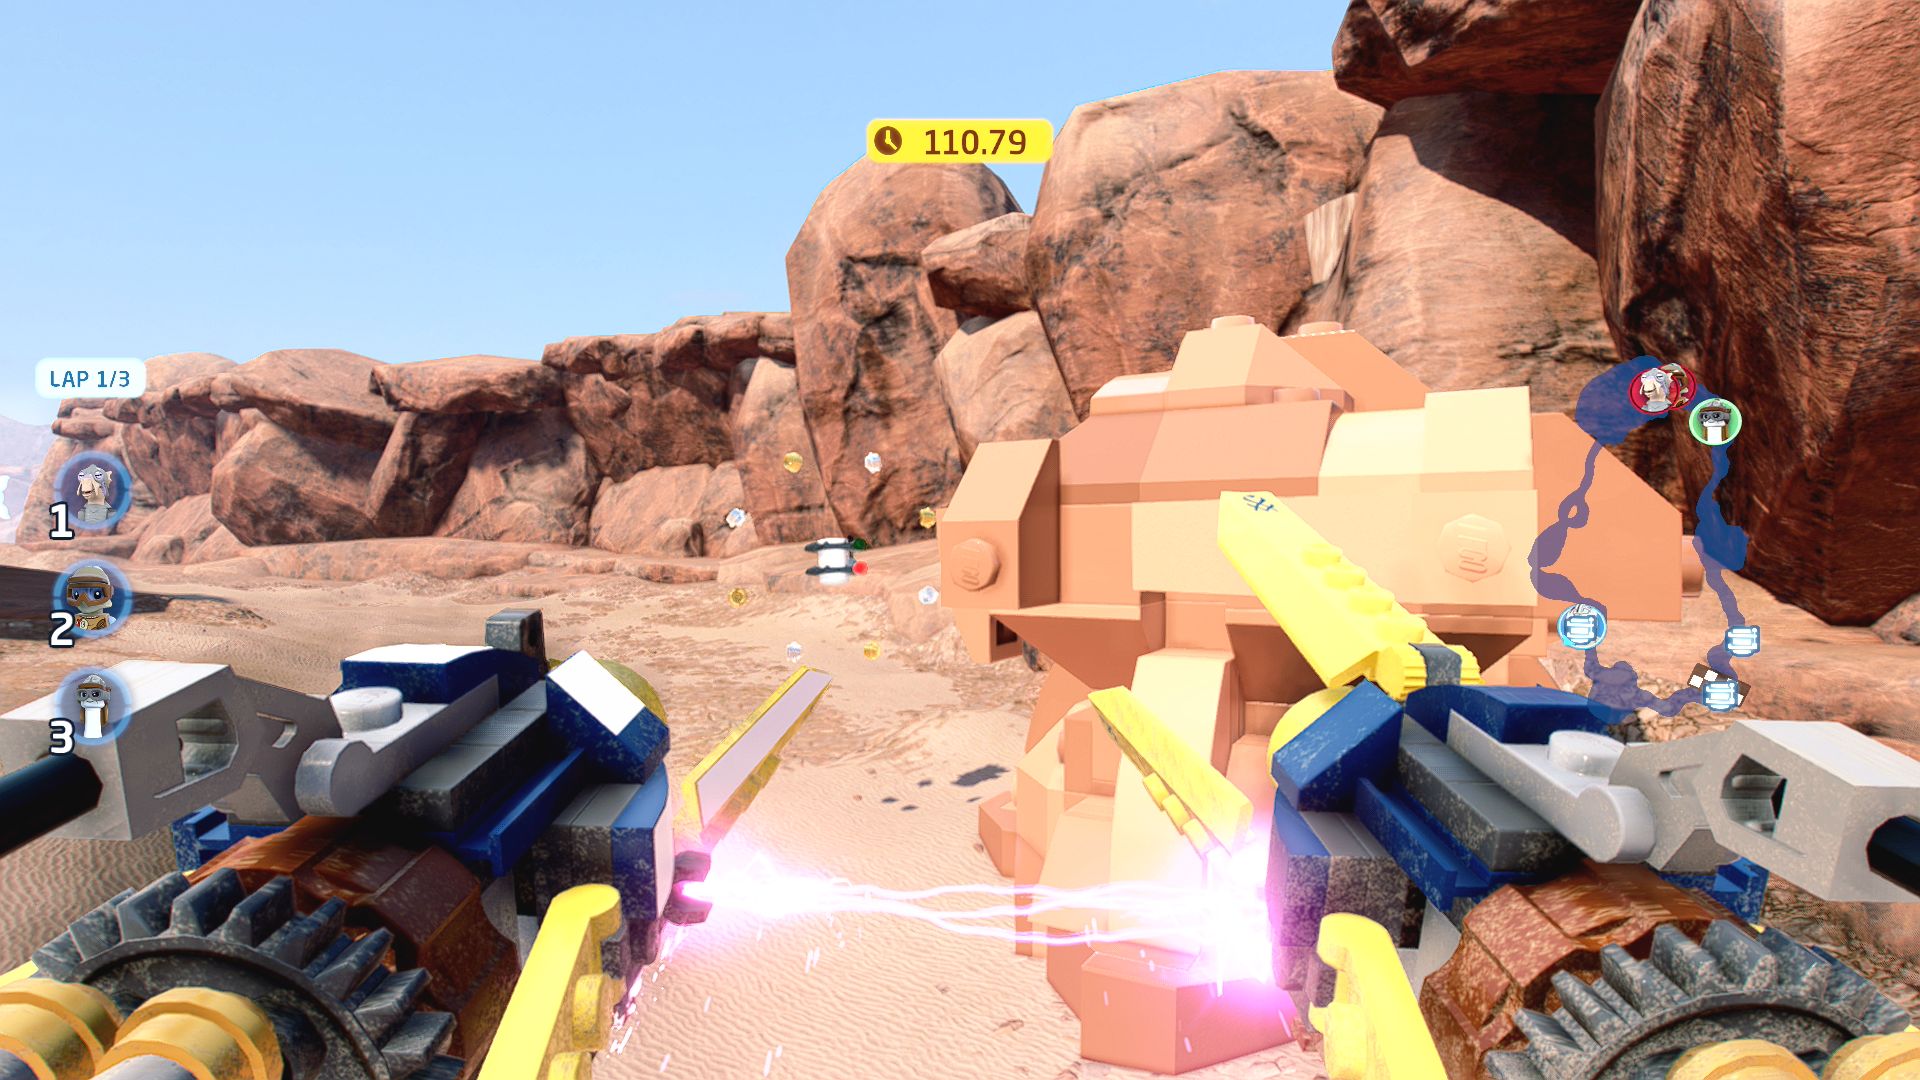
Be careful around those giant rocks...
After the caves there is a split in the track, take the right side and the minikit is behind a rock.
Minikit 5/5 - Laguna Caves
Requires: None Story Mode: Yes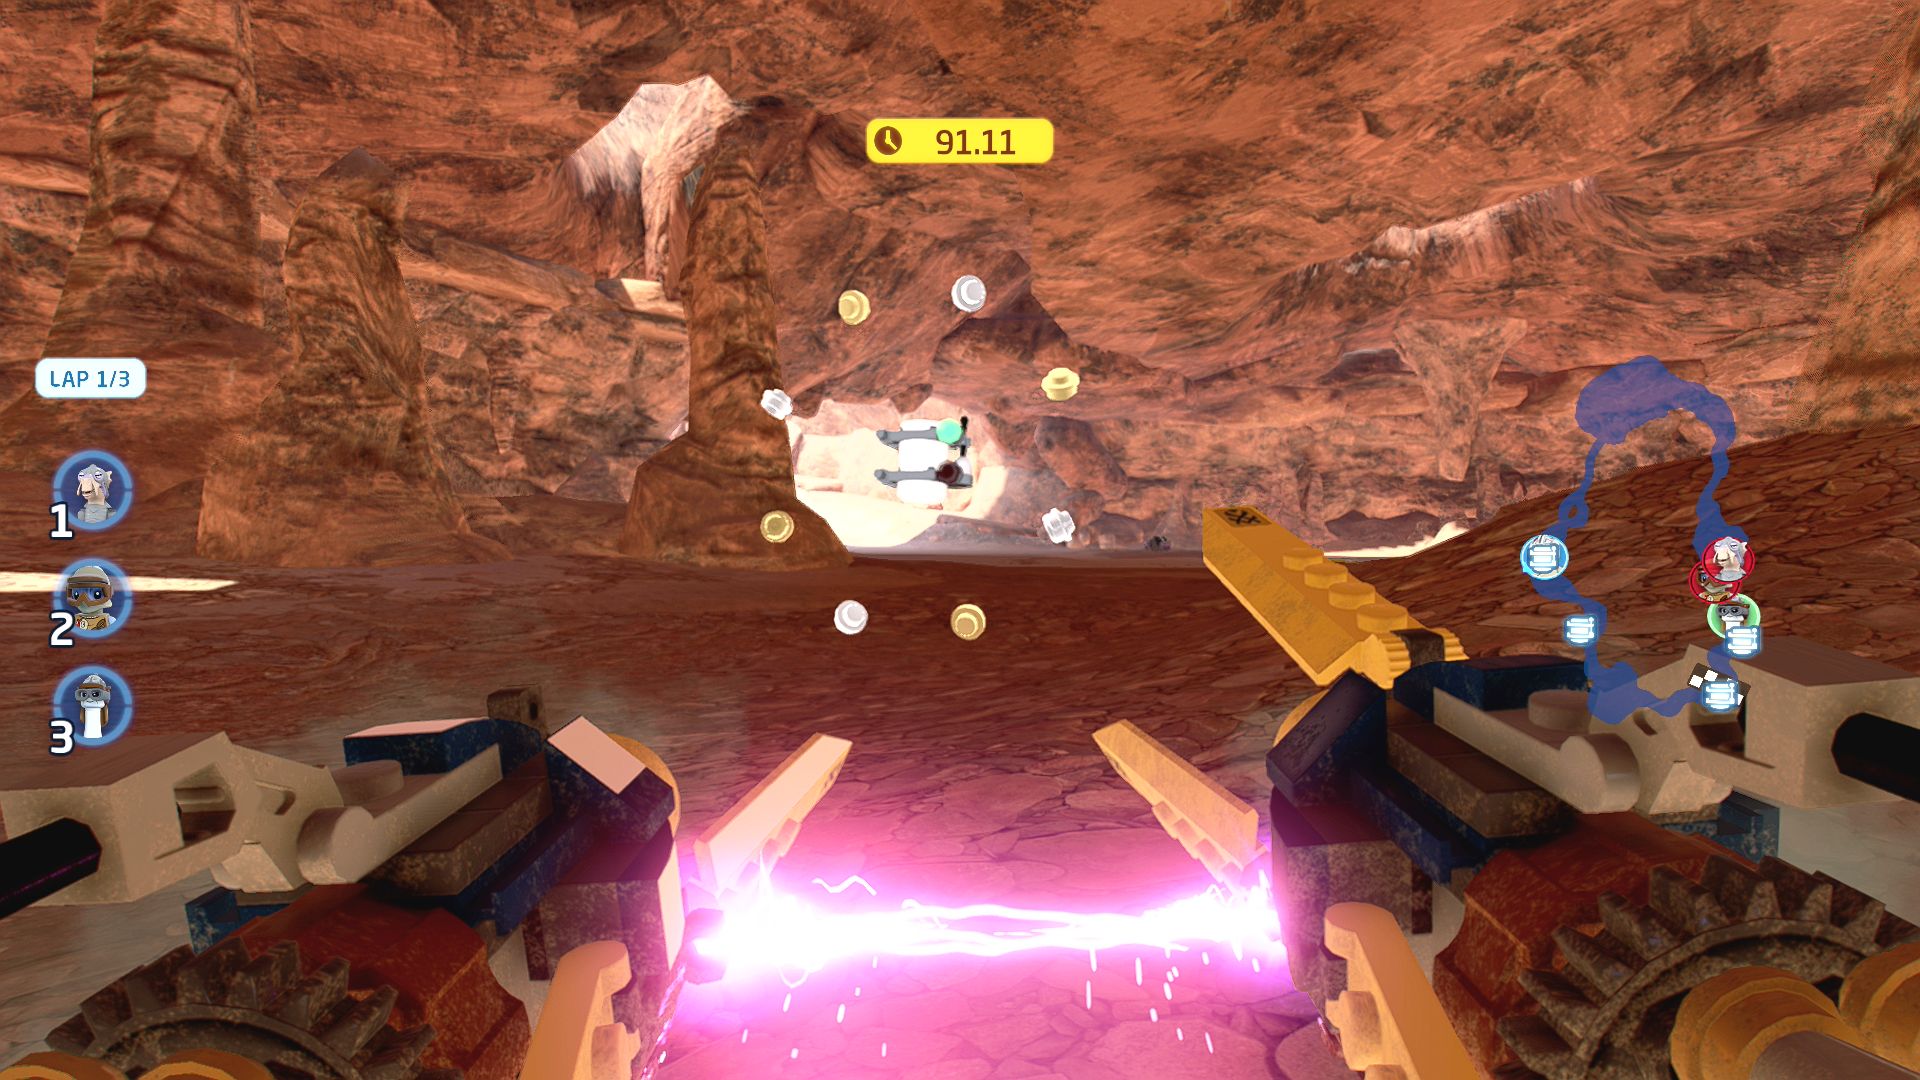
Stalagmites or stalactites? That is the question!
In the caves stick to the left side and you'll see it just before the exit.
Royal Naboo Starship

| Cost | Character | |
|---|---|---|
|
|
- | Anakin Skywalker (Podracer) |
| - | Gasgano | |
| 100,000 | C-3PO (Episode I) |
Episode I
THE PHANTOM MENACE
The story so far...
- On the run again! After being
- forced to land on the desert
- planet of TATOOINE to repair
- their ship, Qui-Gon came across a
- young boy called ANAKIN
- SKYWALKER. His intuition about
- the child served him well, as he
- discovered that Anakin was
- unusually strong with the Force.
- Unable to cover the ship repairs
- with regular credits, Qui-Gon had
- no ooption but to gamble on the
- young boy's skills as a podracer;
- entering him into the deadly
- Boonta Eve Classic, with hopes of
- winning the ship parts he needed.
- Thankfully, Anakin's connection
- to the force led him to victory in
- the race. With his ship now ready
- to fly, Qui-Gon plans on taking the
- boy to Coruscant to begin his Jedi
- training....
Tatooine, Mos Espa
To the Senate!
More marker following to do now, return to the ship parked outside of Mos Espa to get back into space.
Use the Holoprojector to access the galaxy map and travel to Coruscant, you'll want to go to the Federal District not to Coruscant Space.
Coruscant, Federal District
Upon landing approach Senator Palpatine and talk to him. After a quick chat he'll start to walk to the senate so start following. He will stop by some transport ships for a talk again, take one to the Coruscant Senate Building to continue the story.
Coruscant, Senate District
Walk into the large orange glowing doorway to enter the senate and start the meeting with Palpatine.
Naboo, Lake Paonga
New Allies
With that out of the way it's time to go back to Naboo. You can either use the Galaxy Map to instantly teleport there or you can go the long way by going back to the transport ship, taking it to the North Landing Pad and returning to the Royal Starship which will then open the Galaxy Map just the same. Go to Naboo's Lake Paonga and then enter the lake to travel to the Gungan City again.
Naboo, Lake Paonga, Gungan City
Make your way to the opposite side of the city where the throne room is found. Once you get there turn around and follow Jar Jar straight back outside again to find the Sacred Place.
Naboo, Lake Paonga
Assemble the broken "key" then grab it and walk to start rotating it around. Go through the opening and into the marker to meet up with Boss Nass. Leave the Sacred Area and follow the markers to the speeder to start the next level.
Objectives
- Return to your ship outside of Mos Espa
- Escort Queen Amidala to the Federal District in Coruscant
- Speak to Senator Palpatine
- Follow Senator Palpatine
- Take a transport vehicle to the Senate Building and speak to Senator Palpatine
- Speak to Senator Palpatine in his office
- Return to Otoh Gunga on Naboo and ask Boss Nass for aid
- Search for Boss Nass in the Otoh Gunga throne room
- Find the Gungan's "Sacred Place"
- Request aid from Boss Nass
- Take the speeder and retake the palace!
Chapter 3
Better Call Maul
| Silver | Blue | Purple |
|---|---|---|
| 23,333 | 46,666 | 70,000 |
Once you're done with the cutscenes it's time to face off against Darth Maul. First you'll be taught how to throw objects using the Force, you hold the Force button and you can then use the Left Analog stick to move it around a bit but mostly you'll just want to point the target at Maul using the right Analog stick and press the shoot button to throw it at him.
Next the game will teach you how to throw your lightsaber. You hold the aim button and then press the shoot button when you've moved the reticule over your target.
The third tutorial goes into how to dodge attacks, you basically just move sideways and press the jump button. You'll want to be doing this for the rest of the fight whenever you see Maul create the long thin red stripe on the floor (sometimes these markers will not appear and you'll have to work out by his movements what he's about to do). Immediately after he performs the attack (assuming you've moved out of the way) you can get a few hits in on him.
Blocking is the next tutorial, you just hold the same button that you used for throwing the lightsaber. For me the game seems to sometimes glitch and stop letting me defend, the only thing that seems to fix it for me is restarting the level. Hopefully they fix that with a patch.
When Maul creates a red circle on the floor dodge backwards out of the circle to avoid getting hit. Then run in and get a few hits on him before he gets his guard back up again. Sometimes you'll need to shake yourself free from his Force hold but that doesn't seem to happen all that often.
After you've taken off some more of his health you'll enter a quicktime portion of the fight, rapidly tap the button shown to deflect his attacks until you push him away and do a little bit of damage. Keep defending against his attacks until you start the next quicktime that requires you to rapidly tap a different button to fill the circle. Hit him after that and he should run off either to the left or the right depending on where you're currently positioned.
Both directions are the same really, wipe out the two groups of Battle Droids that Maul is hiding behind then follow him to the side where he'll go up a lift. Defeat a couple of Droidekas before you use the same lift to follow. Leave that poor droid alone you monster!
At the top of the lift clear out another battalion of droids before approaching Maul on the right to start a double sided battle with him. For this fight what you want to do is switch to the character that's behind Maul and hit him in the back, the Jedi way. That'll stun him for a moment so you can damage him. After a few successful back hits and a couple of quicktime events you'll move on to the next part as he jumps away again.
The floor ahead of you is electrified so only try to jump onto the first of the small circles when you get the prompt to jump to it, don't bother trying to jump freely trying to land on them perfectly. After you land on the first one it should just be a matter of tapping the jump button and you'll automatically jump to the next pole.
After defeating another set of droids, Maul will smash the floor into four parts. You've got a few options here: one is to jump off to the right and kill some droids next to an elevator. Use the Force to pick up the blue Plug Item to place it in the Socket on the elevator to activate it. Ride the elevator up and run towards Darth Maul in the middle. He'll jump down and you can follow.
Another option is to go across the bridge to the left that was made from the parts Maul broke up. From there you can defeat a few Battle Droids, place a plug in a socket and ride an elevator up to get to Maul and follow him down.
And a third way is to use the Force on some objects that appear just off the side to the right. You can then manually place them on top of the electrified part and once all three are down you can use them as platforms to jump across. Challenging!
Whichever way you do it you'll be engaged in a straight-forward lightsaber fight. Remember to defend and jump away whenever you see the red marks appear on the floor. He will once again run away down a corridor at a certain point.
For the first two barriers you just need to wait for them to turn off so that you can run through them. The third barrier requires you to move the plugs into the matching sockets using the Force.
After that there are two more timed doors before reaching a barrier with four sockets but seemingly only three plugs. What you need to do here is plug the blue plug into the socket on the lefthand wall. Doing so will open the container on the righthand wall and release the green plug. Now you can plug them all into their matching sockets and open the door.
It's another fight with all the same stuff as you've been doing all level against him. Defend and attack when you get the opportunity and you'll wear him down.
Level Objectives
- Defeat Darth Maul!
- Pursue Darth Maul through the Plasma Refinery Complex
Level Challenges
- Complete Maul-ing
- Defeat Darth Maul in less than 10 minutes
- Forced Out
- Force push 5 droids over the walkway
- Odds Stacked in Your Favour
- Use the Force to find another way past the electrical hazard
- At the final jump before you reach the barriers, use the Force to pick up some objects on the right and place them in the electrified section and then use them to jump across it instead of using the elevators and jumping back down.
Minikits
Minikit 1/5 - Trapdoor Treasures
Requires: Grapple Story Mode: No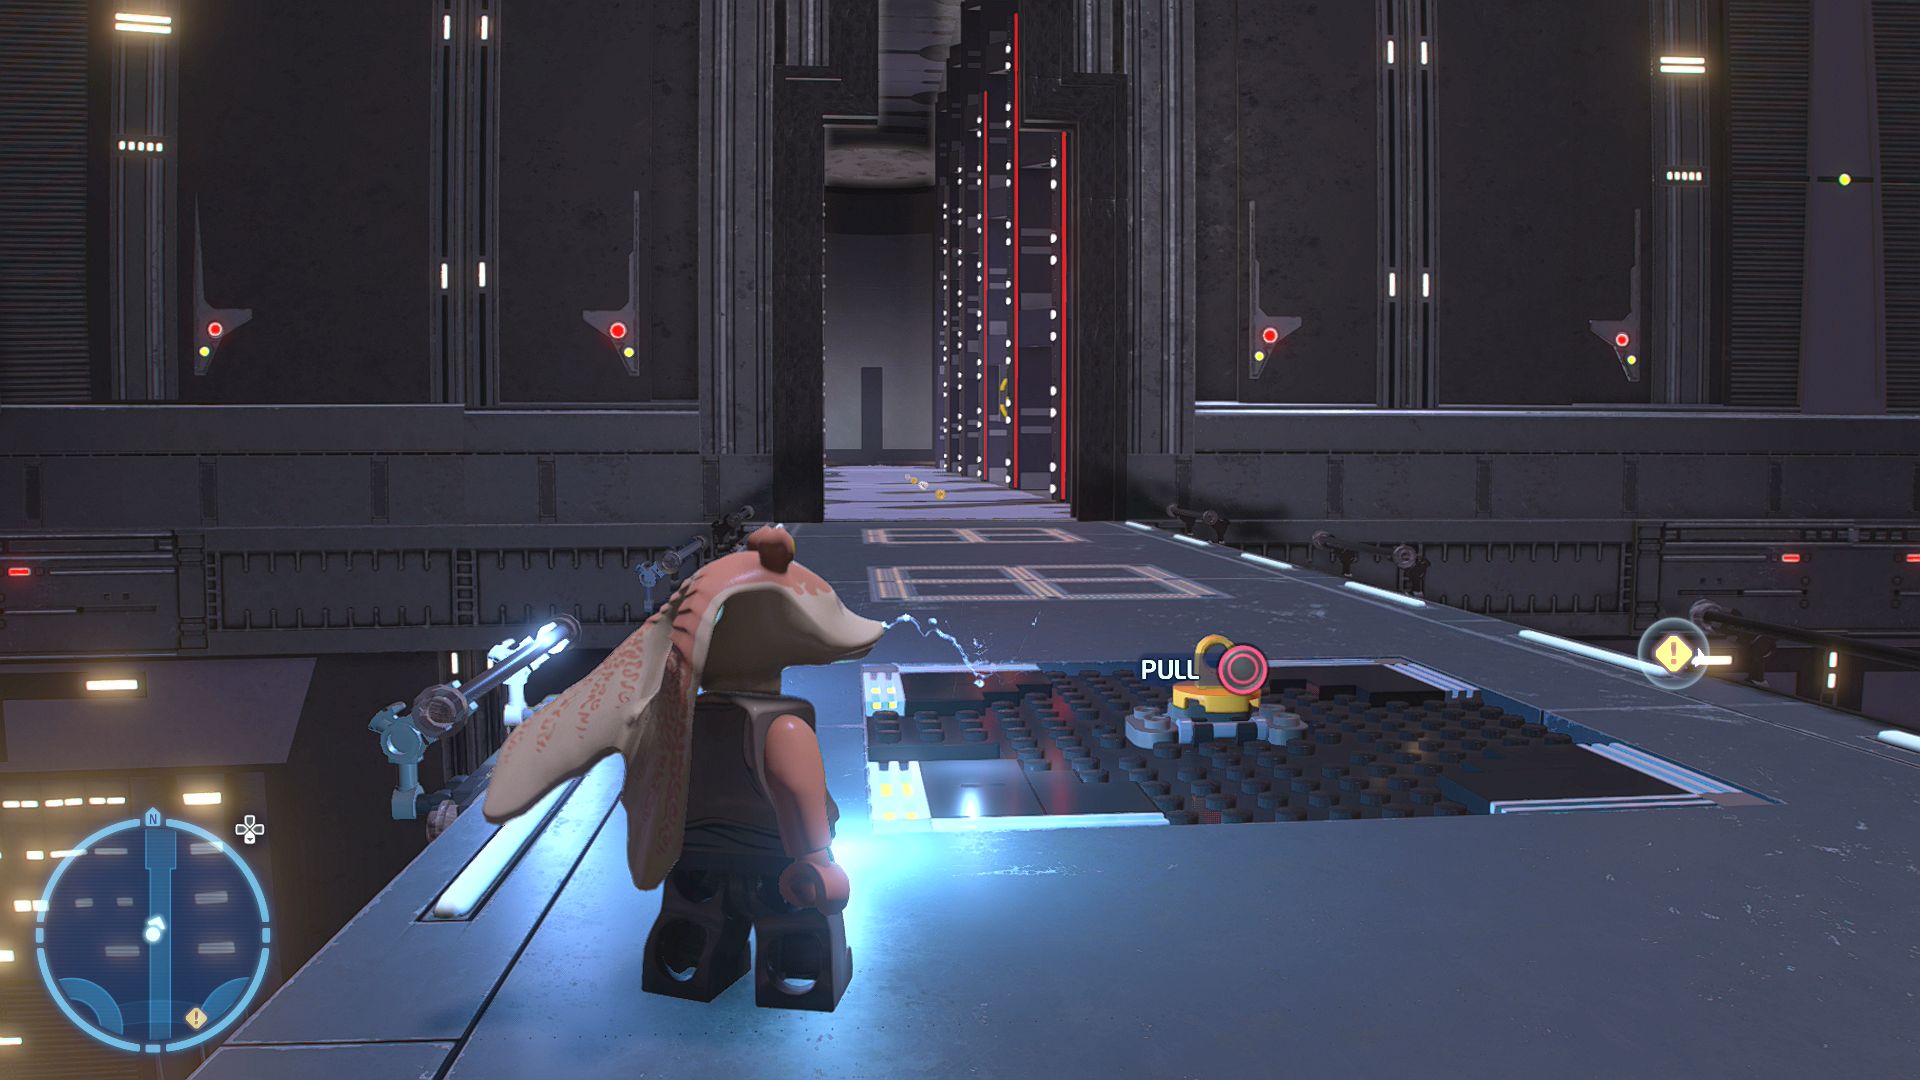
In case of attack, hide all goodies in the nearest trapdoor!
Use a grapple on the broken floor near the barriers, you'll have to do this one in Free Play as neither of the Jedi have a grapple.
Minikit 2/5 - Vantage Point
Requires: The Force Story Mode: Yes
Find a high spot and take in the view... Who knows what you'll find!
Smash some Battle Droid dispensers to the right of the north-eastern elevator and construct four buttons from the debris. You'll need to use some objects to press two of the buttons, you can use the crates or the bits stuck to the side of the platforms that you can pick up with the Force. Just drop them onto the buttons, don't throw them or they'll smash.
Minikit 3/5 - Double Back
Requires: The Force Story Mode: Yes
Sometimes, to find what you are looking for, you must look back...
At the start of the level double back and use the Force on a couple of platforms on the wall to the right to jump up to the Minikit.
Minikit 4/5 - Tempting Fate
Requires: None Story Mode: Yes
Don't look down...
In the pit at the end of the level, jump onto the bars and drop down to get it.
Minikit 5/5 - Who Cleans the Cleaners?
Requires: None Story Mode: Yes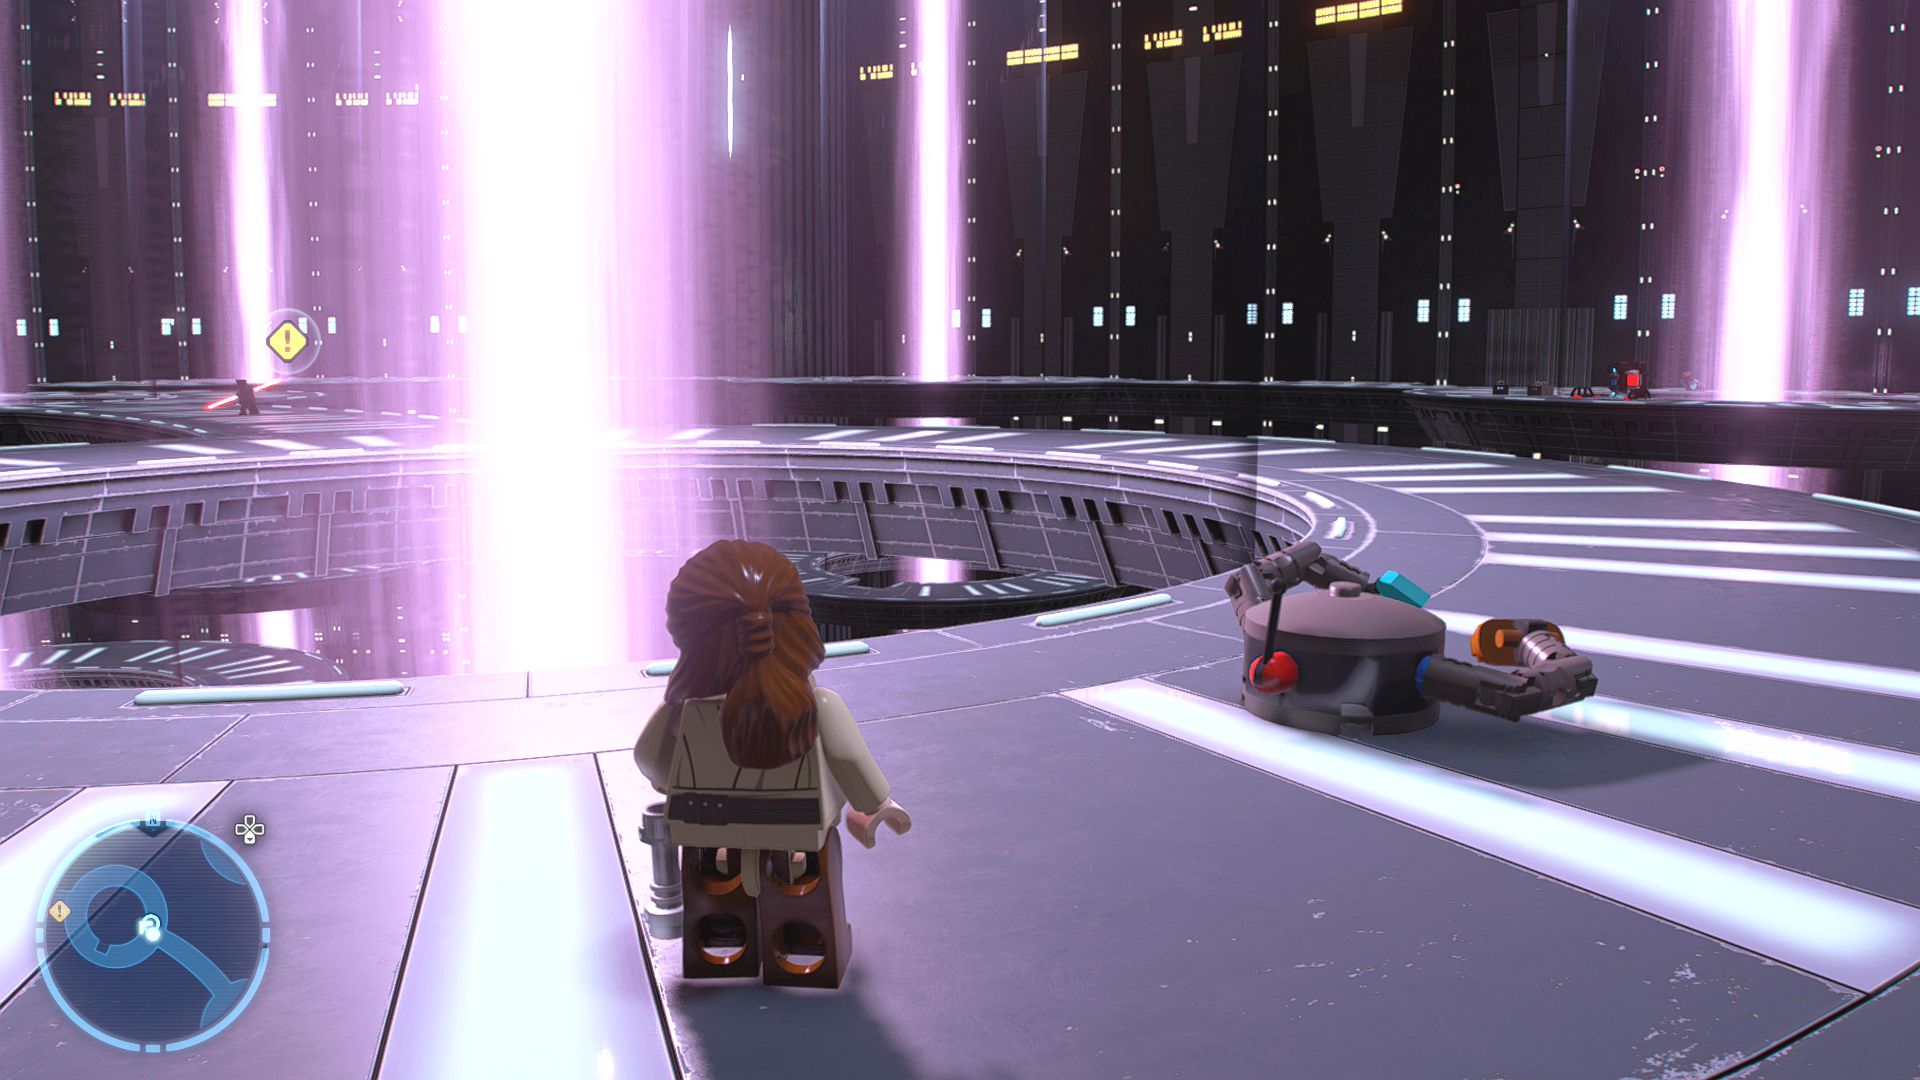
Maybe if it gets messy enough, the Trade Federation will leave this place alone?
Destroy five cleaning droids:
- At the top of the elevator to the right
- Next to the bottom of the elevator to the left
- To the left when Maul breaks the floor into four pieces
- On the north side when you ride the north-eastern elevator up
- On the north side when you ride the north-western elevator up
Darth Maul's Scimitar
 Based on set 75224
| Cost | Character | |
|---|---|---|
|
|
- | Obi-Wan Kenobi (Episode I - No Cape) |
| - | Qui-Gon Jinn | |
| 200,000 | Darth Maul (No Cape) | |
| 200,000 | Darth Maul | |
| 200,000 | Droideka |
Episode I
THE PHANTOM MENACE
The story so far...
- Disheartened by the Senate's
- lack of action, Queen Amidala
- took matters into her own hands.
- She returned to Naboo and
- persuaded the Gungans to help
- fight the droid invasion.
- However, the Trade Federation
- weren't the only enemy afoot. In
- the palace, mysterious, pointy
- Sith DARTH MAUL once again
- confronted the Jedi. Duelling for
- their fates, Qui-Gon and Obi-Wan
- fought valiantly, but despite
- being victorious, Qui-Gon was
- struck down.
- Obi-Wan pledged to his Master
- that he would continue Anakin's
- training in his stead. Meanwhile,
- the Gungan army prepare for their
- final stand against the
- mackineeks. That means
- "Droids"....
Naboo, Lake Paonga
Preparations
Run into the sacred area and talk to the Gungan Warrior to continue the story.
The "boomas" that they're asking you to find are purple balls, the minimap has a set of circles that shows the general area that the boomas are located. You need to find 20 of them but they're grouped together so it's really only five. The first lot are in a nest on the ground to the north, smash the nest to free the boomas and then walk into the them to pick them up. That's six.
The second bunch are in a crate next to the entrance to the sacred place but to get to it you must first move the creature (a Fambaa) out of the way. To do that you need to grapple the nearby branch to dislodge some fruit (shuura). Now you can smash the crate and pick them up. You will have 11 now. The remaining boomas are in crates in the lake, leave the sacred area and use your grapple to pull the crates in then pick up the spilled boomas.
Return to the Gungan Warrior in the Sacred Area to complete the task and gain access to the next level.
Objectives
- Join the Gungans preparing for battle
- Find the missing boomas
- Return the boomas to the Gungan Warrior
- Join the battle
Chapter 4
Outmanned But Not Out-Gungan-ed
| Silver | Blue | Purple |
|---|---|---|
| 11,666 | 23,333 | 35,000 |
Run over to the first of the boomas and mount it to start rolling it over to the catapult. When you get close it'll automatically load itself leaving you to go and find the second booma and do the same with that one too.
After both catapults have been loaded some Battle Droids will start attacking so shoot them. The game suggests you aim and fire but you can just run around firing without aiming too. After about eight droids have been killed you'll need to walk over to the shield creature on the opposite and start protecting it next. Another eight droids to defeat there before the game moves on to the next part.
Go to the broken catapult and use your grapple to pull open the red box to get some bricks that you can use to fix it.
Now you're presented with waves of advancing troops. Move the target around and fire the cannon, the main thing you want to hit are the vehicles scattered around, destroy 10 of those and just keep firing at the ground troops until you get the 60 required. Don't worry about the troops reaching your shields.
Level Objectives
- Load the Gungan catapults with Boomas
- Defend the fambaa shields from the battle droids
- Rebuild the Gungan catapult
- Battle the droid army!
Level Challenges
- Booma Shakalaka!
- Destroy all AAT-1 Hover Tanks
- Don't Lose Your Head!
- Shoot the heads off 3 battle droids.
- Ouch Time!
- Destroy 300 battle droids with a single booma.
Minikits
Minikit 1/5 - Probe Droid-Palooza
Requires: Ranged Attack Story Mode: Yes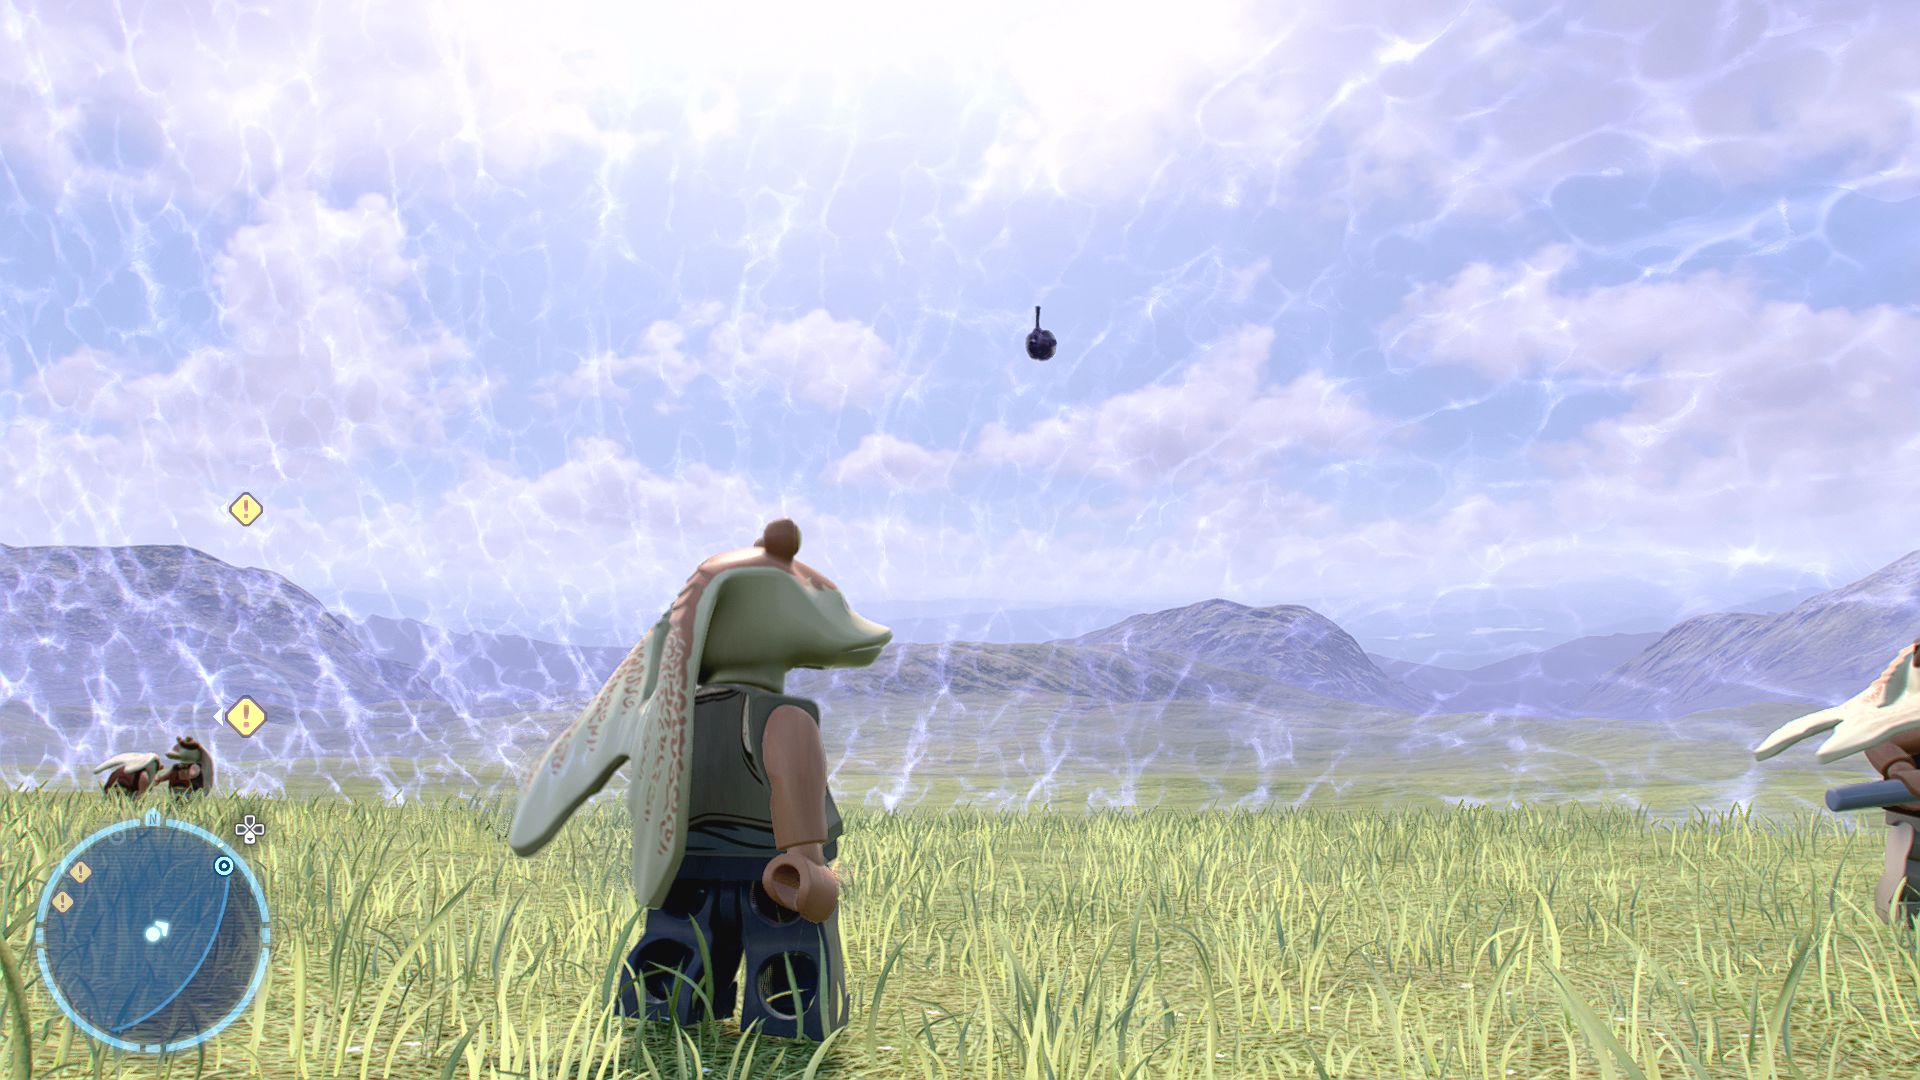
Be on the lookout for those pesky probe droids!
Shoot down the five "supercounters" floating around the edges of the shield.
Minikit 2/5 - Shiny
Requires: Bounty Hunter Story Mode: No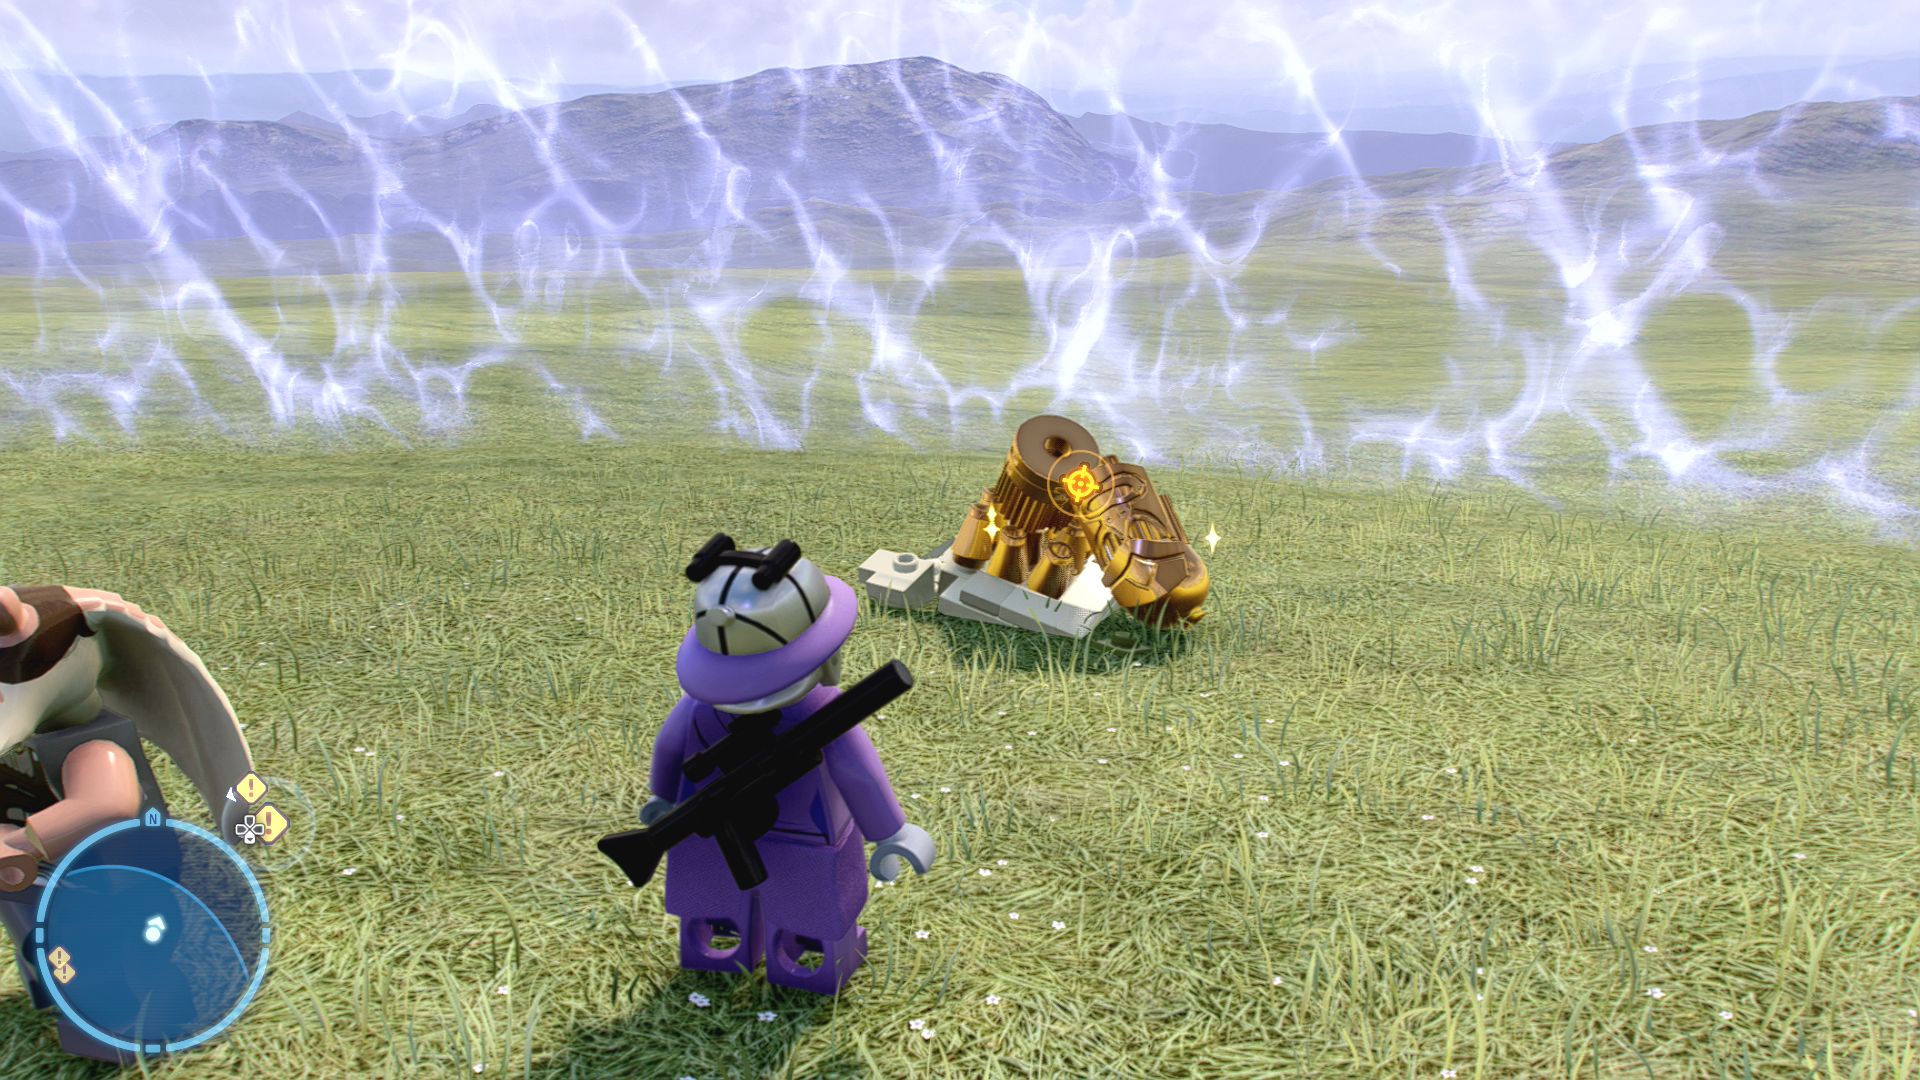
So sparkly and pretty, you almost forget about the battle raging all around you...
In the north-eastern corner of the area is some Gold LEGO that a Bounty Hunter can melt.
Minikit 3/5 - Not the Catapult We're Looking For
Requires: Villain Grenade Story Mode: No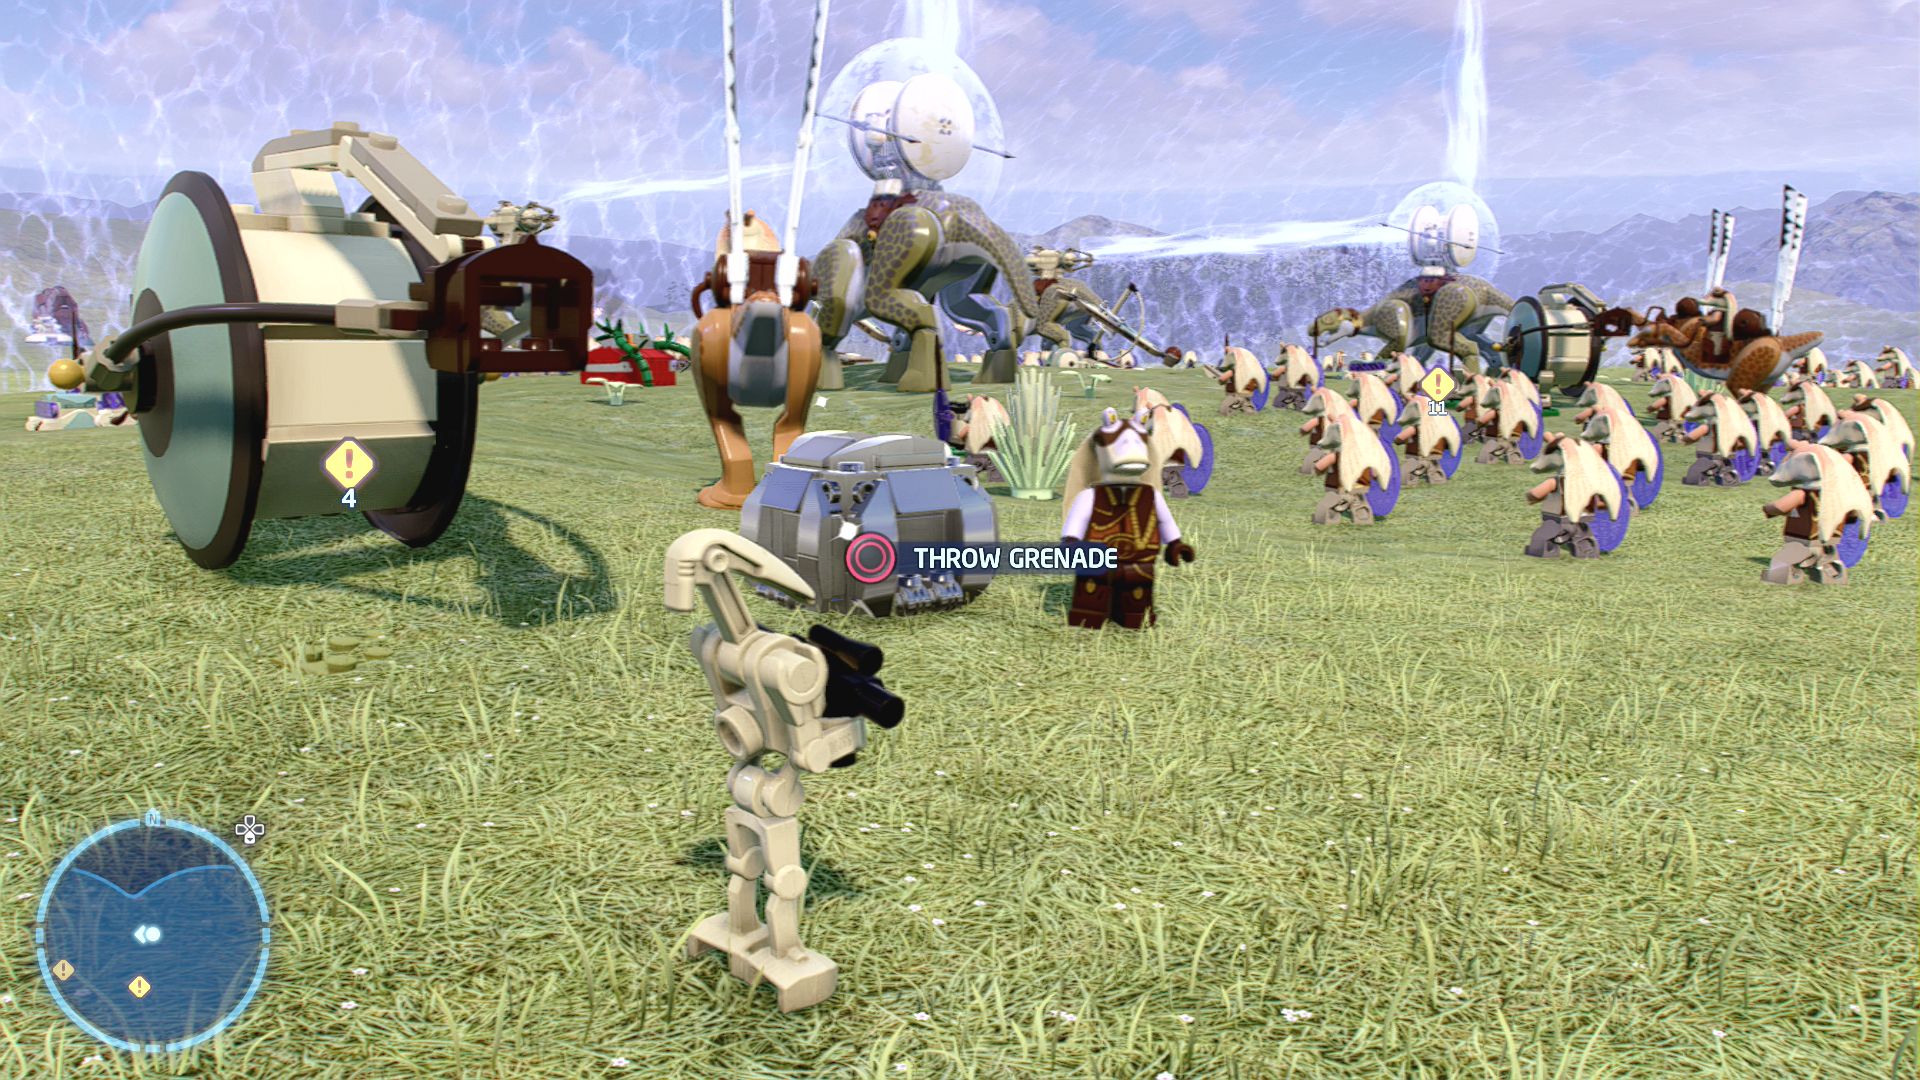
Check the battlefield for anything useful.
Behind the eastern booma is a lump of Silver LEGO that a villain can destroy with a grenade to release the Minikit.
Minikit 4/5 - Bombad Statue
Requires: The Force Story Mode: No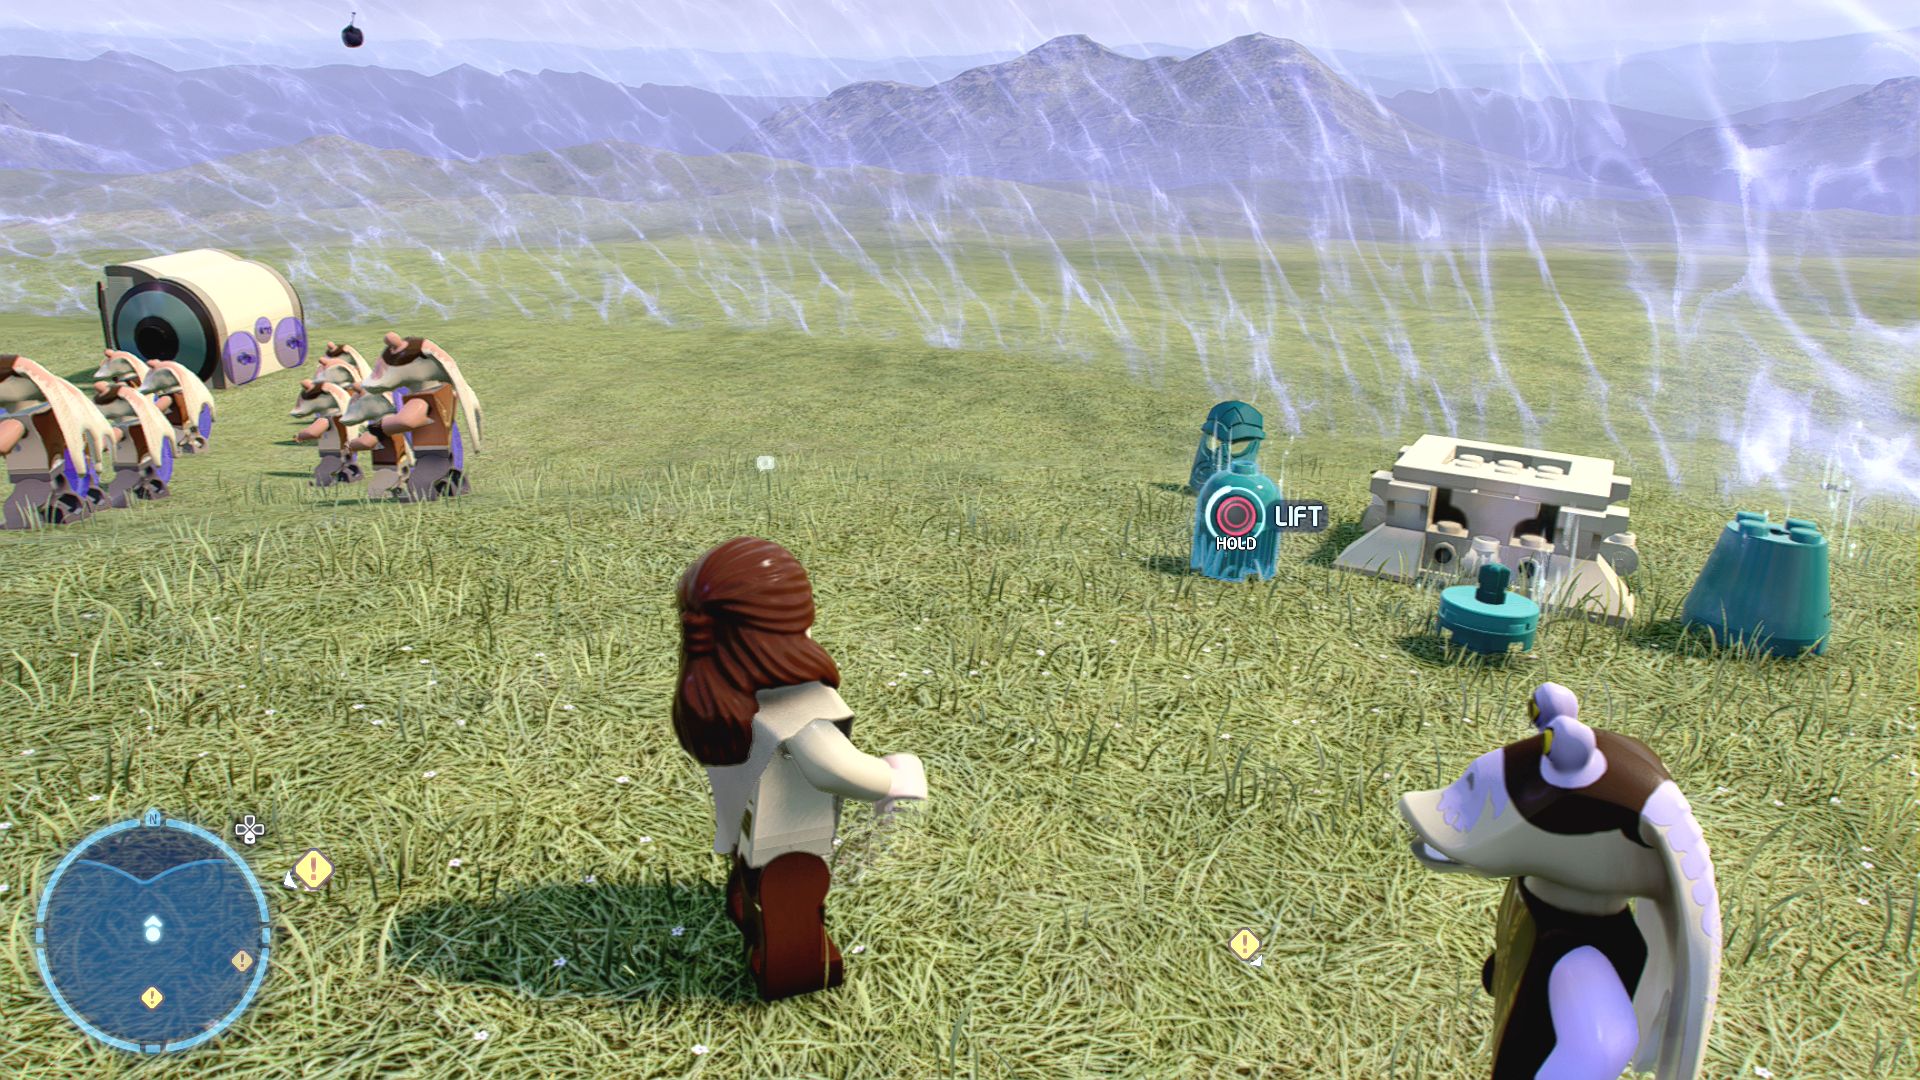
An artefact of high value in need of repair.
Behind the western booma at the start of the level use the Force to reassemble a jade statue. Do it in the following order: flared base, thin middle section with pole going through, mask, rounded top.
Minikit 5/5 - Safely Guarded
Requires: Scavenger Breaker Blaster Story Mode: No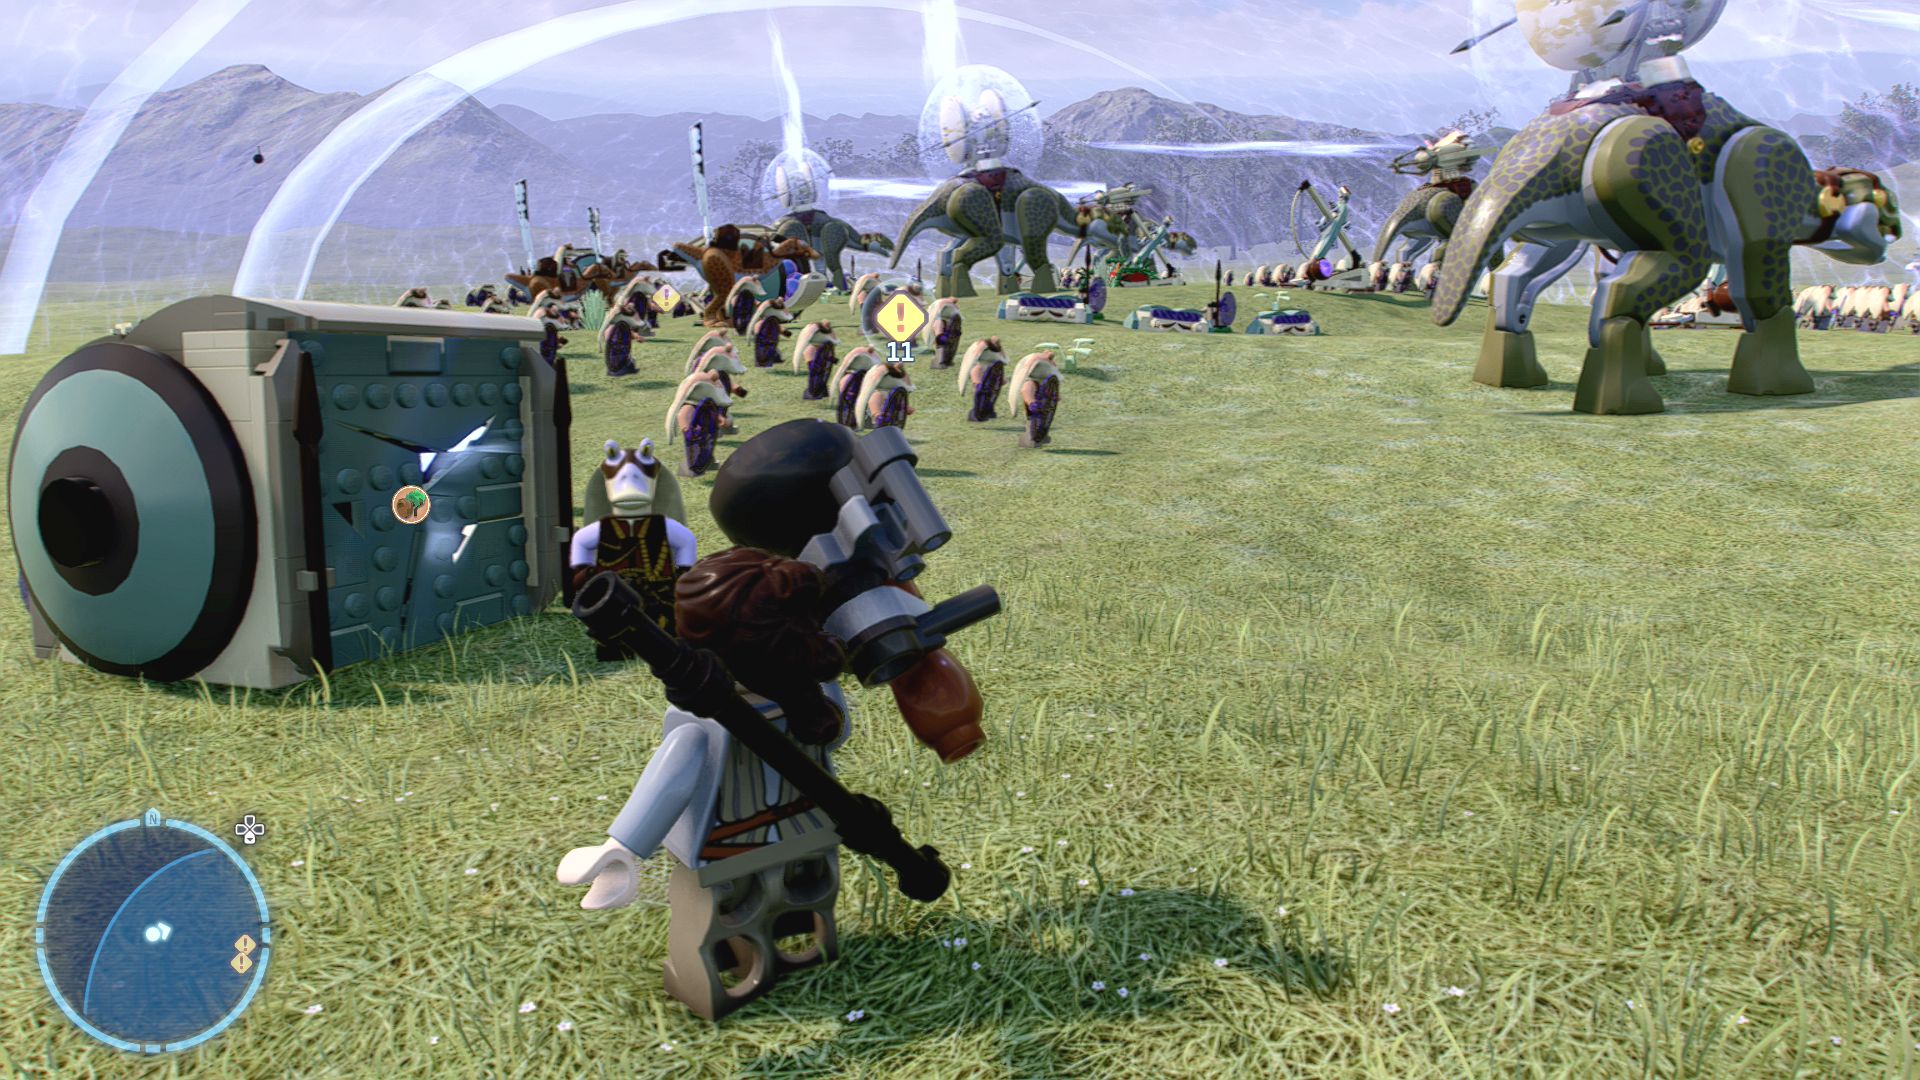
Break in case of emergency!
At the north-western end of the shielded area use a Scavenger's Breaker Blaster on the cracks to release the Minikit.
Trade Federation Landing Craft

| Cost | Character | |
|---|---|---|
| 35,000 | B1 Battle Droid | |
| 35,000 | B1 Battle Droid (Commander) | |
| 35,000 | B1 Battle Droid (Heavy Assault) | |
| 35,000 | Gungan Warrior |
Episode I
THE PHANTOM MENACE
The story so far...
- Things were looking muy muy bad
- for the Gungans as they battled
- the huge droid army.
- The Gungans used all the
- technology, courage and Jar Jar
- related mishaps at their disposal,
- but the invading droids were too
- strong. If it was a game of "rock,
- paper, scissors", the Gungans
- were wet paper and the droids
- were freshly manufactured
- scissors. They lost, basically.
- Meanwhile, Anakin Skywalker
- has inadvertently become
- embroiled in the attack on the
- Trade Federation Battleship,
- piloting an N-1 Starfighter. Is this
- podracing? Anakin seems to think
- so....
Naboo Space
Battle of Naboo
Fly Anakin's Naboo Starfighter towards the Droid Command ship ahead of you and into the floating hexagon with an arrow inside to immediately start the next level.
Objectives
- Join the battle at the Droid Command Ship!
Chapter 5
Now This is Podracing
| Silver | Blue | Purple |
|---|---|---|
| 10,000 | 20,000 | 30,000 |
The first thing you'll want to do is start shooting the turrets on the inner edge of the circular section of the Droid Control Ship and then take out the dishes on the outer edge. After you've blown them all up turn your attention to the vulture droids flying around, if you can't see any just slow down and turn your ship over until you get some in your sights. If one gets a lock onto you perform a roll to avoid it.
Once you've destroyed enough of them you'll be able to fly into the Droid Control Ship through the forcefield in the pincer part of the circular section, you just need to fly towards the gap to get automatically taken inside.
You'll crash after a short flight, once you do shoot at the transport ships and droids in front of you. Basically just shoot everything until you meet the requirements and the cores at the back appear. When they do shoot them too.
Level Objectives
- Weaken the defences of the Droid Control Ship
- Enter the Droid Control Ship
- Defend yourself and expose the reactor cores
Level Challenges
- Prodigy
- Shoot 3 Vulture droids in 5 seconds.
- Spinning... That's a Good Trick!
- Perform 3 spins in the Naboo Starfighter to escape enemy lock-ons.
- Yippeee!
- Destroy the Droid Control Ship without being defeated.
Minikits
Minikit 1/5 - Neat Trick
Requires: None Story Mode: No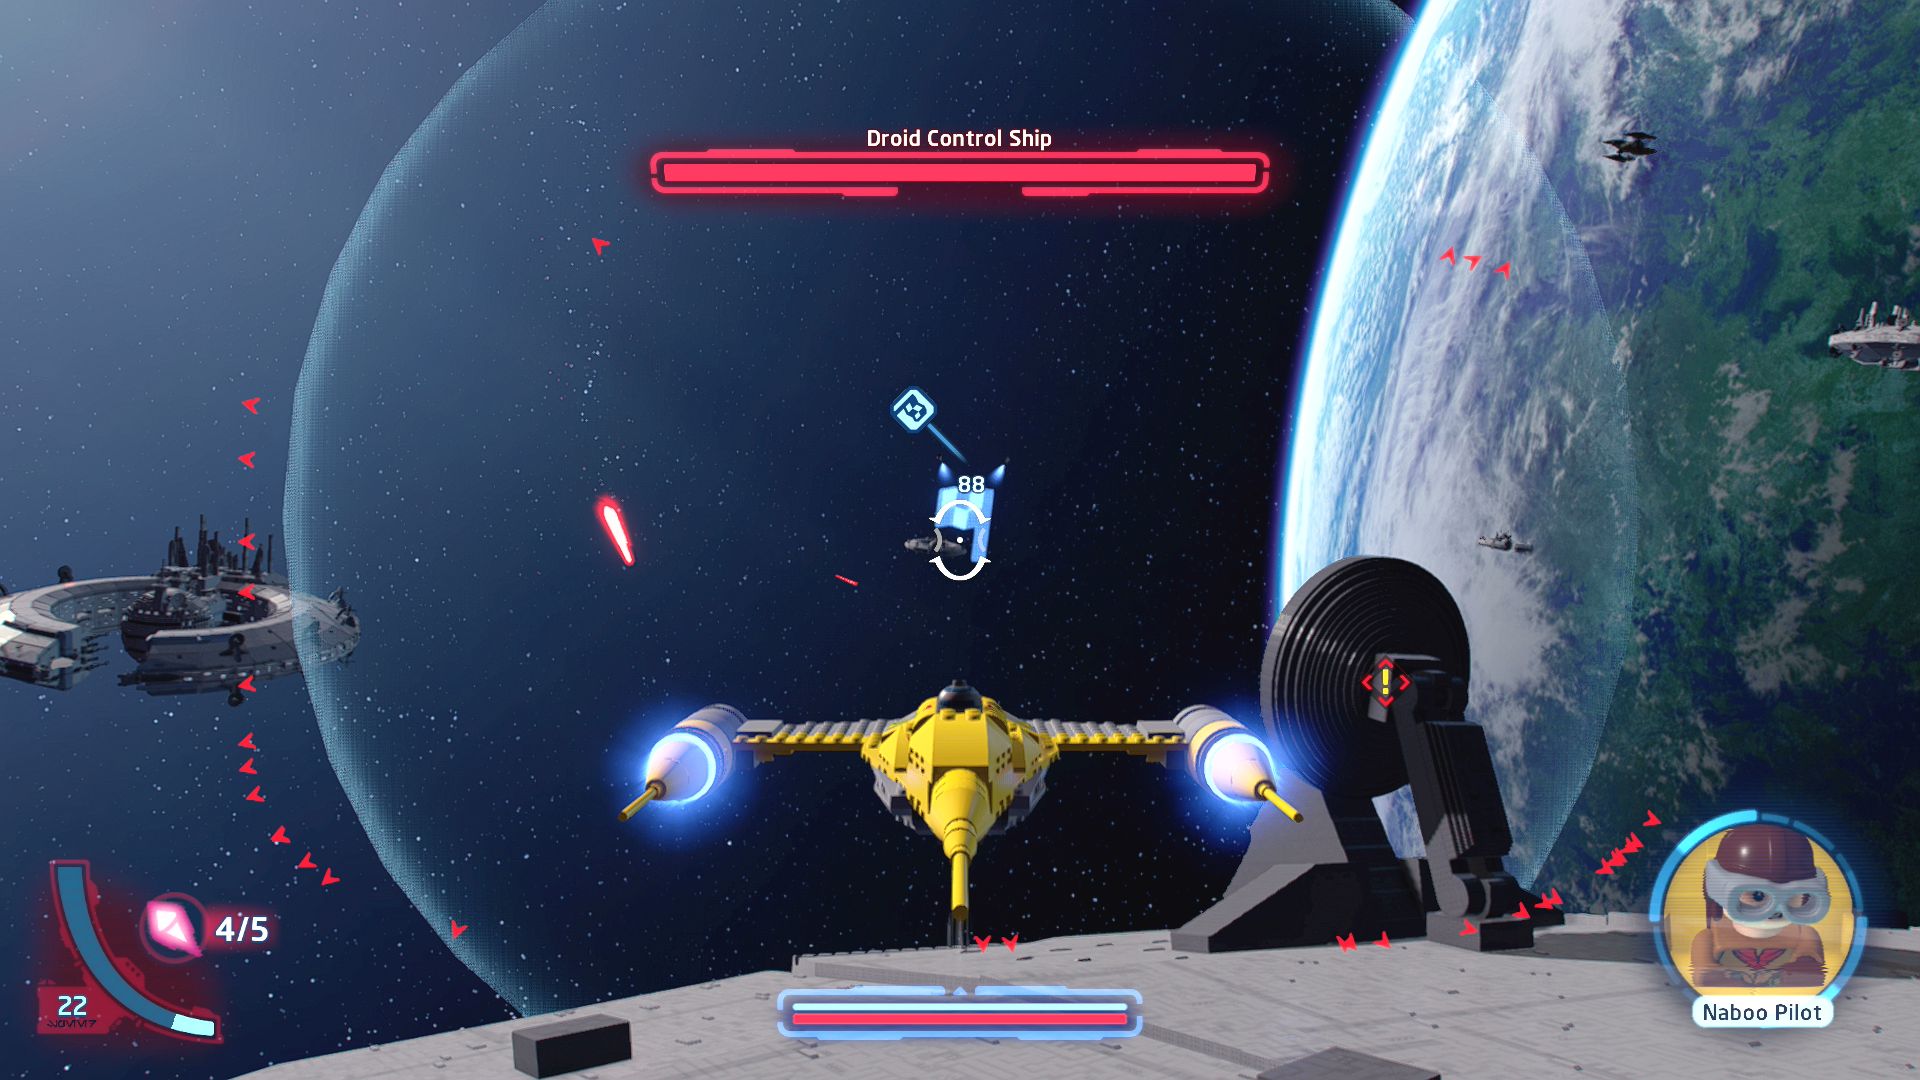
Race through space!
In Free Play complete the checkpoint race within 100 seconds.
Minikit 2/5 - Vultures
Requires: None Story Mode: Yes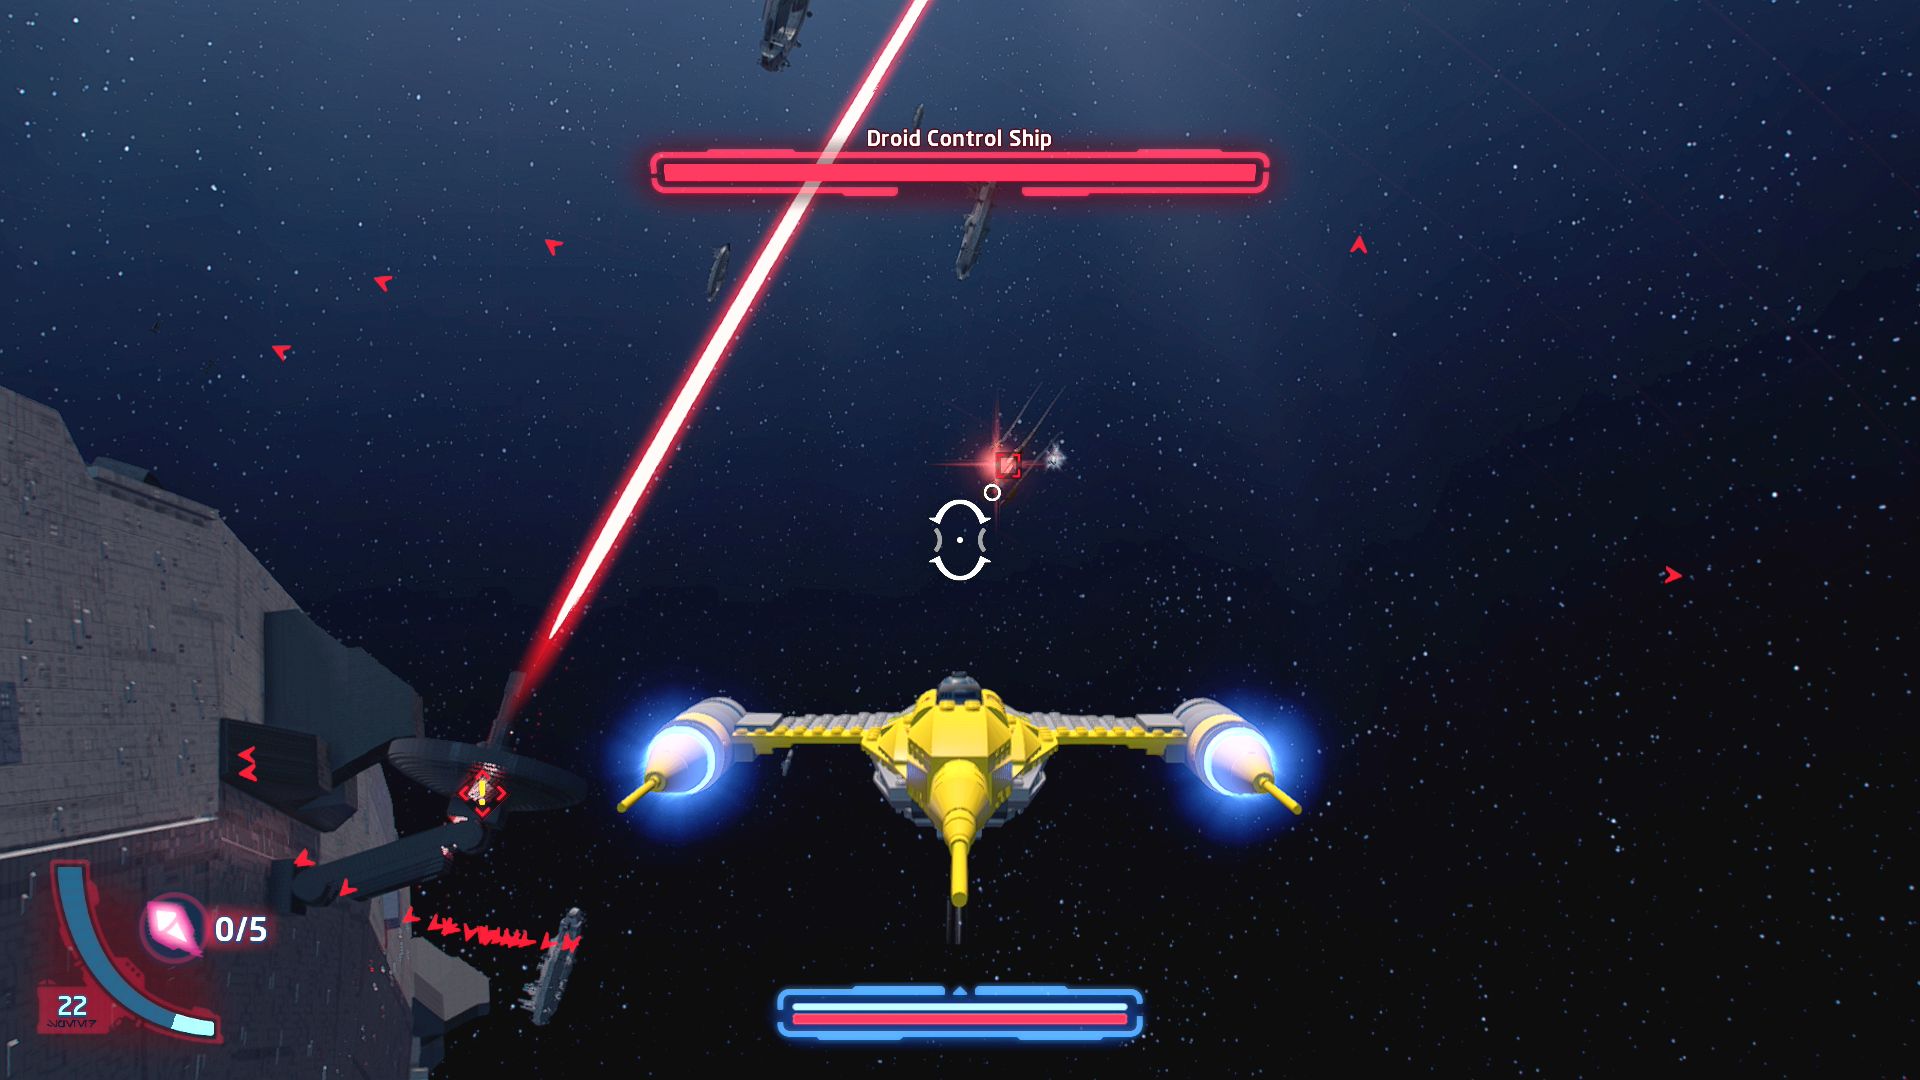
Don't let this vulture get away with the prize!
Shoot a Vulture Droid that has a glowing red light on it, you'll find it circling underneath the Droid Control Ship.
Minikit 3/5 - Bad Service
Requires: None Story Mode: Yes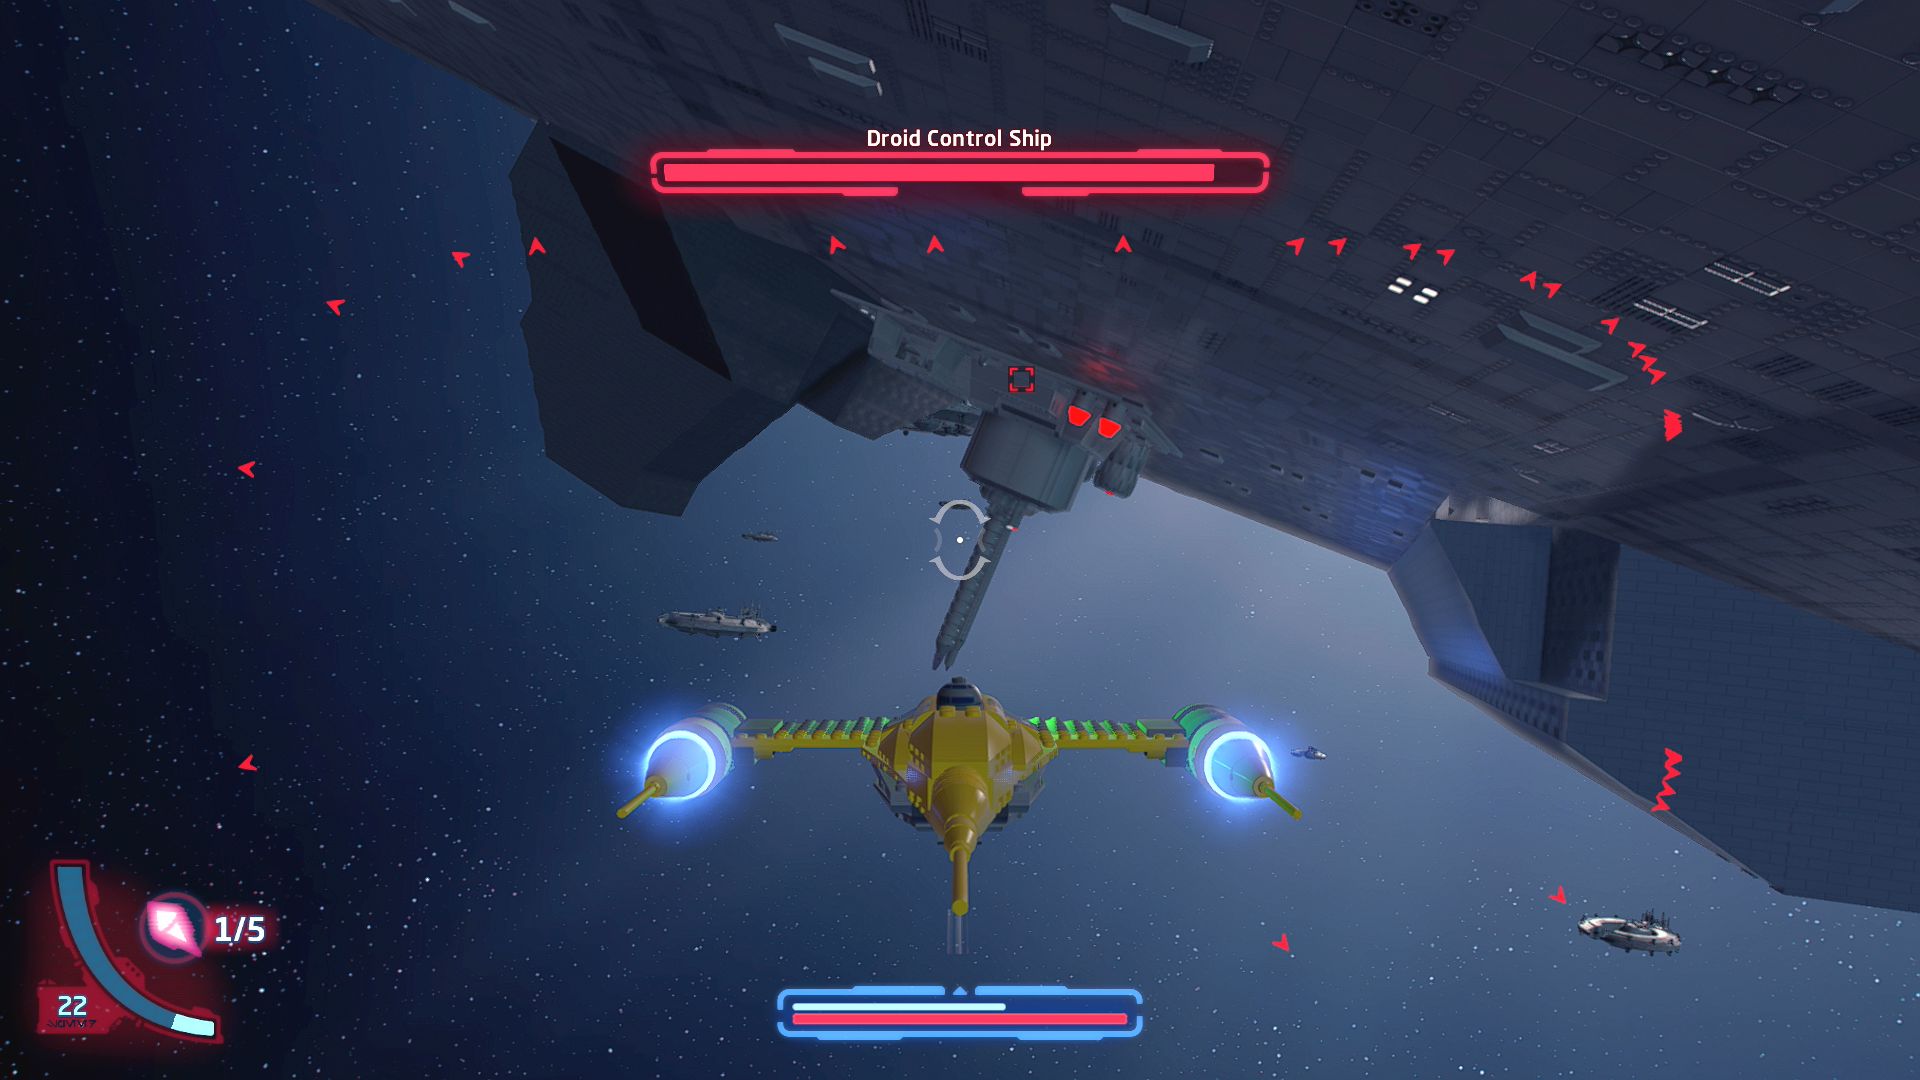
The Trade Federation are about to lose their favourite channels...
Blow up four pylons along the underside of the Droid Control Ship.
Minikit 4/5 - Not Nailed Down
Requires: None Story Mode: Yes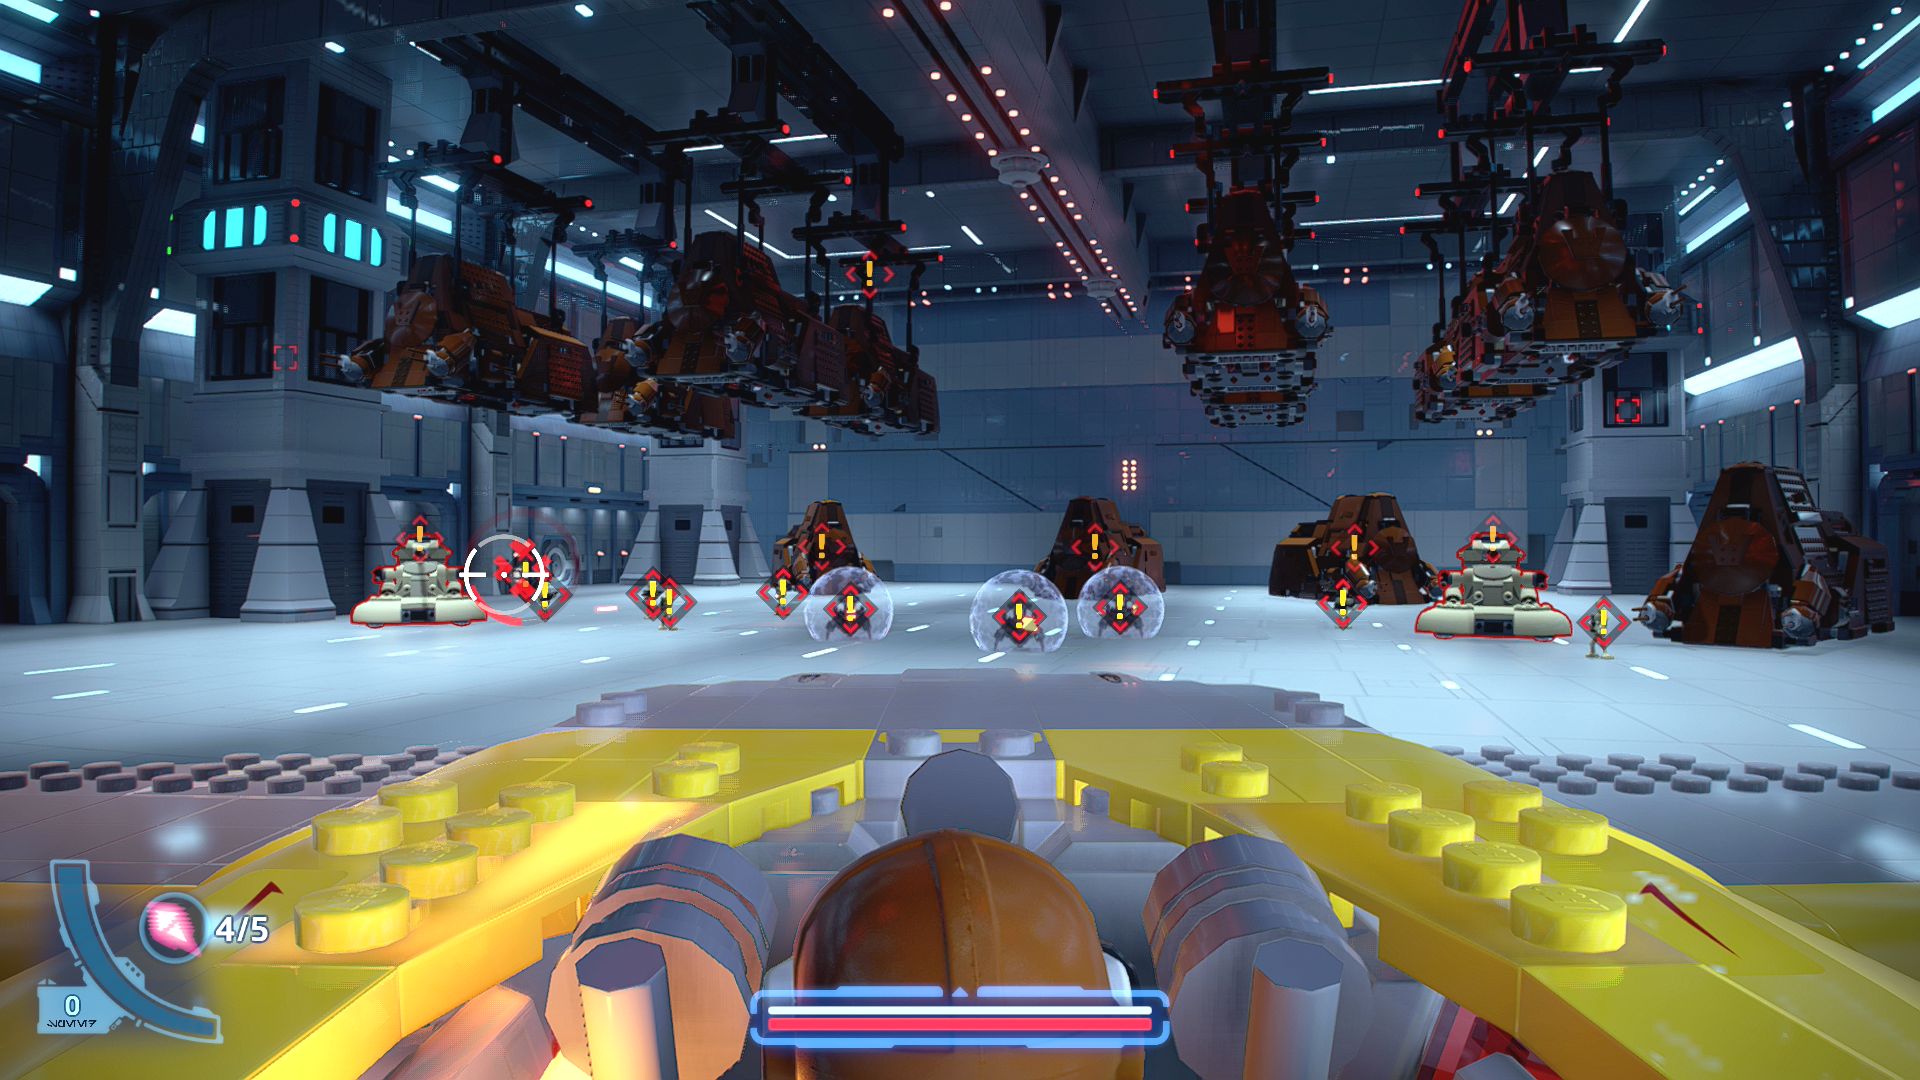
Stop that battle droid from running away with the goods!
Shoot a droid carrying the minikit inside the Droid Control Ship, it's on the left side towards the doors.
Minikit 5/5 - No-So-Empty MTT
Requires: None Story Mode: Yes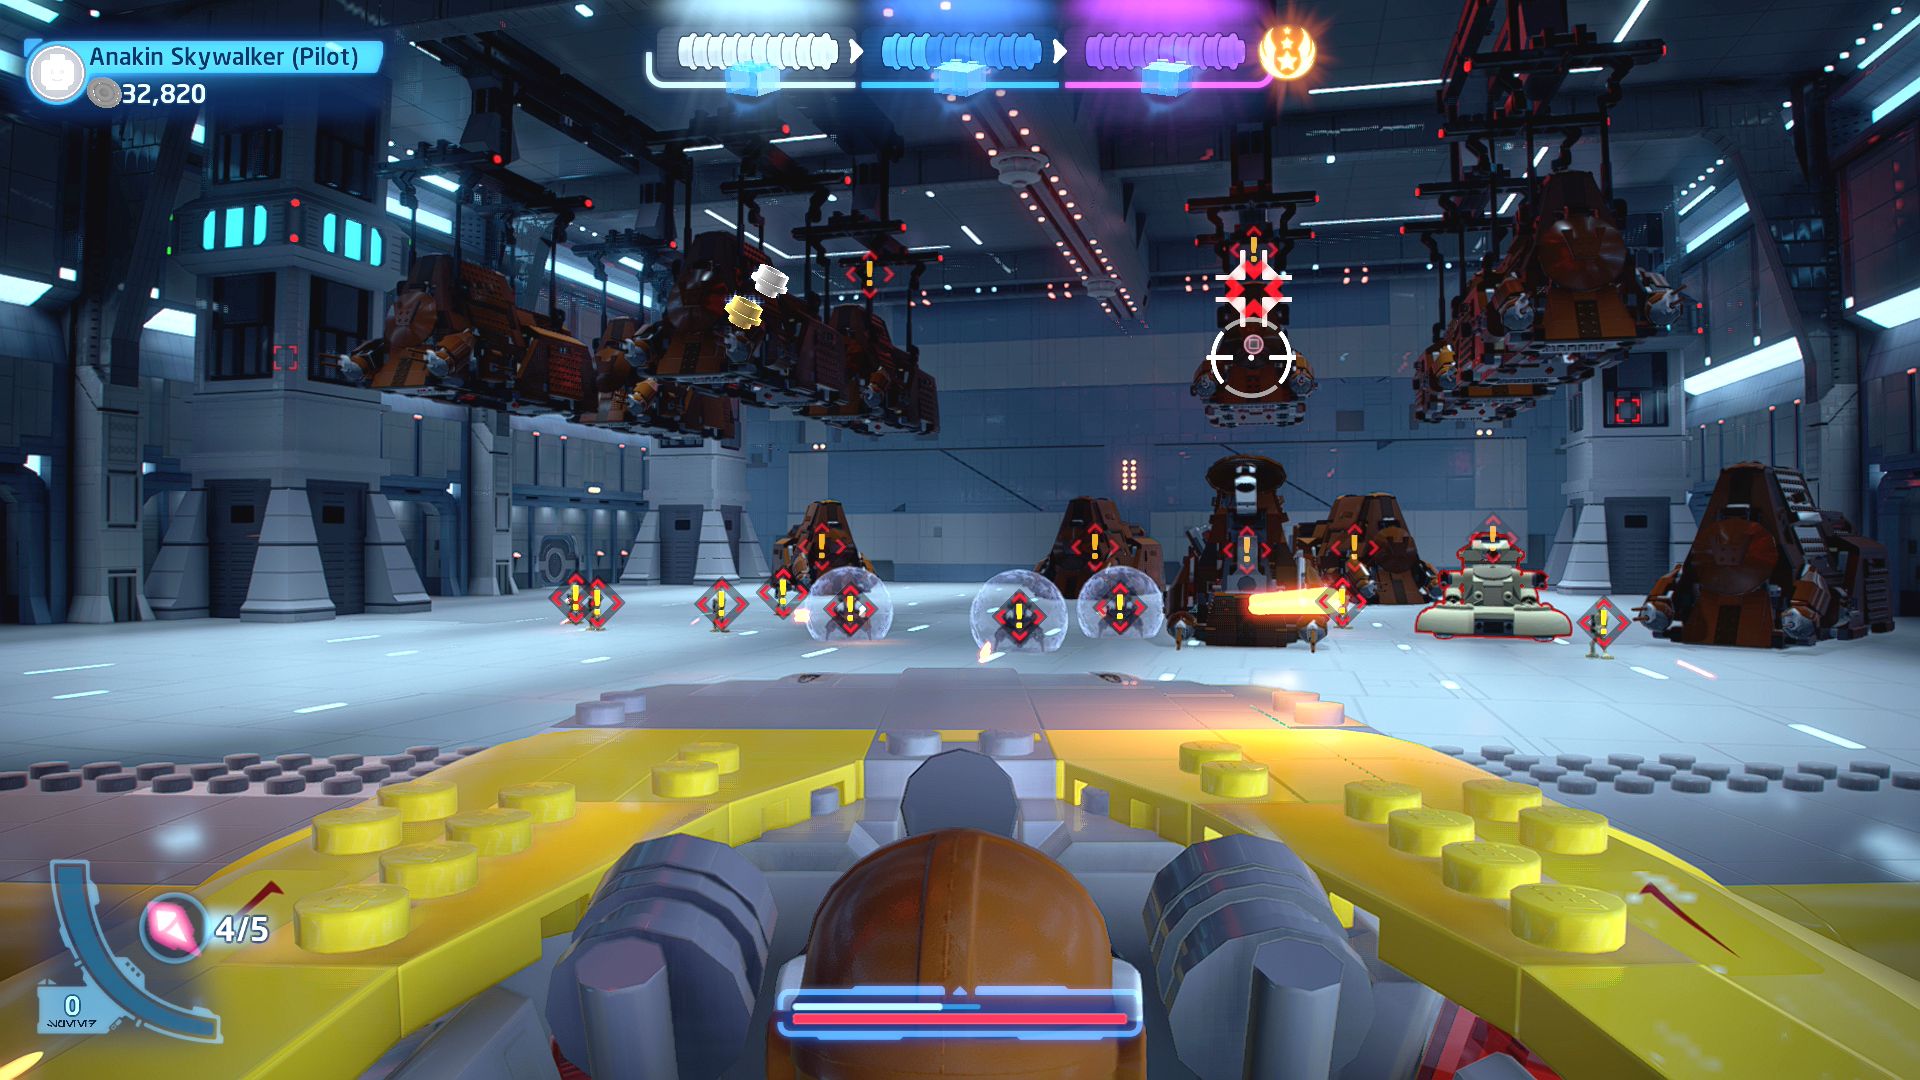
It'd be a shame if someone were to take down those Multi-Troop Transports...
Blow up 10 of the brown Multi-Troop Transports inside the Droid Control Ship.
Naboo Starfighter

Based on set 75223
| Cost | Character | |
|---|---|---|
| - | Naboo Starfighter |
Episode II: Attack of the Clones unlocked!
And with that you are done with Star Wars Episode I: The Phantom Menace. You can go back through the levels in either Free Play or Story Mode as much as you like, you can play around in the open world areas that you have unlocked, or you can move on to a different Episode.
 darkspyro.net