Raiders of the Lost Ark
Chapter 1. The Lost Temple
| Story Mode | Free Play |
|---|---|
| 30,000 | 45,000 |
The game throws you straight into the first level, you're playing as Indiana Jones who has a whip and Satipo who has a shovel for digging.
Artefact Piece 1/10
Requires: None Story Mode: Yes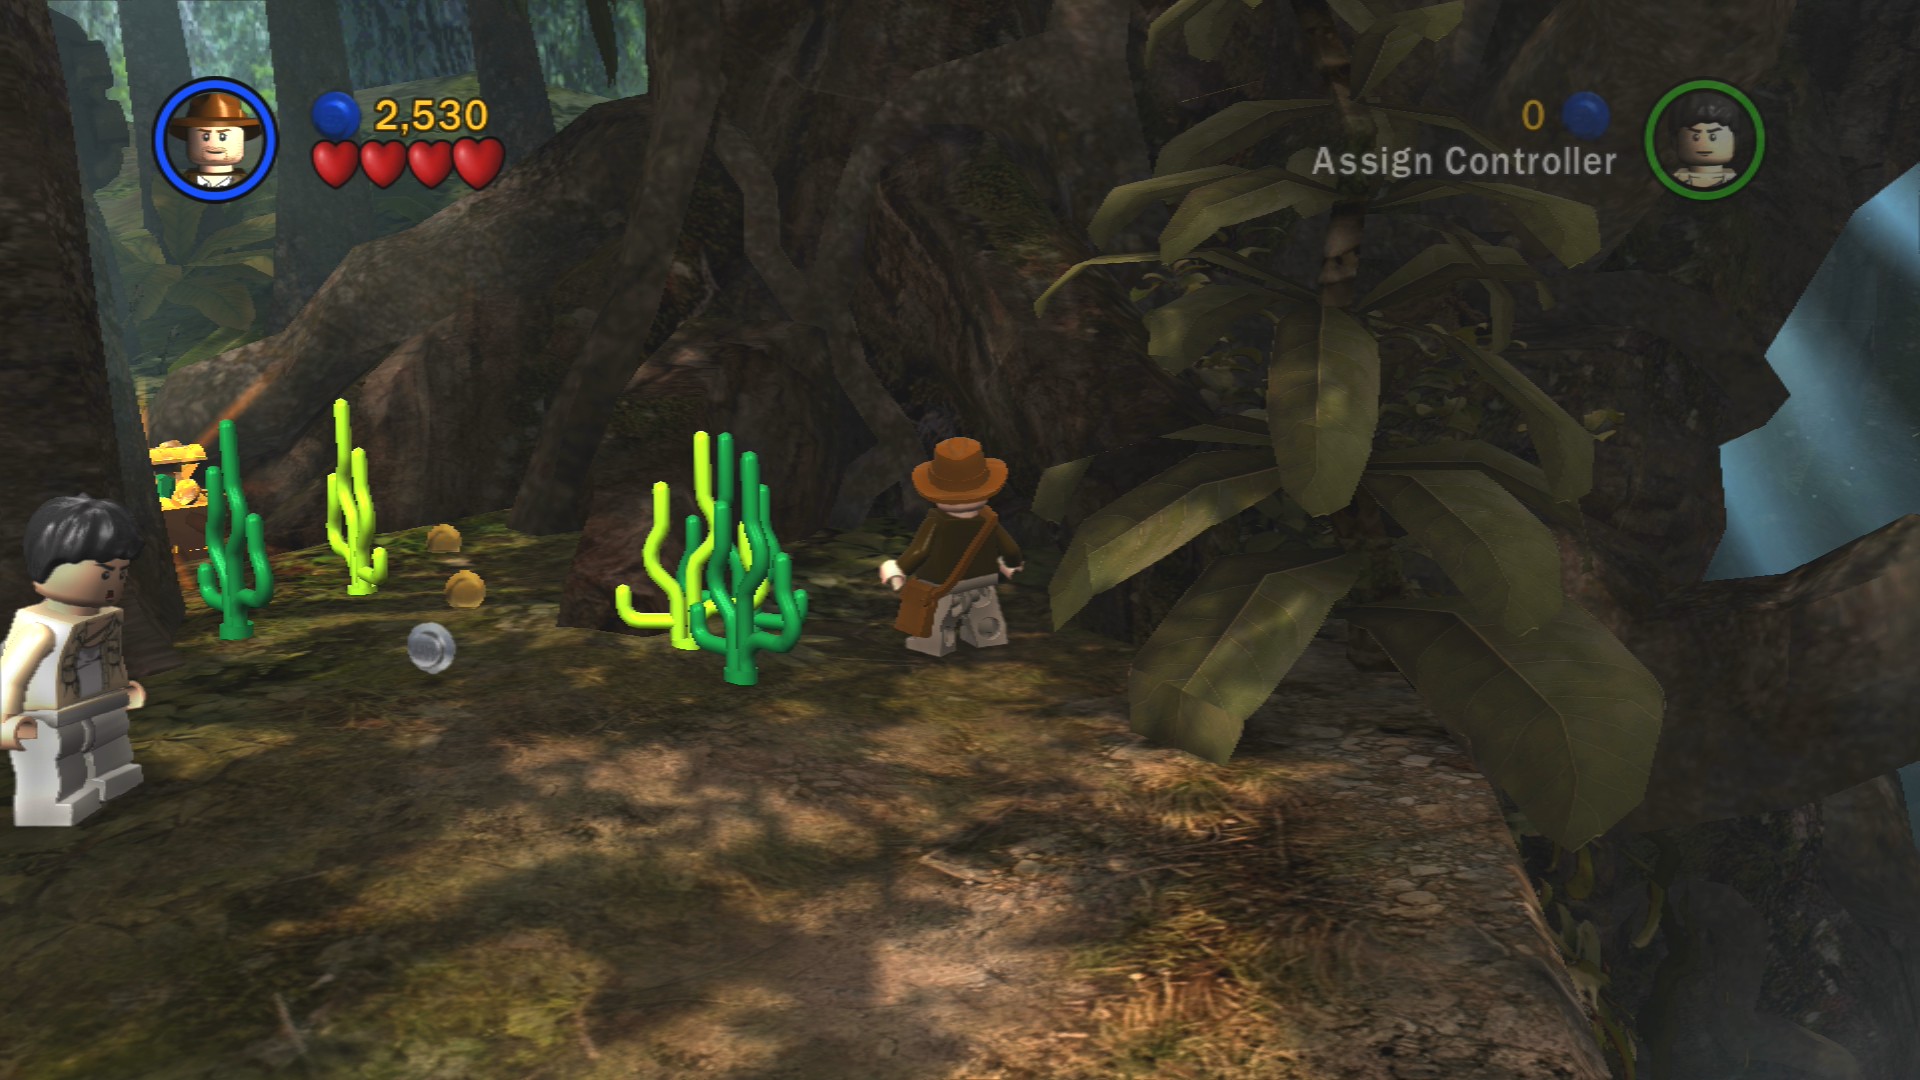
Hiding behind a tree at the start of the level.
Artefact Piece 2/10 - Part 1/3
Requires: Dig Story Mode: Yes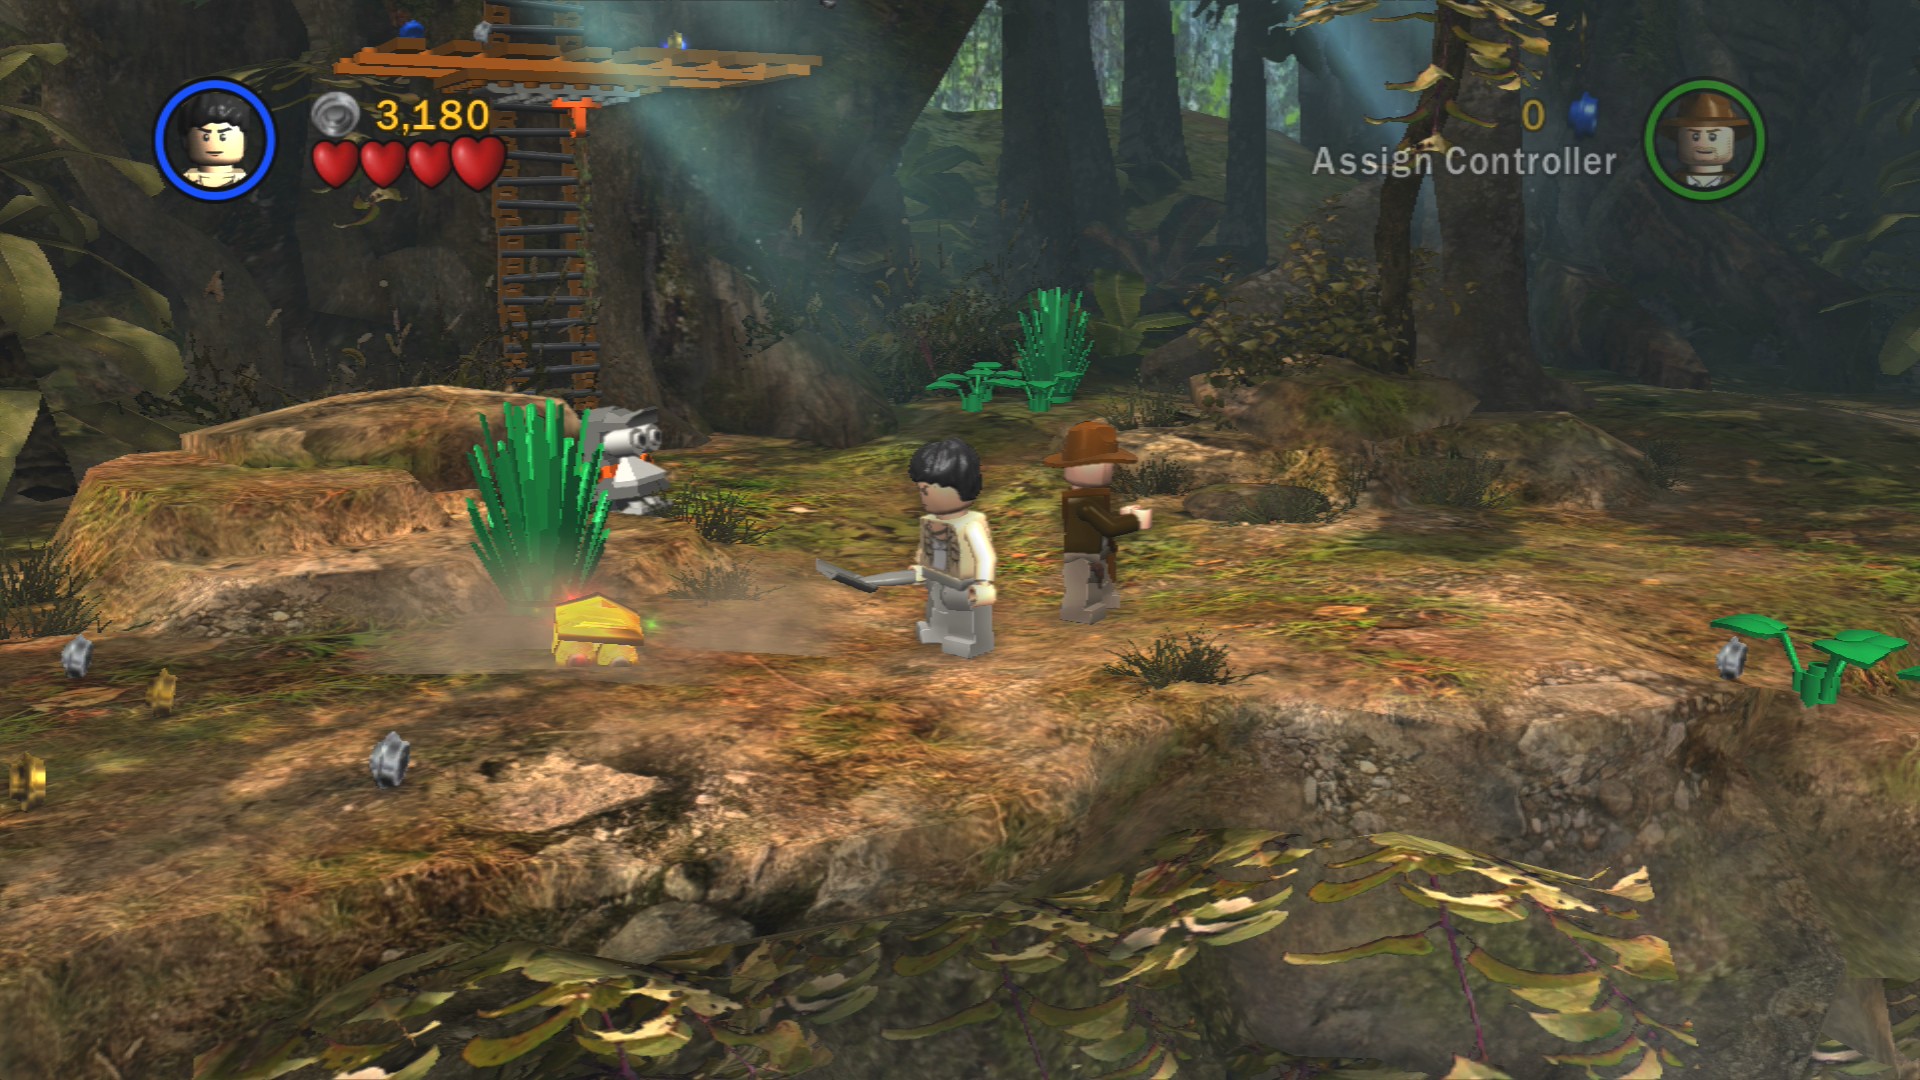
Switch to Satipo and dig up the golden head to the left at the start of the level. The numbers 1/3 will flash up, that means you'll have to find two more of them to get the actual Artefact Piece.
To move on from this first platform you go to the right where there's a broken wooden bridge, you'll need to jump to grab the vine that's swinging about a little above the gap. You'll sometimes need to swing back and forth on a vine before you get enough momentum to make the jump.
On the other side you'll find some LEGO bricks hopping about a little, these aren't required for progression but it's a good place to learn how to build. Hold down the build button when near them and you'll automatically start to assemble a small trampoline. Bouncing on it will let you get the line of studs above it. There's also a statue head here that'll fire an arrow at you if you stand on the button in front of it. If you instead hit the statue it'll turn around and begin to spit out a single stud each time you stand on the button instead. Not a great way to get studs so don't waste too much time on it.
On the wooden platform to the right of all that is a small glow, this is an indicator that you can use Indy's whip to swing across a gap. Stand on the glow and press the action button and Indy will swing over automatically. You still need to help Satipo over though so hit the LEGO that a vine is attached to so it falls loose and he can grab it.
Once you've got Satipo over switch to him and dig up the glowing LEGO, carry the unearthed LEGO over to the green point and place it to unfurl a bridge.
Artefact Piece 2/10 - Part 2/3
Requires: Dig Story Mode: Yes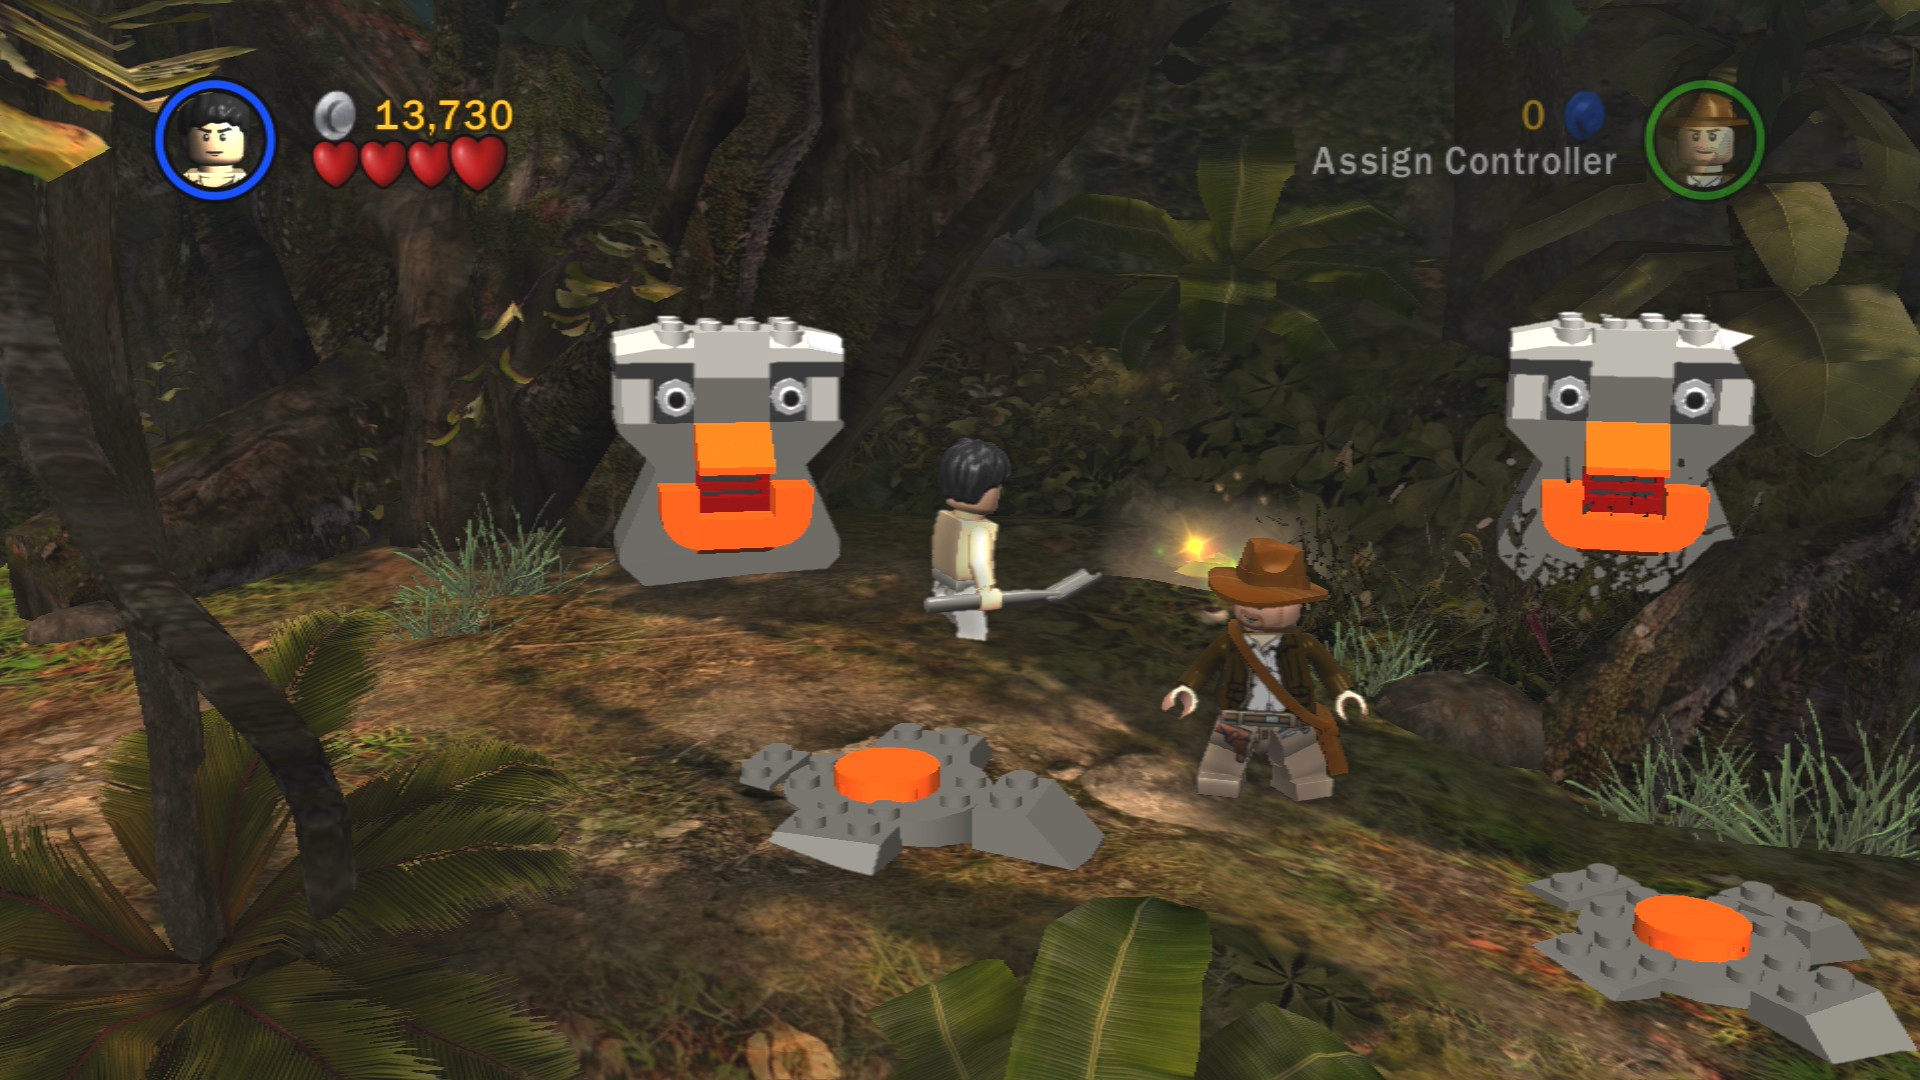
Smash a stone head statue and dig up the second golden head underneath. It's between the two stone faces that shoot darts just after you unfurl the bridge.
Be careful now, jump over the long orange button as if you stand on it you'll trigger a spike trap on the other side that will instantly kill you if you touch it.
After the spikes you'll find some more LEGO to dig up, take the piece you dig up and place it on the stones at the back so that it matches the other pushable statue. Push them both in to reveal two brown buttons that both need standing on (but not necessarily at the same time).
Artefact Piece 2/10 - Part 3/3
Requires: Dig Story Mode: Yes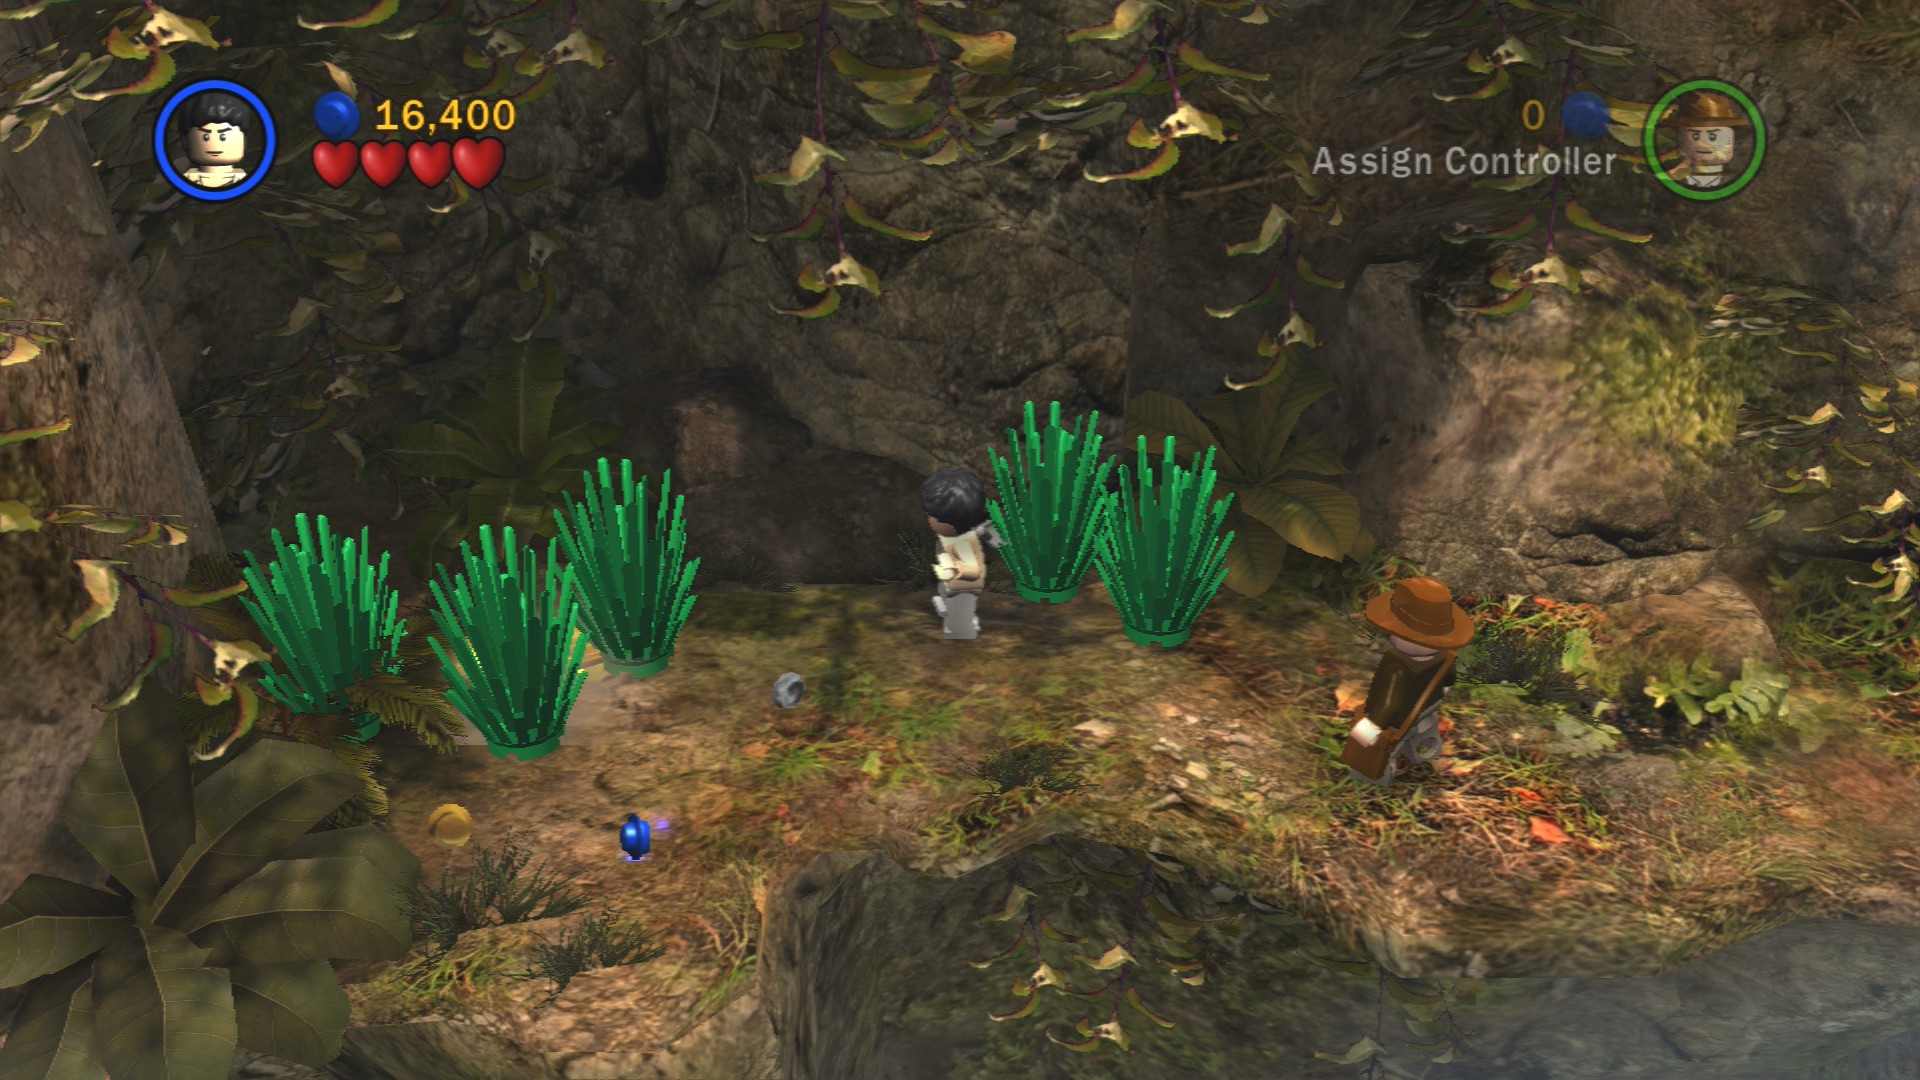
Before you go through the opened door drop off the edge towards the screen where you can see a ladder. Jump to the left and you'll find the final buried golden head under some bushes.
If you've got all three the Artefact Piece will appear back by the ladder.
Be careful not to venture directly into the water through the door as there are crocodiles! Instead build the LEGO into a raft that Satipo can paddle with his shovel.
Paddle to the other side and jump off the raft, make your way up towards the temple doors where a couple of spiders will drop in on you.
Artefact Piece 3/10
Requires: None Story Mode: Yes
Hidden in the plants to the left of the steps up to the temple doors.
Artefact Piece 4/10
Requires: None Story Mode: Yes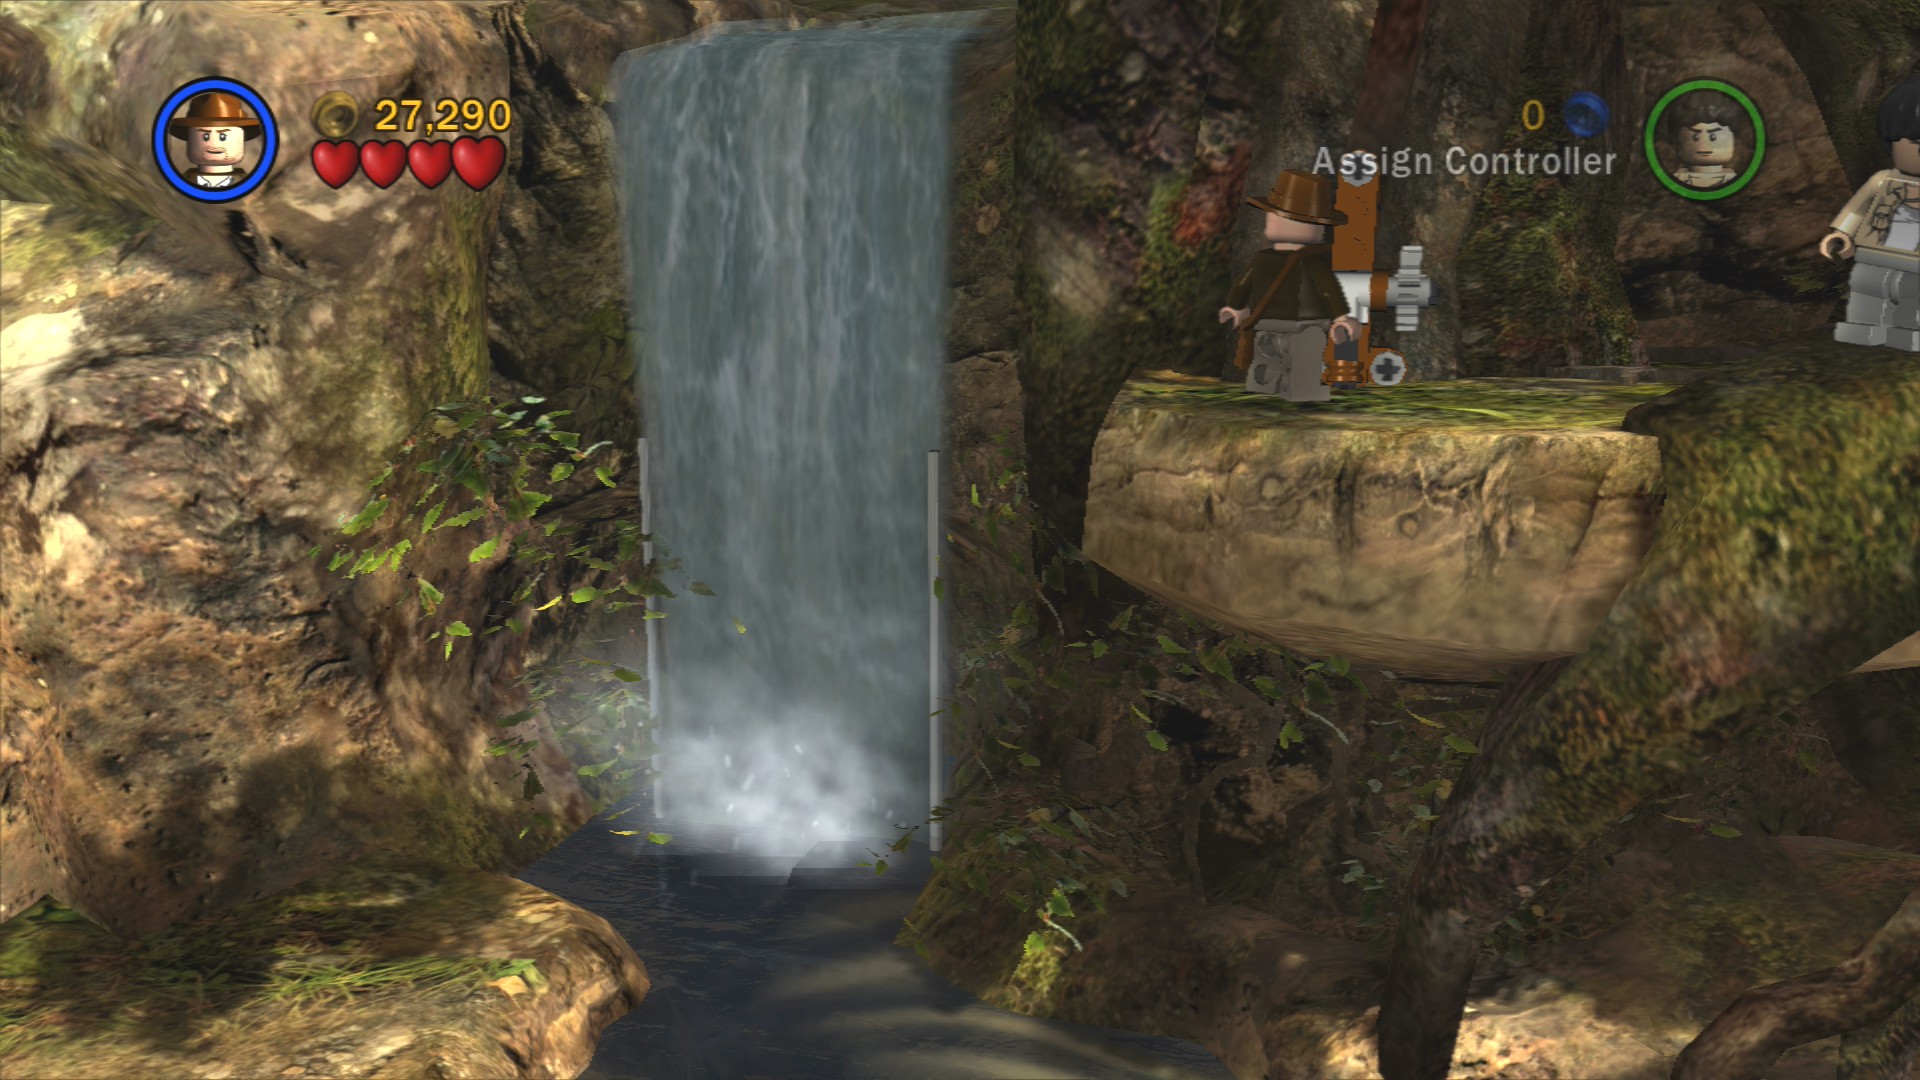
Jump up the ledges in front of the previous Treasure Chest and go to the left to where there's a lever you can pull. The lever will open a gate hidden behind the waterfall. Get back onto the raft and paddle up to it so you can jump in (don't worry about the crocs).
Inside go to the left and pull another lever, this'll pop a block out of the wall that you can use to jump up to the Artefact Piece above.
As you approach the temple door watch out for the hexagons on the floor as a spear will pop out of them if you get too close. Luckily once it's popped up you can either pick it up to use it against the spiders or just smash the spear and all will be safe. Have both characters jump onto the short vines in front of the door to open it. In single-player the computer will move the second character to do it automatically when you do.
33080
Going the right is a no-go at the moment as the way is blocked by a lot of spears. Instead go up the ladder to the left of the entrance and stand on the wooden square. It's glowing so use Indy's whip to swing over to a set of three buttons.
The problem here is that you can only stand on one at a time but you need two down at a time to let Satipo through the spears below. So pick up the crate and place it on the middle button to lower the middle spears. Then stand on the left button, wait for Satipo to cross to the middle, and then stand on the right button and Satipo will finish crossing and disable the spears.
Jump down and just past where Satipo disabled the spears is another wooden square with a glow on it, this time it's to pull with the whip rather than swing. Build a ladder out of the LEGO that pops out.
Artefact Piece 5/10
Requires: None Story Mode: Yes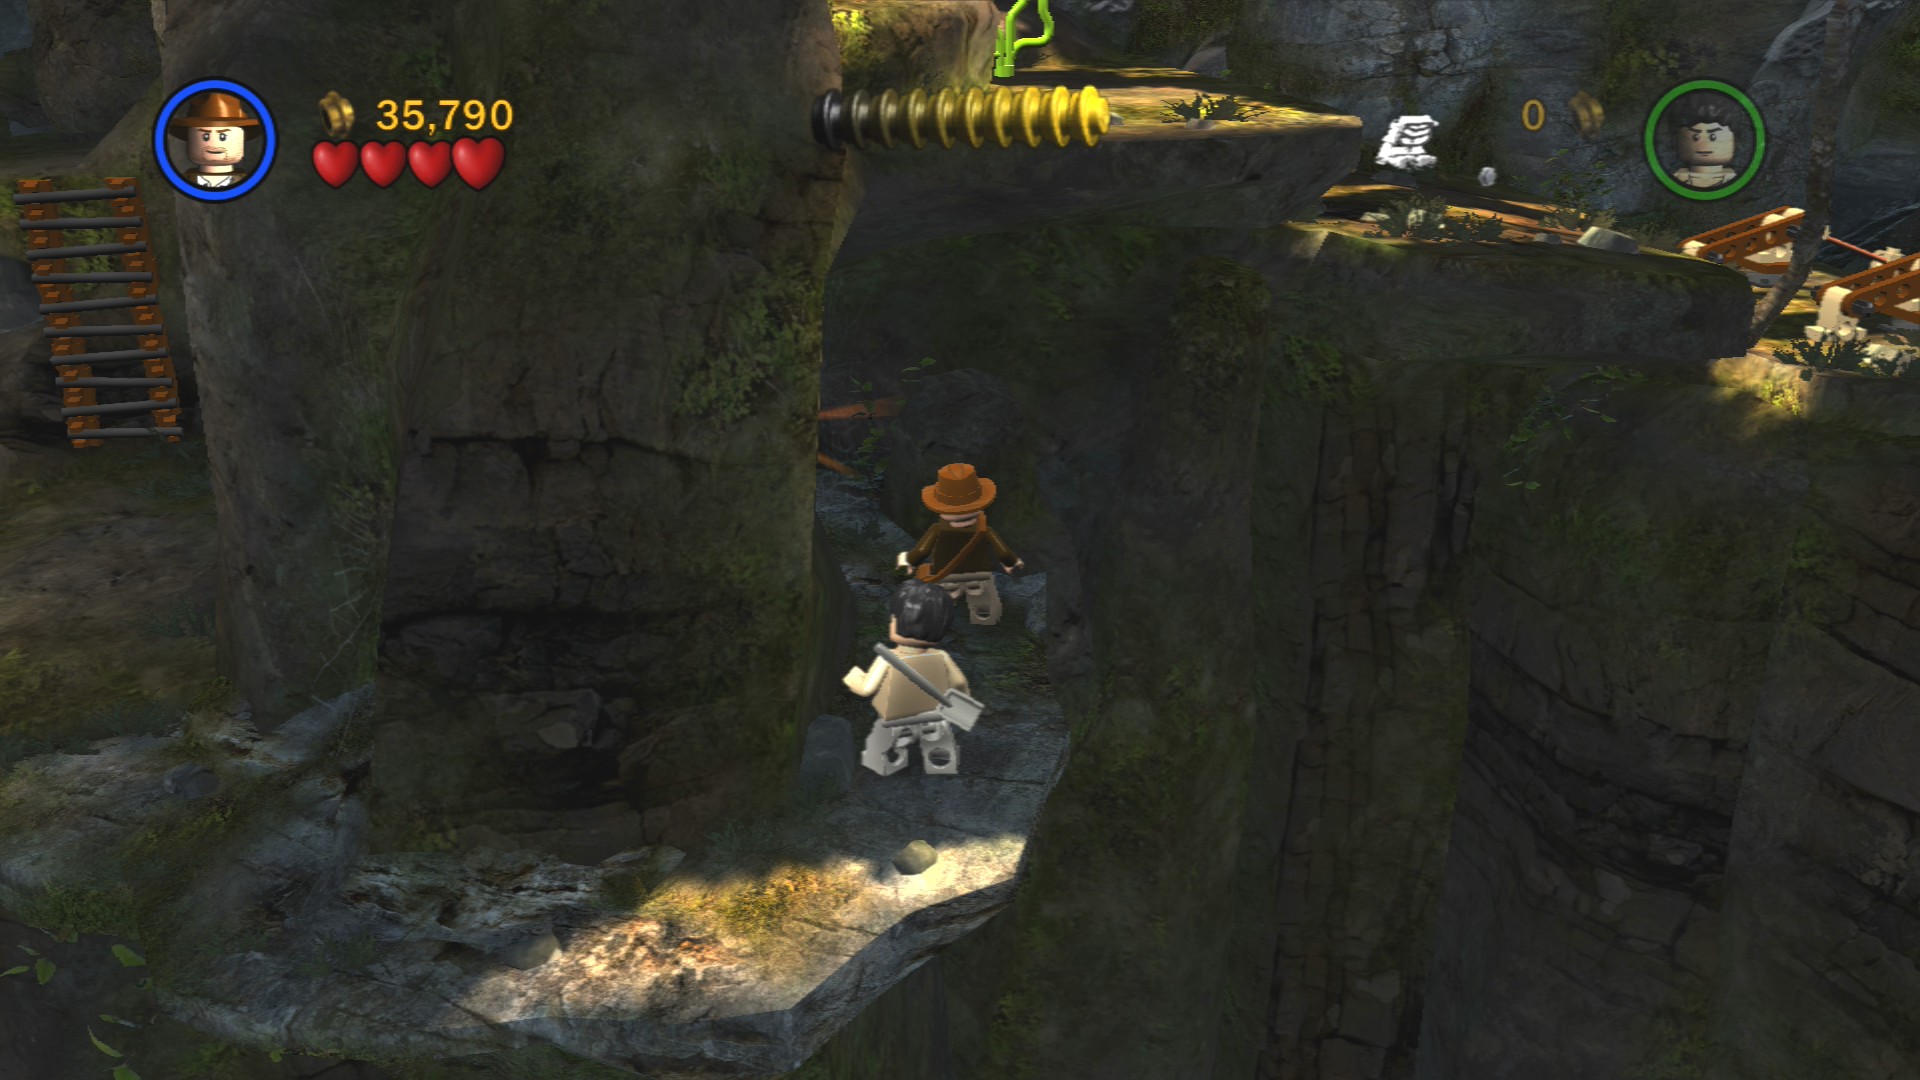
Instead of going up the ladder stay down here and walk on the thin ledge to go around the corner, the Artefact Piece is hiding just behind the rock pillar.
Climb the ladder and jump up onto the vine. Swing to the right and make your way down the stepped platforms to a wooden bridge. Be careful when you cross as bits will start to fall out.
Time for another little puzzle, try to only jump on the darker hexagons as all the others will cause the skulls on the wall to fire darts. After jumping on the four darker hexagons the door will open but the other hexagons will still be active so try not to land on them as you go through.
Pass by a few spear hexagons and a spider to go through to the next area.
Your task is to find a key, easy to do just jump onto the vine to the left and they key will fall out of the trapdoor. Keep rotating the key until the floor stops moving and you can get over to the golden idol in the middle of the room.
Artefact Piece 6/10
Requires: Explosives Story Mode: No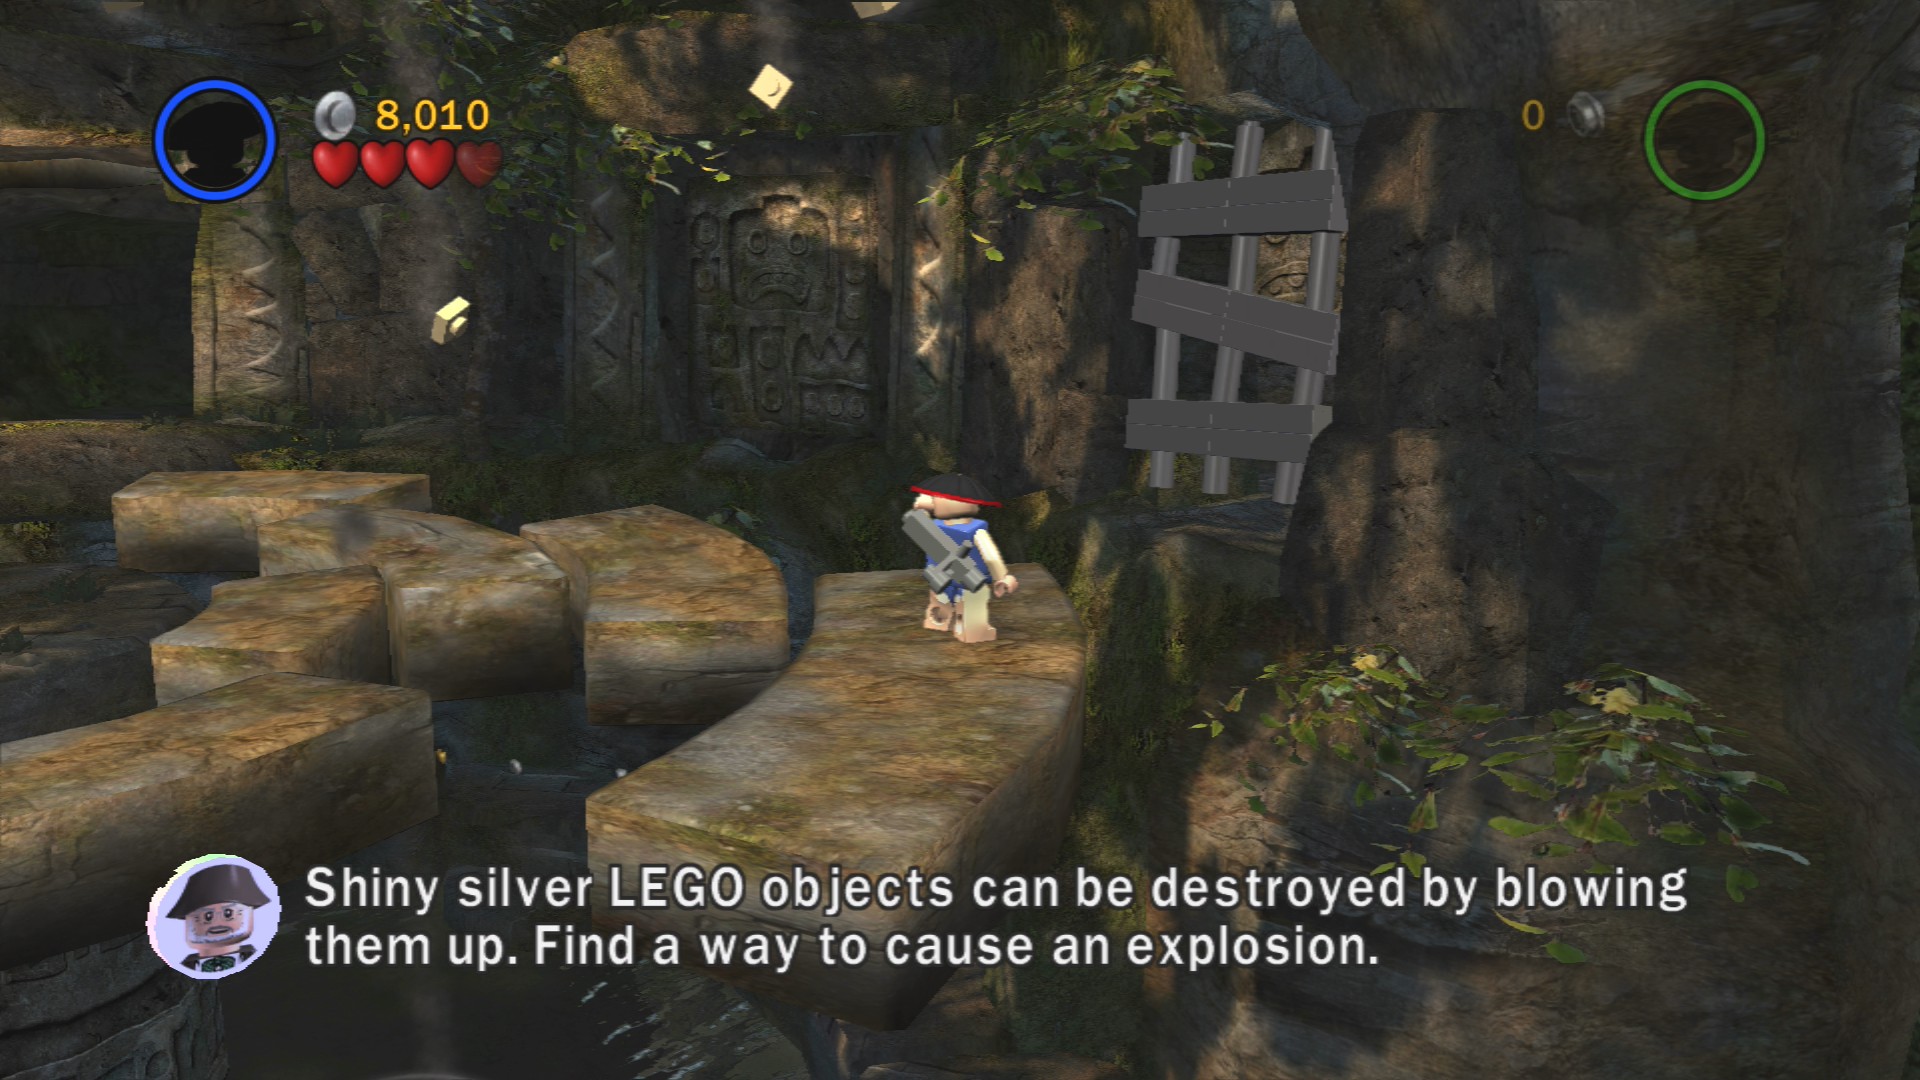
The first Artefact Piece that you can't get in Story Mode, instead you'll have to come back in Free Play and use a character that has a Bazooka to blow up the Silver LEGO wall on the right side of the idol room.
Inside the room you'll find the Artefact Piece as well as a barrel containing a familiar looking character, C-3PO, the first of five Star Wars characters you can find throughout the entire game.
Time to escape the temple! Jump over the rotating platforms and go through the exit at the back of the room.
Jump to the right to grab onto the vine and immediately jump to the other side. If you go up the rope to get the studs you can slide back down and start to swing it back and forth a little to get enough momentum to make the jump to the other side safely.
Red Parcel - Fast Fix
Requires: Thugee, Explosives Story Mode: No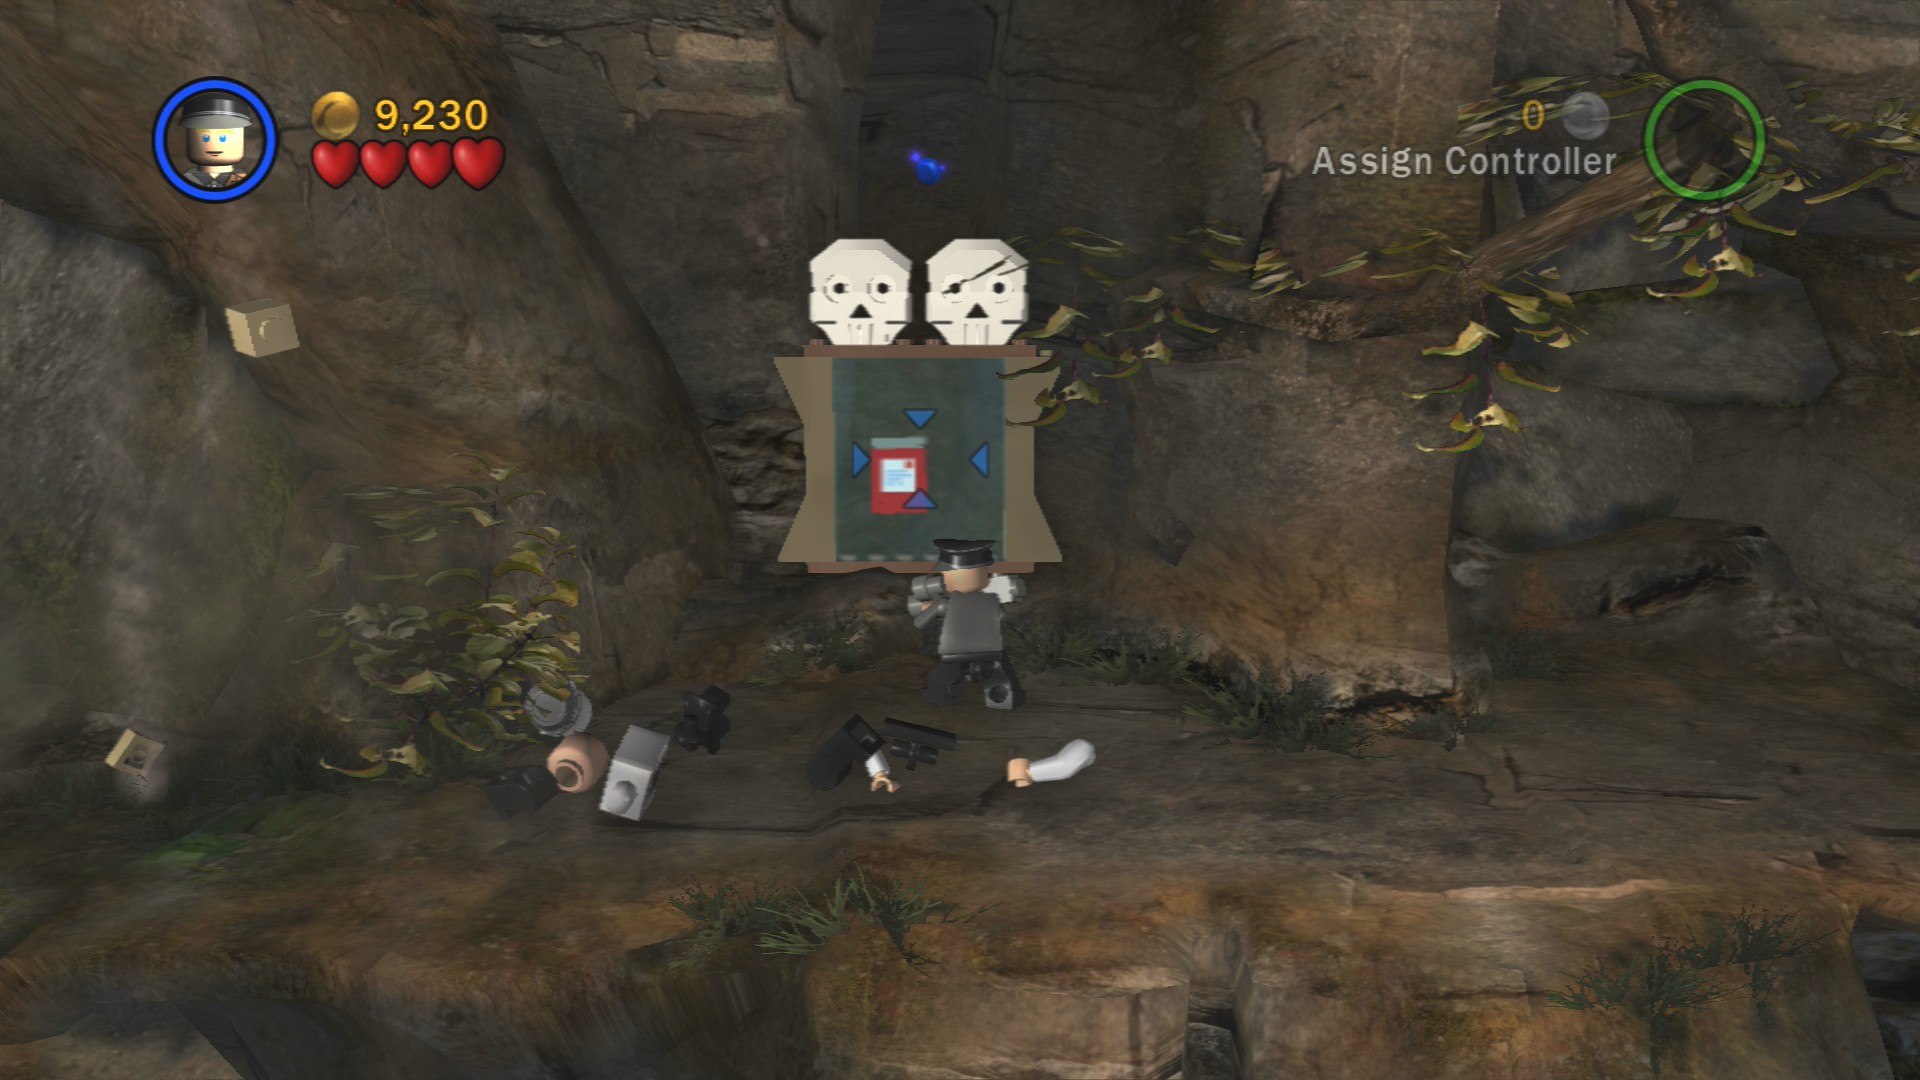
At the bottom of the slope is a black statue with six arms, a "Thugee" character can interact with these statues and get them to perform an action. In this particular case it'll retract some spikes on the ground below.
Jump down to that now safe floor and walk to the left. You'll pass by a red Mailbox and then see the Parcel behind a screen with two skulls on top of it. Use a Bazooka character to blow up the screen and pick up the Parcel. Carefully carry it back to the Mailbox you passed by, wait in the alcoves for the statue heads to pass each time.
Artefact Piece 7/10
Requires: Thugee, Book Story Mode: No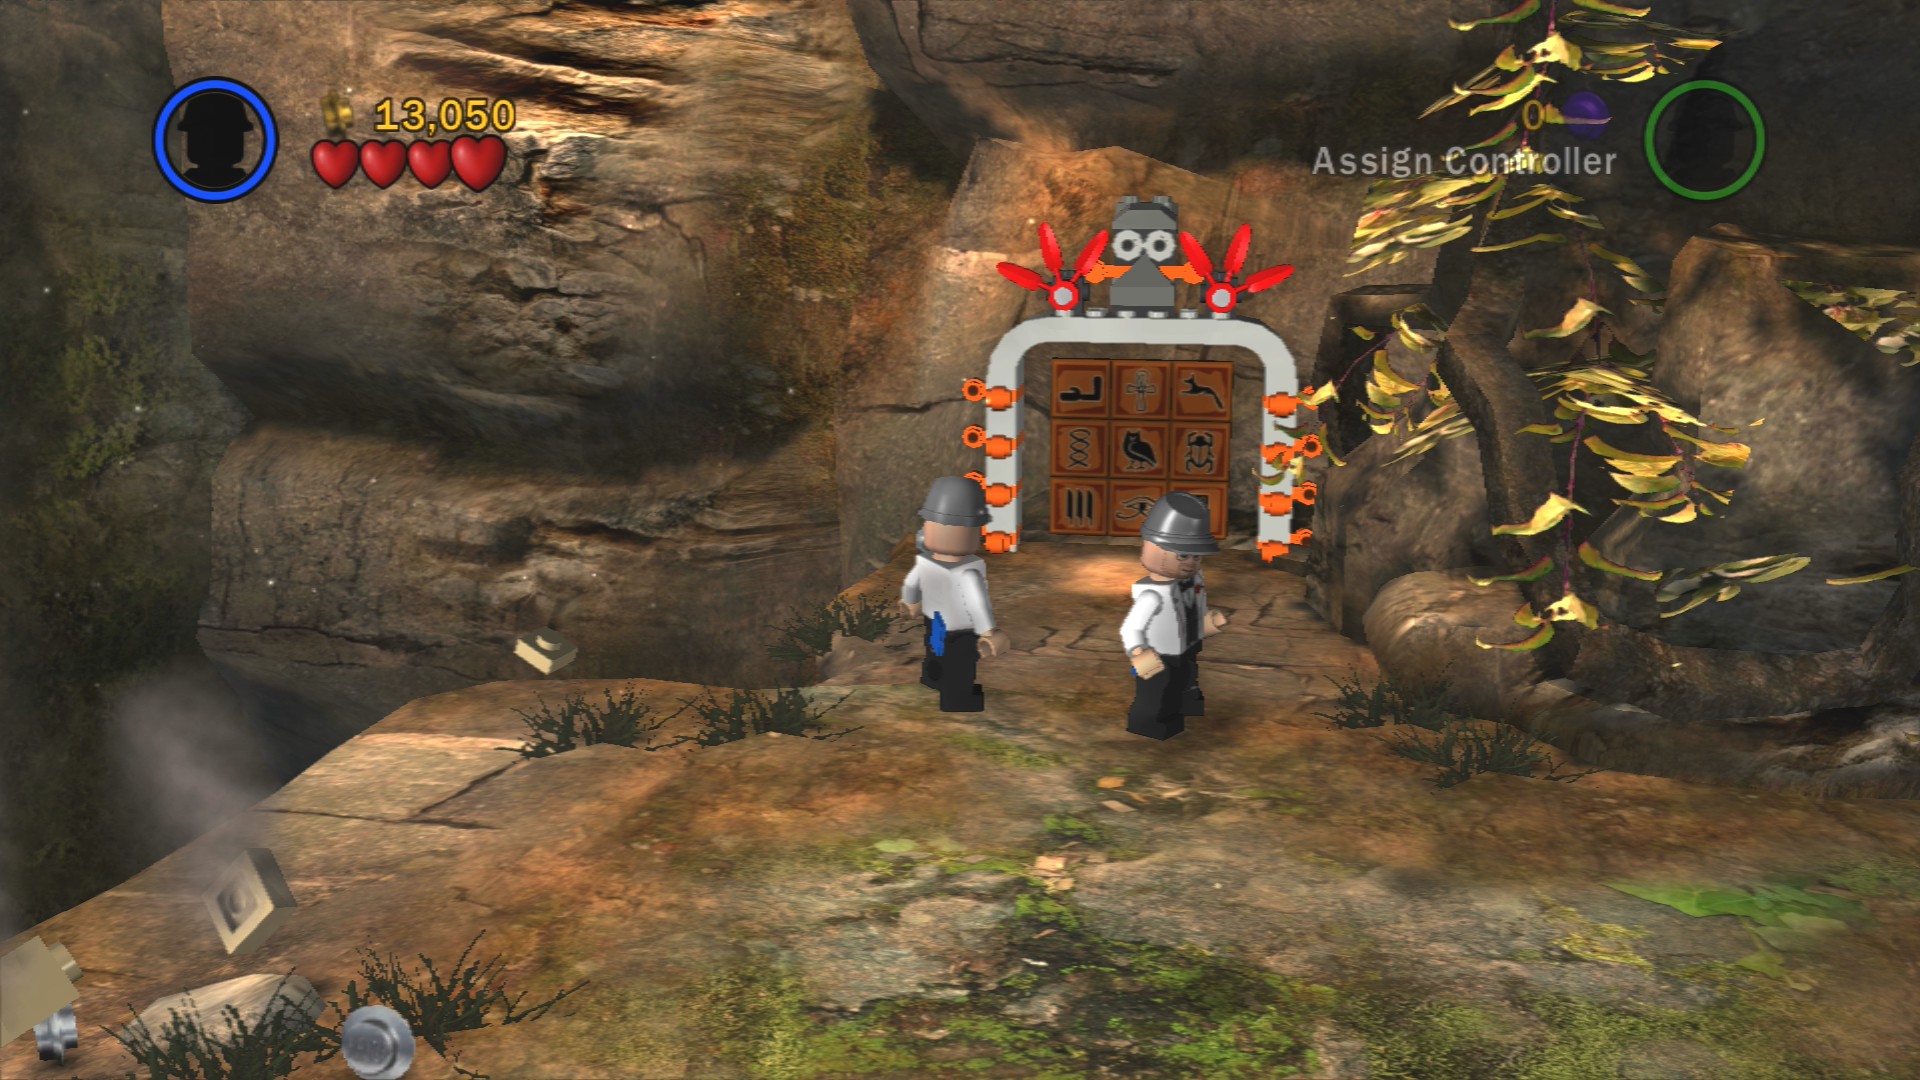
At the end of the path down here you'll find some hieroglyphics that a character holding a book can activate. Watch the squares carefully as four of them will light up in sequence, repeat the pattern of hieroglyphics and a bridge will extend to allow a rolling statue to smash open the wooden door.
Go through the opened door to find the Artefact Piece.
At the bottom of the slope wait a moment until a rolling statue head falls down the gap past the vine. Then jump and use that vine to get across to where there's a pair of vines for both characters to hang onto. Wait for another statue head to fall and if you've got the flap up it'll instead bounce into the wooden door that's blocking the way.
Time to run! You won't actually lose any studs for getting hit by the boulder so it's perfectly safe to take your time smashing each plant and statue along the path. But the idea is certainly to keep running and jumping over the gaps to stay alive.
Artefact Piece 8/10
Requires: None Story Mode: Yes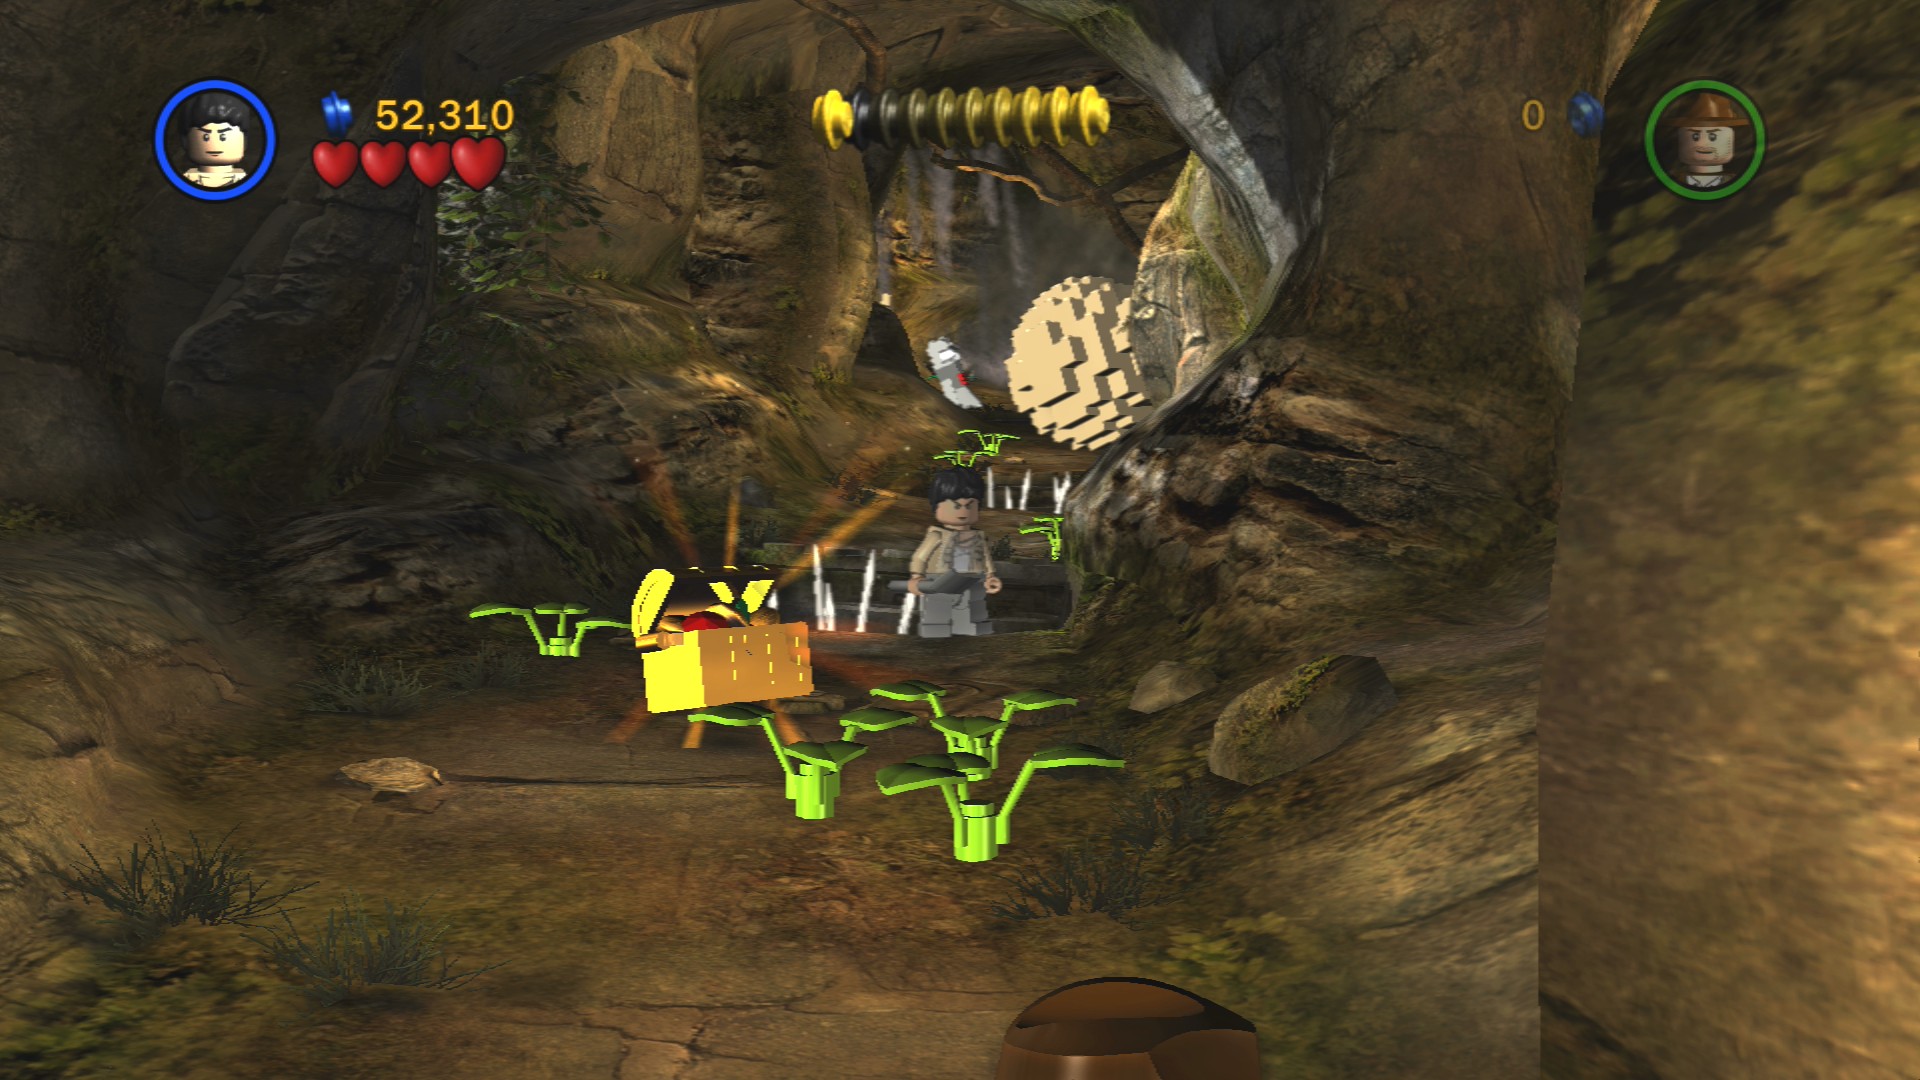
In the middle of the path while running from the boulder.
Now that we've left the temple the second character has changed and is now Jock, a mechanic. In this area you'll have to fend off the tribesmen while trying to get back to your plane.
Artefact Piece 9/10
Requires: Ranged Story Mode: Yes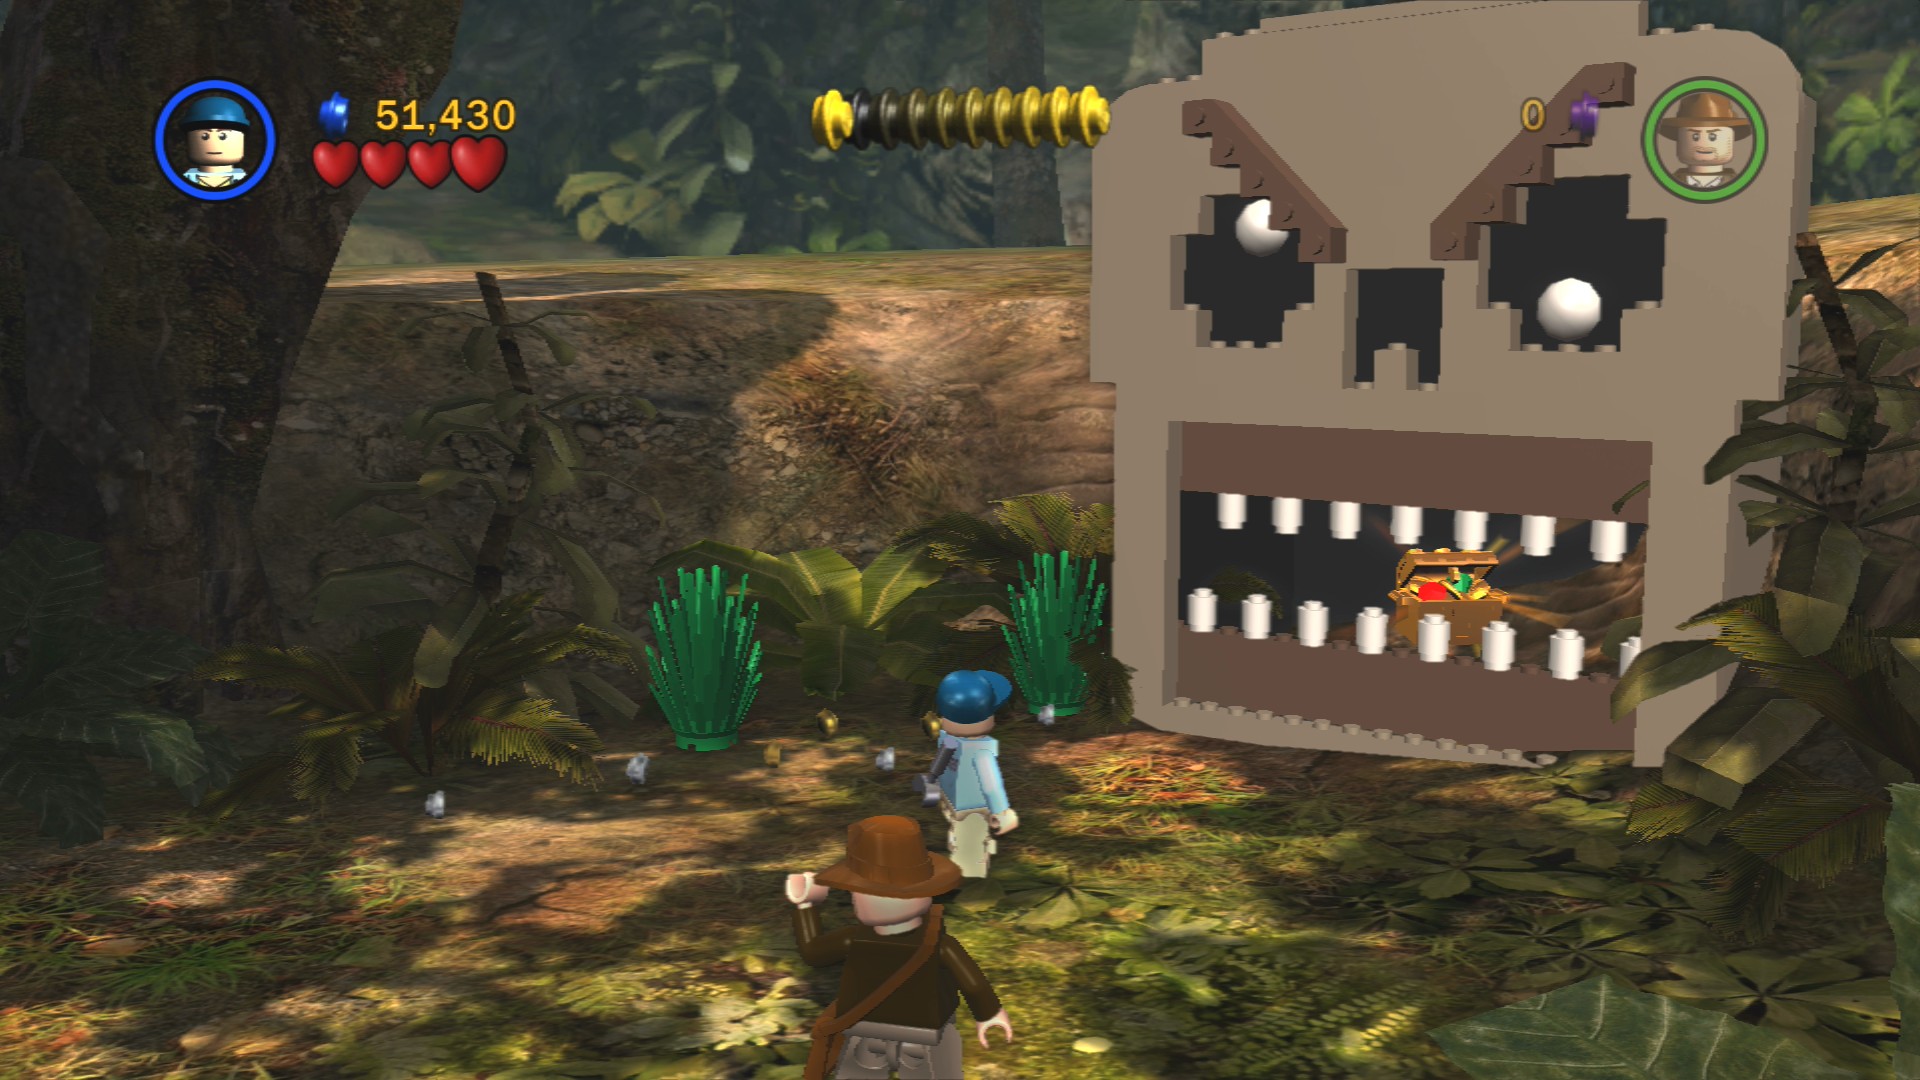
Go to the right at the start of the area and you'll find a large skull with this Artefact Piece in its mouth. To open the mouth you must pick up the spears that the tribesmen are dropping and throw them at the eyes of the skull.
Artefact Piece 10/10
Requires: Ranged Story Mode: Yes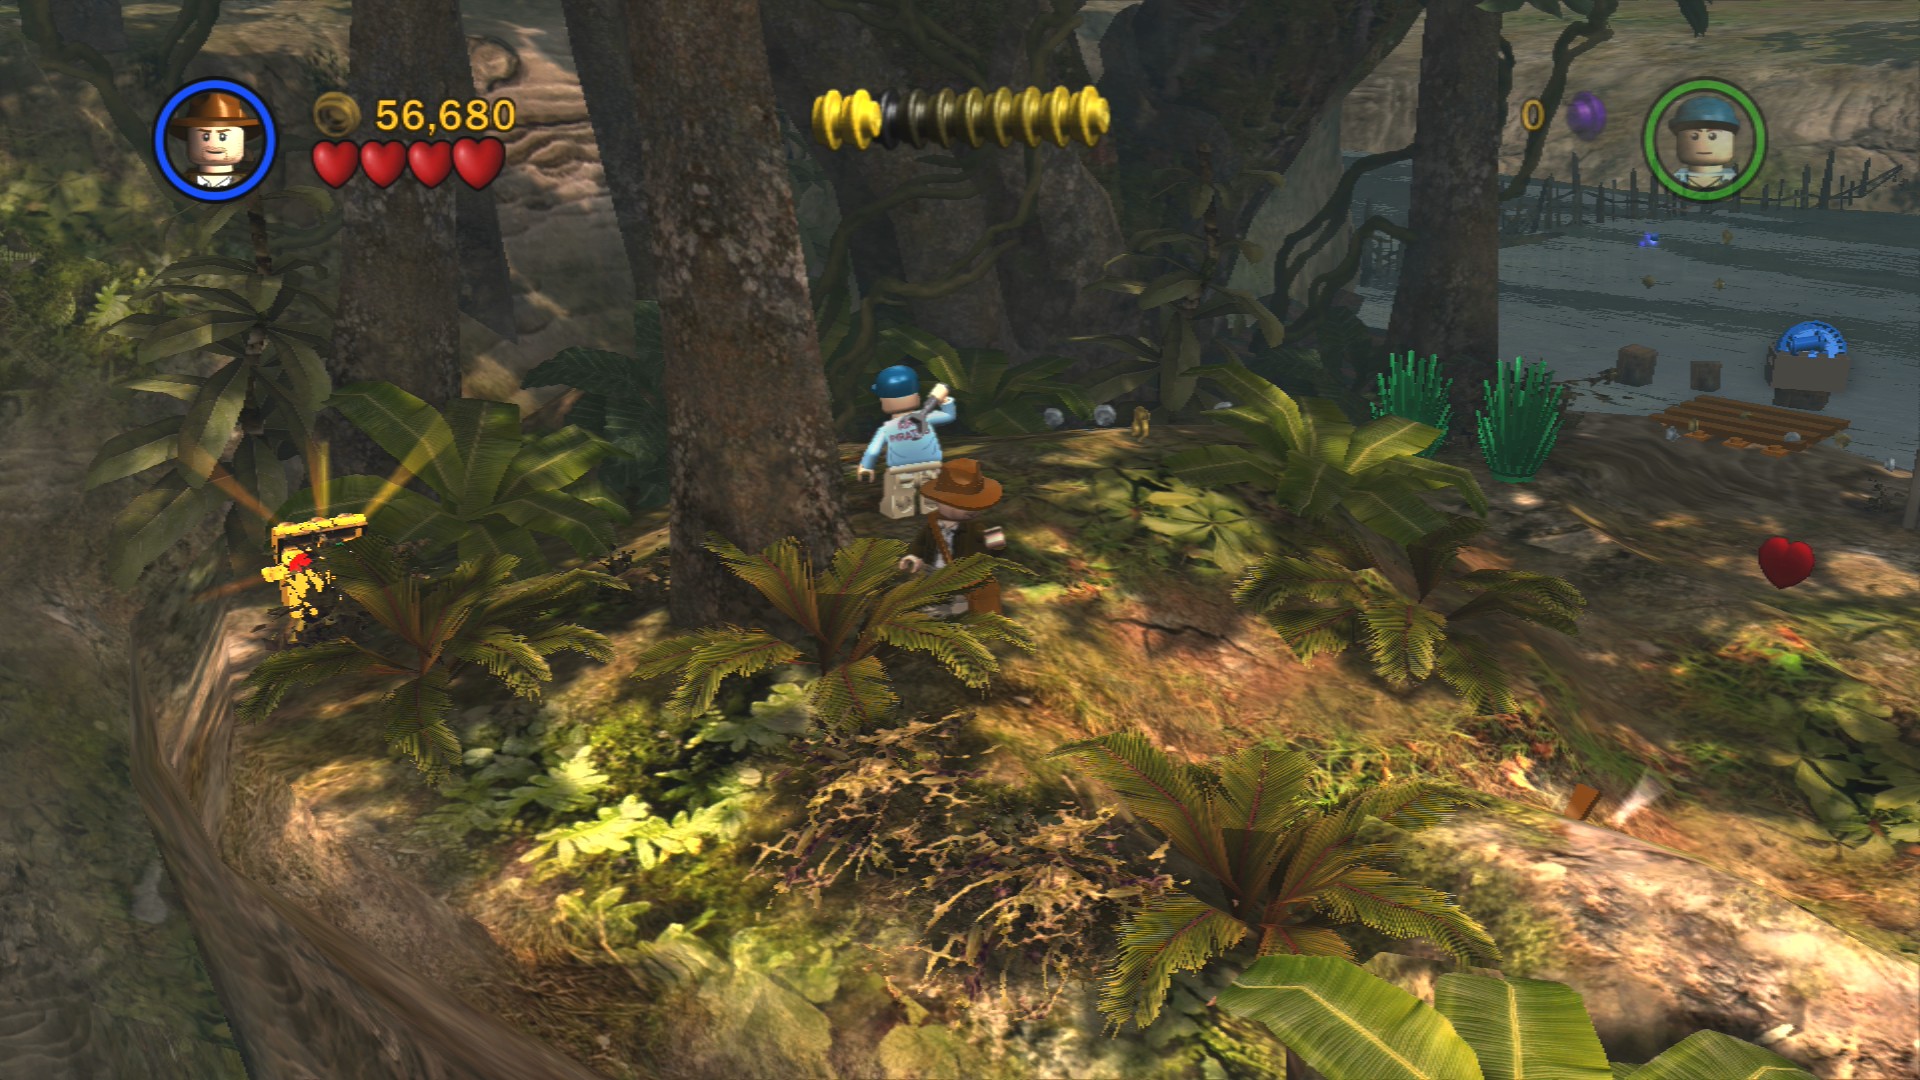
In the bushes at the far left end of the area, near where the tribesmen are coming out of the jungle just past the plane.
In the area to the left you'll find your seaplane, in front of it is a set of blue glowing LEGO to build once you've placed both crates down (the one in the water requiring Indy's whip to reach it). Once the propellor is assembled you'll need to jump on top of the plane and use Jock to fix it, wait until after you've defeated a wave of enemies before you start. Once complete that's the level all done so make sure to have finished everything in the area first.
| Cost | Character | |
|---|---|---|
| - | Indiana Jones | |
| - | Satipo | |
| - | Jock | |
| 18,000 | Hovitos Tribesman | |
| 18,000 | Barranca | |
| 50,000 | Belloq (Jungle) | |
| 18,000 | Jungle Guide |
At this point you can either continue straight on with the story or take a trip to Barnett College and have a look around. You can then either continue straight on with the Raiders of the Lost Ark levels or you can start the Temple of Doom or Last Crusade instead. It's up to you. But the walkthrough will follow the movies linearly.
Chapter 2: Into the Mountains
| Story Mode | Free Play |
|---|---|
| 35,000 | 55,000 |
Artefact Piece 1/10
Requires: None Story Mode: Yes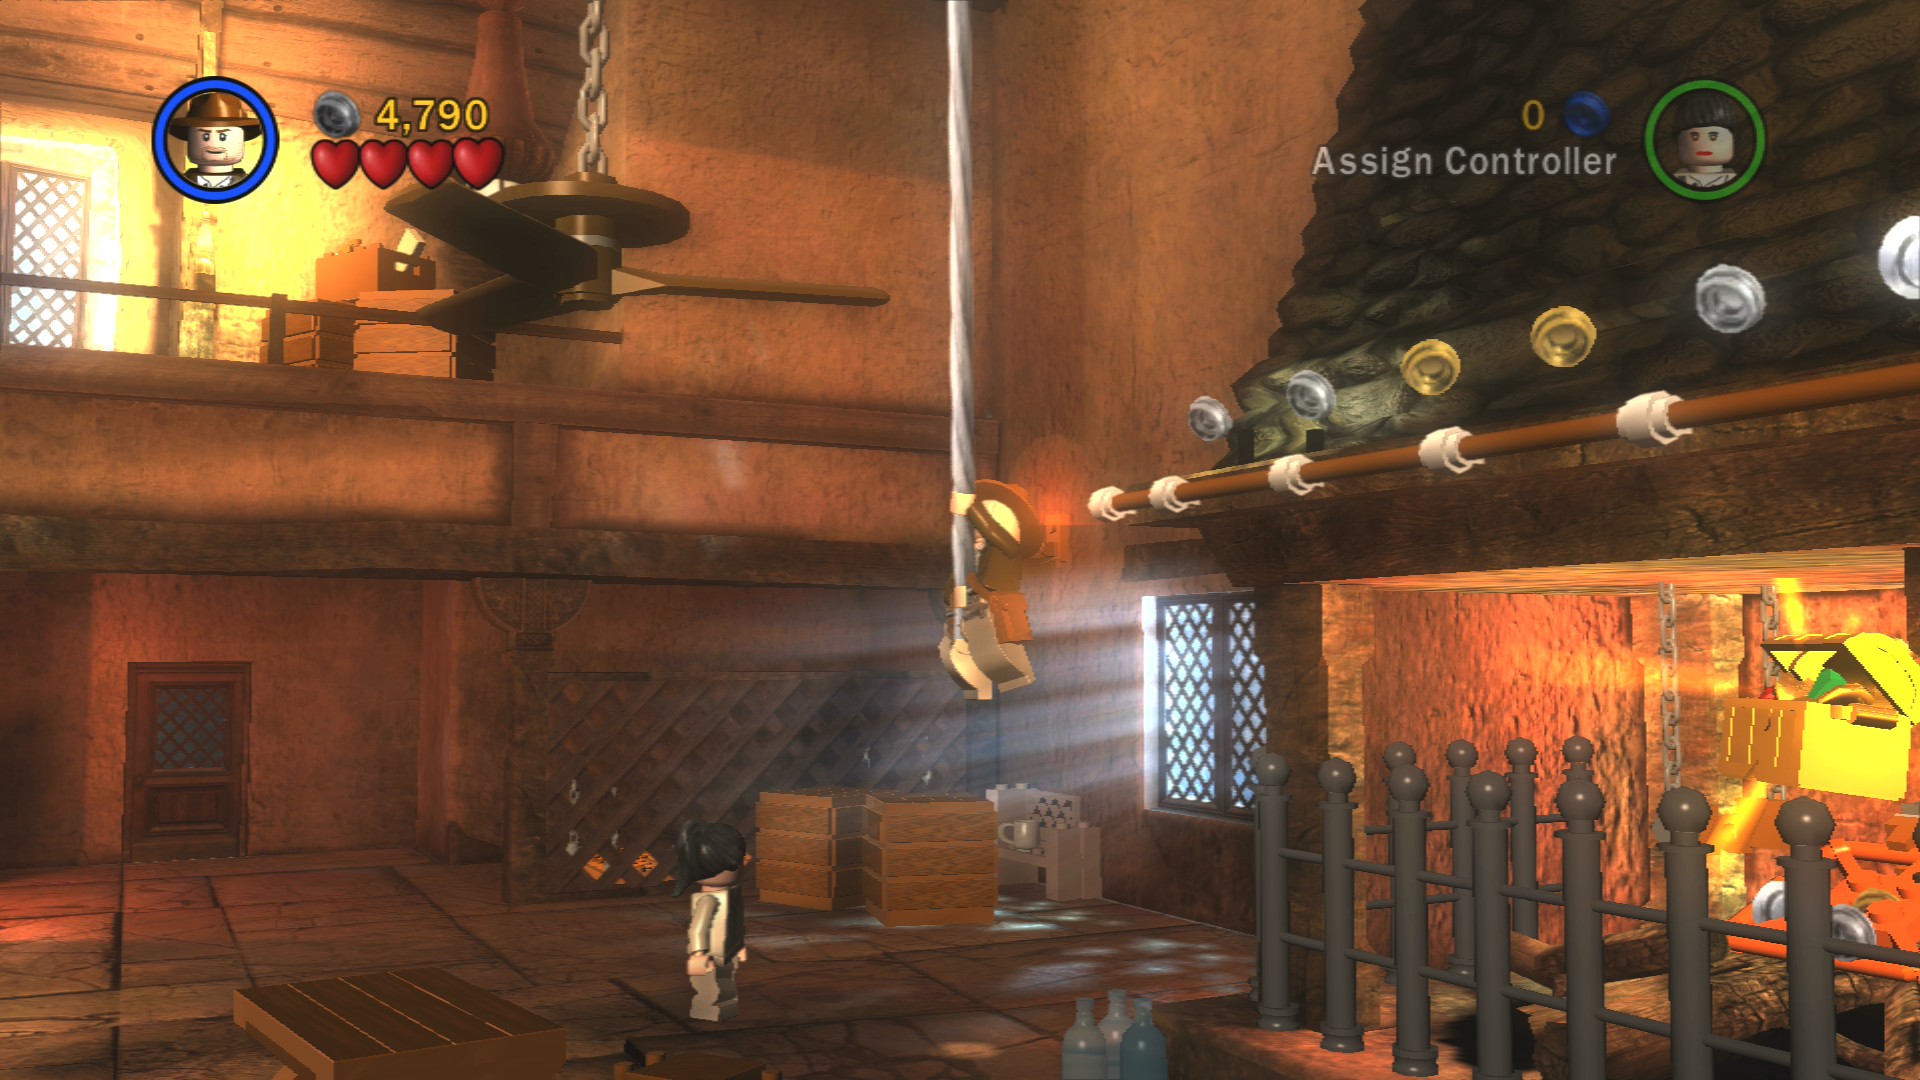
Over to the right is a fireplace with two ropes hanging down on either side, jump on each to reveal the Artefact Piece and lower the grate so you can reach it.
Switch to Marion and use her higher jump to reach the ladder in the back left corner of the room. This will dislodge a key.
Artefact Piece 2/10
Requires: High Jump Story Mode: Yes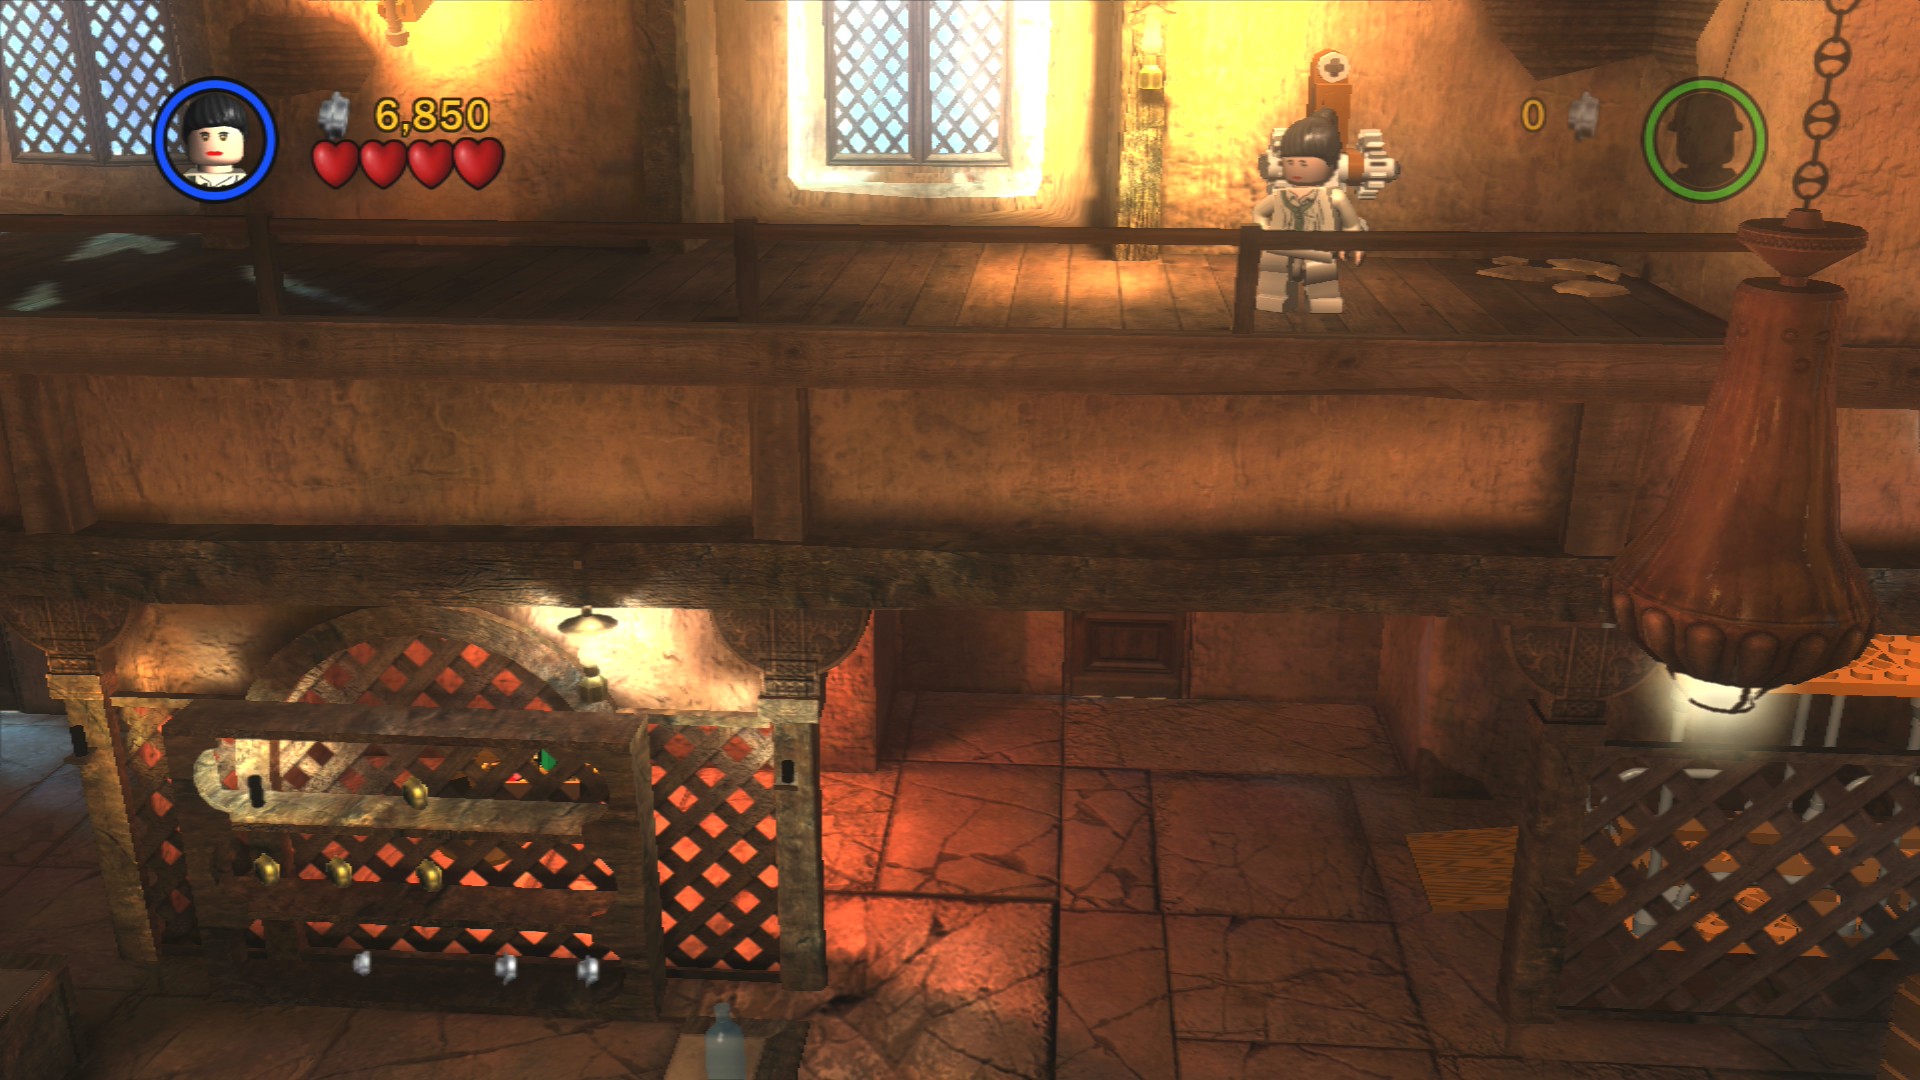
Climb up the ladder and at the far end you'll find some crates to smash. Build the lever to pull, that'll cause some barrels to smash open the area behind the bar where you can grab the Artefact Piece.
You can then use the key to open the door on the left side of the room. Boss fight!
Major Toht will dash back into the doors behind him if you get too close so the idea here is to instead throw bottles at him. Grab one from the bar and when the blue target has selected him throw it. After each heart he'll run through the doors anyway and pop back out on the other side of the bar. On his last heart he'll actually try to fight you so just run up to him and punch him.
After that the bar gets set on fire and a bad guy in orange with a gun will stand on it shooting at you. This means no bottles there to throw at him (although there are some placed around the room) so instead pick up a chair and chuck it. After three hearts he'll jump down so you can finish him off and Major Toht will reappear with three new hearts.
This time Major Toht will be shooting at you so be careful when you throw the chairs or bottles at him. After two hearts he'll stop running off and you can just punch him. That'll finish off the section inside the bar.
In this outside area a group of four enemies will periodically reappear so you'll have to fight them every thirty seconds.
Artefact Piece 3/10 - Part 1
Requires: None Story Mode: Yes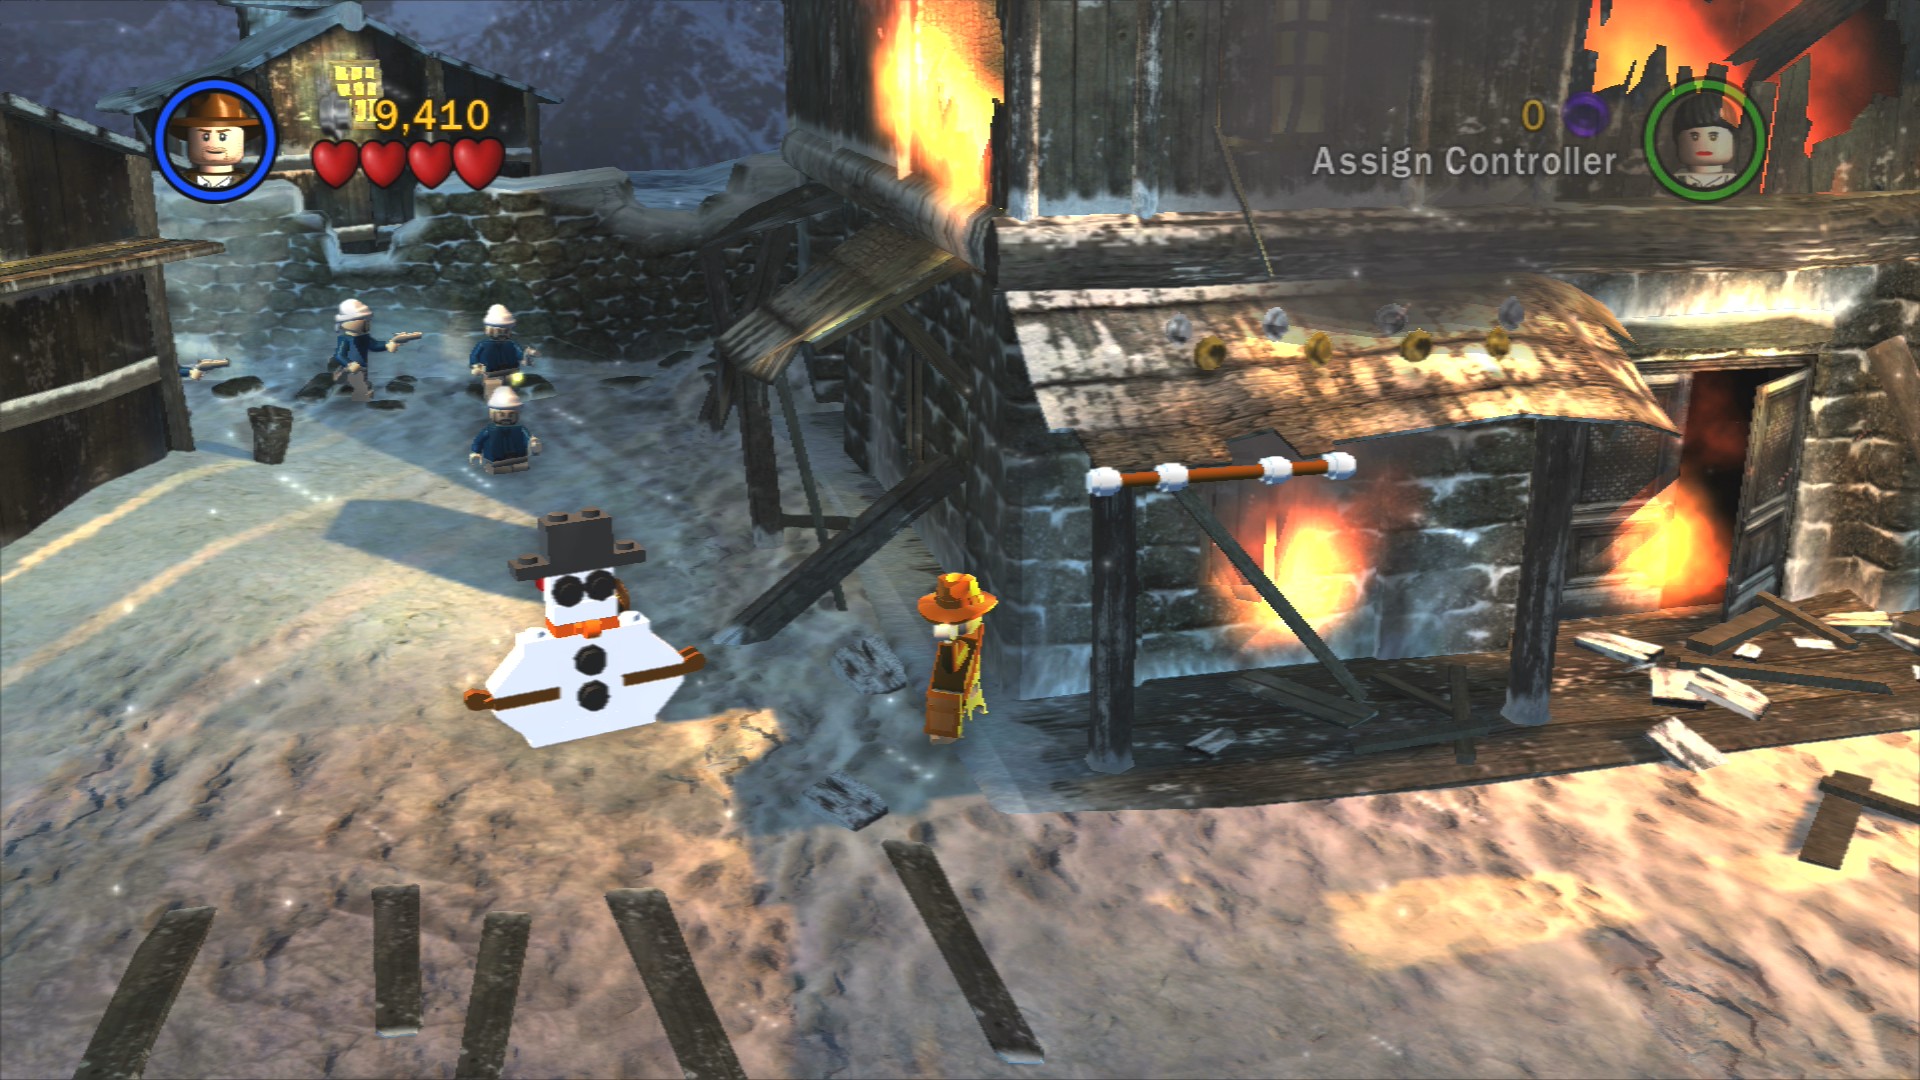
Just to the left of the bar is a pile of logs, smash them and then assemble the LEGO bricks to build a snowman. That's the first of three.
Red Parcel - Super Slap
Requires: Bad Guy, Whip Story Mode: No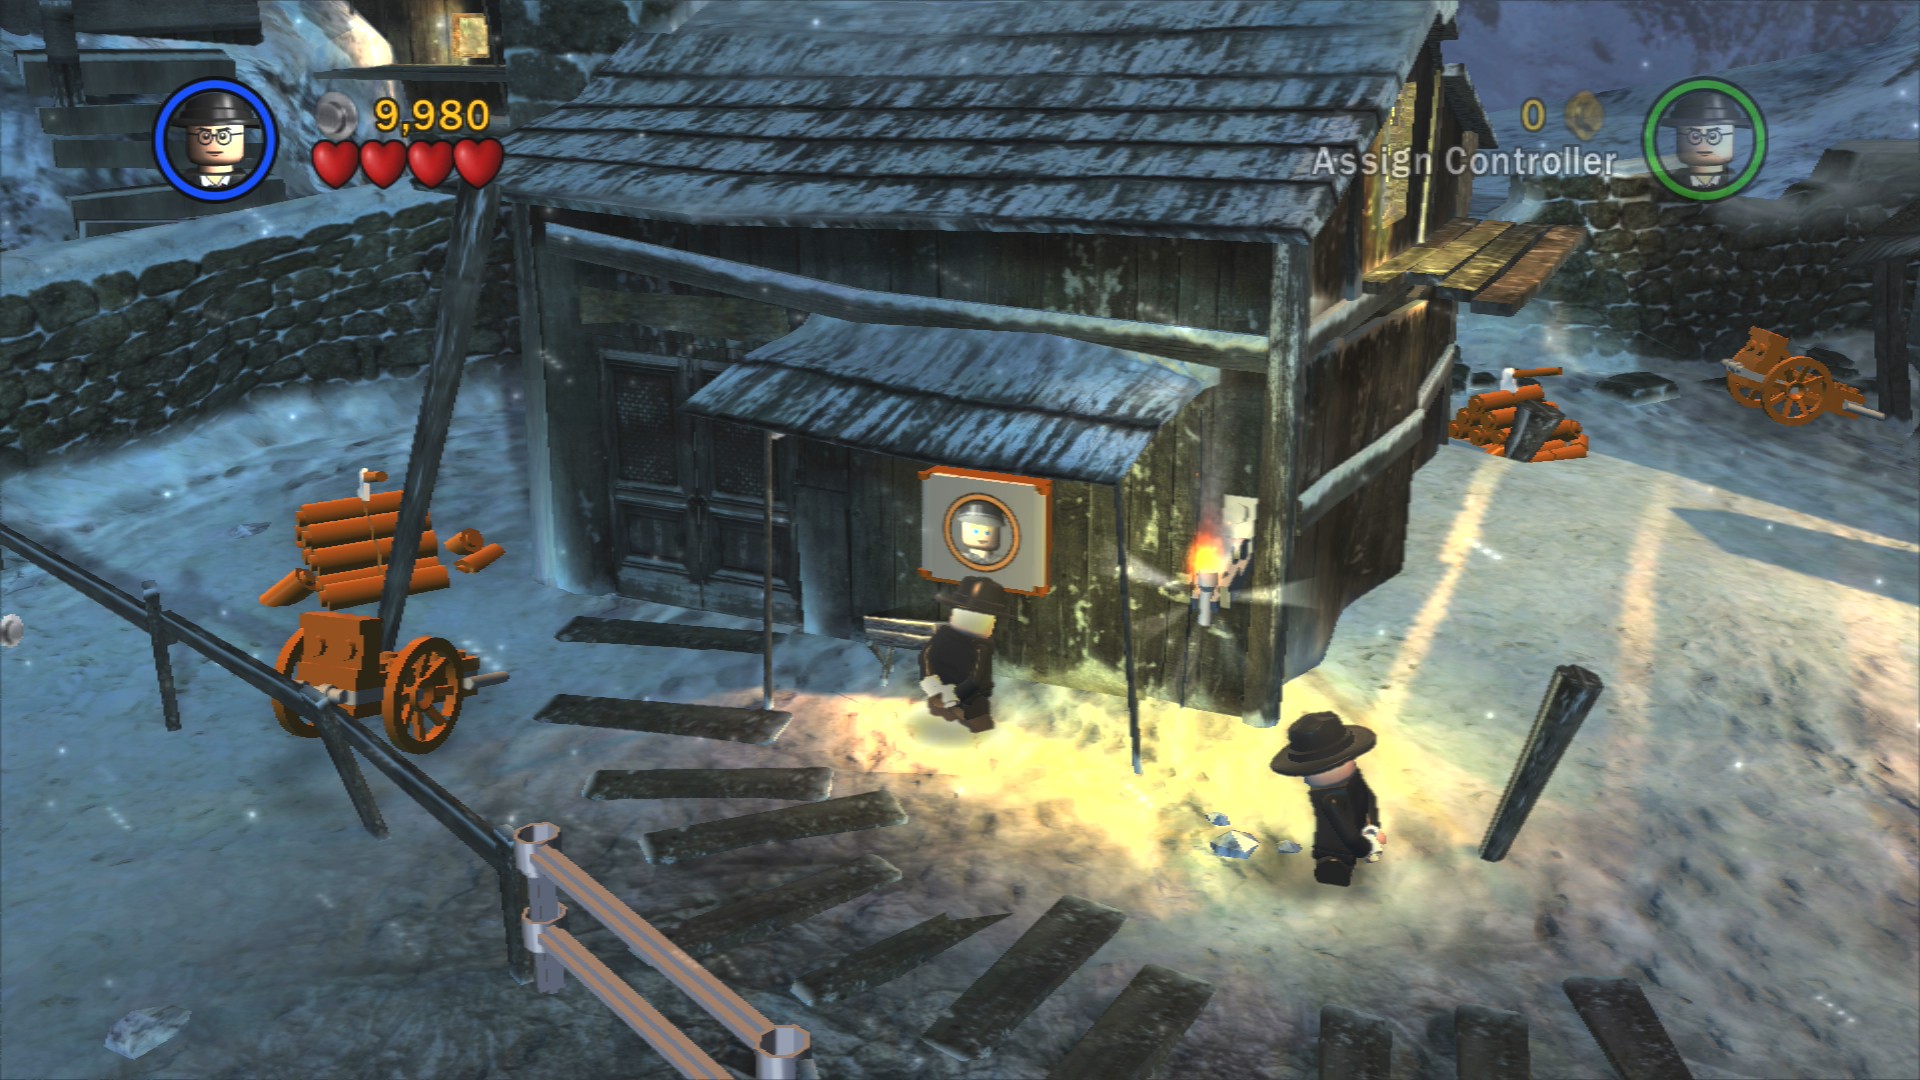
Approach the guard post while playing as a bad guy and the guard will let you in. Once inside climb up the ladder at the back and carry the crate down onto the green plate below. Assemble the bricks and then use your whip to grab the hook above (have to wait for the second character to jump onto the rope first).
Follow Santa outside and you'll find that he's dropped the Red Parcel on the path. Pick it up and carry it to the mailbox.
Artefact Piece 4/10
Requires: Dig Story Mode: No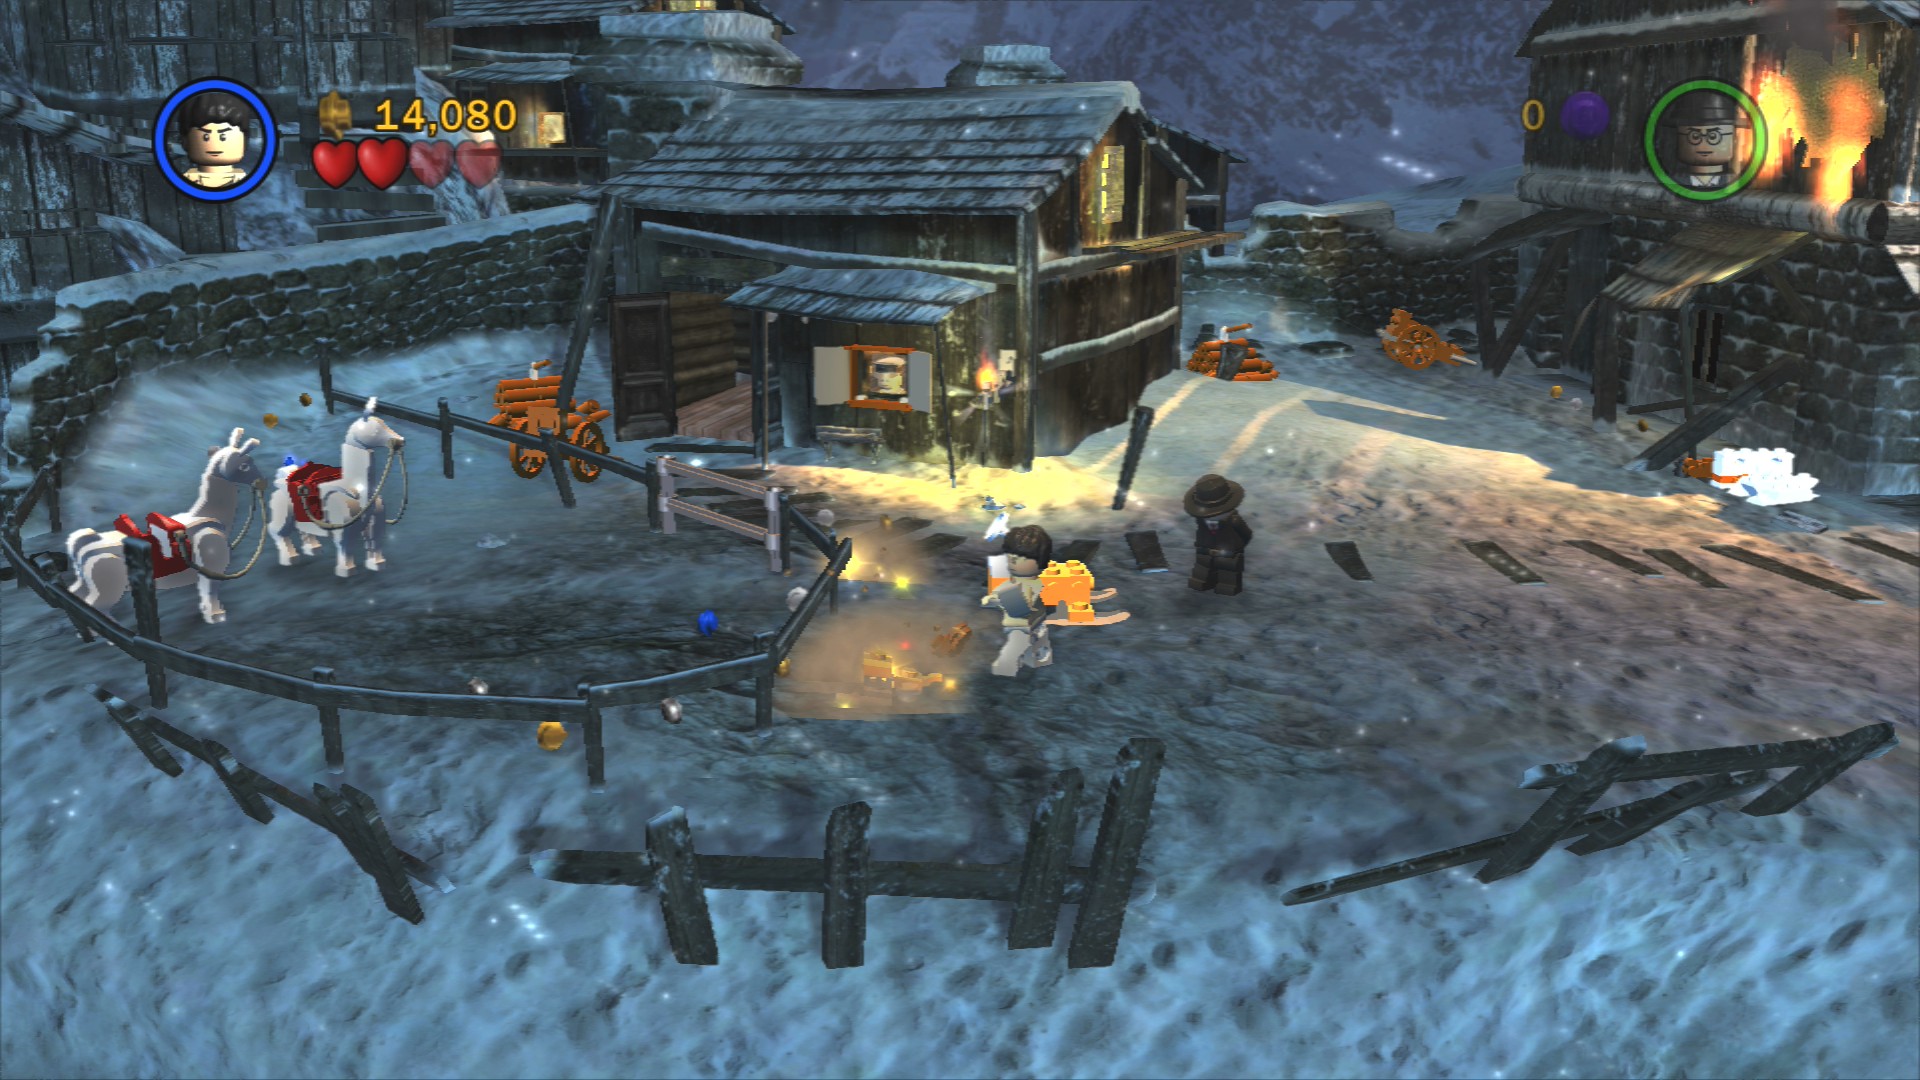
Next to the llama enclosure is some glowing LEGO buried in the ground. Dig it up and then the other four pieces that appear so that you can assemble a snowmobile. Ride it through the five gates to earn the Artefact Piece.
Artefact Piece 5/10
Requires: Explosives Story Mode: Yes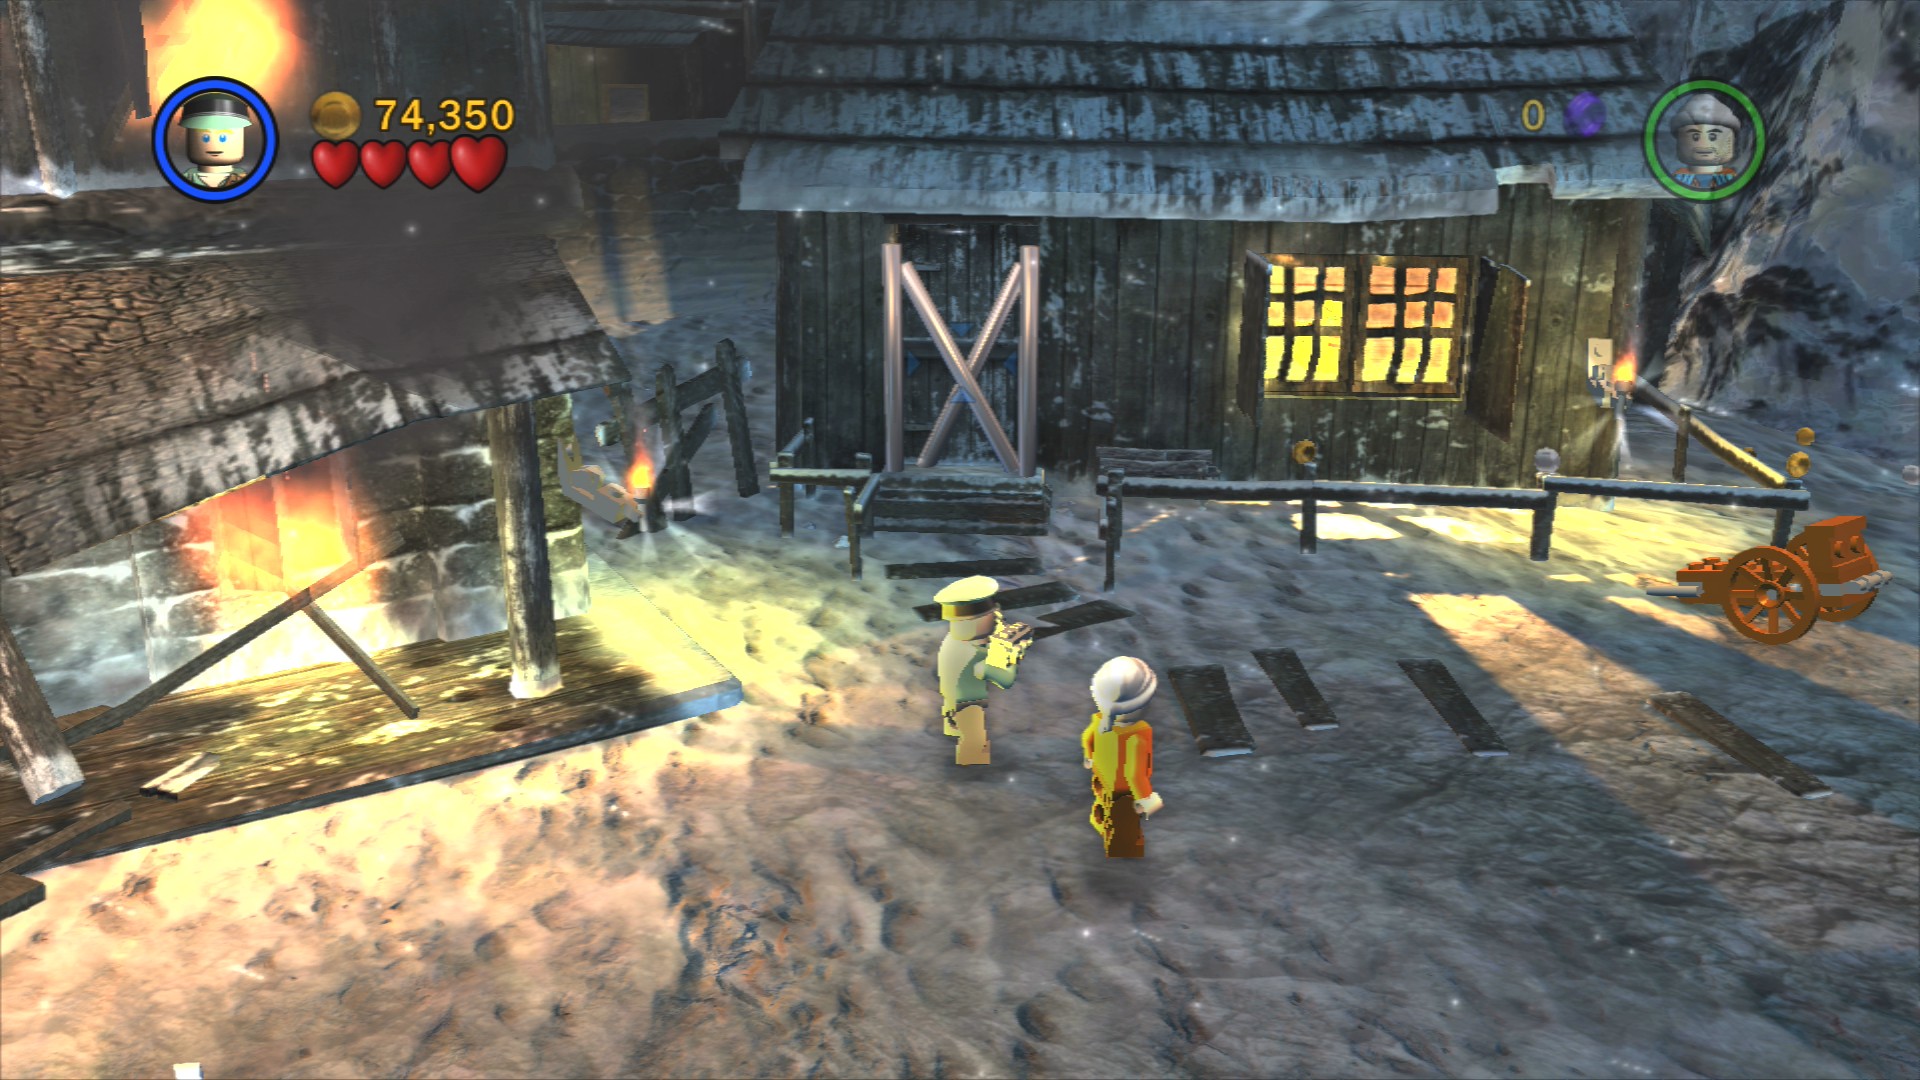
Use a bazooka character to blow up the Silver LEGO blocking the door of the house to the right of the burning bar. You'll find the Artefact Piece inside.
Go to the right to a cave opening with a large red stick of dynamite leaning up against it. Grab the flaming torch from the wall next to it and use it to light the dynamite. Run.
Artefact Piece 3/10 - Part 2/3
Requires: None Story Mode: Yes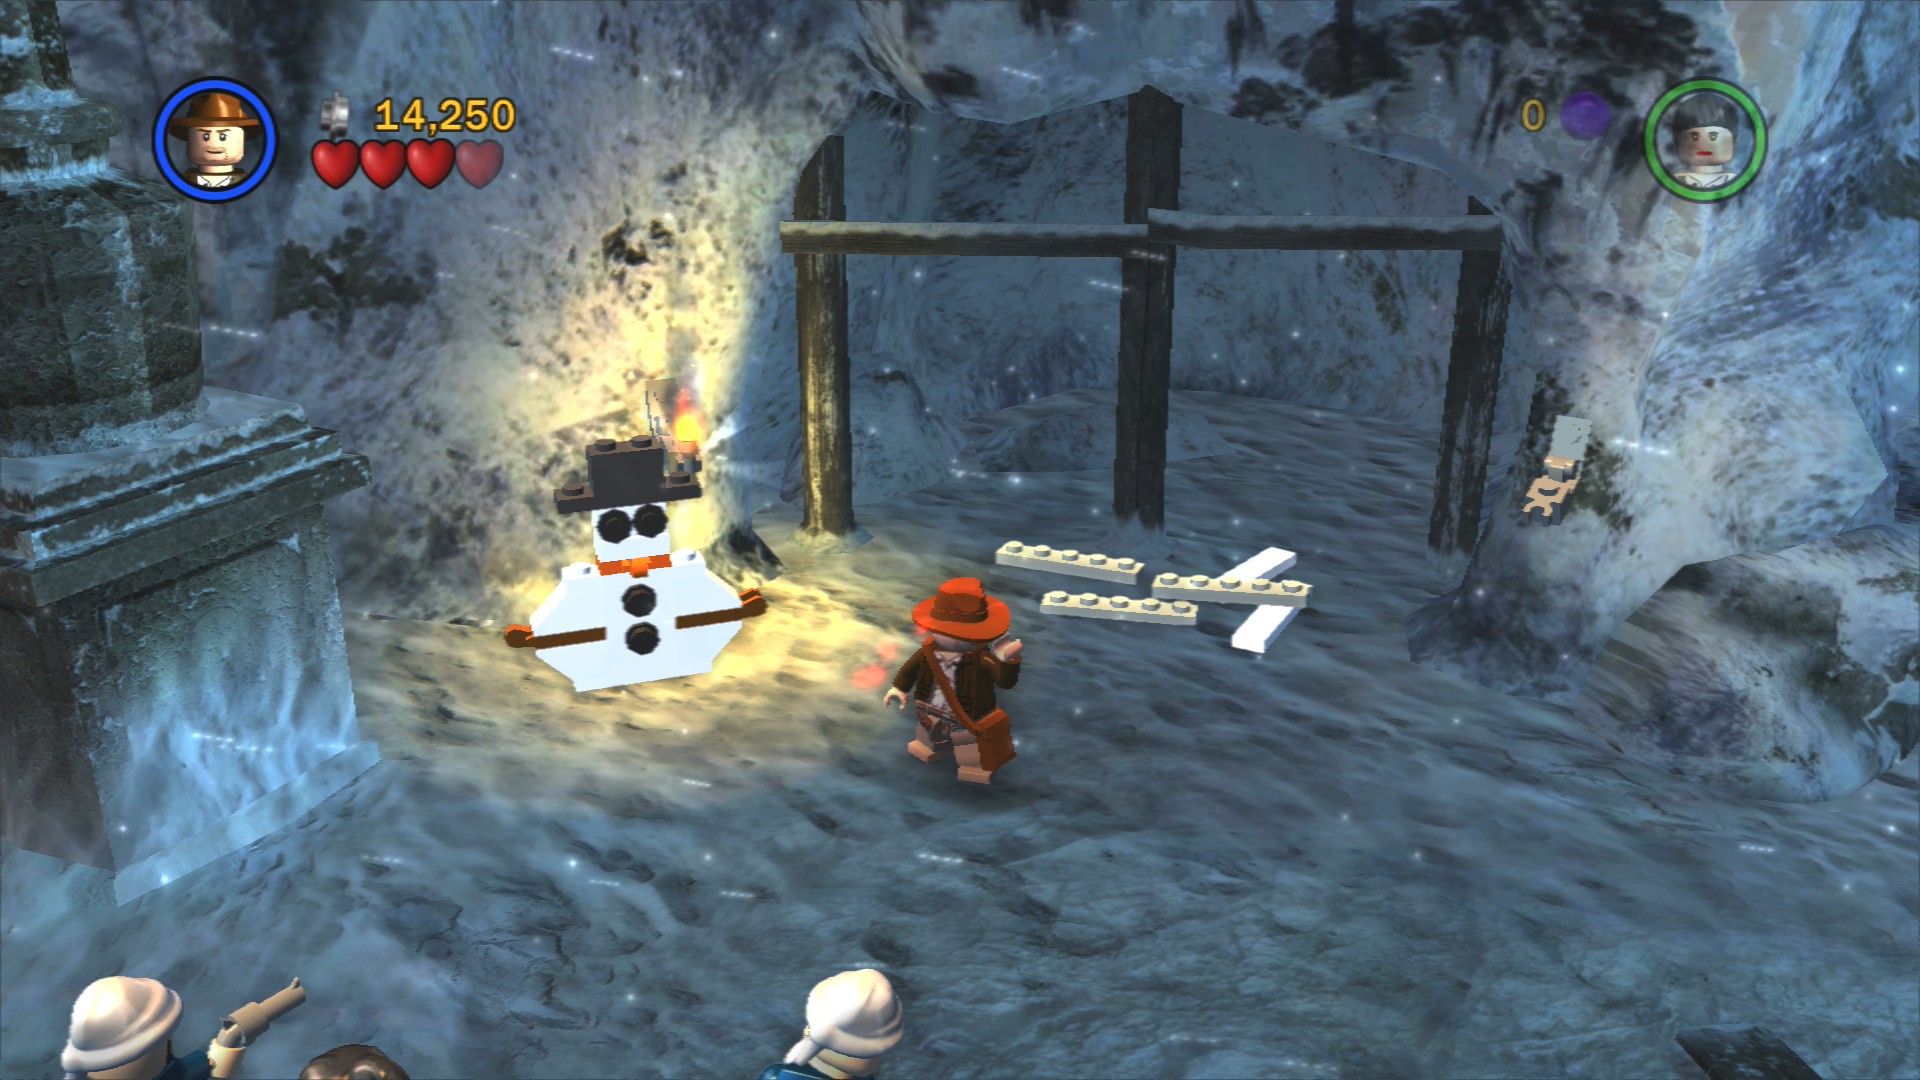
You can now build the second snowman from the bricks let loose by the dynamite.
Also from the blast you can assemble a small platform that you can then pick up and carry over to a green lift section to the right. Smash the crate to the left of the blue engine to find a spanner, pick it up and use it to fix the engine in order to get the lift rising when you step on it.
Use the lift to jump up to the pole above and shimmy along it to the right to get over the large gap. On the other side use Indy's whip to swing across the next gap to where there's another group of four badguys waiting. Once you've got rid of them assemble the bridge and push it across to let Marion over.
Artefact Piece 3/10 - Part 3/3
Requires: None Story Mode: Yes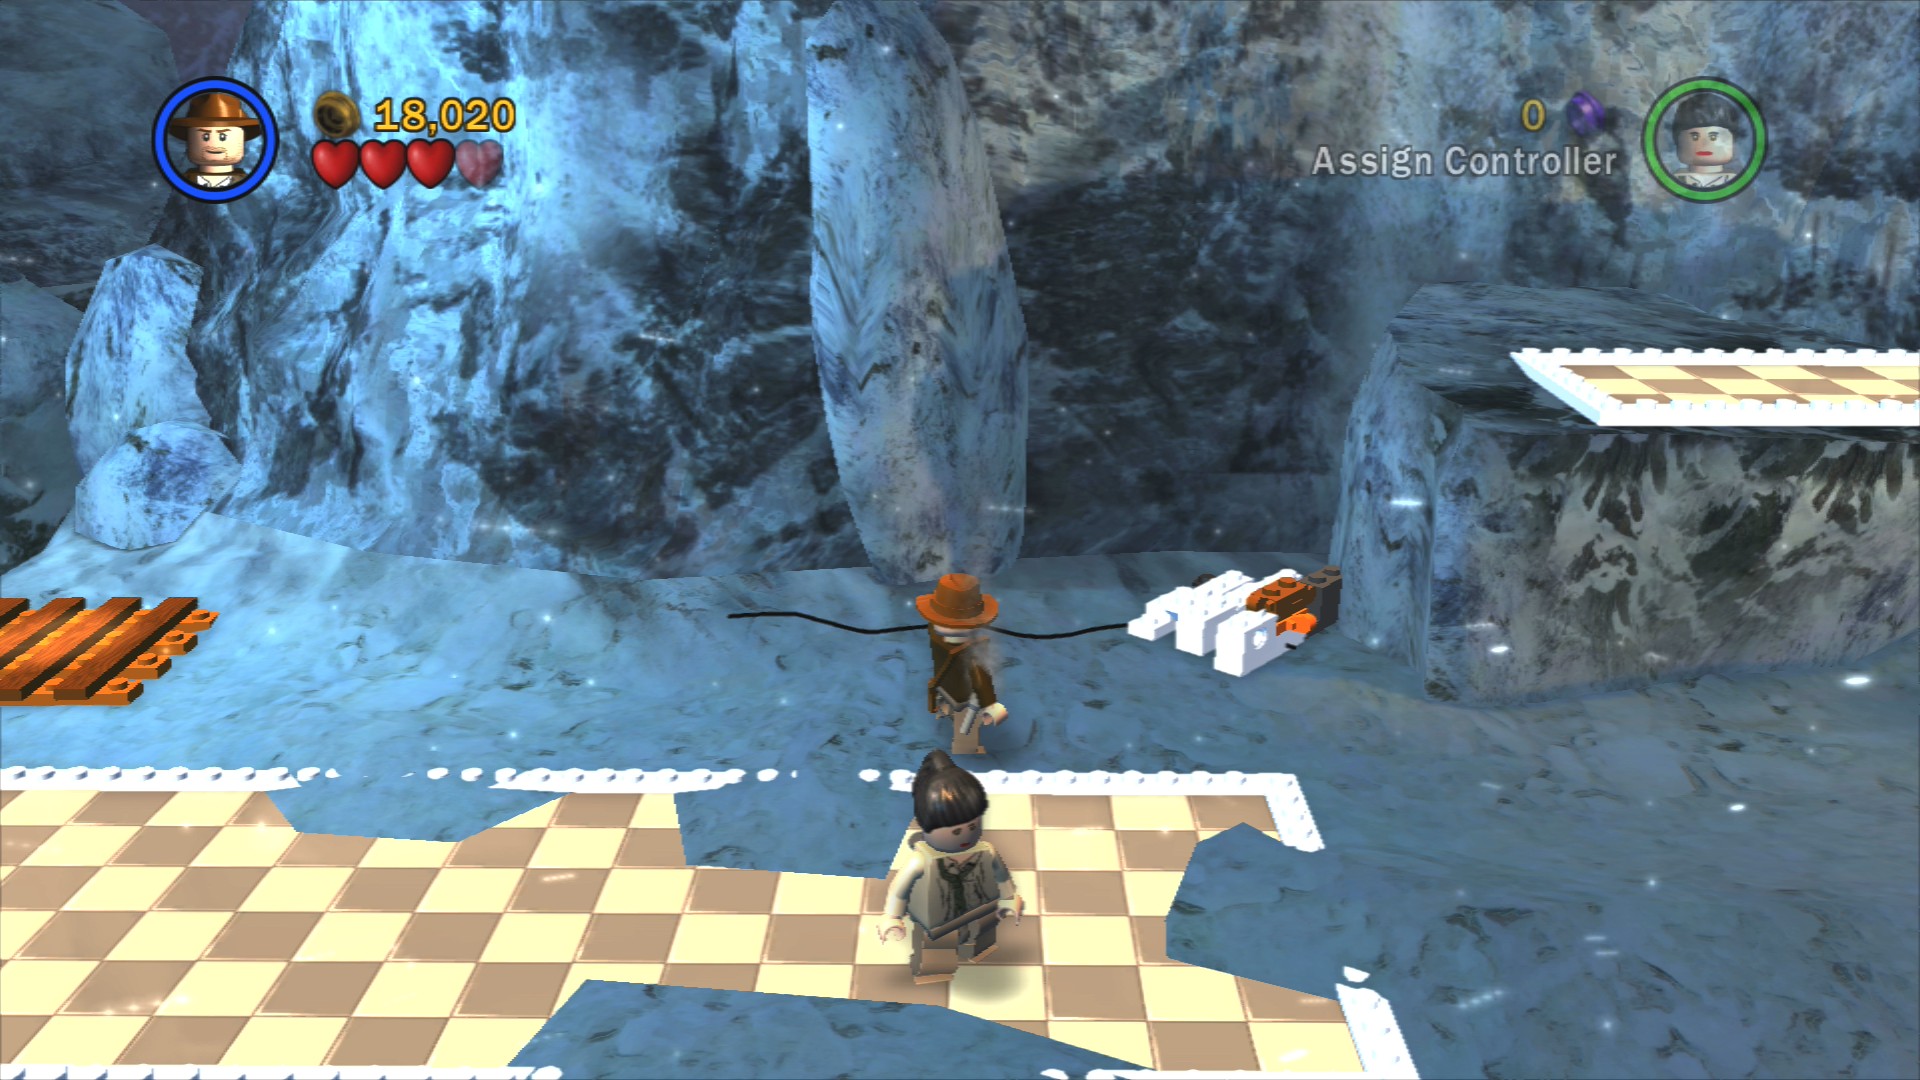
There are a few crates of dynamite on the floor next to where you pushed the bridge. Grab a flaming torch and light the fuse, from the explosion you'll get the parts for the third snowman.
You need Marion to jump up to the barrel of dynamite on the platform at the back, push it off the edge and then finish assembling the dynamite by the cave. Go back over the bridge and grab a torch to light the dynamite (don't walk in the deep snow while carrying it or you'll drop it and have to go get another one). Run!
Artefact Piece 6/10
Requires: Hatch Access, Whip Story Mode: No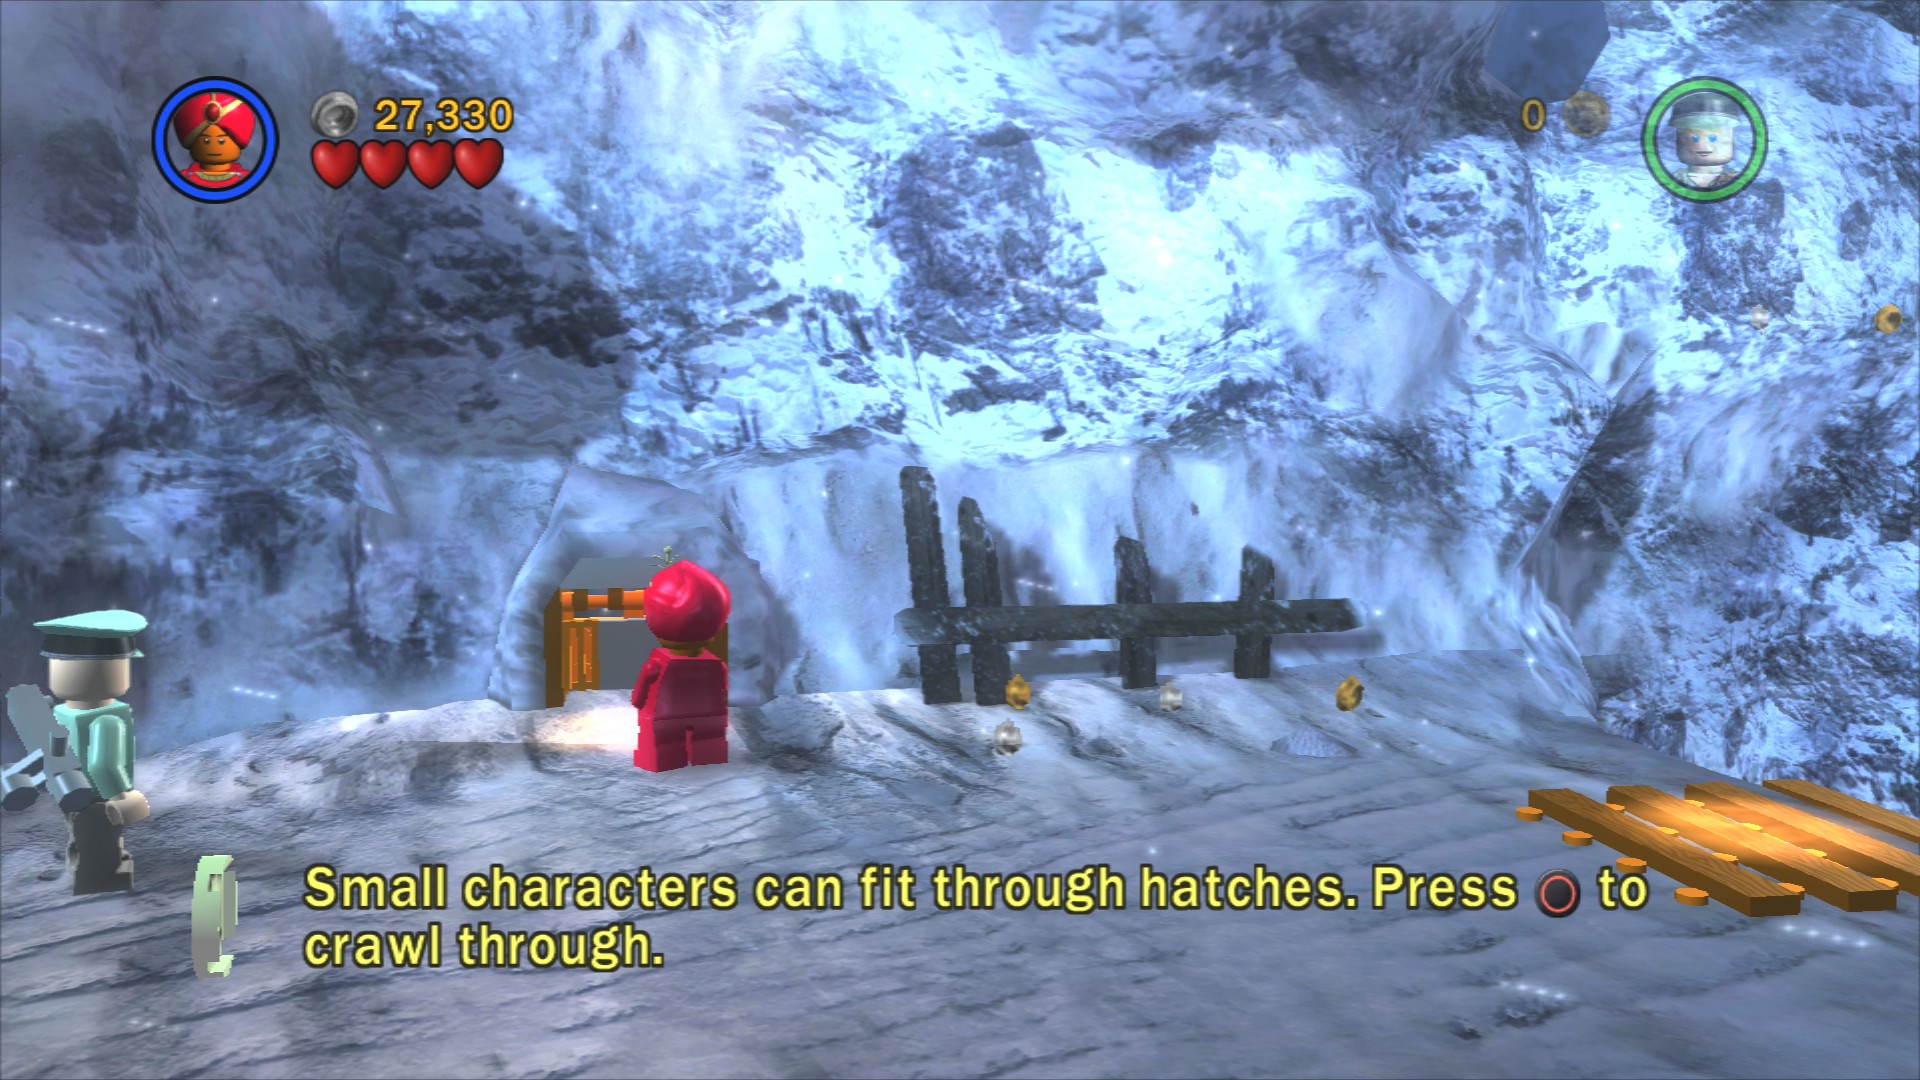
A small hatch is hidden at the start of the cave behind the second pile of snow, go through and then switch to a whip wielding character to swing over to the Artefact Piece.
Inside the cave whip swing across the gap and then smash the barrel on the other side so that you can build a pole for Marion to shimmy over on.
You'll need Marion to jump up to the key on the ledge, turn it so that the door is completely open. Once it is jump down and smash the right-hand bull statue, it'll drop some LEGO you can build to get up onto the pillar, and from there you can jump over to the statue that you can then push off the edge. From that smashed statue you can build a familiar looking small white platform. A group of enemies will take this moment to attack so take care of them before you carry the platform over to the green lift to the right.
If you need it you can smash one of the bull statues to get a spanner to fix the blue engine. Although falling debris will smash the path ahead you can just jump over the gaps it forms. On the third one you'll have to grab the handles on the wall to shimmy along.
Artefact Piece 7/10
Requires: Explosives Story Mode: Yes
Below where you have to grab the handles, jump down to it and blow it up with a bazooka. And if you also blow up the ice wall just below that you'll find the second of five hidden characters: Luke Skywalker.
Up the top to the right is an exit to the next part of the cave.
First let's set something up for later, go up the steps at the back and push the statue to the left end.
Smash the shelves to the left of the steps to reveal a spade, use it to dig up the glowing object in front of the steps. Once you've done that pick it up and use it on the gears next to the entrance, once you've placed it turn the gears to lower a rope.
Climb up that rope and use the handholds to get over to the top of that statue you pushed earlier, once on top of it switch to your other character and have them push the statue to the other end of the track. Switch back to the first character who has jumped off the statue and have them build the object that's hopping about on the orange plate. Your other character will automatically climb up the rope you've built to stand on the plate with you.
Now you can shimmy to the right around the corner and past a rope.
Artefact Piece 8/10
Requires: Book Story Mode: No
A set of 9 hieroglyphics can be seen on the wall here, using a character with a book follow the pattern and then jump up the handholds to grab the Artefact Piece.
Go through the doorway next to the hieroglyphics to leave the caves.
To the right you'll find a llama, jump on it and ride it onto the large orange plate near the building. This will start the lift going up and down, jump on that lift and on top of the building. Grab the bazooka from up here.
Artefact Piece 9/10
Requires: Mechanic Story Mode: Yes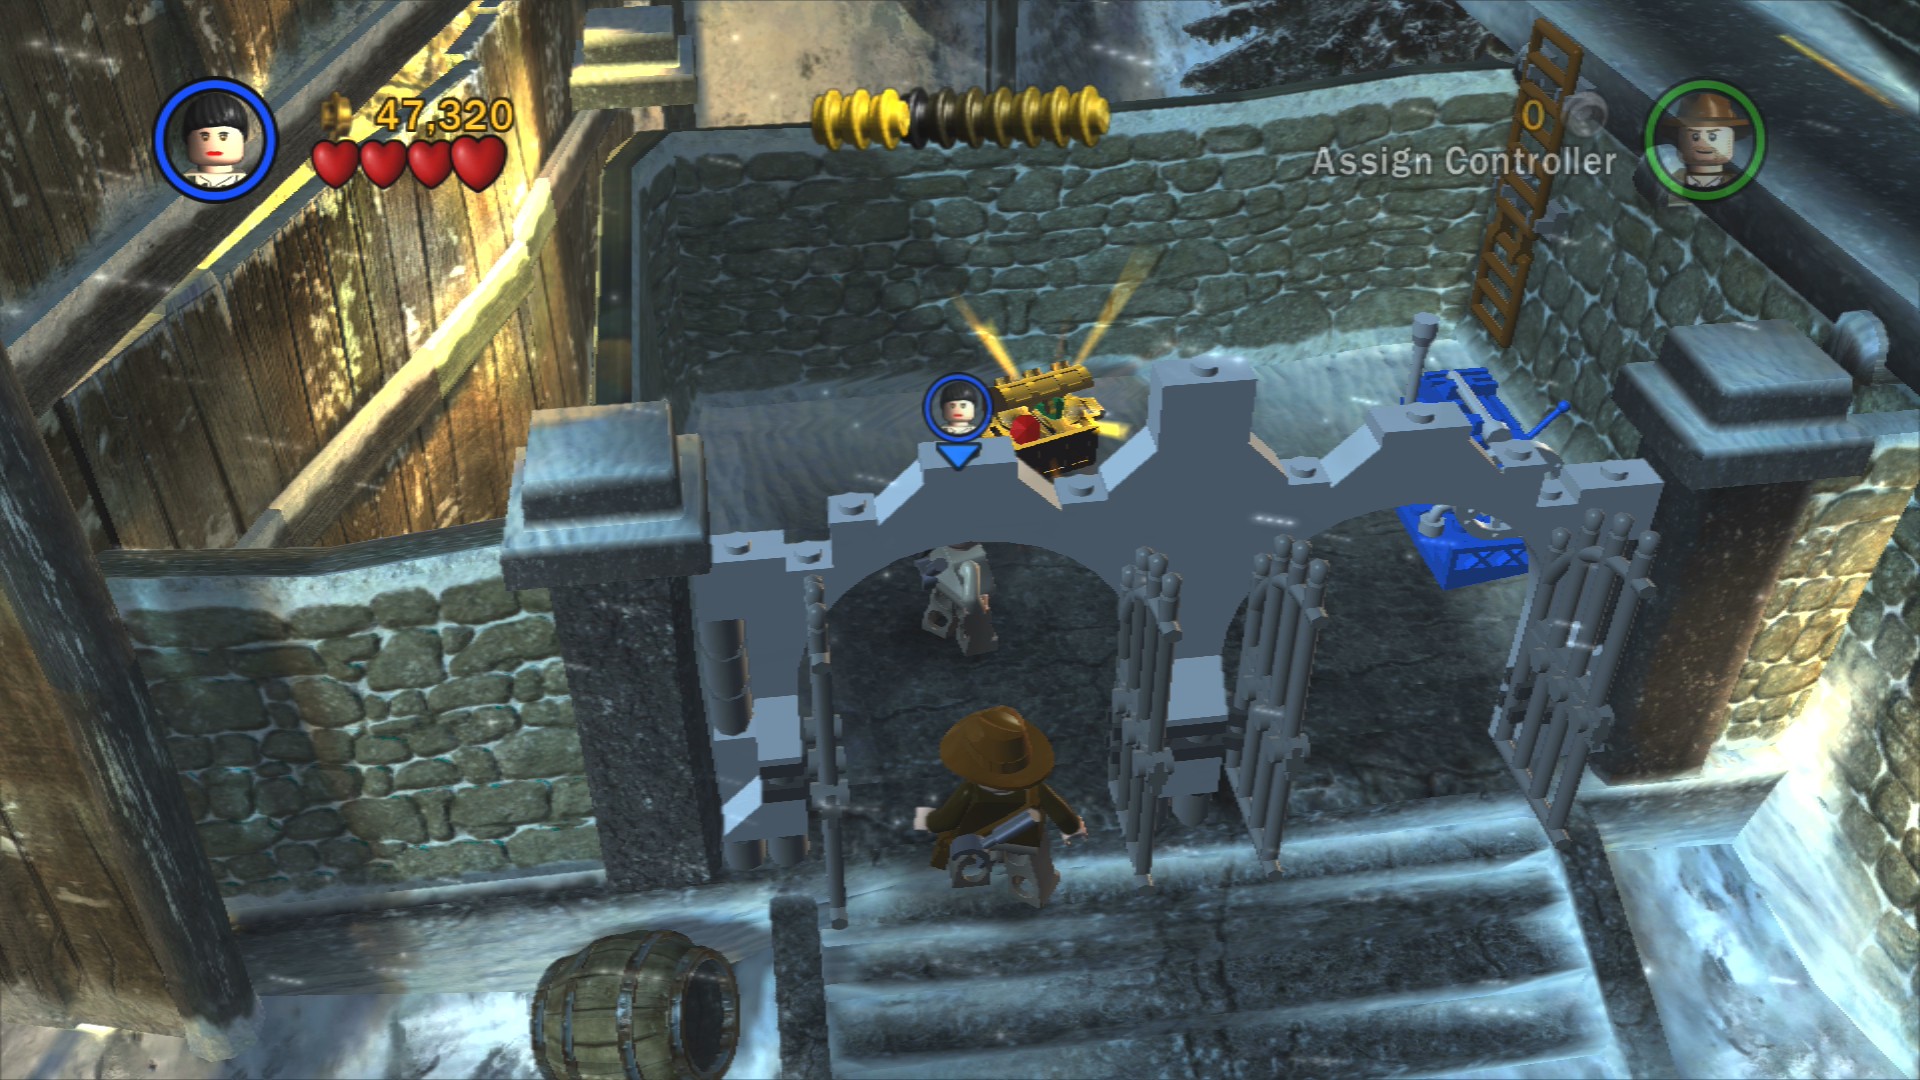
While you're still on top of the building if you go to the left you can jump down into a gated area where there's a broken blue engine to fix (if you need a spanner there's one in the crates next to the lift). That'll open the gates.
Smash a crate next to where you came into the area from and pick up the white object you find inside. Place it on the green platform inside the gated area you just opened.
Continue further to the right and use the bazooka to blow up the grey crate, inside you'll find bricks to build a spinner switch. Upon pushing it the bridge will be fixed but also a small group of enemies will attack.
Artefact Piece 10/10
Requires: None Story Mode: Yes
Go back inside the caves and grab a flaming torch, bring it out and use it to light up the golden bowl that's up the steps next to the bridge.
Use the bazooka several times to blow up the truck blocking the way. Once it's smashed go through to finish the chapter.
| Cost | Character | |
|---|---|---|
| - | Marion | |
| 50,000 | Major Toht | |
| 50,000 | Colonel Dietrich | |
| 30,000 | Enemy Guard (Mountains) | |
| 30,000 | Bazooka Trooper (Raiders) | |
| 18,000 | Sherpa Brawler | |
| 25,000 | Sherpa Gunner |
Chapter 3: City of Danger
| Story Mode | Free Play |
|---|---|
| 50,000 | 55,000 |
Pick up a banana from the crate behind you and throw it at the monkey on the wall, he'll drop the spanner he's holding. Use that spanner on the smoking blue LEGO to the left to fix the lift and leave this small area.
Head to the left towards a fruit stand, some enemies will attack so once you've got rid of them pick up a banana and throw it at the monkey on the roof. He'll drop you a spade this time.
Artefact Piece 1/10
Requires: None Story Mode: Yes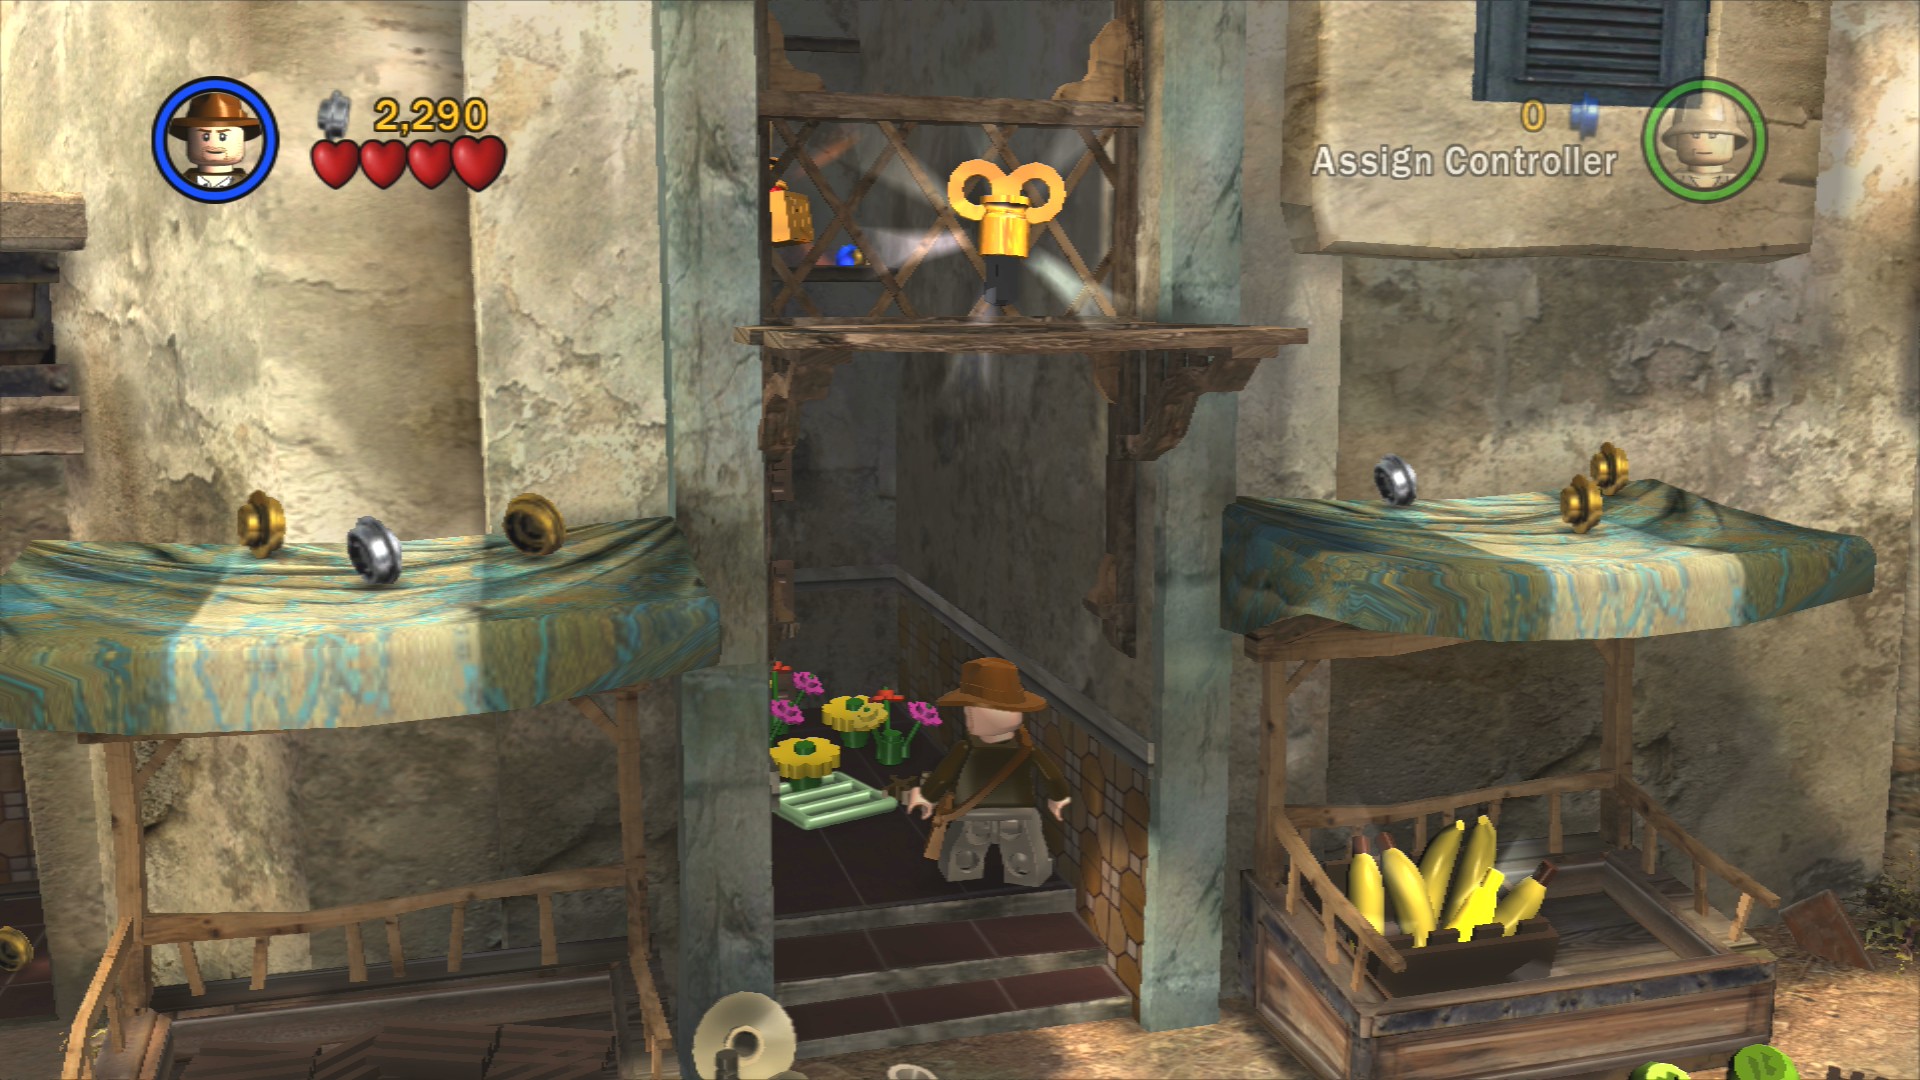
In the little hallway next to the banana stand you can just about seem some grimy looking plants. Hit them to brighten them up and then hit them again to get some LEGO from them. Once all of them are smashed you can build a ladder up to the Artefact Piece.
Use the spade to dig up the small glowing item at the bottom of the partial ladder beneath the monkey, smash the barrel of brushes at the bottom of the ladder to rebuild it to a form where you can then pull the lever you just dug up to raise the ladder.
Artefact Piece 2/10
Requires: Explosives Story Mode: Yes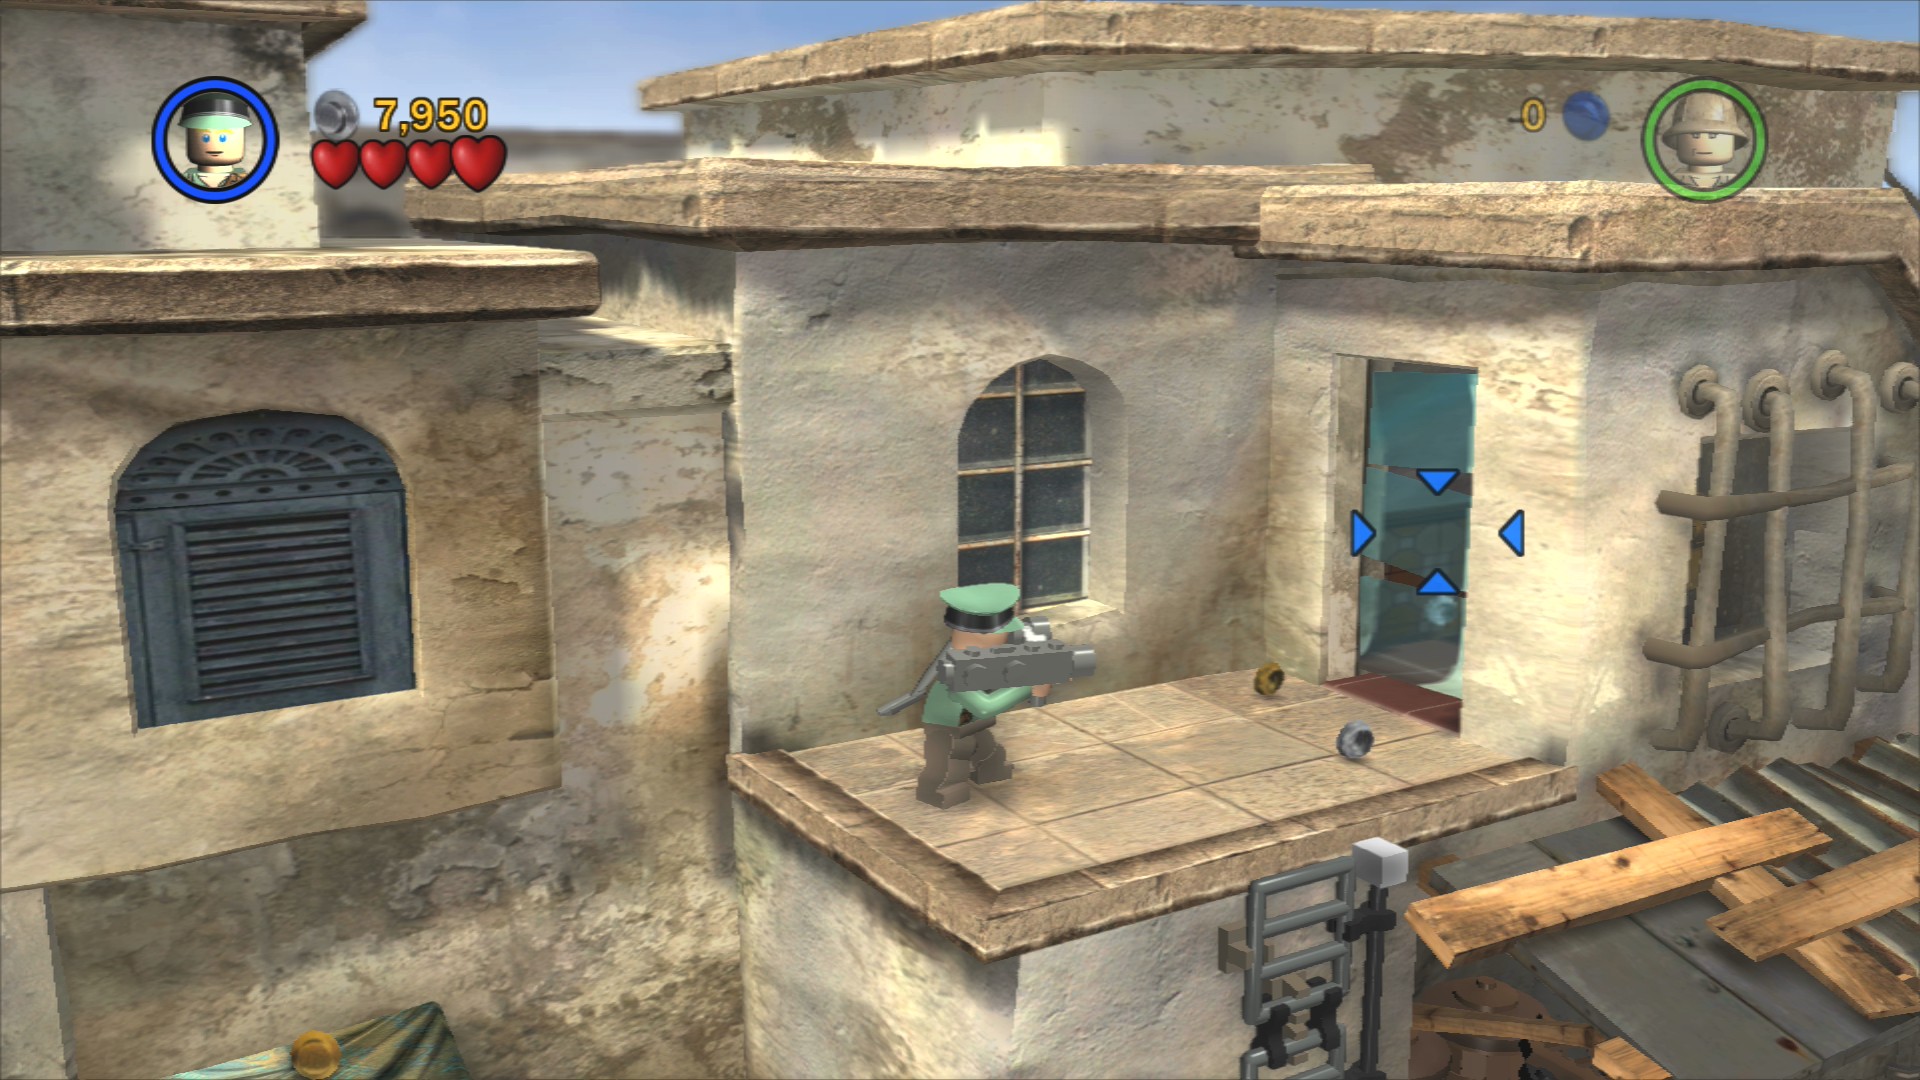
Use explosives to blow up the door up top of the ladder to get inside the room.
At the top of the ladder go to the left and jump onto an awning, bounce off it to where there's a key, pick it up and drop back down. Take that key down the road to a large gate with two slots for keys, place it in one of those slots and turn it all the way. Now you've got to find a second key.
Artefact Piece 3/10
Requires: Soldier Story Mode: Yes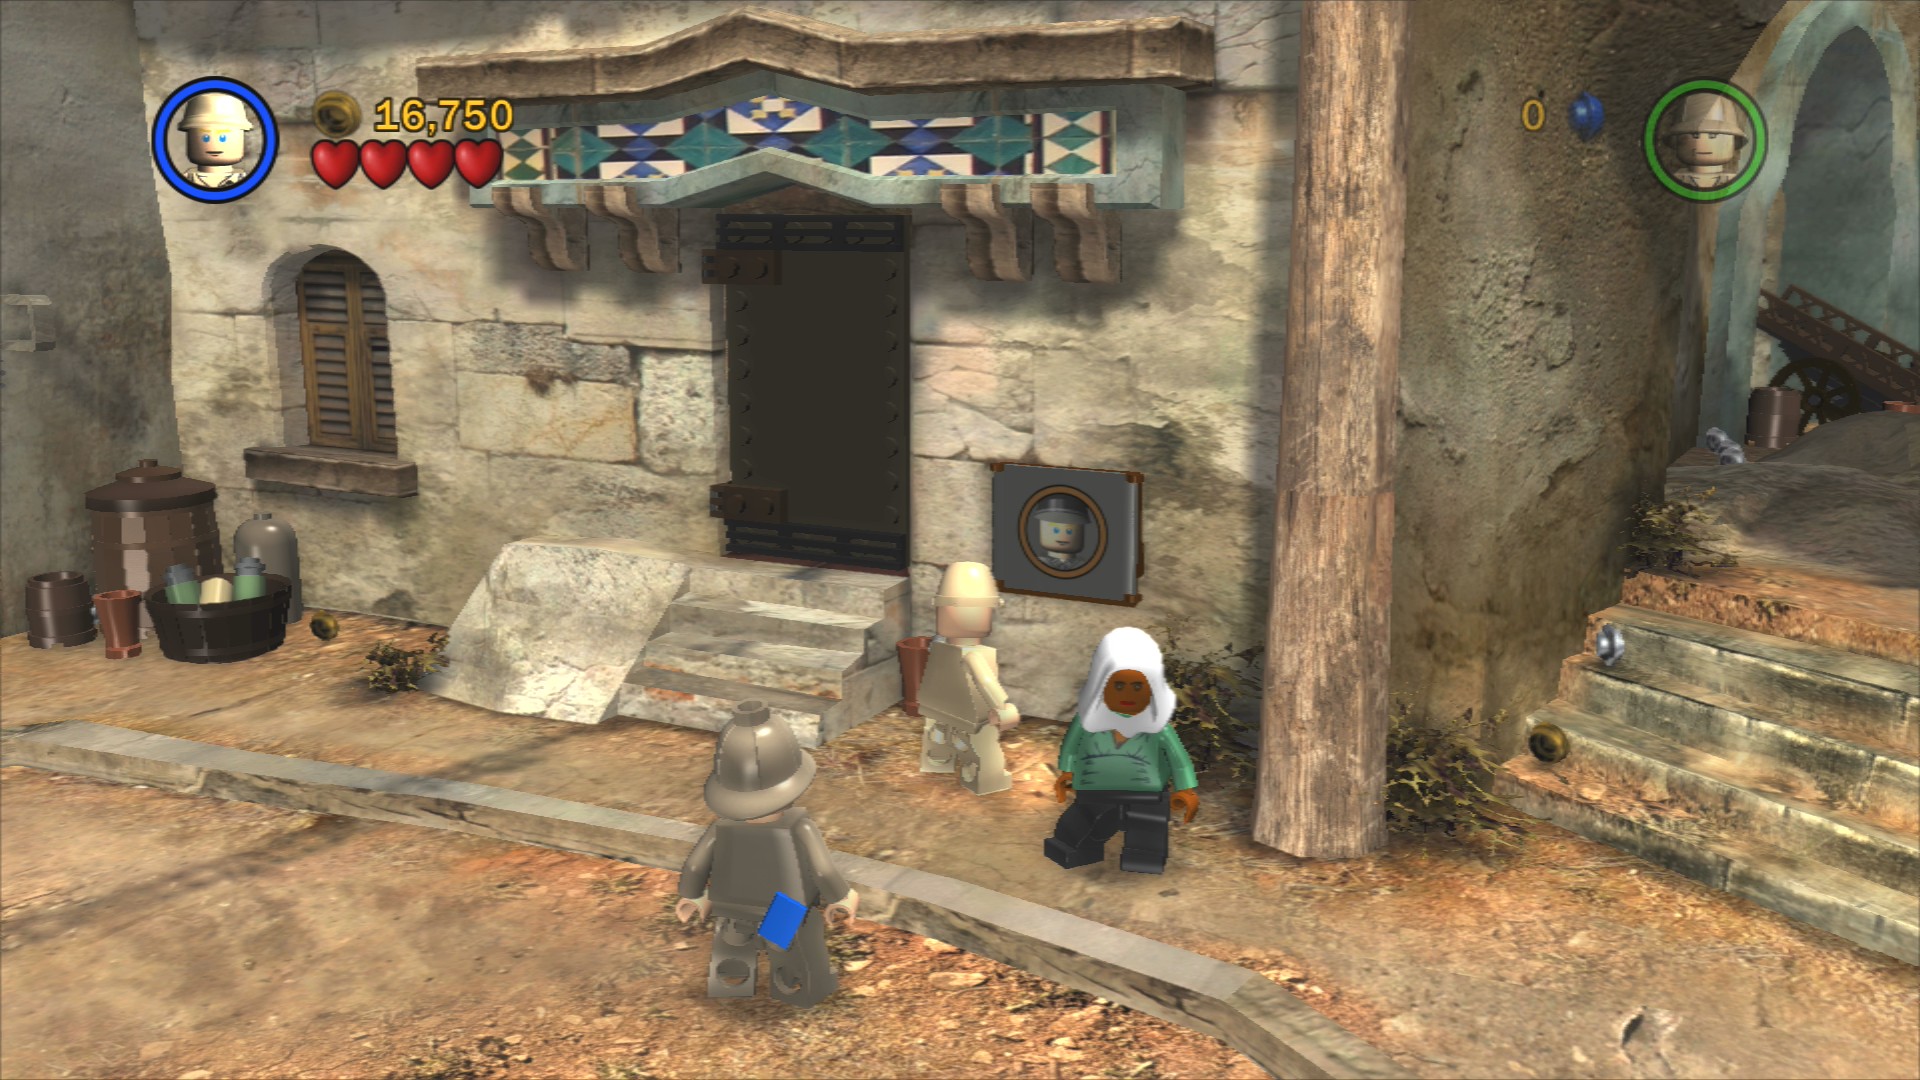
Use a soldier to enter the guard house to the right of the locked gate. Inside pull the lever to release a single enemy, defeat him and a light at the back will turn on. Do that three times and on the fourth you'll get your Artefact Piece.
To find it go to the right up the steps where there's a lone swordsman waiting. First push the cart into position and then use Marion's high jump to get onto the awning at the back. From there jump onto the top of the cart and then onto a rope that'll lower a platform for you to land on so you can reach the second key. Go use it to open the big door and leave the area.
In this new area you'll immediately be attacked by enemies with a pair of them on camels, you'll need to use a weapon to knock them off as fists won't do anything. A few more waves of enemies will appear but eventually they'll stop coming.
Artefact Piece 4/10
Requires: Explosives Story Mode: Yes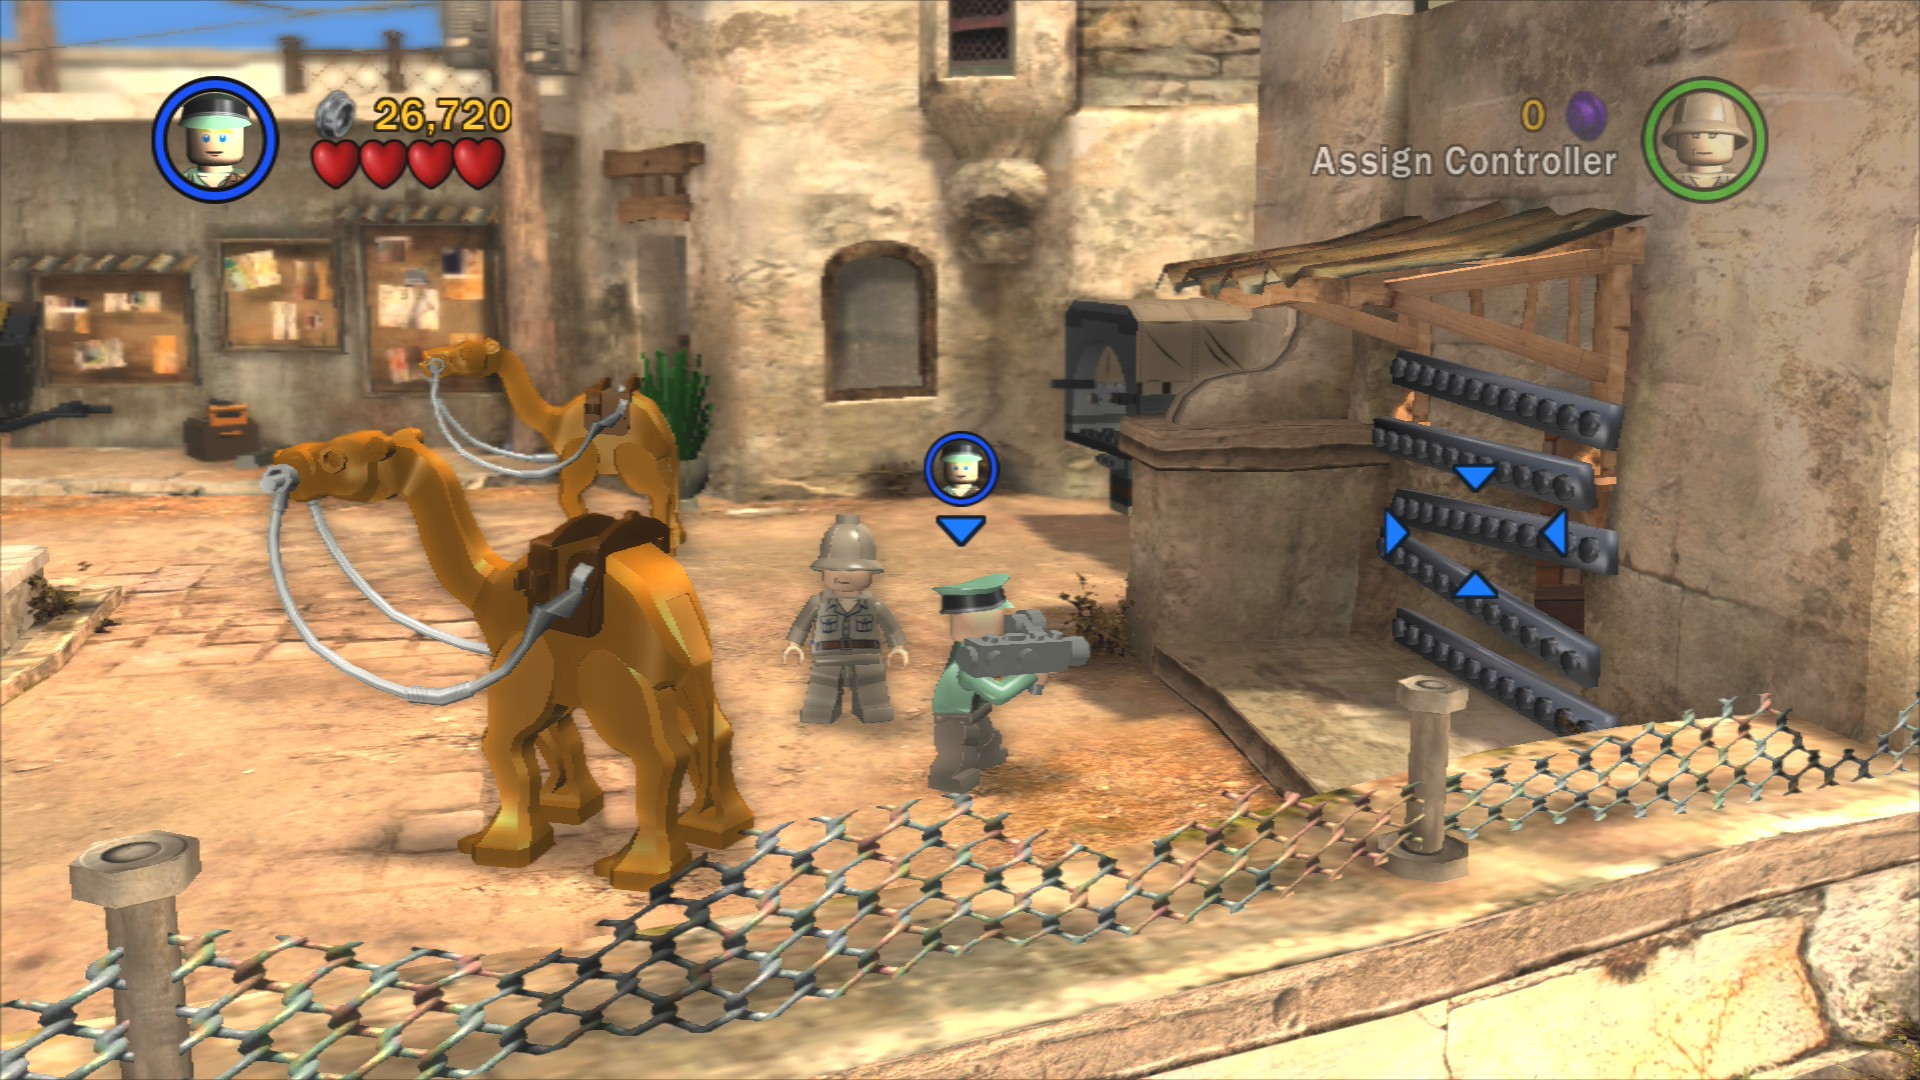
On the right side in front of the truck all those enemies came out of is a Silver LEGO blocked doorway, blow it up with a bazooka and go up the stairs behind it.
On the roof pick up the crate and place it on the green to let you start building an object. Push it off the roof to release the Artefact Piece.
Artefact Piece 5/10
Requires: Soldier Story Mode: Yes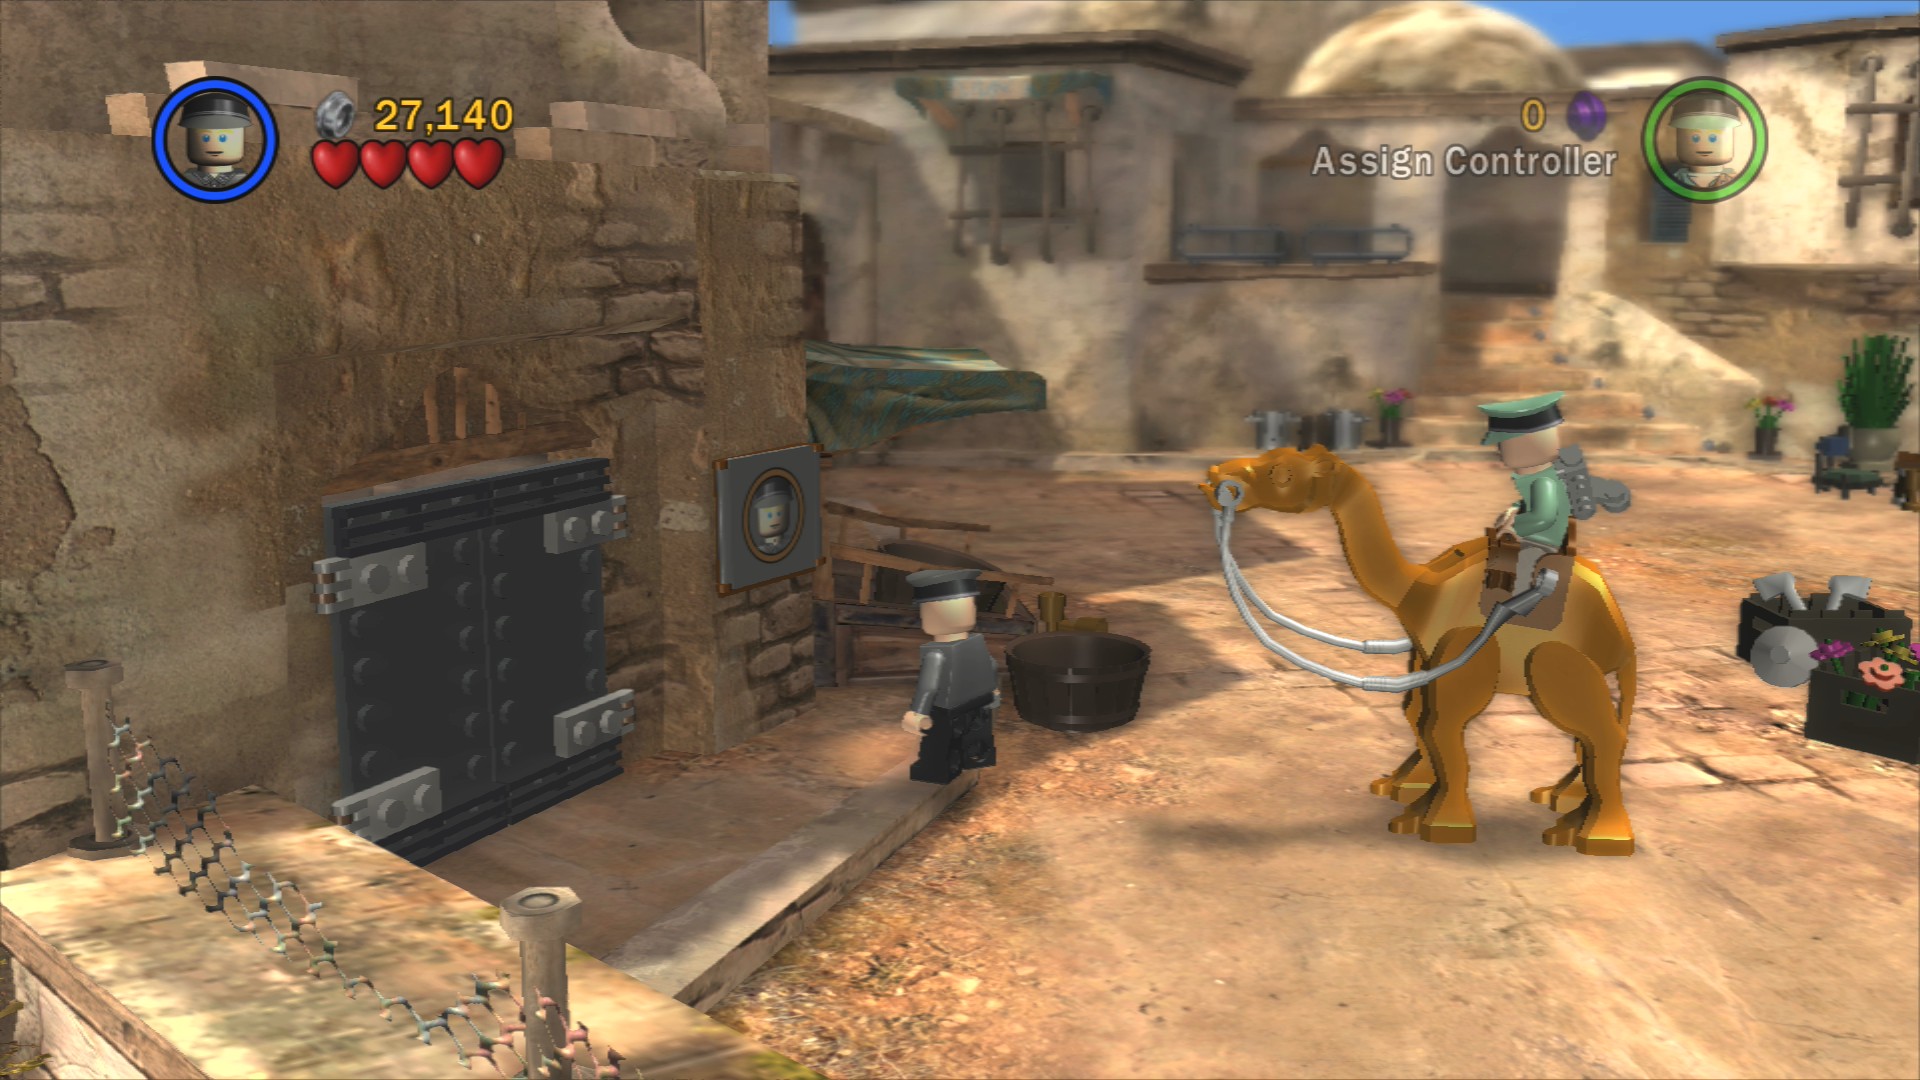
On the left side of the area is a guard post you can enter. Inside you'll find a load of satellite dishes, assemble the ones on the right and the Artefact Piece will appear.
Artefact Piece 6/10
Requires: Hatch Access, Whip Story Mode: No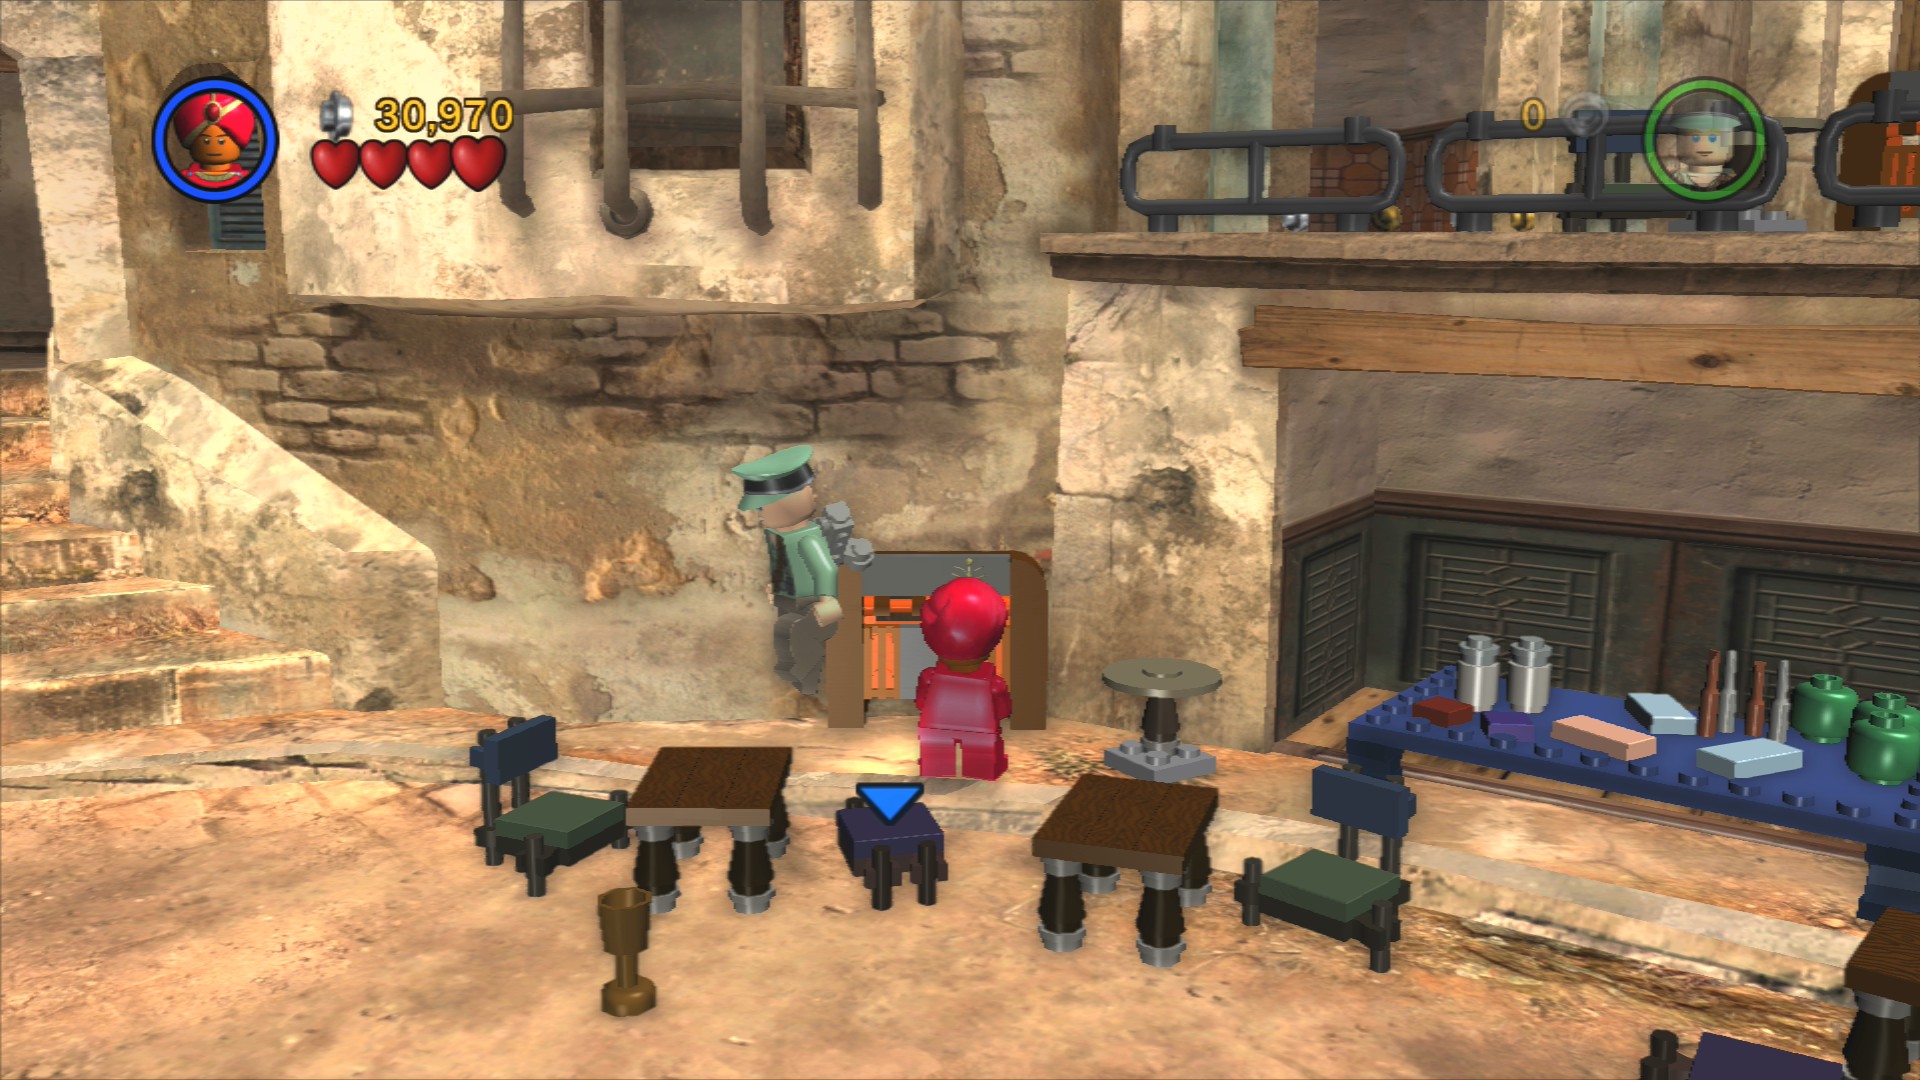
At the back of the area is a hatch that a small character can crawl through. Once up top switch to a character with a whip and pull open the large barrel on the right to drop the Artefact Piece onto the ground below.
Once they have stopped attacking go to the back of the area where there are some bulletin boards and smash the crate beneath them. That'll drop some LEGO for you to build onto the cart so you can pull it out of the way to reveal an alleyway out of here.
Bam! Immediately more swordsmen. Defeat the four of them and walk along the alley up towards the steps. Just before the steps you'll be attacked by a few more enemies, and again as you go up the stairs.
At the top you'll find a monkey holding a red object.
Artefact Piece 7/10
Requires: High Jump Story Mode: Yes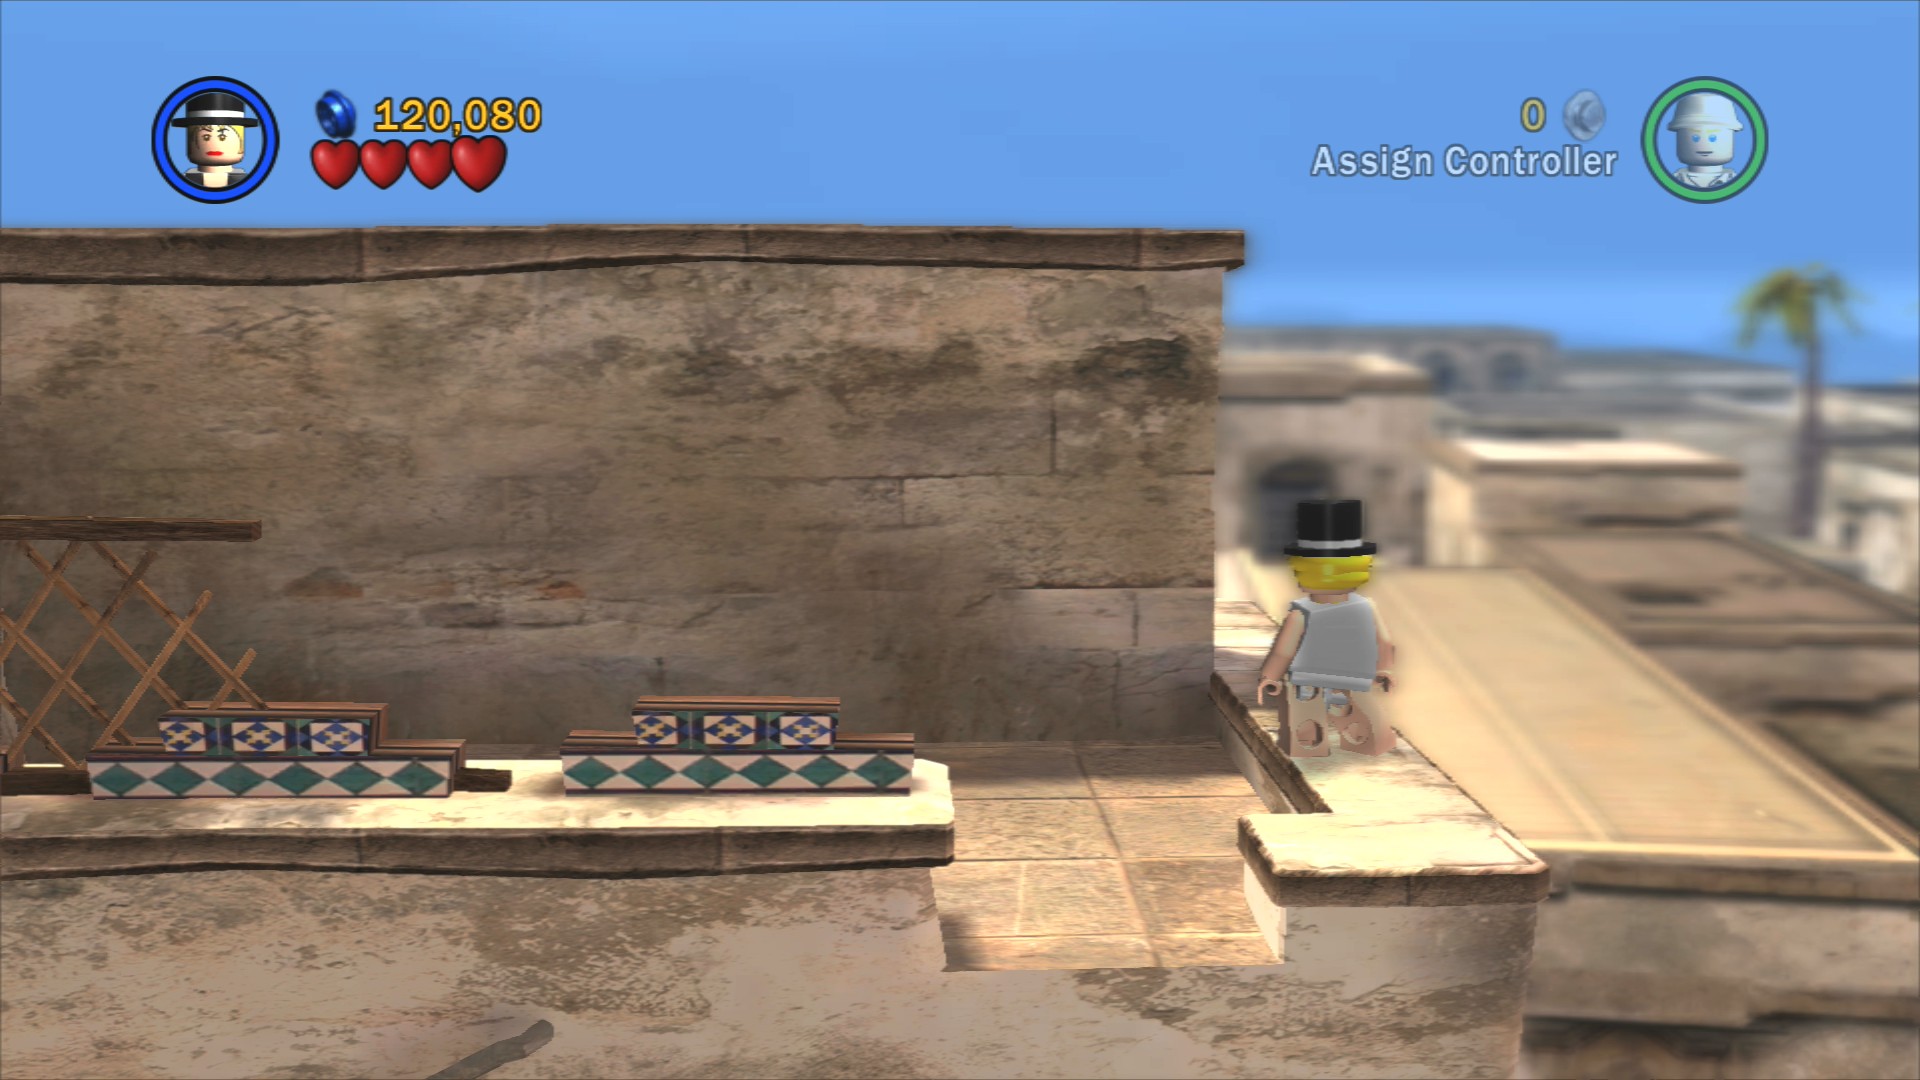
This one's incredibly well hidden. Assemble a ladder on the pipes next to the bananas and climb it with a high jumping lady. On the top step onto the little barrier along the right side and walk around the back of the wall to where the Artefact Piece is hiding with no clue to it being there whatsoever.
First use Indy's whip to dislodge the barrier in front of the monkey and then grab a banana from the crate on the right to throw to it. The red object is lit dynamite! Throw it at the Silver LEGO barrel so you can make your way up the ladder behind it.
On the roof there's a lot of stuff to smash but it's all just for studs.
Artefact Piece 8/10
Requires: None Story Mode: Yes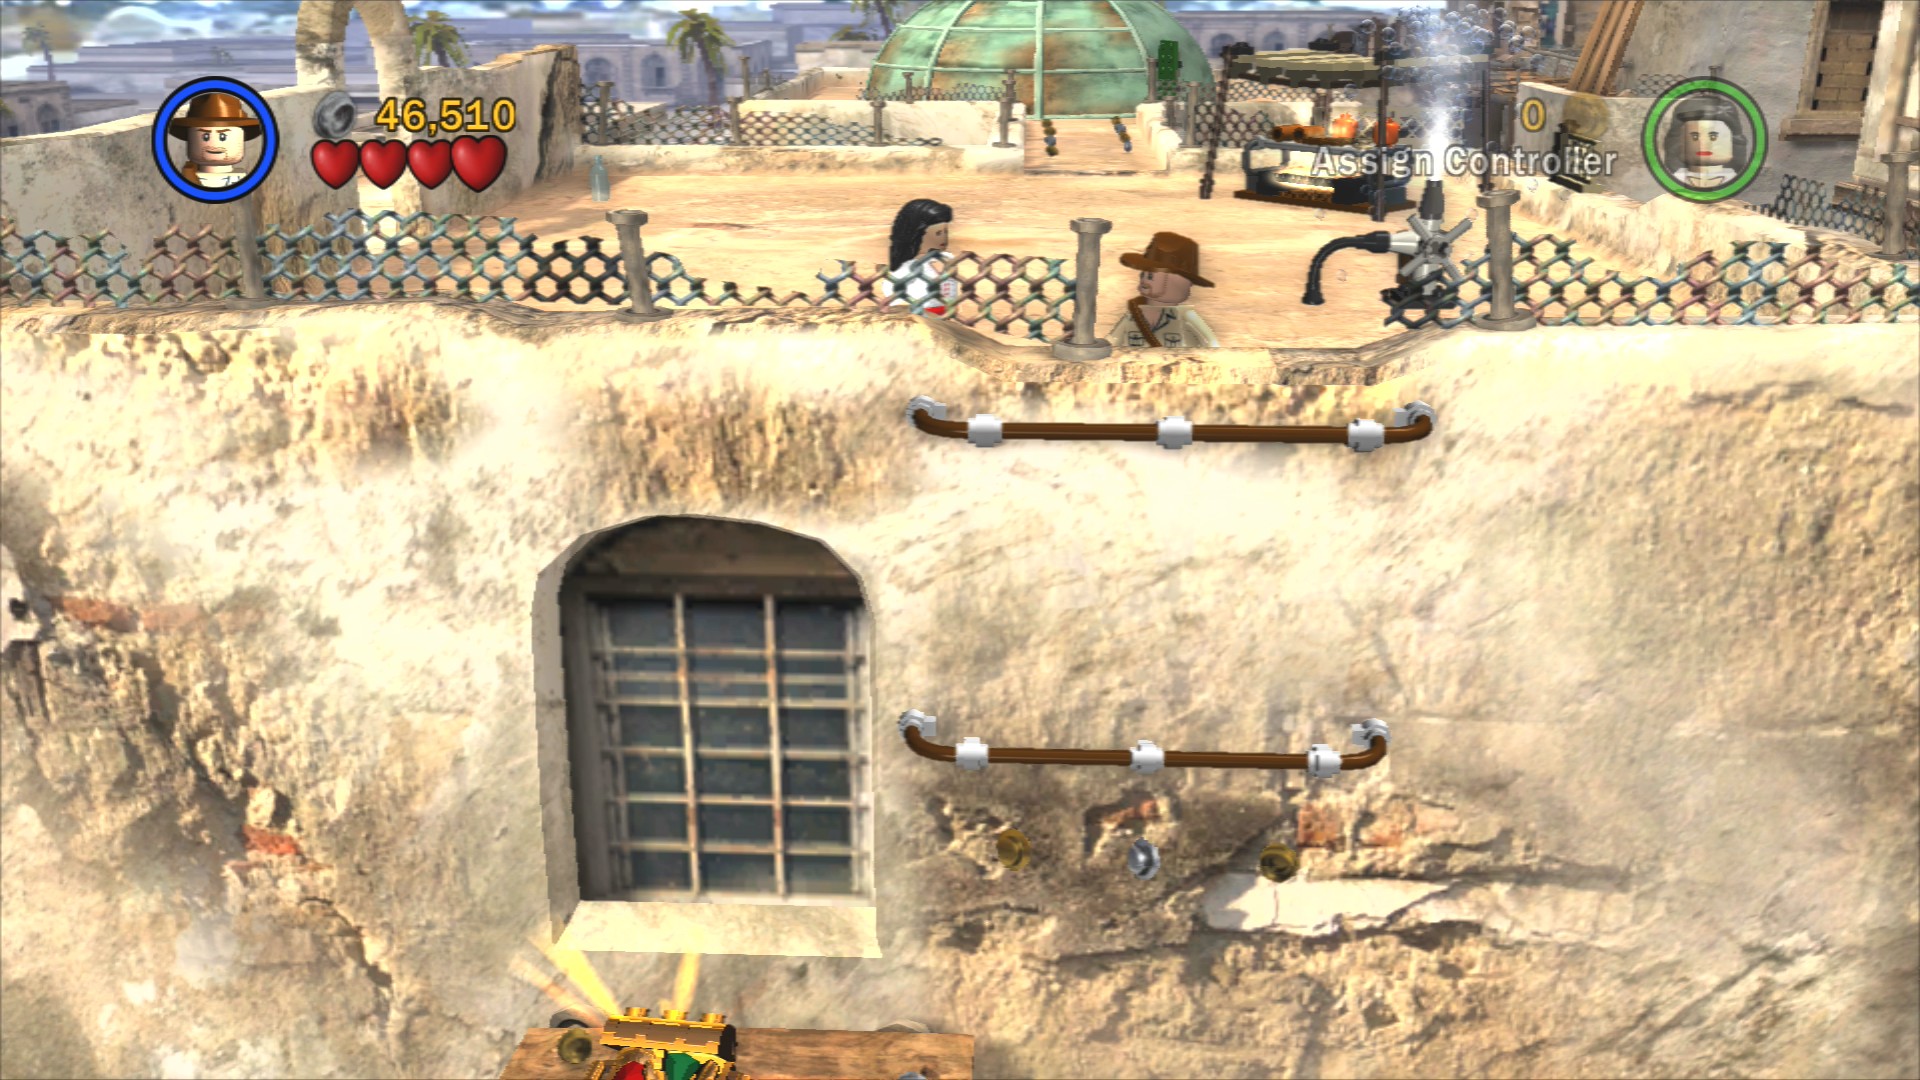
Towards the screen on the rooftop jump over the edge where there's a handhold and land down by the Artefact Piece in question.
To advance walk towards the green dome section of the roof and push on the vertical green piece of LEGO to reveal steps up to the top of the dome. Dislodge the ball to get yourself a bridge over to the next building.
Go past a fan you can only blow up with a bazooka in Free Play and you'll reach an area with brown LEGO planks to cross. As you do so jump to avoid falling, luckily you can grab the handholds if you're a little slow at that.
You'll eventually reach another monkey, this time holding a key. Throw him a banana and extend the bridge over to yet another monkey. Chuck him a banana to get his spanner which you can use to fix the blue LEGO on the left. Place the object that falls onto the green patch.
Whip swing over to the right and walk towards the glowing object. Before you pick it up make sure to smash the barrier on the left so you can build a bridge back across.
Artefact Piece 9/10
Requires: Explosives Story Mode: Yes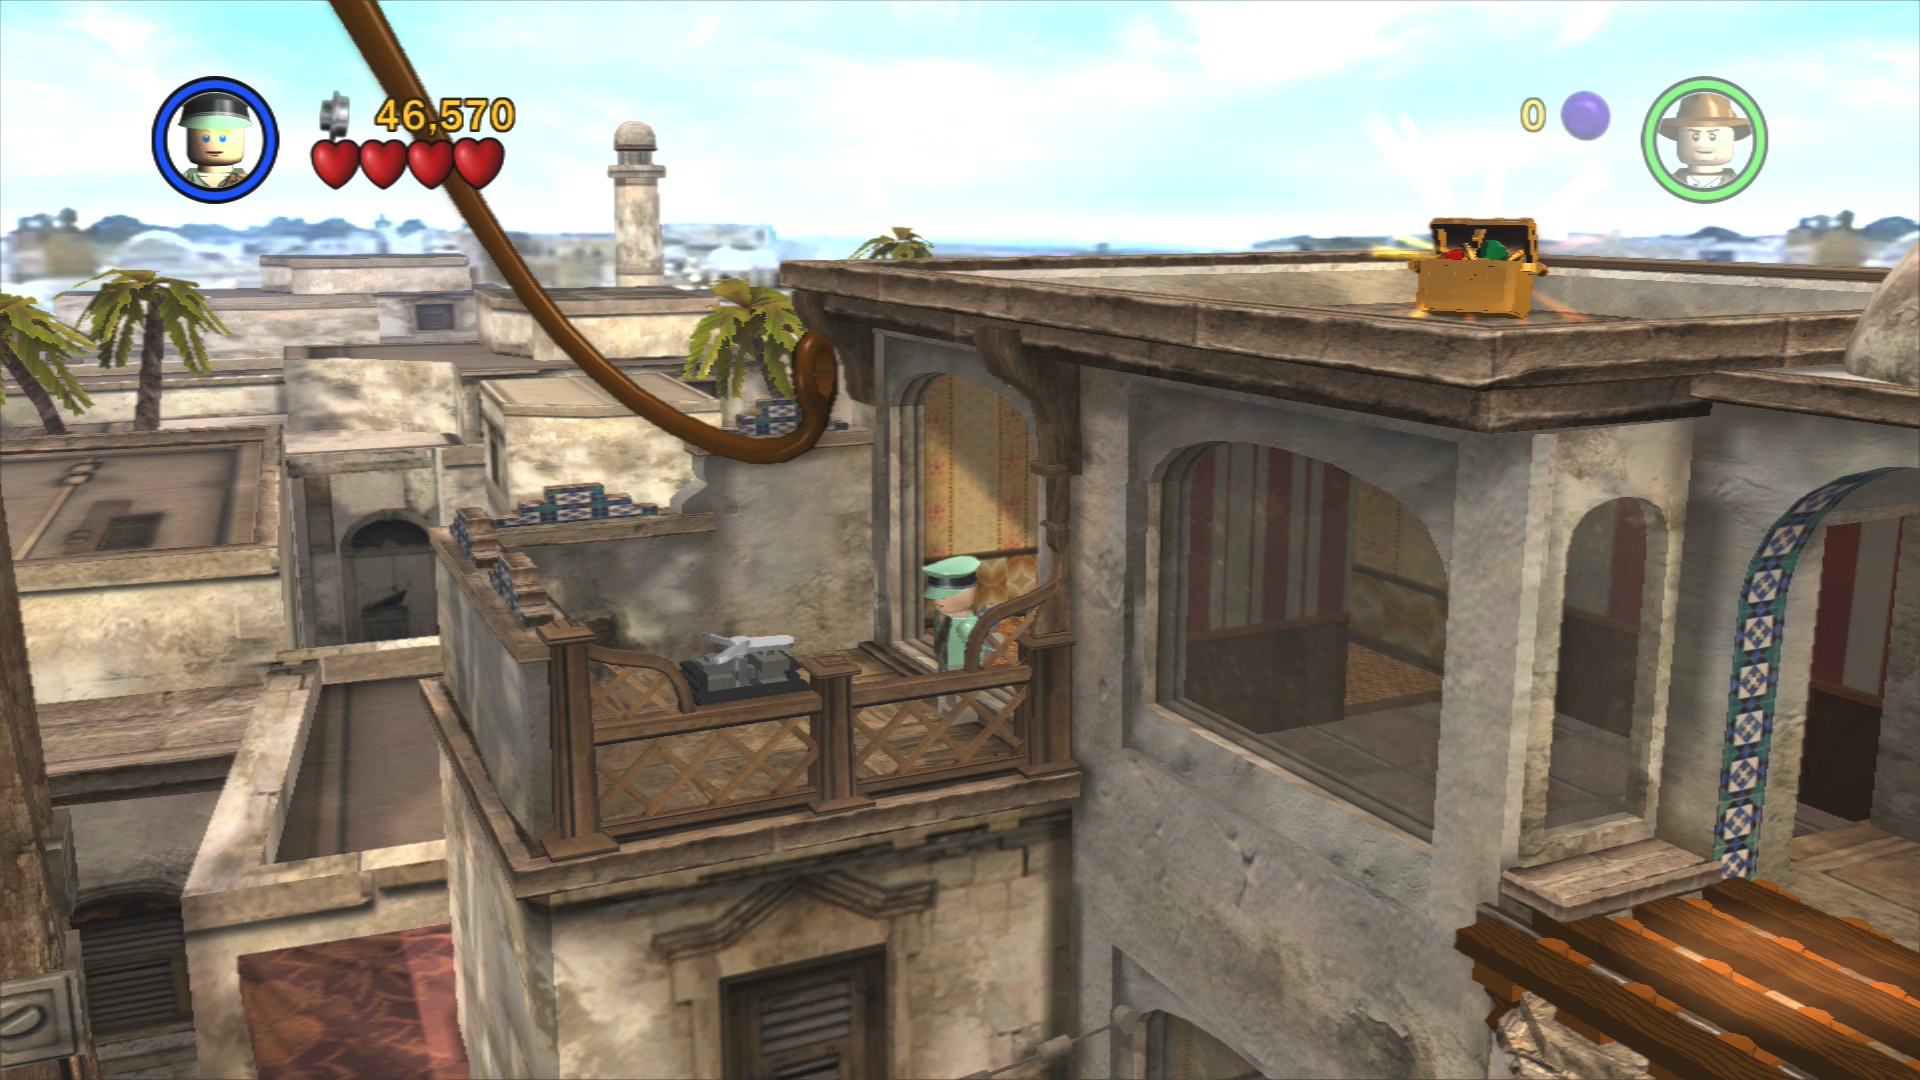
Go through the rooms underneath the visible Artefact Piece and blow up the fan with a bazooka. Rebuild it so it'll blow you up onto the top to get the Artefact Piece.
Place the second piece on the remaining green spot and then assemble the giant lever that you have to jump to pull open. Drop down through the trapdoor.
This next area is really quite large, first defeat one of the grey hat wearing enemies and pick his hat up to wear it. Once you've done that go to the guard station at the back in the middle of the area and talk to the guard. If you're wearing the hat he'll let you through the gate.
Artefact Piece 10/10
Requires: Explosives, Hatch Access Story Mode: No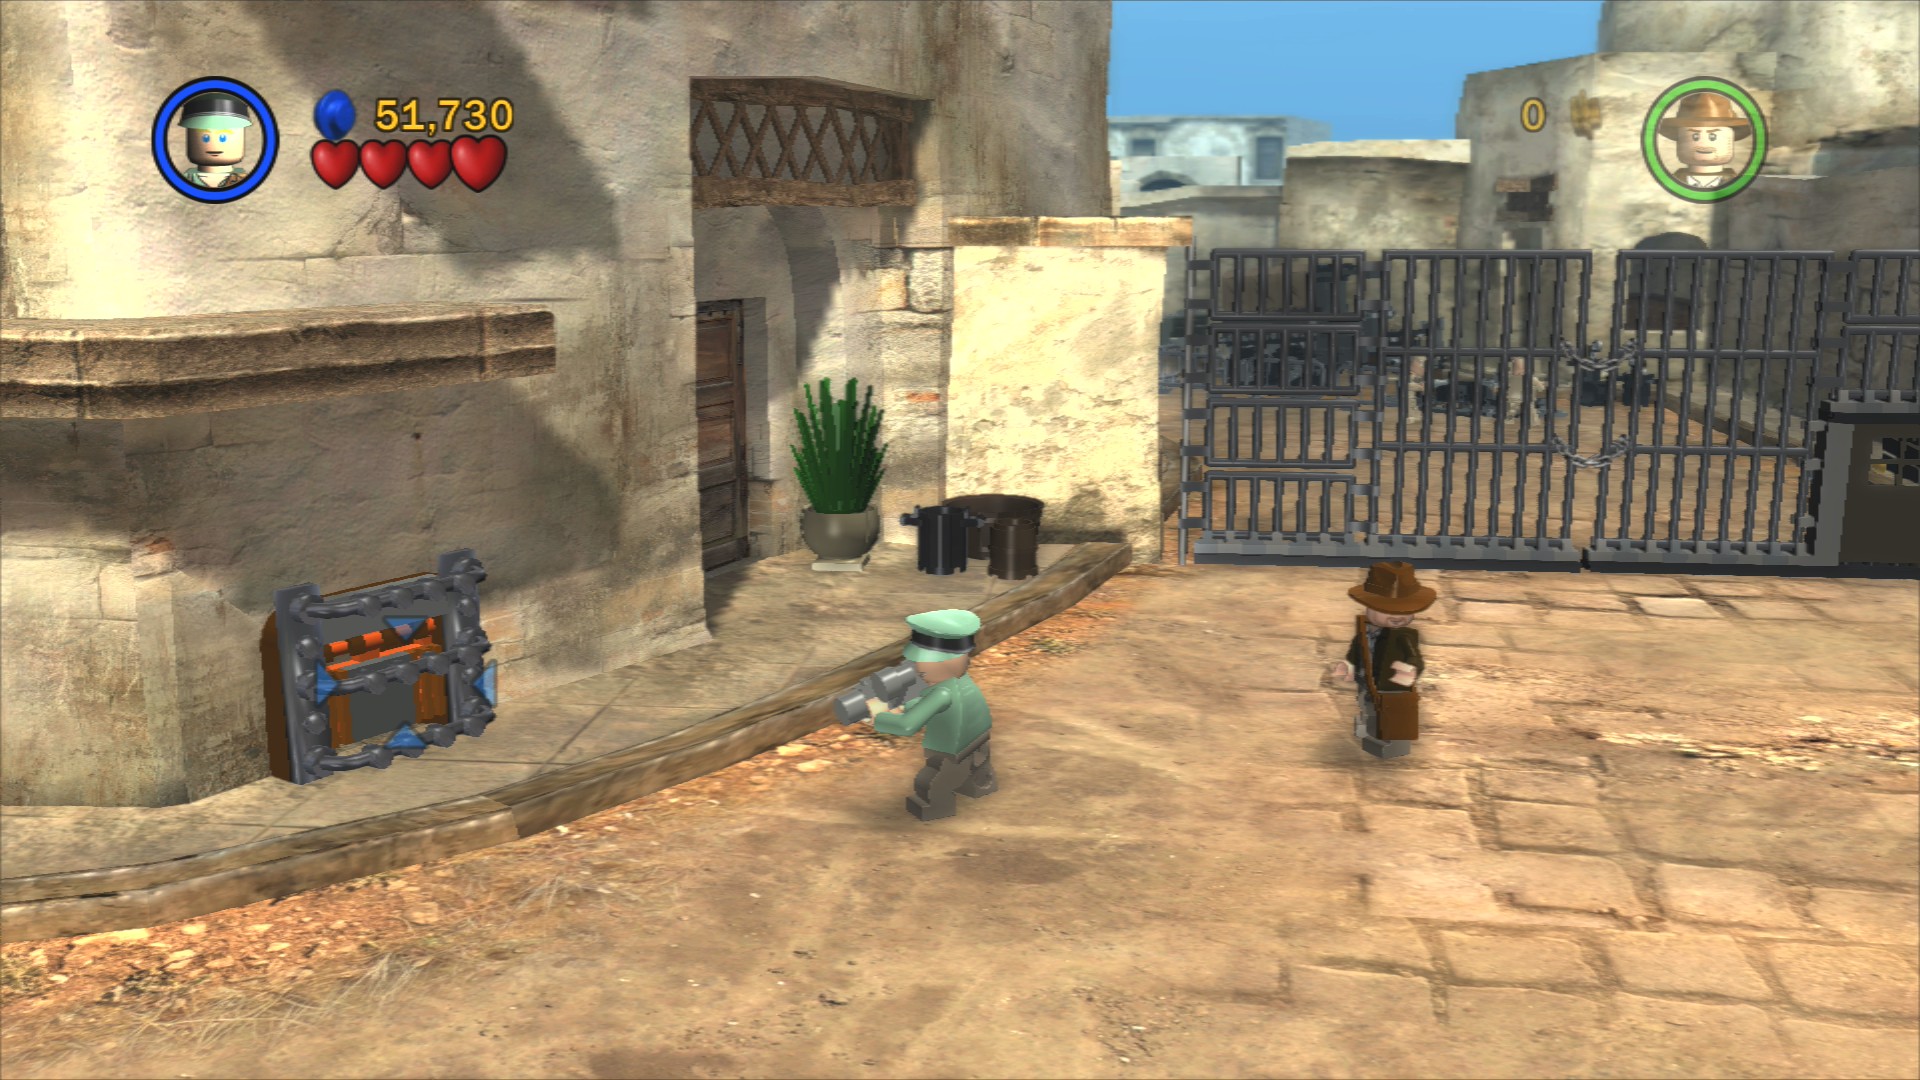
In front of the gate there's a hatch blocked off by some Silver LEGO, blow it up with some explosives and use a small character to crawl through and grab the Artefact Piece.
Defeat the enemies that attack and then avoid the bazooka shots from the ones at the back. Defeat them too and you can grab a bazooka that you could use to start blowing up Silver LEGO.
Red Parcel - Treasure x2
Requires: Book Story Mode: No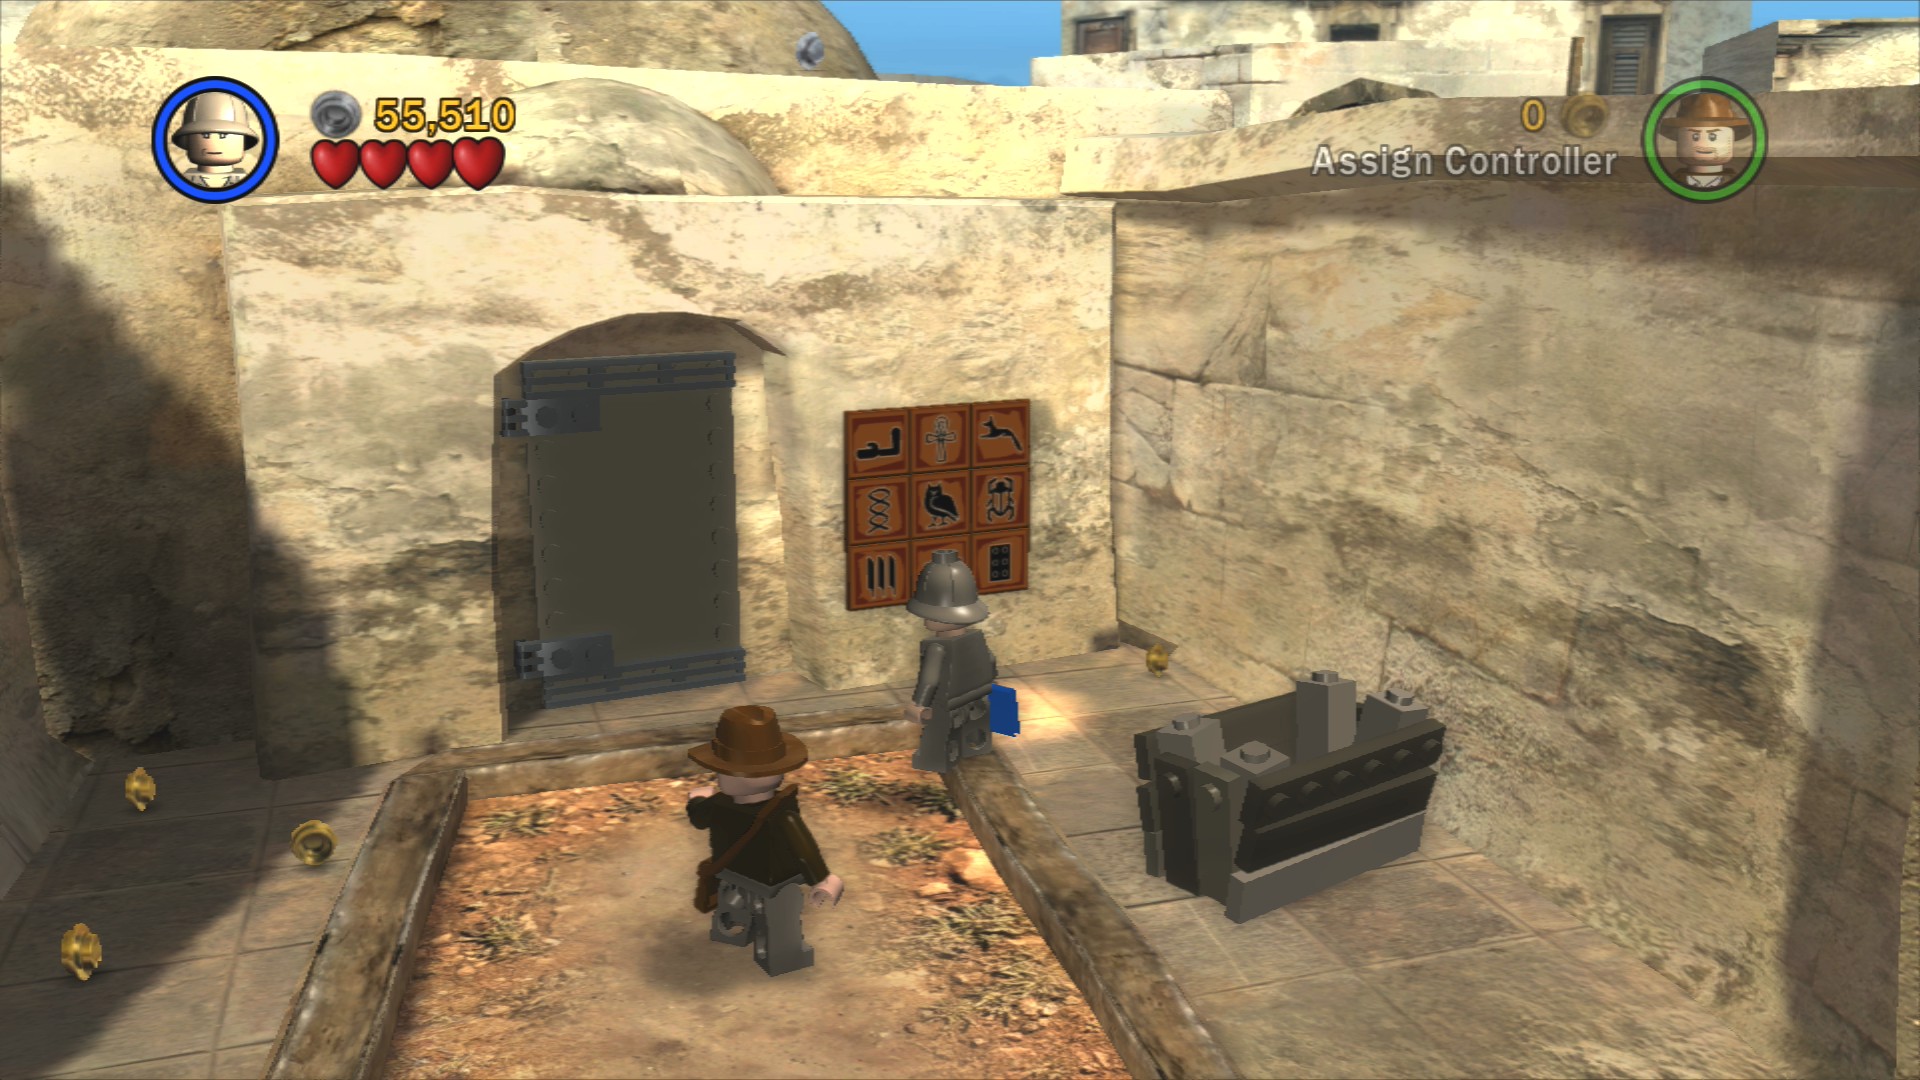
At the back of this gated area are some hieroglyphics to solve. Go through the door that opens and you'll find yourself in a very familiar looking cantina. You can find the third Star Wars character, Chewbacca, through a hatch in here.
Assemble a few objects next to the floor with sixteen circles on it and you'll start a quick button standing puzzle. Stand on each white light in turn and the Red Parcel will appear. Carry it to the mailbox over on the right.
You don't need to use the bazooka at all though, instead finish assembling the truck and use the spanner to fix it. Now you can get into the truck and start driving it around, it'll even drive straight through Silver LEGO barriers.
Your destination is the large Silver LEGO doors at the far right-hand end of the street, smash through those and walk through the small archway and you've finished the level.
| Cost | Character | |
|---|---|---|
| - | Indiana Jones(Desert) | |
| - | Marion (Cairo) | |
| 18,000 | Masked Bandit | |
| 25,000 | Bandit Swordsman | |
| 18,000 | Enemy Soldier (Desert) | |
| 30,000 | Enemy Officer | |
| 27,500 | Monkey Man |
Chapter 4: The Well of Souls
| Story Mode | Free Play |
|---|---|
| 57,000 | 60,000 |
First pick up the blue book that was dropped in the cutscene, it's over by the pillar on the left. Next, at the back of the platform you start on is a point where Indy can use his whip to partially pull out a bridge. Switch to Sallah to jump over the snakes and have him push the two statues along their paths. The left side will throw out some LEGO for you to build a bonfire and the right side will pop out a flaming torch to light it with.
Artefact Piece 1/10
Requires: None Story Mode: Yes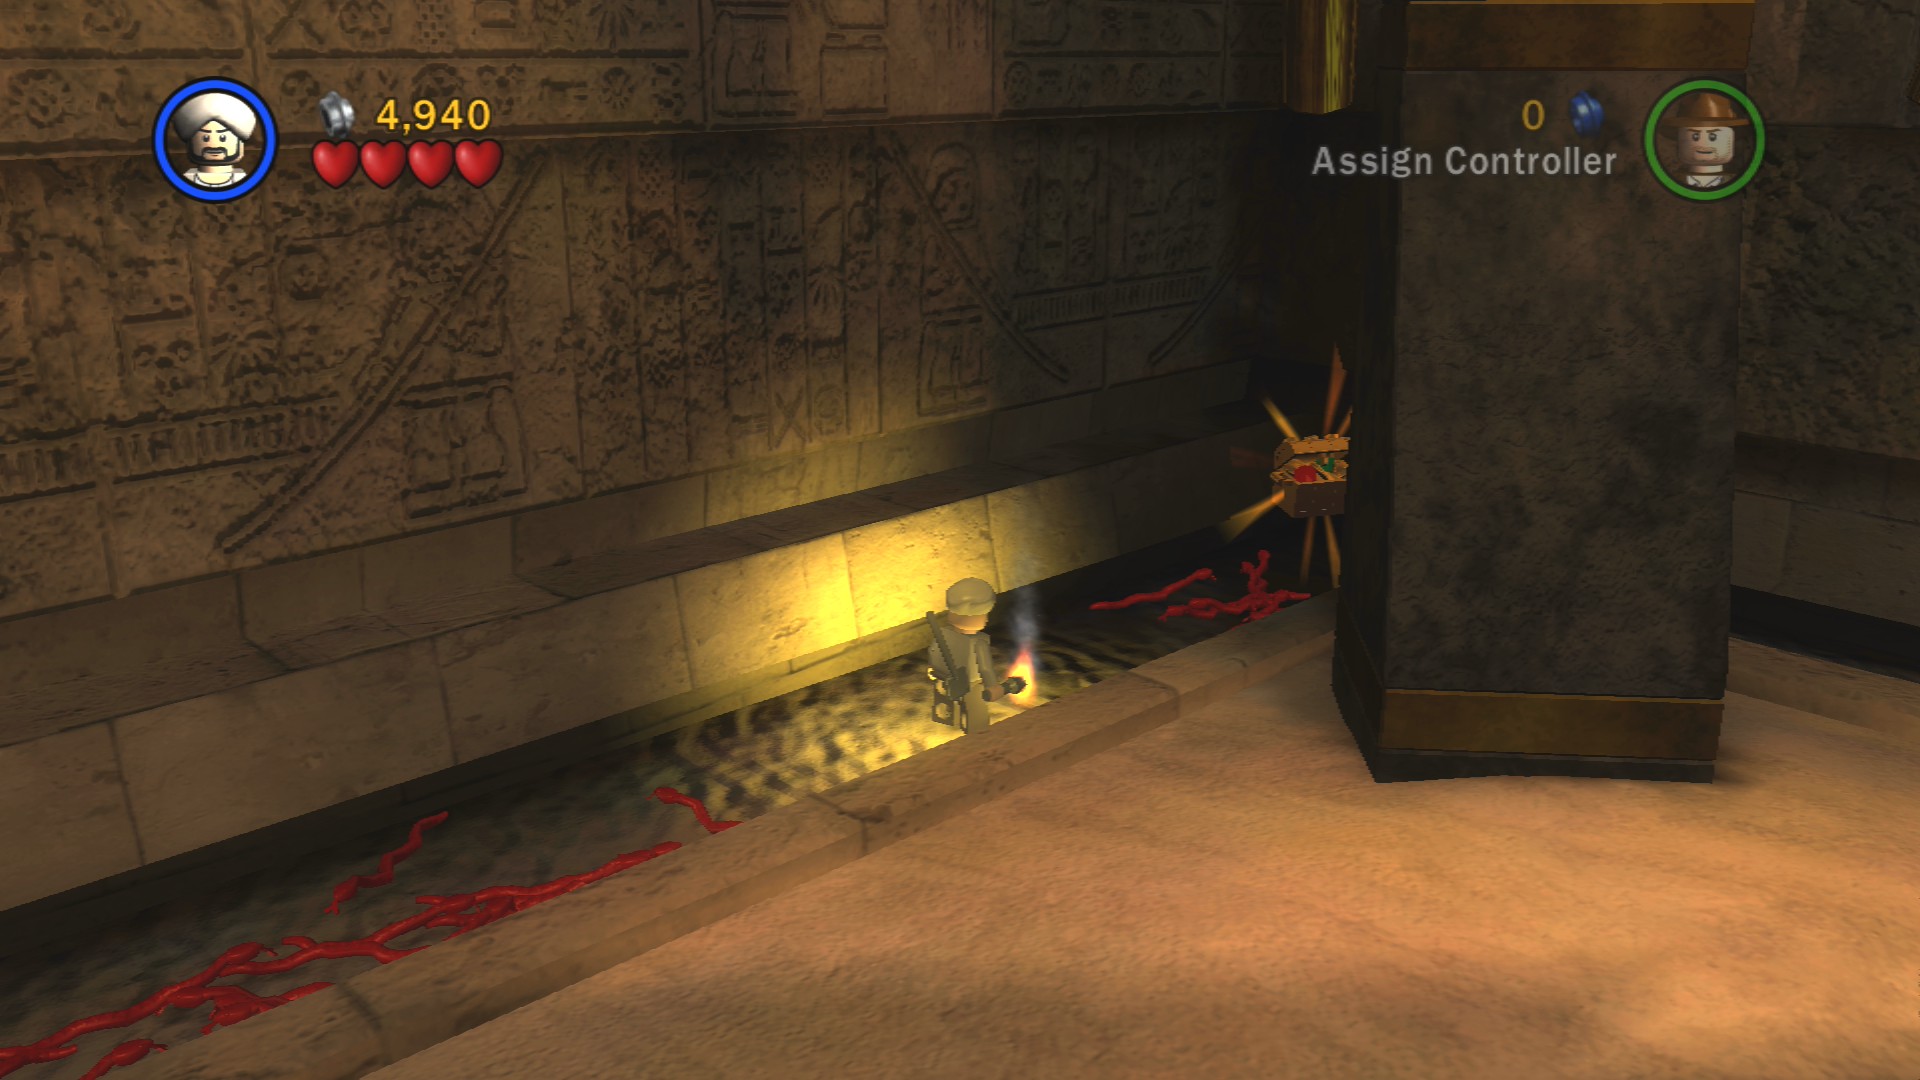
While carrying the flaming torch jump down into the moat of snakes and you'll find the Artefact just to the left of the bonfire.
With both characters across you can stand on the two buttons to open the door.
Try to avoid standing on the long button on the floor as it'll pop out some spears that you'll then have to punch or jump over. Smack the snake with your spade and continue forwards.
Artefact Piece 2/10
Requires: Hatch Access, Explosives Story Mode: No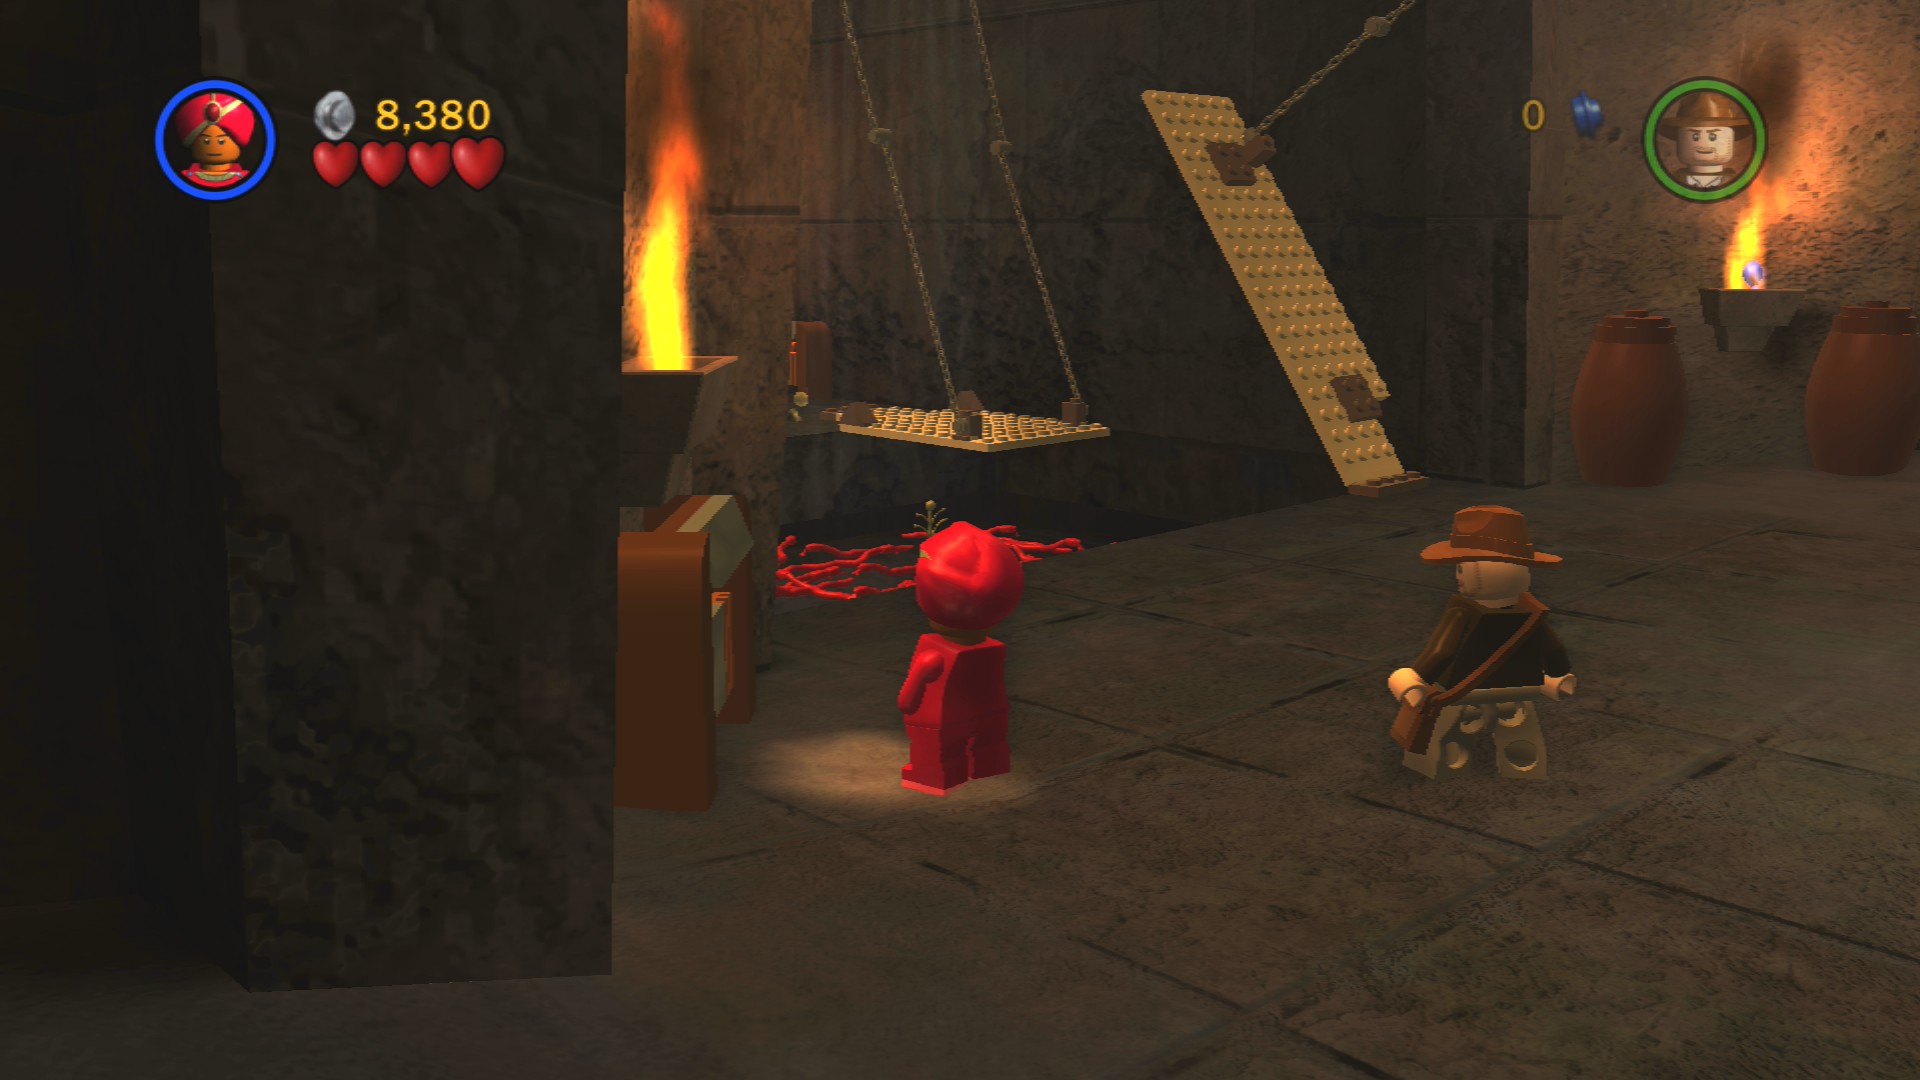
On the left is a pit of snakes, and just before that is a small hatch a little character can crawl through. Smash the two statues by throwing explosives at them and then take a sword back through the access hatch. Throw this sword at the raised portion of the bridge to chop it down. Now you can carry the object onto the orange plate on the opposite side of the room.
Artefact Piece 3/10
Requires: Artefact Piece #2 Story Mode: No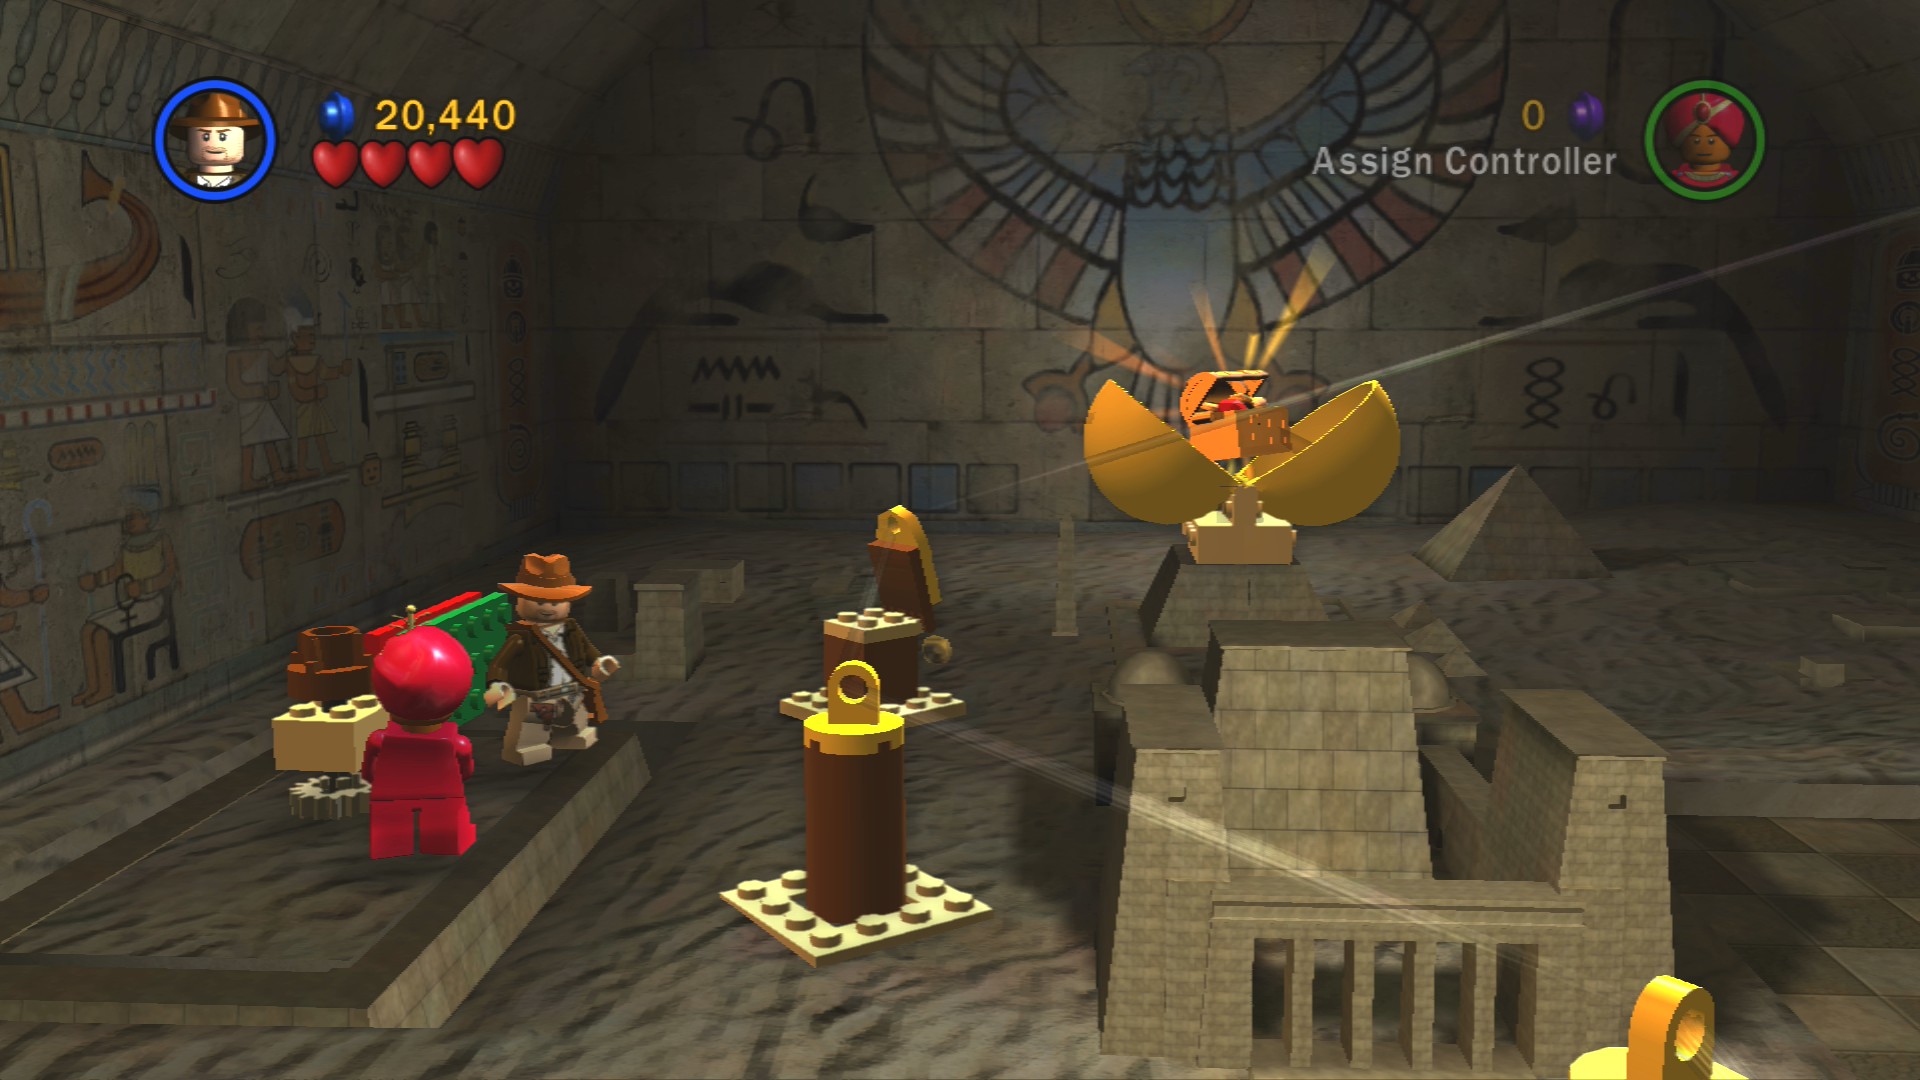
After grabbing that last Artefact Piece you can smash through a stack of small pots to reveal the entrance to a whole other room behind it.
In here go to the right side of the room and start pushing the block to the end of its track. That's cause a building on the left side to lower and reveal a rotation switch. Push that all the way around until the light beam opens the ball and reveals the Artefact Piece for you.
Straight on past another snake and long booby trap button to another large closed door with a panel of nine hieroglyphics on it. A character holding a book can solve this puzzle (smash a vase nearby to get a book if you didn't pick it up earlier) by following the sequence that flashes up.
Rotate the first pillar by pushing on the orange handle.
Artefact Piece 4/10
Requires: None Story Mode: Yes
Turn the key that's between the two rotatable pillars and then smash the wall that's revealed.
Leave the second pillar on this side of the room alone and instead go to the one opposite it. There you can see another handle but this one's lying on the ground so pick it up and attach it. Pull the pillar so that the platform on it is facing into the room.
Attempt to go up the steps at the back and it'll turn into a slope and a few scarabs will attack. Squish them and pick up the key from the ground, use it in the gear on the right side of the room to reveal a smashable wall. After squishing a few more scarabs build a small Anubis statue head out of bricks. Pick it up and carry it over to the right side of the slope to place it and restore the steps.
Artefact Piece 5/10
Requires: Explosives Story Mode: No
Use explosives to blow up the Silver LEGO Anubis statue on the left side of the steps.
Now have Indy jump and climb the rope near the entrance to get up onto the pillar you rotated and jump onto the next pillar. Swap to the second character and have them pull the second pillar around so that a wooden platform moves into position and you can have Indy use his whip to swing across to the opposite side of the room. Switch back again to rotate this pillar and then back to Indy again to jump to the final pillar which will start to lower as soon as you land on it.
Pick up the jewel block and carry it up the stairs. While still carrying it stand on the left rectangle, you'll be lifted into the air in front of the Sphinx's face, place the jewel block to fill in one of the eyes. Jump onto the right paw to pick up a brown rectangle to place it on the green rectangle, then pick up the other jewel block on the other paw and place it in the Sphinx's other eye.
There's a whole load of setting up to do in this next chamber. First go over to the glowing LEGO half buried in the ground and have Sallah dig it up. Pick up the yellow orb and place it in the circle on the back wall.
Next smash the wall on the left side and pick up the platform behind it. Carry it over to the middle back of the room to place it beneath a second circle. Grab the yellow orb that's just lying on the floor and place it in the circle now that the platform is in place.
The third orb is found on the right side of the room, to reach it you need to solve some hieroglyphics (you can dig up a book nearby if you need one). Indy will need to be the one to go up the handholds as he'll need to use his whip to grab the orb. Carry it into position up the little ramp to finish lighting up the three jewels. Approach the Ark.
Have Indy step onto the wooden platform next to the flowery high jump marker and switch to Marion to have her high jump and grab the rope. This will lift Indy up so that you can switch back to him and swing across to the next pillar, knocking it down to create an exit.
Shimmy along the handhold to the right then jump to the vine.
Artefact Piece 6/10
Requires: None Story Mode: Yes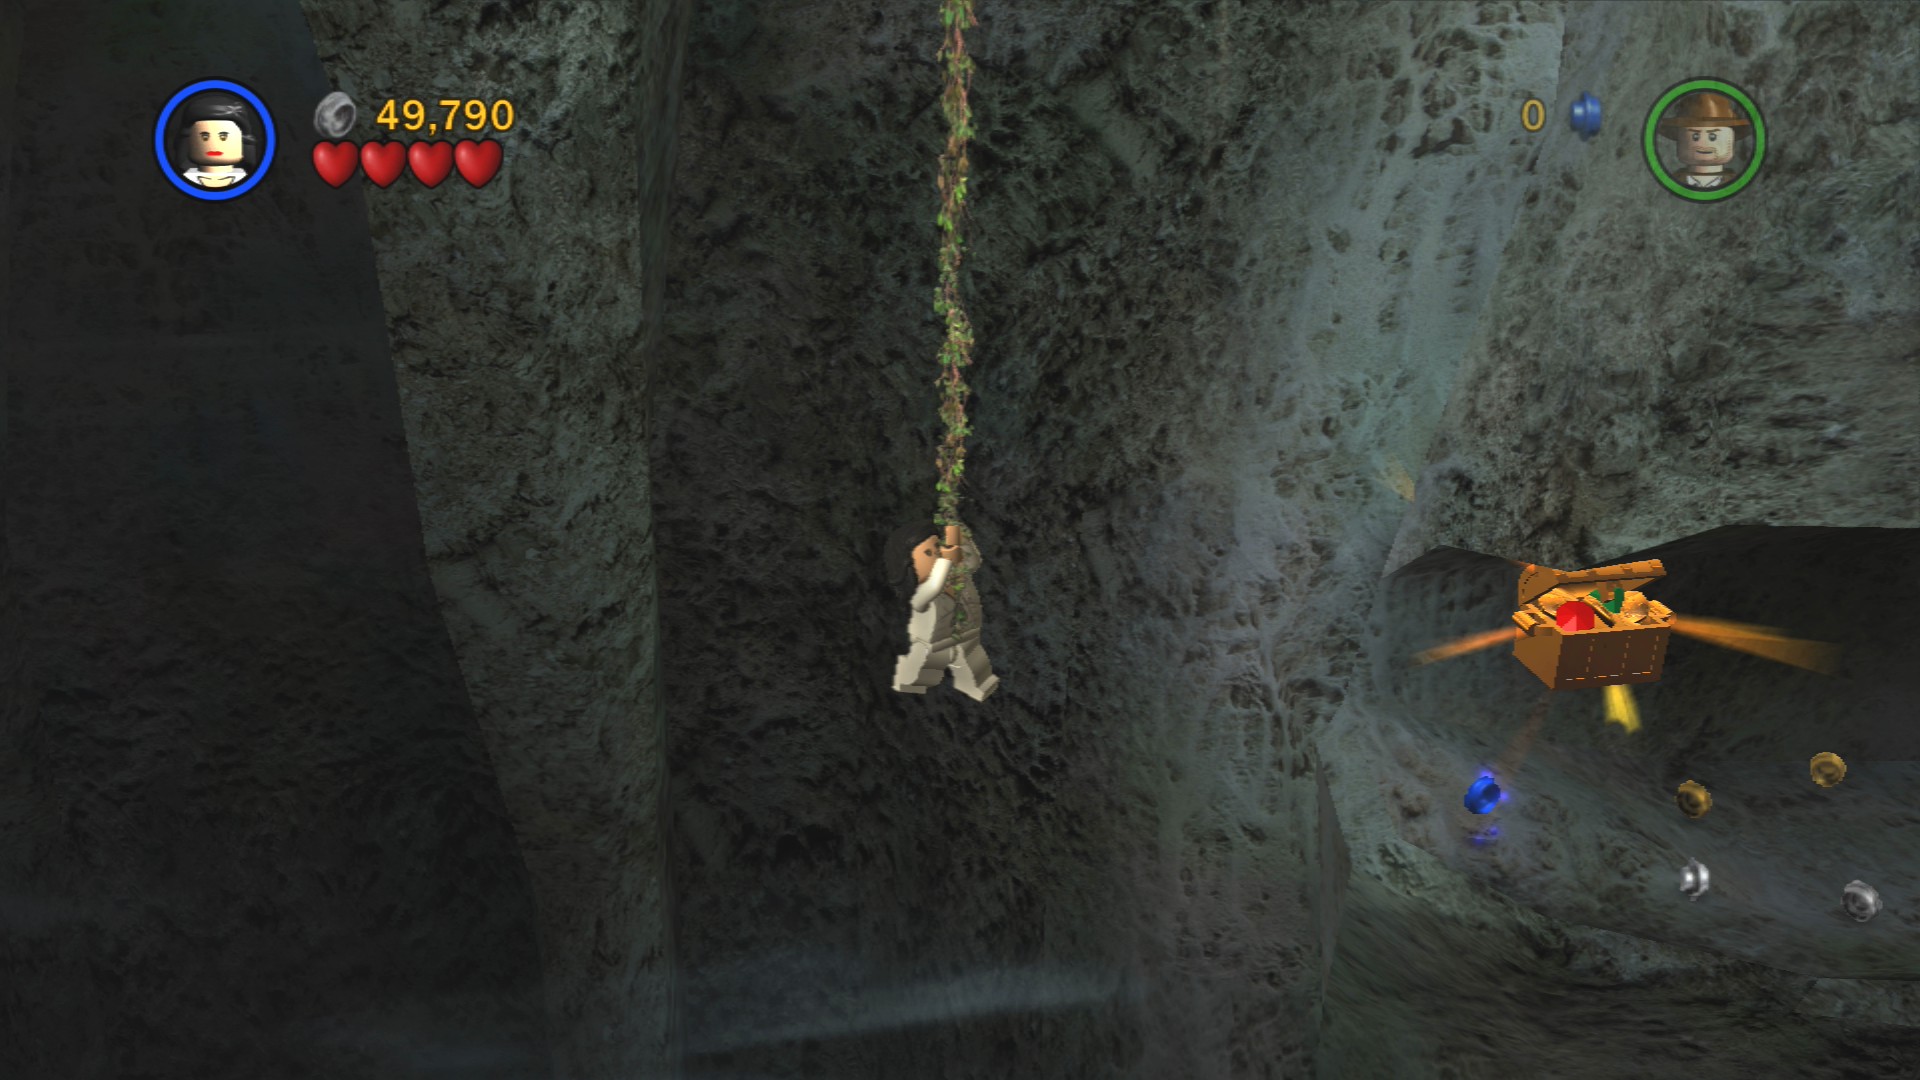
Slide down the vine and jump to the right to where you can see the Artefact.
Artefact Piece 7/10
Requires: High Jump Story Mode: Yes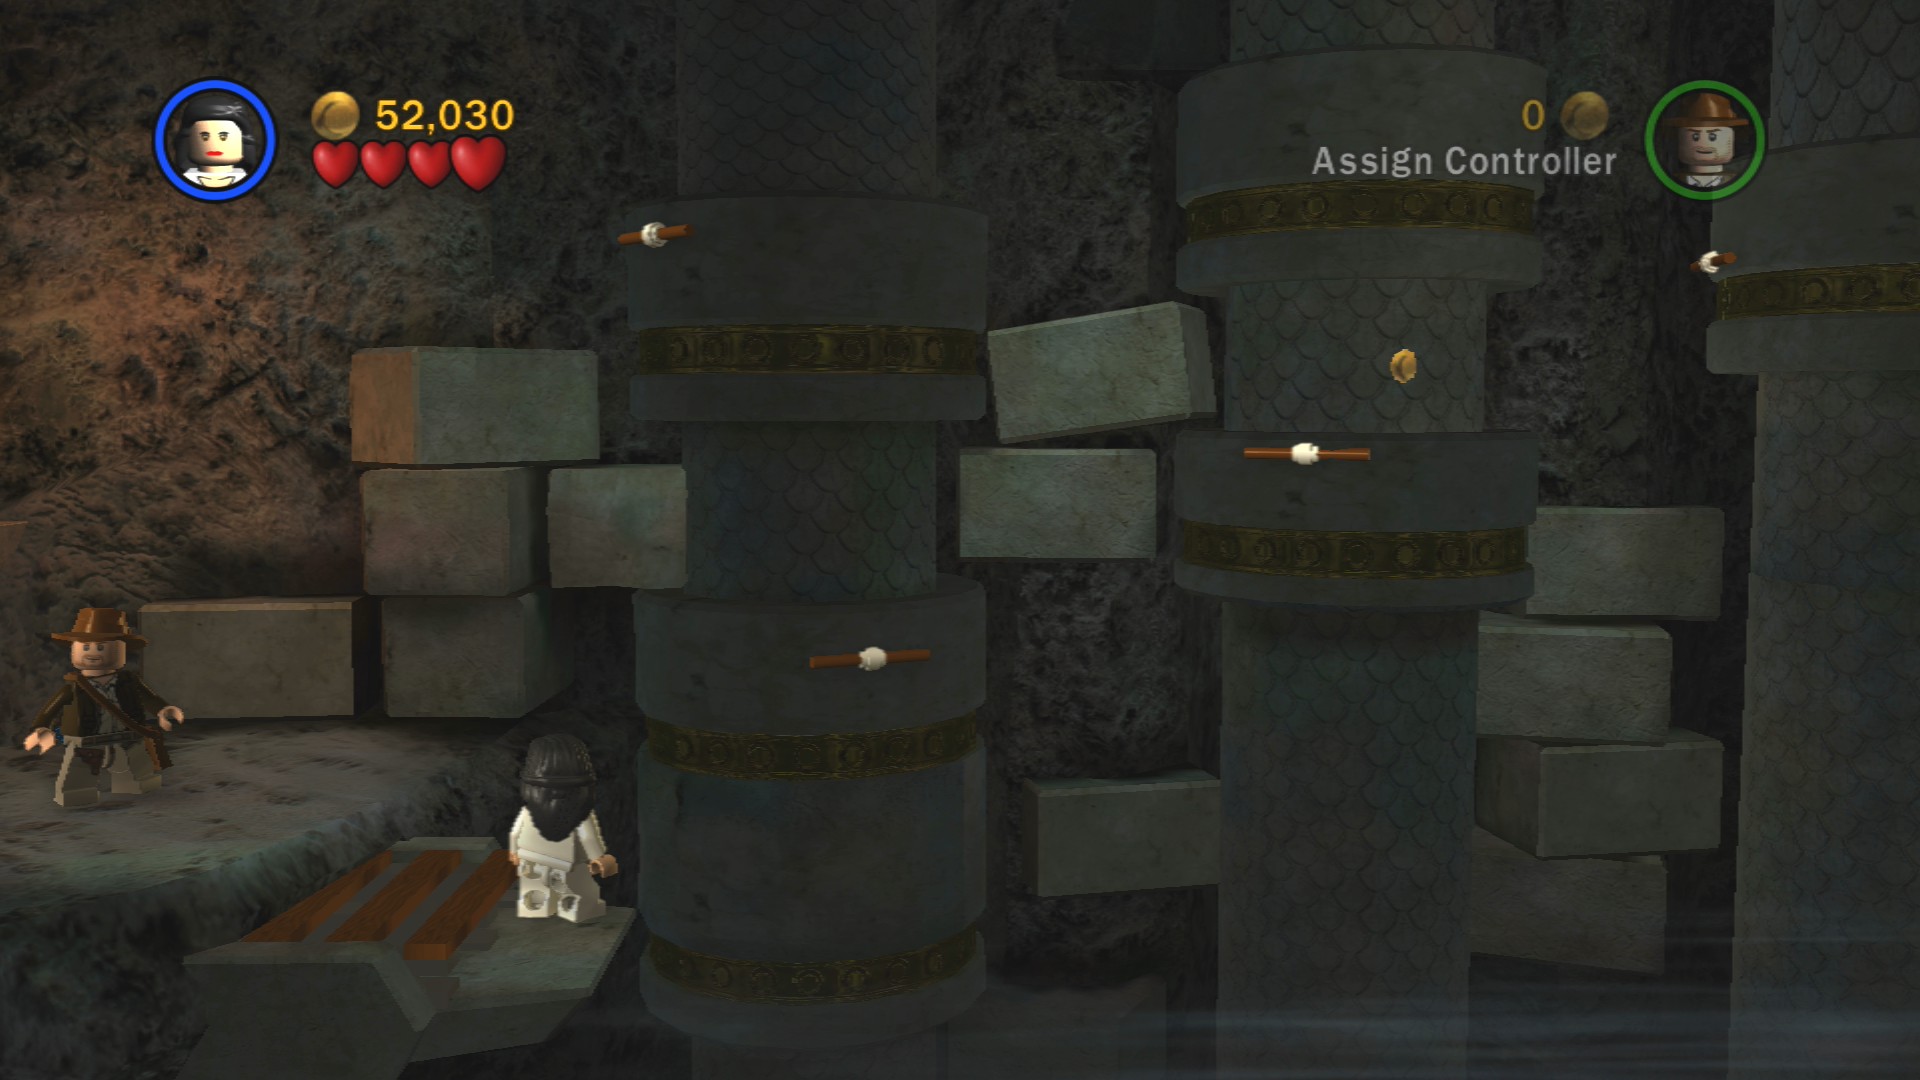
Smash a couple of barrels after the vine that are blocking a cave covered with spiderwebs, smash through those to enter another room.
In here you'll find some rotating pillars, you will have to jump to grab the handholds that are rotating around with the pillars and use them to jump across the gap to the far side. The first one is quite low, jump from it to the right and then from that one quickly back to the upper left of the first pillar. Wait a moment and then jump to the top of the right pillar. Wait for that to rotate as far round as you can before jumping down to the right straight onto the Artefact Piece. A bridge will extend to let you get back out.
Whip swing across the next gap then smash through some webs to get a spade to dig up the lever that'll let Marion over. Both of you will need to grab hold of the ropes to open the door and let some scarabs in.
Make sure to bring the spade with you into the next room. On the far right side you can dig up a small gear, carry it to the mechanism on the back wall. Grab the other gear that's in the open and place it on that mechanism too.
Between where you found the gears are some pots, smash through them and the wall behind them to reveal some scarabs and a key for the mechanism. Rotate the key so the platform is fully up then have Marion jump up onto it via the platforms to the left.
Artefact Piece 8/10 - Part 1/3
Requires: High Jump Story Mode: Yes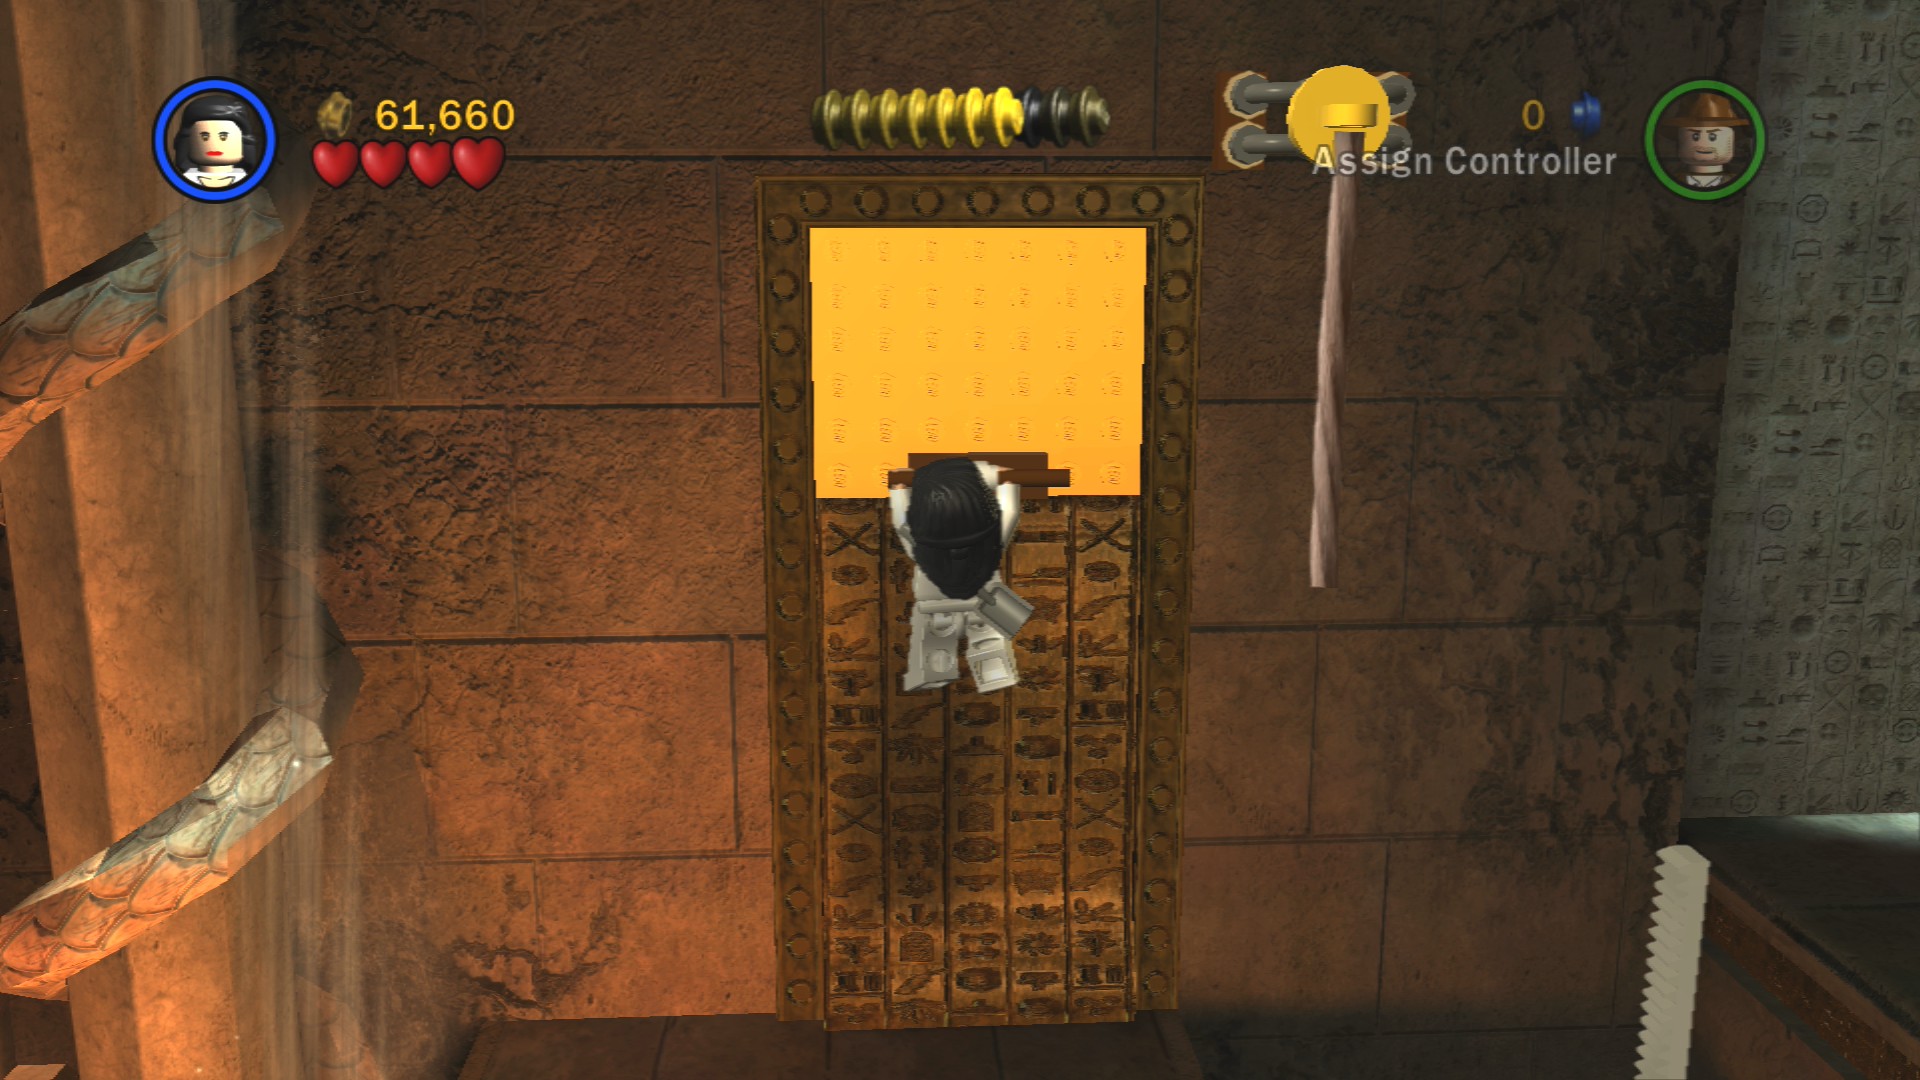
Above the mechanism is a rope you can grab to reach a handhold on the wall that'll lower a golden panel, the first of three.
Artefact Piece 8/10 - Part 2/3
Requires: High Jump Story Mode: Yes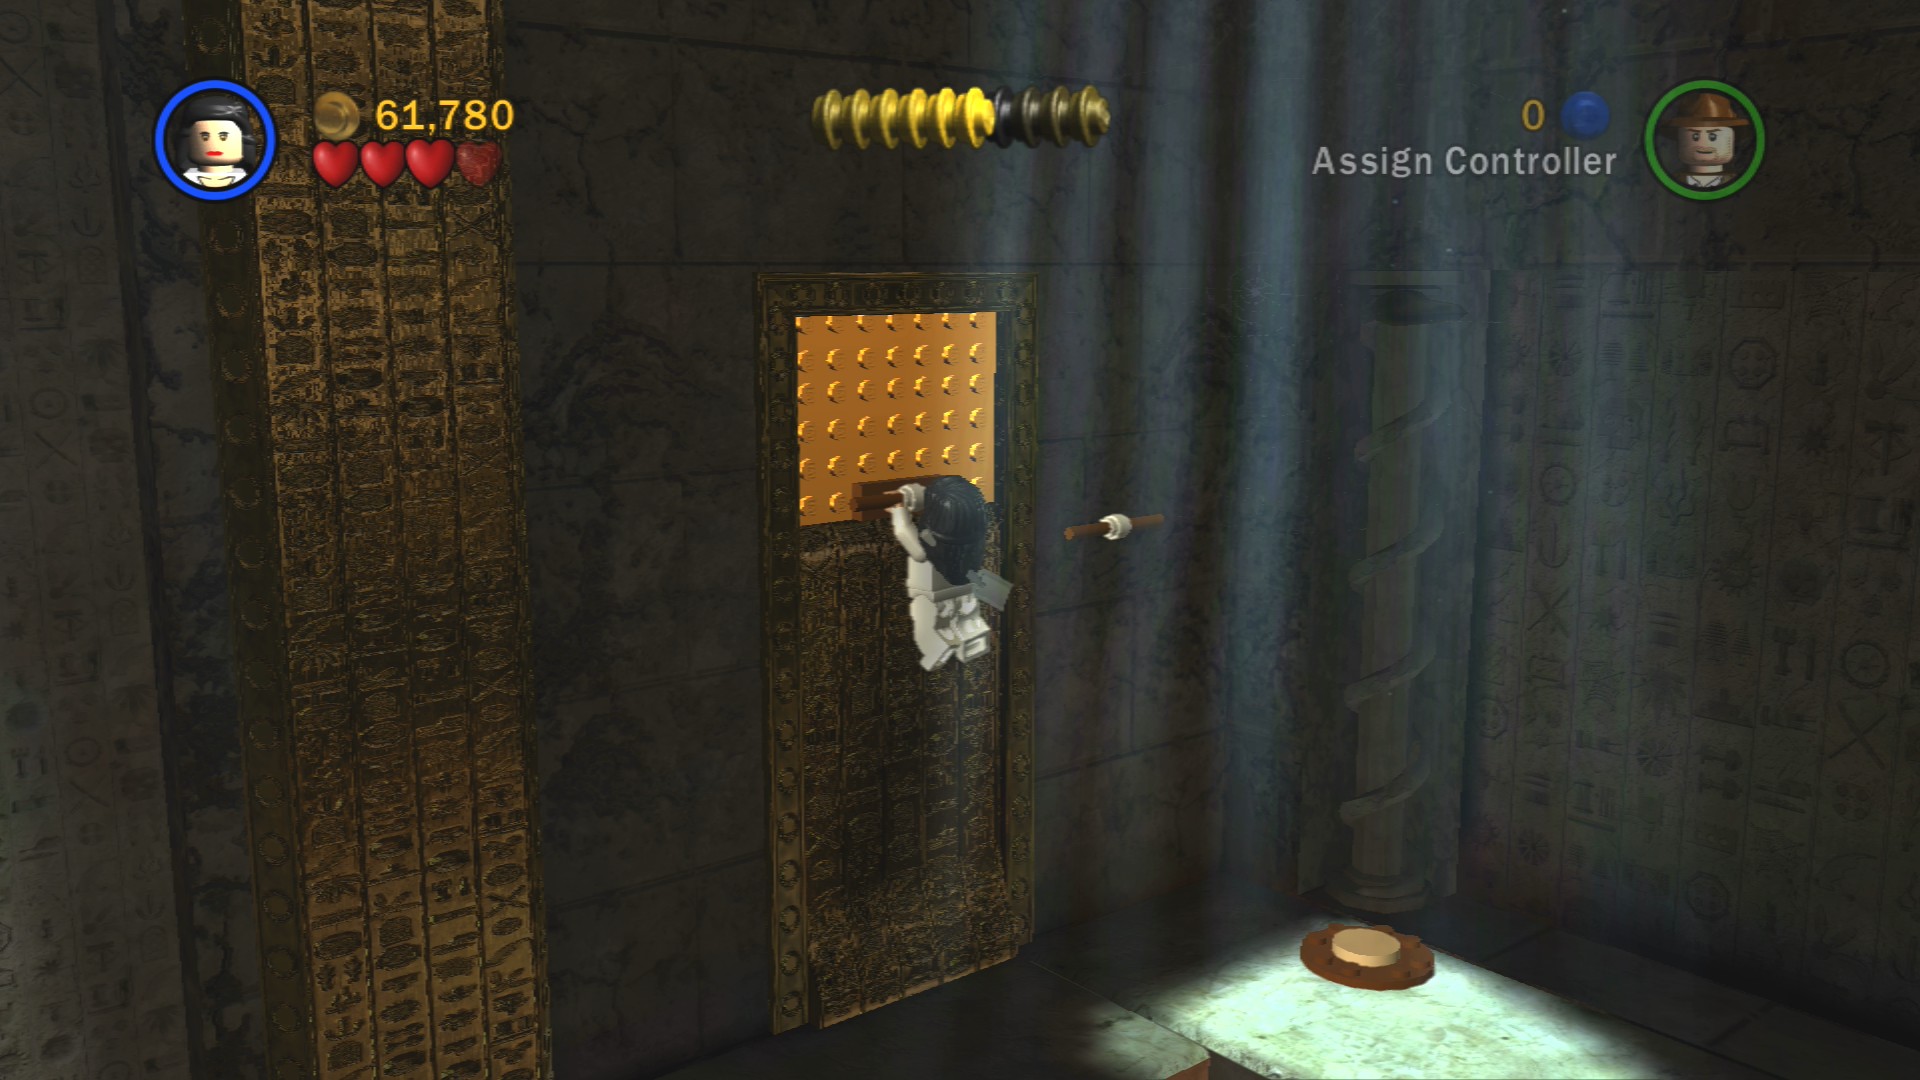
In the corner next to the two buttons is another handhold you can reach from the floor, use it to reach the next panel's handhold. If you're quick you can jump from it to grab the purple 10,000 stud above it as well.
Artefact Piece 8/10 - Part 3/3
Requires: High Jump Story Mode: Yes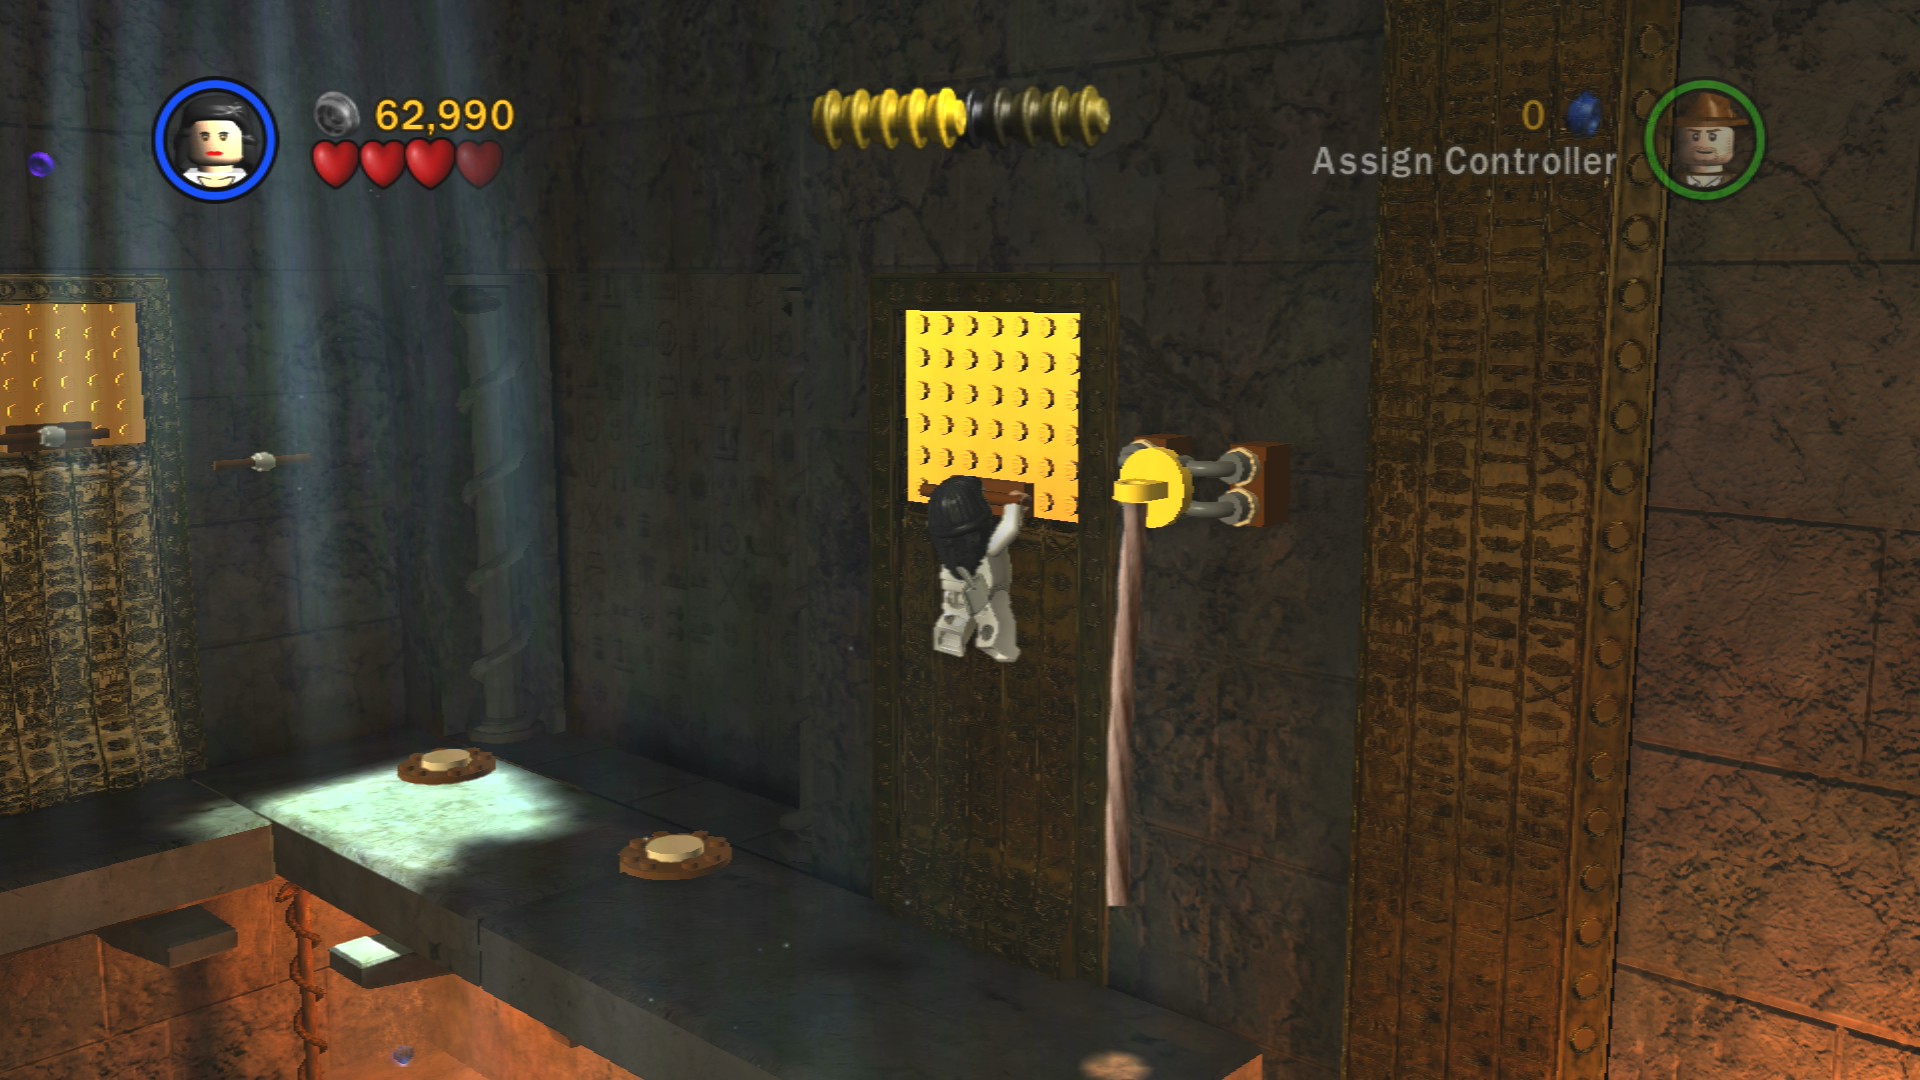
And just past the buttons is the third and final panel. The Artefact will appear in the middle of the room and will require you to assemble to block first to high jump from it.
Now that you've got the Artefact it is safe to push the assembled block in the middle of the room into the diagonally opposite corner in order to let Indy jump up and help by standing on the other button.
While walking past the rows of standing sarcophagi be careful not to get too close to the ones with a blank front as a spear will jab out of them if you do.
Artefact Piece 9/10
Requires: Book Story Mode: Yes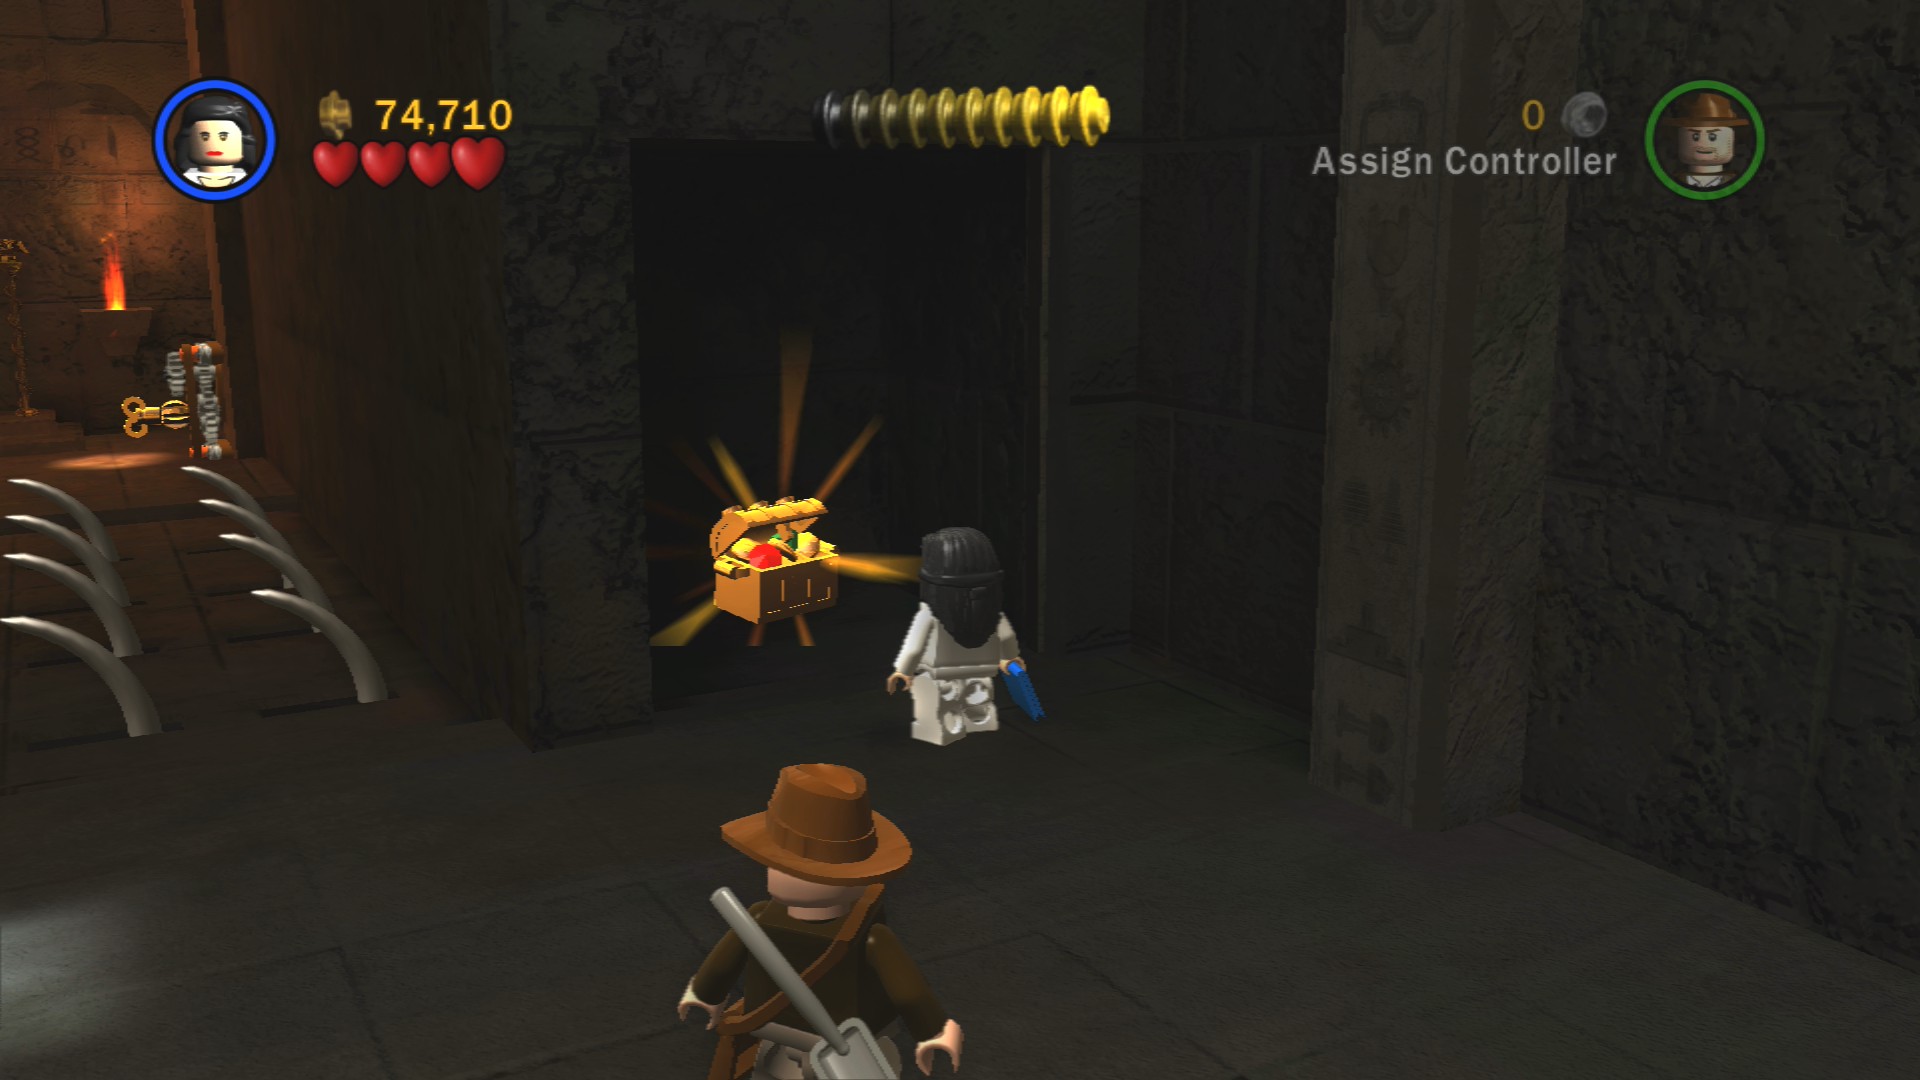
Smash through the wall along the left side of the sarcophagus corridor and go through the gap into a new room. Stand on the button near the curved spikes and you'll see that they retract into the ground, quickly run and jump across them before they pop back up.
On the other side smash the pot on the right side to reveal a key for the gears. Using that will bring out a platform along the left side that will let you walk back safely while carrying the two hieroglyphics. If you're in Story Mode and have lost your book you can find another one by backtracking through the level all the way to where Marion joined.
At the end of the sarcophagus corridor take a right. Whip swing across to a spade and a diggable object right in front of it. Dig it up to get the bricks for a couple of handholds. Jump up them and use the whip to pull down the bridge to reach a key. Jump down and place it in its slot. Switch back to Marion and high jump to a vine then smash the pots to find a key and jump over to the second key slot across from Indy. Turn both keys at the same time to lift both counterweights and raise up the platform.
Giant snake! Easily dealt with though, just grab the flaming torches and throw them at it.
Artefact Piece 10/10
Requires: None Story Mode: Yes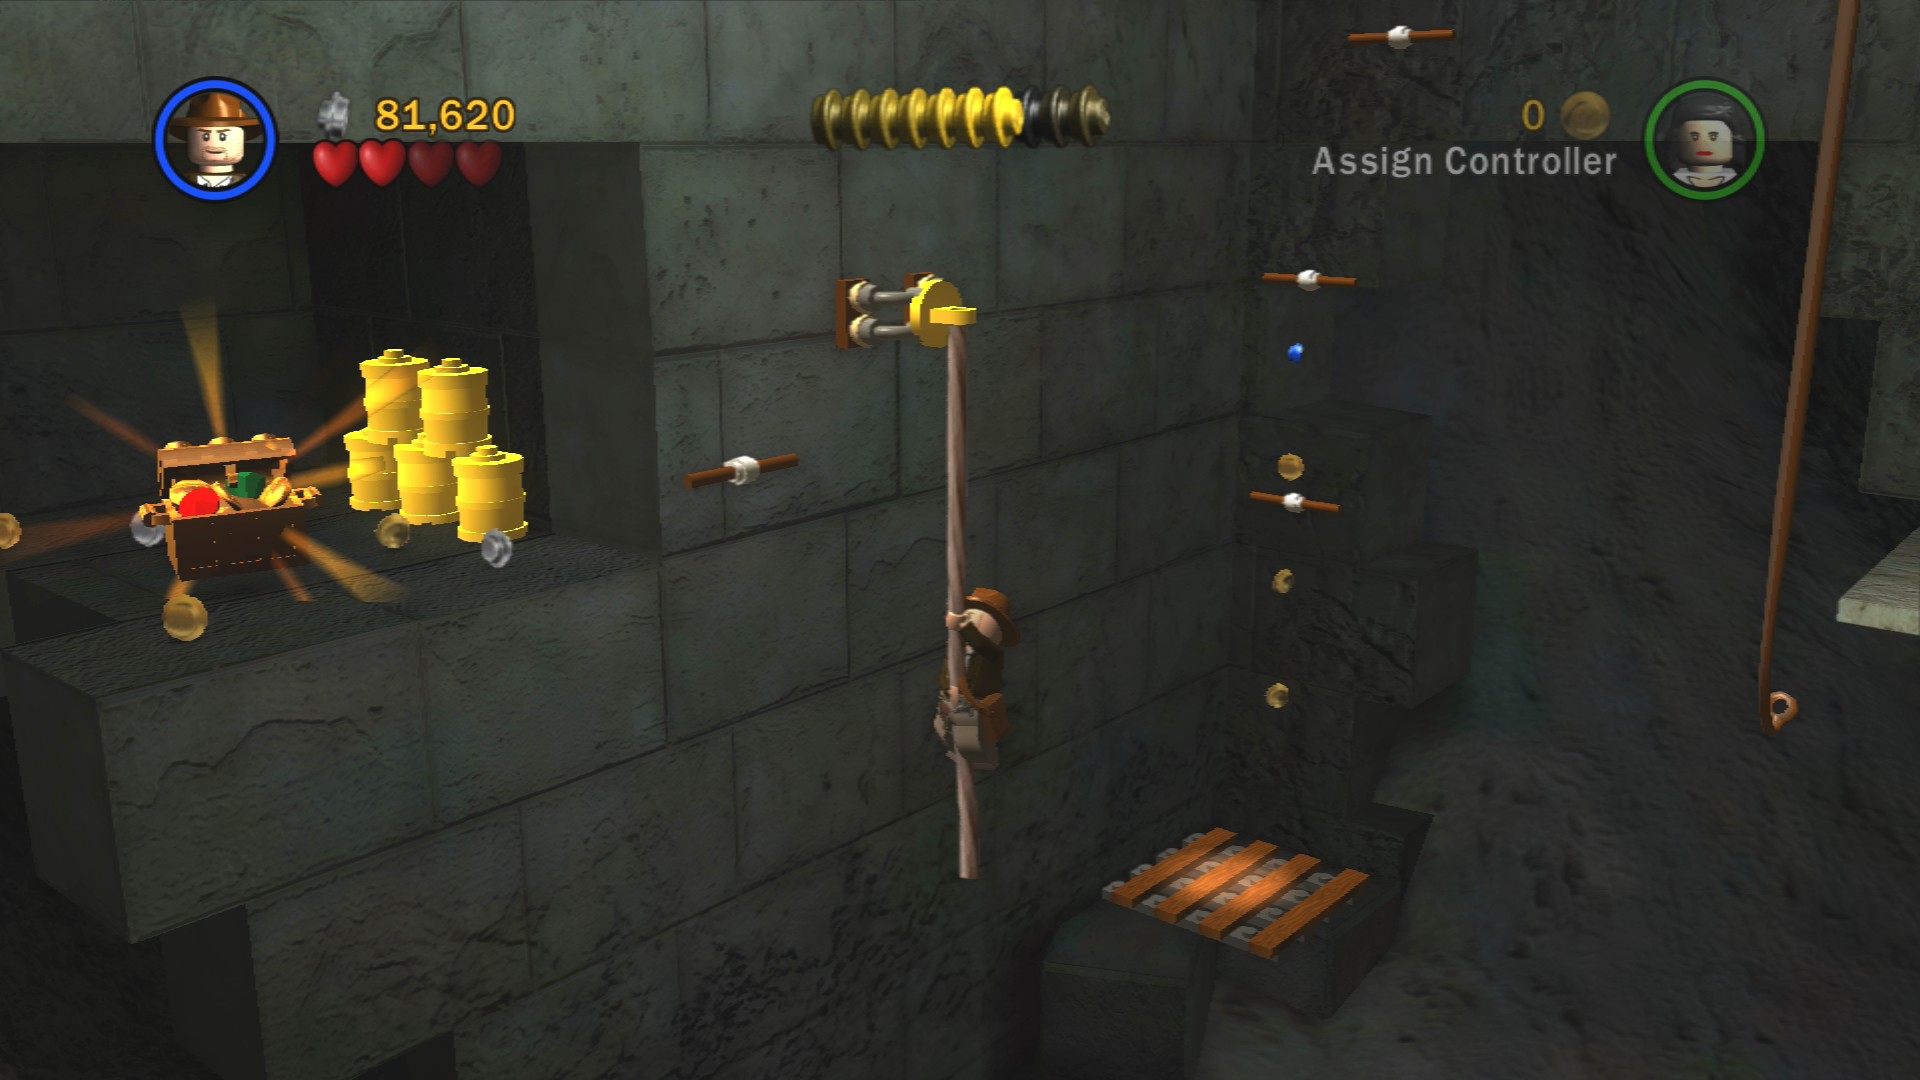
Whip swing to the left and jump to the dangling rope to the left of where you land. From there use the handhold to reach the Artefact.
Red Parcel - Fast Dig
Requires: None Story Mode: Yes
Where you get that last Artefact Piece smash through the small canopic jars and the wall behind them will open to let you through.
Ignore all the stuff on the floor for the moment and go to the back of the room to pull the lever, it'll open up the second half of the room. On the other side you can assemble the red Mailbox and further back a channel to funnel water into the pool. Pull the lever on the back wall to flood the pool more. Next smash the pot in the right corner to find a key, use that on the gears next to the mailbox to finish flooding the pool.
In the first part of the room the seven flowers will have sprouted, smash them all to reveal the Red Parcel which you can now take over to the Mailbox.
Build a platform out of the dead snake then ride it up to where you can push the block out to exit the level.
| Cost | Character | |
|---|---|---|
| - | Sallah (Desert) | |
| - | Marion (Evening Dress) | |
| 27,500 | Indiana Jones (Desert Disguise) | |
| 50,000 | Belloq | |
| 30,000 | Enemy Officer (Desert) | |
| 15,000 | Bandit |
Chapter 5: Pursuing the Ark
| Story Mode | Free Play |
|---|---|
| 47,000 | 50,000 |
First you'll want to defeat the enemy soldier shooting at you as well as any further ones that appear while you're in the area. Pick up the nearby blue crate and carry it onto the grey and green flooring next to where you started. Next to the large crane you should be able to see a glowing spot for Indy to use his whip to dislodge a ladder.
Climb the ladder and take the blue crate up here and place it down next to where you placed the first one. Now you can finish the crane to get it working. Hop into it and pick up the large barrel just to the left, rotate the crane to place it on the platform sticking up to its right so that it pushes a second platform even higher.
Red Parcel - Fast Build
Requires: Explosives Story Mode: No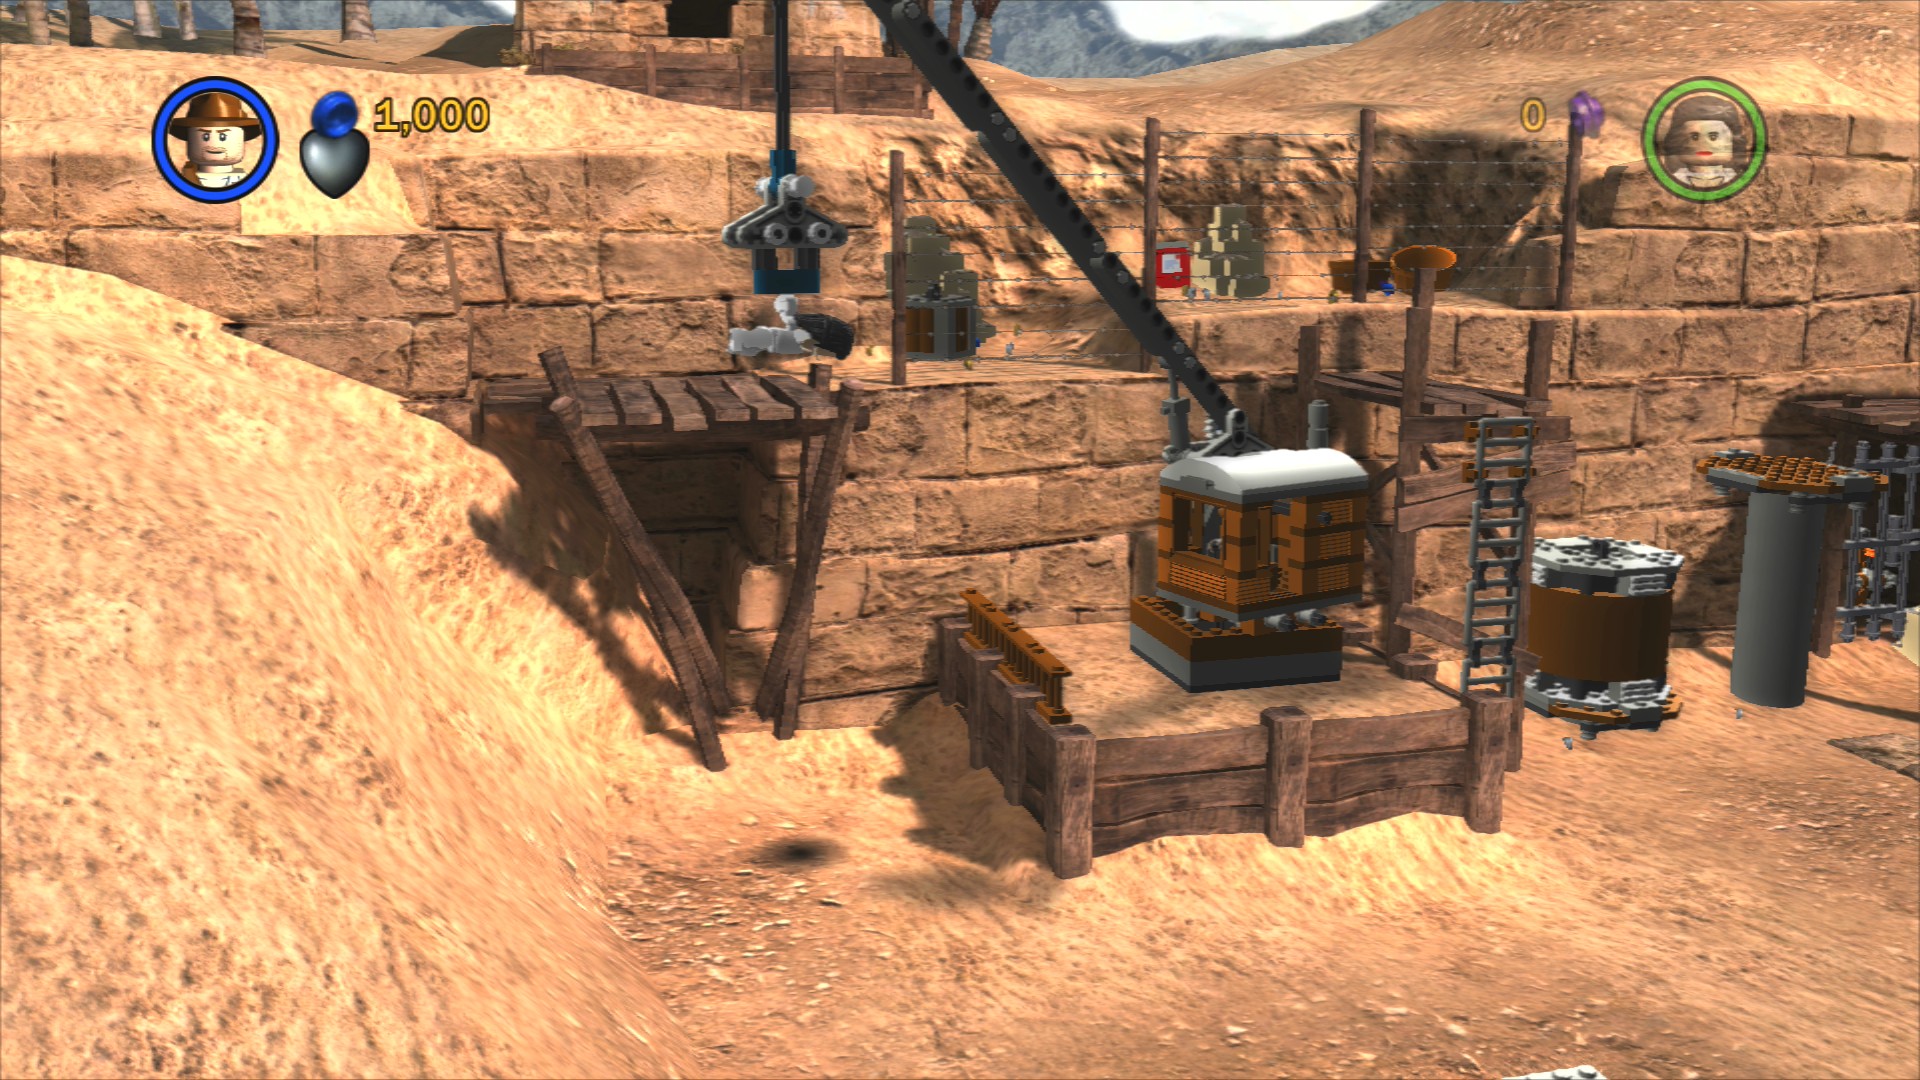
Before you get out of the crane use it to pick the other character up and place them on the high up platform to the left. Switch to them and go grab the Red Parcel and bring it down to the ground.
To get to the Mailbox you must use explosives to blow up the Silver LEGO underneath it to the right and pull the lever it reveals. Now quickly carry the Parcel up the stairs that have popped up as the gate is on a timer (you can jump while holding the Parcel).
Artefact Piece 1/10
Requires: Explosives, Book Story Mode: No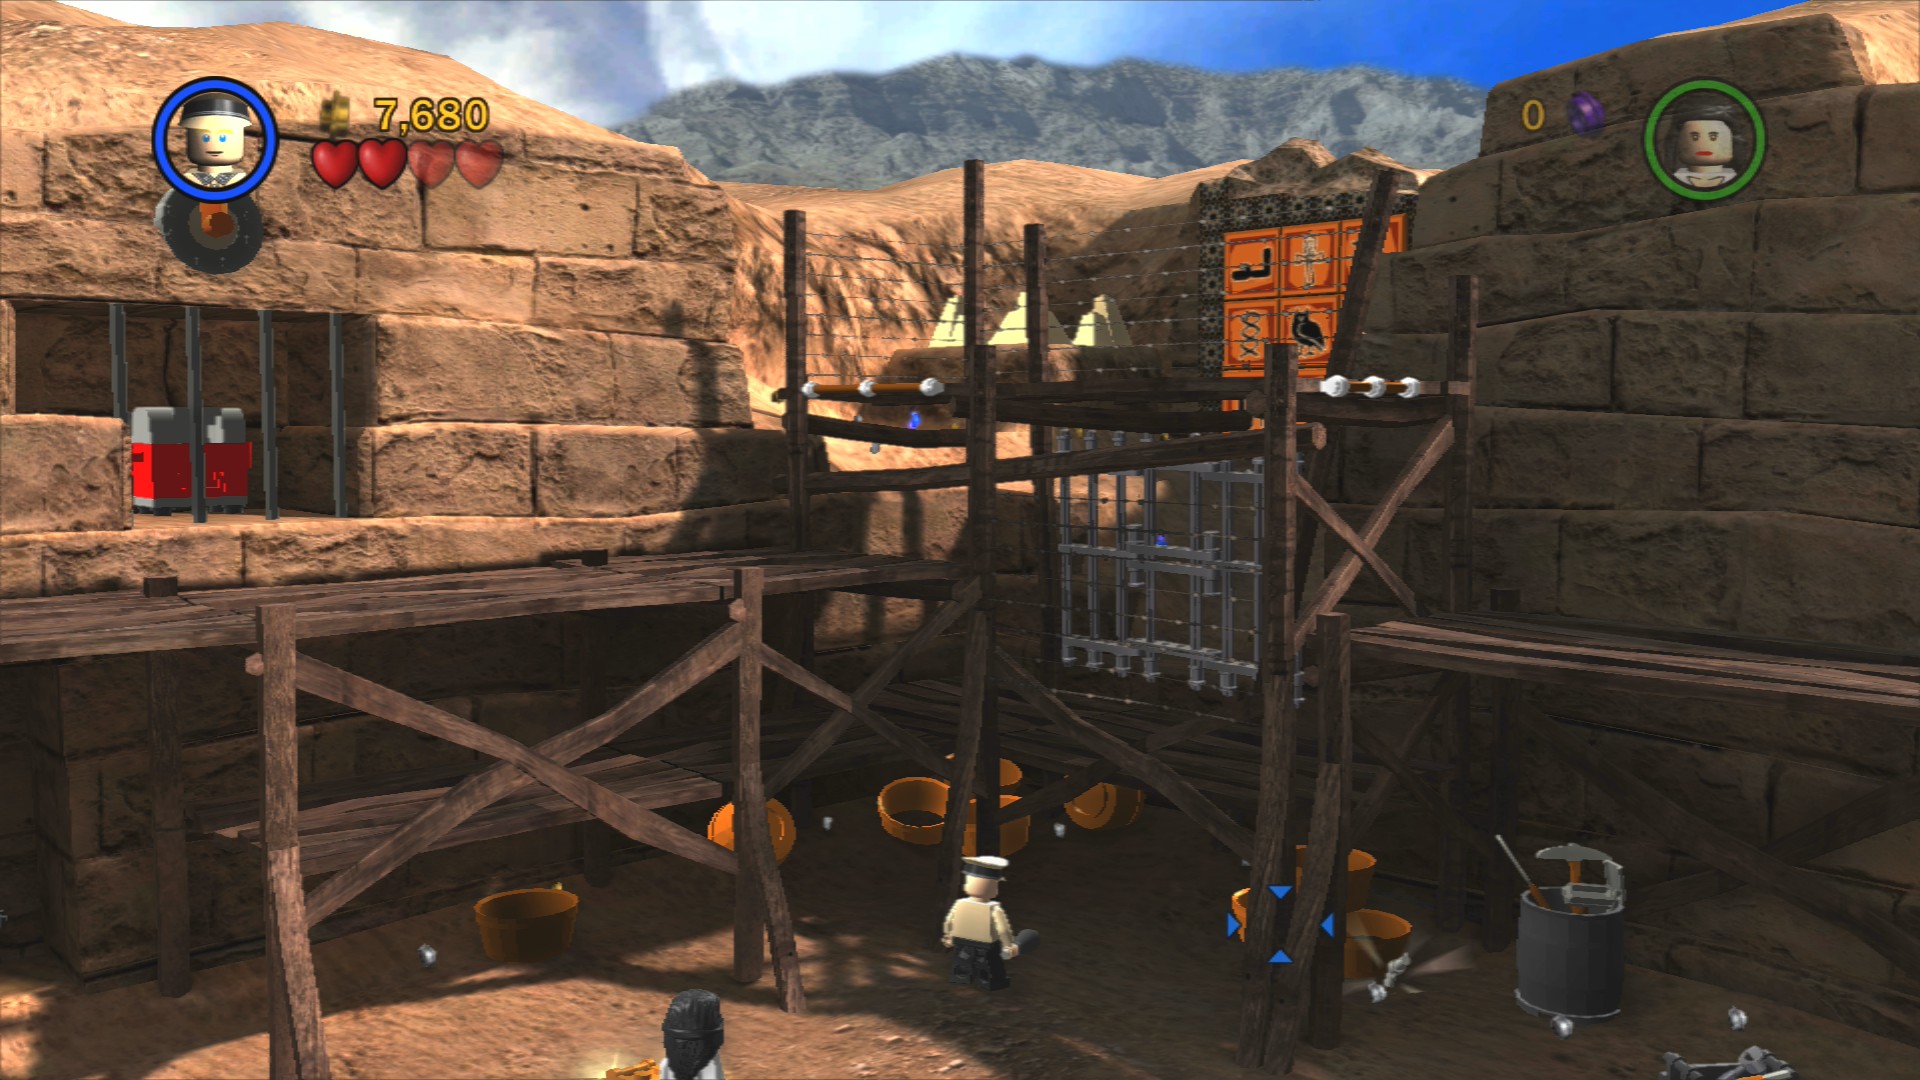
To the right of the Mailbox you can see some hieroglyphics, to reach them jump into the middle section of the platform just underneath the Mailbox and blow up the Silver LEGO using explosives. Now you can get through to use a book to solve the puzzle. An explosion will then be required to free the Artefact Piece.
There's more to do on the ground before we properly use that raised platform however. Go to the right side of the area past a few more enemies that are hanging out next to a broken blue engine (you can fix it with a spanner but it only leads to studs) to where you can see some LEGO gleaming in the sand. To the right of that is a grey barrel that contains a spade you can use to dig it up.
Pick the tracks up and start to carry them towards the back of the area. Stop at the little minecart and give it a push.
Artefact Piece 2/10
Requires: Hatch Access Story Mode: No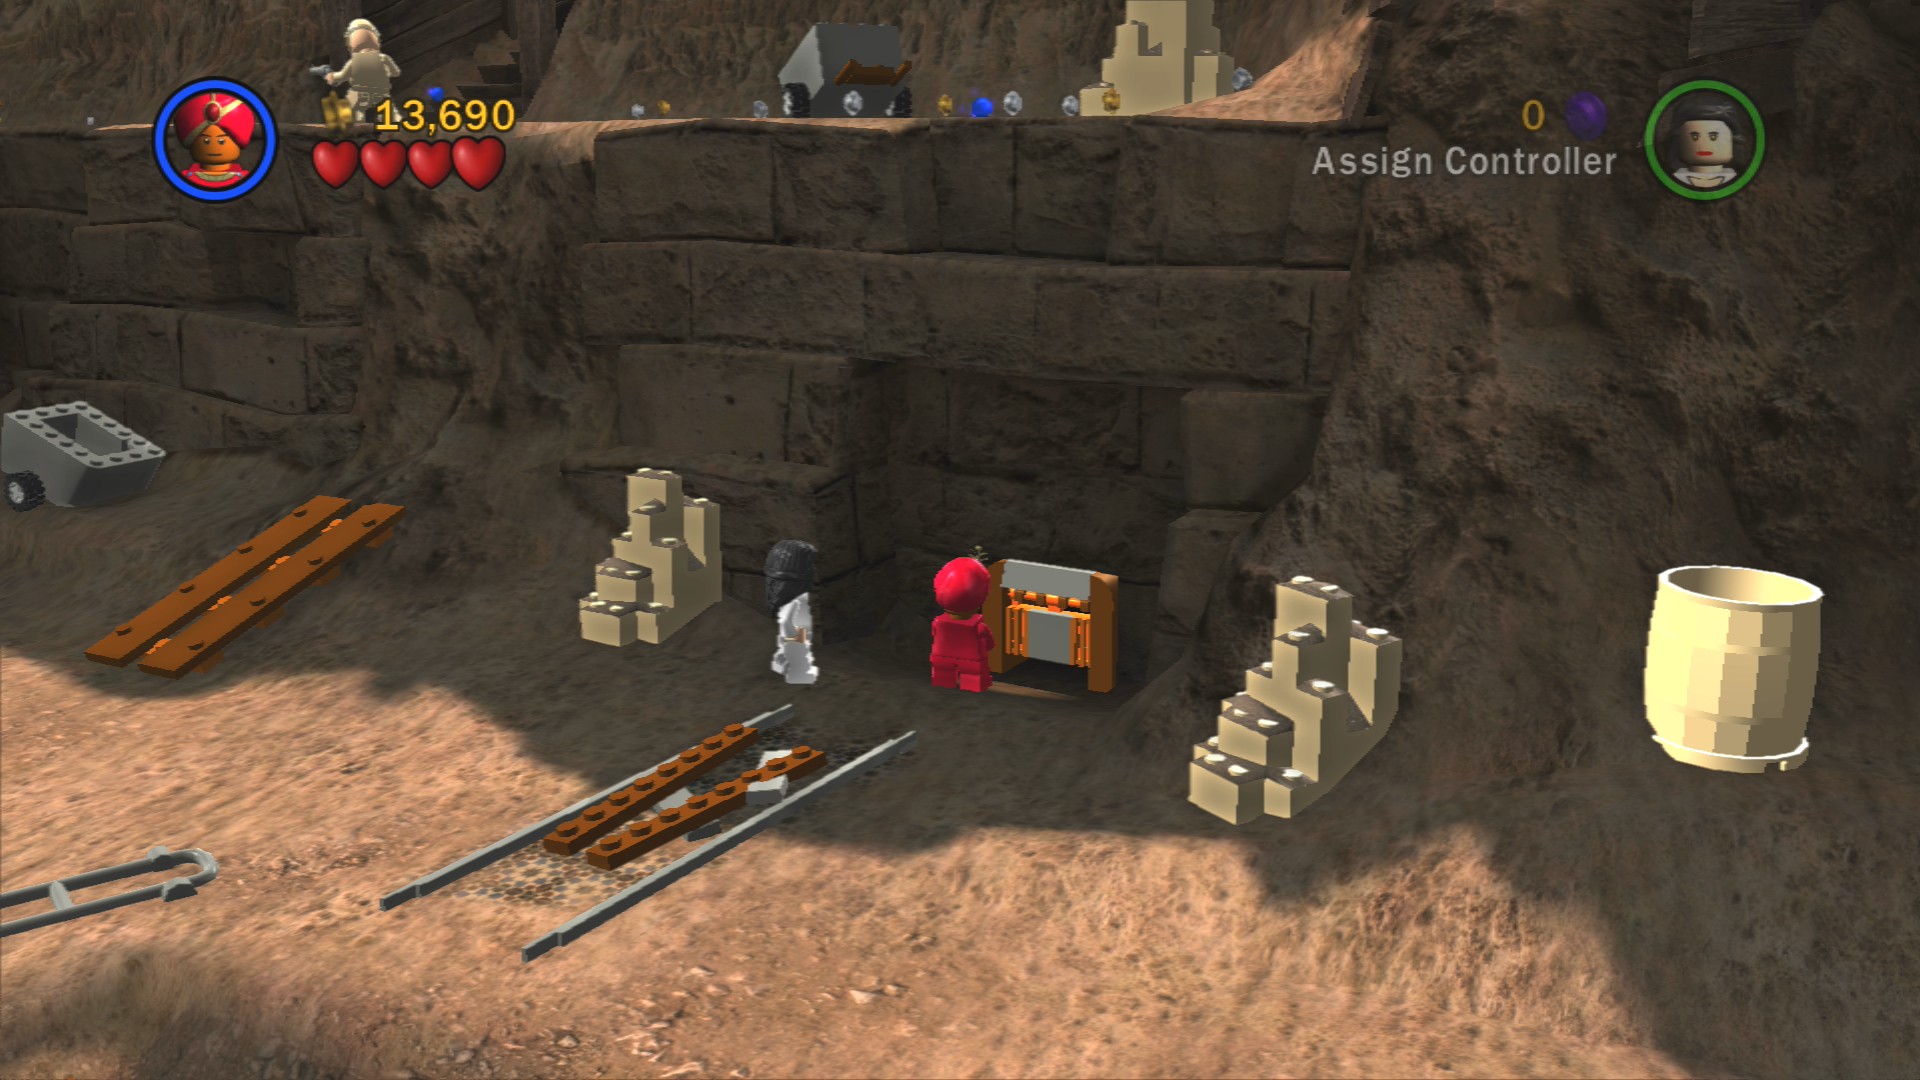
Go through the hatch after smashing the minecart into the wall.
As well as the hatch the minecart will throw out LEGO for a second section of track for you to build. Carry each piece one at a time towards the left at the back where you can see a short section of track with three spots that need repair. The third piece is right next to it.
Leave the cart on the track where it is and go back to where you raised a platform with the crane. Switch to Marion and jump up to make your way around onto the top of the cart.
Artefact Piece 3/10
Requires: Shovel Story Mode: Yes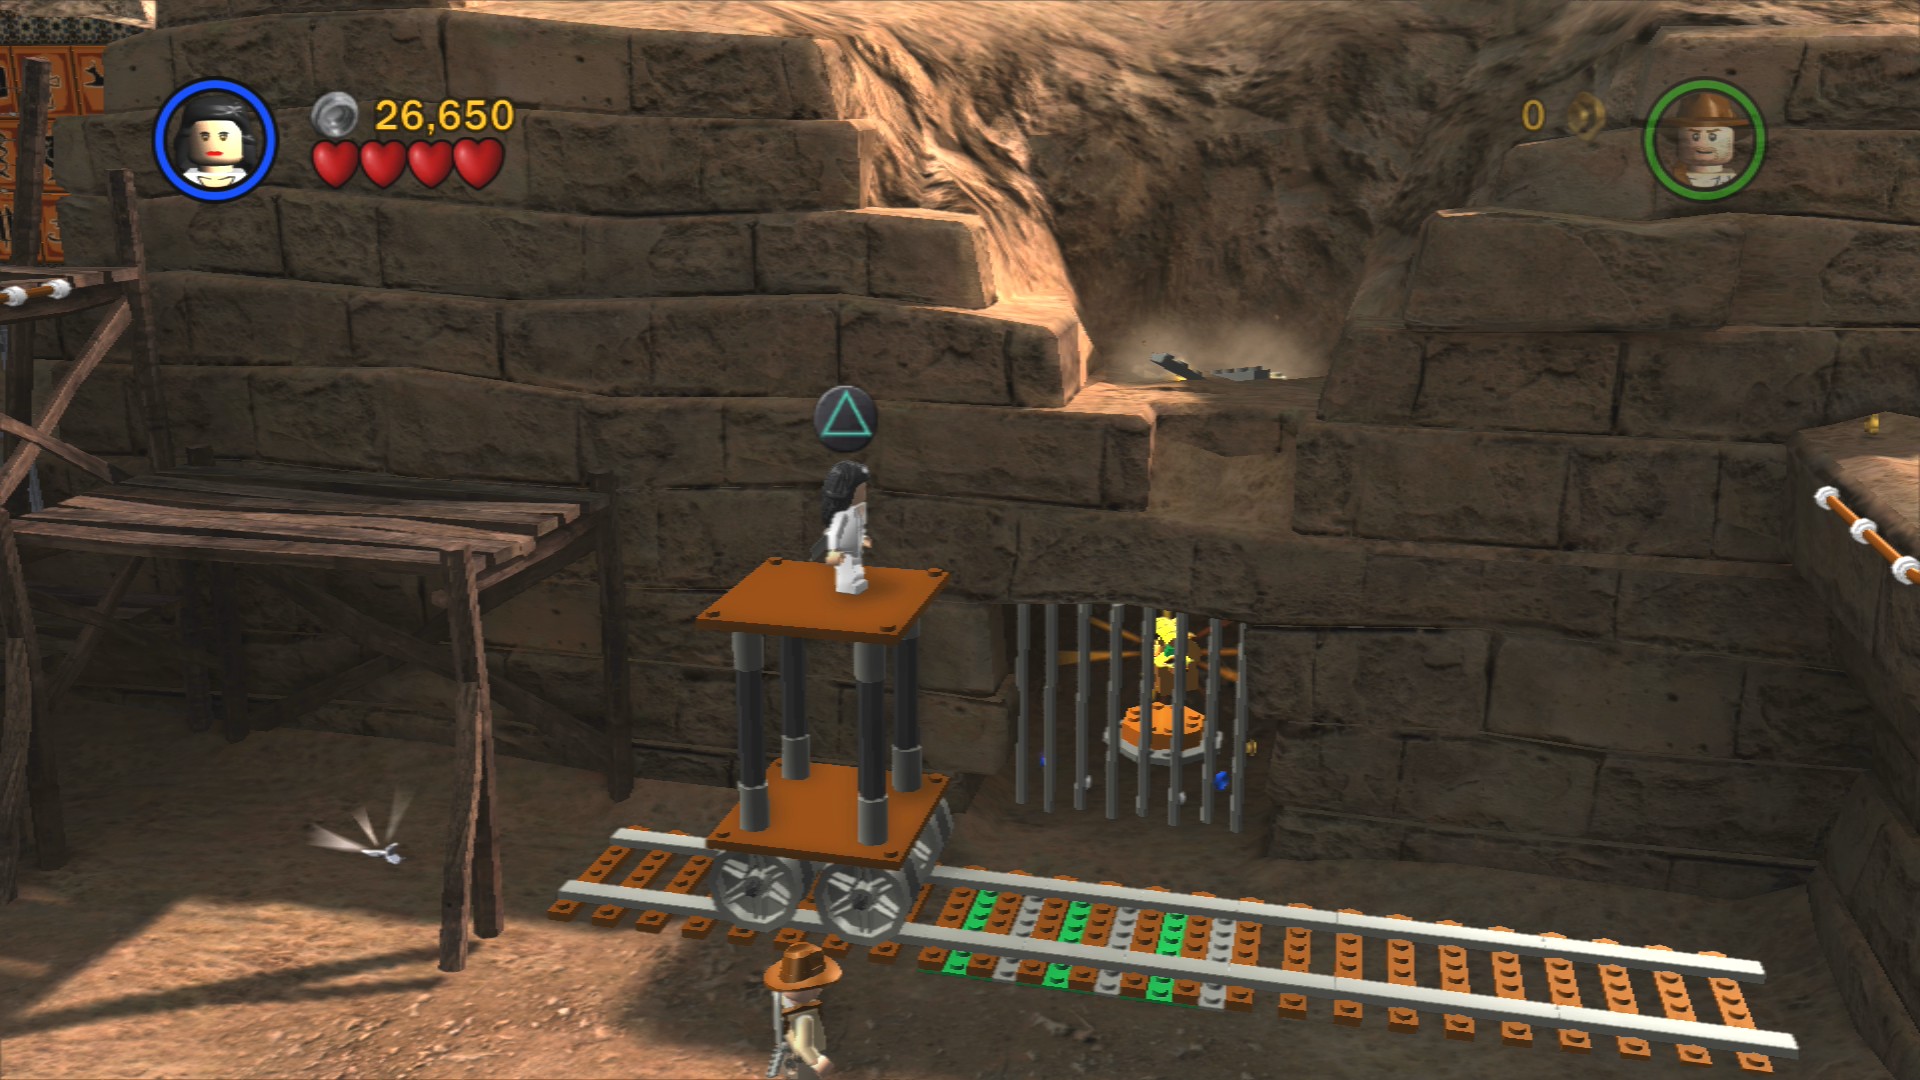
Halfway along the track jump off to where there's some glowing LEGO for you to dig. You'll dig a hole right down to the Artefact Piece below.
Push the cart along the track and switch back to Mario to jump off and assemble the rope for Indy to climb up. Both characters will now need to grab hold of a pair of ropes. Defeat the last enemy and make your way to the area exit.
This next area will continually throw enemies at you including ones that throw grenades. Those grenade throwing enemies have hats that you can put on to disguise yourself for the guard post on the far right side of the area.
Artefact Piece 4/10
Requires: Explosives Story Mode: Yes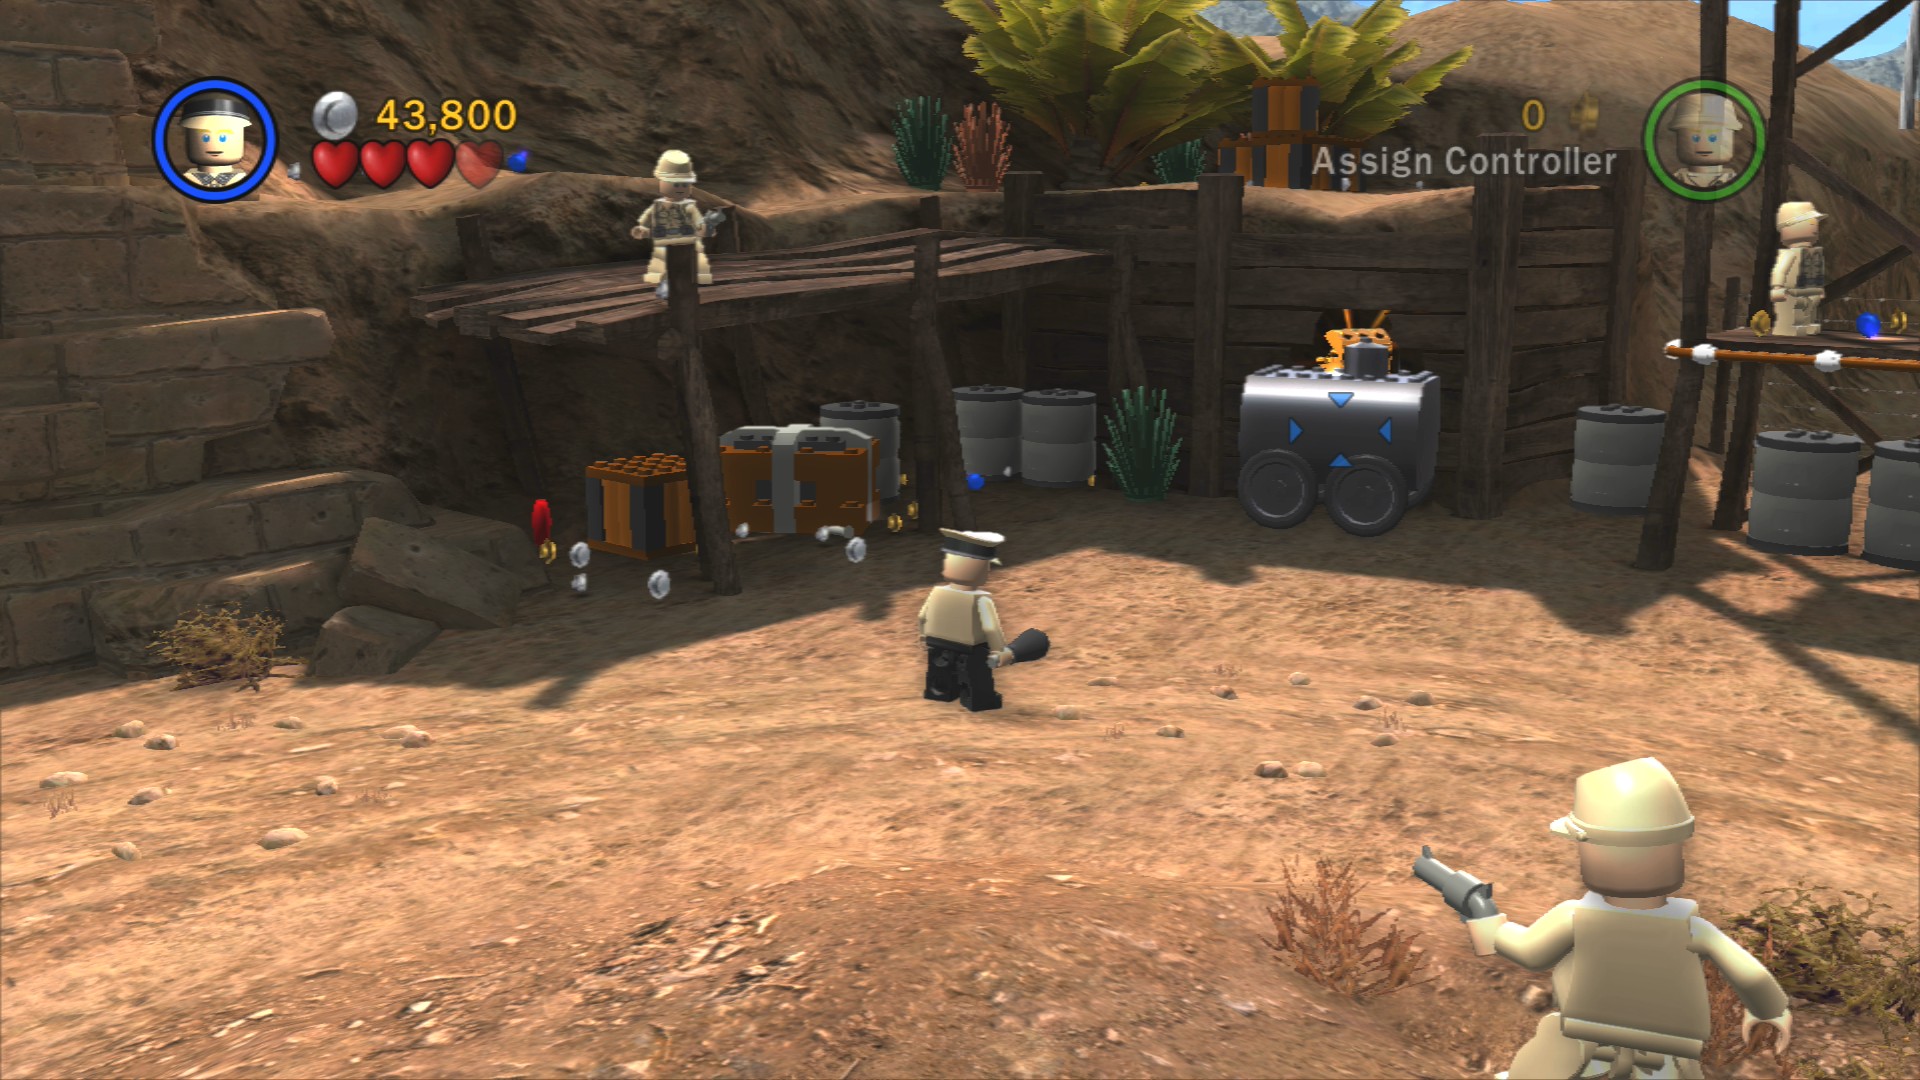
Use explosives to blow up the Silver LEGO blocking a small cave beneath the water tower.
Through the opened gate go to the right where there's a large orange pressure plate. Next to that is some LEGO to assemble into a fan, pick it up and place it on one of the green markers.
Artefact Piece 5/10
Requires: None Story Mode: Yes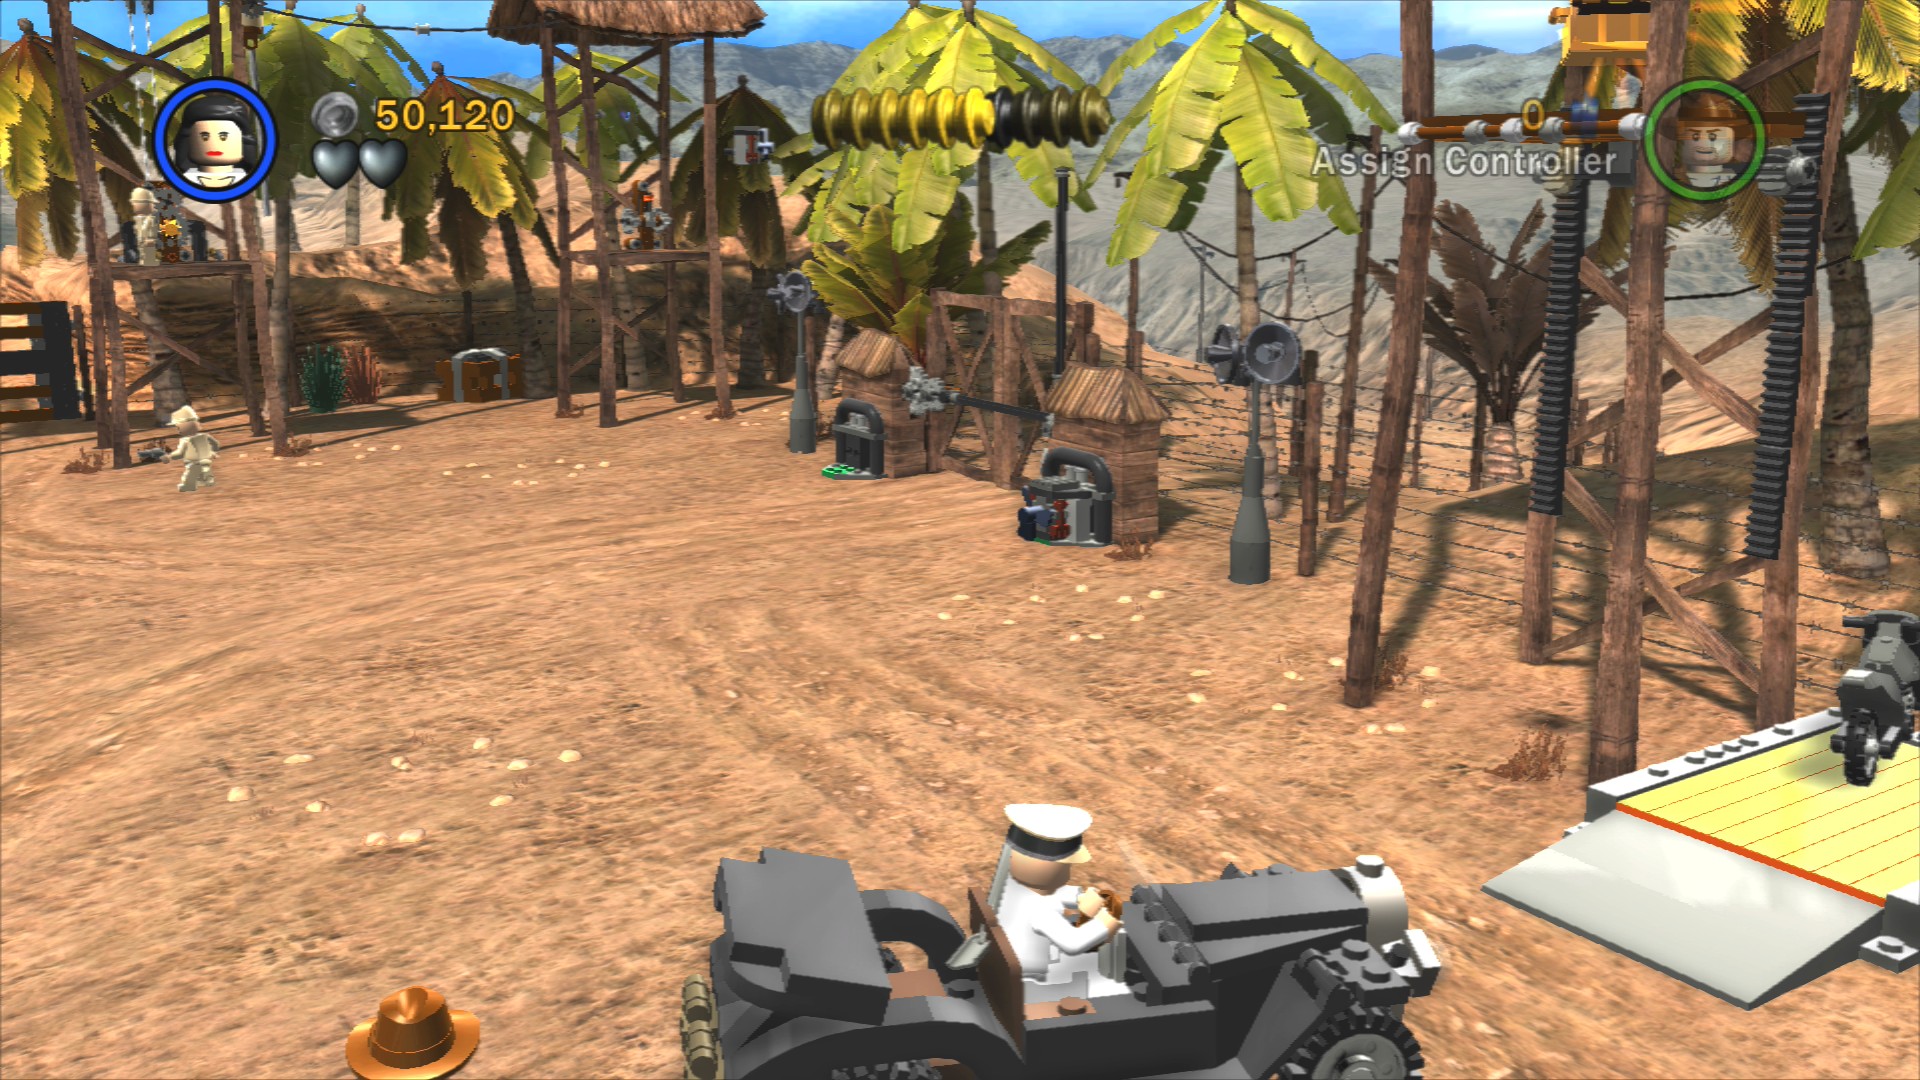
Grab the nearby car and drive it onto the large orange pressure pad. That'll lower a platform so you can grab the handholds and get up to the Artefact Piece in the water tower.
Artefact Piece 6/10
Requires: Explosives Story Mode: No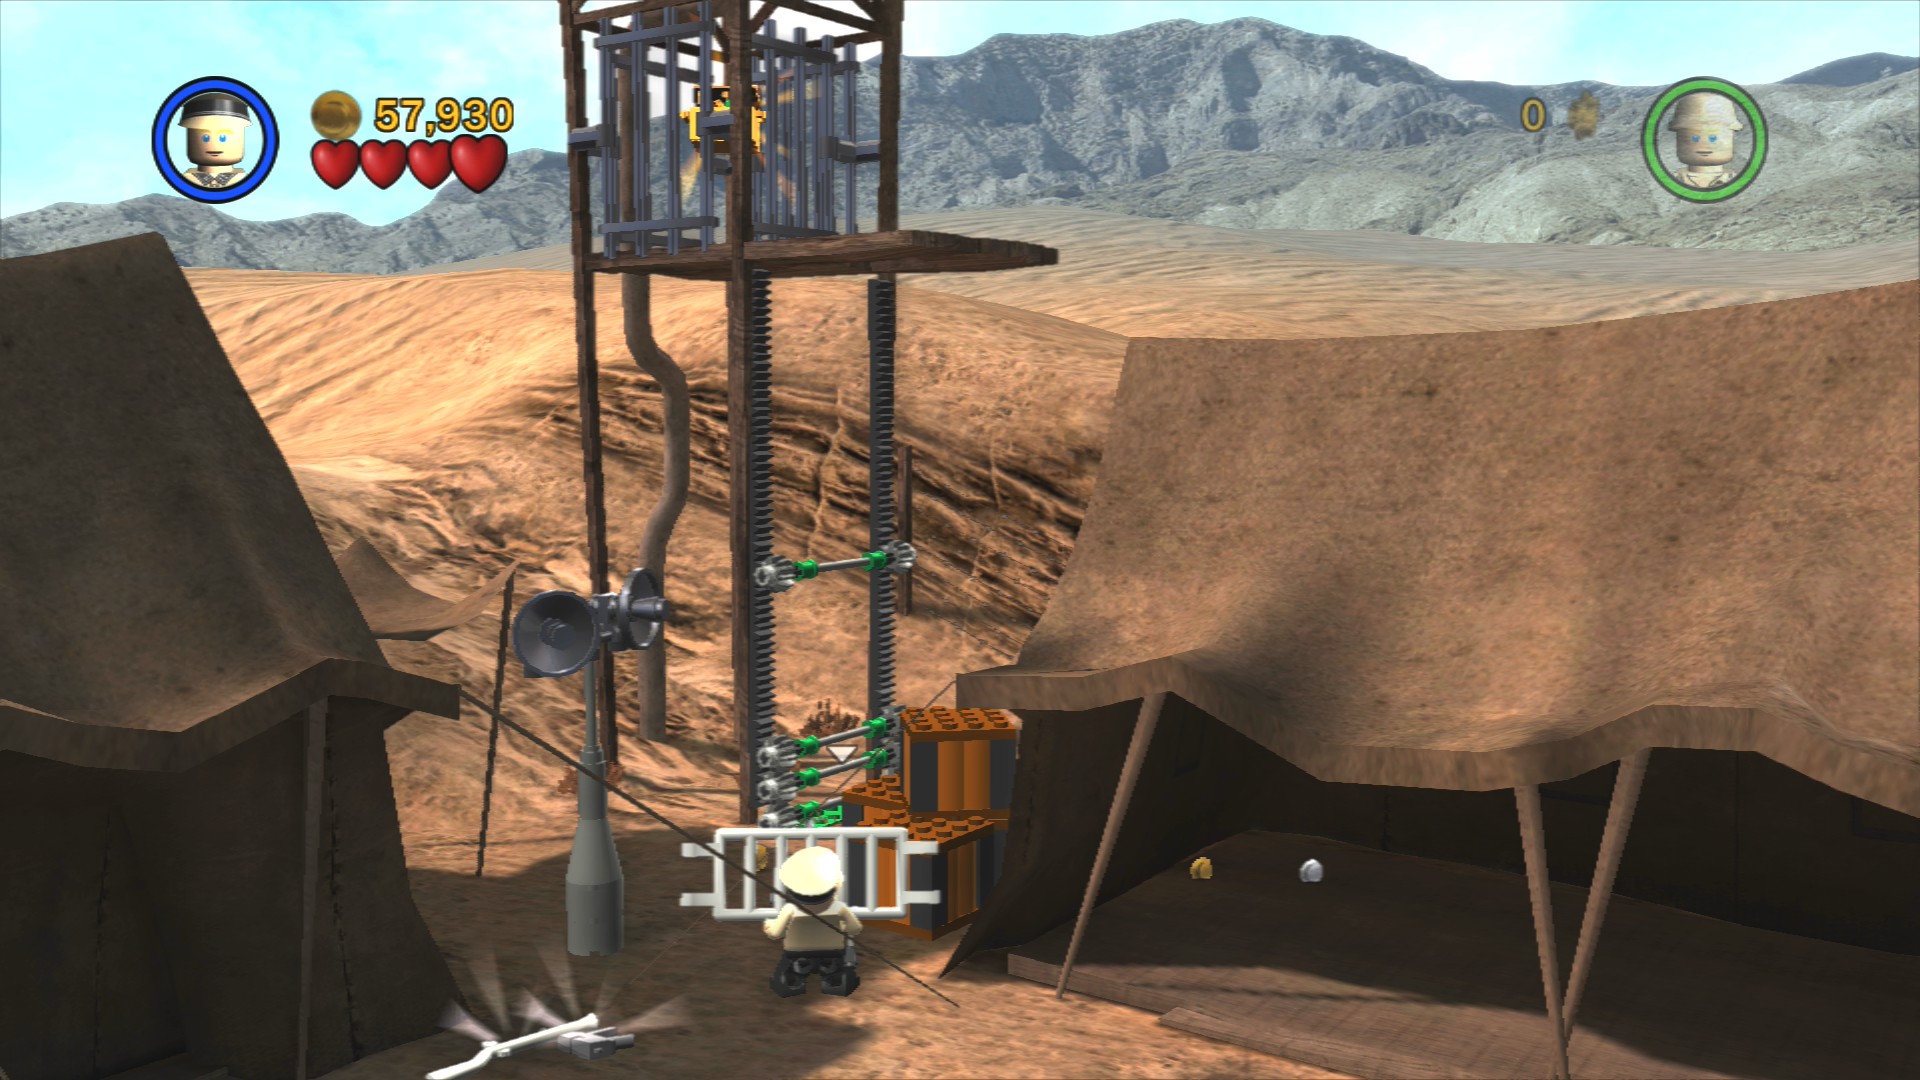
In the camp blow up the grills to get a pair of white ladders. Carry each of them to the bottom of the tower on the left. At the top blow up the Silver LEGO to get the Artefact Piece.
Artefact Piece 7/10
Requires: None Story Mode: Yes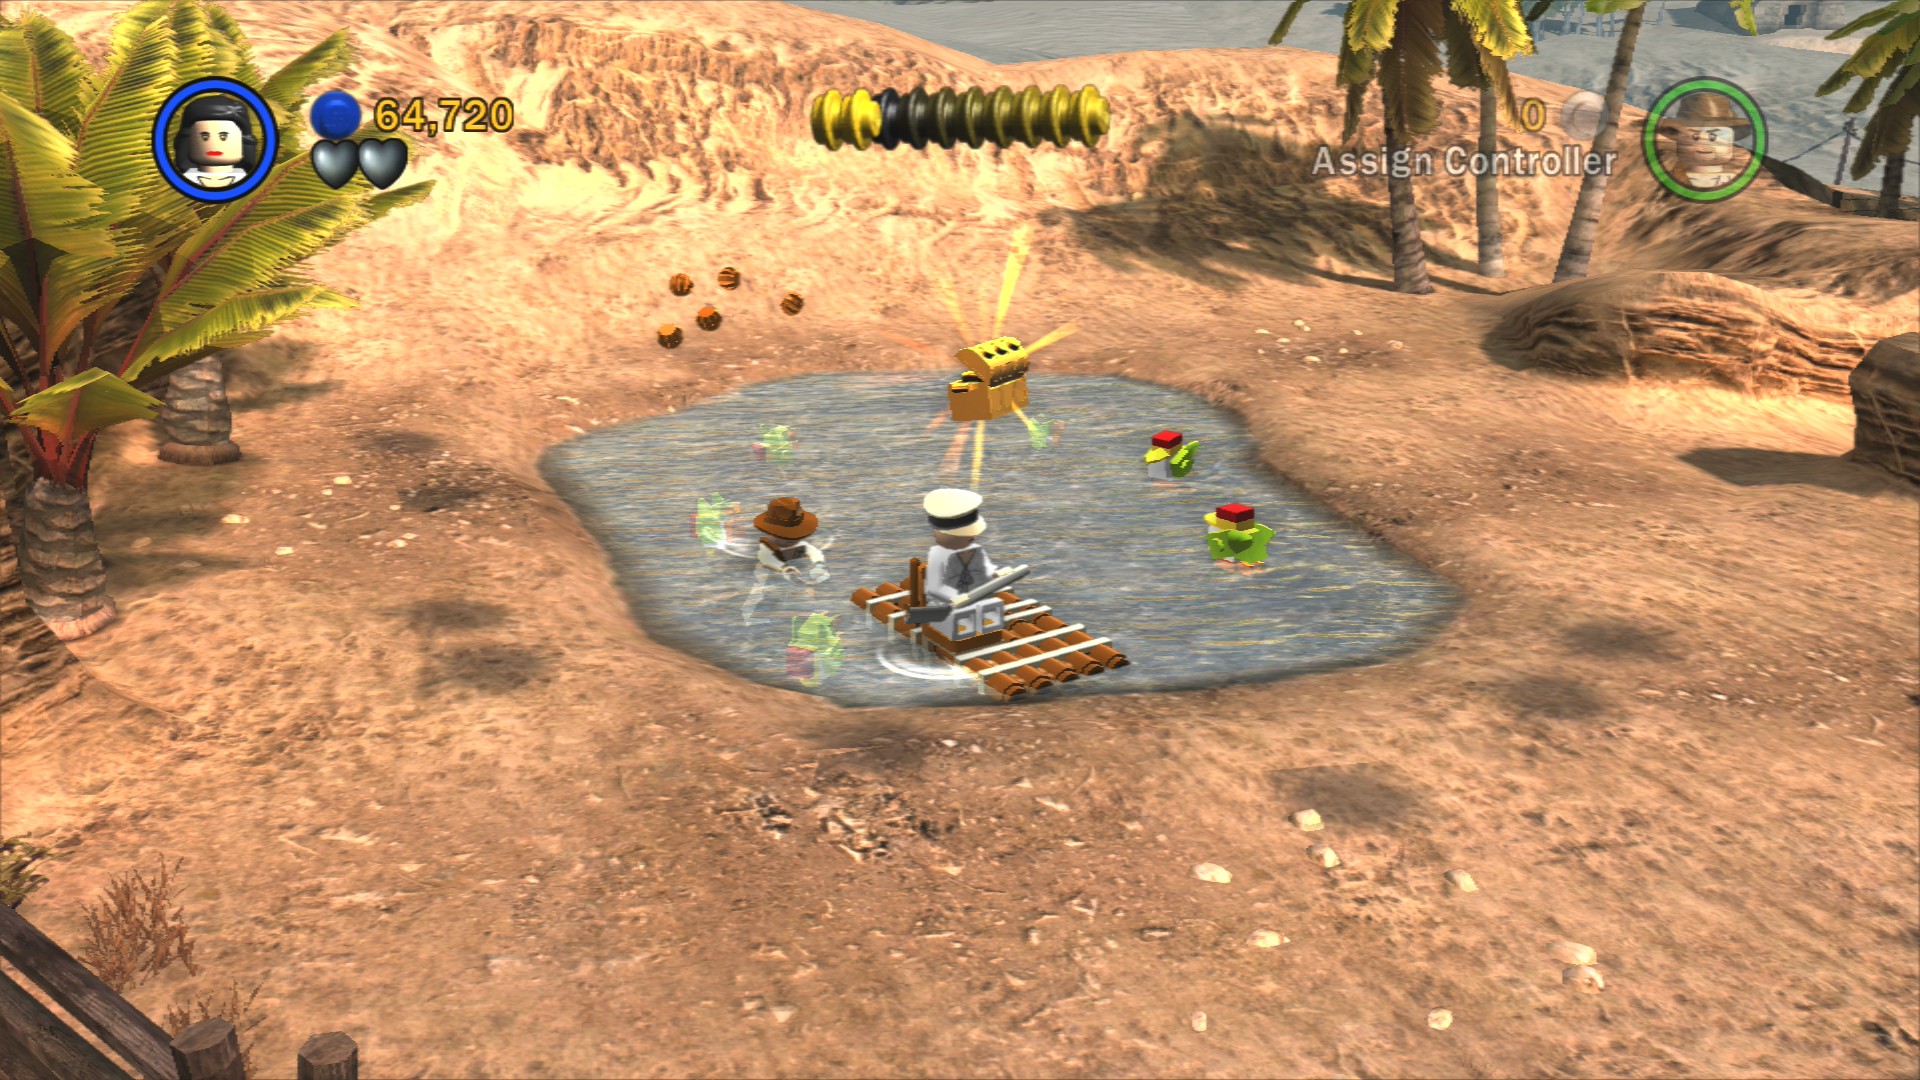
While driving the car smash through the barrier at the back to get to a pool area. Smash up the chairs to get some LEGO for building a raft. Hop aboard and knock down all six ducks to get the Artefact Piece.
On the left side of the area is a chest you can dig up (there's a barrel nearby if you need a spade) to find a key. Take that over to one of the towers near the back and pull the rope to release some LEGO. Rebuild the gears and start turning it to move the rope across.
Jump to the rope as it slowly comes back and use your key on the second tower's gears to turn it to the halfway point so you can rope jump across to a third tower. This one's gear will drop your second fan, jump down and put it in position to open the exit.
Time for a boss fight!
Artefact Piece 8/10
Requires: Gun Story Mode: Yes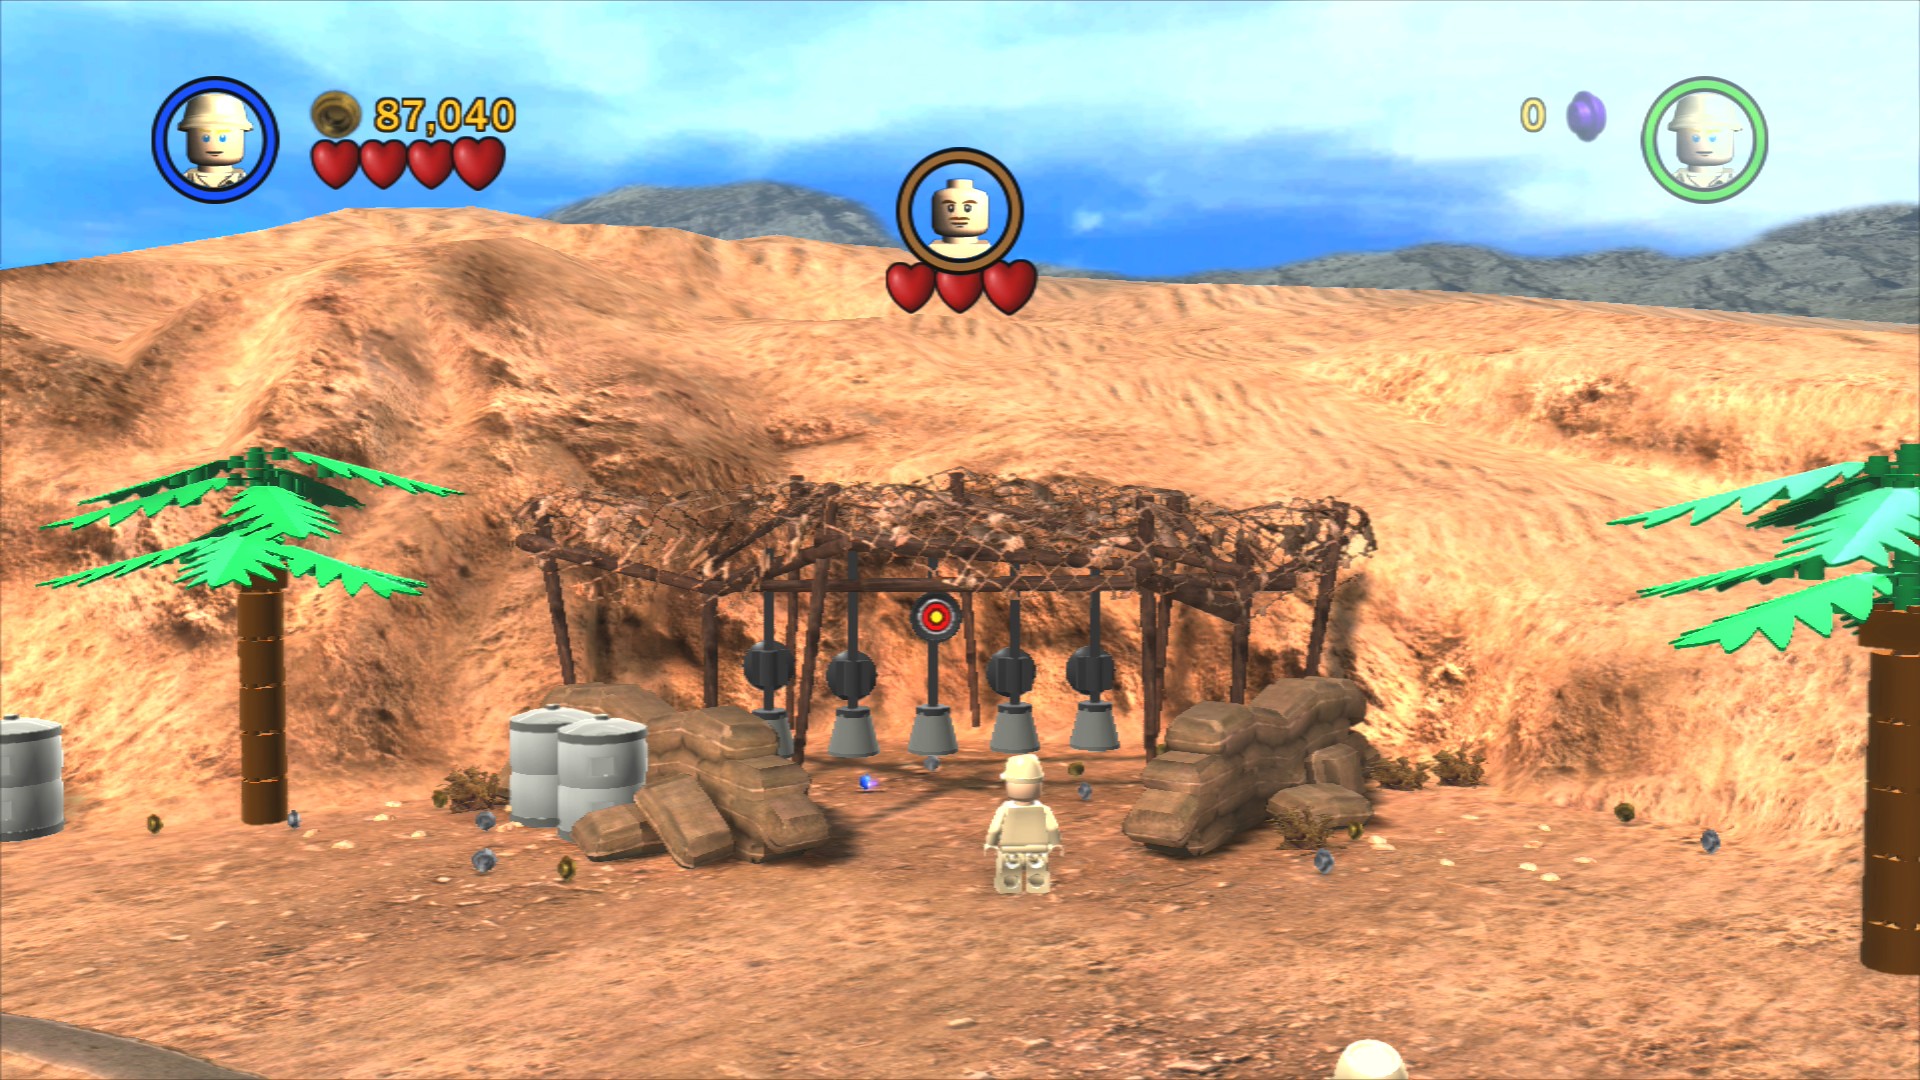
At the back of the area is a target range, shoot each of the five targets as they turn around to get the Artefact Piece.
Artefact Piece 9/10
Requires: Shovel Story Mode: Yes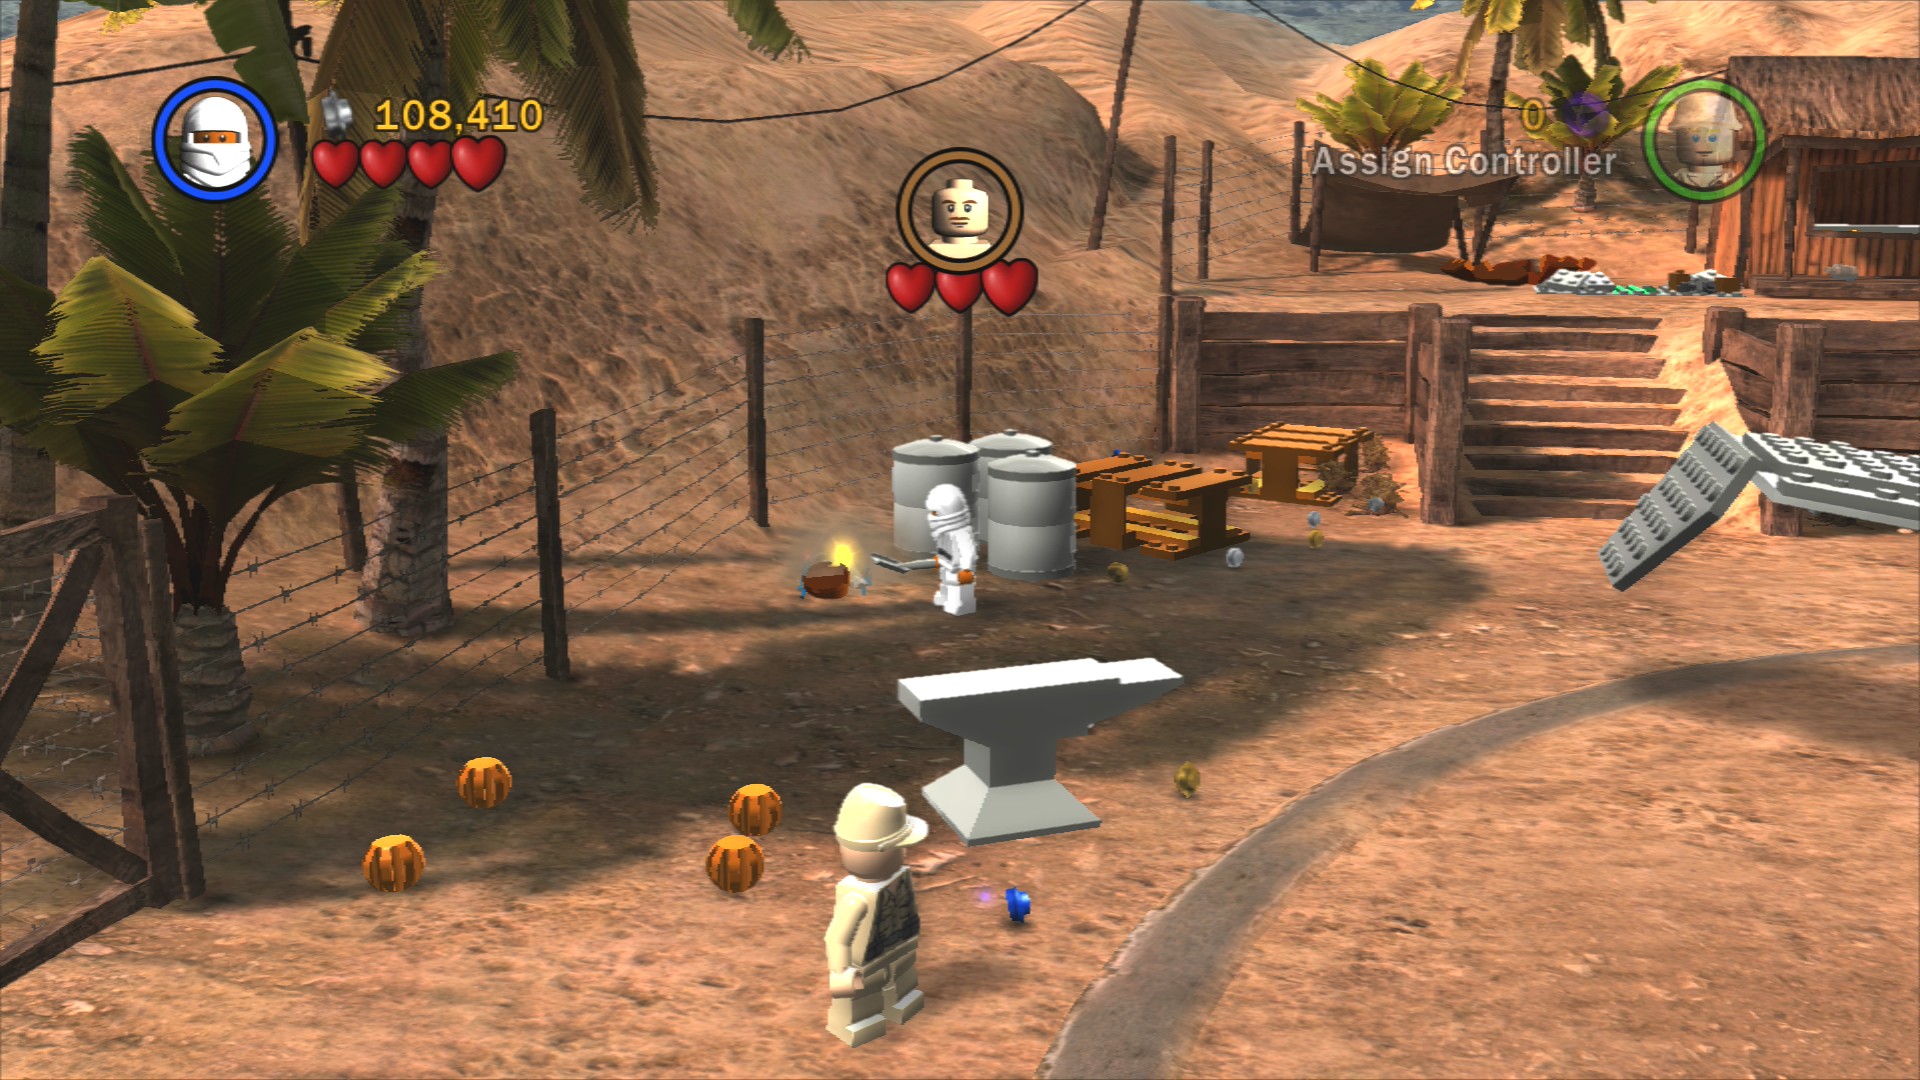
On the far side of the area to the right of the shooting range is a palm tree, smash it down to find a crate. Carry that behind the plane and up the stairs to place it down. Go into the hut and smash up the cupboards to find a second crate.
The last crate is found by digging up the glowing LEGO near the entrance gate. Bring that up and build the gramophone to reveal the Artefact Piece.
Don't take the boxer on directly, instead pick up the nearby anvil and walk towards him. He'll try to hit you and take off one of his hearts. Run away! A truck full of soldiers will smash in so take care of them next. Hop into the plane and rotate it so you're facing the truck, shoot the truck! Out of the remains you can build yourself a second anvil, pick it up and get him to punch it.
A second truck will arrive, repeat shooting it with the plane and assembling the anvil to finish the area.
Indiana Jones (Desert) Sallah (Desert)
Now we're riding on top of a truck! As a second one gets close jump over to it and defeat a few soldiers that pop out on top. Take control of the truck and accelerate towards a group of three more trucks, when you get close you'll need to jump onto them and defeat some more enemies.
After the driver of the front truck gets out and you defeat him, get in and start driving the truck to bring up to another set of three trucks.
Artefact Piece 10/10
Requires: None Story Mode: Yes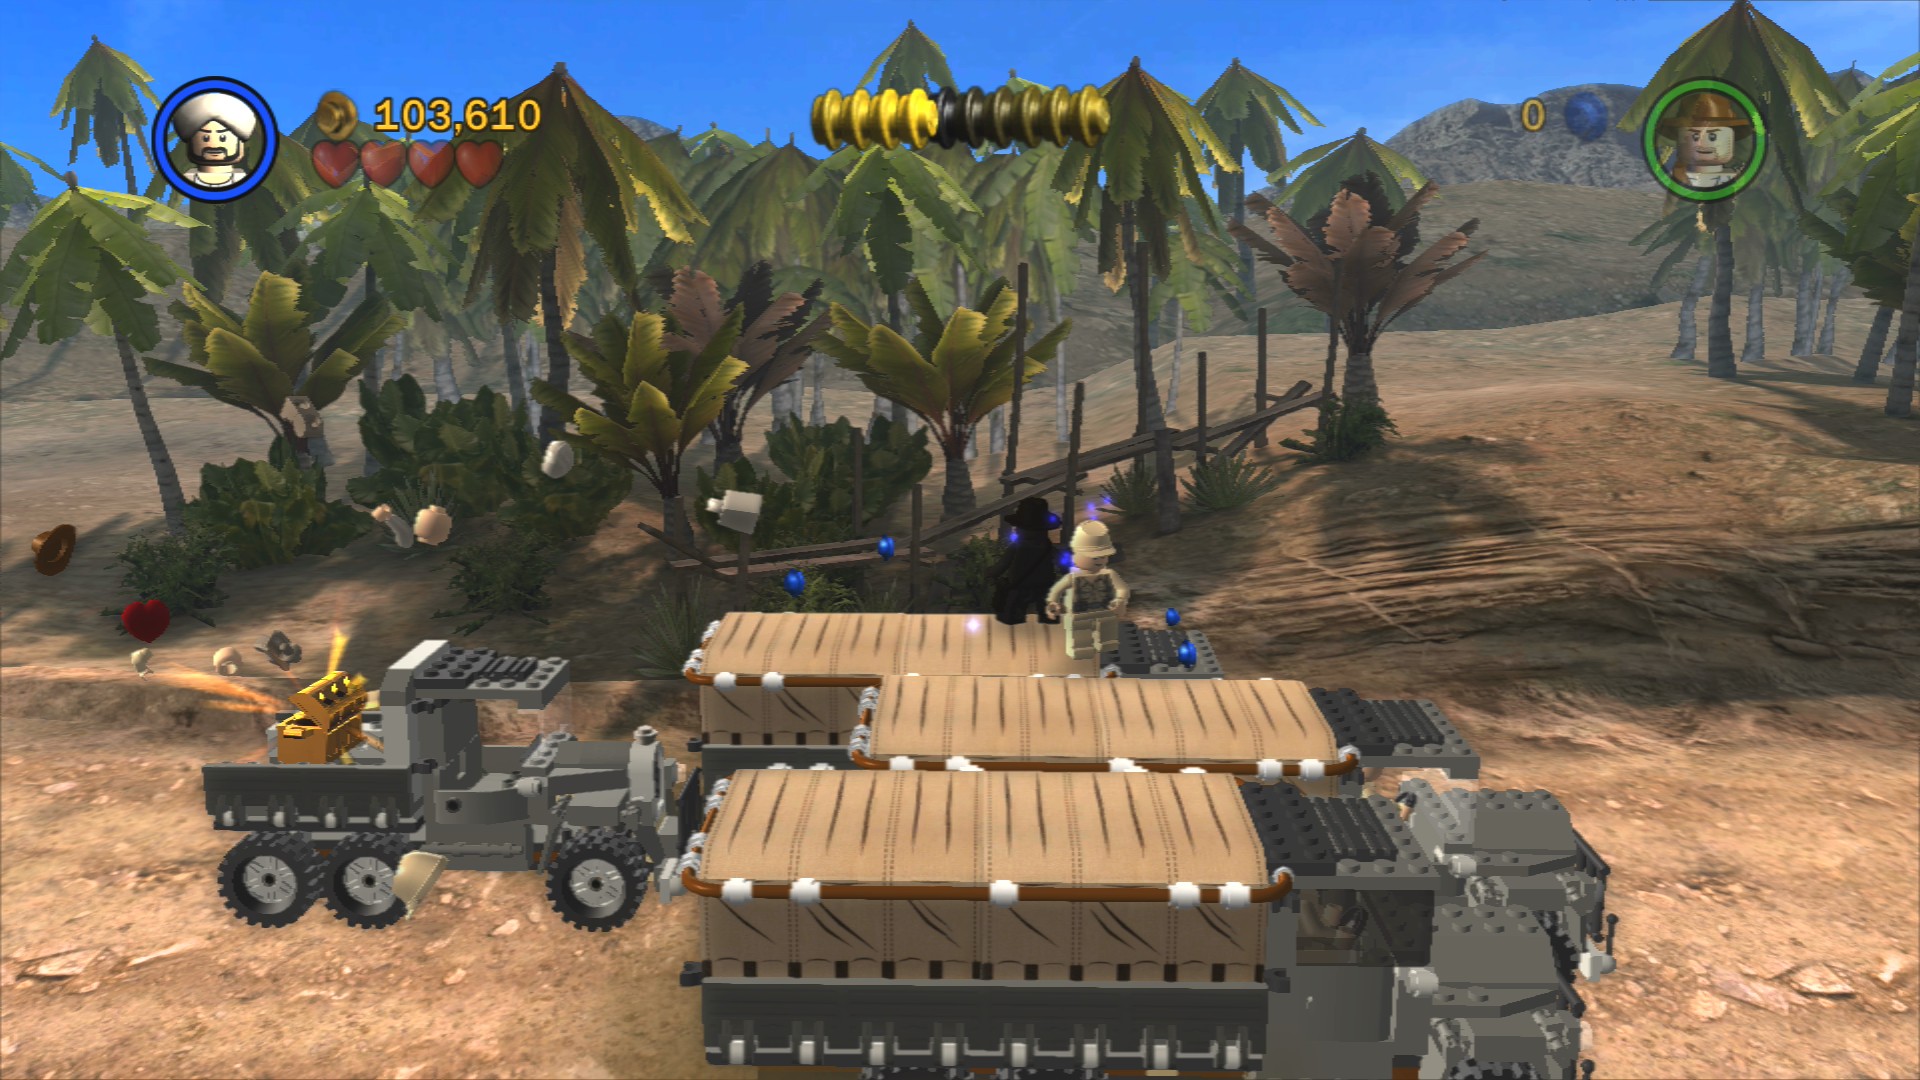
A smaller truck will drive up directly behind the truck you jump to, make sure to quickly jump to it to grab the Artefact Piece in the back. This one is easy to miss and if you do it means redoing the entire level to try to get it again.
The next set of trucks will be with the Ark, once you've defeated enough troops the driver will get out to fight you as usual and let you take control to drive it into the back of the car ahead to finish the level.
| Cost | Character | |
|---|---|---|
| 25,000 | Enemy Boxer | |
| 18,000 | Captain Katanga | |
| 12,500 | First Mate |
Chapter 6. Opening the Ark
| Story Mode | Free Play |
|---|---|
| 40,000 | 45,000 |
To the right between some larger brown crates is a small brown crate that you can pick up. Carry it onto the submarine.
Artefact Piece 1/10
Requires: Soldier Story Mode: Yes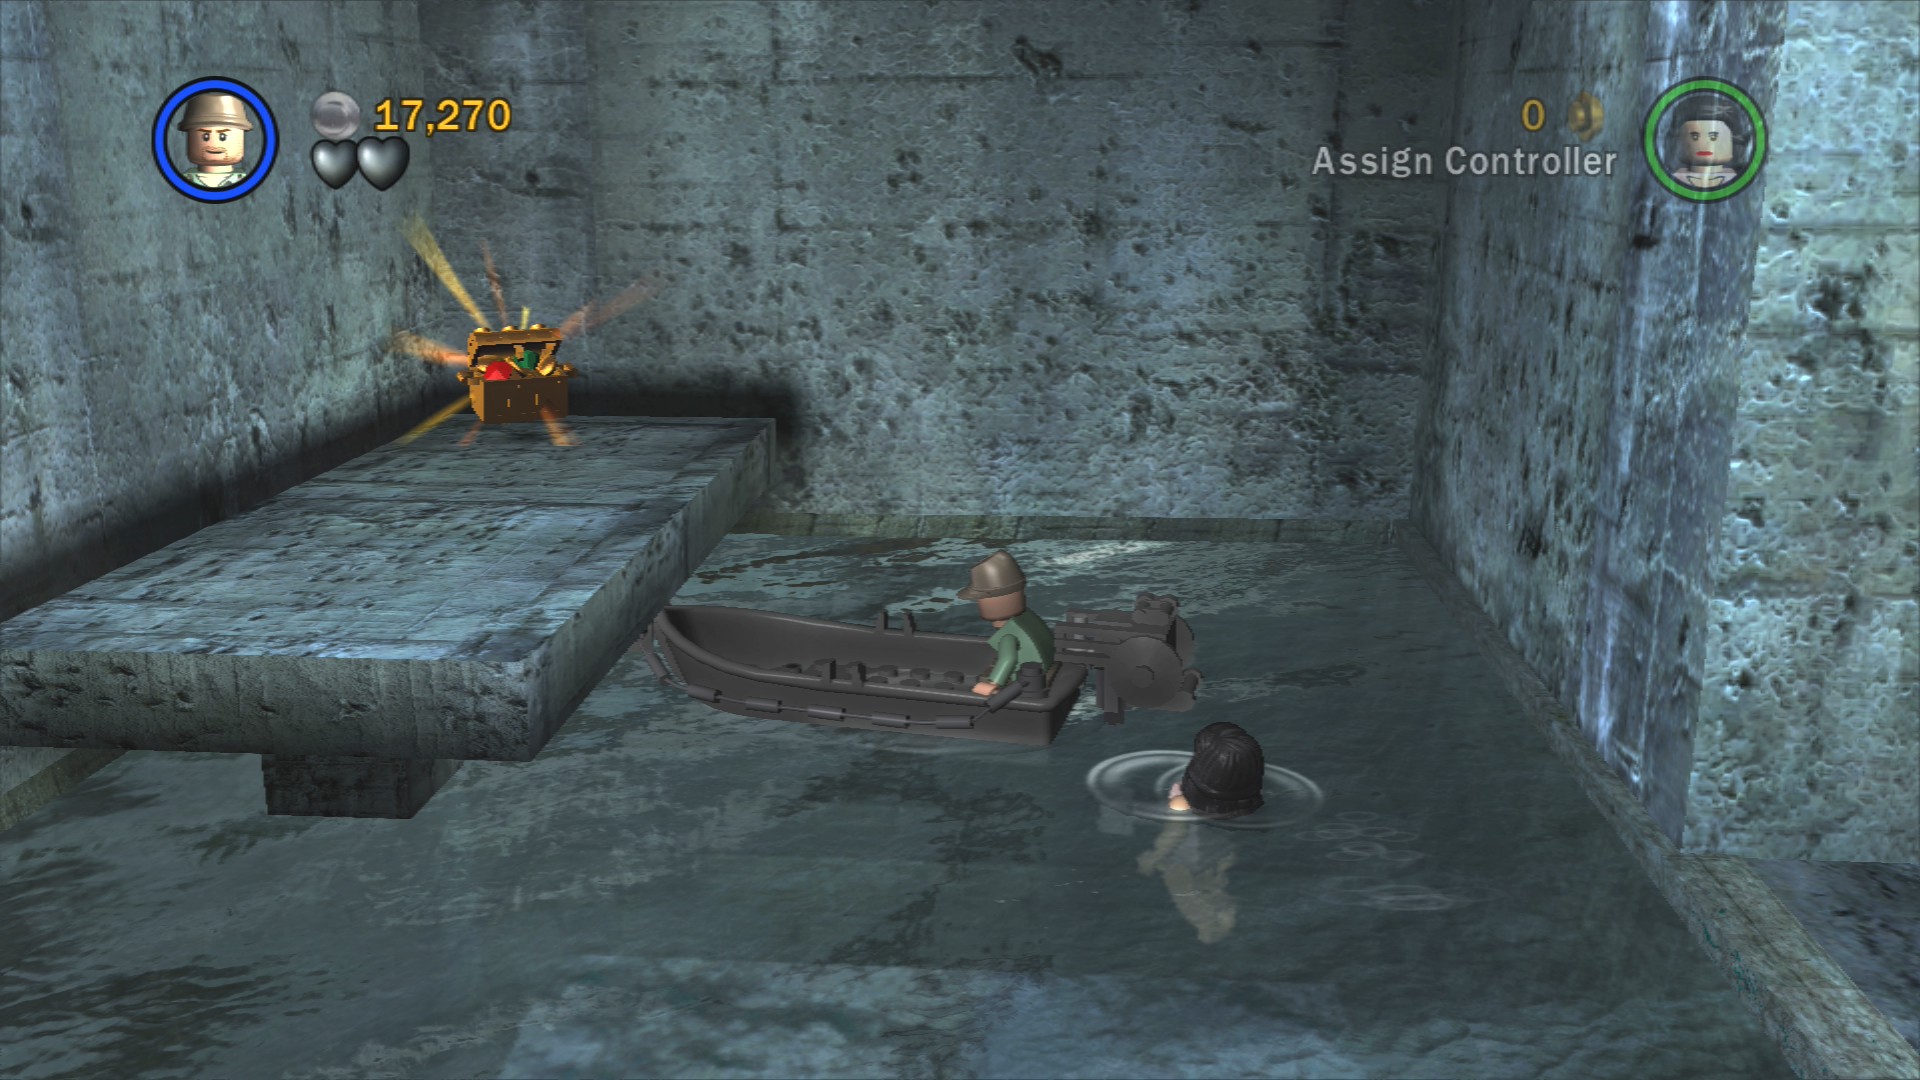
At the far end of the area you start on is a guard post that Indy can access as he's in an Army Disguise. Inside smash the crates to get the parts to a motor for the boat, then drive the boat close to the Artefact Piece and jump out to get it.
Artefact Piece 2/10
Requires: None Story Mode: Yes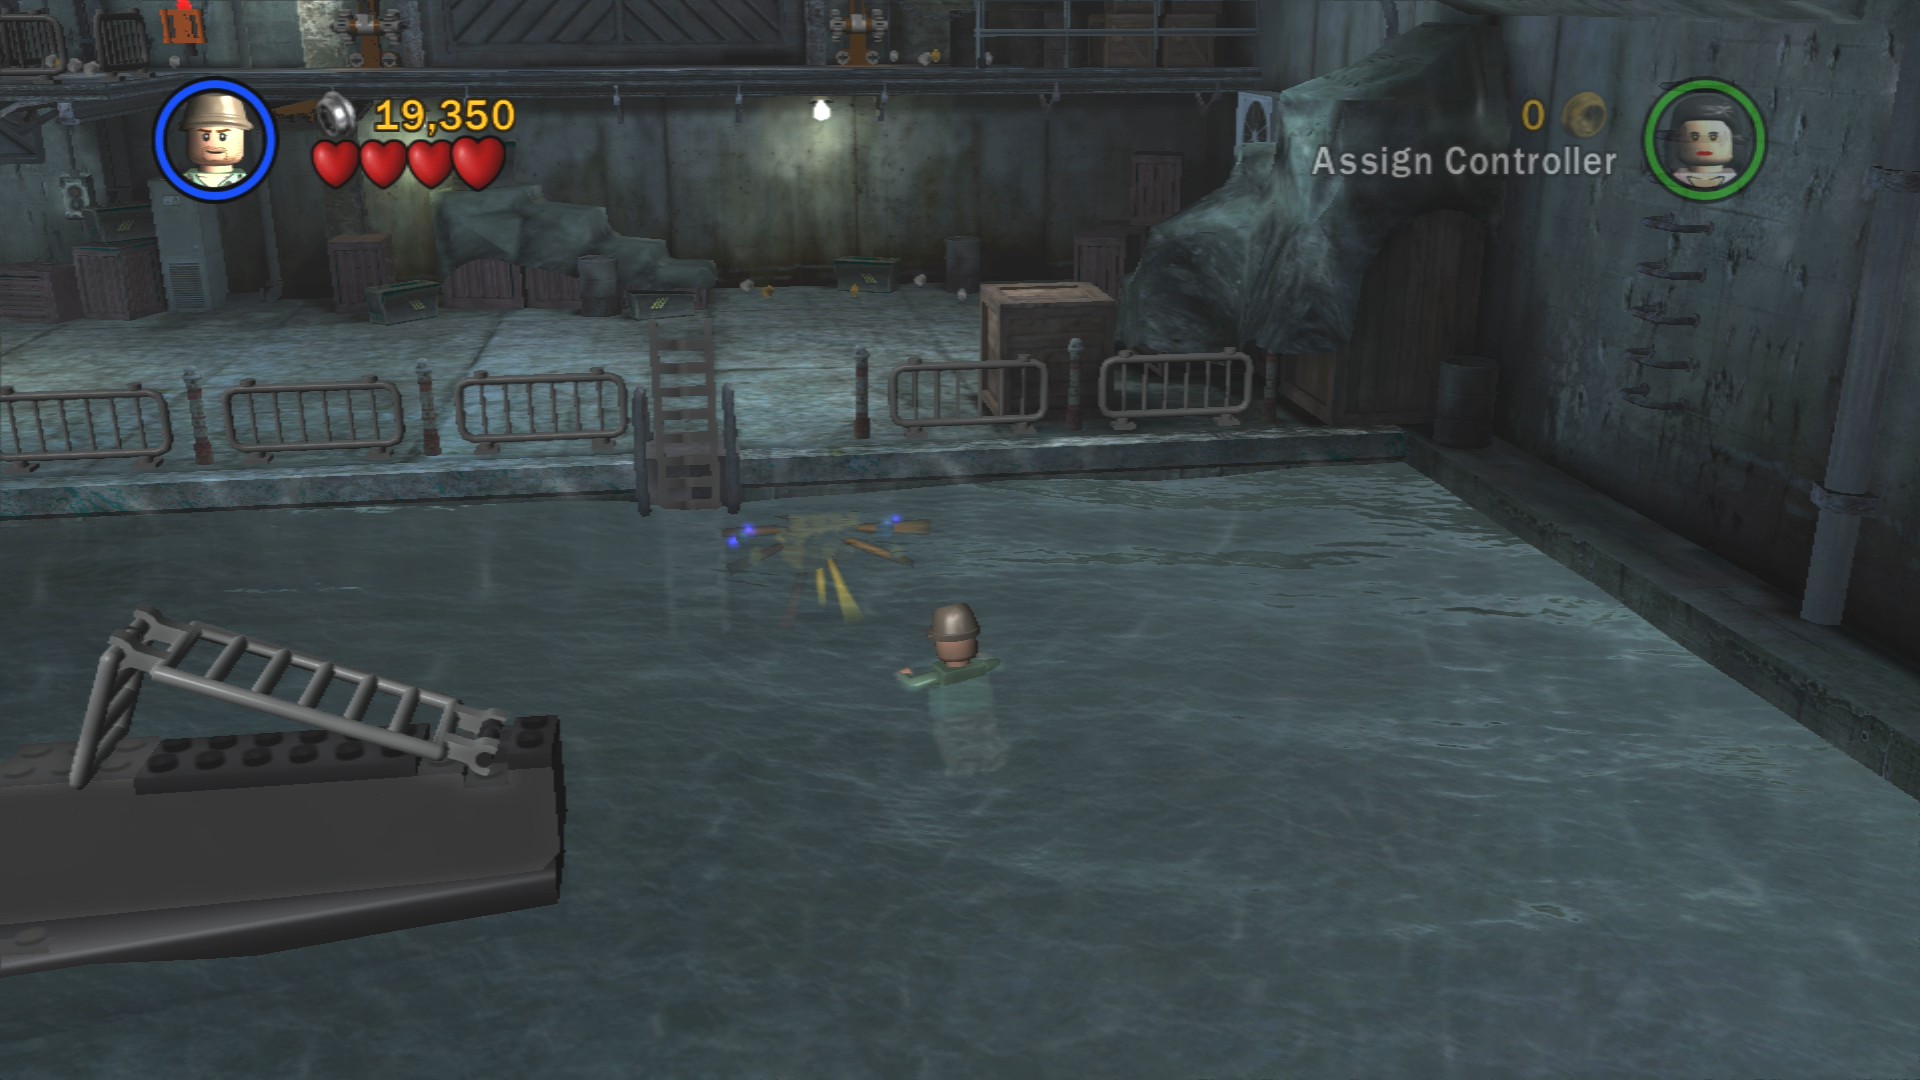
Just slightly underwater in the starting area, you can see it just under the opposite side near the right end of the U-boat.
Artefact Piece 3/10
Requires: Explosives Story Mode: No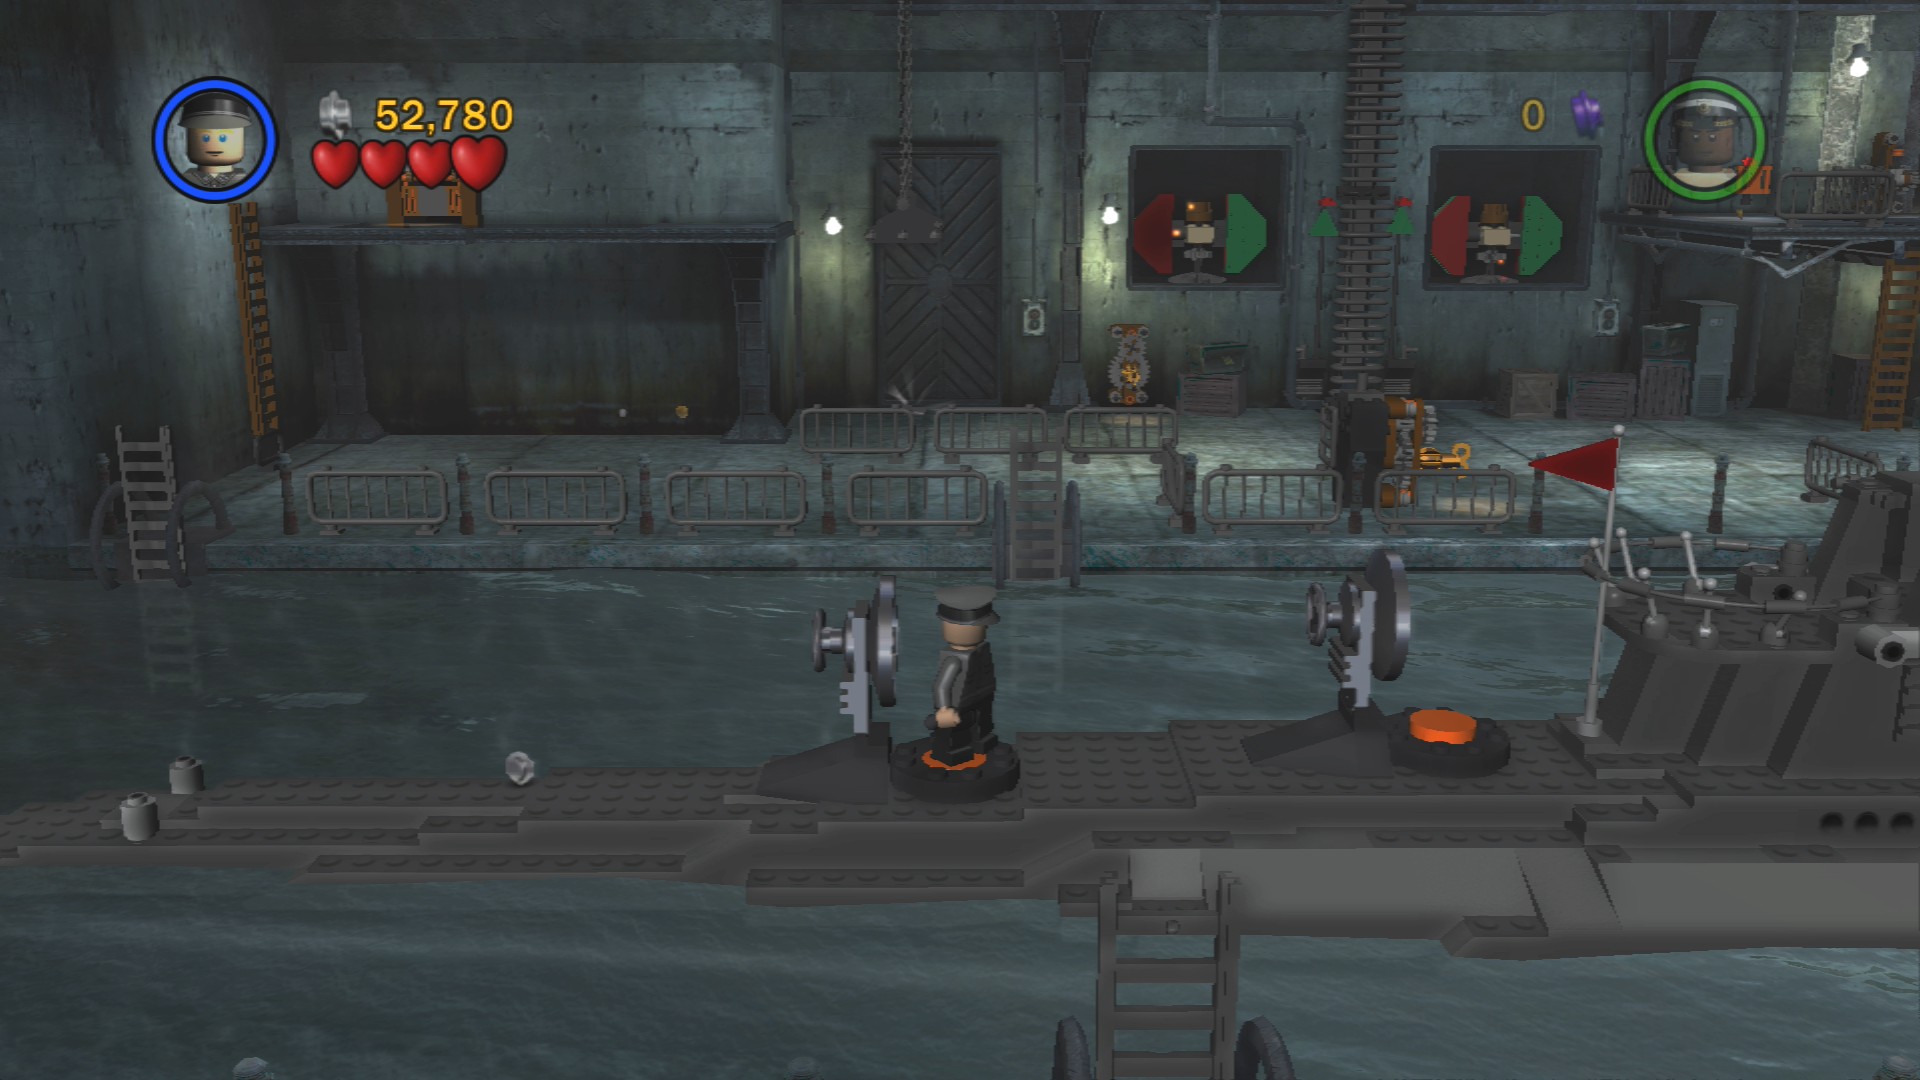
Using explosives blow up the two Silver LEGO hatches on the U-boat then have both characters stand on the two buttons at the same time.
Jump to the other side of the docks and go to the left end where you can use a whip to pull down a ladder.
Artefact Piece 4/10
Requires: Hatch Access Story Mode: No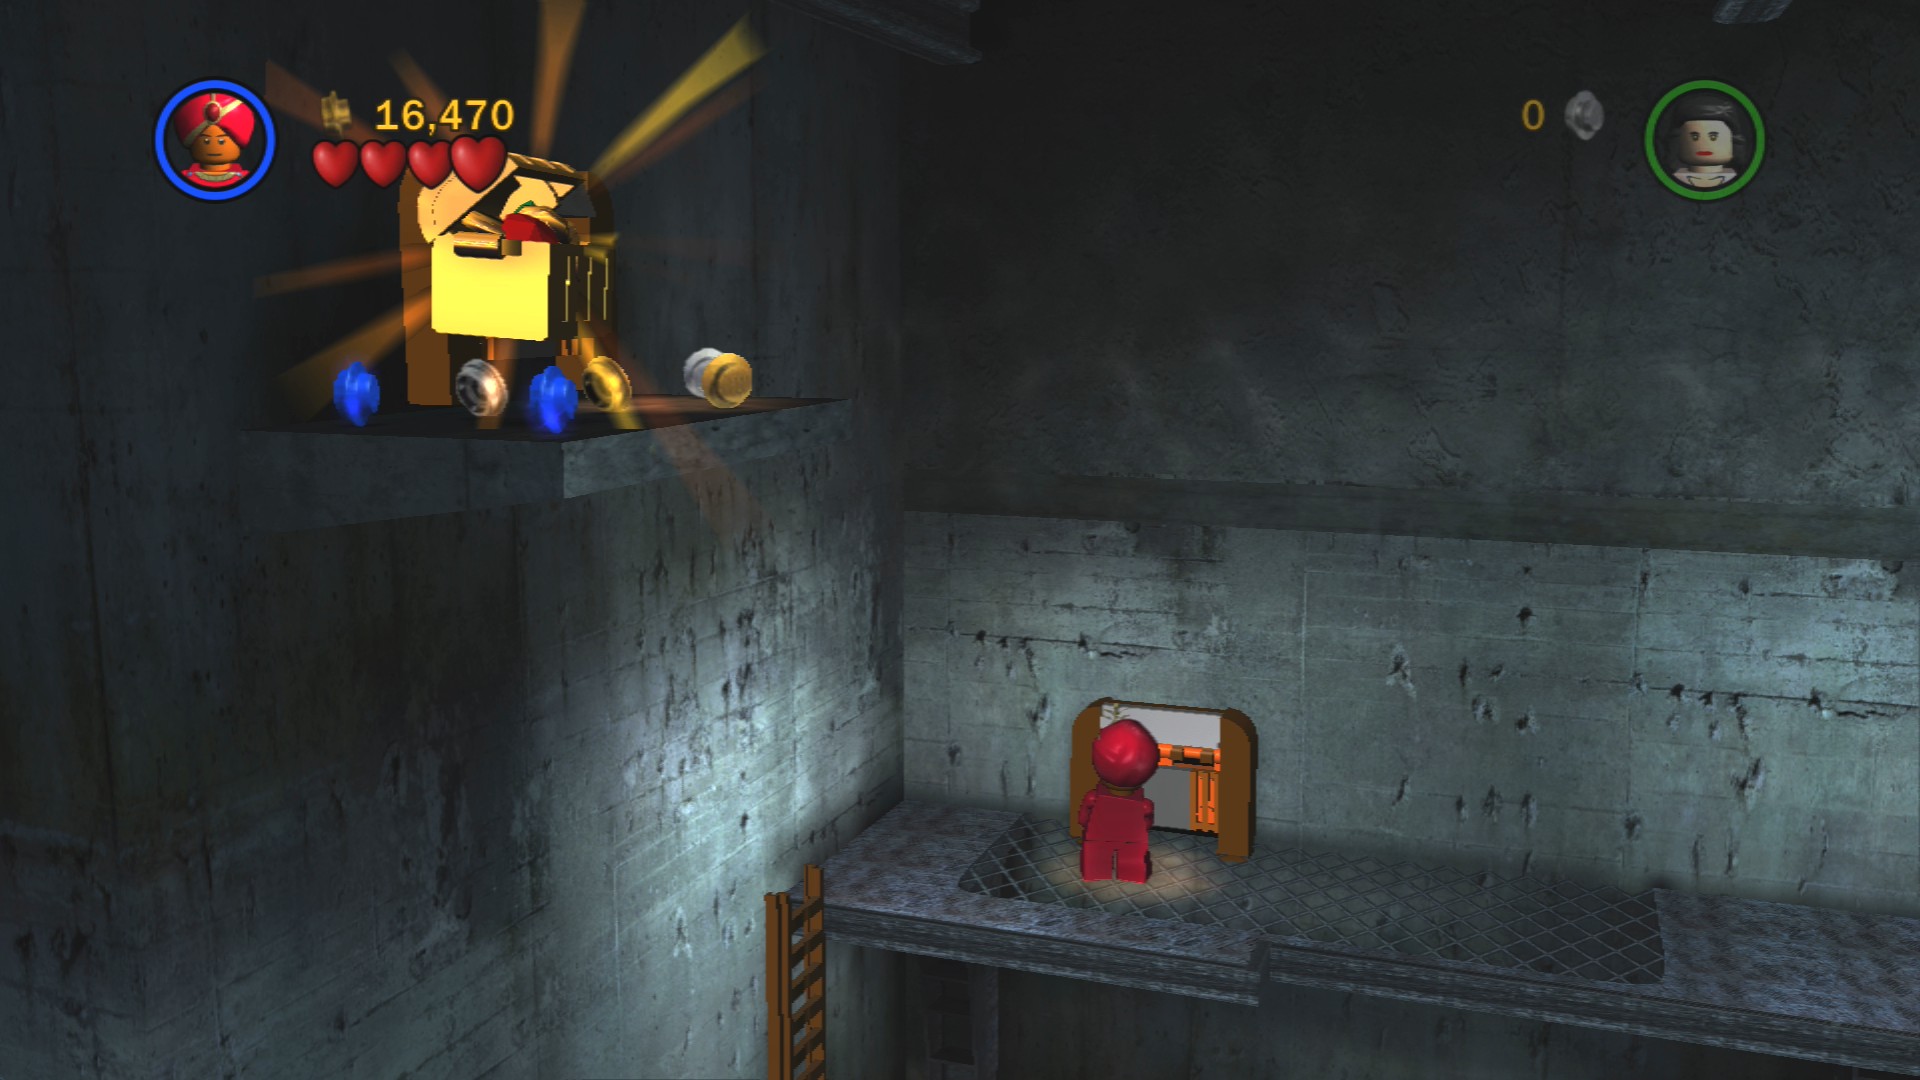
At the top of the ladder on the far side of the docks use a small character to go through the hatch.
At the right end is a light fitting you can jump onto, the game will suggest switching character so do so. The other character will be positioned to start turning the gears at the back, do that all the way to the right and switch back to the first character. Pull out the orange handles to drop a ladder so that the second character can also get up so you can both flip the levers at the same time.
There are a few enemies in the room but the thing you're after is the glowing crate. Carry it down towards the U-boat and your partner should turn the gears automatically. Stand on the platform and they'll let go so you move towards the U-boat and can place the crate down.
With both crates in place you can assemble the large gun and start shooting the green markers on the wall at the back. Keep doing so until the green triangles hit the top of their lines and a ladder forms.
At the top of the ladder if you go to the left you can find a nice purple 10,000 stud but you also want to go to the right to reach the exit for this area.
You'll encounter some enemies as you pass by the barbed wire panels. Just after you meet them there are some green crates with an orange glow on top, use the whip to pull on the yellow thing and the platform to your right will collapse. Build a pole out of the LEGO and jump up to another glowing spot, this one's a whip swing that leads to some more LEGO you can build to help Marion across.
Defeat a couple of enemies standing on the roof, make sure to grab the spanner from behind them before jumping down and taking out the rest of them near the broken down truck below.
Artefact Piece 5/10
Requires: Soldier Story Mode: Yes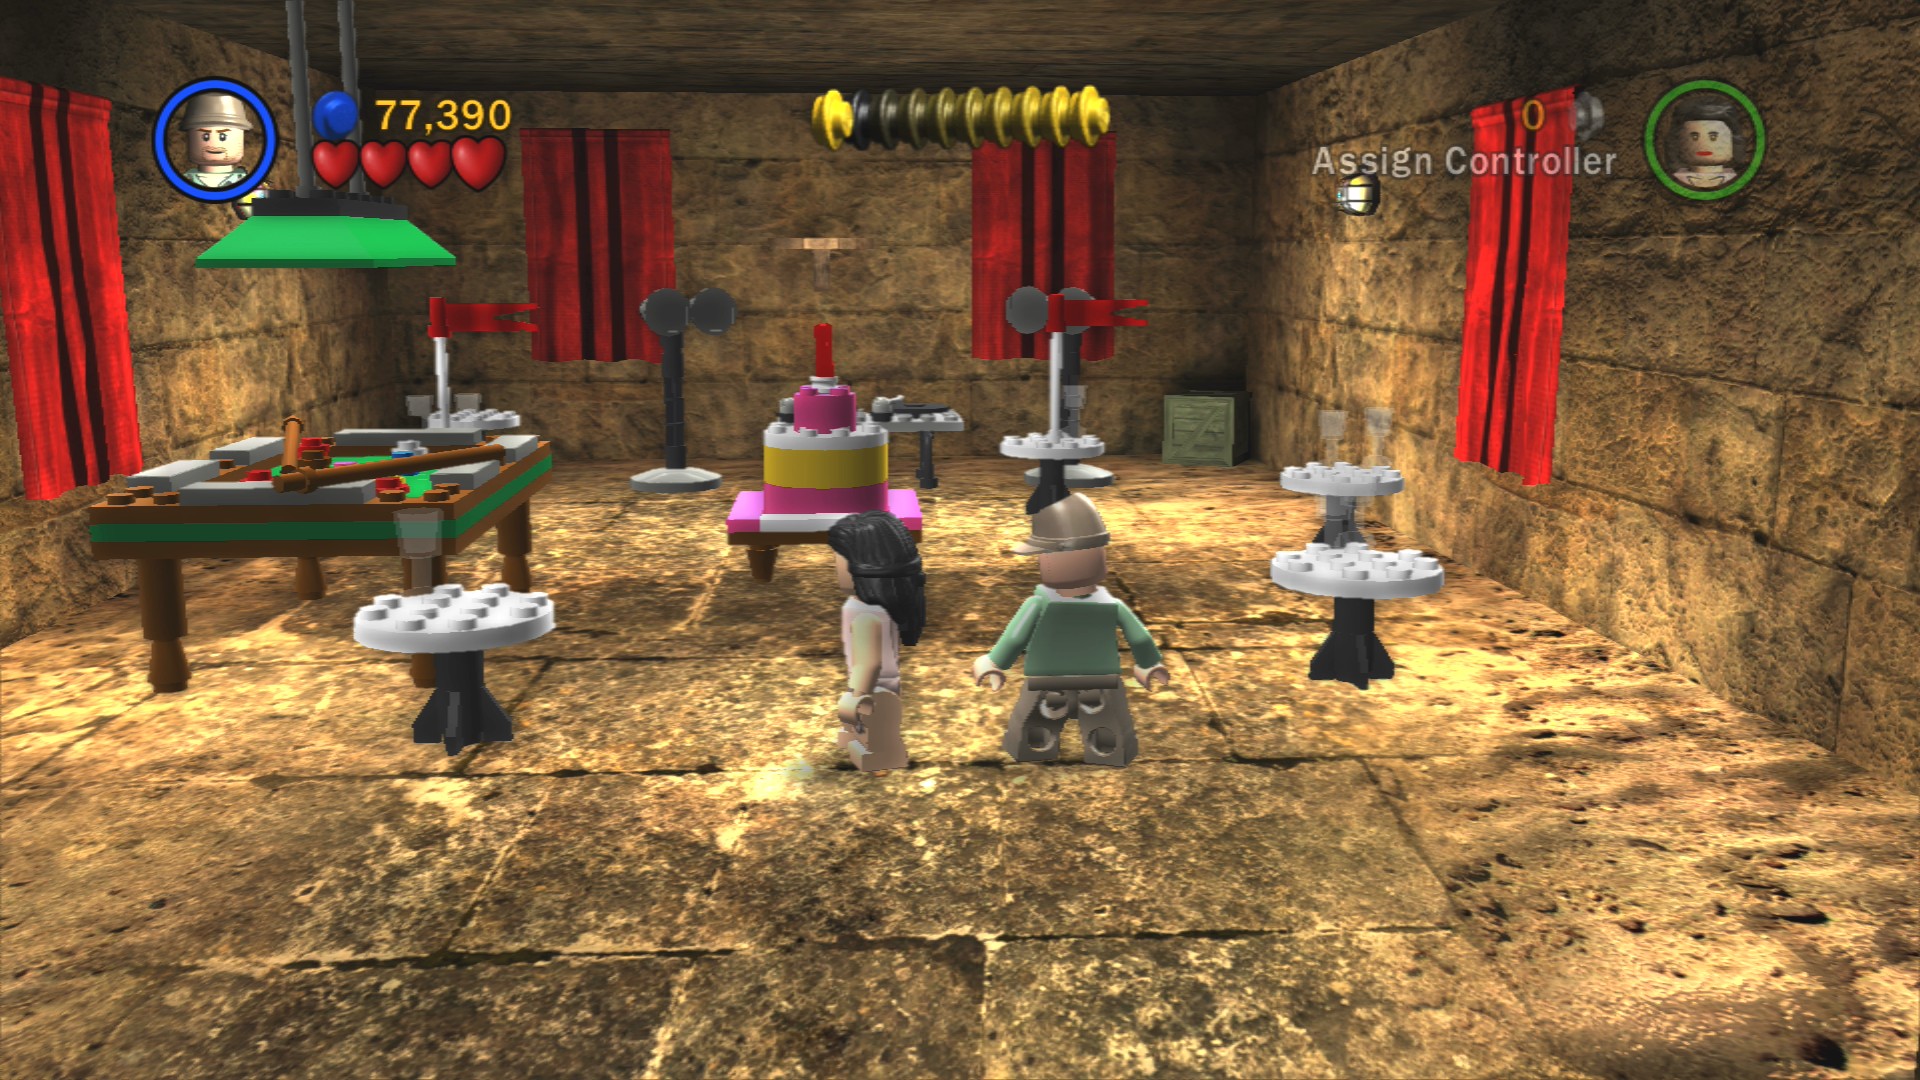
Enter the guard post and smash the cake.
If you forgot to pick up the spanner just jump back up the boxes to the roof.
Artefact Piece 6/10
Requires: Shovel Story Mode: No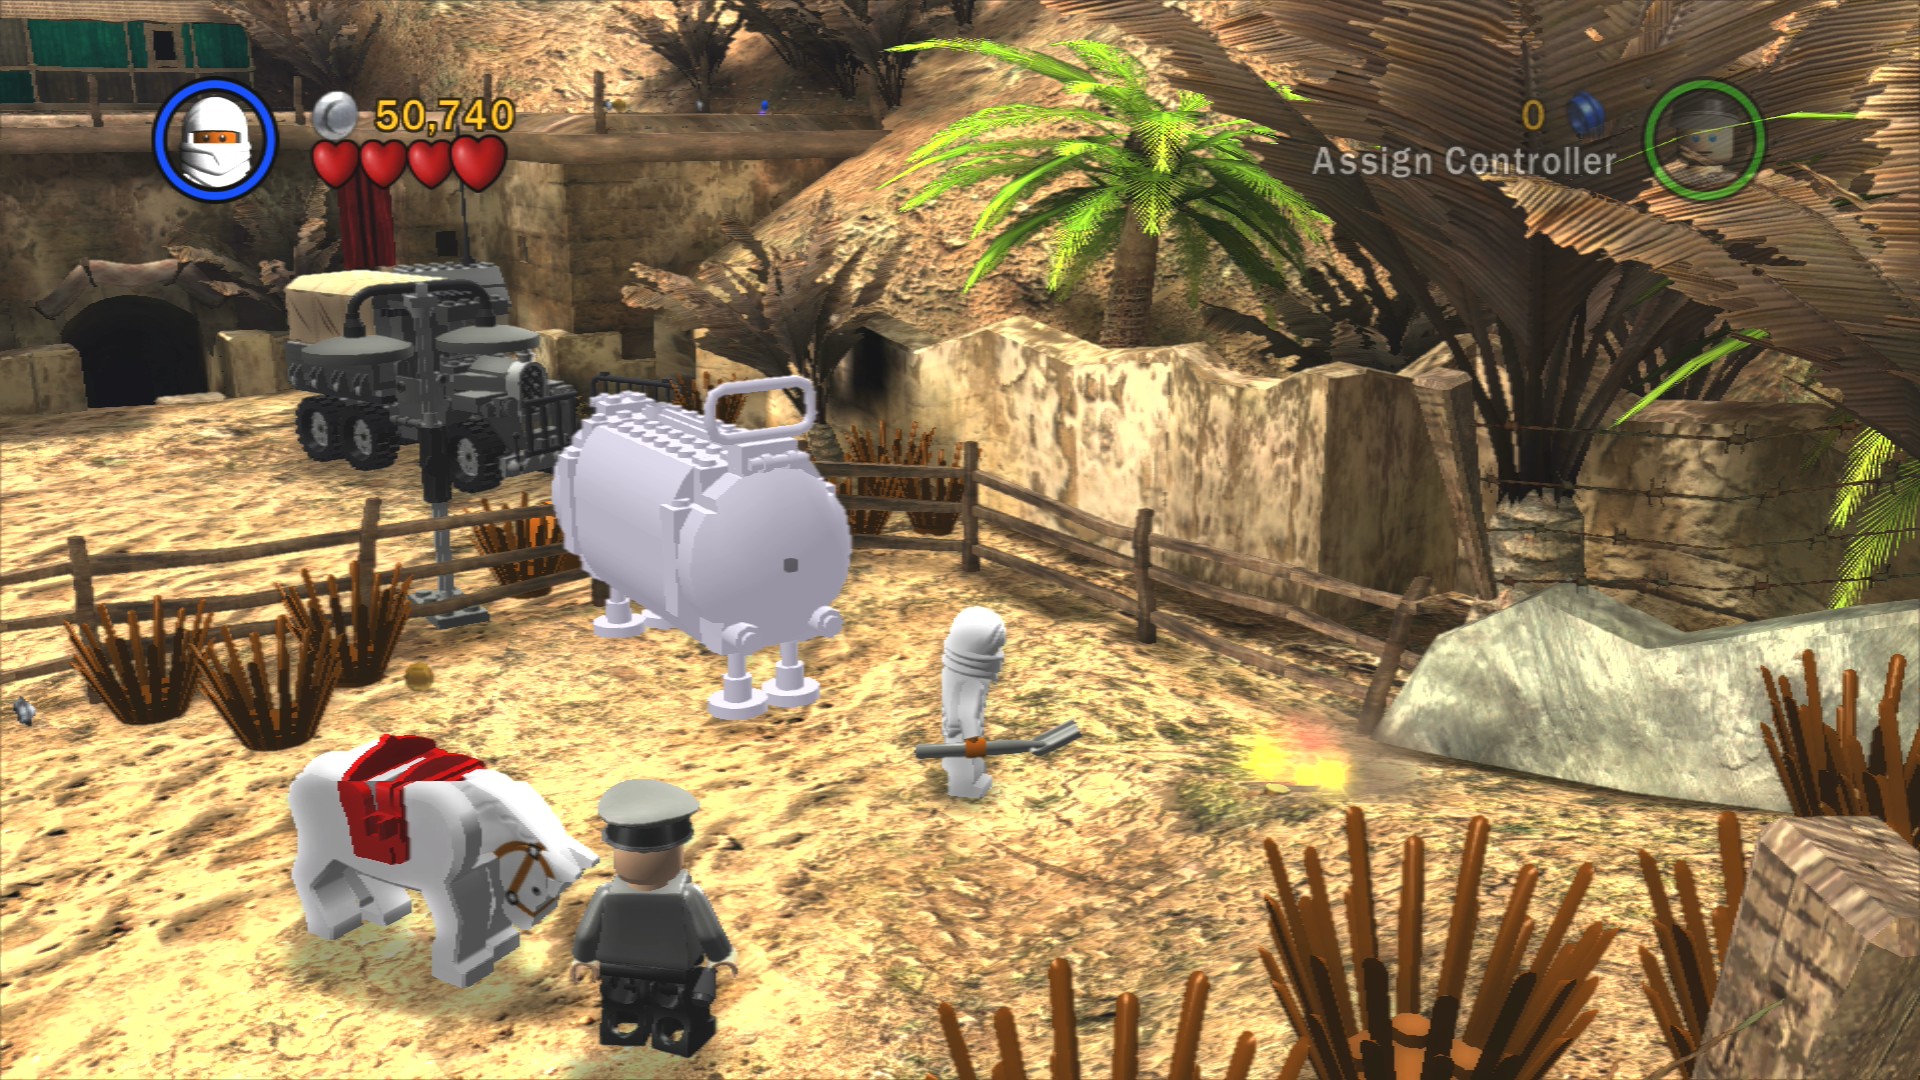
Have both characters grab a hold of the two chains by the entrance to the horse paddock. Dig up the Artefact Piece in the paddock.
Use the spanner to fix the truck.
Red Parcel - Artefact Detector
Requires: Book Story Mode: No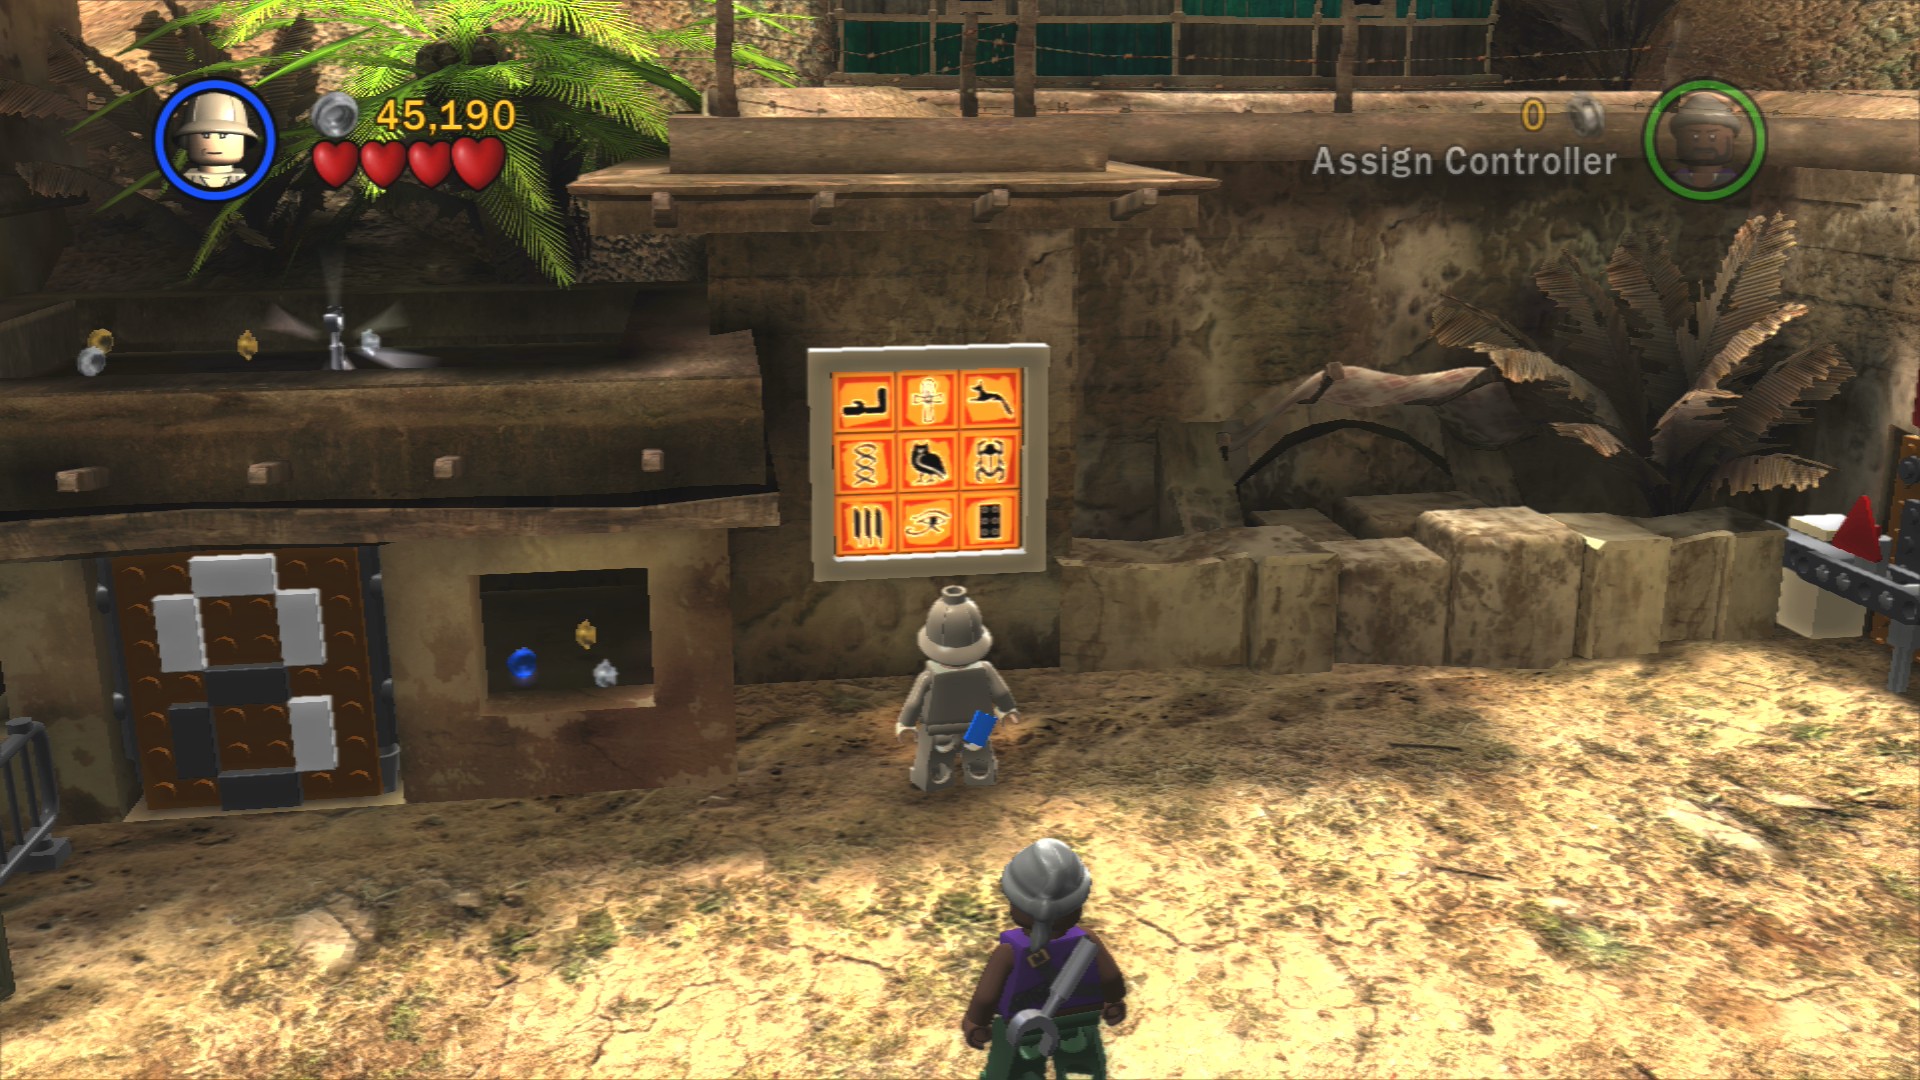
Behind the truck is a hieroglyphic board a character with a book can solve, that will open a cave up, head inside.
Push the object along its path and the top will pop up. Towards the screen is a second identical object on another path, smash the obstacles, repair the path and then push that one to the left. Now have both characters go up the little ramps to stand on top of the objects to push the tops back down.
The centre of the room will open revealing the Red Parcel and some bricks to build a ramp out of the hole. Take the Parcel over to the Mailbox to post it.
Get in and drive it through the metal gates back to the previous part of the area. Now you can drive it over to the first roof and jump out to get on top of there where you'll find a set of seven orange buttons.
The puzzle here is to make the big display match the smaller one. You do that by pushing the block along its path and onto the only button it can be pushed onto so that the bottom right is lit up. Pick up the tub and place it on the middle button. Then stand on the left and the right back buttons to make the number 4.
Artefact Piece 7/10
Requires: None Story Mode: Yes
You can use the same set of seven buttons to open the number 7 door in the previous area by placing the tub on the back middle button instead of the middle middle button.
Lighting up the number 4 will open the doors beneath you where you can pick up a couple of bazookas. Use one of them to blow up the Silver LEGO to the right of the building.
Artefact Piece 8/10
Requires: Shovel Story Mode: Yes
While fending off a regular stream of enemies smash a crate in the middle of the area next to some green crates to find a shovel. Use it to dig up the glowing LEGO on the left and then push the assembled camera to the end of its track.
Jump up onto the little raised section and pick up the Ark's glowing container to place it on the green just to the left. Use Marion to jump up to where Belloq is standing so you can hit him. He'll run off as soon as you damage him and go jump up to another high up spot.
Beneath him you'll find some jiggling LEGO to build into a panel, climb up onto the small tower next to it and your partner will automatically jump onto the rope to raise the platform so you can jump over to take off Belloq's second heart.
Artefact Piece 9/10
Requires: Shovel Story Mode: Yes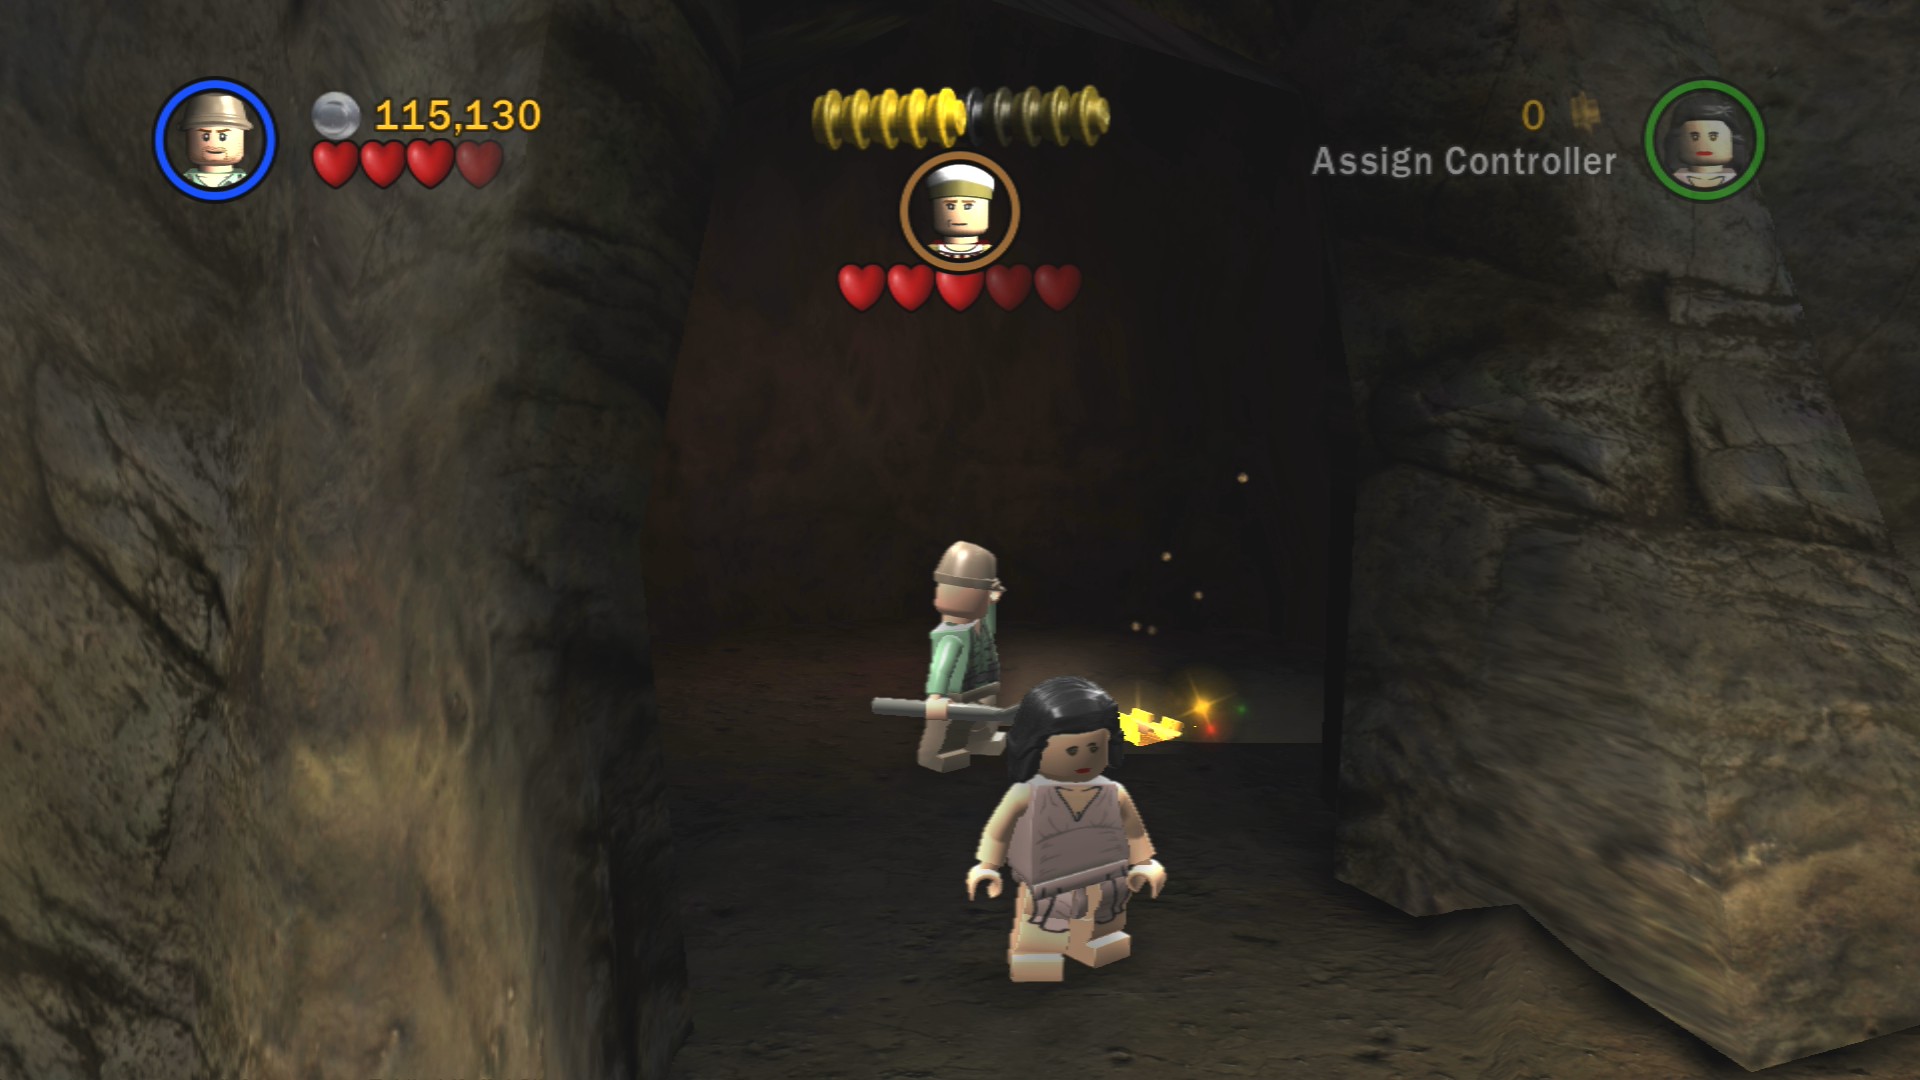
Dig up some glowing LEGO in a cave just behind the Ark.
Artefact Piece 10/10
Requires: Book Story Mode: No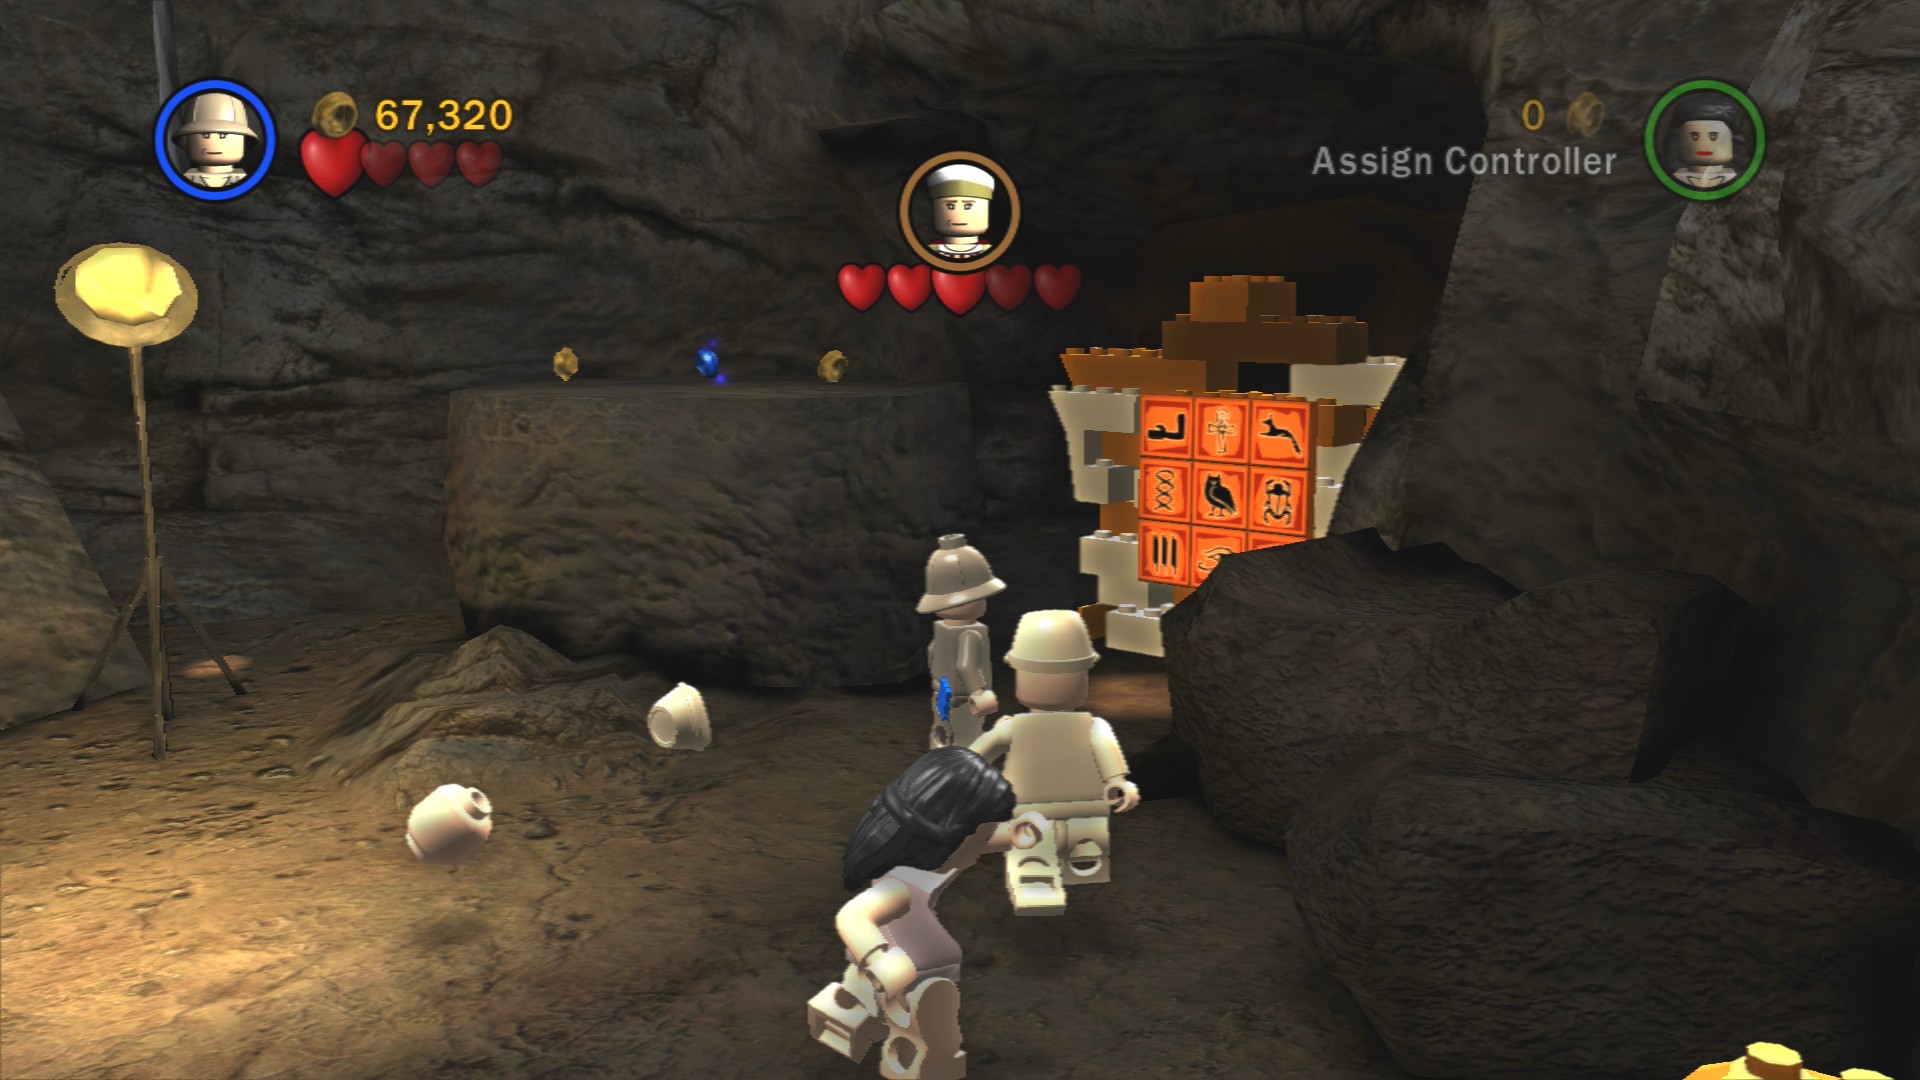
Solve the hieroglyphics to the right of the Ark.
Using Indiana Jones jump up onto the rock next to a rope at the back behind the Ark and use it and then the handholds to get to a whip point which will get you up to Belloq and take off his third heart. All you have to do now is take off his last two hearts as he stands down next to the Ark.
| Cost | Character | |
|---|---|---|
| - | Indiana Jones (Army Disguise) | |
| - | Marion (Night Gown) | |
| 50,000 | Belloq (Robes) | |
| 18,000 | Enemy Guard |
With that all complete it's time to move on to the second movie: Indiana Jones and the Temple of Doom.
 darkspyro.net