Chapter Two
Mimes
Home Sweet Home
Improve the Batcave
There are four locations scattered around the Batcave that you need to interact with to "improve" the Batcave.
The first is the glowing orange screen next to the array of Batmobiles in the centre. This is the "Garage" and is where you will be able to purchase new Batmobiles and extra vehicles for the other playable characters. To progress in the story you need to purchase the "Batman '89" Batmobile at the top of the list for 1,000 studs.
There's one up to the southwest, if you're facing the tunnel out of the Batcave it's up to the right. This one requires you to first put a couple of batteries in position to power it up - they're both right here so you shouldn't need to be searching for them very hard. To actually count this as "improved" you must then access the terminal and redeem at least one of the completed challenges. There's no real point in not redeeming a completed challenge so redeem all you've earned while you're here and take a quick look at the others to see what sort of thing the game wants you to do to earn the rest of them.
On the opposite side of the tunnel out of the Batcave is a digging machine that you can interact with to ask it to dig out the Suit Vault for 1,000 studs. Nothing further needs to be done with this one.
The final improvement is to the north of the Suit Vault where there is a platform with several sections of raised LEGO studs covering the floor. This is a Build Zone where the game will teach you how to add objects to the Batcave. You'll find several of these areas around the Batcave for you to do with as you please. Here you need to delete the three bits of junk and then open the inventory and select any item you like to place. Placing an object from this inventory does not cost anything. You'll get more items by completing story missions, various challenges and from a shop that you'll unlock soon. The game wants you to place three items and then it is satisfied and we can move on.
Answer the Batphone
The Batphone will start ringing when you finish all four parts of the improvements task - you can find it next to the Batcomputer above the Garage (when facing the exit tunnel it is on your right).
Follow the blue bat
Follow the little blue bat as it makes its way past the elevator to a lit up brick wall. Take a "look" at the wall.
Collect the new gadget
Down to the right, next to where you just placed some objects, is where you can pick up the Explosive Spray.
Return to the wall
Grapple back up to the wall the bat flew through and use the Explosive Spray. Follow the path of the bat symbol with the left stick (just wiggle the left stick around clockwise or anti-clockwise) and once you complete the symbol you'll blast through the wall.
Enter the strange shop
On the other side of the wall is a Bat-Mite Shop. Go inside.
Buy something from the shop
Approach any of the displays and buy an item. Doesn't matter which one, any of them is fine. This shop sells outfits, a few red bricks, and loads of items to decorate your Batcave. Everything for sale in here can only be found in here, there are no alternate unlock methods for any of them, so don't go saving your studs thinking you'll find that red brick in a level somewhere.
Leave the shop
Once you've bought one thing you can leave. Or you can buy loads of things. There's a Bat-Mite shop in every district of Gotham that you can visit (although they all have the same stock) so you don't even need to come back to the Batcave to get spending.
Answer the Batphone
Return to the Batcomputer to answer the Batphone again.
Disrupted Debate
Stop the Mime Van
For this chase tutorial you aren't actually in control of the Batmobile, just hit the rocket button prompts as the game asks. After hitting the van three times you will be able to fire a grapple at it and pull on it by reversing to stop it.
Stop the Mime Vans
Now you're in control again. Chase after the other two Mime Vans that are driving around South Island. Shoot three rockets at them then get close enough to grapple them.
Go to the car dealership
You can find the car dealership over on the western side of South Island.
Find the Mime Van
Once you arrive walk forwards towards the fluffy white rectanges ahead of you. Grapple the blue crate on the forklift and then smash a couple of other nearby objects to get all the parts to build a pressure washer.
Before you can use it you'll need to plug the hose into the nearby leaking pipe. Get into the water cannon and hose down the van nearest the pipe. It's the Mime Van.
Inspect the Mime Van
Get off the cannon and investigate the van to continue.
Stop the Mime Van
Zoom up the ramp out of the car dealership and give chase to the van. Rocket it a few times and grapple to stop it.
Go to Shreck's Department Store
Shreck's Department Store is found on the east side of South Island, a little further to the east than Wayne Tower.
Talk to the mime
Outside the store is a mime stuck in a sign. Talk to him to start the next level.
Shreck's Department Store
Shreck's Department Store
I am Catwoman. Hear me roar.
Look for a way out
You start the level off with a forced tutorial on how to use Catwoman's whip to undo a screw and then spin open the shutter. You need to hit the spool several times in quick succession in order to fully open the door.
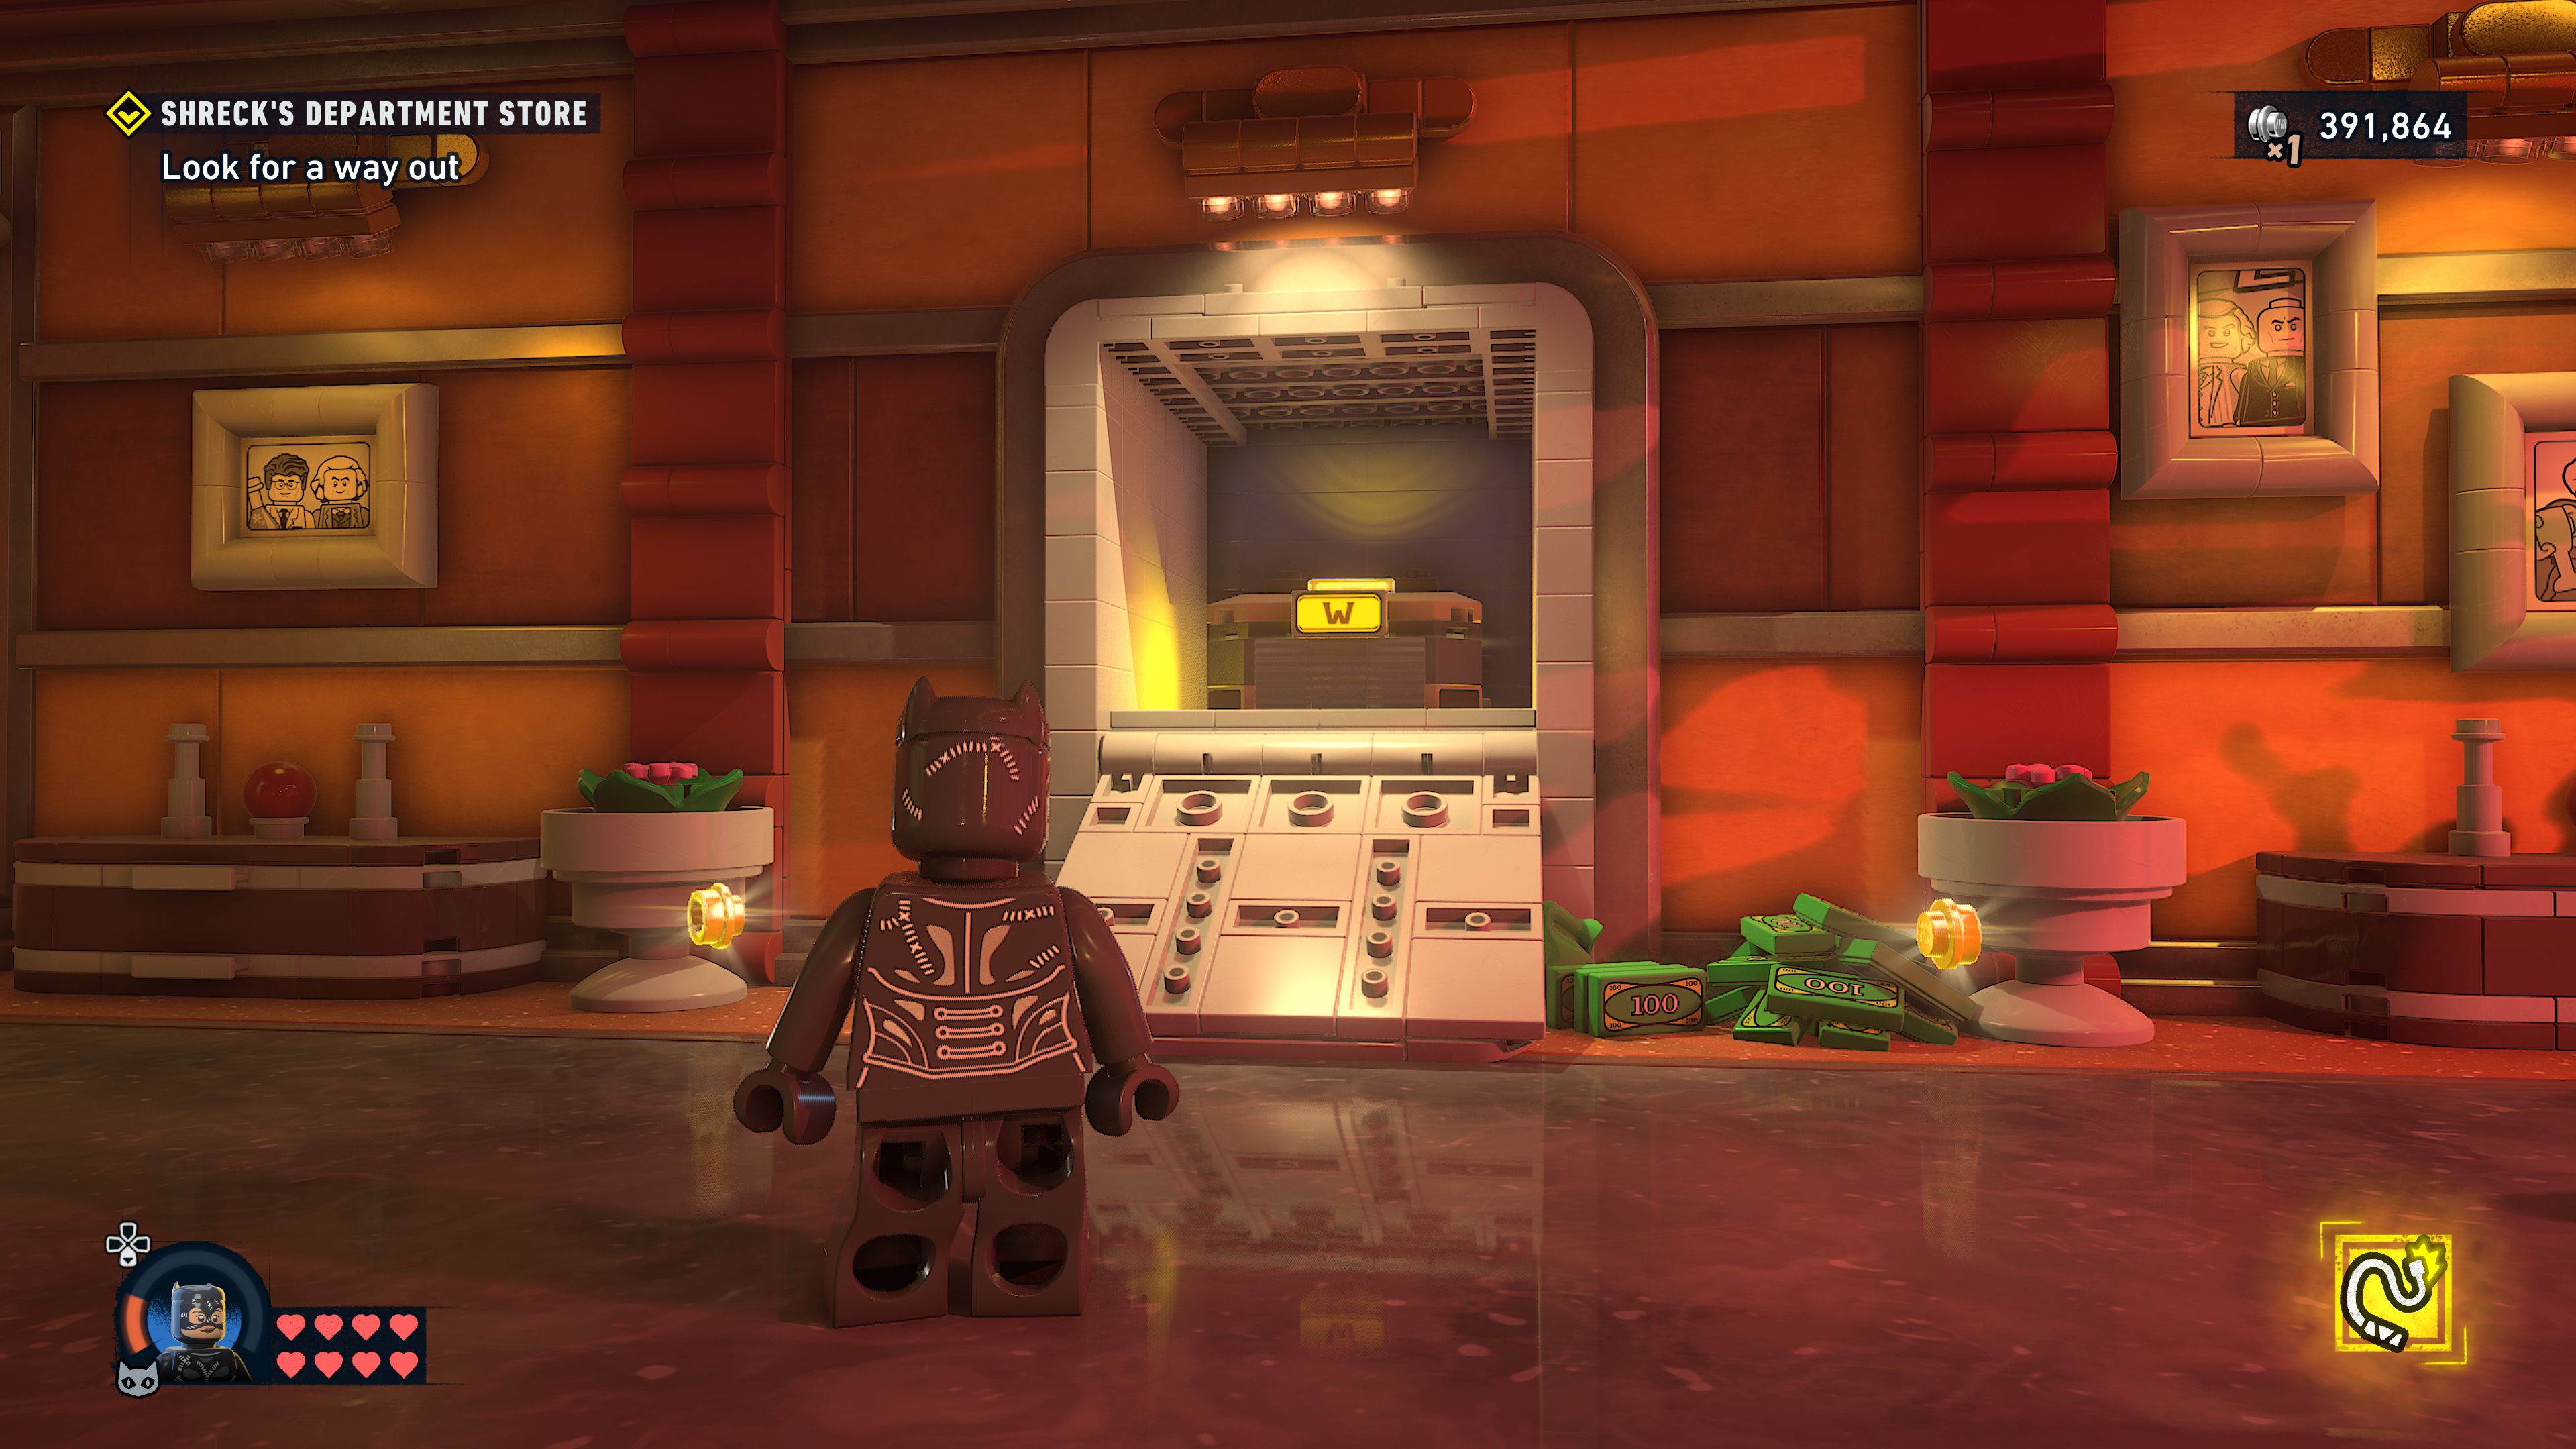
Go through the opened shutter into the next room.
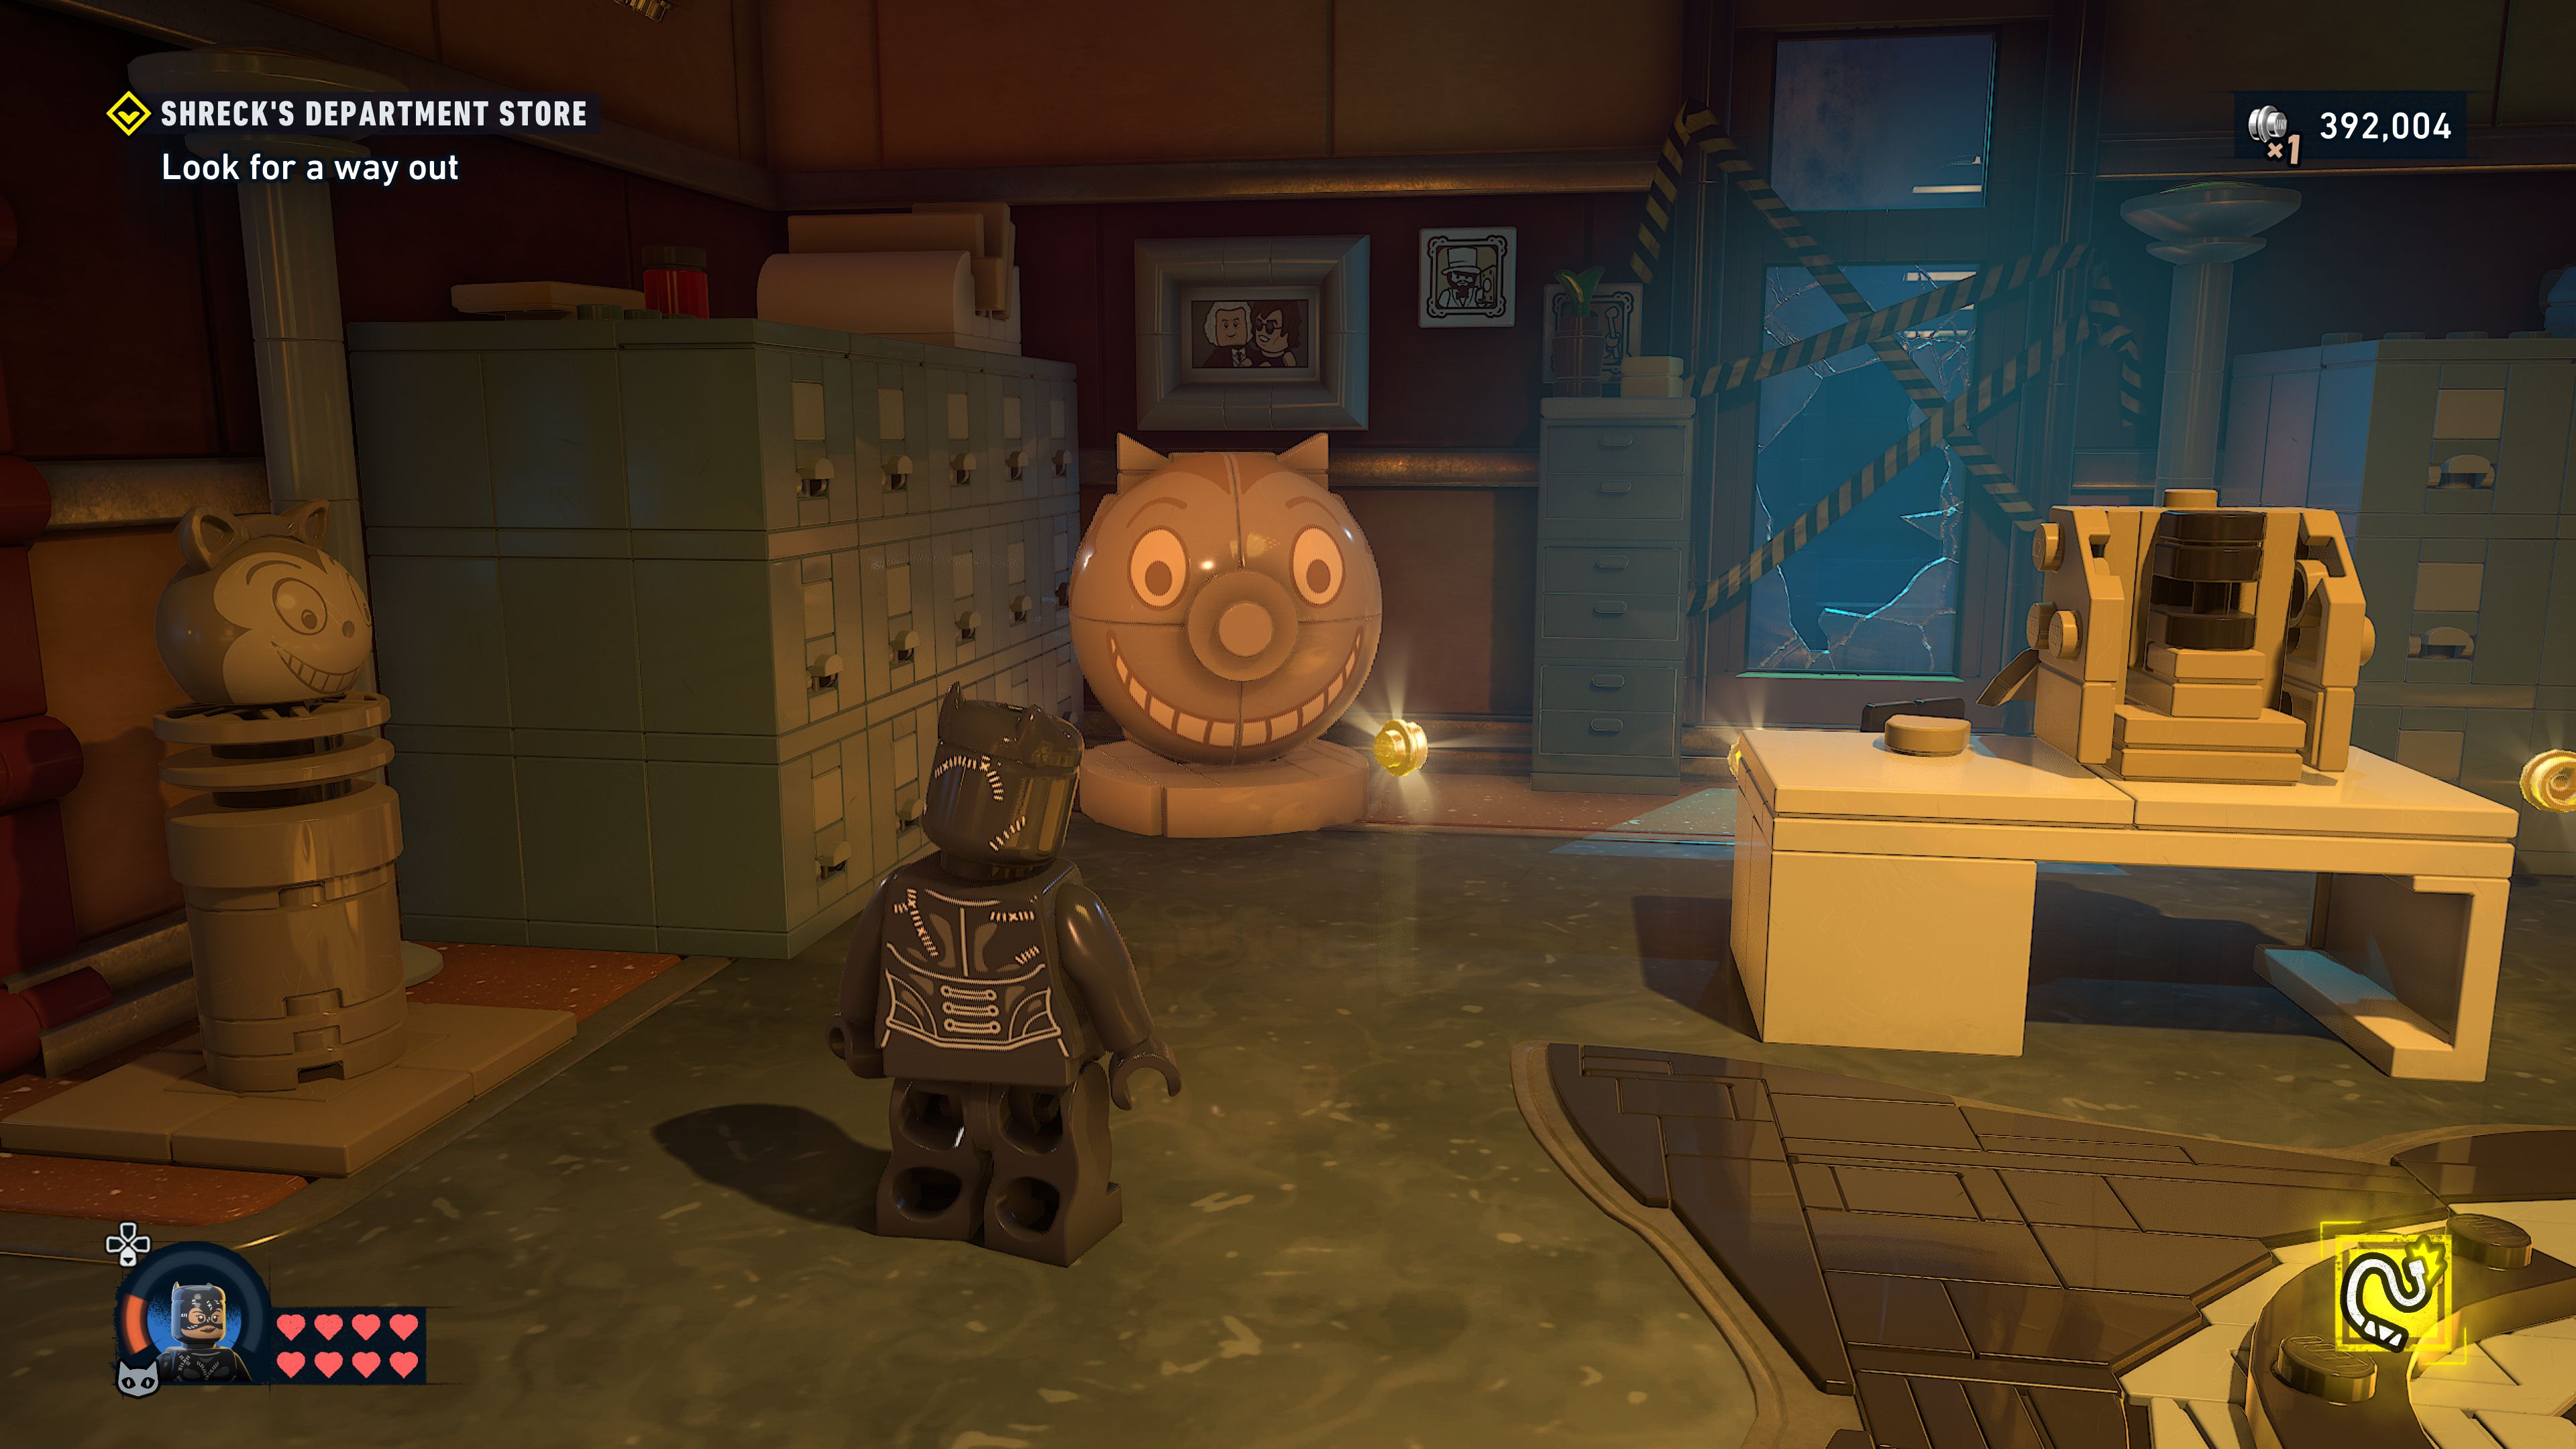
There's another shutter in here to use Catwoman's whip to open.
The hint for solving the puzzle in the following room is a photo sitting on a small table against the wall opposite the entrance. To your right are two statues of Max Shreck that you need to spin to have them both facing forwards. Each hit of the whip on the spools underneath them moves them one quarter turn so hit the left one twice and the right one three times.
Find the elevator
Go through the crawl space behind the painting and you'll be shown a couple of mimes. They'll stand facing away from you so it's easy to sneak up on them to perform a stealth takedown.
To move on you must first smash the two cleaning carts next to where the mimes were standing. You'll be able to build a point that Batman can use his Batclaw to pull open the doors.
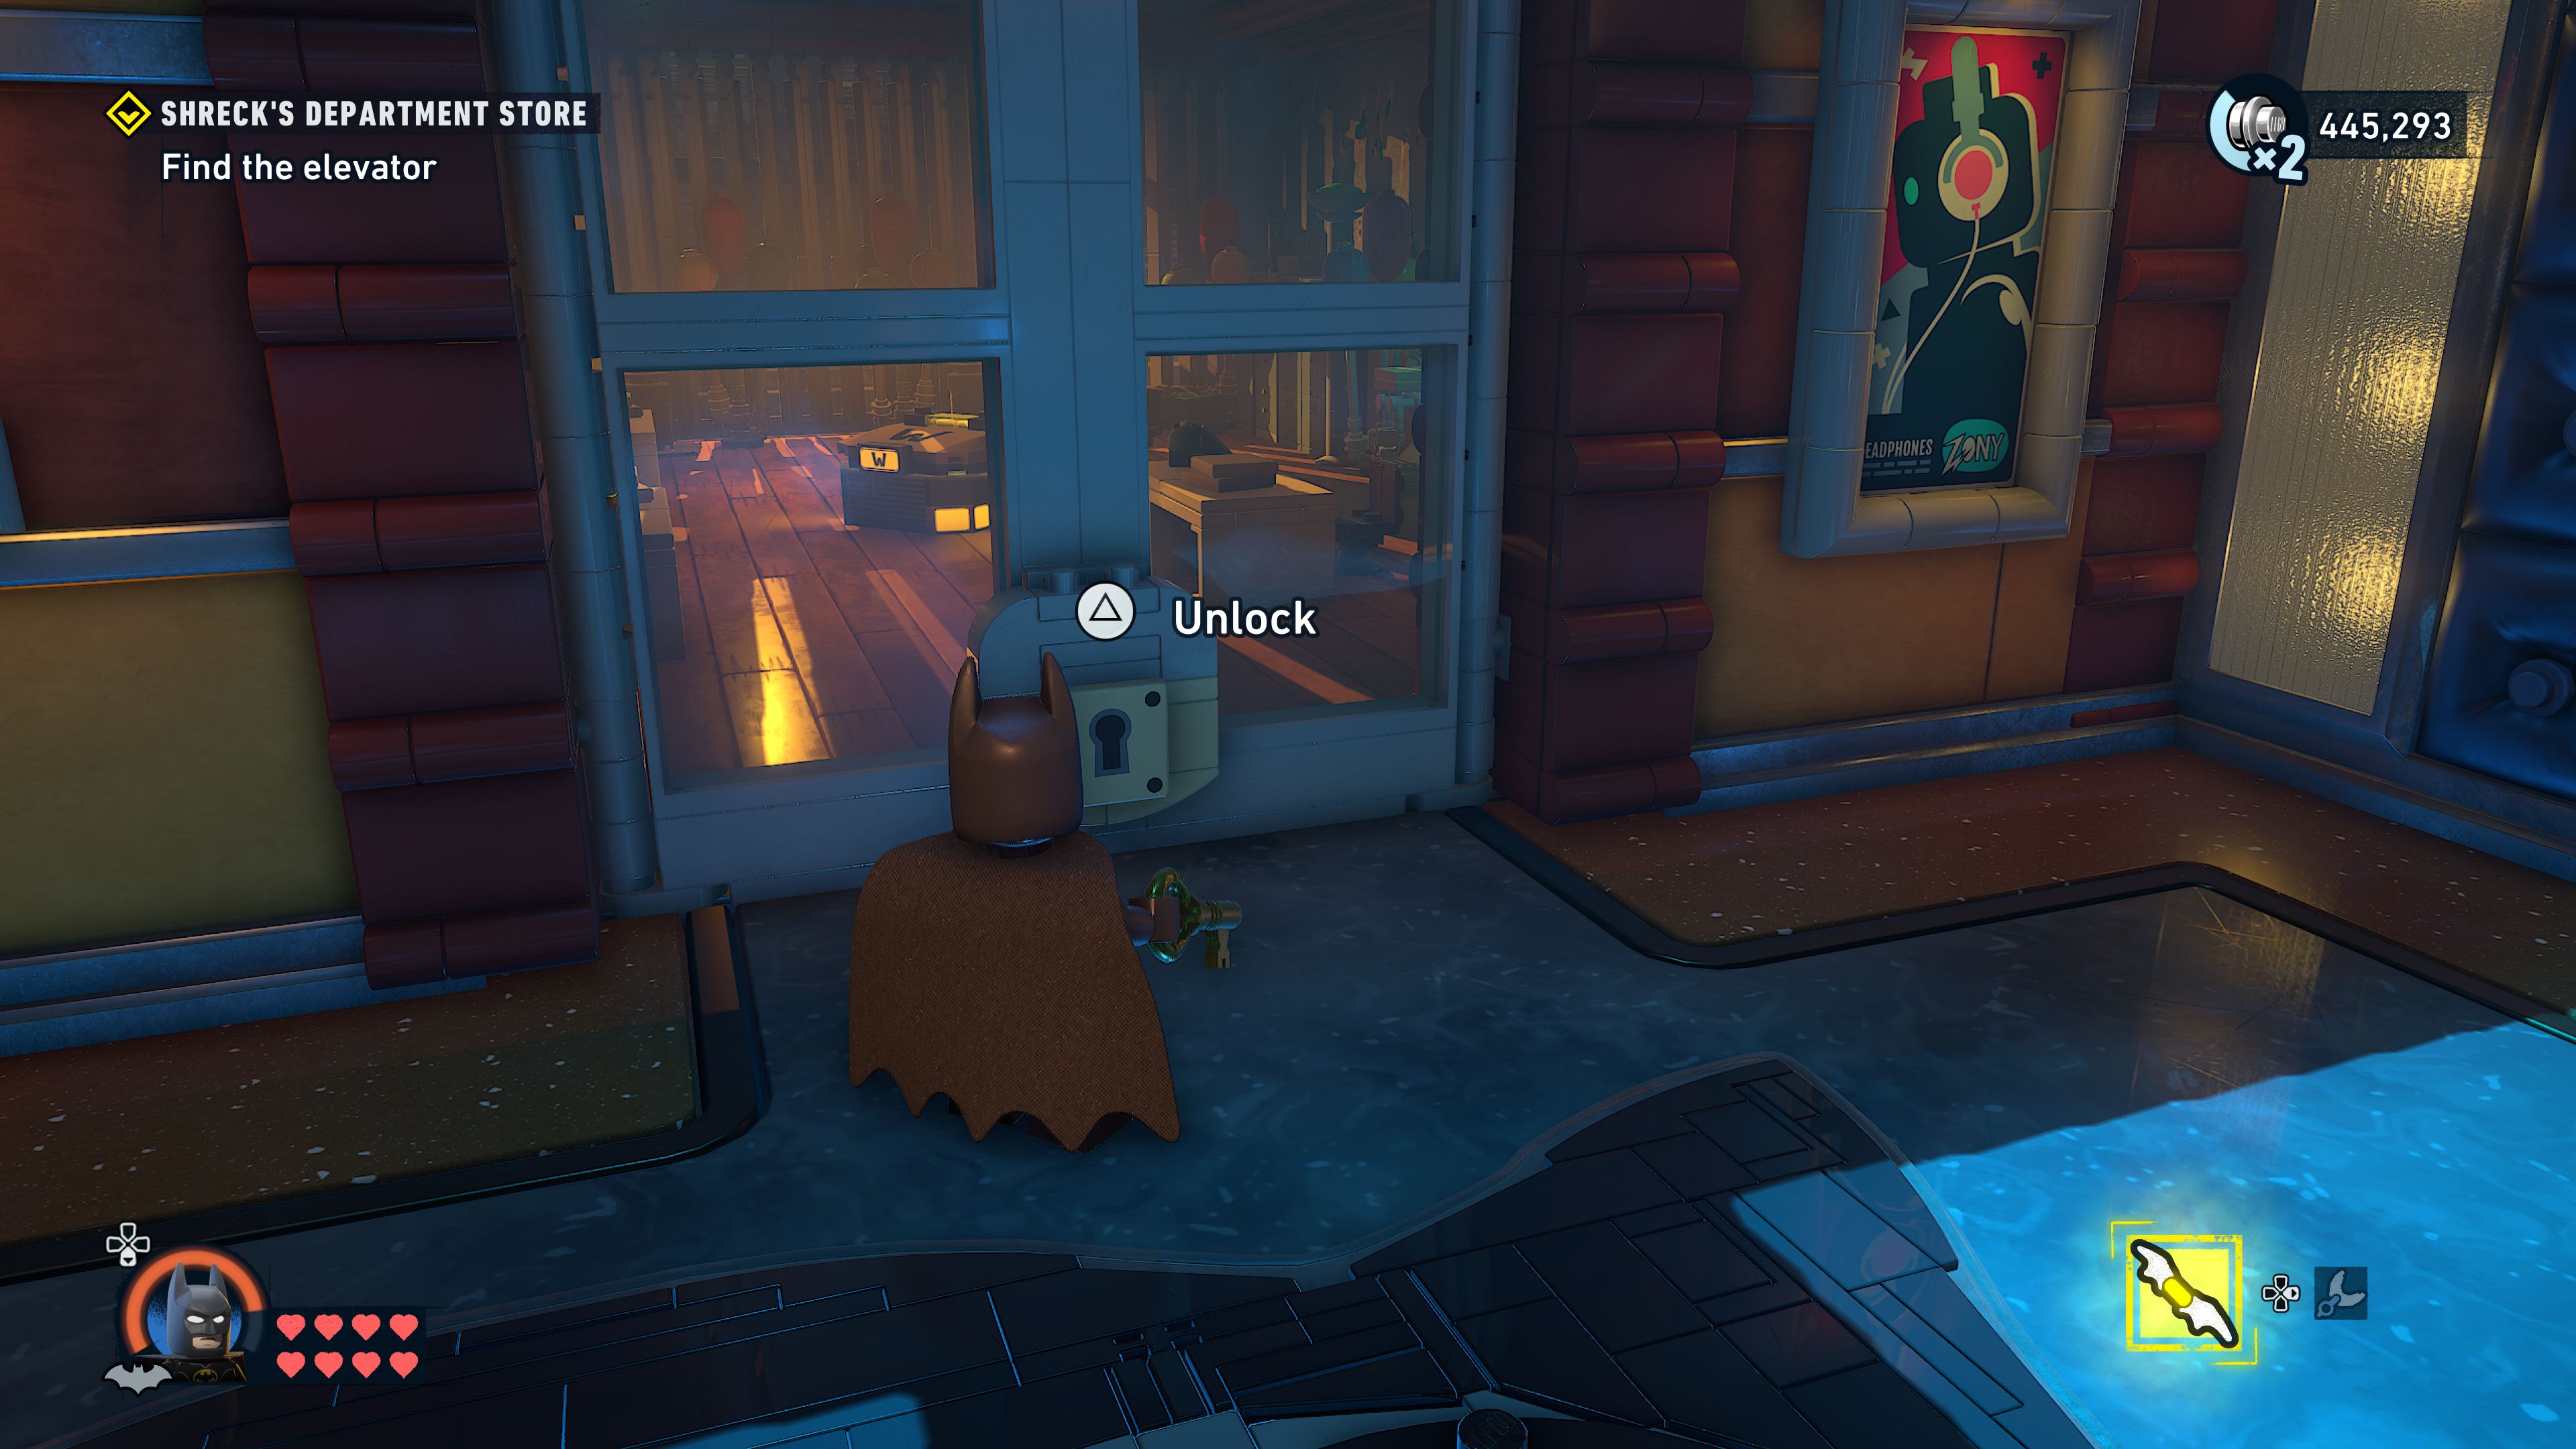
You have a choice on how to proceed, you can can smash the cameras in the hall and then run straight in and attack the mimes in the area ahead, or you can sneak in by pulling open the vents on the walls and crawling through to some vantage points where you can plan your slow stealth attacks from above.
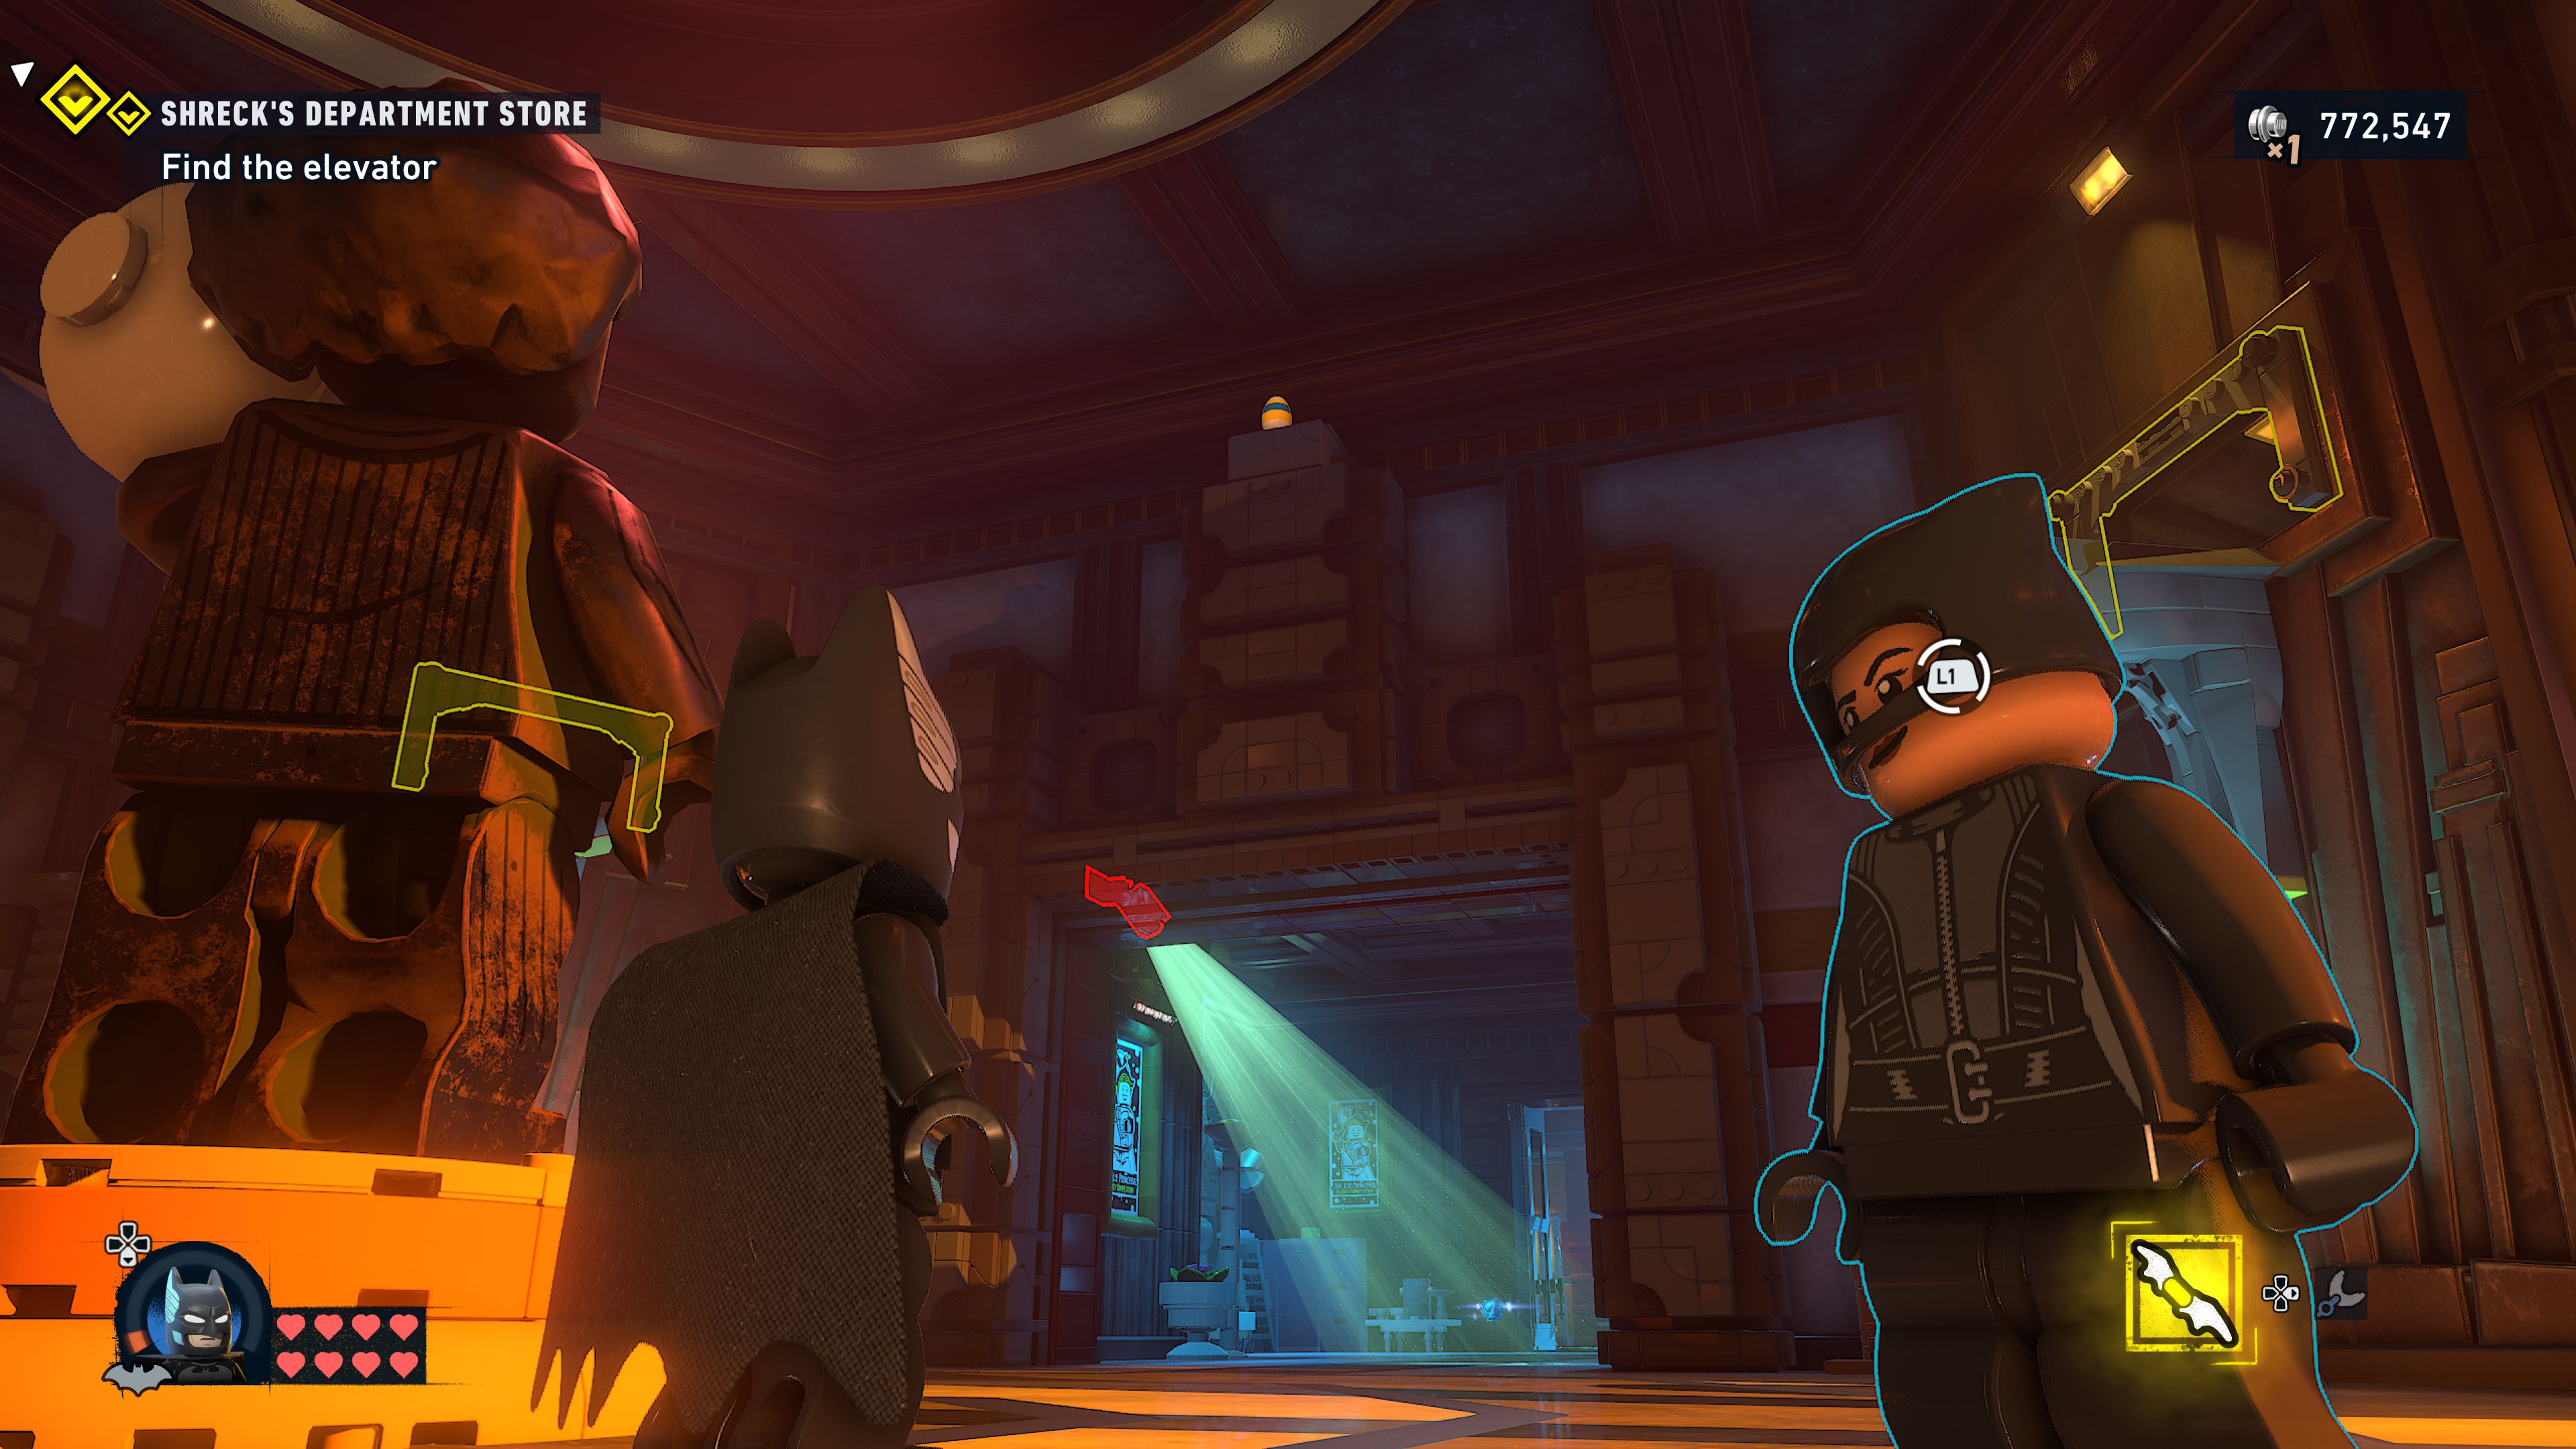
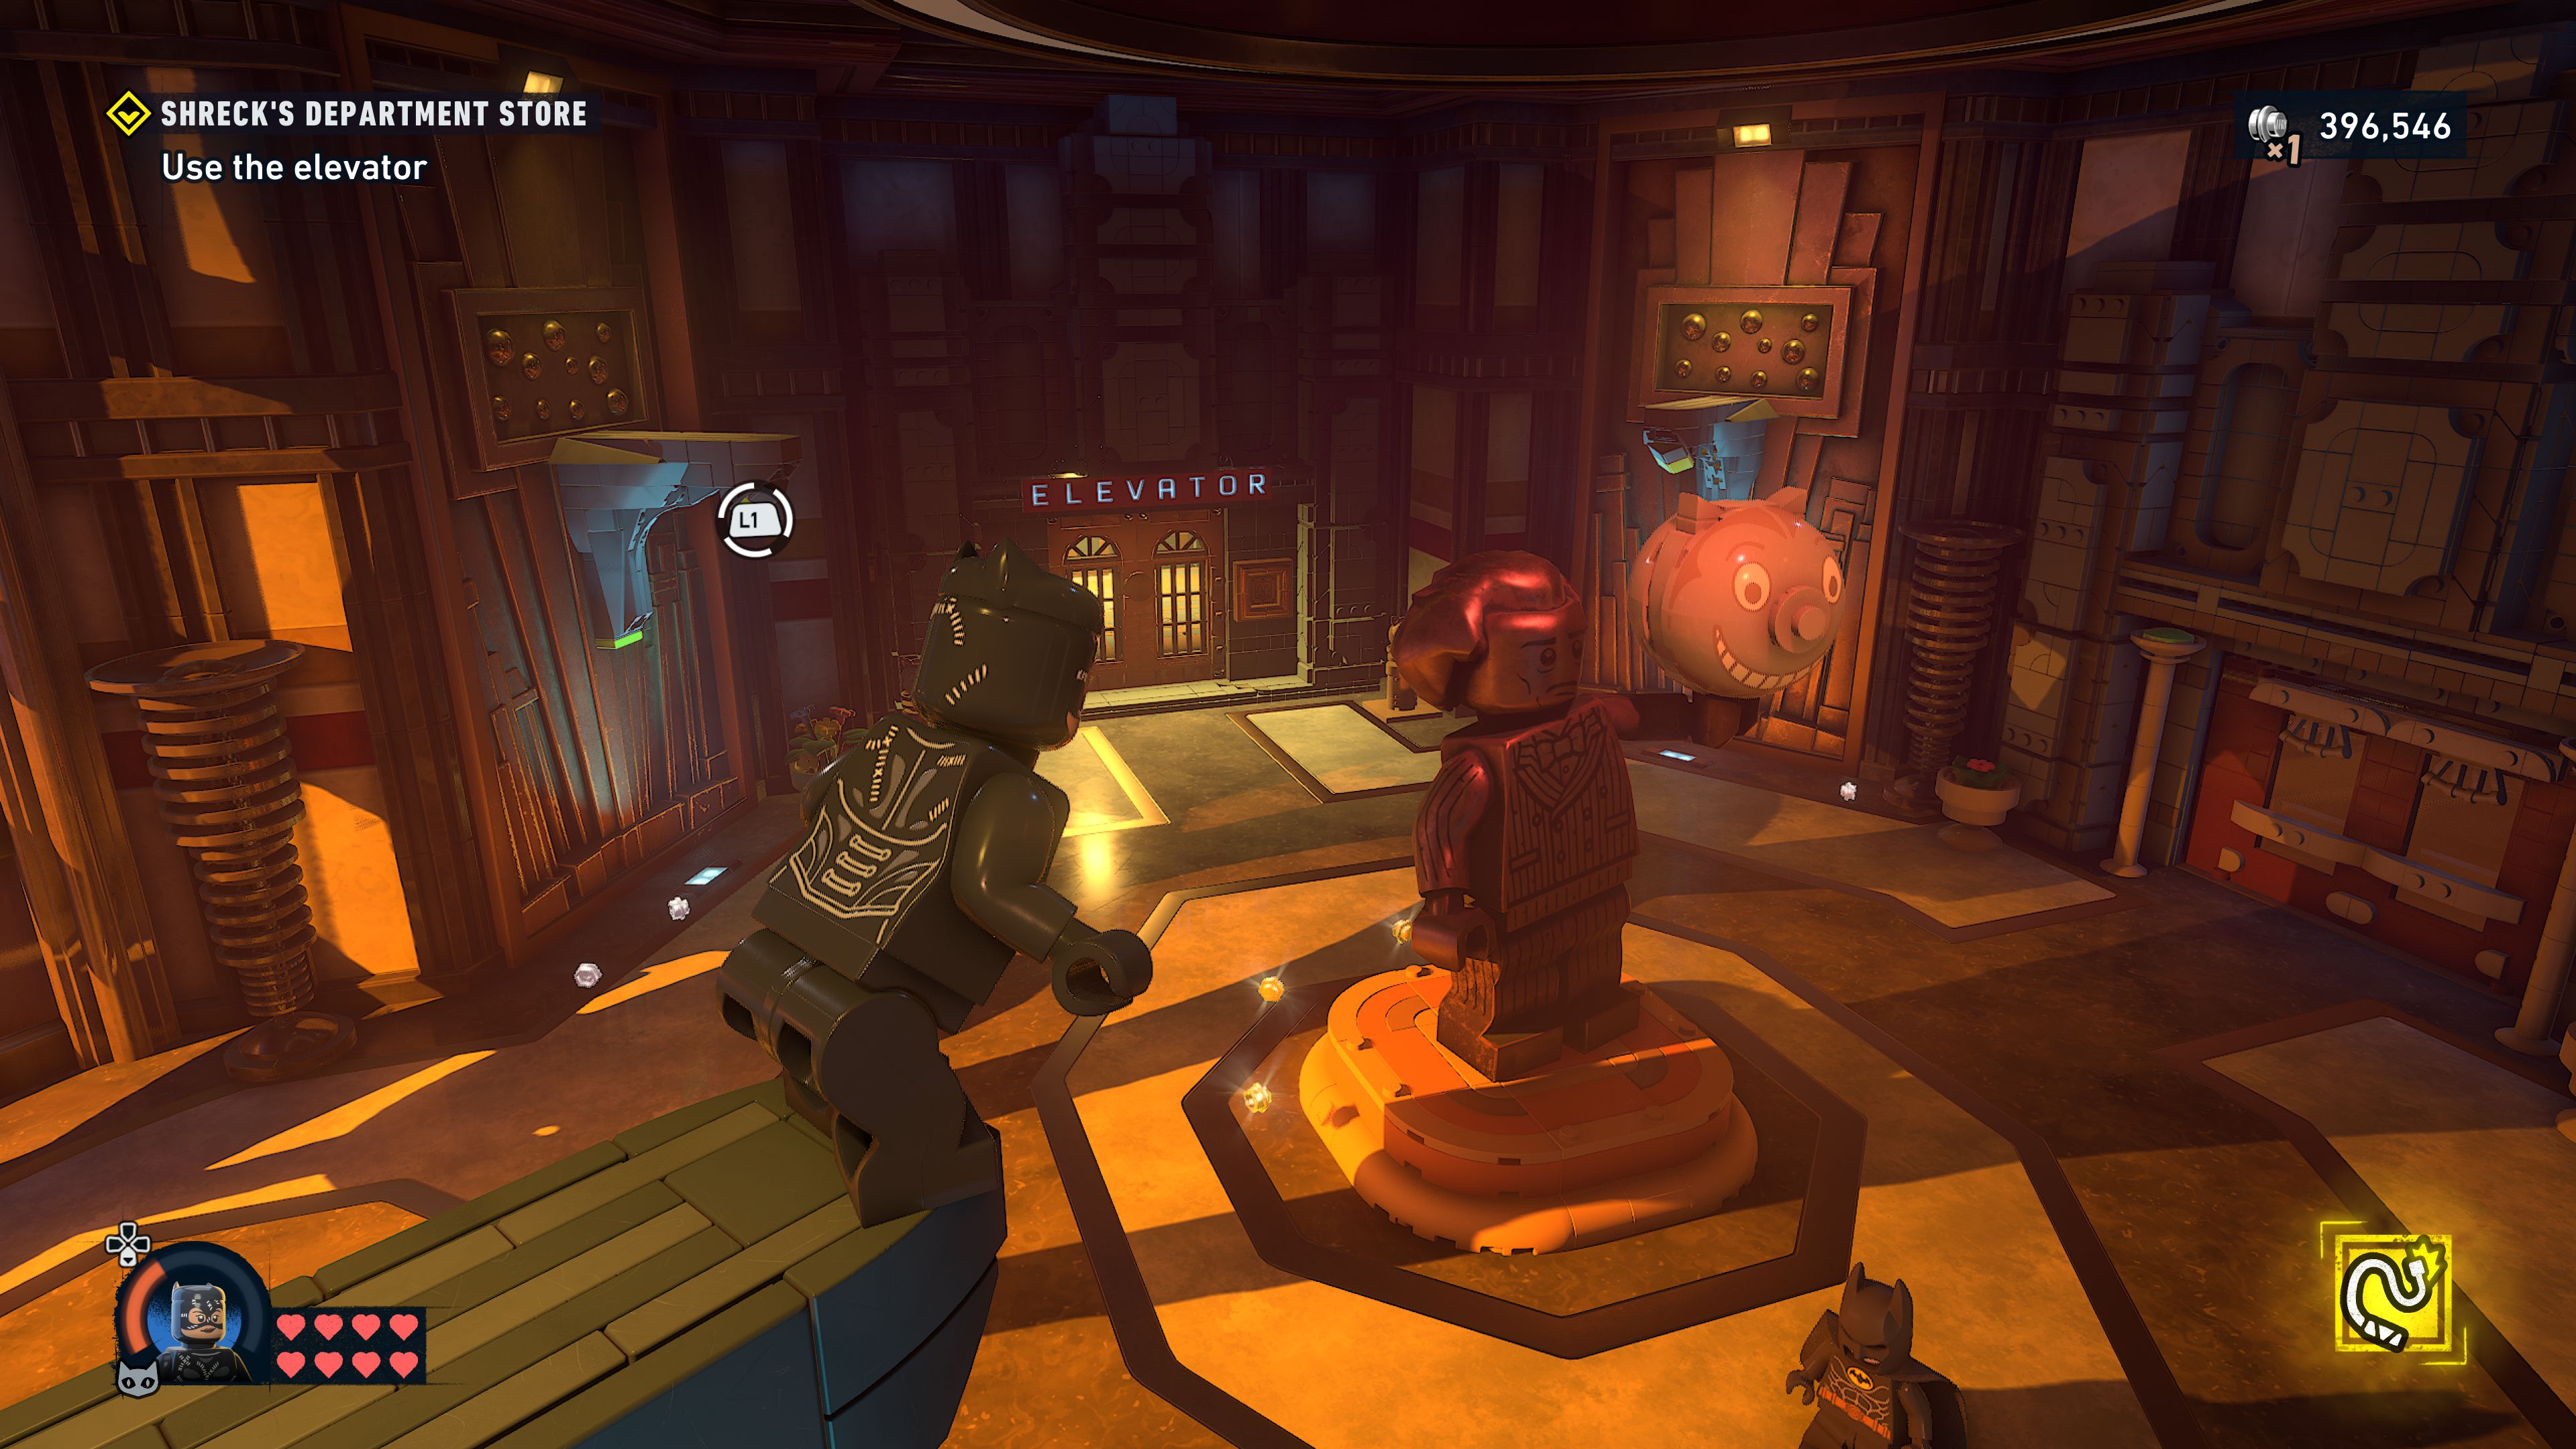
Use the elevator
At the far end of the room is a door to the elevator that you'll need both characters to force open.
Once inside press the button to start moving.
Look for a way out
When it stops have Batman blow up the brick wall with his new Explosive Spray gadget and then hit a couple of cables behind there.
Grapple up out of the elevator once you reach the floor.
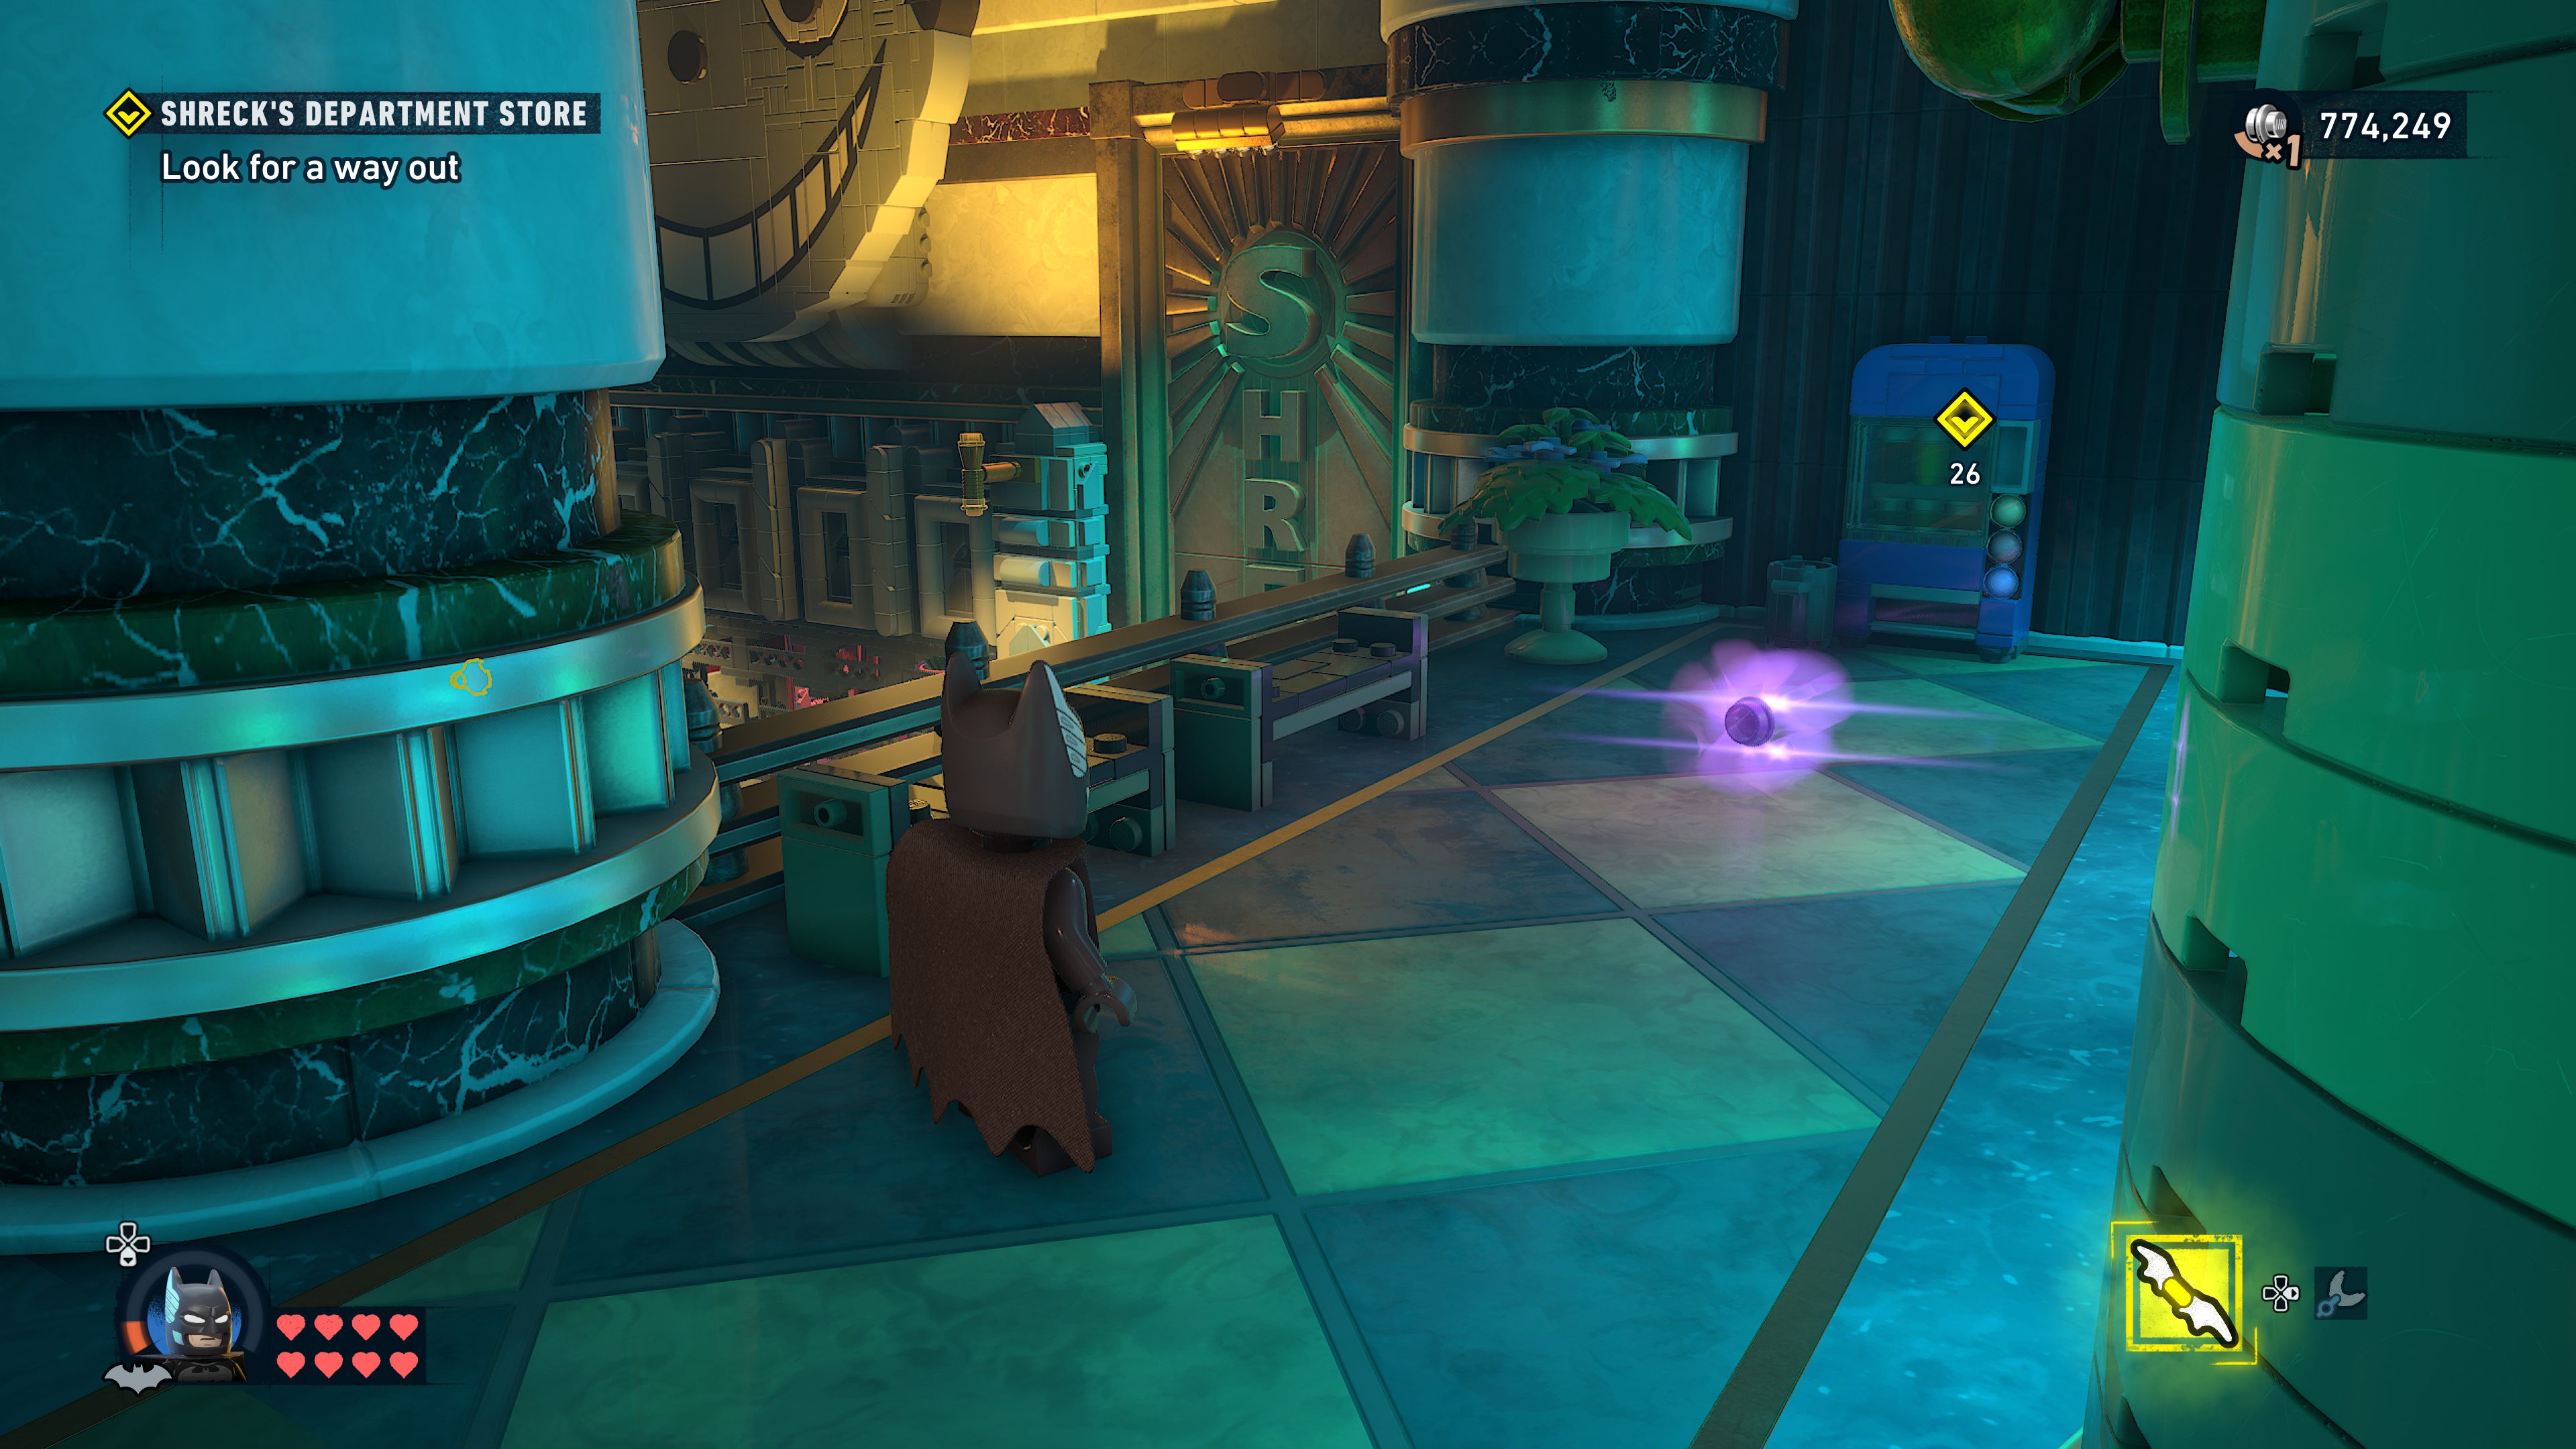
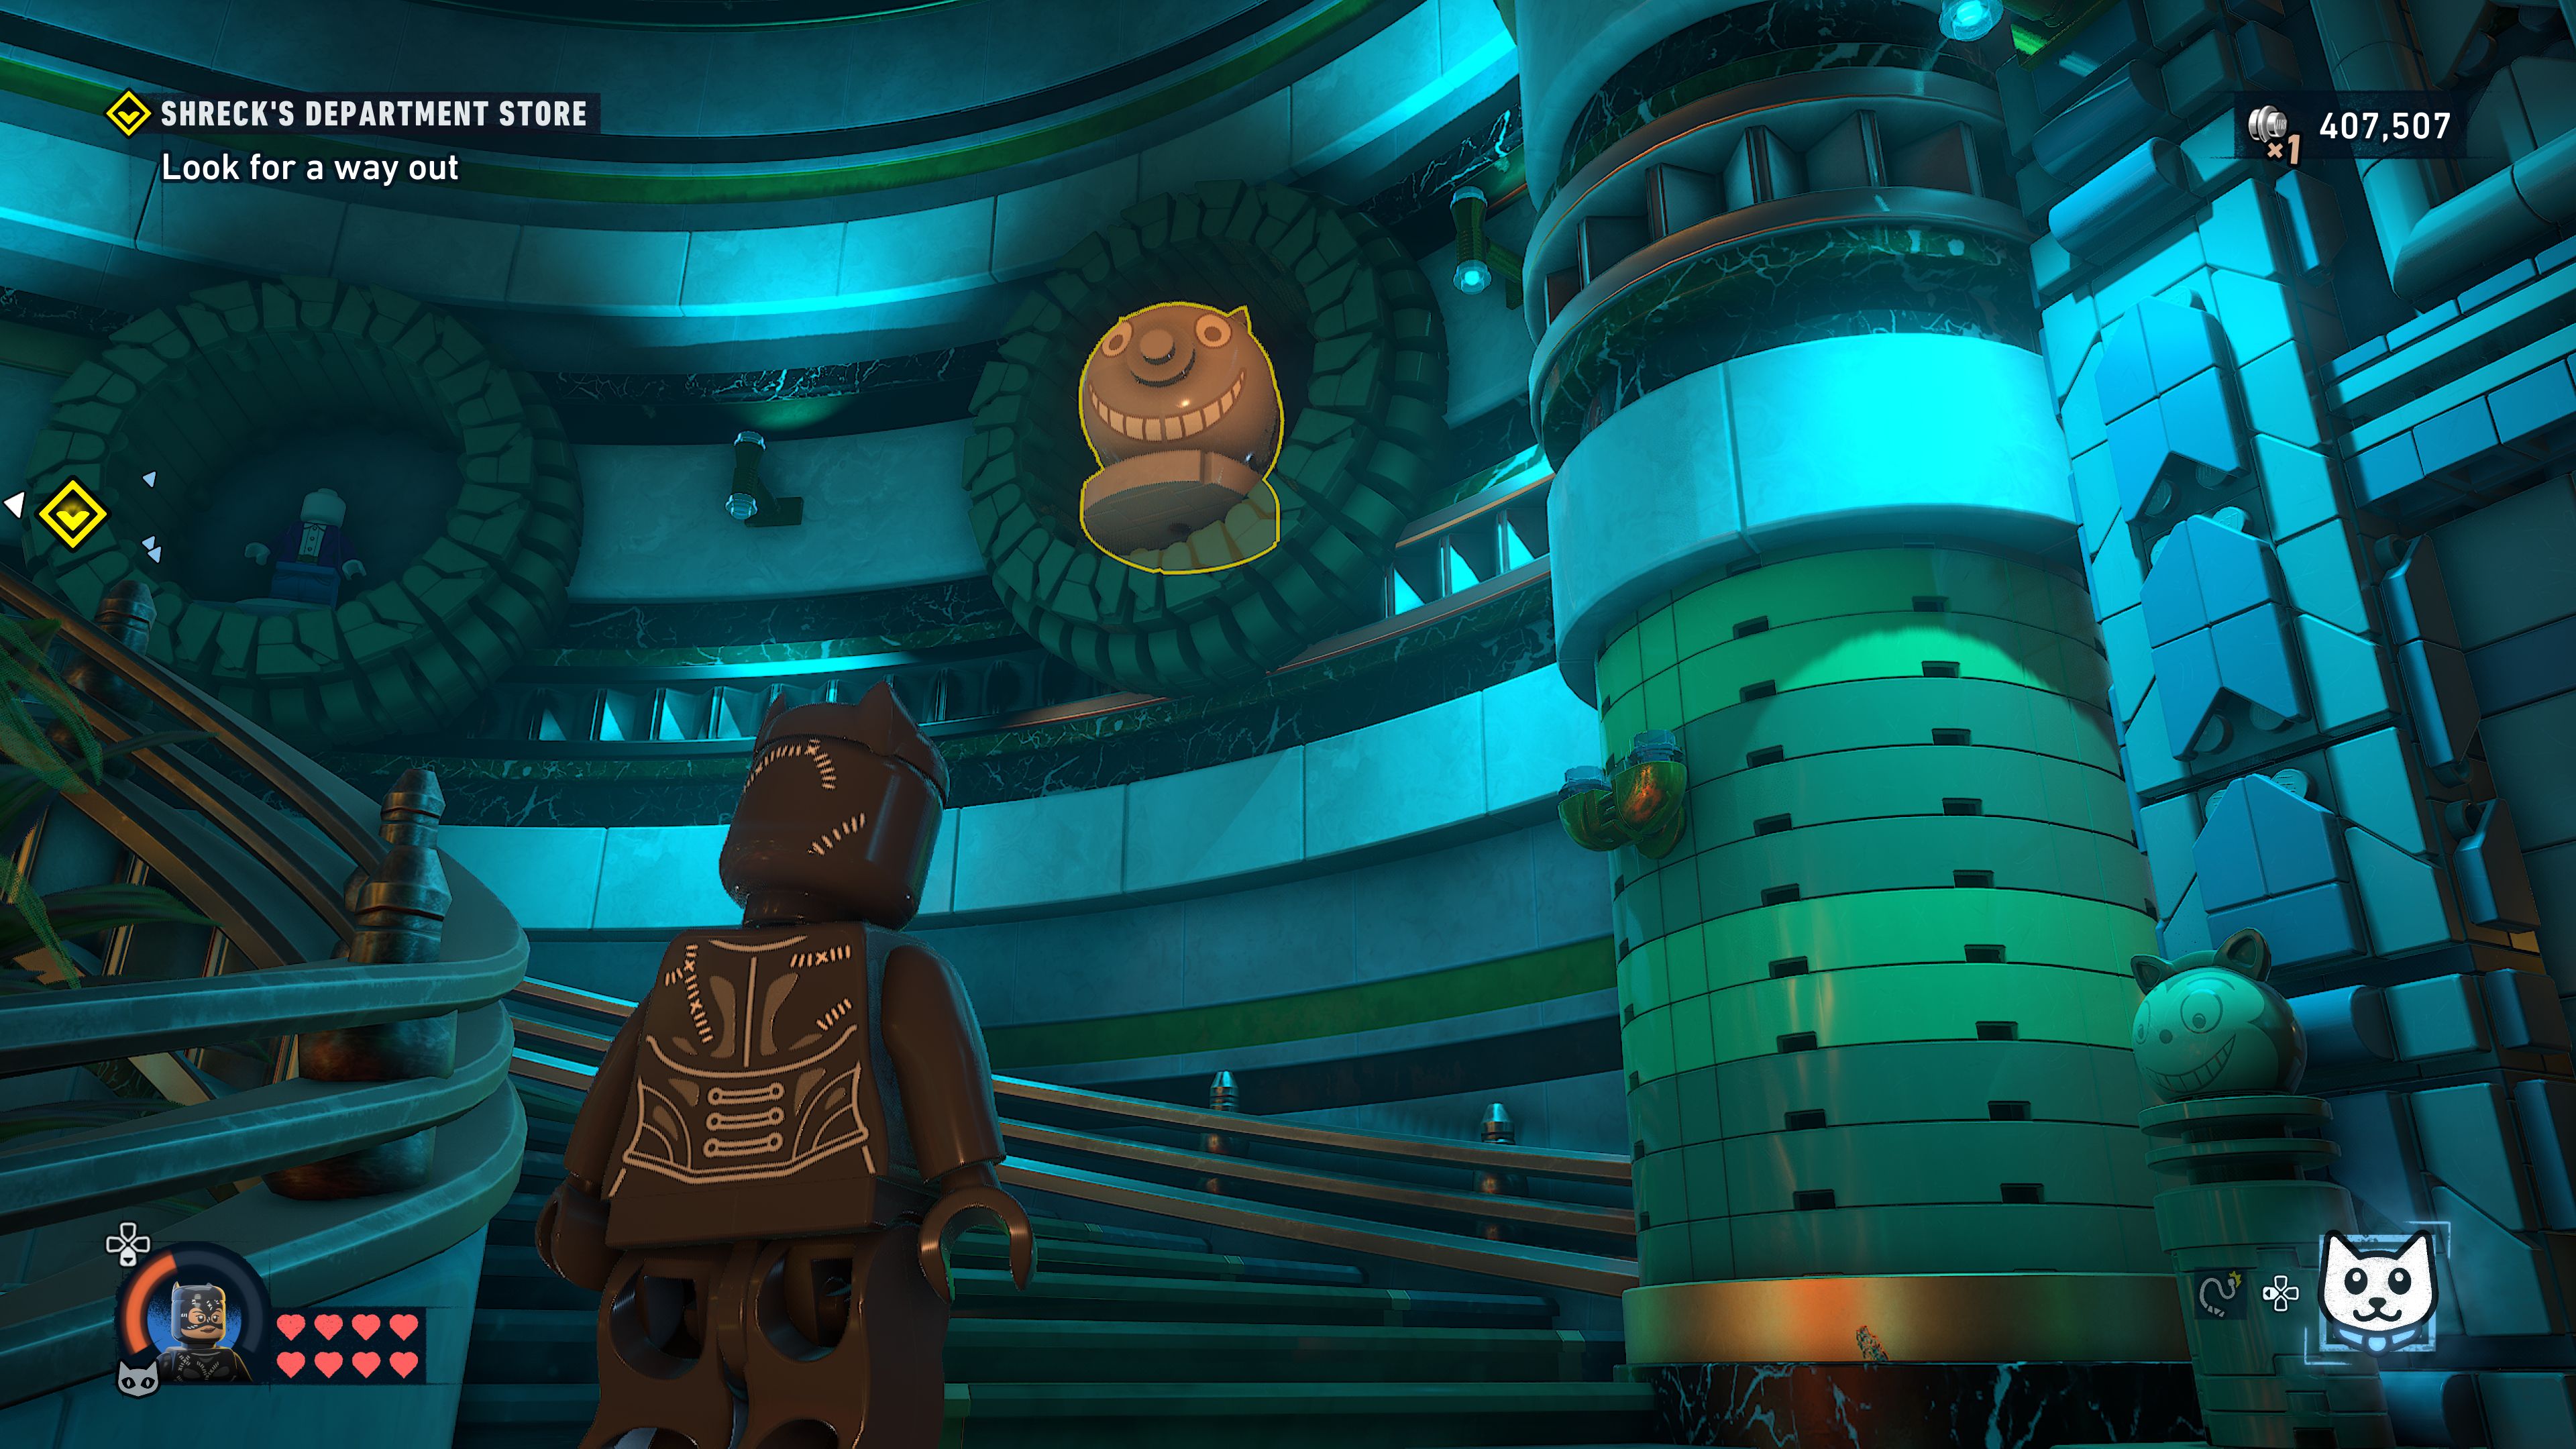
On the left of the shutters blocking the path ahead is a point for Batman to use his Batclaw to open a vent.
Open the shutters
It's too small to crawl through so now you'll unlock Catwoman's second ability: Call Kitty. Summon a cat that you can control and walk through the small vent into the room past the shutter. Once you're in there walk over to the red button next to the shutters and have the cat press on it to open the shutters. Hold the Recall button to return to controlling Catwoman.
Look for a way out
The doors in this room are sealed so grapple up to a vent on the wall to crawl through. You'll end up in a large room filled with mimes and see the shutters at the far end close. Once again it is entirely possible to clear out this room without alerting any of them but obviously it'll be more difficult the higher the difficulty setting you have enabled.
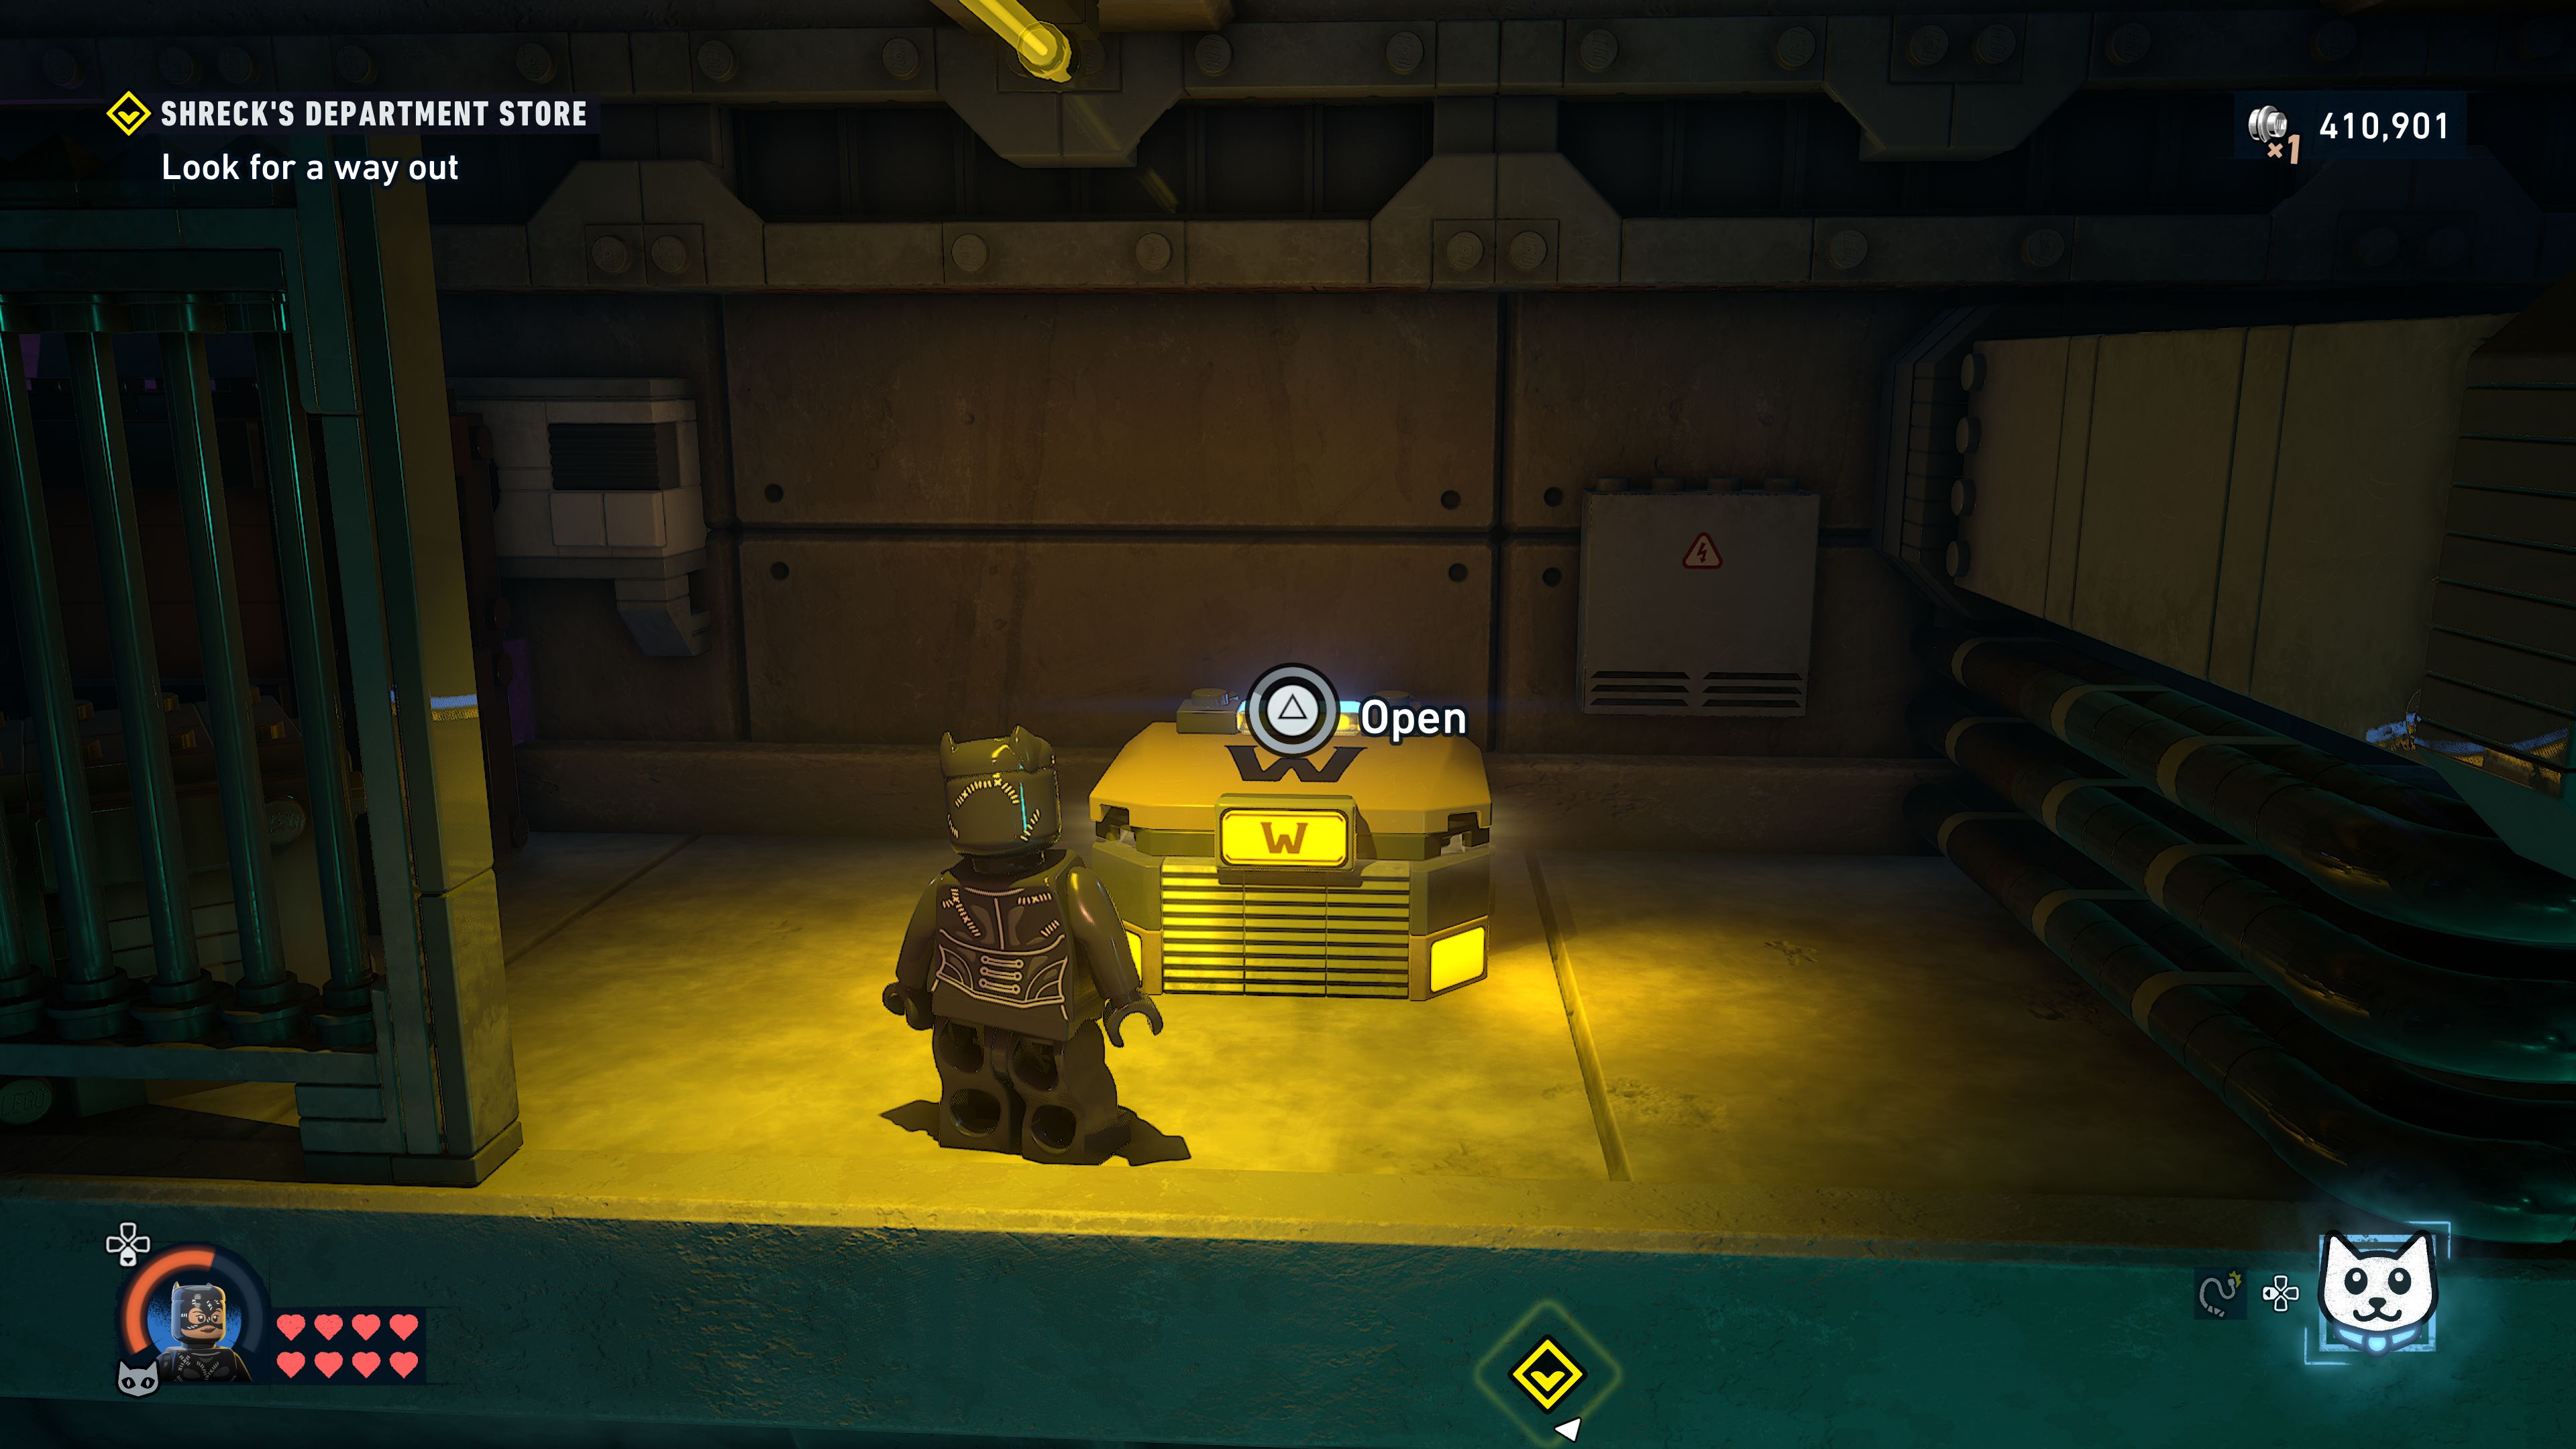
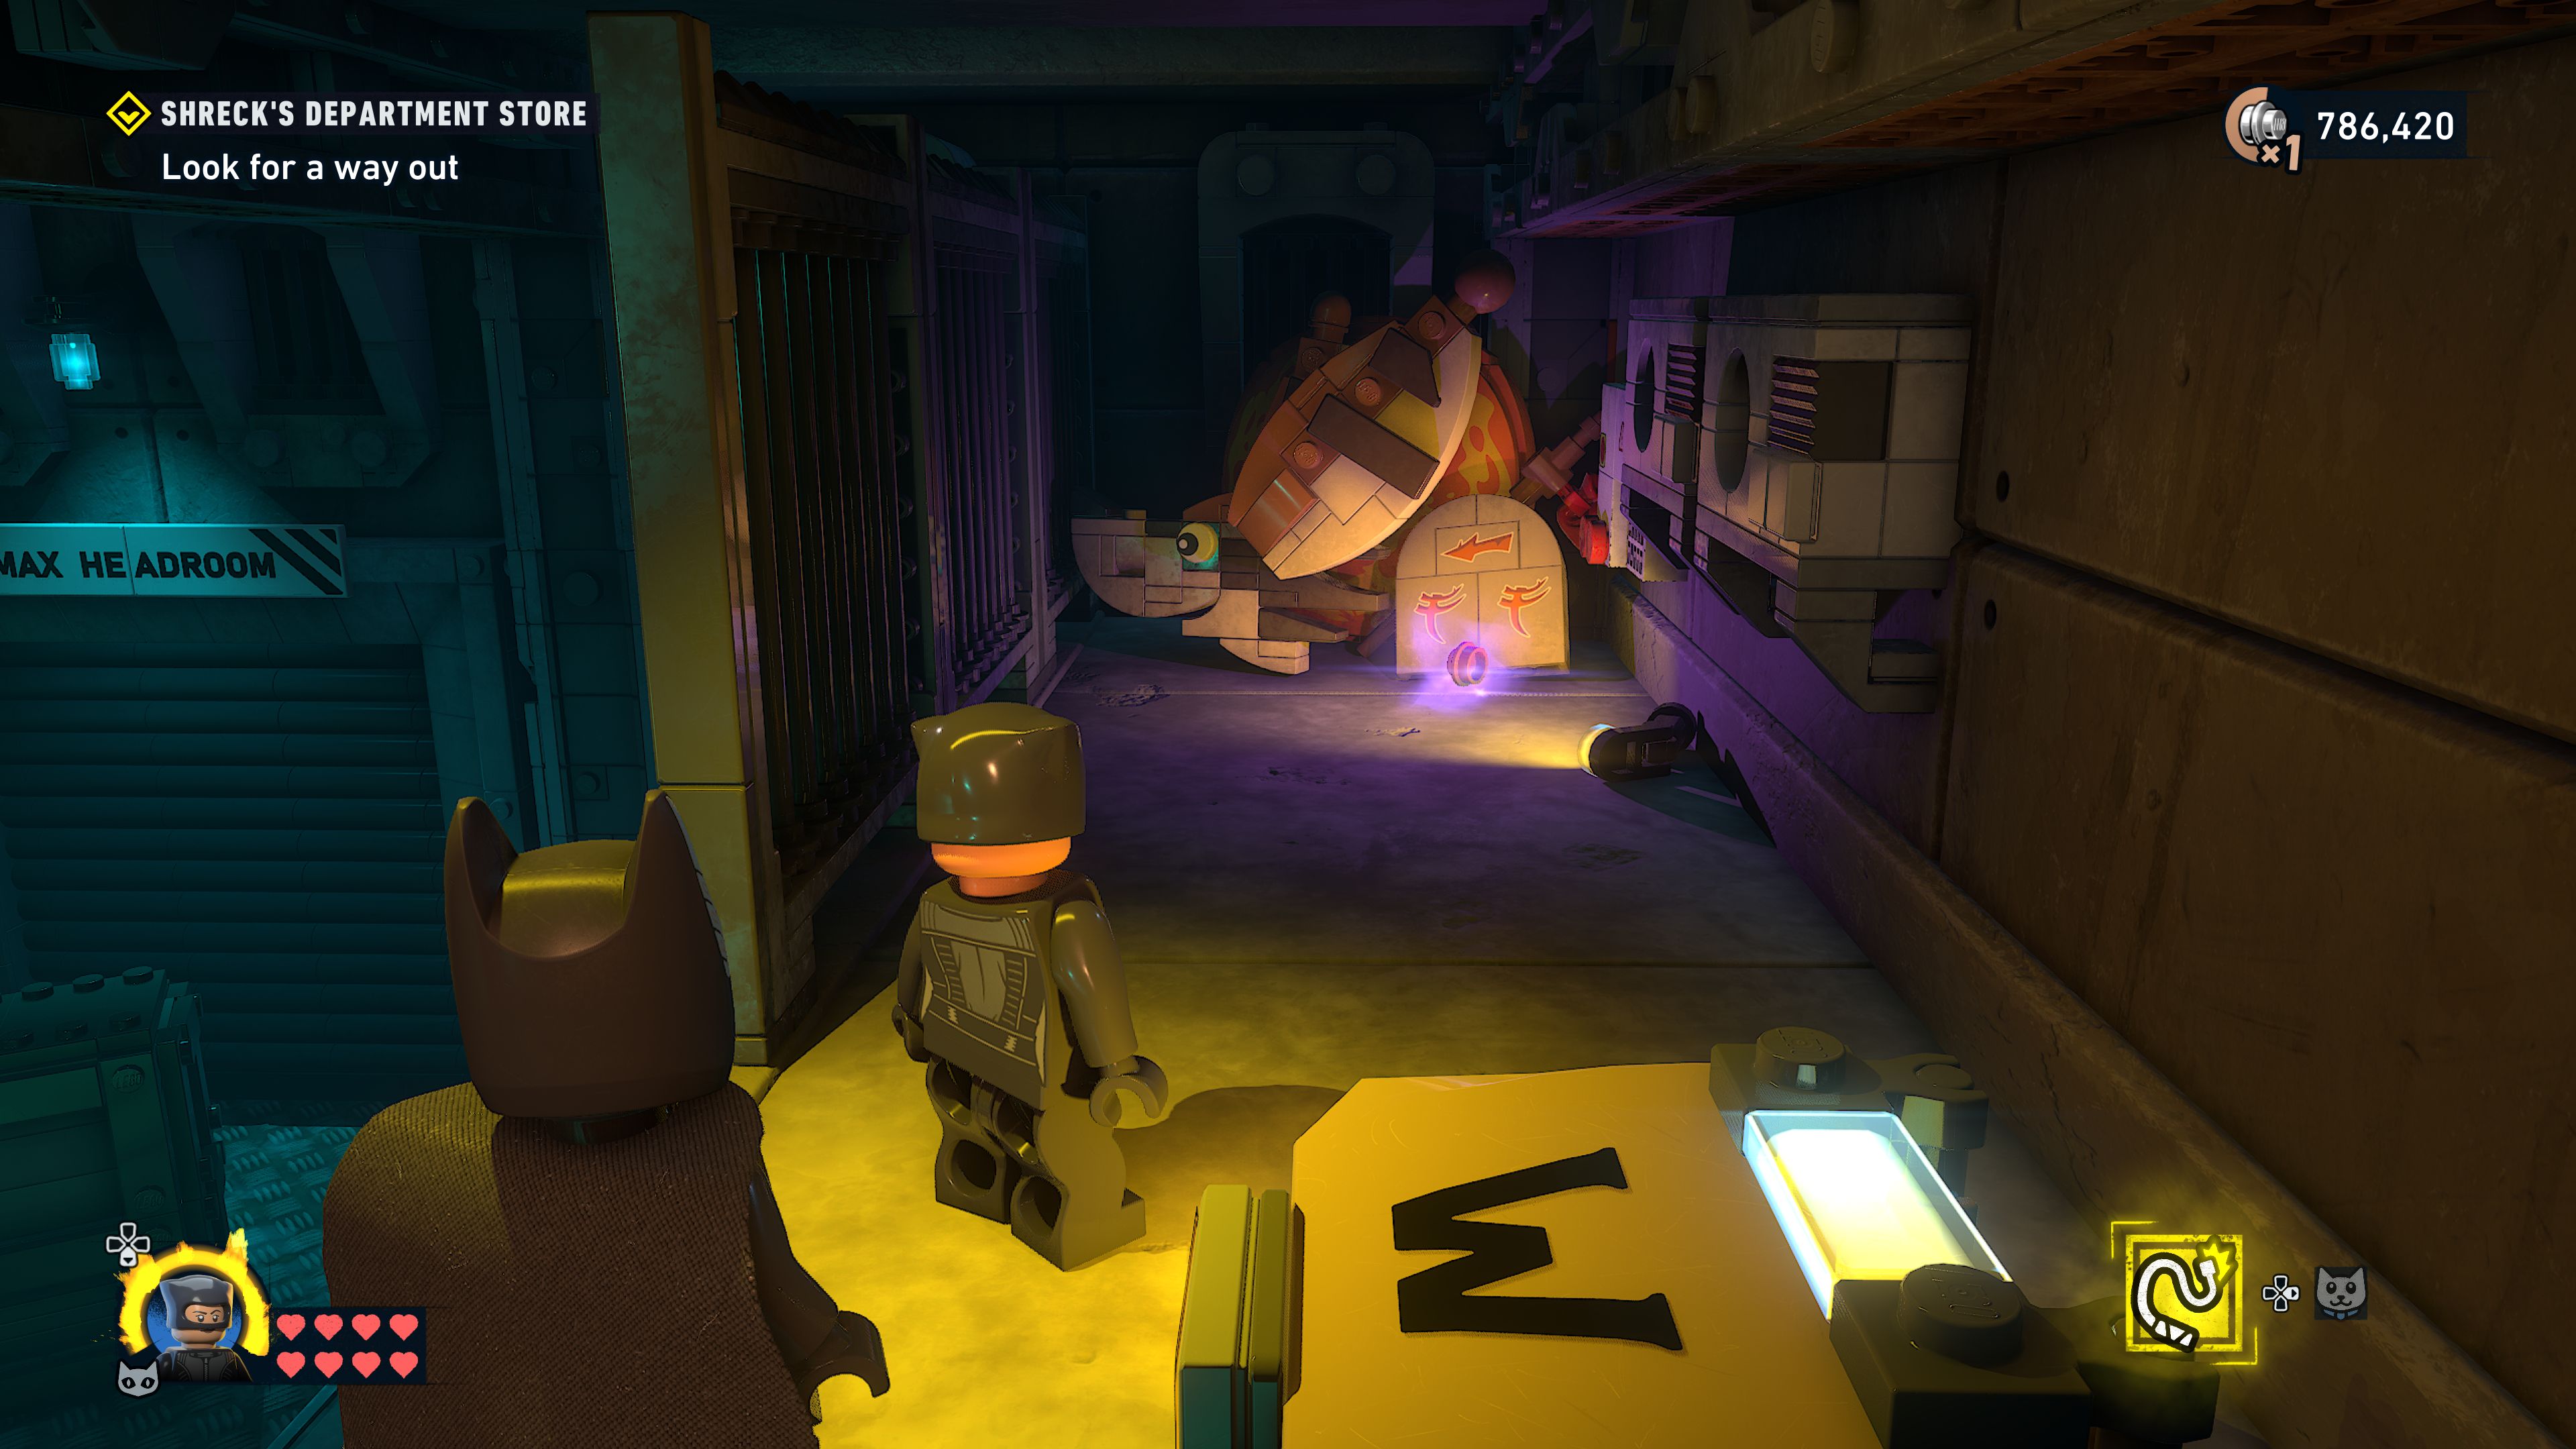
To open the shutter in the ambush room you must first use Catwoman's whip to unscrew the cover on the vent to the right of it and then control a kitty through the vent. A mime is blocking the button you need to press so distract it by meowing and then run in and press the button when he moves.
Switch back to Catwoman and sneak attack the mime. Then to open the next shutter smash the mop out of the way so you can press the button. The cats do not have any kind of physical attack while you're controlling them so you would have been unable to press this as the cat.
Find a way past the doors
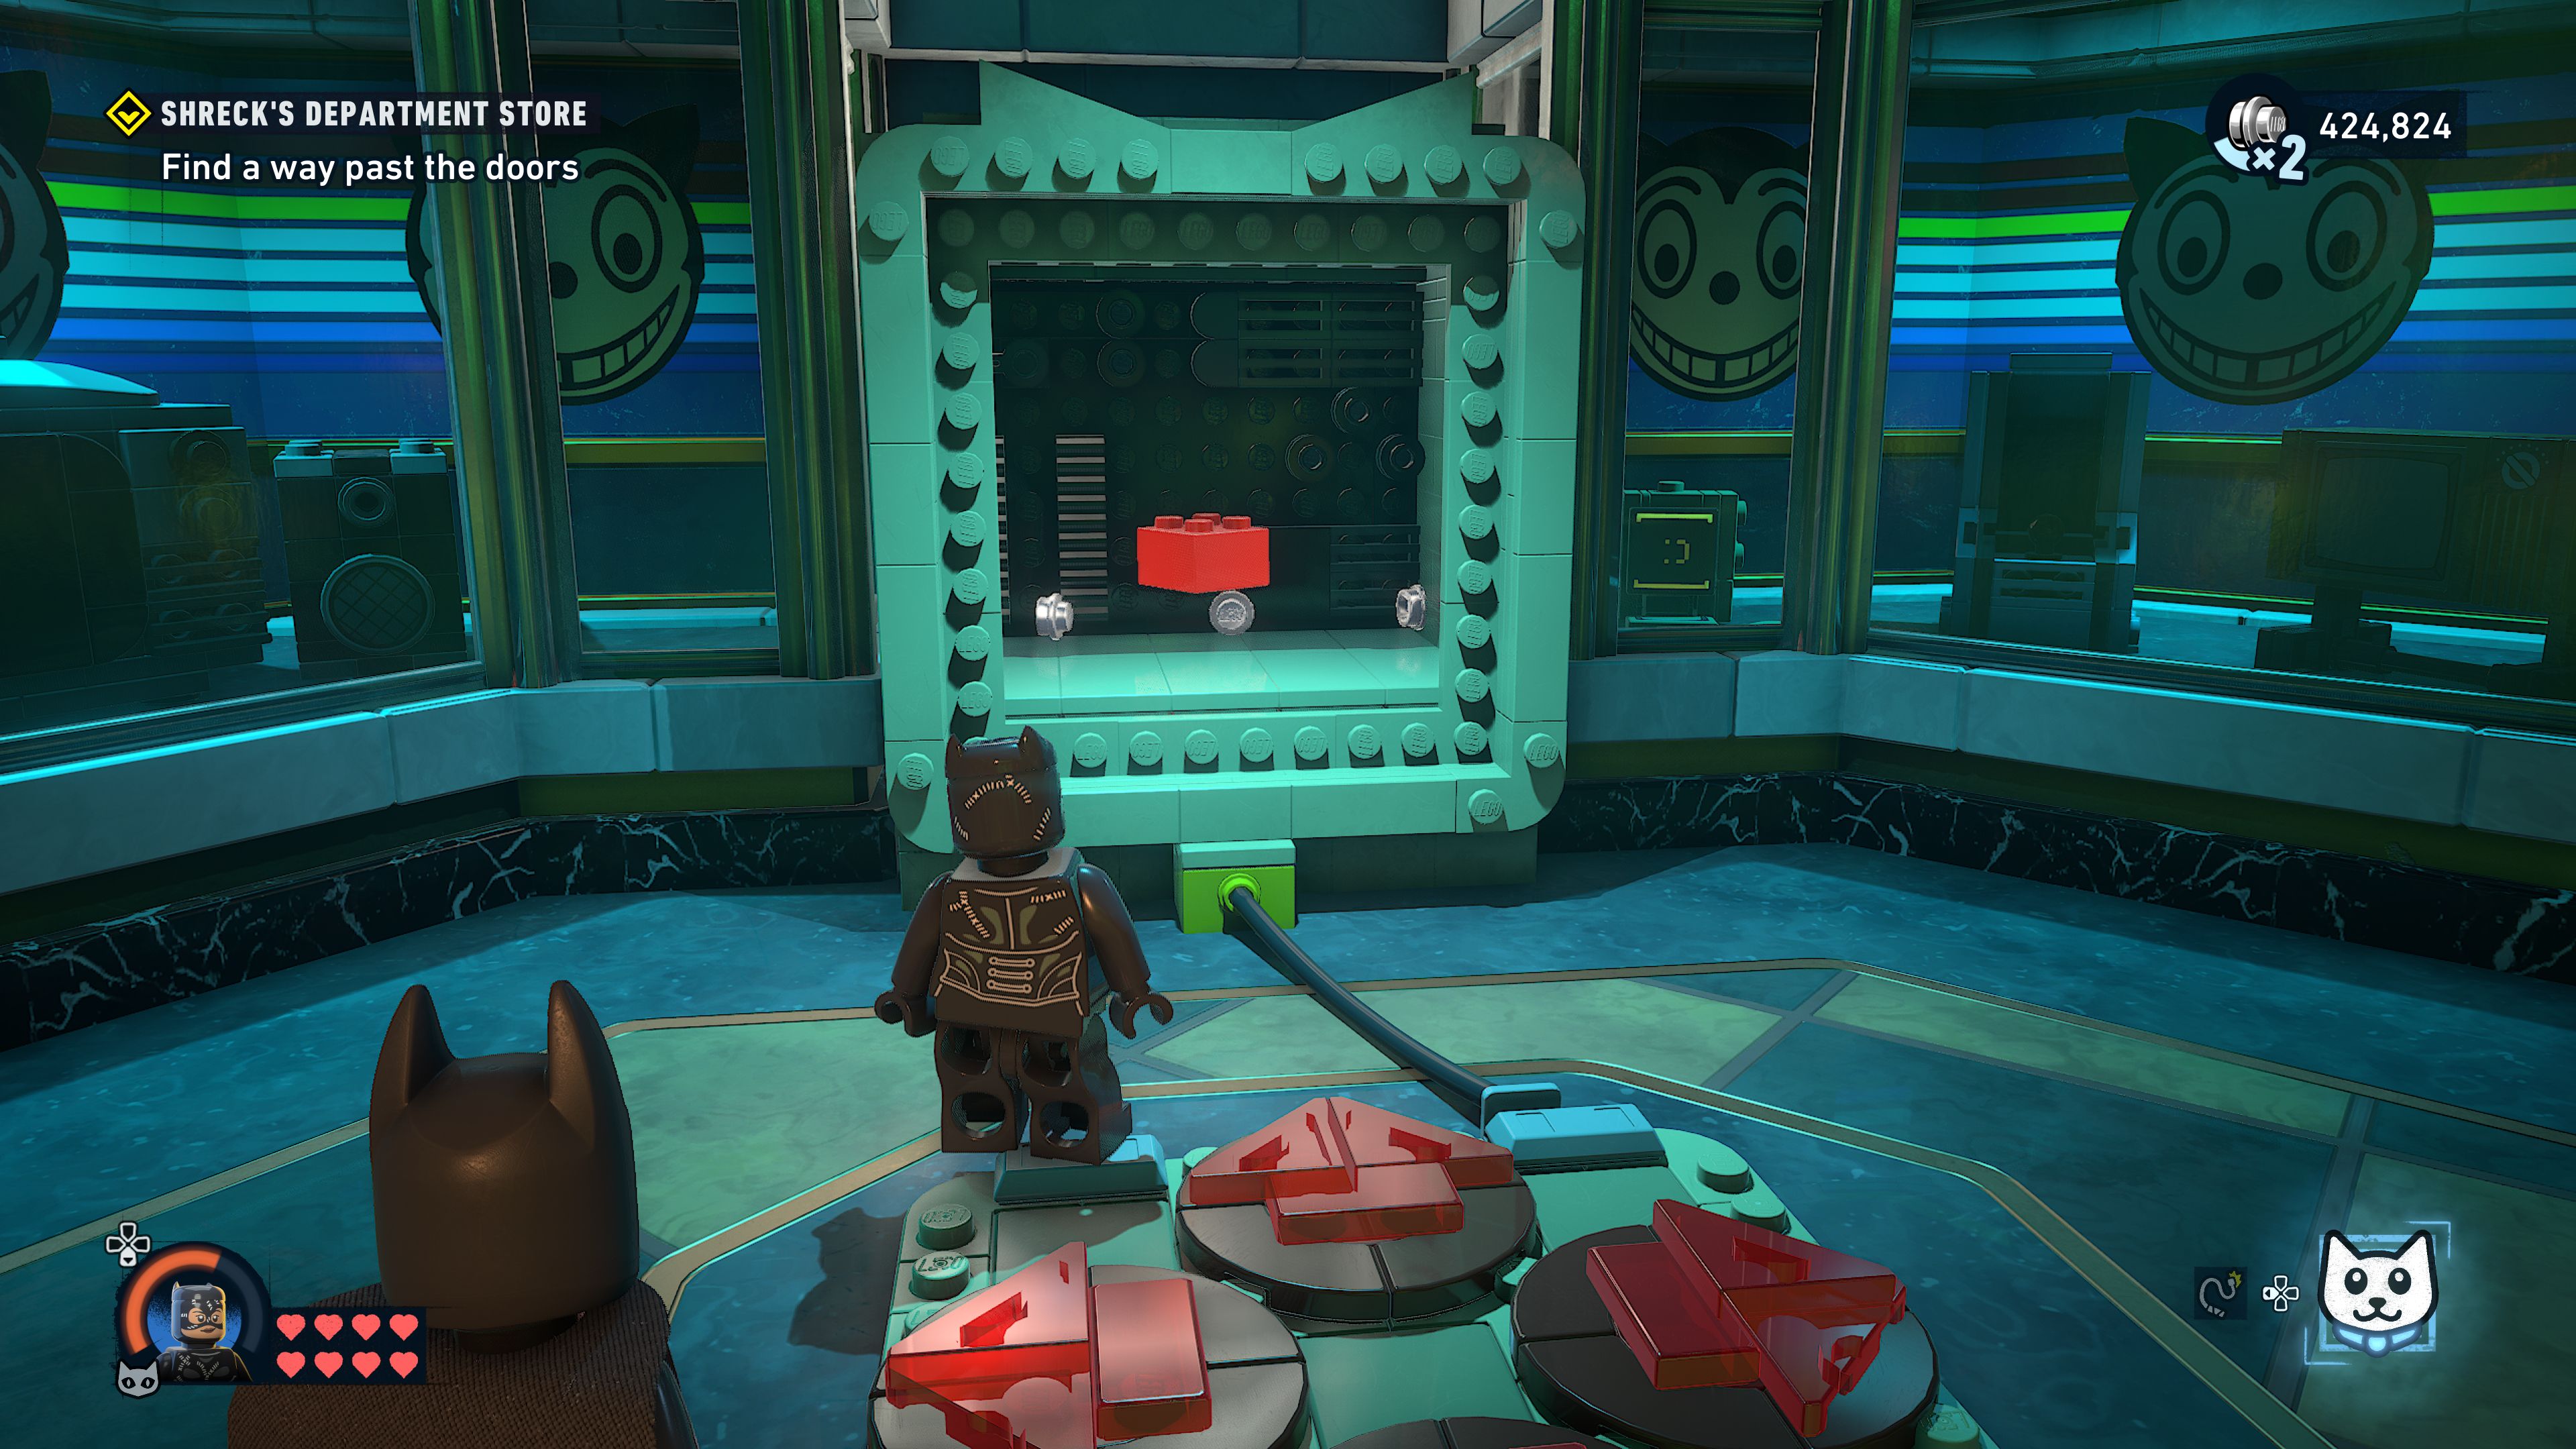
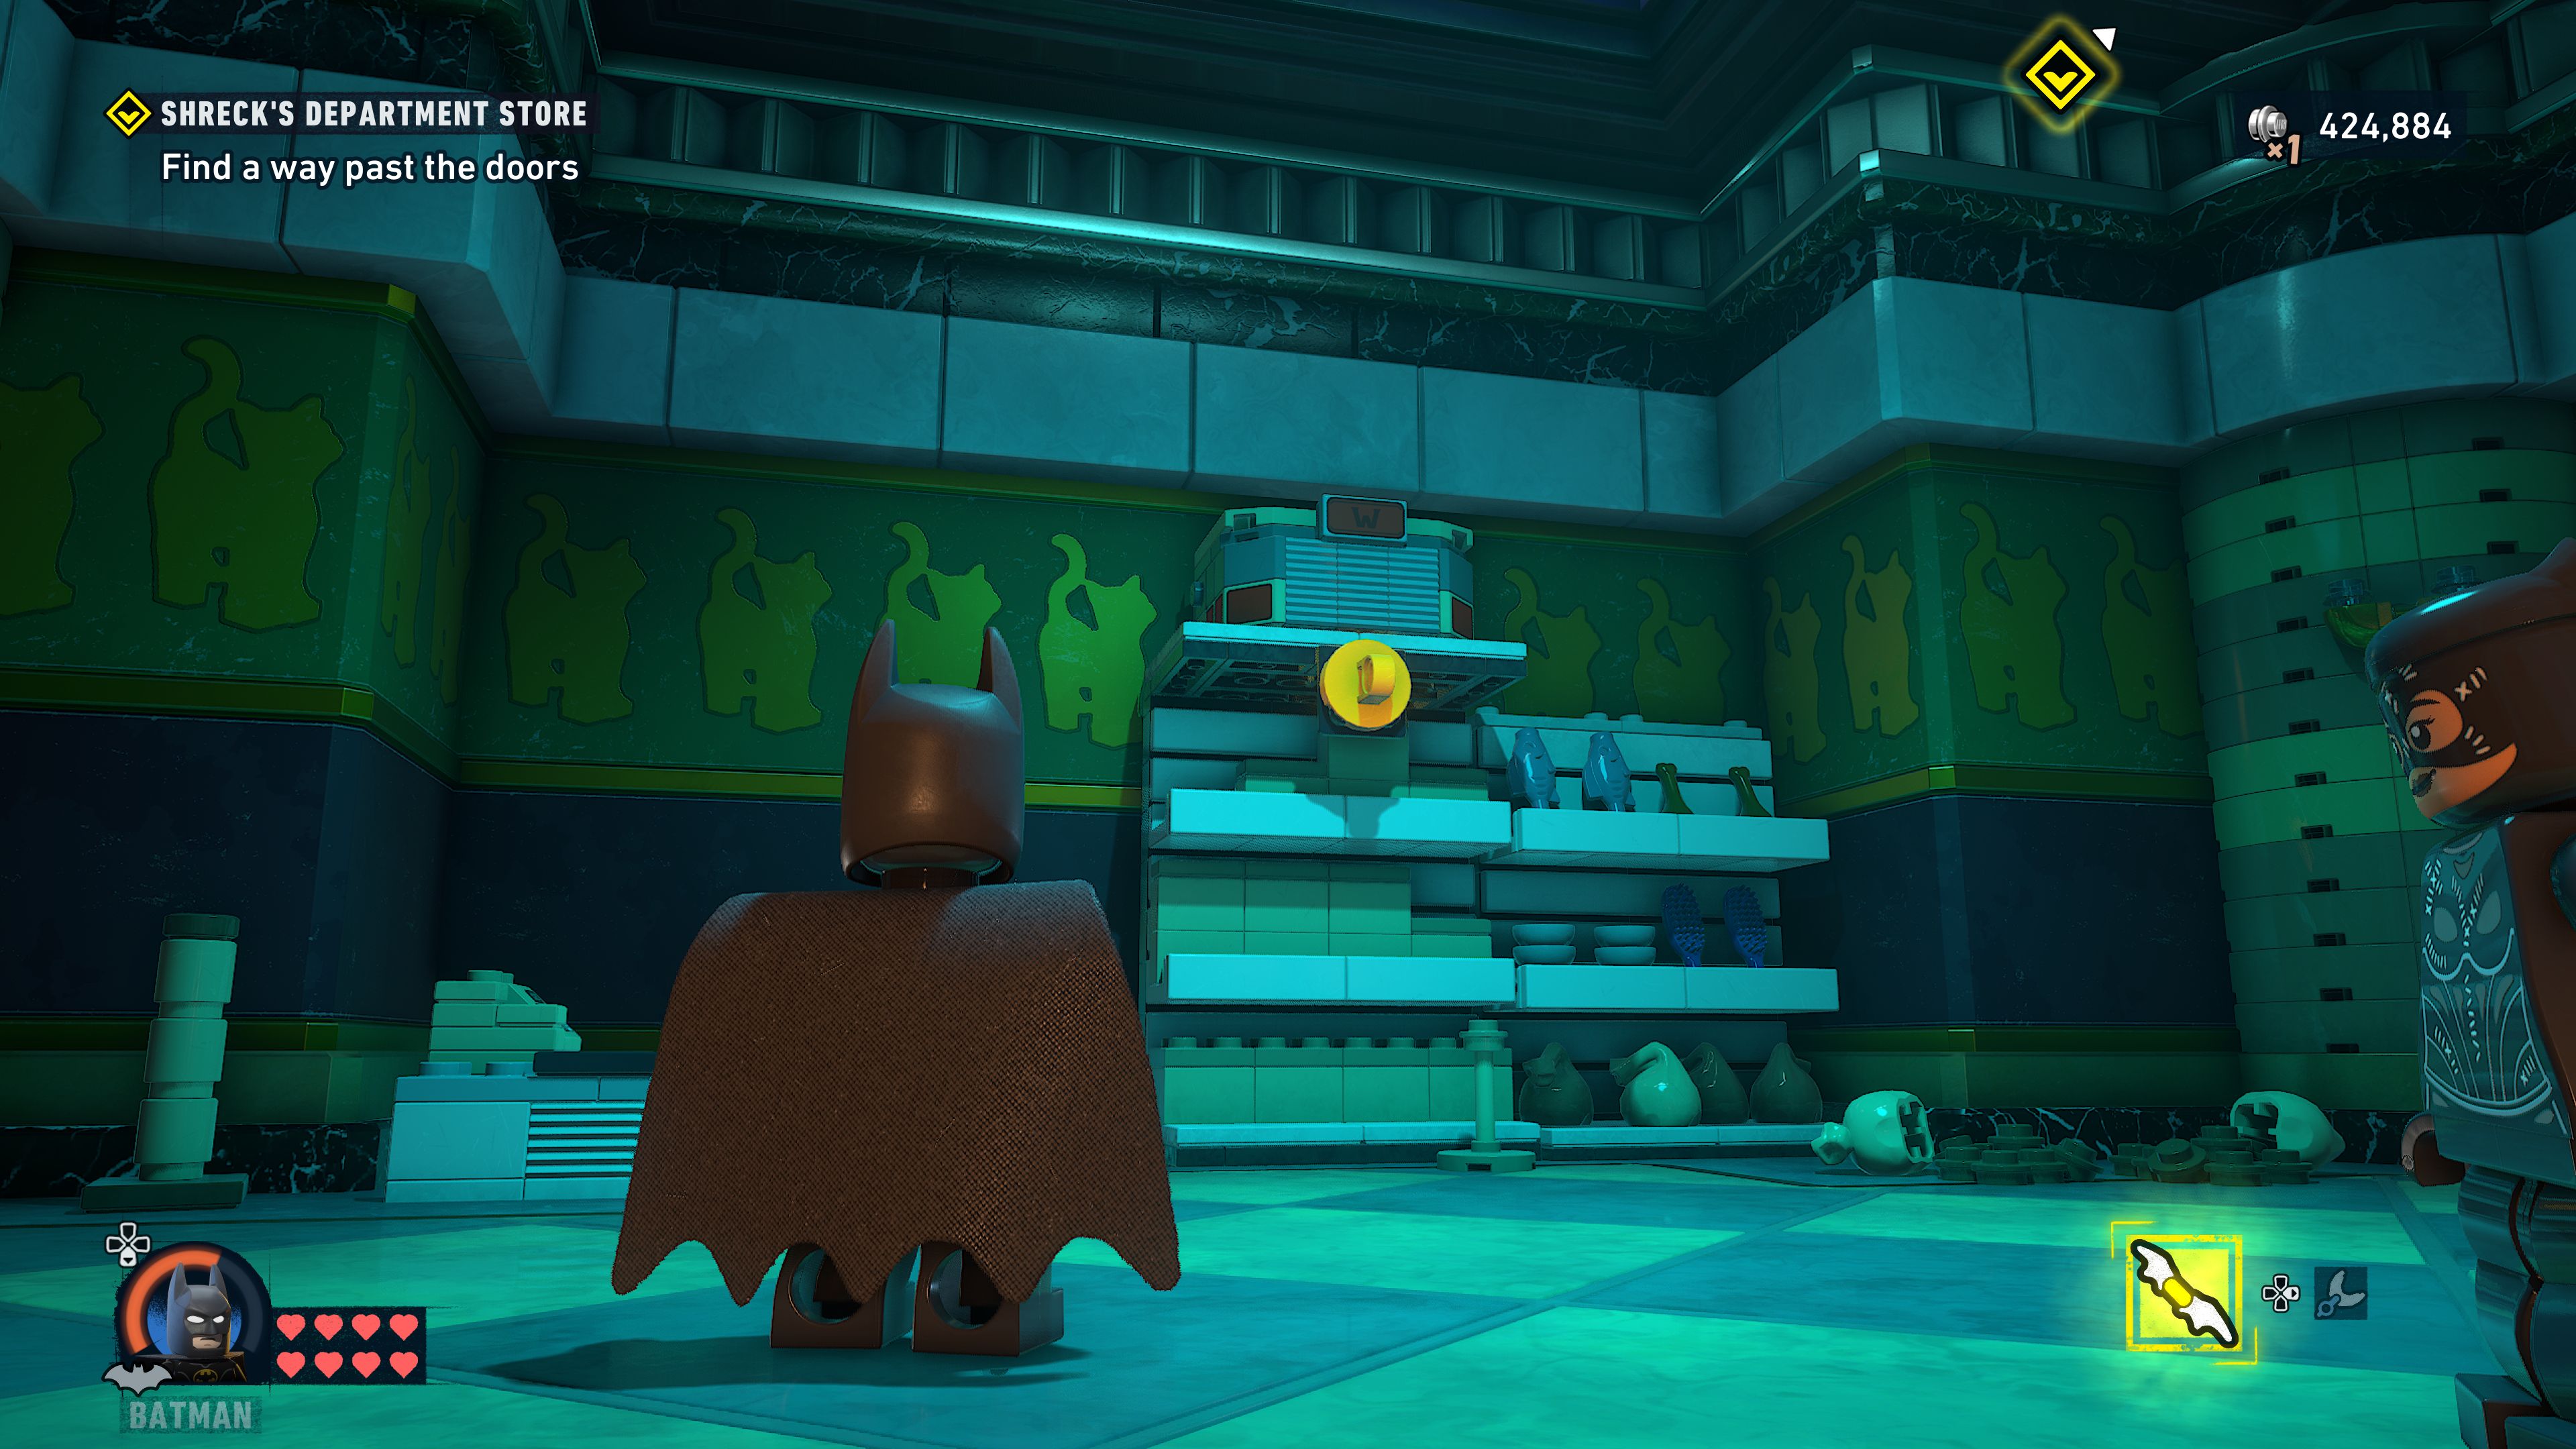
You can get past the doors by hitting the wire holding up one end of the wonky Shreck's sign with a batarang and then grappling up to the vent crawl space behind it.
Defeat the enemies
Another chance at a complete stealth takedown of a room full of mimes. Don't worry too much about it though because as soon as you defeat the last mime the shutters will open and more will run in and attack you no matter what.
Dodge out of the way of the brute's charges and make good use of the regular enemies to build up your focus meter to use on him.
Look for a way out
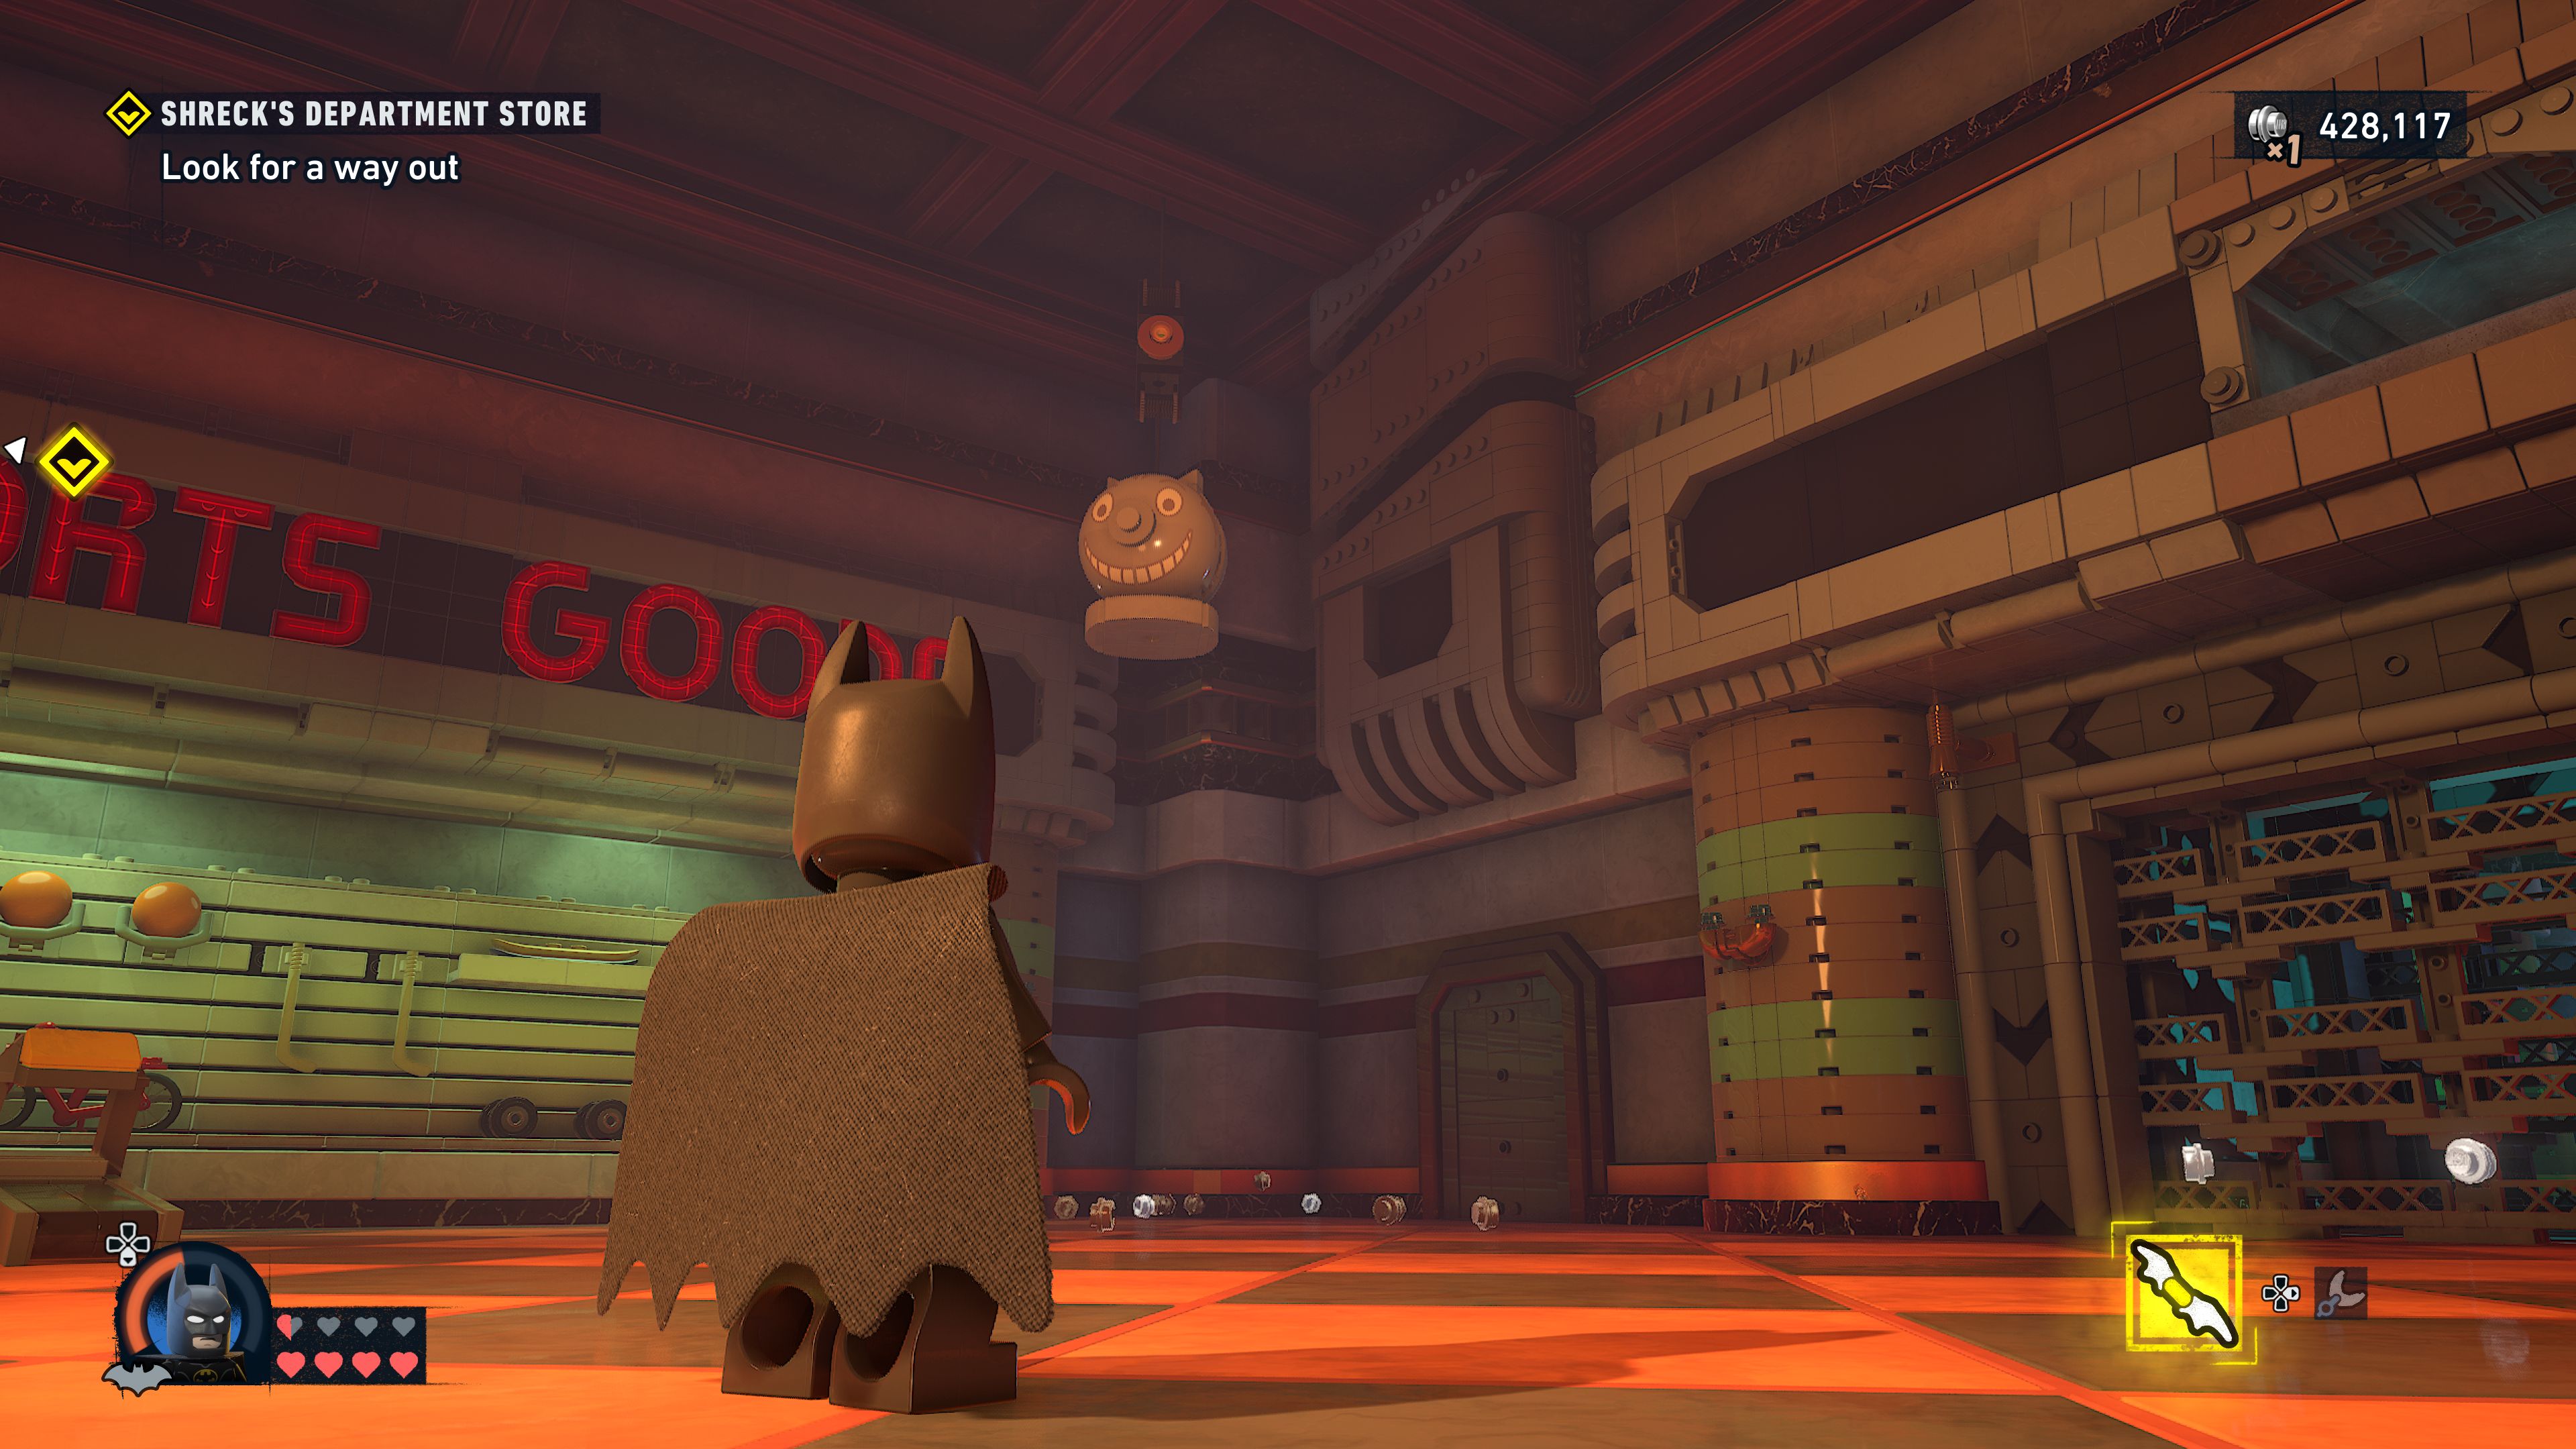
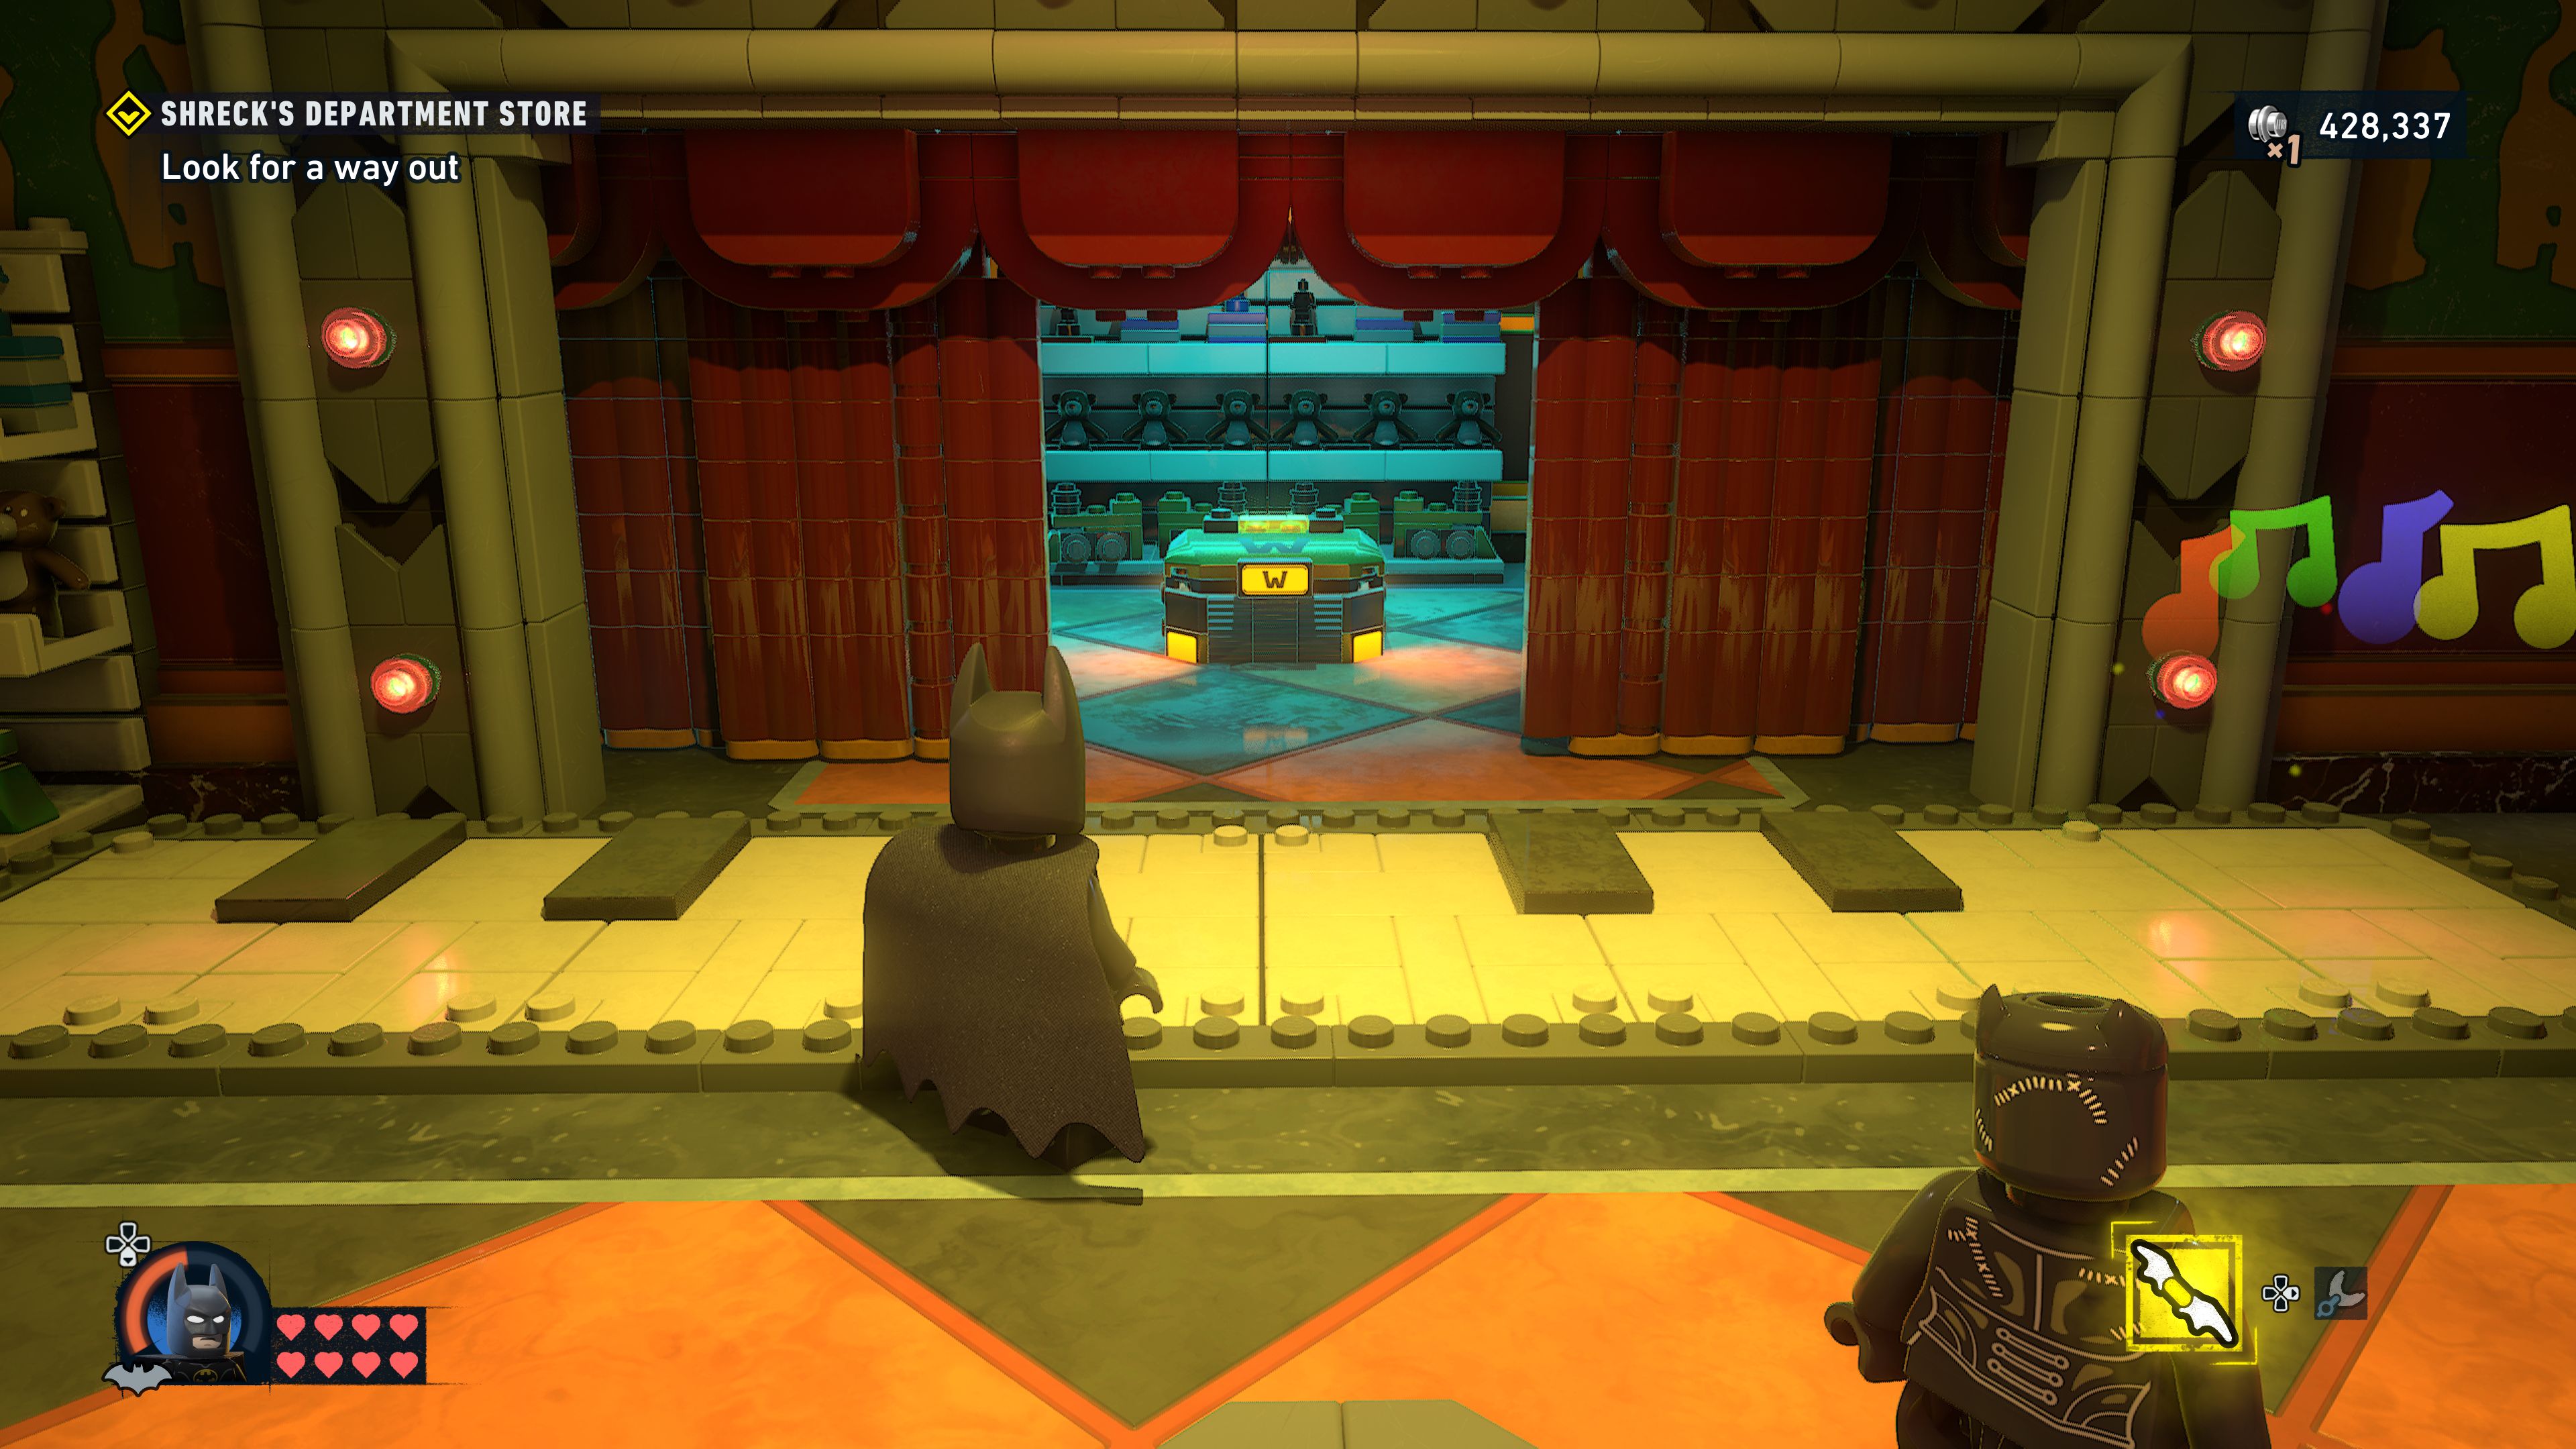
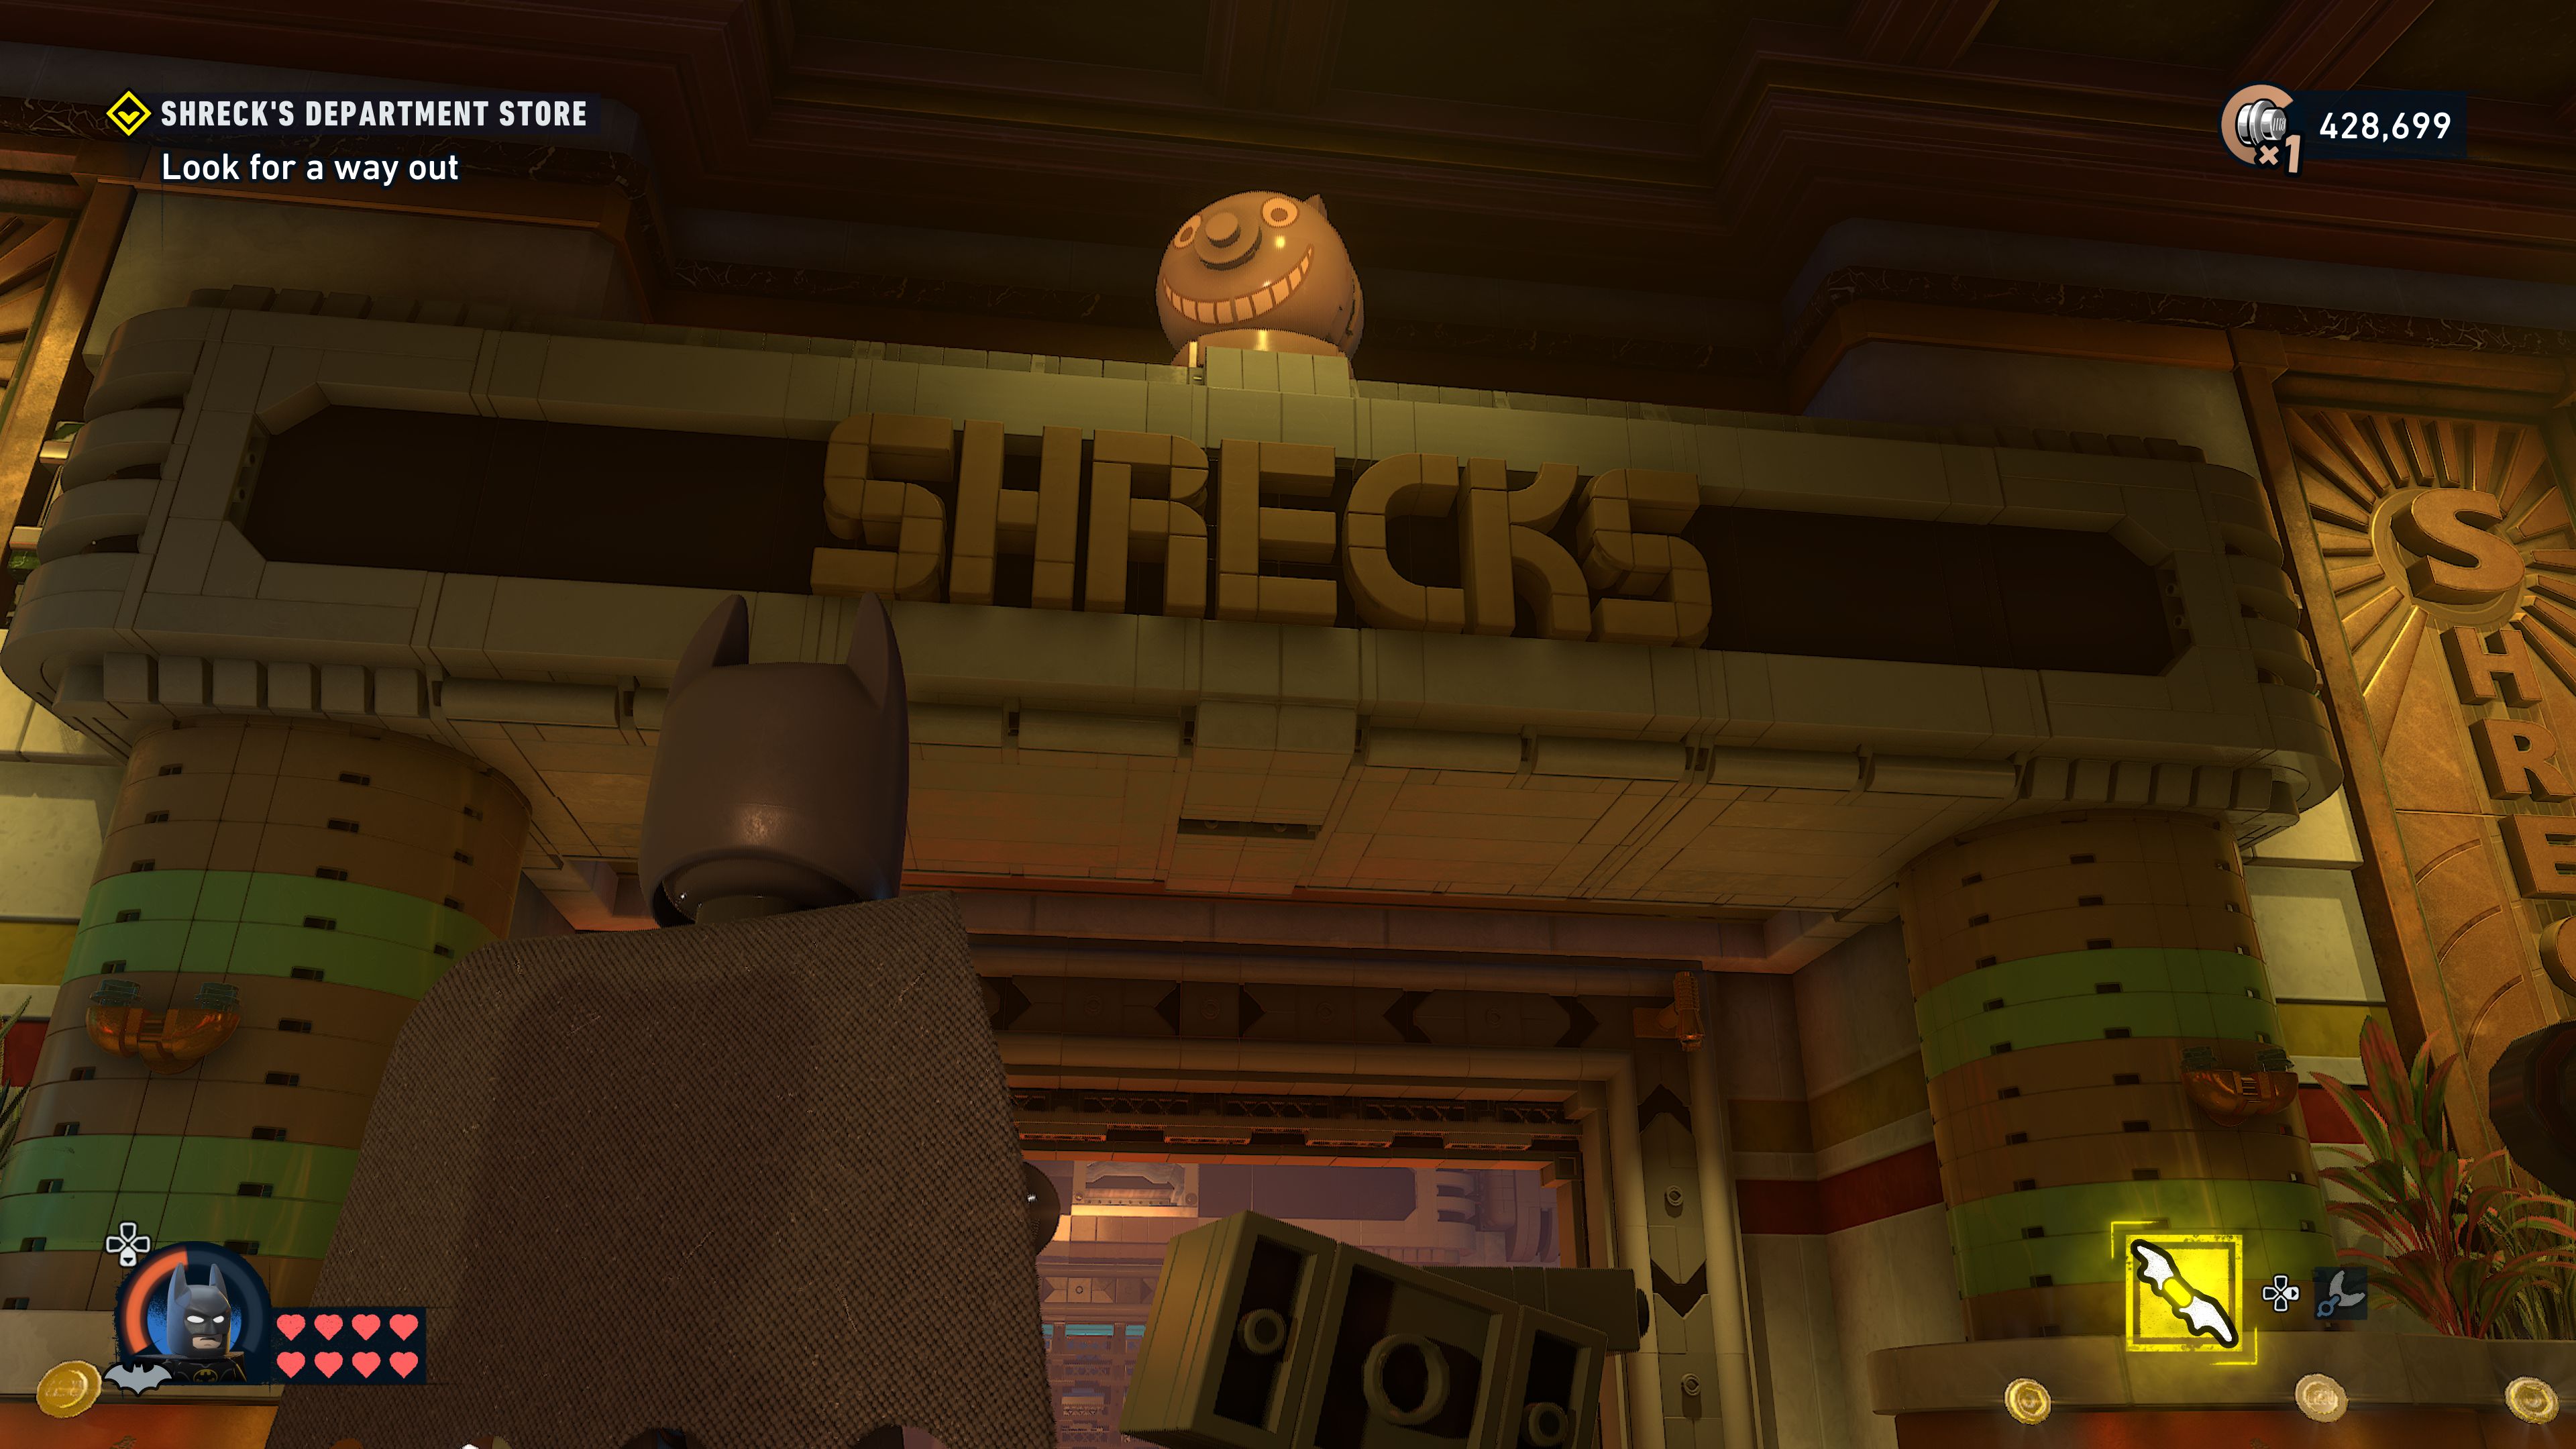
In the final room on the right is a locked shutter. Use a kitty to go through a vent across from it through to a security office. On the desk in there is a key that the cat can pick up and take back to Catwoman. You'll have to take it back manually, you can't just recall while holding it. The key unlocks the shutter to reveal a jack-in-the-box. Use Catwoman's whip to open it and then Batman's Batclaw to pull it into pieces.
Smash the little cart next to the balloons in the middle of the room to get the rest of the pieces required to build a large set of speakers. Approach it and Rock Out! Complete the series of quicktime events to complete the level.
Unlocks
- +1 Skill Brick
- Batman Suit: Retro Video Game
- Catwoman Suit: The Batman
- Batcave Trophy: Cat Heads 5/5
- WayneTech Caches: 5/5
- Red Brick: Feline Modifier
- Purple Studs: 2/2
- Easter Egg: 1/1
The Penguin
On the Prowl
Go to the zoo
Make your way to the Zoo at the southeastern tip of South Island.
Investigate the calls for help
Once you arrive you'll hear someone calling out for help. You'll find her over near the Arctic World building next to the bridge.
Help the zookeeper
You'll need both characters to lift the fallen sign off her. Once you've done that she'll ask you to rescue another trapped zookeeper but to rescue this one you will need to use Gordon's Foam Sprayer gadget.
At this point the game will show you how to swap between the secondary characters like Catwoman and Jim Gordon. Unfortunately you can't swap out Batman himself and have Catwoman and Jim Gordon at the same time but there are only a few puzzles in the game where you will need to switch between different secondary characters, most of them just need one and Batman.
Anyway, switch to Gordon and use his Foam Sprayer on the gushing pipe to free the trapped zookeeper.
Collect the trackers
Take the tracker from the zookeeper you just freed. This unlocks the Animal Tracker item for use.
Find the polar bear
The first of the escaped animals, a polar bear, can be found to the south rummaging through an upturned dumpster.
Put a tracker on the polar bear
Dodge out of the way of the polar bear's charges three times and he will become confused, giving you the chance to sneak up behind it and attach a tracker to it. As soon as you put a tracker on an animal they become harmless and will no longer attack you.
This is the first of 21 Escaped Zoo Animal activities found around the city and will reward you with 2 WayneTech Chips for your troubles.
Talk to the zookeeper
Talking to the first zookeeper again she'll ask you to help out with any other animals you find in the city and opens up a maintenance hatch for you to access the Arctic World building.
Enter Arctic World through the roof window
To get in you'll need to switch back to Catwoman and use her claws to cut through the glass by drawing a circle with the analog stick.
Enter Arctic World
Hop in to start the next level.
Arctic World
Arctic World
His name is not Oswald. It's Penguin.
Open the security door
Straight ahead of you is a closed shutter and just to the left of it is a wall that Catwoman is able to climb up using her claws. There's no special button to press to attach, just jump at the wall and she'll grab on. Crawl up the wall to a gap and jump to the right to reach a second part of the wall climb area. Continue around the corner and then drop off and pull the switch to open the shutter below.
Explore Arctic World
Jump back down and go through the shutters.
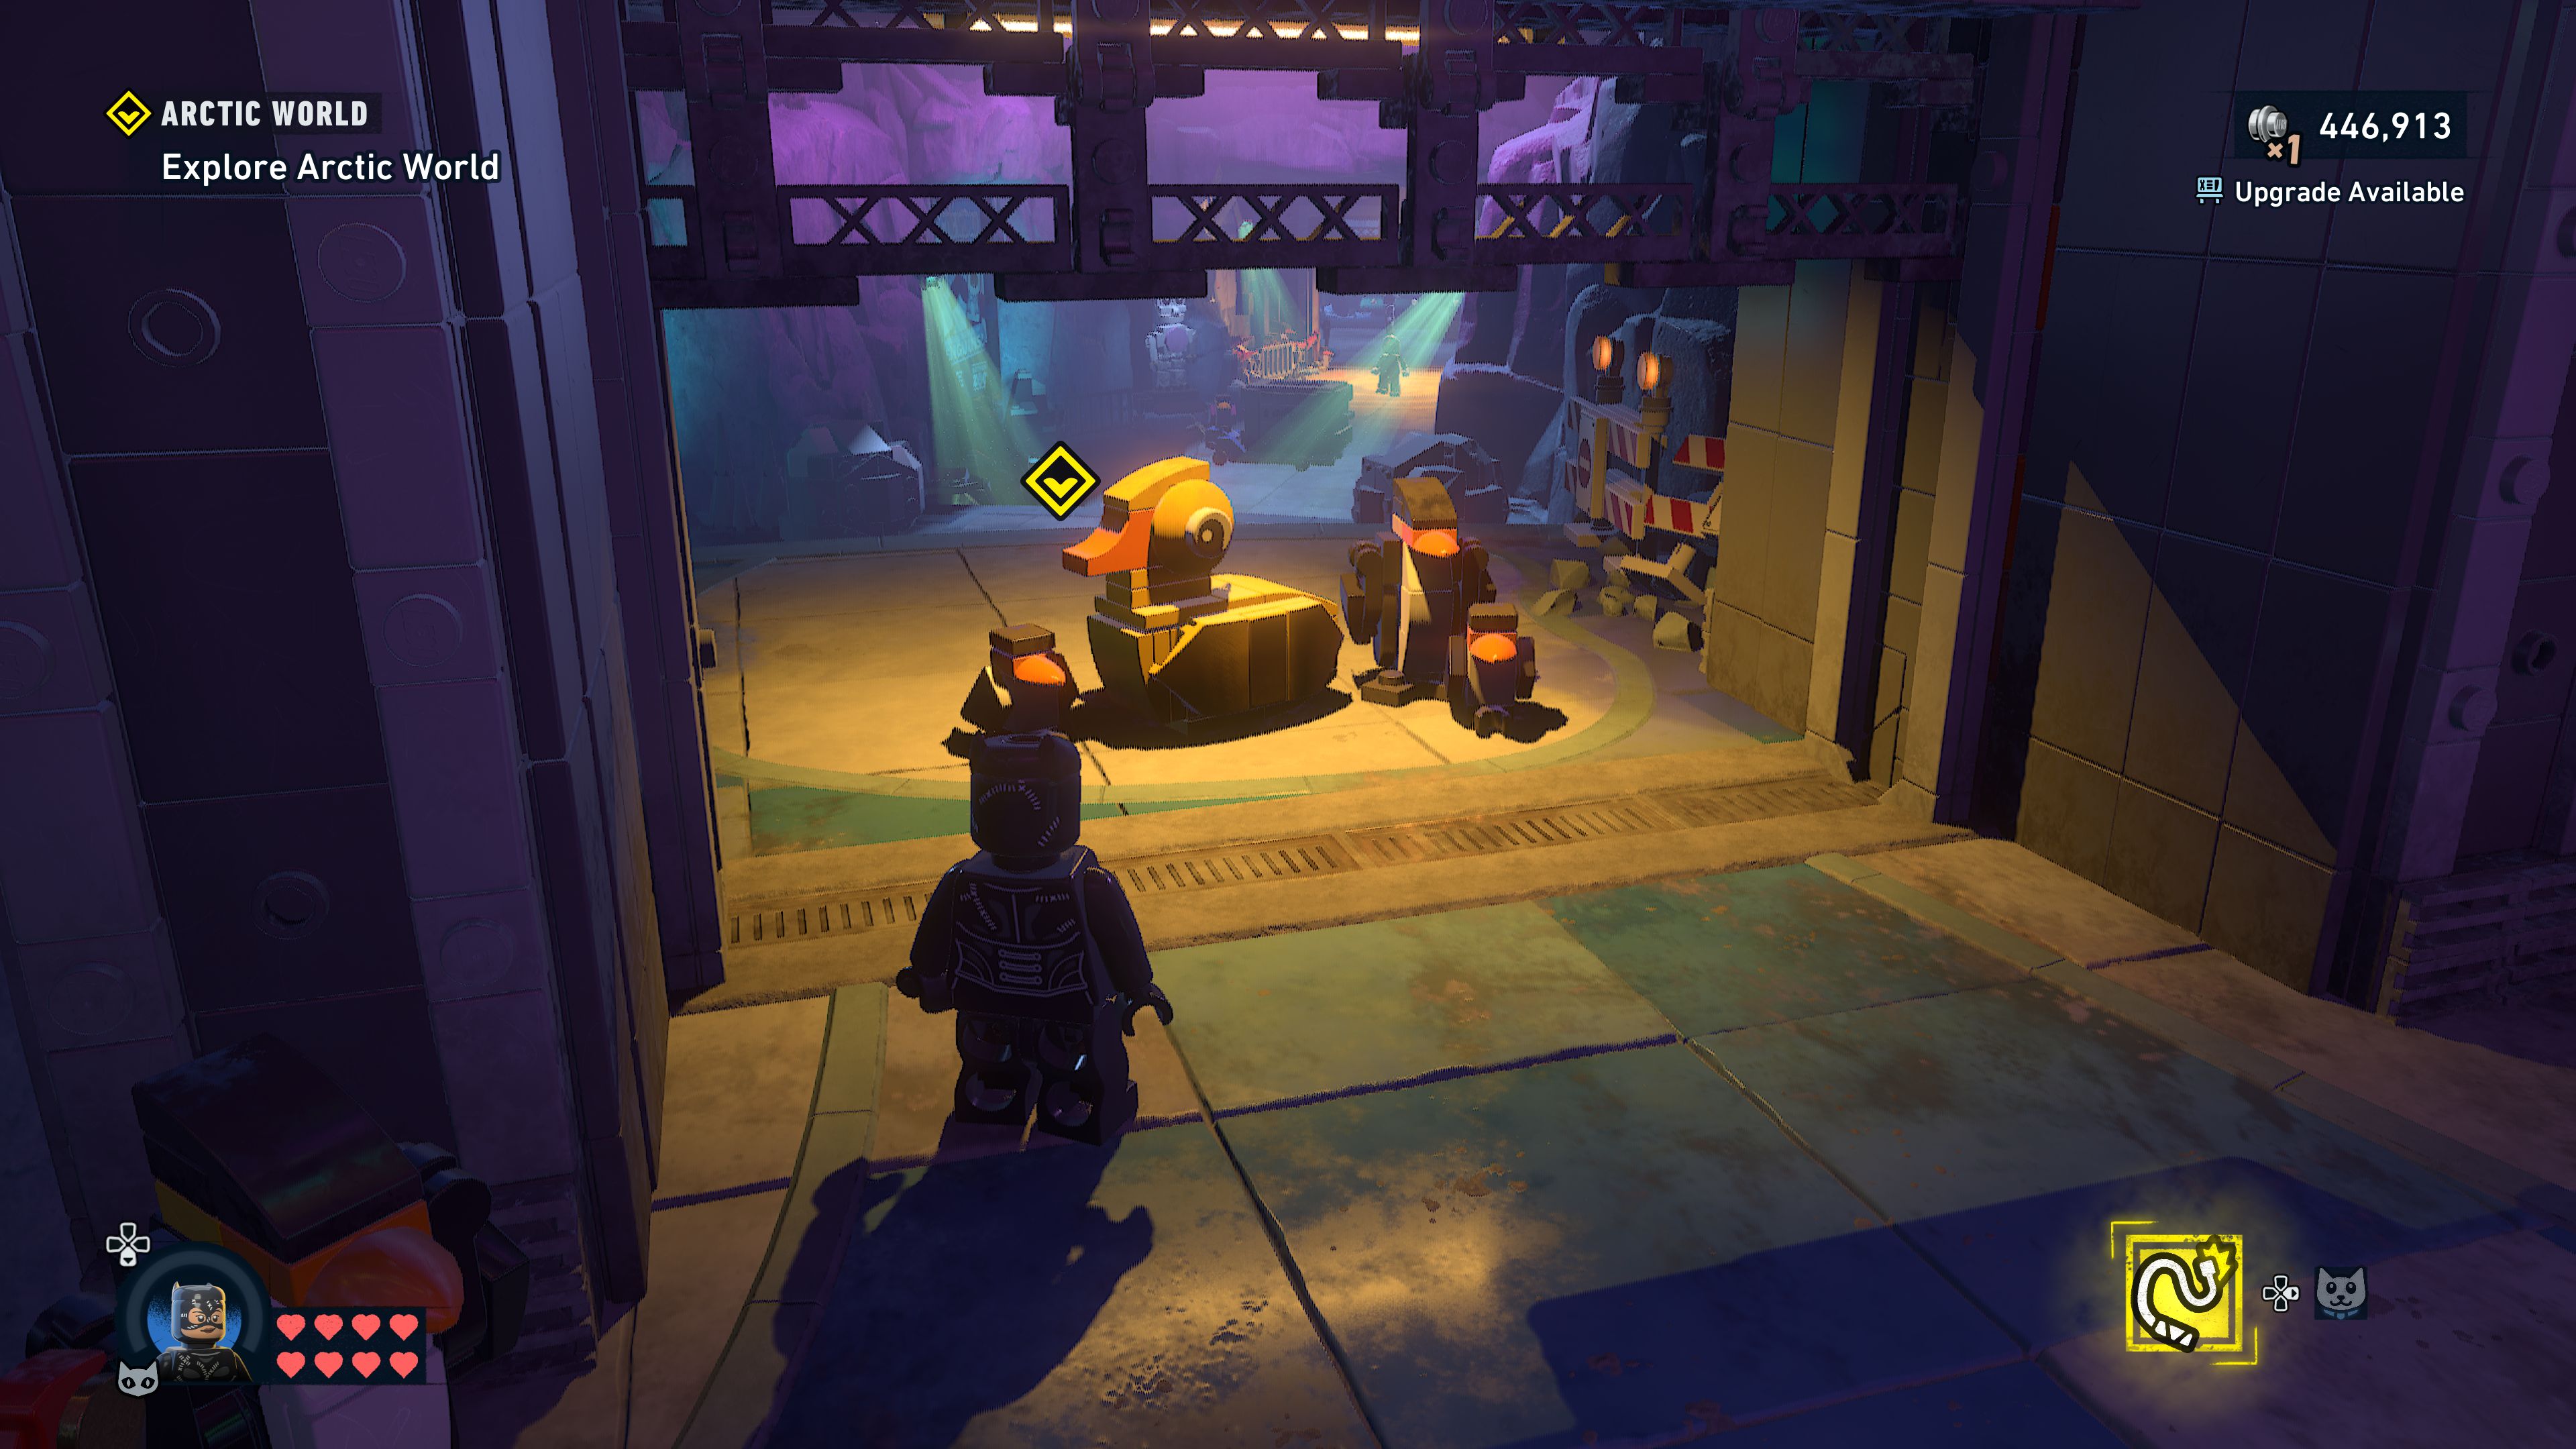
The corridor behind the shutter is lined with security cameras. Use either Catwoman's whip or Batman's Batarangs to take them out temporarily so you don't set the alarms off and draw in loads of enemies.
Reach the penguin exhibit
Once you've taken out the guards with sneak attacks to prevent them from calling in more of their friends approach the penguin statues and they'll start breathing ice to block your path.
Turn off the ice traps
Go to the left of the ice breathing penguins through a large smashed glass panel into the Arctic Fox exhibit. There's more wall climb spots on the wall so have Catwoman grab hold of the little panel of it that's attached to a wire just to the left of a hole in the wall. Switch to Batman and pull on a lever under a row of four red lights. Pull it all the way out and while holding it switch back to Catwoman to continue wall climbing by jumping to the right.
One more jump to the right and then drop down onto the ledge with the vent for you to crawl through. You'll drop out on the other side of the penguins but will need to let Batman past as well so go turn the yellow wheel to the left so they turn off.
Reach the penguin exhibit
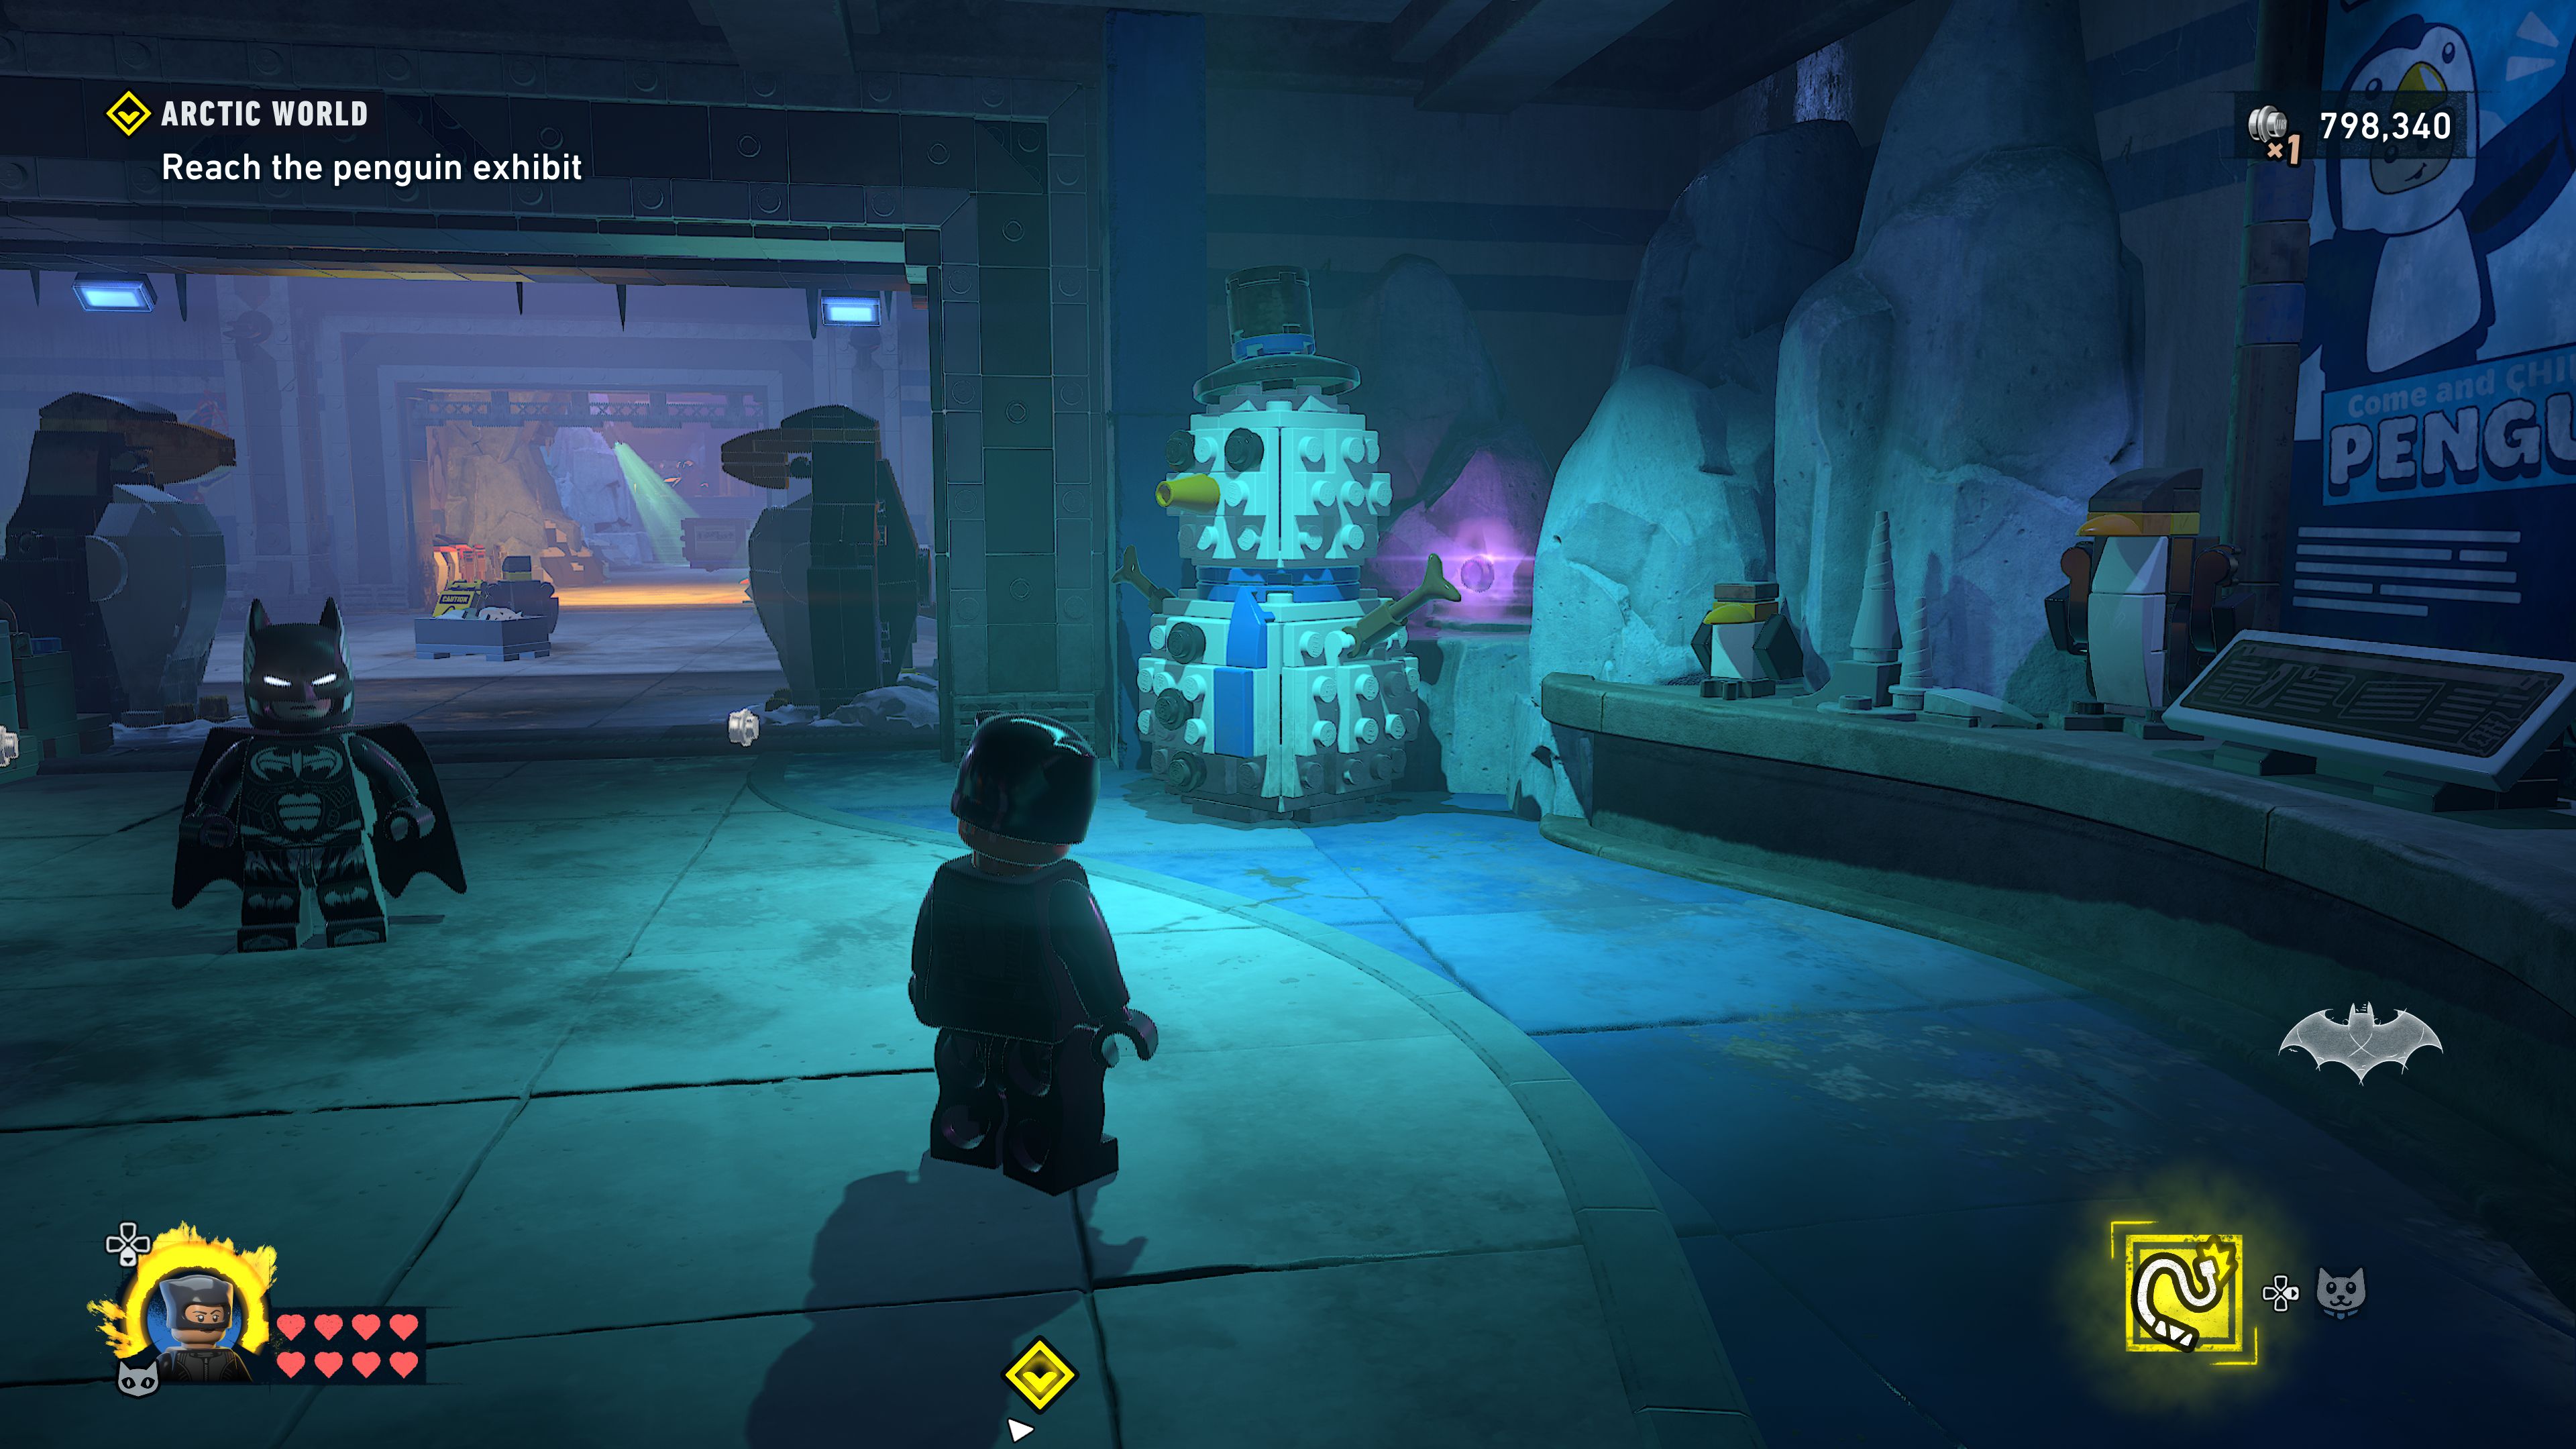
There's a couple of enemies to take down around here standing by a security camera but the main goal here is to approach the next pair of penguin statues which will begin to breathe fire. On their left is another valve to turn but there's no wheel to actually do it. Use Batman's Thermal Vision to track the pipes underground around to a grate which Batman will punch through to reach the actual valve with a wheel you can turn.
Open the security door
Clear out the enemies below as you like, there aren't many so shouldn't be too hard to sneak attack them all without alerting them.
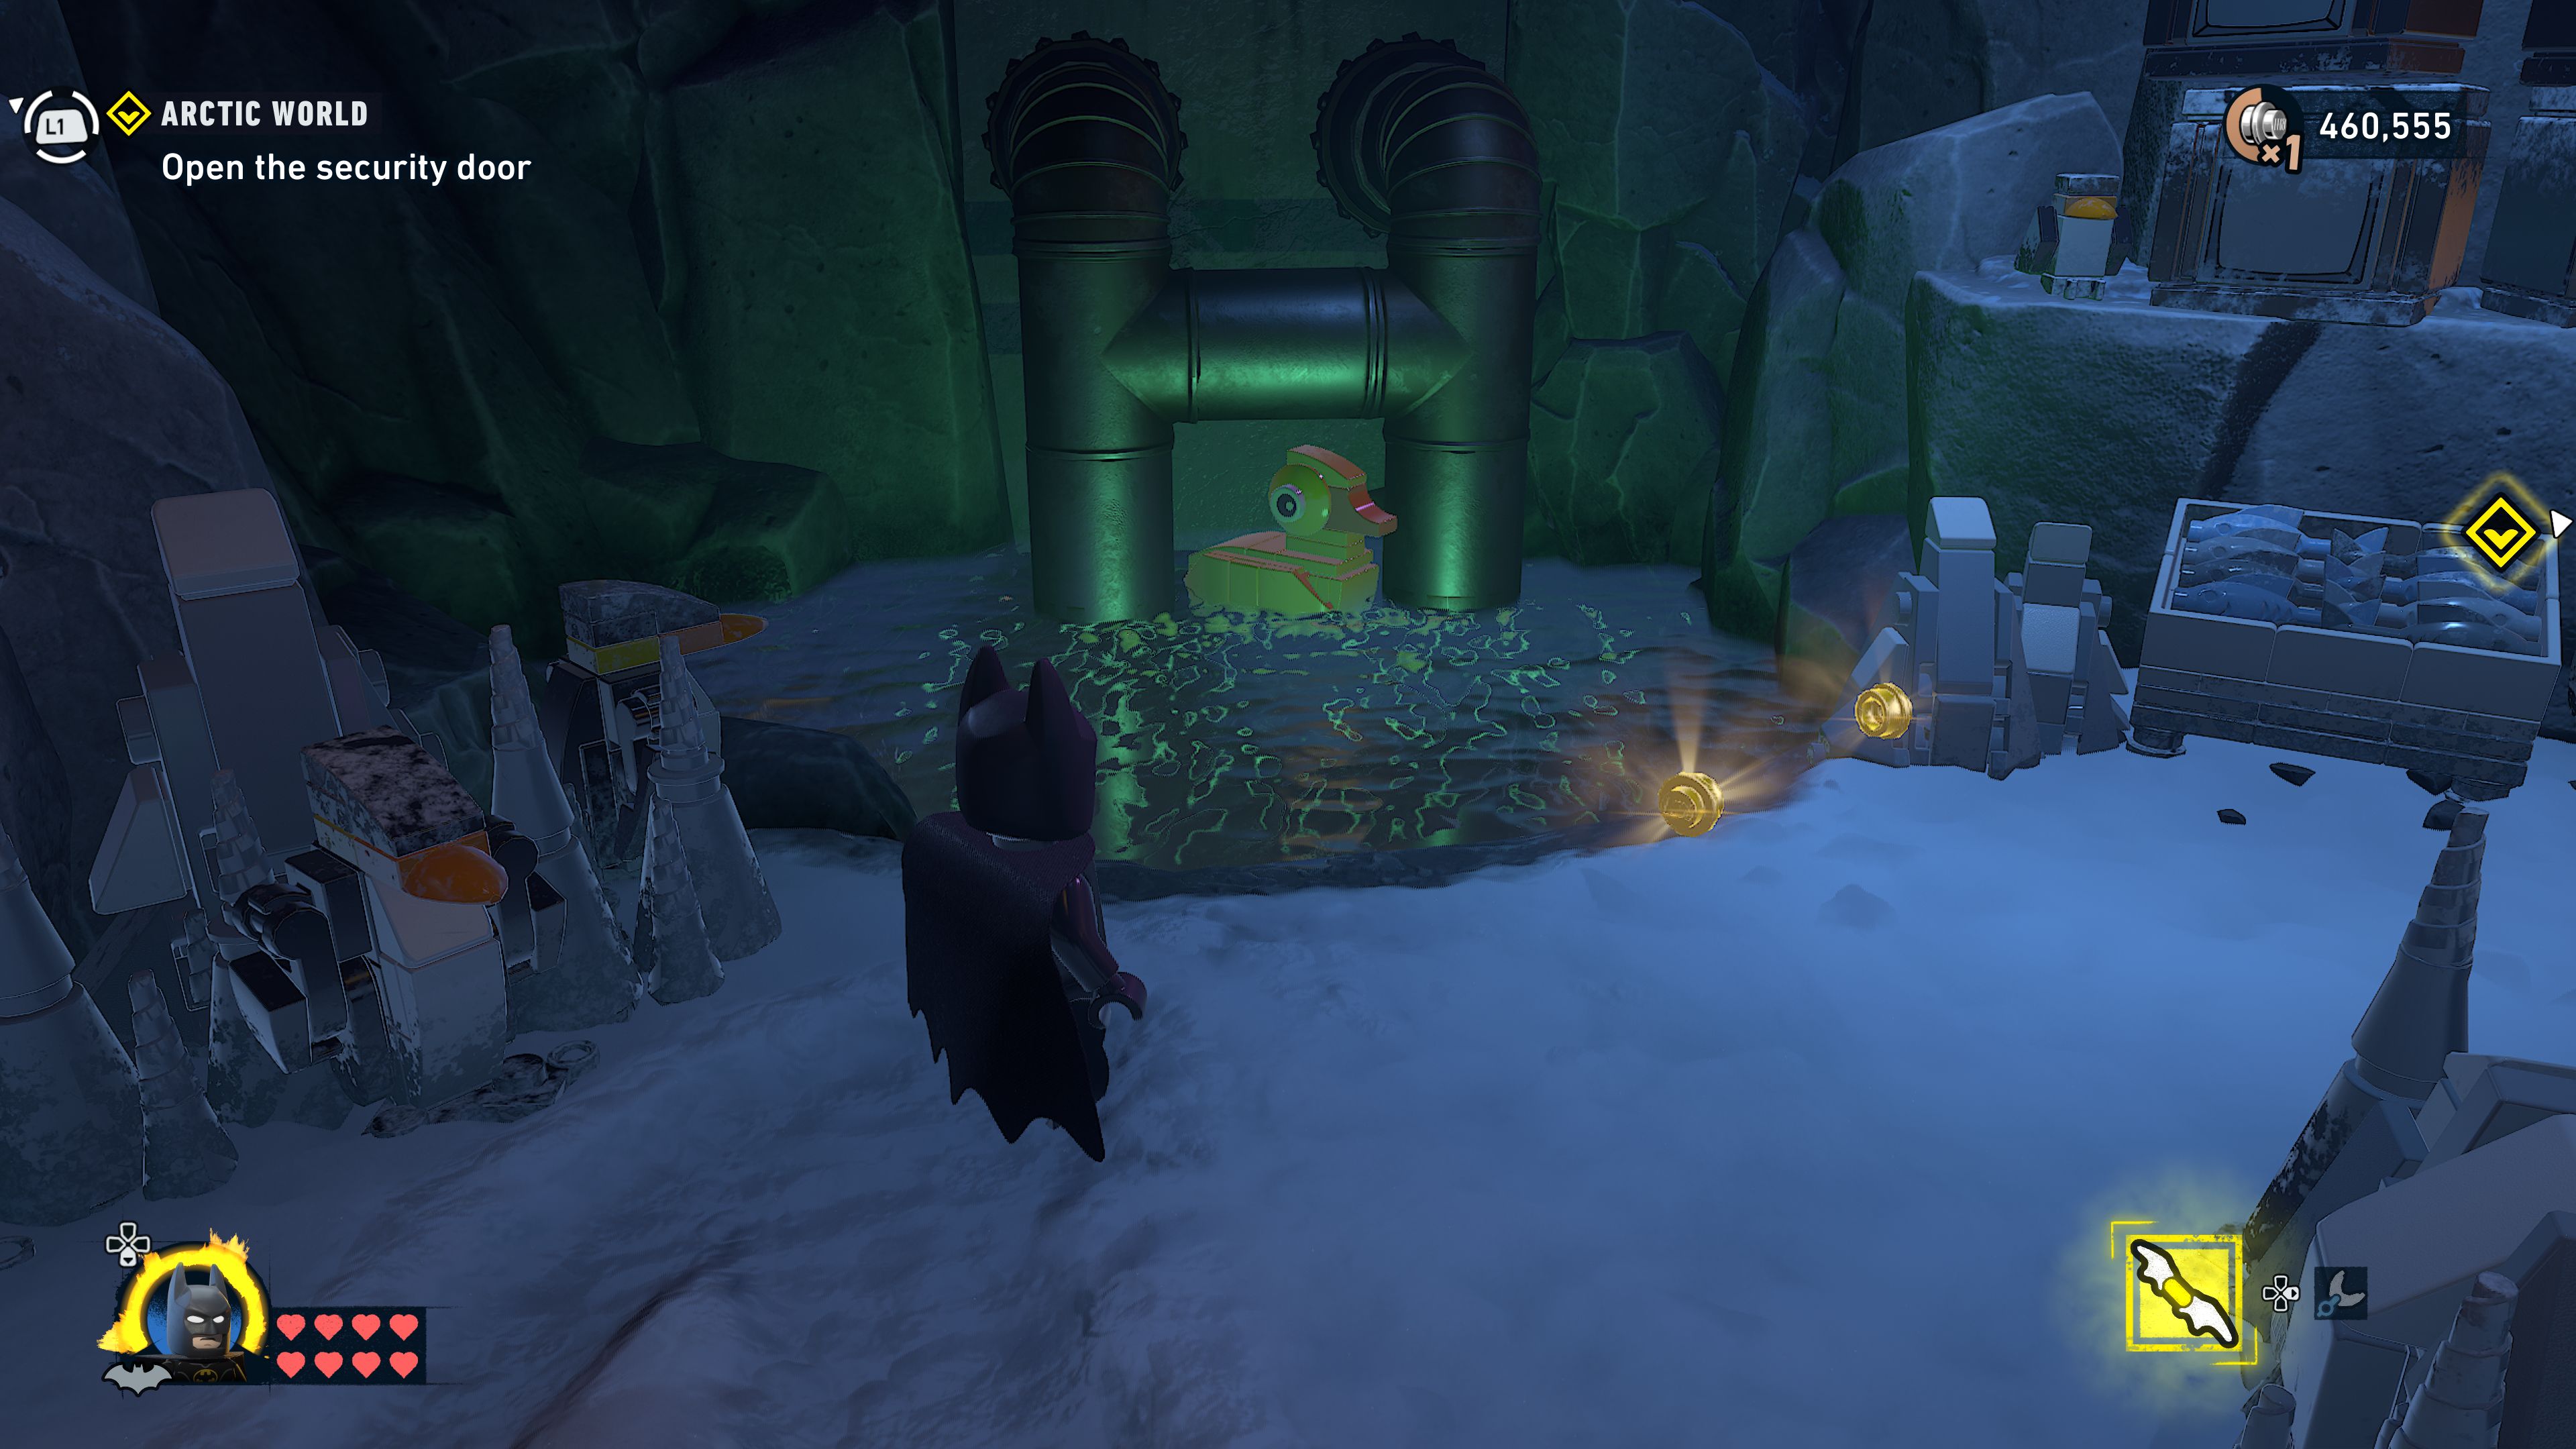
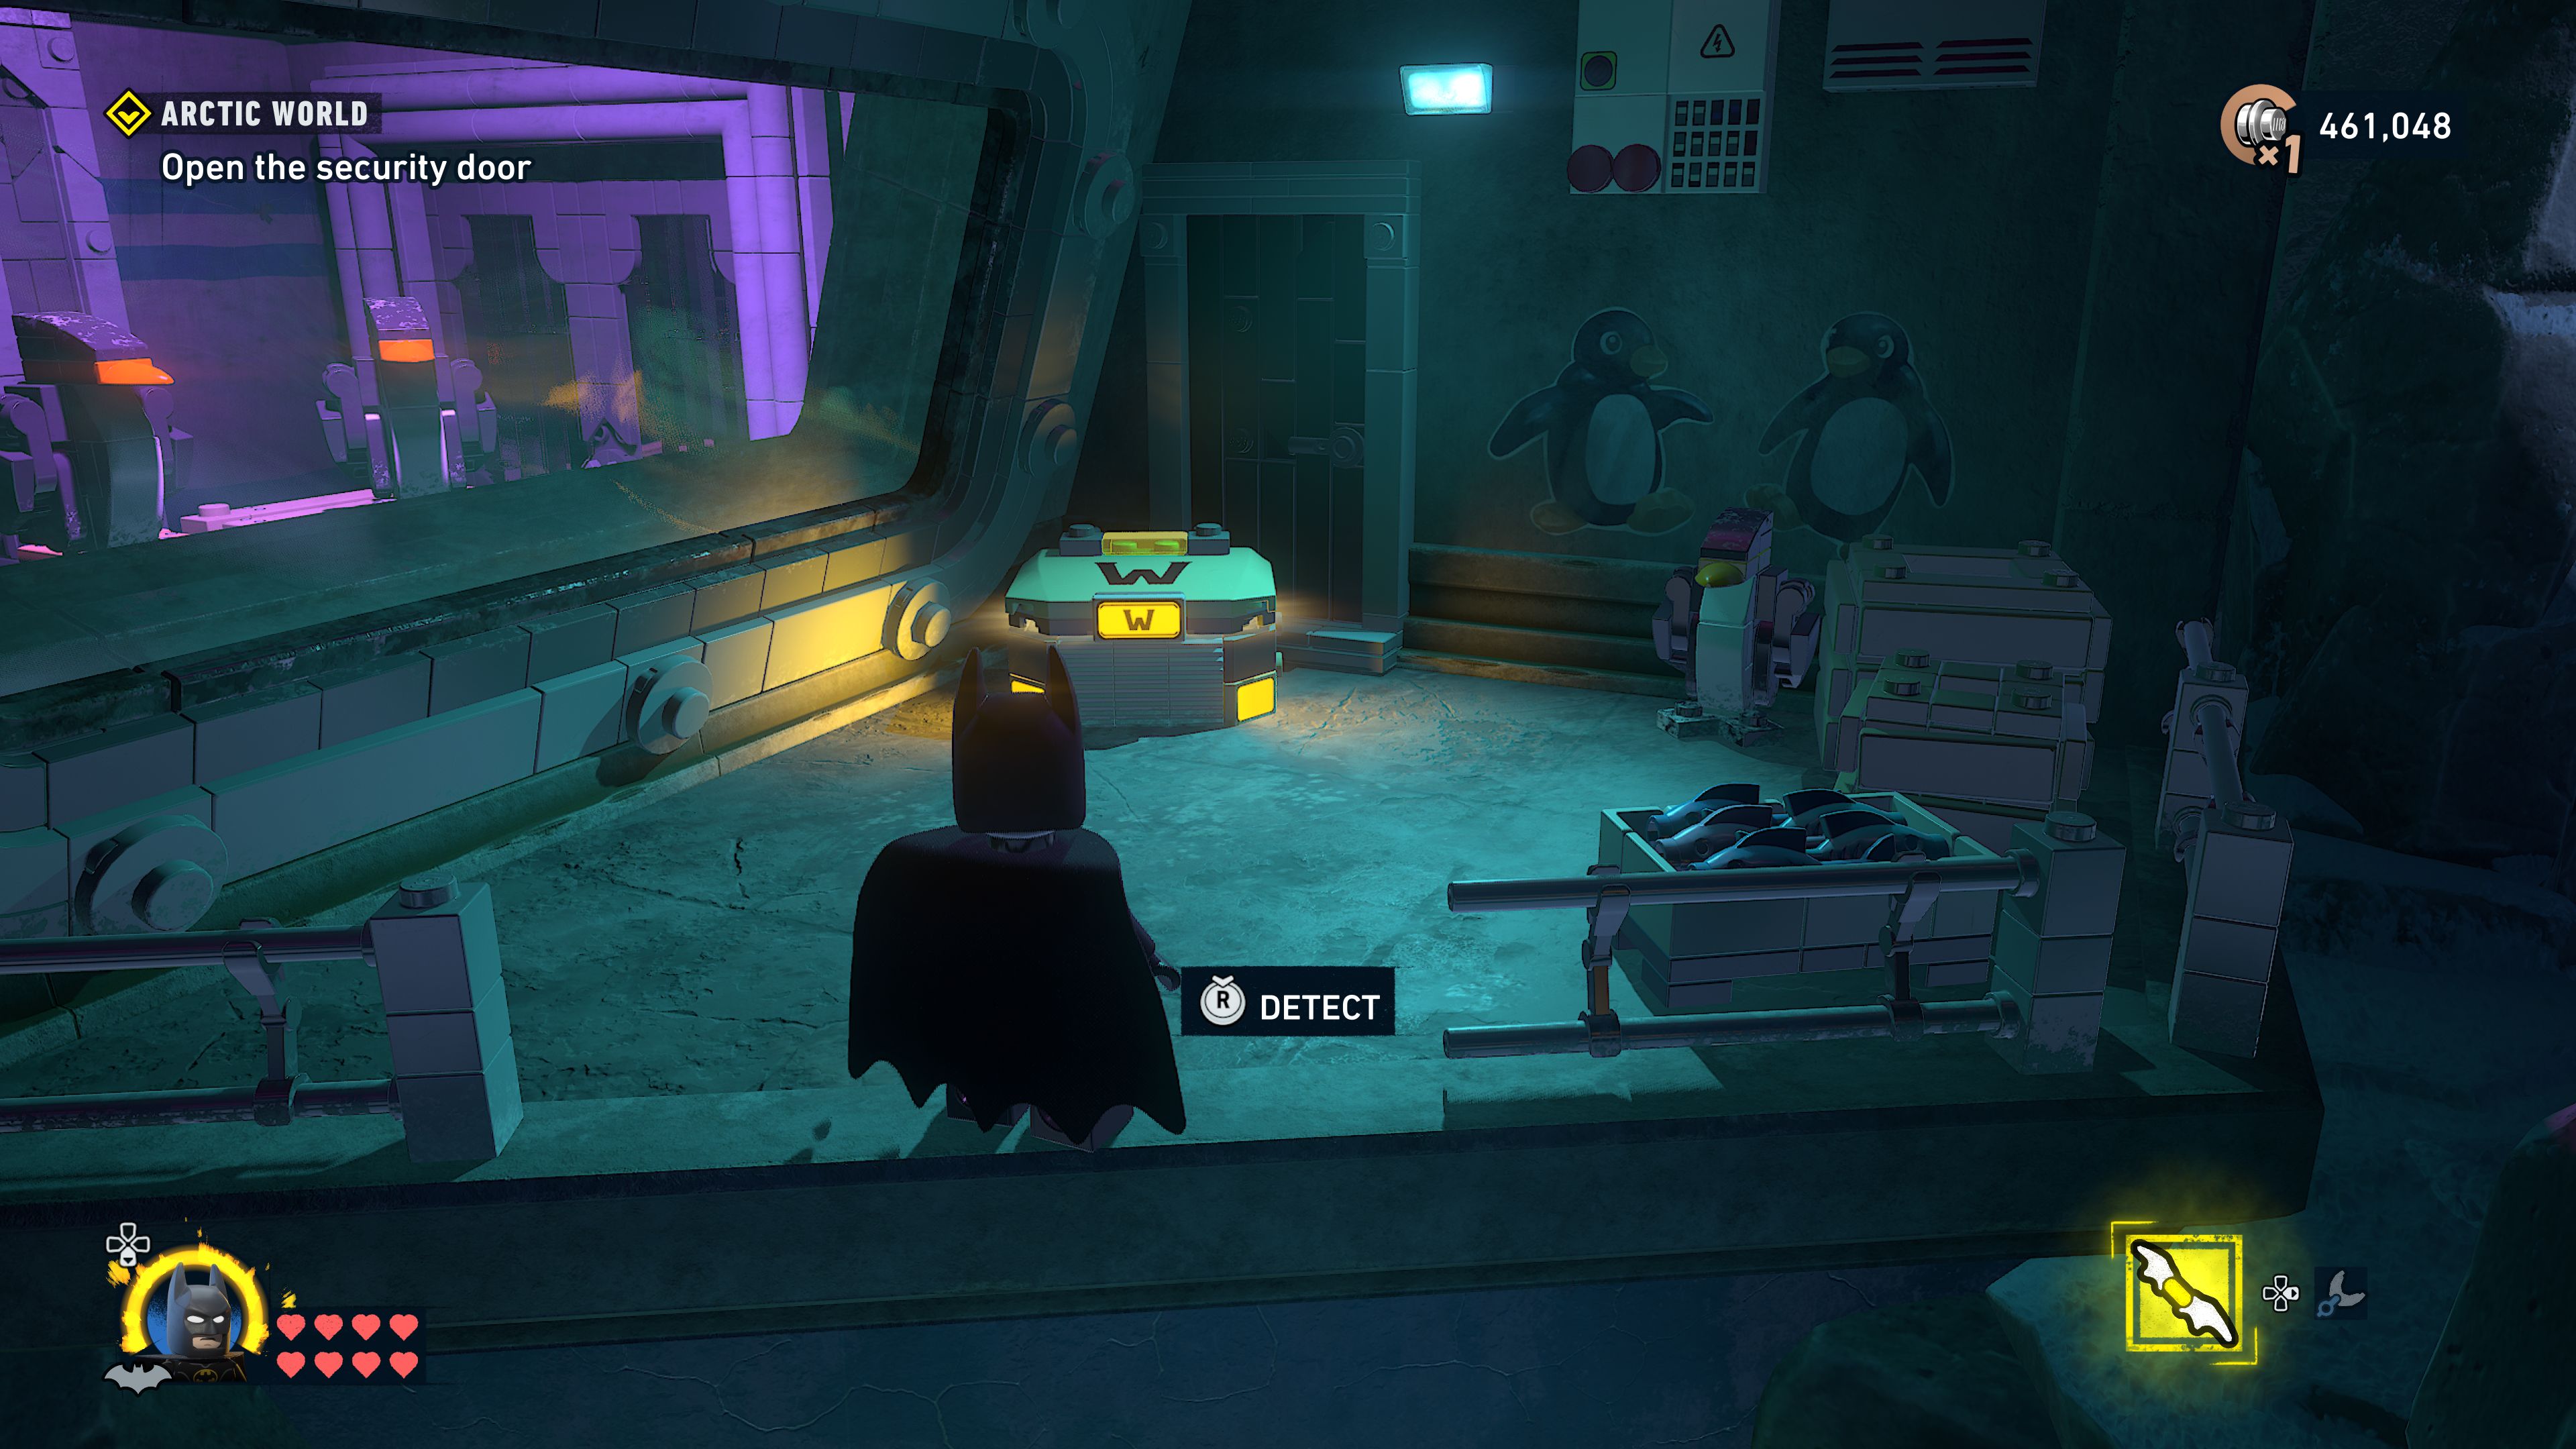
You should be able to see some more wall climb wall above the shutter but also see that a large penguin statue is blocking some of it. Use Batman's Batclaw to pull over the statue to reveal the rest of the wall climb surface. Catwoman should then climb up the wall, pausing to avoid getting hit by the ice blasts from the two pipes and then pulling the switch directly from the wall.
Defeat the enemies
Loads of exploding penguins will swarm the area, hit them from afar to set them off before they can get to you. After a while two more will come out of a vent in the wall to complete the fight.
Explore Arctic World
Crawl through the newly opened vent to reach the next area.
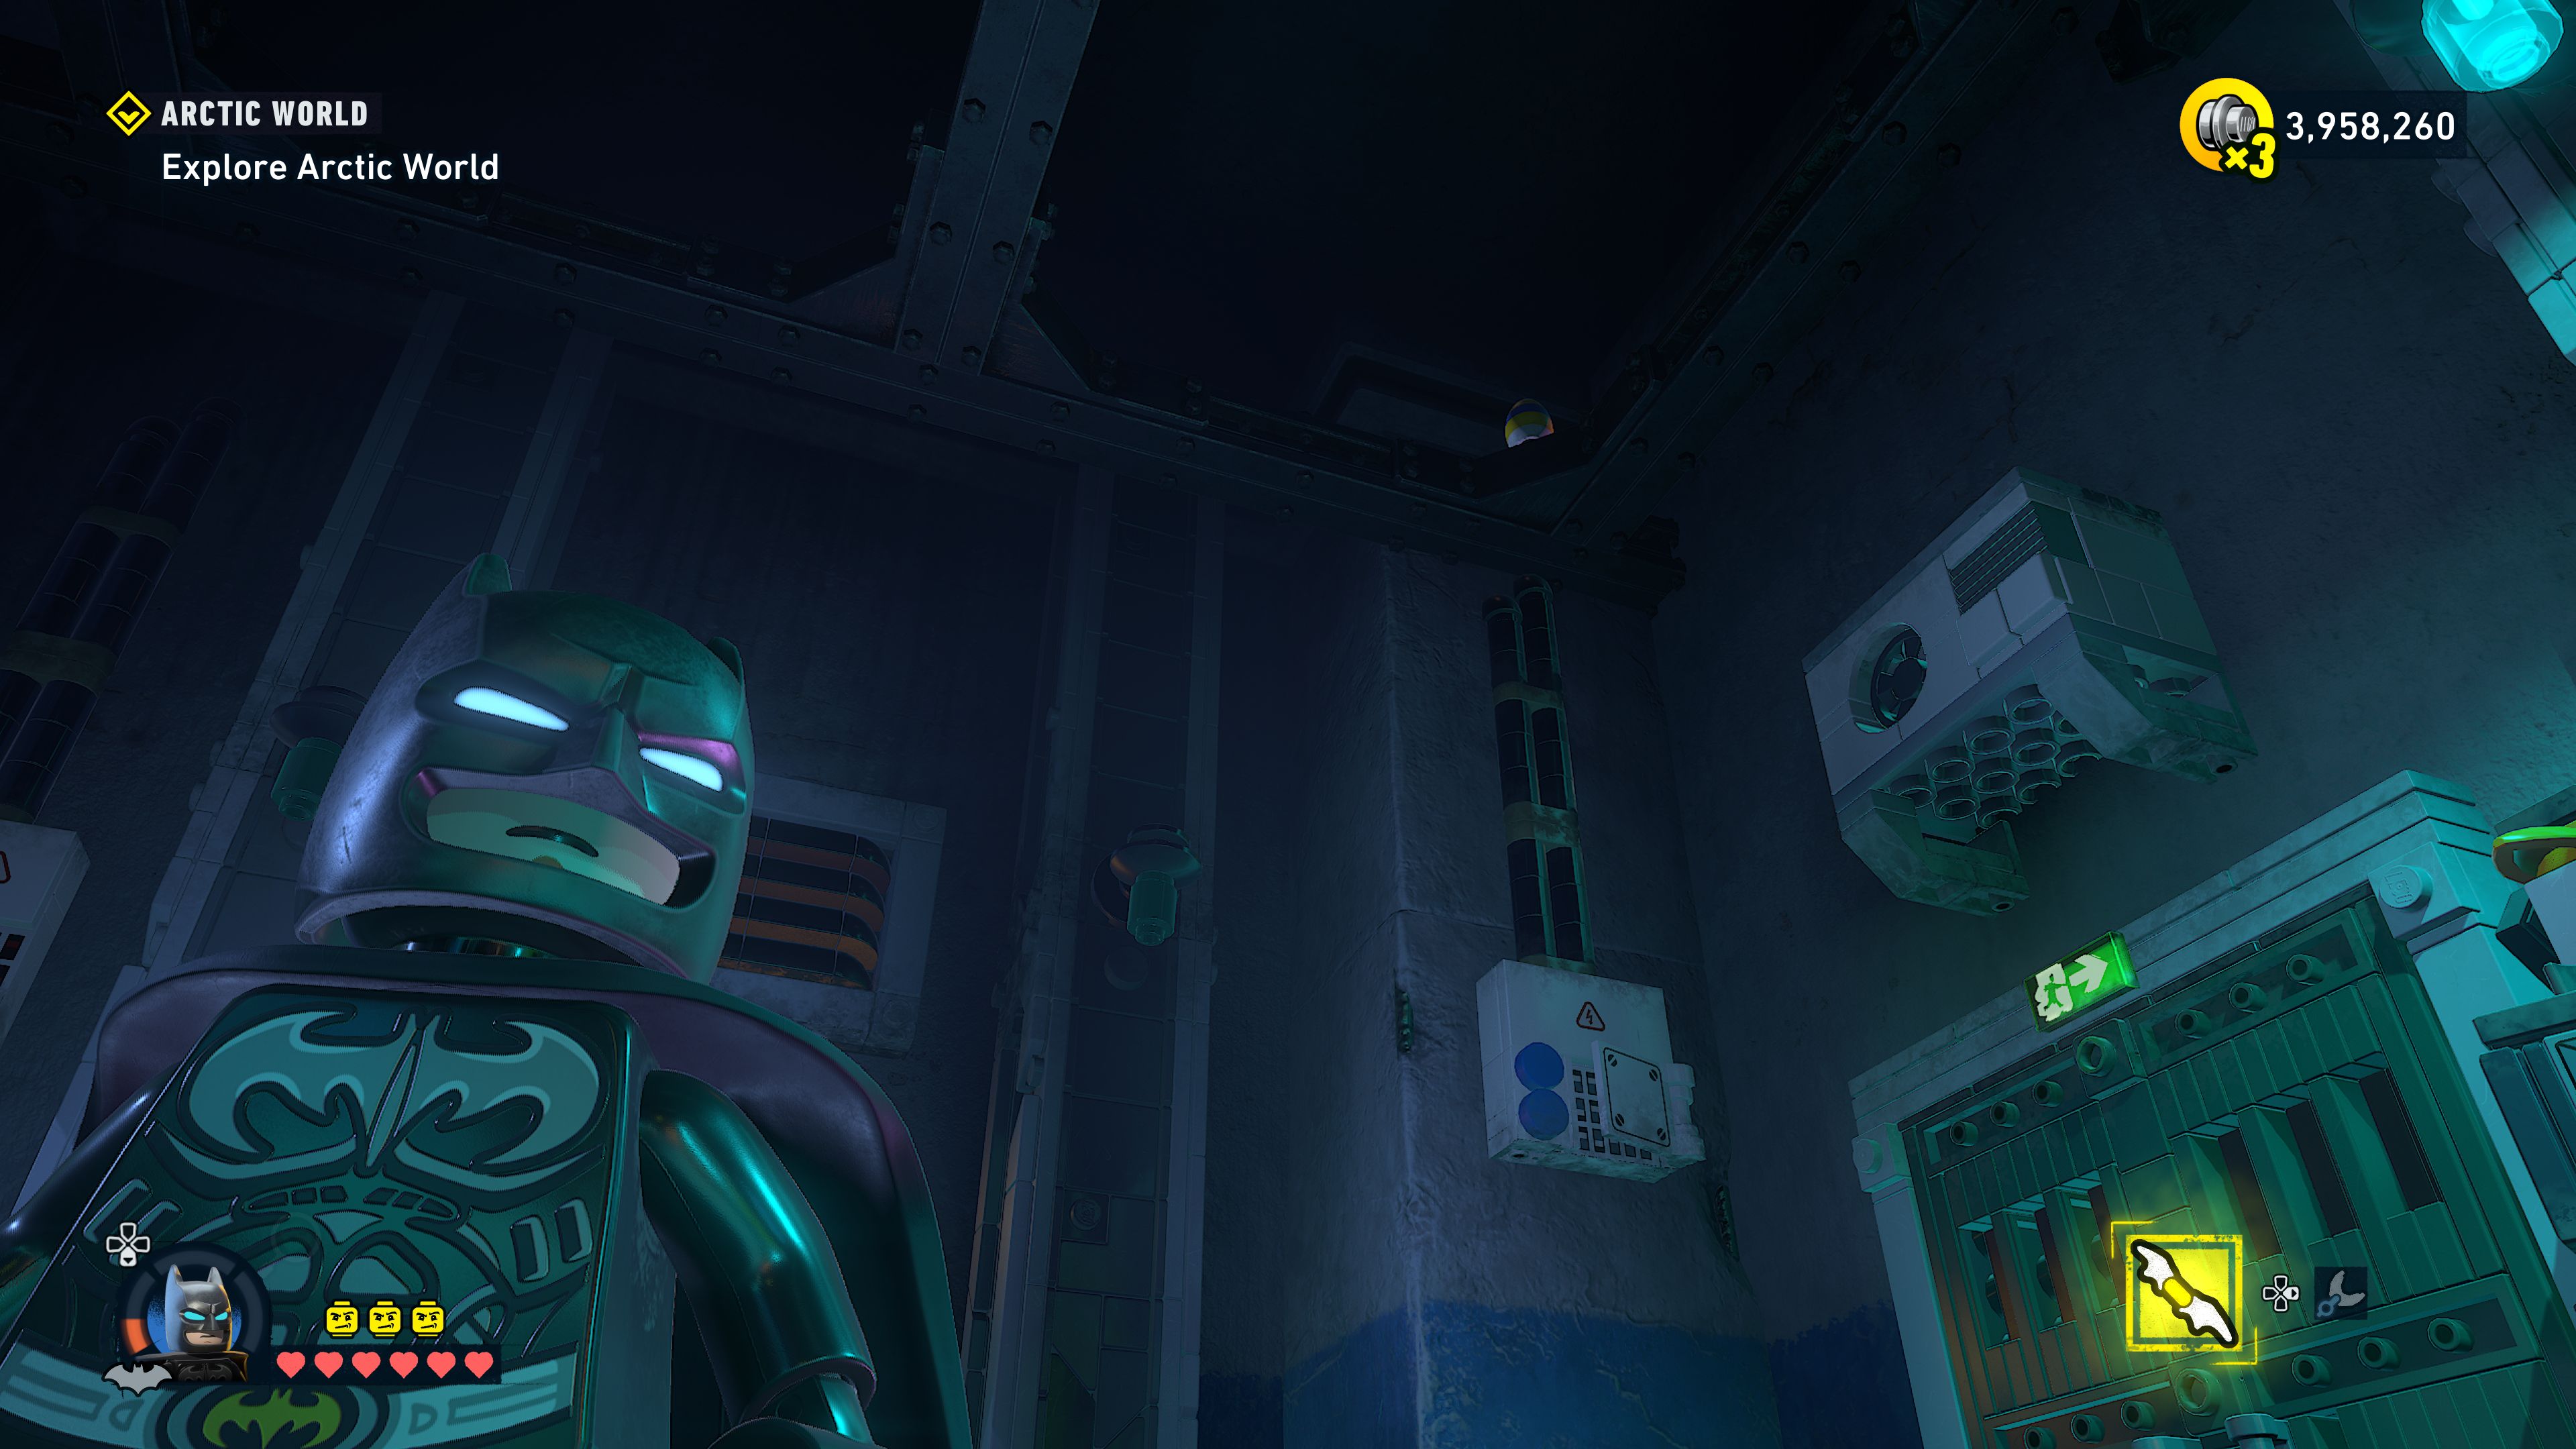
Sneak up behind the enemies ahead and take them out silently.
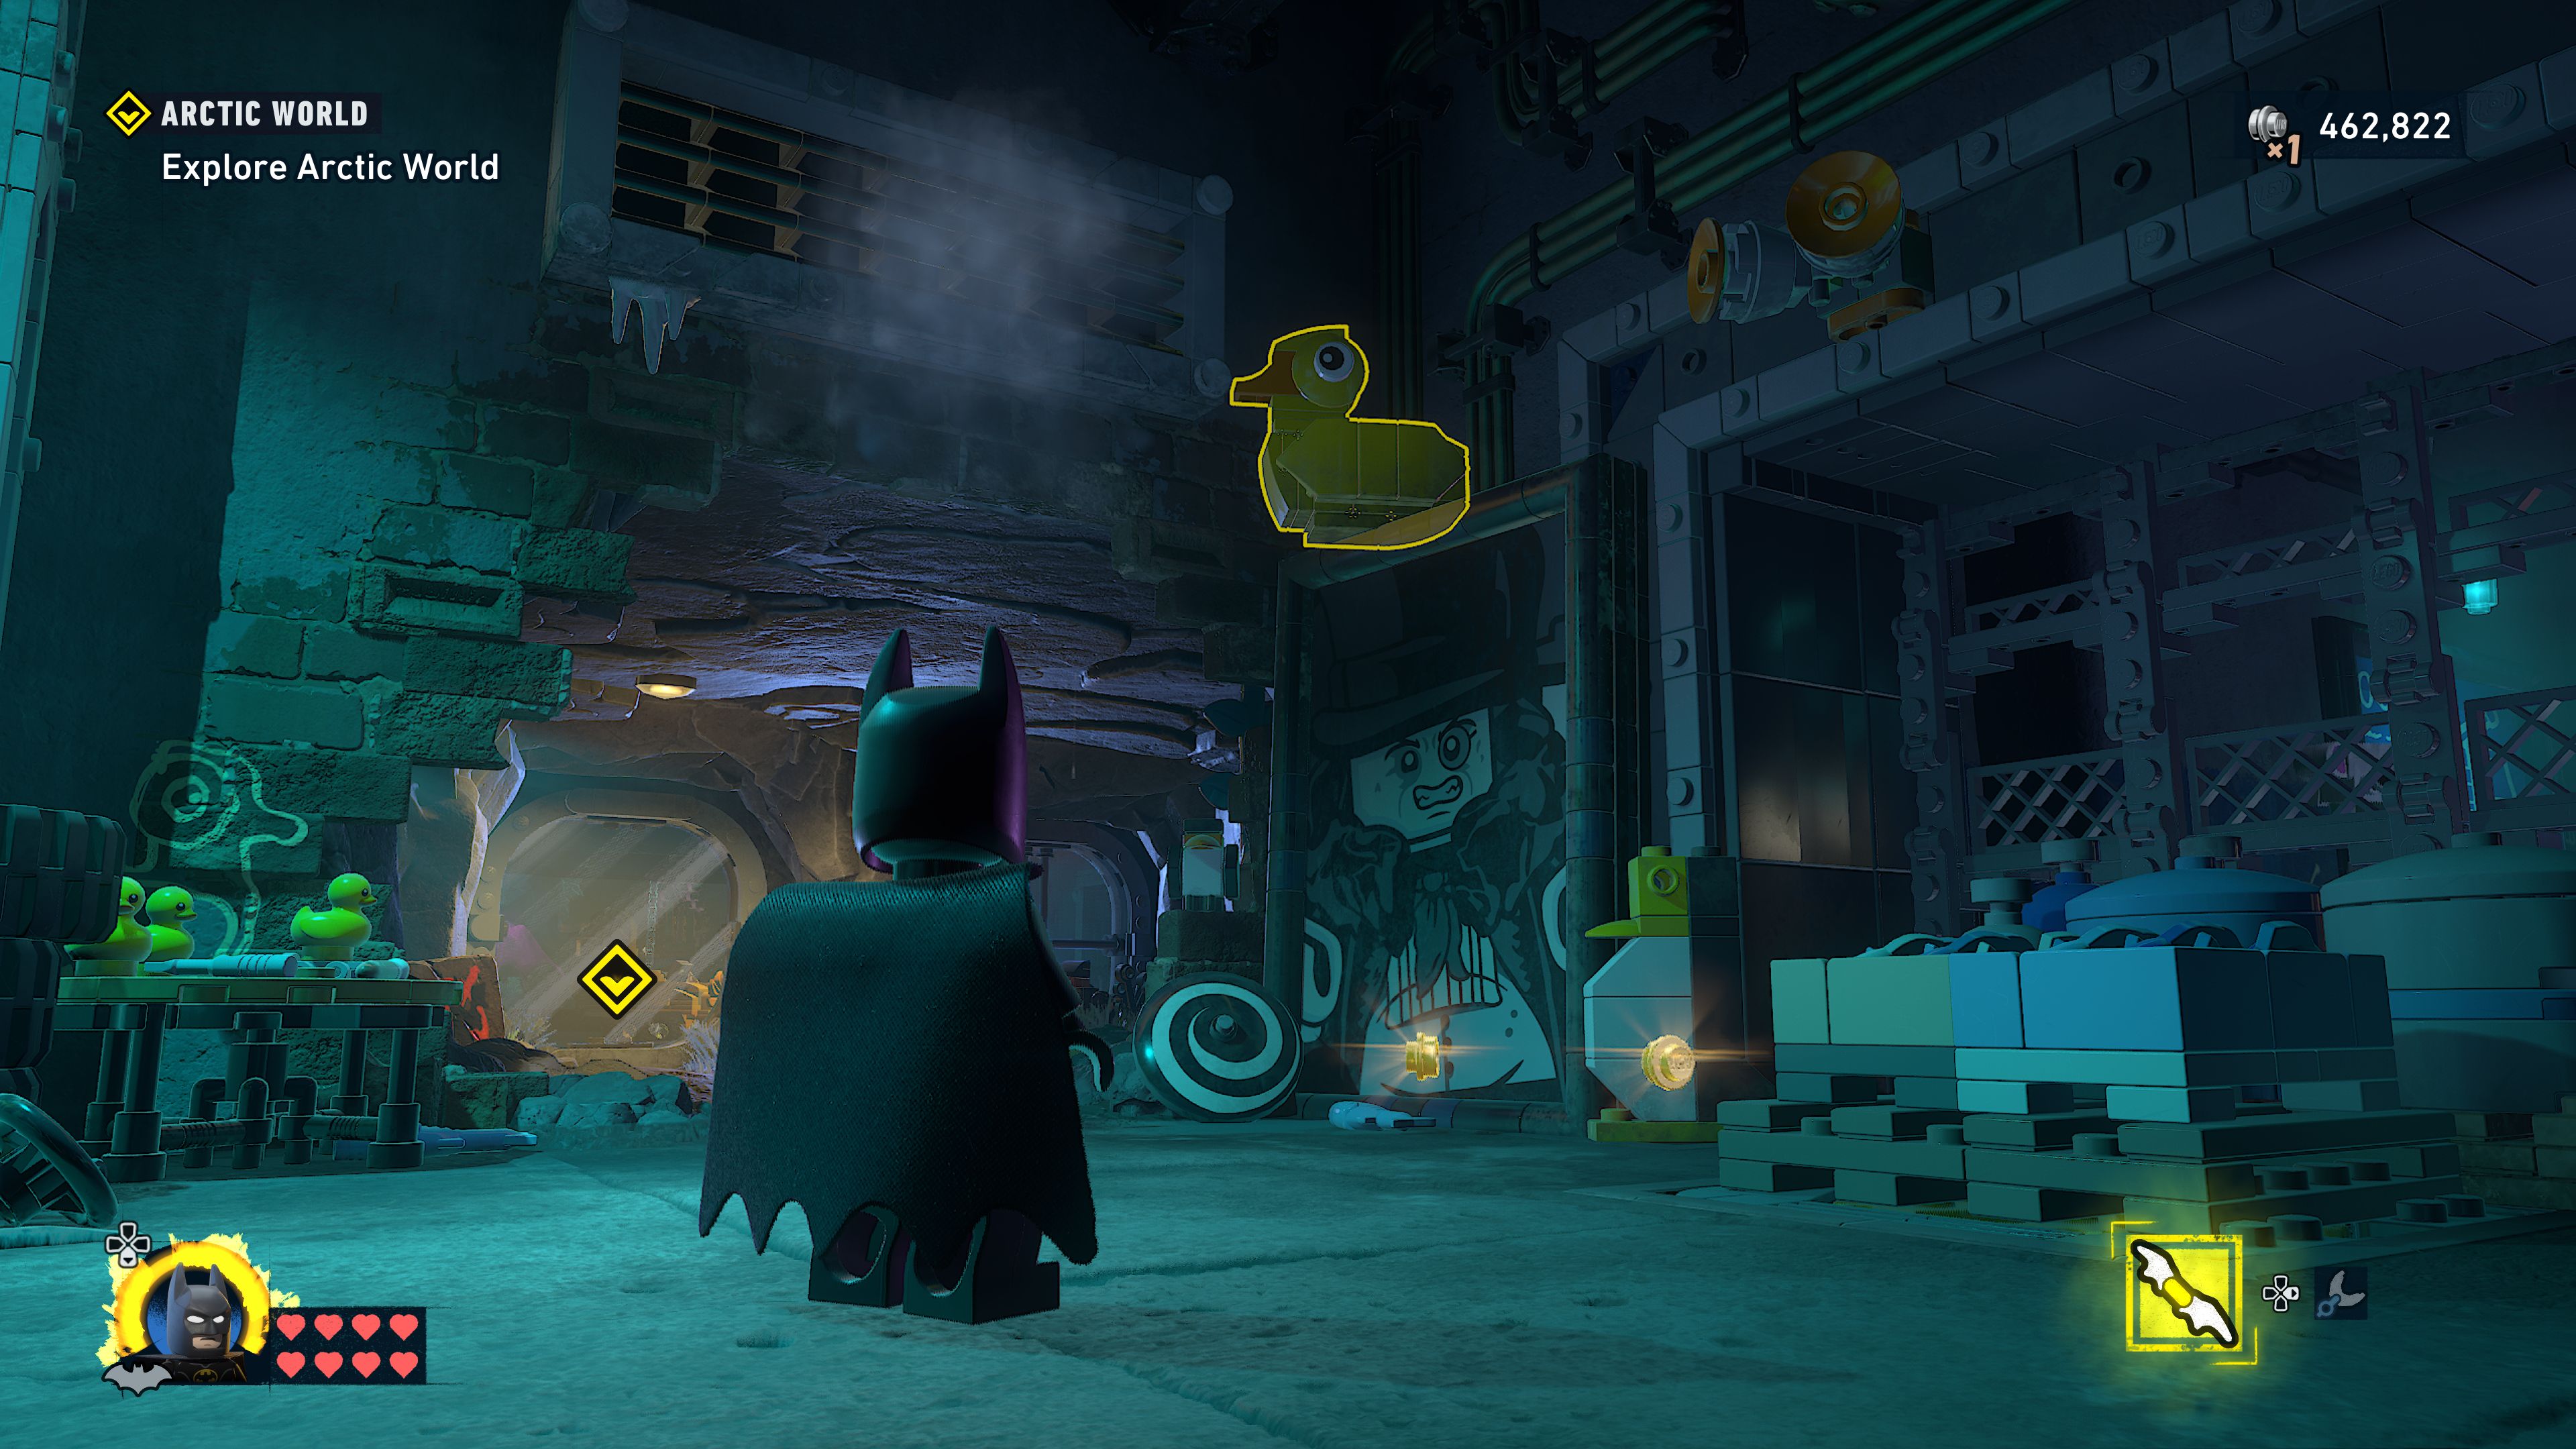
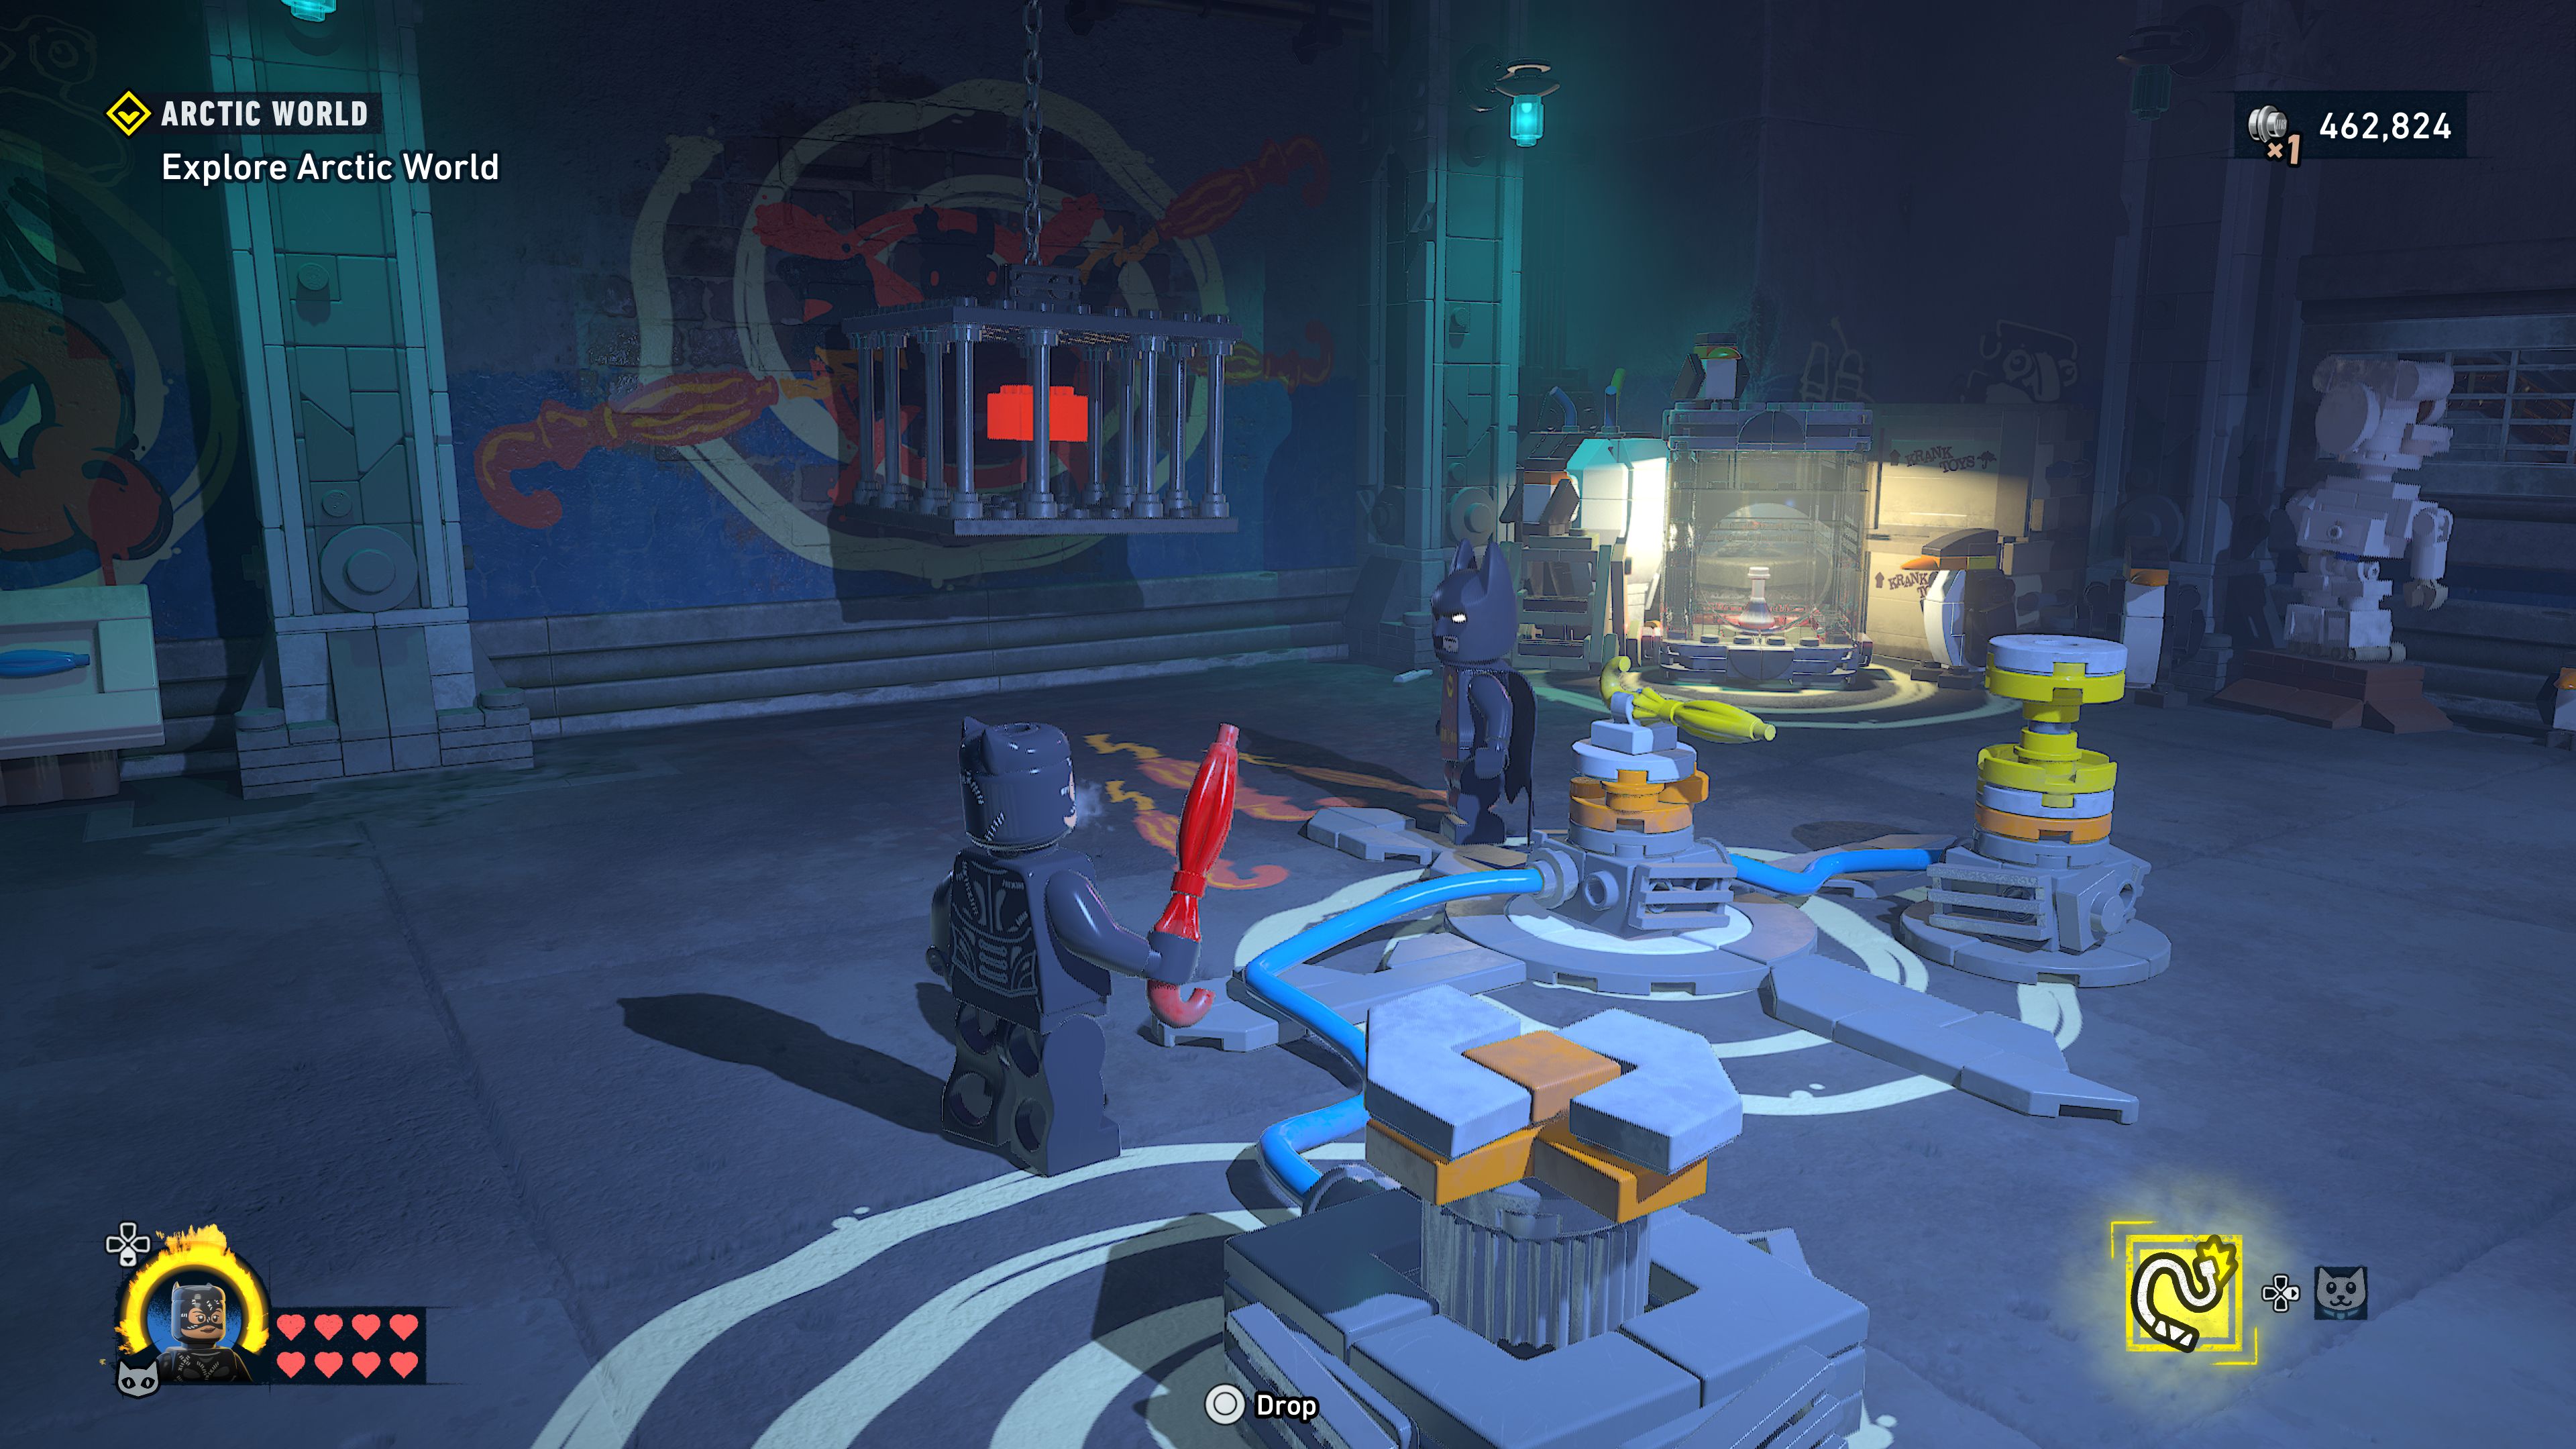
Just past where the guards were standing is some glass that Catwoman can cut through.
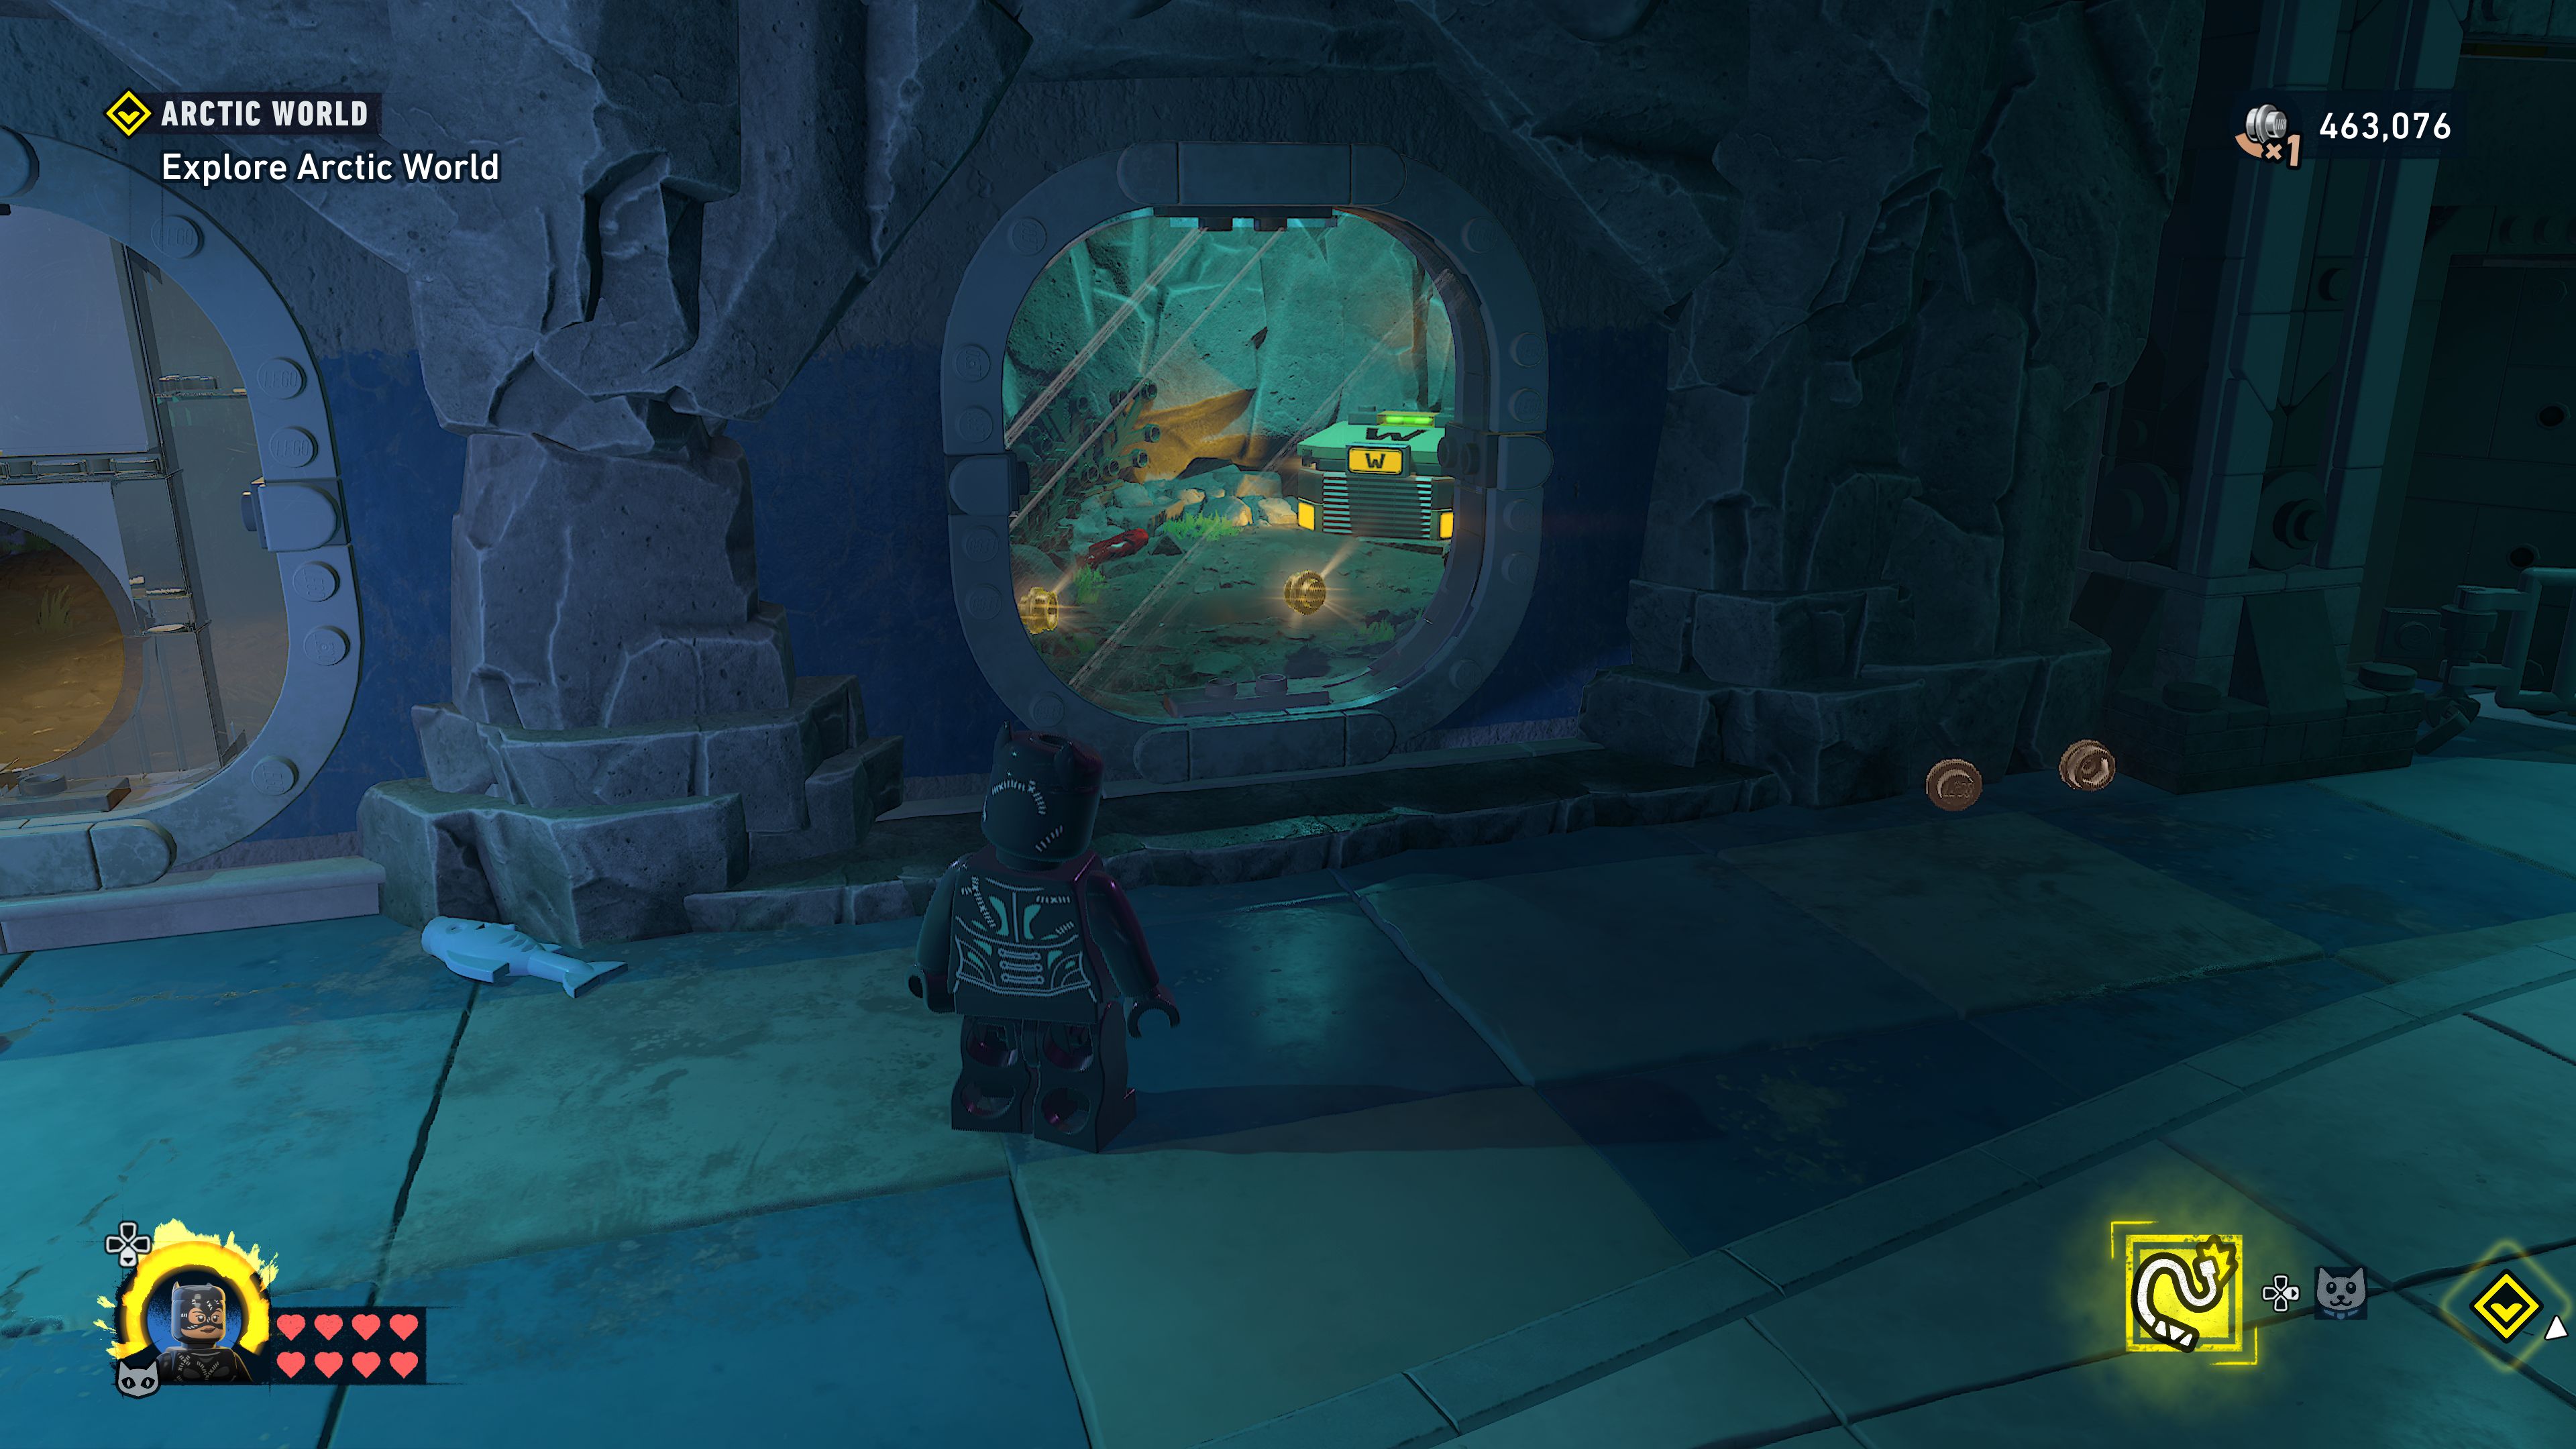
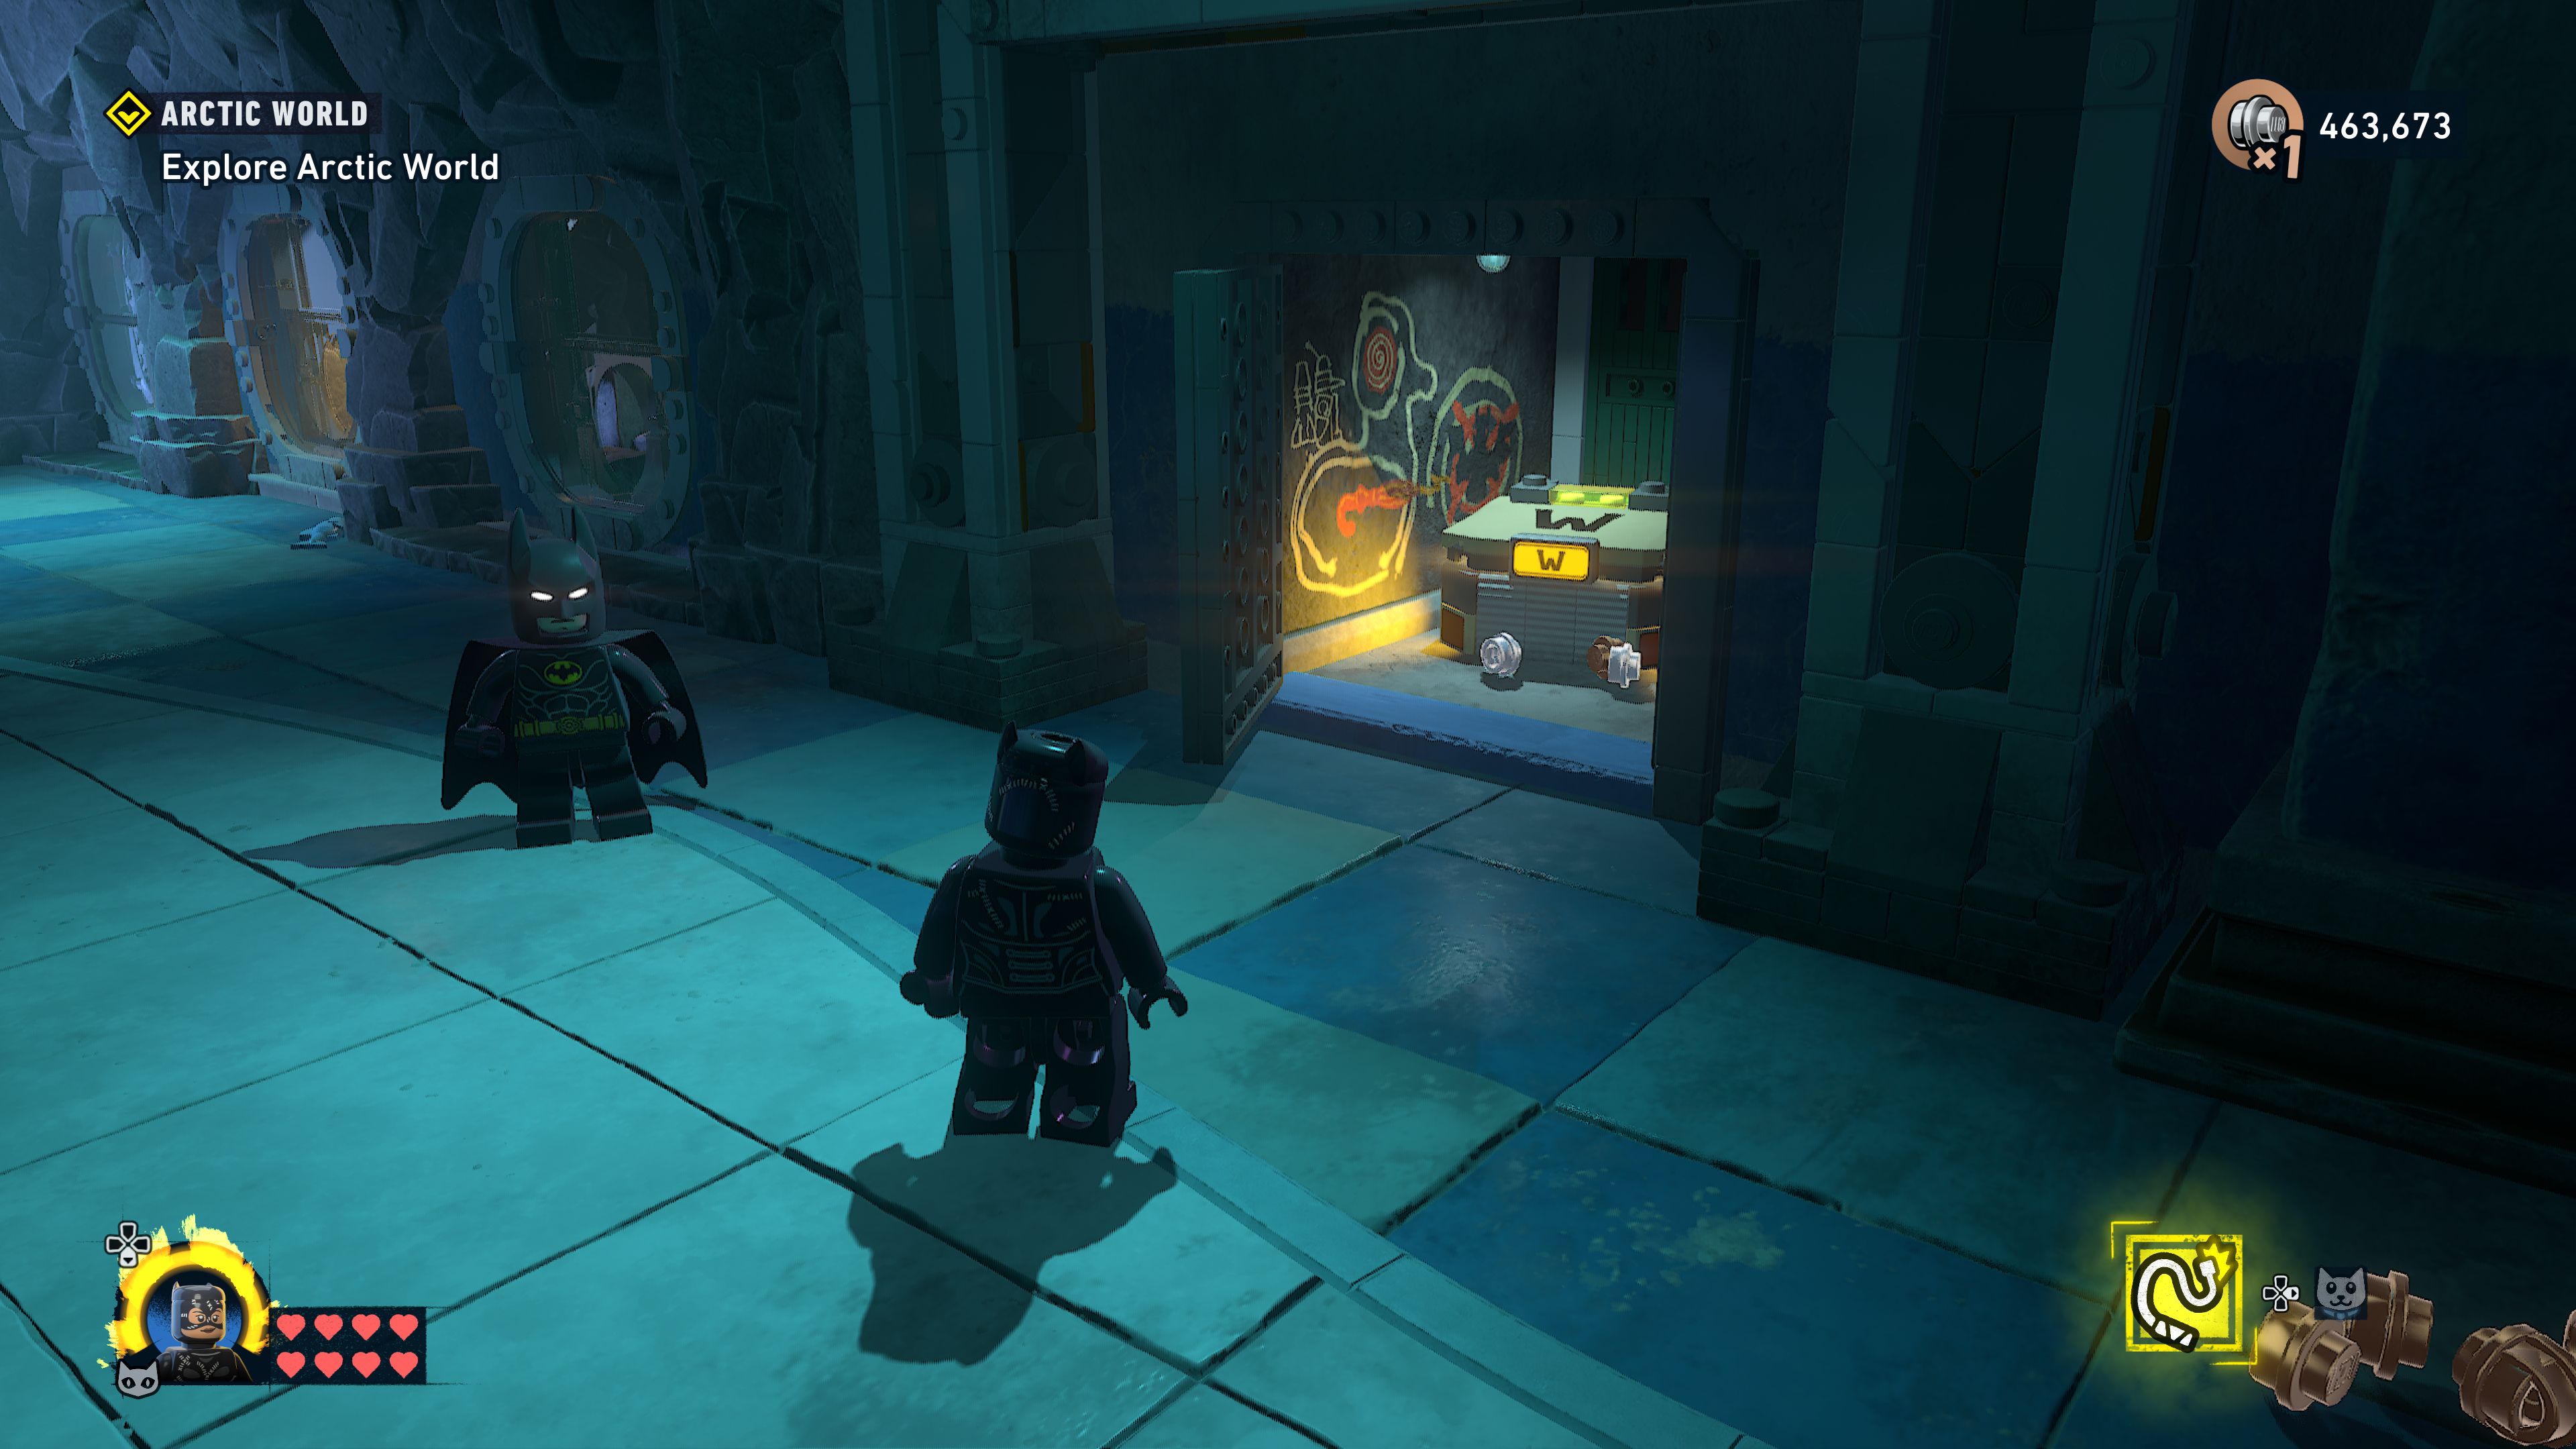
Now head into the Polar Bears exhibit.
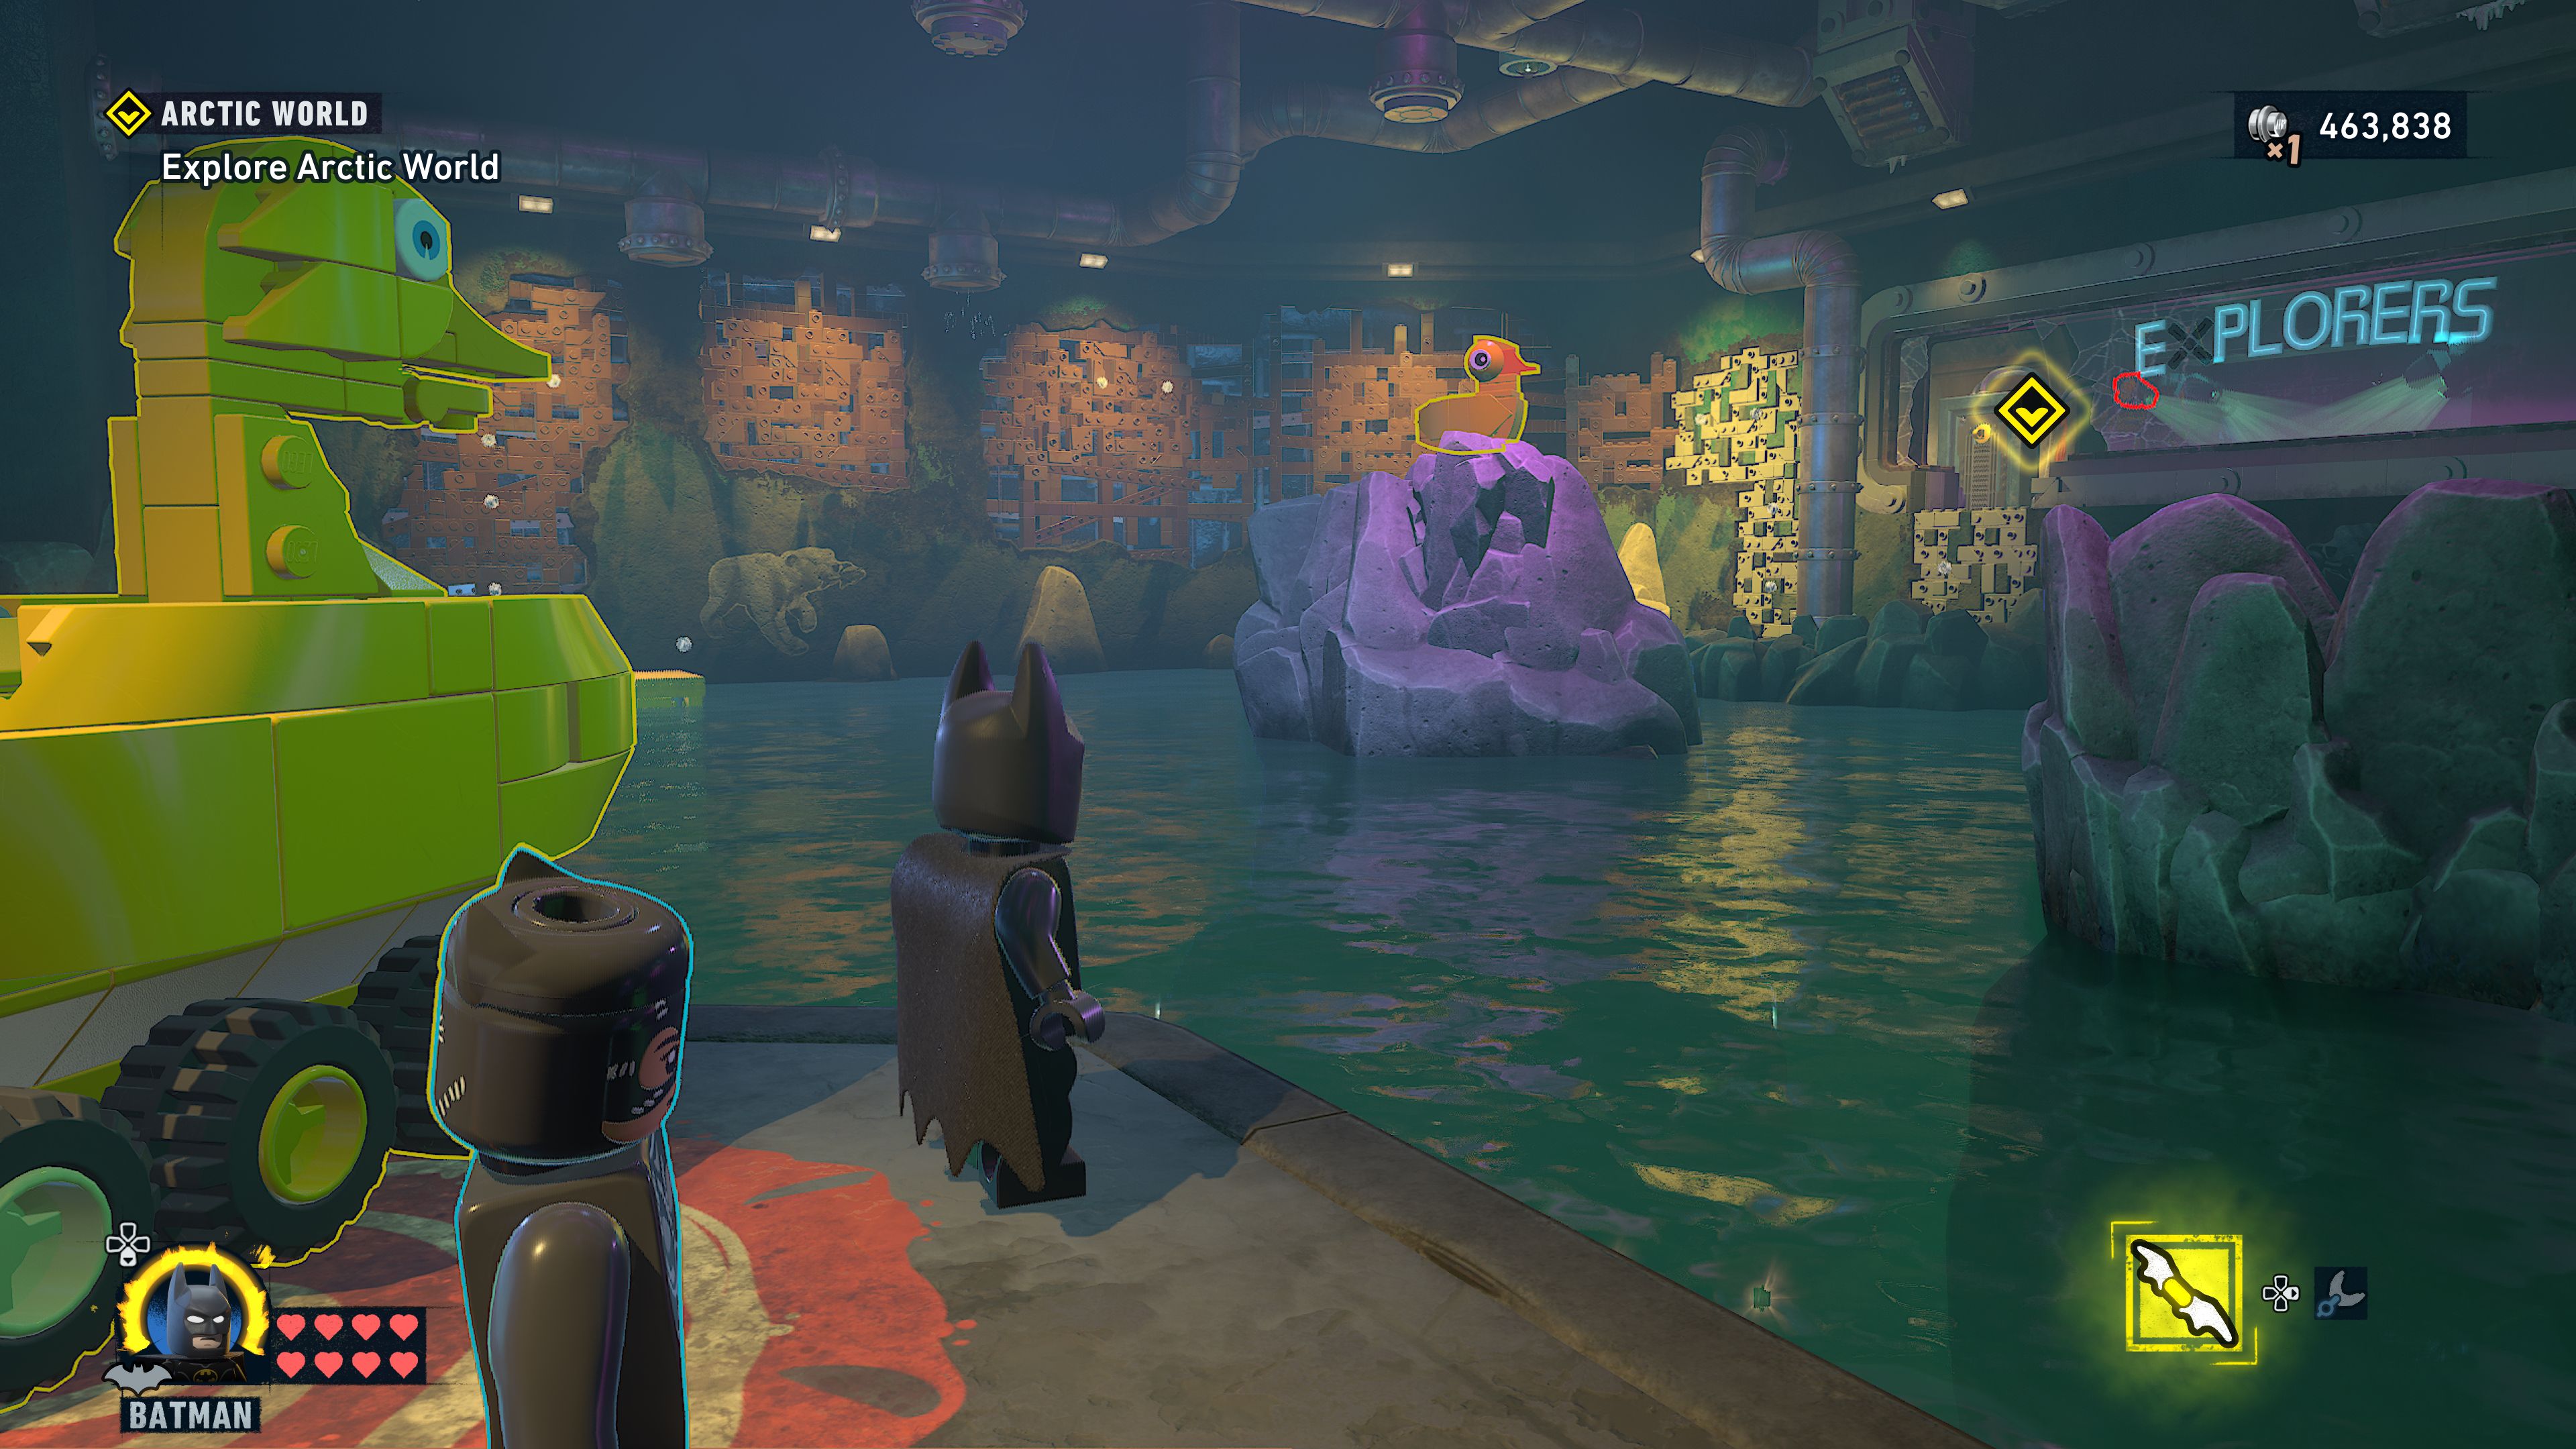
Push the rubber duck boat into the water and then reassemble it into a giant fishing rod. Have Batman pull on the lever to bring the water level down and stay holding it while you switch to Catwoman. She will need to go over to a yellow shipping crate below and stand on it. Have Batman release the plug so the water fills up then switch back to Catwoman. The crate will float and she'll be able to jump onto the wall climb section nearby.
Jump past the water and the gaps until you reach where the wall climb dips down into the water. Switch back to Batman and pull the plug again. Catwoman can now continue down and around the pipe.
Reach the explorers exhibit
You'll be introduced to armoured cameras that cannot be taken out with attacks. Ignore them for the moment and instead use Catwoman's whip on a crane to the right that will lift a cage into position so that Batman can join you.
To the left of the camera corridor is a hook for the Batclaw. Pull it down to reveal a computer terminal that can be used to shut down the cameras.
Find the Penguin
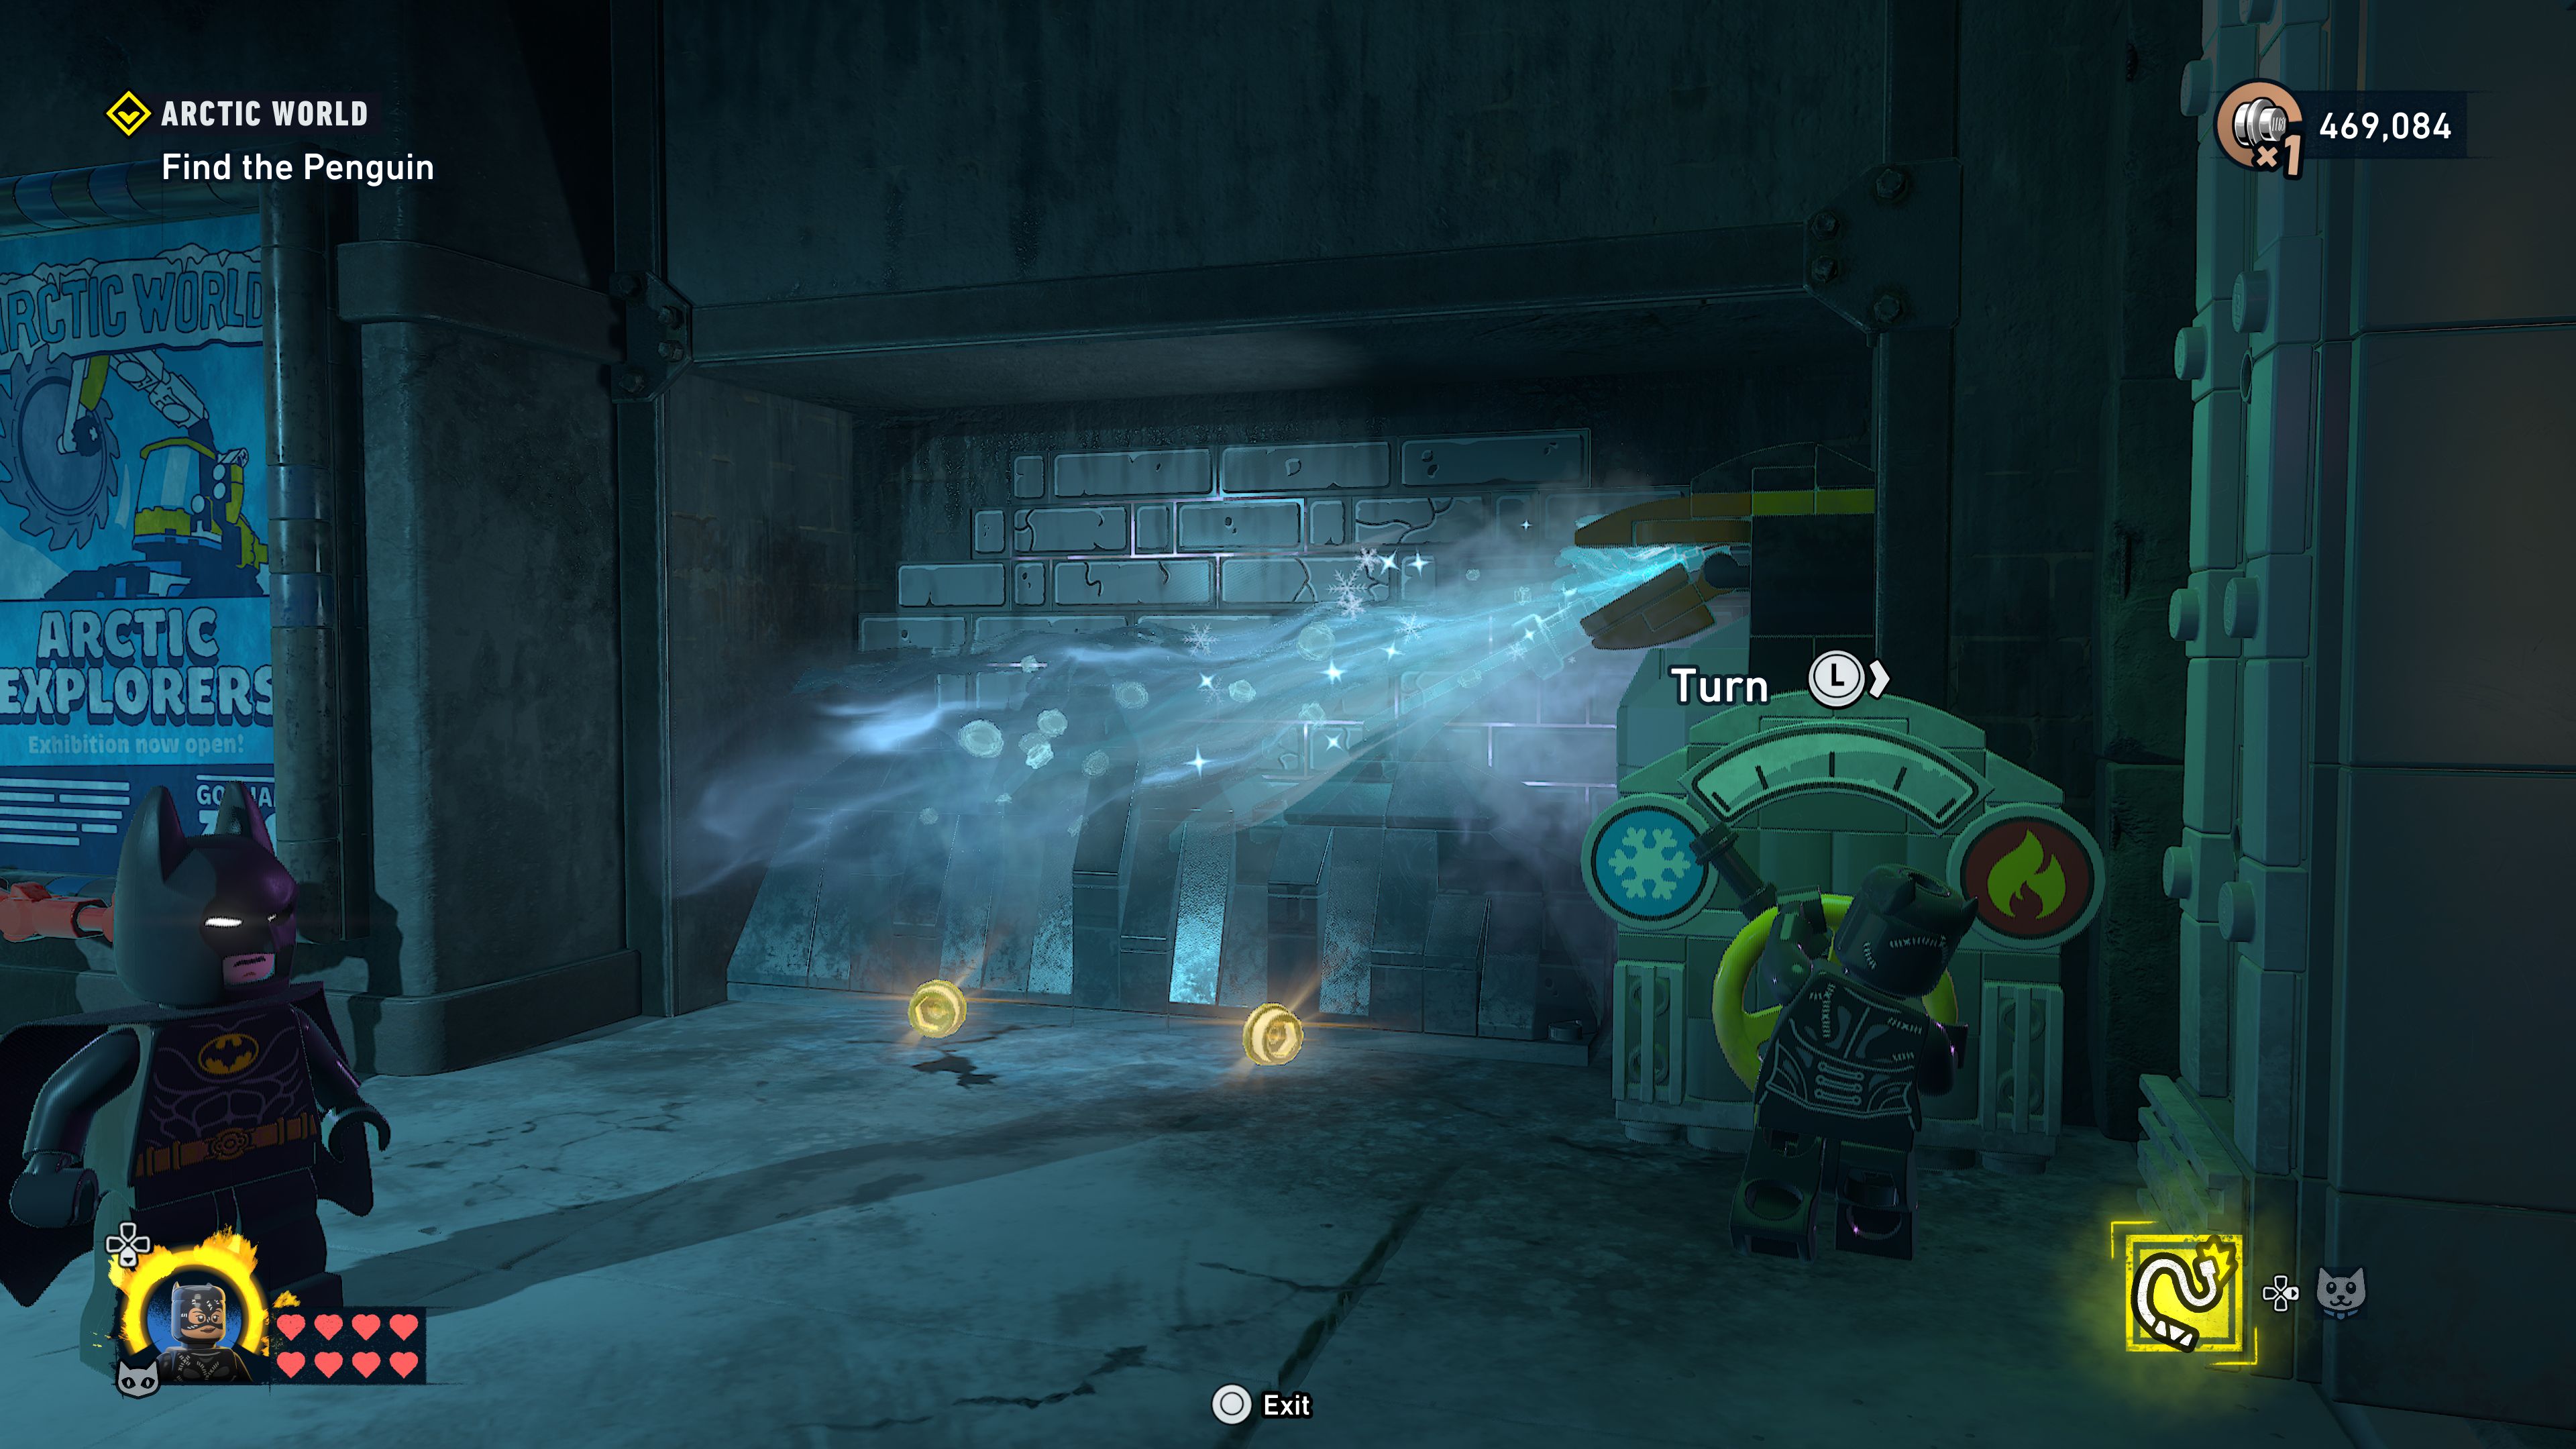
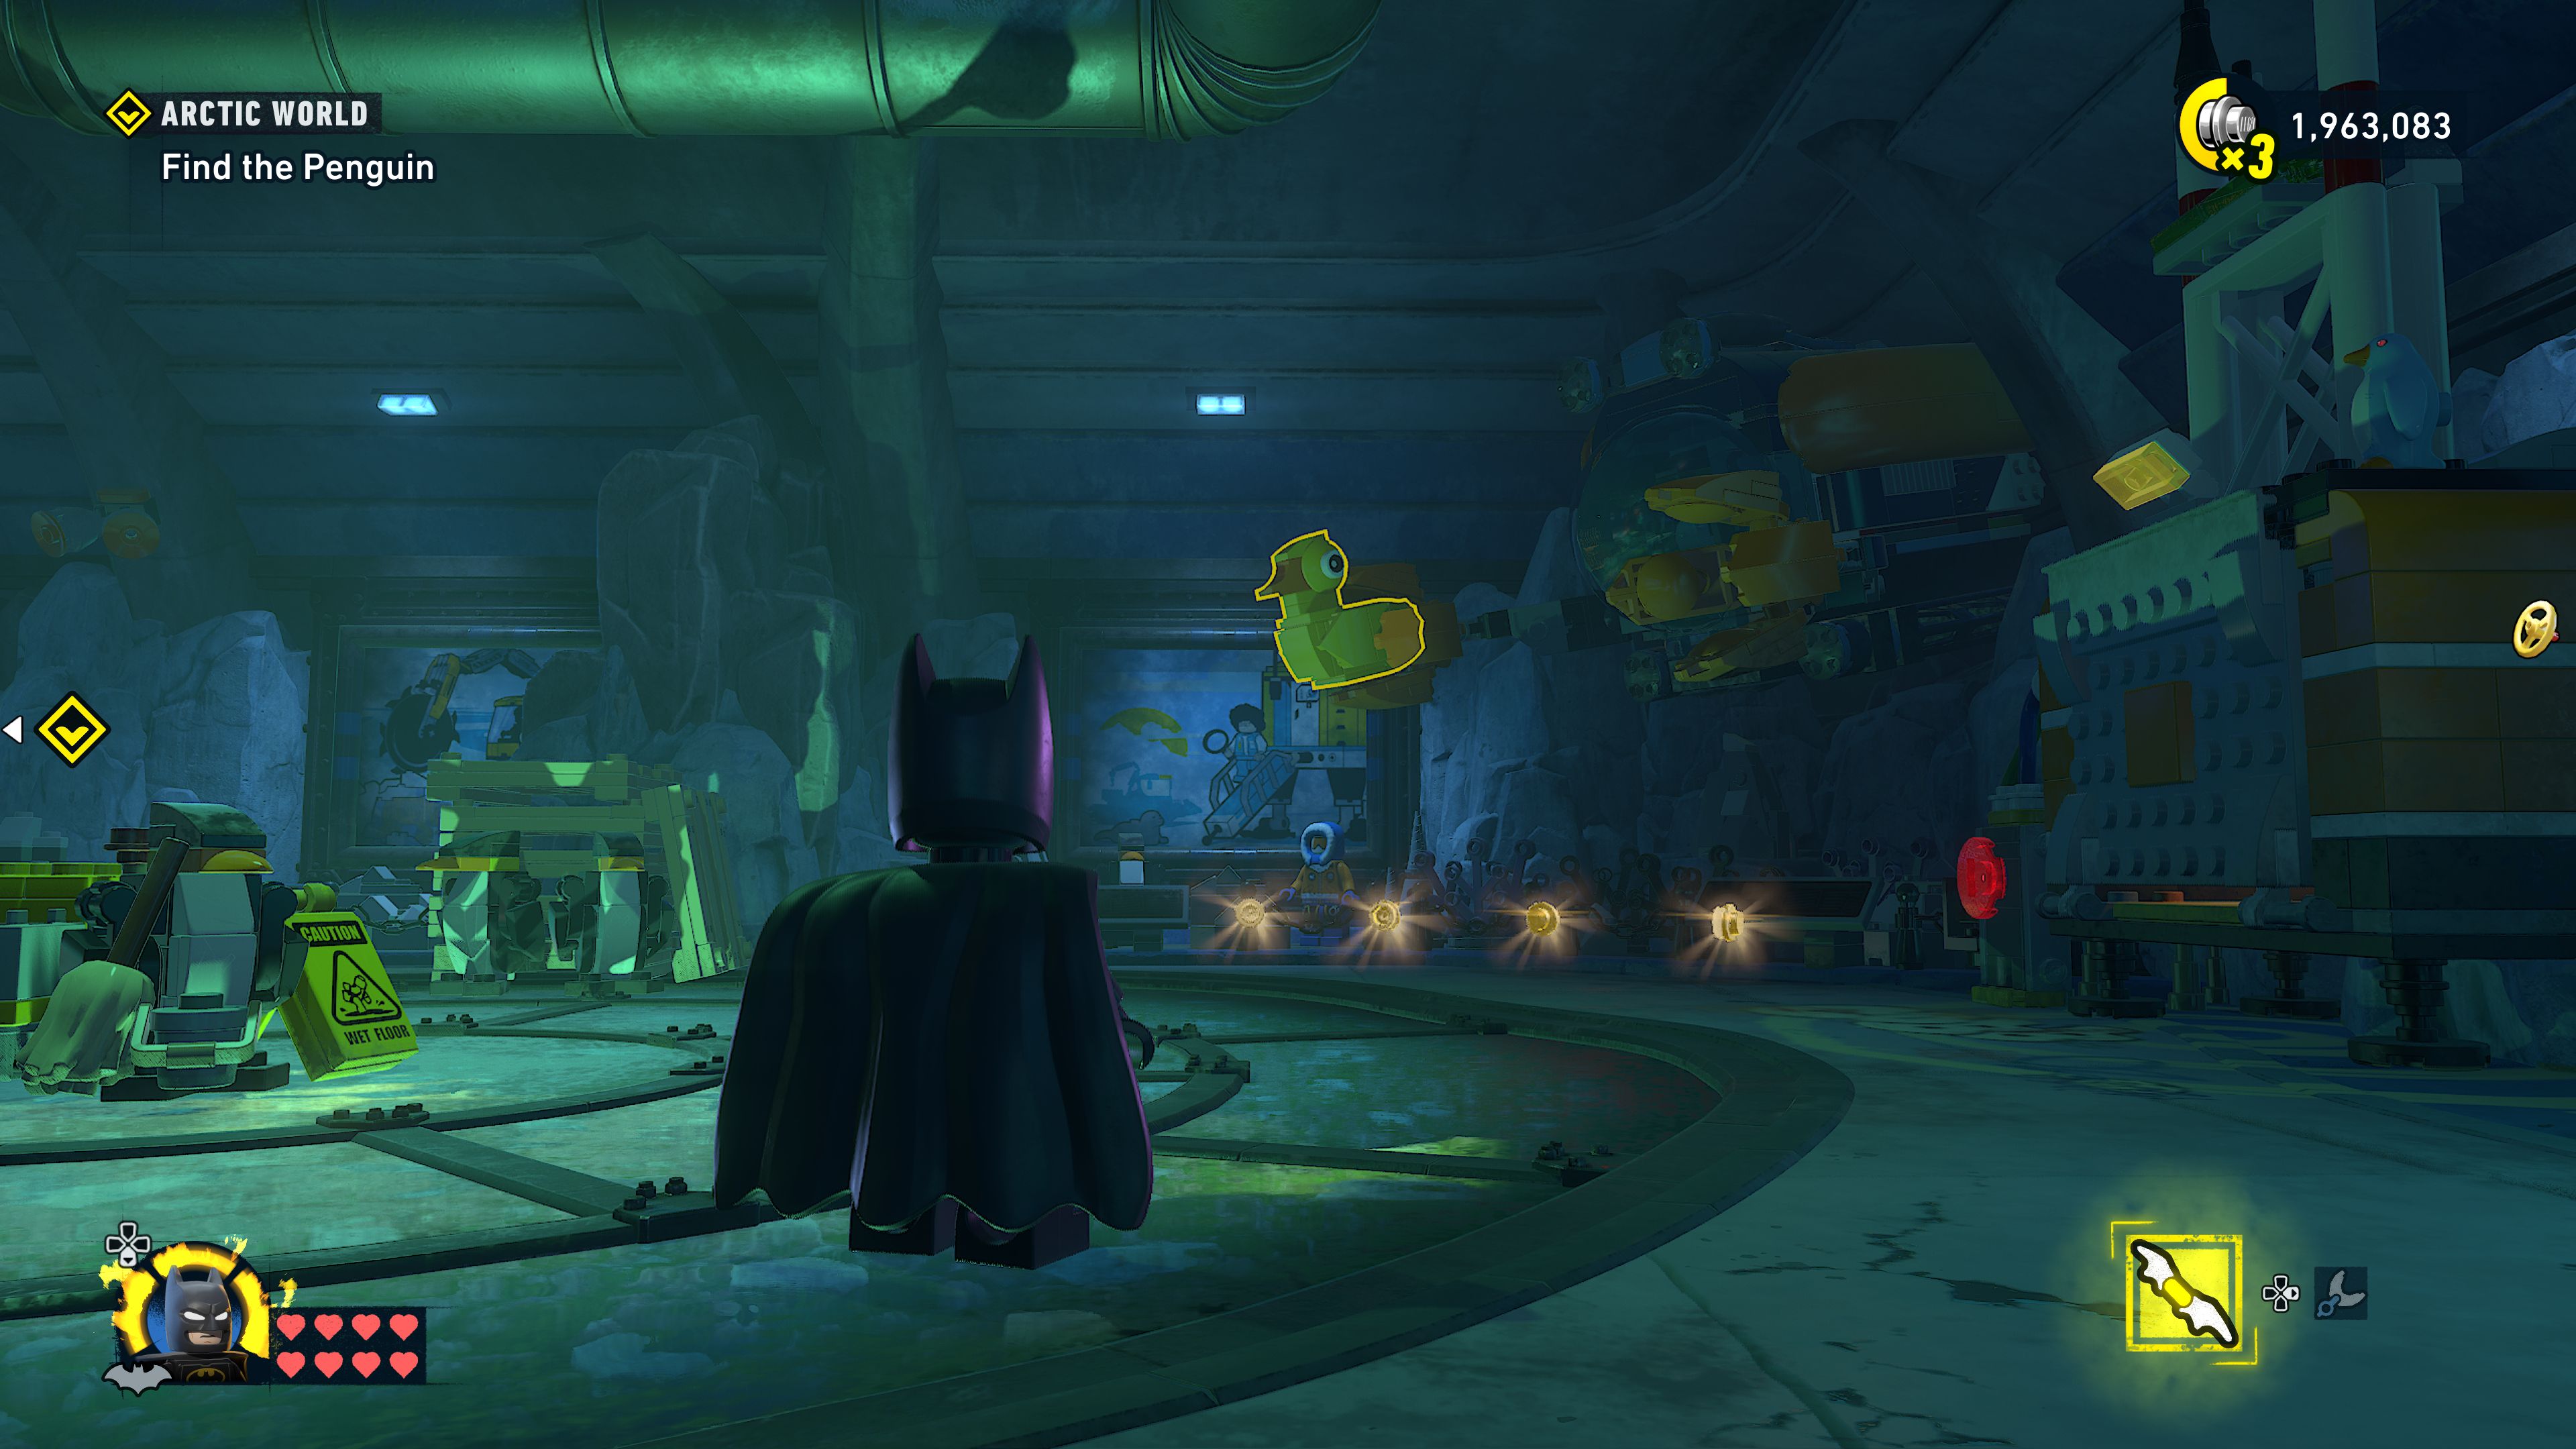
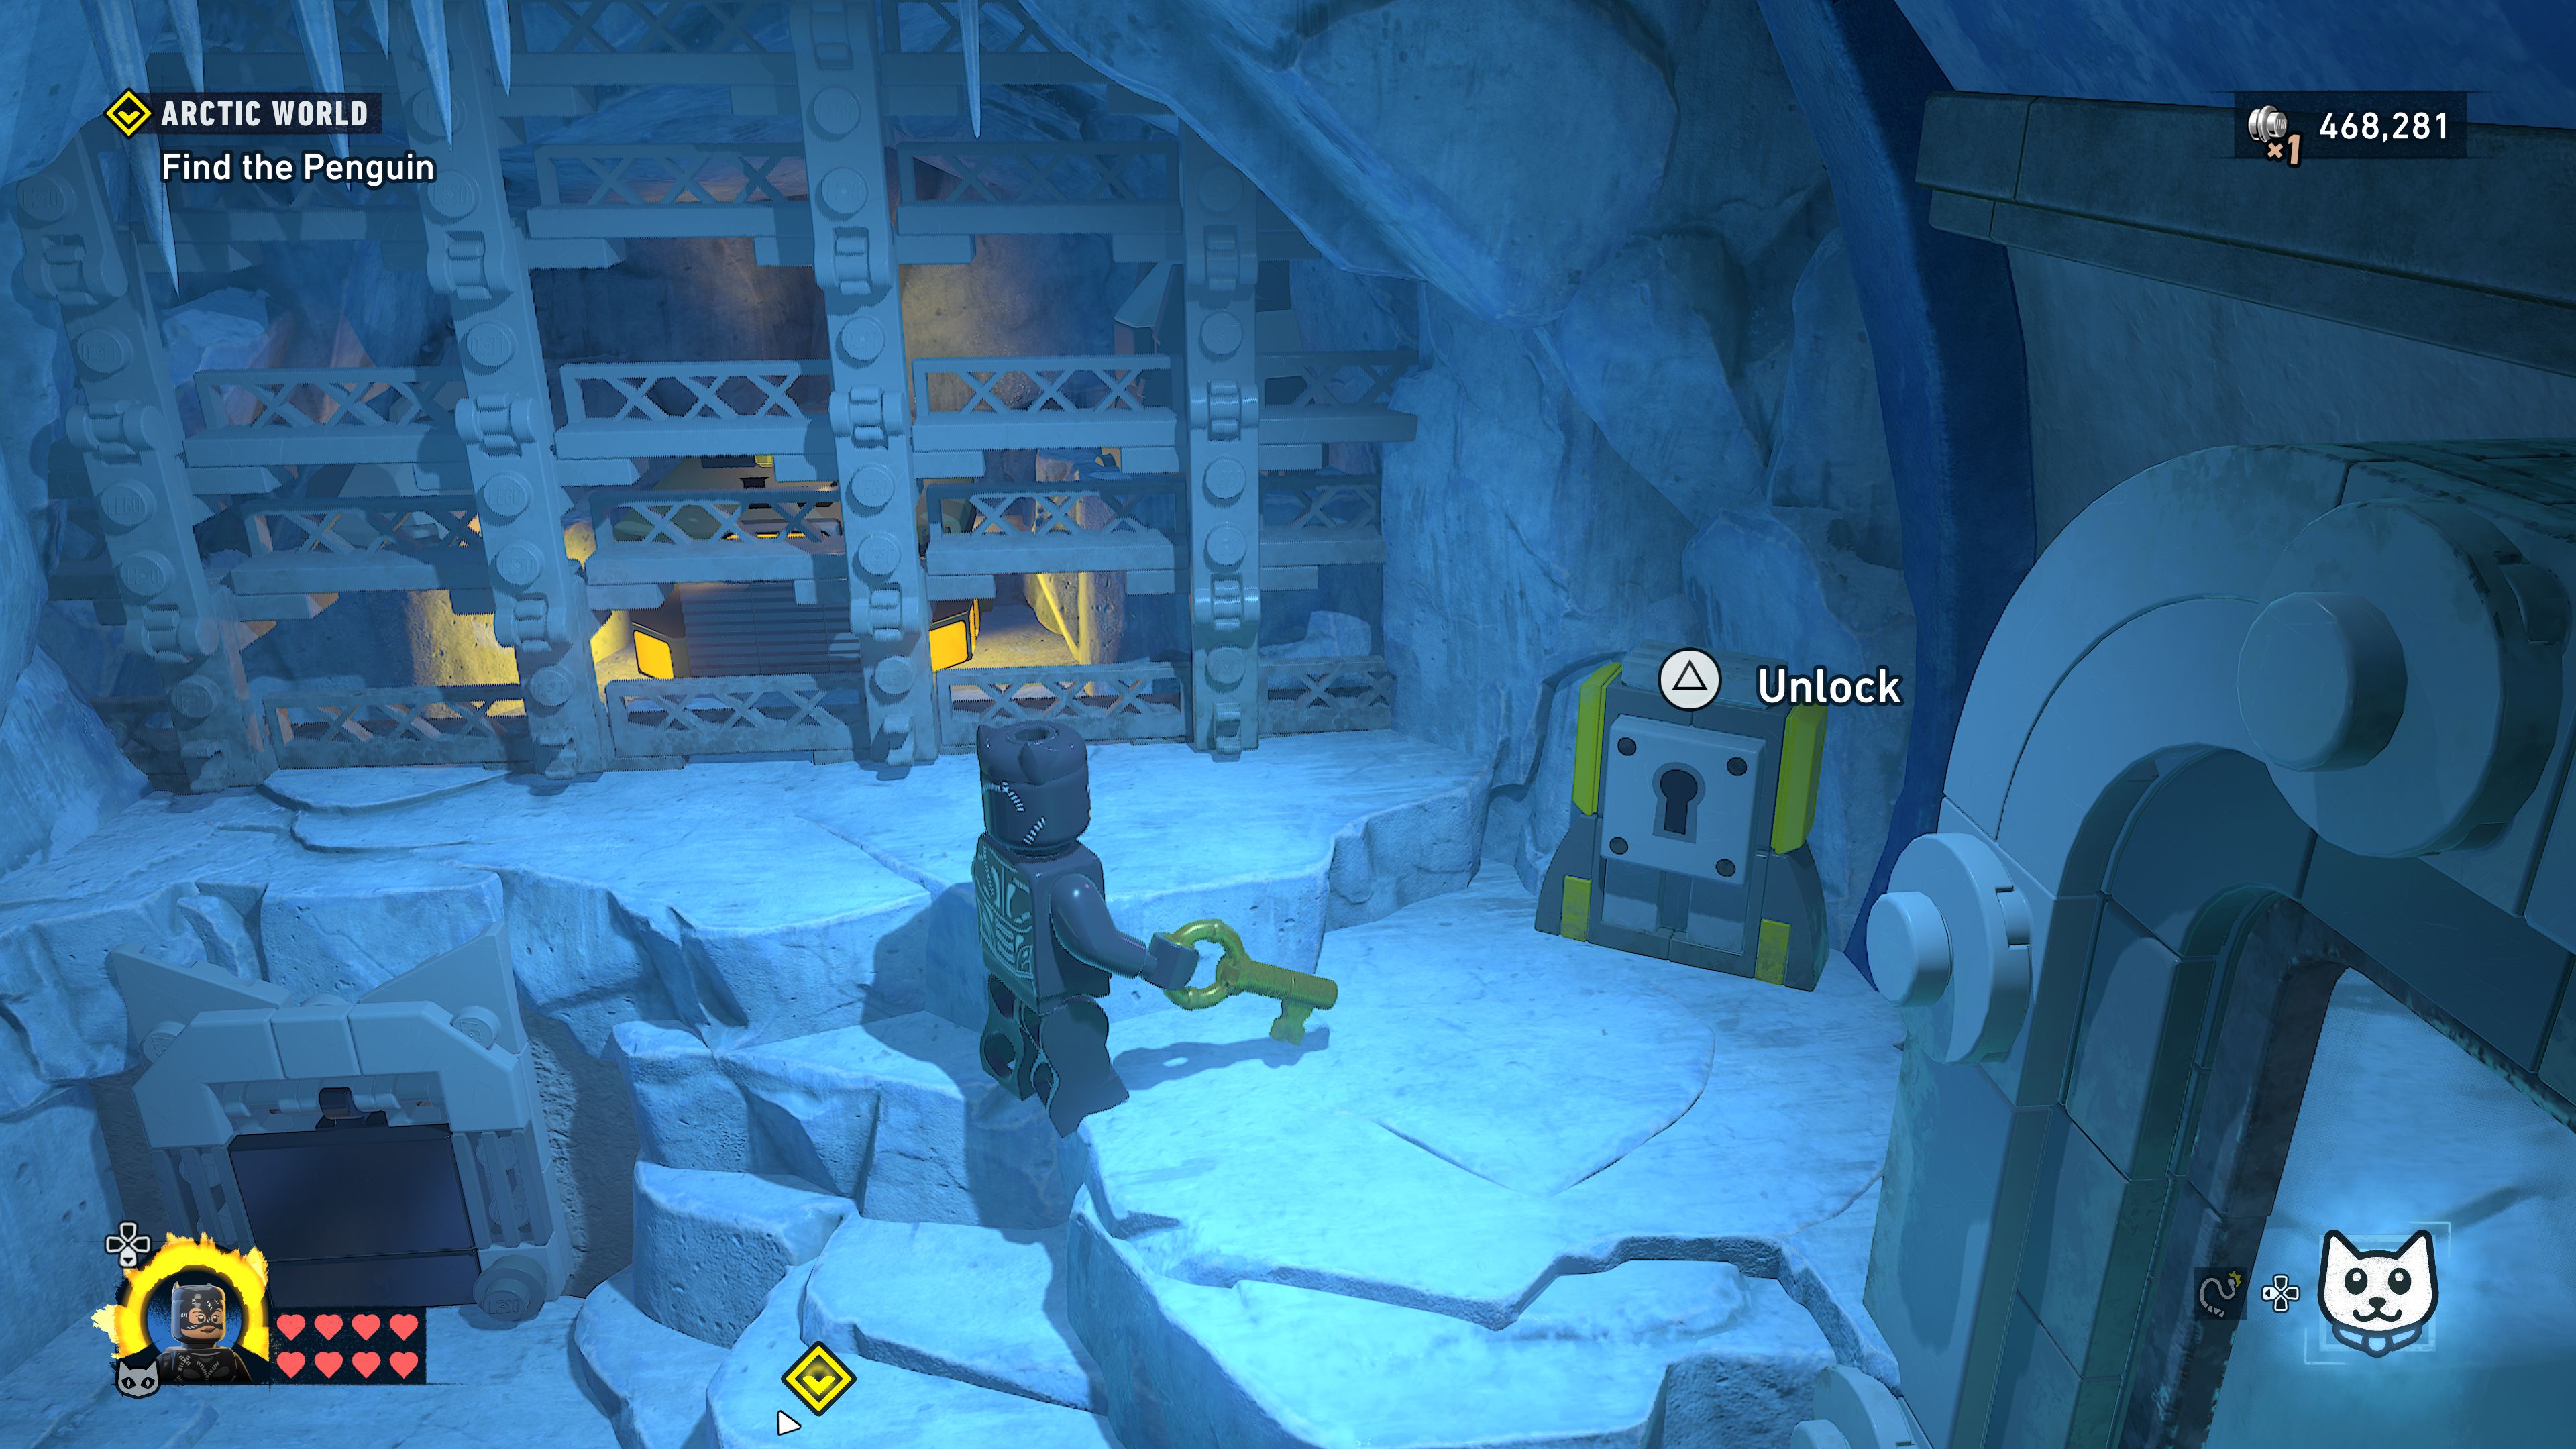
Approach a doorway that is partially blocked by a large saw but don't get too close as it'll activate when you get near. Defeat the exploding penguins that attack and then Batclaw the saw open so that Catwoman can unscrew it with her whip.
Defeat the enemies
In the next room you'll be attacked by more exploding penguins and regular enemies too. There's no option to sneak attack these.
Find the Penguin
Once you've defeated them all the last one will drop a keycard that you will need to pick up and use on the console next to the water in the Amphitheatre tunnel. Try to Batclaw the crate and then complete the quicktime event that pops up. Once you've done that use the Batclaw again and pull it over.
Assemble yourself a rocket boat to get across the water then enter the Amphitheatre to complete this first part of the mission.
Cold Blooded
Defeat the Penguin
The fight will begin with a swarm of exploding penguins and a few regular enemies to attack while you dodge out of the Penguin's charge attack. While he's in the air you can switch to Batman and use your Batclaw to drag him back to ground and stun him for a moment. This is your opportunity to get some attacks in.
Keep dodging his attacks and then grappling him when he takes to the air until his health bar is depleted.
He'll return and start driving a large rubber duck that fires fish at you. Run out of the way and then dodge out of the fire breath attack. Next he'll hop up and down sending out a shockwave that you will want to jump over. After that he'll send out a bunch of bombs that Catwoman can hit with her whip to send them back to him to stun him.
He'll repeat all that but instead of bombs he'll charge at you. After he charges off the edge keep an eye out as he'll charge through the arena two more times from off the edge. On the third charge he'll stop and give you time to use the Batclaw to pull on his propeller to stun him again.
Watch out for a shockwave attack afterwards and then he'll set about repeating the whole sequence again throwing in a few multiples of the shockwave and fire breath attacks. Keep on attacking until he explodes and you complete the mission for real this time.
Unlocks
- +1 Skill Brick
- Batman Suit: Batman Ninja
- Catwoman Suit: The Cat Woman
- Batcave Trophy: Rubber Ducks 5/5
- WayneTech Caches: 5/5
- Red Brick: Gothic Modifier
- Purple Studs: 1/1
- Easter Egg: 1/1
Flugelheim
Joker Cards
Go to the junkyard
The junkyard in question is on the western side of Tricorner Island. Head over there to see what's happening.
Search the junkyard for a Joker Card
There are a few enemies patrolling around the inside of the junkyard so be careful when sneak attacking the individual enemies. There are also loads of explosive barrels around that you can blow up from afar and still remain in stealth.
Once you've cleared the area approach the Mime Van and start using Batman's UV Vision from a white square next to the van. The path of hidden footprints will lead to the south where Batman will open a panel to reveal a button to press that will then reveal a safe.
Crack the safe
Switch to Catwoman and crack the safe. To do so you rotate the first disc clockwise until the arm falls into the gap fully. If you go slightly too far you'll have to spin it all the way around again and try to get it into the correct position the next time. The second wheel is the same except anti-clockwise. Then repeat for the third wheel going clockwise.
Inspect the card
Pick up the card, you don't need to do anything special with it.
Go to City Hall
City Hall is on South Island at the southern end of Old Gotham North.
Speak to Renee
Once you get there talk to Renee Montoya who is standing at the back of a GCPD van trying to hold the doors shut.
Defeat the mimes
A load of mimes will burst out of the back of the vans including several holding shields. A second wave of them will need to be defeated to move on.
Speak to Renee again
Chat with Renee again and she'll point you in the direction of the GCPD building at the northwestern corner of Old Gotham North.
Go to the GCPD building
Go around the back of the building once you arrive.
Help the officer
To help clean up the office you will want to use the Batclaw to pull down the giant donut sign and smash the nearby tables and chairs. That will give you the bricks to build a mini car wash for the officer to use. To activate it use the Batclaw and keep it help while switching to Catwoman and whipping the spool on the other side.
Speak to the officer
The officer will talk about a vehicle and Alfred will helpfully locate it at a warehouse on the western side of South Island.
Go to the stolen vehicle's last location
Make your way there.
Find a way to open the warehouse shutter
To open the shutter you need to have Catwoman wall climb up to a switch above the door and then you'll be able to rotate the switch to get inside.
Enter the warehouse
Go inside.
Defeat Condiment King
Condiment King's attacks don't actually do any damage so you can just rush towards him while shaking off the ketchup but if you want to do it without getting hit you can shoot down crates from the ceiling to take cover behind as you approach. Jump up onto the platform at the end and knock him out.
Find a way to open the evidence box
Take the handle he drops and attach it to the box at the back. Wind it open.
Inspect the card
Take the card from the puppet's hand and the clue with resolve itself.
A Lick of Paint
Go to the Flugelheim
The Flugelheim can be found to the northeast of you in Old Gotham West.
Break into the Flugelheim
The front door is sealed so grapple up above the sign to a window that Catwoman can cut open to get inside.
The Party Man
Flugelheim Art Gallery
Time to broaden your mind
Go to the main gallery
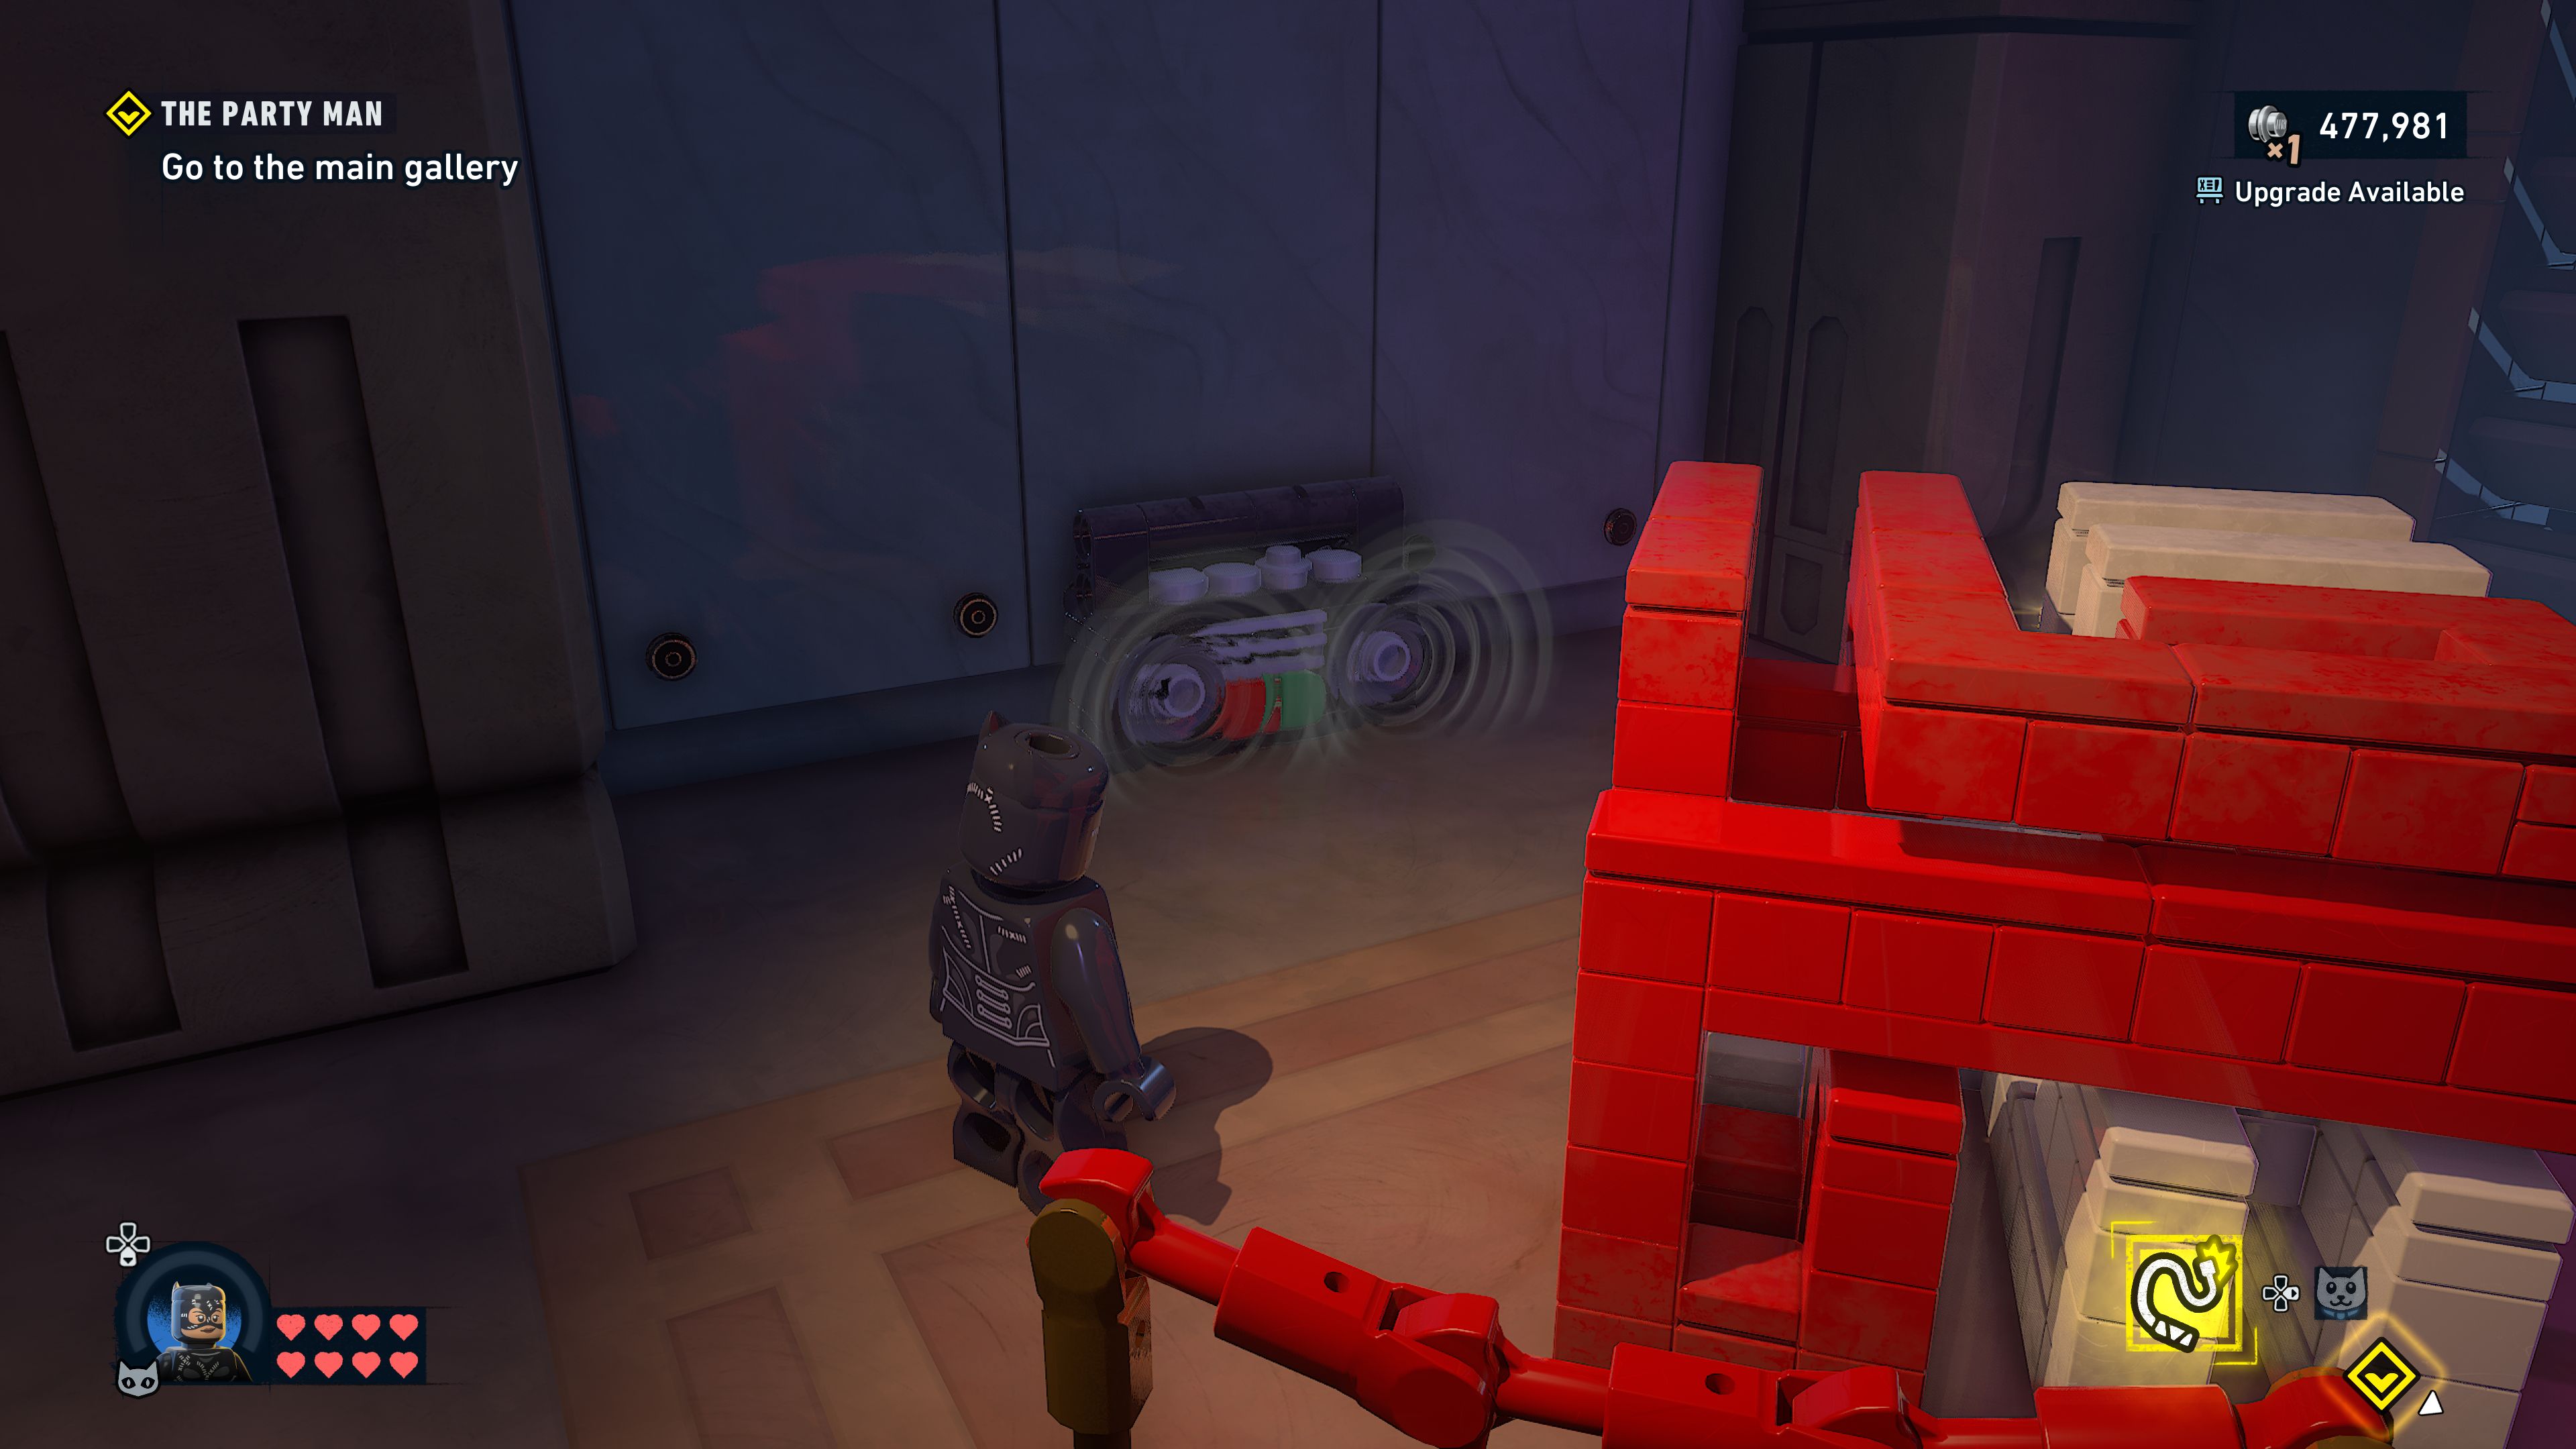
Go down the corridor to a closed shutter. To open it pick up the Joker head and place it on the pedestal to the left.
Disable the security gate
When you enter the next room go up the stairs to the right and follow the path all the way to the end where there's a point for the Batclaw to pull on. Behind the display case is a wall to use some Explosive Gel to blow up. Take the Joker head down to the area below and place it on either of the two pedestals.
You'll need to find a second one still, the path to that is started by inspecting the paint blobs on the floor and following the trails. The one you want in particular is the blue paint splatter between the stairs and the other locked shutter. That set of footprints will lead you around the stairs to a green painting. Inspect it and then flip it around to find a keycard on the back of it.
The keycard will open one of the locked shutters.
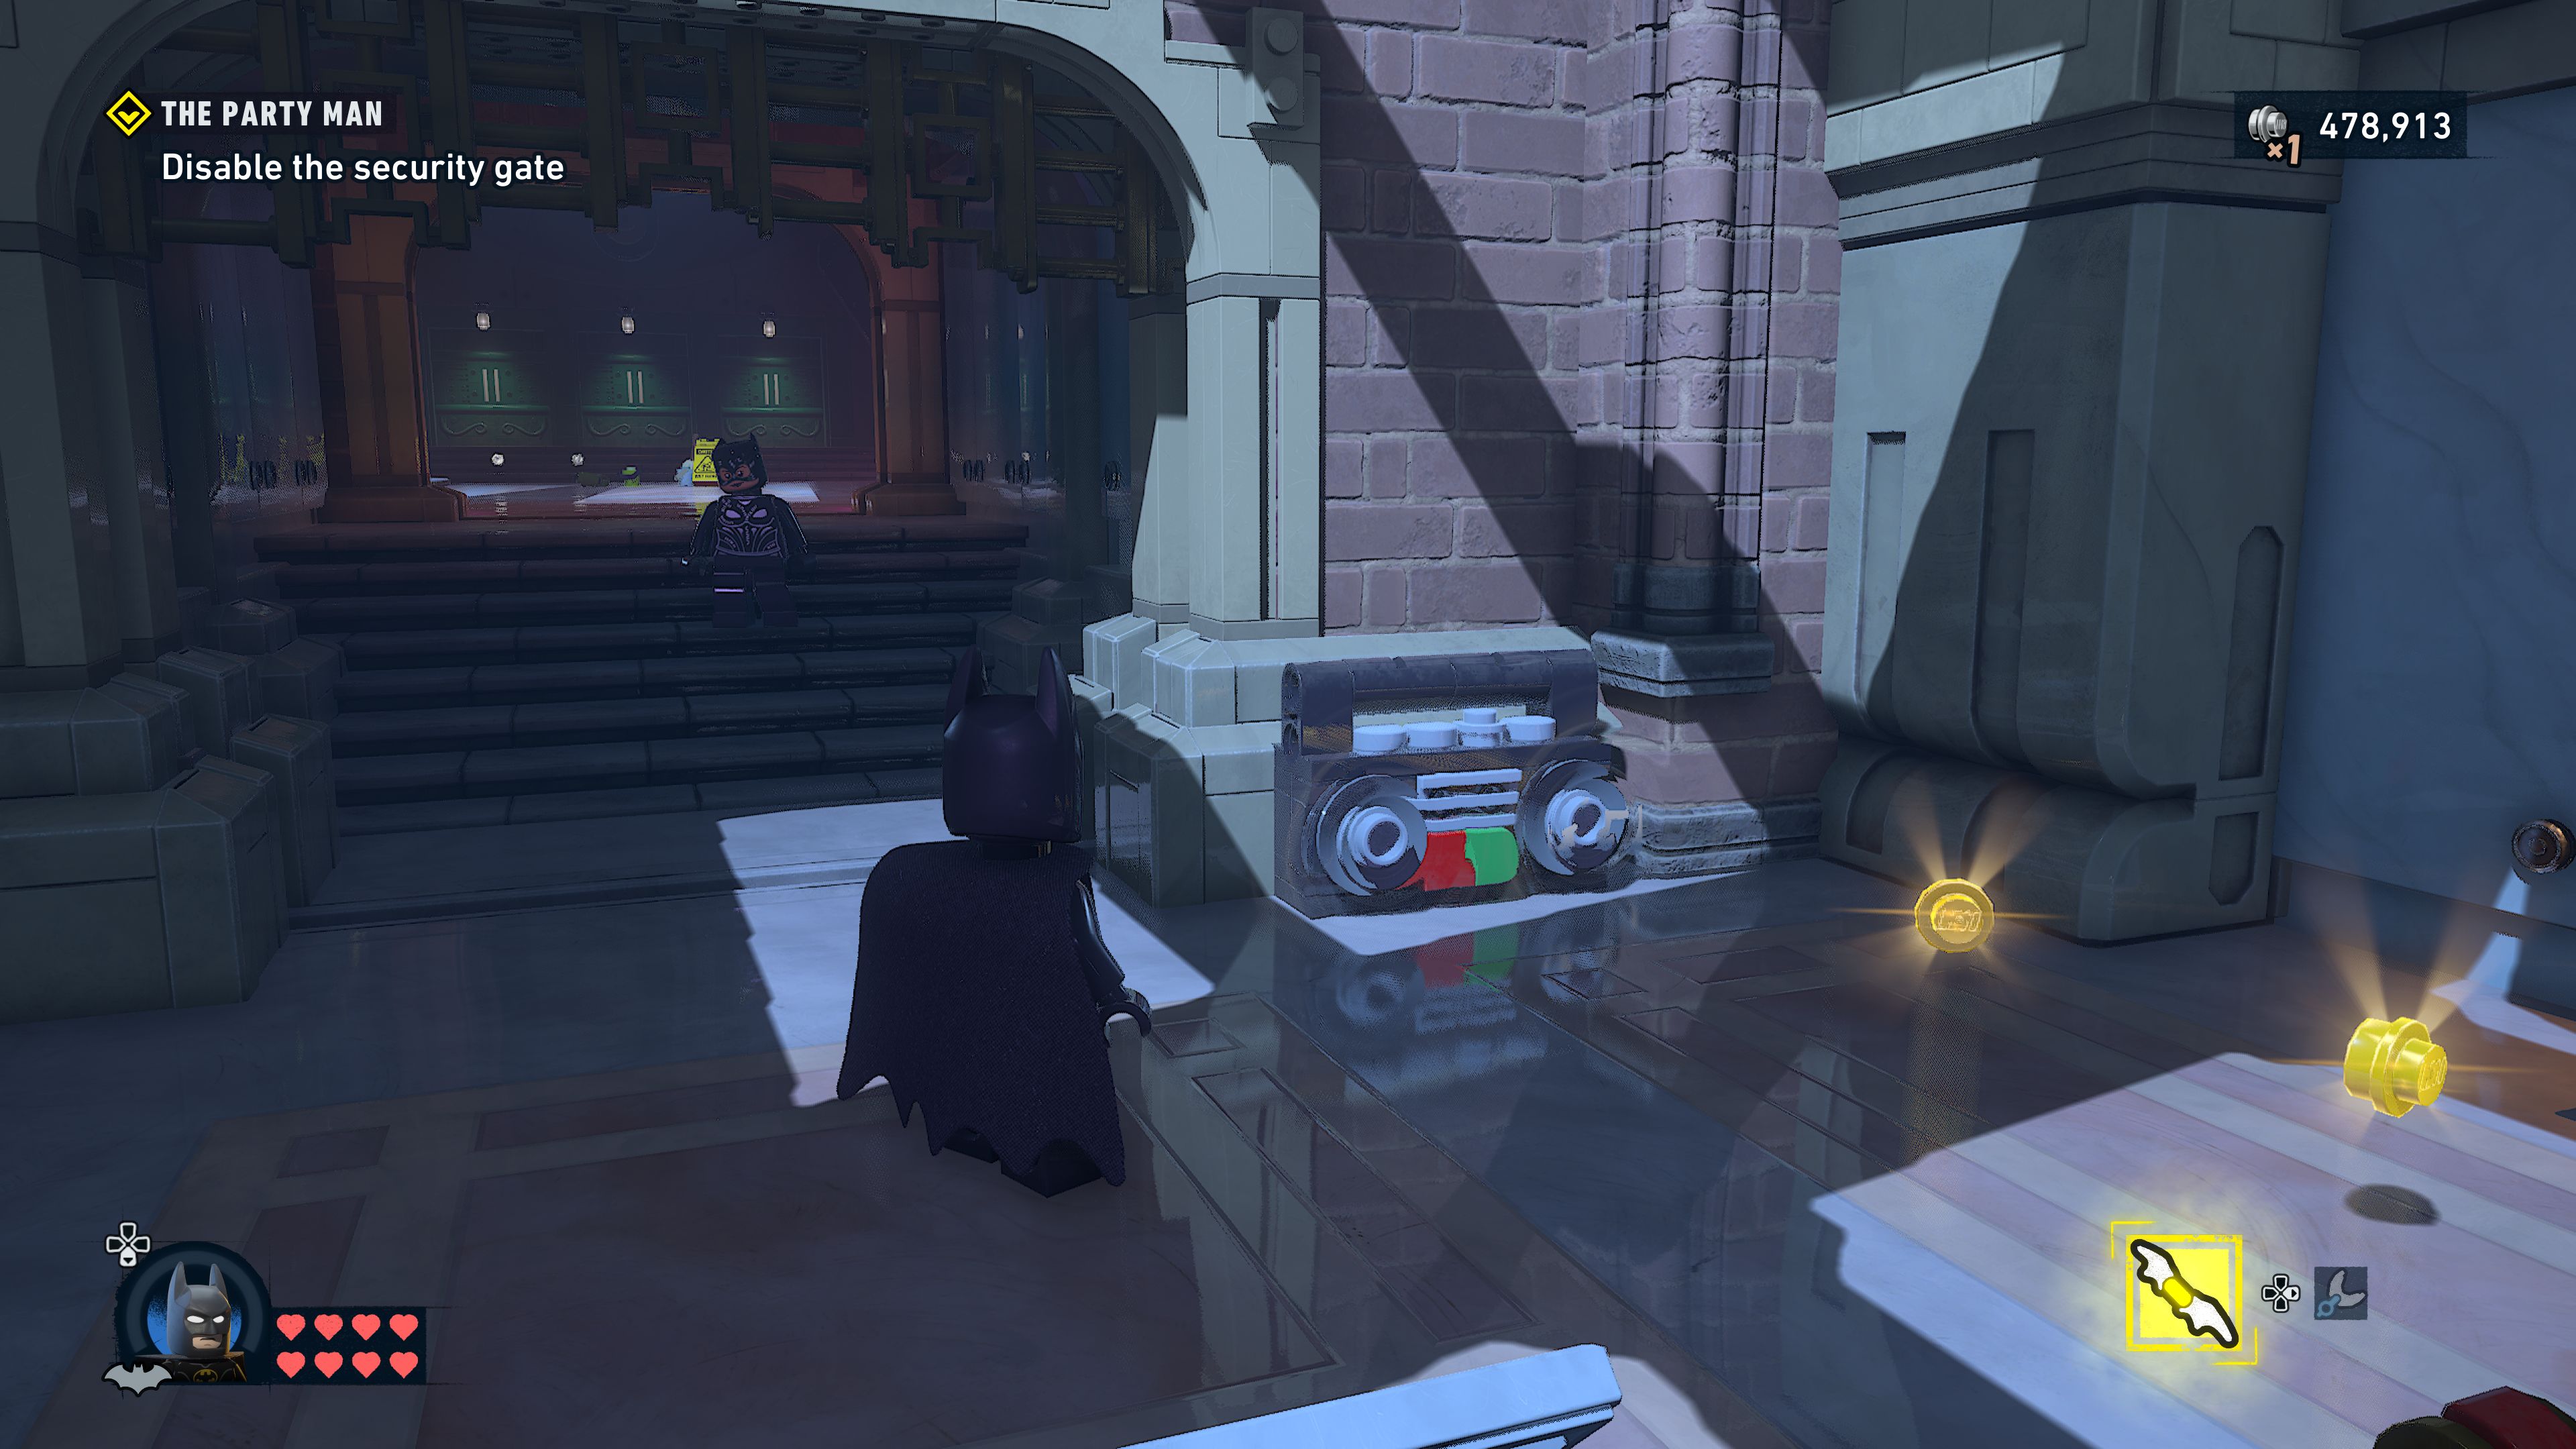
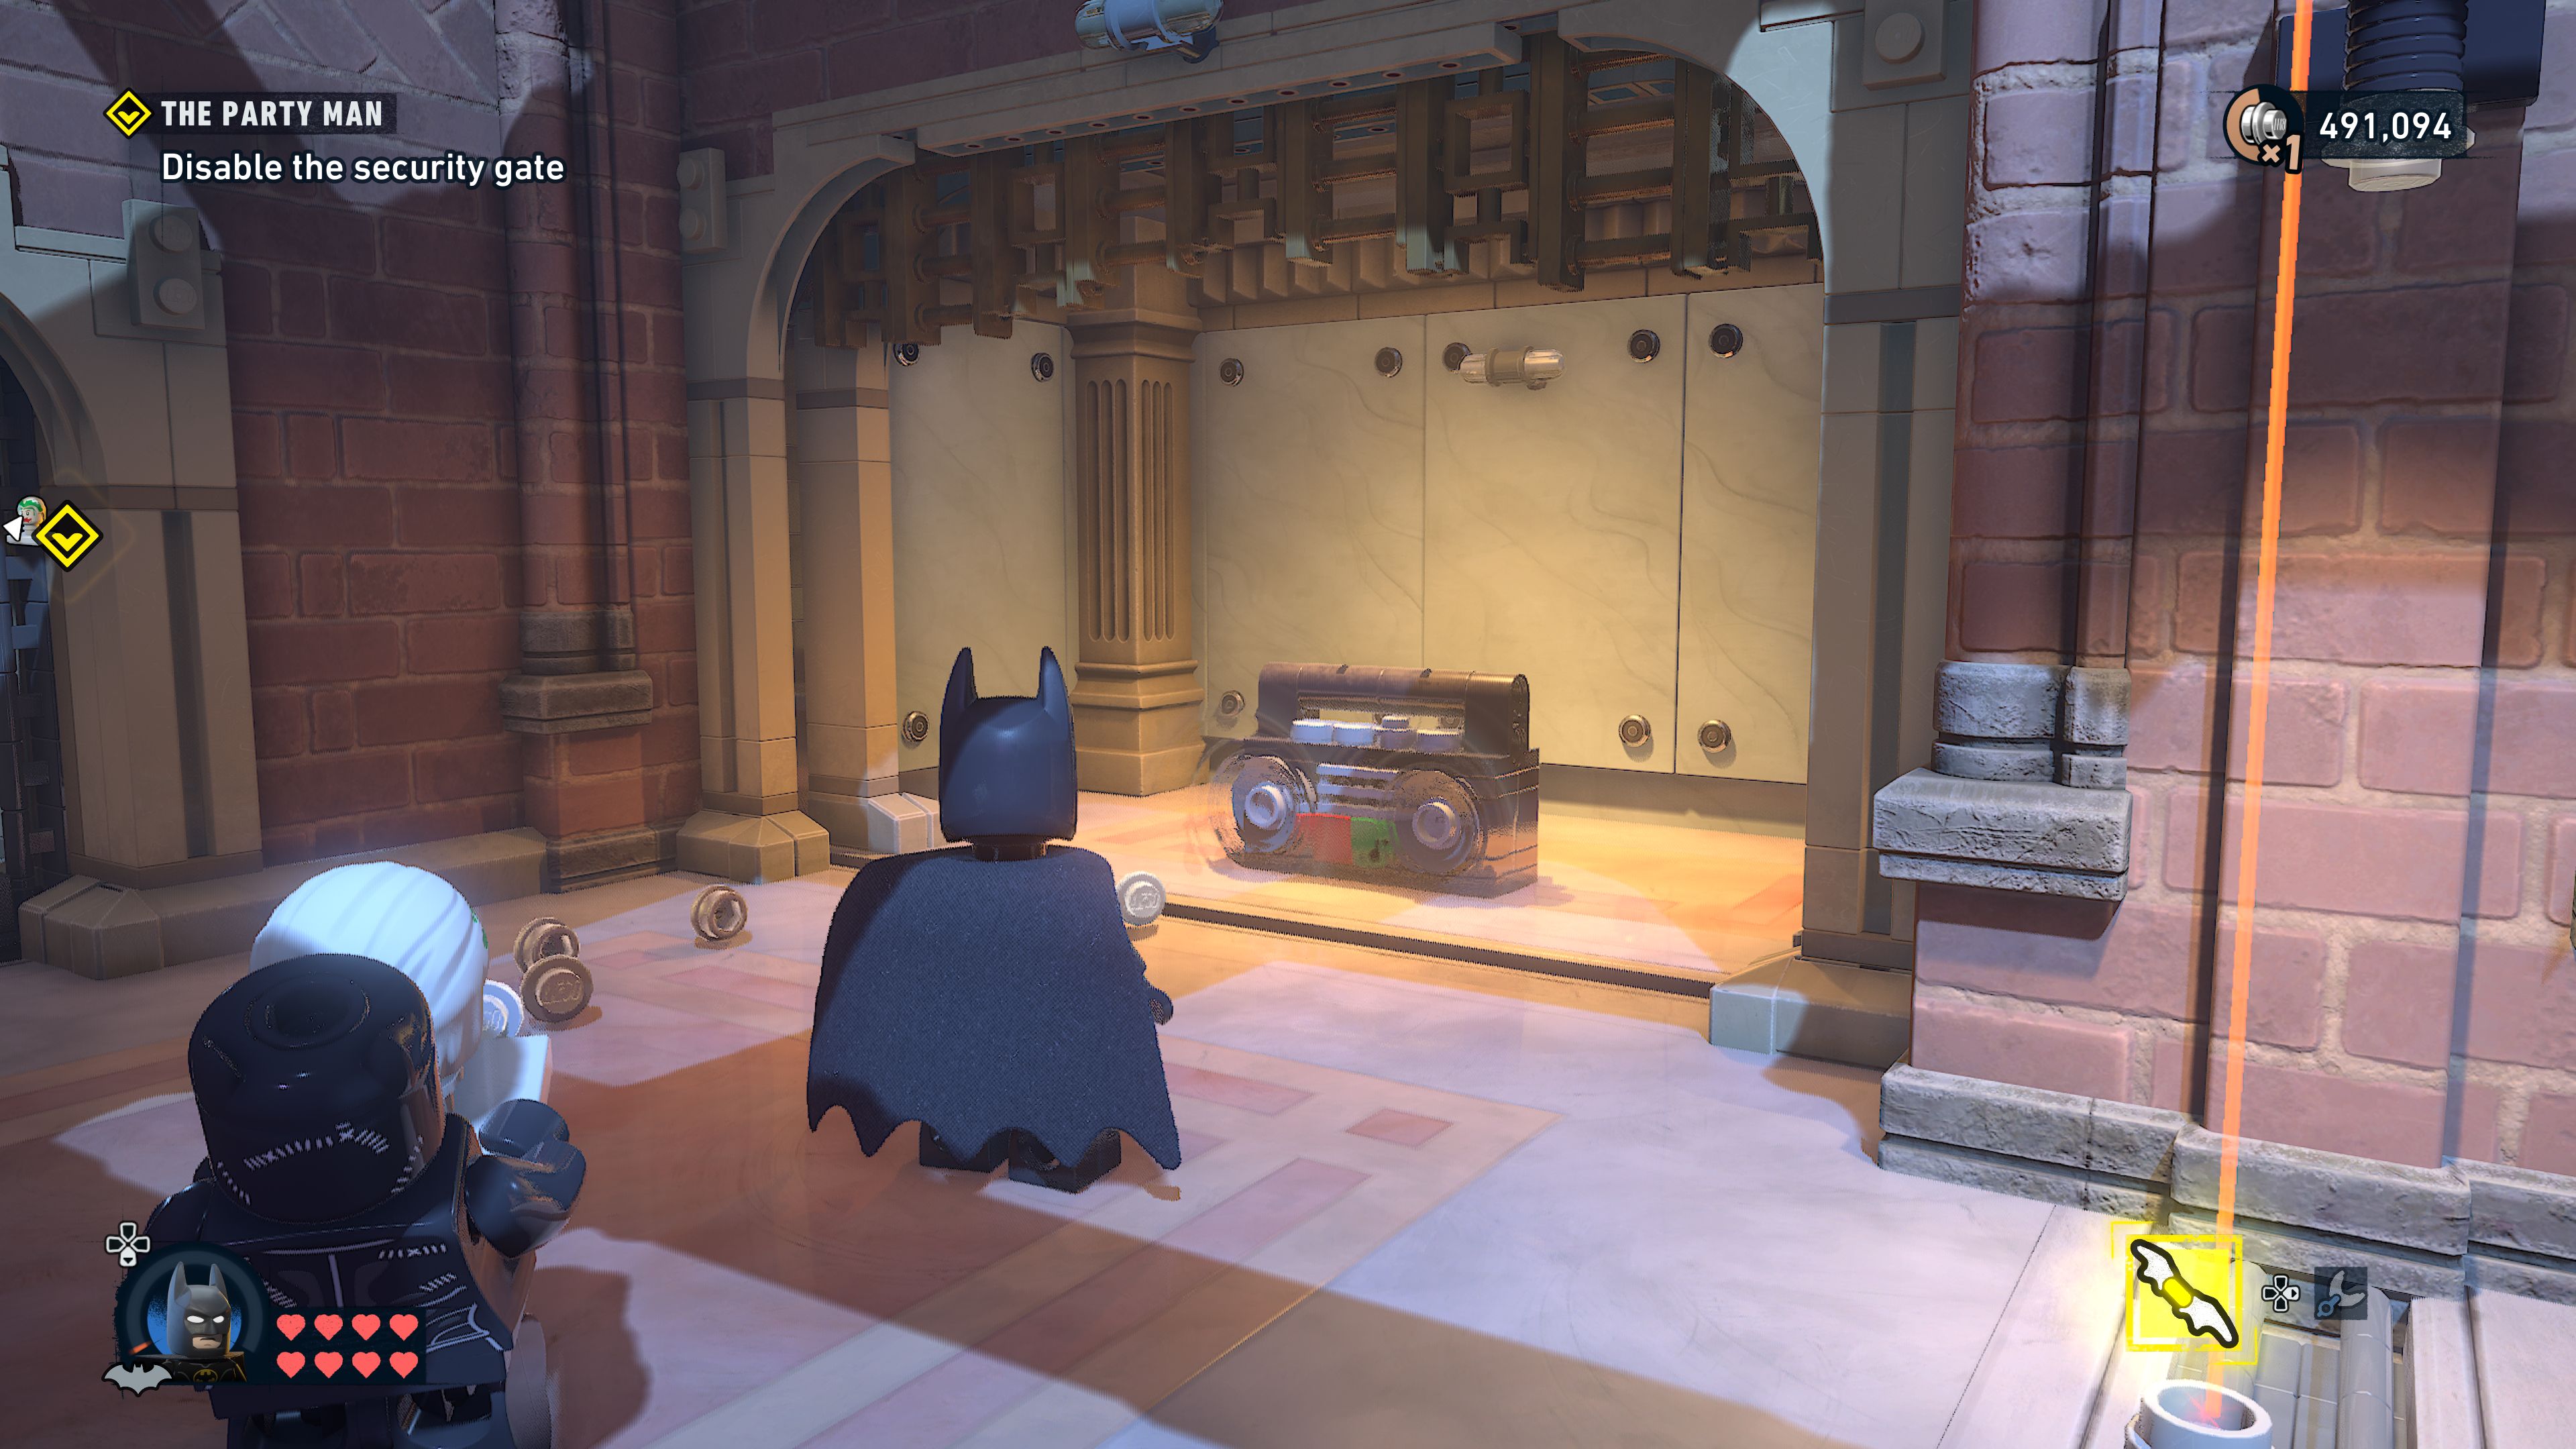
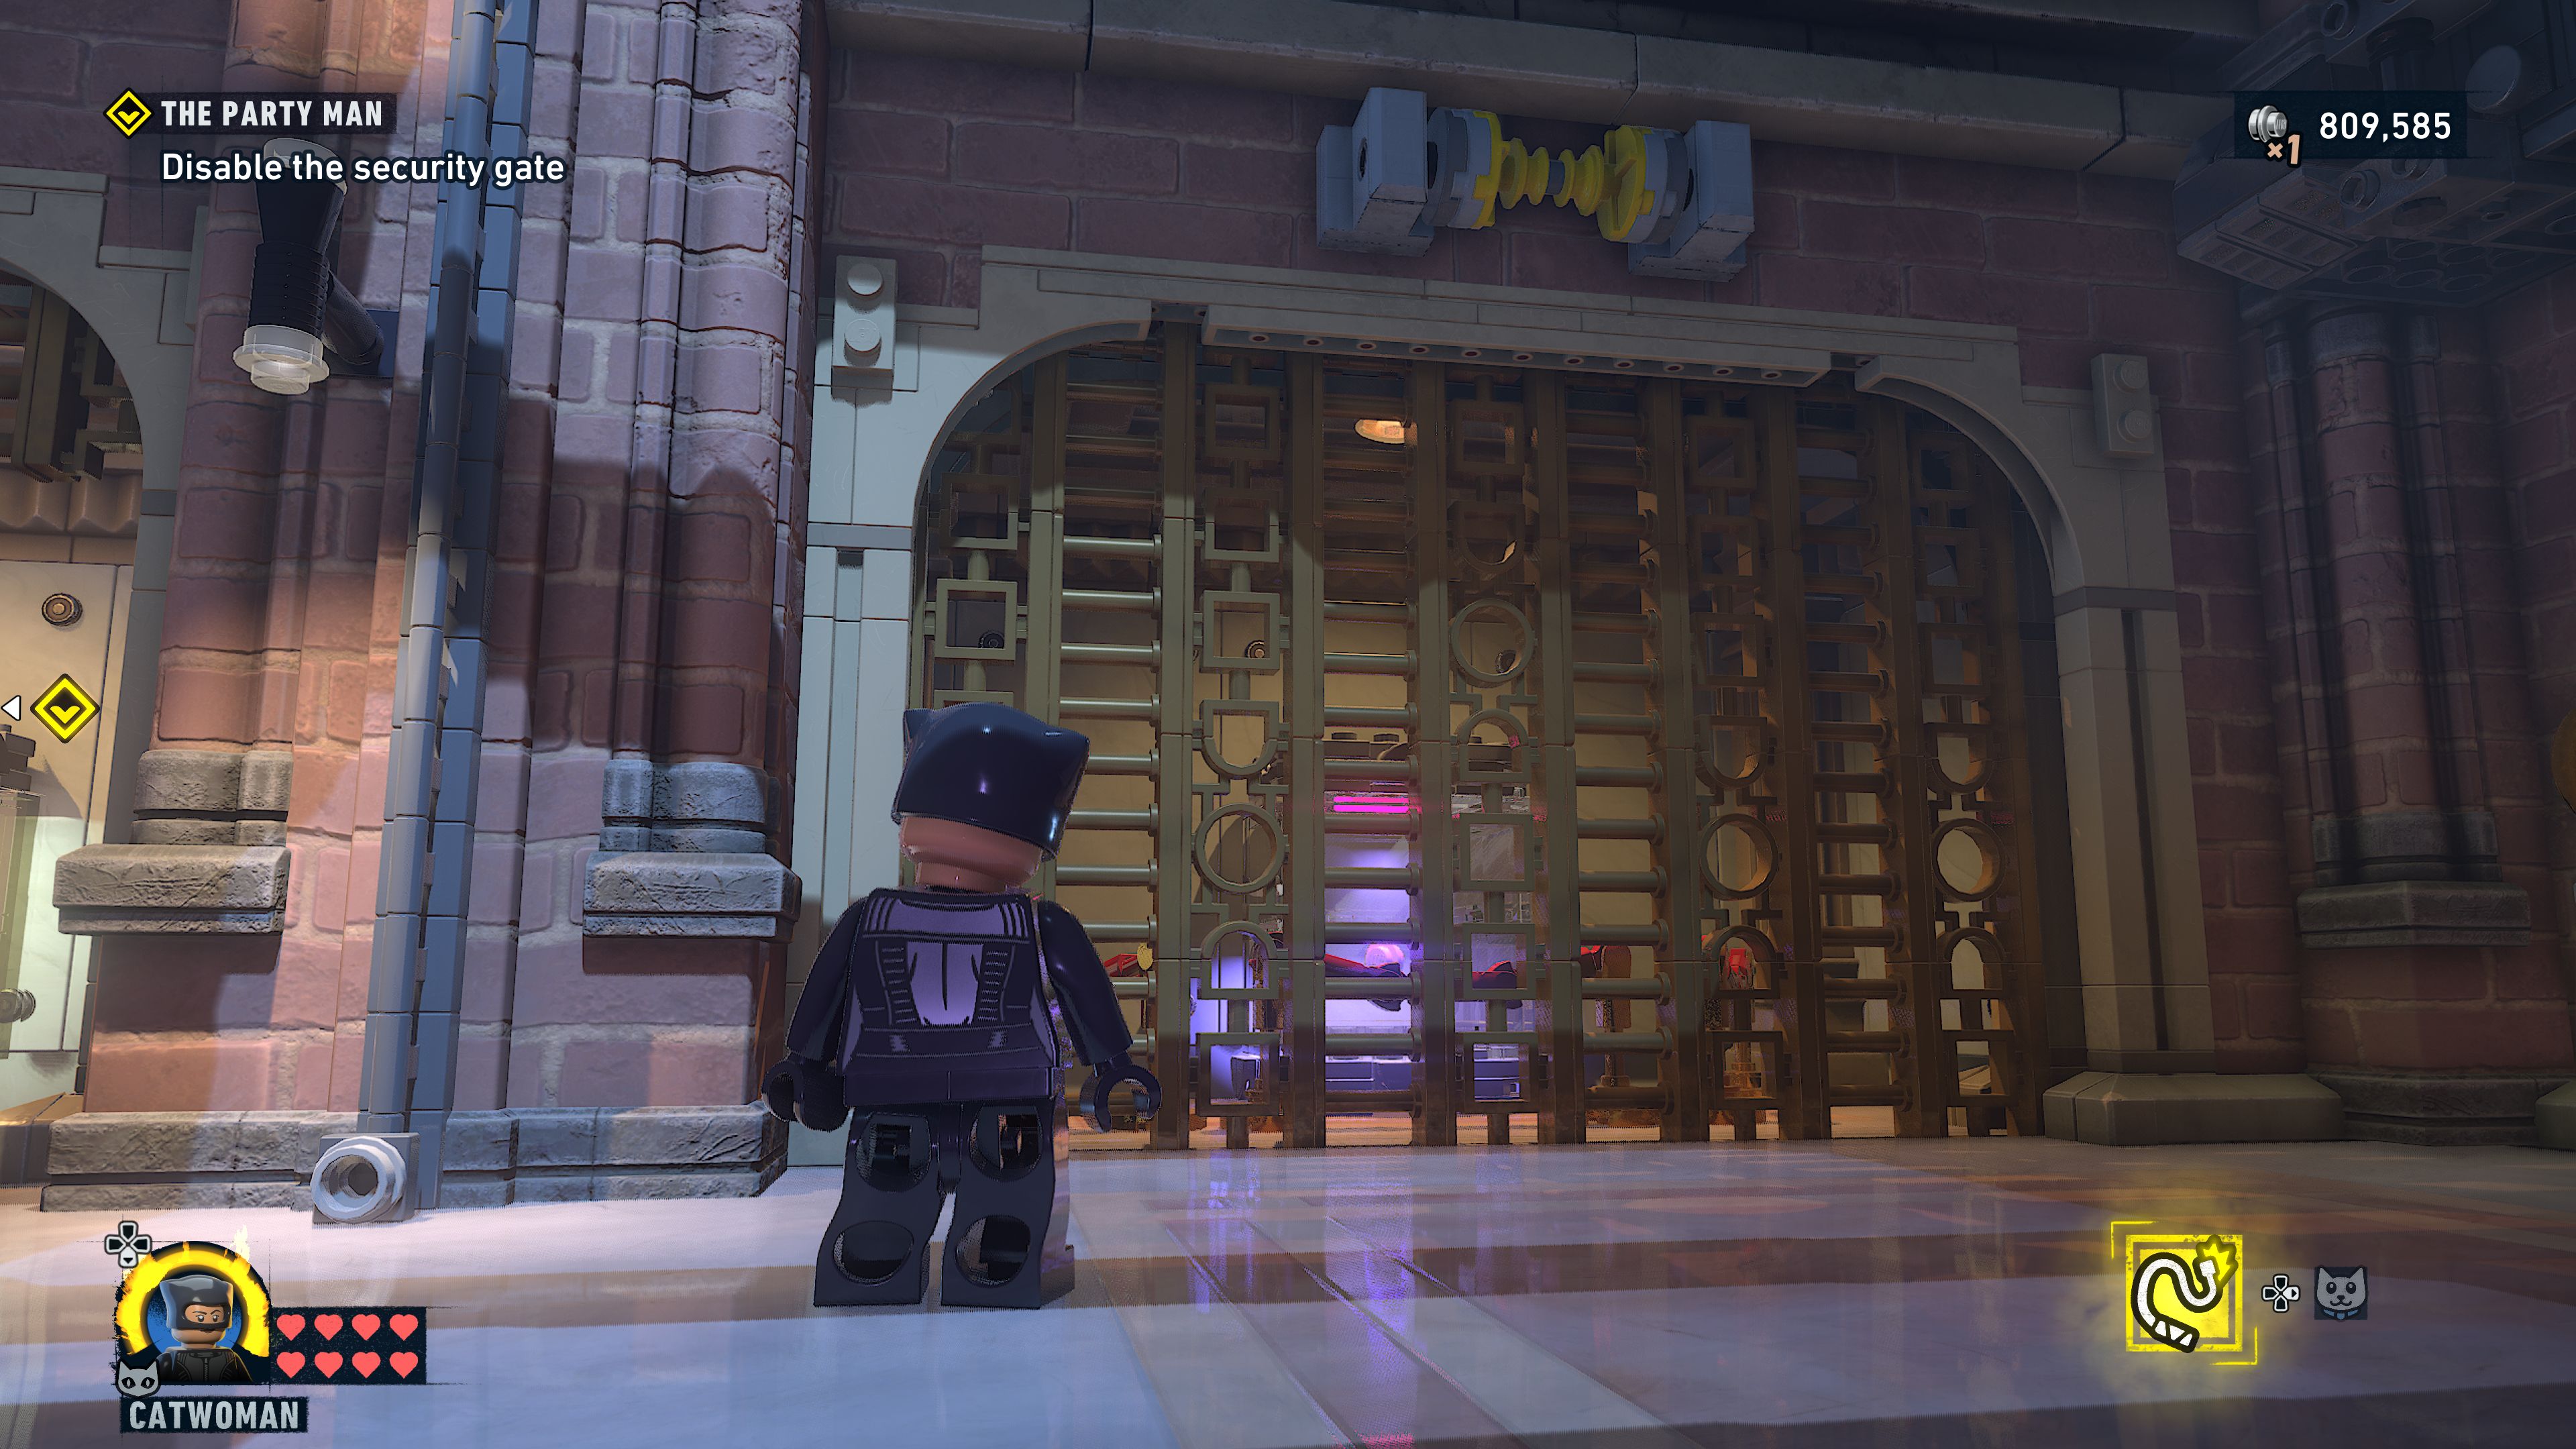
To get into the locked shutter at the end of the corridor send one of Catwoman's cats through the small vent to the right. That will lead to a security office with a big red button the cat can press.
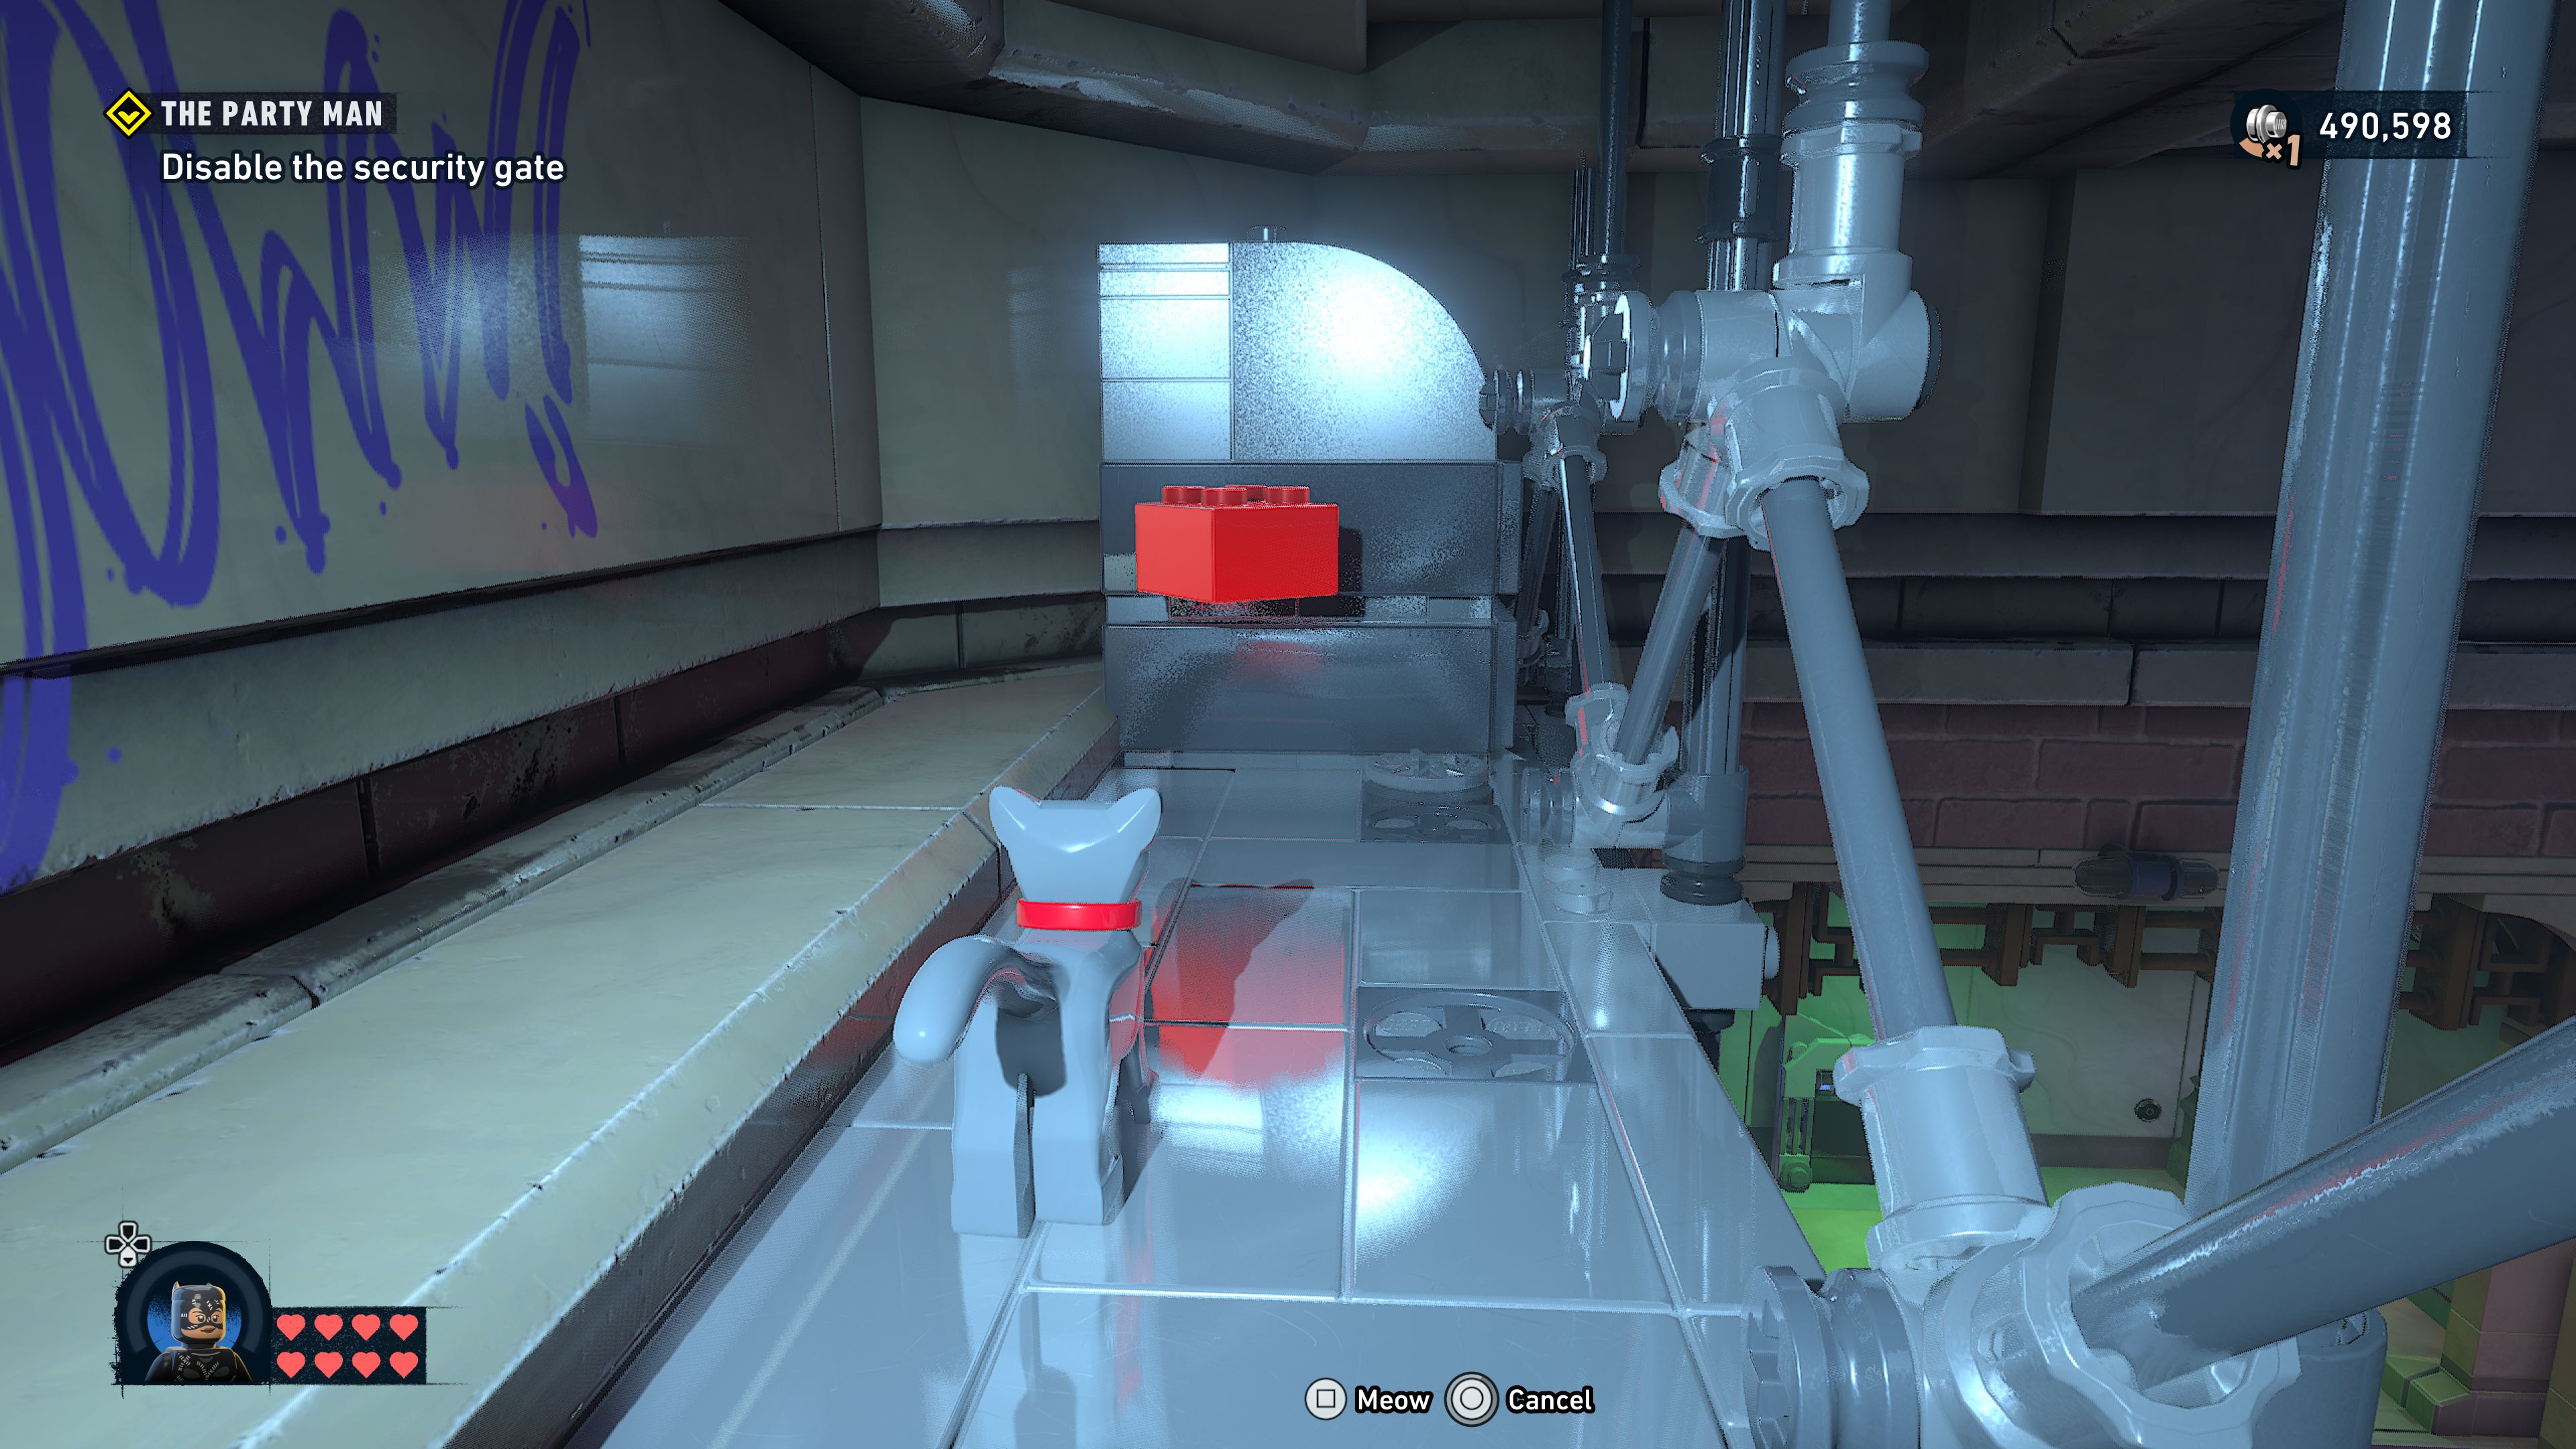
Return control to Catwoman.
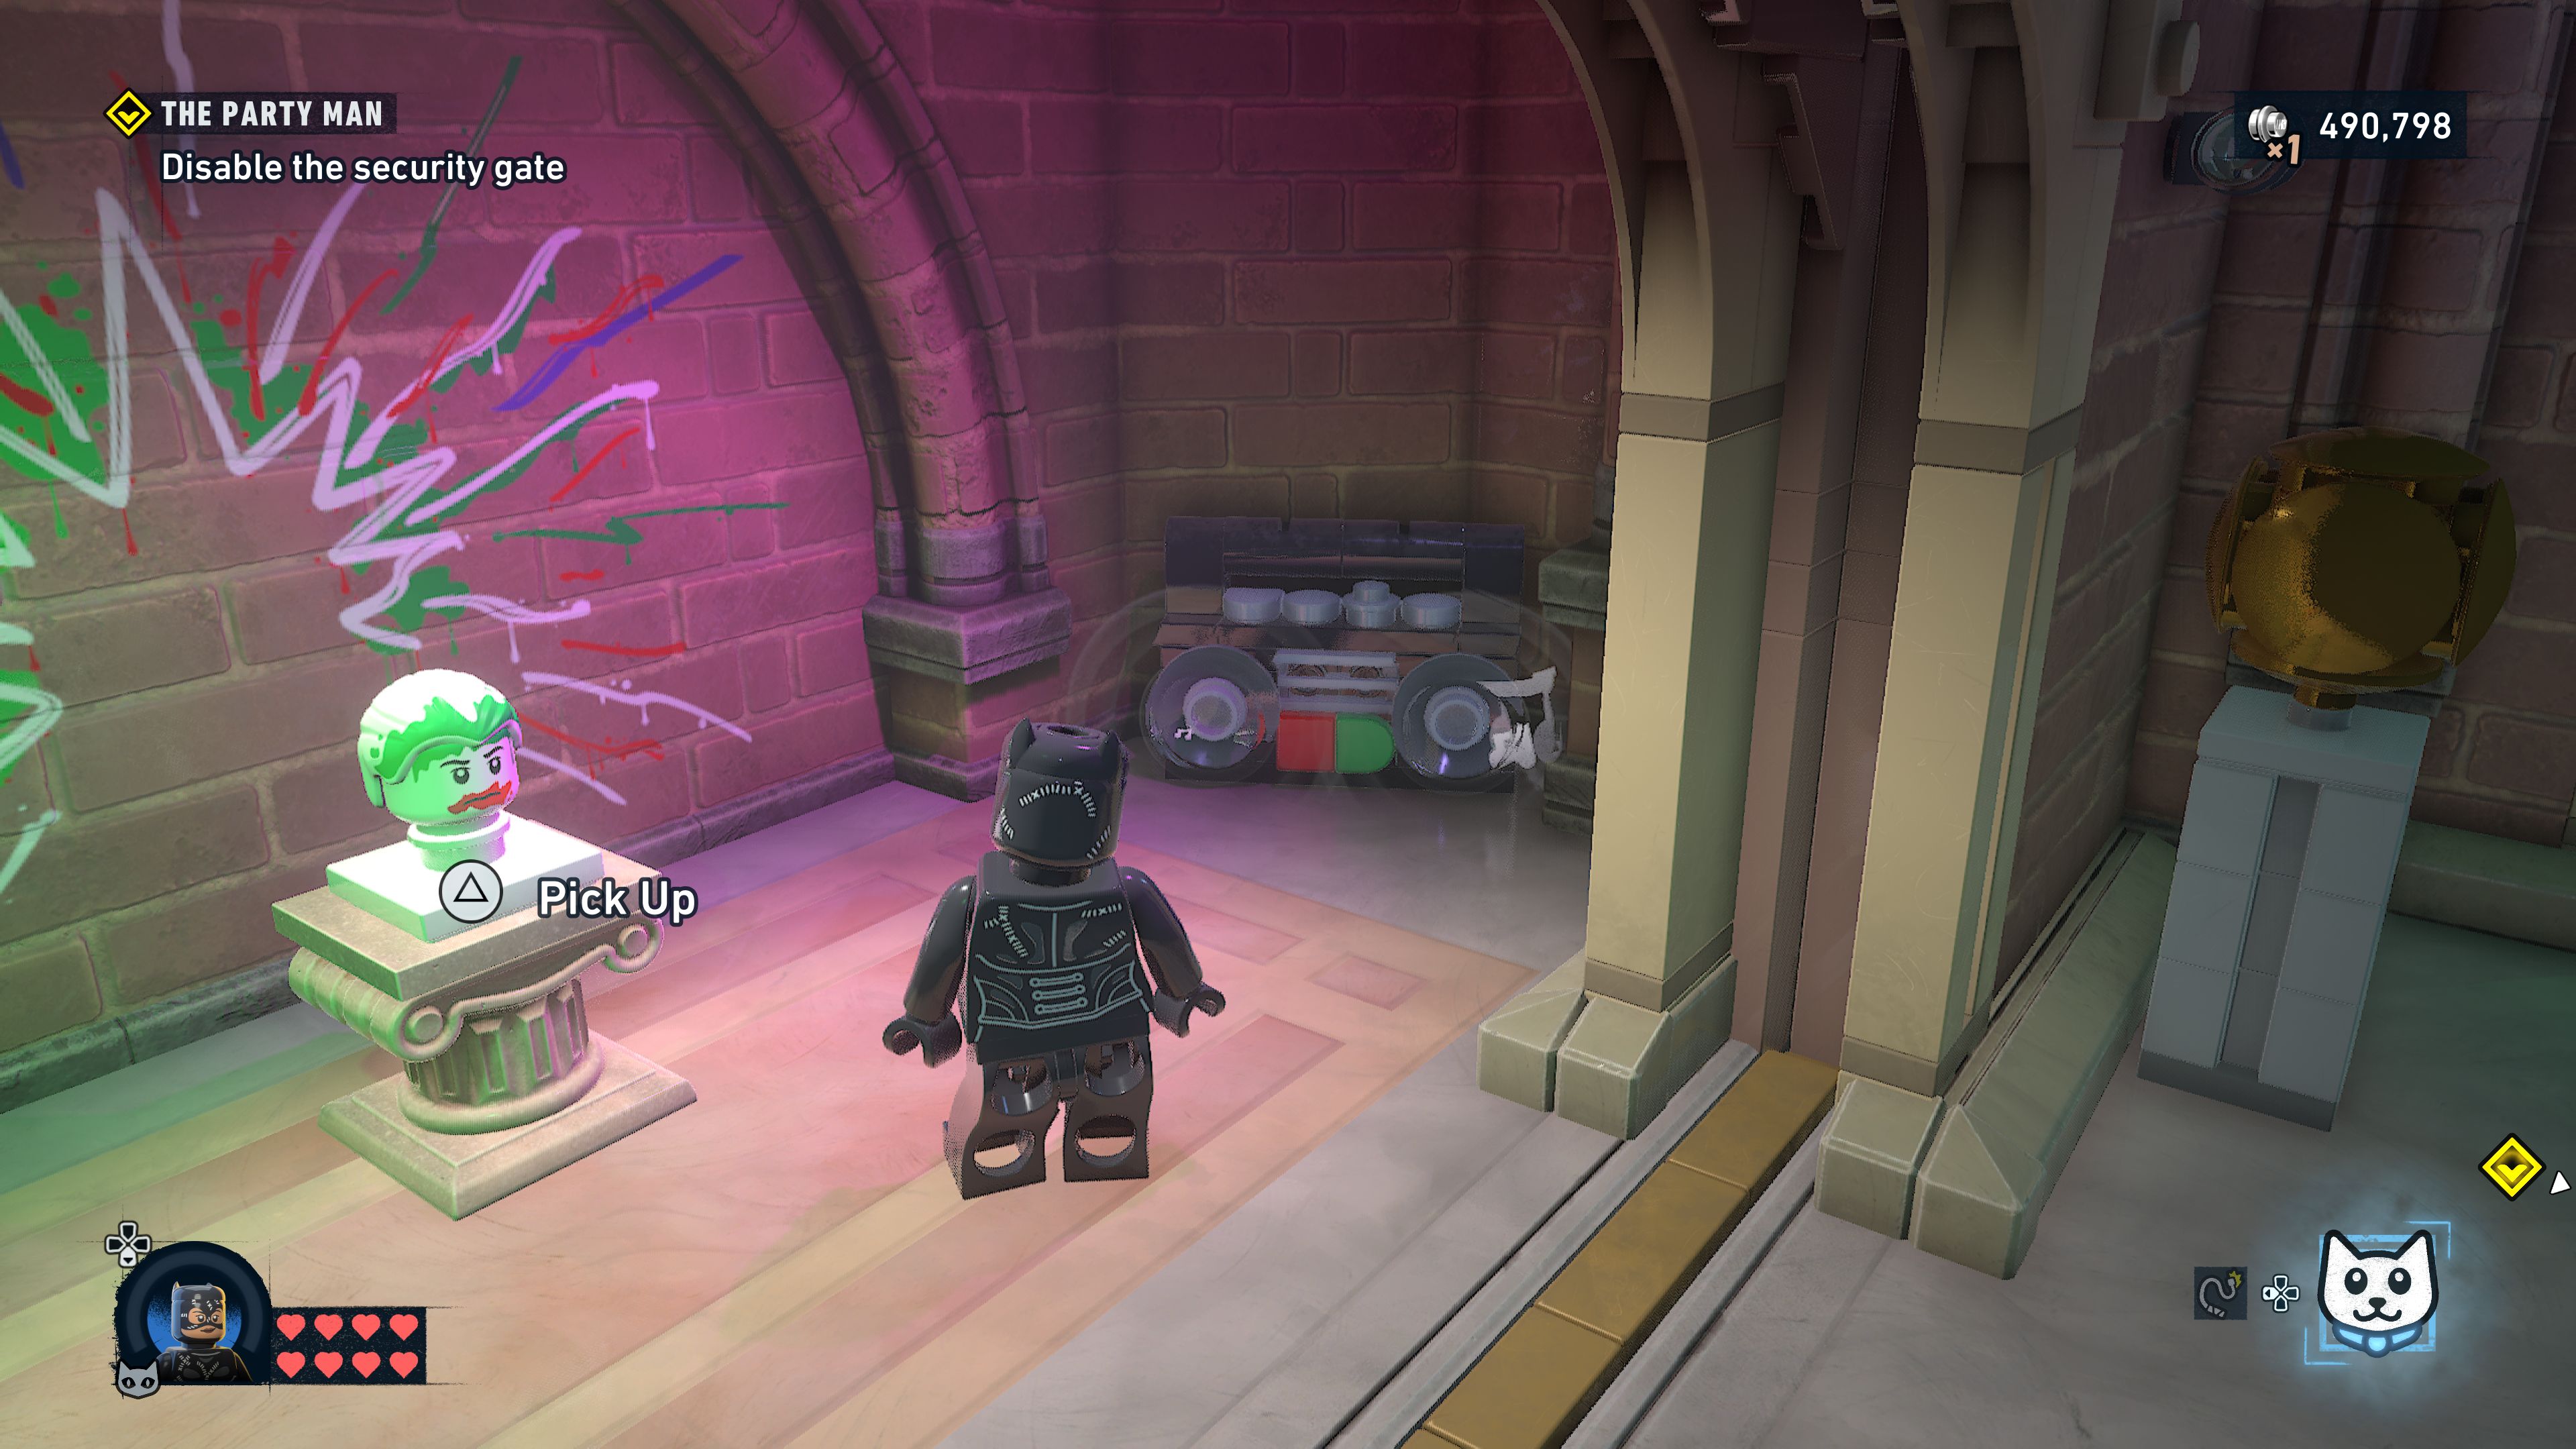
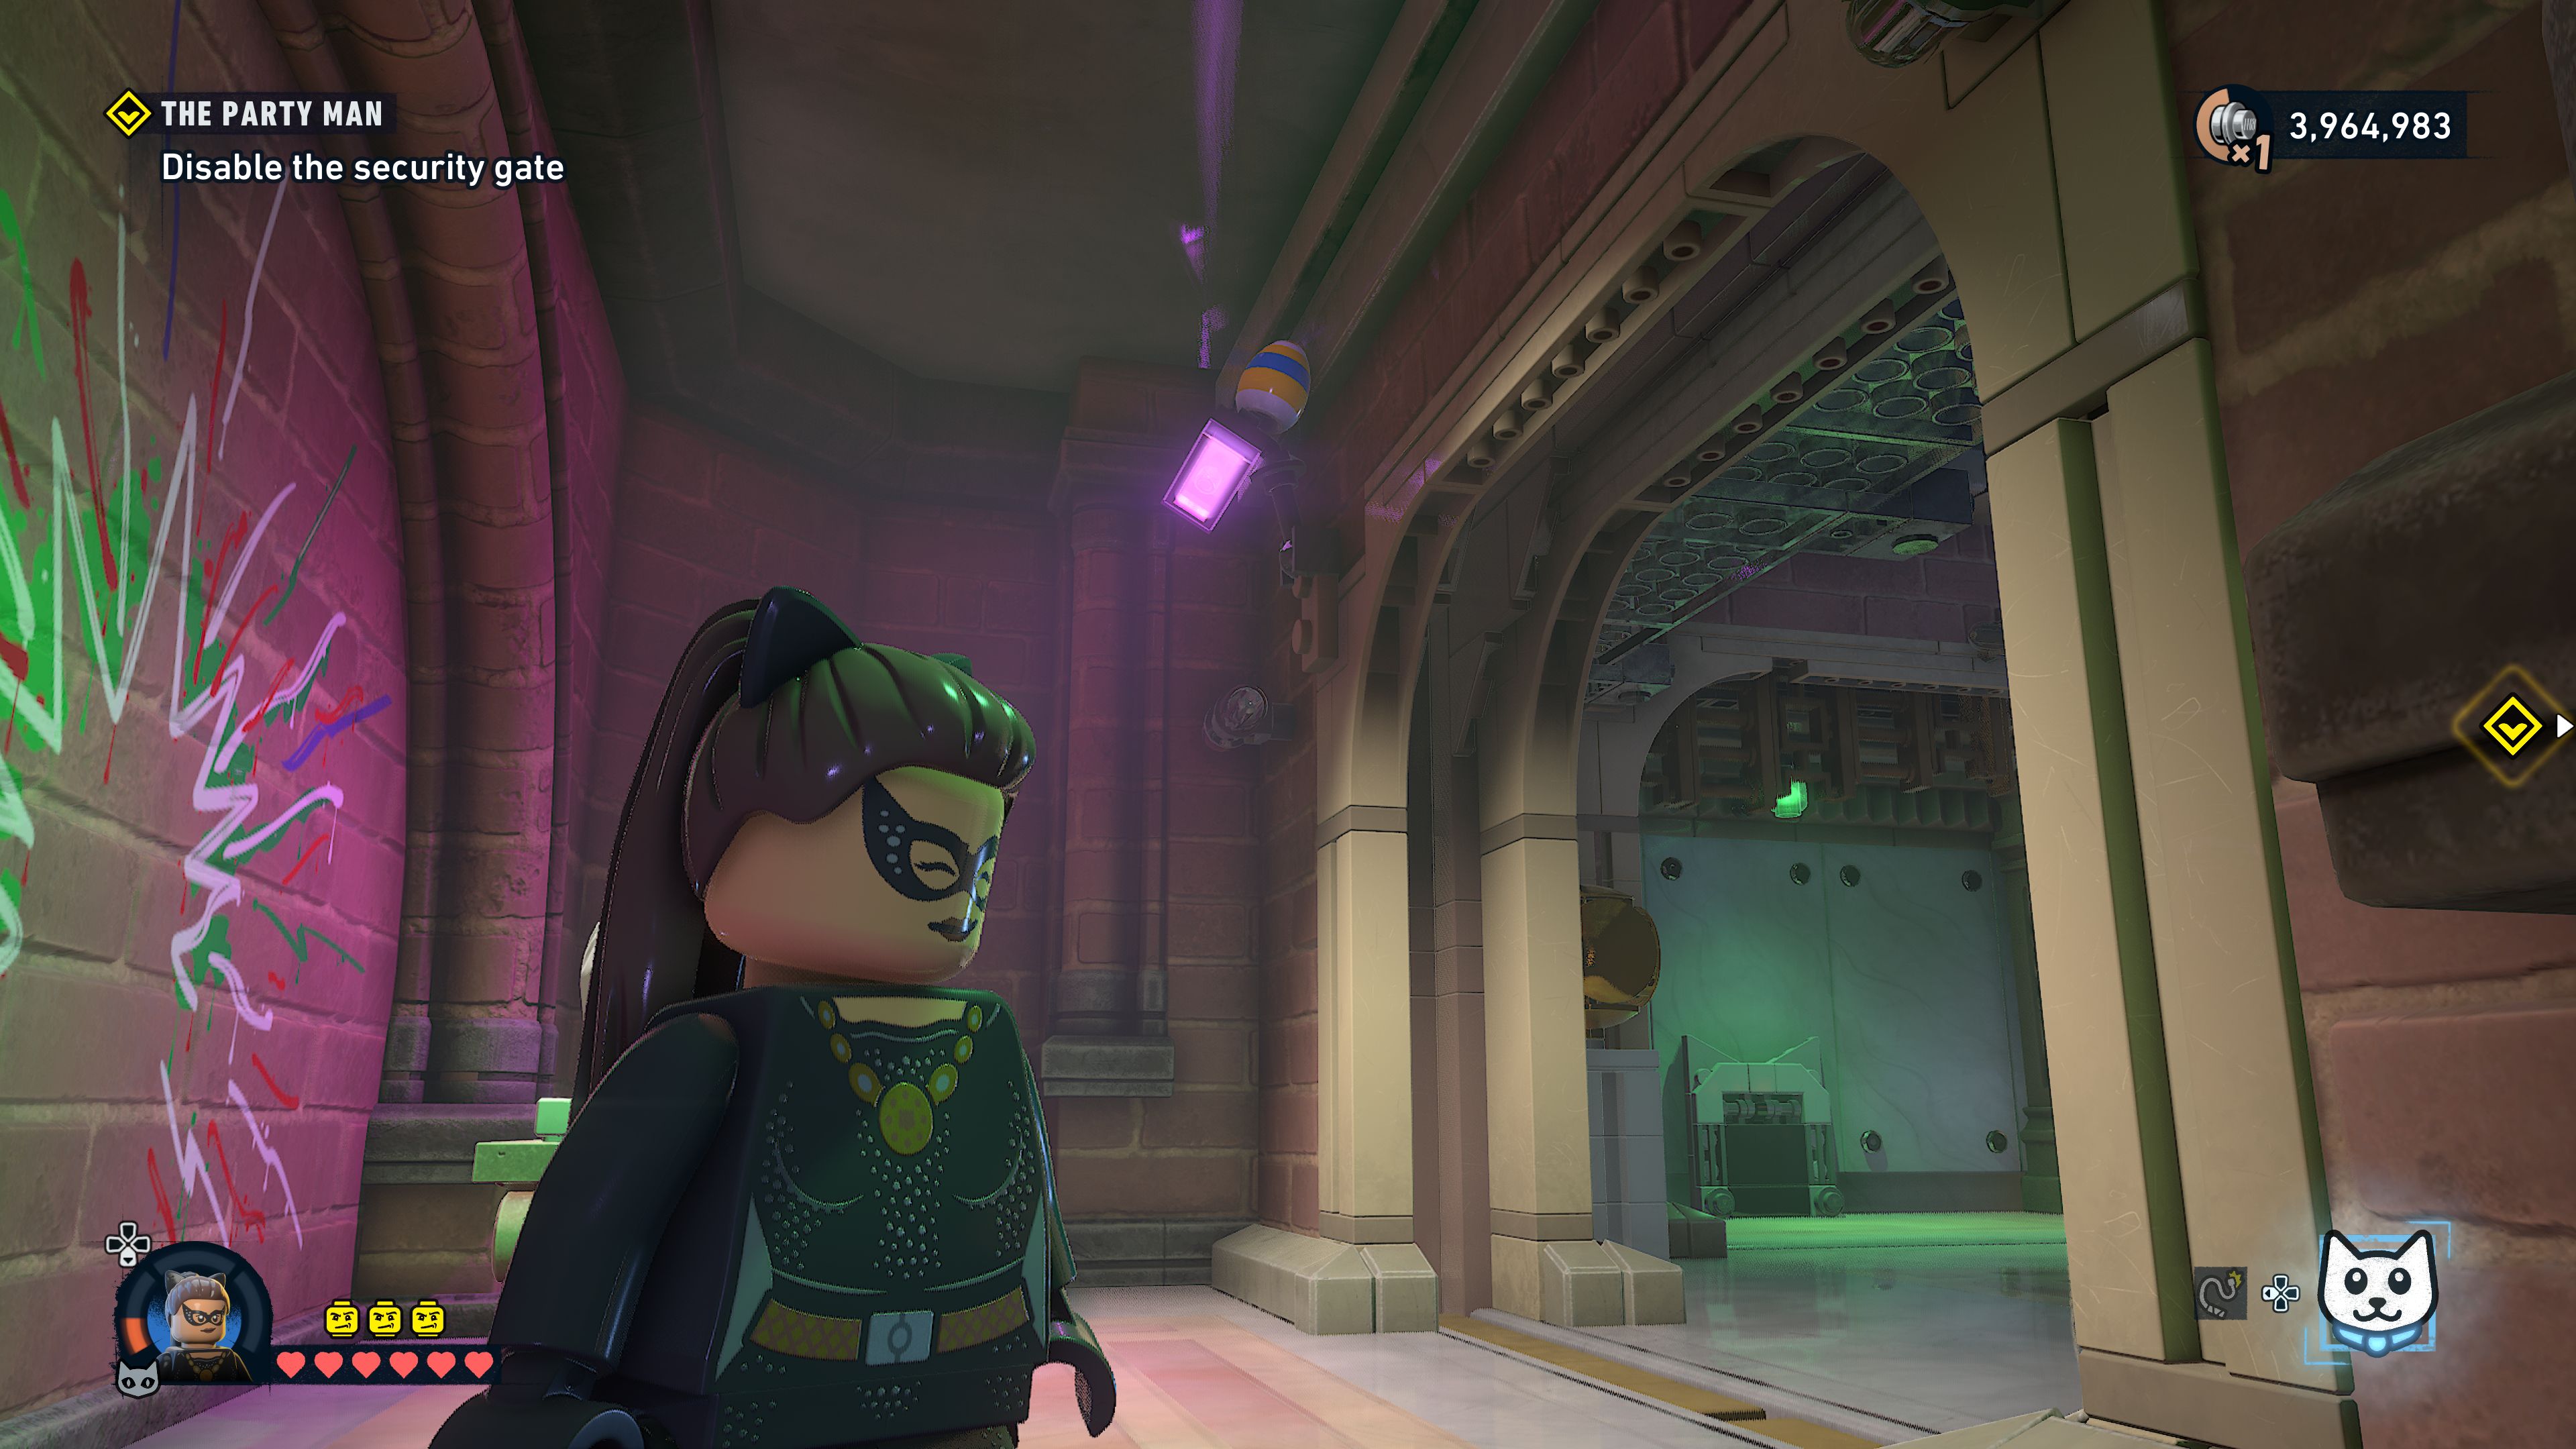
Pick up the joker head and you'll trigger some security lasers. Make your way back down the corridor avoiding the lasers by running through as they go up. Take the head and place it on the second pedestal to open the shutter.
Open the vault
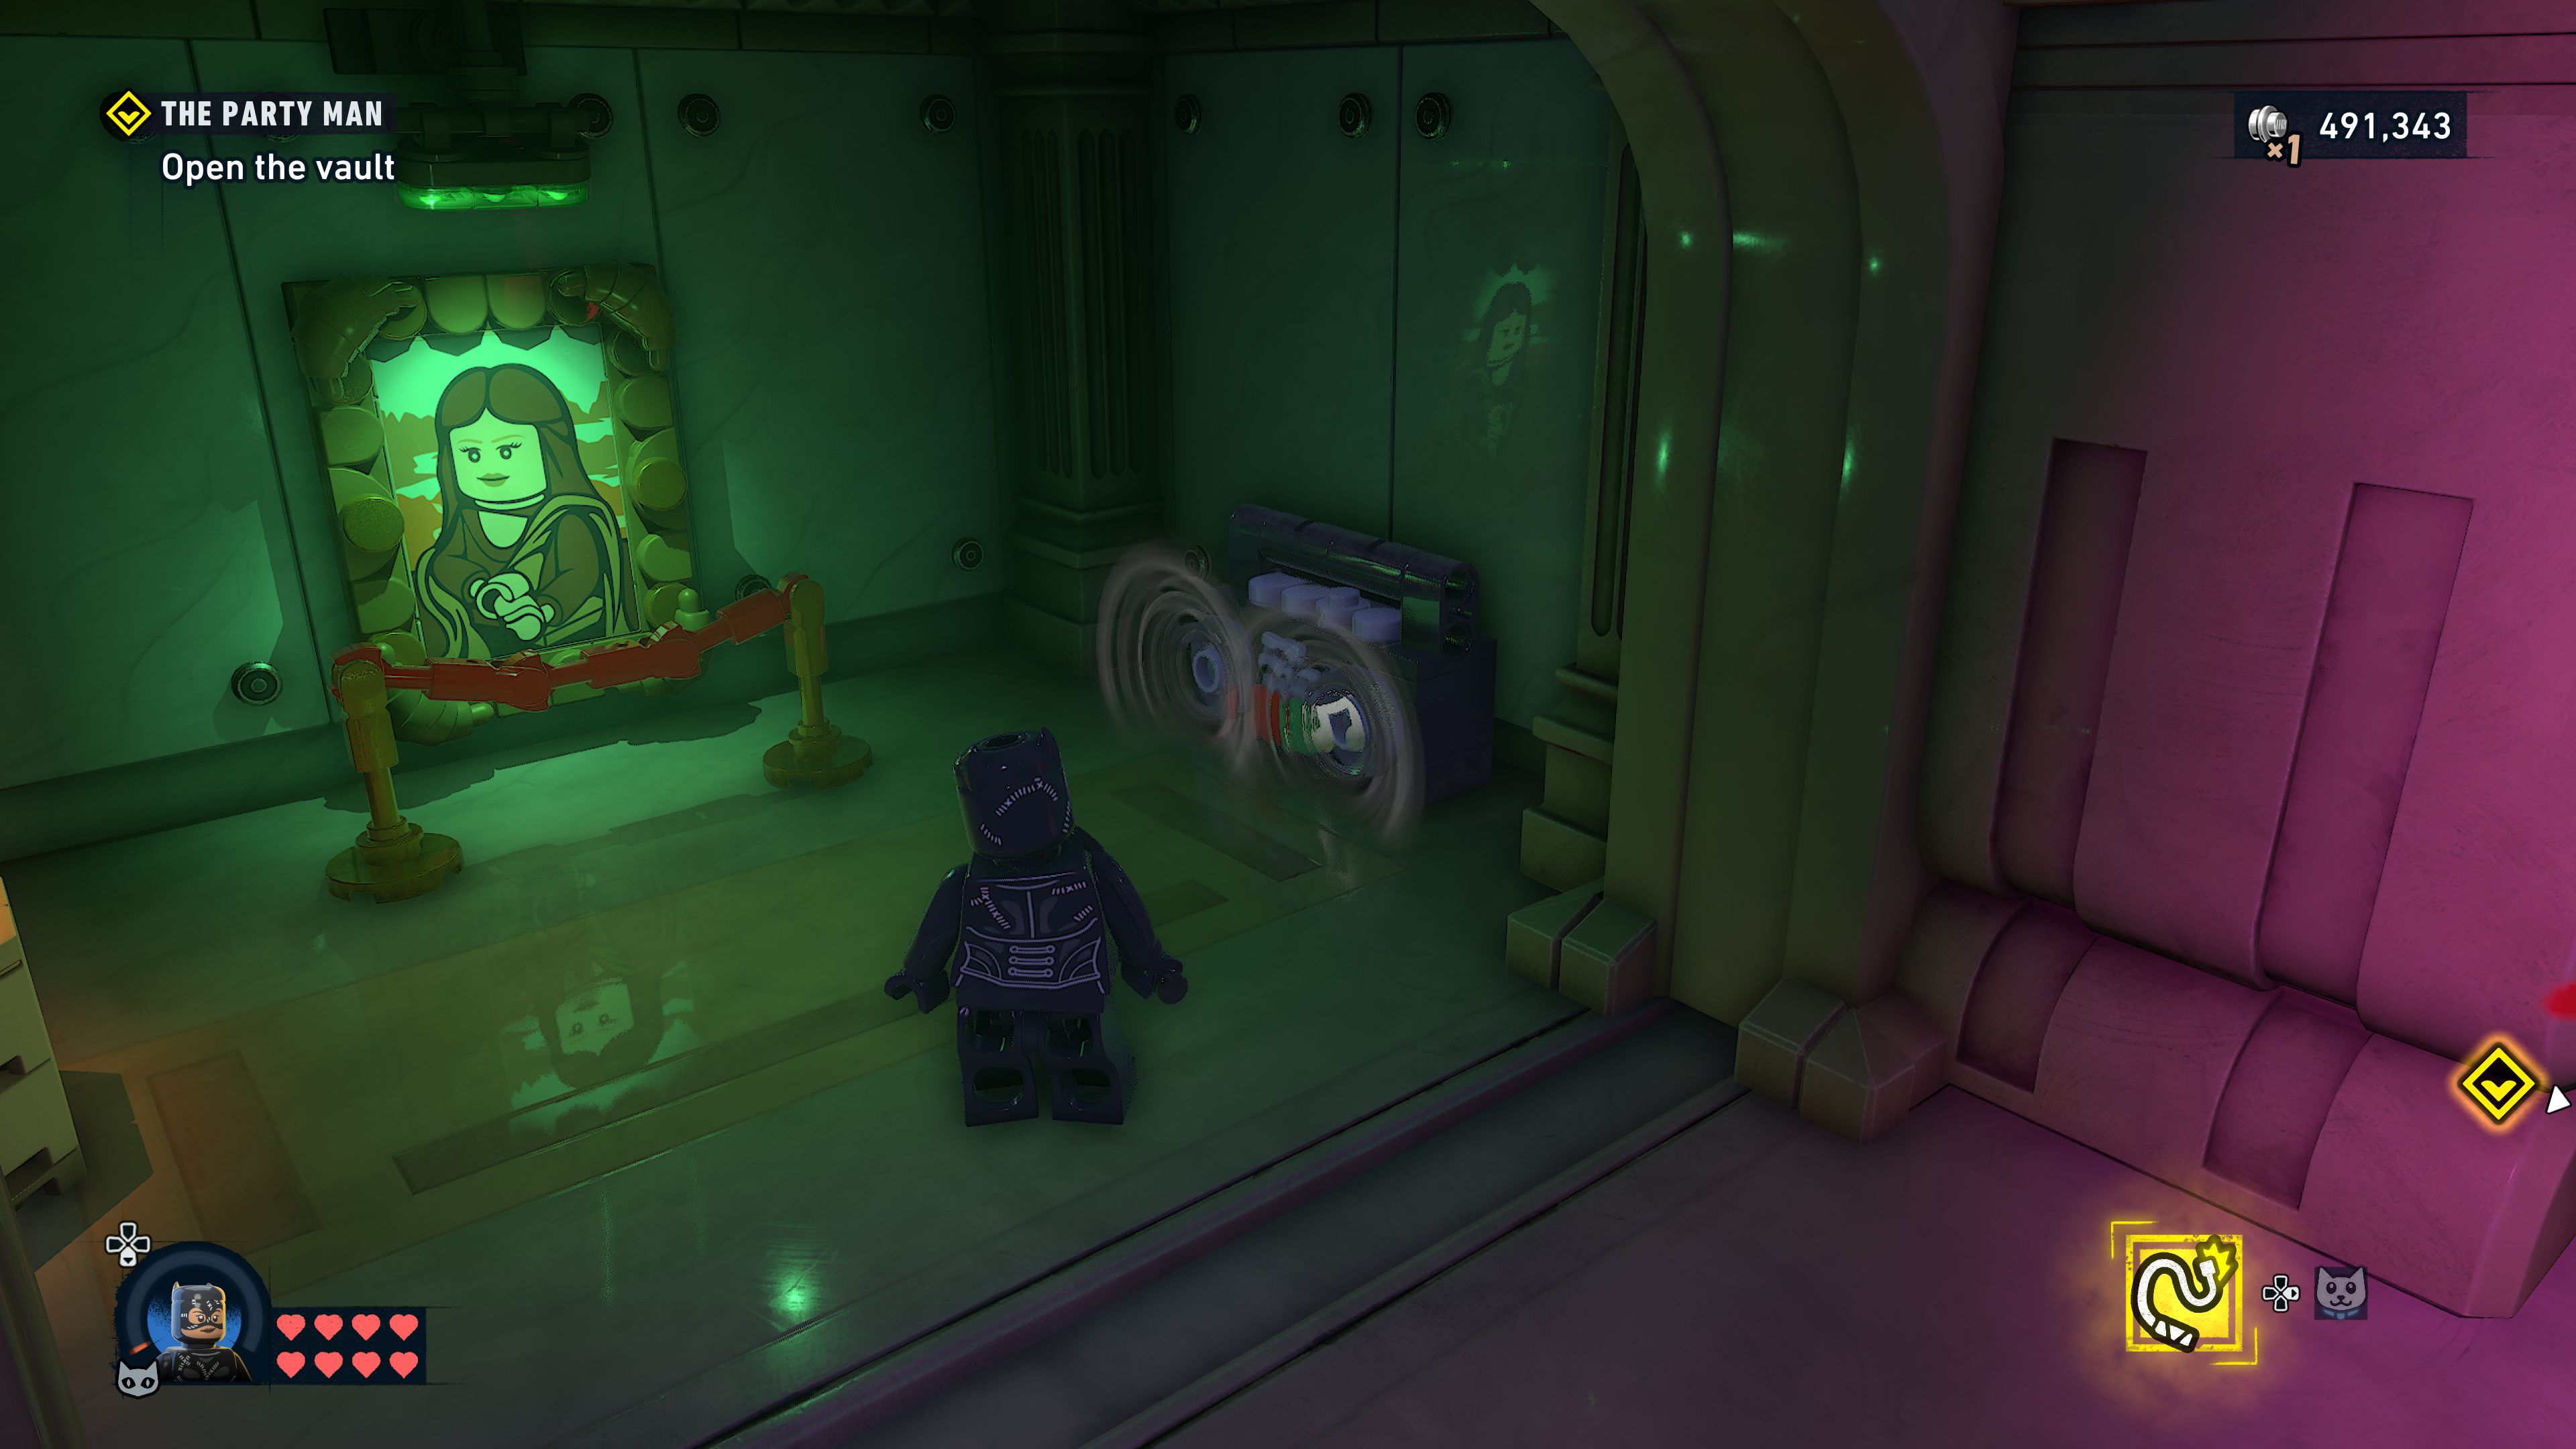
The vault door is another safe to crack exactly like the one in the junkyard. Opening it will complete the level.
Unlocks
- +1 Skill Brick
- Batman Suit: Rainbow Batman
- Catwoman Suit: Batman '66
- Batcave Trophy: Boomboxes 5/5
- Red Brick - Artist Modifier
- Purple Brick 1/1
- Easter Egg
Joker
Party Prep
Go to the parade
The starting marker for the parade is just to the southwest of Wayne Tower in Old Gotham North on South Island.
The Big Dukeroo
Parade, Main Street
The healing power of laughter.
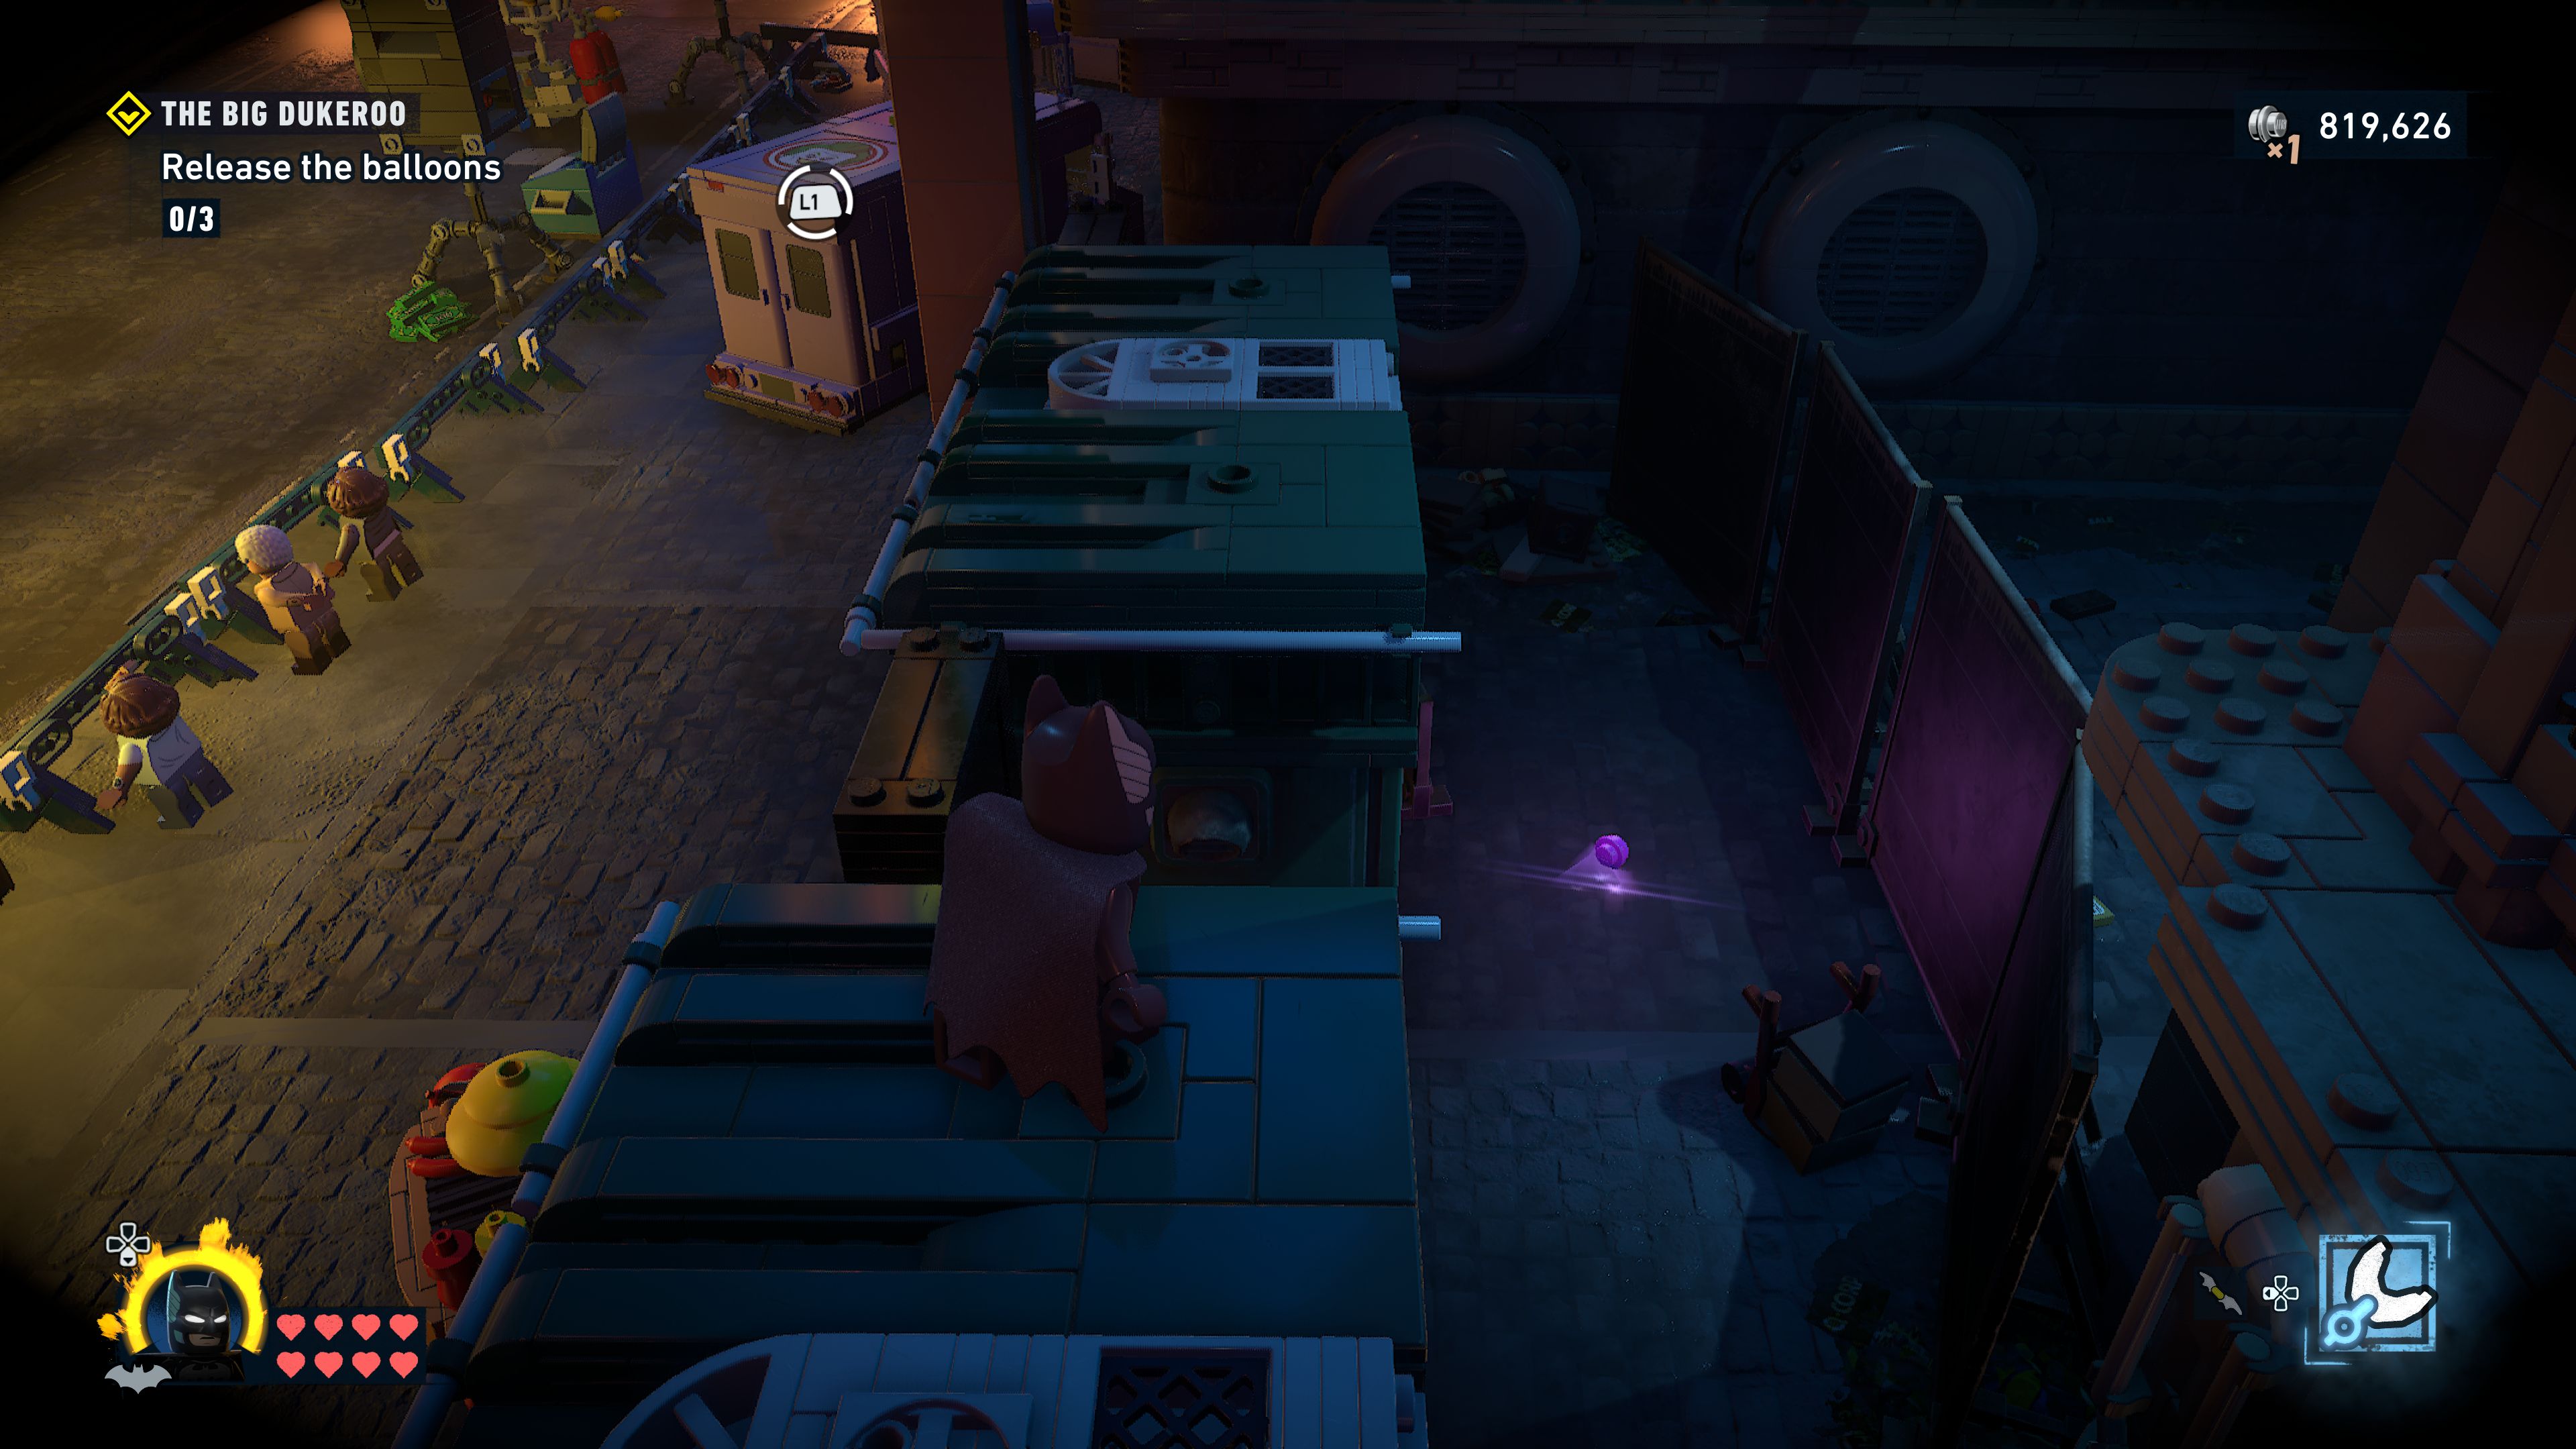
Release the balloons
First thing you'll want to do is clear out the enemies on the ground nearby to stop them from spotting you while you're working on the objective.
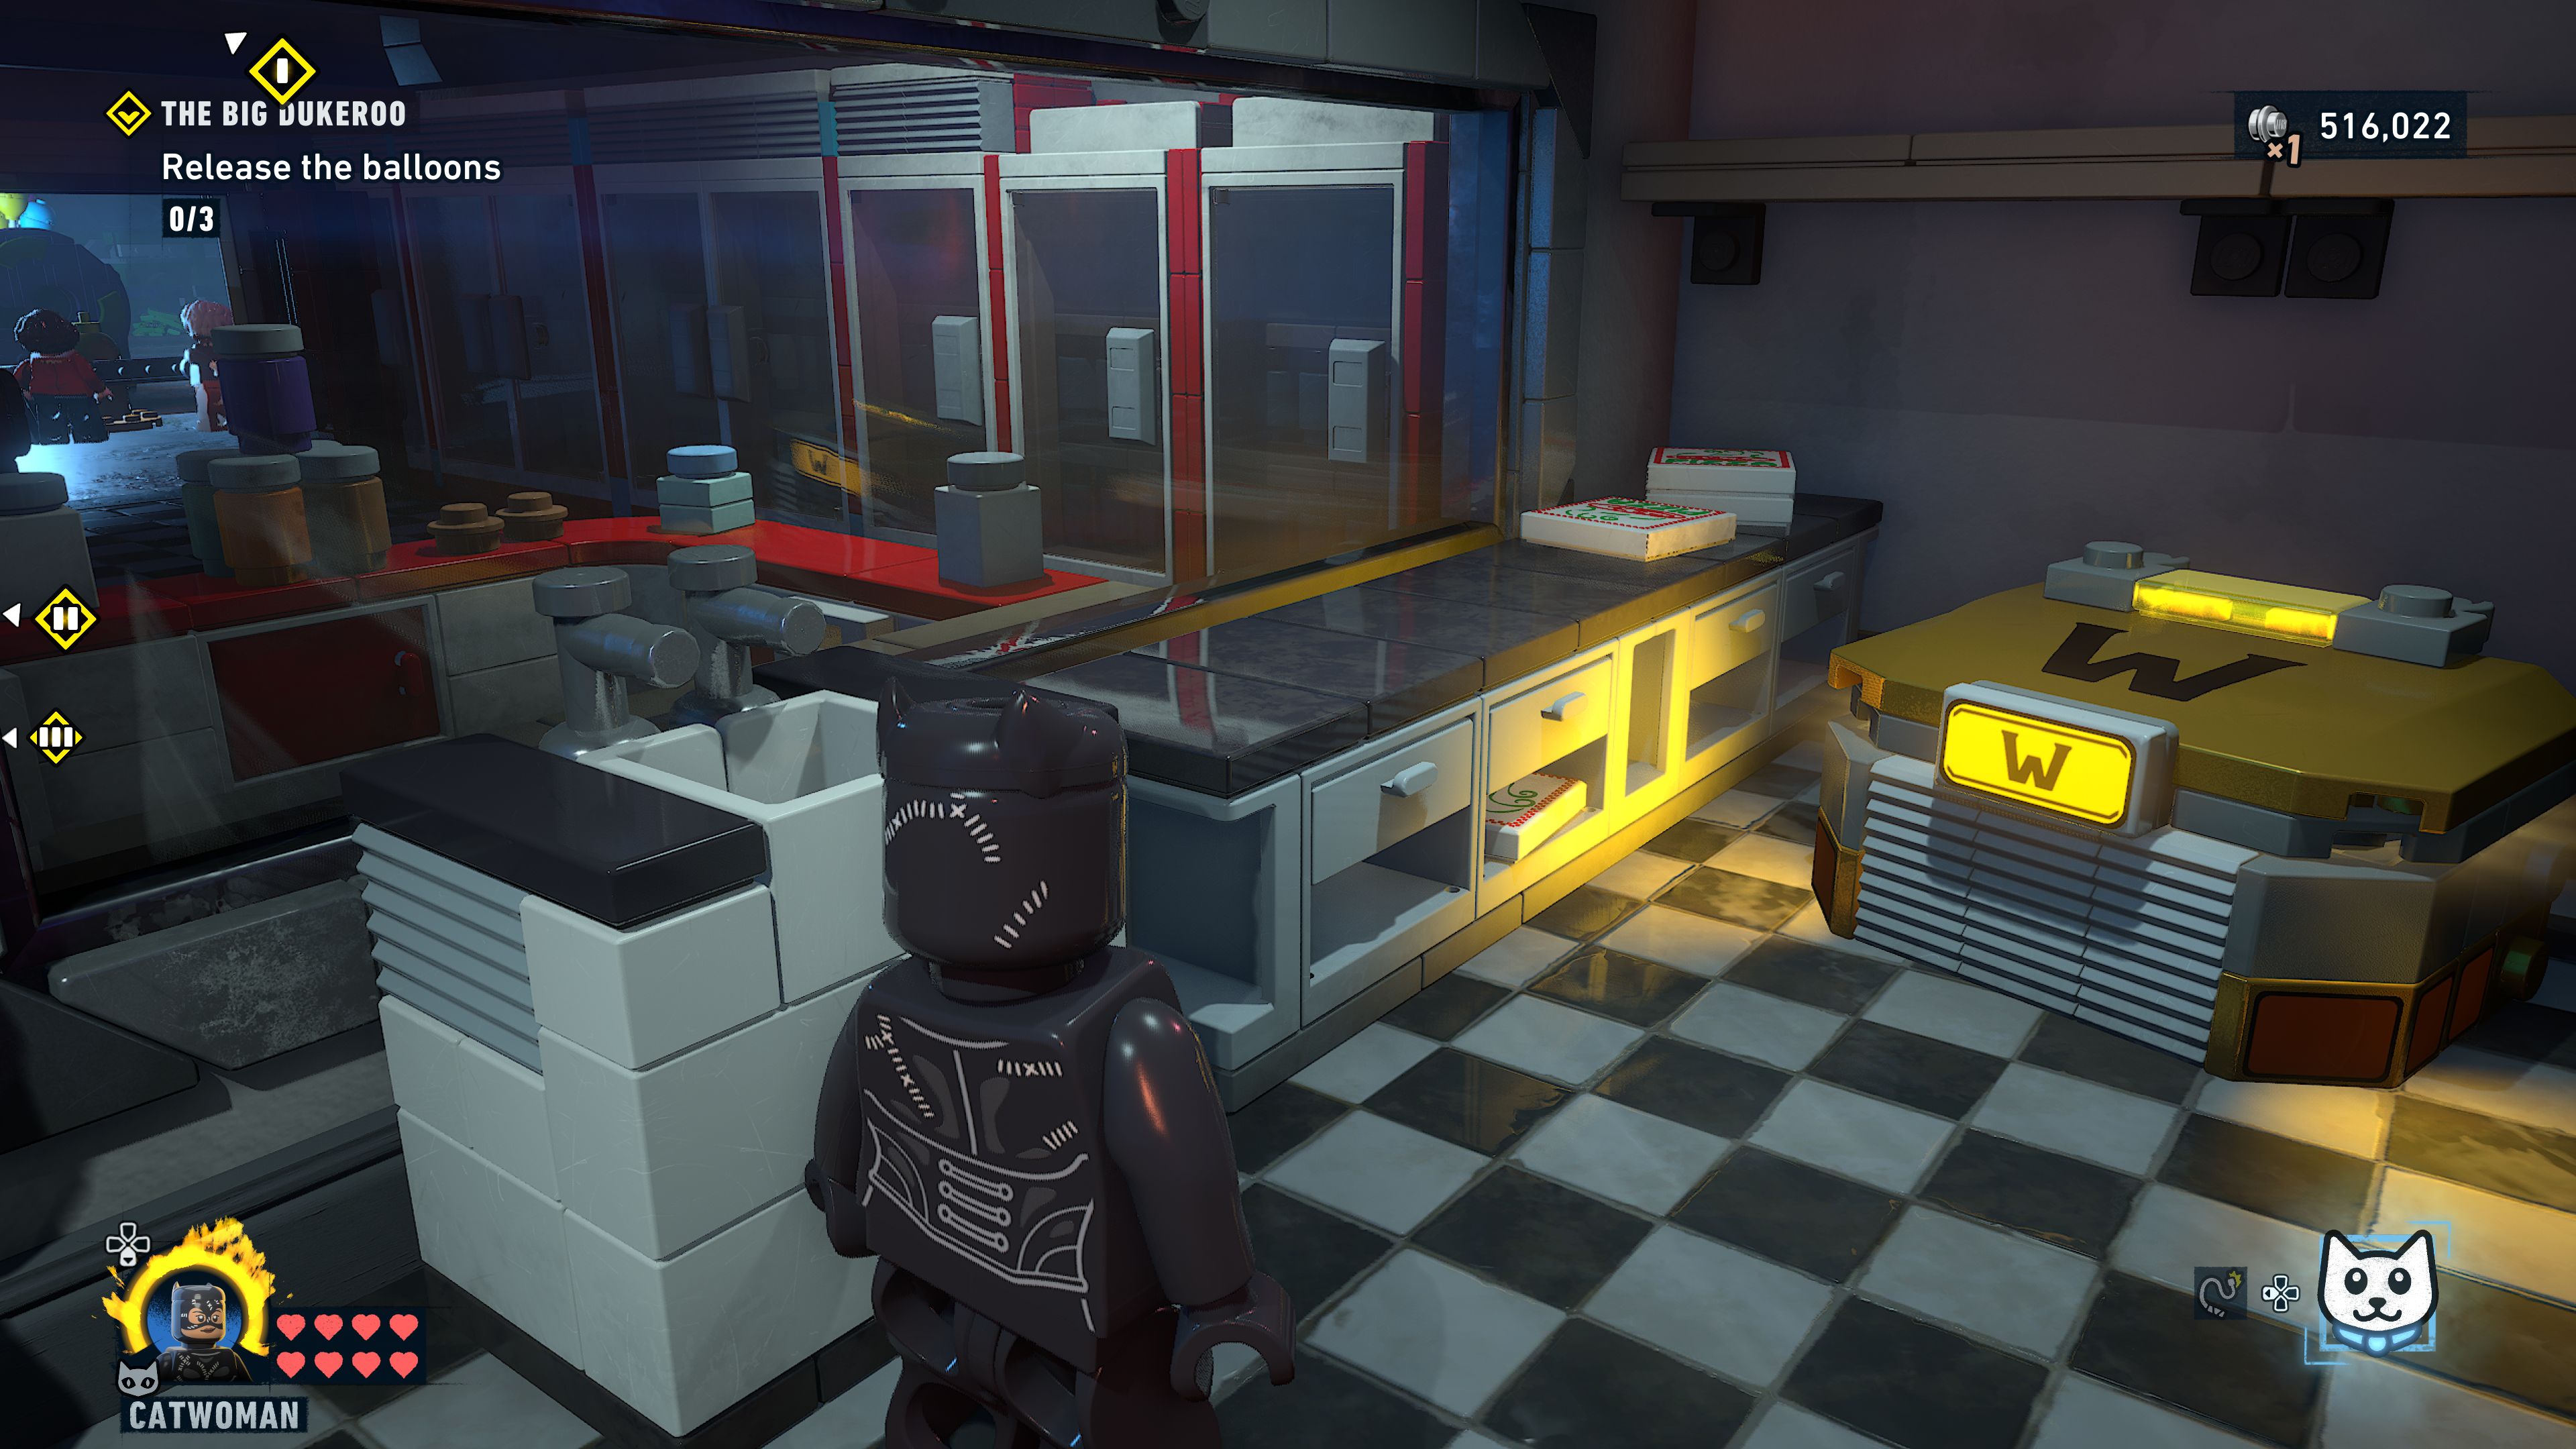
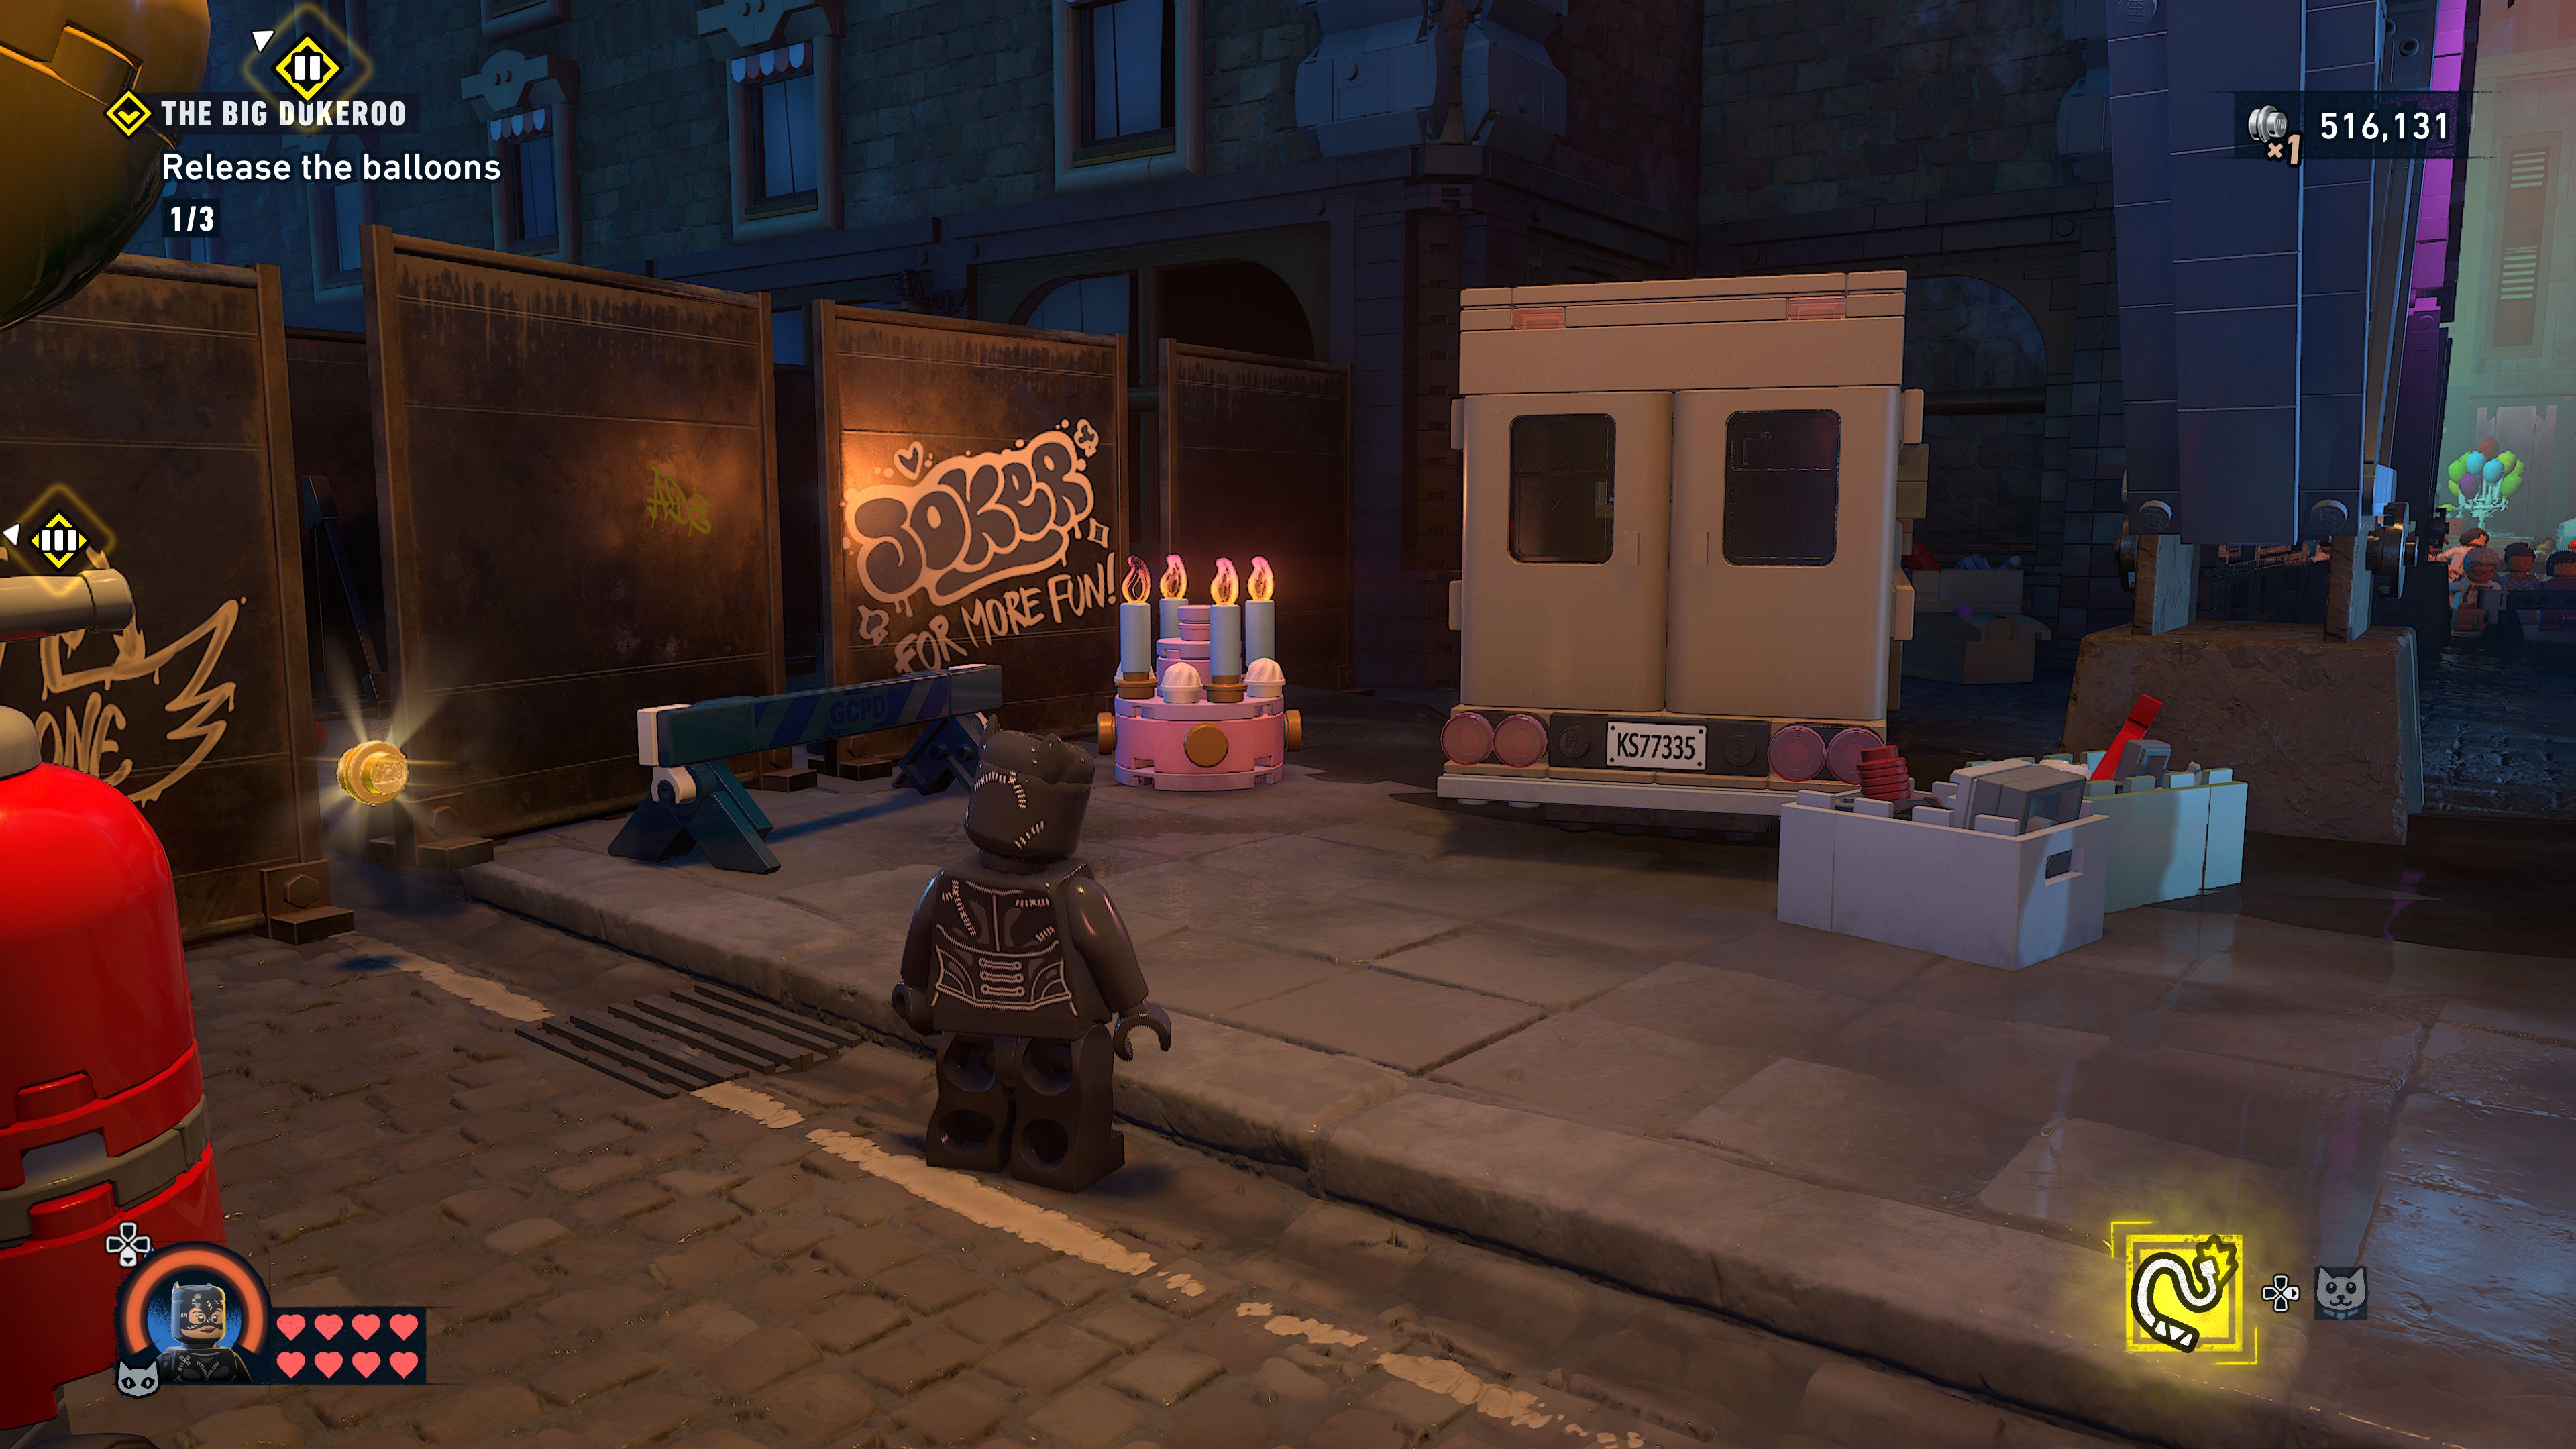
To release the balloon on the first float you must use one of Catwoman's cats to go through a small vent at the base of it and pick up a wheel to bring back to Catwoman. Next have Catwoman use her whip to unscrew a screw below where the rockets are spinning around and then Batman can Batclaw to slow them down to a stop. Catwoman should then climb up the wall on the side, shimmy over to the left and then get up and use the wheel to release the balloon.
That will trigger some enemies to jump out of a van and start attacking you so jump down and take care of them before you move on to the next float.
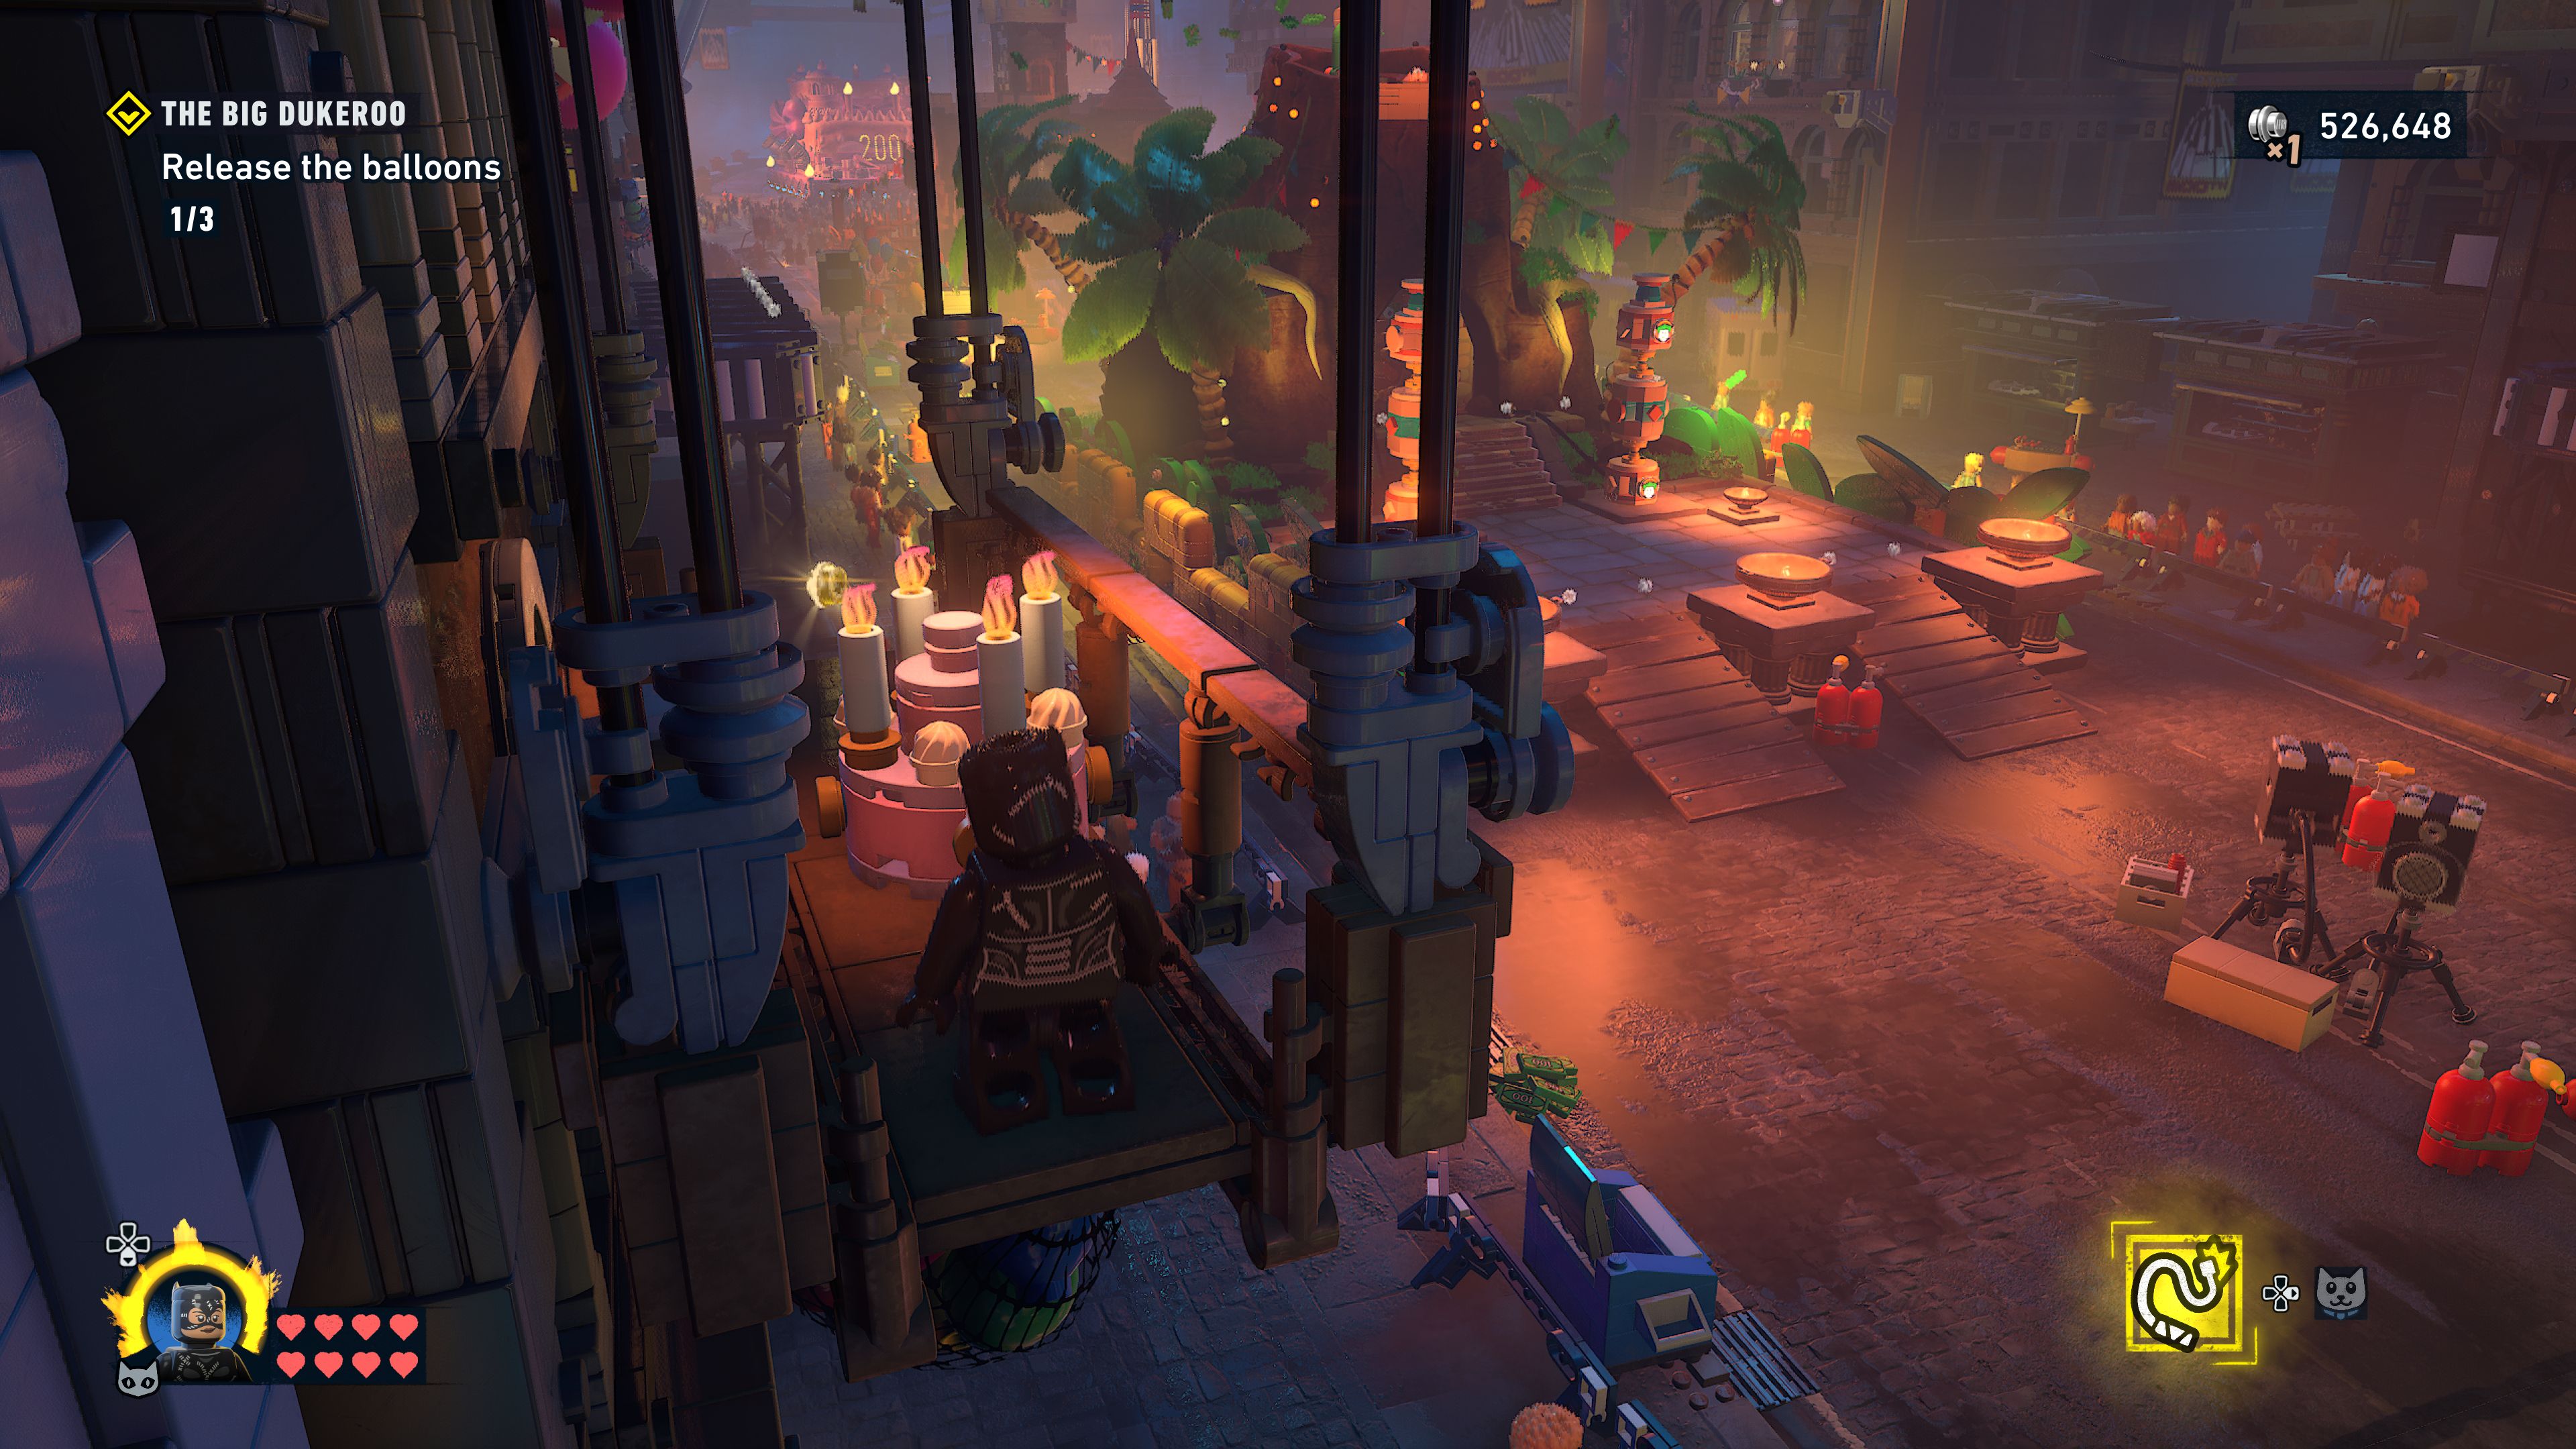
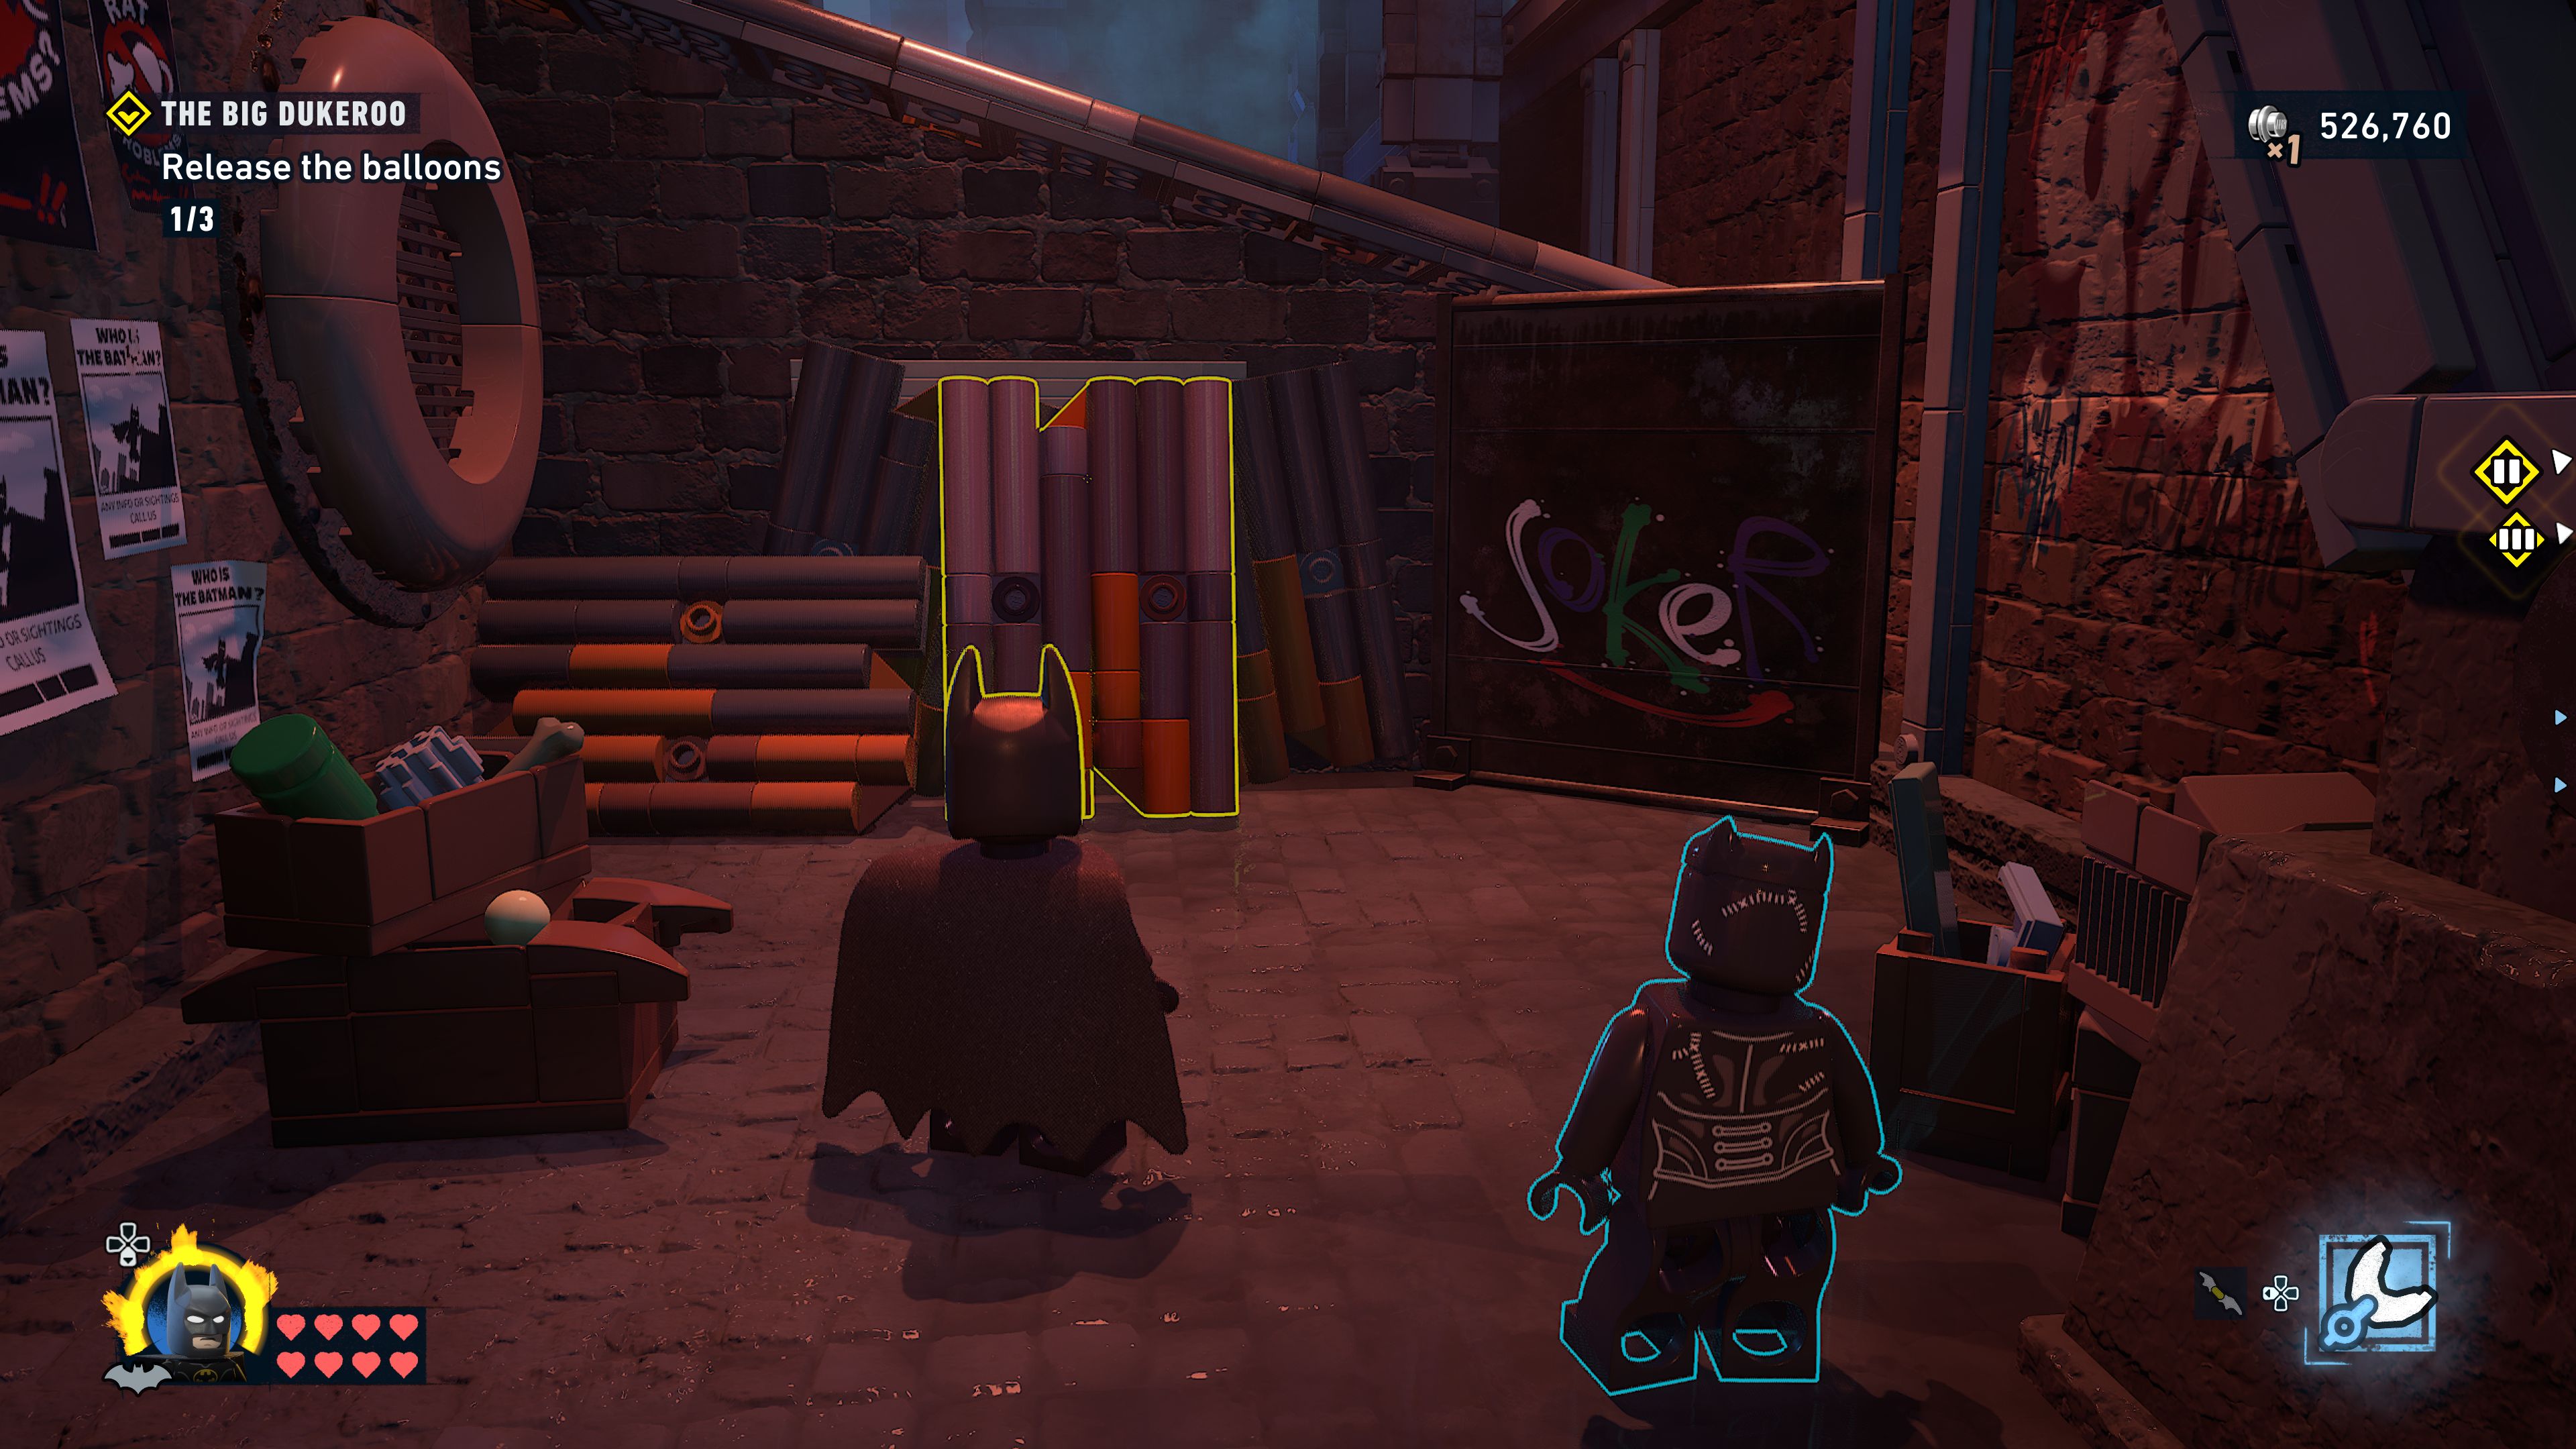
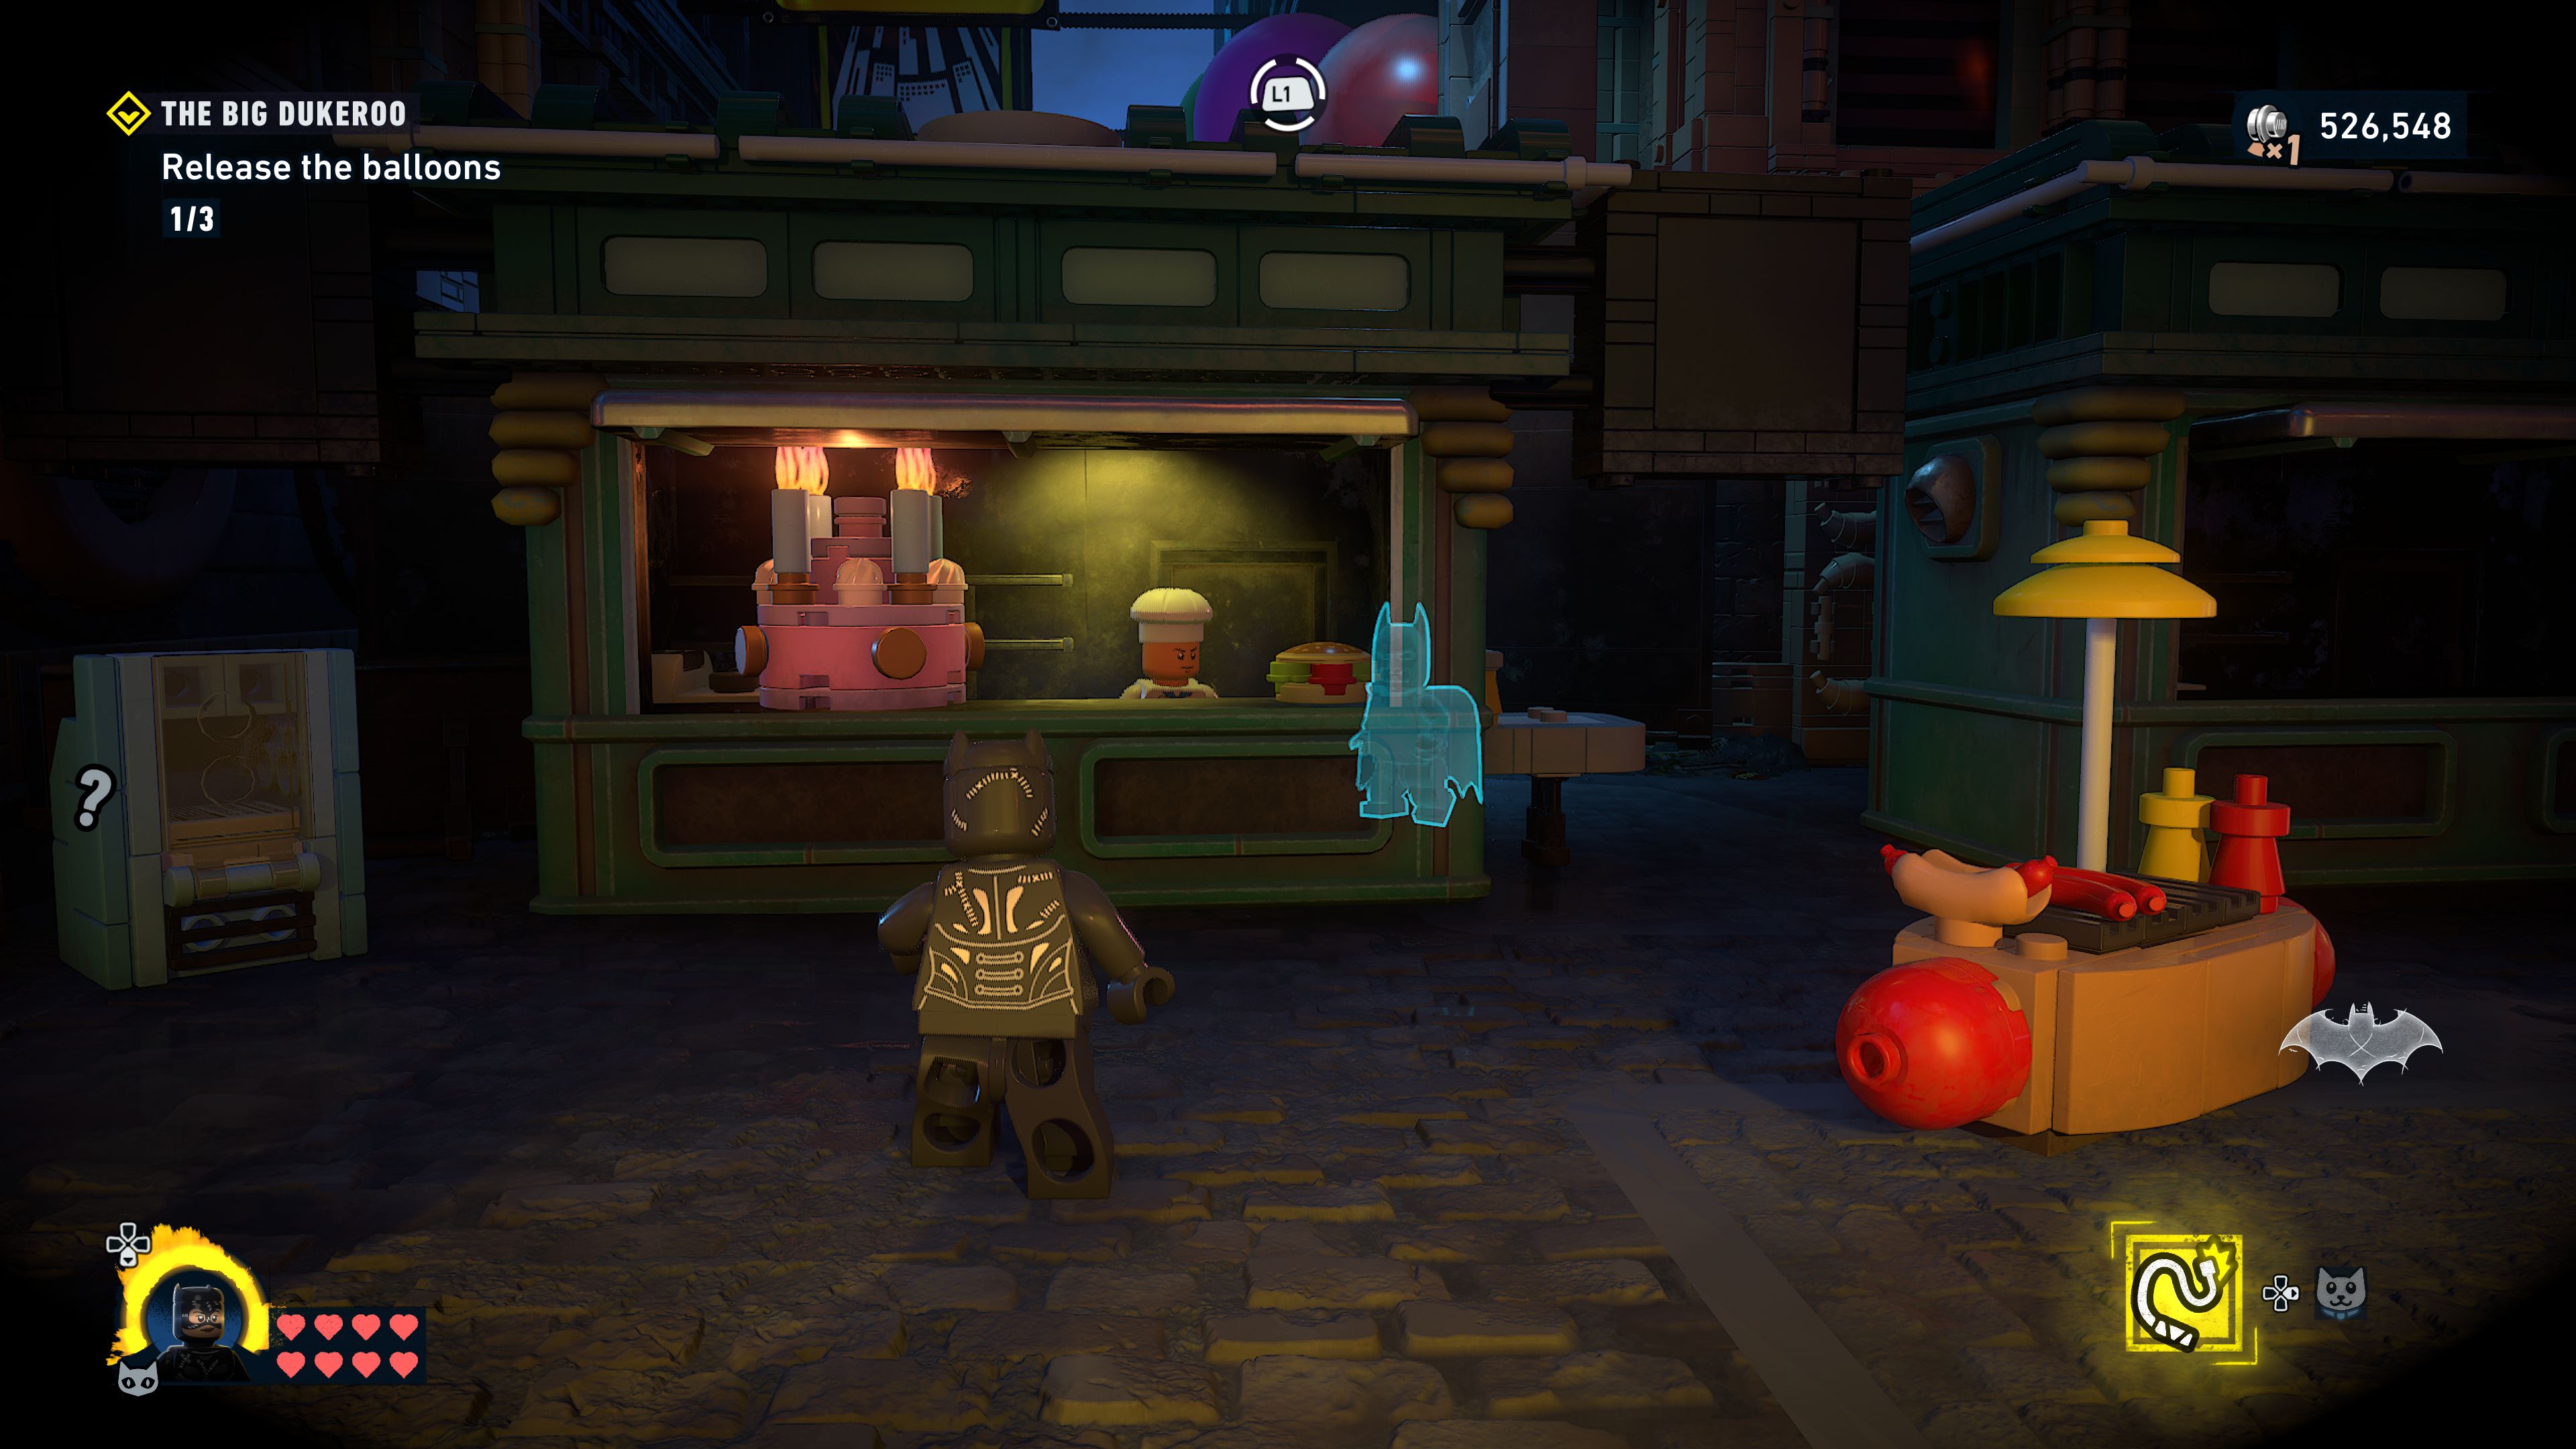
The jungle float is next. Get on board and whip the totem sections until they are all have a Joker face facing you. Do the from bottom to top as the upper sections will spin when you spin the lower ones. Quickly whip the jack-in-a-boxes that run out as they will explode. Grab the lever from inside and carry it with you as you grapple up to the balloon release point at the top of the float.
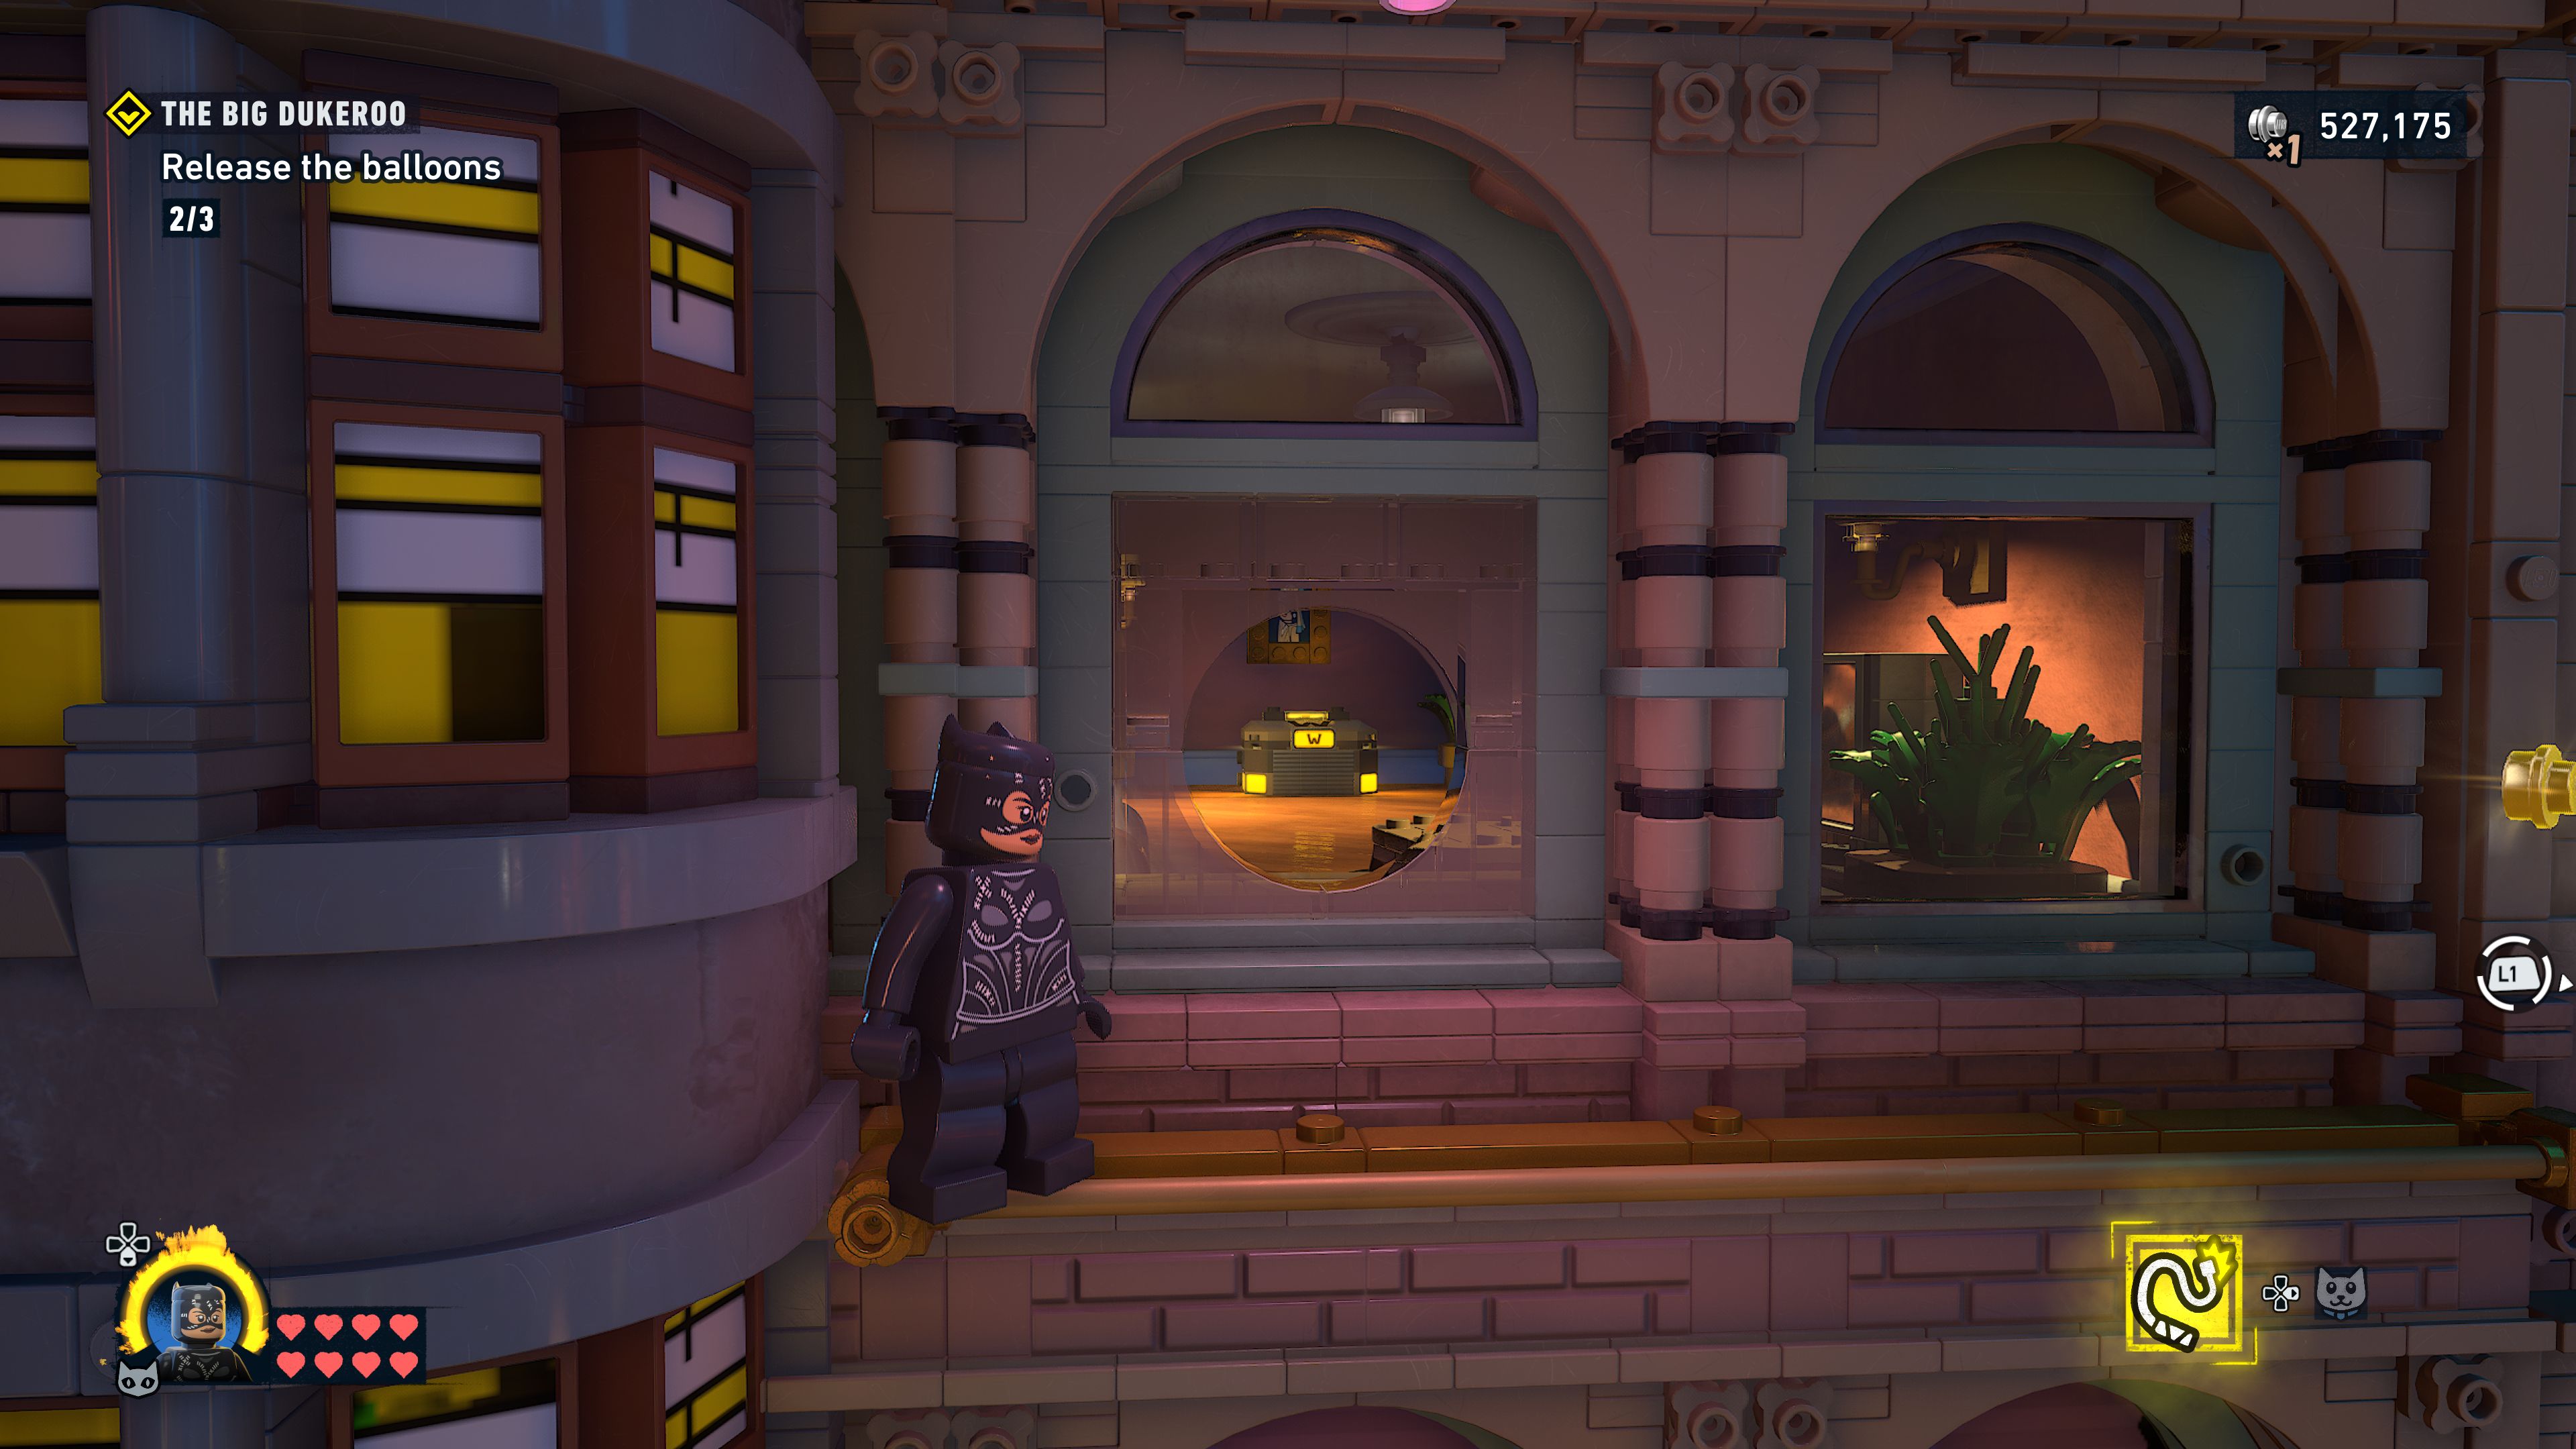
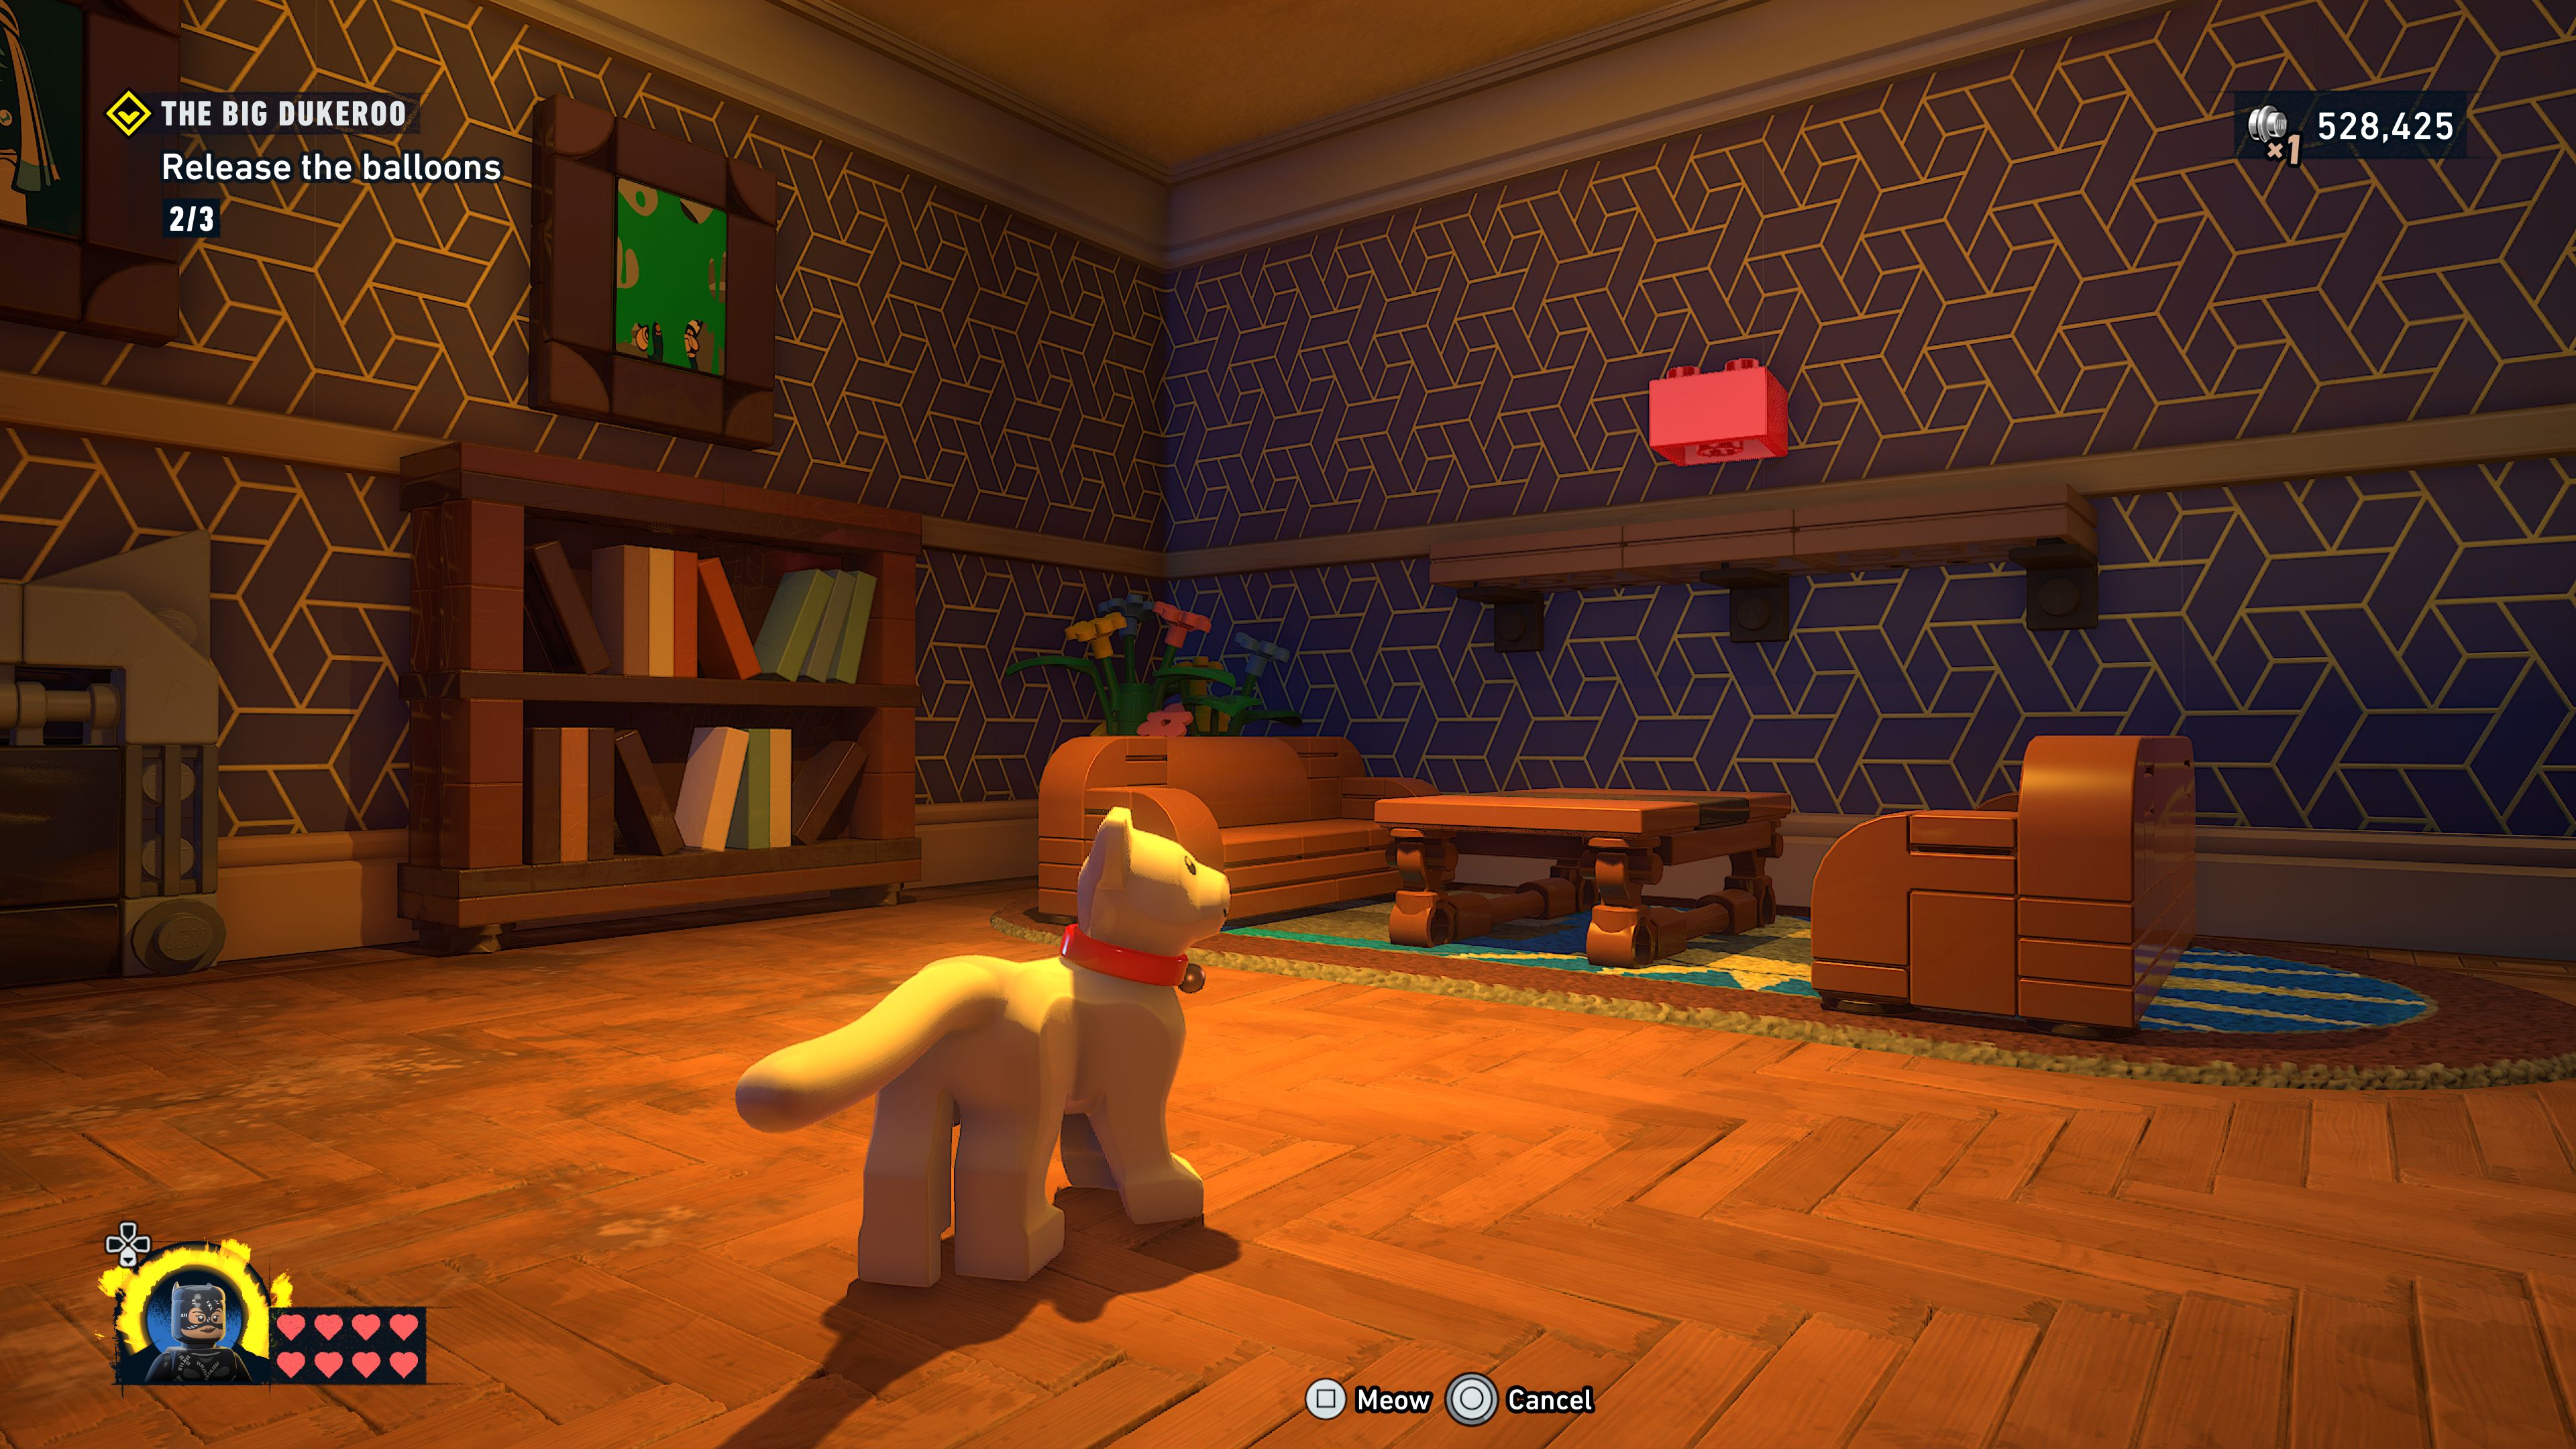
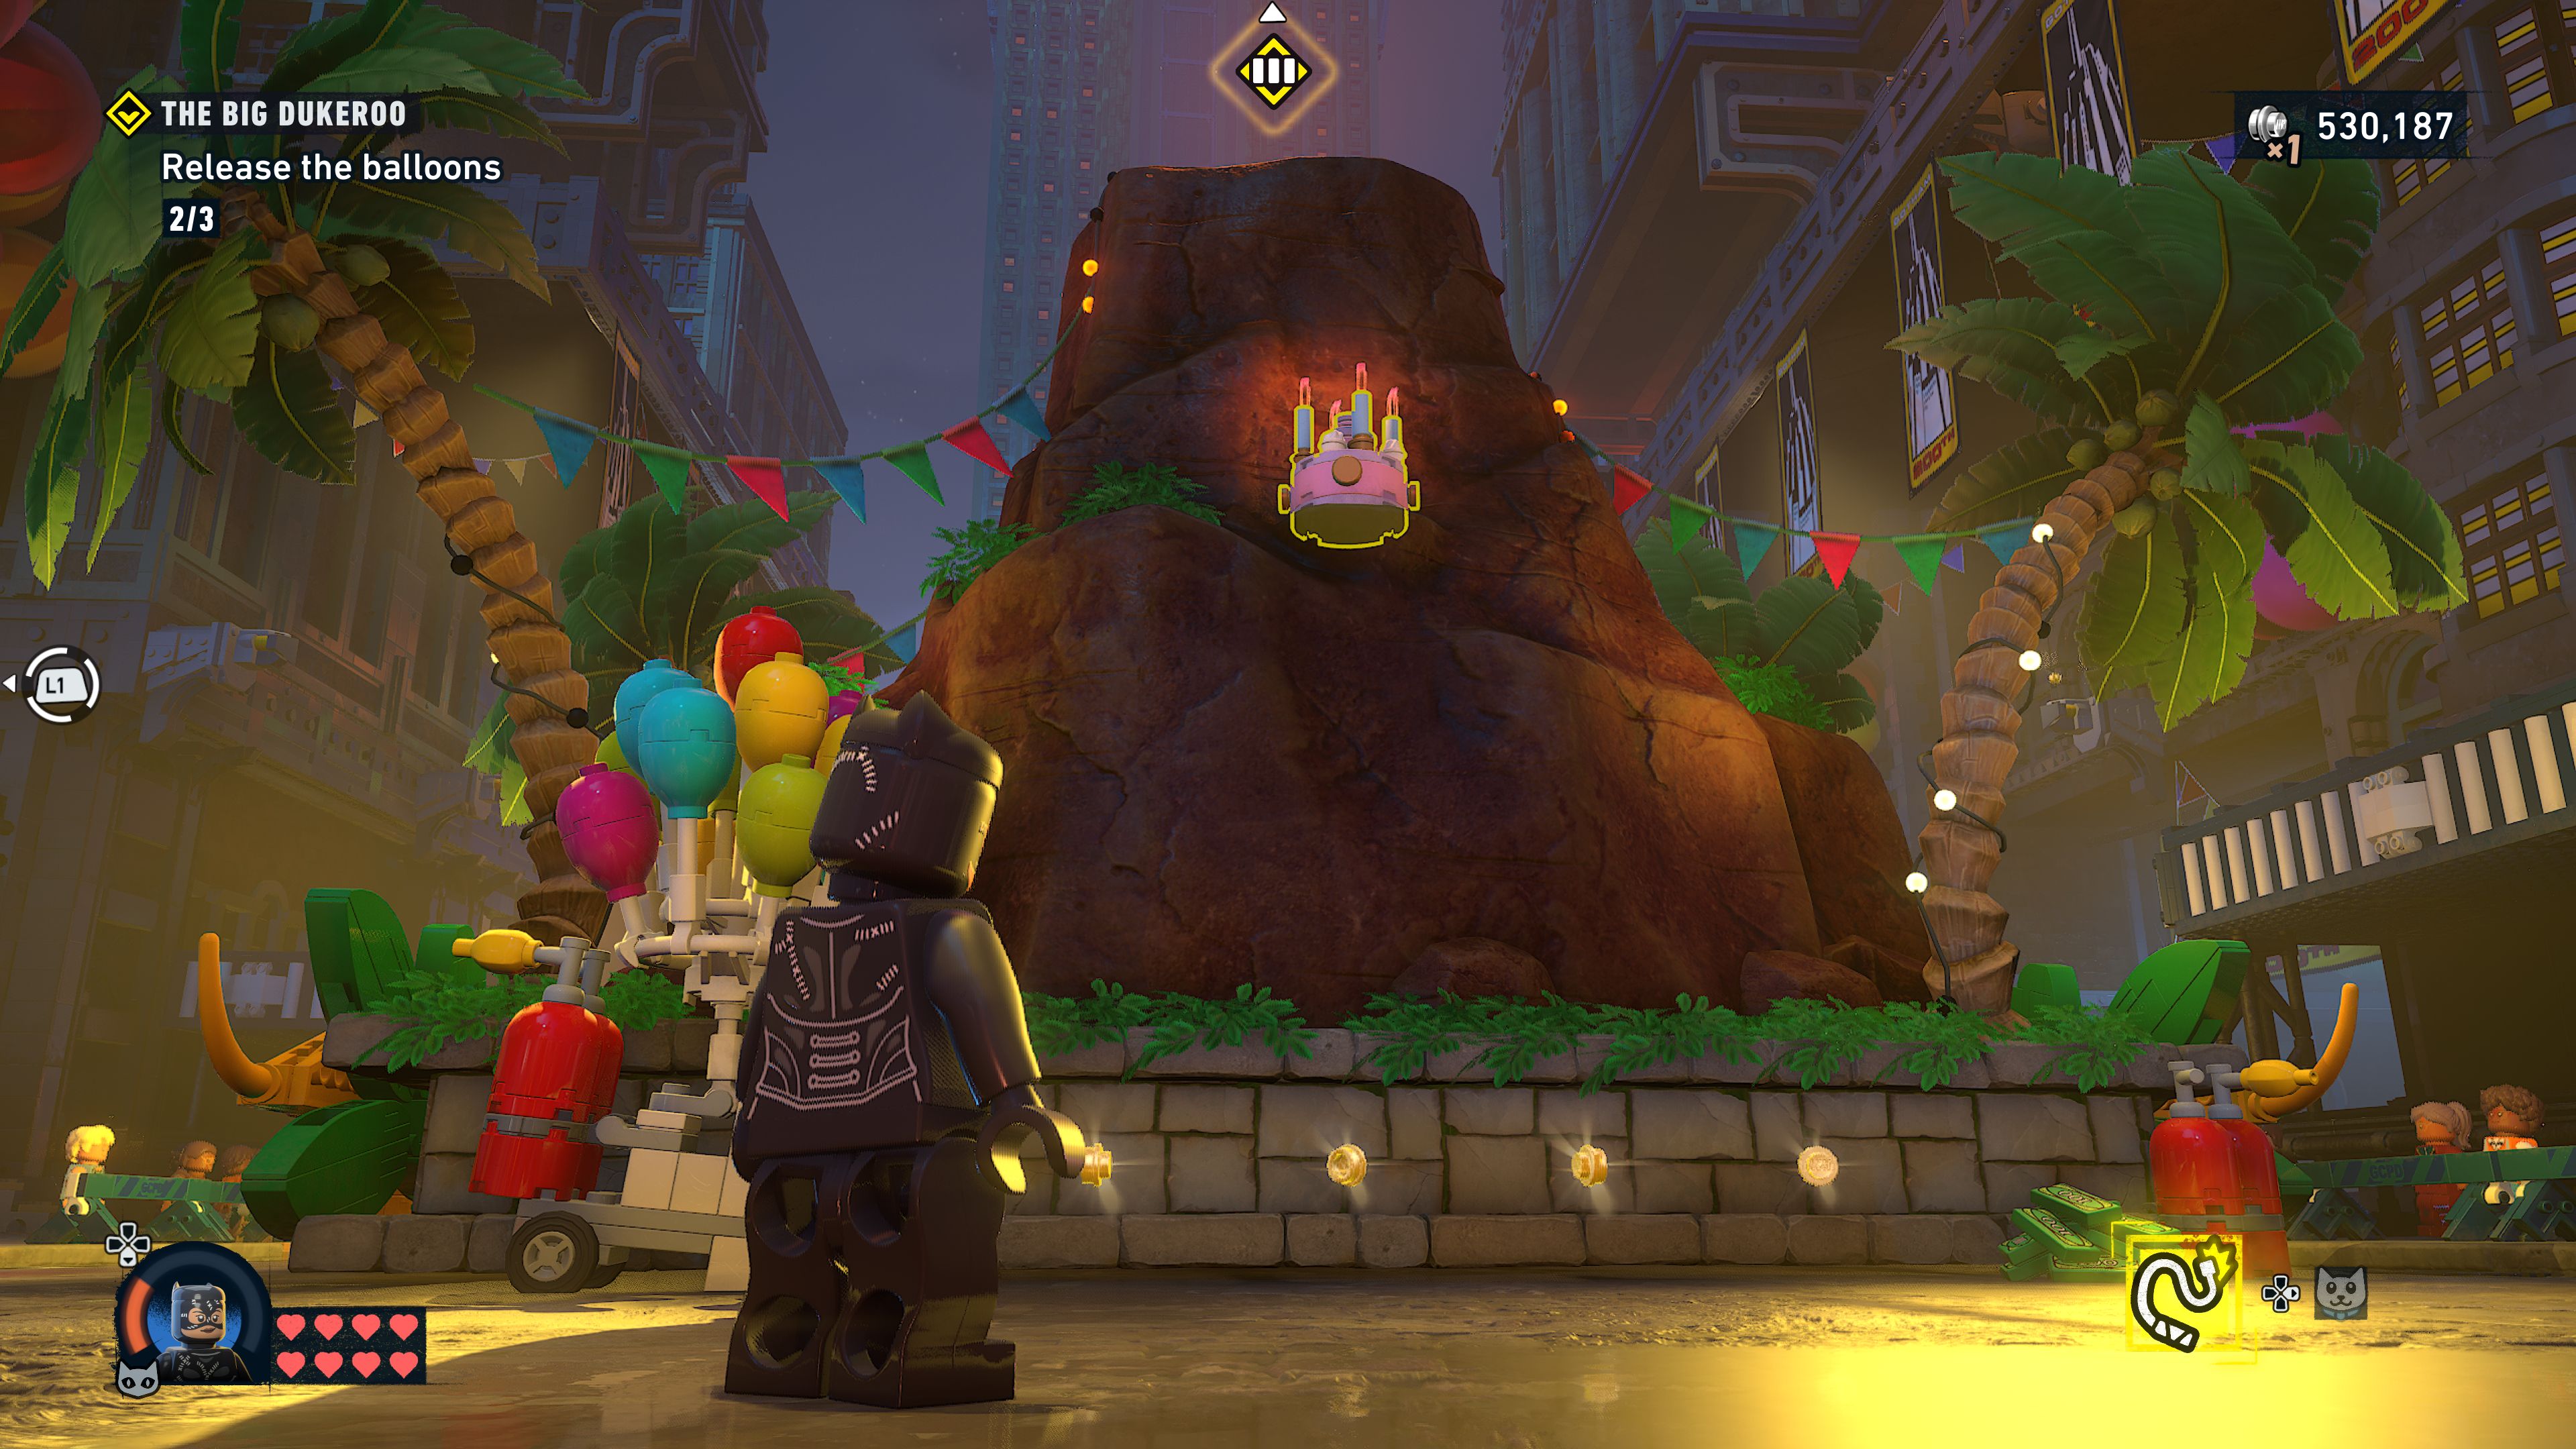
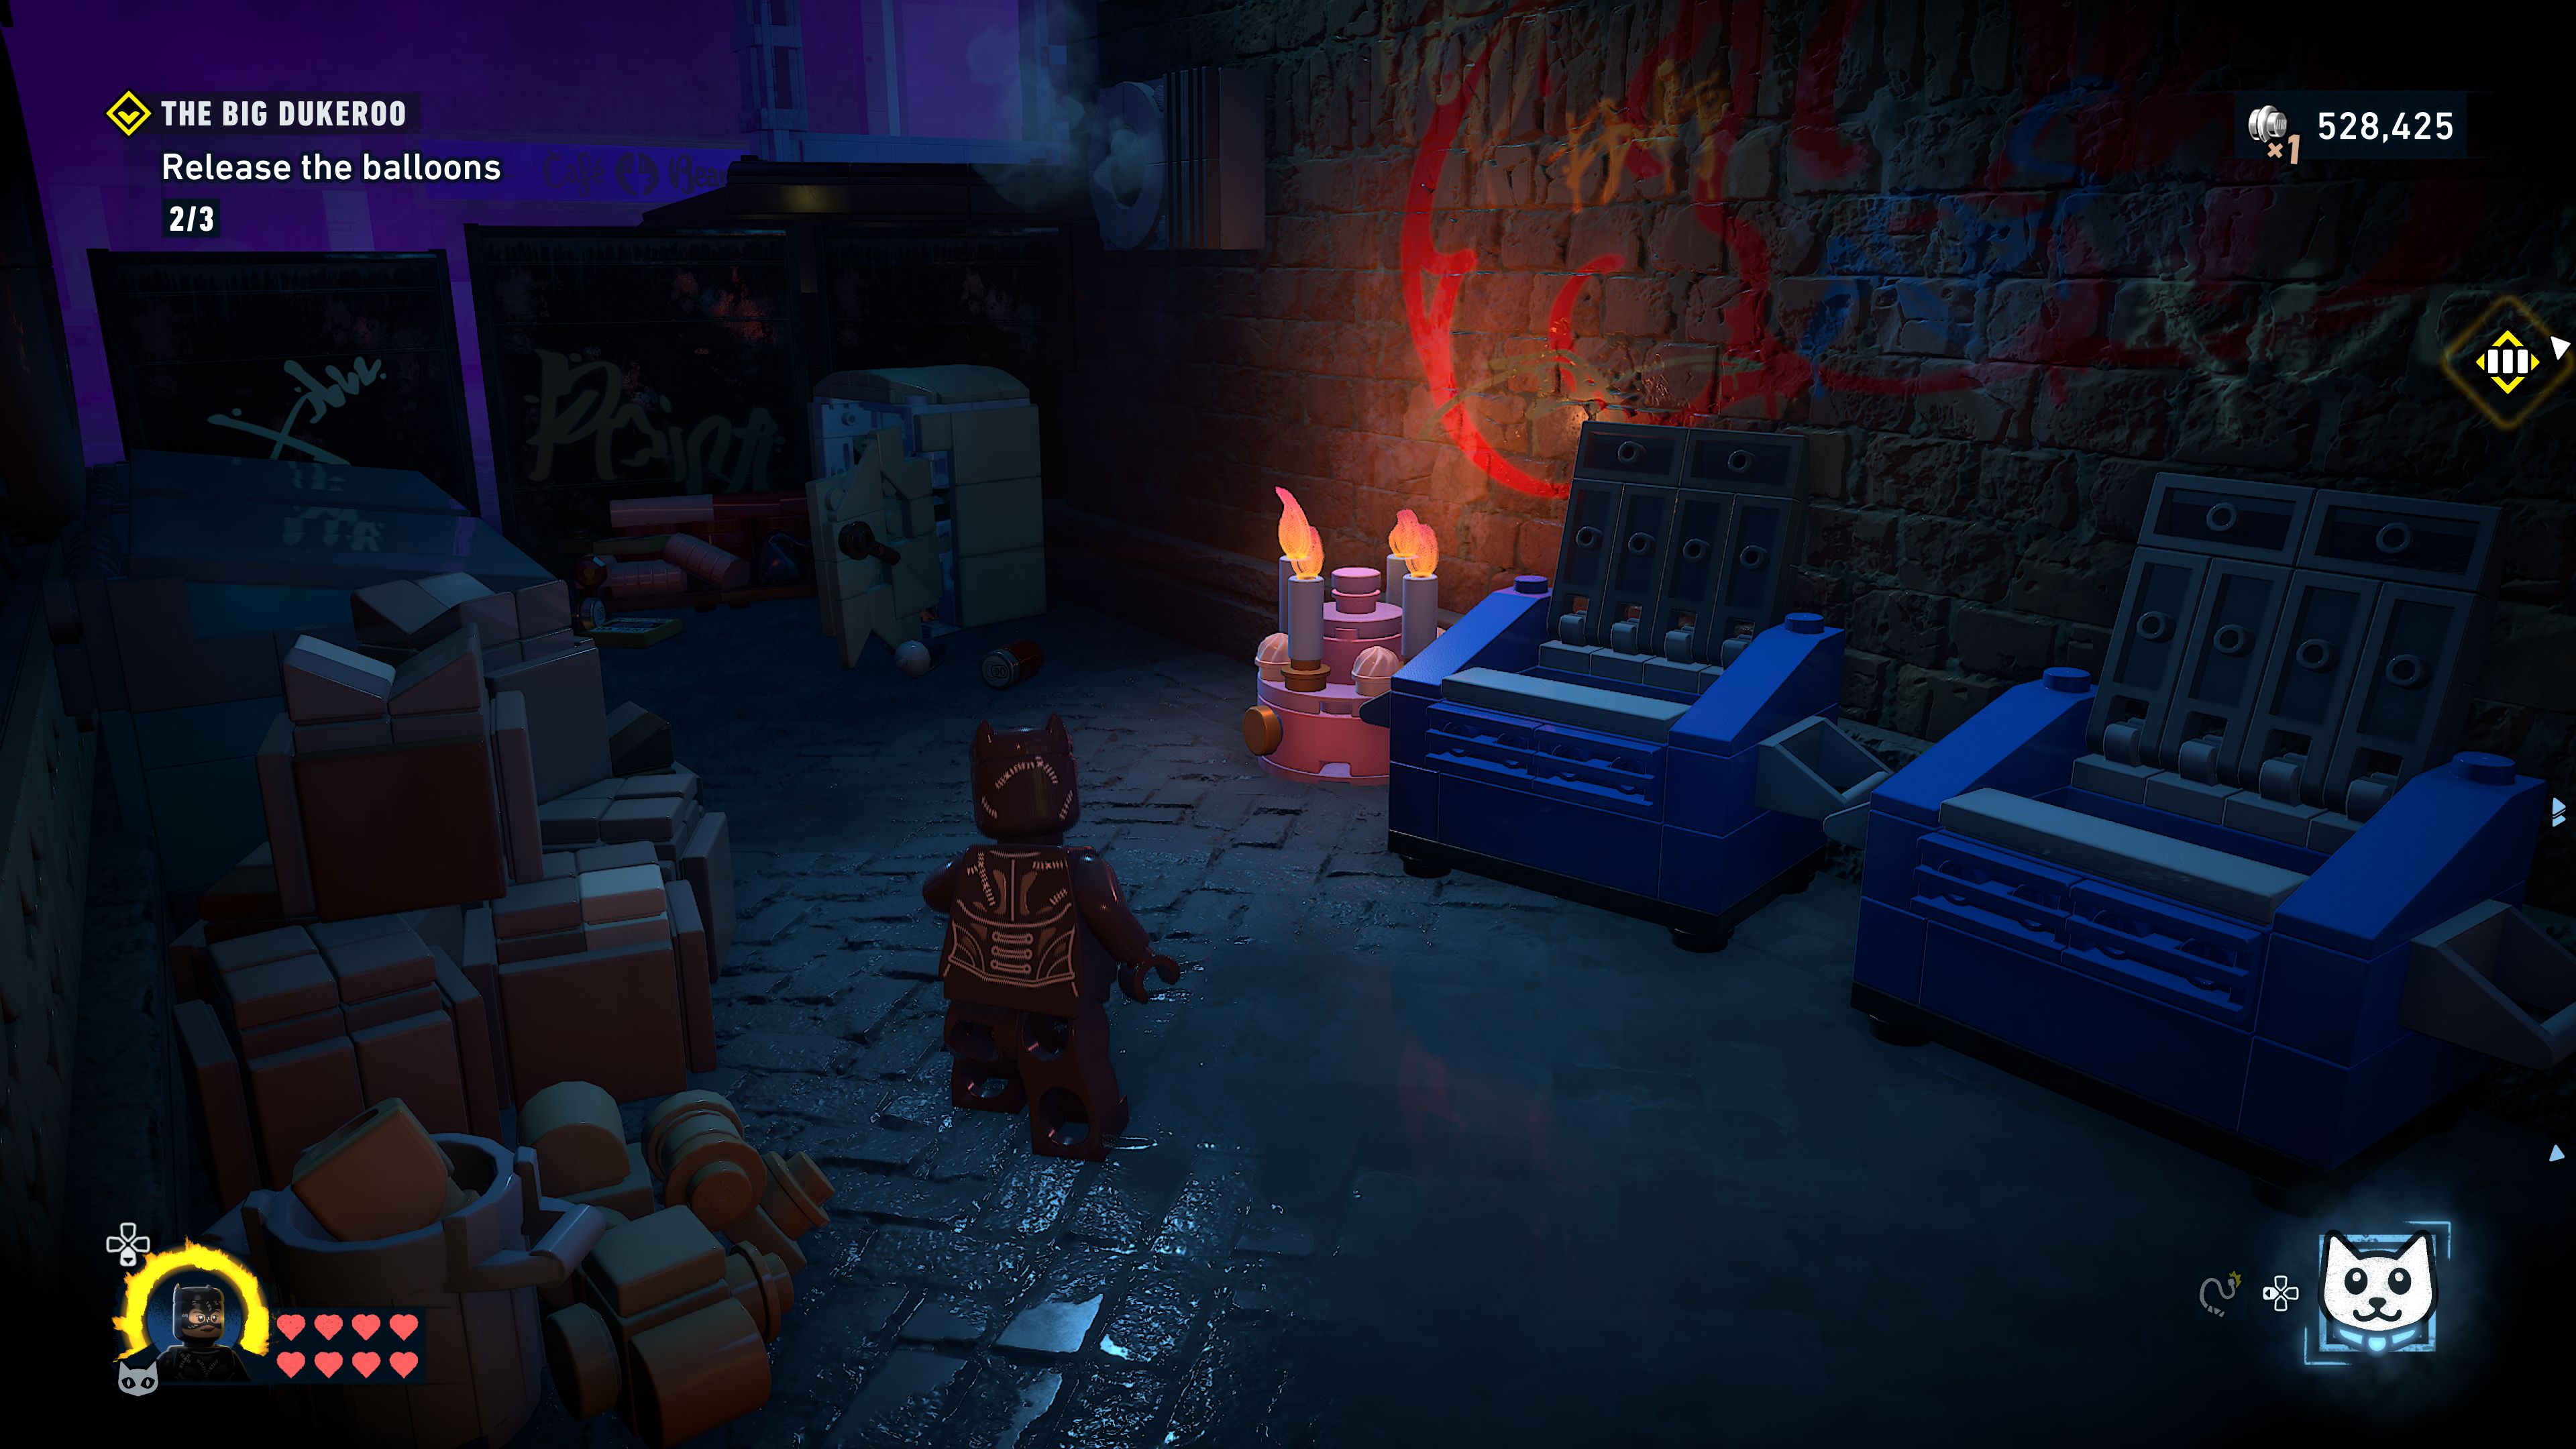
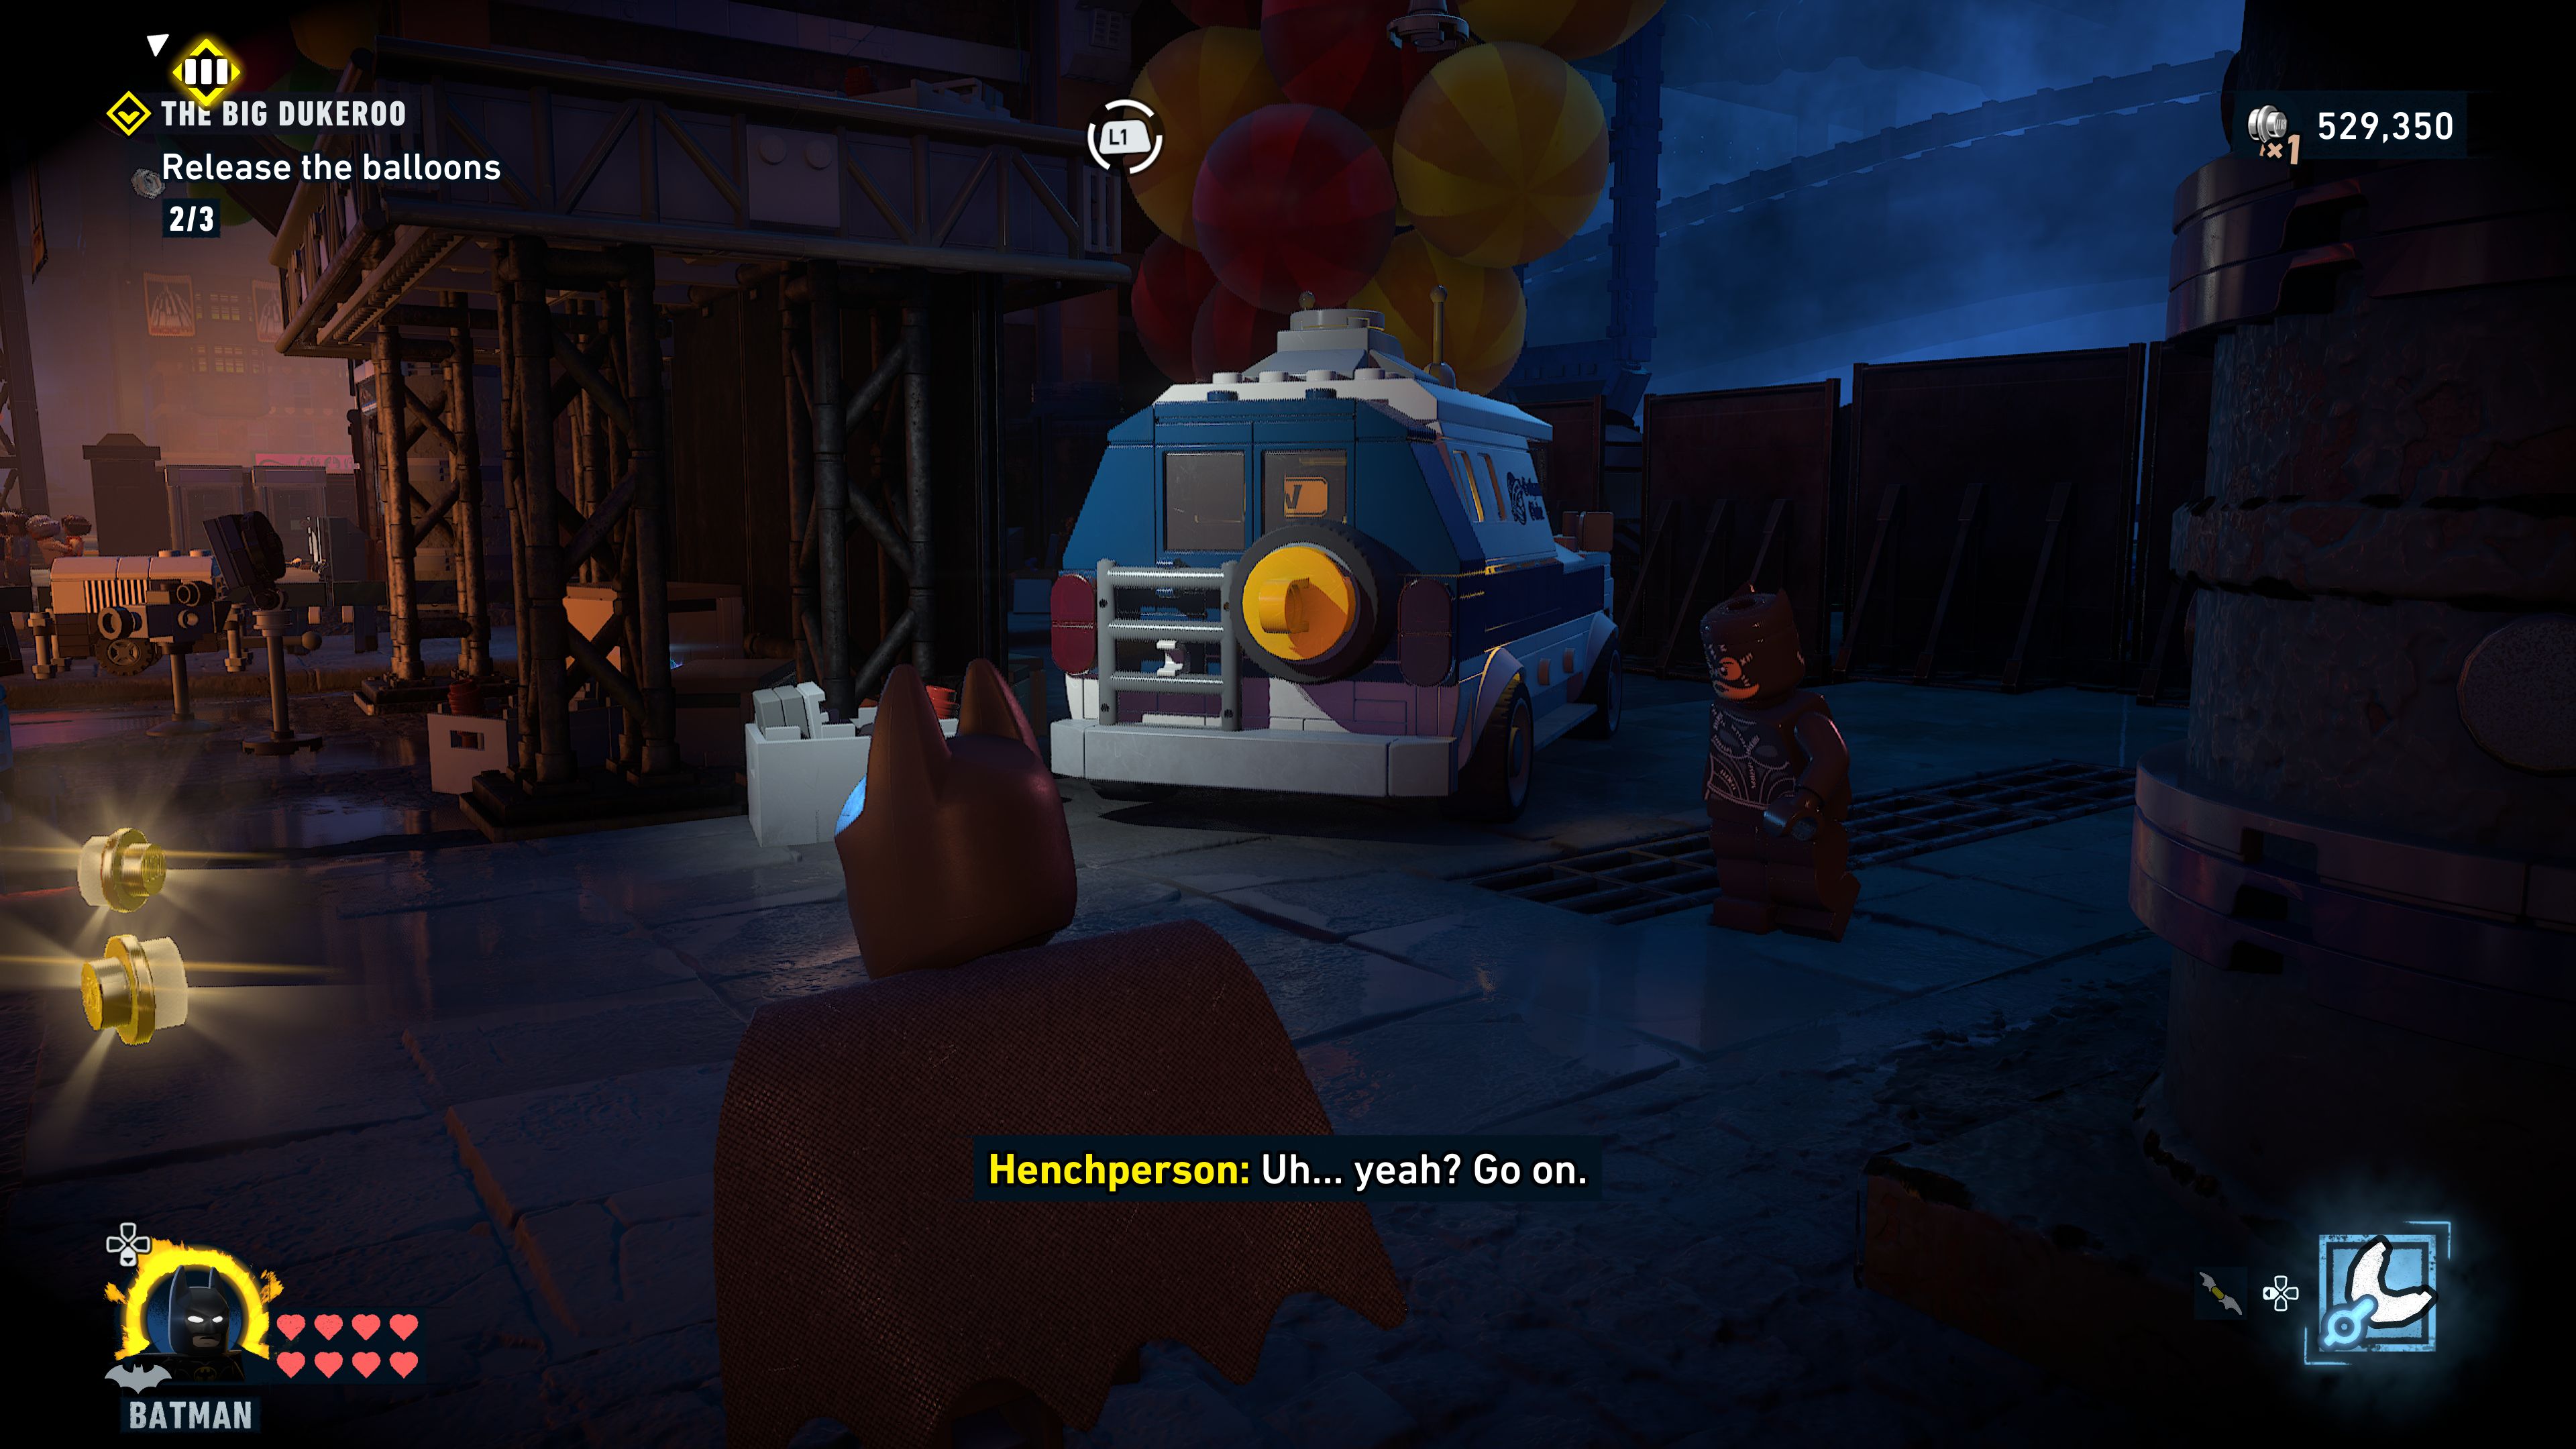
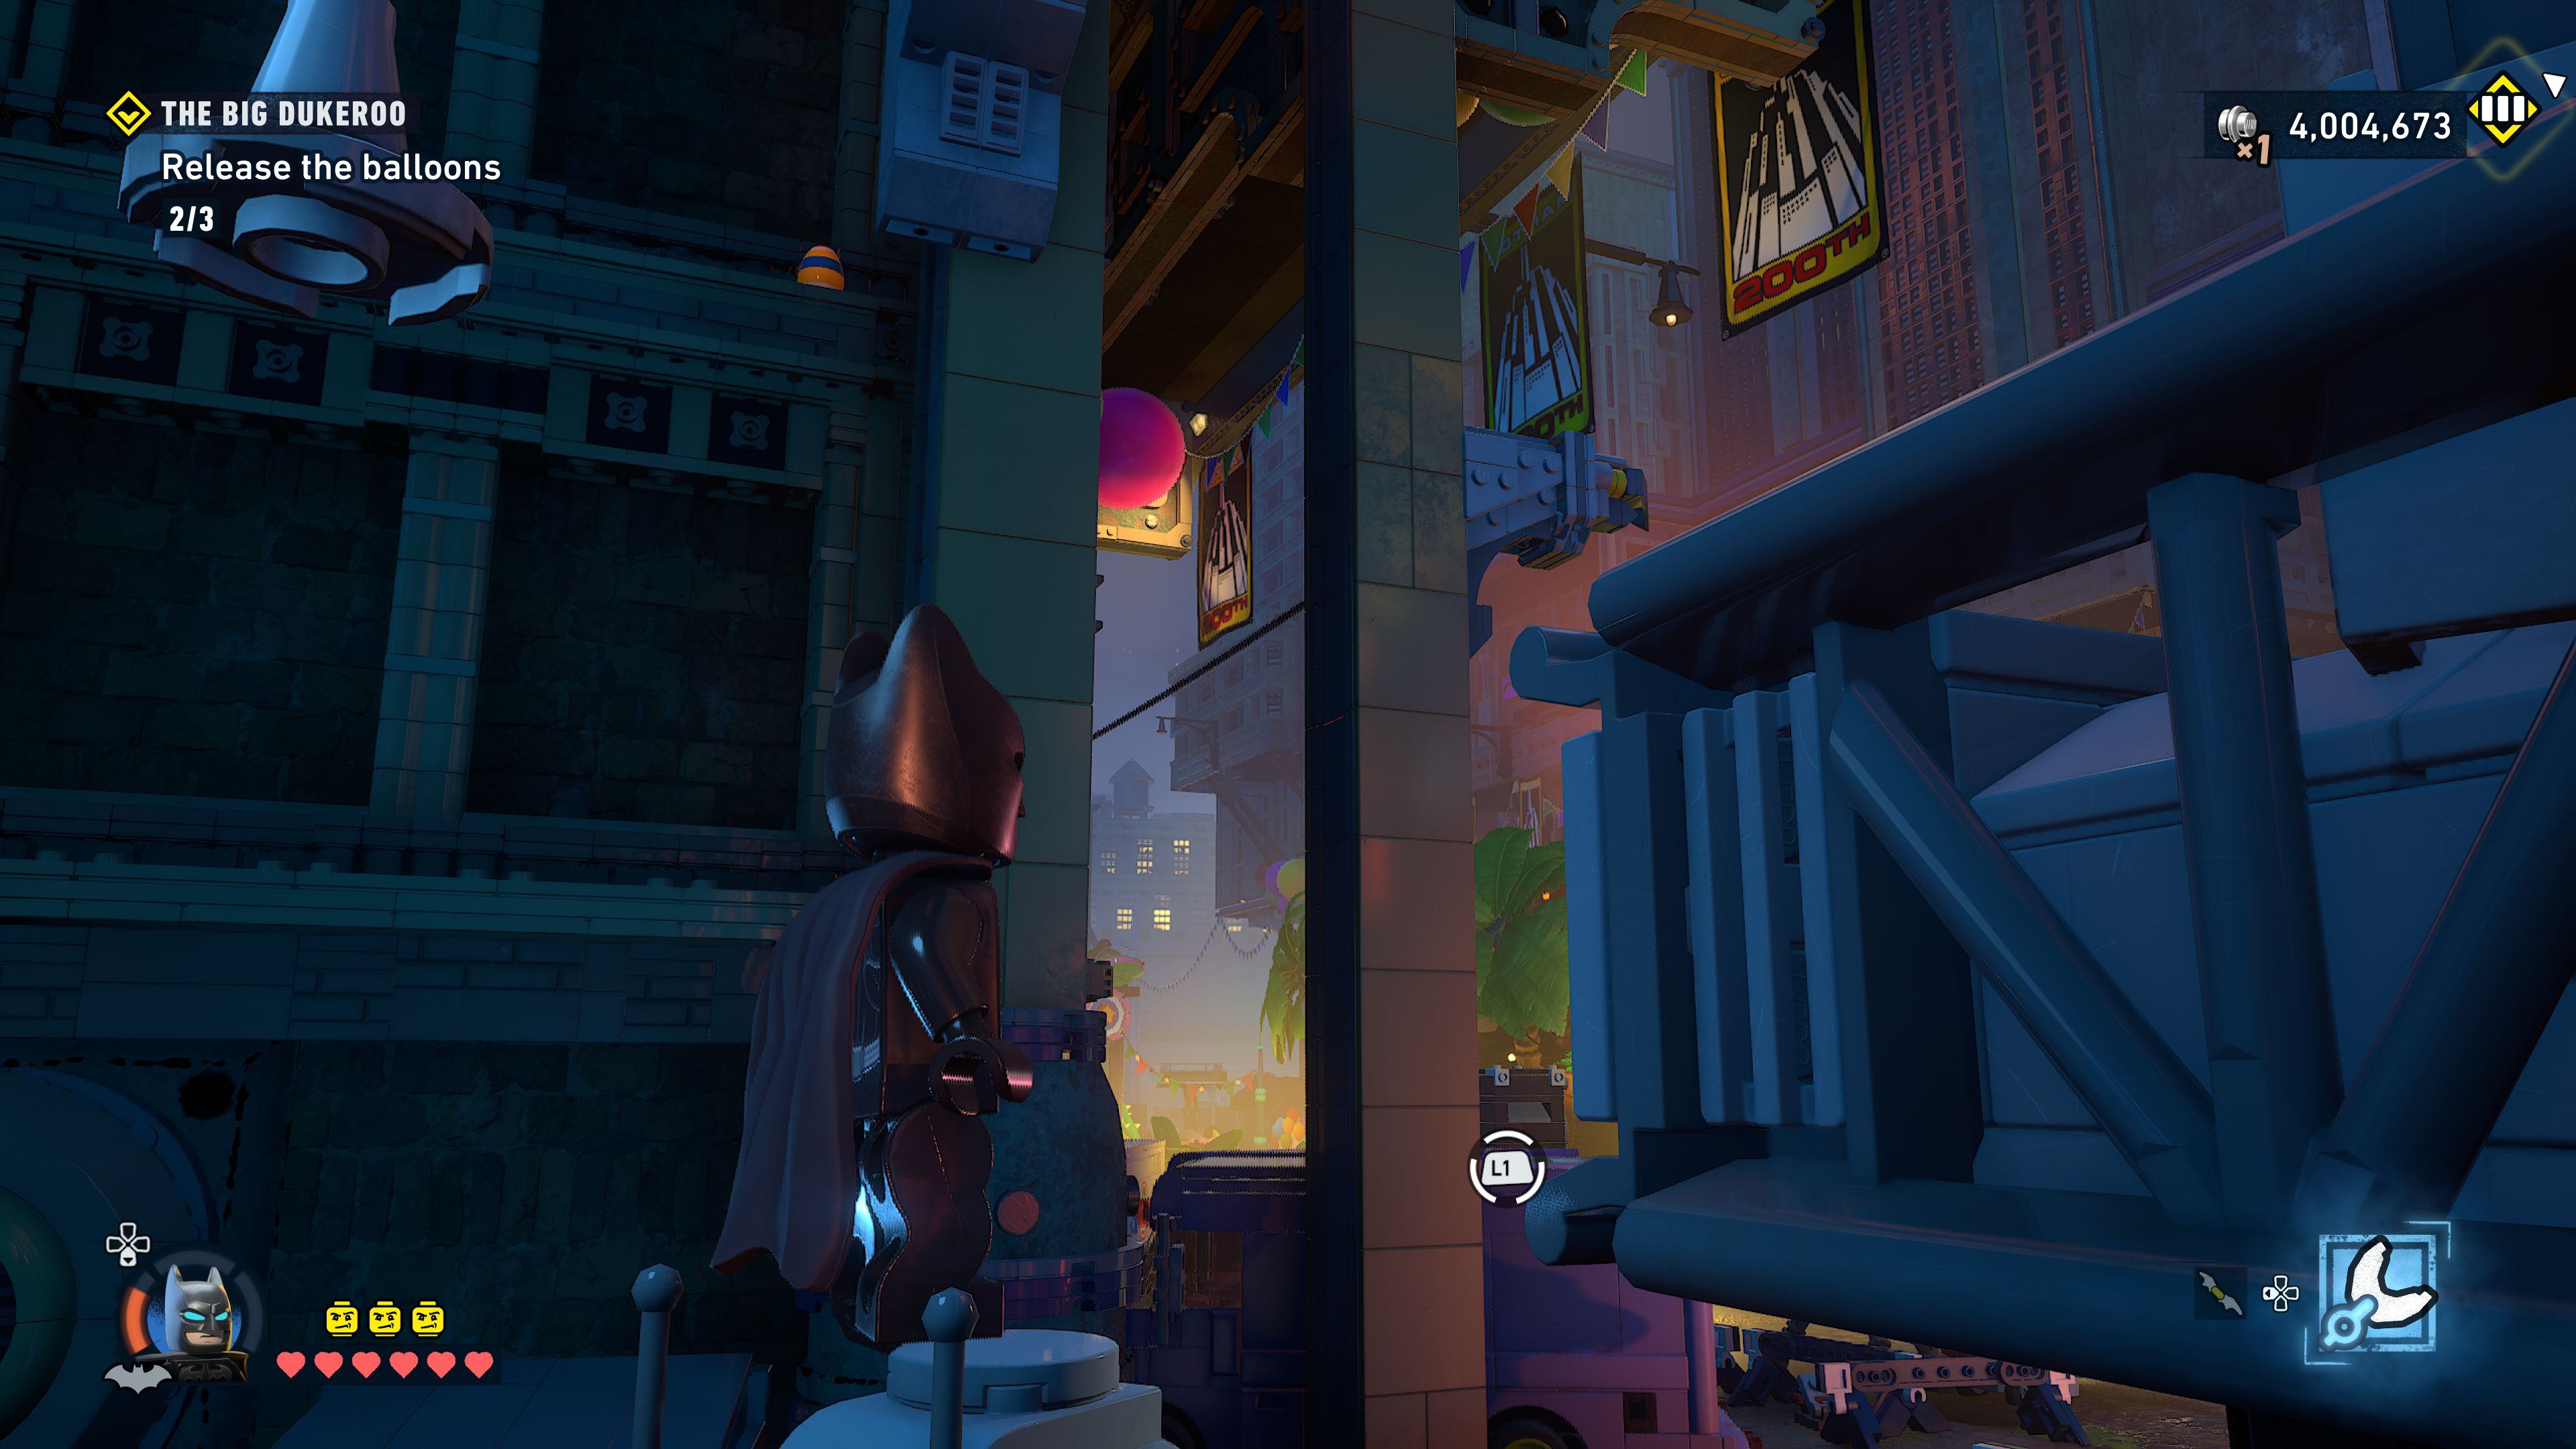
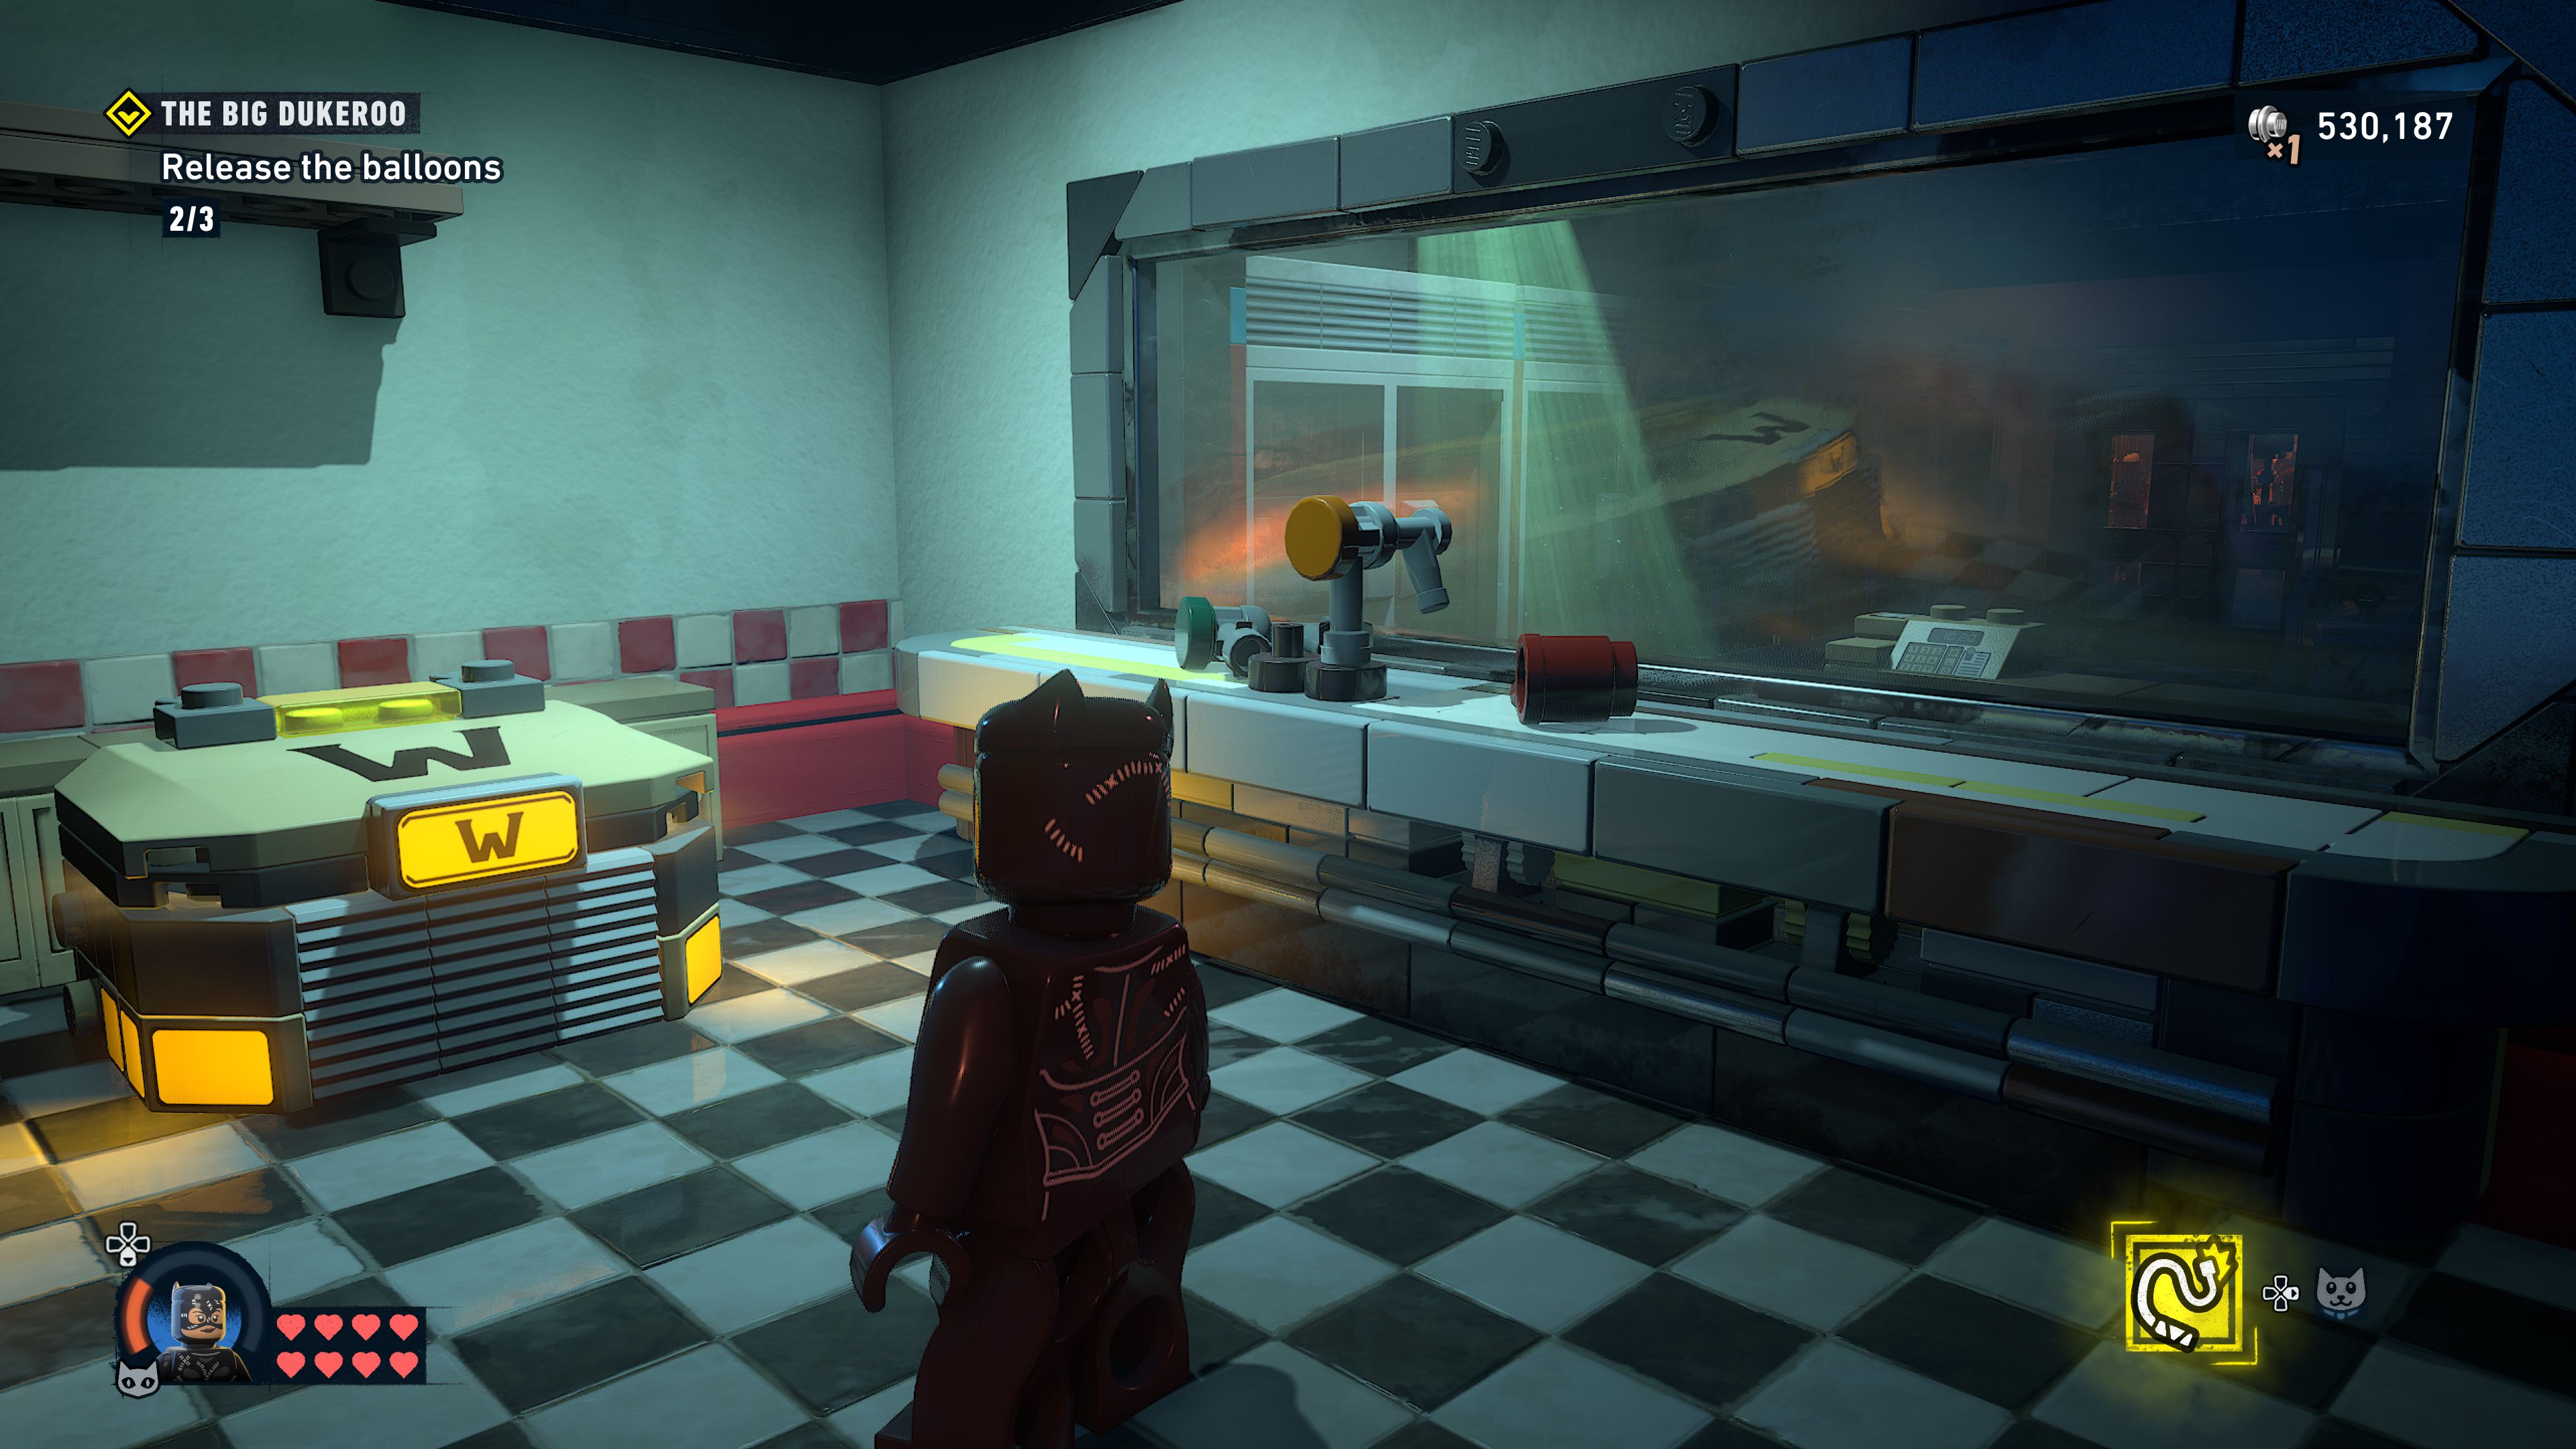
The medieval float is started by using UV Vision near the drawbridge and going around the left side to some banners that Batman should punch through automatically. Spray some gel to explode the wall behind it and reveal a spool for Catwoman to spin. The drawbridge will lower and Catwoman can go inside to crack the safe.
Take the handle and climb up the wall on the right side before switching over to the other side of the tower and climbing up the wall there. Make sure you've got all the collectibles you want before you release this final balloon.
Find a way to reach the Joker
You'll need to defeat a wave of enemies first, including a new type of enemy that will periodically hit the floor and cause an electric shockwave that will stun you if you're standing nearby. Once you've defeated them build a balloon of your own and jump on the pump a few times to inflate it.
Defeat the Joker
Perform a series of quicktime events as you glide towards the Joker and then fight him to complete the mission.
Unlocks
- +1 Skill Brick
- Batman Suit: Batman: The Brave and the Bold
- Catwoman Suit: Nine Lives
- Batcave Trophy: Cakes 5/5
- WayneTech Caches 5/5
- Red Brick - Showbiz Modifier
- Purple Stud 1/1
- Easter Egg
Chapter Two Complete
Go to the Bat-Signal
Once again you can complete the chapter and move on to the next one by using the Bat-Signal on top of the GCPD on Tricorner Island.
 darkspyro.net