Please be aware that this page is based on the original PlayStation 2 version of LEGO Star Wars II: The Original Trilogy, there are some small differences compared to LEGO Star Wars: The Complete Saga.
Episode IV
A New Hope
Chapter 1
Secret Plans
It is a period of civil war. Rebel spaceships, striking from a hidden base, have won their first victory against the evil Galactic Empire.
During the battle, Rebel spies managed to steal secret plans to the Empire's ultimate weapon, the Death Star, an armored space station with enough power to destroy an entire planet.
Pursued by the Empire's sinister agents, Princess Leia races home aboard her starship, custodian of the stolen plans that can save her people and restore freedom to the galaxy....
| Story Mode | Free Play |
|---|---|
| 40,000 | 70,000 |
The first task of the game is to assemble the two parts of the desk, in a change from the first game you no longer need to be a Jedi to build LEGO, anyone (except Droids) can do it. Once you've built them the door will open to allow you to move forwards.
The panels on the wall in the next room may look like they can only be interacted with by a Jedi (the blue sparkling glow) but you can also shoot them to blow them up and get some studs. At the far end and pull on one of the levers, if you're playing single player then the other character will automatically pull the other lever for you.
Minikit 1/10
Requires: Dark Force Story Mode: No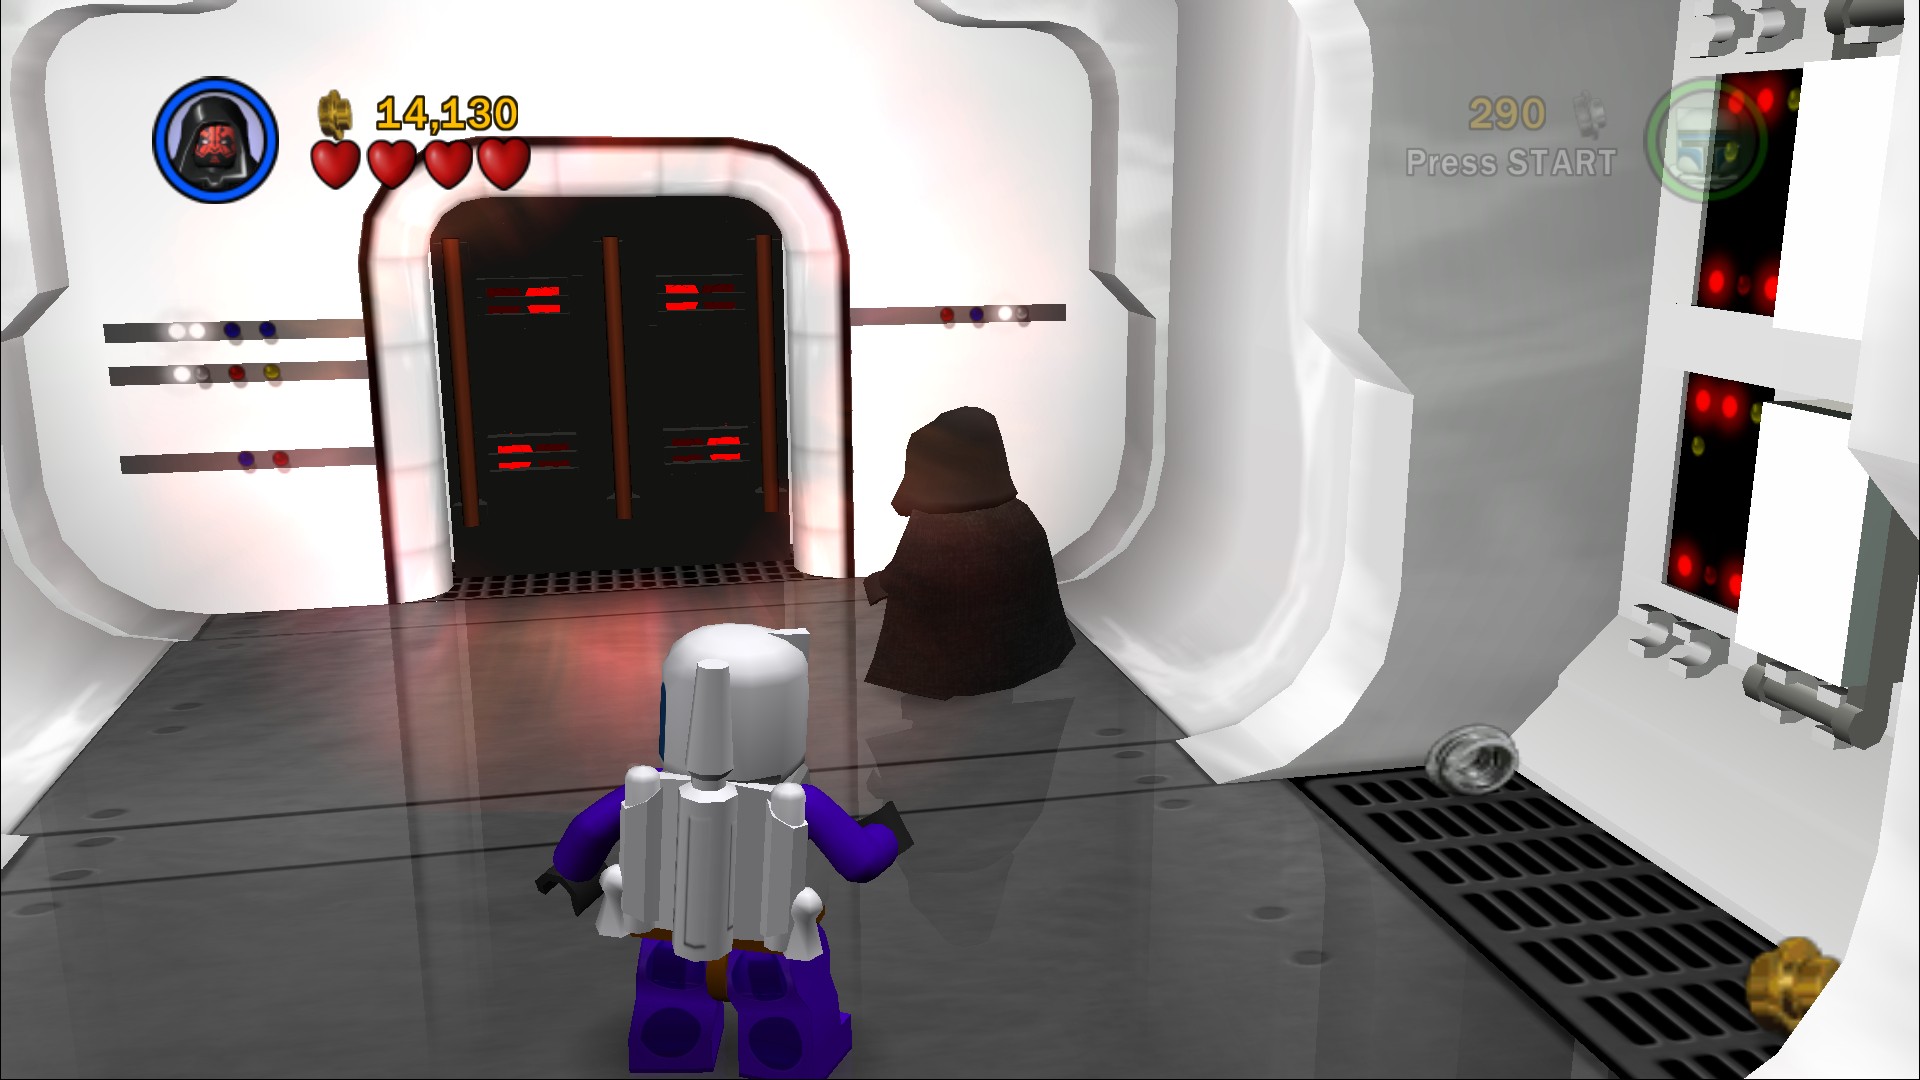
In Free Play go to the right and use the Dark Force to open the door and find the Minikit in a double score zone.
Follow the Rebels to the left and a wave of Stormtroopers will burst out of the far door. Shoot them and another group will enter, shoot them and a third wave will appear. Once they're gone the rebels will advance forwards.
Go through the door the Stormtroopers came out of.
Minikit 2/10
Requires: Bounty Hunter Story Mode: No
Although there is an Access Hatch in this room to get the Minikit you actually need a Bounty Hunter to blow up the Silver LEGO, the hatch is misdirection and only leads to studs.
Both Princess Leia and Captain Antilles have the grapple ability, use it by standing in the red target on the ground and pressing the (Circle) button. Up on the ledge go around to the opposite end to grapple up again, at the top build the two parts and a bridge will extend for you to cross over.
Minikit 3/10
Requires: The Force Story Mode: No
Use the Force on the panels to the right of the bridge and jump up to the Minikit above.
Shoot the Stormtroopers and then pull the four levers to bring in some objects next to Darth Vader. Shoot the objects several times to blow them up in order to get Darth Vader to run off when you approach.
Minikit 4/10 - Part 1
Requires: None Story Mode: Yes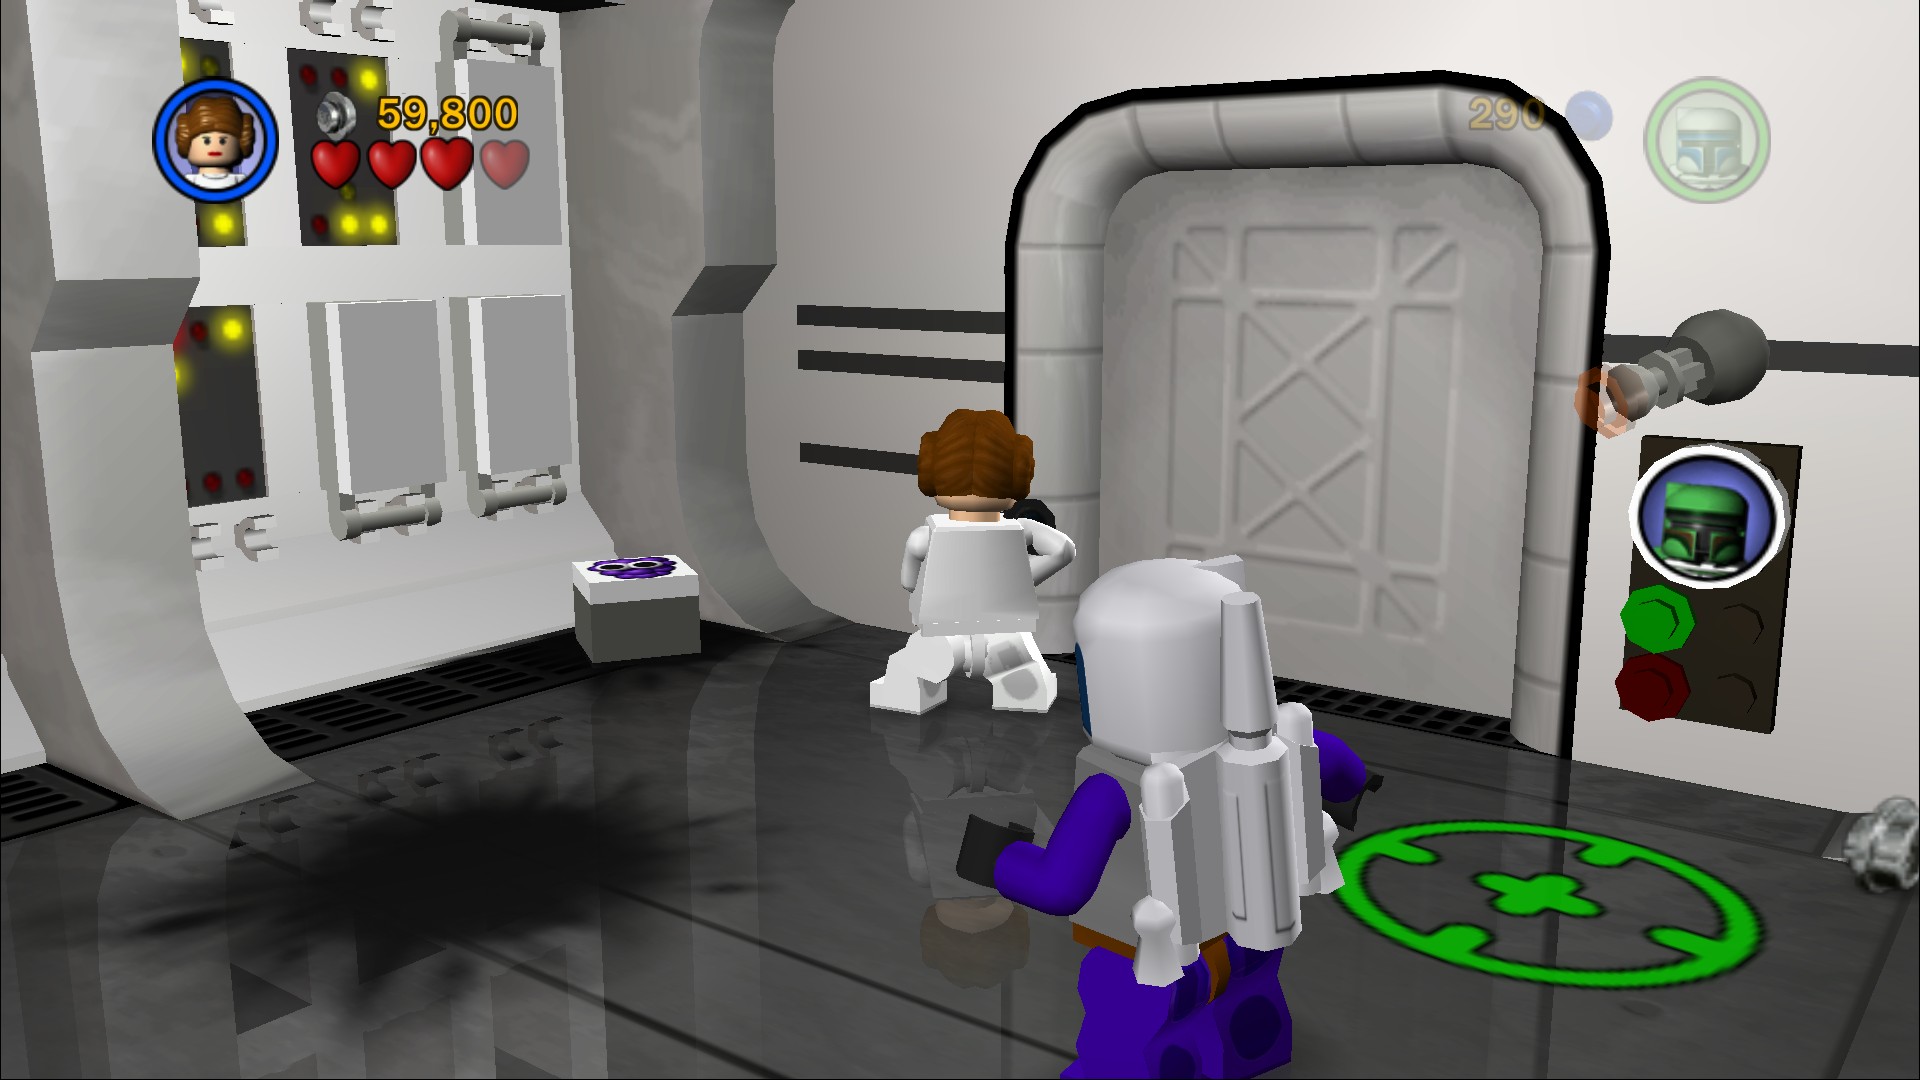
The first of a set of three objects to find in the level is in the corner on the right, shoot the regular looking container that it's hiding inside to reveal it.
You need to find all three in the same go through the level to reveal the Minikit, the game seems to just want to tease you though by placing one or two where you can find them in Story Mode but then has the remaining requiring Free Play.
Go to the left through the door and help the rebels out by shooting a bunch of Stormtroopers in the back.
Minikit 4/10 - Part 2
Requires: Protocol Droid and Bounty Hunter or Stormtrooper Story Mode: No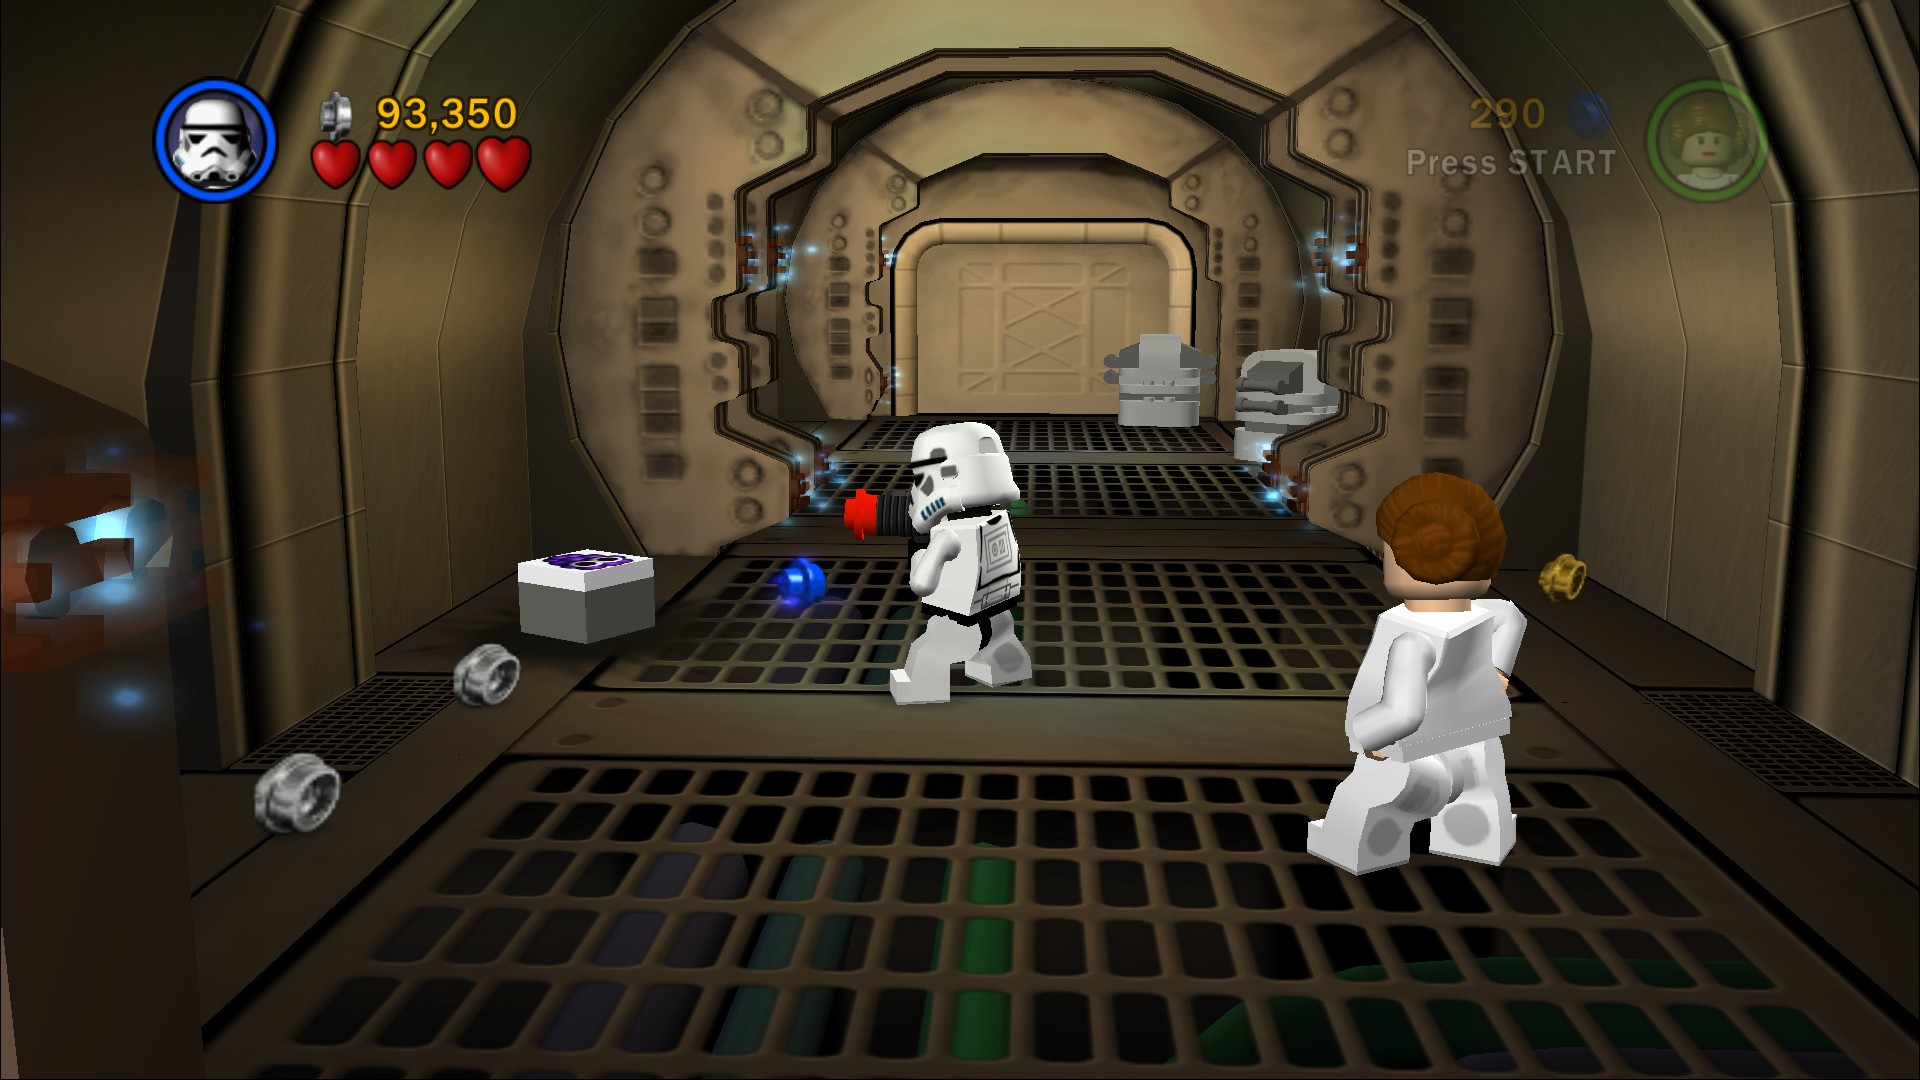
On the right is a door that only a Stormtrooper can get through, go through and use a Protocol Droid to open the barrier. On the left-hand side beyond that is a crate with the second item inside. There is an alternative path to here through the Bounty Hunter door you passed by earlier but you'll still need to open the same Protocol Droid barrier.
Red Brick (Super Blasters)
Requires: The Force, Protocol Droid and Bounty Hunter or Stormtrooper Story Mode: No
The first of the new type of collectible, use the Force on the first shower head on the right to grow some plants, then smash the plants to get the Red Brick.
Minikit 4/10 - Part 3
Requires: Bounty Hunter or Stormtrooper Story Mode: No
Walk towards the camera at the Protocol Droid panel you just opened and shoot a crate on the right side after the Silver LEGO object to find the third and final googly eyed grapes object. It'll cause a Minikit to appear, to get to it just walk further towards the screen and take a right.
Minikit 5/10
Requires: Bounty Hunter or Stormtrooper Story Mode: No
Walk into the two escape pod rooms to the left and right and you'll throw out a bunch of white bricks. Once both and thrown out you can assemble them into a doorway that will reveal a Minikit.
Get back out to the fight, shoot a few more Stormtroopers after passing the Stormtrooper door. On either side there are pairs of levers, these are not essential to progression but will open the windows and give you a few studs. There's also some red lines on the ground, if you step on the one apart from the others and then quickly along the line getting all of them to turn green at the same time you'll be showered with studs. Once you're done here go through the door at the back where the Stormtroopers were coming from.
In the next room there's a couple of boxes you can push around, push the first one along so that it fits in the gap and then push the second one to the right and into the corner to fit in a similar gap.
Minikit 6/10
Requires: The Force Story Mode: No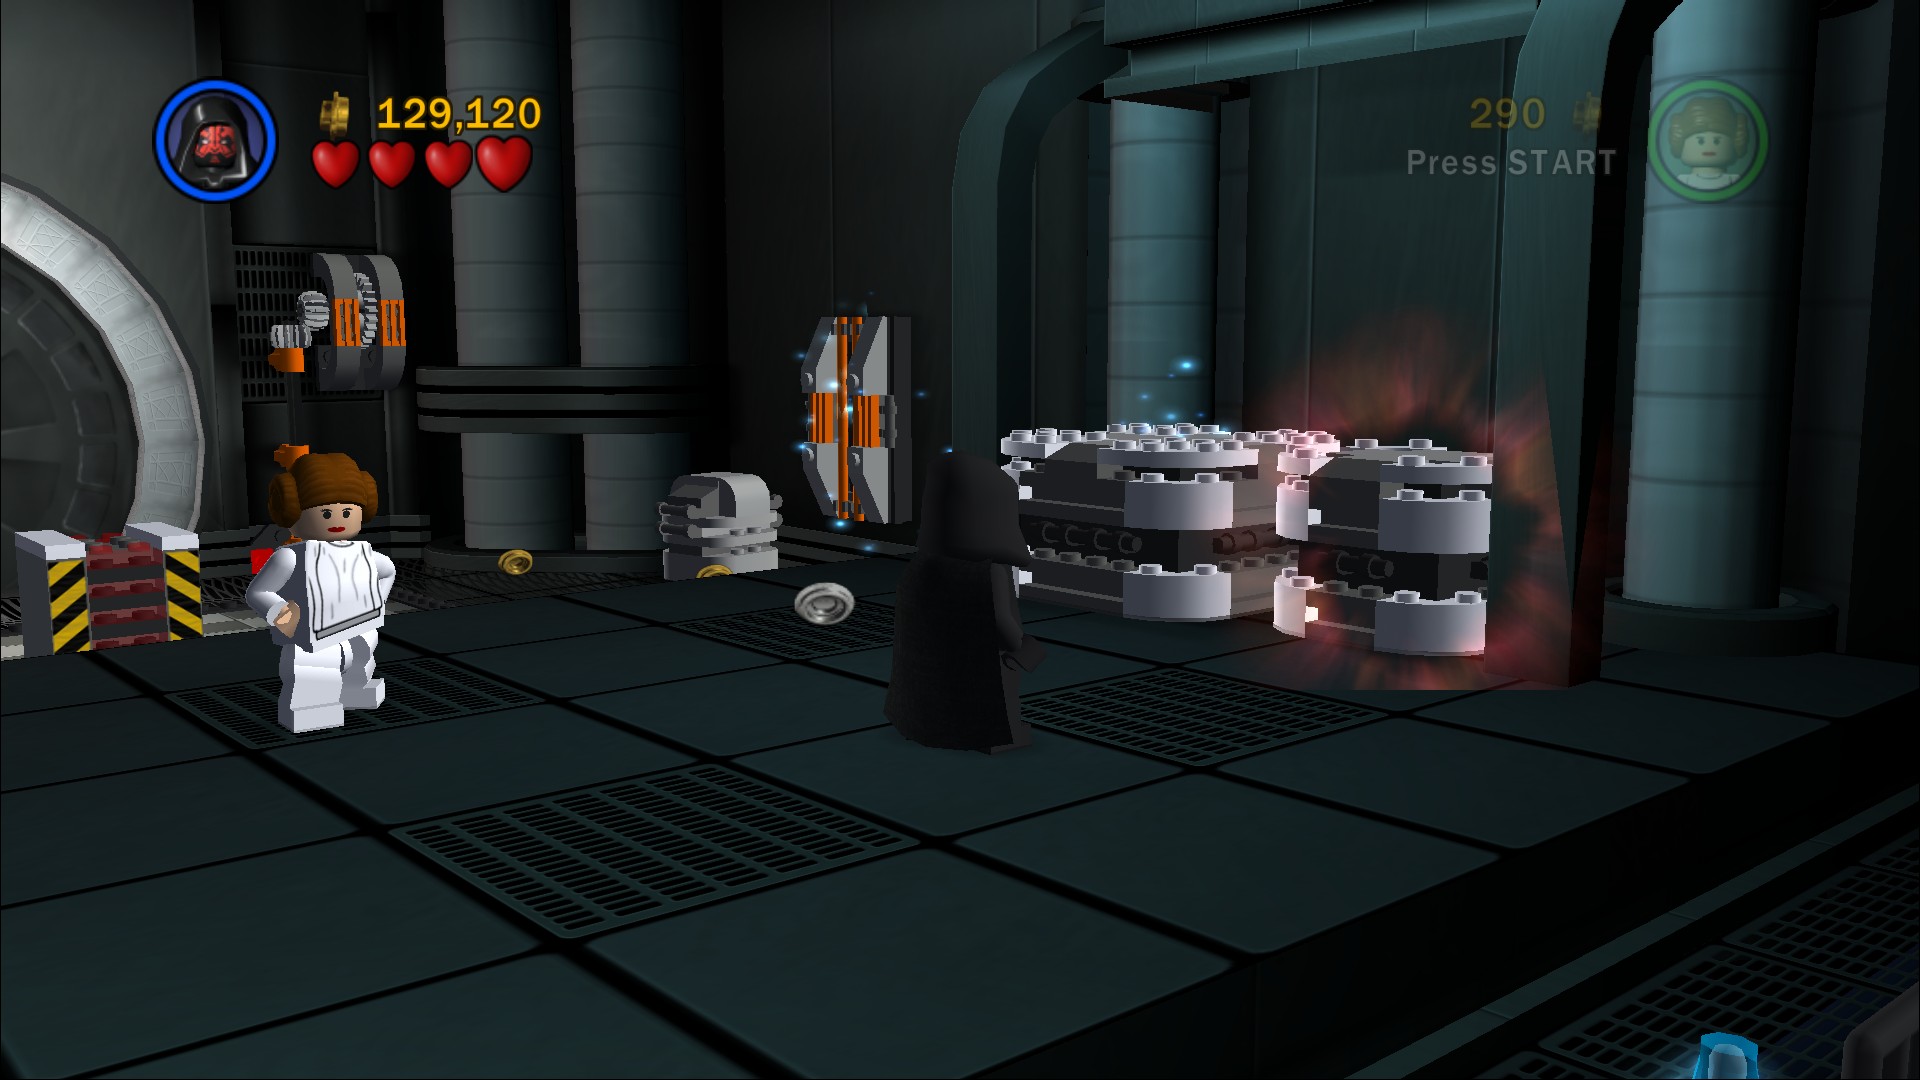
Use the Force on a couple of blocks on the right side of the push blocks room to stack them up, use them to jump up to a Minikit in the air above.
With both pushable boxes in place the door will open and a few Stormtroopers will come in, defeat them and go meet up with C-3PO and R2-D2.
You might remember passing a protocol droid door earlier on, while you can backtrack all the way there it isn't worth the effort as there's nothing of value in there. Use C-3PO on the panel here to actually reach R2-D2 and lose control of Princess Leia.
Minikit 7/10
Requires: The Force Story Mode: No
Use the Force on one of the orange grill things on the sides of the corridor (specifically the first one on the upper left after the C-3PO barrier) and a Minikit will appear in the gap beside it (where Leia vanished).
Use R2-D2 on the door at the back and go through.
Using Captain Antilles get into the crane and use it to attack the Stormtroopers by either picking them up or dropping a crate on them. Once the rebel is safe he'll lower the bridge for you and also become playable so your co-op partner isn't stuck as a droid. In Free Play you can just shoot them.
Minikit 8/10
Requires: The Force, Protocol Droid and Stormtrooper or Bounty Hunter Story Mode: No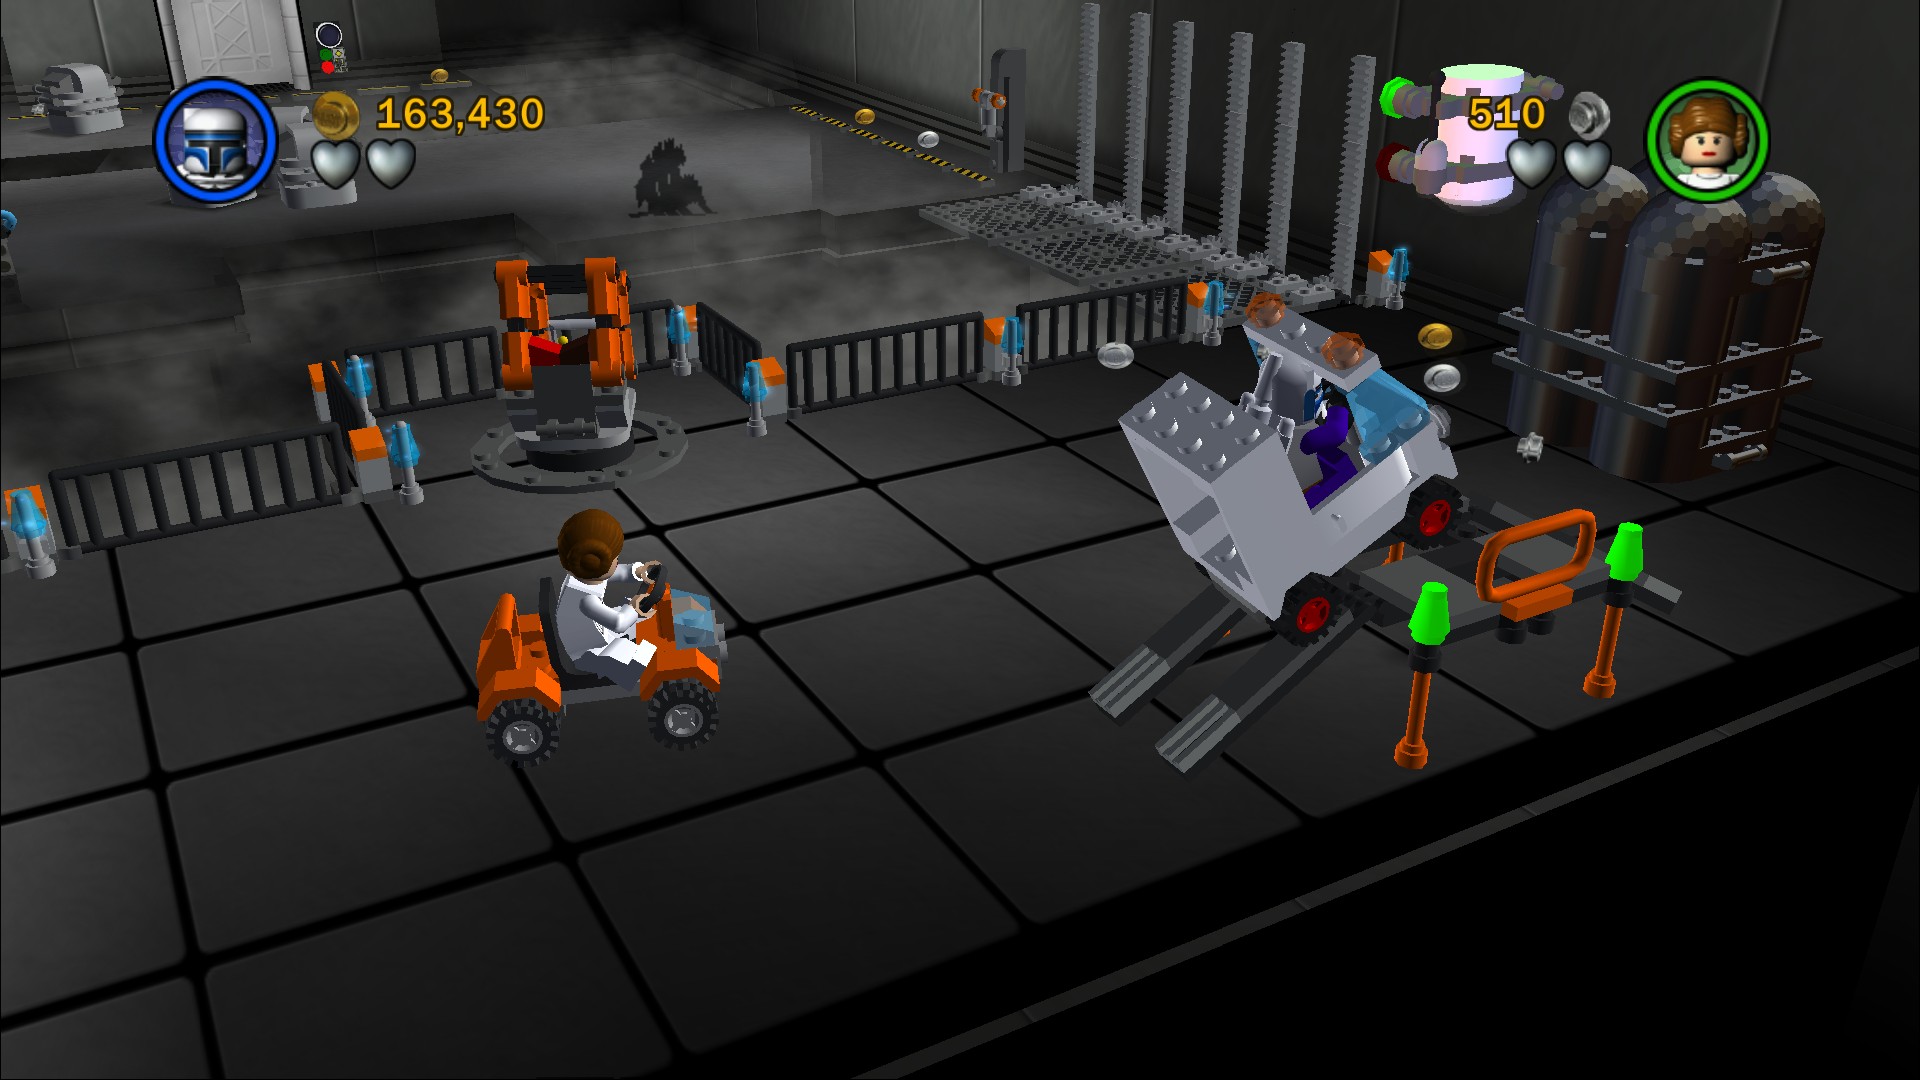
If you now backtrack to the hydroponics bay and smash the three plants that grow at the back after using the Force on the shower heads you can find the pieces to a small vehicle. Assemble it and hop in, drive all the way back and onto the ramp in front of the crane to make a Minikit appear. There's also a vehicle in the Silver LEGO object in the corridor leading towards the hydroponics bay as an alternative, both vehicles work just fine.
Anyway once C-3PO can get across to where you can grab him with the crane pick him up and drop him over by the protocol droid panel door. Switch to him and open it up. Defeat a group of Stormtroopers that are escorting some rebels to free them. Another group will run in and then a third group that include a commander who takes two hits to be defeated. After the fourth group the rebels will try to push forwards into the next room but will quickly retreat back.
Minikit 9/10 - Part 1
Requires: None Story Mode: Yes
One of three flowers hidden on the left, revealed by shooting the middle panel. I say revealed, it gets destroyed too.
Run through the door to the next area after taking out all the Stormtroopers. As you go along the corridor watch out for the gap, you'll have to build a bridge for C-3PO to get across.
Minikit 9/10 - Part 2
Requires: Stormtrooper Story Mode: No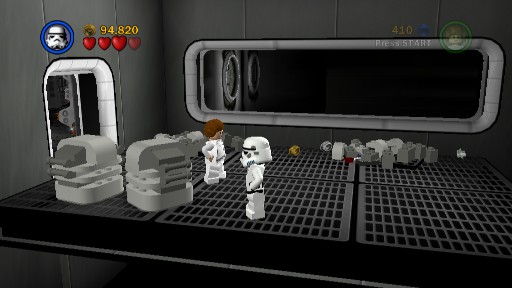
Go through the Stormtrooper door on the left and shoot the crates by the door to reveal some more flowers.
Go to the right at the end and build another bridge for C-3PO.
Minikit 9/10 - Part 3
Requires: Bounty Hunter Story Mode: No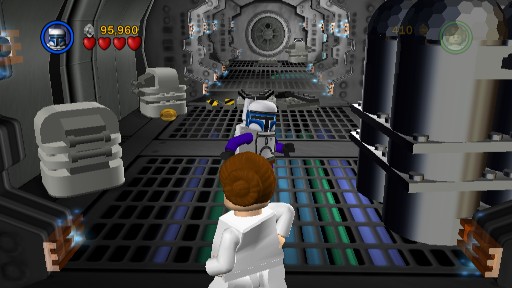
The last bunch of flowers is found by blowing up the Silver LEGO on the right just before the bridge. The Minikit will appear ahead.
Use R2-D2 to open the door on the left so you can go up the ramp and pull a lever. Use R2-D2 again on the back door after you've blown up the object blocking the panel, then pull the lever at the back.
Minikit 10/10
Requires: Dark Force Story Mode: No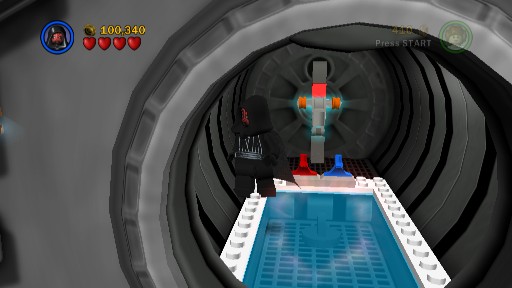
Use the Dark Force to pull the plug on the bath.
Finally use C-3PO to open the protocol droid door on the right now that the barrier has dropped to get abord the escape pod and use R2-D2 to activate it and finish the chapter.
Star Destroyer
 Based on set 4492
Completing the level will unlock Princess leia, Captain Antilles, Rebel Friend, C-3PO, and R2-D2 for use in Free Play and it will add a few more to the store for you to optionally buy.
| Cost | Character | |
|---|---|---|
| 10,000 | Rebel Trooper | |
| 10,000 | Stormtrooper | |
| 29,000 | Imperial Shuttle Pilot |
You can now also start playing through Episodes V and VI if you like, no need to complete the whole of Episode IV to unlock the next Episode. And while you can immediately go and try Free Play in the first chapter you might want to hold off until you've got a few more characters unlocked as you won't actually be able to do all that much more just yet.
Note that when starting Free Play the Original Trilogy will never automatically choose any characters that are unlocked with the "Use old save" extra, it'll only choose from ones you've unlocked in this game. Which means that you'll have to go through multiple times if you need to use more than one of them (of course in co-op you can choose two).
Chapter 2
Through the Jundland Wastes
Darth Vader searches in vain for the secret Rebel plans on Princess Leia's starship. The droid R2-D2 has escaped with the Death Star blueprints to the planet Tatooine below.
But R2-D2, along with his companion C-3PO, has been captured by Jawas - small scavenger creatures who trade in mechanical scrap.
Young Luke Skywalker, unaware of the great destiny which lies before him, is looking for droids to help with work on his uncle's moisture farm. As he approaches the Jawas' sandcrawler, his life is about to change forever....
| Story Mode | Free Play |
|---|---|
| 75,000 | 120,000 |
Make your way to the right and defeat the Tusken Raiders that attack, if using Ben Kenobi you can deflect the shots back at them with your lightsaber.
Red Brick (Fast Force)
Requires: Bounty Hunter, The Force, Hover Story Mode: No
Turn to the right and you'll see some Silver LEGO over a large gap, hover over there to throw a Bounty Hunter's bomb on them.
Defeat a few Sand People in the area behind the LEGO and then use the Force on a trio of blocks to form a stack, jump up them onto a platform and then hover over to a small cart. Push that cart off the edge and it'll run along some tracks smashing through a wall to reveal the Red Brick.
Minikit 1/10
Requires: Bounty Hunter, The Force, Hover Story Mode: No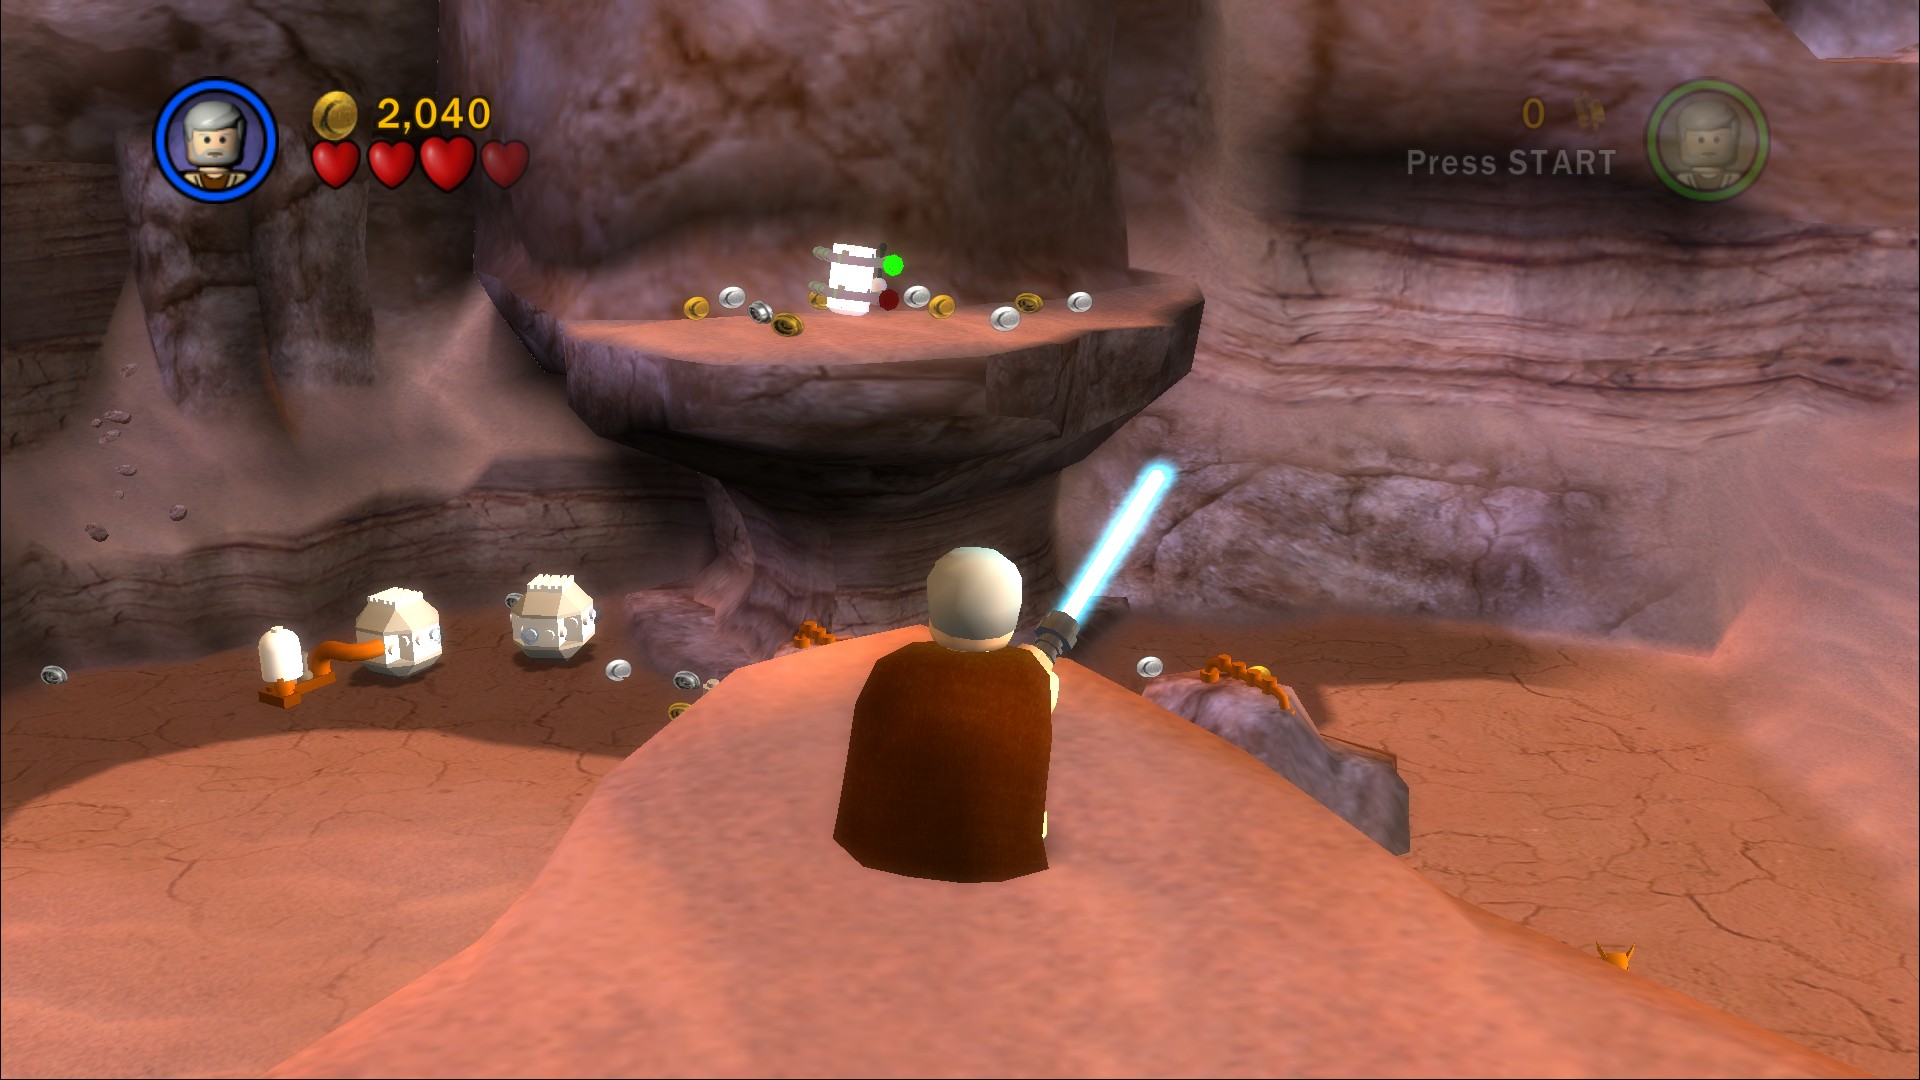
Use the Force to raise up the orange bricks on the left so you can jump up to the huts. Go to the left to where there's three raiders standing on the edge. Kill them then hover over to the Minikit. (You've now actually skipped a little bit of the level so you can either go back the way you came or just jump down and go to the left to a gap (or just carry on))
Smash the brown/orange LEGO bricks jammed under a rock with Ben's lightsaber or Luke's blaster to knock the rock into a position so that you can use it to get up to where those two Sand People were standing. Go up and drop down to the right.
Minikit 2/10
Requires: Grapple, Access Hatch Story Mode: No
Assemble a grapple point on the right then double jump across to another ledge with an Access Hatch on for a small character to crawl through to get the Minikit below.
Minikit 3/10
Requires: Dark Force Story Mode: Yes/No
On the left is a barrier made out of some black LEGO, use the Dark Force to break through it. Inside use the Force on an explosive to assemble it and blow up the wall, smash a fence in the cave that forms to find a second explosive to blow up another section of the wall. From there you can double jump to the Minikit.
Defeat the Sand People as you walk along the canyon advancing forwards towards the crashed pod. Use the Force on it during a gap in the raiders to create a path up the slope for you, this will also stop the continuous reappearing enemies for the moment.
Go up that slope and over into the next area. Shoot or deflect some blasts back at the raiders at the back before assembling the block and pushing it down the track so you can use it to get up to where those raiders were standing. Jump across the gap to the left and then jump down ahead careful not to jump into that mud pit below.
Go up the path to the Sandcrawler. At the base of it you should be able to see some bricks that you can build into a grapple point, assemble them then have Ben use the Force on the platform directly above so that when Luke uses the grapple point he can land on it and pull a lever. Jump back down and have Ben move a couple of crates into position so he can get up the platforms and pull down a second one for Luke to pull a lever behind.
Get on the elevator that has started moving to get up onto the top of the Sandcrawler.
Minikit 4/10
Requires: Bounty Hunter, Access Hatch Story Mode: No
Use a Bounty Hunter to blow up the Silver LEGO circles on the left side up here, it'll reveal two buttons to stand on that will bring up an access hatch to crawl through in order to get the Minikit you can see on the side of the Sandcrawler.
With both characters on top pull the two levers at the same time. Jump down to the ground and then jump up directly into the suction pipe that appeared.
Go along the corridor and around the corner you'll see a bunch of orange ladders blocking yellow wheels. Destroy those ladders and turn the wheels using the Force. Turning five of them will open the door, turning the rest will open the pods at the end to get a few extra studs.
Pull the lever in this next room to drop a crate down off the conveyor belt.
Minikit 5/10
Requires: None Story Mode: Yes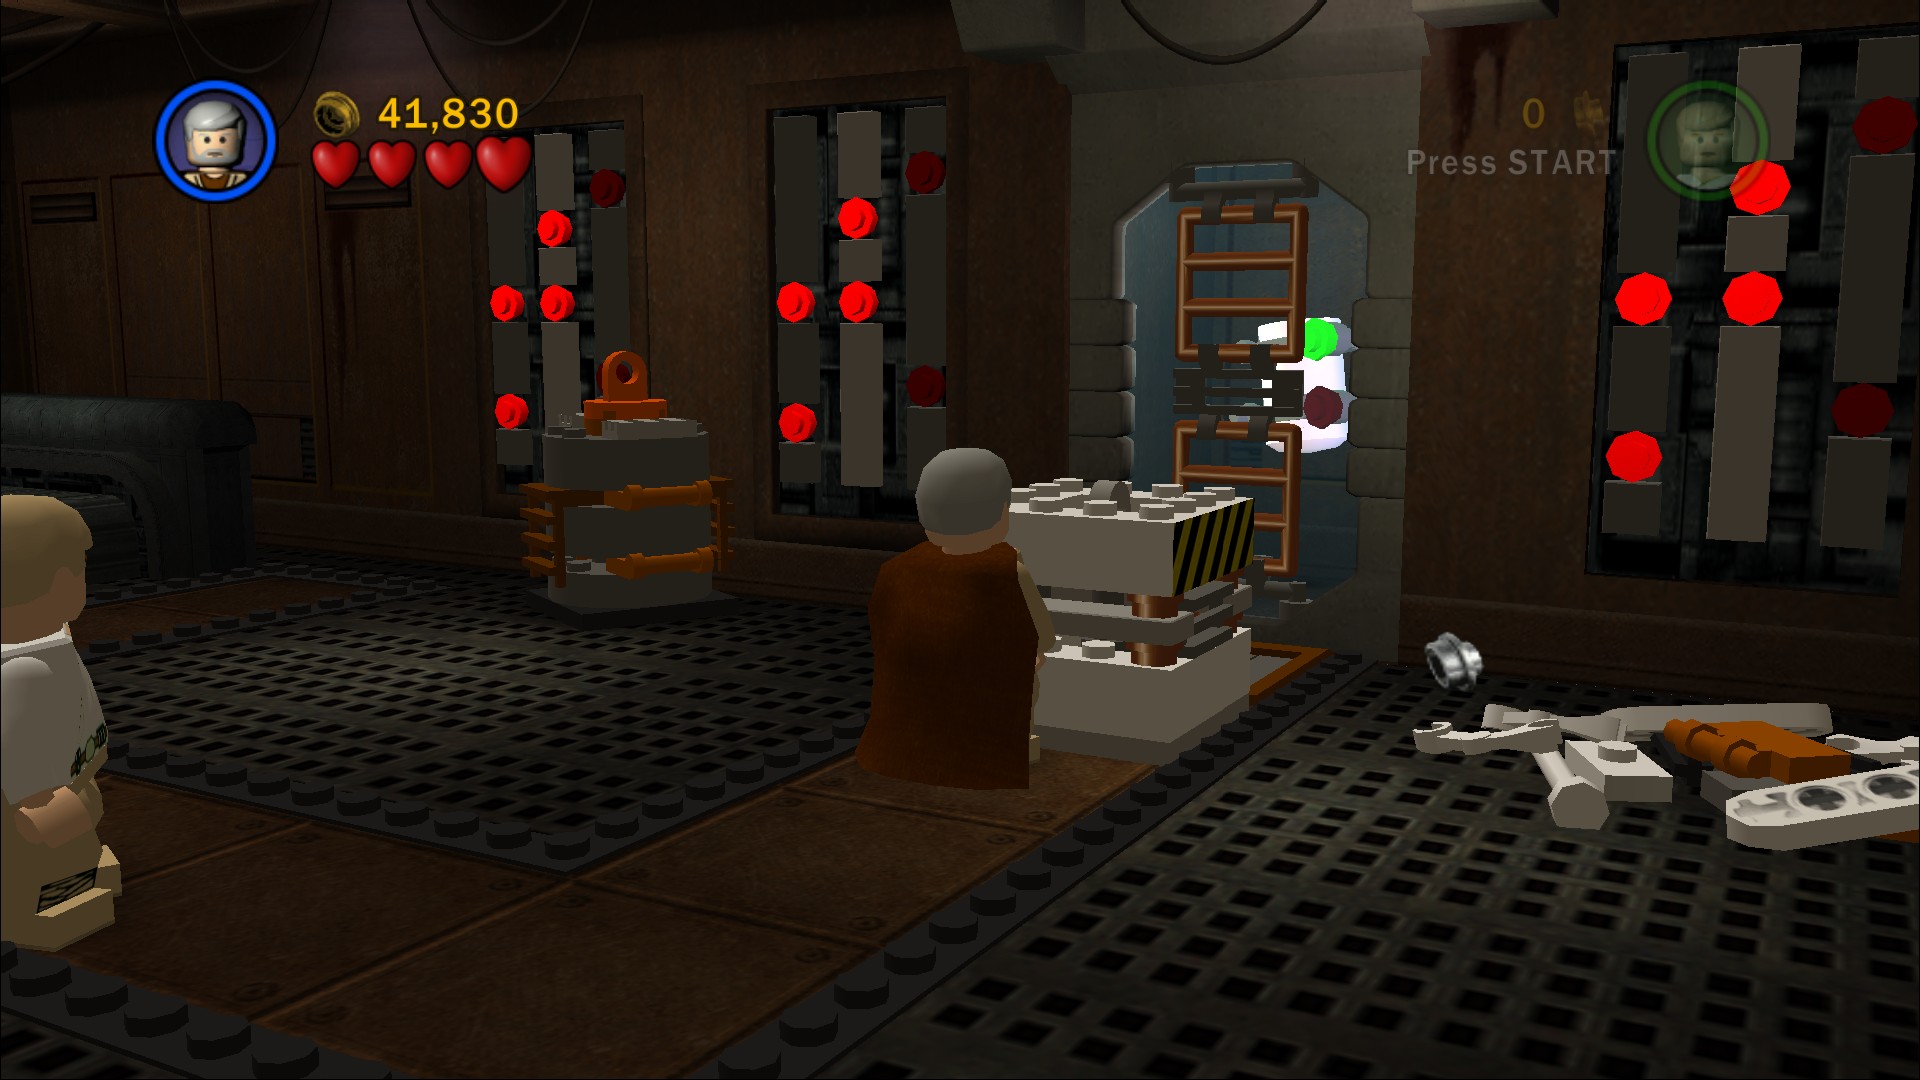
Push the crate to the marker on the right side of the room to get the Minikit behind the ladder. Then pull the lever to get another crate.
Push the crate to the left to the spot in front of R2-D2 to release him from the cage. Take control of him and have him open the panel in the middle of the room to get to the next room, you may need to shoot or use the Force on the nearby Jawa to stop it from zapping R2-D2.
Minikit 6/10
Requires: Dark Force, Hatch Access Story Mode: No
Use the Dark Force on the wall to the left to open up an access hatch for a small character to crawl through, once through step on the two buttons to enter an area with a load of lava pouring. Use the Force to turn the wheel and then the Dark Force on the wall to shut the lava off so you can either hover over to the Minikit or jump on the part that was pouring the lava.
Run along both rows of four floor buttons to activate the two levers so you can pull them both at the same time. In the next room push the green switch around until the circular bit is over C-3PO's cage and the R2-D2 panel opens up so you can let him out (again watch out for the zapping Jawas). With him free you can open up the Protocol Droid door on the left. Use the Force to break open the back door to the Sandcrawler to escape.
Defeat a few Sand People as you walk into the next canyon, then have C-3PO switch on the moisture machine to pull the water out of the mud in order to make it safe to walk on. There are some orange bricks on the other side you need to assemble into a ramp for C-3PO to reach the second moisture machine.
Minikit 7/10
Requires: Grapple, The Force Story Mode: Yes
Build a grapple point and use the Force to put the grapple up on the ledge to reach the Minikit.
Minikit 8/10
Requires: Dark Force Story Mode: Yes/No
Over on the left side are some struts made of black LEGO which you will want to use the Dark Force on. Jump up the steps that form and defeat a few Tusken Raiders up there. Jump onto a Bantha and move it into position on the larger button, jump off and stand on the small one to open up the Minikit.
With the second mud pit dry you can now walk across it through the archway. Use the Force on the object ahead to form some steps up to where the raiders are appearing from in order to stop them from appearing once you go up there. Get back down and use Obi-Wan to double jump up onto the rock in the gap in order to use the Force on some bits of LEGO sticking out of the wall on the left, forming a bridge.
Minikit 9/10
Requires: Double Jump or Hover Story Mode: Yes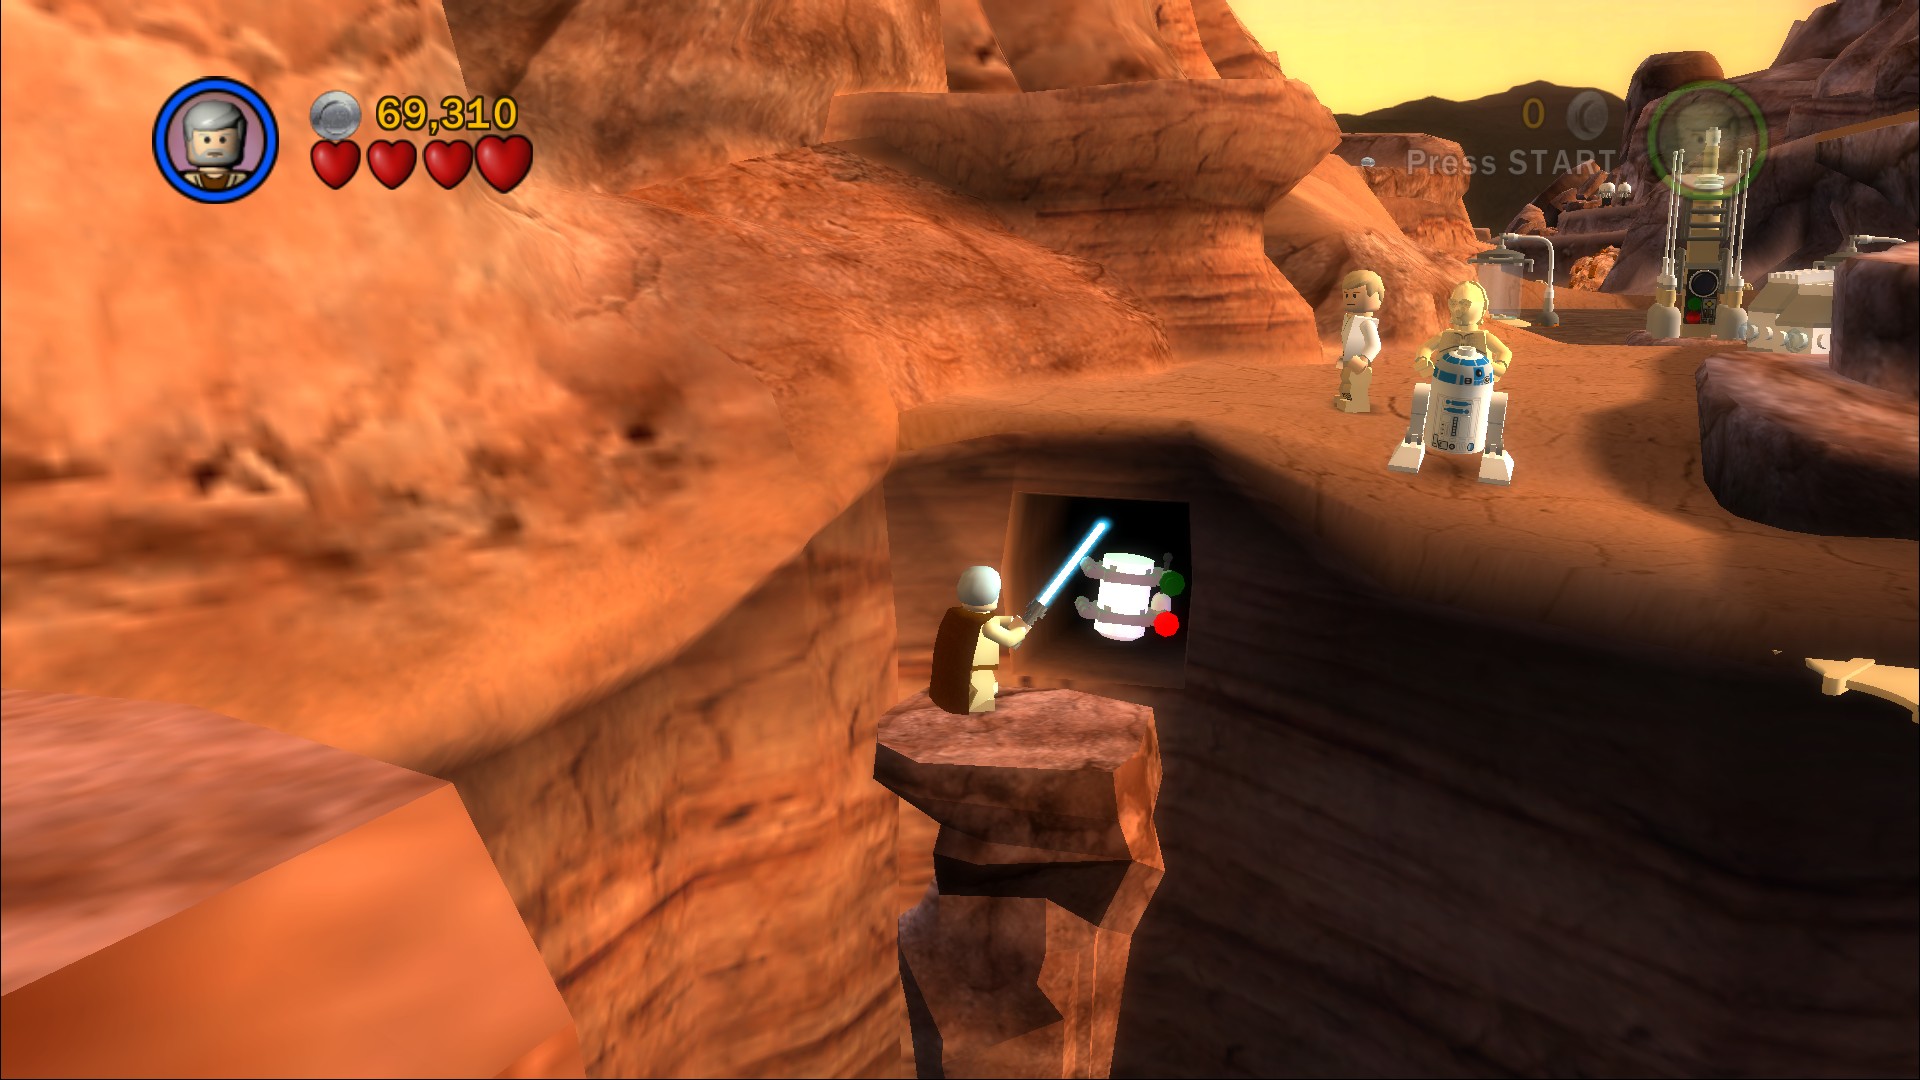
After crossing the bridge jump up the right side and then double jump over to the left side before jumping towards the screen onto the top of a rock pillar. That'll cause it to lower down so that you can get the Minikit that's just under the floor.
Jump up on the ledge to the right and push the box off the edge, jump down and use the Force to reform it into a bridge for C-3PO to reach the moisture machine. Then straight on through the gap.
Assemble the engine to the landspeeder and then drive it straight across the water to a broken switch. Assemble it and pull it to create a bridge for the droids to get across. Defeat a group of Stormtroopers that appear from Old Ben's yard.
Minikit 10/10
Requires: Grapple Story Mode: Yes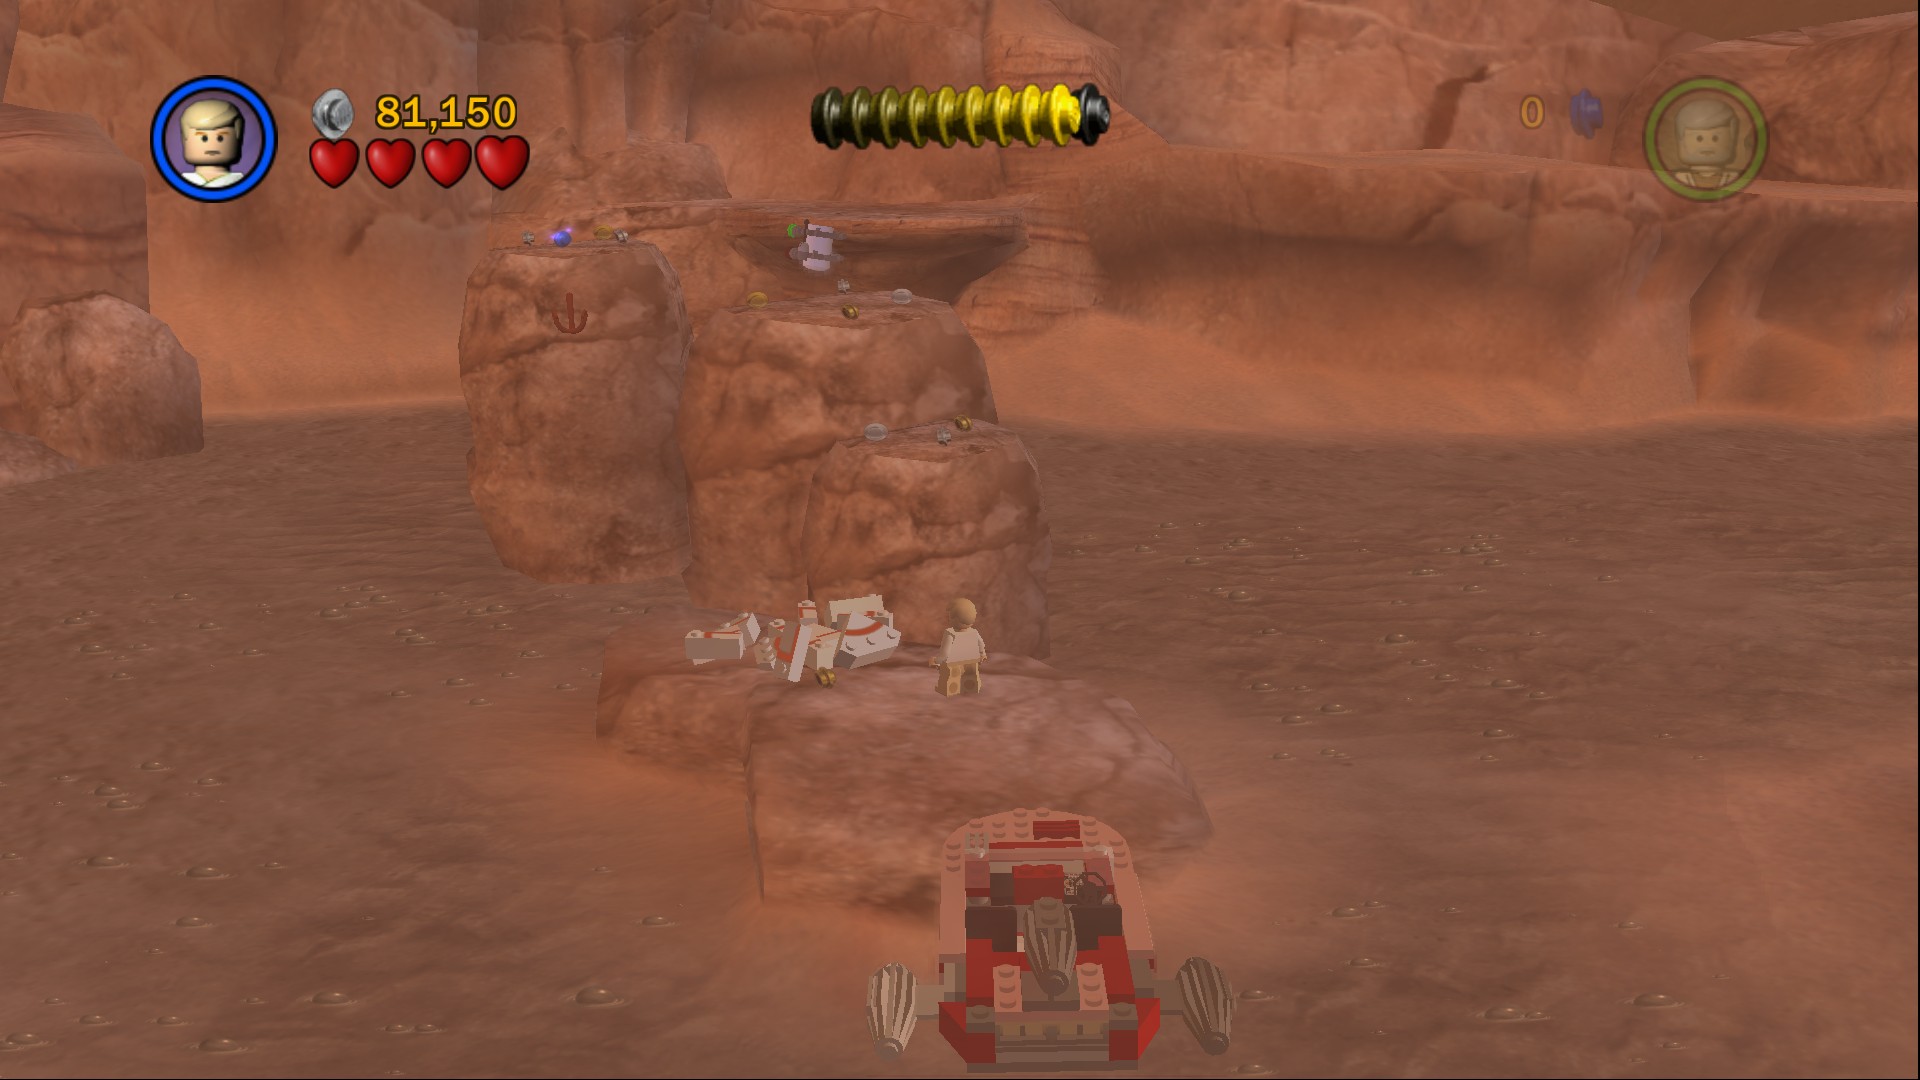
If you take the Landspeeder into the area at the back you can find an island with a buildable grapple point to reach the Minikit on it.
With all four across you can stand on the four buttons in front of Old Ben's house to activate a switch you can pull to open the door and go inside to finish the chapter.
Sandcrawler

For Free Play you unlock Luke Skywalker (Tatooine) as well as Ben Kenobi, you already have the droids from the first chapter.
| Cost | Character | |
|---|---|---|
| 23,000 | Tusken Raider | |
| 24,000 | Jawa |
Chapter 3
Mos Eisley Spaceport
In search of a pilot who can take them to the distant planet of Alderaan, Luke Skywalker and old Ben Kenobi journey by landspeeder to Mos Eisley spaceport.
Here, among the most dangerous and reckless elements of Tatooine society, they hope to find someone brave or foolhardy enough to help in their quest to deliver R2-D2's secret data to the Rebel Alliance. But Imperial forces are everywhere....
| Story Mode | Free Play |
|---|---|
| 165,000 | 200,000 |
Arriving in Mos Eisley is the exact same group of characters from the previous chapter, you begin next to the Landspeeder (which you can drive around if you want). Stormtroopers will appear and start shooting you every now and then so you can't be too careless here.
Minikit 1/10 - Part 1
Requires: A weapon Story Mode: Yes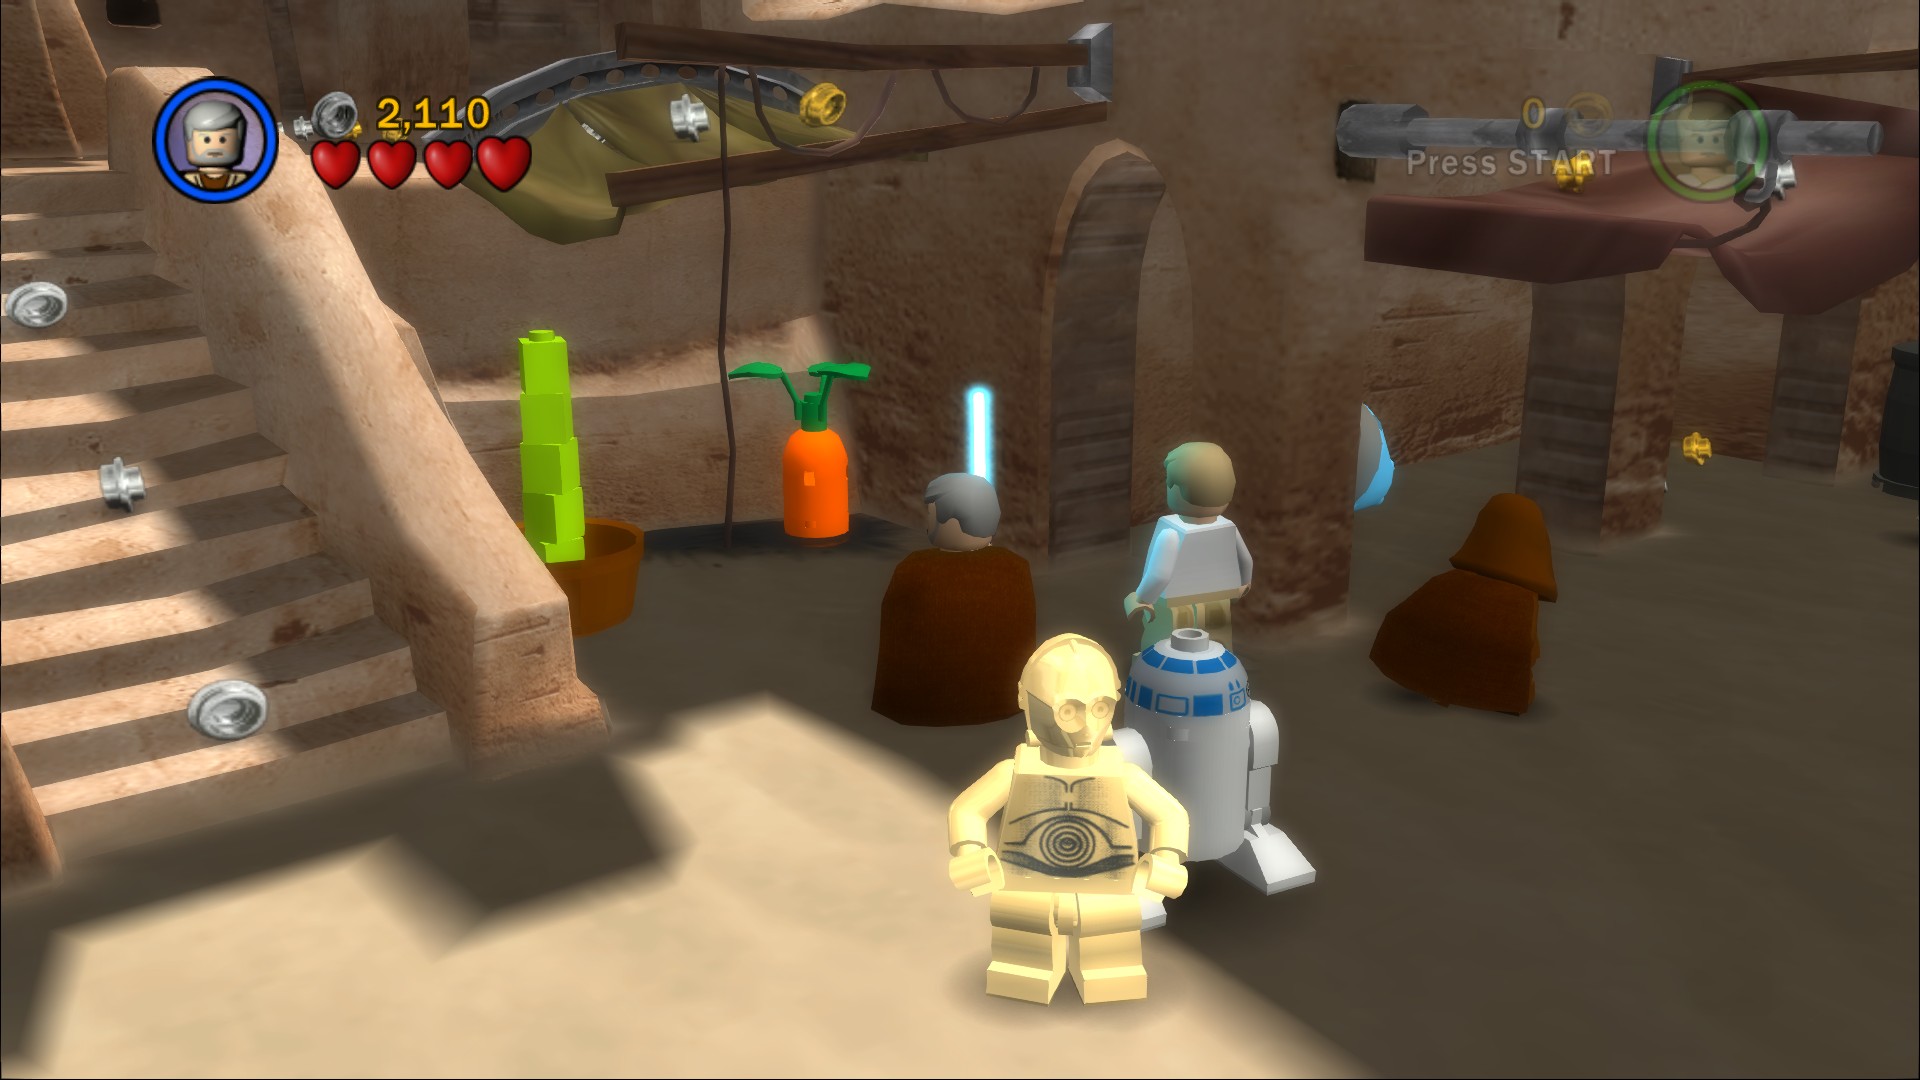
To the right under a canopy next to some steps is a large grey barrel you can smash to reveal the first of three carrots in the area.
The game is an extra big tease for this one, you can get all three carrots in Story Mode but you can't reach the Minikit they reward.
Minikit 2/10
Requires: Stormtrooper, The Force Story Mode: No
A Stormtrooper door is found to the right, inside turn on the two showers using the Force to have the Minikit appear in the hottub.
Go straight on through the arch with a gap in the middle, some Stormtroopers will attack so take them out as you round the corner.
Minikit 1/10 - Part 2
Requires: A weapon Story Mode: Yes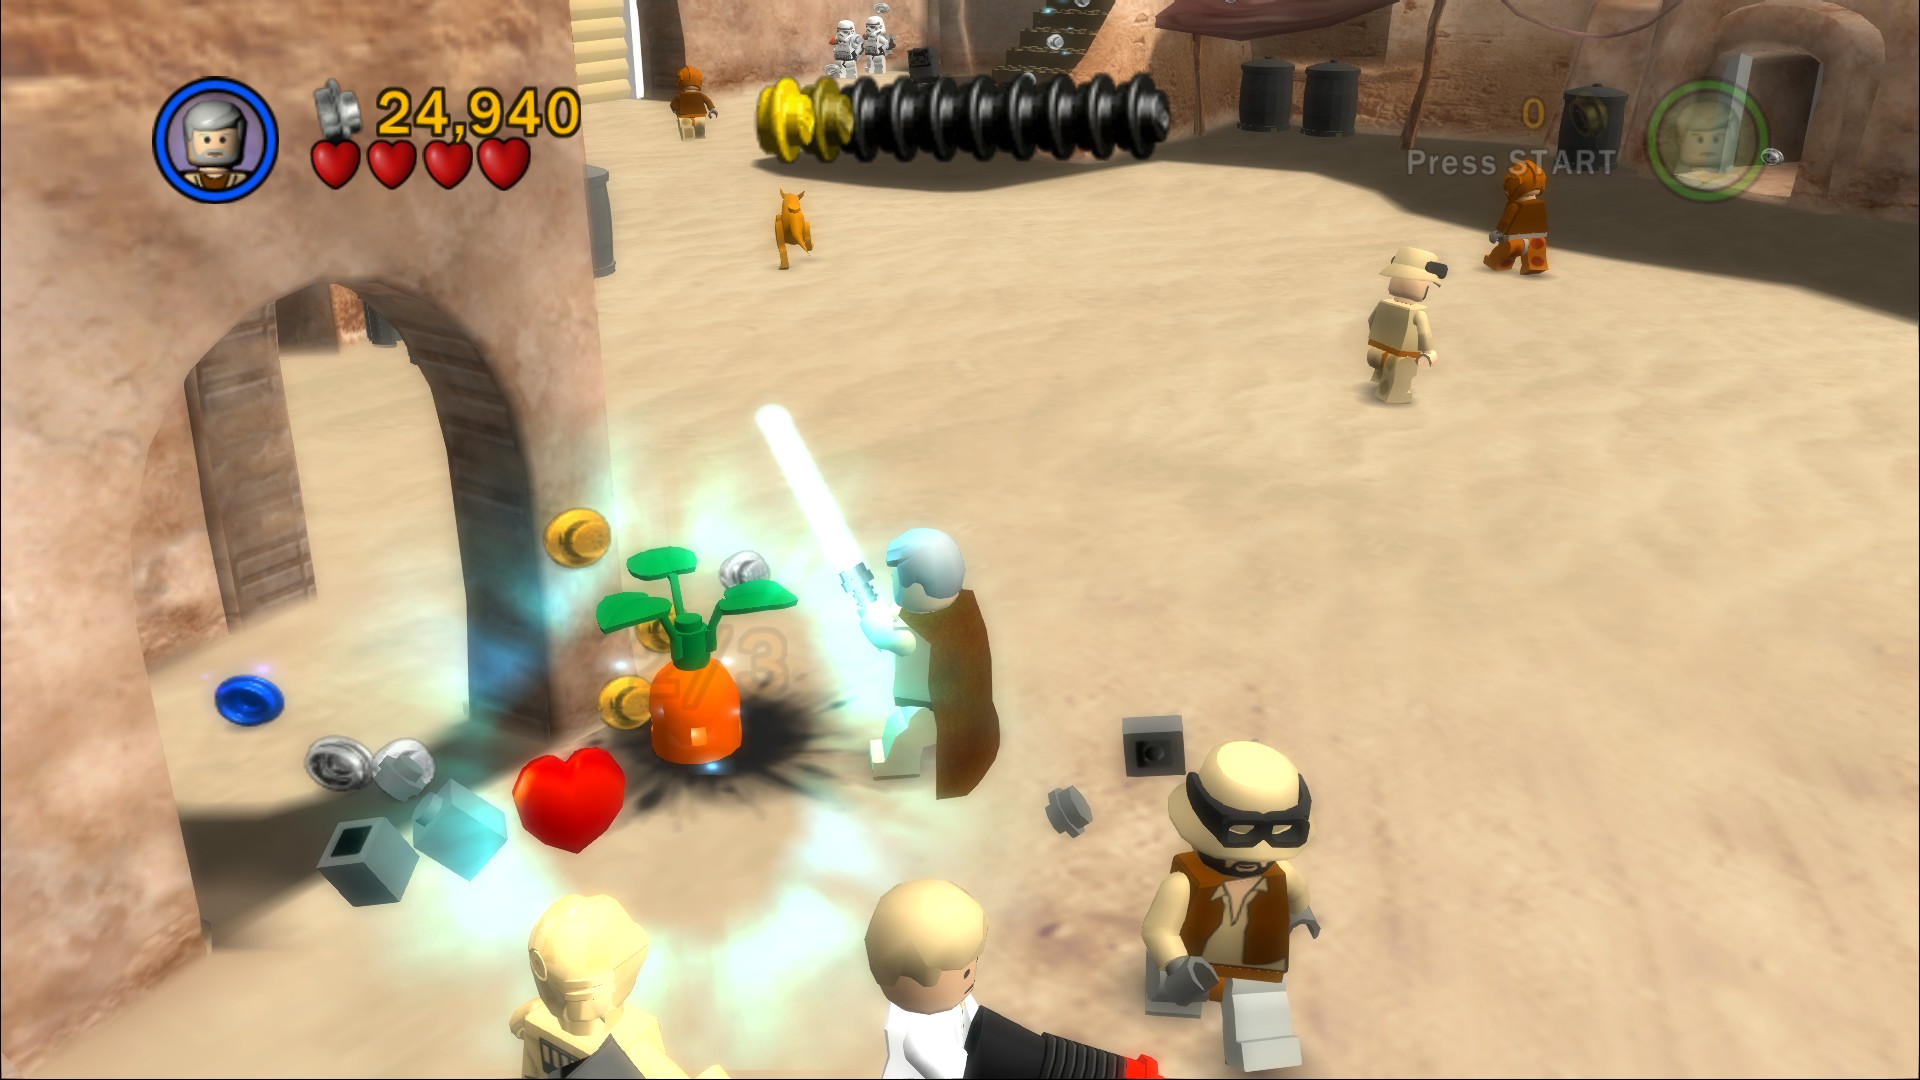
A carrot in a grey barrel on the corner.
Minikit 3/10
Requires: Dark Force Story Mode: No
Use the Dark Force on the roof of a building at the back, remove the LEGO and then drop into the hole.
Minikit 1/10 - Part 3
Requires: A weapon, and then Bounty Hunter Story Mode: Yes, but No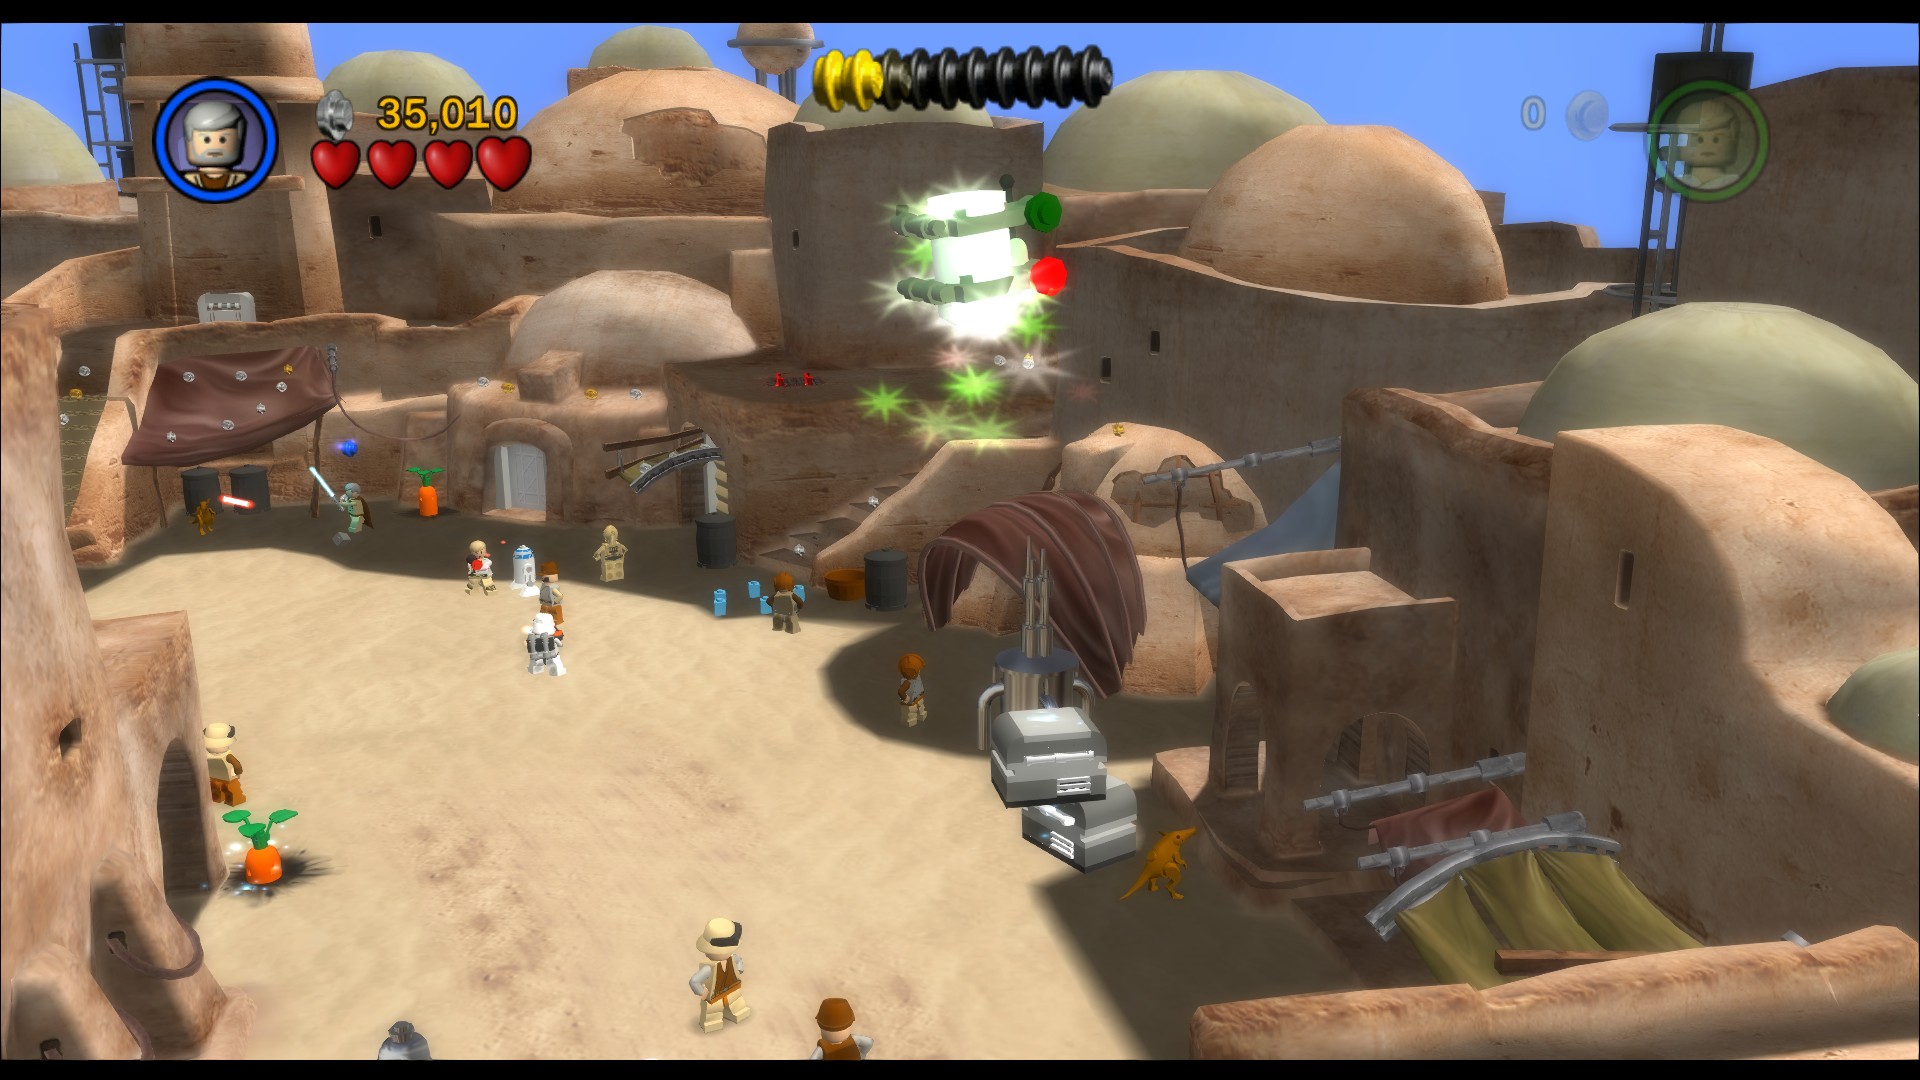
The final carrot is in a barrel straight on across the way, next to a door that opens to a dark corridor that goes nowhere.
Once you've got the third carrot the Minikit will appear high above the arch with a gap in it, to reach it you need a Bounty Hunter to open the door on the left side. Out will pour some LEGO to build a fan that can push you up into the air.
Red Brick (Super Lightsabers)
Requires: The Force, Astromech Story Mode: Yes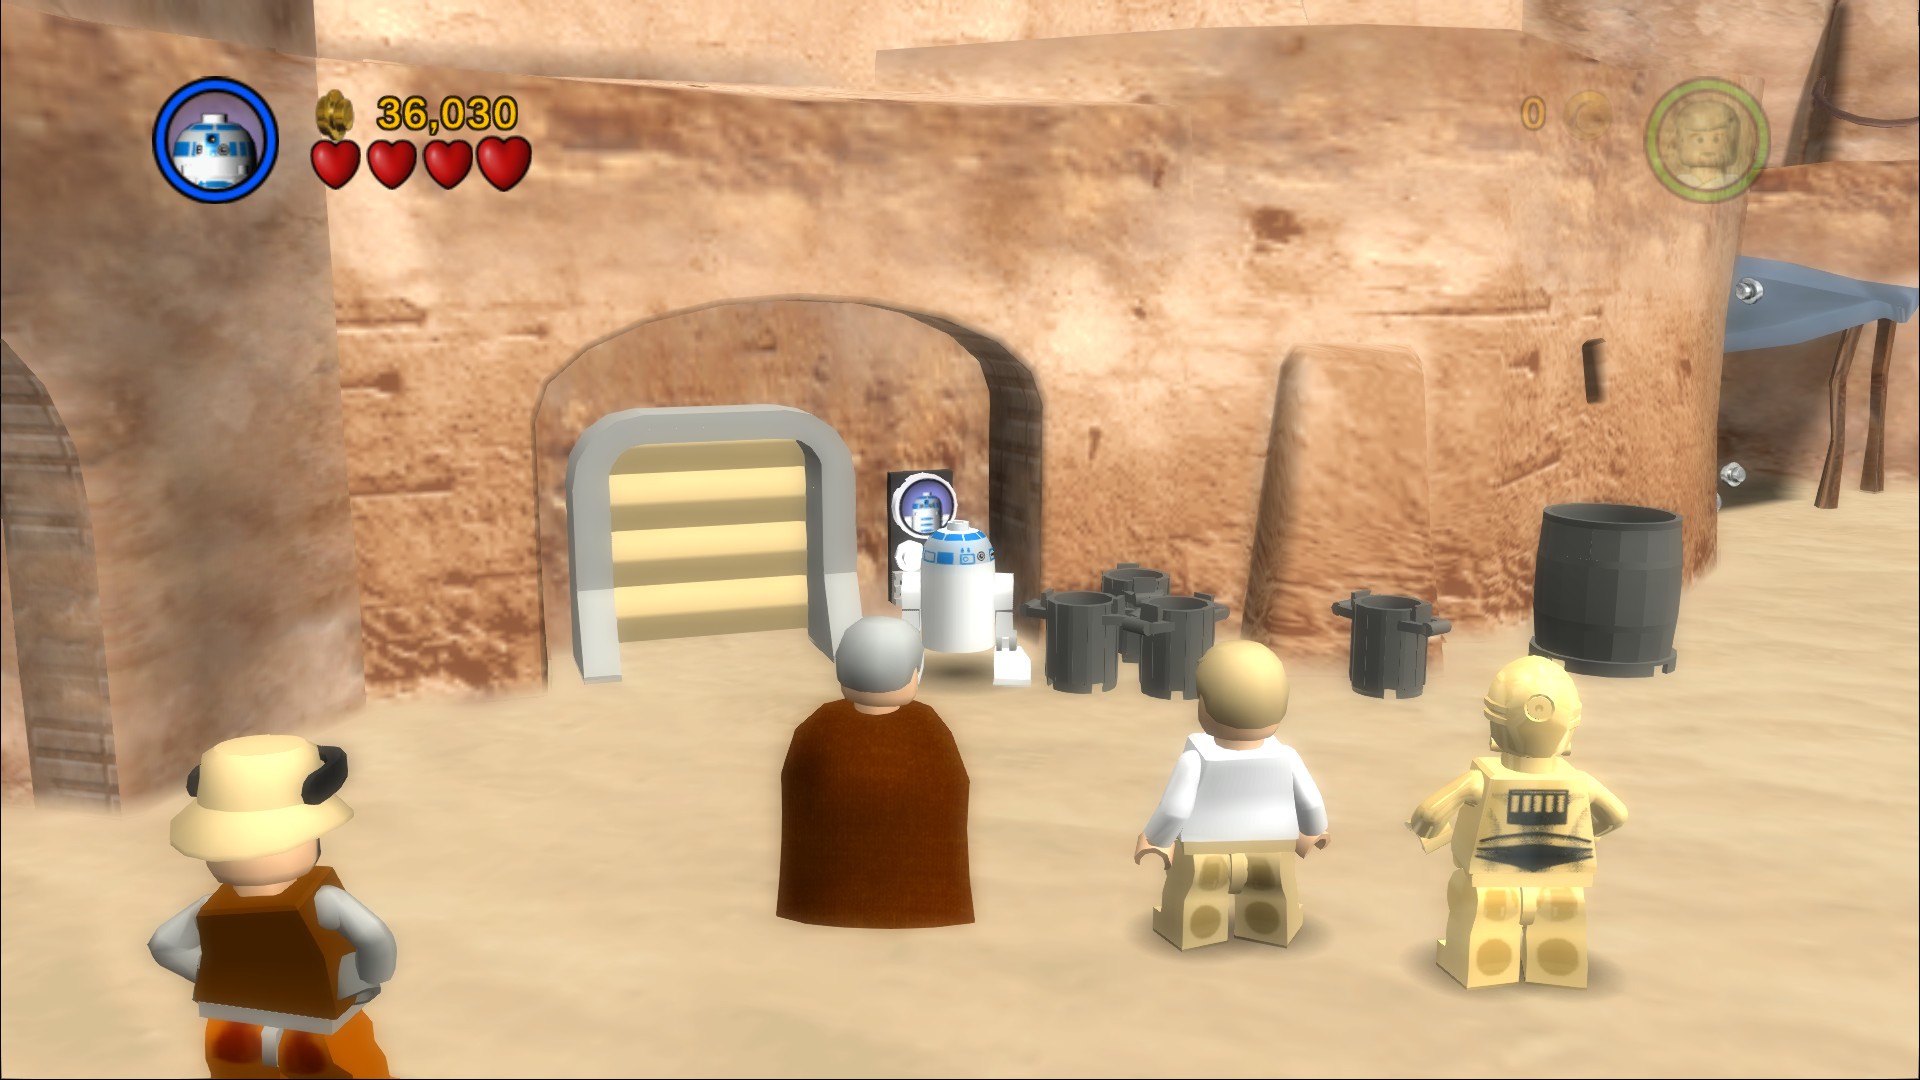
Just around the corner from the second carrot are a group of small trashcans, use the Force to open them and then again to pull some LEGO out of them. Build that into a doorway that R2-D2 can open to find the Red Brick inside.
If you smash the bins before using the Force on them they'll just be gone, you won't find the LEGO required to make the door.
At the end of the area you'll find a load of Stormtroopers shooting at you from high up, shoot them back and in the time it takes for more to come out use the Force on the steps on your right to form a ramp up to where they were. The Stormtrooper door here is a bit of a shortcut but not much of one.
Use C-3PO to open the Protocol Droid panel in the middle and then head through the large door below that opens.
There's a path blocked by some orange and black objects that you can't destroy at the moment (although in Free Play a Bounty Hunter can blow them up) so for now go to the left to a wide open area where a load more Stormtroopers will run in and ambush you.
Minikit 4/10
Requires: The Force Story Mode: Yes
Stack up some blocks on the right using the Force to get to the Minikit on the roof.
Minikit 5/10
Requires: Bounty Hunter, Grapple, Double Jump Story Mode: No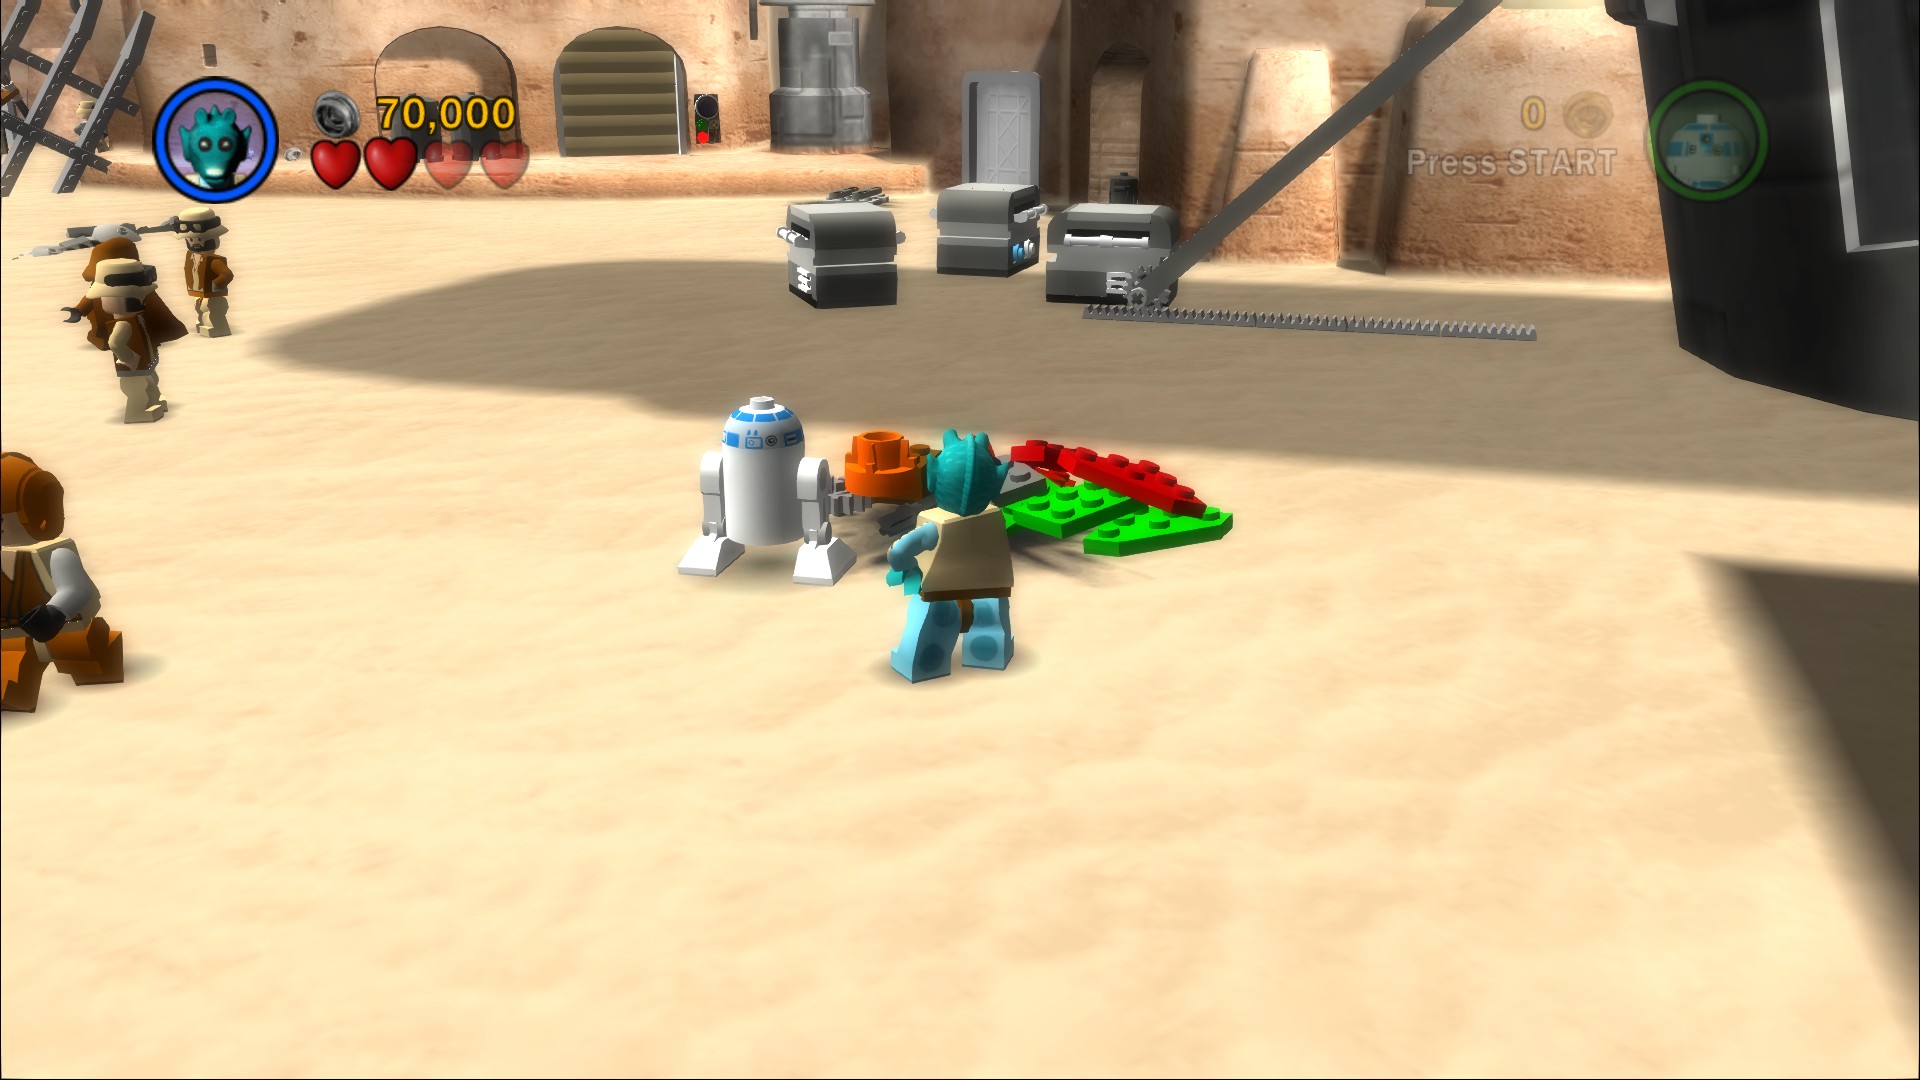
Use a Bounty Hunter to blow up one of the Silver LEGO pylons in front of that large spaceship to reveal LEGO that you can build into a rotation switch.
Push it around to tilt the spaceship up straight, some LEGO will fall off that you can use to build a grapple point. Grapple up and then double jump to get the Minikit.
At the back right smash a container that has a blue stud in it to get some LEGO pieces you can build into a ramp, this will let C-3PO open the panel over here. Inside that room is a bunch of LEGO you can build into a cockpit. To the left of that door are some barrels you can smash, build them into feet and then move them into position. In front of the feet is some LEGO you can build into a leg which you can move into position. And there's also some LEGO that builds into a piece that joins the legs to the cockpit. But first open the R2-D2 door on the left to get the parts to the other leg. Place the middle bit on then attach the cockpit and you've got yourself your own AT-ST.
Or you will do once you get the Stormtrooper that hops in out of it, use the Force to get him out peacefully.
Minikit 6/10
Requires: None Story Mode: Yes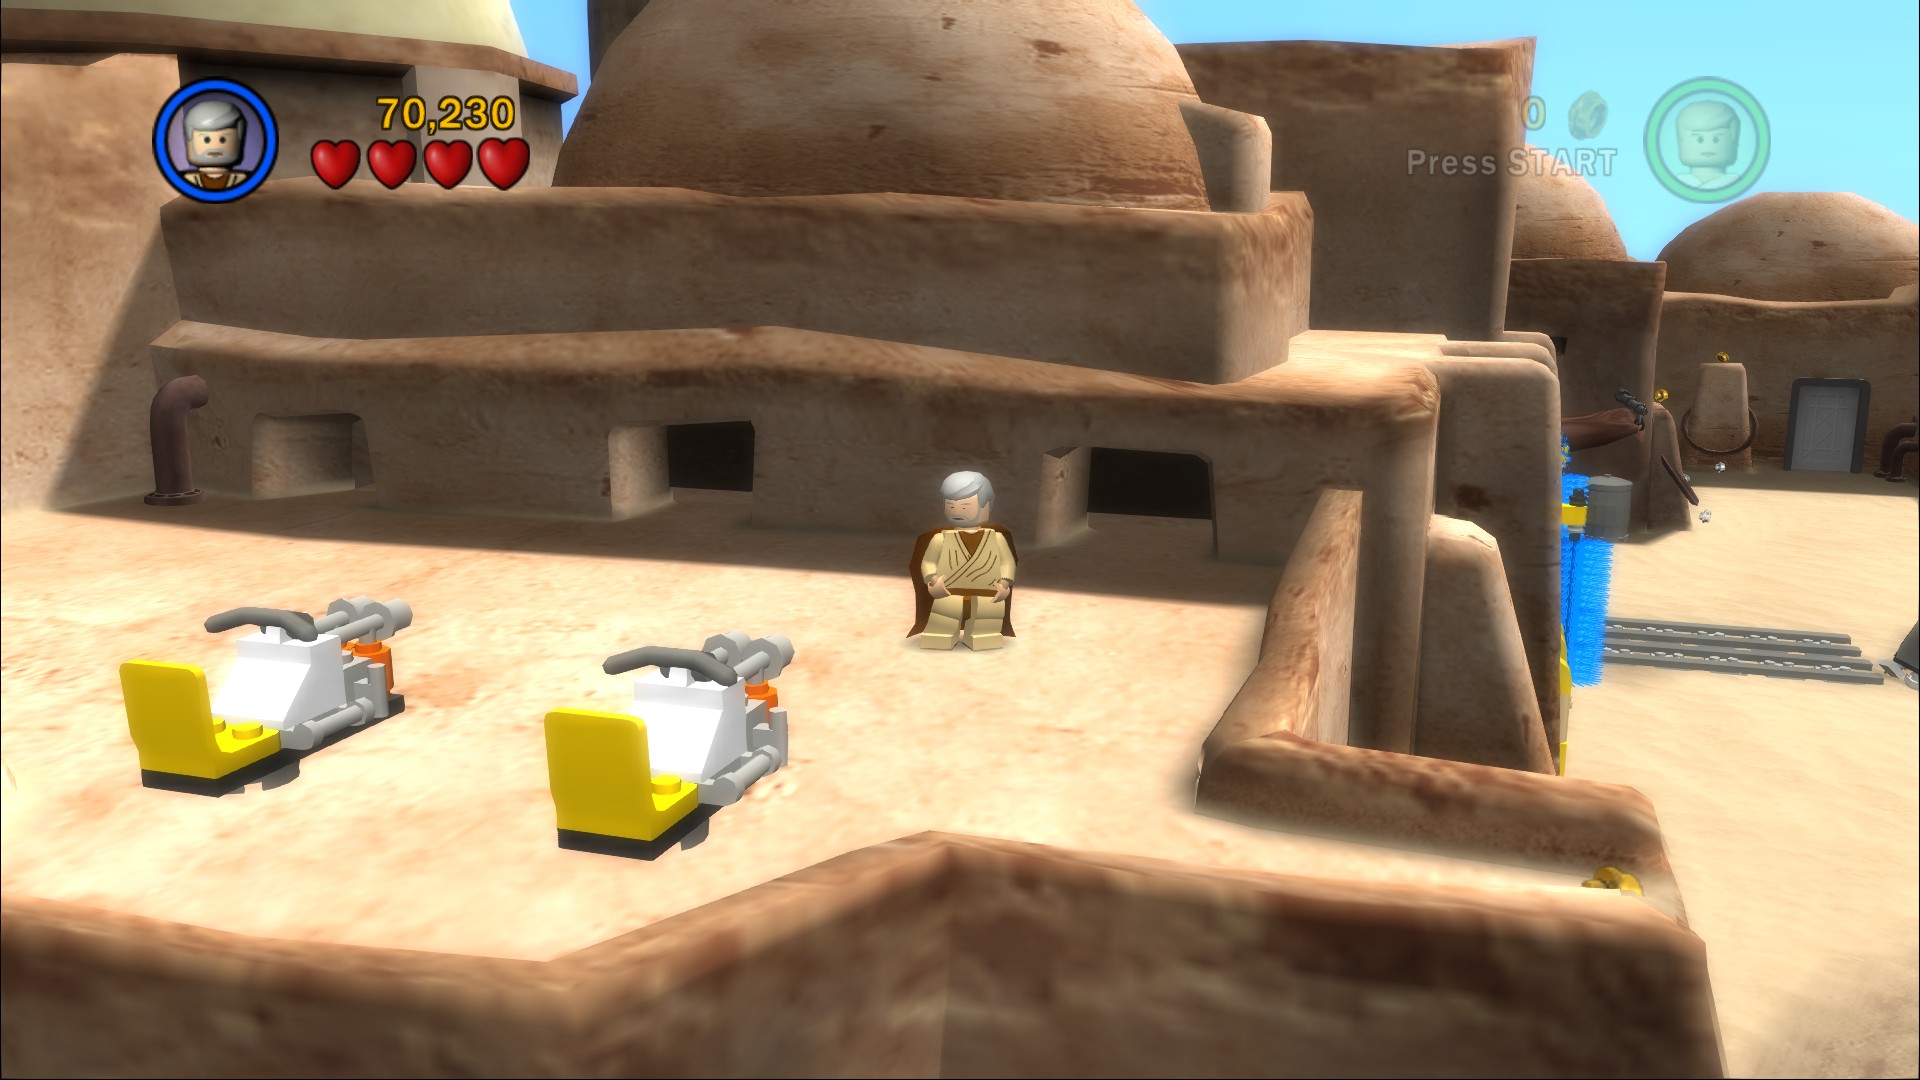
If you use the AT-ST to jump over to the left side of the barrier near the start of the area you can build a couple of turrets to sit in and shoot 10 womp rats to earn a Minikit.
If you're looking for more studs you can shoot through the AT-ST to blow up the blockage at the start of this area, behind it you'll find a Double Score Zone with a car wash, you can bring your Landspeeder through from the first area and have it cleaned! You can also deliver it to the Jawa scrap merchant and get ten thousand studs for it (just don't try to steal it back!).
Once you're done with all that return to where you originally built the AT-ST and shoot through the barrier at the back. Beyond there you'll encounter some more Stormtroopers who'll have an AT-ST of their own. Shoot it a few times and the pilot will pop out. Now you can both run around in one!
Unfortunately the doorway to continue the level is too small to take it with you so hop out and run on through once you've defeated all the Stormtroopers.
You're going to want to bring the droids in so shoot the four cameras that are stopping them from coming in and then go stand on the four buttons to get into the cantina proper.
Minikit 7/10
Requires: Hatch Access Story Mode: No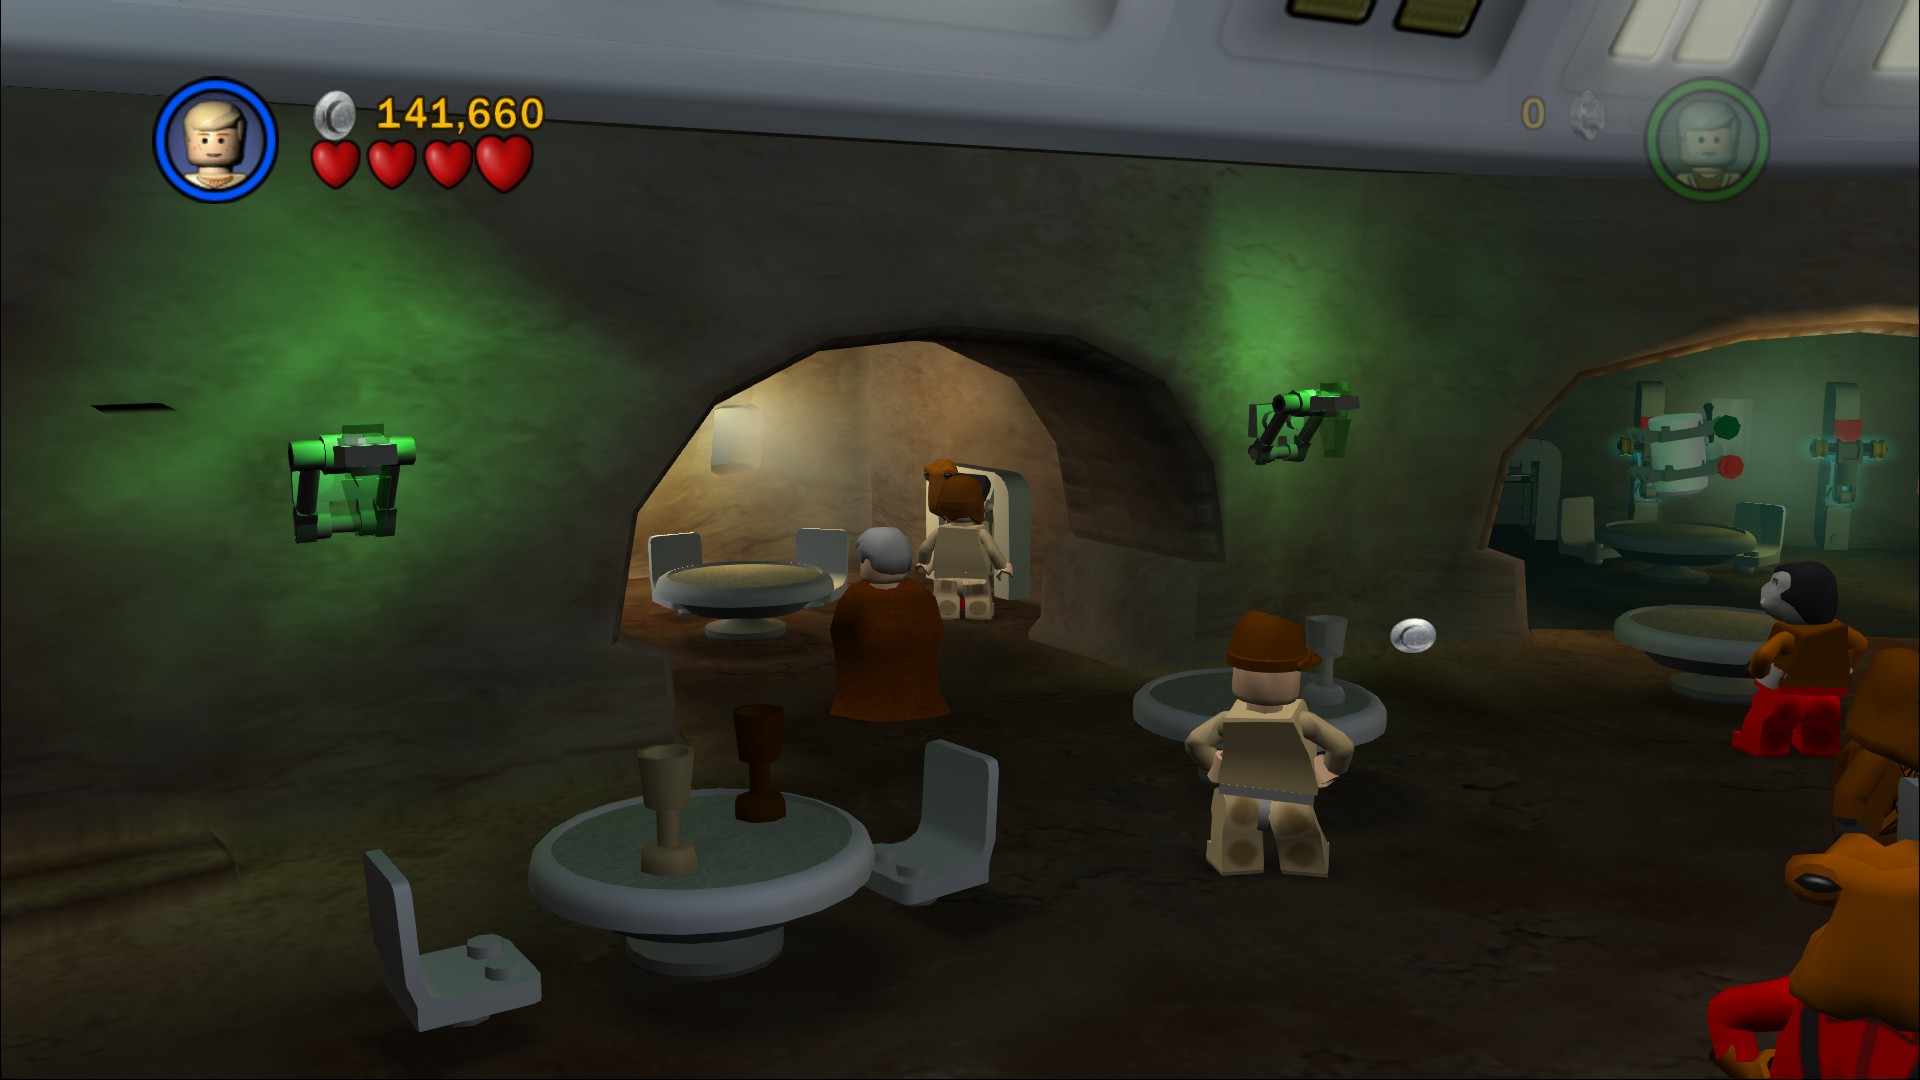
To the left of the room in the Cantina with the Minikit in is an access hatch that a small character can crawl through.
You can wander back outside to the previous area as Han and Chewie using the far left door if you want to but the way on with the level is through the exit to the right, the one with the big green arrow painted on the wall.
Minikit 8/10 - Part 1
Requires: A weapon Story Mode: Yes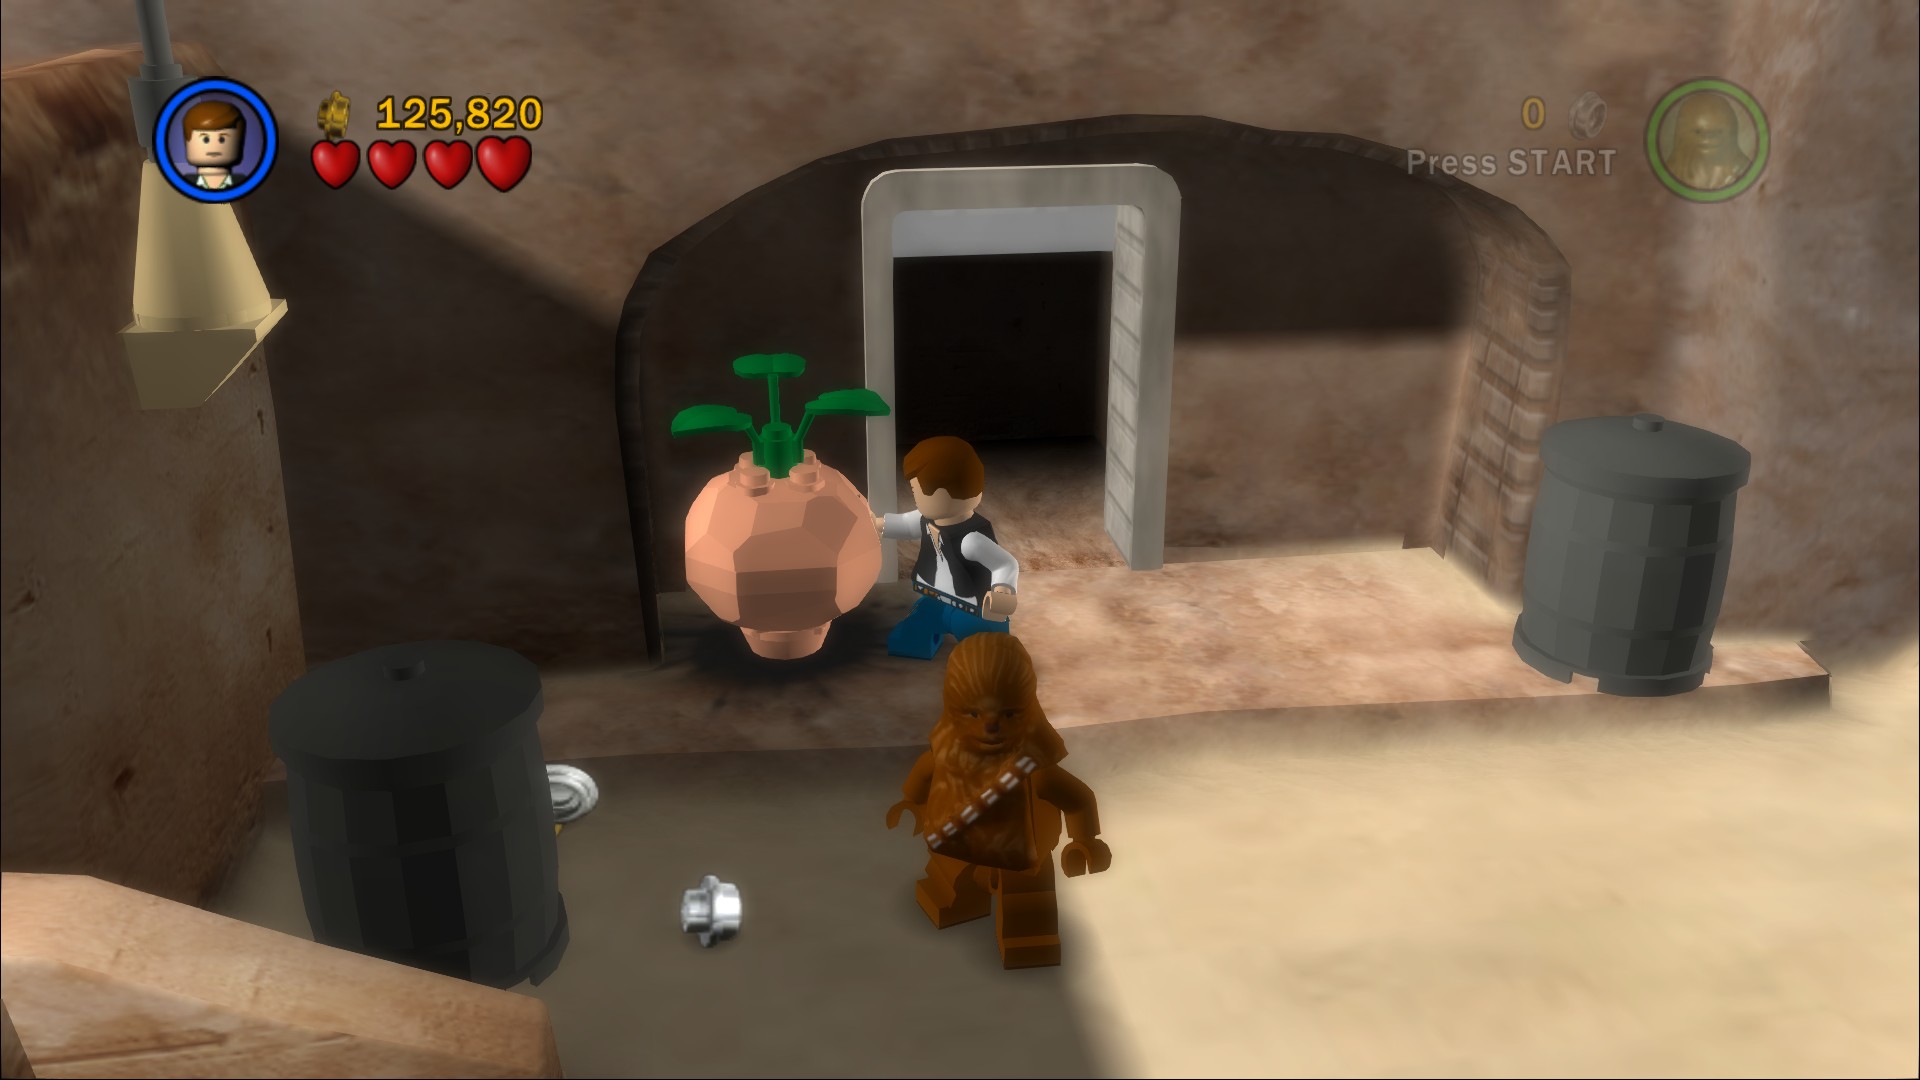
Shoot the barrel to the left of the exit to reveal a boulder with a plant on top, let's call it a turnip, the first of three.
Use the grapple on the right. Build the grapple point up here and then go through to an upper area with a Bounty Hunter door.
Minikit 8/10 - Part 2
Requires: Bounty Hunter Story Mode: No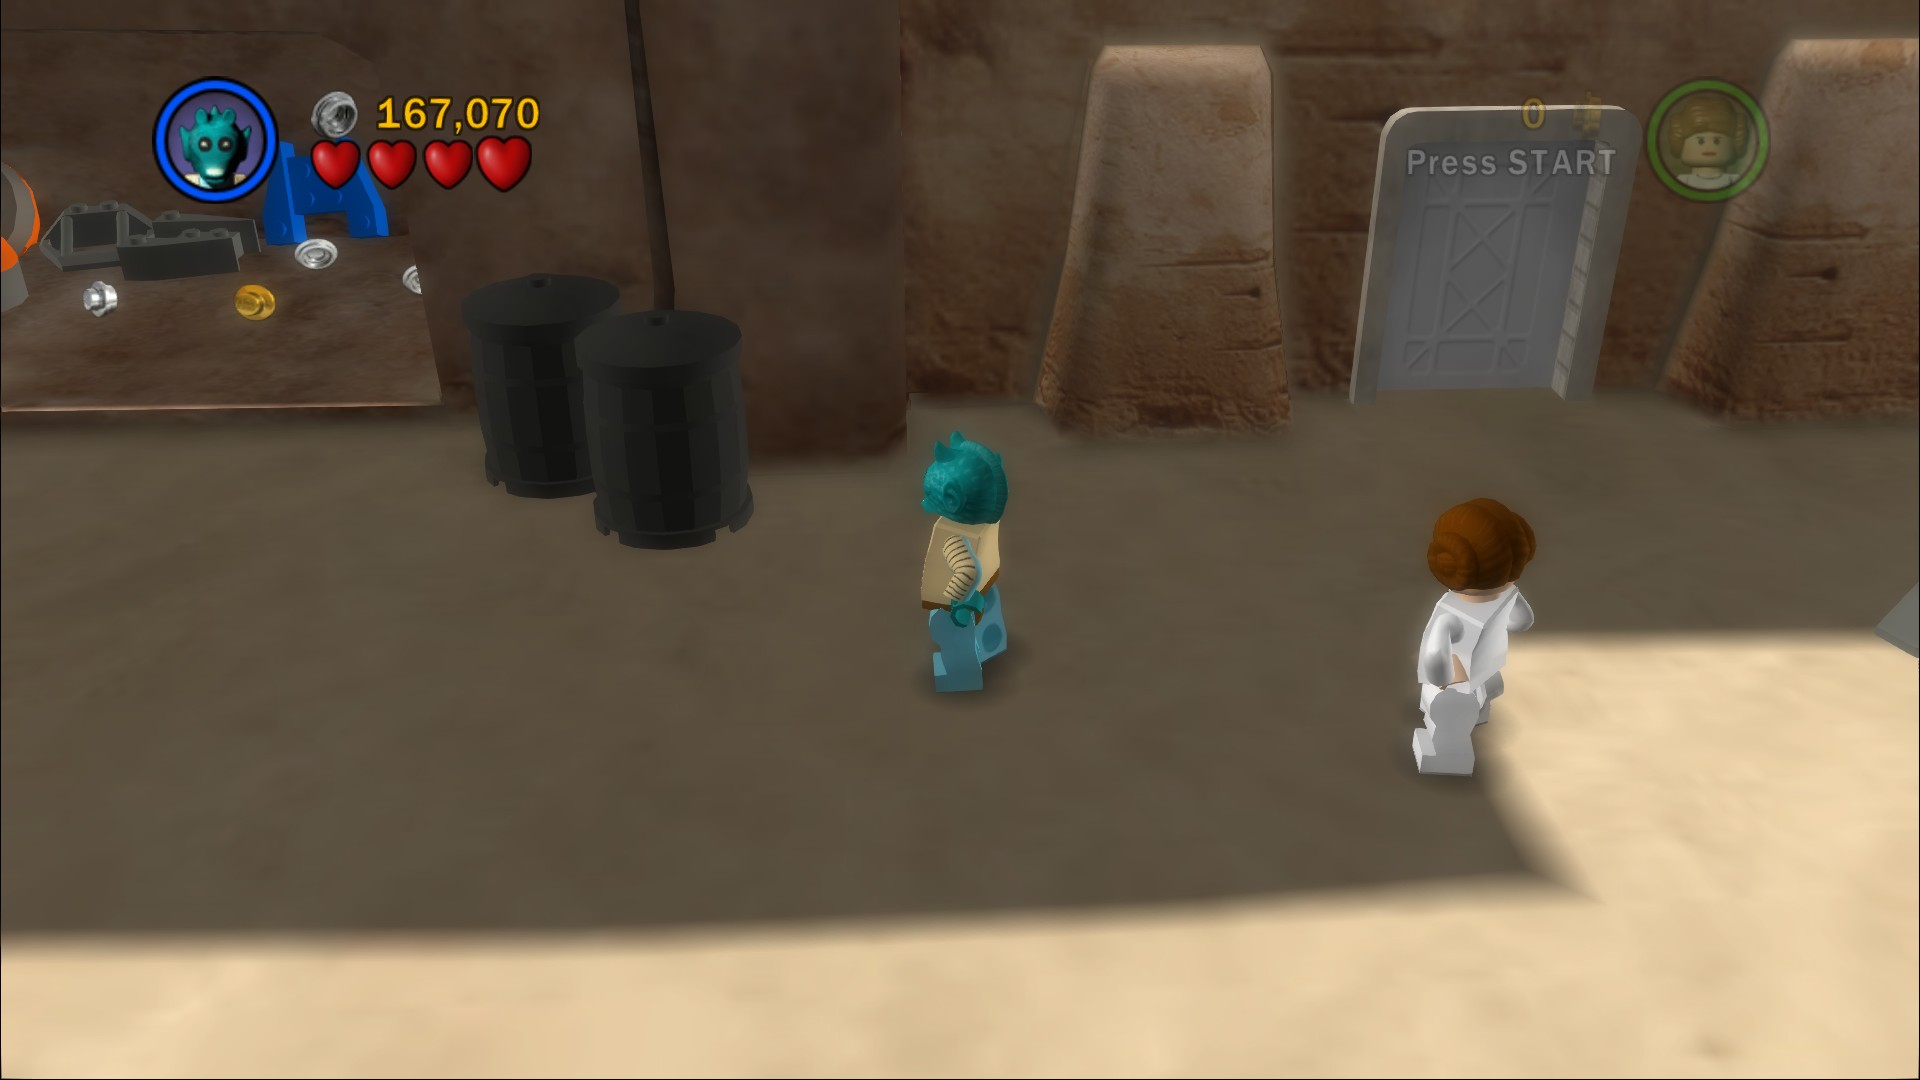
There's a Bounty Hunter door to go through. Drop down and go to the left, the barrels by the open doorway are where the turnip thing is hiding.
Minikit 9/10
Requires: Bounty Hunter, The Force Story Mode: No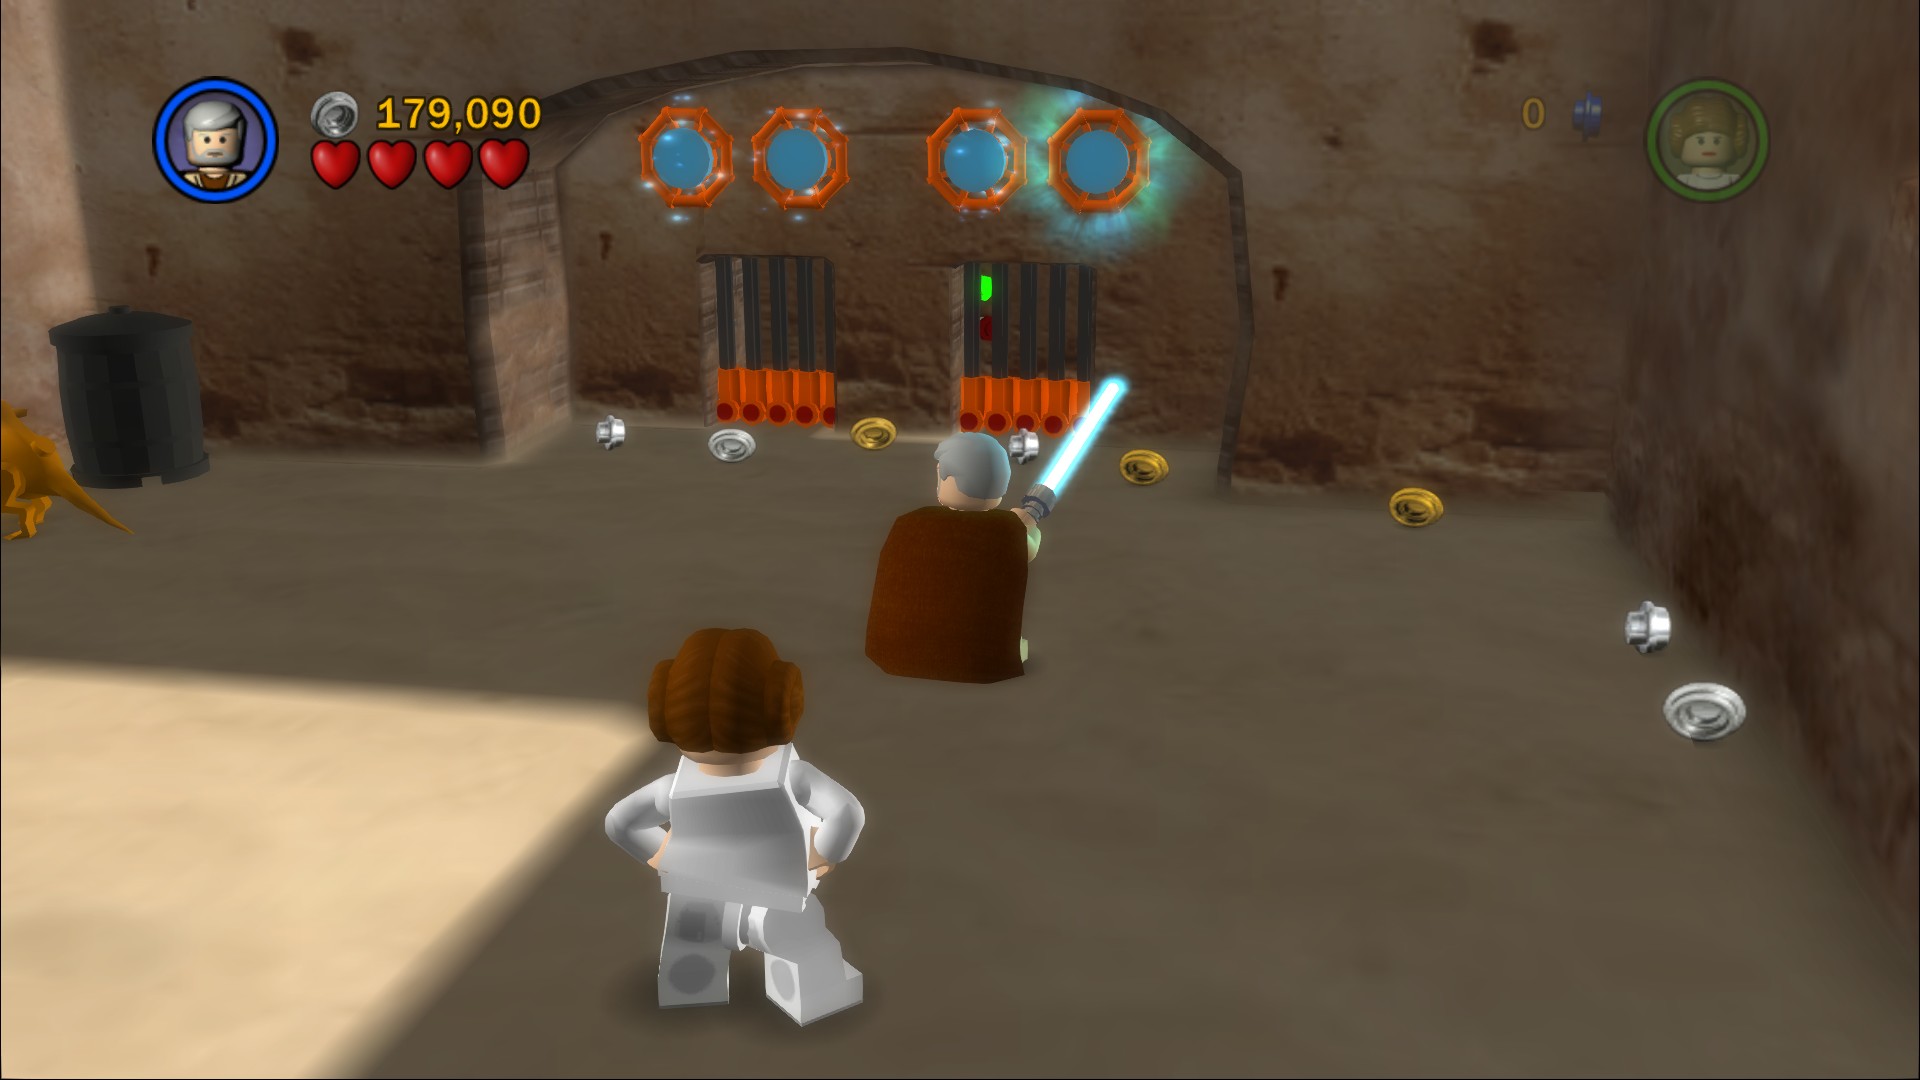
Use the Force on the blue and orange circles on the wall near the Dark Force barriers, the Minikit is inside behind the post.
There are a few ways out of here, a C-3PO door that leads back near where you were but a little ahead, or the Dark Force barrier that skips a section. For the walkthrough we'll be going through the C-3PO door and then all the way back to where the Bounty Hunter door was but you don't miss anything important if you go the other way, you just skip the next paragraph.
Going to the left of the Bounty Hunter door jump down to a grapple point that'll swing you across to a checkered floor section, pull the lever on the wall to release a crate for you to push along it. Push it all the way to the gates that have shut behind that mysterious figure you're following. Shoot it to blow it and the doors up.
Go down the steps and take out all of the Stormtroopers, including a pair riding Dewbacks.
Minikit 10/10
Requires: Astromech, The Force Story Mode: No
Use an Astromech Droid to get into the cinema at the back right of the Dewback area.
Once you're inside smash the four lights at the front so the curtains open, use the Force to rearrange the LEGO logo and then smash through the screen to get the Minikit.
Minikit 8/10 - Part 3
Requires: A weapon Story Mode: Yes
Inside the barrel below where the Stormtroopers were shooting from.
The Minikit will appear on a ledge above the checkered path that you pushed the block along to blow up the doors earlier, you can get up there by jumping from where you pushed the block off.
Ride a Dewback and go over to the large doors on the left (which you can smash with the Dewback), jump off the Dewback to be thrown higher into the air and land on the area above those doors. This is the last point Go through the archway and down through a door to meet back up with the others.
Time for a quick boss fight. He'll summon in some Stormtroopers and run off. Kill all of the Stormtroopers and he'll pop out and summon another load. Kill them and he'll summon a third wave and he'll start running in and out through the doors, you can't follow him through for some reason but you can shoot him from afar. Every time you wipe out all of the Stormtroopers he'll just summon a whole new load in so it may be helpful to shoot all but one of them so there's only the one shooting at you. Once you've shot the hooded figure enough times he'll die, and once you kill off the final Stormtrooper now the Millennium Falcon will open and let you in to finish the chapter. In Free Play there is no fight, you can just walk straight into the ship.
Land Speeder

That's another two characters to add to your roster, Han Solo and Chewbacca. And of course a few more are now available at the store.
| Cost | Character | |
|---|---|---|
| 14,000 | Sandtrooper | |
| 60,000 | Greedo | |
| 13,500 | Imperial Spy |
Chapter 4
Rescue the Princess
Imprisoned in the Death Star, Princess Leia still refuses to reveal the location of the Rebel Base to the evil Darth Vader.
Meanwhile, Luke Skywalker and Obi-Wan Kenobi have commissioned Han Solo to take them to Leia's home planet of Alderaan. Escaping from Imperial forces on Tatooine, they make the jump through hyperspace.
But Alderaan has disappeared, its population a victim of Darth Vader's impatience - and in its place, they find only the deadly shadow of the Death Star....
| Story Mode | Free Play |
|---|---|
| 60,000 | 80,000 |
Have Obi-Wan use the Force to open the first door, a couple of Stormtroopers will attack.
Minikit 1/10
Requires: None Story Mode: Yes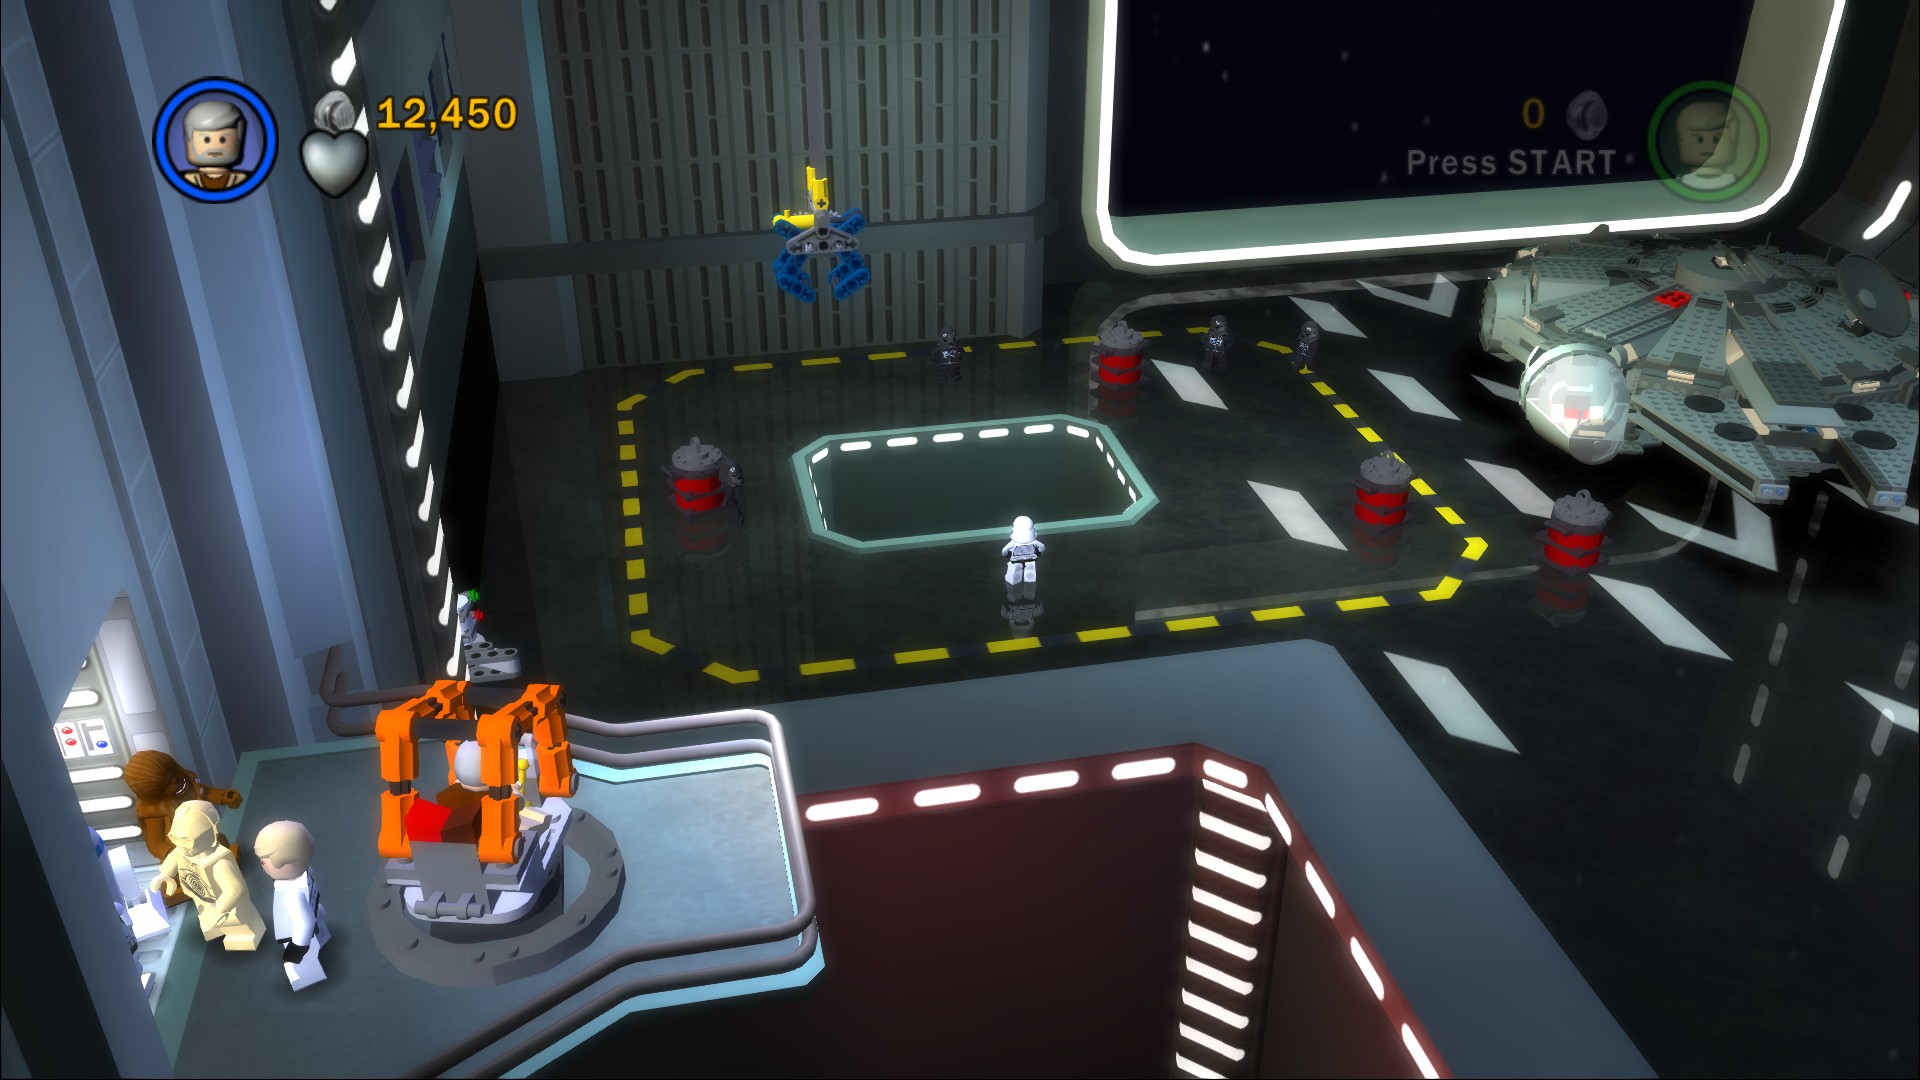
Take the path to the right and jump into the crane, pick up all of the Stormtroopers one by one and drop them into the hole in the middle, alternatively you can pick up the barrels and drop them on the Stormtroopers.
Once all ten in the area are dead you'll a Minikit will appear that you can also pick up with the crane.
At the end of the corridor is a panel that requires a Stormtrooper to open it, luckily there's a disguise machine on the left that puts a Stormtrooper helmet on you if you use it.
Minikit 2/10
Requires: Protocol Droid Story Mode: Yes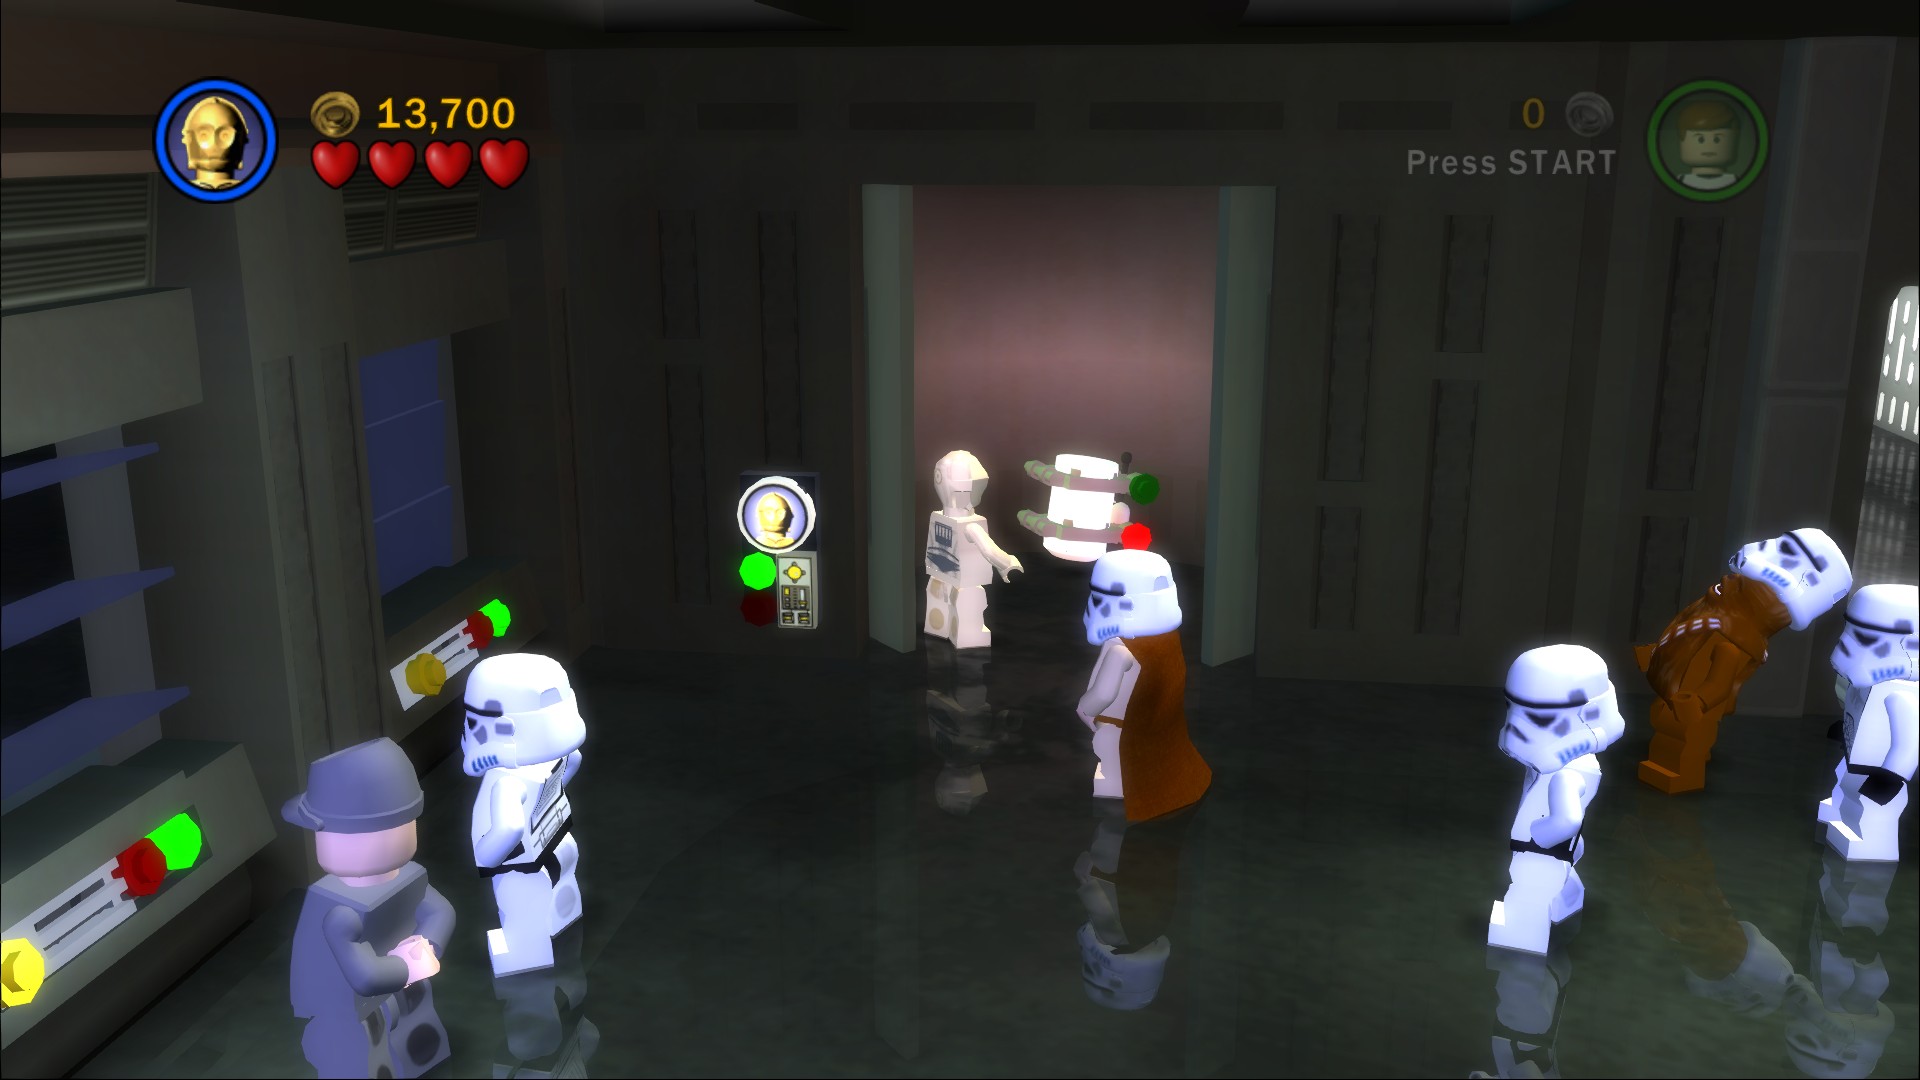
In the near right corner of the next room is a Protocol Droid panel, using it will open up the elevator next to it.
After defeating the Stormtroopers standing around in the next room go to the far side and build up the two computer consoles, creating an astromech panel for R2-D2 to activate. Follow Obi-Want through the door on the left.
More Stormtroopers in here. At the far end is a large gap that you can't get over in Story Mode.
Minikit 3/10
Requires: Hover or Double Jump Story Mode: No
Hover or double jump over the gap and attack some Stormtroopers, you'll find a Minikit in the first alcove on the left. This is one you can see from the other side through a window.
Minikit 4/10
Requires: Hover, Grapple, Hatch Access Story Mode: No
On the right is a barrier made of destructible pieces, shoot it then hover over to a platform on the right where you can grapple up to an Access Hatch. Crawl through it to get the Minikit.
Minikit 5/10
Requires: The Force, Grapple Story Mode: No
In the next room is where Obi-Wan would usually create a bridge for you but if you're here in Free Play you'll need to do it yourself and then pull the three levers to release the Minikit. Grapple up to get it.
Minikit 6/10
Requires: The Force Story Mode: No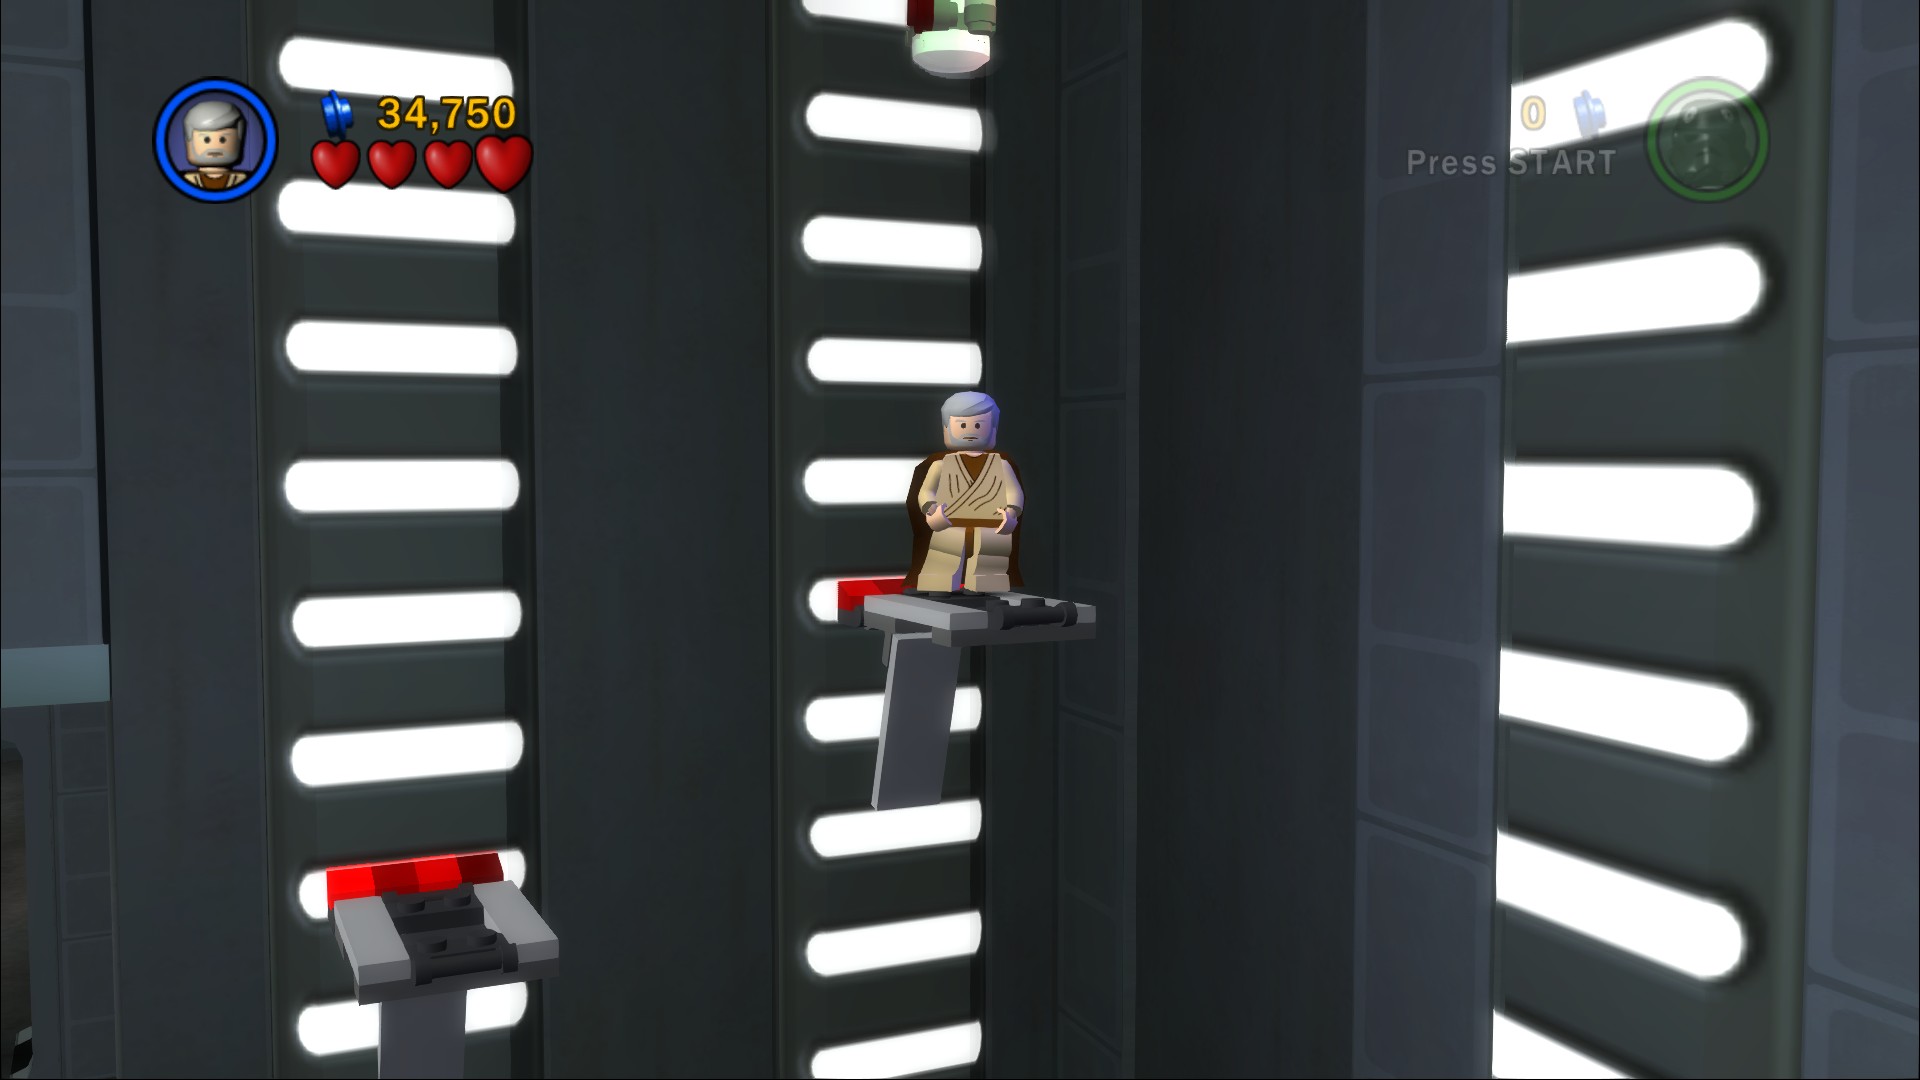
Defeat some more Stormtroopers further on and use the Force on the door to build some platforms to the right, jump up them to get the Minikit.
You'd now get rejoin the level at the point where you open a door next to some black Stormtroopers. There is an item to get on the other path that you can't get in Story Mode so let's backtrack all the way back over the large hover gap.
In Story Mode you'll have to take the path to the left of the gap where you'll encounter another small group of enemies having a chat next to a pipe.
Red Brick (Tractor Beam)
Requires: Astromech, Grapple Story Mode: No
Go through the Astromech door on the left side of the corridor then hover over to the left, grapple up to get the Red Brick.
Carry on forwards past another Stormtrooper disguise station and out to where a couple of elevators will bring in Stormtroopers over and over until you destroy the camera abpve it (in Free Play you can ride the elevators up to a disguise room). You'll see Obi-Wan in the distance fighting with some Stormtroopers, shoot them to help him and he'll help you by building a bridge.
Over the bridge you'll encounter some Stormtroopers dressed in black that pop up from the edge, these Stormtroopers will keep appearing until you jump over the railing and shoot the hook that they're using. Blast the crates blocking the path ahead a few times until they explode and then make sure to equip one of your characters with a Stormtrooper helmet from the disguise station here.
At the end after the next group of regular Stormtroopers and single Imperial Officer go to the right through the doorway.
There's another group of the black Stormtroopers here, shoot the hook otherwise they're just not going to let you use the Stormtrooper panel on the right (if your hat falls off in the fight just double back and get another one).
Go across the bridge to the centre and build up the rest of the rotation switch, push on the green side to rotate the bridge around to where you can grapple up a couple of times. Shoot a pair of Stormtroopers up top.
Minikit 7/10
Requires: Hover Story Mode: No
Hover to the right to find the Minikit.
Jumping down to the ledge below the Stormtroopers to get through the doorway. In this room are a load of Stormtroopers sitting at consoles, kill them all.
Minikit 8/10
Requires: A weapon Story Mode: Yes
Shoot all eight of the console screens to get a Minikit to appear.
Build the Stormtrooper panel on the door out of here, if you don't have a helmet on go back out and you'll find the disguise station to the left. Shoot a couple of Stormtroopers on the other side before you reach an area where four Guards are guarding two elevators.
Minikit 9/10
Requires: The Force Story Mode: No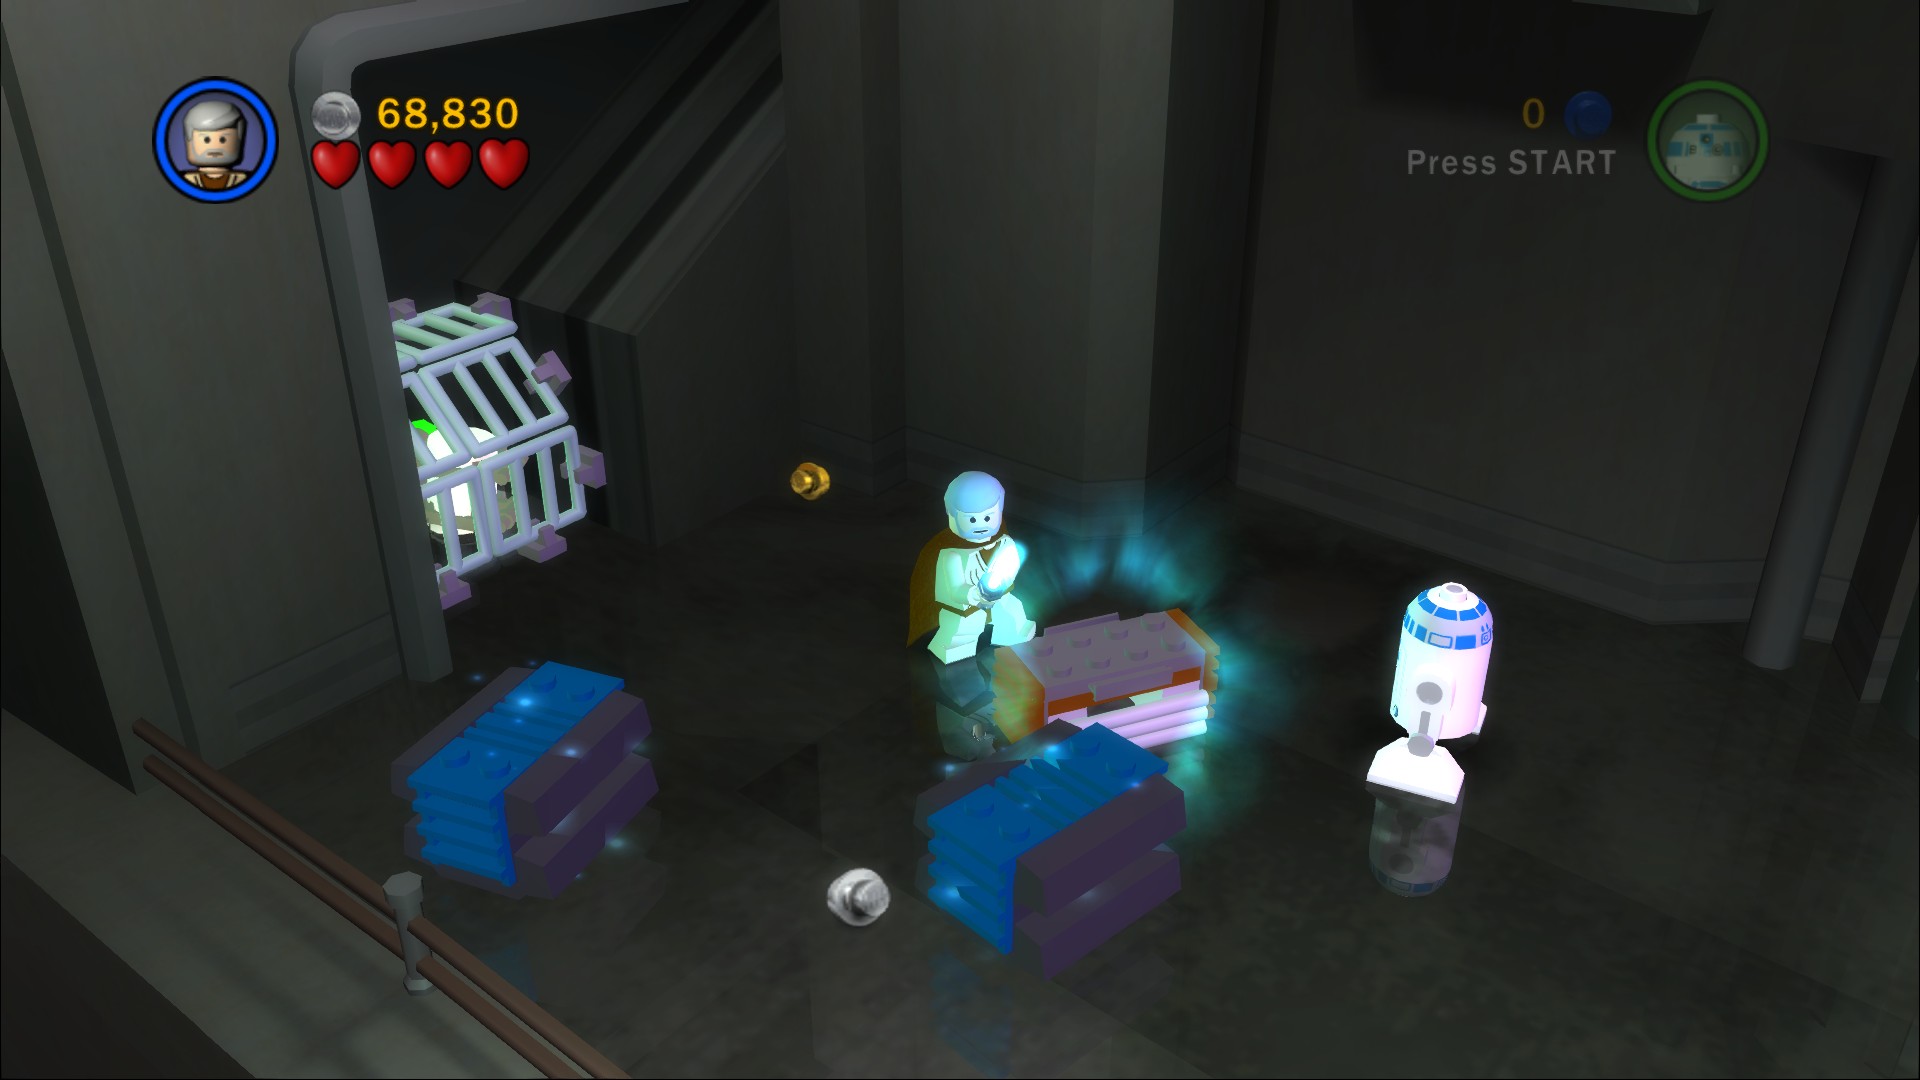
Use the Force to assemble a pile so you can jump up to the ledge above the cage, push the object all the way to the right so that it drops down and smashes the cage freeing the Minikit.
Of the two elevators we'll go into the left one that doesn't have any requirement (the right one leads to a Double Score Zone but no collectibles or story). Defeat the Stormtroopers in the room and then shoot the cameras to stop more from arriving (these elevators lead to a turret minigame that rewards about 20,000 studs). Assemble the consoles in the centre so that you can pull the two levers to open the door to the cells.
You can search each cell for some extra studs but Leia is in the third one on the right.
Minikit 10/10
Requires: Astromech Story Mode: Yes/No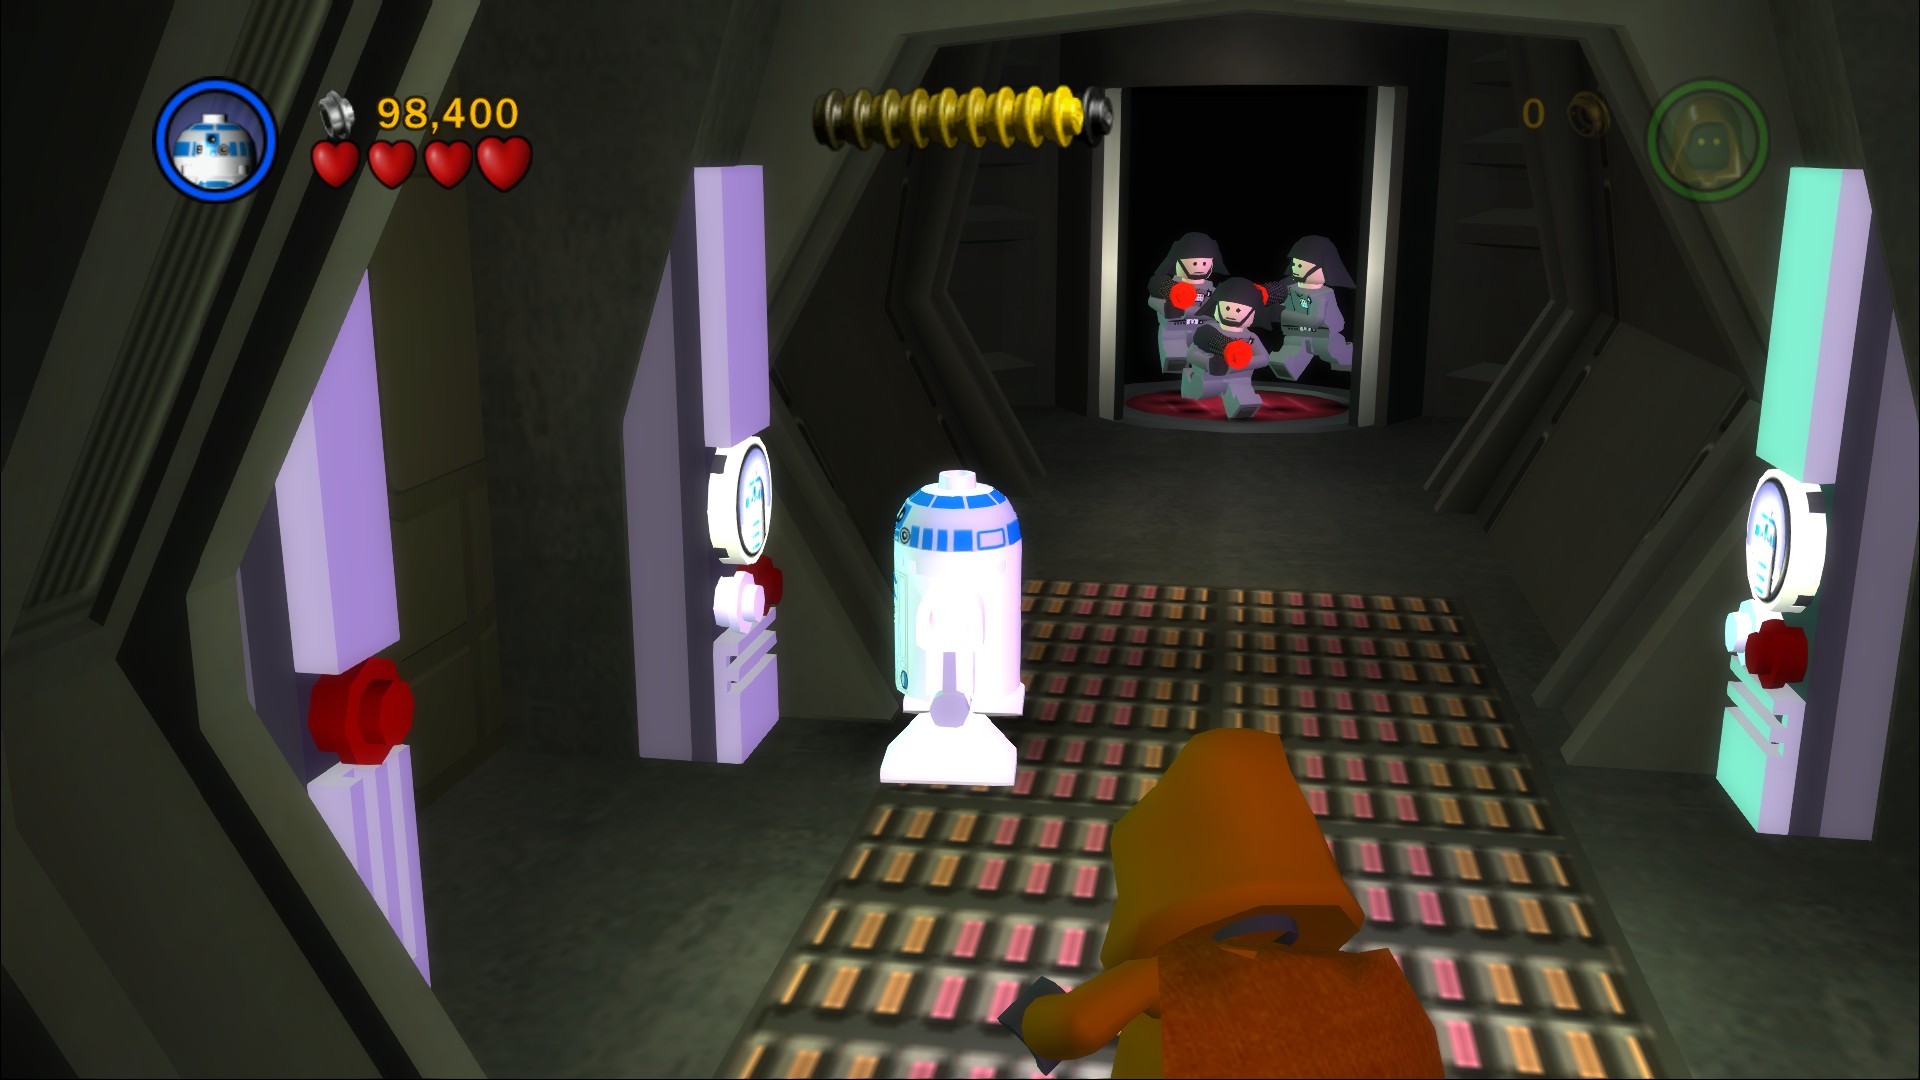
But before you rescue her go a little further along and open up the Astromech panel on the left to find the last Minikit.
Stand on the two buttons to release her and finish the chapter.
Millennium Falcon
 Based on set 4488
That'll unlock the Stormtrooper variant outfits of Han and Luke and add a bunch of Death Star employees to the shop.
| Cost | Character | |
|---|---|---|
| 20,000 | Beach Trooper | |
| 19,000 | Death Star Trooper | |
| 21,000 | TIE Fighter Pilot | |
| 28,000 | Imperial Officer |
Chapter 5
Death Star Escape
Luke Skywalker, Han Solo and Chewbacca have rescued Princess Leia from the clutches of Darth Vader and his Imperial forces - but must now find a way out of the Death Star.
Aided by the droid R2-D2, who can interface remotely with the Death Star control systems, they battle their way to the Millennium Falcon.
Meanwhile, the Jedi Knight Obi-Wan Kenobi moves closer to his final destiny....
| Story Mode | Free Play |
|---|---|
| 55,000 | 65,000 |
On the floor at the back of the trash compactor are some LEGO bricks hopping about, build a platform out of them so that you can pull the lever to get out of there.
Red Brick (Invincibility)
Requires: Protocol Droid, The Force Story Mode: No
A Protocol Droid door to the left, go inside and build a fridge. Open the fridge with the Force to find the Red Brick.
Go forwards through the door to a pair of Stormtroopers and then a Stormtrooper disguise station, a few more enemies will attack before you reach the next room.
Minikit 1/10
Requires: Bounty Hunter Story Mode: No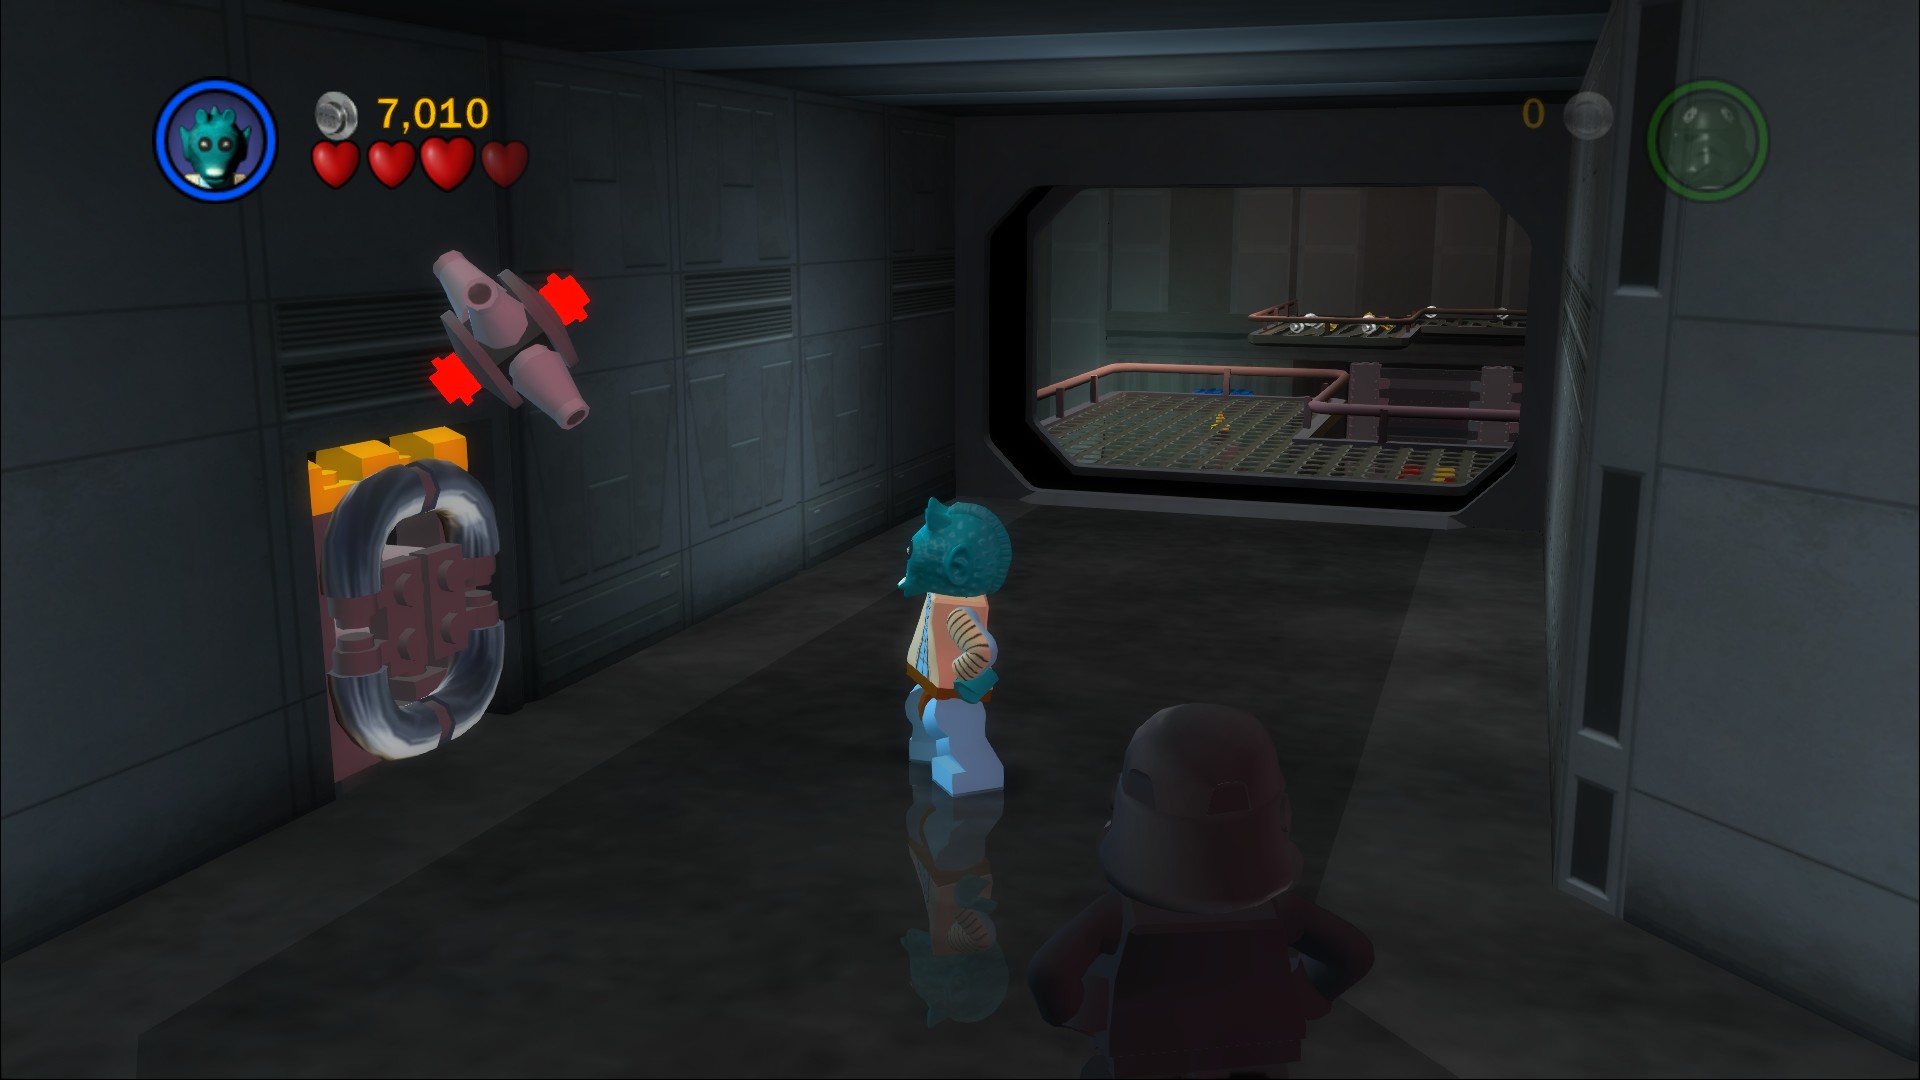
Use a Bounty Hunter to blow up the Silver LEGO on the wall.
Pull the lever on the wall out here three times so that the grapple point moves to the far end of the platform you're standing on. Jump down to the floor below and attack the large number of Stormtroopers. Once they've all been defeated go over to the left side and start pushing the tall platform in the yellow dashed line area to the red circle, when it's in position you can push on the rotation switch next to it to raise it up.
Grapple back up and then grapple across to the other side of the room. Pulling the lever over here will drop in a crate you can push down to the floor in order to blow a hole in it.
Minikit 2/10
Requires: Access Hatch Story Mode: No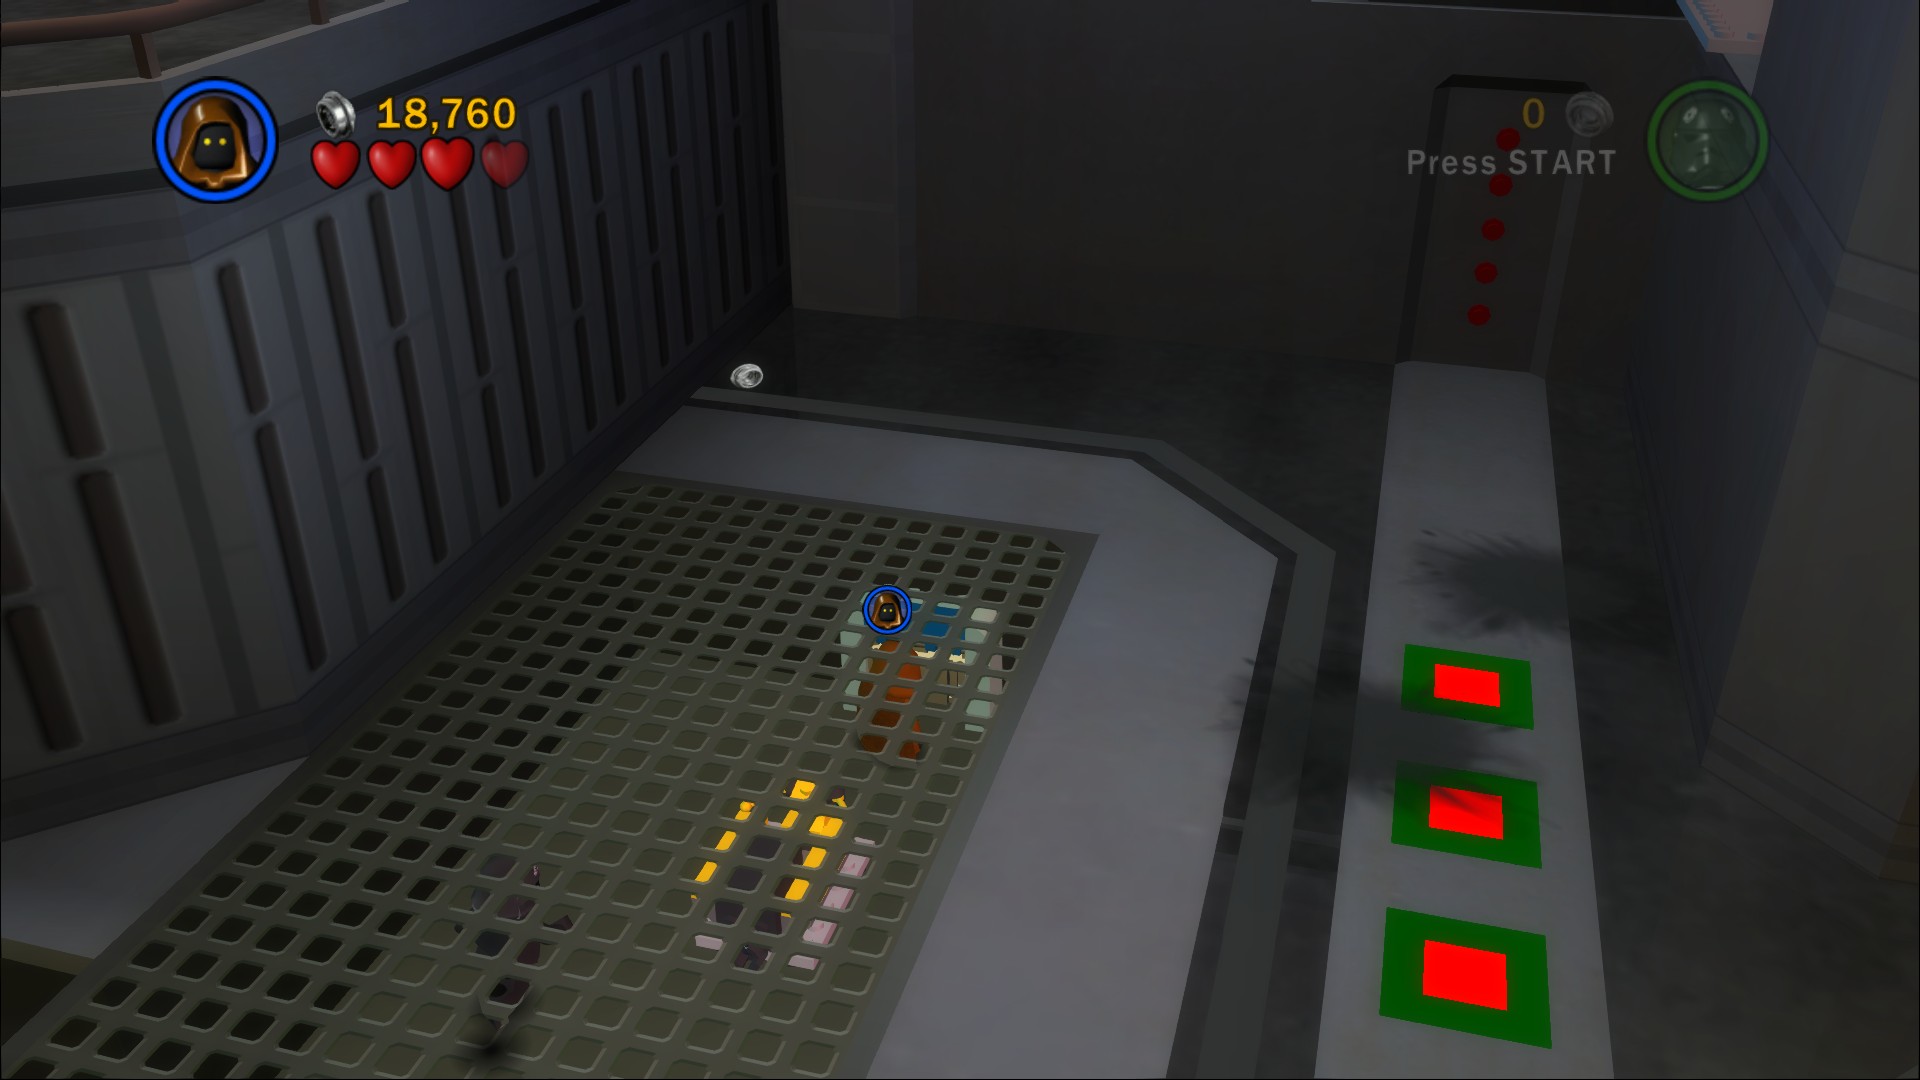
Go through the access hatch with a small character to get the Minikit.
Get in the vehicle under here, drive it up the ramp and then across the five flashing red squares so they all turn green in one pass (unfortunately if you're wearing Stormtrooper helmets to avoid combat you'll have to blow up the objects that are in the way and blow your cover). That'll extend a platform above giving you access to a Stormtrooper panel, you'll probably have to go back to the previous corridor to get a new hat.
Defeat a few Stormtroopers waiting on the other side.
Minikit 3/10
Requires: None Story Mode: Yes
If you jump into the orange control here you can move the window cleaning basket around to clean the entire window and smash it to get the Minikit.
Reaching the blue studs that you can see outside the window on the opposite side to the one you cleaned requires blowing up the wall with a Bounty Hunter bomb in Free Play.
Fix the switch at the end of the corridor to the right (which will annoy the Stormtroopers you just passed if you're all wearing a helmet) to open it up and reveal a couple of Stormtroopers, get rid of them and then push the crate through the door once you've opened it and defeated the enemies on the other side. Push it into the gap on the right to activate the last switch.
Minikit 4/10
Requires: Dark Force Story Mode: No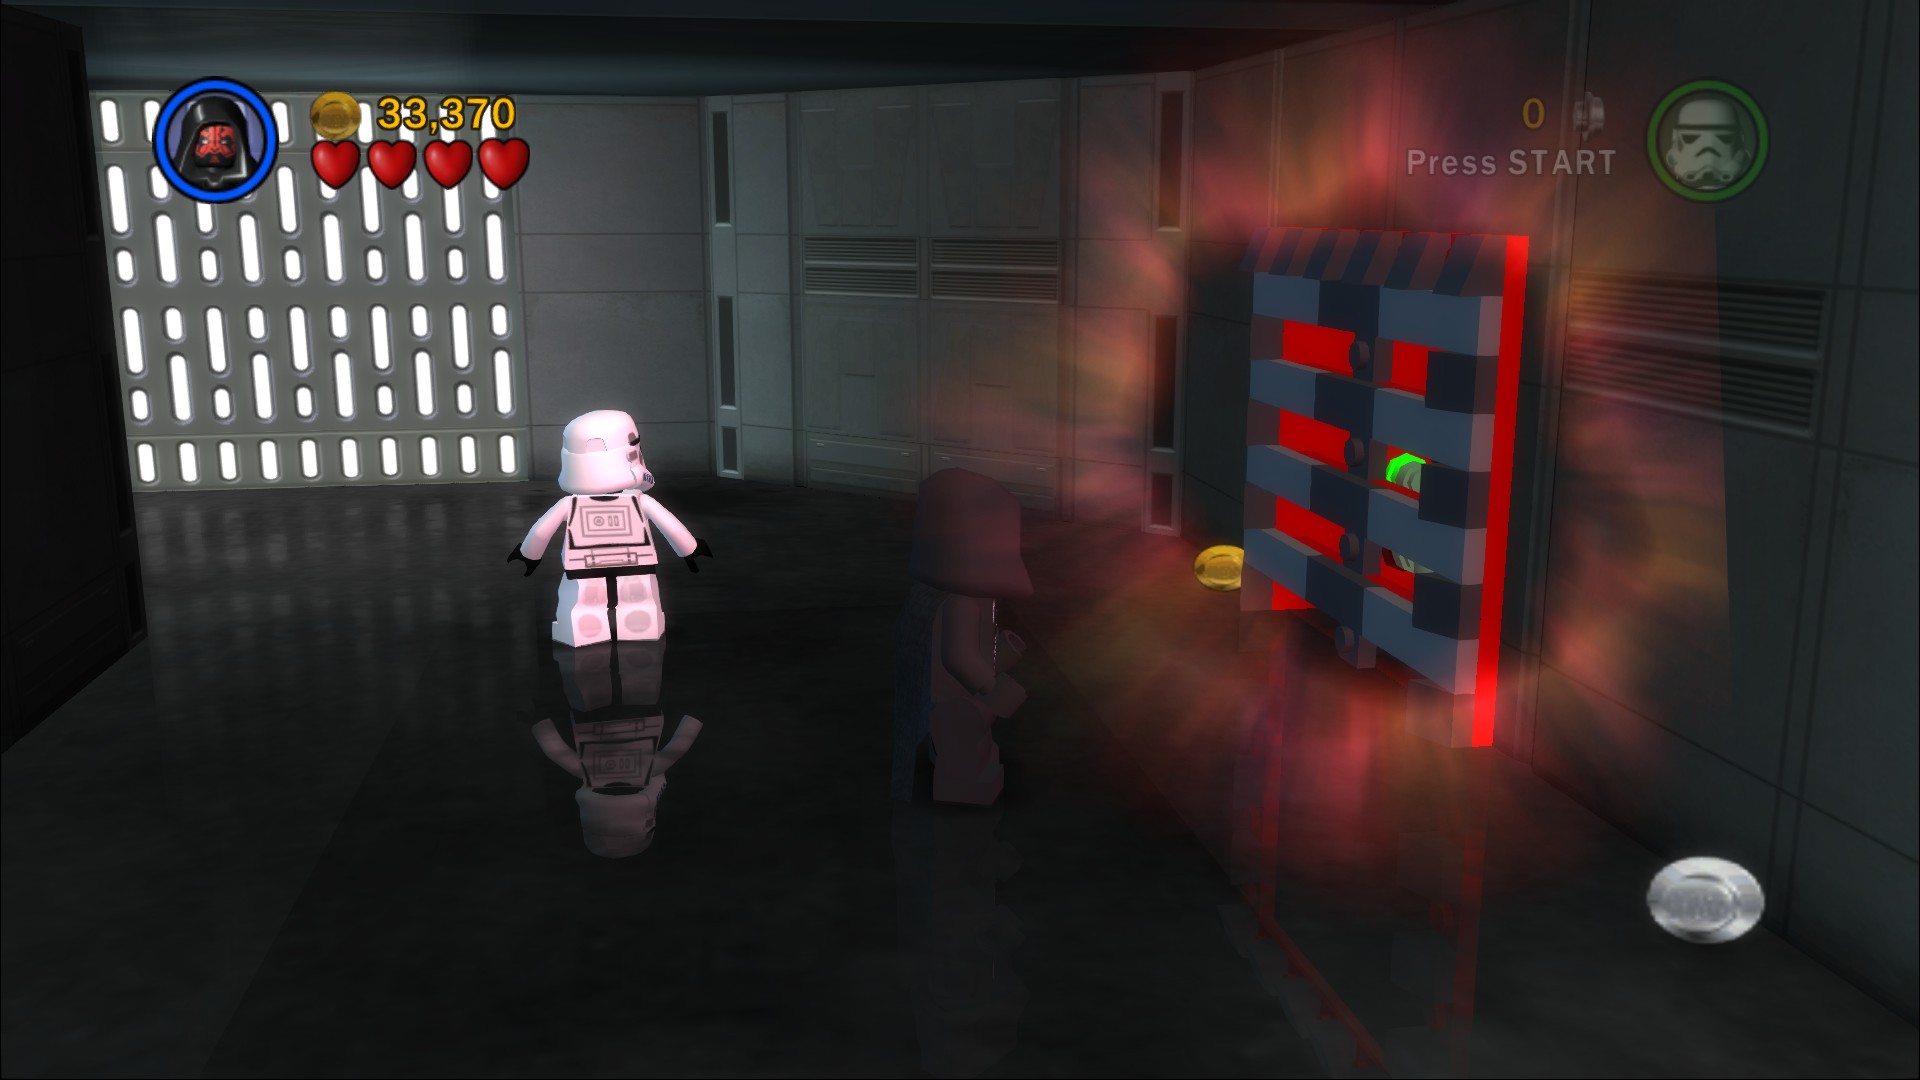
Dark Force the wall on the corner.
Around the corner you'll exit to a new area. Pull all three switches to activate a moving platform, use it to jump the gap. Around the corner defeat a couple more Stormtroopers then grapple up to a switch, pull it and then jump back down to assemble the bits that have fallen. That'll activate the elevator so grapple back up and get on it when it approaches.
Ride it up and jump off to the left side of the elevator in order to get yourself a brand new Stormtrooper hat for the door at the very top. Stormtroopers may still be appearing so try to avoid getting your hat shot off as you make your way up to the top to open it.
Minikit 5/10
Requires: The Force Story Mode: No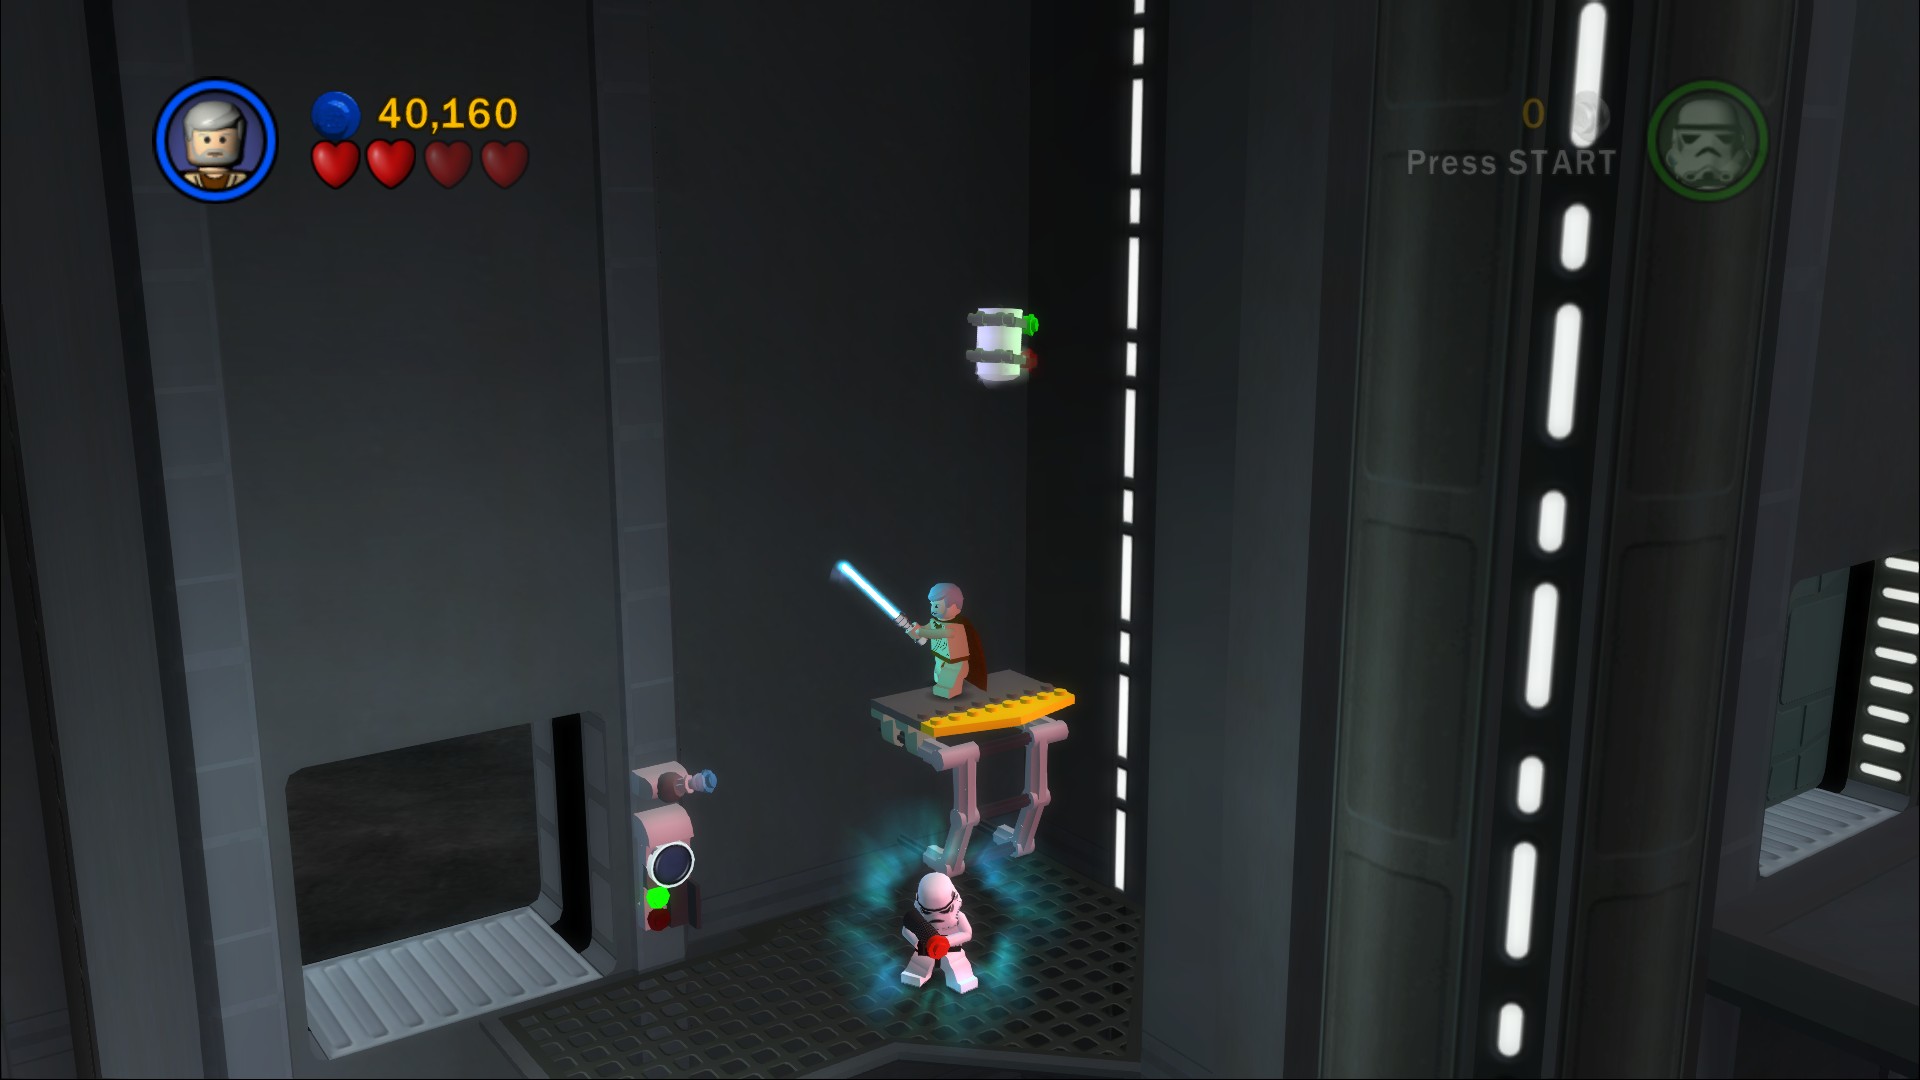
Use the Force on the object above the door to the right.
If all of your characters are wearing helmets and you keep your gun away you should be able to just walk straight past the Stormtroopers in here. Pull the levers on either side of the door you just came out of to close out. On the floor you'll find a broken up grapple point to build, unfortunately this will annoy the other Stormtroopers and they'll start shooting at you. Shoot them back then swing across and get a bit closer to shoot the pair at the back. You'll need a Stormtrooper helmet to get through the door here, you can use a disguise station just down the corridor to the right of where you built the second grapple point.
Minikit 6/10
Requires: Jump Story Mode: Yes
Jump out of the window towards the screen going to the left, careful as there's no glass!
Minikit 7/10
Requires: A weapon Story Mode: Yes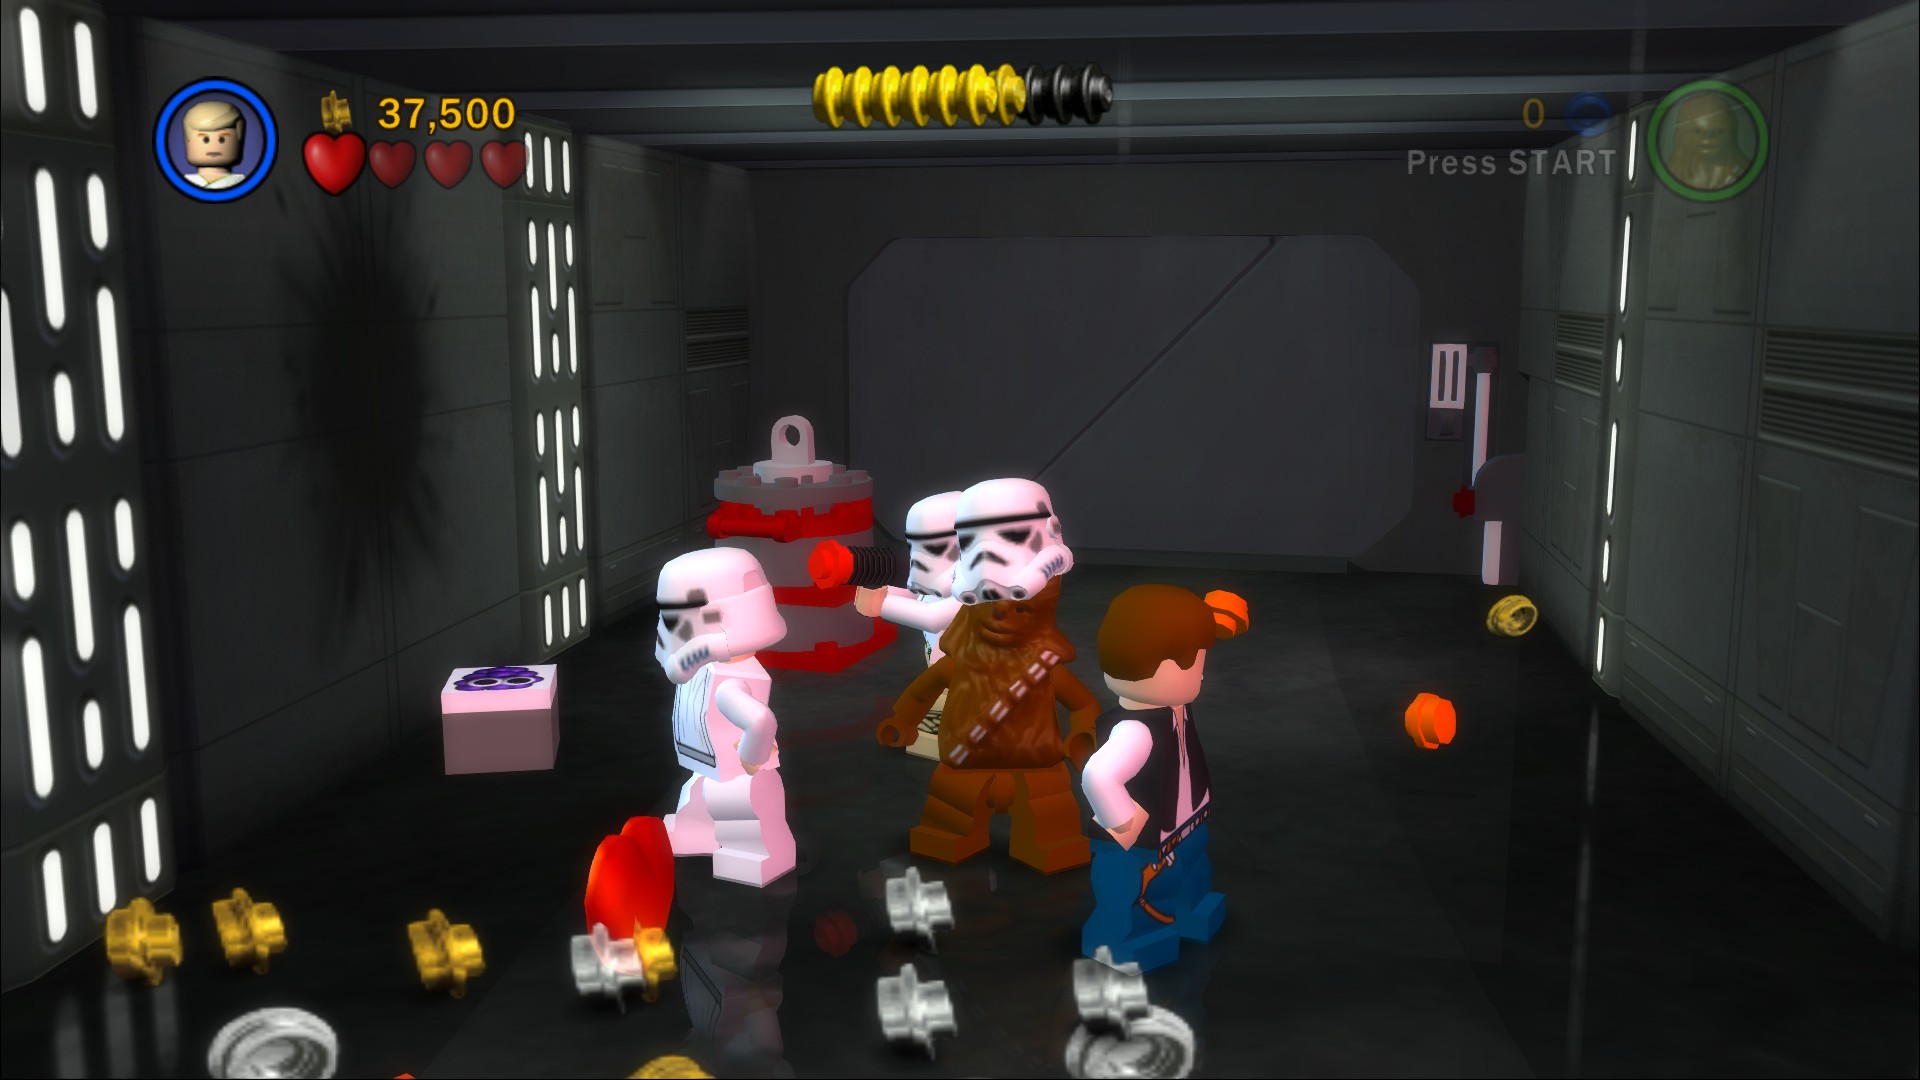
Shoot the next three semi-circle tubes on the sides of the corridor to reveal those grape cubes.
Shoot the lock and carry on along the corridor, one more lock and you're in a room with an awful lot of Stormtroopers. Shoot the big crowd and then take out the ones at the back of the room before you pull the switches on the doors to stop more Stormtroopers from arriving for a little while. In that lull build the large door at the back of the room.
Minikit 8/10
Requires: The Force Story Mode: No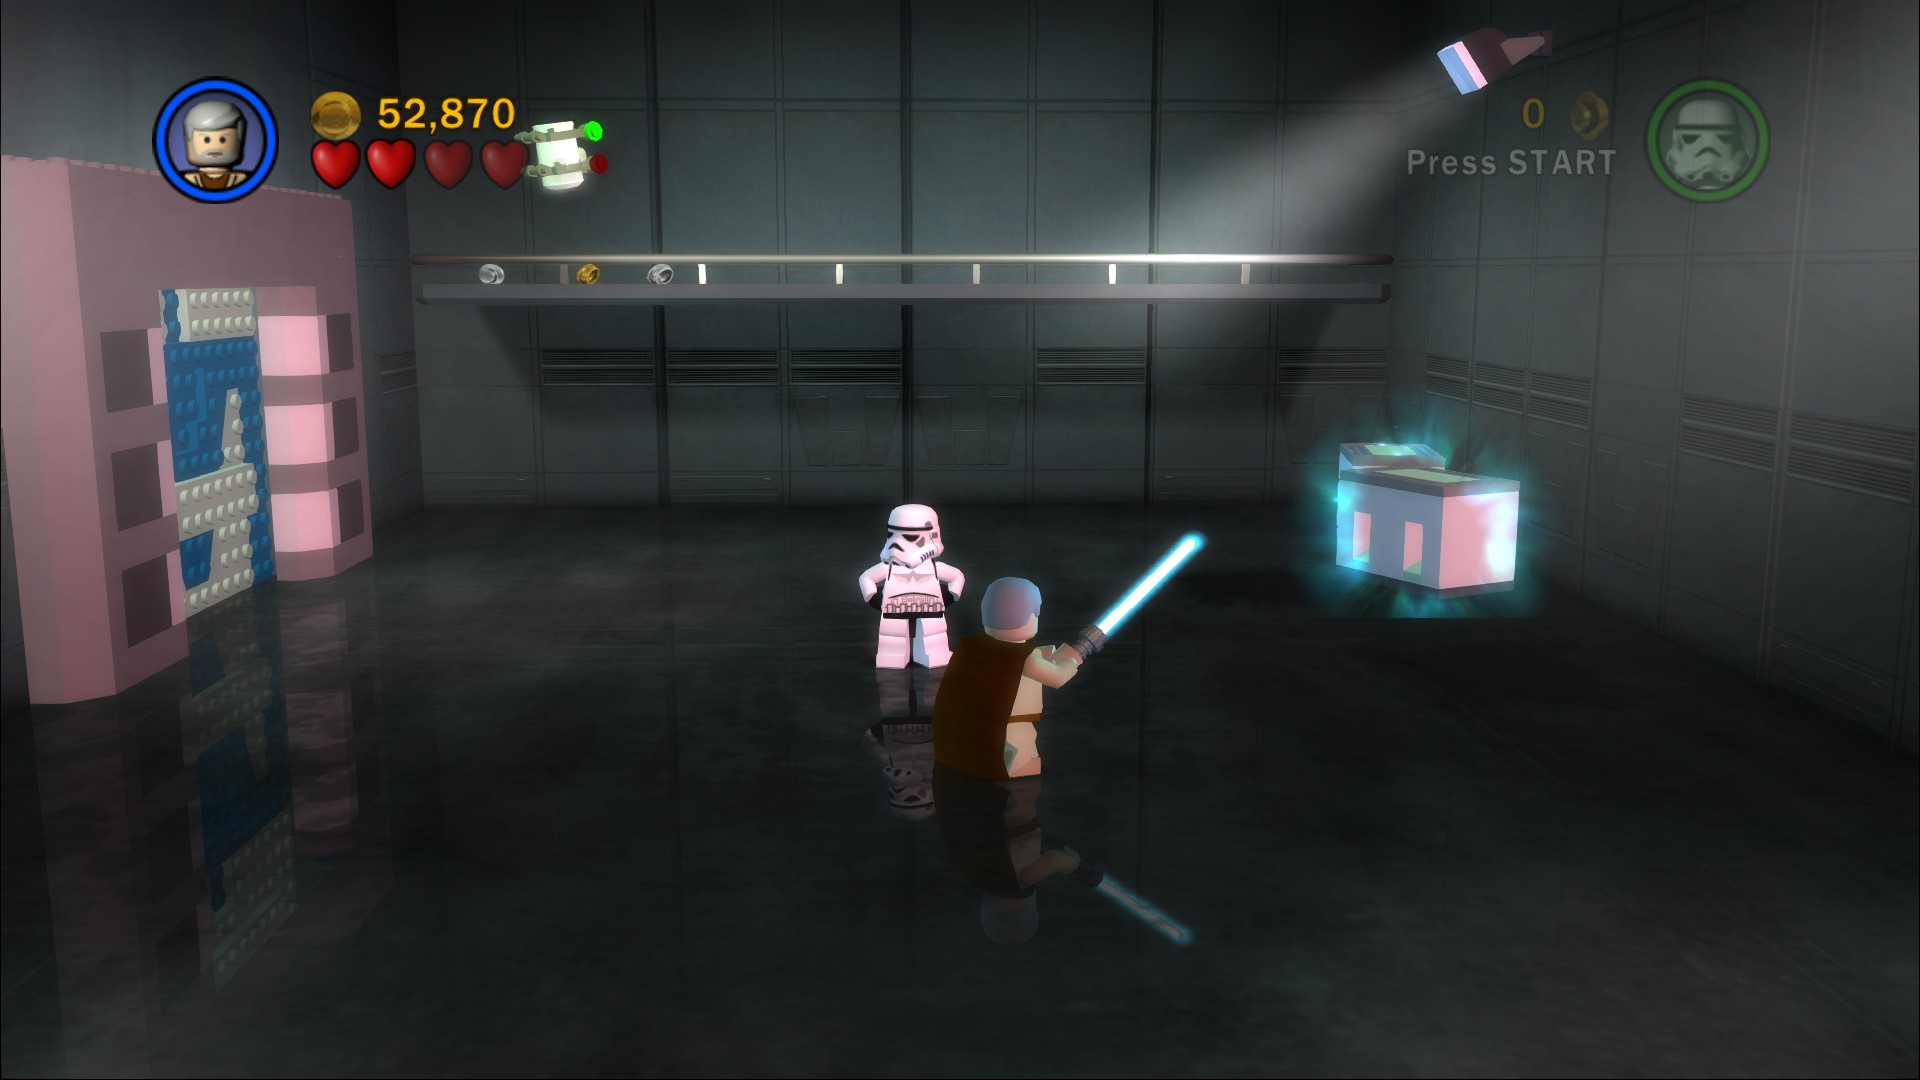
To get up onto the ledge at the back use the Force to rearrange the crates on the right.
Shoot the door you just built to open it so you can go through into the hangar bay. Go over to the far right side of the room where there's a few LEGO bricks dancing, build them to create a handle you can push into to open the door and meet up with C-3PO and R2-D2.
Minikit 9/10
Requires: None Story Mode: Yes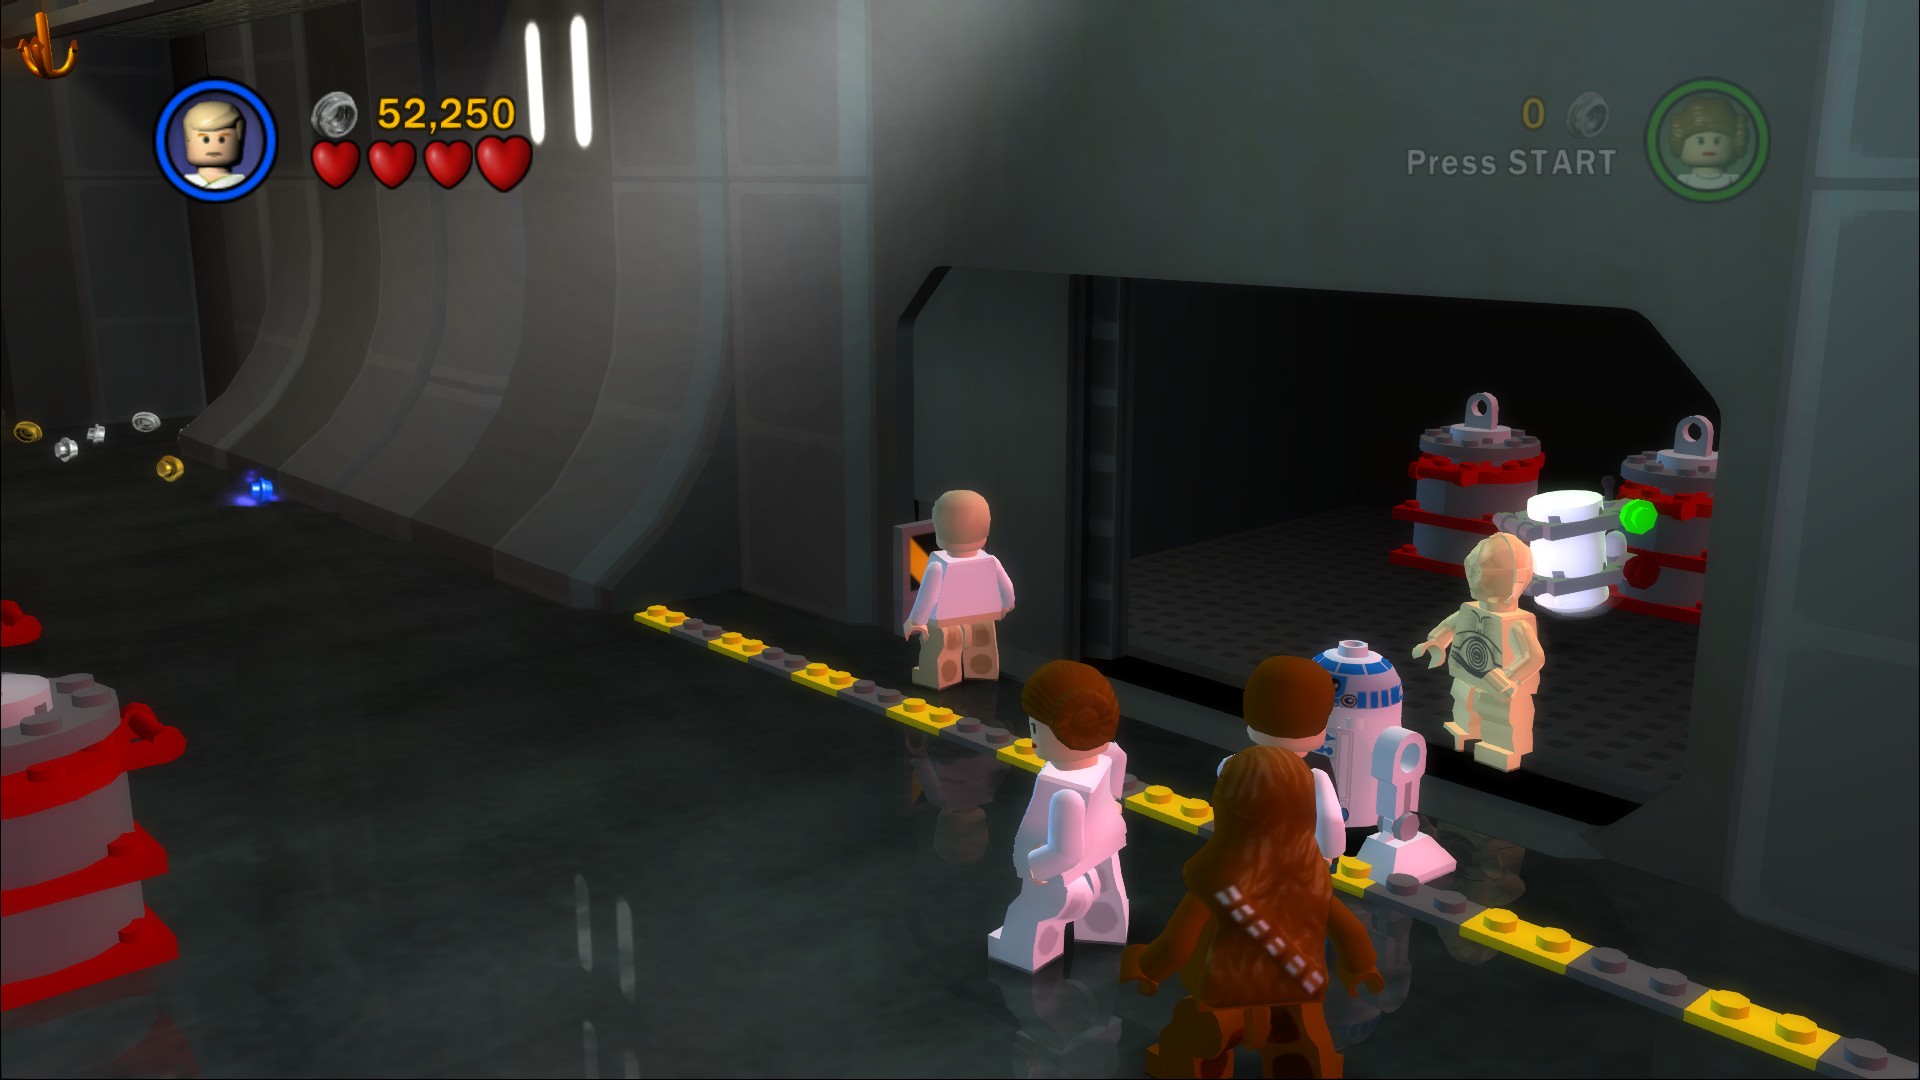
Inside where R2-D2 and C-3PO were waiting.
To the right of the door you came in from is a switch, pull it and use the redirected steam to get up to the window in front of where Obi-Wan and Vader are fighting. Use C-3PO on the protocol droid panel up here, that'll raise the Falcon up a little and also bring in a load of Stormtroopers.
Minikit 10/10
Requires: Bounty Hunter Story Mode: No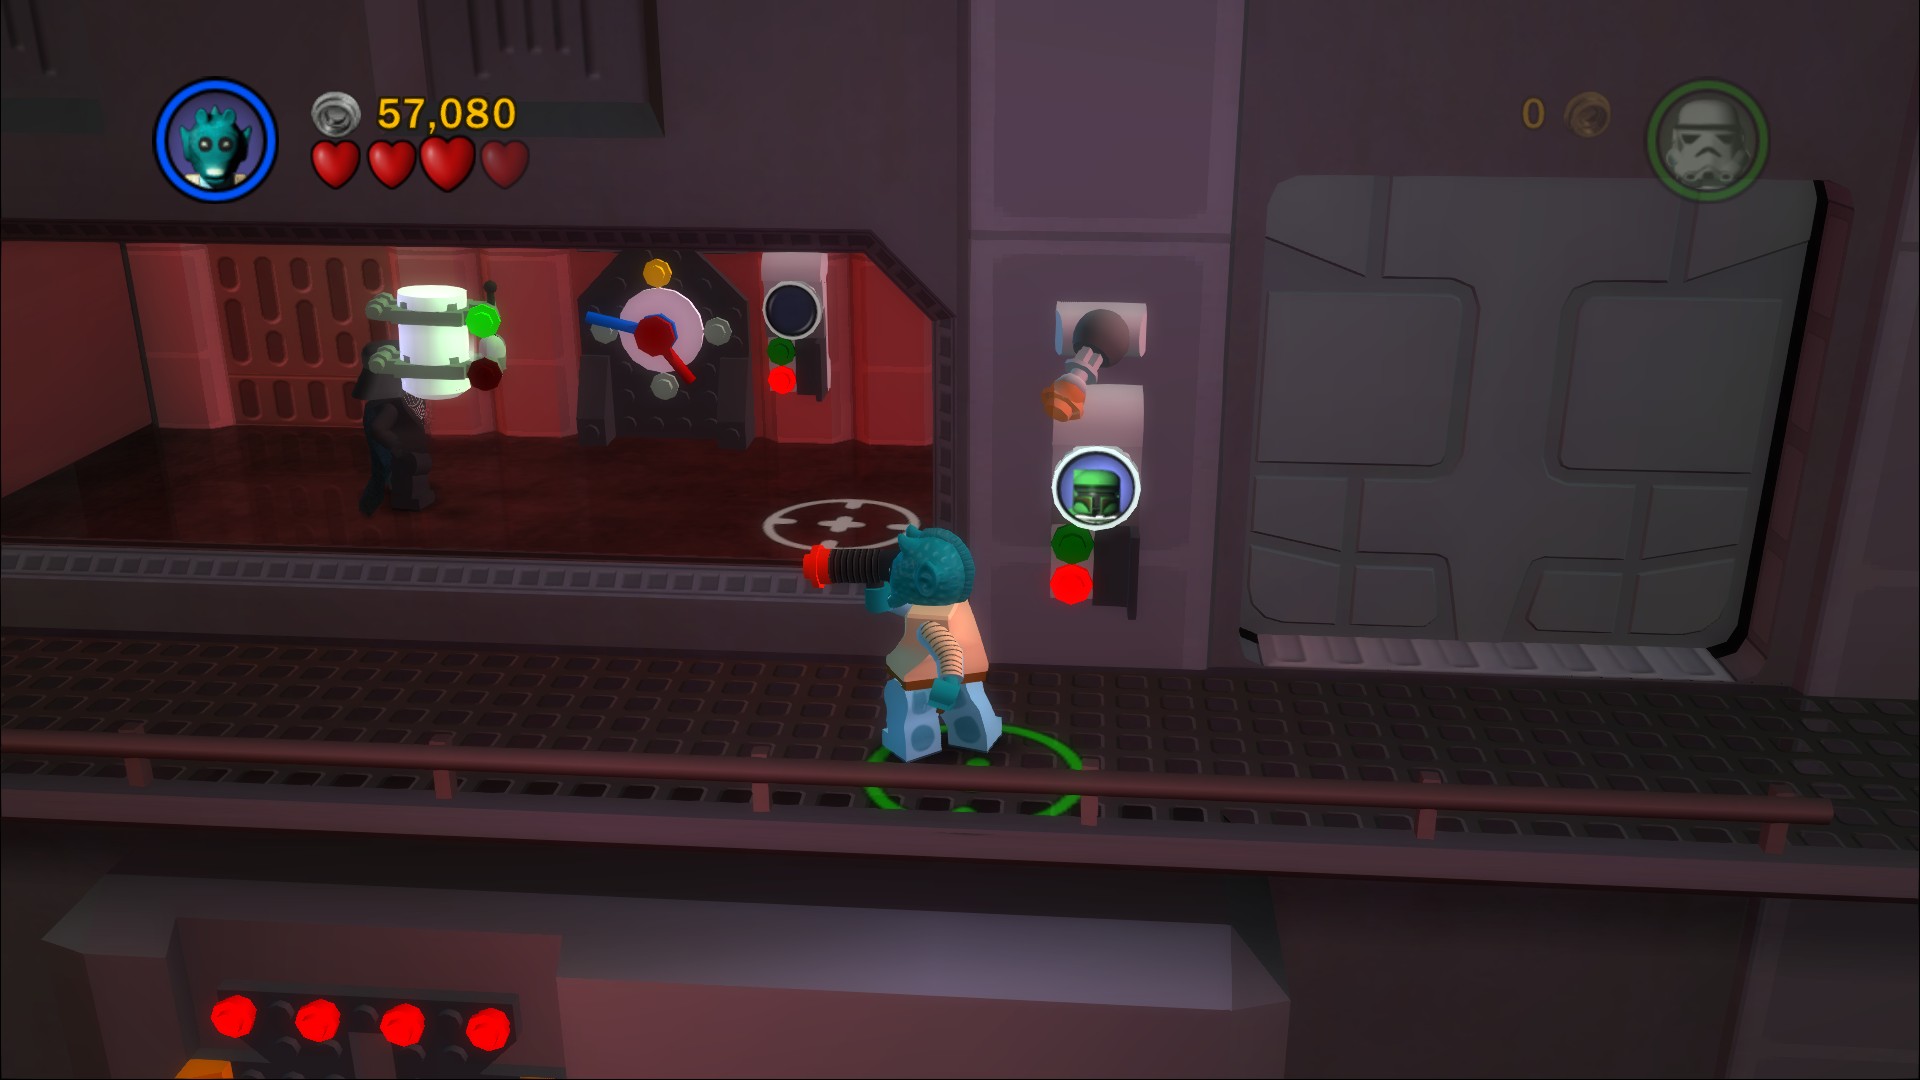
Use a Bounty Hunter to get inside where Darth Vader and Obi-Wan were fighting in Story Mode. I don't think the Stormtrooper panel with the clock in this room does anything.
Drop down to the right and switch to a regular character so you can jump up behind and push the blue thing along the tracks at the back, it'll fall down and smash into pieces of a grapple point. Grapple up and pull the switch to raise the Falcon a little more - and bring another load of Stormtroopers in. There's also an R2-D2 panel to the left of it to raise the Falcon again.
And finally use R2-D2 on an Astromech panel on the left side of the area, it'll raise up a platform with a vehicle on that you can use to drive over the five red squares. One final load of Stormtroopers before the door to the Millennium Falcon opens and you can finish the chapter.
Y-wing
 Based on sets 4488, 4489, 4490, and 4491
The only unlock from this level is in the shop.
| Cost | Character | |
|---|---|---|
| 38,000 | Grand Moff Tarkin |
Chapter 6
Rebel Attack
With the Death Star plans in their hands at last, the Rebel Alliance plans a desperate assault on the Imperial space station.
But a hidden homing beacon attached to the Millennium Falcon has led Darth Vader to the Rebel's secret base on the moon of Yavin IV.
The moon will soon be in range of the mighty Death Star's superlaser. Now, a small band of fearless pilots bear with them the hopes of an entire galaxy....
| Story Mode | Free Play |
|---|---|
| 20,000 | 30,000 |
We've got ourselves one of those vehicle based levels, this time you're in an X-wing (and a Y-wing in co-op) flying through the Death Star's trenches at your own pace.
Straight ahead is a glowing purple sphere that you can pick up, the X-wing can have three of these in tow while the Y-wing can have five. Fire one torpedo at the purple object that pops up to destroy the red forcefield blocking your path.
Minikit 1/10
Requires: None Story Mode: Yes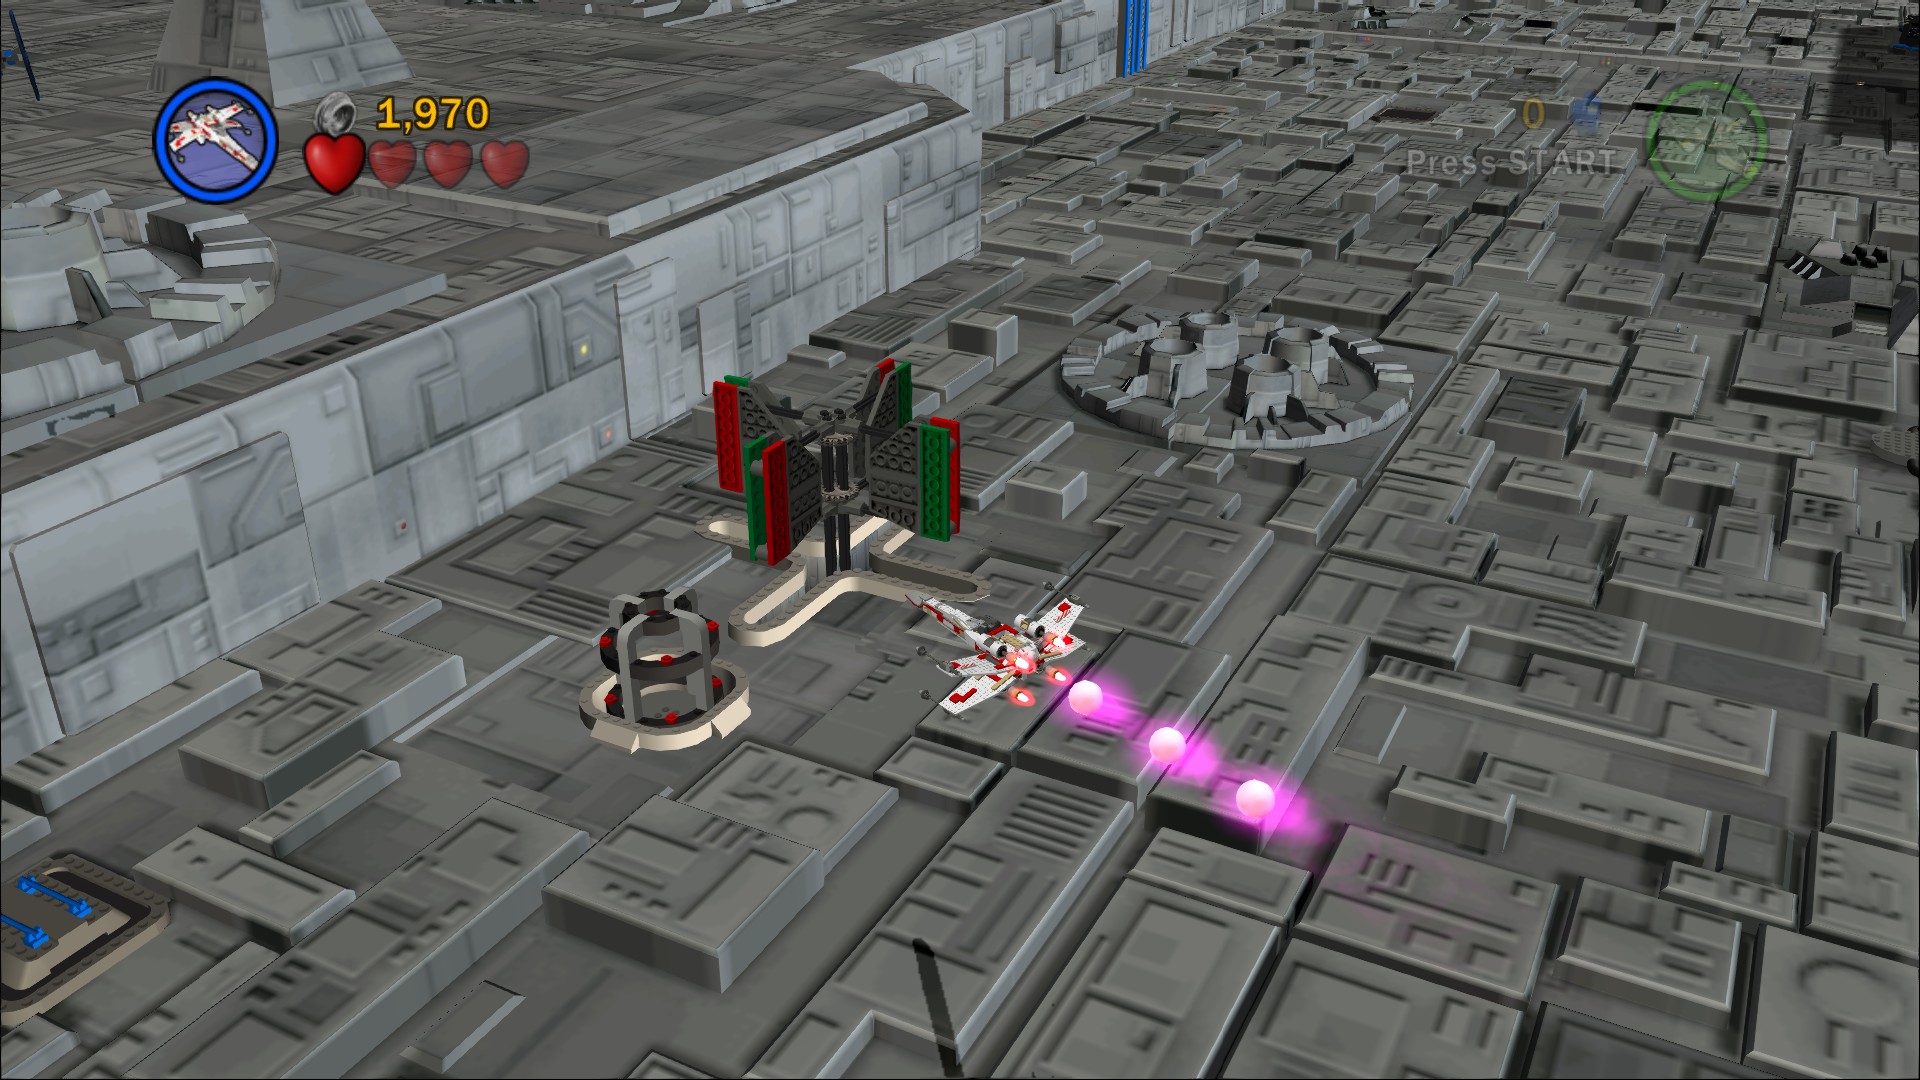
To the left straight after the first forcefield a rotation switch will pop out of the ground, shoot the green sides a few times to turn it to get the Minikit to appear, once it has shoot that too.
To stop some of the TIE Fighters from reappearing you can shoot the satellite dish on the edge of the hole that they're coming out of.
Minikit 2/10
Requires: None Story Mode: Yes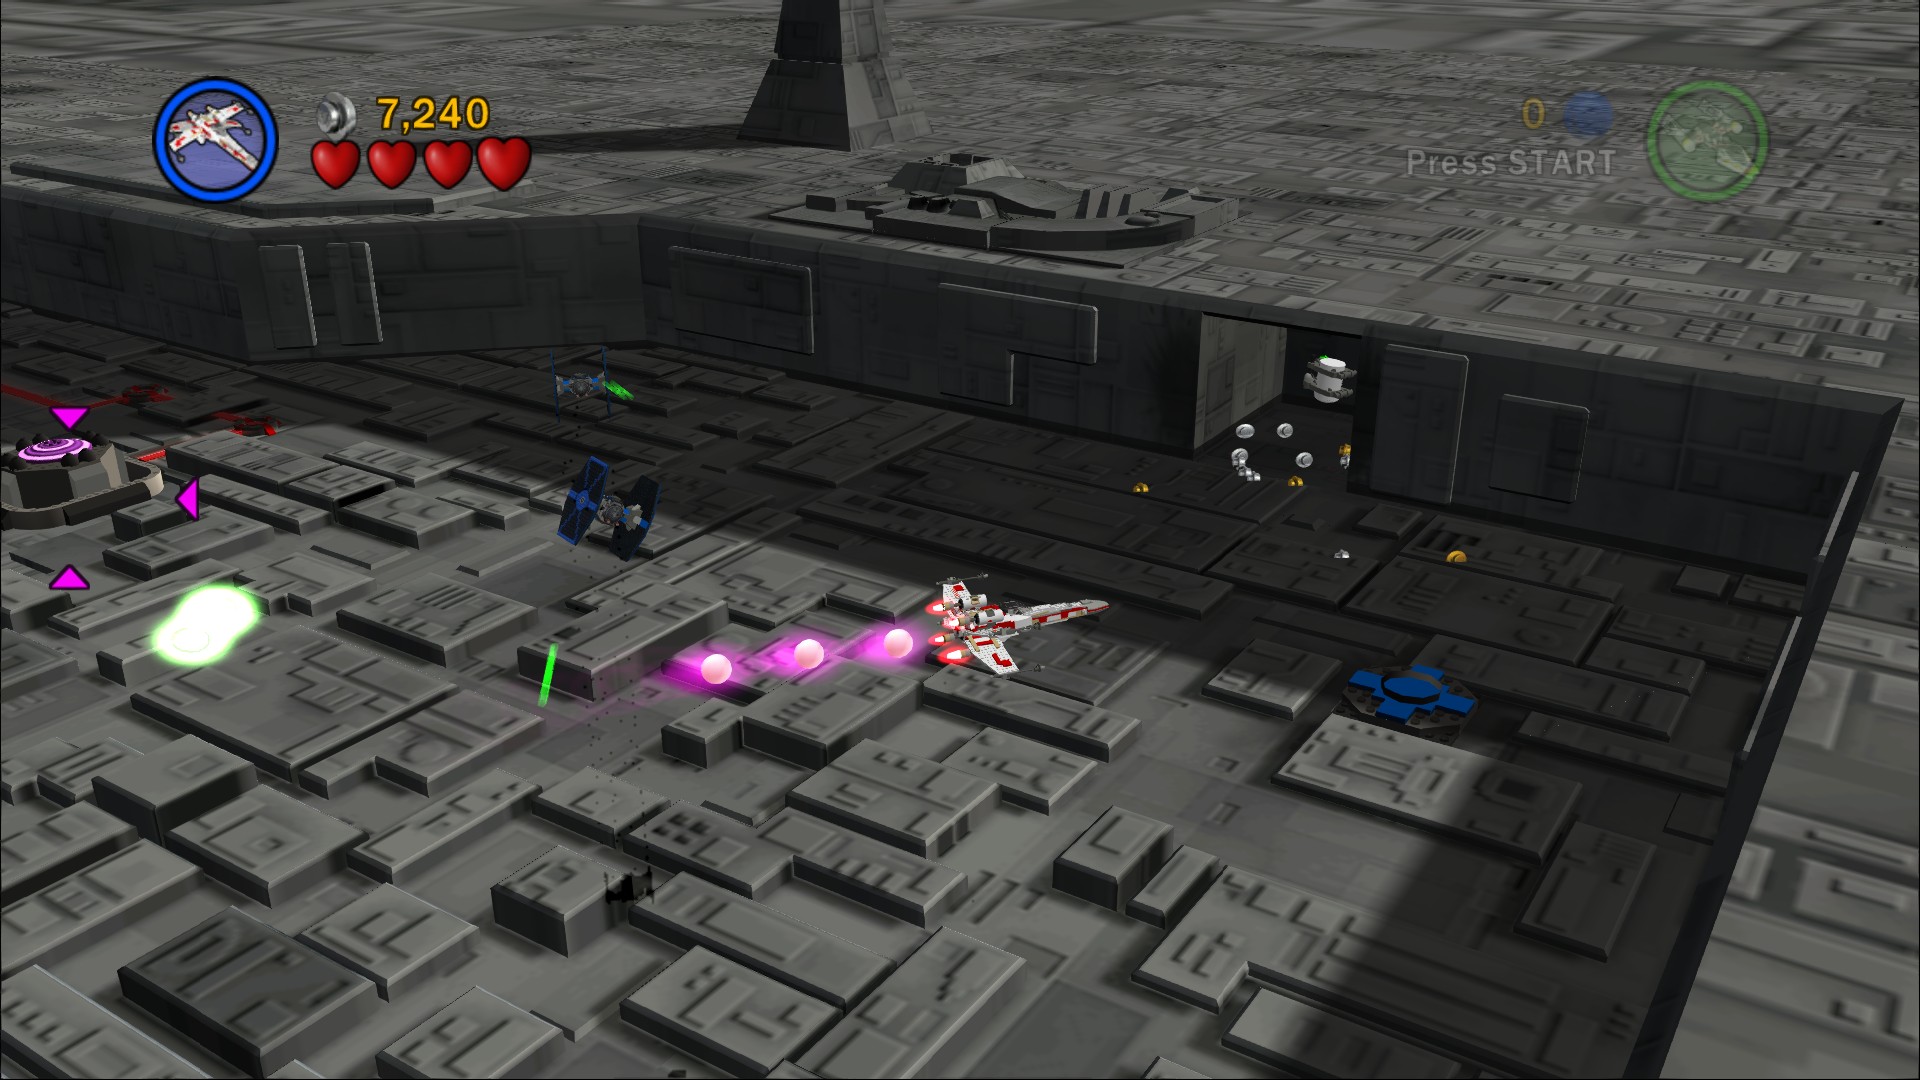
In the area in front of the second red forcefield blow up some blue pipes on the right side, the Minikit is behind them.
Minikit 3/10
Requires: TIE Fighter Story Mode: No
TIE Fighter only area to the left of the second red forcefield, fire a single torpedo at the hole.
There's another red forcefield that will require you to torpedo four things to blow it up. Once the forcefield is down you'll have to shoot through the barrier that remains.
Minikit 4/10
Requires: TIE Fighter, Snowspeeder Story Mode: No
A tiny TIE Fighter area to the right as you enter the new area, it has a rolling bomb in it that only a Snowspeeder can pick up. Drag it along the righthand side of the area all the way to another TIE Fighter area, inside there are two buildings that can only be blown up with a rolling bomb. Repeat to blow up the second side and lower the forcefield.
Minikit 5/10
Requires: None Story Mode: Yes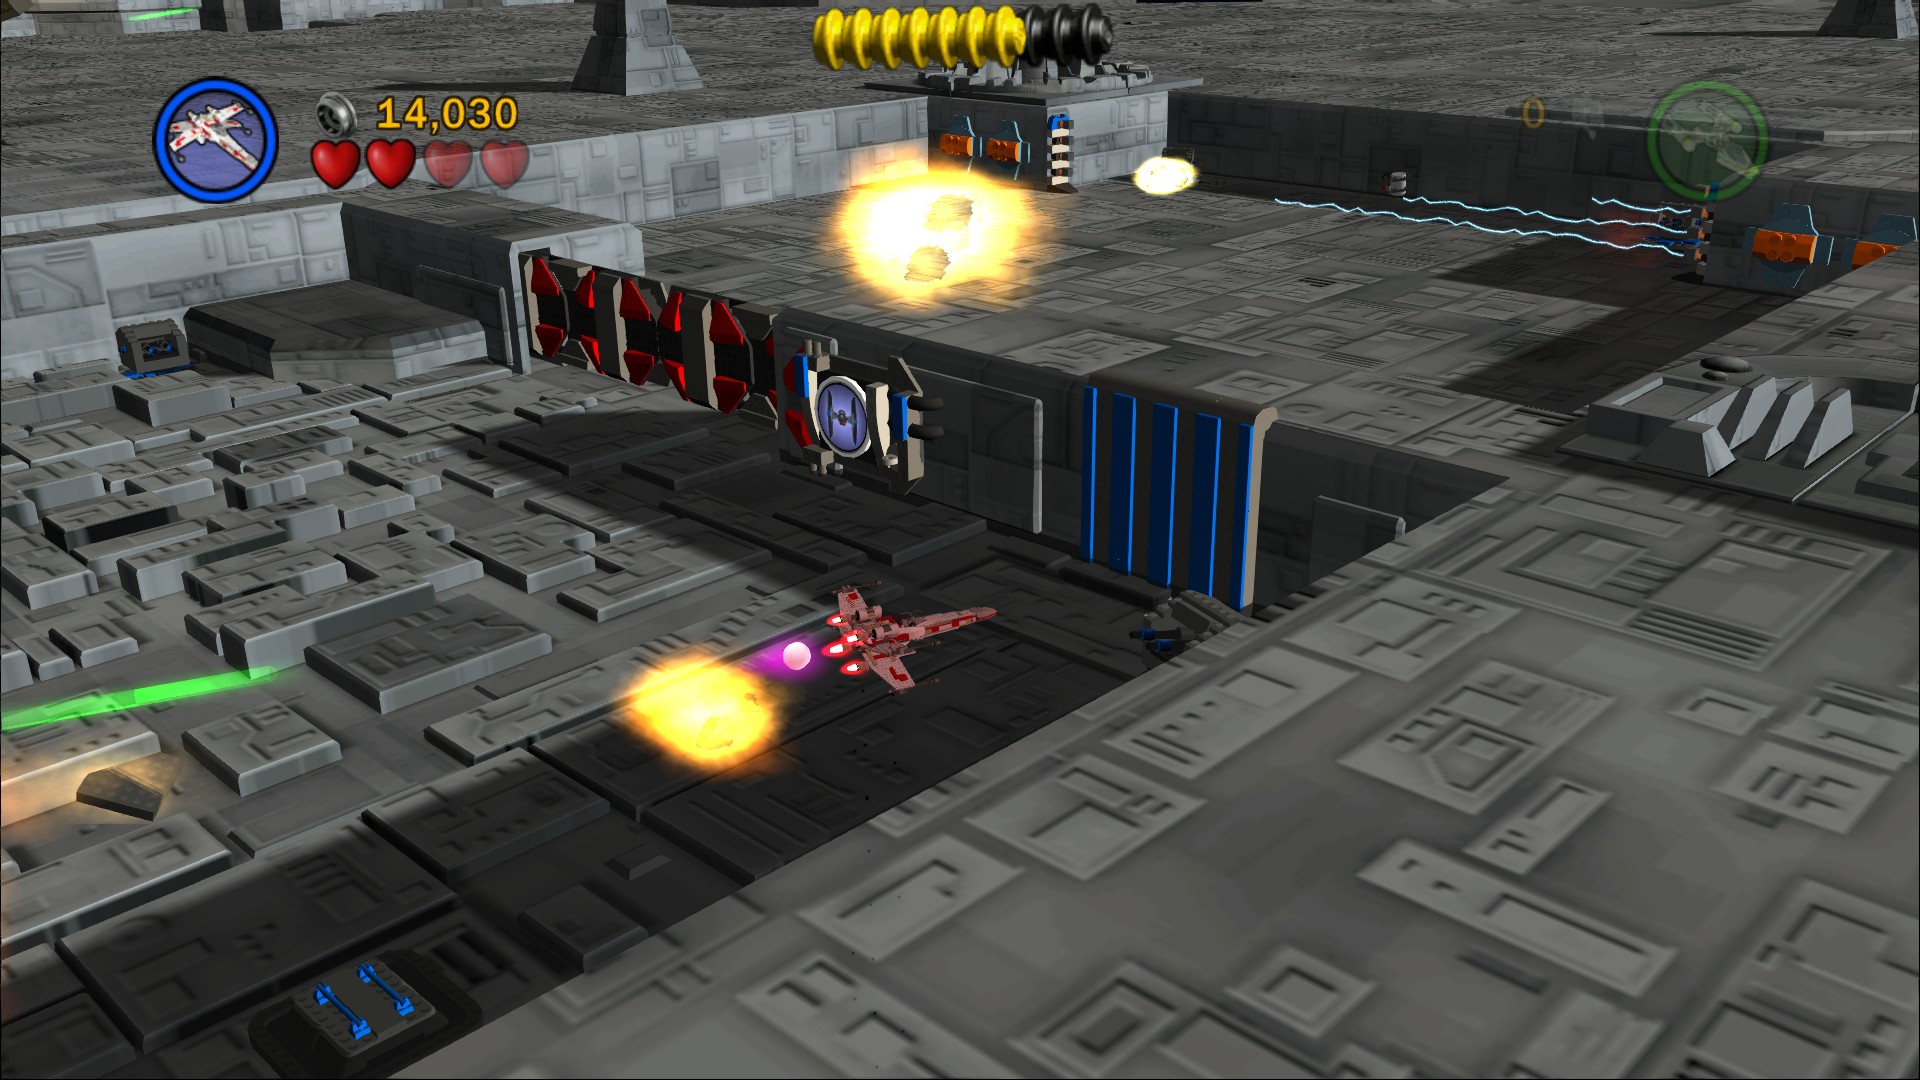
Behind some blue pipes in front of that last TIE Fighter area along the right side.
Minikit 6/10
Requires: TIE Fighter Story Mode: No
Another TIE Fighter zone along the left side. Slalom through the pillars over the green buttons to get them all lit up at once, you won't want to go too fast otherwise you won't be able to turn quickly enough.
Minikit 7/10
Requires: None Story Mode: Yes
In front of that TIE Fighter zone is another one of those turn switches to shoot.
The third red forcefield requires you to blow up eight generators, one close and one further away. You can follow the glowing red lines to see which ones are still active.
Minikit 8/10
Requires: None Story Mode: Yes
Along the left side just past some turrets is another turn switch that'll pop out of the ground as you fly over it.
Blowing up this last red forcefield again requires eight torpedo explosions.
Minikit 9/10
Requires: None Story Mode: Yes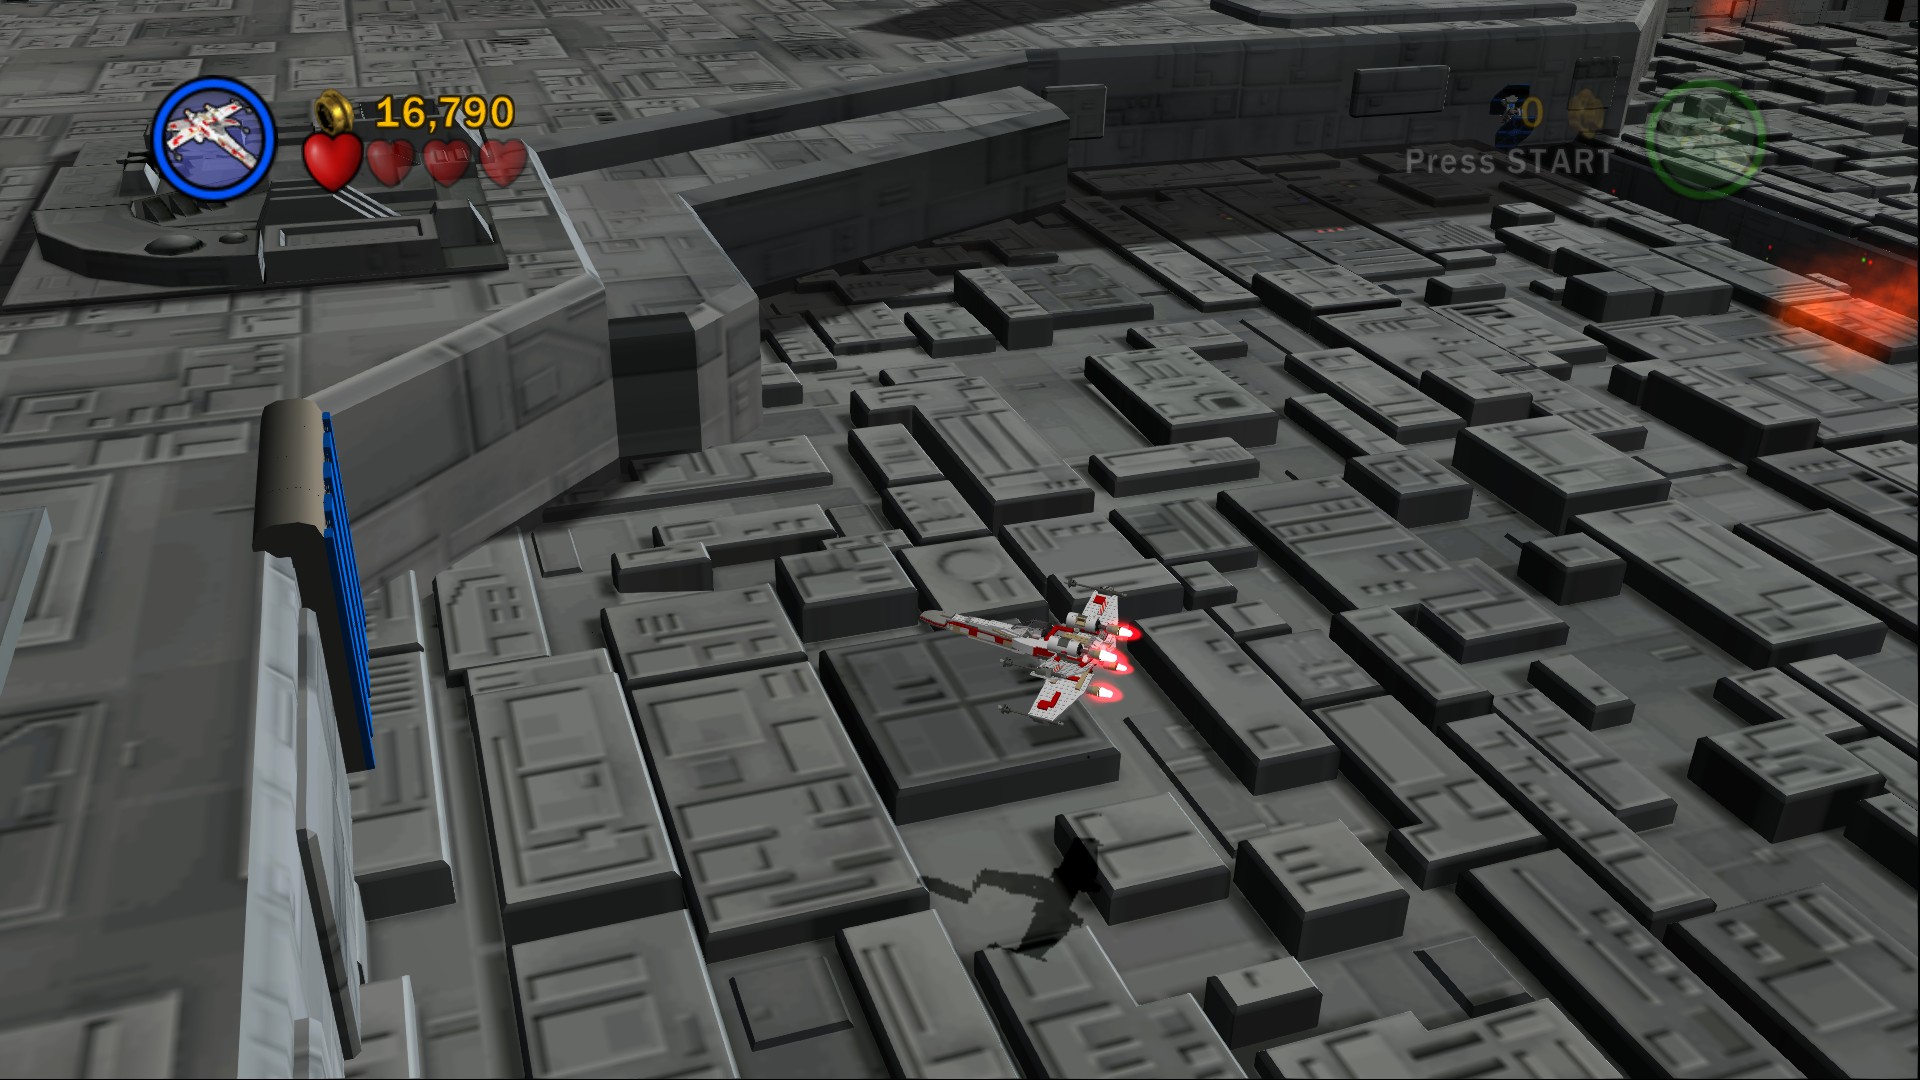
Immediately after the forcefield on the left side are some blue pipes you can blow up and go behind to get the Minikit.
Continuing on to the right you'll enter the trench. The TIE Fighters behind you aren't really going to do much to you, it's more the turrets on the wall you want to watch out for. As long as you keep zigzagging along and not just flying straight at a turret you'll get through unscathed.
Minikit 10/10
Requires: Story Mode: Yes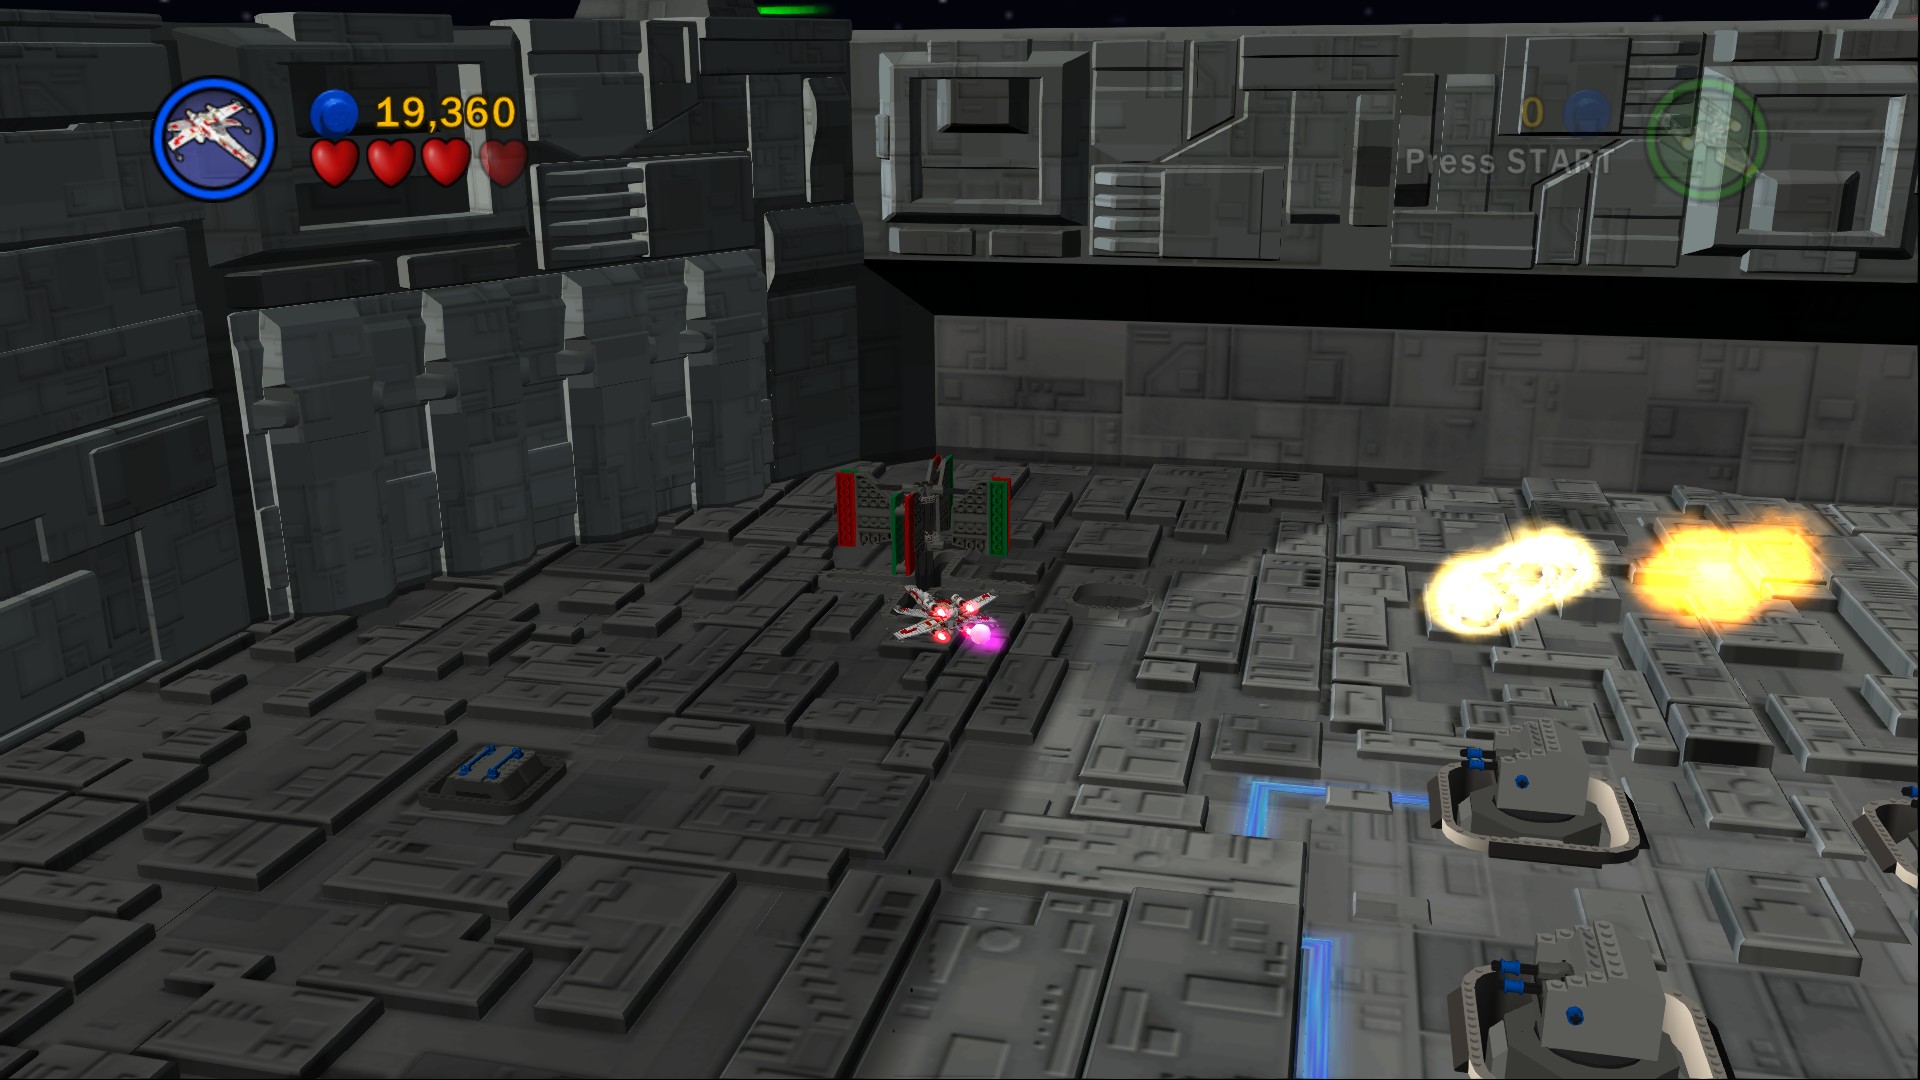
In the top left corner of the final area is one last turn switch to shoot around.
Red Brick (Score x2)
Requires: Story Mode: Yes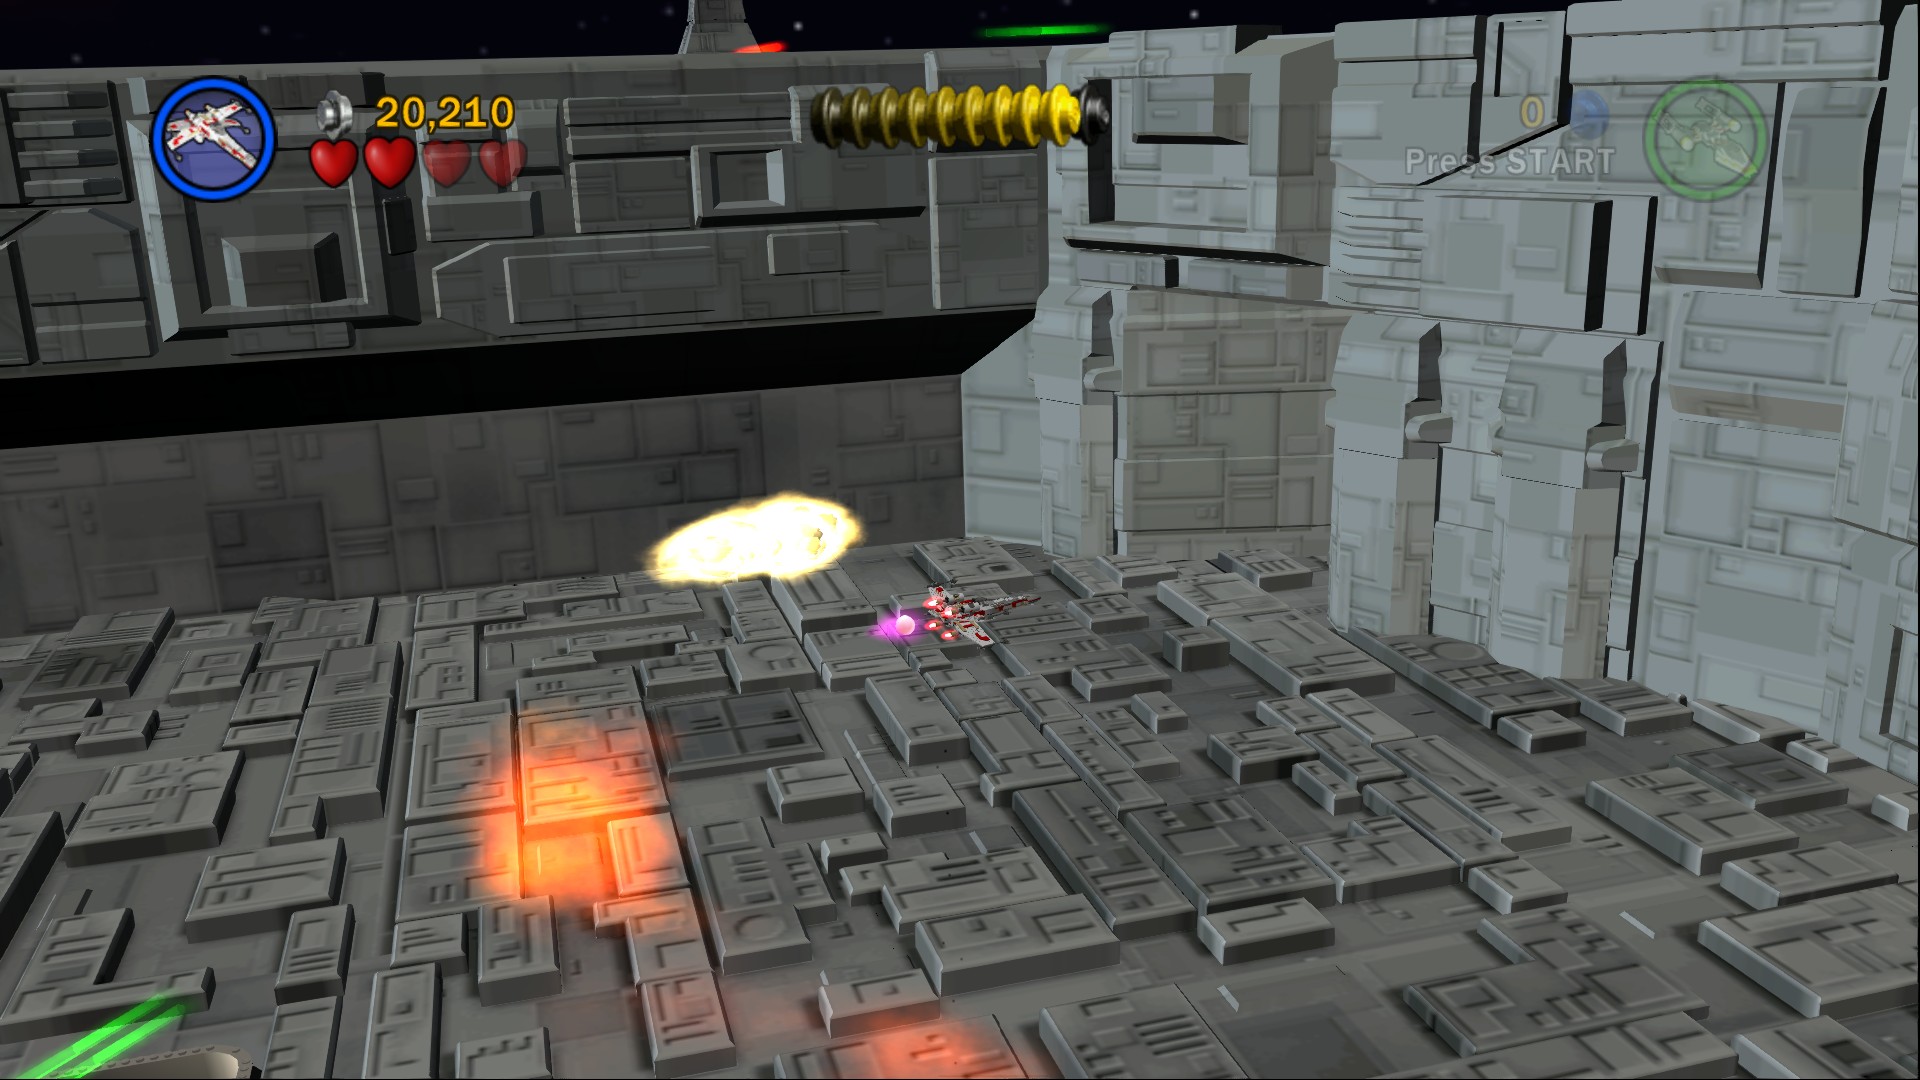
In the back right corner of the final area hiding down a short passage.
In the final area you'll have to disable to blue forcefield to take the final shot. To do that you need to activate the turrets around it and destroy them, you do that by flying over those suspicious looking grounds of squares around it. Fire the torpedo once you're done.
TIE Advanced
 Based on set 4484
Completing the level will unlock the X-wing and Y-wing for use in Free Play and will let you buy some TIE Fighters at the store. It'll also complete Episode IV.
| Cost | Character | |
|---|---|---|
| 30,000 | TIE Fighter | |
| 40,000 | TIE Interceptor | |
| 50,000 | TIE Fighter (Darth Vader) |
Completing all six chapters will allow you to build the Gold Brick object inside the Episode IV room (provided you've earned at least 8 Gold Bricks). It's a set of three challenges that each reward a single Gold Brick.
Super Story is a straight forward run through all six chapters non-stop with the goal of finishing as fast as possible. You can't skip the cutscenes unfortuntely but at least they don't count towards the timer. You have 1 hour and a 100,000 stud minimum target to meet, the chapters are all different lengths so it's hard to just say beat them all in ten minutes each and get 17,000 studs each as that is easy for some levels but hard for others. Thankfully you don't lose any studs if you die so you can play without that fear, you also get to keep all the studs you've collected after you finish so that's nice.
It is entirely possible to meet the 100,000 stud threshold in just the first level but that requires shooting all the panels and every object, slowing you down quite a bit. To give you an idea of the sort of times and studs you're aiming for here's the approximate times and number of studs I had when I did a quick run through.
| Chapter 1 | 5:00 | 20,000 |
| Chapter 2 | 7:30 | 12,000 |
| Chapter 3 | 7:30 | 23,000 |
| Chapter 4 | 4:45 | 18,000 |
| Chapter 5 | 11:45 | 23,000 |
| Chapter 6 | 3:30 | 10,000 |
| Total | 40:00 | 106,000 |
Character Bonus is a quick challenge to collect one million studs in as fast a time as possible, you'll be running around Mos Eisley in an overhead perspective collecting tons and tons of studs. Beat the 5 minute time set by the game to earn a Gold Brick. Objects reappear after a while so don't try to be too thorough in clearing areas out, just keep moving and shooting. Unfortunately the x2 Red Brick from the last chapter can't be used in here and you don't get to keep the million studs afterwards. You will almost certainly need a Bounty Hunter (such as Greedo) to blow up the Silver LEGO pylons as they contain an awful lot of studs.
Minikit Bonus is another quick challenge to collect one million studs as fast as possible while using the vehicles that you have built out of Minikits (which does mean you have to have completed one full set before you can take part). And again no x2 bonus and you don't keep the studs. If you've bought the "Use old save" Extra you'll also be able to use all of the Minikits from the first game but you'll still need at least one Minikit set from this game to start playing.
In this Episode's case it's set on the Death Star and the main thing here is to find the bomb dispenser in the bottom right area of the level. Use it to blow up the four turrets down to the left of it, that'll net you a lot of studs and get you well on the way to the million. Then just keep blowing up the two nearby towers with bombs as you circle around shooting the same objects over and over again as they'll reappear quite quickly. I'd say that overall it's a bit tougher than the Character Bonus.
You don't need to complete the challenges to move on to Episode V: The Empire Strikes Back, in fact you only need to have finished Chapter 1's Story Mode to have started on that.
 darkspyro.net