Episode III
REVENGE OF THE SITH
- War! The Republic is crumbling
- under attacks by the ruthless
- Sith Lord, Count Dooku.
- There are heroes on both sides.
- Evil is everywhere.
- In a stunning move, the
- fiendish droid leader, General
- Grievous, has swept into the
- Republic capital and kidnapped
- Chancellor Palpatine, leader of
- the Galactic Senate.
- As the Separatist Droid Army
- attempts to flee the besieged
- capital with their valuable
- hostage, two Jedi Knights lead a
- desperate mission to rescue the
- captive Chancellor....
Chapter 1
Out for the Count
| Silver | Blue | Purple |
|---|---|---|
| 23,333 | 46,666 | 70,000 |
Find Chancellor Palpatine
After you finish the opening cutscene and gain control of Anakin and Obi-Wan walk forwards until a red laser beam fence appears to block your way. To get past it use the Force on the socket on the other side of the fence, pulling the power supply out will switch it off.
Defeat any remaining clankers as you head into the room on the left, in there is a door with some lines glowing on it. Use your lightsaber to cut a hole to smash the door to pieces.
Behind that door is another room with some battle droids inside it and a few giant screens with General Grievous on them. Once you've defeated the droids Artoo will helpfully replace the screens with giant arrows telling you to go left.
Out in the corridor again are a few more battle droids including a couple of Super Battle Droids. The laser fences will go up to block your way again. To get by them this time you must use the Force to shove a crate closer to the lasers so you can use it to jump over one laser fence and then simply walk through a door to get to the other side of the other laser fence. You can then smash the object on the floor to release the pressure switch underneath it to turn off the fences.
Further ahead passing another laser fence on your right you'll encounter a Droideka. Defeat it and R2-D2 will help clear the way again. Go through the far doors to enter the bridge where you'll find Palpatine.
Defeat Count Dooku!
A boss fight! The same as any other lightsaber battle you've had before, move out of the way when you see the red mark on the ground and then quickly run back in to get a few swipes in before he starts attacking you again. And don't forget the odd rapid button mashing event. Once you have his first health bar depleted he'll jump away out of reach.
Defeat the six Super Battle Droids that have appeared on the steps and Dooku will jump back in and his health bar will turn red again signallying that you are able to attack him again. Repeat the first section of the fight again until he jumps away again.
Defeat some more Super Battle Droids to get to Dooku's third and final health bar. He does all the same stuff again, defeat him to finish the level.
Level Challenges
- Beep Boop Backup
- Activate the friendly Turret Droid.
- Use a villain grenade to get into the room immediately to the left at the start of the level and then have a protocol droid activate the droid in here using the panel on the wall.
- Civil War
- Defeat an enemy droid using their own kind.
- If you blow up the silver crate in the room where you cut through the door with a lightsaber and see General Grievous on the screens you can build a rotation switch to open the other door. Go through to a second room with screens in and use a protocol droid to activate the panel. Select the droid option and use the Droideka to defeat other droids. If you've already killed all the other droids you can still get a few more to appear if you haven't pressed the alarm here yet.
- Wet Floor!
- Take out the droideka like a true scoundrel.
- When you reach the first droideka who is standing in a puddle use a scoundrel to aim at the wall next to it. You have to go through the level similar to how the story mode intended to find the Droideka in the right place.

Minikits
Minikit 1/5 - Extra Parts
Requires: None Story Mode: No
There is more than droid parts in the droid repair room! They should rename it to "Droid Repair Room+".
Next to the protocol droid panel that activates the friendly droid is a button that opens the door. Go straight across to the room opposite where there are some droids being assembled. You'll find the minikit pieces inside the skip full of droid parts if you smash it a bit.
Minikit 2/5 - We're Smarter Than This
Requires: Astromech Droid Story Mode: No
There's something off about that minikit... It might be a trap.
Use an astromech droid to enter the bottom left room and then pull the three switches after trying to grab the holographic minikit.
Minikit 3/5 - Store Room Surprise
Requires: Protocol Droid Story Mode: Yes
Only droids can open the store room. Start a commotion and see what happens!
In the second screen room use the protocol droid panel to activate the alarm, a door will open revealing two MagnaGuards and a minikit.
Minikit 4/5 - Grievously Egotistical
Requires: Lightsaber Story Mode: Yes
That General Grievous statue looks like it's missing something...
Behind a lightsaber door at the north end. Smash all the displays and give the statue four lightsabers.
Minikit 5/5 - It Lay Beyond Lasers
Requires: None Story Mode: Yes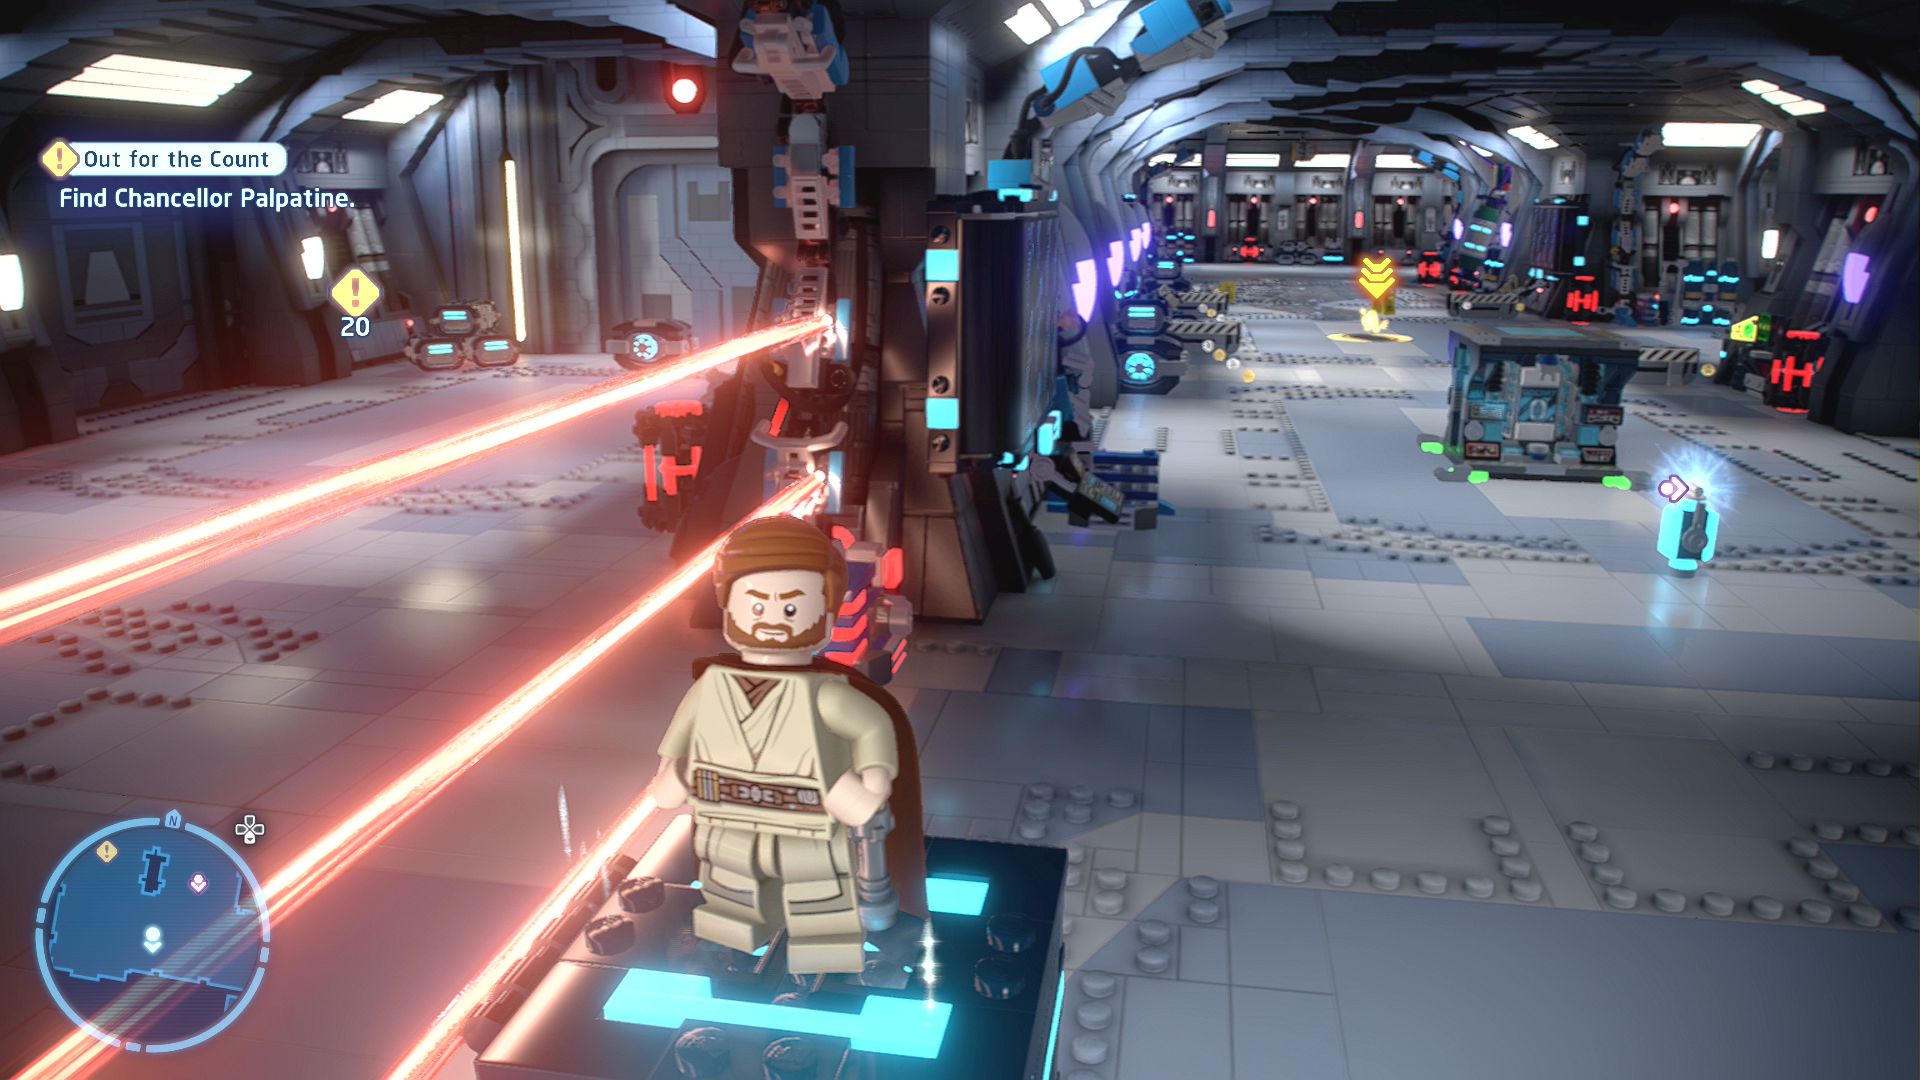
The area behind those faulty lasers looks interesting...
At the western end of the southern corridor are some lasers that are flickering on and off. If you move a nearby crate you can use it to jump over when the top ones are off. The minikit will be hiding in a corner behind some crates.
Jedi Interceptor

| Cost | Character | |
|---|---|---|
|
|
- | Anakin Skywalker (Episode III - Cape) |
|
|
- | Anakin Skywalker (Episode III) |
|
|
- | Obi-Wan Kenobi (Episode III) |
|
|
- | Obi-Wan Kenobi (Episode III - Cape) |
|
|
35,000 | B1 Battle Droid (Security) |
|
|
200,000 | Palpatine (Chancellor - Red) |
Episode III
REVENGE OF THE SITH
The story so far...
- OBI-WAN KENOBI and ANAKIN
- SKYWALKER successfully
- infiltrated GENERAL GRIEVOUS'
- ship and rescued CHANCELLOR
- PALPATINE, but were
- confronted by COUNT DOOKU in
- the process. So many capital
- letters!
- The Jedi successfully defeated
- Dooku. However, Anakin lost his
- head as Palpatine encouraged
- him to dispatch of Dooku in a very
- un-Jedi manner. The rescue was
- further soured as General
- Grievous was able to elude their
- grasp.
- On their return to Coruscant,
- Palpatine appointed Anakin as his
- personal representative on the
- Jedi Council. But the Chancellor
- has ulterior motives....
Coruscant, Federal District, Core Square
Another Happy Landing
Report to the Jedi Council
Take a taxi to the Jedi Temple.
Coruscant, Federal District, Jedi Temple
Head on inside and take a left to enter the Jedi Council meeting room.
Travel to Utapau in pursuit of General Grievous
After the meeting take Obi-Wan and Commander Cody to Utapau's Pau City via the galaxy map (it's the very bottom planet).
Utapau, Pau City
Meet with Utapau's leader.
A very short walk forwards to meet their leader, Tion Medon, who is standing in the circle to start the next chapter.
Chapter 2
So Uncivilised
| Silver | Blue | Purple |
|---|---|---|
| 20,000 | 40,000 | 60,000 |
Defeat General Grievous!
Straight into a boss fight with General Grievous. It's all the same as all the previous lightsaber battles, dodge the red marks and attack him immediately afterwards before quickly getting back to blocking his regular attacks.
His first health bar will end with a button mashing event and he'll scamper away into the rafters.
Get Grievous down from the vulture droid tracks.
Defeat the droids he sets on you and then hit the target underneath him using a ranged attack (either throw the lightsaber or use Cody's blaster), do that several times so that the blue fills up and reveals a grappling point.
Cody can pull that to activate the vulture droid tracks and knock Grievous back down onto the floor.
Defeat General Grievous!
Time to attack him again using the same tactics as before. And again after a button mashing end to the life bar he'll jump up a broken elevator and send some more droids after you.
Pursue General Grievous!
Once you've cleared the small group of battle droids you should use your lightsaber on the glowing righthand side of the broken elevator and use it to climb up to the top. At the top is a large red button you can press to let Cody follow you.
Grievous will run away as you approach him up here so follow him while attacking the regular and Super Battle Droids he leaves behind as he goes even further up. Use Cody's grapple to open up a ladder on the wall then approach the General as he stands in the middle of the catwalk.
Obi-Wan can run along the wall on the side to cross the gap that Grievous creates and engage in combat with him. You'll get stuck in a defensive position so switch to Cody and have him blast at Grievous. Back down to the floor we go.
Defeat General Grievous!
Yep, the same as before. Smack him down to his last health bar and then button mash until he runs away.
Pursue General Grievous!
This time he'll run up a broken elevator on the other side of the building and set some MagnaGuards to attack you. They're a little tougher than the others but shouldn't pose too much of a threat.
Use your lightsaber to climb the elevator a short distance before it breaks. Once it has broken use the Force to move the crates onto the spot below the broken lightsaber climbing section. Once they're both piled up you can jump on and continue the lightsaber climb.
After you defeat a few Super Battle Droids up here General Grievous will make his way further up again this time well out of reach. Let Cody up by pressing the elevator button and then smash the glowing wall where Grievous was standing when you got up here.
Behind those conduits is a wall that you can stick your lightsaber in to create a hole in order to smash it. Assemble a Hero Console and have Cody solve the puzzle by pressing the directions as shown.
Defeat General Grievous!
Grievous is back on the floor again. Head outside to meet him for the final battle which is going to be the exact same situation as the previous health bars. Finish him off with the button mashing to end the level.
Level Challenges
- Attack of the Droids
- Defeat 5 battle droids, 4 MagnaGuards and 5 super battle droids without dying once.
- The first MagnaGuards appear after Grievous runs off for the third time. There will be four of them so you can then just follow Grievous up and defeat a few more Super Battle Droids. The ones outside don't seem to count for this challenge.
- Sneak Attack
- As Grievous waits high above, catch him off guard by attacking him via the Bounty Hunter path.
- Chase Grievous up onto the walkway above where he smashes the floor then instead of crossing the beams jump down and go up the other side using the ladder blocked by gold bounty hunter bricks.
- Very Uncivilised
- Defeat 2 MagnaGuards with a blaster.
- The first MagnaGuards appear after Grievous runs off for the third time. Just switch to Commander Cody and shoot them.
| Cost | Character | |
|---|---|---|
|
|
35,000 | Clone Trooper (Phase I) |
|
|
35,000 | Clone Trooper (212th Attack Battalion) |
|
|
200,000 | General Grievous |
Minikits
Minikit 1/5 - Prototype Vulture Droid
Requires: Villain Story Mode: No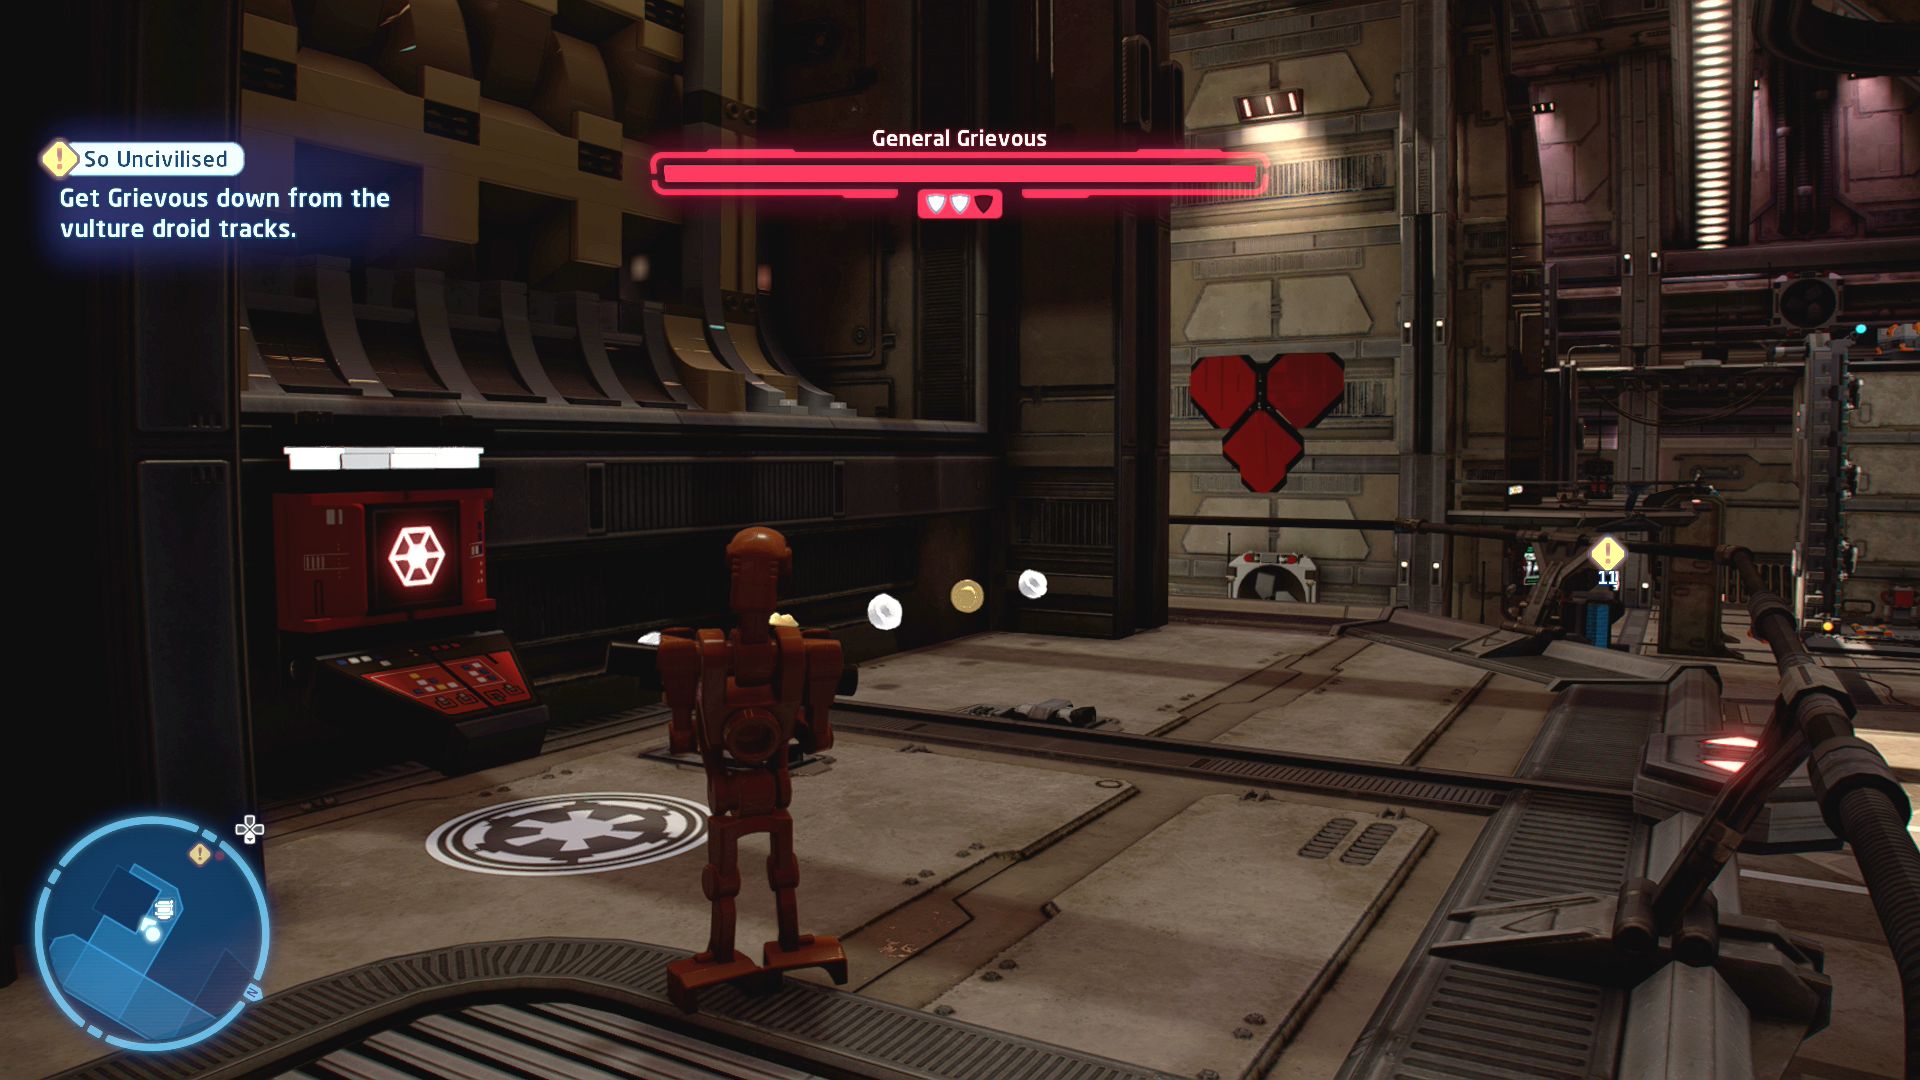
Something's gone wrong with that odd-looking vulture droid. Best recycle for parts, pretend it never happened.
Solve the villain panel on the first upper level on the eastern side of the entrance and then blow up the Silver LEGO Vulture Droid. You can use a scavenger's nets to reach the panel.
Minikit 2/5 - Droid Hunt
Requires: None Story Mode: Yes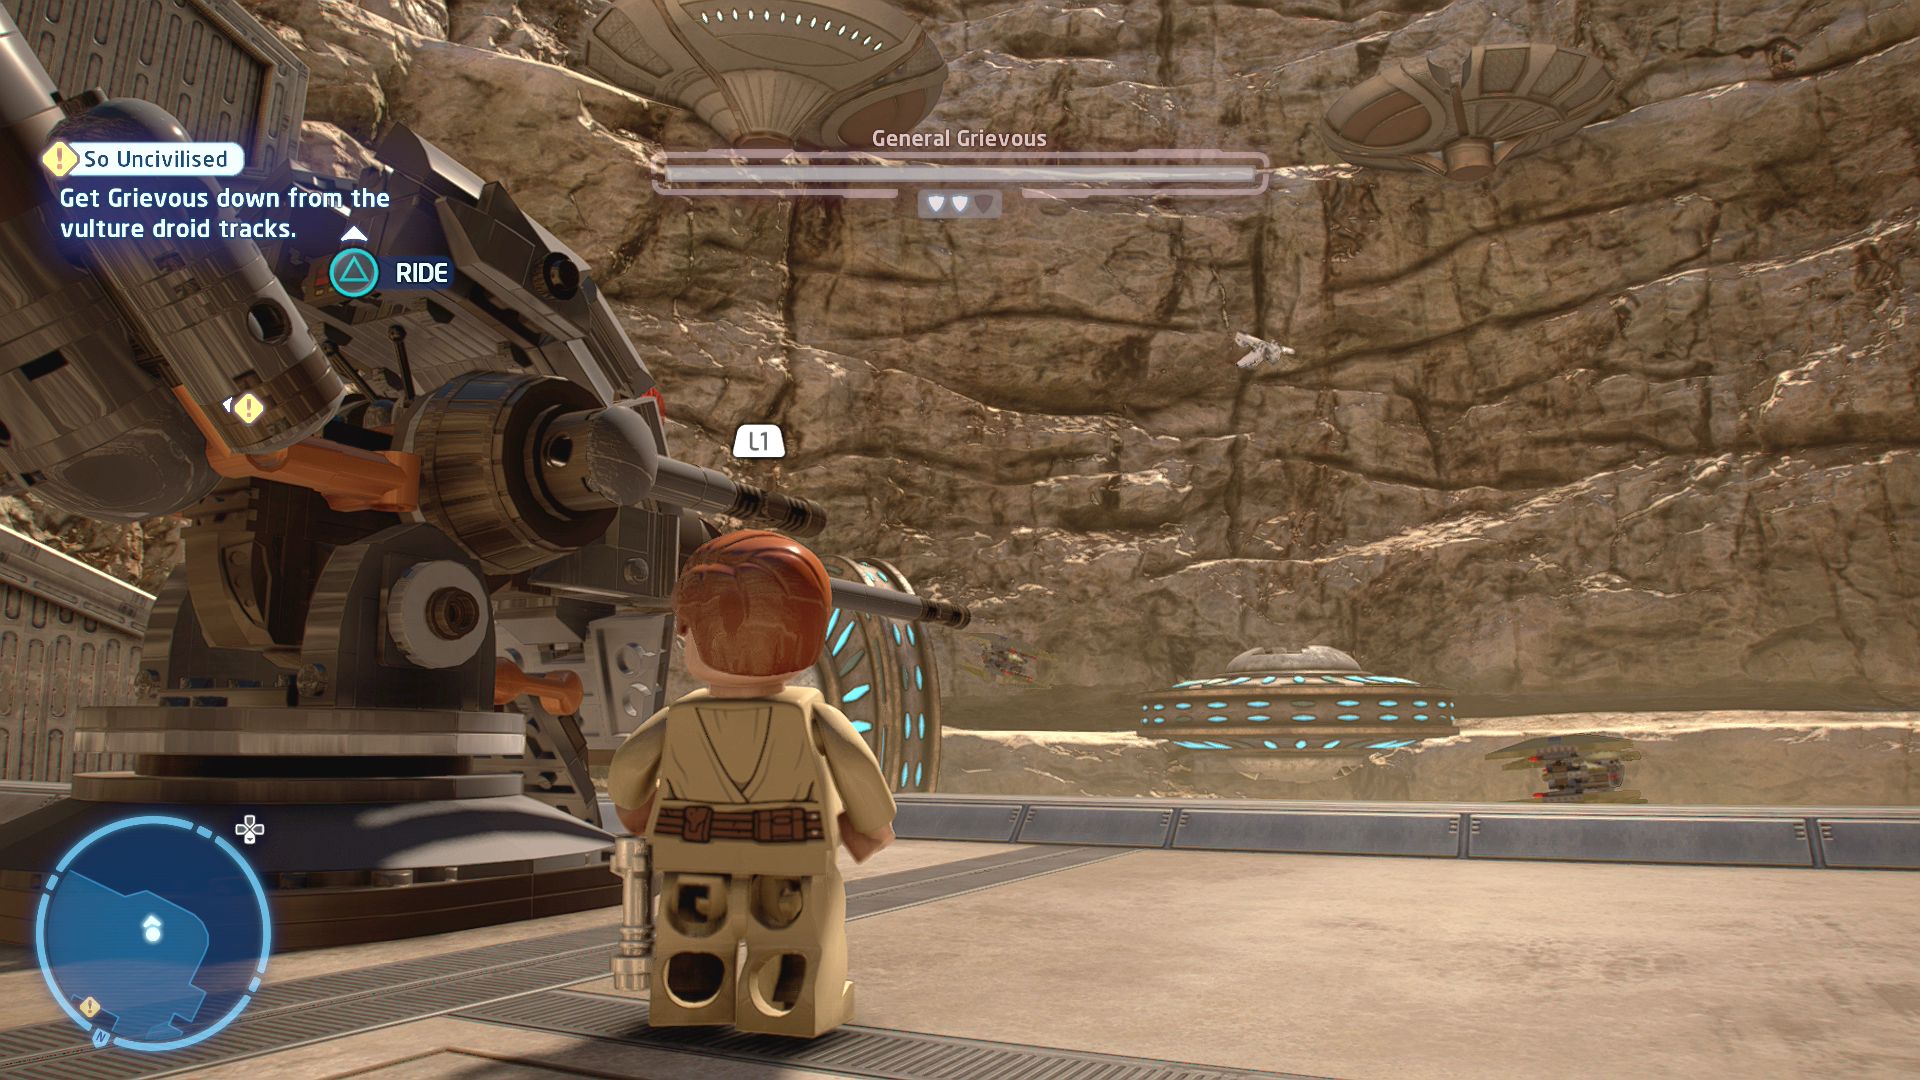
Vulture droids outside the base are overwhelming the clone troopers!
If you go outside where some troopers are battling droids you can enter a turret and start shooting at the vulture droids that are attacking the dropships. Destroy five of them.
Minikit 3/5 - Walk This Way
Requires: Hero, Lightsaber or Grappel Story Mode: Yes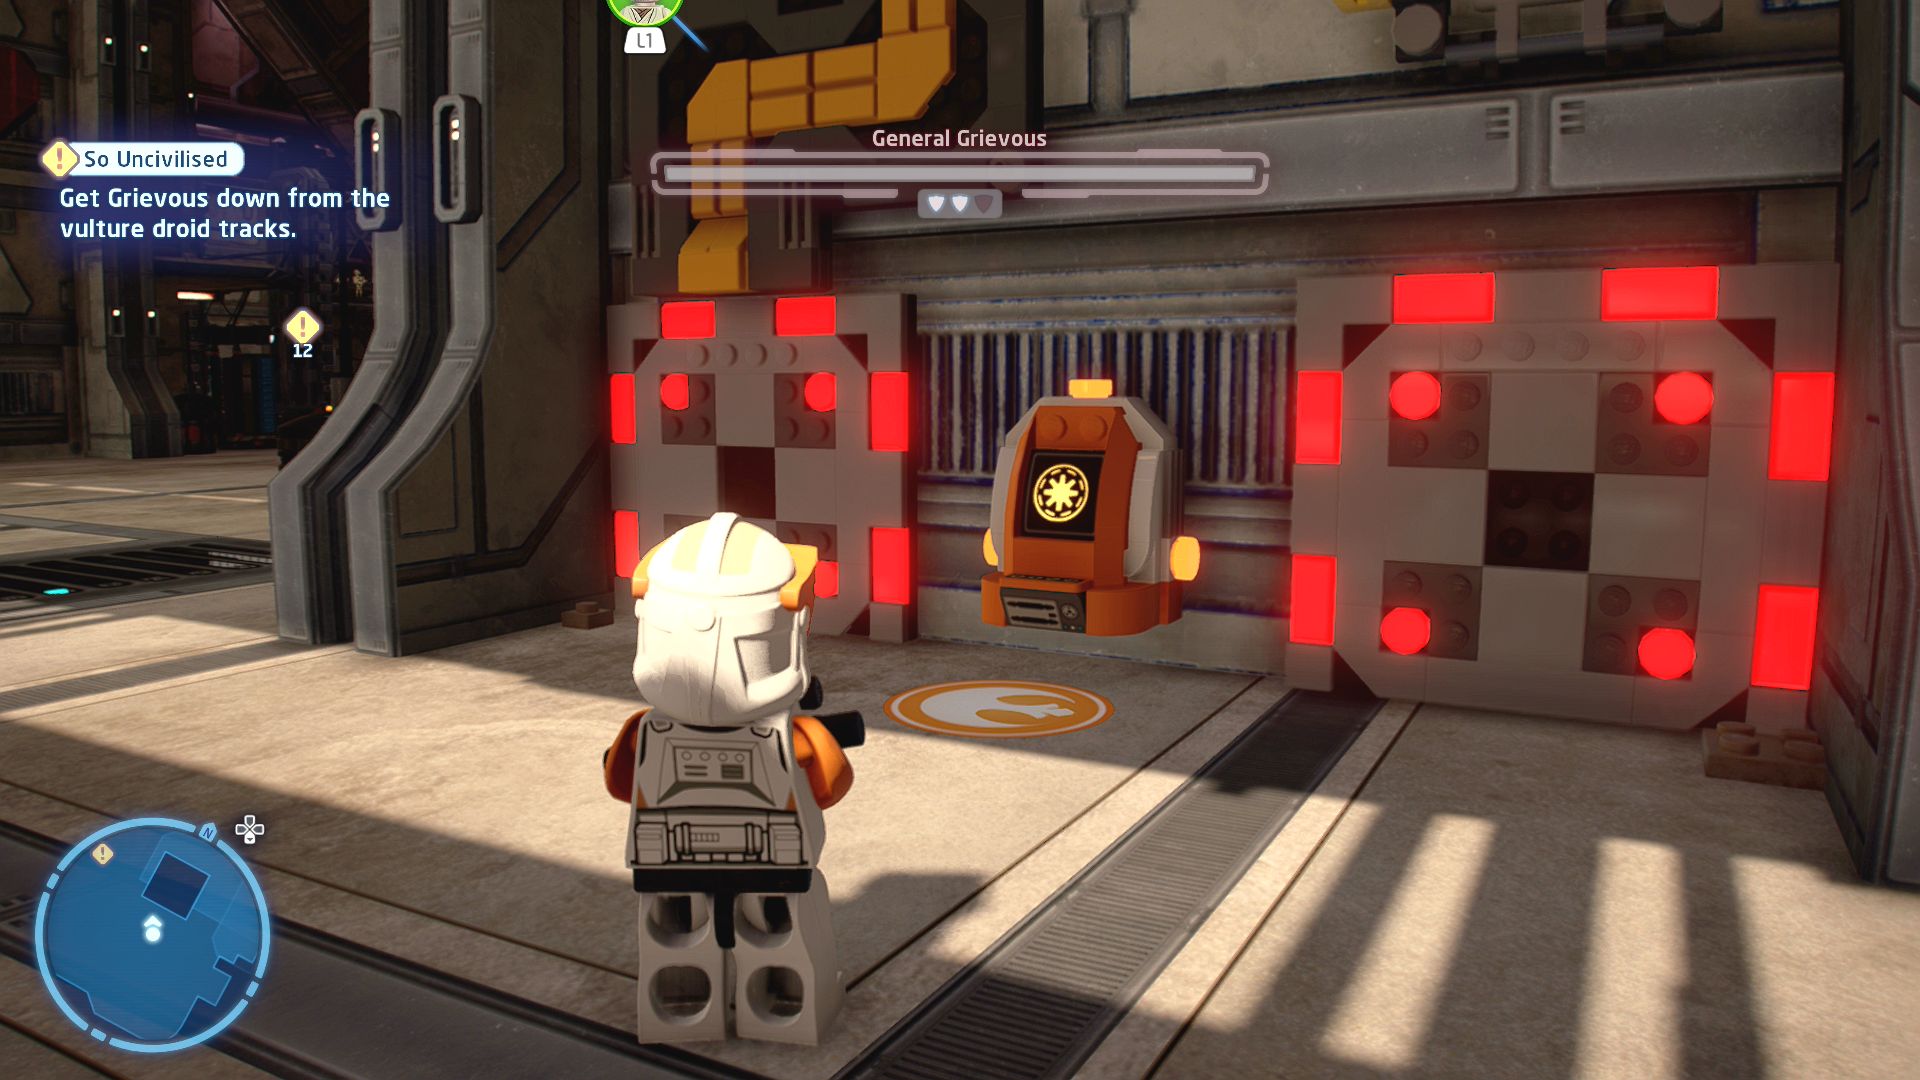
The direction the clone troopers swooped in from looks interesting...
You can get up onto the walkway above where the troopers and droids are fighting by activating a hero panel next to the droids and then making your way up the wall using the ladders and grapple points or by lightsaber climbing it. Zipline down onto the walkway at the top.
Minikit 4/5 - Circuit Breaker
Requires: Lightsaber Story Mode: Yes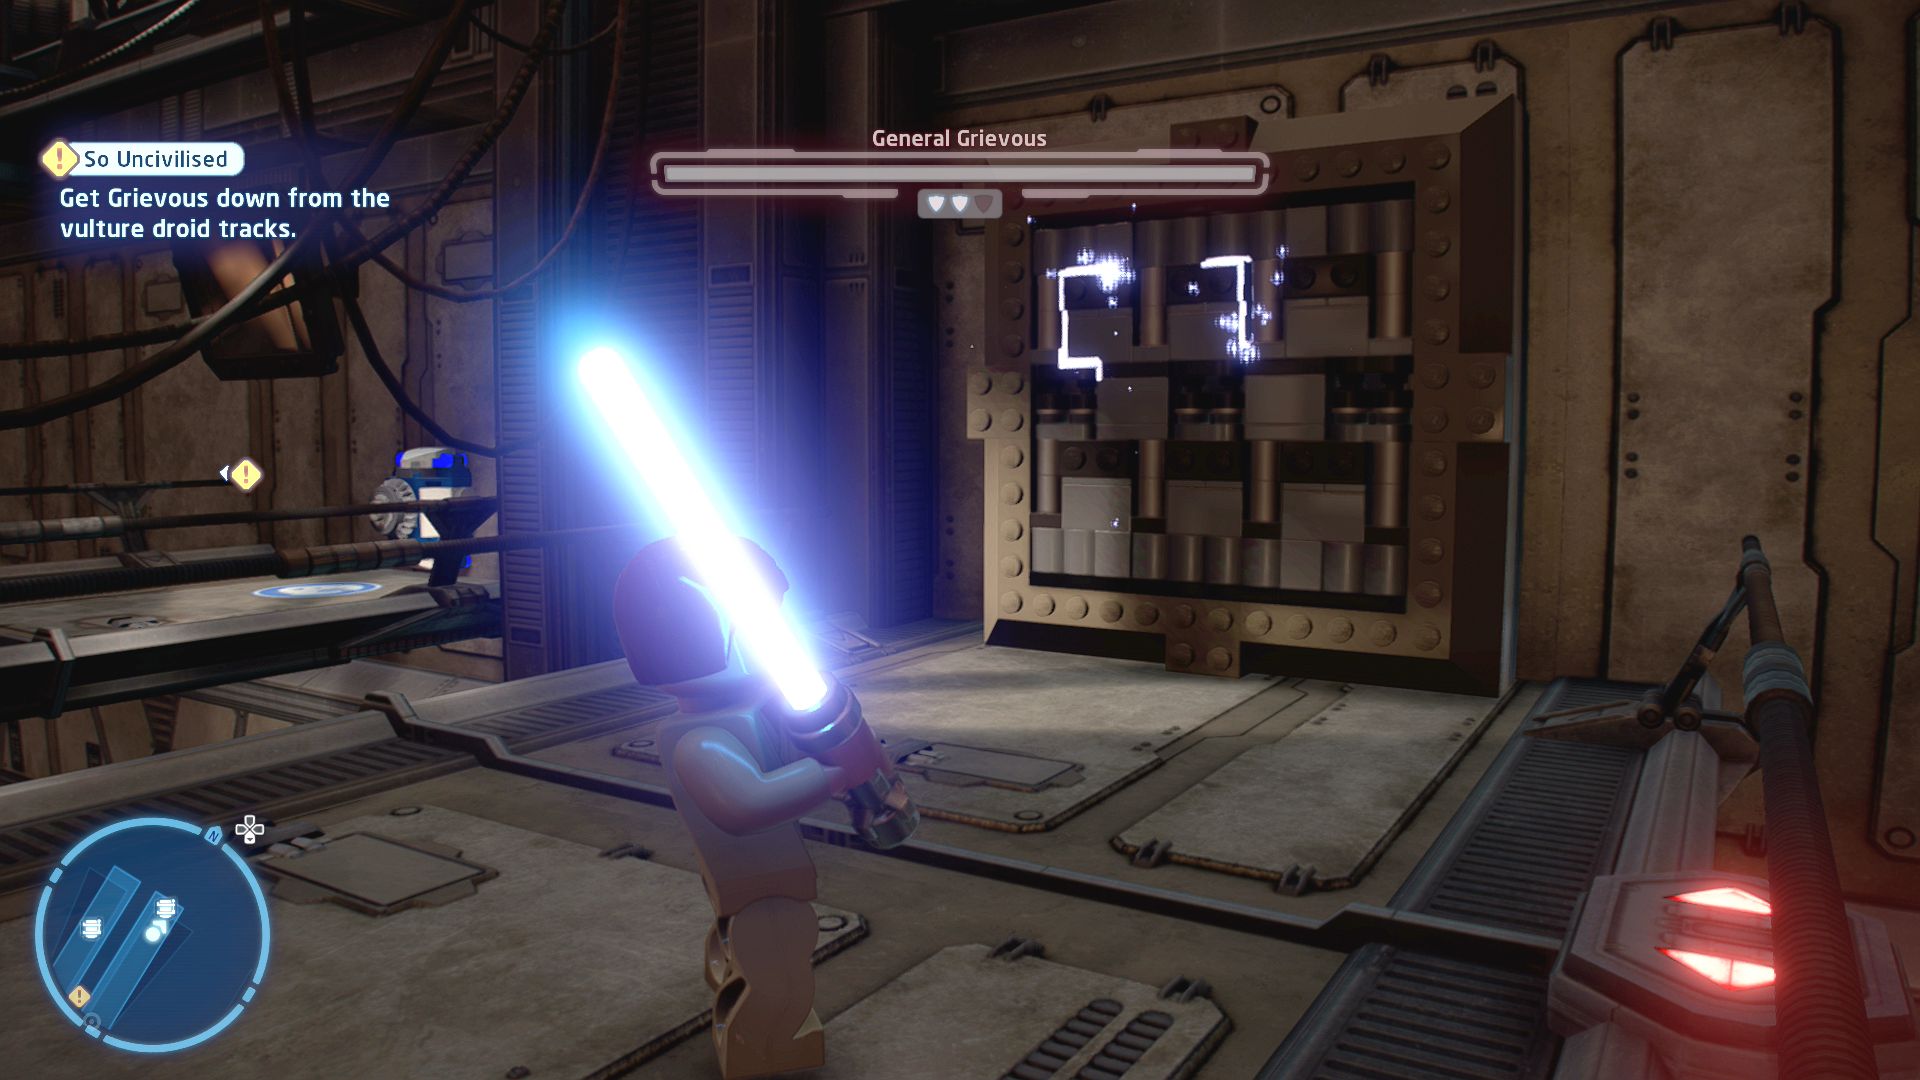
Use your lightsaber to cut through the facility walls!
Jump down to the lower level, at the end of the eastern side is a lightsaber wall.
Minikit 5/5 - Varactyl's Back, Alright!
Requires: Astromech Story Mode: No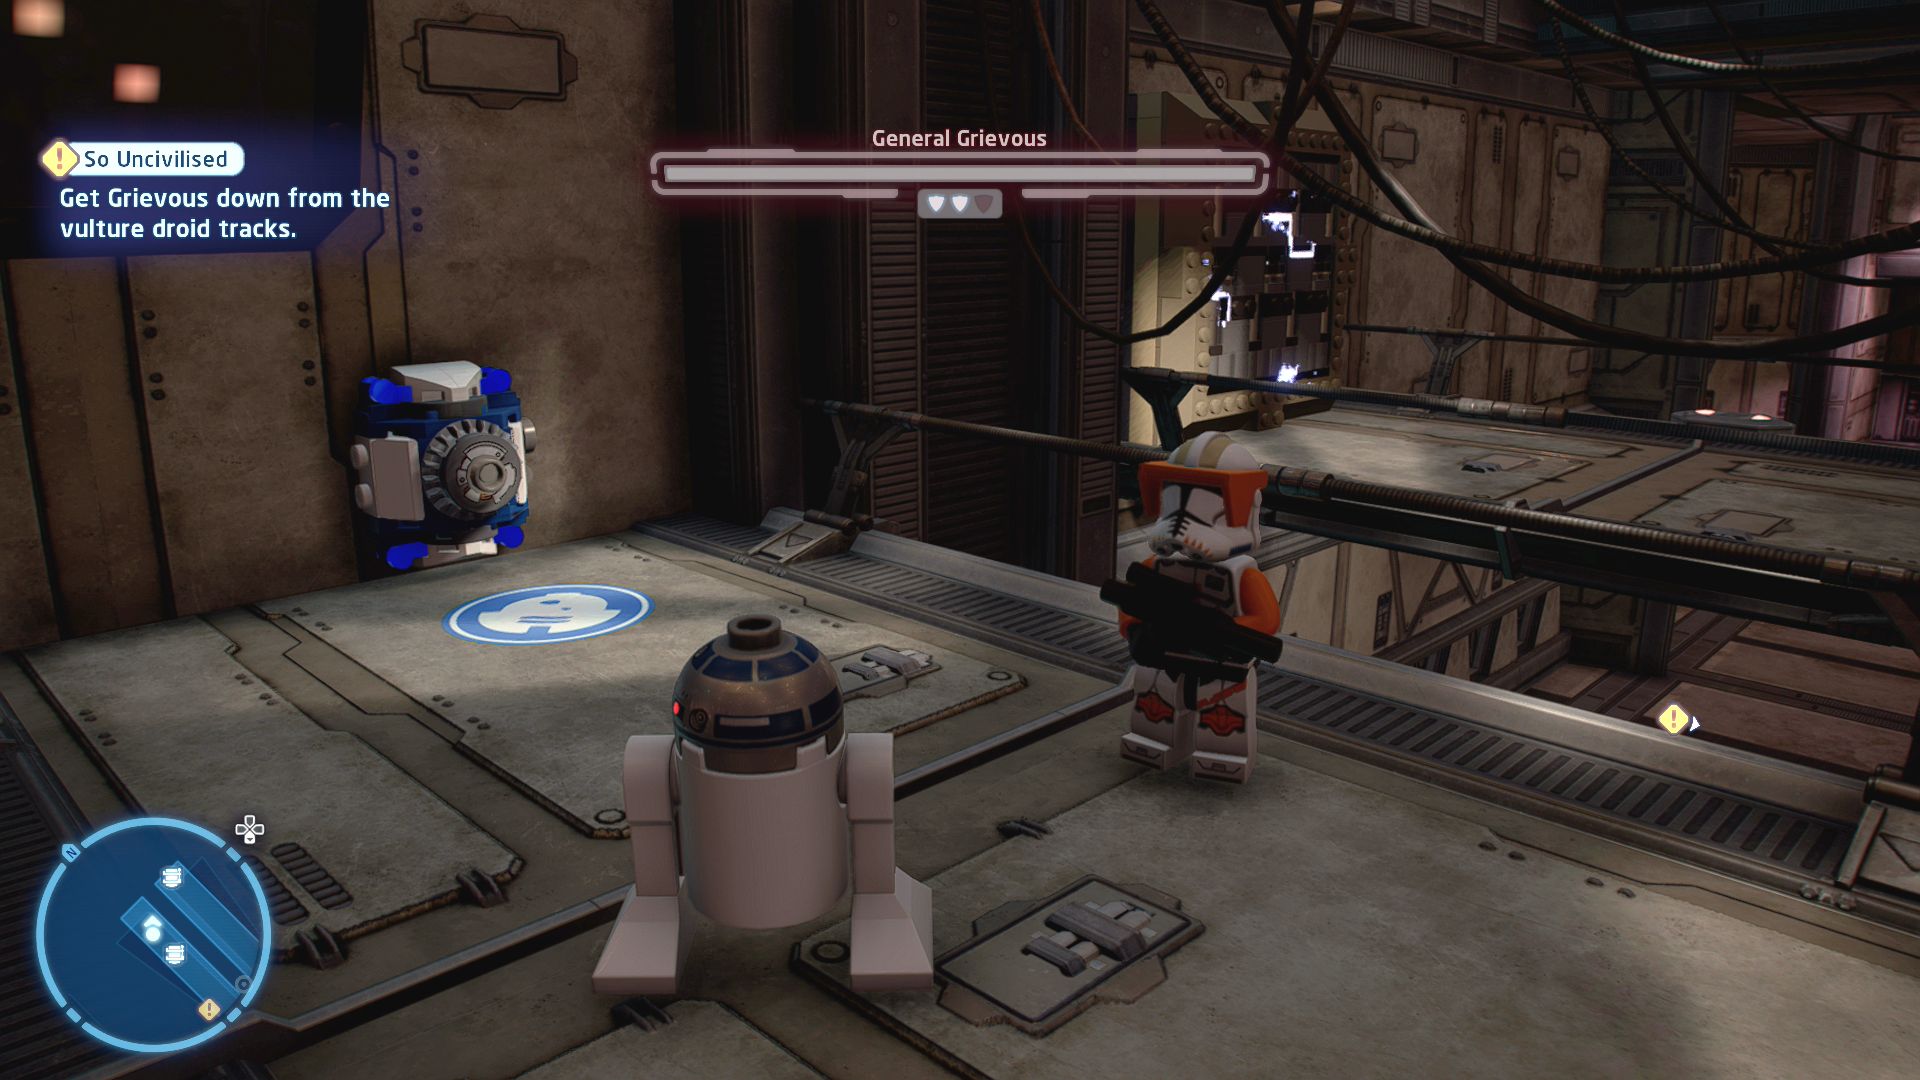
Release the varactyl!
Jump down to the lower level, at the end of the western side is an astromech socket.
Vulture Droid

Based on set 75073, Vulture Droid
Episode III
REVENGE OF THE SITH
The story so far...
- Hello there! Tensions in the Jedi
- Council flared as Anakin was
- allowed a seat, but not granted
- the rank of Master. Obi-Wan
- Kenobi was sent to the OUTER
- RIM in search of General Grievous,
- whilst Yoda headed to Kashyyyk
- to help the Wookiees.
- Obi-Wan Kenobi's search for the
- Lightsaber fanatic General
- Grievous was successful, after
- the Jedi discovered him hiding on
- UTAPAU. With the help of the
- clones, he finally confronted
- Grievous and took him down once
- and for all. Very civilized!
- Back on Coruscant, Palpatine is
- still relying on Anakin being a
- tattle-tale and feeding him
- information on the Jedi Council's
- plans....
Coruscant, Federal District, Jedi Temple Lobby
A Terrible Truth
Confront Chancellor Palpatine at the Senate Building
Go outside, take a taxi to the Senate Building and then head inside to confront Palpatine.
Kashyyyk Space
The Battle of Kashyyyk
Go to Kachirho and aid the Wookiees in their fight.
Land on the planet.
Kashyyyk, Kachirho
Rescue the Wookiees from the droids!
There are three Wookiees you need to save. The first one is in the building dead ahead and is guarded by a small group of battle droids.
The second is in a crashed ship to the east, again defeat a few droids to free him.
And the third is to the south near the water's edge, jump in one of the turrets and blow up the droid vehicles on the water.
Speak to the Wookiees in the Kashyyyk command centre.
Once you've saved all three head up the inside of the large tree to reach the command centre where you can start the next level.
Chapter 3
Droid Attack on the Wookiees
| Silver | Blue | Purple |
|---|---|---|
| 26,666 | 53,333 | 80,000 |
Escape from Kashyyyk!
Wipe out the clones that have begun attacking you then either switch to Tarrful to use him to grapple the platform to the north and pull out a bridge or have Yoda use the force on the switch.
Yoda will then need to cut through a door with his lightsaber, go through the tunnel taking out another couple of clones before you get out the other side.
Jump up onto the larger platform and again kill some more of those clones. Once they're all dead smash the crates to release some LEGO bricks that you can use to repair the mechanism in the centre. Give it a good push to bring those extensions back up so that you can reach the zipline that other Wookiee escaped on.
Reach the escape pod!
Defeat the clones hiding behind the barricades and then use a grapple to pull the crashed ship down from the tree behind them. You can then use the pieces to build two different things, either one will get you to the end of the level.
You can either build a battering ram or a fluttercraft. The ram will knock down the tree forging a path straight on while the fluttercraft will let you go up the cliffs on the right. If you build the battering ram first you can rebuild it into the fluttercraft but you only need to go one direction.
If you go via the tree you can use an AT-RT to attack the Clone Troopers and their own AT-RT (and complete a challenge at the same time)
If you go up then take out the clones and droids up top, then use Chewbacca's scoundrel ability to look up to the right at a beacon type structure that has some fire in it. That will burn down the foliage on the cliff wall allowing Yoda to run along it to reach the other side of the gap.
Once over the other side smash the crashed ship that a Wookiee is trapped underneath and use its parts to create a bridge for the Wookiees to follow. Use the force to swap the positions of the two pieces of column, the smaller one on the plinth and then the taller one in the sqaure hole that opens up when you do so. Zipline down to the escape pod and defeat a few clones to finish the level.
| Cost | Character | |
|---|---|---|
|
|
- | Chewbacca |
|
|
- | Commander Gree |
|
|
35,000 | B1 Battle Droid (Kashyyyk) |
|
|
35,000 | Clone Trooper (Kashyyyk) |
|
|
35,000 | Clone Trooper (Phase II) |
|
|
200,000 | Palpatine (Scarred) |
Level Challenges
- Force Influence
- Defeat an enemy clone as a force influenced clone.
- There are plenty of clones around to try this with. Have him shoot some other Clones. You may need to kill more than one to get this to work.
- Frequent Flyer
- Reach the escape pod using the alternate route.
- Use the Fluttercraft choice to go up instead of the battering ram.
- Kashyyyk-a-boo!
- Use an AT-RT to defeat 3 clone troopers and the enemy AT-RT.
- You can find the AT-RT just after knocking the tree down with a battering ram.
Minikits
Minikit 1/5 - Just Nesting
Requires: Ranged Attack Story Mode: Yes
Kashyyyk is filled with trees with all sorts of wildlife and hidden artefacts...
Shoot the branches of the big tree that you use a battering ram on (before you use the battering ram on it).
Minikit 2/5 - Views From Kachirho
Requires: None Story Mode: Yes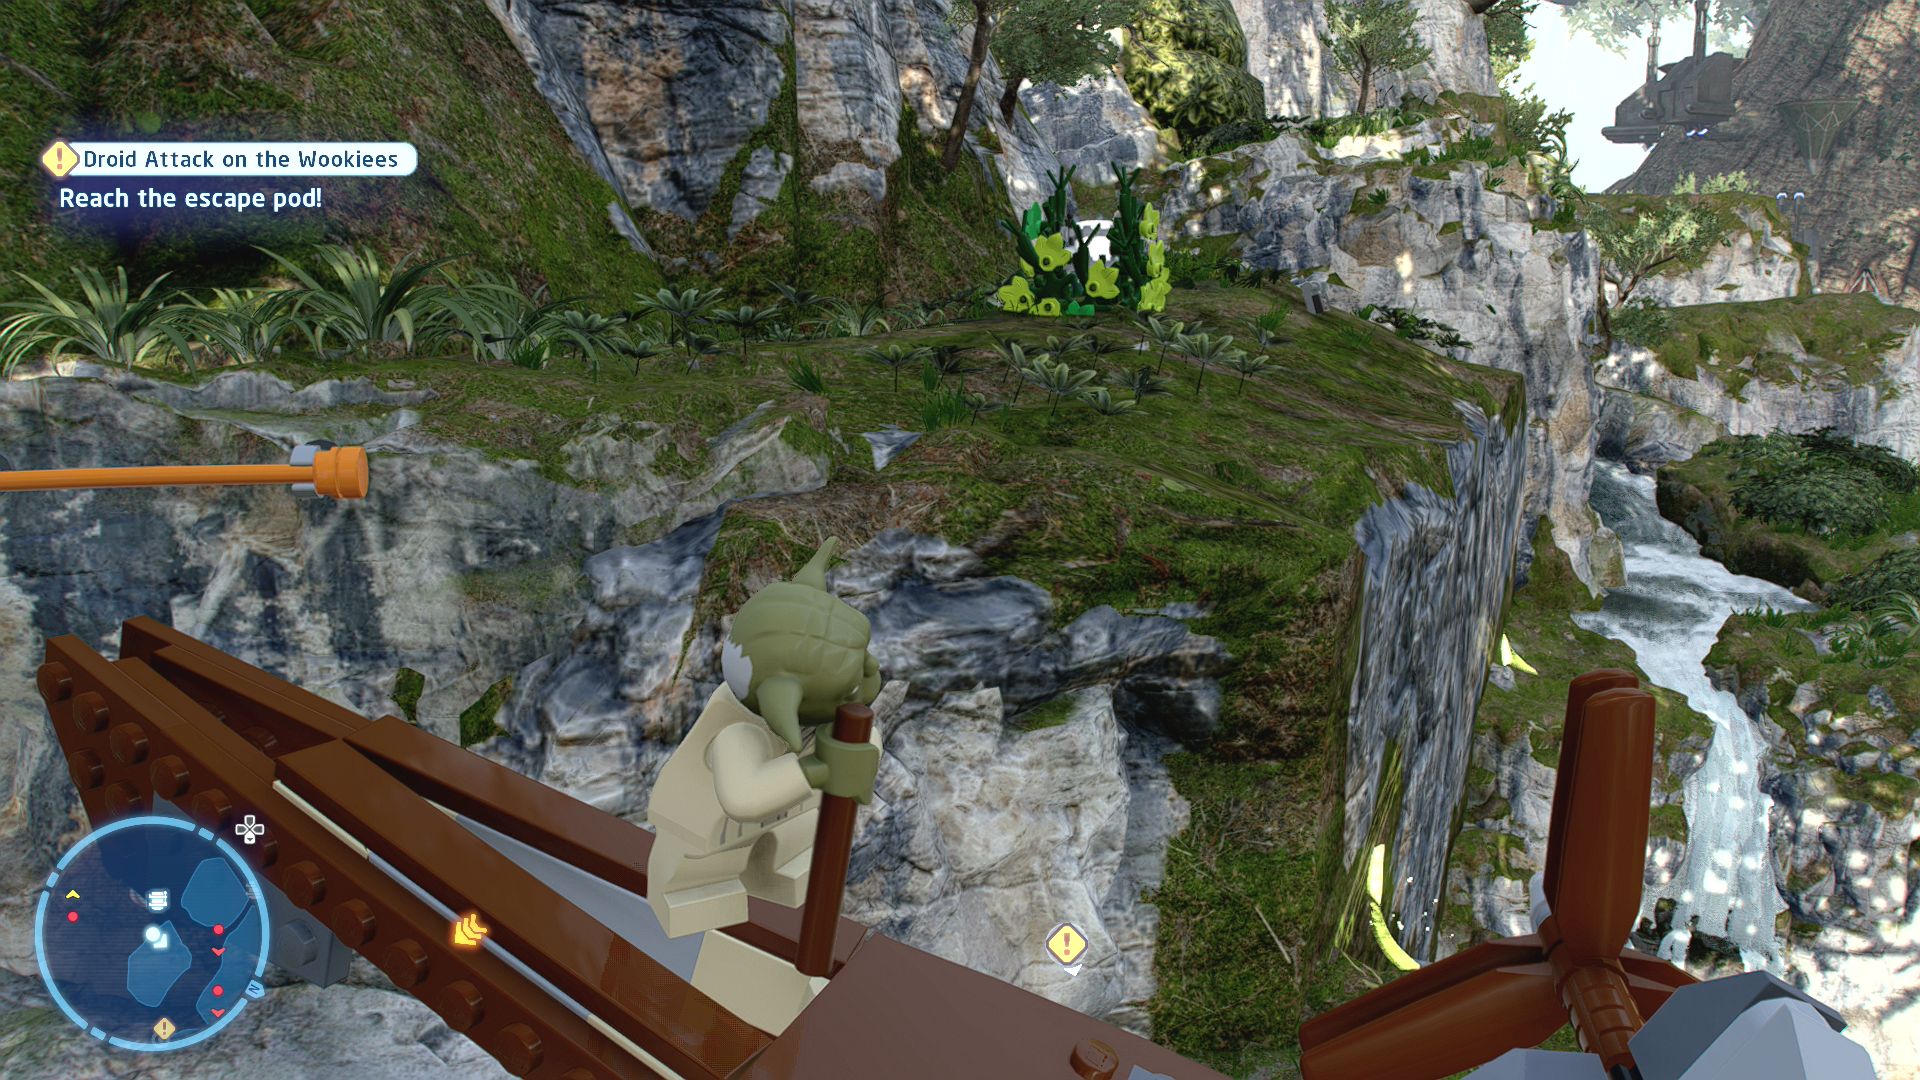
Drink in the wonderful views from high in the mountains of Kashyyyk!
After using the Fluttercraft and running along the wall you can jump up to a bar on the area above the wall where you can find the minikit hiding in some bushes.
Minikit 3/5 - Loot Drop
Requires: Bounty Hunter, The Force Story Mode: No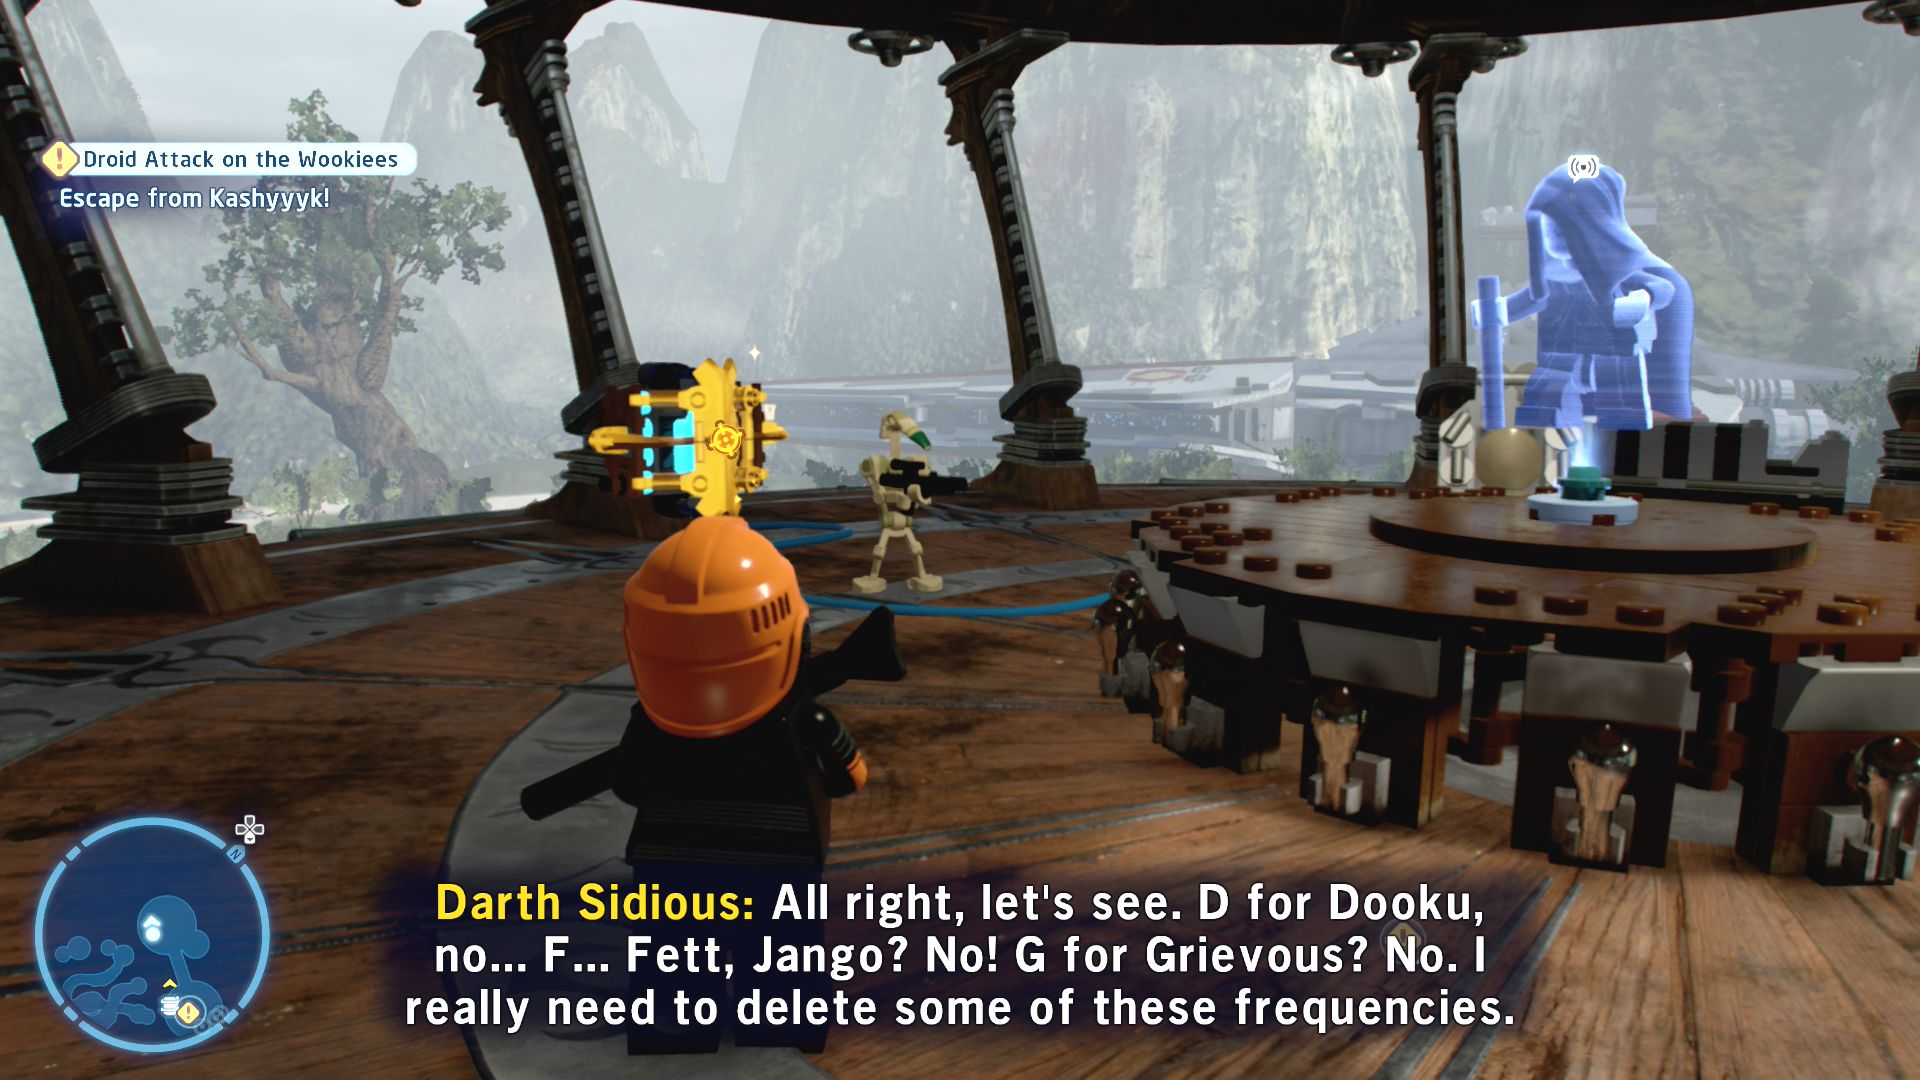
Find a way to power up the satellite dish and call for supplies!
After cutting through the lightsaber door use a Bounty Hunter to blast through the gold door on the right. Go through the passageway and out onto the roof of the platform you zipline from. Shoot the golden crate on the platform to the left where there's an Emperor hologram talking and switch to another character. Have them jump down and use the Force to bring the battery up to the roof where your first character should still be waiting. They can then place the battery into the satellite. You've gotta be quick or the battery will disappear.
Minikit 4/5 - Boom Box
Requires: Villain Story Mode: No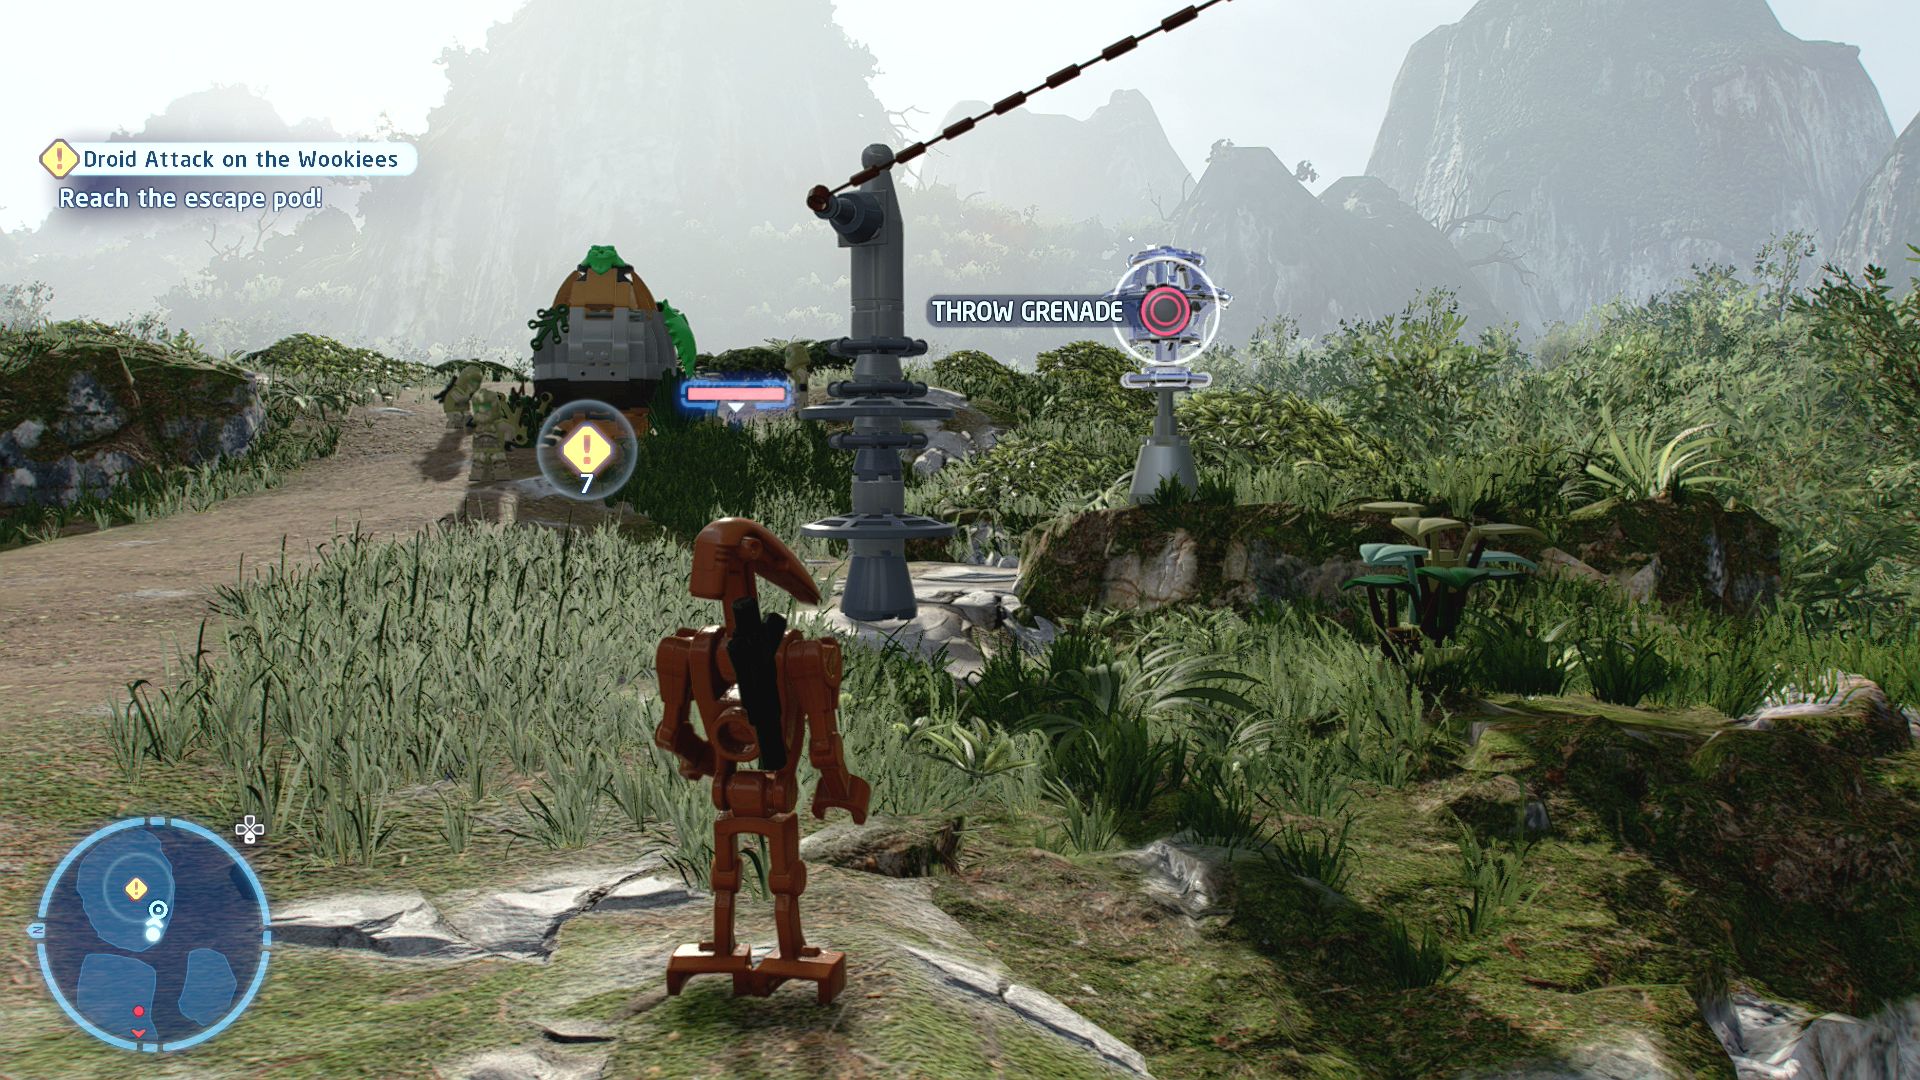
Take advantage of the gear found in weapons crates!
There are three Silver LEGO objects to detonate with a villain grenade. The first one is immediately to the left as you land from the zipline. The second is on the cliff next to the big tree. And the third is next to the escape pod.
Minikit 5/5 - Cliffhanger
Requires: None Story Mode: Yes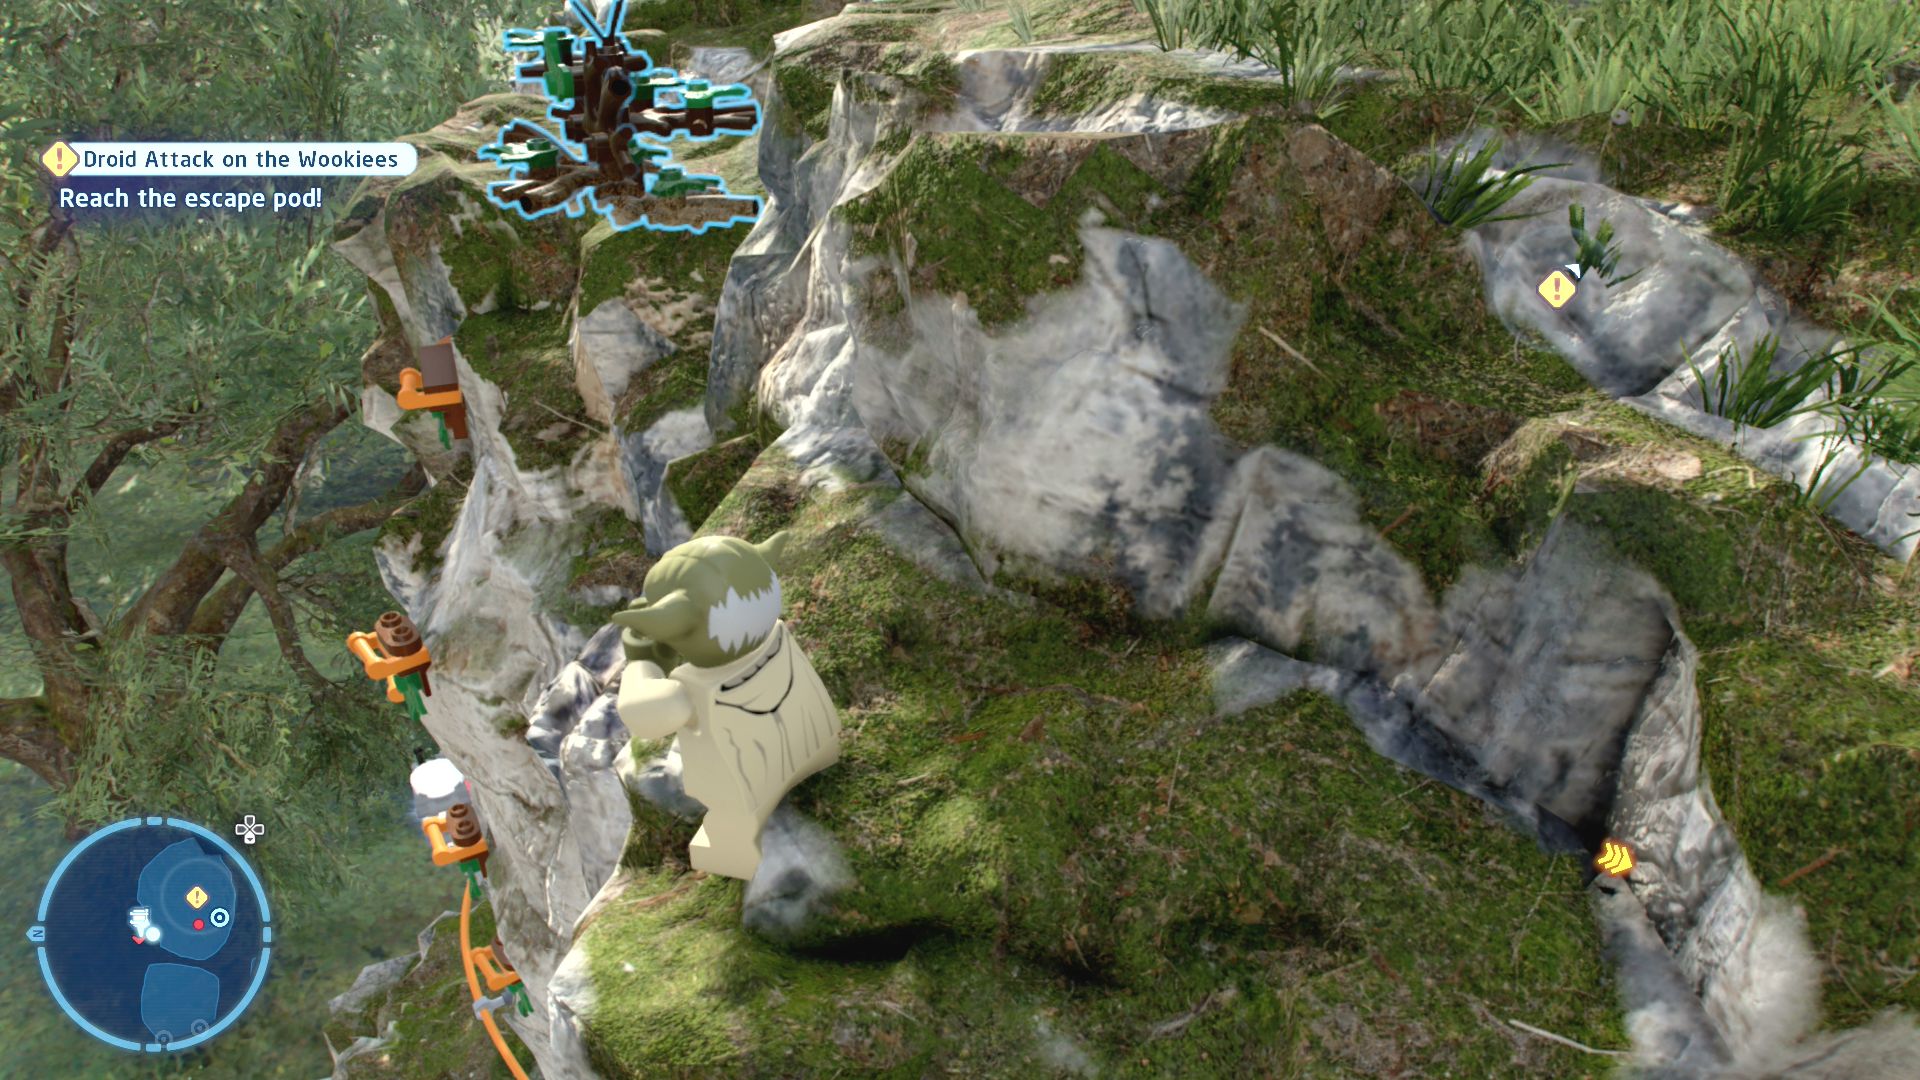
Don't look down!
Right at the end of the level instead of approaching the escape pod go to the left and look down the side of the platform. There should be some orange handholds and the minikit.
ARC-170 Starfighter

Based on set 75072, ARC-170 Starfighter
Episode III
REVENGE OF THE SITH
The story so far...
- Darkness covers the galaxy.
- DARTH SIDIOUS has executed
- ORDER SIXTY-SIX, causing the
- Clone army to turn on the Jedi,
- eliminating all but a few.
- And if that wasn't bad enough,
- Anakin Skywalker has betrayed
- the Jedi Order and now serves as
- Sidious' apprentice, assuming the
- name... dun-dun-duh... DARTH
- VADER!
- With the assisstance of two ally
- Wookiees, Master YOda managed
- to escape the Clone attack on
- Kashyyyk unharmed and return
- to Coruscant. Now, he is hoping to
- regroup with other surviving
- Jedi....
The Threat Revealed
Confront the Emperor.
Coruscant, Federal District, Jedi Temple
Walk out of the library and then to the outside of the temple. There you'll find a few Clone Troopers trying to attack you as you approach the taxi. Once you've killed them take the taxi to the Coruscant Senate Building.
Coruscant, Federal District, Senate Plaza
Another six Clone Troopers will try to stop you from entering the senate, get rid of them and go inside to start the next level.
Chapter 4
Senate Showdown
| Silver | Blue | Purple |
|---|---|---|
| 13,333 | 26,666 | 40,000 |
Defeat Darth Sidious!
The fight begins immediately! Redirect Palpatine's force lightning attack back at him to momentarily stun him. He will jump backwards smashing the object in the middle of the room and then begin causing an electric storm around him. For the moment you hould stay back and defeat the Imperial Guards while avoiding the red circle that shows you his long range attack.
After a few attempts to hit you he will begin a spinning attack that casts a rotating beam of lightning in a line across the whole room. Double jump over it each time it gets close to you and Darth Sidious will tire out. That is your moment to attack, it'll be your standard lightsaber battle. Defend when he swings at you and dodge out of the way when you see a red circle appear on the ground.
After his first health bar has been depleted he will charge at you and initiate a rapid button tapping event. Once you've won that he'll run off the to the middle of the room again and drag both of you with him, launching the pod upwards into the senate chamber above. So make sure to have completed all you need to do in the room before reaching that point.
Jump to the next platform and begin another lightsaber fight with Sidious until you clash again and he once again runs off to another platform. Leave your current platform to the first one he jumped to, defeat the Clones on it and smash the central console. From the pieces left behind you can build a button that will activate a hero terminal for Captain Typho to solve.
Palpatine's platform will come down to you so you can jump on and engage in your third lightsaber fight with him. He won't bother to clash with you this time before he jumps away sending in a few Troopers. Once you've cleared them out of the way follow him being careful not to land when he's causing a force lightning storm.
Survive Darth Sidious' troop reinforcements.
Just before you can put in the final blow he'll jump away one last time and send in a few waves of Clone Troopers. Defeat them both and Sidious will jump back down to you and initiate a force lightning battle again. Rapidly tap to repel the lightning and complete the level.
Level Challenges
- Dazzling Display
- Use the lights to blind Palpatine.
- Have a scoundrel aim at the lights on the wall at the start of the level.
- Heads Up
- Drop a droid onto Palpatine's head.
- On a couple of the walls during the first part of the level are levers you can grapple onto to pull.
- Return to Senator
- Interrupt Palpatine's 'Force Lightning Spin Attack’ by deflecting the Force Lightning back at him.
- You only have a short time to do this as he will only spin a few times during the first stage of the level, but all you need to do is stand still holding a lightsaber in the defense pose.
Minikits
Minikit 1/5 - Rage Quit
Requires: None Story Mode: Yes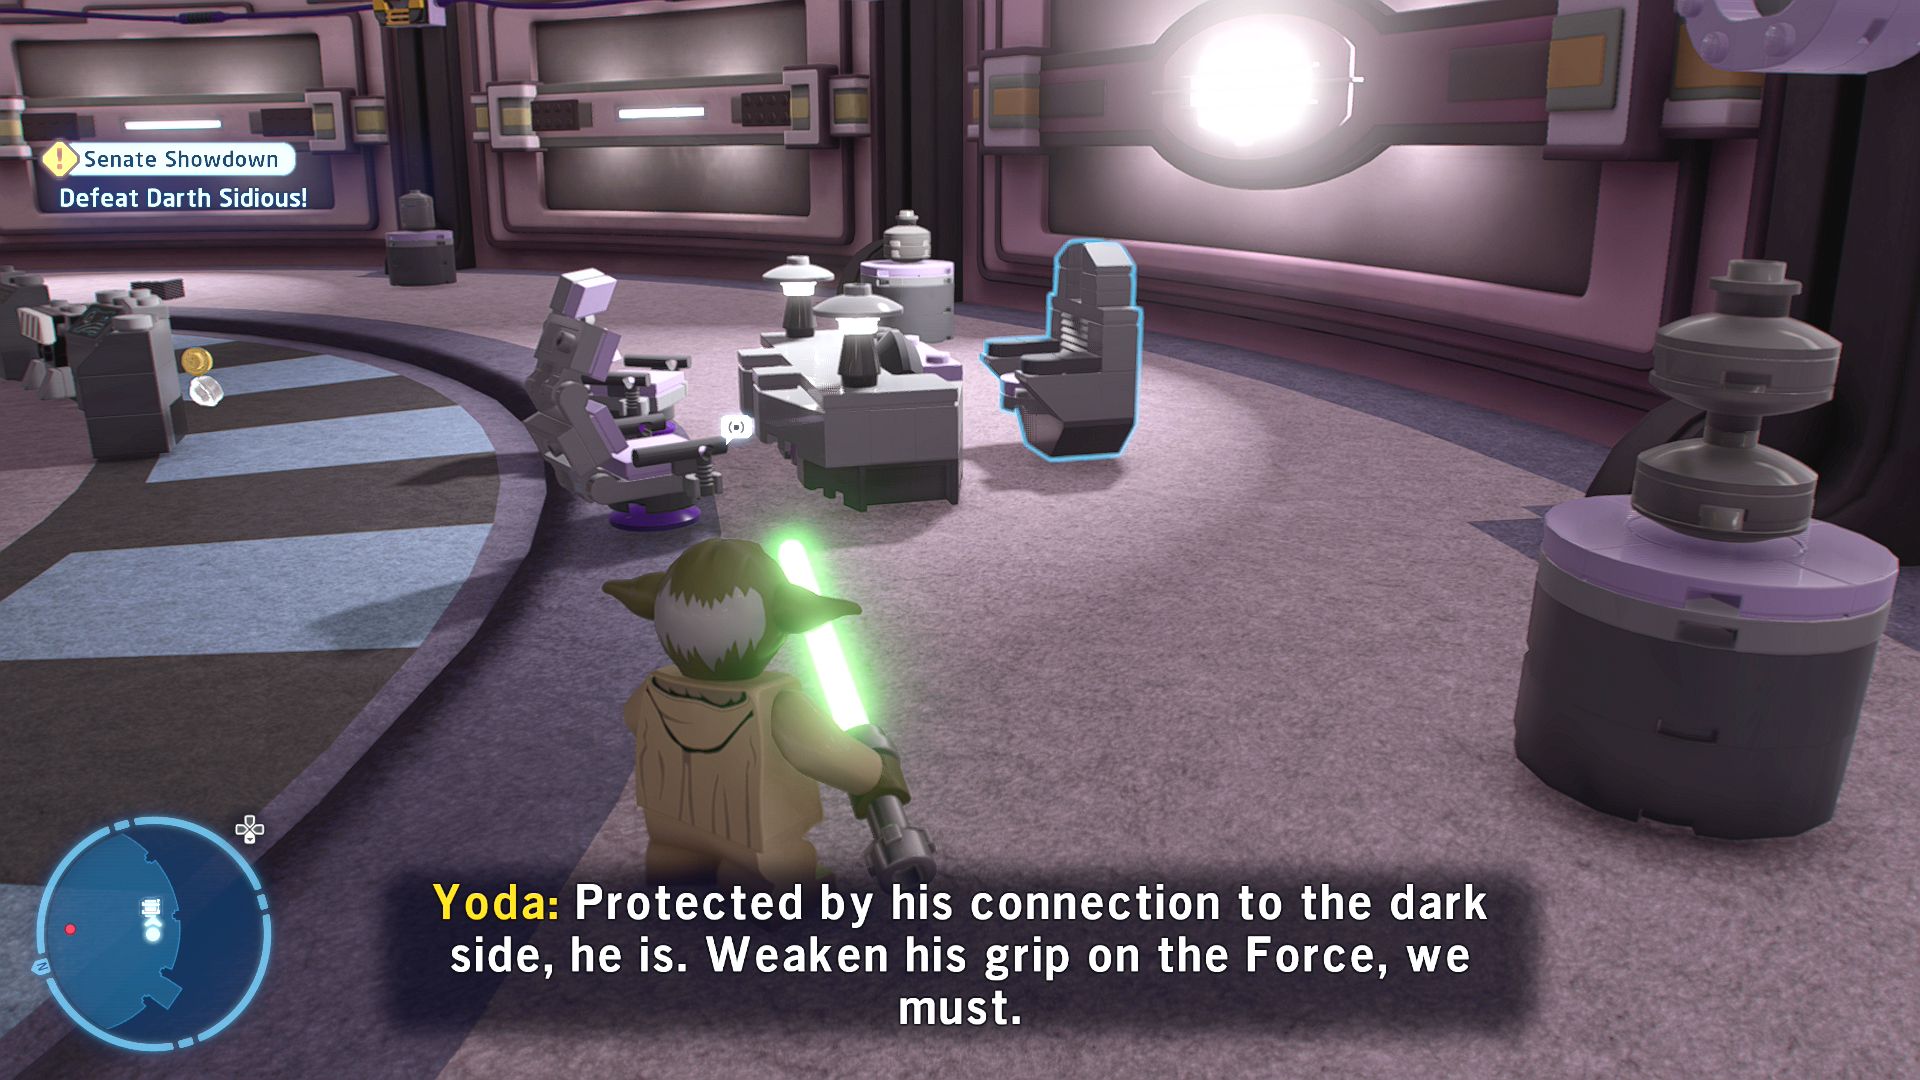
Someone must really hate their desk...
Smash the table and chairs in the starting room and build a Minikit out of the pieces that remain.
Minikit 2/5 - Just Dropping in
Requires: Grapple Story Mode: Yes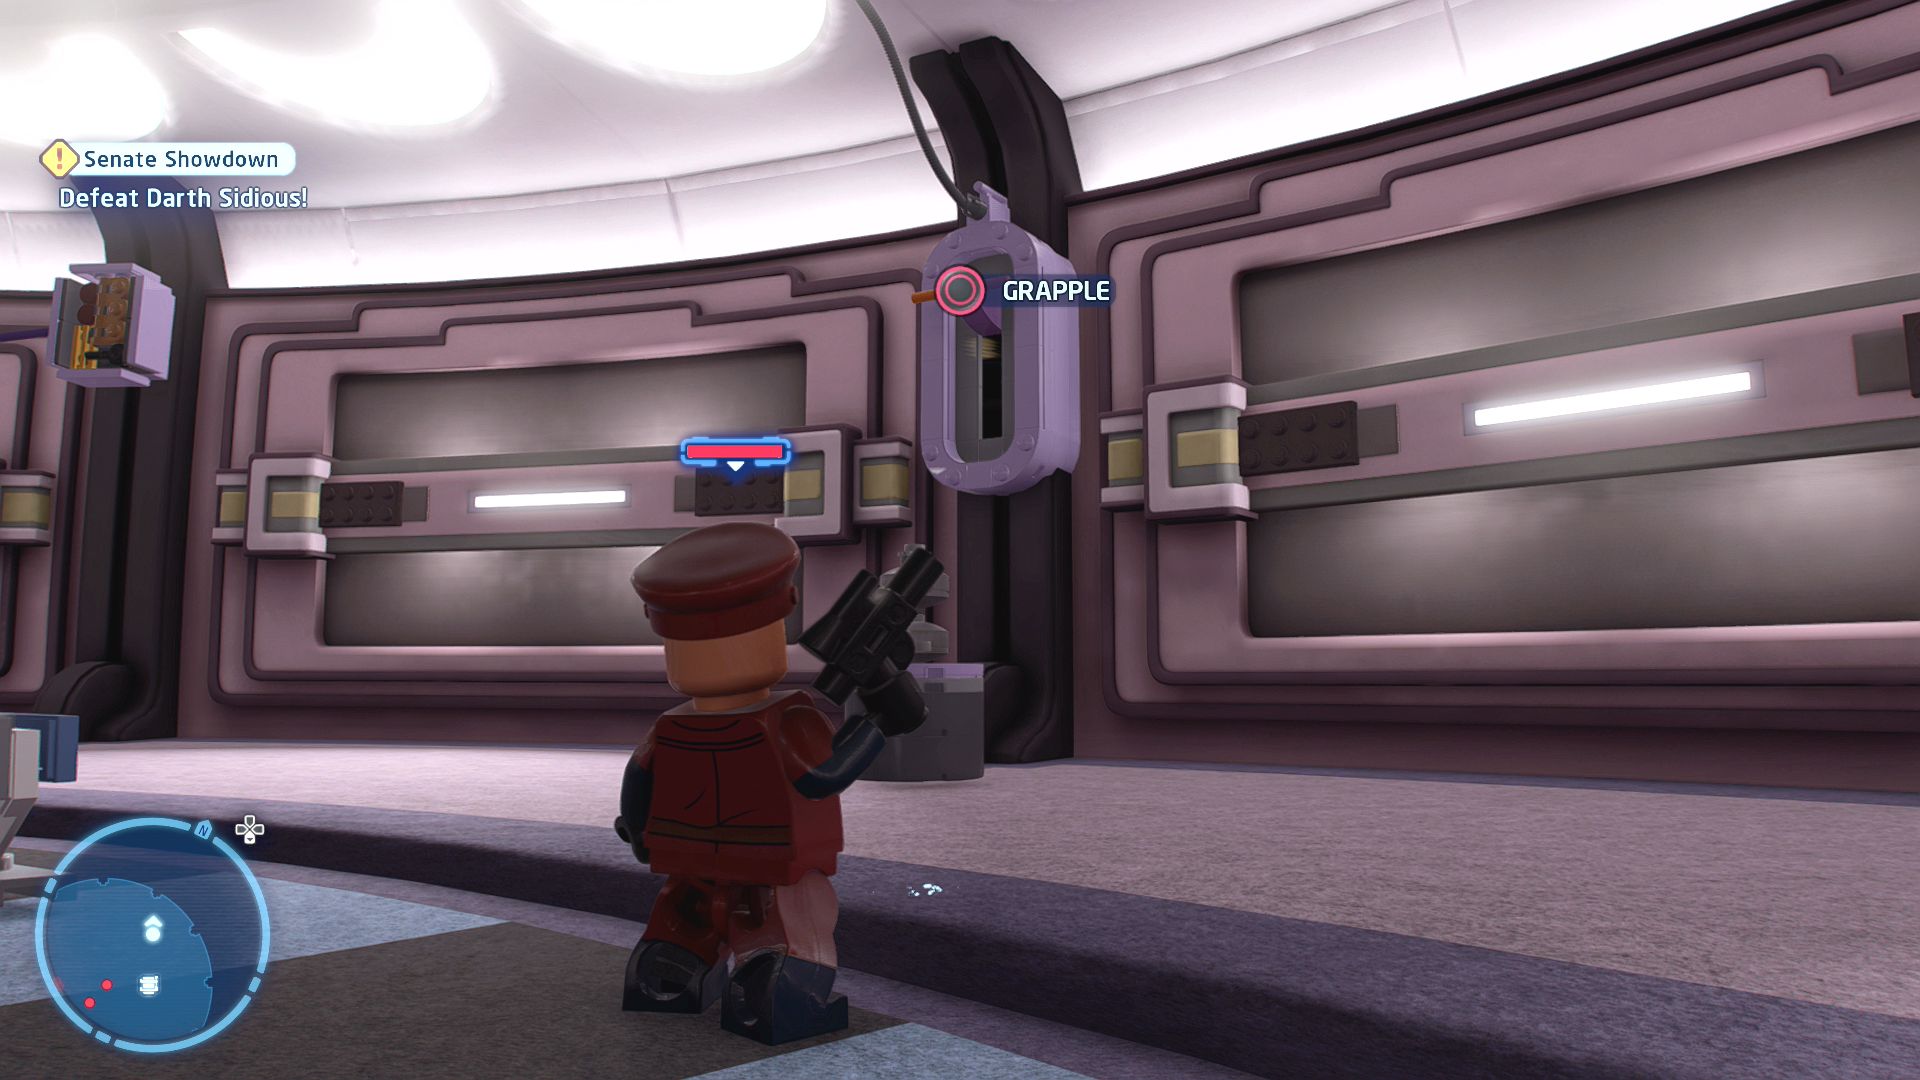
Look for alternative ways to distract Palpatine in his office.
Pull both of the levers that are on the walls in Palpatine's office.
Minikit 3/5 - Chamber of Minikits
Requires: Scavenger Glider / Bounty Hunter Jetpack Story Mode: No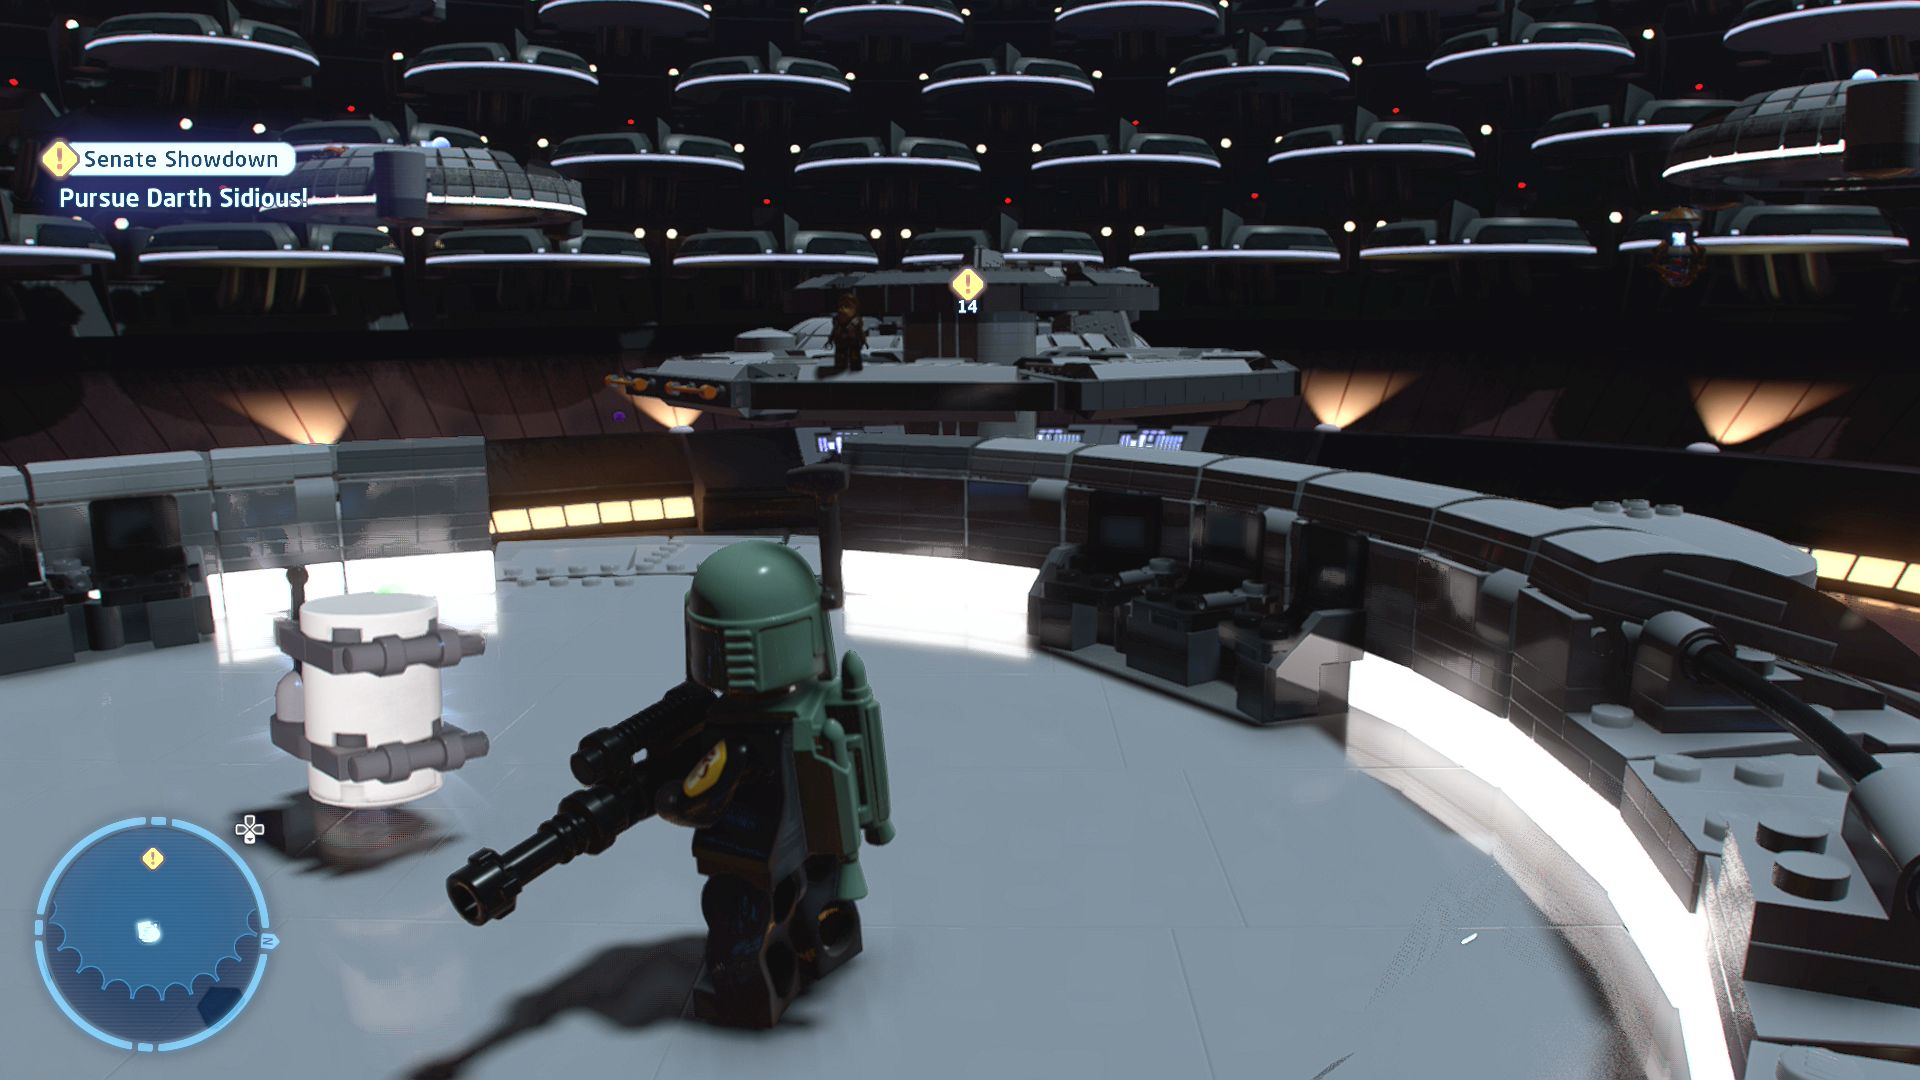
Find a means to cross the platforms in the senate chamber.
You can use the Scavenger glide ability or a Jetpack to cross over to where the Minikit is waiting at the start of the second section.
Minikit 4/5 - Plate Spinning
Requires: None Story Mode: Yes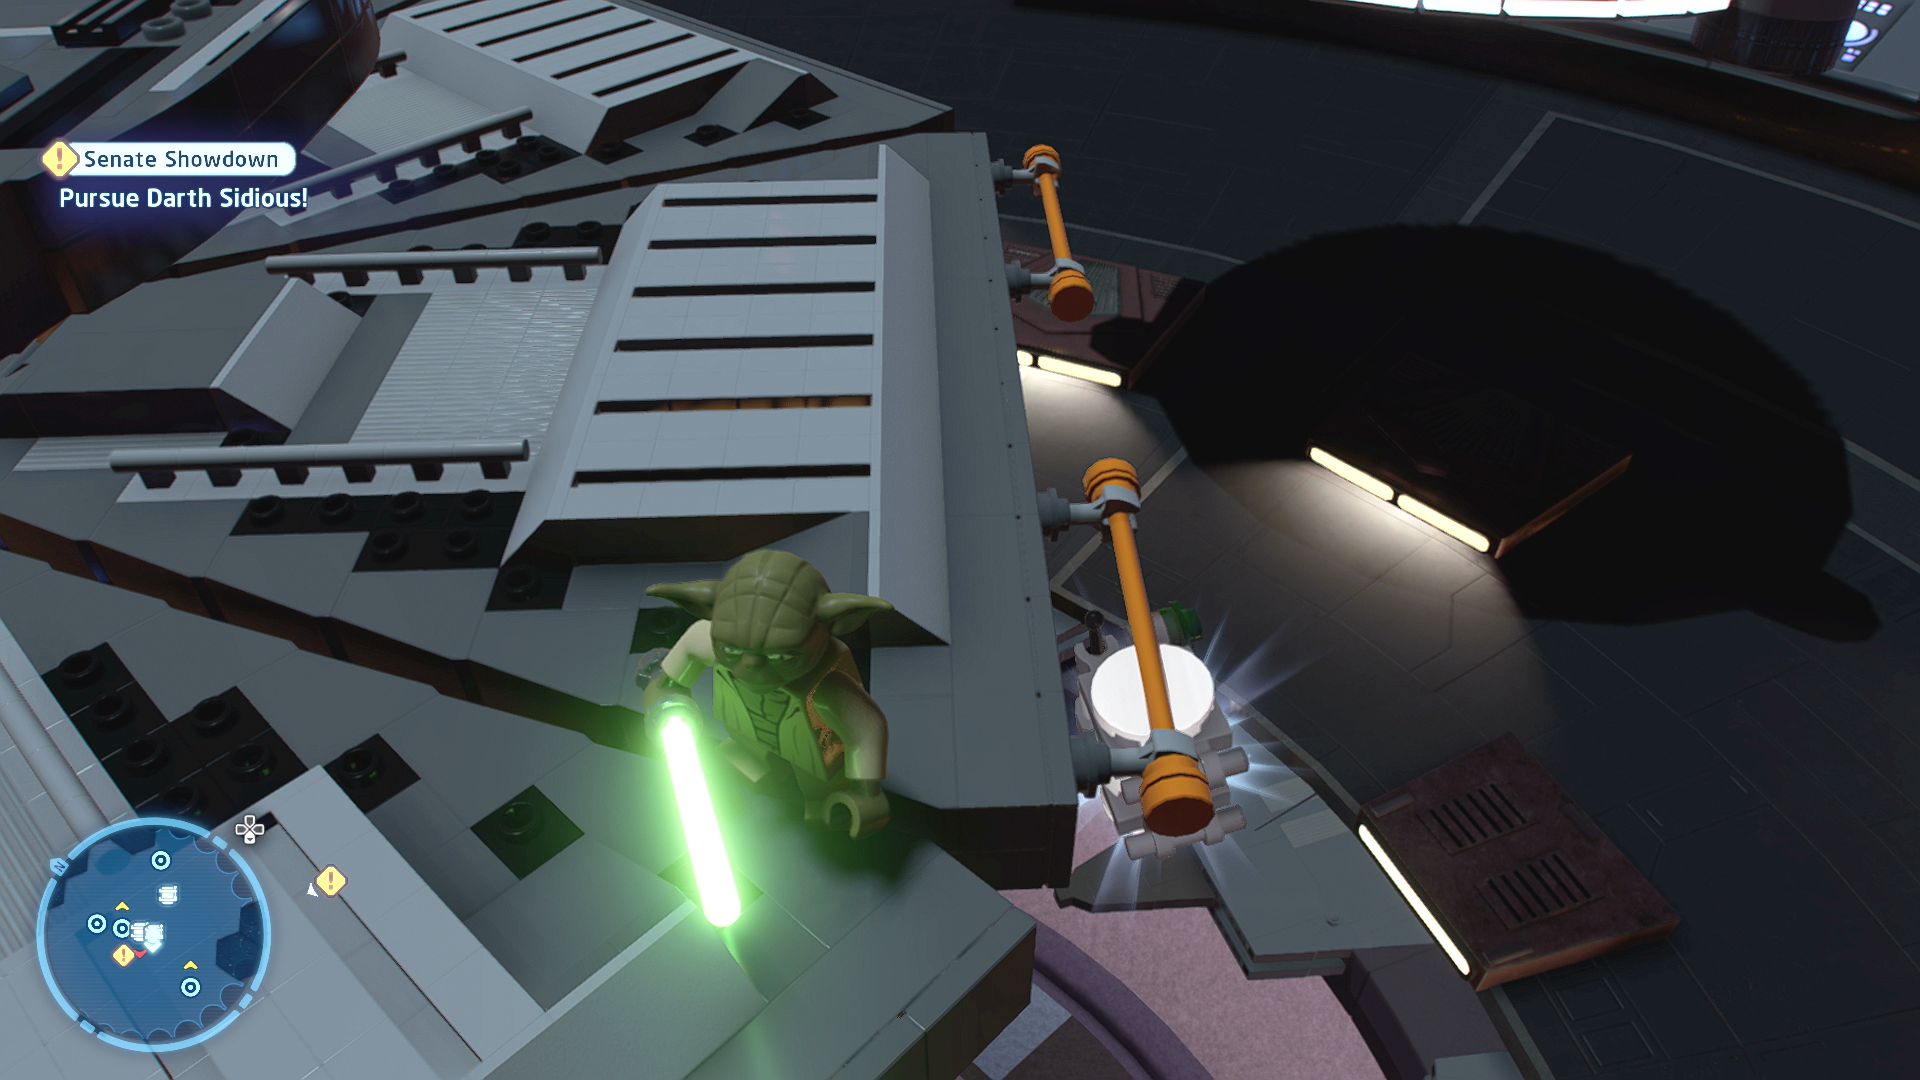
Manipulate the senate platform. Hold on to something!
On the first platform when you enter the chamber drop off the edge to a bar.
Minikit 5/5 - Salvage Hunters
Requires: Ranged Attack Story Mode: Yes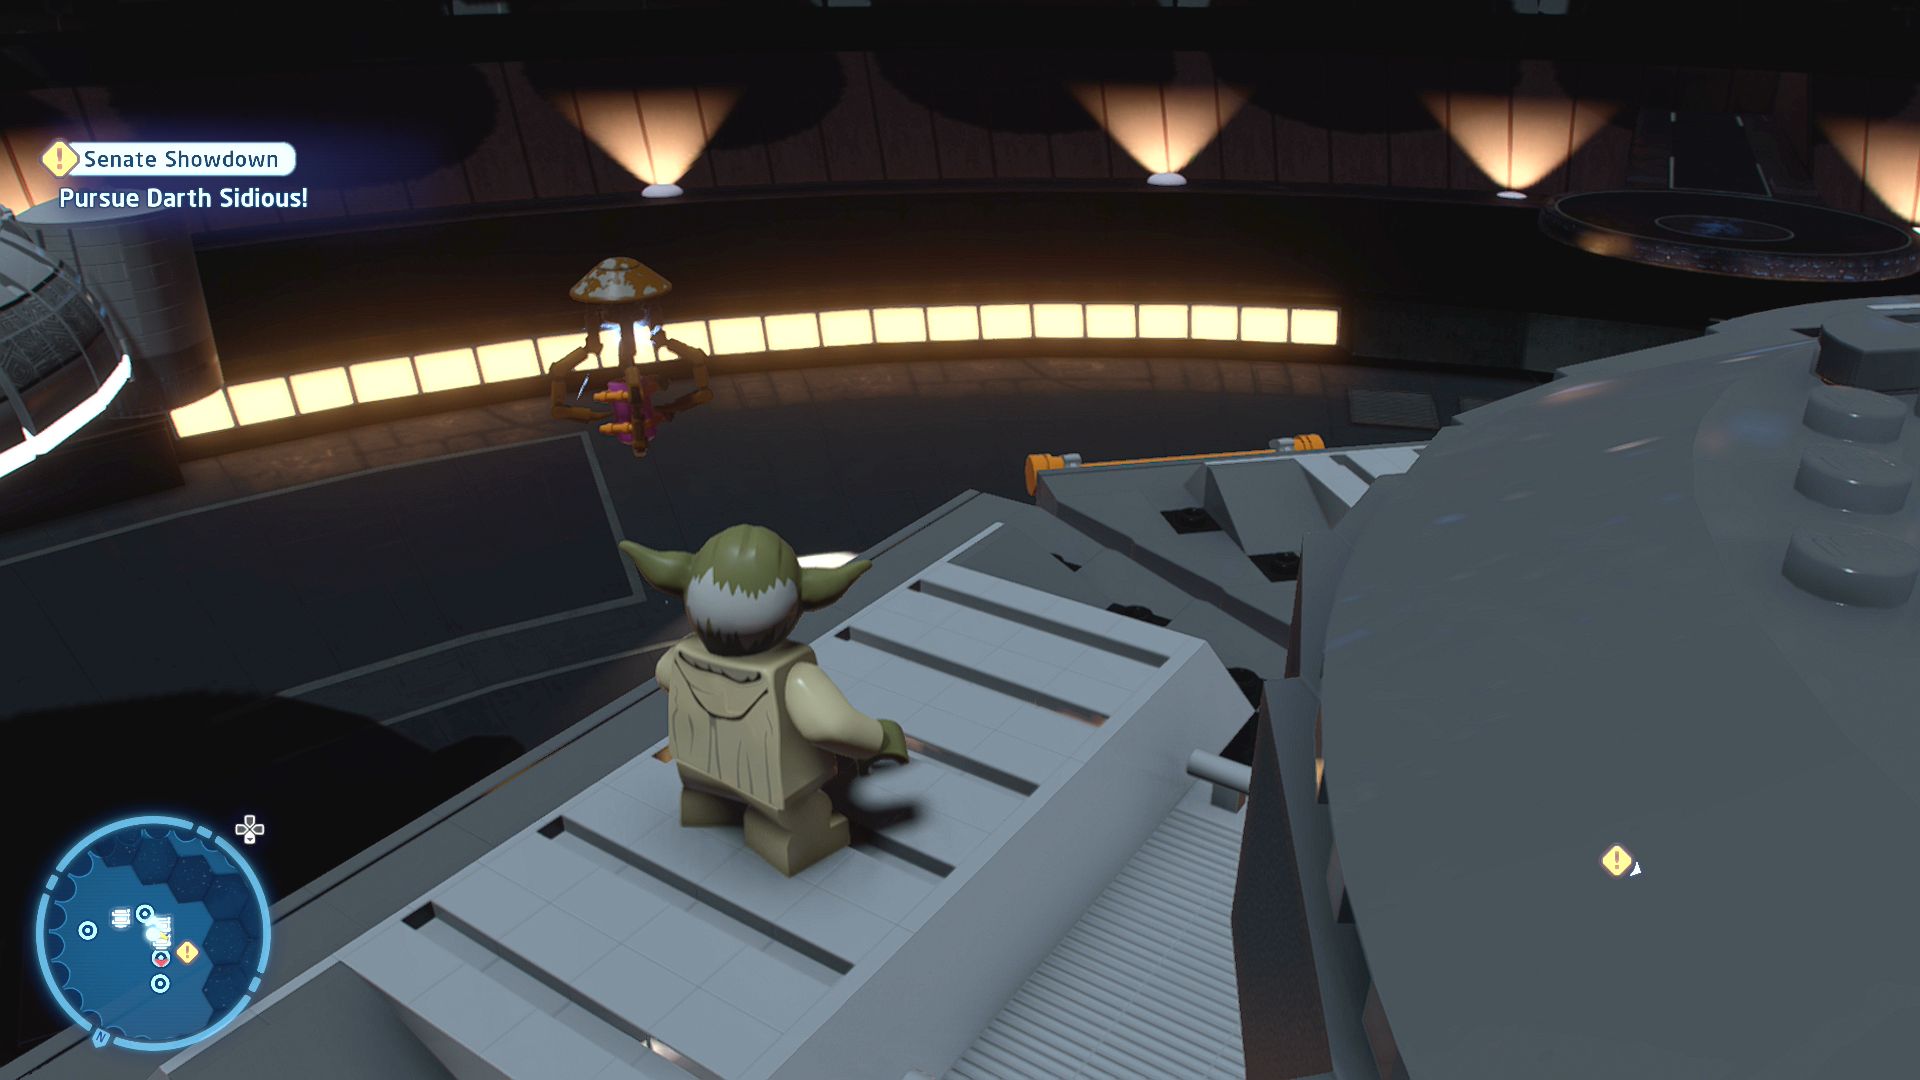
Salvage droids are picking the place clean. Let's see what they've taken!
Floating around the senate chamber are five droids that you can hit from range.
V-Wing

| Cost | Character | |
|---|---|---|
|
|
35,000 | Clone Trooper (501st Legion) |
|
|
35,000 | Clone Trooper (Coruscant Guard) |
|
|
200,000 | The Emperor |
Episode III
REVENGE OF THE SITH
The story so far...
- After arriving back on Coruscant,
- Yoda regrouped with Bail Organa
- and Obi-Wan Kenobi at the Jedi
- Temple, where they learned of
- Anakin's betrayal and allegiance
- to Darth Sidious.
- Determined to put an end to the
- Sith's rise, Yoda confronted Darth
- Sidious and the two
- Force-flinging heavyweights
- duked it out for the fate of the
- galaxy. Ding ding! But
- disastrously, Darth Sidious was
- all too powerful for our green
- friend.
- With no other choice, Yoda
- retreated into exile, probably to
- retire on some far away swampy
- planet. Elsewhere, Obi-Wan
- Kenobi begins searching for
- Anakin....
Coruscant, Federal District, Jedi Temple
A New Apprentice
Question Padmé about Anakin's whereabouts.
A few troopers will attack you as you try to get to the taxi again, get rid of them before zipping off to the East Apartment District stop.
Coruscant, Federal District, Supreme Triangle
Some more troopers are waiting on your arrival, defeat them then approach the apartments beyond. More troopers! Go inside to talk to Padmé and continue the story.
Coruscant, Federal District, Padmé's Apartment
Head to Padmé's ship in the Federal District.
Go outside and make your way to the landing pad to the west where you can again continue the story.
Coruscant Space
Follow Anakin to Mustafar.
Use the galaxy map to fly to Mustafar.
Mustafar Space
Fly forwards and begin the level.
Chapter 5
The High Ground
| Silver | Blue | Purple |
|---|---|---|
| 23,333 | 46,666 | 70,000 |
Defeat Anakin!
We're kicking off this level with your standard lightsaber battle. Deplete Anakin's first health bar and he'll jump away and drag you down to him to perform a saber struggle.
Find Anakin!
Chase after Anakin through one doorway and he'll go through a second which will lock behind him. To open it up you should switch to C-3PO and have him break in half so that he can press a button inside an object on the left side of the room. This will reveal an Astromech Socket that R2-D2 can solve to open the door.
Defeat Anakin!
Here we go with another lightsaber fight.
Find Anakin!
Anakin will again run away and seal a door behind him as he goes. To open it up use C-3PO on the panel and then cut through the rest of the door with your lightsaber. Anakin will be outside to the left. Smash the stuff in the way and start struggling.
Assist Obi-Wan!
While Obi-Wan is busy it's time to for R2-D2 and C-3PO to help. Step into the gust of wind coming from the machine the Mustafarian breaks and then defeat the two enemies that crash in front of you. Once they're dead smash the vehicles they crashed to get the parts to build a double button that both characters will need to stand on.
Defeat Anakin!
Back to Obi-Wan follow Anakin along the pipe and have a lightsaber clash in the middle. Jump down and have another regular lightsaber fight with him while avoiding the lava projectiles that keep flying in.
Find Anakin!
The whole place will collapse and you'll end up at the bottom of a load of rungs. Keep on jumping upwards until you reach the top as it continues to sink into the lava below (there's no rush though it'll only sink as you reach each specific point rather than time based).
Defeat Anakin!
Separated again you will just need to wait for Anakin to land on another larger platform, he'll drag you over so you can get started with another lightsaber fight.
Assist Obi-Wan!
C-3PO will need to jump across the platforms and make his way to a Protocol Terminal where he can activate a droid to interrupt the fight.
Defeat Anakin!
More lightsaber fighting!
Assist Obi-Wan!
After one more health bar is gone you'll switch back to R2-D2 who you can use to solve an Astromech Socket to electrify the floor where they are fighting.
Defeat Anakin!
After a quick lightsaber clash it's time for the last lightsaber battle. Defeat Anakin and complete the level (and the episode) with a struggle fight.
Level Challenges
- Let Him Eat Cake!
- Force Throw the cake trolley at Anakin.
- Next to the unconscious Padmé is a trolley with some cake on it. Use the Force to pick it up and throw it at Anakin during the fight.
- Sneaking in
- Take the alternate route to reach Anakin.
- After Anakin runs off for the first time don't follow him through the doors, instead just before the doors jump off to the right onto a thin beam that leads to a hanging bar you can shimmy around the corner on. Follow the path along until you pull a lever and open the window. Jump up into the open window to complete this challenge.
- Wider Awareness
- Use the steam vents to damage Anakin.
- At the very start of the level quickly switch to R2-D2 and activate the vent that Anakin is standing on.
Minikits
Minikit 1/5 - Mustafar-far Away
Requires: Grapple, Bounty Hunter Story Mode: No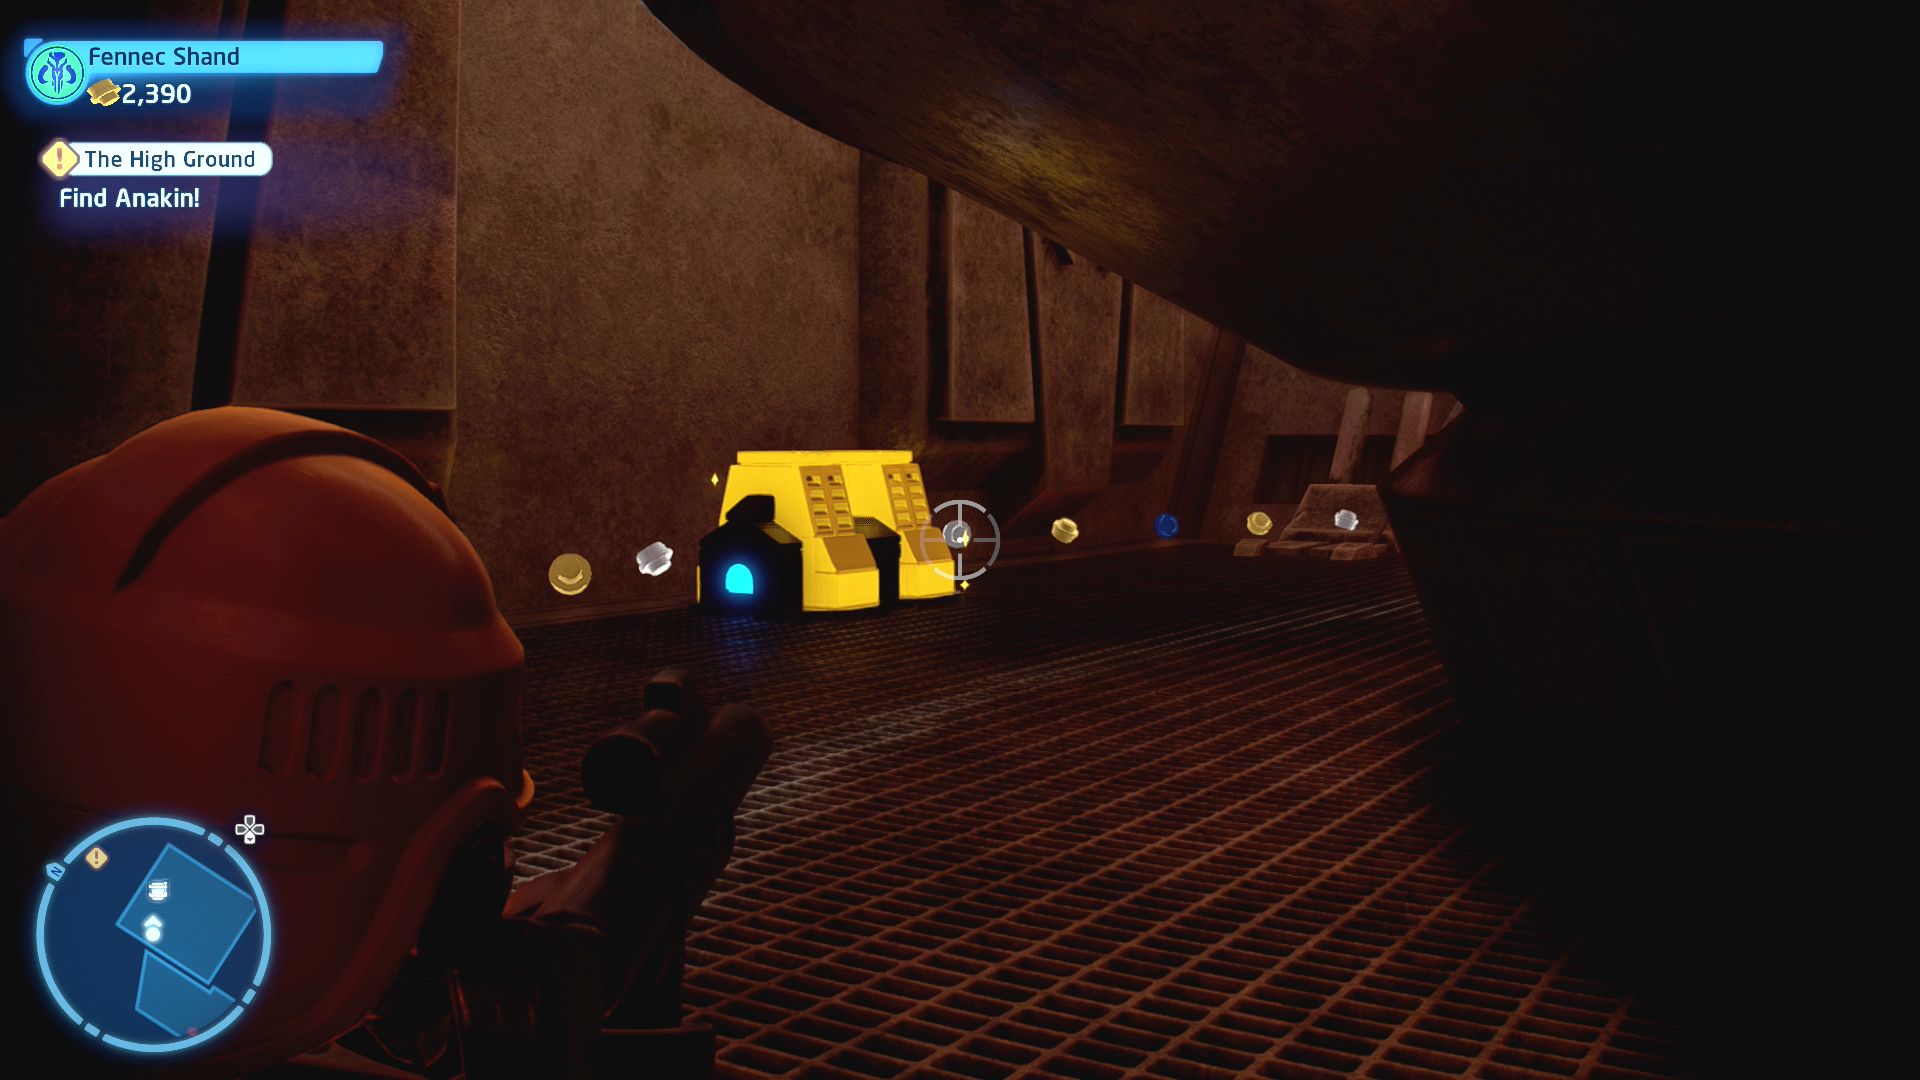
Don't hang around too long to find this one.
On the north-western side of the starting area is a section you can only reach via grappling hook. Shimmy in there and then use a Bounty Hunter to smash the gold LEGO console.
Minikit 2/5 - Brittle Balance Beam Building
Requires: None Story Mode: Yes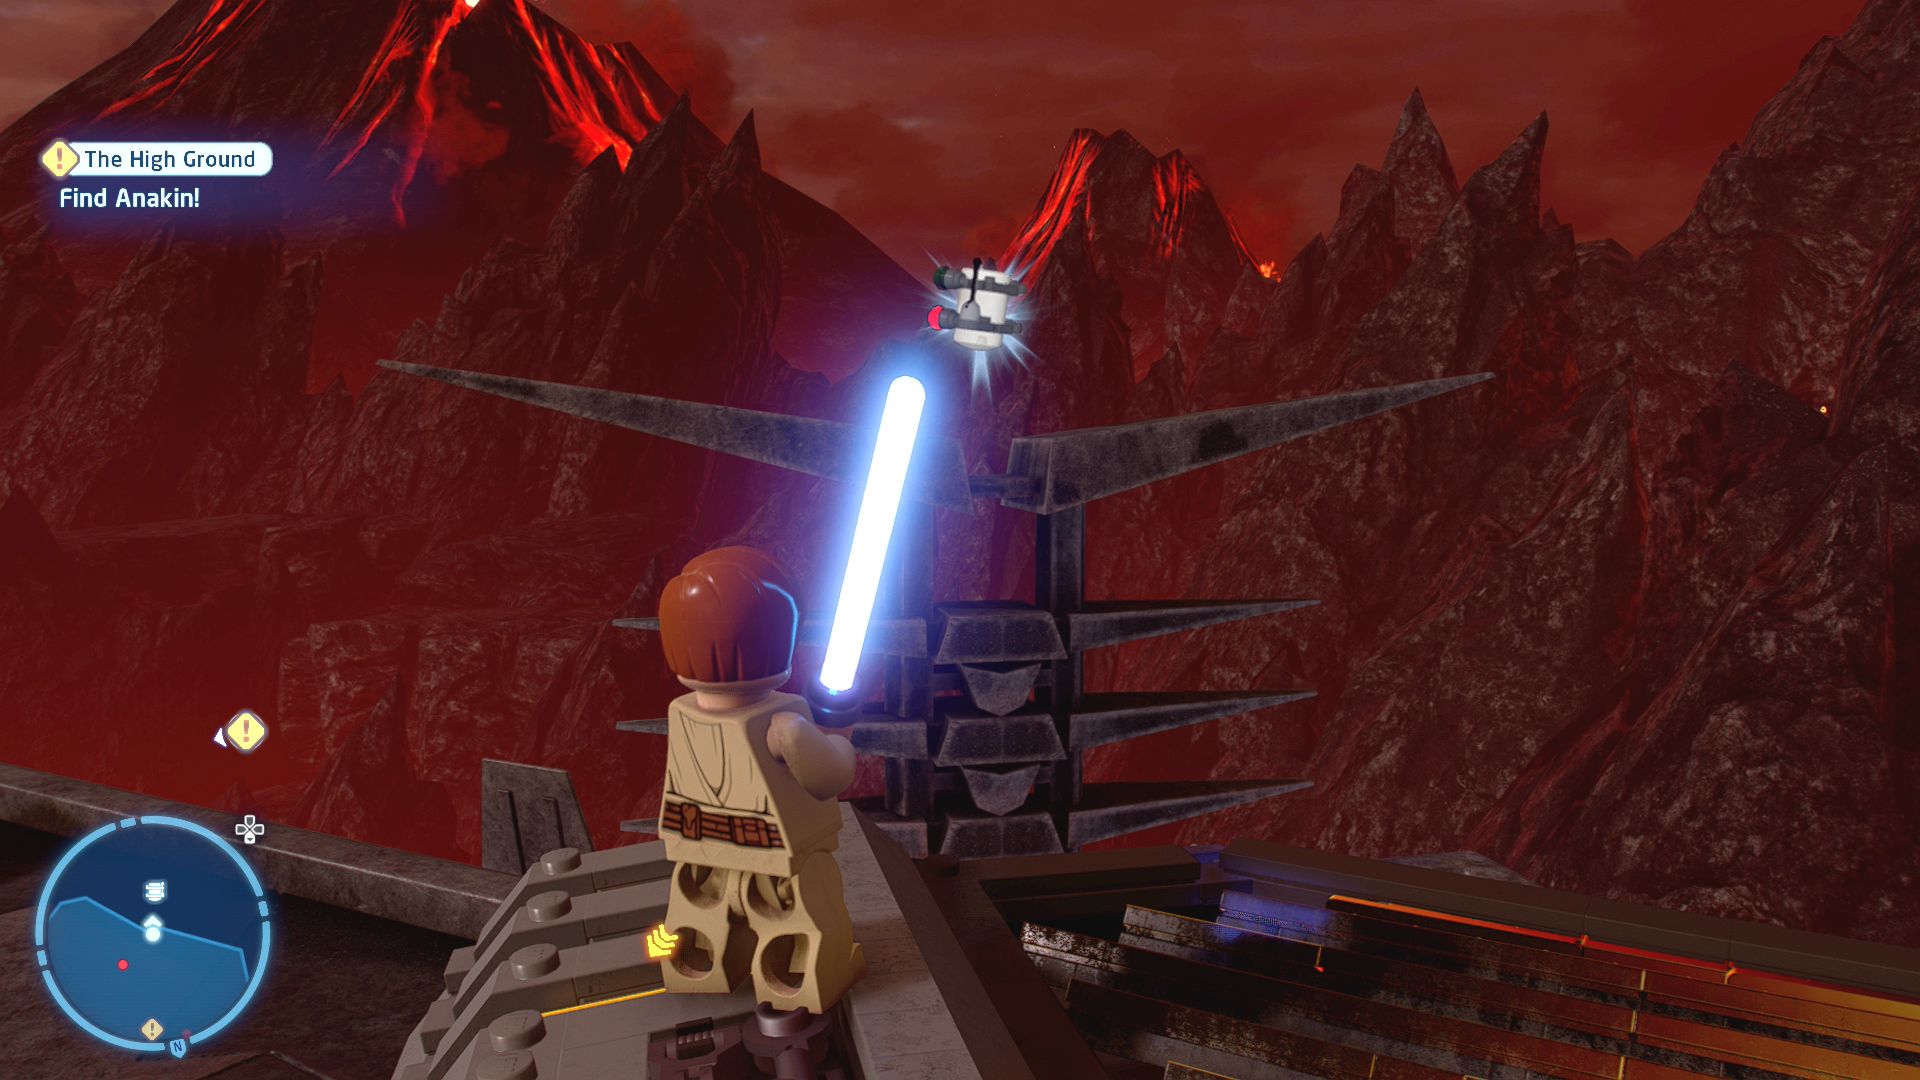
Just don't look down at the lava...
In the south-west corner at the start of the level is a Minikit off the side. To reach it smash the nearby vent and build a beam out of its parts.
Minikit 3/5 - Mustafarian Metal Music
Requires: Villain Grenade Story Mode: No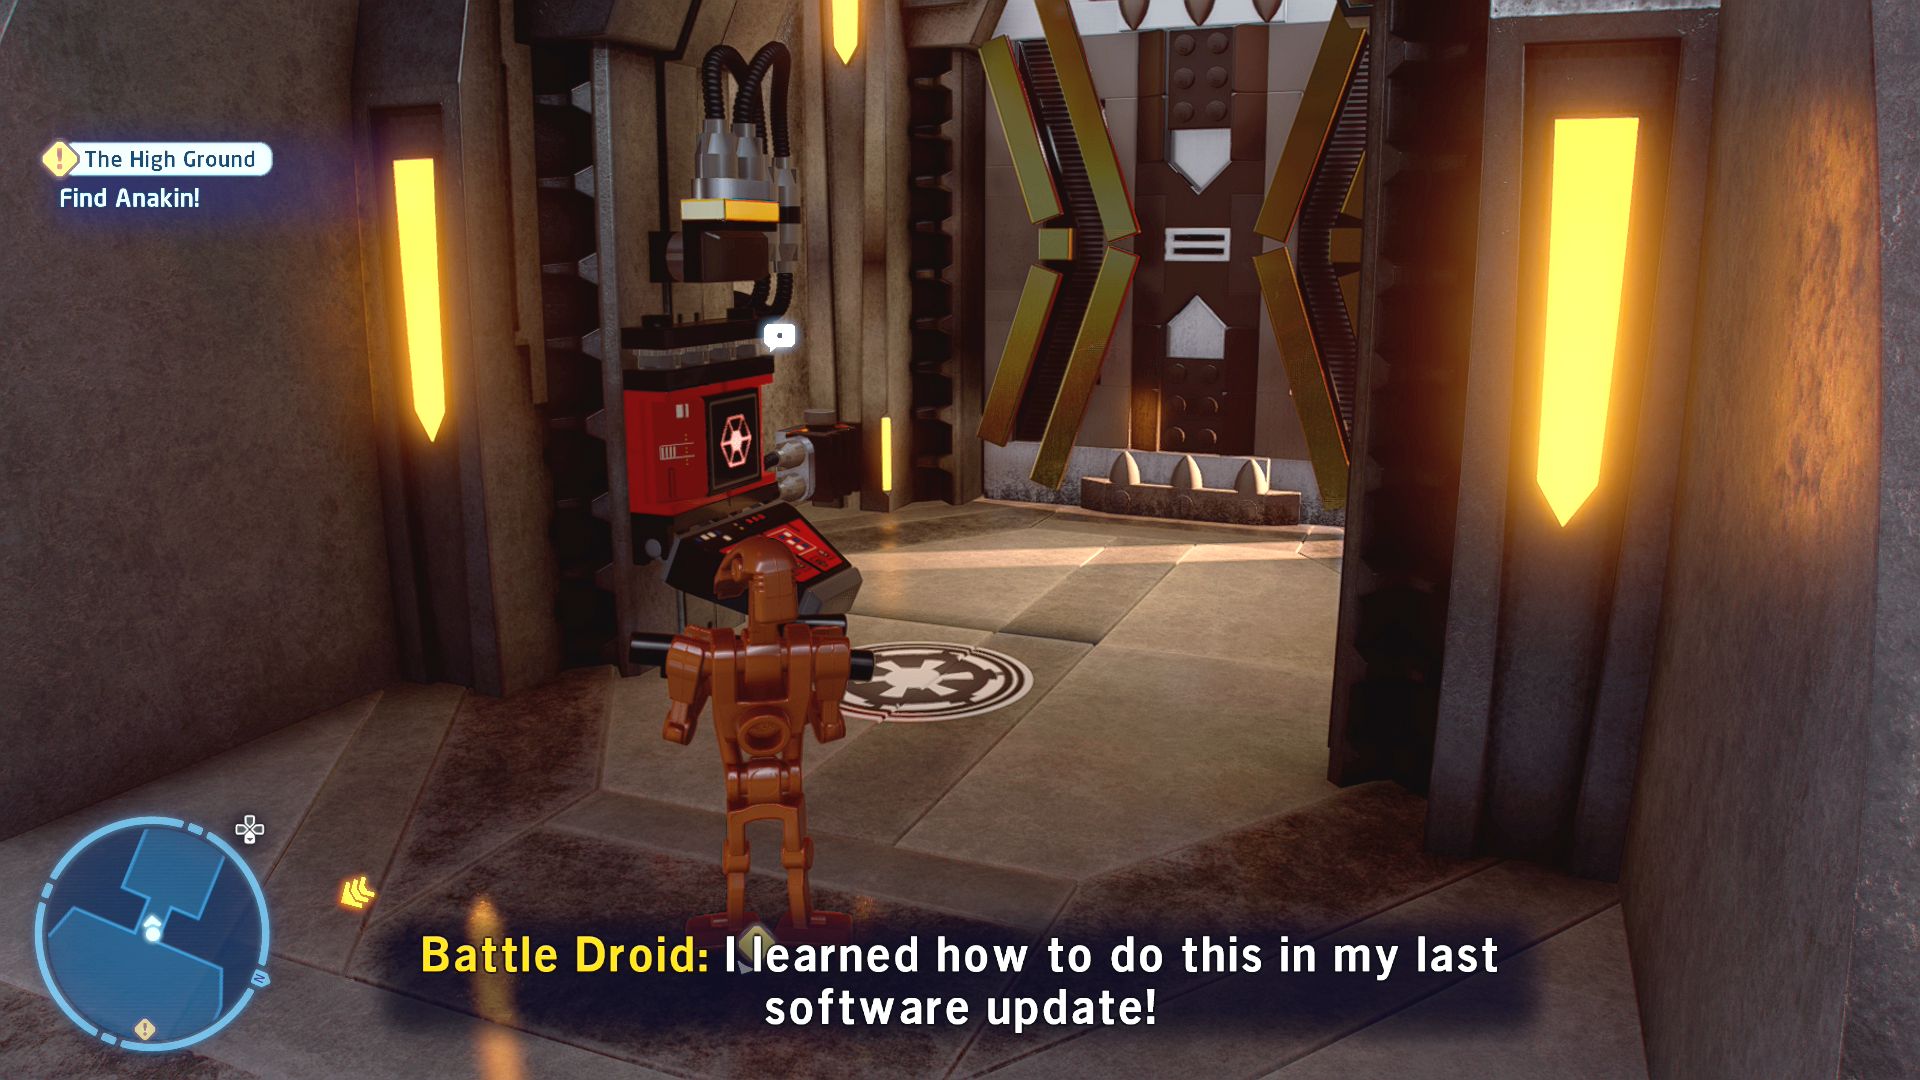
The band need help setting up! Where's a roadie when you need one?
A villain can open the door on the western side of the holotable room. Once inside the room blow up the Silver LEGO crate with a villain grenade and then carry the remaining power cell over to the stage to power the performance.
Minikit 4/5 - Holotable Hotfix
Requires: Scoundrel Story Mode: No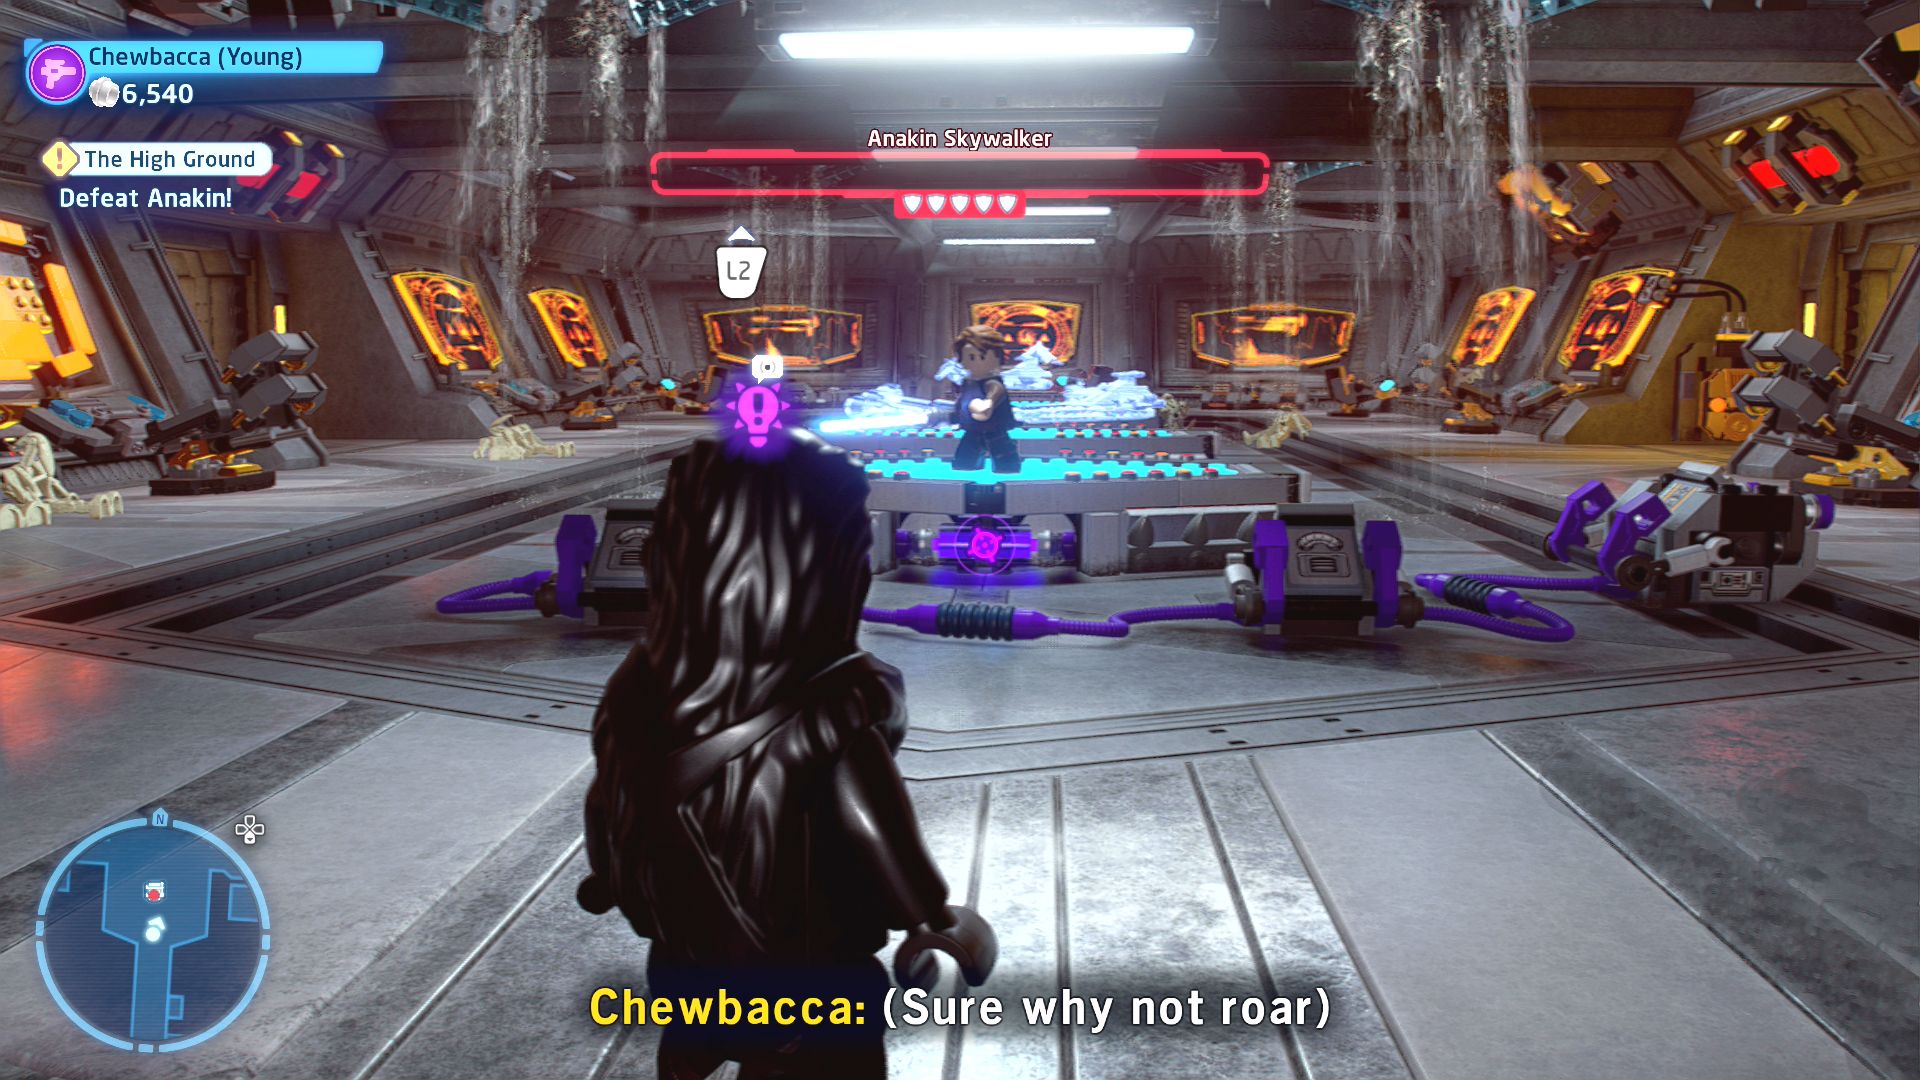
There is something different about this holotable. It seems... minikit-ier than normal.
Use a Scoundrel to shoot the purple items next to the first holotable in the room where Anakin waits for you. Build a couple of buttons from the debris and stand on them both.
Minikit 5/5 - A Pesky P-100 Problem
Requires: None Story Mode: Yes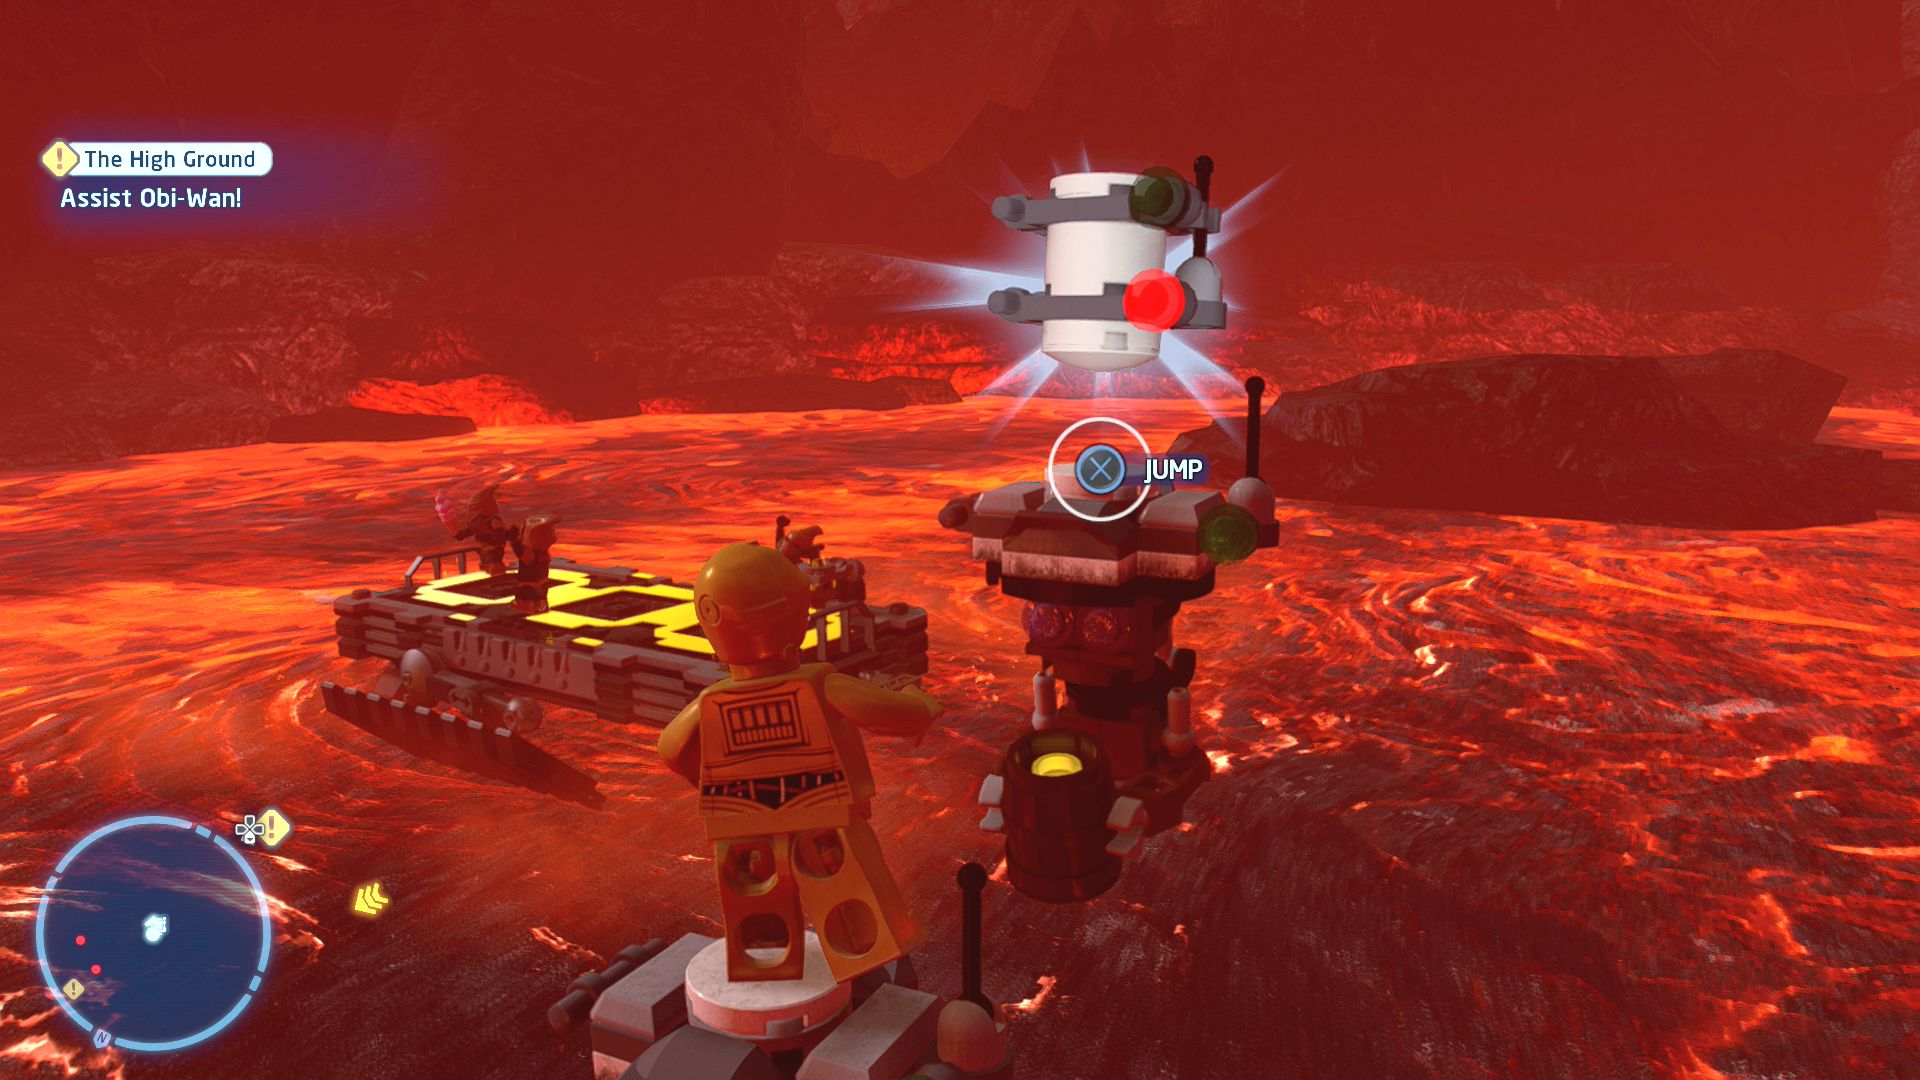
Those P-100 droids are holding something familiar!
During the fight on the floating platforms in the lava when you switch to R2-D2 and C-3PO jump over to the southern platform and then up a set of tiny floating platforms towards where you can see the Minikit. The Minikit will fly towards you as you reach the top.
J-Type Starskiff

| Cost | Character | |
|---|---|---|
|
|
- | Anakin Skywalker (Charred) |
|
|
- | Anakin Skywalker (Yellow Eyes) |
|
|
200,000 | Palpatine (Chancellor - Grey) |
Next the walkthrough goes to Episode IV: A New Hope but that was already unlocked from the start and didn't require Episode III's completion.
 darkspyro.net