Please be aware that this page covers the original LEGO Star Wars: The Video Game, it is not correct for LEGO Star Wars: The Complete Saga.
Episode I
THE PHANTOM MENACE
Chapter 1
NEGOTIATIONS
Turmoil has engulfed the Galactic Republic! With a blockade of deadly battleships, the Trade Federation has stopped all shipping to the small planet of Naboo.
The Supreme Chancellor has secretly dispatched Jedi Knights Qui-Gon Jinn and Obi-Wan Kenobi to settle the conflict...
| Story Mode | Free Play |
|---|---|
| 22,220 | 48,450 |
Although the room is filling with a deadly gas there isn't actually any time limit on your stay in here.
There are a lot things throughout the game that are not essential to perform to get through the story or to find a Minikit but you'll often get some extra studs for doing them, something that can end up being essential for filling the True Jedi meter. In this room you can use the Force on the chairs to make them dance and then again on each individual chair to get them to spew out a few hundred studs each. As a rule of thumb pretty much everything made of LEGO in this game can either be interacted with or destroyed for studs so I won't be mentioning every single thing you can smash or manipulate for studs.
Another important source of studs are hidden studs, for example in the corner of this room to the right of the exit is a single blue stud that's worth 1,000, you can often find valuable studs like these hidden away in the corners of rooms where you might not think to go just off screen.
Once you're done exploring the room use the Force on the door to blow it open (walk towards the door with either Obi-Wan or Qui Gon and a green or blue glow will appear at the door to indicate you can use the Force on it, hold the Force button for a few seconds until it explodes). A group of droids will run towards you from the sides of the corridor with their blasters armed. Use your Lightsaber or the Force to take them out quite quickly, if you time your swings of the Lightsaber well you can even deflect their own blasts back at them. If you do get damaged you can heal by picking up the hearts that are frequently dropped by them.
The left corner that some of the Battle Droids came from has a locked door blocking your way, there's a panel on its side with a little picture of a grey C-3PO on it, this means that you will need a protocol droid to open it. If you're in Free Play you can switch to a protocol droid and access the room right now but if you're in Story Mode you'll have to wait just a bit to get in there.
Minikit 1/10
Requires: Protocol Droid Story Mode: Yes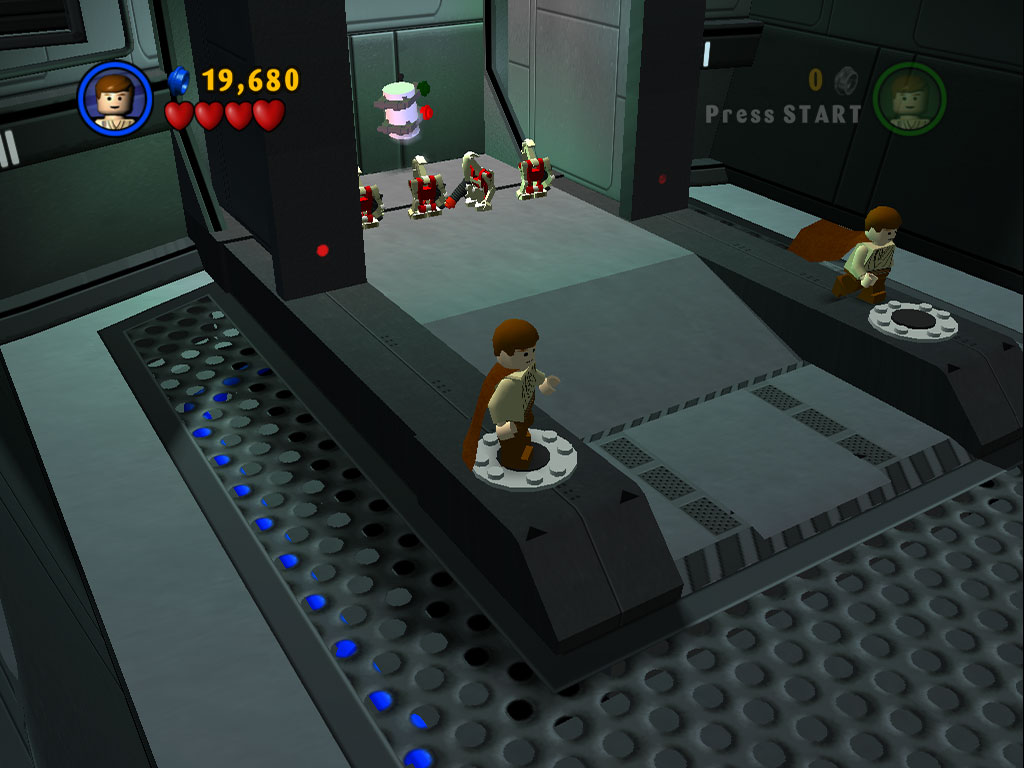
To get to the Minikit behind the droids you must first lower the forcefield, you do that by having one character stand on each of the two buttons in front of it (the black dots with a white circle around them, they will light up green when activated).
In single-player mode the other character will automatically walk over to the other button for you. Defeat the droids that wake up and grab the Minikit.
The opposite side is open and has some studs you can collect but there's nothing else of significance in there. Continue on along the corridor taking out the droids that run towards you.
Minikit 2/10
Requires: The Force Story Mode: Yes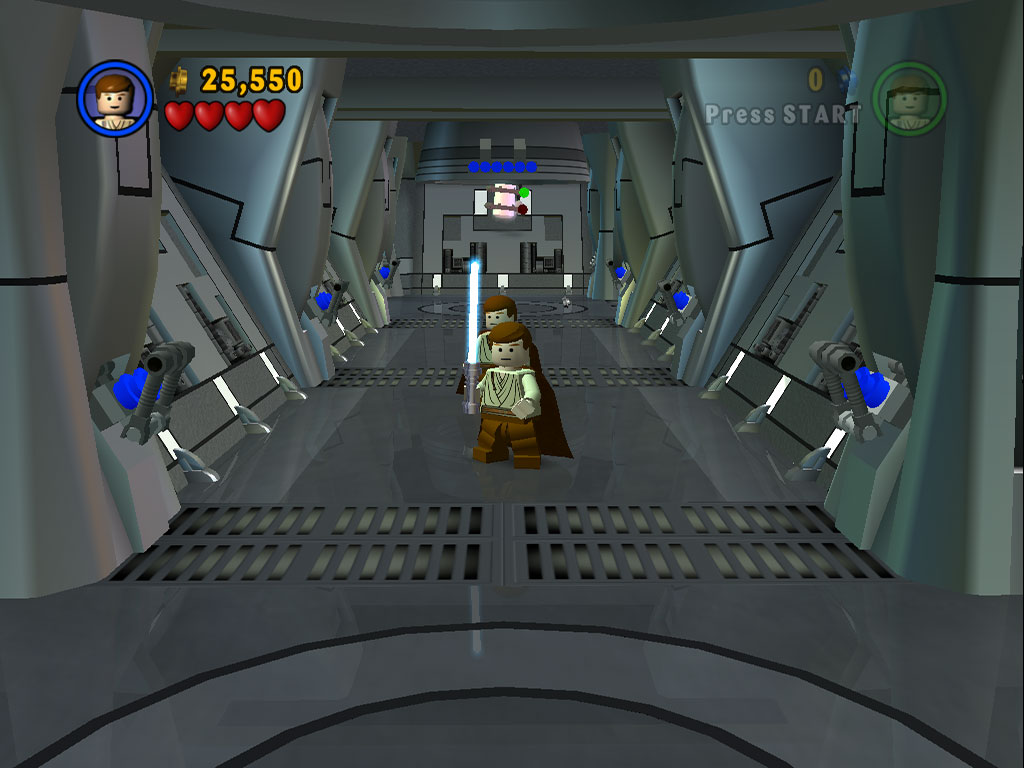
This is the first Minikit you can actually find in Story Mode, to get it you use the Force on the six blue switches along the sides of the corridor just outside of where you began the game. Once all six are flipped up the Minikit will appear for you at the far end of the hallway, you'll need to jump into it to collect it.
At the end of the corridor is a corner, you'll be attacked by the other two Battle Droids you saw run off a moment ago. Once you've taken them out go back to the left where there's another protocol droid panel.
Minikit 3/10
Requires: Protocol Droid, Hatch Access, The Force or High Jump Story Mode: No
At the corner in the corridor where you got the very first Minikit if you go to the left there's a door that can be opened by the protocol droid. Despite that you can only get the Minikit that's found in here if you have a small character, which is not possible in Story Mode.
So in Free Play switch to a small character and use them to crawl into the vent found in the back left corner of the room. It'll get you up onto the ledge above where you can find a button that turns off the forcefields that were blocking you from just jumping up on the ledges directly. Use the Force to assemble a tower of two blocks in the middle of the room to double jump to the Minikit on the right side, assembling all four will leave you with a tower too high to jump onto with a regular character and if you're using a High Jump character you might as well have just jumped directly to the Minikit without bothering with the tower.
Now take the path to the right, ahead you'll see a couple more Battle Droids inspecting some barrels.
Minikit 4/10
Requires: The Force Story Mode: Yes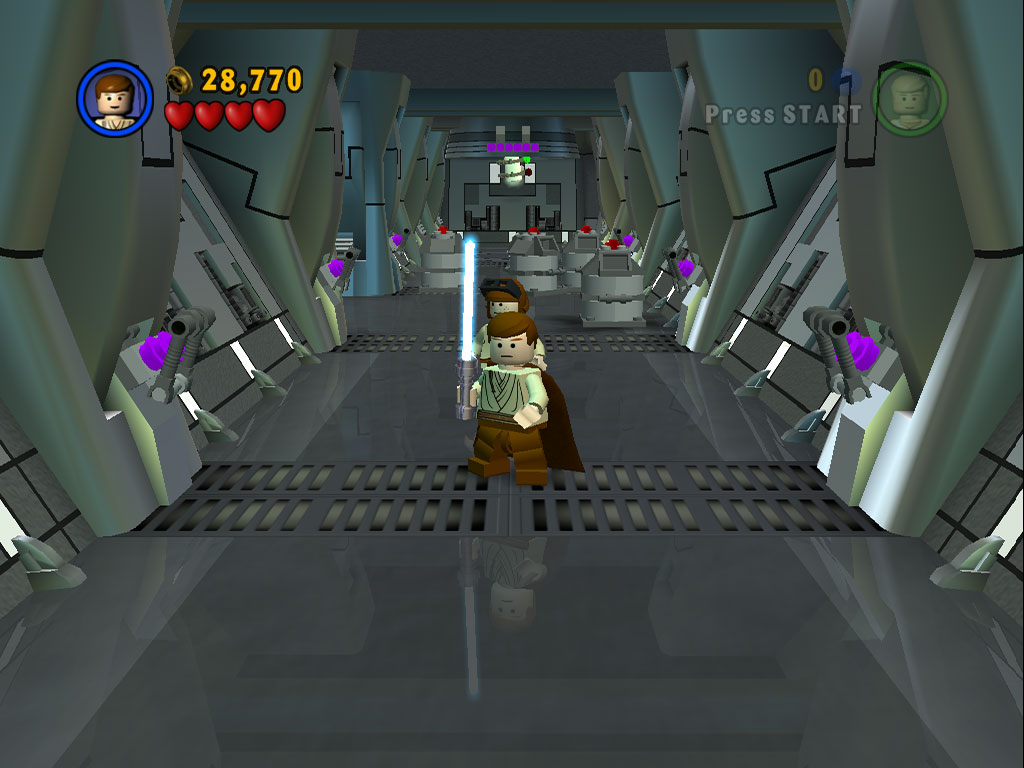
Pretty much identical to an earlier Minikit, along the sides of the corridor just before you join up with the protocol droid are six purple switches to throw with the Force.
Just before you get to the grey protocol droid at the end of the corridor there's a path to the left with a locked door, this one has a panel with an Astromech droid's picture on it which you do not have at this point in the Story Mode.
Minikit 5/10
Requires: Astromech, The Force, High Jump Story Mode: No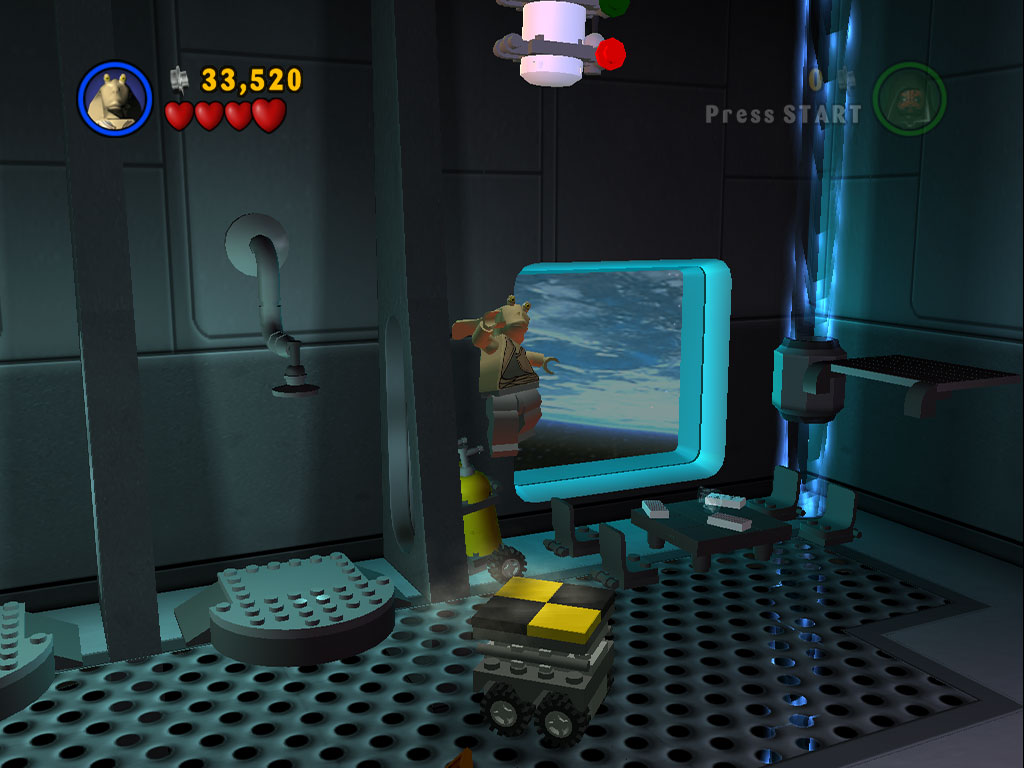
In Free Play mode use an Astromech droid to open the door on the left side of the corridor just before you met the protocol droid. Inside defeat a group of four Battle Droids and then stand on the little yellow and black topped cart that's over by the forcefield door next to where the droids where hanging out.
In single player your other character will then automatically use the Force to move the cart, once it's in position you can High Jump from it up to grab the Minikit high up in the air. Technically you can just High Jump from the ground but the cart does help you find the position of the Minikit.
Minikit 6/10
Requires: Astromech, The Force, High Jump Story Mode: No
In the same room use the Force to reassemble the broken Droid Fighter (the brown object strewn around in front of the showers) then use the Force again on a grate up on the wall at the back (stand on the little ledges sticking out of the wall to reach it). High jump into the vent to go through to where the Fighter flew off to.
Use an Astromech droid to float across to the Fighter and then High Jump to grab the Minikit in the air above it. You will then need to use an Astromech droid on the panel at the back in order to open the forcefield to get back outside.
At the end of the corridor is a grey protocol droid named TC-14. Take control of him by approaching him and pressing (Triangle). He's quite slow to move and can't jump or attack so he's very much only intended to be used for opening the protocol droid doors. There is one to the right of where you find him but if you're in Story Mode you may want to double back to open a couple of doors that you've passed by already.
Have TC-14 use the Protocol Droid panel on the doorway to the right of where you met him, there's then almost immediately a second Protocol Droid door to open up and go through. Switch back to Obi-Wan Kenobi or Qui Gon Jinn to use their Force powers on the grate on the left that a couple of droids will run out of.
Minikit 7/10
Requires: The Force Story Mode: Yes
Double jump off the structure that was reassembled from the grate to reach the Minikit high in the air.
Now go through the opened grate out into a large new area.
Minikit 8/10
Requires: The Force Story Mode: Yes
Before you jump down instead double jump around the corner to the left as you enter this new area to reach this Minikit. If you don't quite make it you can also use the Force to stack up some boxes on the floor below to jump back up and try again.
Drop down to the floor and you'll be immediately attacked by some more Battle Droids, there's one up on a ledge on the left side shooting at you - a perfect opportunity to practice deflecting lasers back at the shooter!
Minikit 9/10
Requires: Astromech, The Force Story Mode: No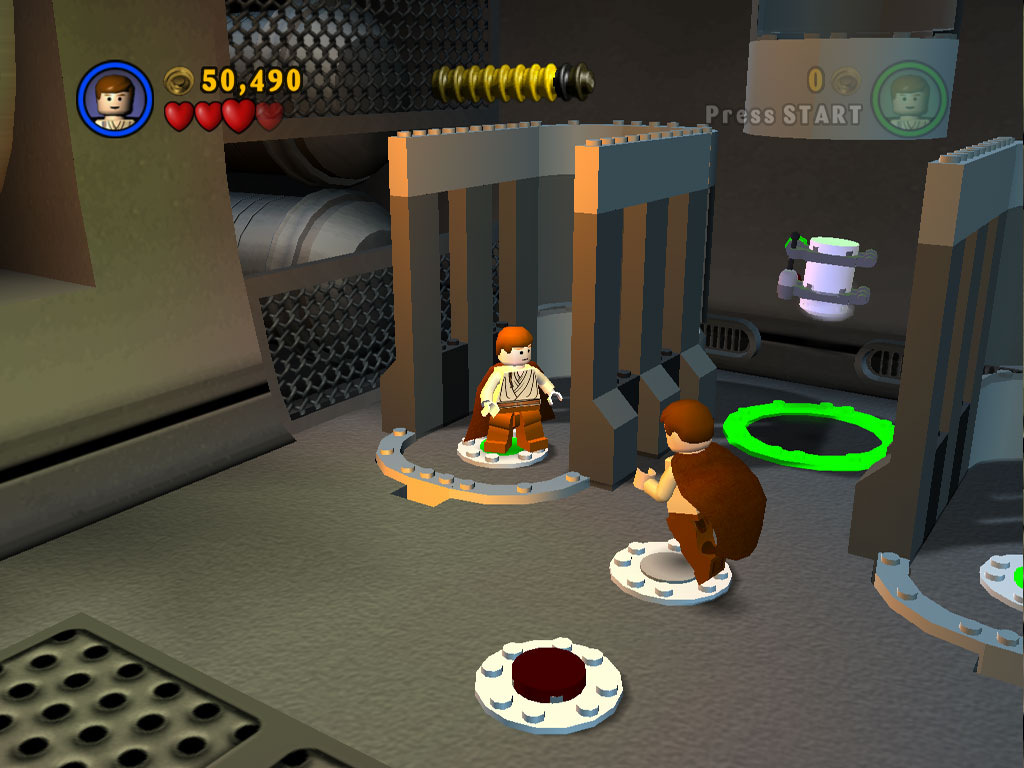
In Free Play mode use the Force to reassemble the transparent cylinder in the back left corner of this area to build a platform that you can double jump off to reach the doorway above. Switch to an Astromech droid to open the door.
Stand on the grey button and let your partner stand on the red one, once you're lifted up double jump over the edge of the containers to either side to reveal a button. Repeat for the other side and then stand on one of the buttons, when your partner stands on the other you'll open up the Minikit.
Go down the slope to the right to reach another set of Battle Droids, this time including a pair of shielded Droidekas that you'll be introduced to when they roll in through a forcefield door. There are several ways to defeat Droidekas but the main thing you have to do is deplete their shield first. You can do this by hitting them with your lightsaber eight times, by performing a double jump slam attack that slams your Lightsaber down into the ground next to them, or you can deflect their blasts back at them a couple of times. Once their shield is down you can hit them three times with your Lightsaber or deflect a few more of their blasts back at them.
Of note there is an electromagnet in the back left corner of this area that you can turn on which will pull all of the nearby Battle Droids into it leaving them helpless to your attacks.
Minikit 10/10
Requires: The Force Story Mode: Yes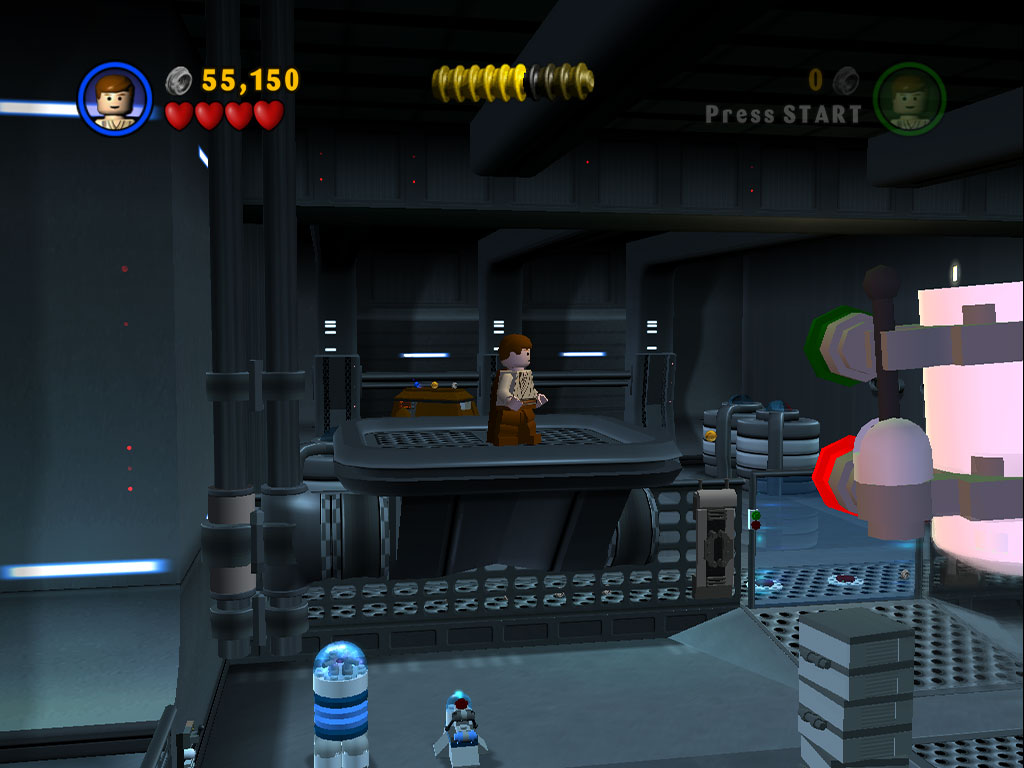
On the left side of the Droideka area are some crates you can pick up and move with the Force. Pick up the large one first and then place the three smaller ones on top of it. Flip a small switch on the wall to the left and quickly jump up on top of the tower of blocks you just assembled. Wait for the platform to come back before jumping on it and riding it over to the Minikit floating in the air.
If you miss the platform you'll have to go pull the switch to try again as the platform only goes twice before stopping. Unless you're in co-op, in which case just have one person stand on the platform before the other flips the switch.
To get over the forcefield door the Droidekas came through you must use the Force on the panels to either side of it, they will transform into a platform that you can use to double jump over the wall.
A large group of Battle Droids will appear from behind the transport ship and start attacking, take them out before you stand on the two buttons behind the forcefield door to shut it down so that the protocol droid can get through.
Use the protocol droid to open that transport ship so you can go inside it to finish the chapter - make sure you've collected enough studs to earn True Jedi before going in.
Completing the chapter will not only unlock the protocol droid TC-14 for use in Free Play but it will also unlock Episode II and Episode III to play so you don't actually have to finish the whole of Episode I to play those if you don't want to.
Republic Cruiser

You'll also receive the first of 17 pieces of the Superkit if you managed to collect the required number of studs to earn True Jedi and you'll begin to see the first Minikit assembled if you collected any canisters - you won't be able to get all 10 parts until you've unlocked a few more characters to use in Free Play mode so you might as well just carry on with Story Mode.
If you do head back to Dexter's Diner you can go buy some Battle Droids to use in Free Play, they're useful to own as enemies will not shoot you while you use them even if you are attacking them.
| Cost | Character | |
|---|---|---|
| 300 | Battle Droid (Security) | |
| 200 | Battle Droid | |
| 1,000 | Battle Droid (Commander) | |
| 10,000 | Droideka |
Chapter 2
INVASION OF NABOO
The Trade Federation has launched a full-scale attack on the peaceful world of Naboo.
Hiding aboard the landing craft, Qui-Gon Jinn and Obi-Wan Kenobi have secretly hitched a ride with the invasion force. Now they must make contact with local forces - before it is too late...
| Story Mode | Free Play |
|---|---|
| 36,400 | 40,590 |
In the beginning of this level you can for the most part just ignore the Gungans and Droids running across the path, some will stop and attack you but there is no need to interfere with the others.
Along the sides of the path are flowers that you can use the Force on for a couple of seconds to explode out some studs and sometimes a heart, the level is quite scarce on studs so you will definitely want to do this to make sure you get the Superkit piece.
Minikit 1/10
Requires: The Force, Blaster Story Mode: No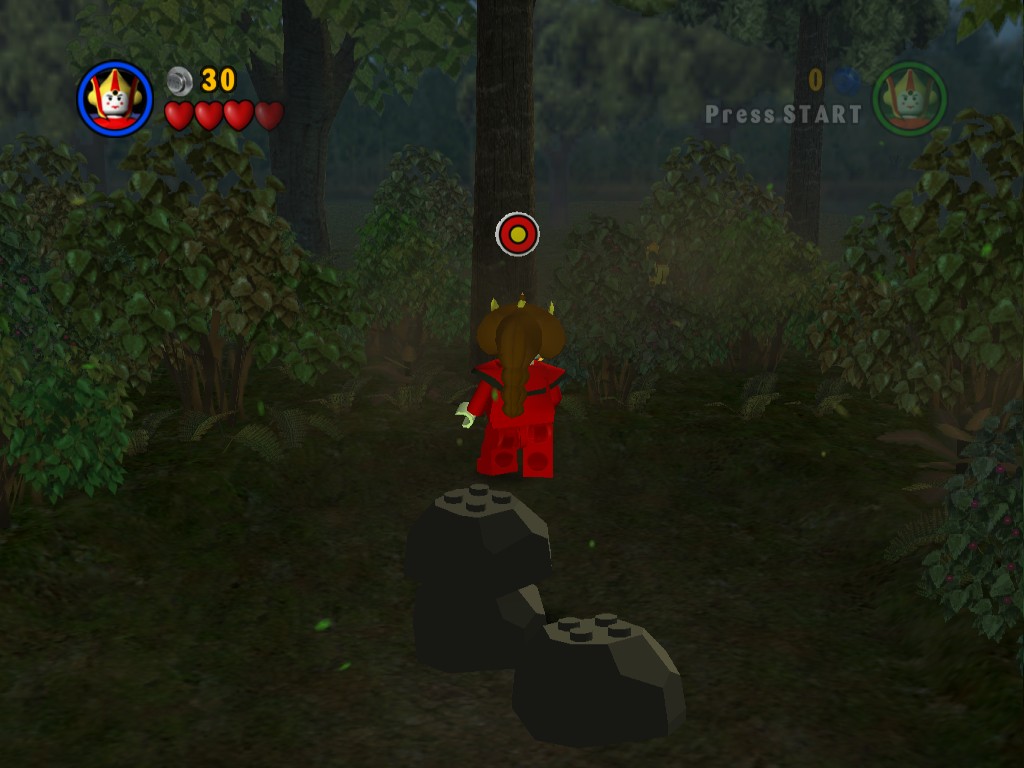
A short distance from the start take the path to the right where you'll find a set of three boulders that you can use the Force on. Stack them up and then jump on top of them, switch to a character with a blaster to shoot the target on the tree.
Back on the path keep going straight ahead from the starting point until where you find the path blocked by a fallen tree, as you approach it a small squad of battle droids will pop out of the bushes to attack you. Once you've got rid of them use the Force to pick up the tree and move it out of the way.
Minikit 2/10
Requires: The Force Story Mode: Yes
Smash up the tree that you just moved to release a Minikit.
Further on past the tree is a transport ship blocking the path, as you approach it another group of battle droids will attack. Use the Force repeatedly on the ship to blow it up.
Minikit 3/10
Requires: The Force Story Mode: Yes
Double jump off the remains of the ship to get the Minikit floating in the air above it.
Minikit 4/10
Requires: The Force Story Mode: Yes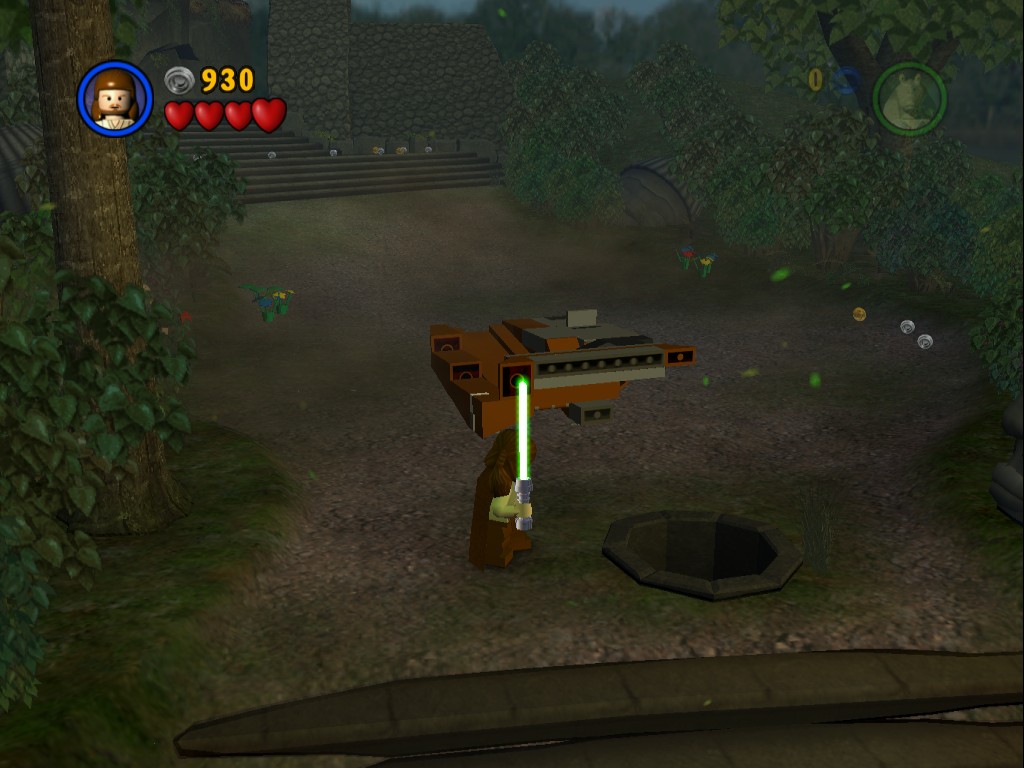
And smash the remains of the very same ship, underneath you'll find a hole with this Minikit inside.
As you walk forwards towards the steps you'll meet Jar Jar Binks. He doesn't have any actual attacks so he's only useful for his super high jump.
Minikit 5/10
Requires: The Force, High Jump Story Mode: Yes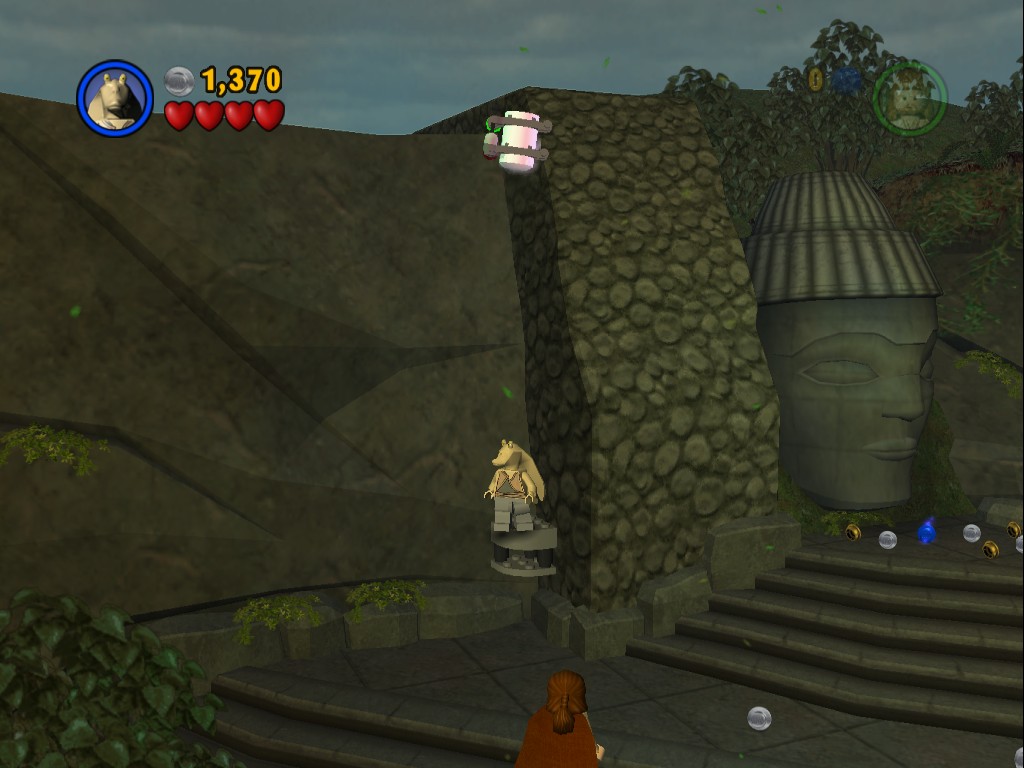
Use the Force on the very last flower along the left side before the steps and you'll reveal some LEGO bricks that you can use the Force on. They'll form a small platform beneath the Minikit high above. Use Jar Jar Binks's high jump to grab it.
At the top of the steps you'll transition to the next area.
Careful here as you can easily fall off the edge and lose some studs, and, unlike getting defeated by Battle Droids where you can try to gather them back up, here they'll fall into the abyss and be lost immediately.
Use the Force on the rocky wall to build yourself a bridge across the waterfall, take out the lone battle droid and then switch to Jar Jar to use his high jump to get up on top of the rock platform blocking the way. This will cause it to lower for the other characters to get past. There are two forms of his High Jump, one where you simply jump again while in the air and the other is where you press jump again right as you land from a single jump but both forms seem to give about the same height of jump.
Switch back to Obi-Wan or Qui Gon and use the Force on the red clip next to the gears on the wall behind where the platform was, that'll lower a platform which you can use to get across onto another platform which will fall down upon stepping on it. Switch to Jar Jar if you haven't already and jump up the next platform which will of course collapse down again. Repeat and you'll meet some Battle Droids with one hiding in a cave behind the platform itself.
After taking out the droids on the right use the Force on some LEGO arches above where they were, these will form a platform.
Minikit 6/10
Requires: The Force, High Jump Story Mode: Yes
Use Jar Jar to High Jump up to the Minikit on the platform where the arches were.
Take out a couple more droids before exiting the current area through an archway.
You've still got to be careful here as the edge is still just as dangerous. Use the Force on some bricks in the wall to form a low down platform and cause a log to fall into place.
Minikit 7/10
Requires: The Force Story Mode: Yes
The LEGO you just moved has formed a platform to let you safely reach the Minikit under the path.
Onwards up the ramp to a group of five or six more Battle Droids as you reach a swampy section.
Minikit 8/10
Requires: Hatch Access Story Mode: No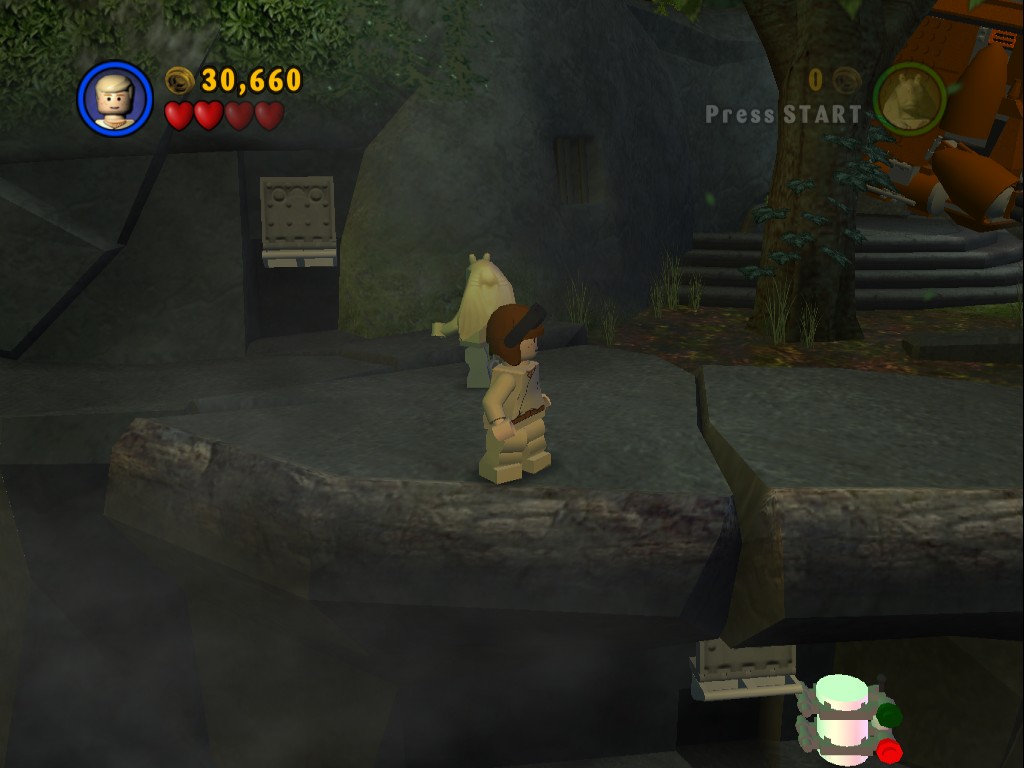
In Free Play mode with a small character go through the hatch next to the start of the swamp area to reach the Minikit just below the path.
Walk through the watery area killing a few more Battle Droids as you go, there's a large transport ship you can use the Force to blow up to go behind but there's not much back there of interest other than some studs. Keep going to the right until you drop down into a second section of water with a trio of Battle Droids guarding a blocked off cave.
Minikit 9/10
Requires: The Force Story Mode: Yes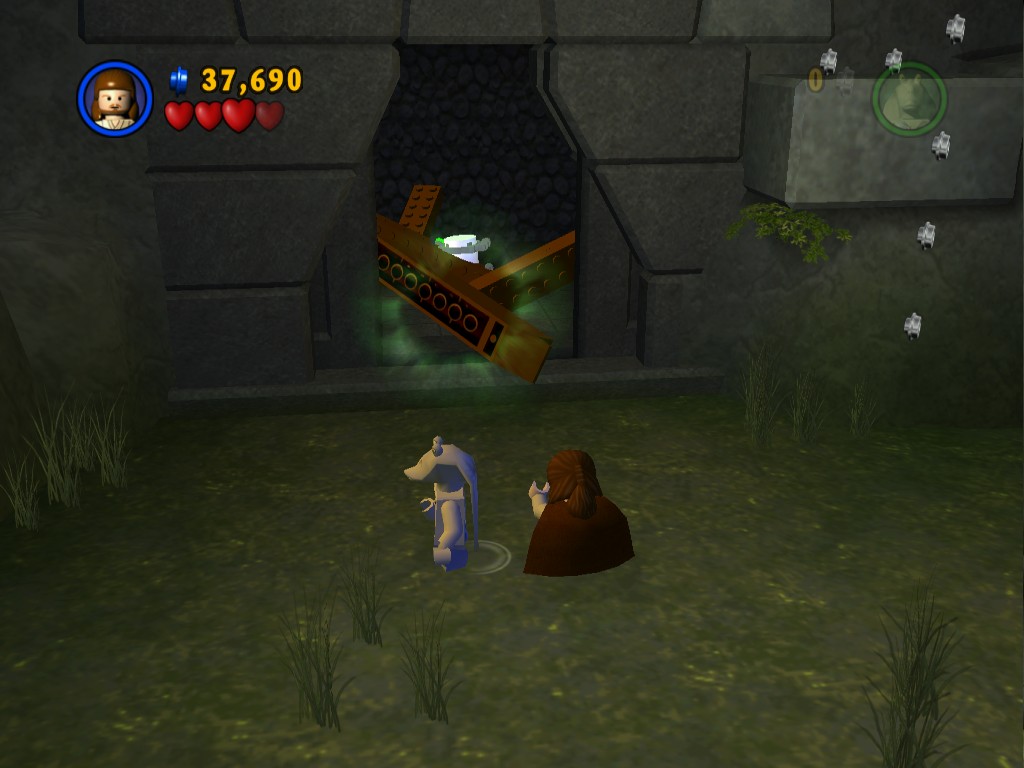
Use the Force on the brown blocks blocking the cave behind the Battle Droids in the water. Inside is the Minikit.
Next to that cave switch to Jar Jar and jump up the ledges and walk along to the right where there's a platform that'll fall down and open up a cave to go into.
Minikit 10/10
Requires: The Force Story Mode: Yes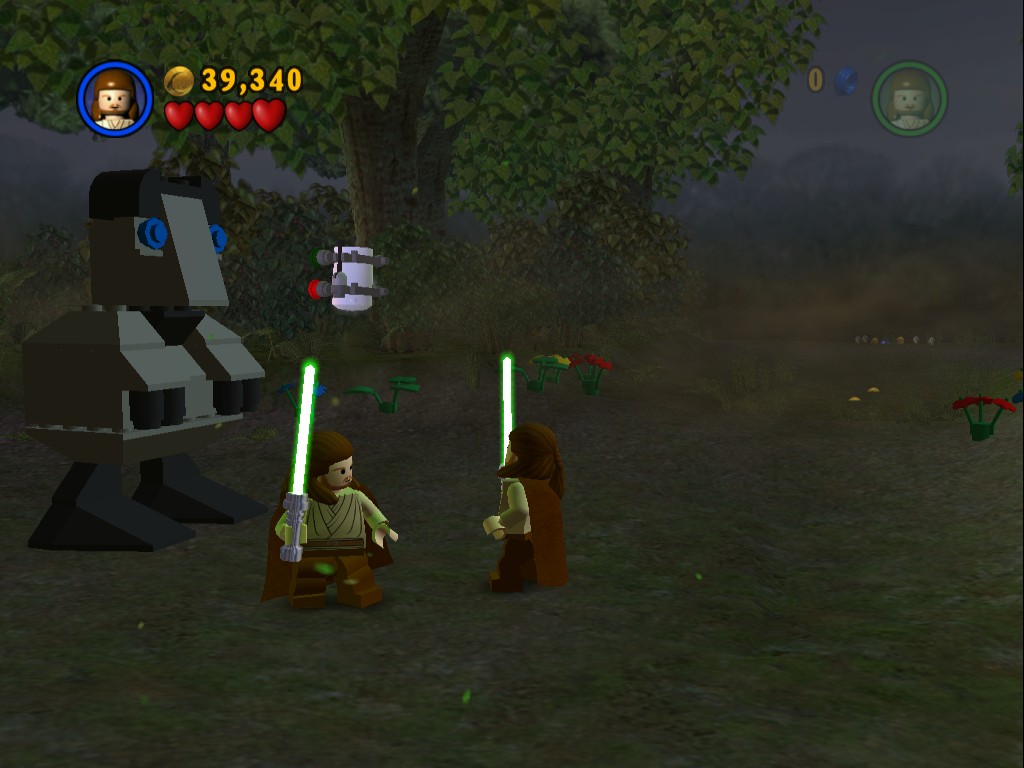
In the final area before you head into the lake use the Force to assemble the statue in the correct order. It goes feet first, then the body, and then the head.
Beware the Battle Droid patrols that appear fairly frequently, you may want to simply wait between each piece for them to appear so you can be sure you're safe when moving the pieces.
You're very close to the end of the level, all you really have to do is walk forwards through swamp a little, there's a final few studs before you jump into the water but you have to stop at the edge of the water to get the game to actually give them to you before the level ends. If you're really close to the True Jedi target make sure to Force shake all the flowers in the area before walking into the water.
Gungan Bongo

You'll unlock Jar Jar Binks for Free Play mode but we've still not got any small characters or astromech droids so carry straight on into the next level. We also didn't encounter any new enemies so there's nobody new to buy from Dexter.
Chapter 3
ESCAPE FROM NABOO
The Gungan ruler Boss Nass has refused to help the people of Naboo. Qui-Gon Jinn and Obi-Wan Kenobi have left his underwater city for the Royal Palace in Theed.
As Trade Federation battle droids seize control of the Naboo capital city, Queen Amidala and Captain Panaka, her loyal protector, are powerless to repel the invasion...
| Story Mode | Free Play |
|---|---|
| 32,000 | 61,690 |
The level starts with you controlling Queen Amidala and Captain Panaka, both are blaster characters that can attack from range. Shoot the Battle Droids and then go over to the back wall where there's a red glowing circle, most blaster characters can grapple up at points like this.
Minikit 1/10
Requires: The Force, High Jump Story Mode: No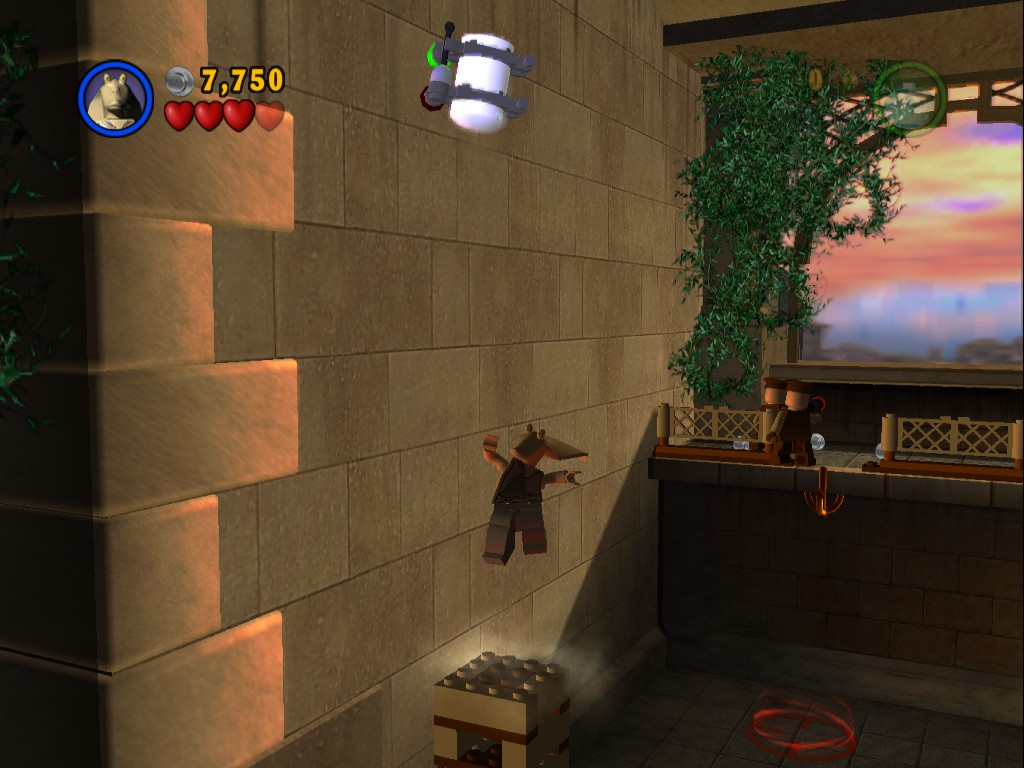
In Free Play use the Force on the brick walls between the doors along the back of this starting area to create three blocks. Then stack them all up into a pile and High Jump to the Minikit in the air.
Once you've grappled up go to the right, a couple more Battle Droids will appear from around the corner as you get there. There's another grapple point here to use to go further up to a ledge with a couple more droids and some smashable windows with a mosaic of Queen Amidala inside the righthand room for some reason.
Just outside the mosaic room is another grapple point, this one will take you up to another trio of Battle Droids standing around in front of some more smashable windows with oddly empty insides. The next grapple point is hidden beneath the round object in the corner on the right, you can see the red target on the floor beneath it, you'll have to smash the object to get up to the next area.
There's a whole load of Battle Droids here, just keep on firing at them until they're all dead.
Minikit 2/10
Requires: The Force, High Jump, Astromech Story Mode: No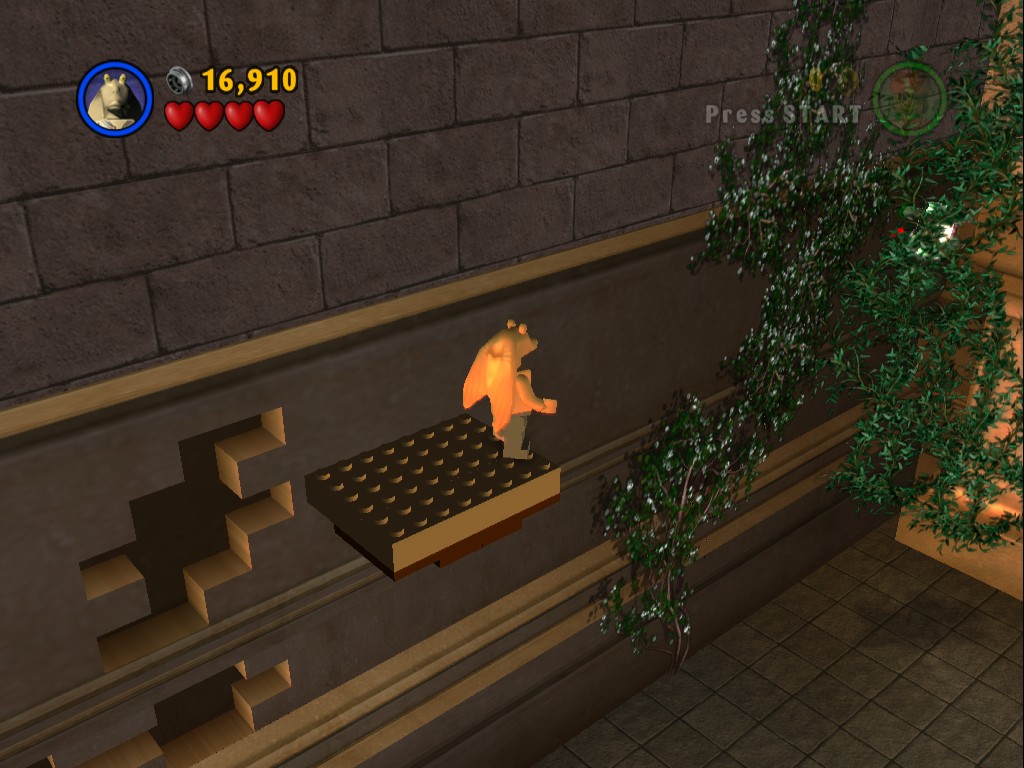
In Free Play use the Force on the bricks in the wall at the back of this large open area to create some platforms. High Jump up them and then use an Astromech Droid to hover across to the Minikit in the corner amongst the ivy.
If you're in Free Play and have a Dark Side Force user available then make sure to use them to use the Force on the black plants next to the exit archway, you'll get at least 4,000 extra studs over just smashing them.
Once you're all done in this area go through the archway.
Minikit 3/10
Requires: None Story Mode: Yes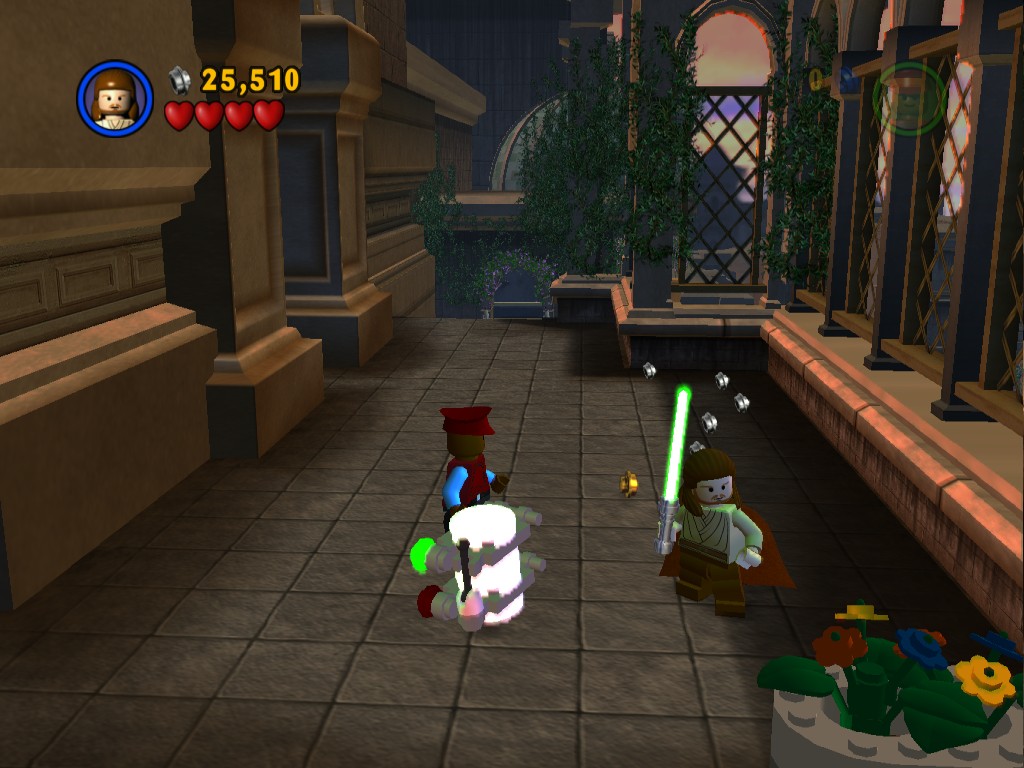
As soon as you enter the second area walk towards the camera to find this Minikit just sitting there on the ground.
Go down the steps past some more droids and down into a room where you'll seem to stuck. Shoot through the large windows and jump outside to defeat the droids standing guard out there.
Minikit 4/10
Requires: Blaster Story Mode: Yes
A bit of a leap of faith but if you go to the righthand end of the semicircle outside the windows and jump off the edge right next to the wall you'll land next to a Minikit. You only need the Blaster to get back up using the grapple points along to the left.
Minikit 5/10
Requires: Astromech, Blaster Story Mode: No
In Free Play stay down where the previous Minikit was instead of grappling back up continue further left to where there are some droids over the other side of a large gap. Switch to an Astromech Droid to hover over that gap and then grapple up to a couple of Droidekas (a good chance to try out the technique of using an Astromech Droid to immediately disable a Droideka). Grapple up again to the Minikit above them (and there's some black flowers here to use the Dark Side Force on).
Grapple back up to the windows and then walk across the little bridgeway to the right, at the end of it there's a locked door with a small target next to it. Shoot the target to open the door. Shoot the dome with the blue stud inside and then jump down the hole it creates.
Here's where we meet up with Obi-Wan Kenobi and Qui Gon Jinn, you can now take control of them if you like (while you can shoot the targets on the base of the building you jumped down and can then ride an elevator back up, the game won't actually let you take the Jedi back through the level, it'll just leave them behind if you try). Defeat the large amount of Battle Droids down here and then head off to the right.
Minikit 6/10
Requires: Blaster, Hatch Access Story Mode: No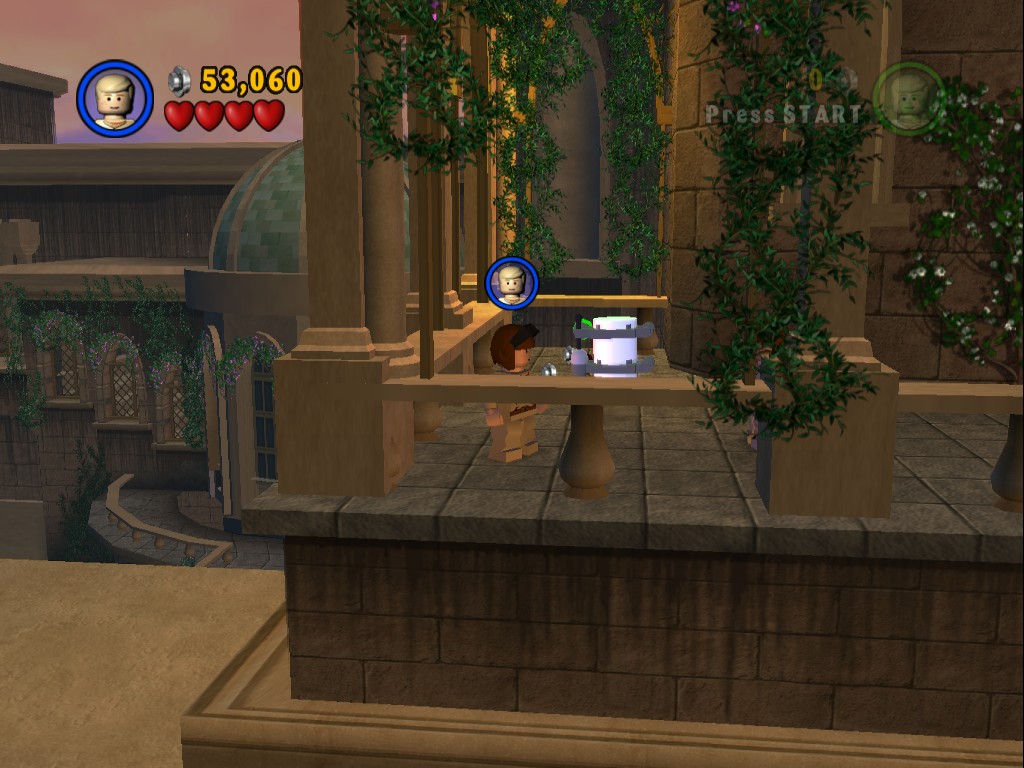
Use a grapple point that's on raised section along the back wall after where you jumped down the elevator. After grappling up switch to a small character to go through the Hatch. The Minikit is then up some steps to the left.
Minikit 7/10
Requires: Blaster Story Mode: Yes
From the hatch entrance continue to the left down some steps to a grapple point, this will take you over to a balcony inhabited by a pair of droids as well as the Minikit in question.
Jump off the balcony back down to the ground level to defeat the army of droids patrolling down here. Carry on further to the right until you reach one more pair of Commander Battle Droids standing guard. Shoot them and the round objects behind them, you'll then want to ride the moving elevators to shoot the four targets on the wall. That will open up the gate to get to the final area of the level.
Cross the walkway to a rooftop with several large green domes, shoot all the Battle Droids patrolling the area. The goal here is to press the buttons on top of the three large dome in order to open up the casings on the smaller domes at each end.
The first button opens up the first dome on the near end and the middle dome on the far end. The middle button opens up the two end domes. And the far button opens up the middle dome on the near end and the first dome on the far end.
Minikit 8/10
Requires: None Story Mode: Yes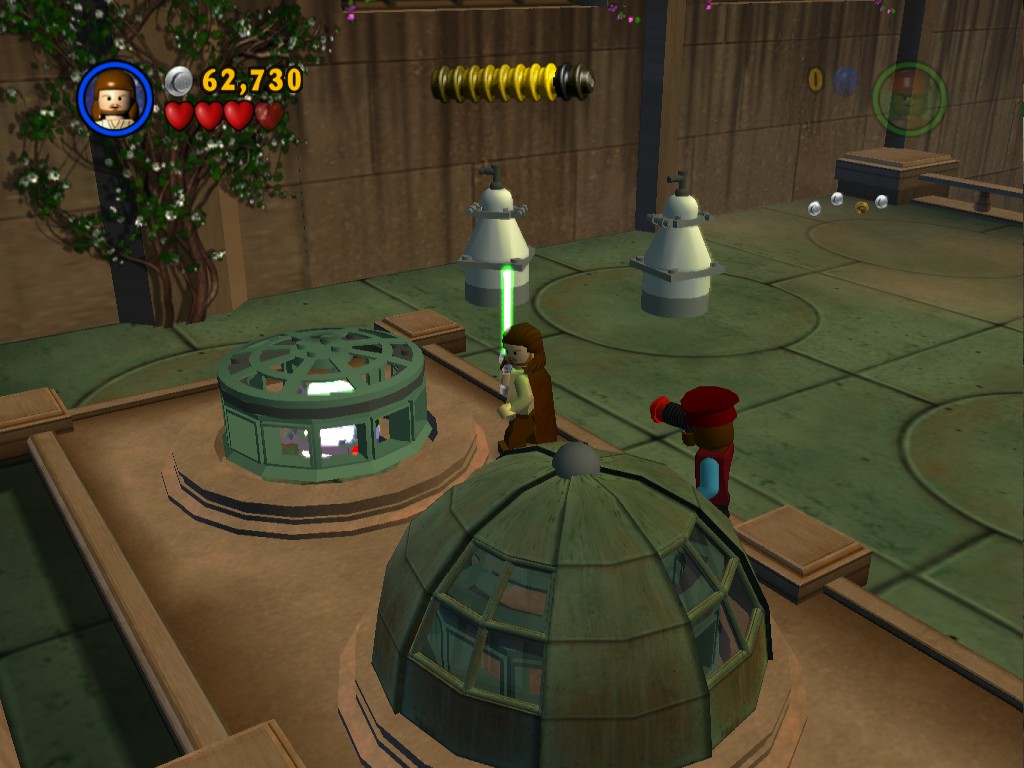
This Minikit is found in the last of the first set of three small domes that are opened up, you can access it by standing on the middle button.
Minikit 9/10
Requires: The Force Story Mode: Yes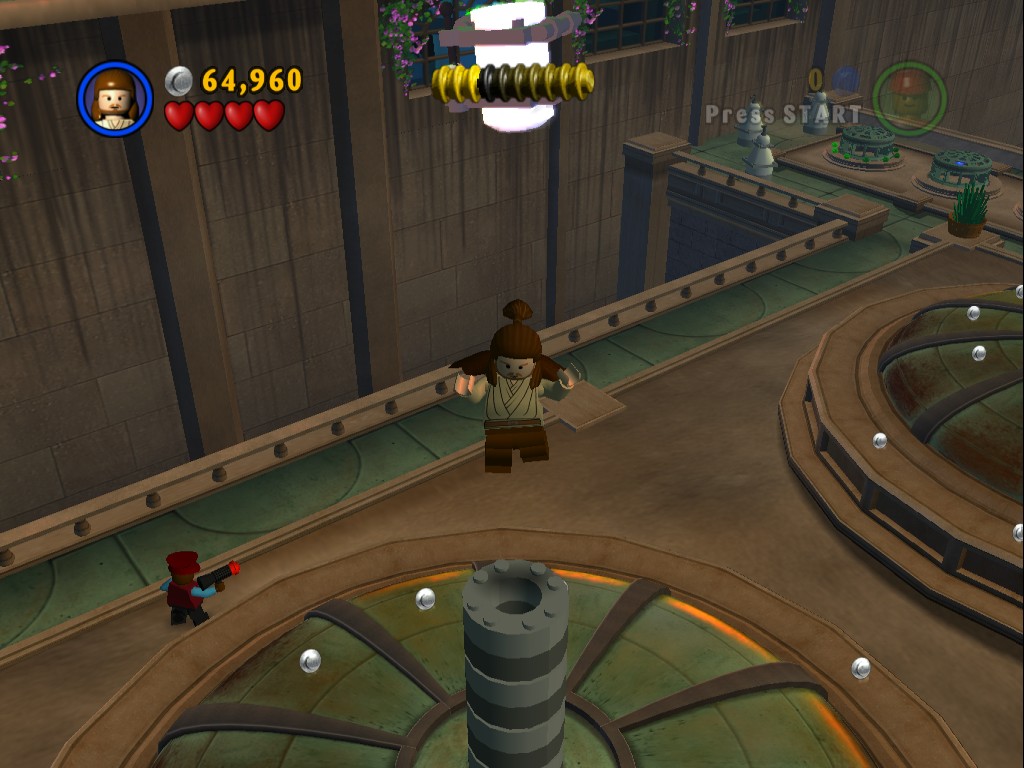
There is a Minikit high above the middle button on the domes. To reach this one you'll need to smash the four rounded trees that surround the dome and then use the Force on their bases to place them on the button (press the button first or you'll have to move them all off again). You can double jump off the top of them to reach the Minikit.
To finish the level all you need to press is the middle button to open the far end's last dome. Smash through it to fall through the hole.
Minikit 10/10
Requires: None Story Mode: Yes
Pretty much impossible to skip as it covers the hole that finishes the level. The protective dome is opened by pressing the middle button allowing you to smash the fragile inner covering.
Royal Starship

Completing the level unlocks Queen Amidala and Captain Panaka for use in Free Play mode and adds a couple more to Dexter's selection.
| Cost | Character | |
|---|---|---|
| 800 | Royal Guard | |
| 800 | Padmé |
Chapter 4
MOS ESPA PODRACE
Queen Amidala and her Jedi protectors have fled Naboo, heading for Coruscant. They plan to inform the Galactic Senate of the Trade Federation invasion.
However, the Royal Starship's hyperdrive is damaged in the escape, and they have been forced to land on the remote planet of Tatooine for repairs...
| Story Mode |
|---|
| 25,000 |
This chapter is entirely a podrace, the Minikits are dotted along the course for you to collect during the three laps. If you crash you reset to the previous checkpoint. There's also a 10 second countdown that appears which wants you to get to the next checkpoint before it reaches zero, if you don't you get reset to the previous one - essentially you need to be in first place at each and every checkpoint. It can be helpful when trying to get the Minikits but it sure doesn't make the level much fun.
The first section of the race gives you around 40 seconds to complete it, make sure to use all the green booster pads along the track and to keep on the accelerator as well as holding forwards.
Minikit 1/10
Lap: Any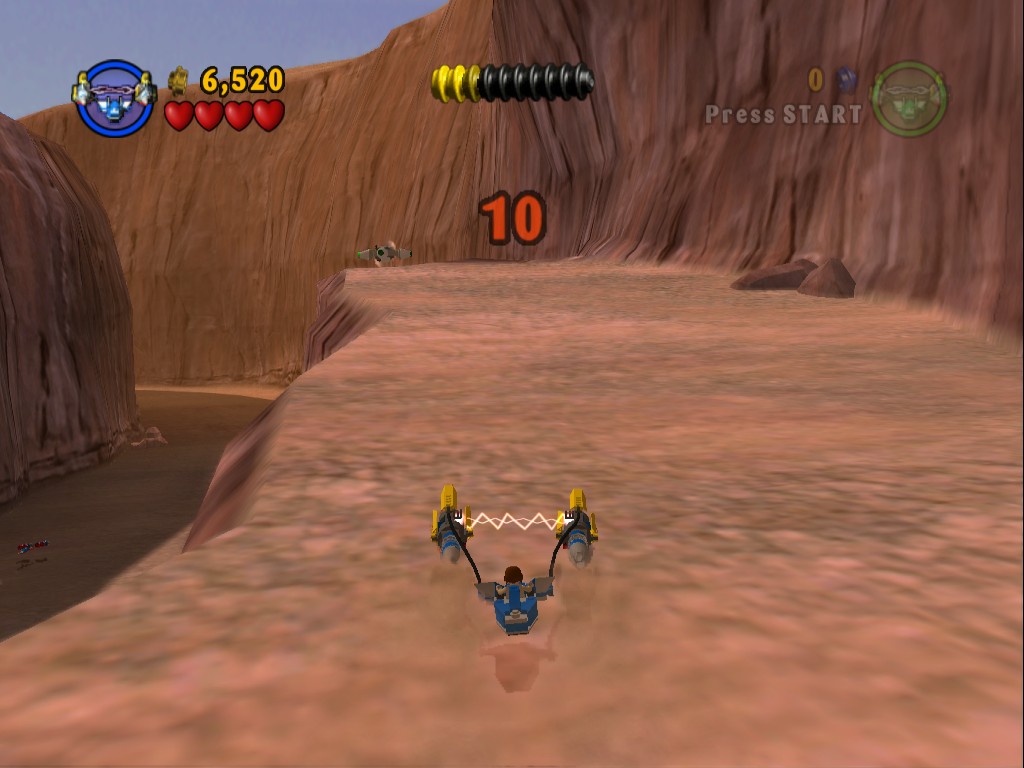
At the top of the boarded off ramp, go slowly over the booster pads and keep to the left to try to grab it at the top of the ramp.
Minikit 2/10
Lap: Any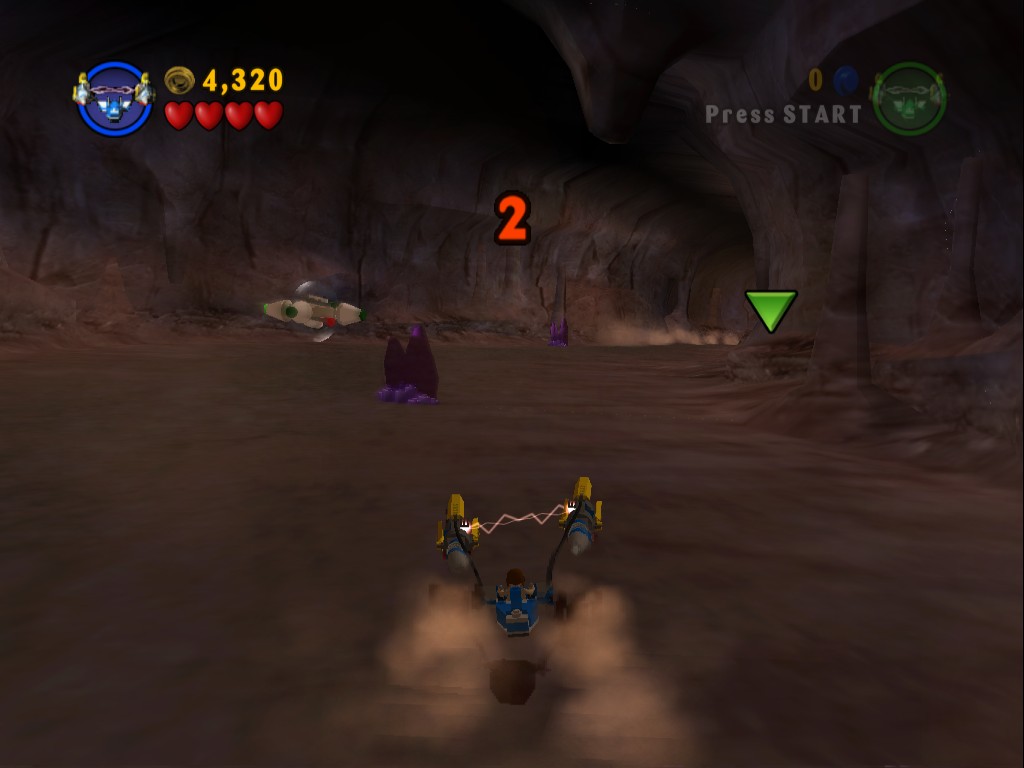
In the crystal cave of the first section, just before you reach the Tusken Raiders. You'll be running low on time when you reach it so don't go too slowly.
The second section gives you just over 30 seconds to complete it. It begins with a sighting of some Tusken Raiders, they'll be shooting at you in the first part of this section and you'll want to try to avoid getting hit as your podracer doesn't have that much health. For the most part just aim for the green booster pads along the left side and avoid the darkened sand spots that marks where's being shot at.
Minikit 3/10
Lap: Any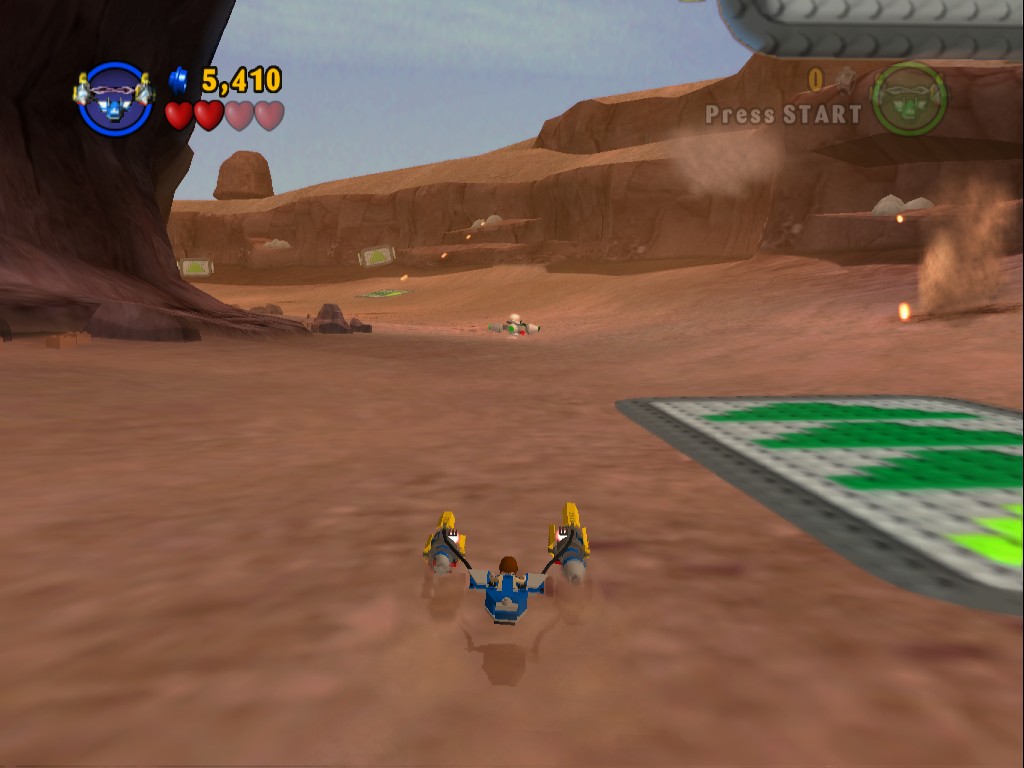
In the Tusken Raider area straight after a boost on the left side.
Minikit 4/10
Lap: Any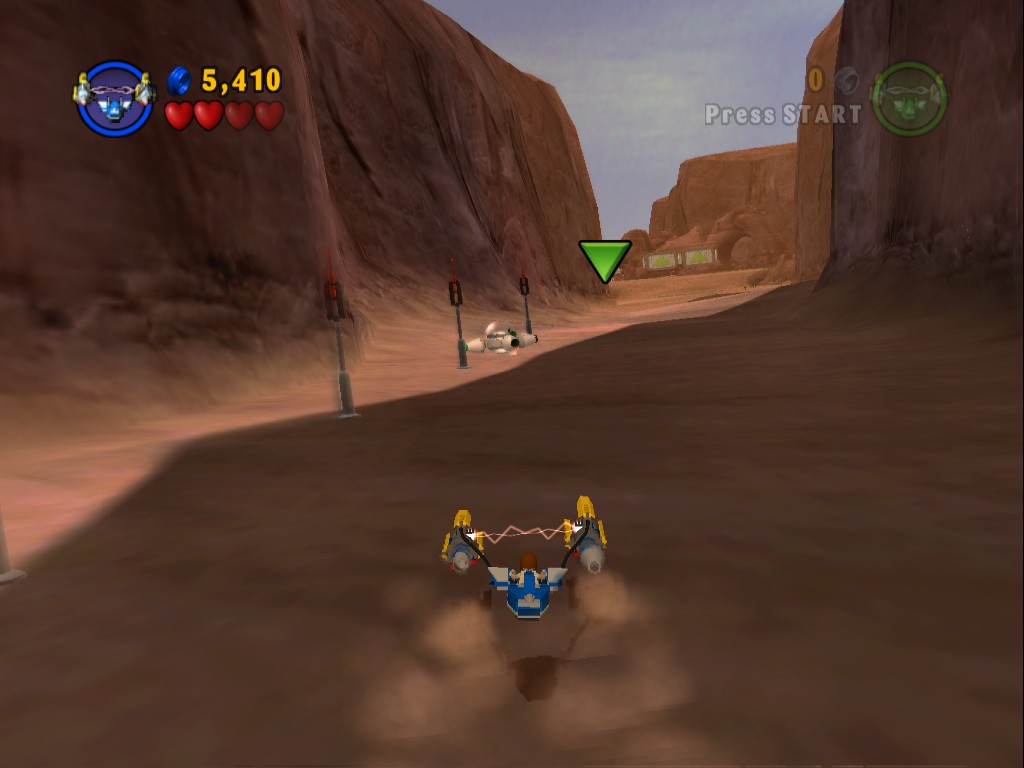
Straight after the Tusken Raider area is a pair of double booster pads that boost you around a bend in the track with a line of poles in the middle, the Minikit is amongst the poles.
Minikit 5/10
Lap: Any
And straight after that is a wide booster pad, take the righthand path under the arch to get the Minikit.
Minikit 6/10
Lap: Any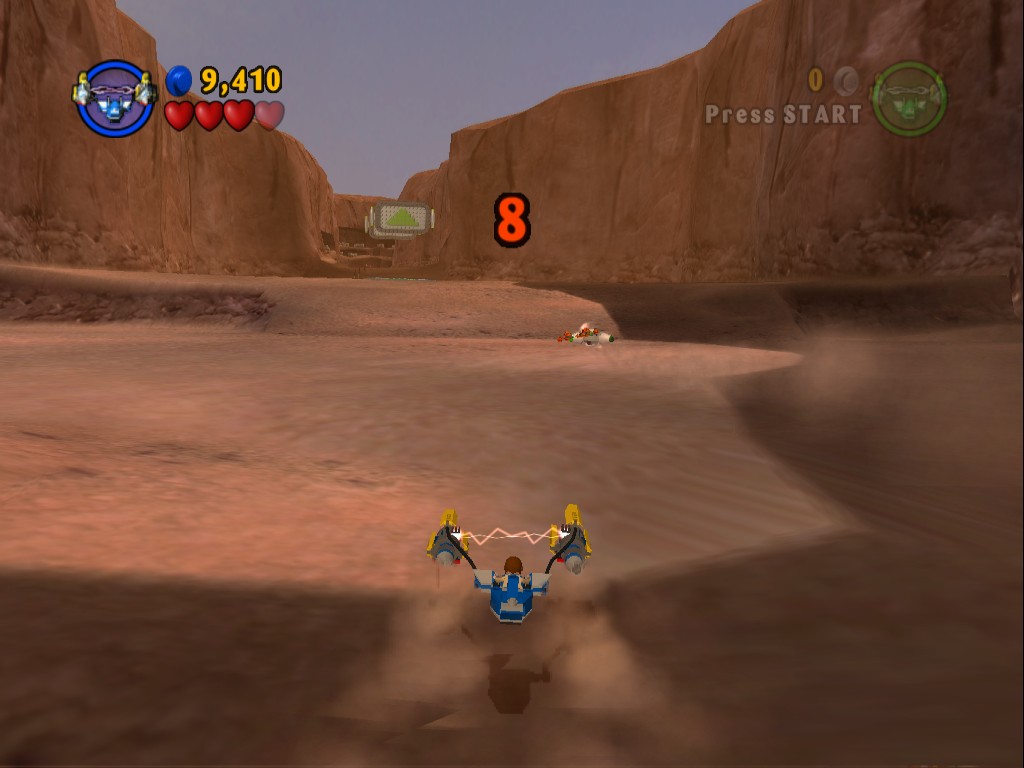
Just in the middle of the path before the end of the second area, between two sets of double booster pads.
The third area is the last new section and you only get about 20 seconds to finish it. You're really going to have to go for all the booster pads you can manage to hit in order to cross the line in time.
Minikit 7/10
Lap: Any
In the line of poles leading up to the third set of booster pads in the final section.
Minikit 8/10
Lap: Any
At the end of the line of poles right before the finishing line.
On your second lap there's a slight change to the course, after the first boost pad a couple of racers will bump into each other and knock down a pillar.
Minikit 9/10
Lap: 2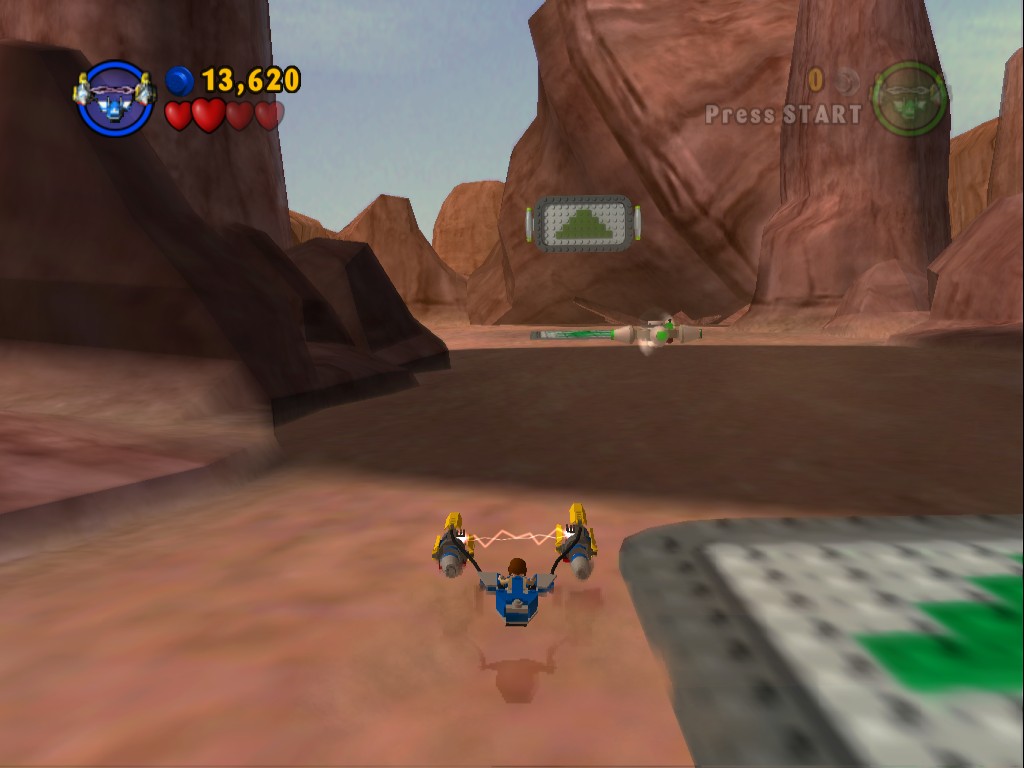
Immediately after the cutscene of the crash you'll find this Minikit between the next two boost pads.
After the cutscene you've got about seven seconds to get past the arch or it'll collapse and not give you any way to get past.
The Tusken Raiders section will be slightly modified on Lap 2 with the addition of some rolling boulders at the start, slalom through those and then the rest is the same as before. And there's a few more mines scattered around during the third section.
For Lap 3 in the first section you have to bank to the right after the first set of booster pads as the original path is now completely blocked.
Minikit 10/10
Lap: 3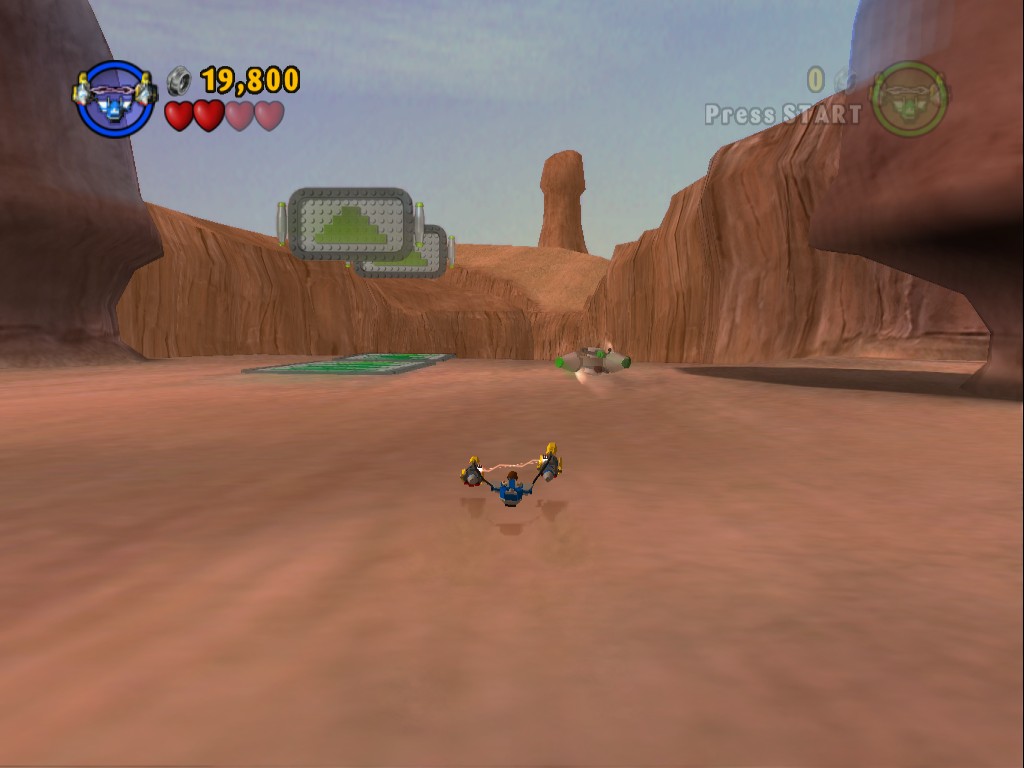
Just before the drop into the pitted area, keep to the right instead of taking the last two boost pads off the edge.
The Tusken Raider area is now littered with large rocks, after using the first boost pad hold off on the accelerator for a moment to start weaving through the rocks as safely as possible as hitting one will immediately crash you. As soon as you're clear go as fast as you can and use the same boosters as previous laps.
The very last section is pretty much the same just with some rolling bombs to avoid. Beat Sebulba across the finishing line to win and finish the level.
Sebulba's Pod
 Based on set 4485
Despite having technically played as Anakin you don't unlock him (or anyone else) after this level.
Chapter 5
RETAKE THEED PALACE
On Coruscant, Queen Amidala has found the Galactic Senate corrupted by Trade Federation influence, and mired in bureaucracy.
Frustrated, she has returned home to Naboo. Together with Qui-Gon Jinn, Obi-Wan Kenobi, Captain Panaka, R2-D2 and the young podracer from Tatooine, Anakin Skywalker, Queen Amidala now plans to infiltrate the Royal Palace and capture the evil Trade Federation Viceroy...
| Story Mode | Free Play |
|---|---|
| 40,000 | 59,180 |
Use one of the Jedi to walk out into the battle ahead and take out the droids and Droidekas. If you can, use the Lightsaber deflect to get the Battle Droids shooting down at you from the ledges. Once they're all clear switch to a Blaster character and use them to grapple up the point on the right side (alternatively use a Force character to raise the two platforms up, first release the clamps on both of them and then raise the near platform, jump onto it and raise the second platform which you'll then want to jump up to and onto the ledge but that requires all the Droids to be dead).
Minikit 1/10
Requires: Blaster or The Force Story Mode: Yes
On the top ledge behind some windows, you just go around the corner to get the Minikit.
Walk around the balcony shooting any remaining droids up here if you couldn't quite manage to deflect their attacks back at them.
Minikit 2/10
Requires: Blaster Story Mode: Yes
In the middle of the upper area is a small round window, shoot it out and jump in to grab the Minikit canister.
Drop off the top ledge through one of the gaps that the droids were standing at and take out any more droids that you missed. Once it's finally all clear jump back down to the ground and use a Jedi to assemble the ramp up to the middle layer, you'll need that for R2-D2 to access the Astromech panel on the door at the back.
Use the Force to place a grapple up high, to open a vent that Anakin can crawl through, and to create a platform for the Jedi to use. With all six characters across go through the arch and defeat a few droids and droidekas.
Minikit 3/10
Requires: None Story Mode: Yes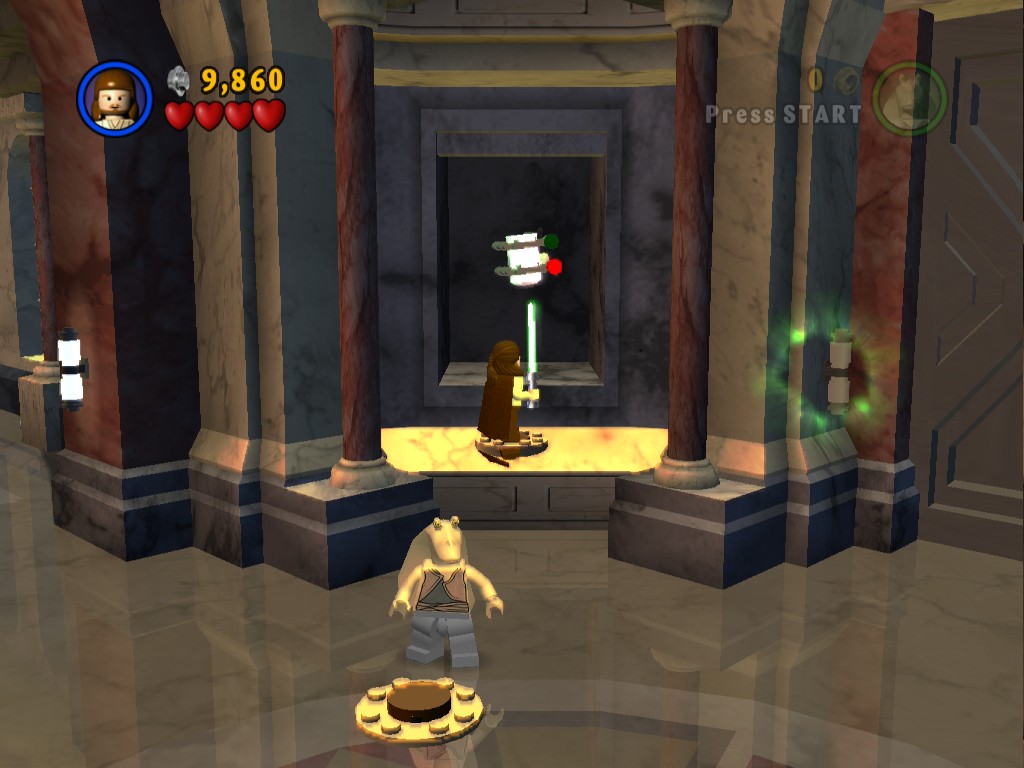
Smash the statue in the same room as the six buttons to reveal another button underneath it, stepping on it will open a panel that reveals the Minikit.
Stand on the six buttons here (in Free Play it becomes just two buttons) and the doors will open to reveal a bunch of Battle Droids. Clear them out and proceed along the corridor, a few more will appear as you get close to a Force block puzzle (which only leads to some studs).
Minikit 4/10
Requires: Dark Side Force Story Mode: No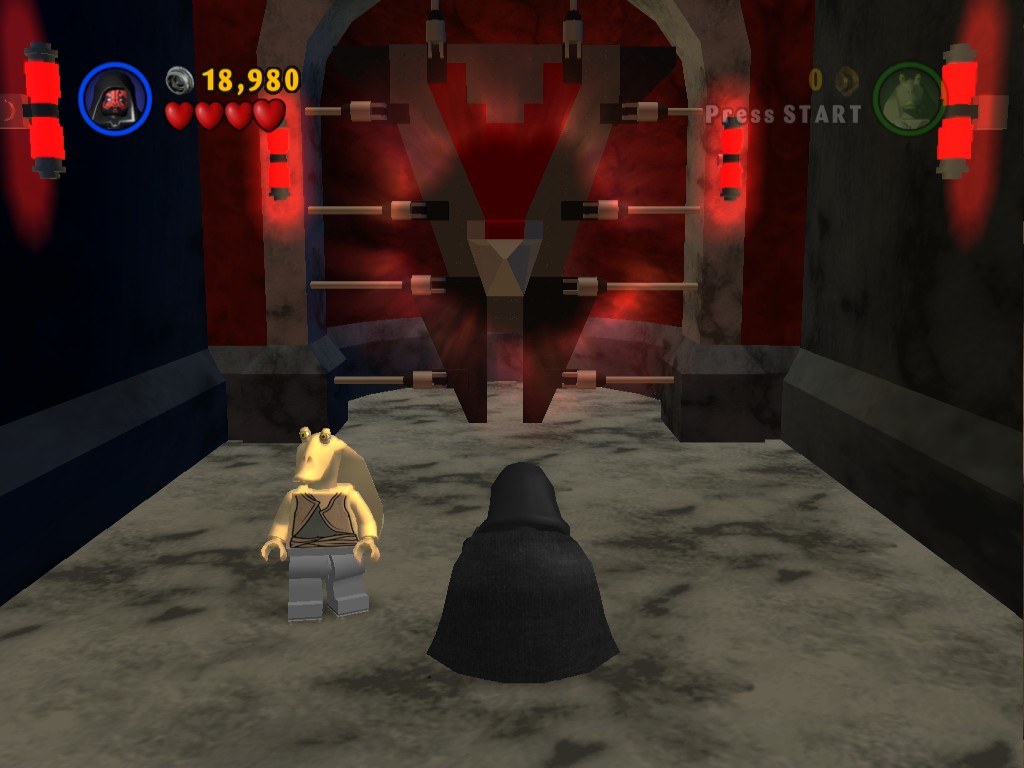
In Free Play with a Dark Side Force character go to the left opposite the mosaic, a couple of Droidekas will attack. In the room beyond them first deflect a couple of blasts from the high up Battle Droids and then use the Dark Force on the black object on the floor. It'll move to the left and let you jump up to where the two droids were. Use the Dark Side Force on the "evil door" object at the back to blow it up and reveal the Minikit.
Backtrack to the mosaic and go through the Astromech door.
Go up the stairs through some more groups of droids, once in the courtyard use a blaster character to grapple up to the droids on the top level to shoot them.
Minikit 5/10
Requires: Blaster Story Mode: Yes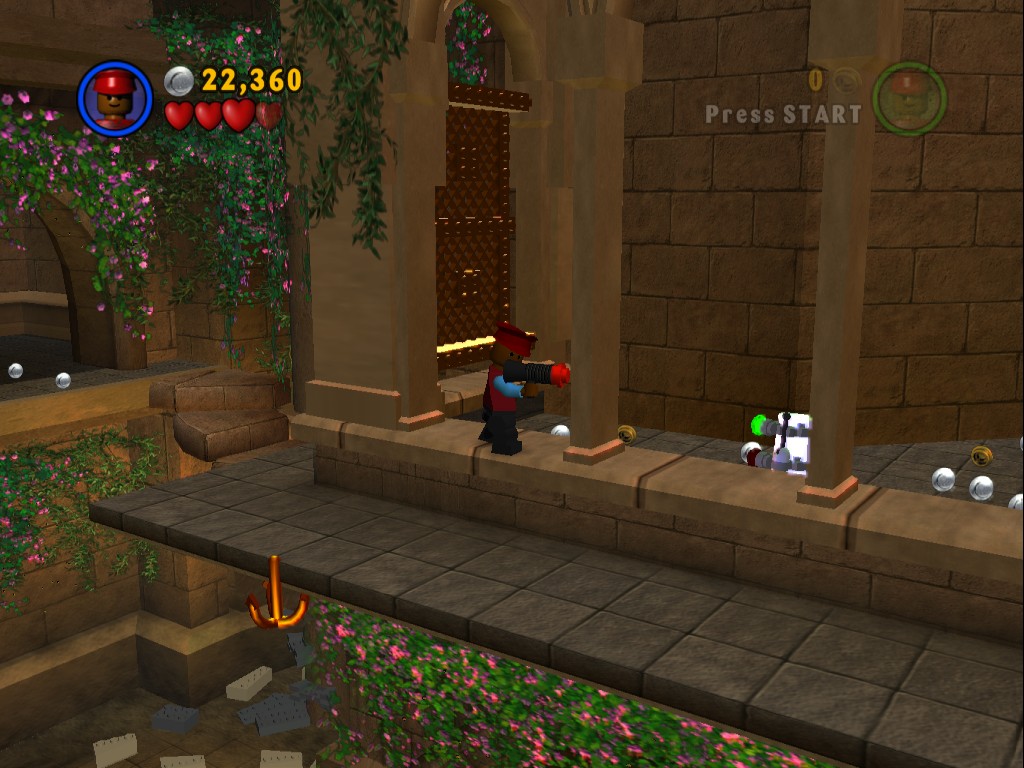
Smash the vine covered brown windows up on the ledge here to get to the Minikit behind them. A shot with the blaster will do.
Jump back down and switch to a Jedi to reform the spiral steps on the right just past the area you were just on, that'll let all the characters get up to a broken bridge that a Jedi can fix.
Minikit 6/10
Requires: The Force Story Mode: Yes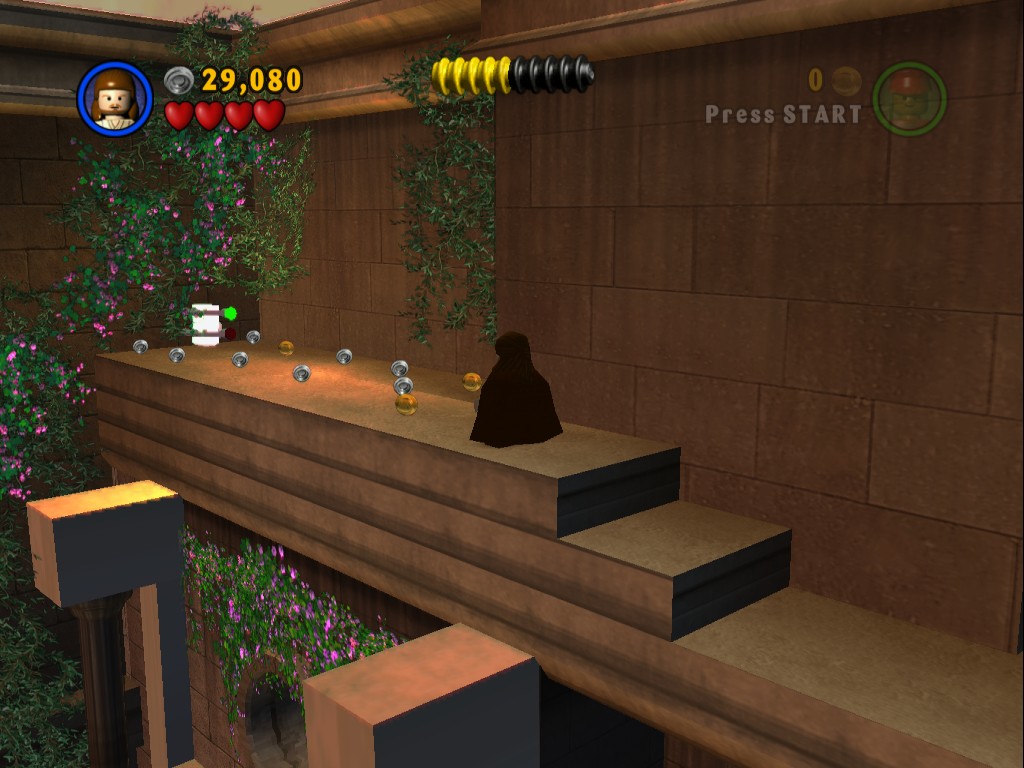
A little way after the bridge next to the first flower bed where you encounter some Battle Droids, jump off the side towards the screen and then double jump up to the roof on top of the columns. Use the Force to create a platform to jump up to a minikit a little further along.
Return to the path after the bridge and use the Force to blow up the blocks on the other side of the gap, careful not to try to reach them as it's a death gap. At the far left end smash the flower bed to reveal a button, standing on it will open a hatch for Anakin to crawl through to get over to the other side.
With those blocks out of the way Anakin can reach another hatch over there which he can also crawl through. That leads to a button on the top level. Crawl back and go through the opened door.
Defeat the droids in the courtyard as you head to the right.
Minikit 7/10
Requires: None Story Mode: Yes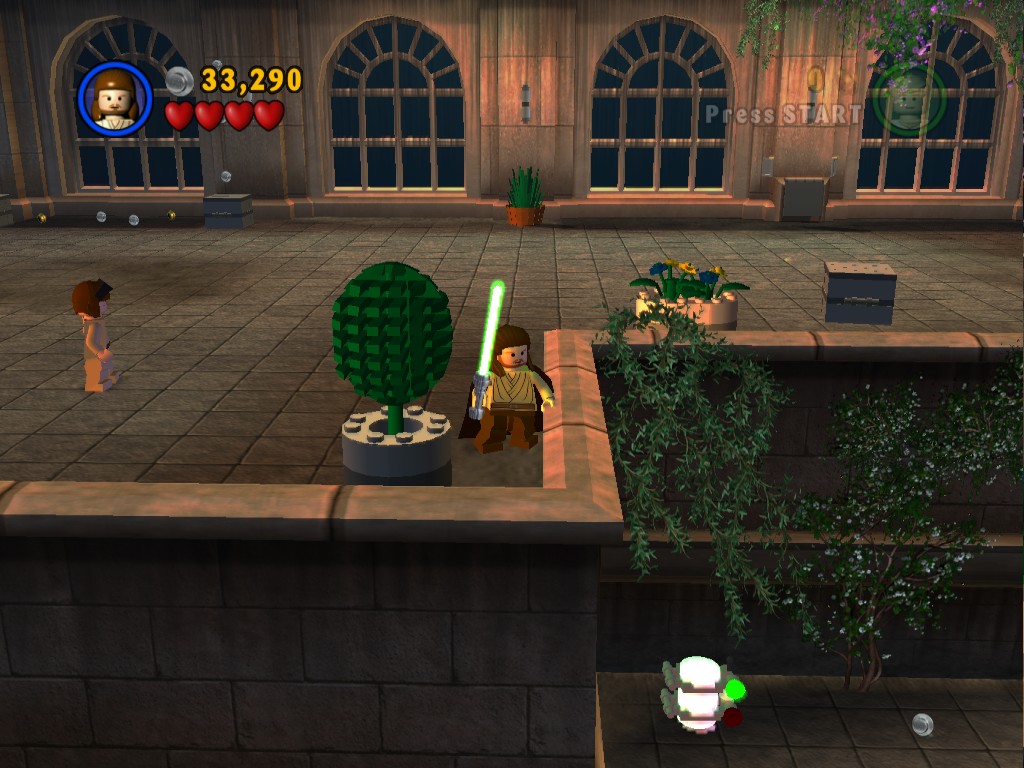
Keep close to the wall near the screen and as it turns at a round bush jump off the edge down to the right where you should be able to see the Minikit.
Depending on which character you used to go down here you can get up using either a grapple point hidden under a plant or an elevator around the corner.
Defeat any last droids you may have missed and then it's time to set about getting all six characters to a ledge above the area.
First we'll reassemble an elevator platform for R2-D2 over on the far right side, you use the Force on the objects by the large window. Then smash a plant pot just to the left of the elevator that's hiding a grapple point. Along the back wall a little way to the left is a broken hatch, use the Force to reassemble it.
And finally have one Jedi stand on one of the blocks found against the back at the far left end, the other will automatically jump onto the other one in single player. Raise the platforms up using the Force and jump onto the balcony. Use the Force to raise the next platform up and then make your way past the hatch to where the six buttons are found.
With all six characters up stand on the buttons and head inside.
There's a small platoon of Battle Droids in the hall, defeat them.
Minikit 8/10
Requires: The Force and Blaster, or High Jump Story Mode: No
In the back corner to the left of the stairs, use the Force on two tables to form a step to jump up behind the columns. Switch to a blaster character and grapple up to the top. Go up the steps to the left to get the Minikit.
Go up the steps to a droideka. Kill it and then smash the middle statue, it's got a button underneath that opens up the panel behind. The other two statues in this room also have buttons under them that open a panel, the one on the left only leads to two Droidekas but the one on the right leads to a couple of Battle Droids and a few blue studs. Go through the middle panel and then walk through to the hangar.
The task in here is to rescue the six pilots from the droids. For the first we'll go to the left and shoot the round objects, they're hiding a grapple point. Use it to get up to where you can shoot the lone Battle Droid guarding the lone pilot. You could also get up using the Force by stacking some crates.
For the second we continue a little further around the room to the far corner where there's another set of three blocks you can assemble using the Force. Stack them up with the largest on the bottom so you can double jump up to the single Battle Droid above.
Minikit 9/10
Requires: The Force, Blaster Story Mode: No
On the platform with the pilot in the left corner there is a grapple point that you can only use in Free Play as a Blaster character cannot normally get up here. Use it to be whisked straight up to the Minikit.
Off to the right now heading past the yellow Naboo Starfighter ships to a pair of soldiers under guard on the ground. A Droideka will join the fight from the nearby doorway.
Once you've rescued that pair go towards the doorway that the Droideka came out of and have a Jedi stand on either of the two blocks either side of it. Raise yourself up and then jump up to the final single Battle Droid guarding the final two pilots. That's all six rescued.
Minikit 10/10
Requires: High Jump Story Mode: No
From where you rescued that final pair of pilots use High Jump to get onto the ledge running around the top edge of the room. Follow it all to the right, jump over a gap and then keep following this around to the Minikit at the end.
With all six soldiers rescued have R2-D2 go over to the Astromech panel on the right side of the last of the Naboo Starfighters (R2-D2 can slightly hop by the way), doing so will immediately finish the level so make sure to have reached True Jedi first - there are several thousand studs hidden around the room.
Naboo Starfighter

Completing the level will unlock Padmé (Battle), R2-D2, and Anakin Skywalker (Boy) for use in Free Play. That leaves only one ability still to unlock, and you'll be able to get that after completing the very next level.
Chapter 6
DARTH MAUL
The Trade Federation army has been neutralized by Anakin Skywalker, but the battle continues in the Royal Palace.
Qui-Gon Jinn and Obi-Wan Kenobi have one more enemy to face...
| Story Mode | Free Play |
|---|---|
| 25,010 | 42,840 |
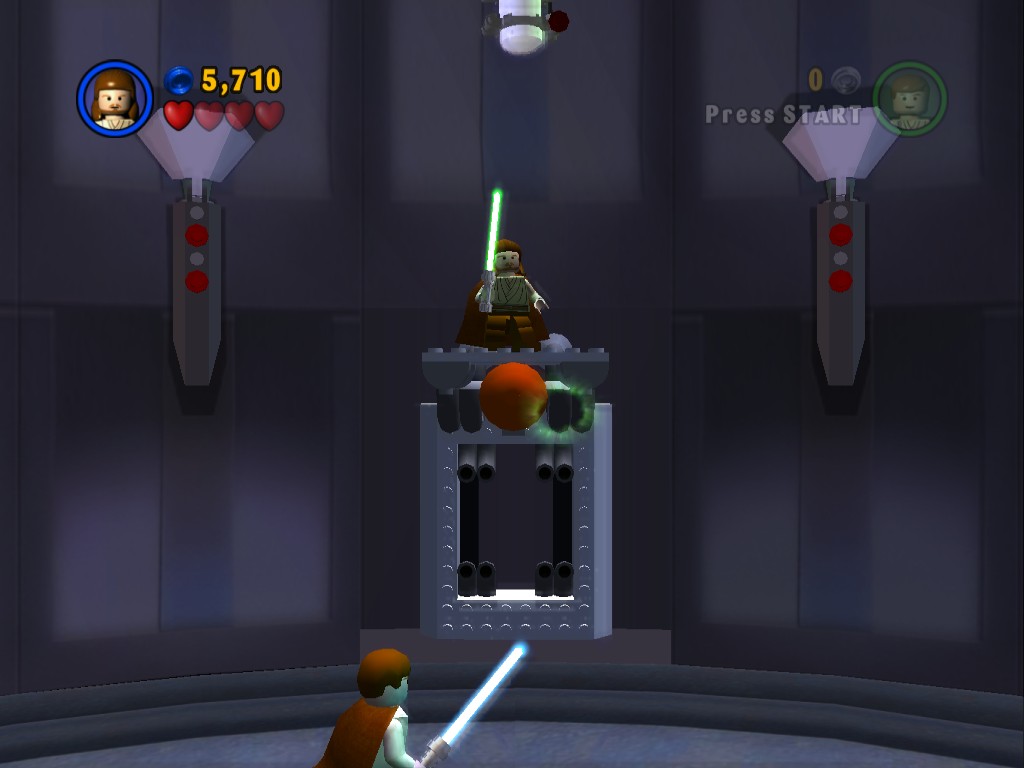
Step forwards a little to face up against Darth Maul, quickly use your lightsaber to reflect the droids' shots back at them. Once all four are gone Maul will start throwing barrels at you, catch them with the Force to hit him.
Some more droids will run in for you to bounce their blasts back at them and again with a barrel at Darth Maul. All once more to get rid of the third heart. He'll run off and let you use the Force on the bridge to get over the gap.
Minikit 1/10
Requires: Double Jump Story Mode: Yes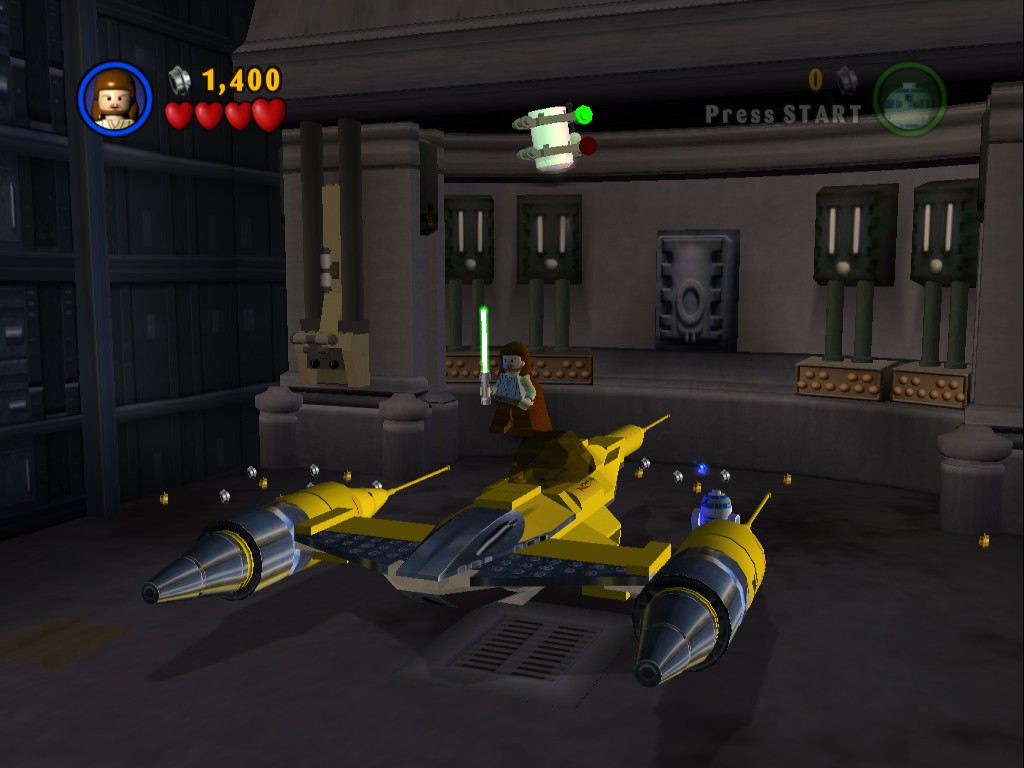
Stand on top of the righthand Starfighter and double jump to reach the Minikit in the air above it. You can raise it up a little by using the Force but it's unnecessary for getting the Minikit.
Minikit 2/10
Requires: The Force, High Jump Story Mode: No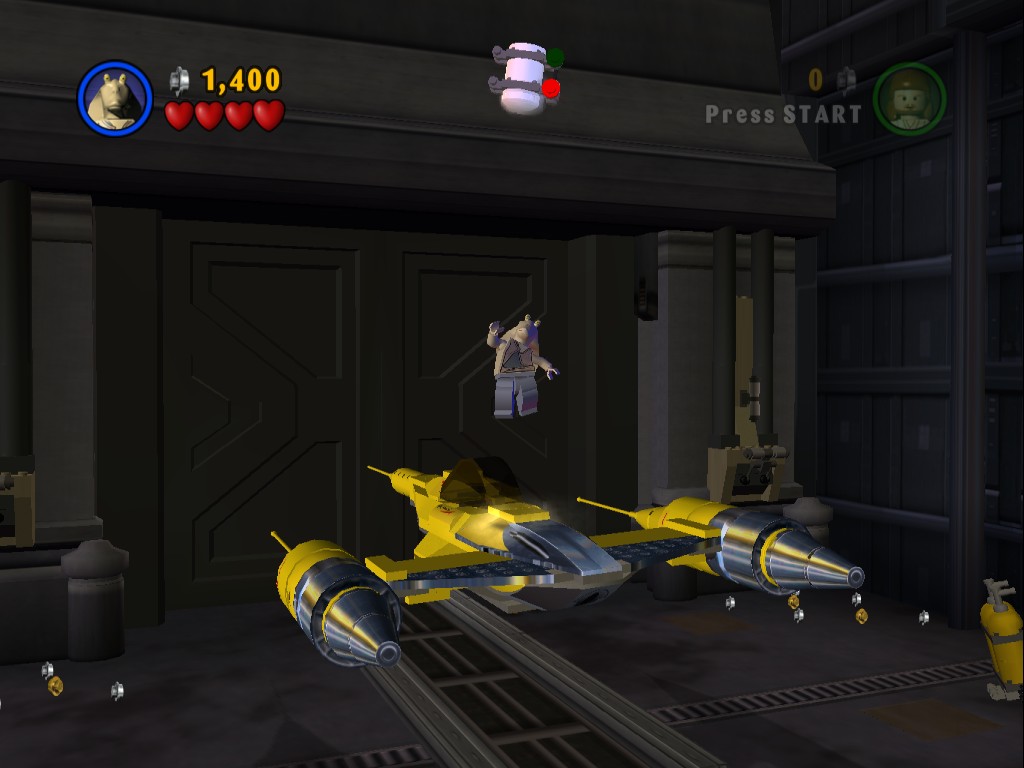
The Starfighter on the left also has a Minikit above it, first you'll need to assemble its engine using the Force and then you'll need to High Jump off the top of it as the Minikit's much higher than the one on the other side was.
Minikit 3/10
Requires: The Force, Astromech Story Mode: No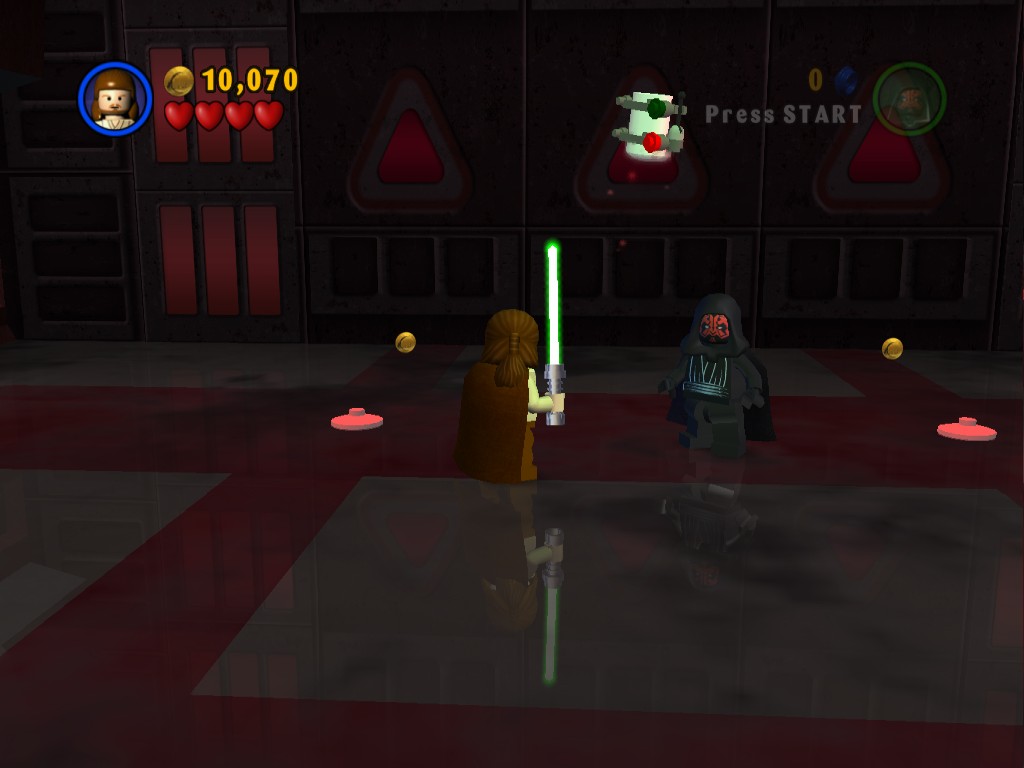
Have a Jedi jump onto one of the yellow platforms at the back and wait for the other to jump on the other one, then raise them up with the Force. Switch to an Astromech droid and use the panel on the left, go through the door that opens.
Defeat all of the droids and droidekas until they stop appearing (six Droidekas, two at a time). Once they're gone run along one of the lines of red circles to light them up, your partner will light the others and the Minikit will appear.
Drop back down and follow where Darth Maul went through the large door directly between those two yellow platforms.
Minikit 4/10
Requires: None Story Mode: Yes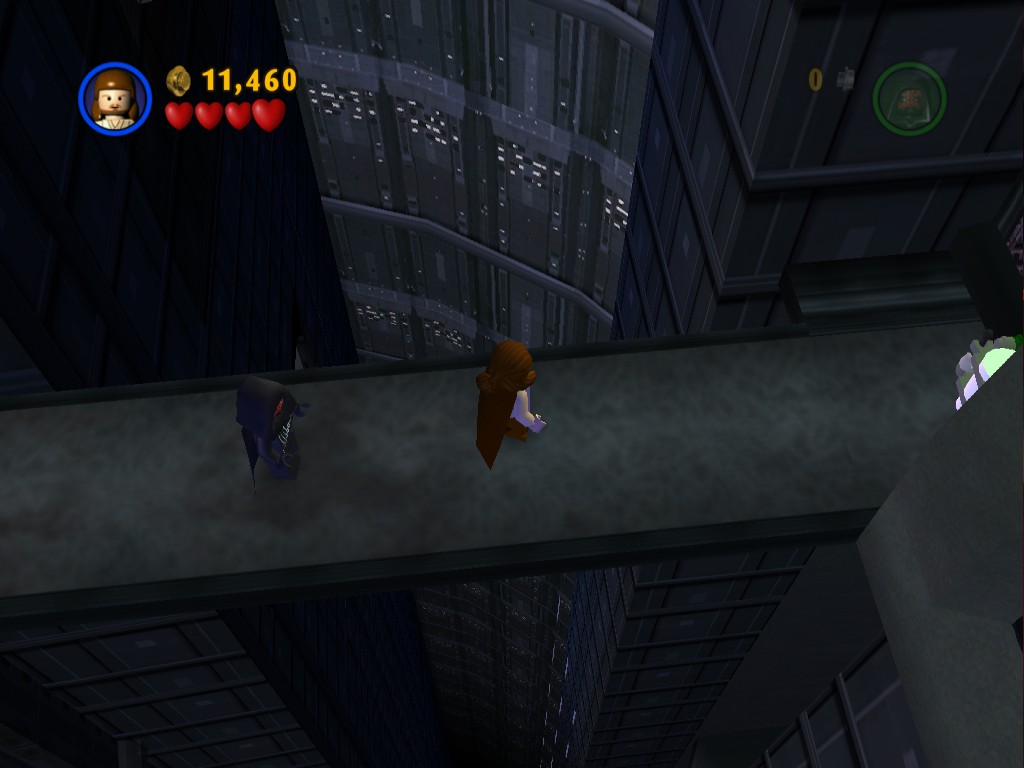
Instead of jumping up to follow Maul just stay on the lower layer as you go to the right, the Minikit is hidden at the end.
Go back to the start of the area and now start jump up the platforms to follow Maul up to the right.
Minikit 5/10
Requires: Blaster, High Jump Story Mode: No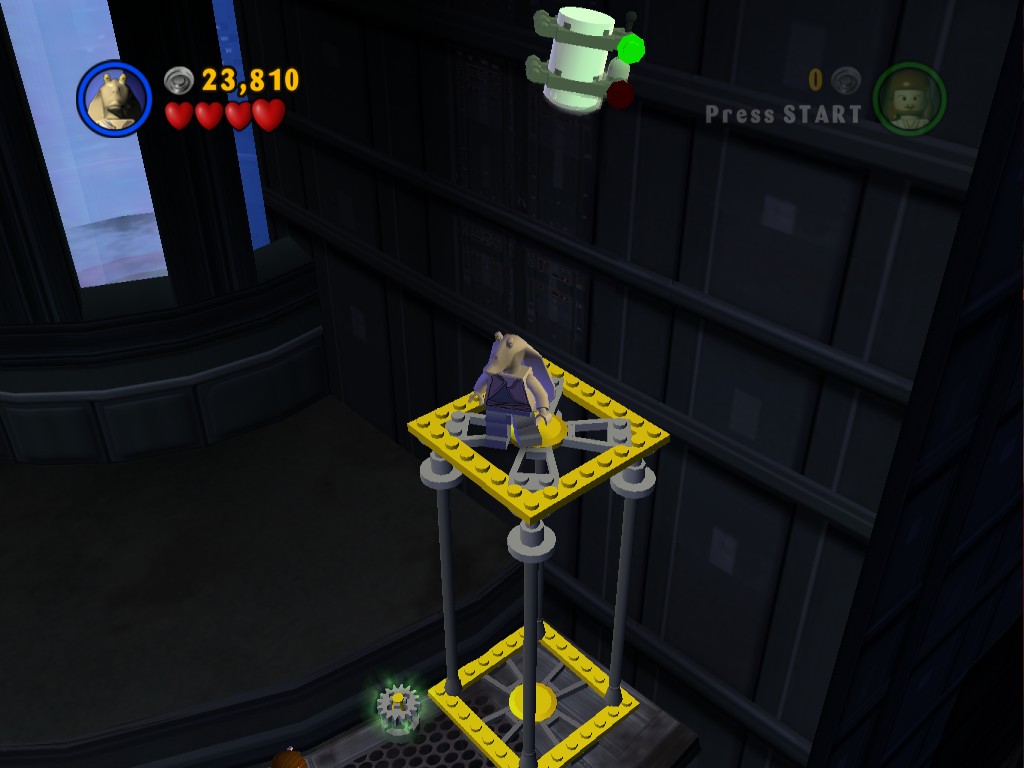
Partway along that platforming is a grapple point you can use in Free Play. High jump up to the very top and walk to the right through a field of studs and a platoon of Battle Droids. As you get close to the other end some more Battle Droids will appear from behind you. Your goal is the yellow platform, use the Force on the gear next to it a few times to raise it up high enough to jump for the Minikit above.
In Story Mode you'll have to Force Pull out some platforms to reach the exit but if you've gone up top in Free Play you can just drop down to the right across a bridge that's directly above an earlier Minikit.
Minikit 6/10
Requires: Astromech Story Mode: No
To your immediate right as you enter the third area is an Astromech panel on the wall. Using it will activate a circular platform that will zoom away to the Minikit in the distance, wait for it to come back then get on and wait for it to take you over there again.
Minikit 7/10
Requires: Astromech Story Mode: No
There's an identical Astromech panel to the left as well, use it to reach the Minikit off in the distance.
Jump over the gap to Maul and he'll run off again while summoning an infinite supply of droids. To stop them you must go to the left and right ends and defeat the Commander Battle Droids standing there. Once both are dead a couple of Droidekas will appear, the best strategy here is to deflect their blasts back at them with your Lightsabers. Once they're both defeated you'll see the buttons underneath them for you to both press.
Jump onto the platform that rises up and approach Darth Maul to start following down the corridor. Use the Force on the levers with your Jedi partner all the way to the end of the corridor.
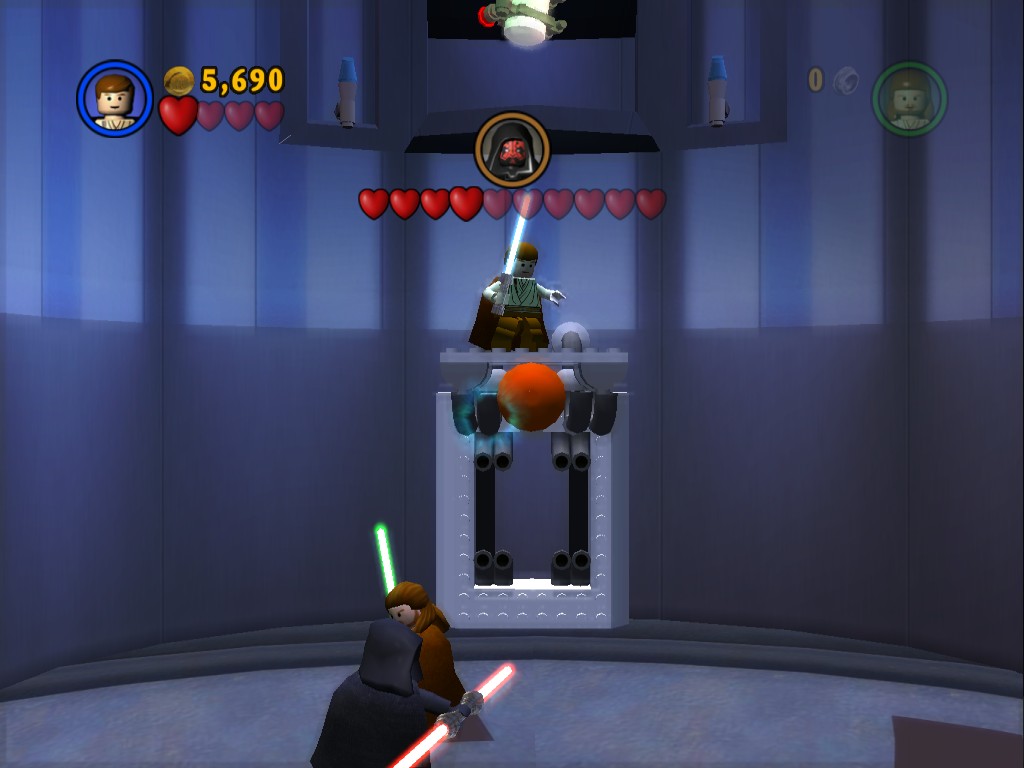
Now it's time to start attacking Darth Maul directly. The easiest way is to jump and attack, that bypasses his defenses and immediately takes off a heart. Repeat that six times and he'll then jump away to use the Force to create some ledges. While he's up there he'll start throwing objects at you, use the Force to catch and throw them back at him. Do that three times.
Minikit 8/10 + Minikit 9/10 + Minikit 10/10
Requires: The Force or High Jump Story Mode: Yes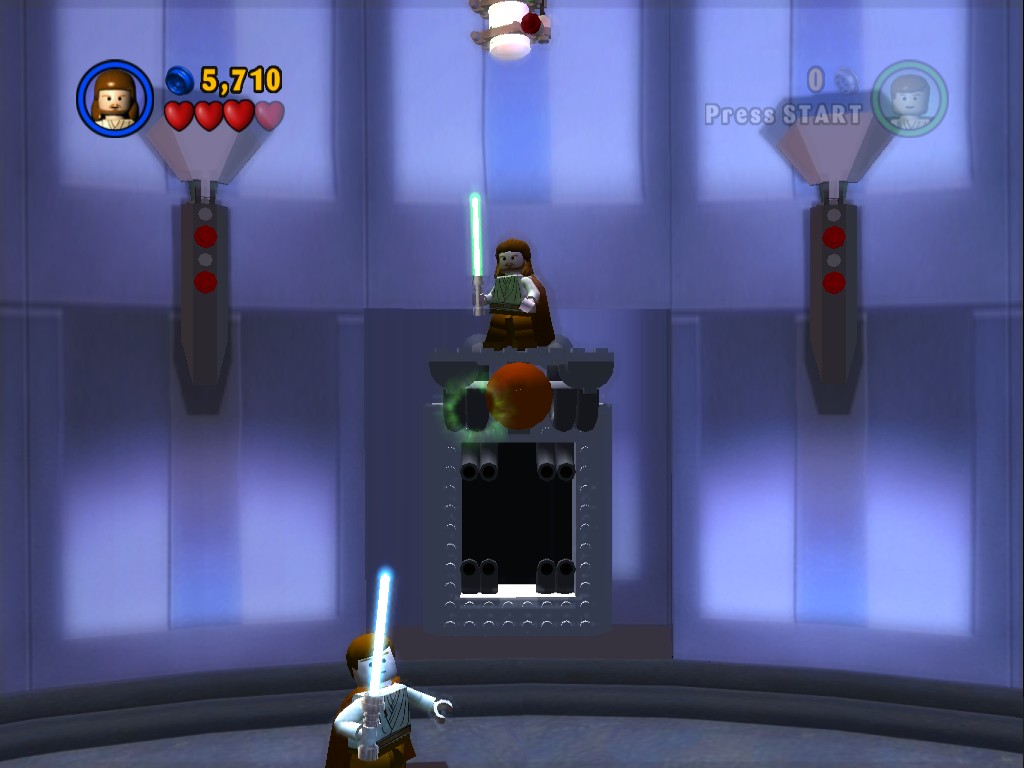
The easiest way to get these is in Free Play, just High Jump up onto the platforms that Darth Maul uses to reach the Minikits above them.
In Story Mode you can get up on the platforms if you use the Force to pull them down a bit, you'll just get interrupted a lot by Darth Maul throwing things at you or attacking you. Also be careful not to pull the platforms down too far as they'll explode.
The best time to do the first two of these is during the time when Maul has jumped away from the platform to stand on the next one, you should be able to quickly start using the Force again after being hit on the head by a bicycle so you can get it low enough to jump on.
The third one will require a bit more work as at that point Maul will be directly attacking you again, you'll have to stand right next to your second character as you use the Force to pull it down and then switch when Maul's red aura appears around you, you should then have enough time to finish the pull and jump onto it before he starts attacking your active character again.
Either way just make sure to do this before you deplete his last heart!
In the final part of the fight when you start getting a red aura around your character immediately get as close to the other character and switch to them, then take the opportunity to attack Maul with any attack you like. Run away from Maul again until you see the red glow reappear and switch to the other character and attack. Repeat until all his hearts are gone.
Sith Infiltrator
 Based on set 4493
Defeating Darth Maul will unlock him for purchase at Dexter's store. Darth Maul has the Dark Side Force ability, which is the last of the game's unique abilities. So buying him will mean you are able to fully complete any level's Free Play (once you've unlocked it of course).
| Cost | Character | |
|---|---|---|
| 15,000 | Darth Maul |
Now that we've fully completed The Phantom Menace we can move onto Star Wars Episode II: Attack of the Clones.
 darkspyro.net