Please be aware that this page is based on the original PlayStation 2 version of LEGO Star Wars II: The Original Trilogy, there are some small differences compared to LEGO Star Wars: The Complete Saga.
Episode V
The Empire Strikes Back
Chapter 1
Hoth Battle
It is a dark time for the Rebellion. Although the Death Star has been destroyed, Imperial troops have driven the Rebel forces from their hidden base and pursued them across the galaxy.
Evading the dreaded Imperial Starfleet, a group of freedom fighters led by Luke Skywalker has established a new secret base on the remote ice world of Hoth.
The evil lord Darth Vader, obsessed with finding young Skywalker, has dispatched thousands of remote probes into the far reaches of space....
| Story Mode | Free Play |
|---|---|
| 70,000 | 100,000 |
And straight away into another vehicle level.
Minikit 1/10
Requires: Snowspeeder Story Mode: Yes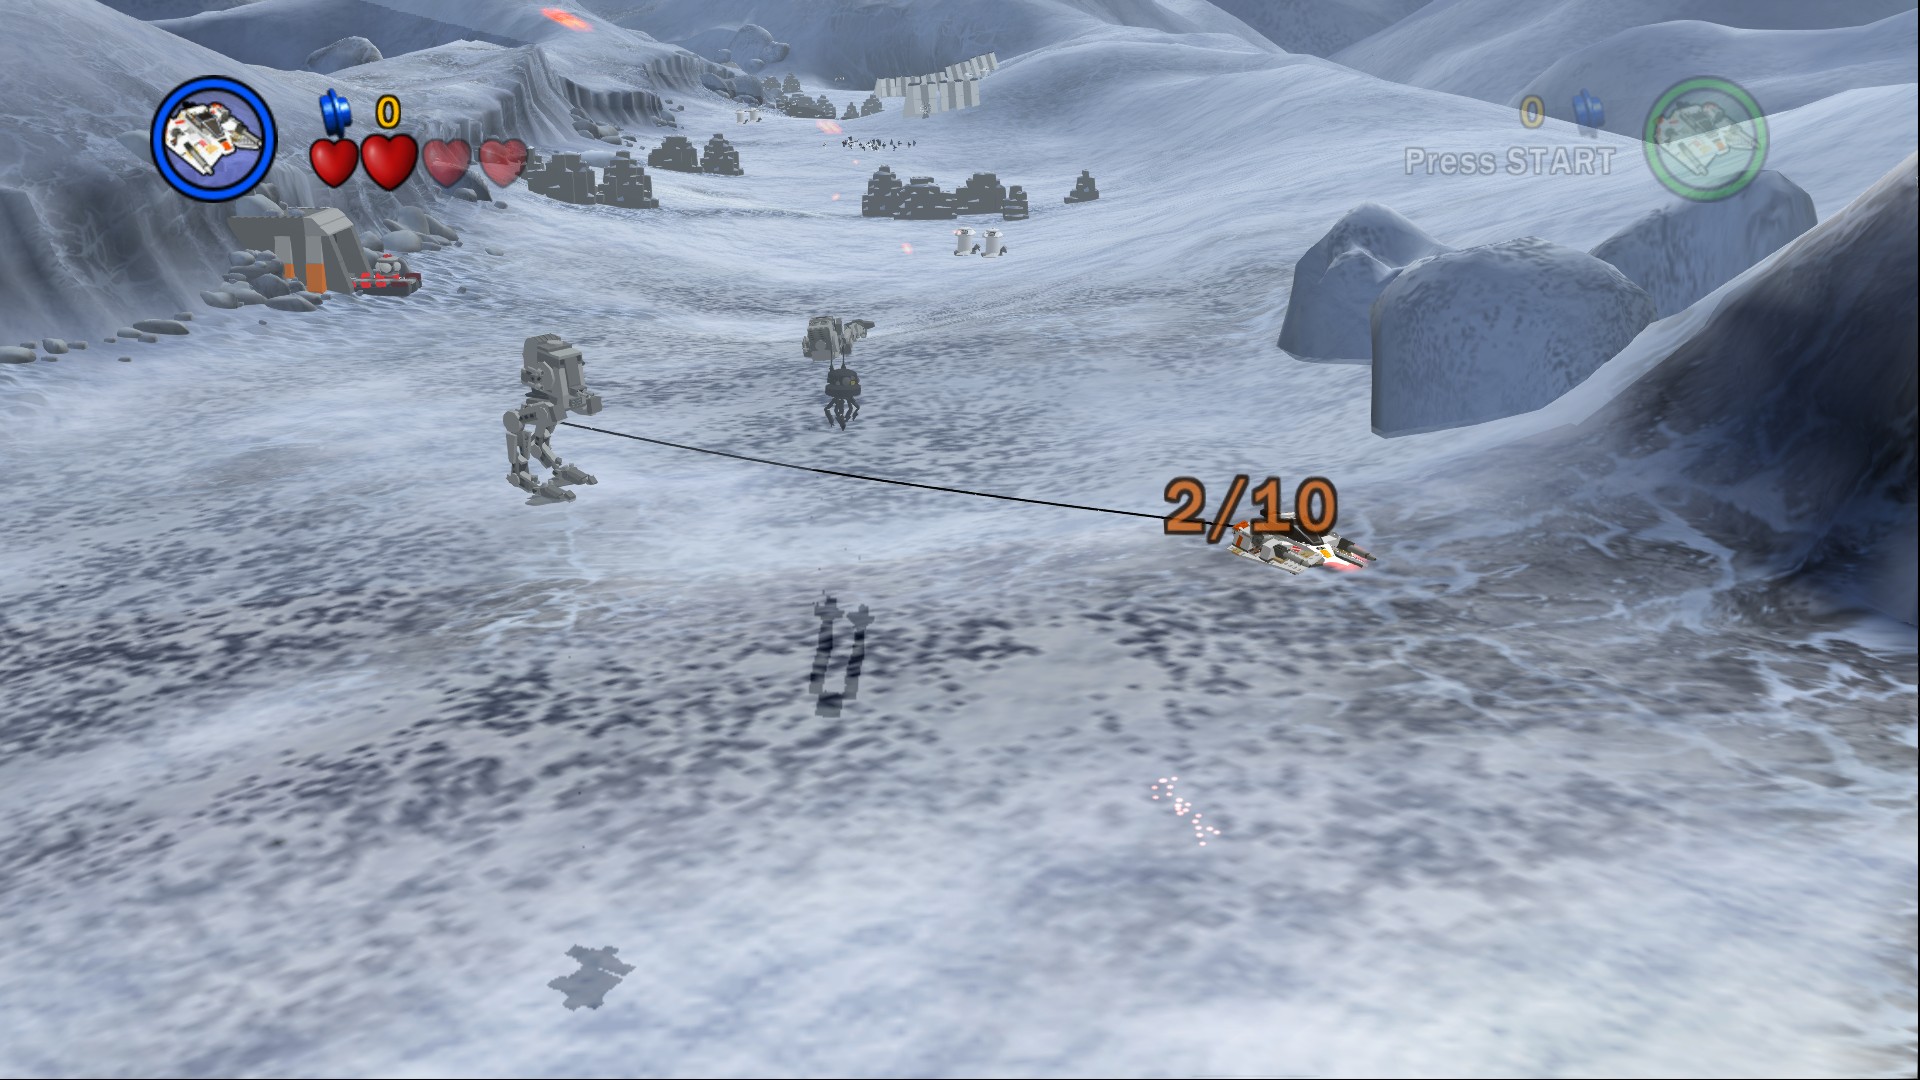
Use the Snowspeeder's cable to pull over 10 AT-STs in first part of the level.
The Minikit appears at the entrance to the cave that you have to blow up to progress through the level.
Minikit 2/10
Requires: TIE Fighter Story Mode: No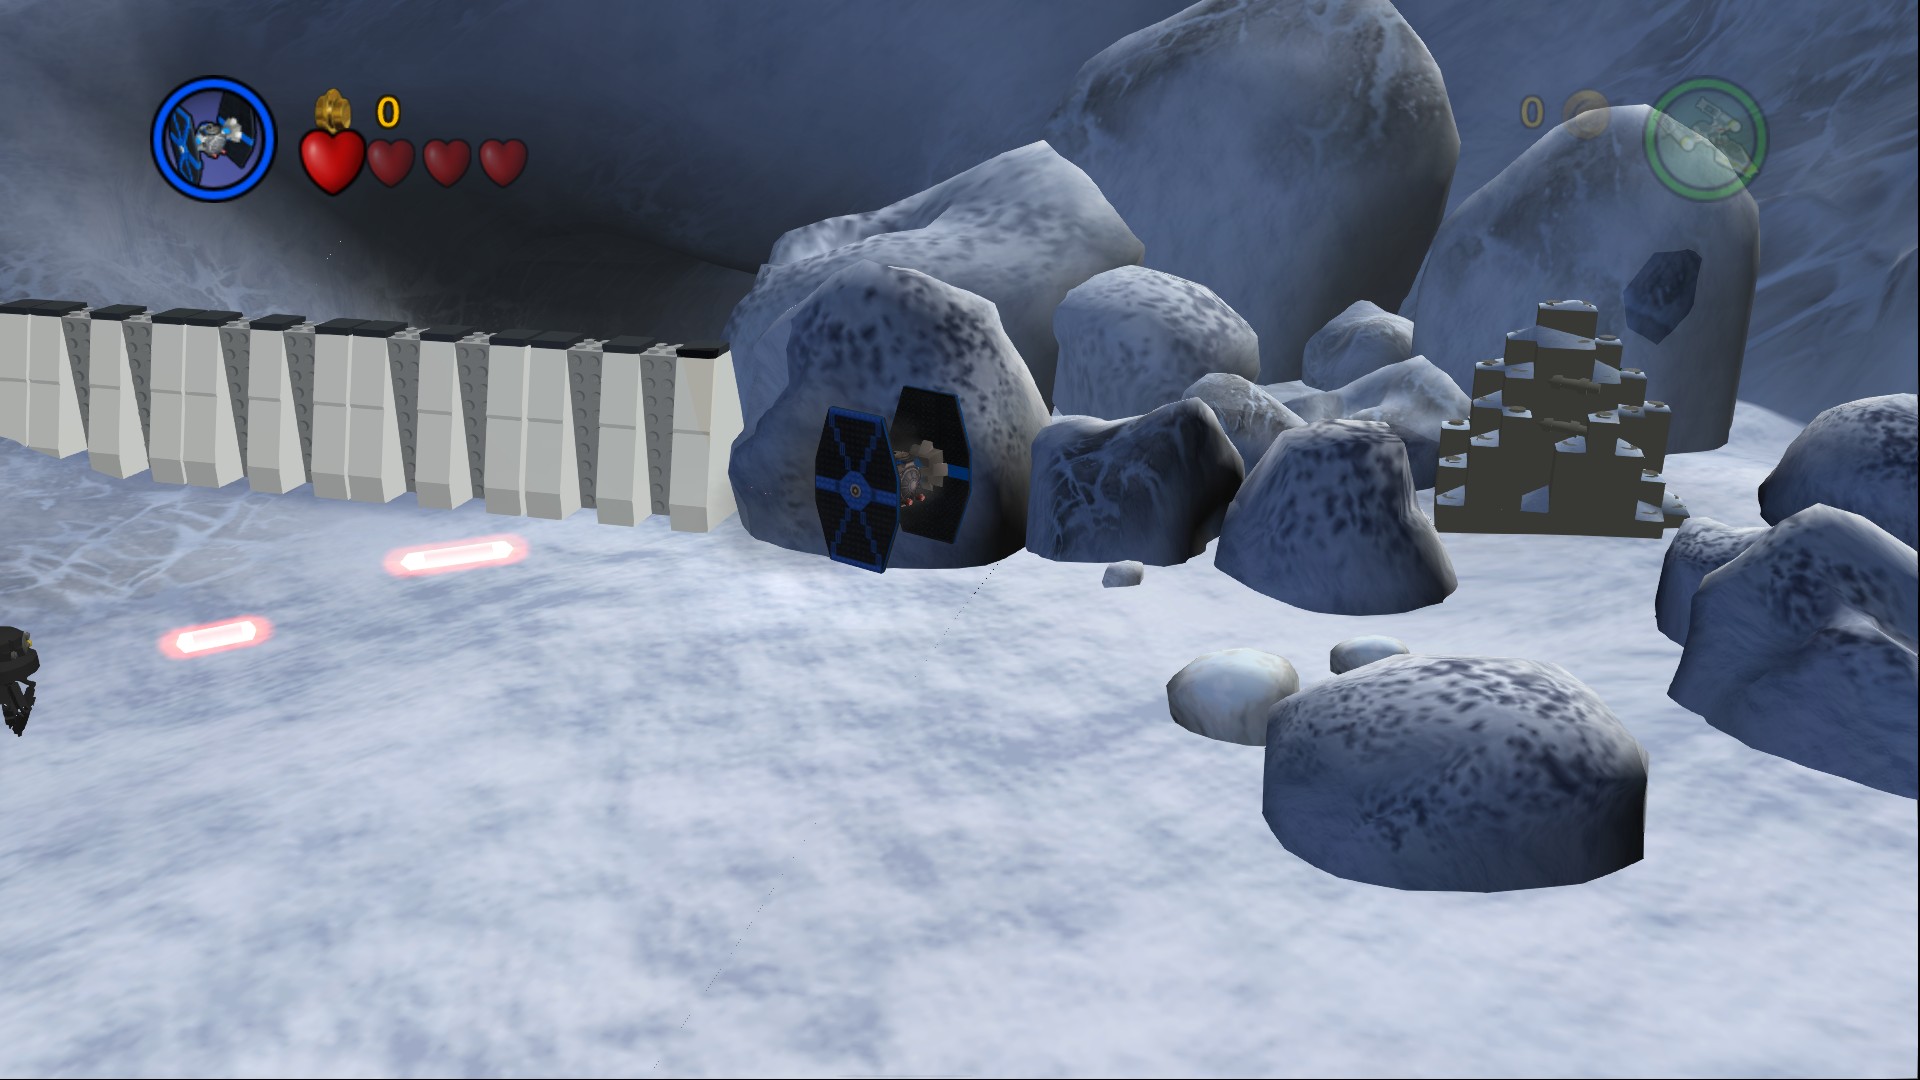
To the left at the start is a TIE Fighter area, you can find a Minikit behind some rocks at the far end.
Minikit 3/10
Requires: TIE Fighter, Snowspeeder Story Mode: No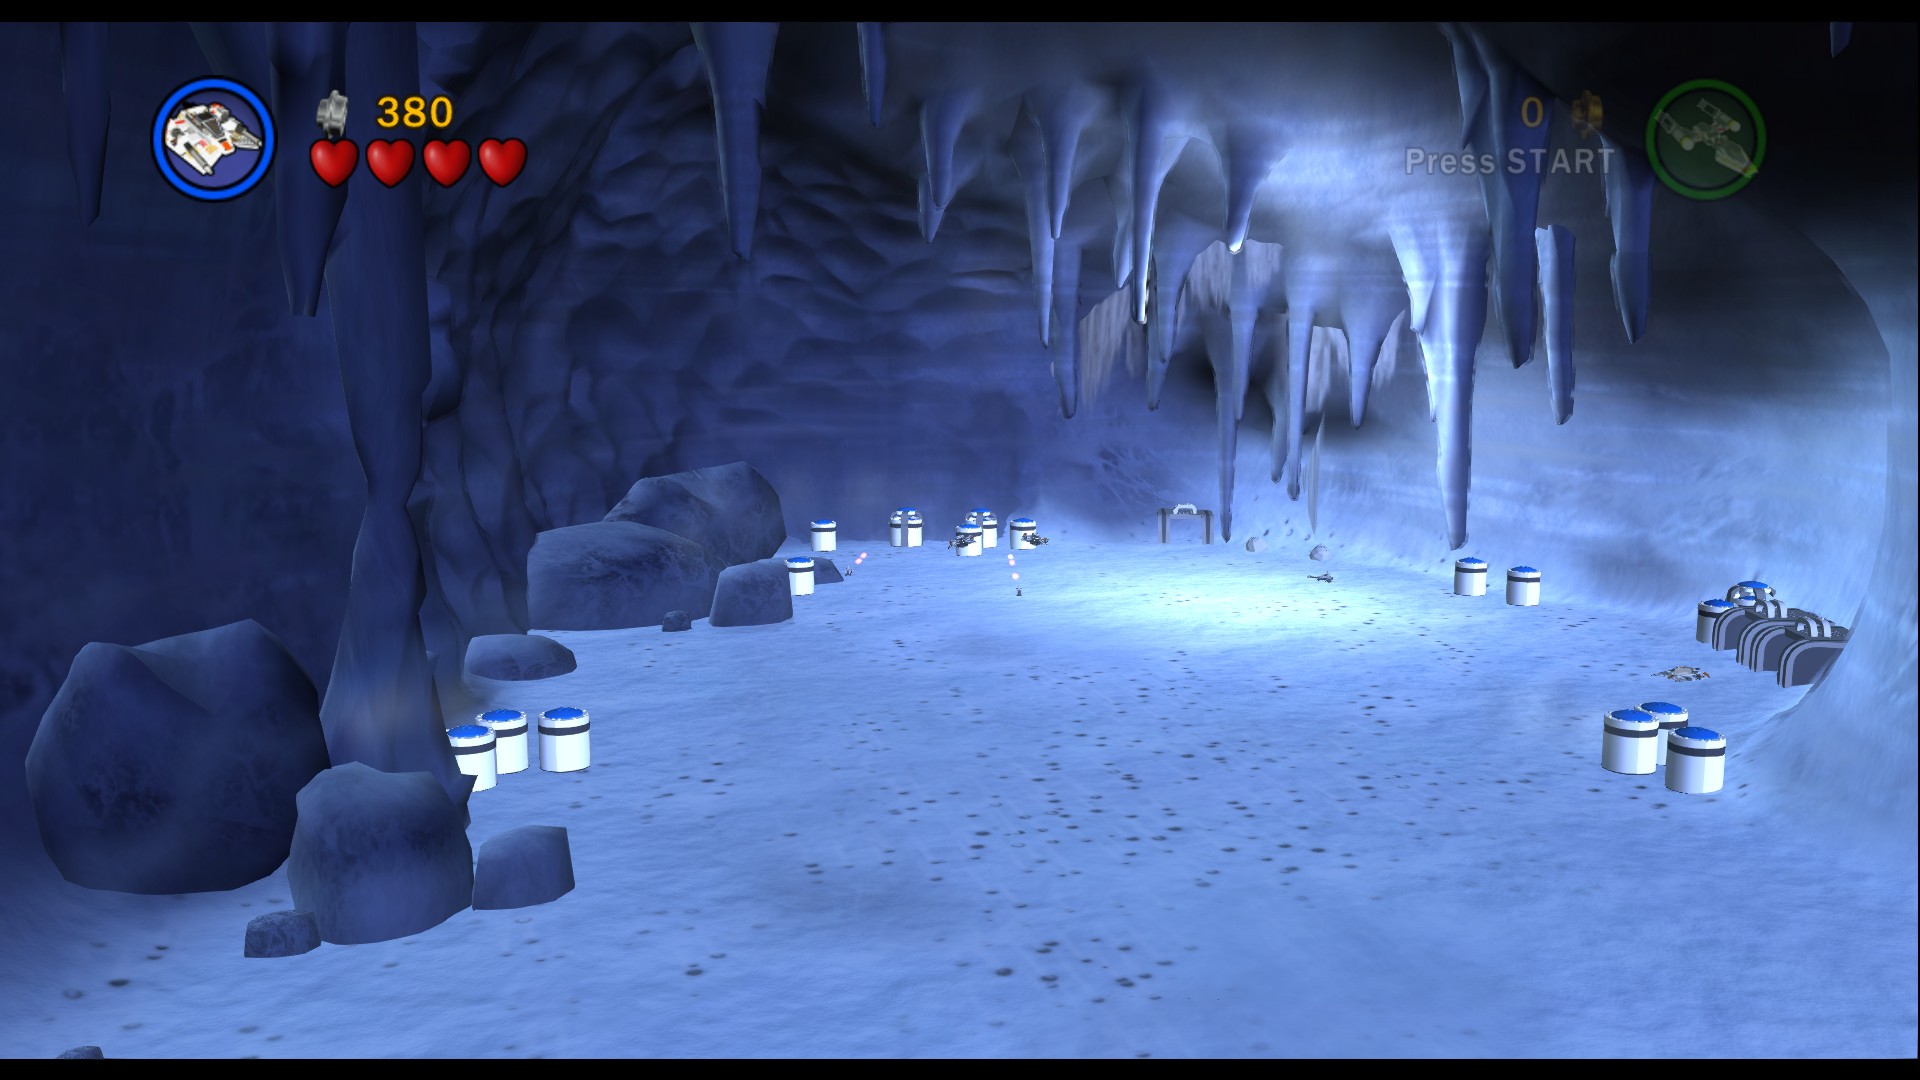
Down the end of that TIE Fighter area is a white wall, you can blast through it with a rolling bomb (ignore the holes and just keep flying straight over them and as long as there aren't any probes attached you should make it over them safely).
Behind that wall is a cave, if you destroy all of the enemies in here to rescue the Snowspeeders you get a Minikit - that's including the tiny Speeder Bikes following you shooting at you.
Minikit 4/10
Requires: None Story Mode: Yes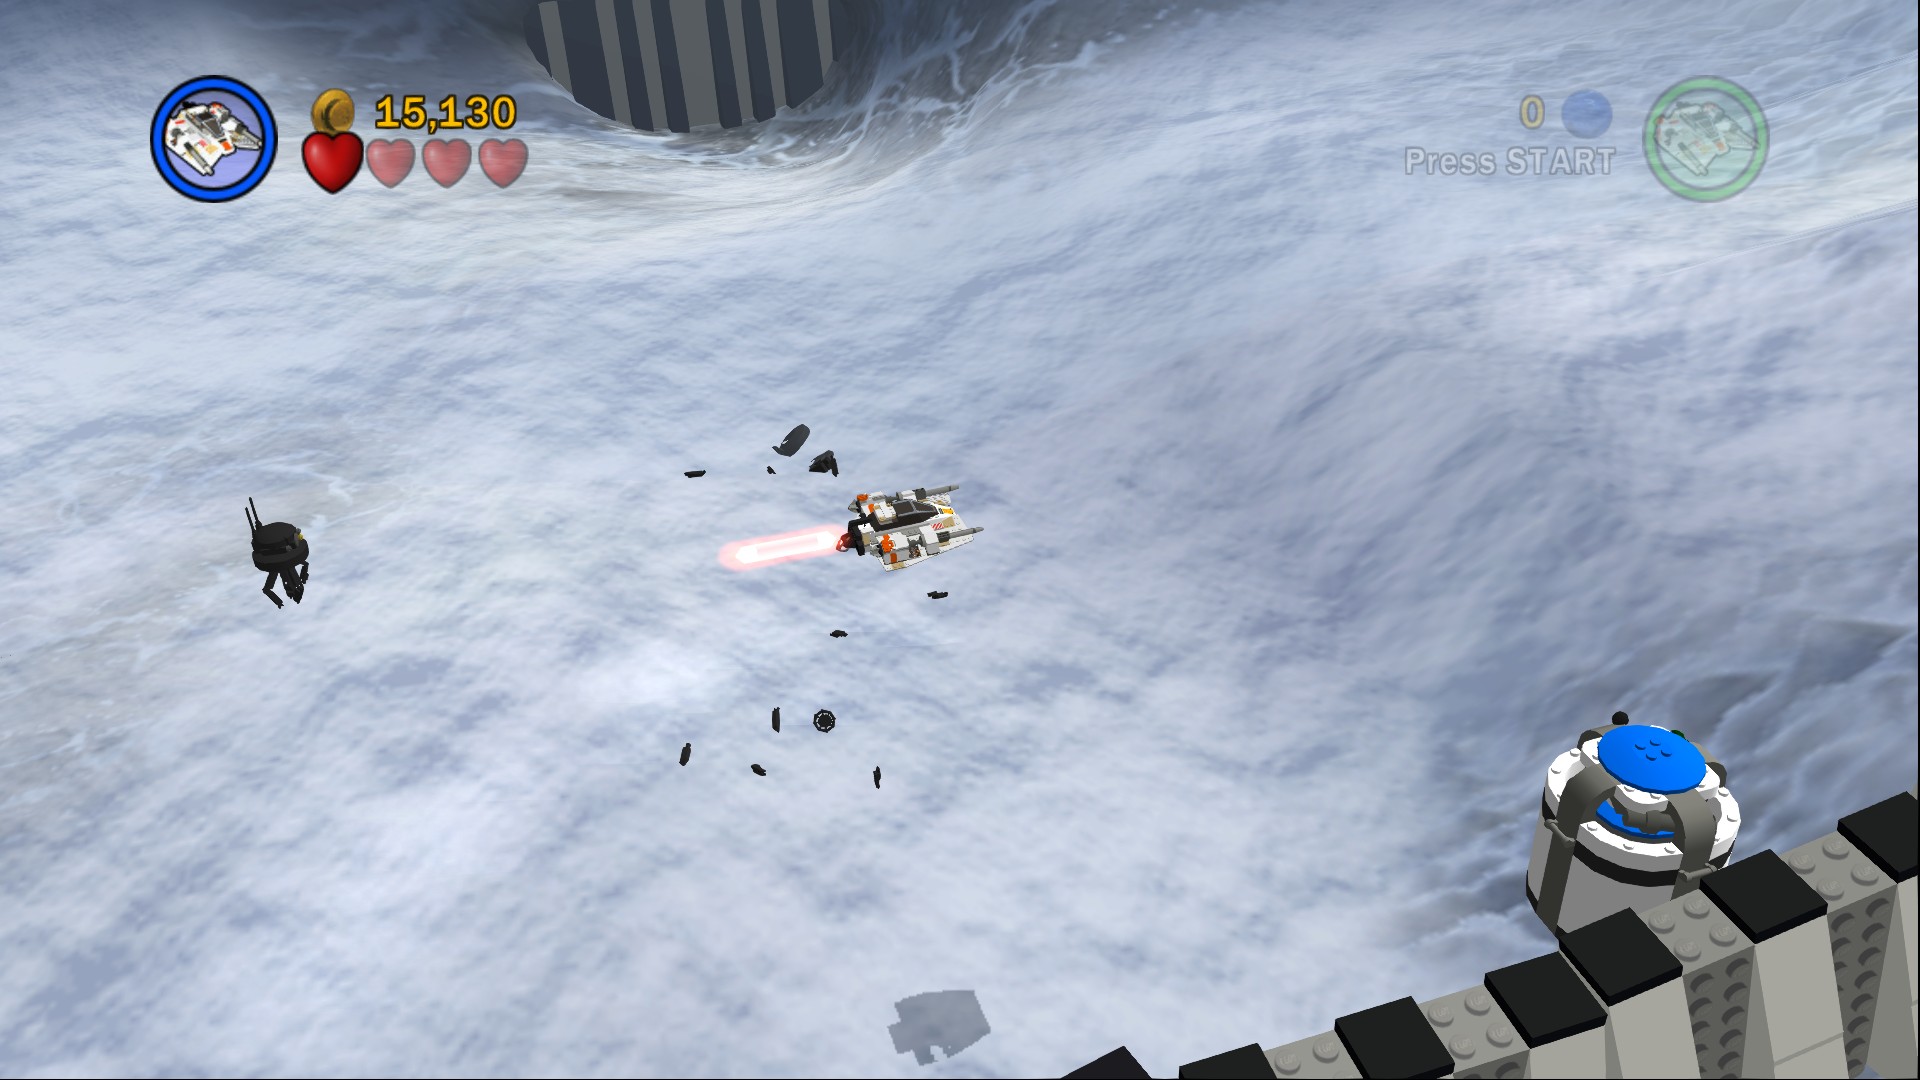
Hiding behind a white wall just before the shield generator, no need to blow up this wall.
Fly straight ahead, along the left side you'll see a dispenser with a single bomb sitting out front. You can grab that with your Snowspeeder's cable to start pulling it along with you. Keep going straight, shooting any little flying probes that try to grab your bomb, and roll the bomb down the slope at the end into the wall blocking the cave entrance. If you lose the bomb just go back and grab another.
After going through the cave we reach the first AT-ATs, you can destroy them by attaching a cable to one and circling around it a few times (shoot any AT-STs that try to get in the way), it'll fall over and you can then roll a bomb into it.
Minikit 5/10
Requires: TIE Fighter Story Mode: No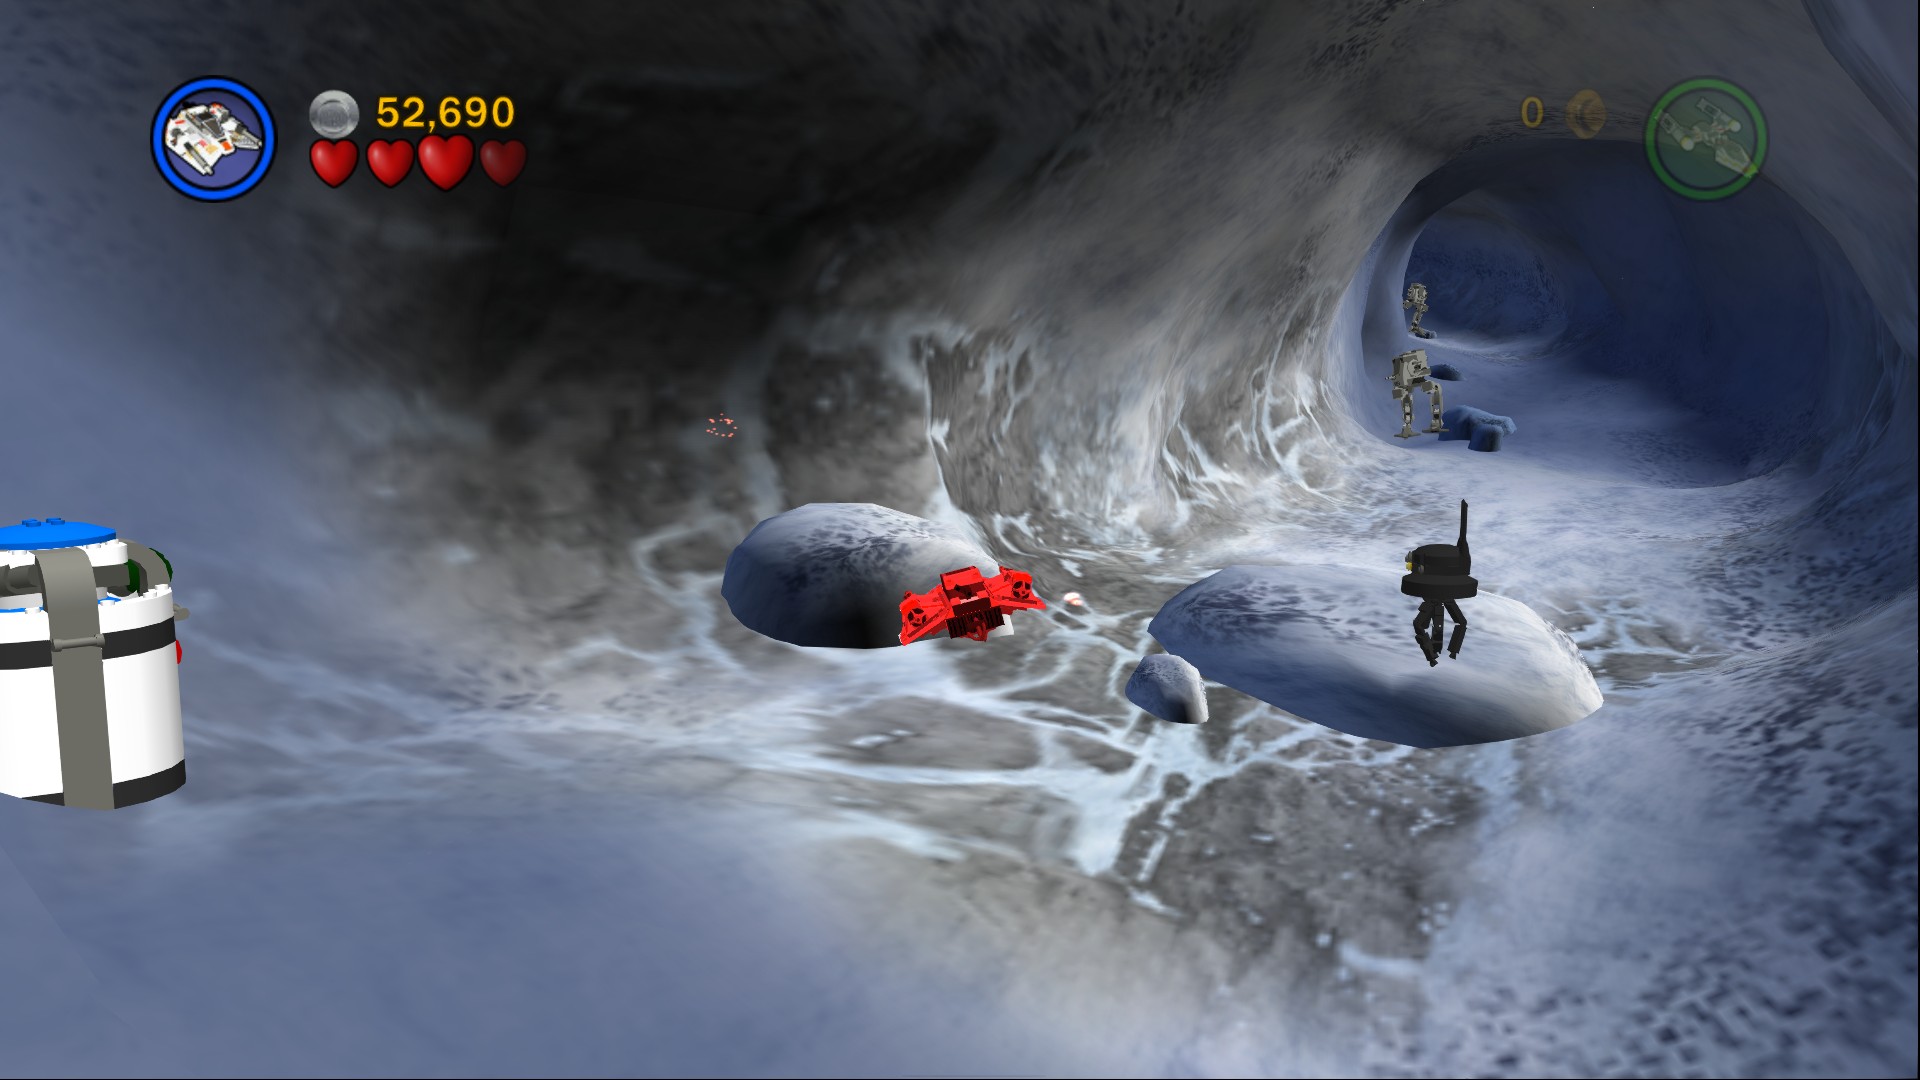
TIE Fighter path to the left, you'll find the Minikit in the tunnel after the first group of enemies. Along the left side.
Minikit 6/10
Requires: TIE Fighter Story Mode: No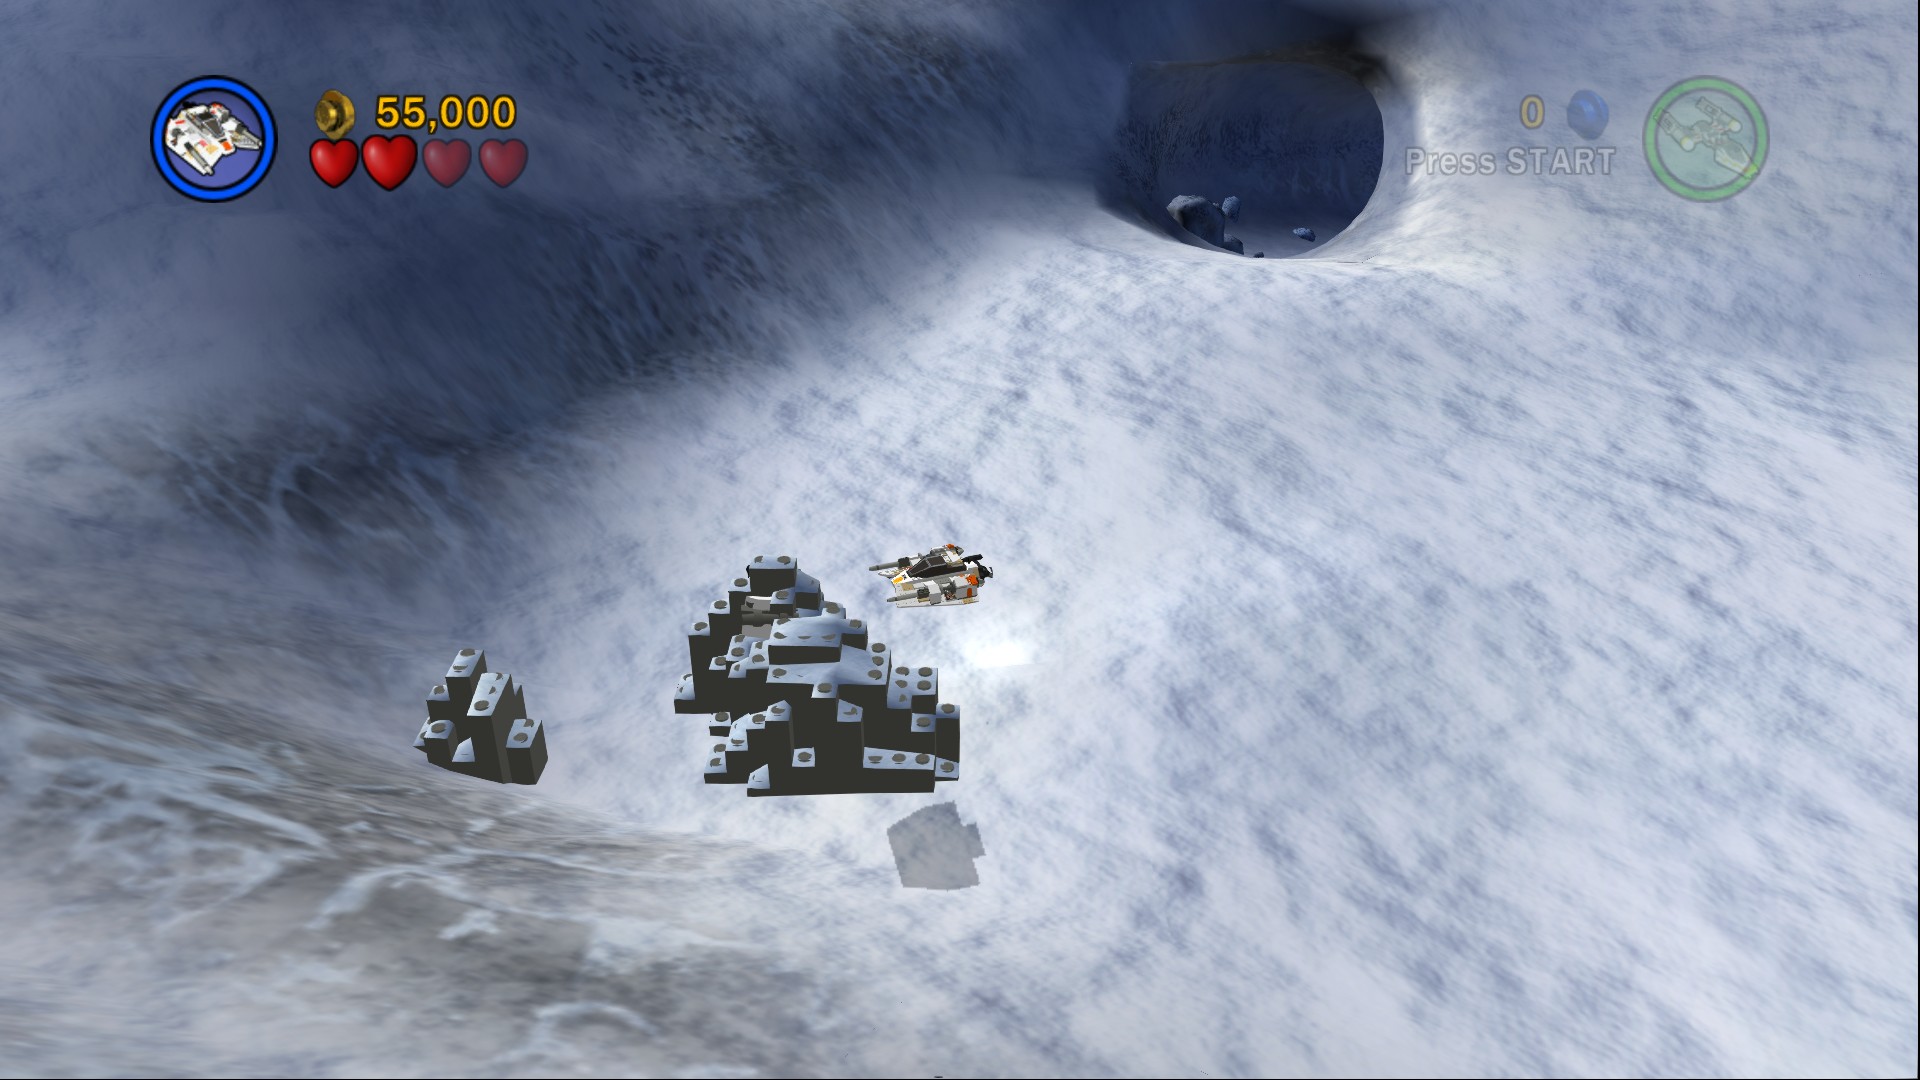
In some rocks to the left after you emerge from the tunnel in the TIE Fighter area.
Red Brick (Self Destruct)
Requires: TIE Fighter, Snowspeeder Story Mode: No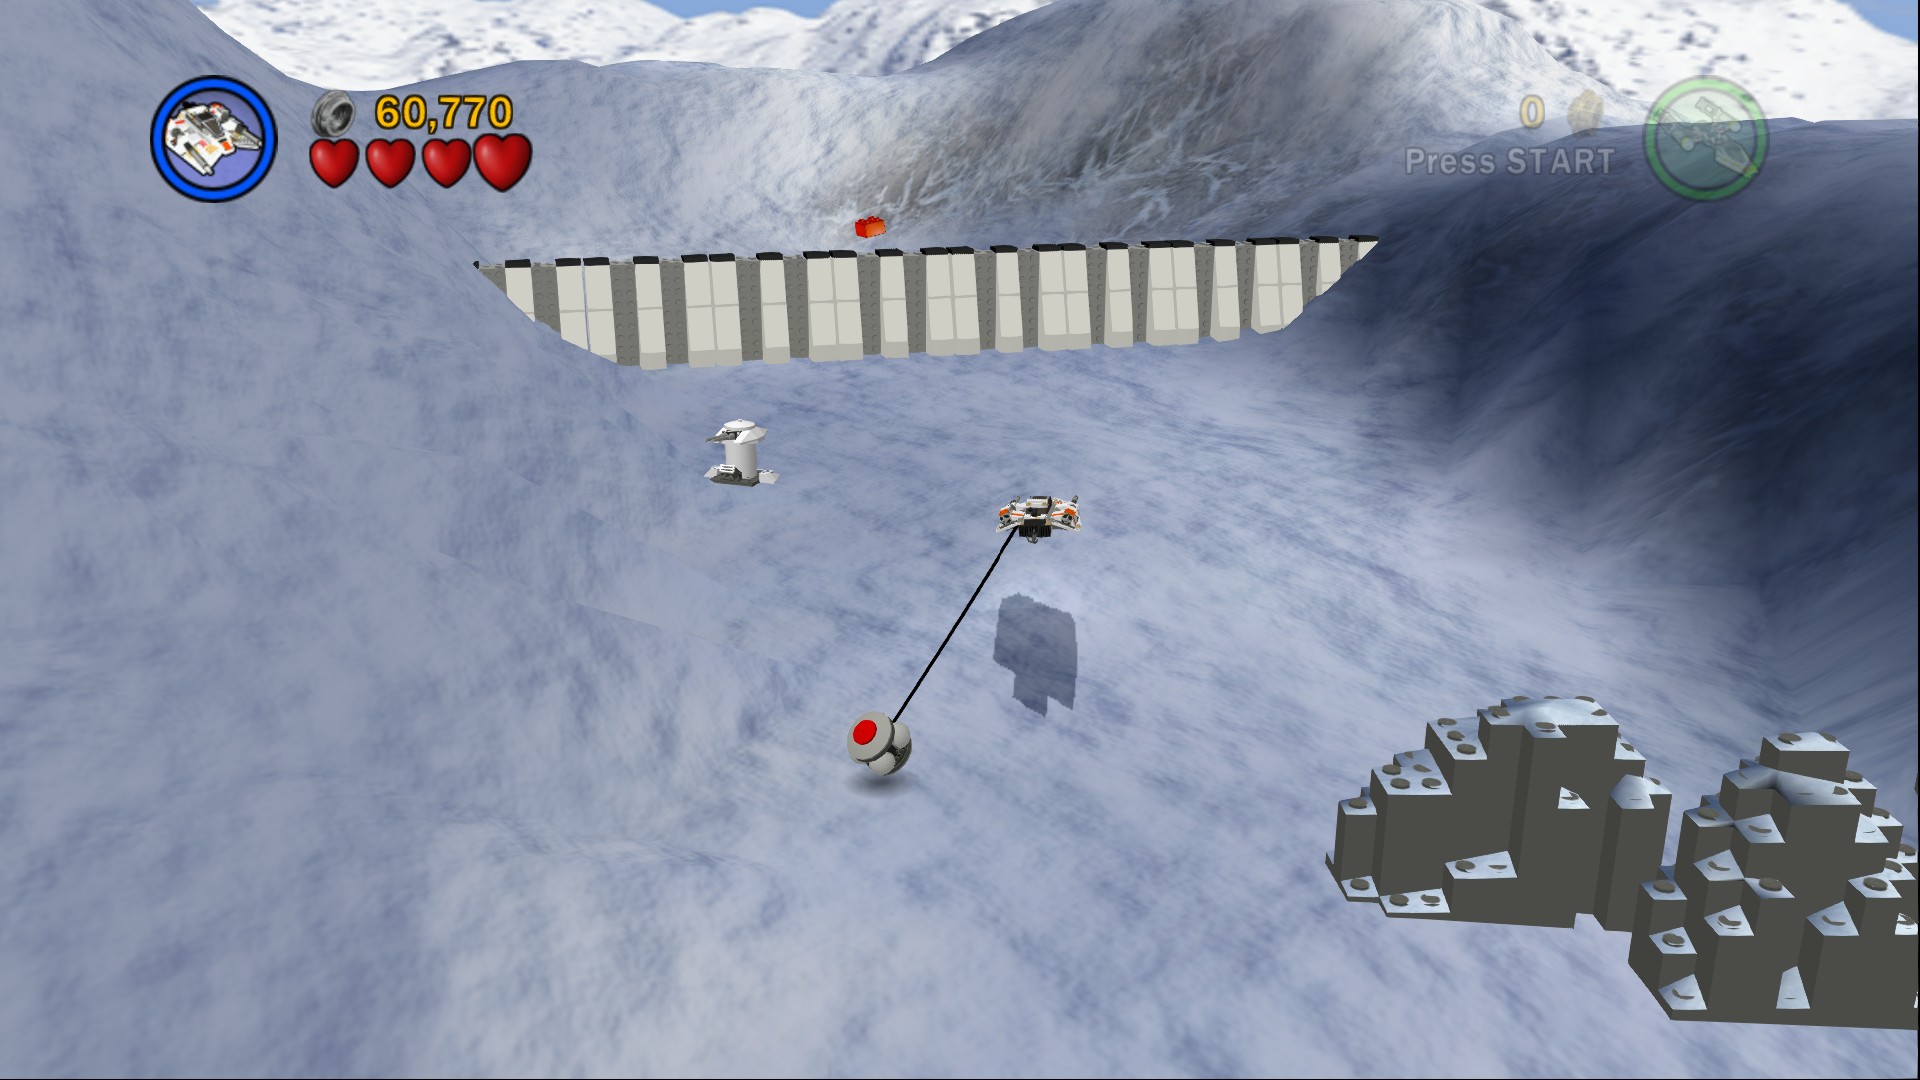
At the very end of the TIE Fighter area is a white wall, you'll have to drag a rolling bomb from all the way at the start of the TIE Fighter area to get it.
Other than a couple of probes none of the enemies will reappear so it should now be clear. The Red Brick is of course behind that white wall.
Minikit 7/10
Requires: Snowspeeder Story Mode: Yes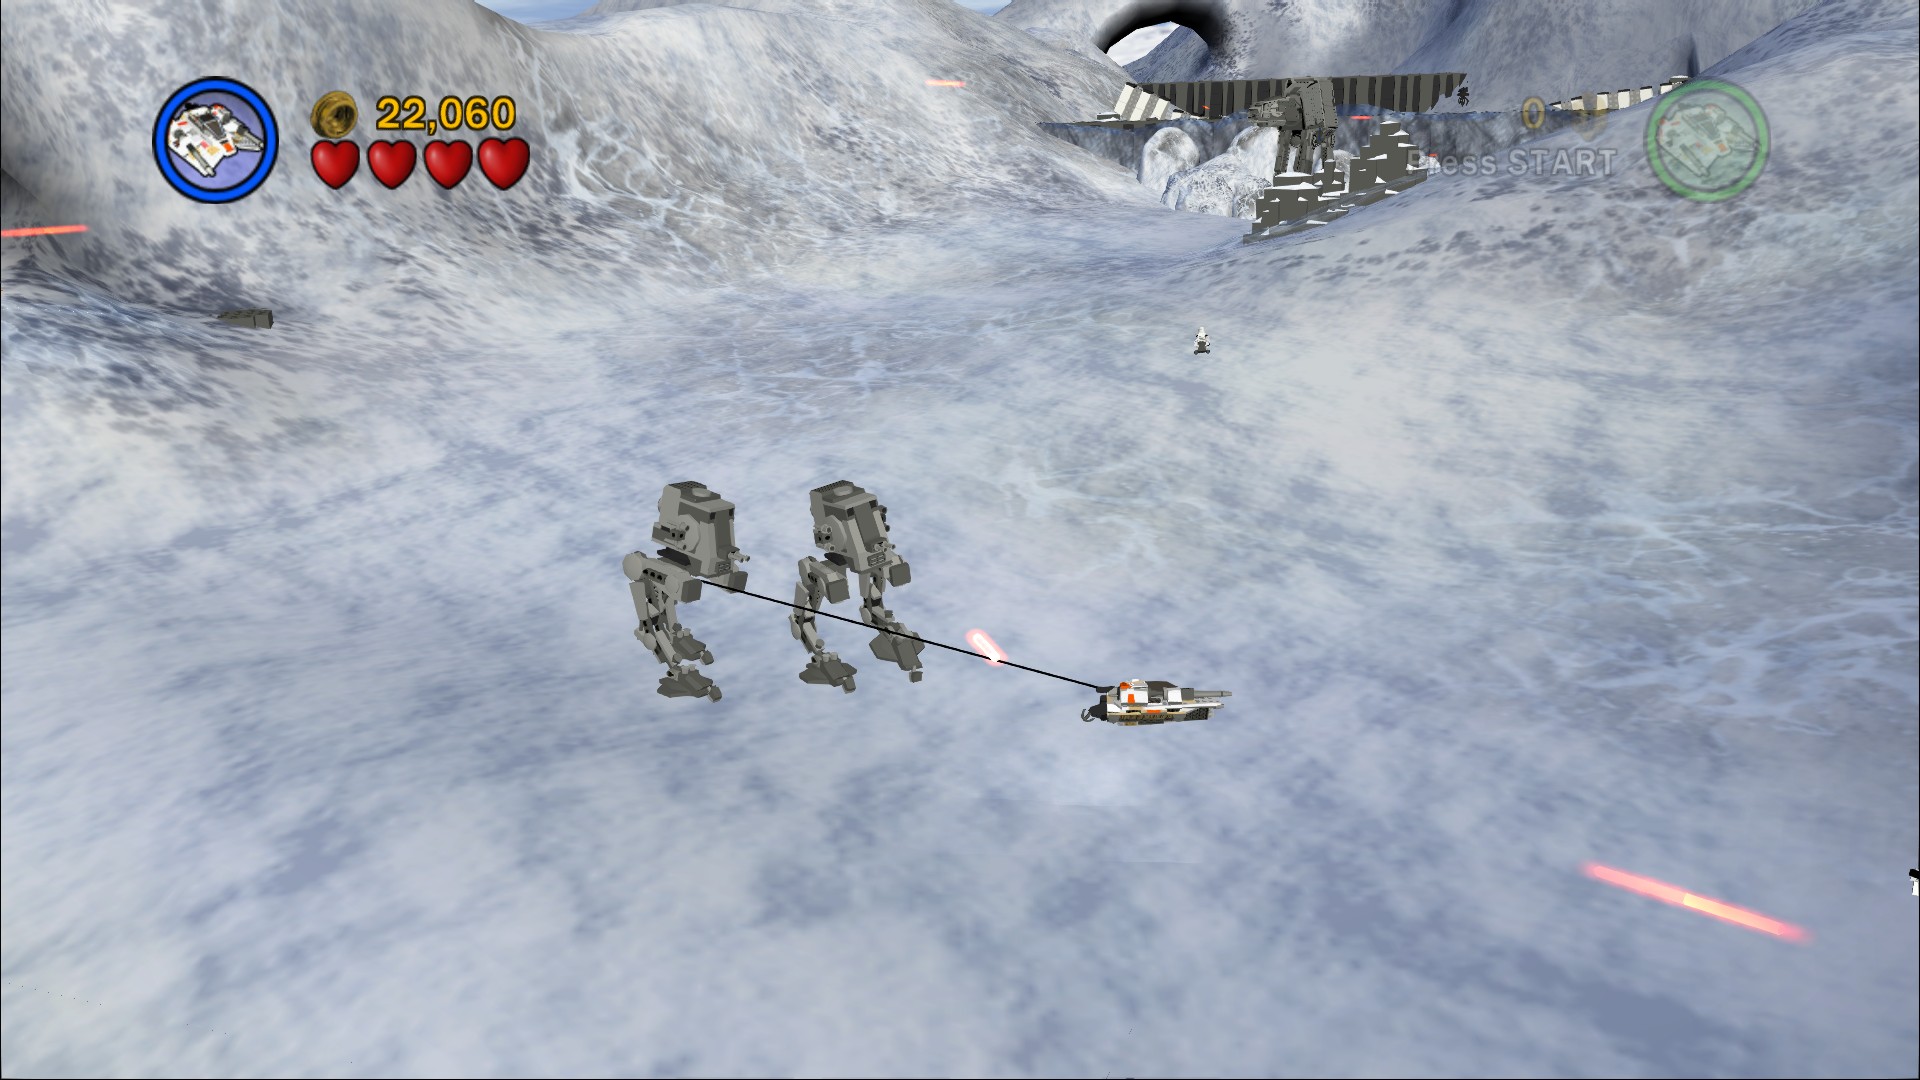
Pull over another 10 AT-STs in this part of the level (before you go through the second black wall).
Taking out the second AT-AT will clear some rocks from a grey/black wall, blow that wall up with another rolling bomb to get through.
Minikit 8/10
Requires: None Story Mode: Yes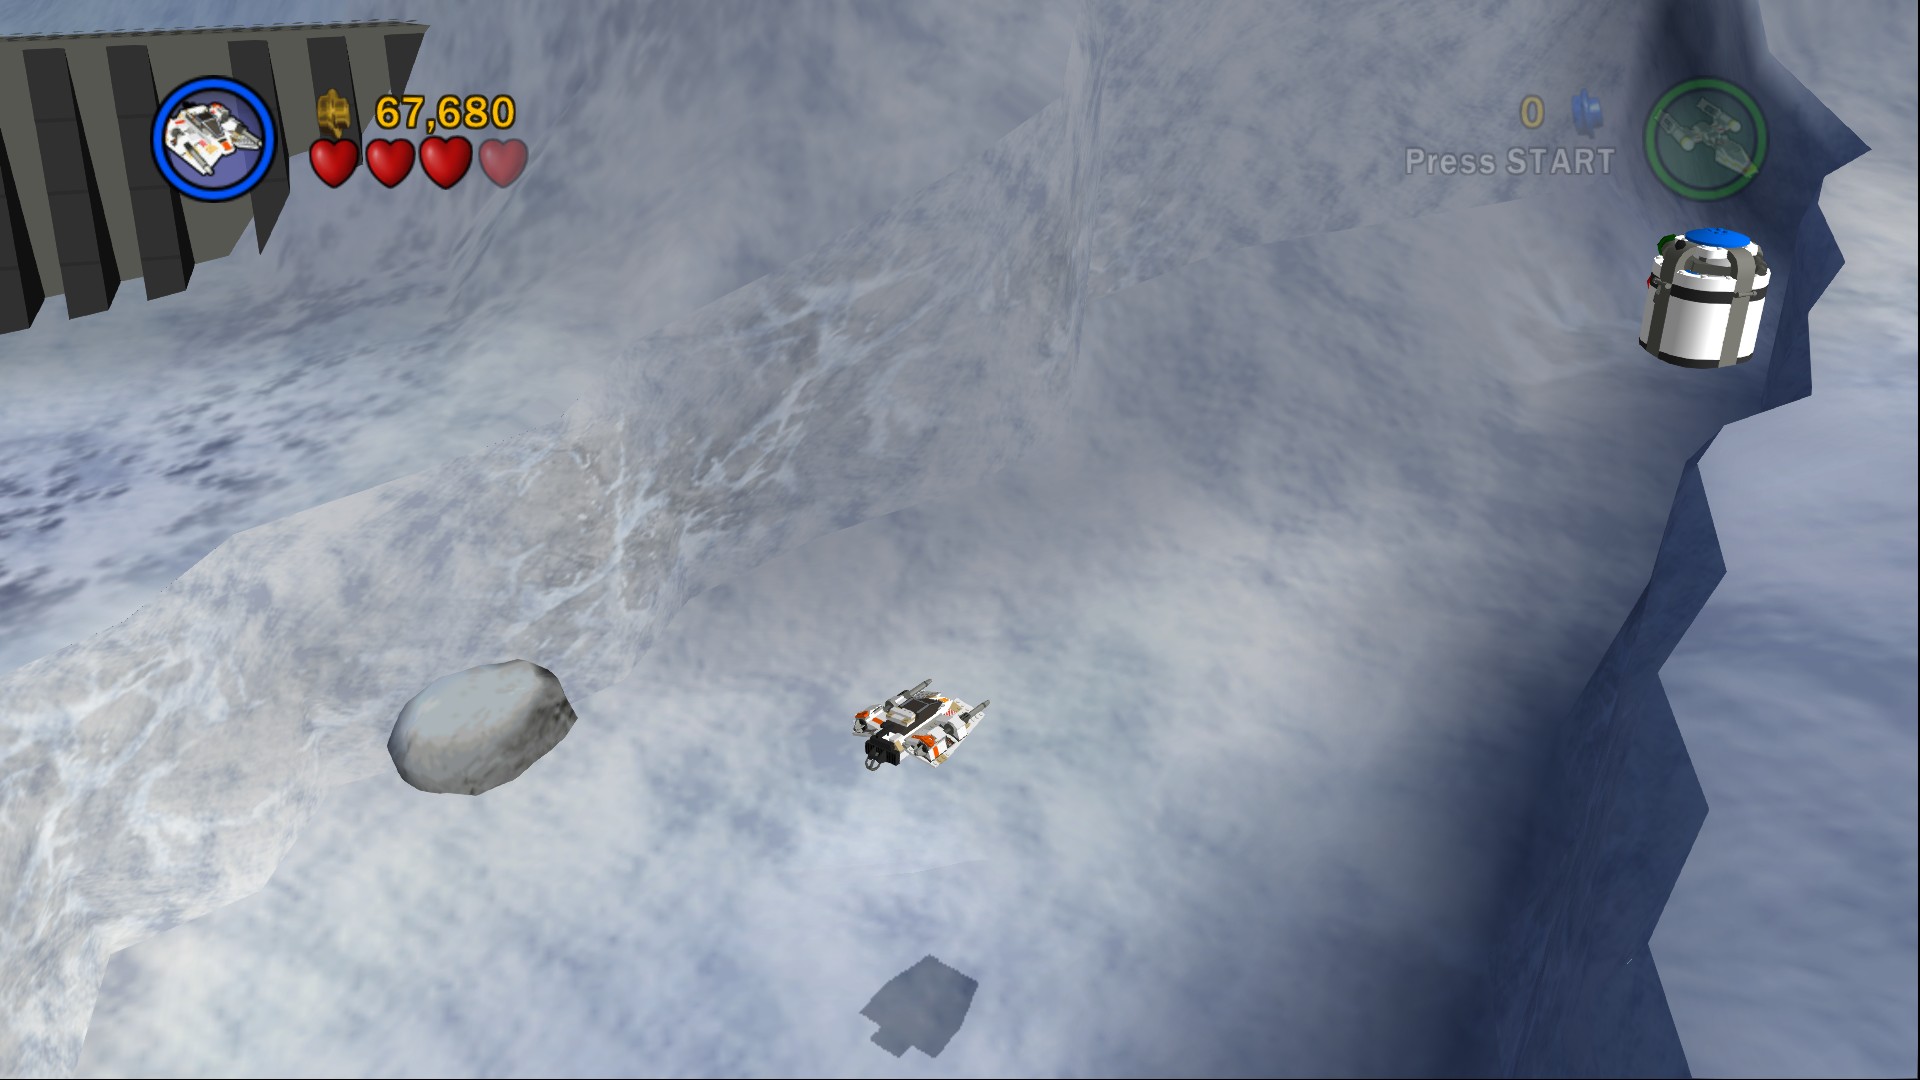
In the dip to the right just before the second black wall.
There's a second black wall at the far end to blow up with another rolling bomb, once you've smashed through that head on through to the final area of the chapter.
Minikit 9/10
Requires: None Story Mode: Yes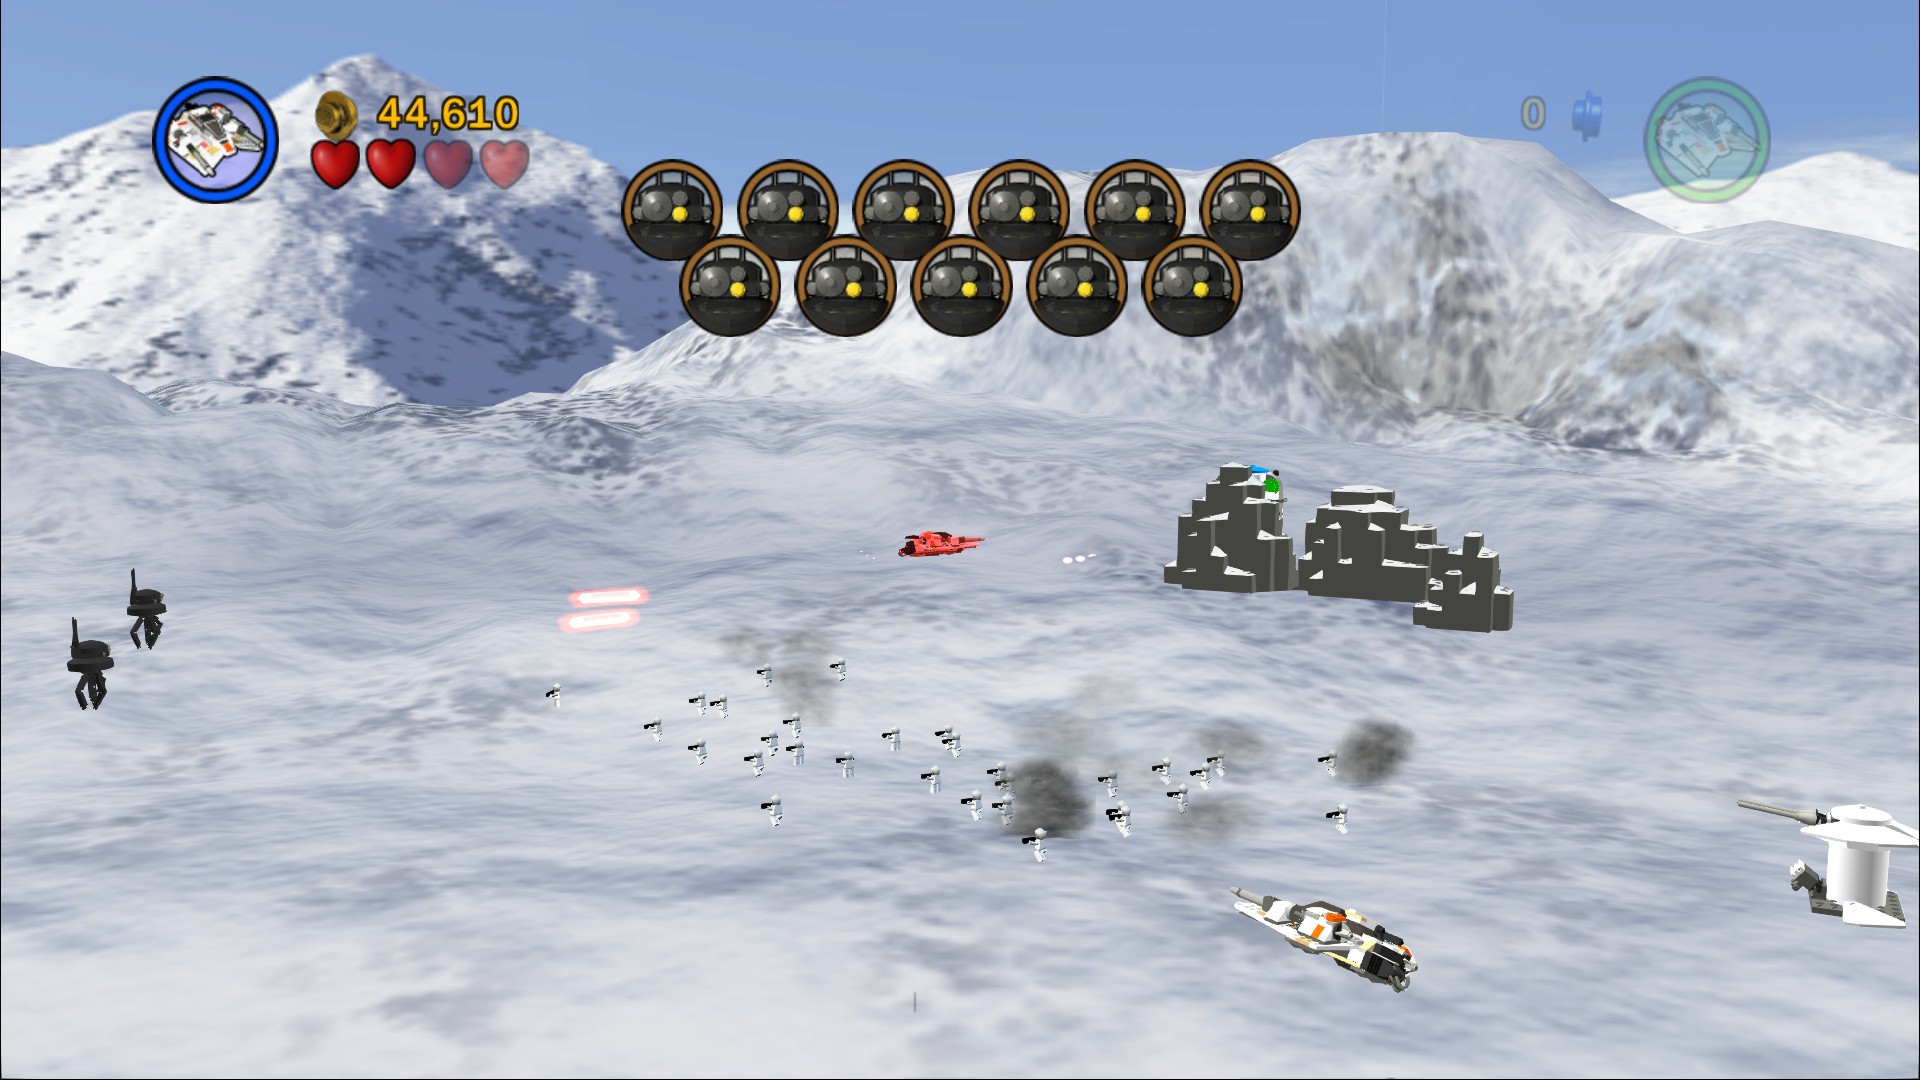
Behind the rocks to the right at the start of the final area.
Minikit 10/10
Requires: None Story Mode: Yes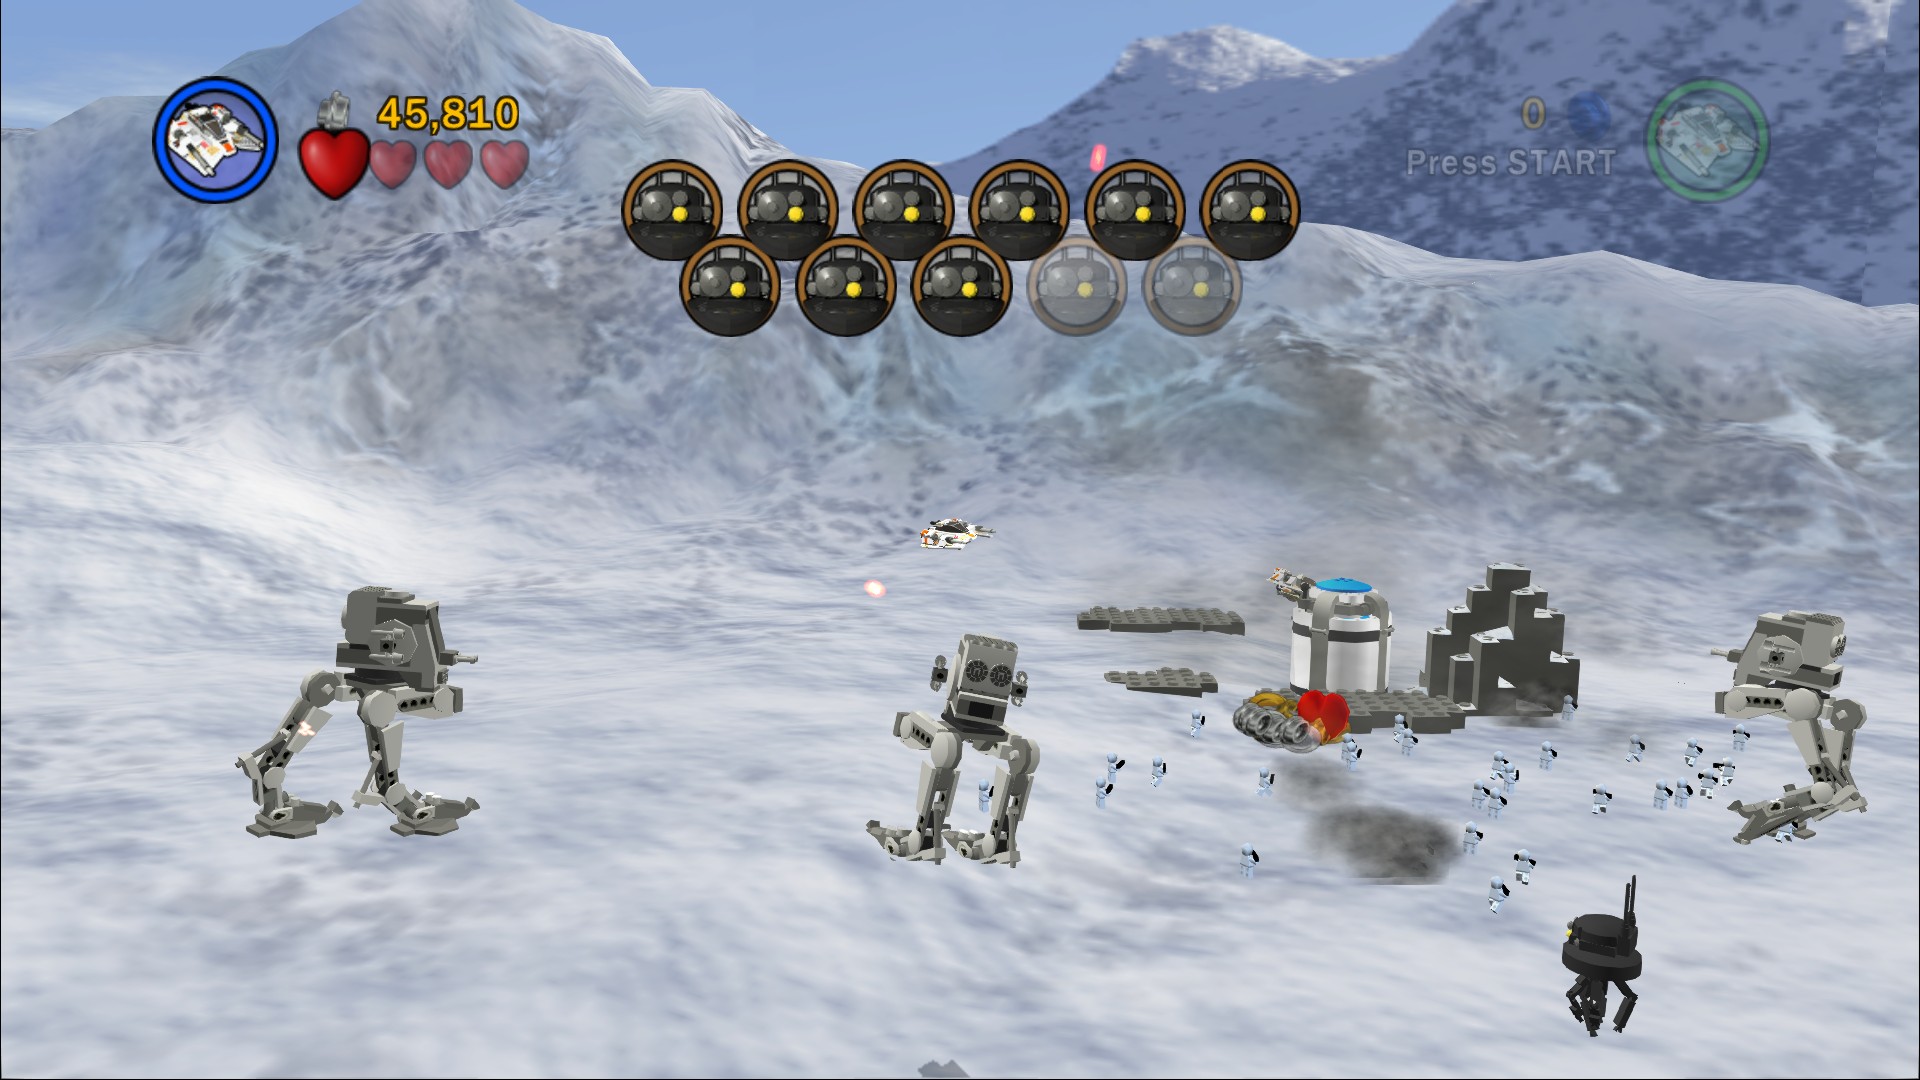
Behind some rocks on the opposite side of the final area.
In the final area you first have to shoot down a load of probes, then a bunch of AT-STs will walk in for you to destroy, and then two AT-ATs - remember to finish them off you use the rolling bombs after you've tripped them. After those will be four probes, six AT-STs and another AT-AT to finish the chapter.
AT-AT
 Based on set 4489
The only unlock for finishing this level is the Snowspeeder.
Chapter 2
Escape From Echo Base
Imperial forces have mounted a relentless assault on the Rebel base on Hoth. The Rebel fighters have held out bravely, but the enemy is overwhelming.
In the Echo base command center, carved deep into the ice of the frozen planet, Han Solo and Princess Leia monitor the evacuation of Rebel personnel.
But as stormtroopers breach the outer defences, they must quickly find an escape route for themselves....
| Story Mode | Free Play |
|---|---|
| 40,000 | 80,000 |
Minikit 1/10
Requires: The Force Story Mode: No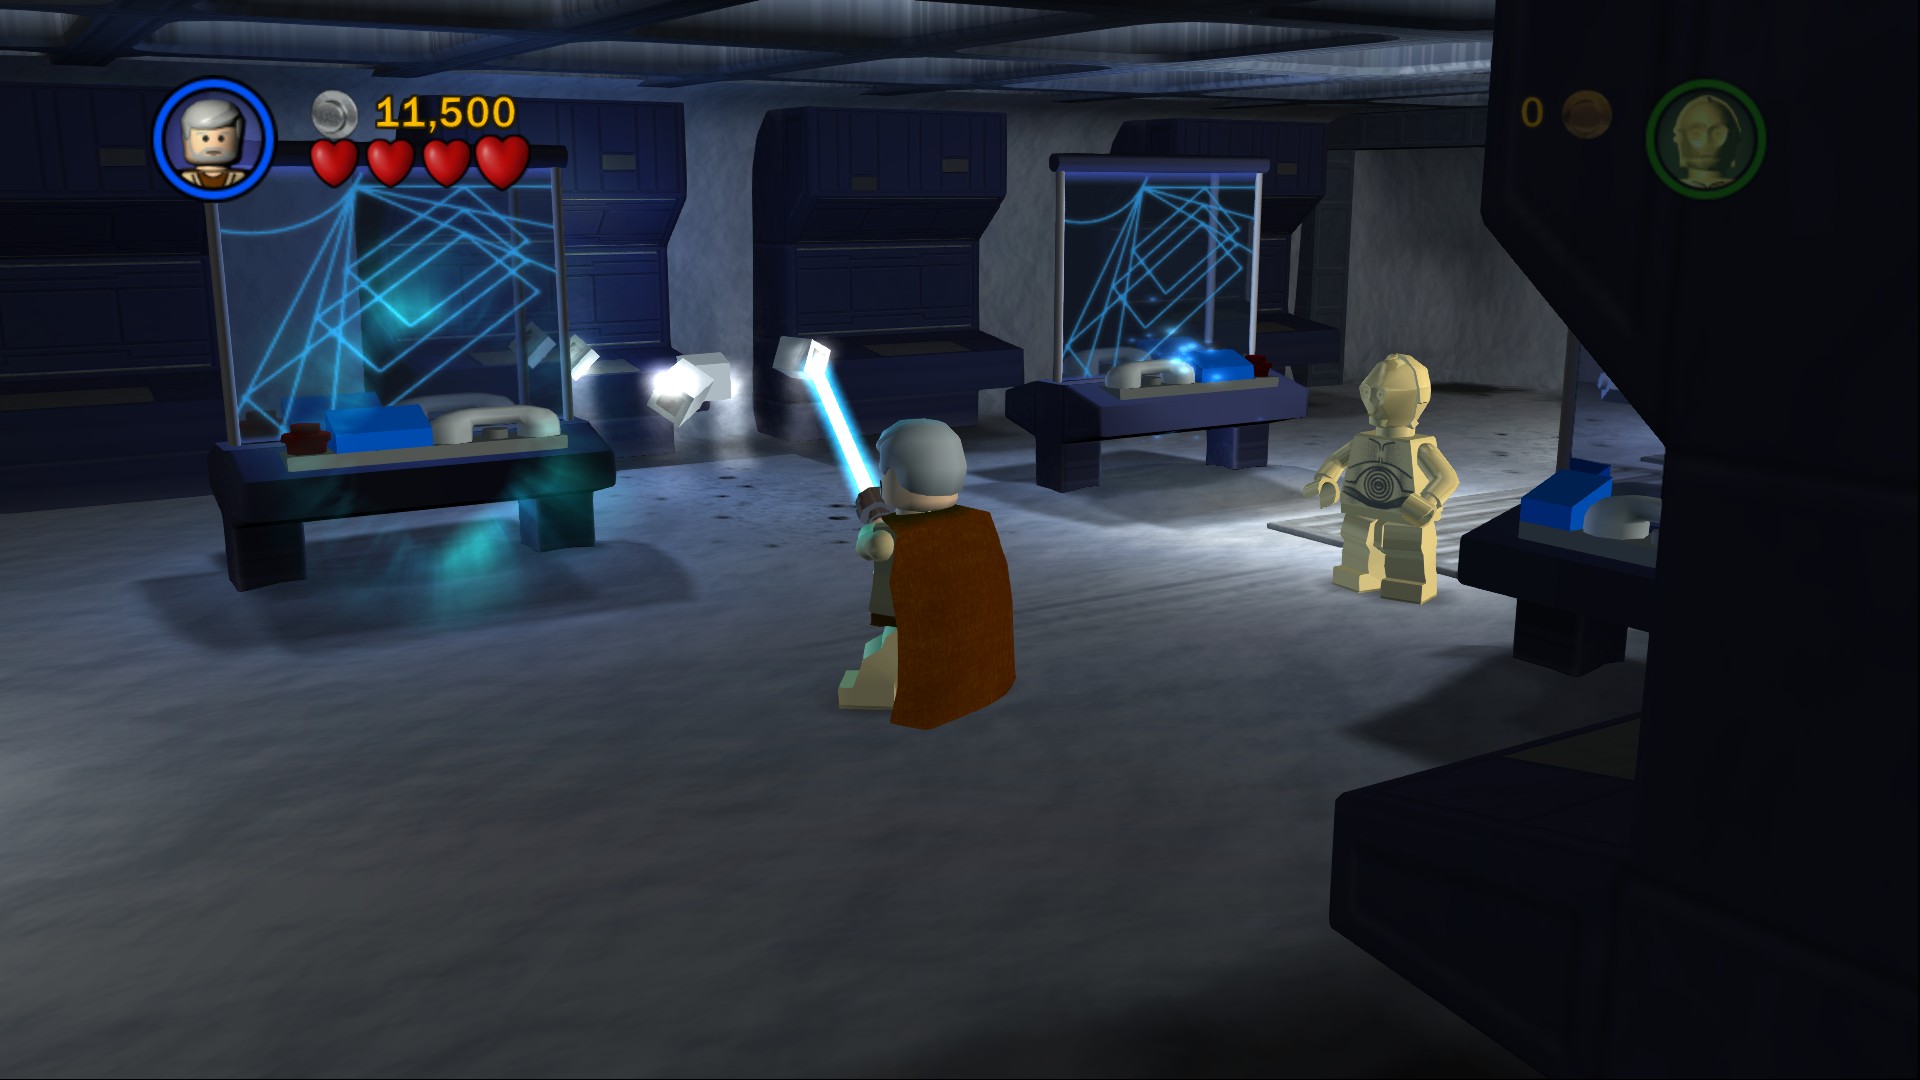
Use the Force on the four panels in this first room to get a Minikit.
Approach the door on the right side and some LEGO pieces will drop in, build them and then run away from the bomb that you've built as it'll explode very quickly. Now that the door's open go through. Shoot a few Snowtroopers and then build a heater, shoot it three times for it to melt the ice.
After shooting a couple more Snowtroopers in the next room push the object on the checkered path along so that it sits on the glowing red brick at the opposite end, that'll melt the ice blocking the next door.
After shooting the turret gun take the path to its right and blast through some crates.
Minikit 2/10
Requires: Jump Story Mode: Yes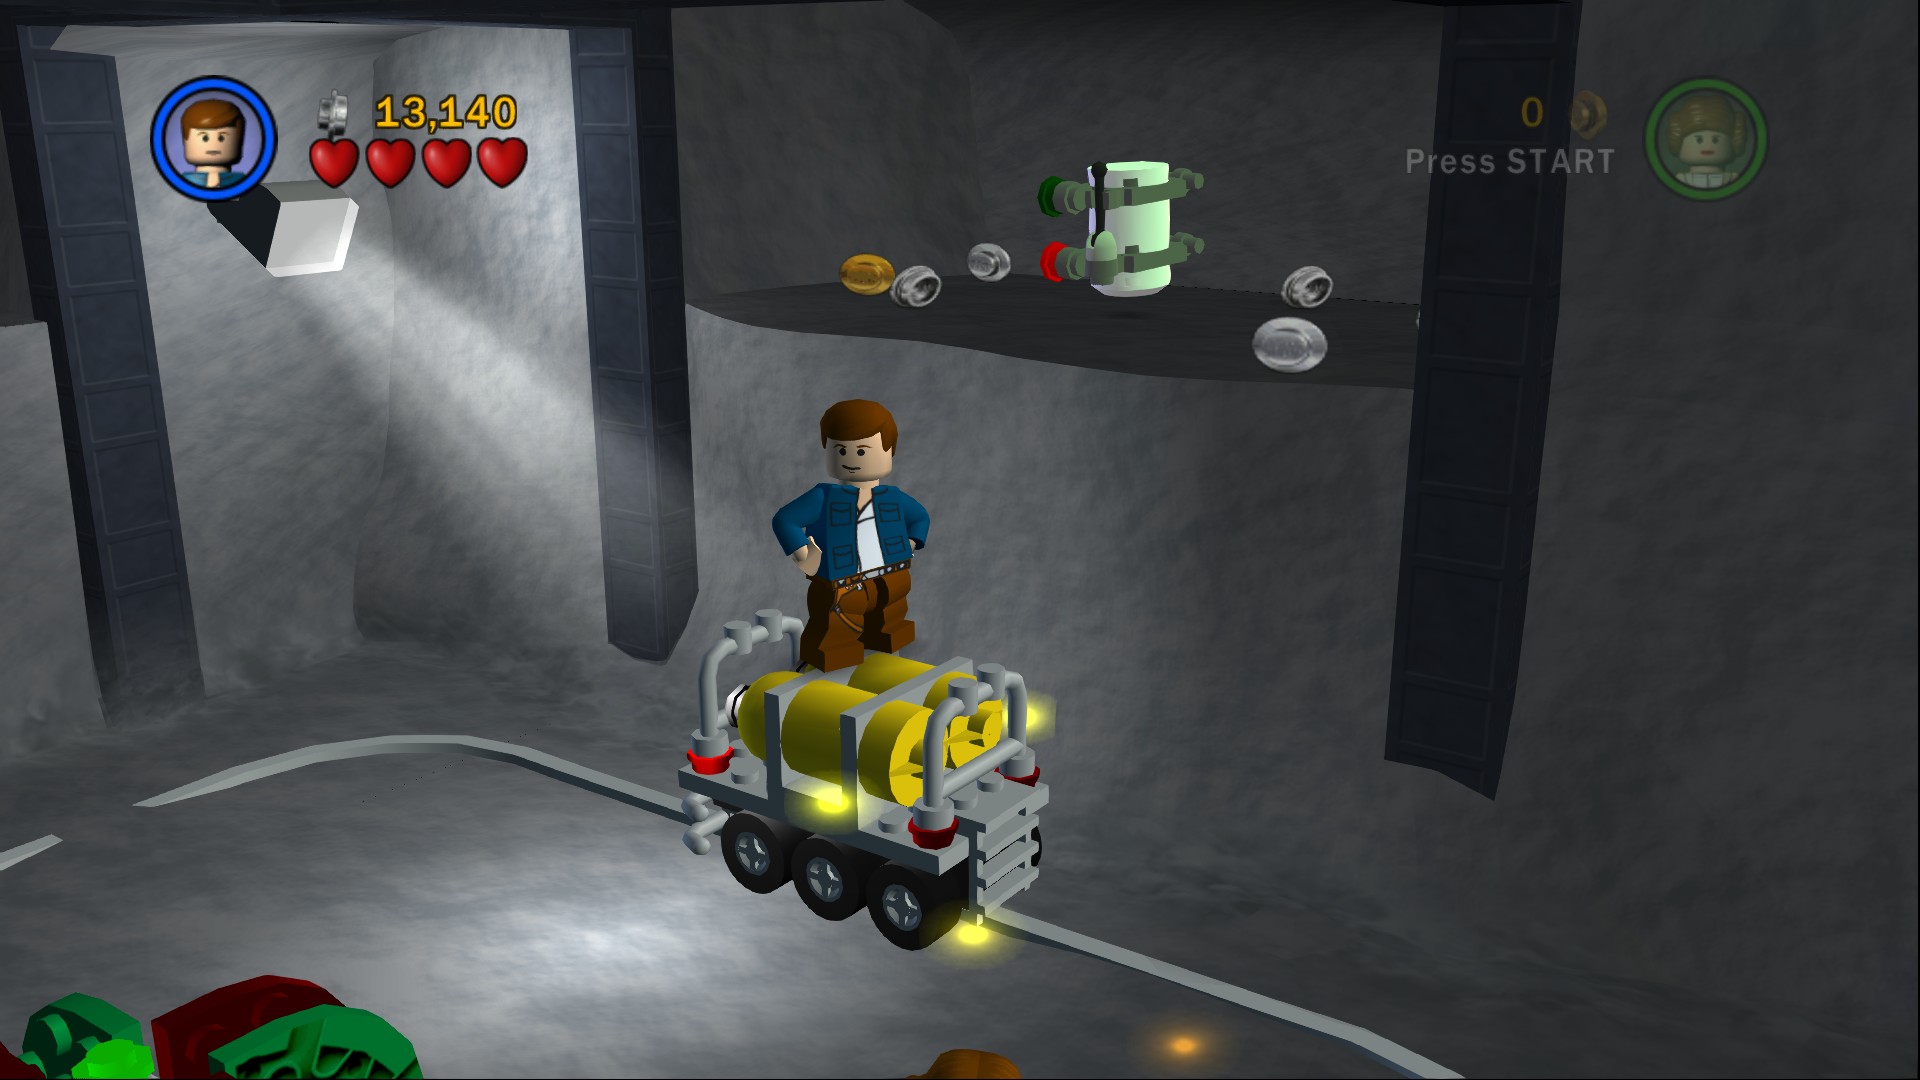
Build the cart and then jump onto it to ride it around until you can get to the Minikit.
With the rebuilt cart moving around the room push the turn switch to redirect it into the rocks in the corridor. Go through to meet up with C-3PO.
Minikit 3/10
Requires: Bounty Hunter Story Mode: No
Use a Bounty Hunter to blow up the Silver LEGO in here so you can build a couple of heaters to melt the ice. Build the two skeletons and then stand on one of the four buttons, the skeletons should run up to help you out.
Go back out into the corridor and rebuild the turret so you can use it to shoot the barrier at the back. Snowtroopers will attack while you're on it, once you've got rid of them use C-3PO to open the door.
After shooting all of the Snowtroopers at the back of the room move the crates into position to activate either of the two fans. Smash and build the vehicle in the centre of the room and drive near one of the active fans, C-3PO should drop down onto the back so you can drive him over to the back of the room. As soon as you get out of the vehicle C-3PO will be catapulted forwards so make sure to be facing the direction you want him to go.
Minikit 4/10
Requires: Double Jump Story Mode: No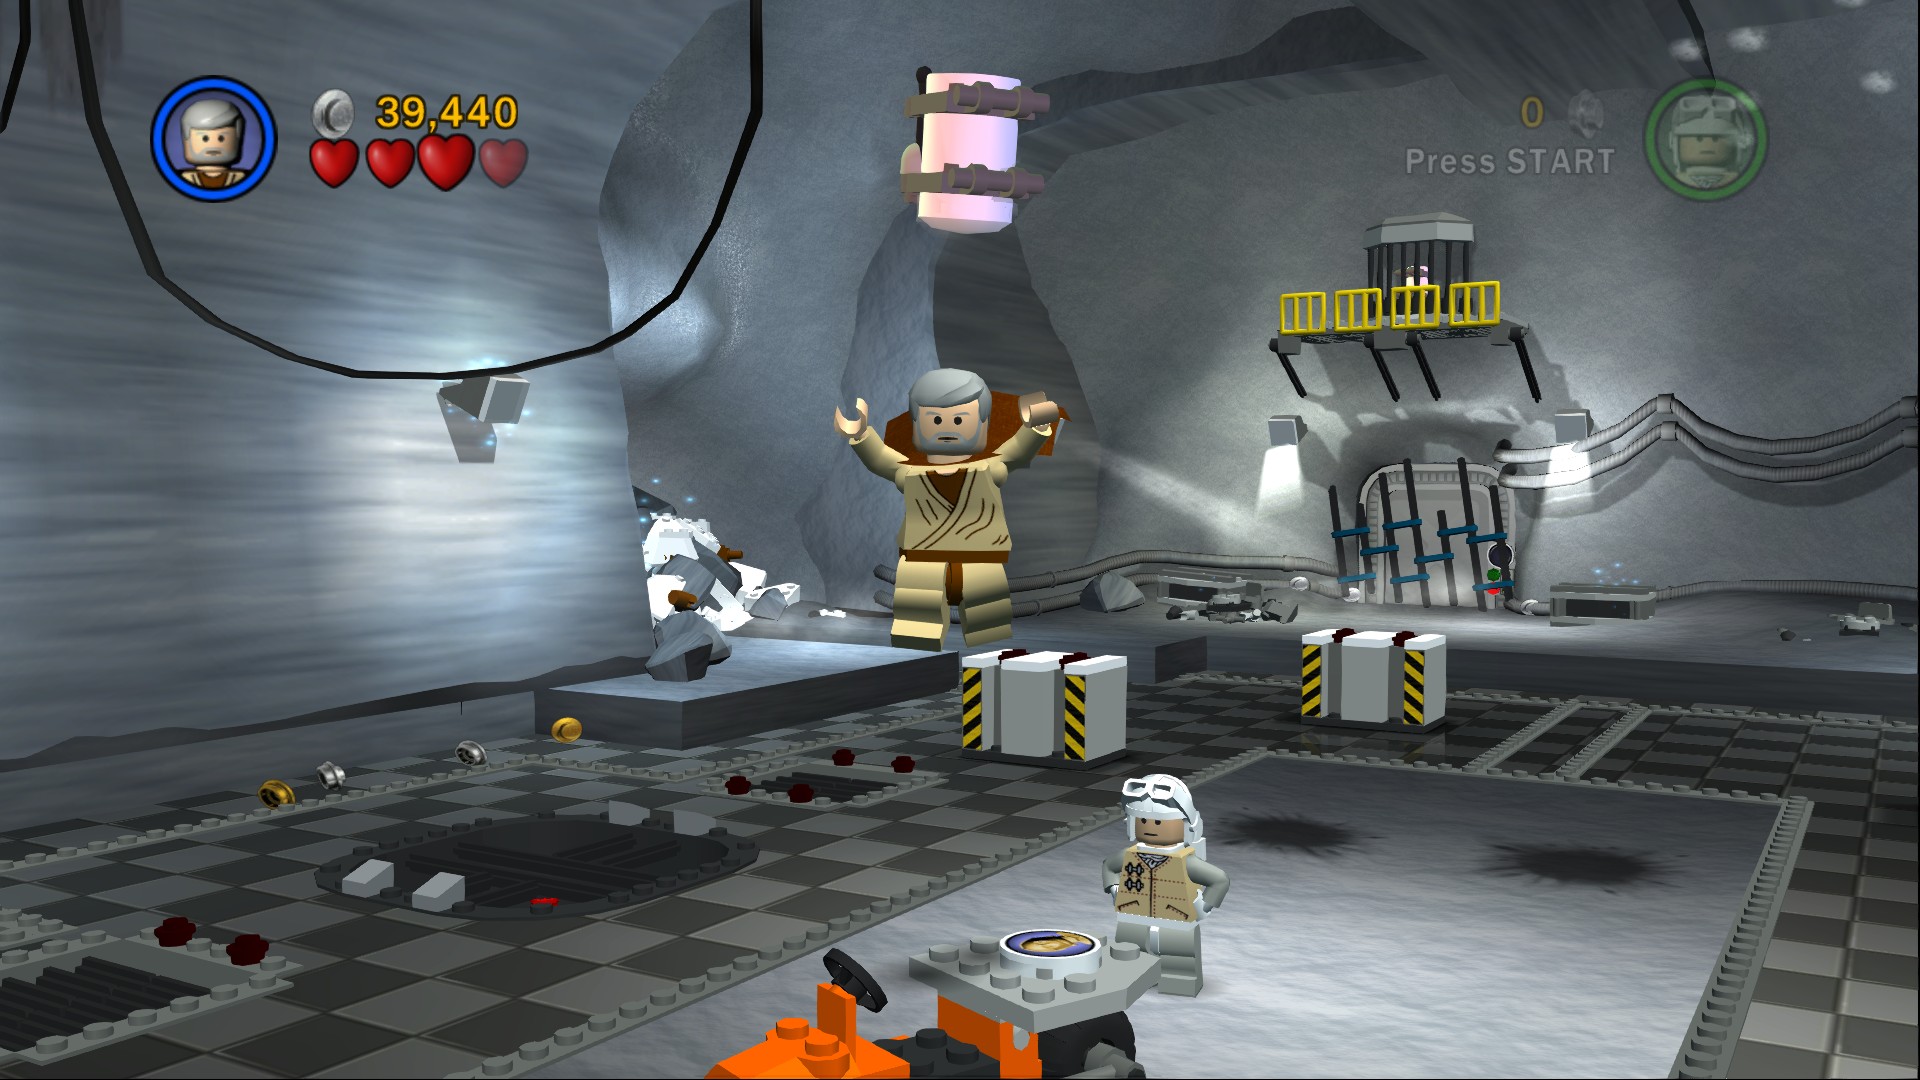
You can use the vehicle to double jump off in order to reach the Minikit in the middle of the room.
Minikit 5/10
Requires: None Story Mode: Yes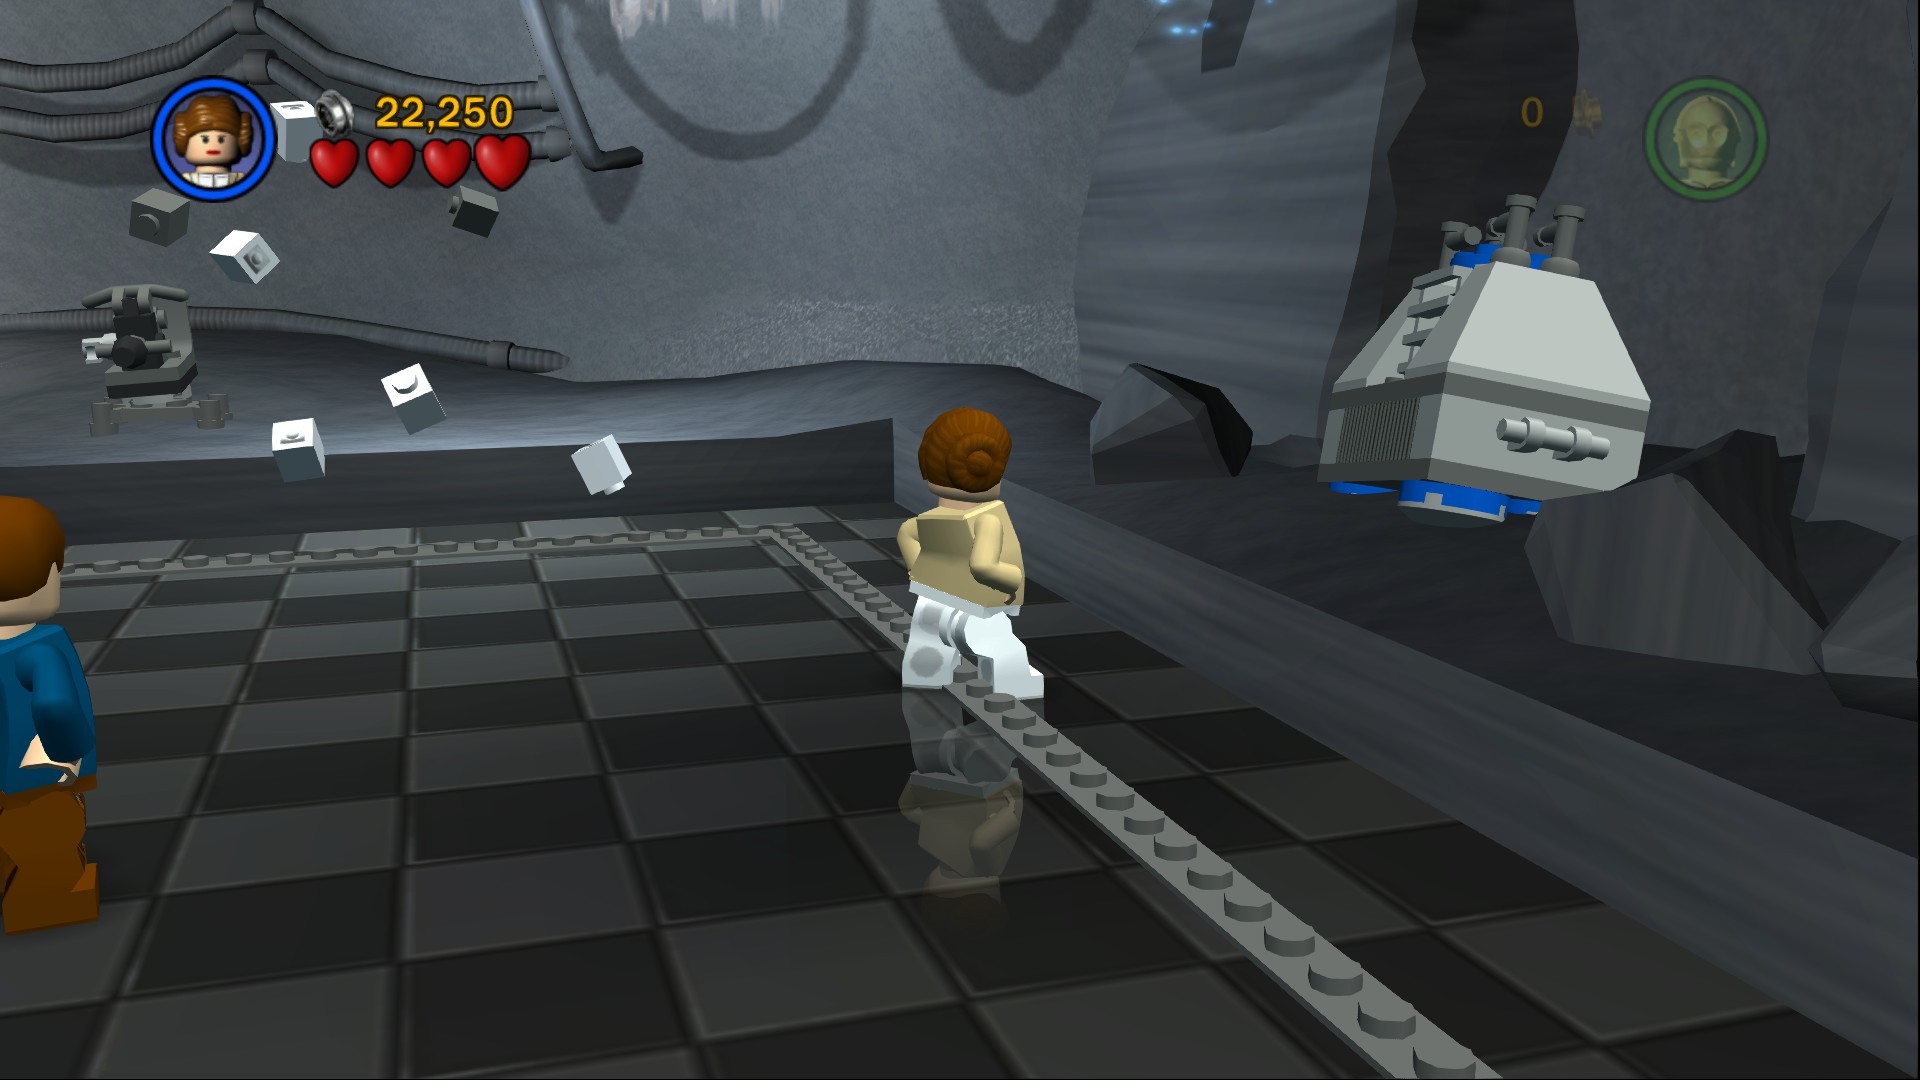
On the right side along the wall is an object that you can either blow up with a Bounty Hunter bomb or use one of the turrets to destroy (watch out for the Snowtroopers that appear while you're on it), once you've done so go into the gap behind where it was to find the Minikit.
Minikit 6/10
Requires: Astromech, The Force Story Mode: No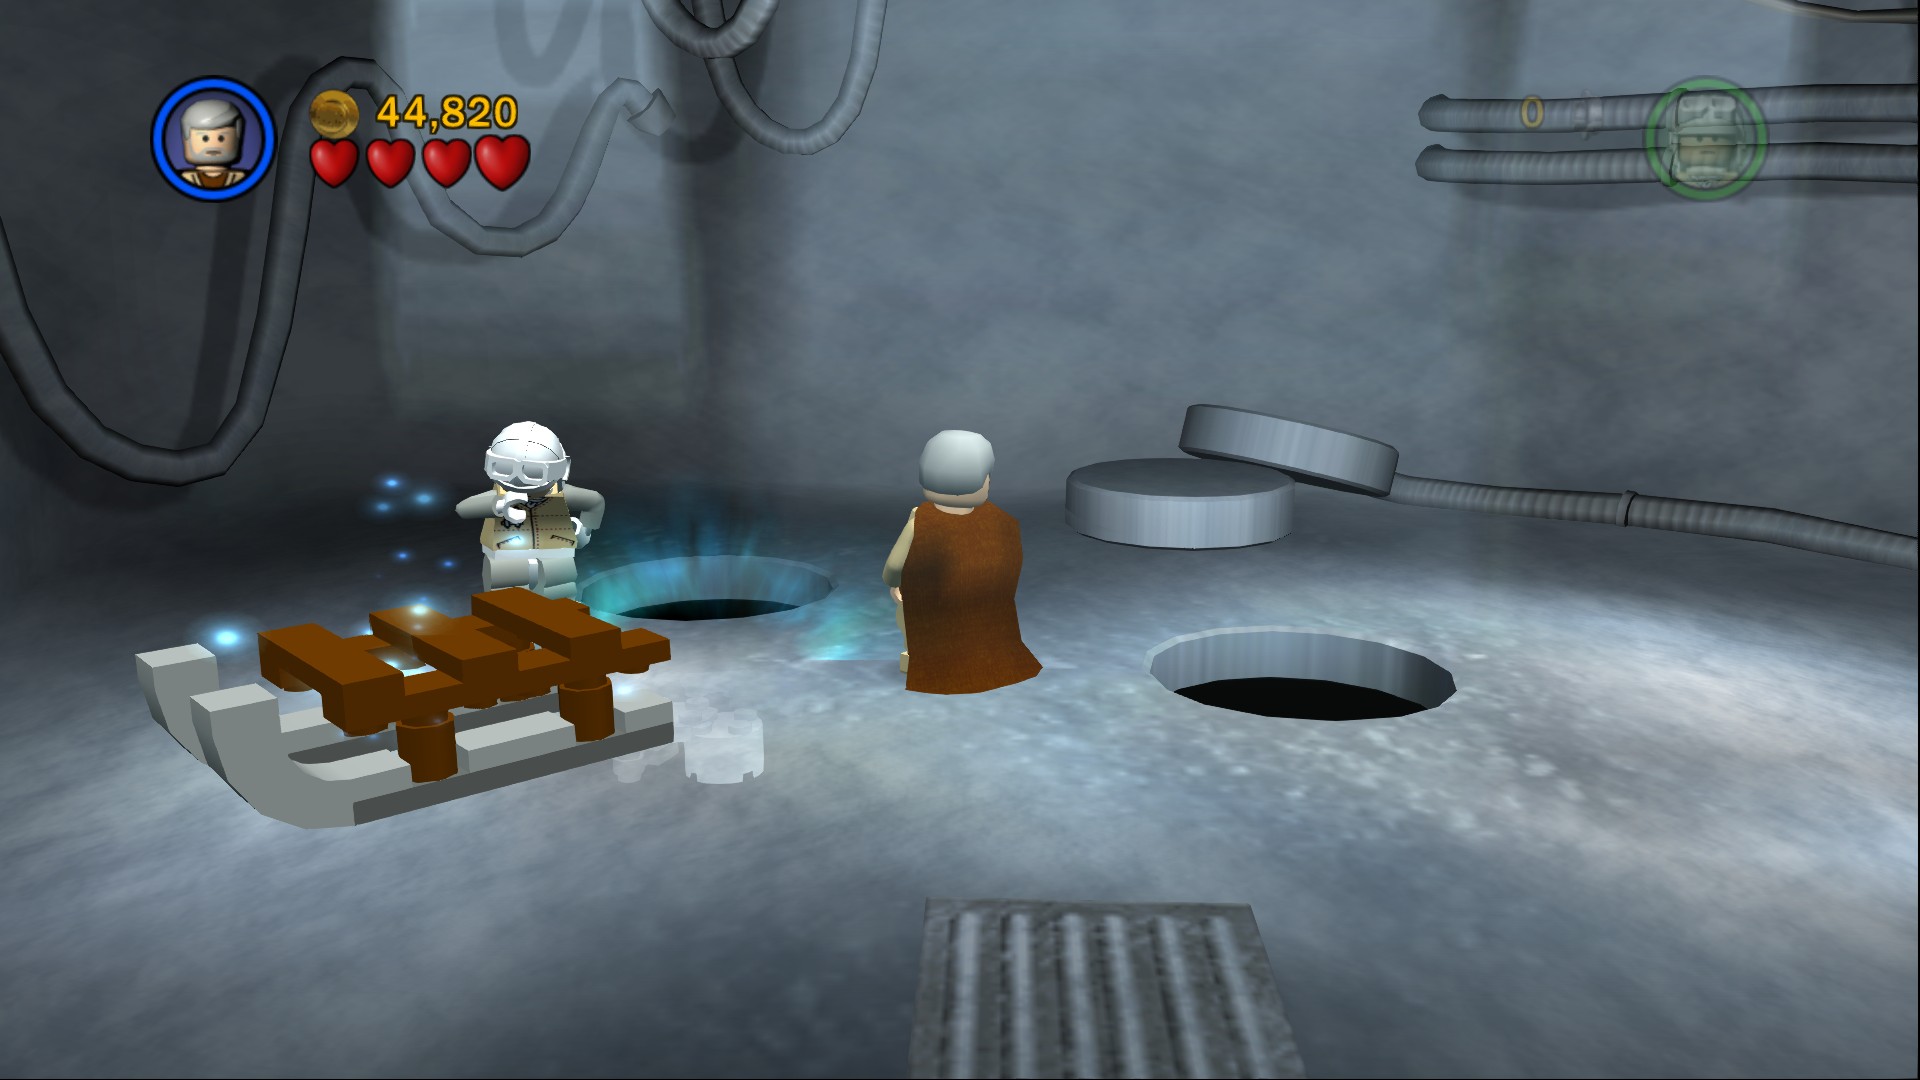
In the right corner towards the screen is an Astromech panel door, go through and shoot a few Snowtroopers before using the Force to build the Minikit out of one of the ice holes.
Minikit 7/10
Requires: Dark Force Story Mode: No
In Free Play stand on one of the glowing platforms near the exit and your partner will switch to a Jedi to lift you up. Use the Dark Force to open the cage the Minikit is locked inside.
Rebuild the turret and blow up the barrier, again Snowtroopers will attack while you're on the turret so shoot the barrier as quickly as you can and then get off. Build the Protocol Droid panel so that you can use C-3PO to move on.
Avoid the panels on the floor in the corridor as they'll fall away, build the bomb at the end and then step back to avoid getting hit. Go to the left and follow the path towards the screen where it'll curve around to the top of a slope with several buttons on it. Slide down the slope hitting as many buttons as you can, you can just go round and try again so no need to get them all in one go.
The C-3PO door in here leads to a Double Score Zone.
Minikit 8/10
Requires: Bounty Hunter Story Mode: No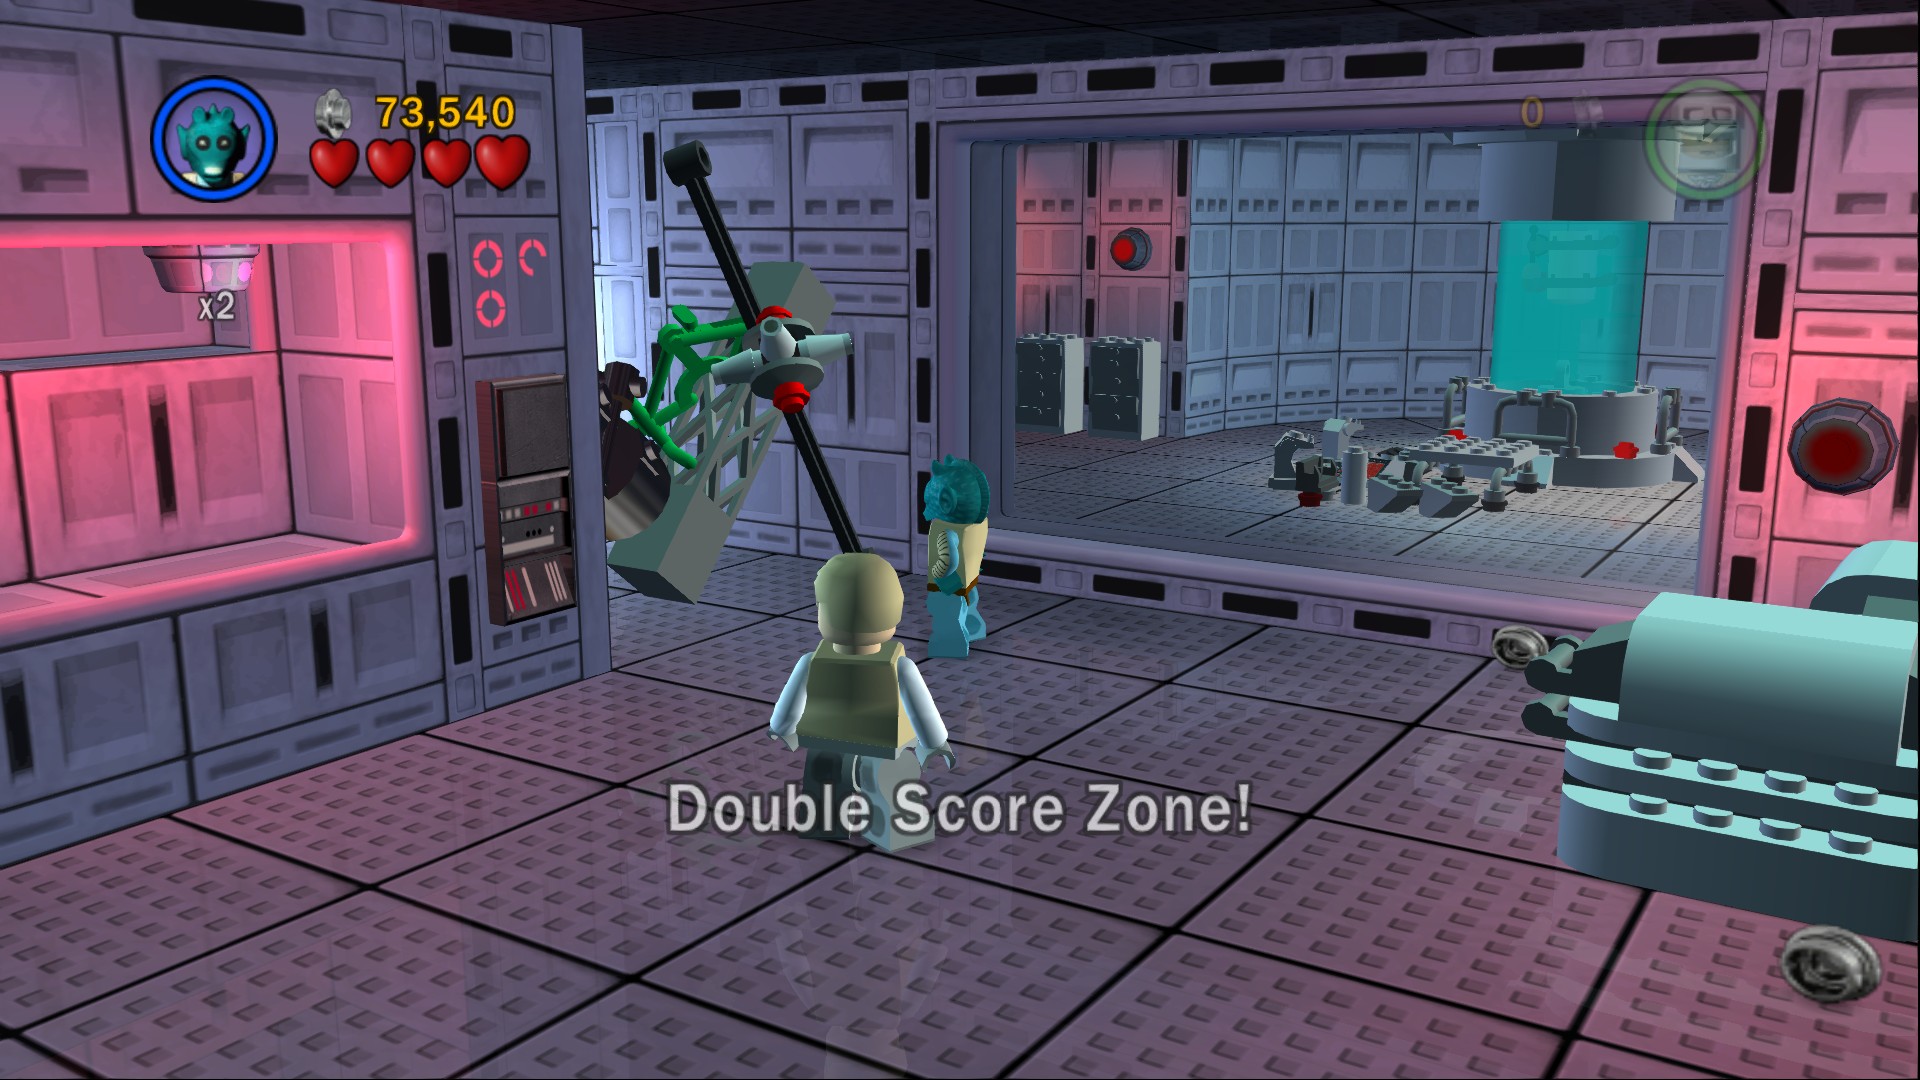
Use a Bounty Hunter to blow up the Silver LEGO blocking the way then go through and build the machine to free the Minikit.
Push one of the crates so that it sits on one of the buttons, then have all three characters stand on the others (you'll need to move two crates in Free Play).
Minikit 9/10
Requires: Dark Force, Grapple, Hatch Access Story Mode: Yes/No
Use the Dark Force on the sides of the slippery corridor to the left to form a path. After the Snowtroopers go to the left and grapple up. Use a small character to crawl to the Minikit.
Minikit 10/10
Requires: Dark Force, Astromech Story Mode: Yes/No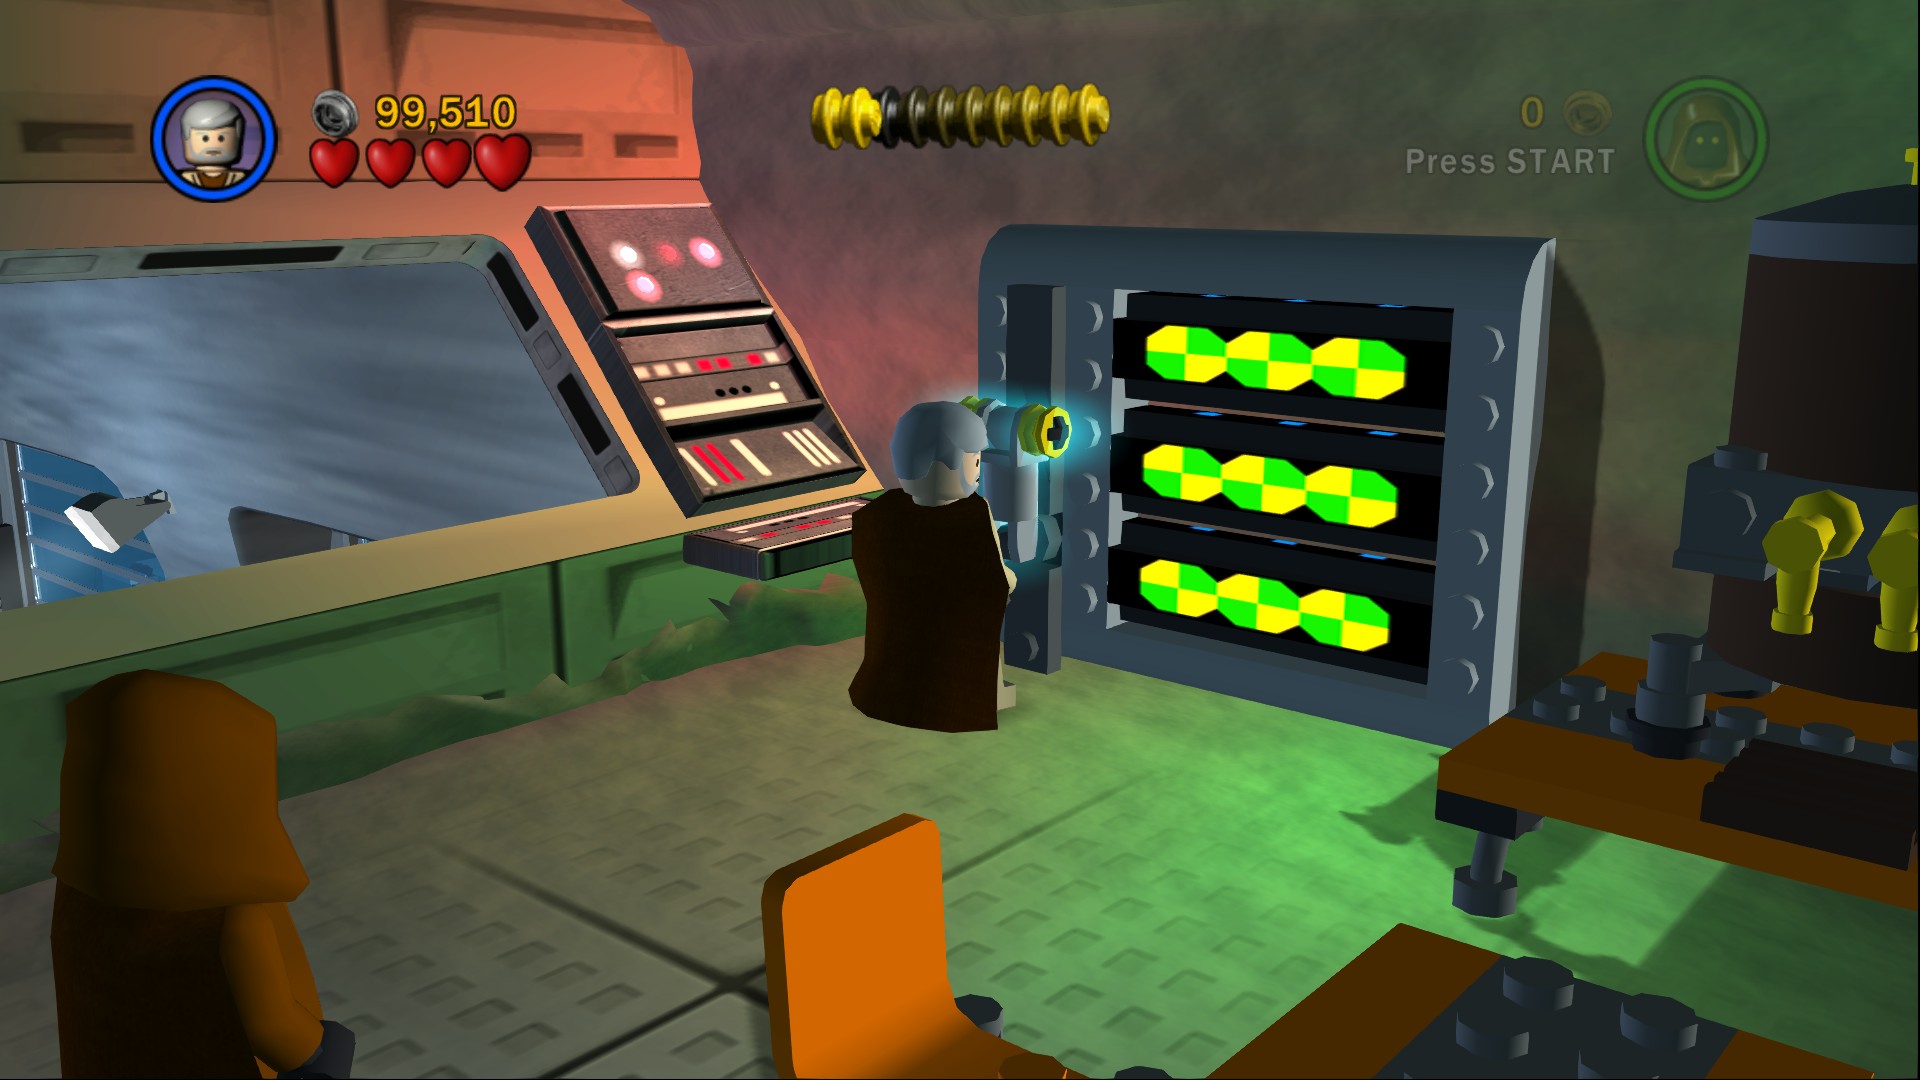
Still up the Dark Force path there's an Astromech panel to the right at the top. Pull the lever on the right side until it comes up with the yellow and green circles, that'll open up a gate in the room below.
Red Brick (Fast Build)
Requires: Dark Force, Astromech Story Mode: No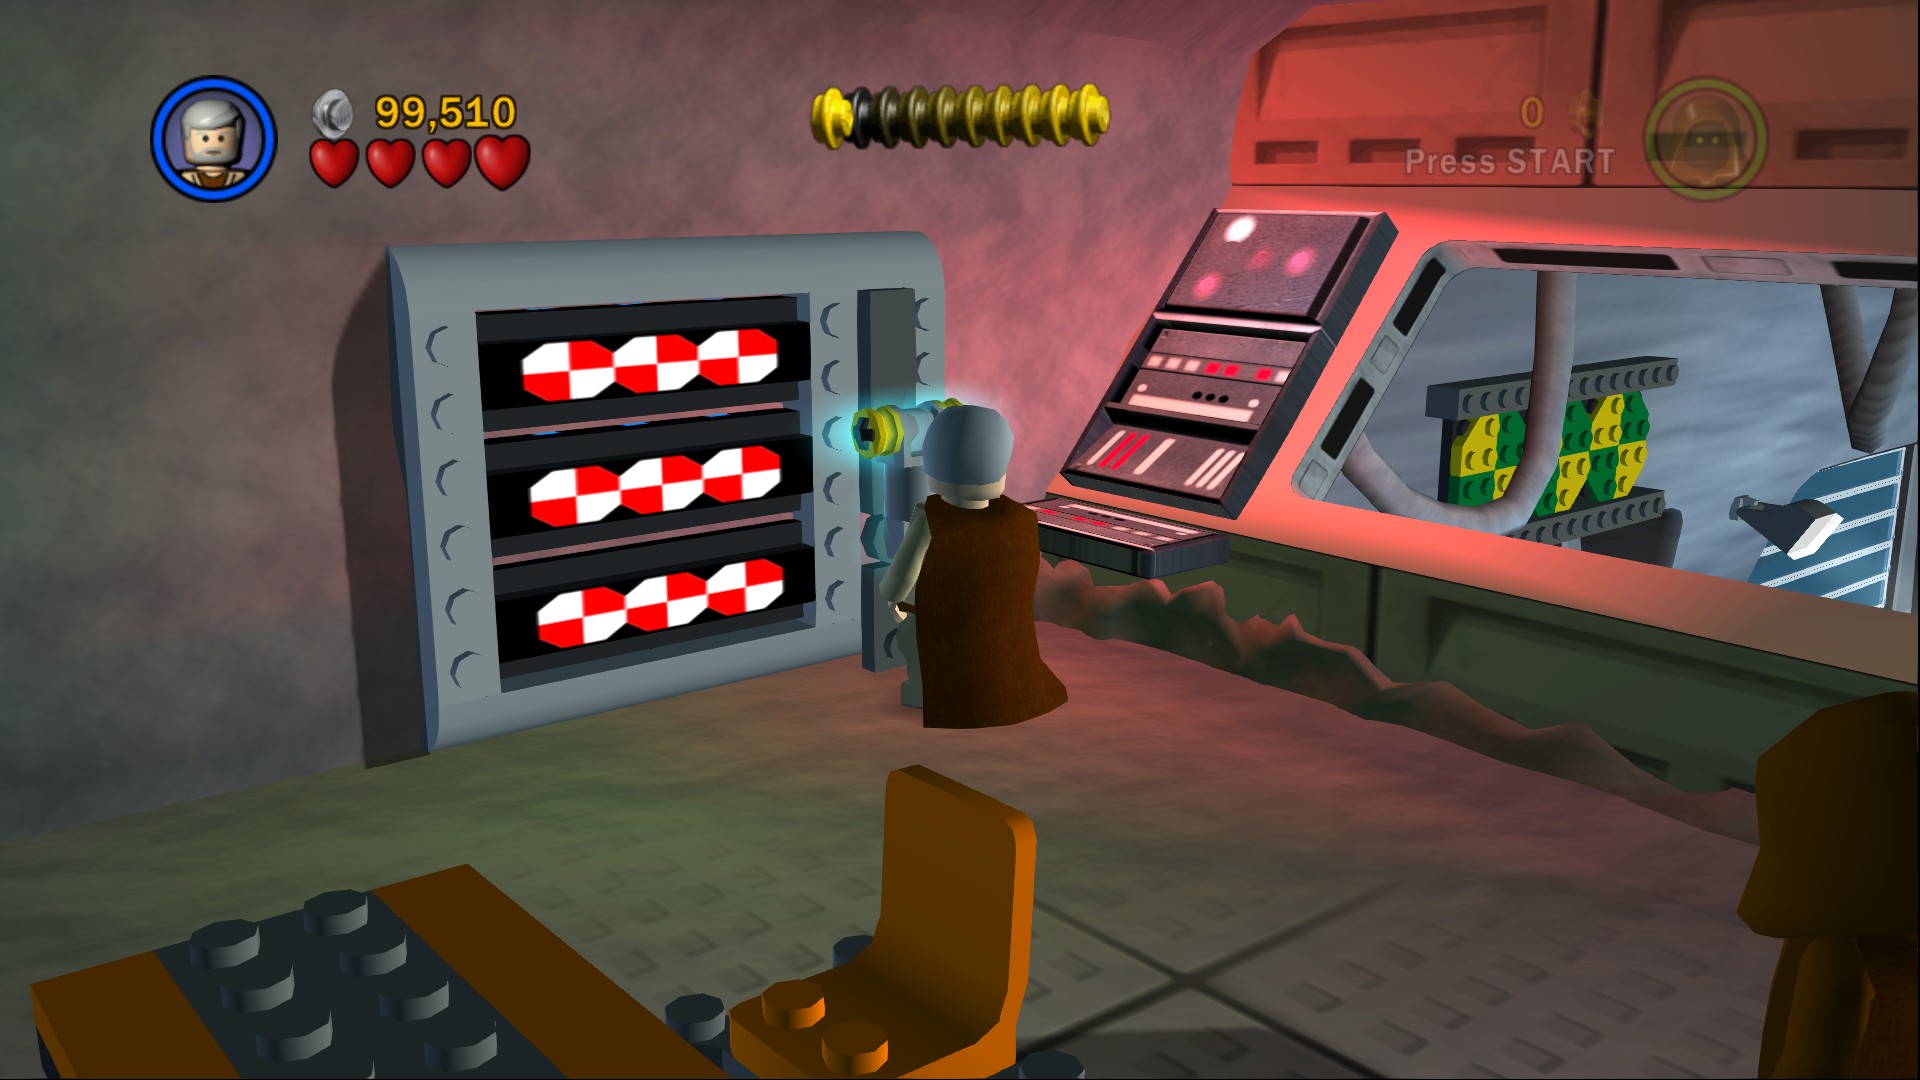
And on the left side of the same room is another lever, pull this one until it shows red and white circles to open another door in the room below, behind that one is the Red Brick.
Go back down the slope and through to the final room, there are several Snowtroopers and a couple of turrets to take care of.
On the right side of the room pull a pair of levers to open up a door with a couple of crates behind it, push them over to the left side of the room to release a couple of Tauntauns.
Rebuild the two turrets and use them to shoot the sides of the forcefield blocking your way to the Falcon. A few waves of Snowtroopers will try to stop you but just keep it up and you'll eventually smash it down. Use one of the Tauntauns to get up on top of the Millennium Falcon so you can fix the gun, jump down and fix the door to open it up so you can get in and fly away.
Snowspeeder
 Based on set 4486
This will unlock the Hoth variants of Han and Leia and add a load of Hoth themed characters to the shop.
| Cost | Character | |
|---|---|---|
| 20,000 | Han Solo (Hood) | |
| 16,000 | Rebel Trooper (Hoth) | |
| 15,000 | Rebel Pilot | |
| 16,000 | Snowtrooper | |
| 14,000 | Luke Skywalker (Hoth) |
Chapter 3
Falcon Flight
Led by the evil Darth Vader, Imperial forces have overrun the Rebel base on the ice planet Hoth.
Having bravely stalled the enemy advance, Luke Skywalker has made his escape by X-wing fighter.
And as the last Rebel transports lift off from the planet, Han Solo in the Millennium Falcon engages the Imperial ships above....
| Story Mode | Free Play |
|---|---|
| 50,000 | 60,000 |
We begin this next vehicle based level in an area with four large Star Destroyers sitting still shooting at us while also sending out TIE Fighters.
Minikit 1/10
Requires: None Story Mode: Yes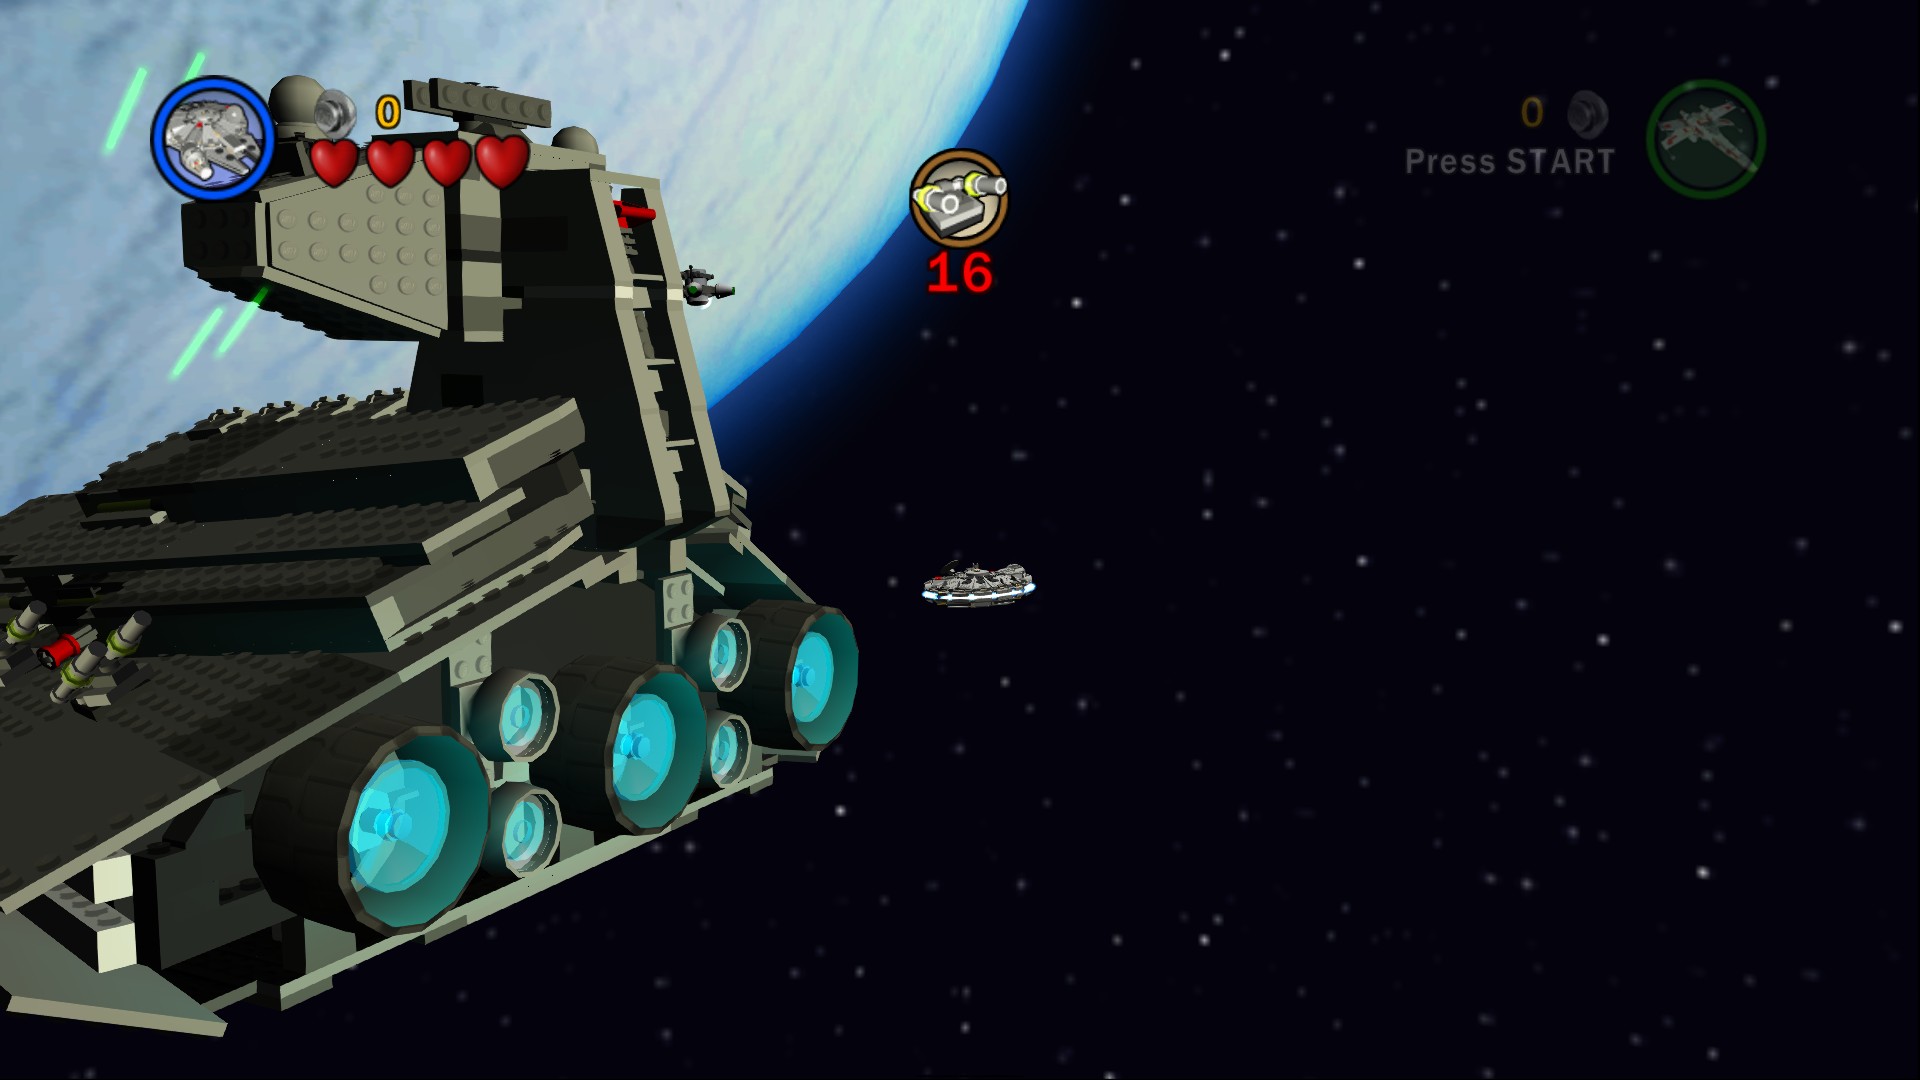
On the right side of the control tower of the first Star Destroyer on the right.
Red Brick (Score x4)
Requires: None Story Mode: Yes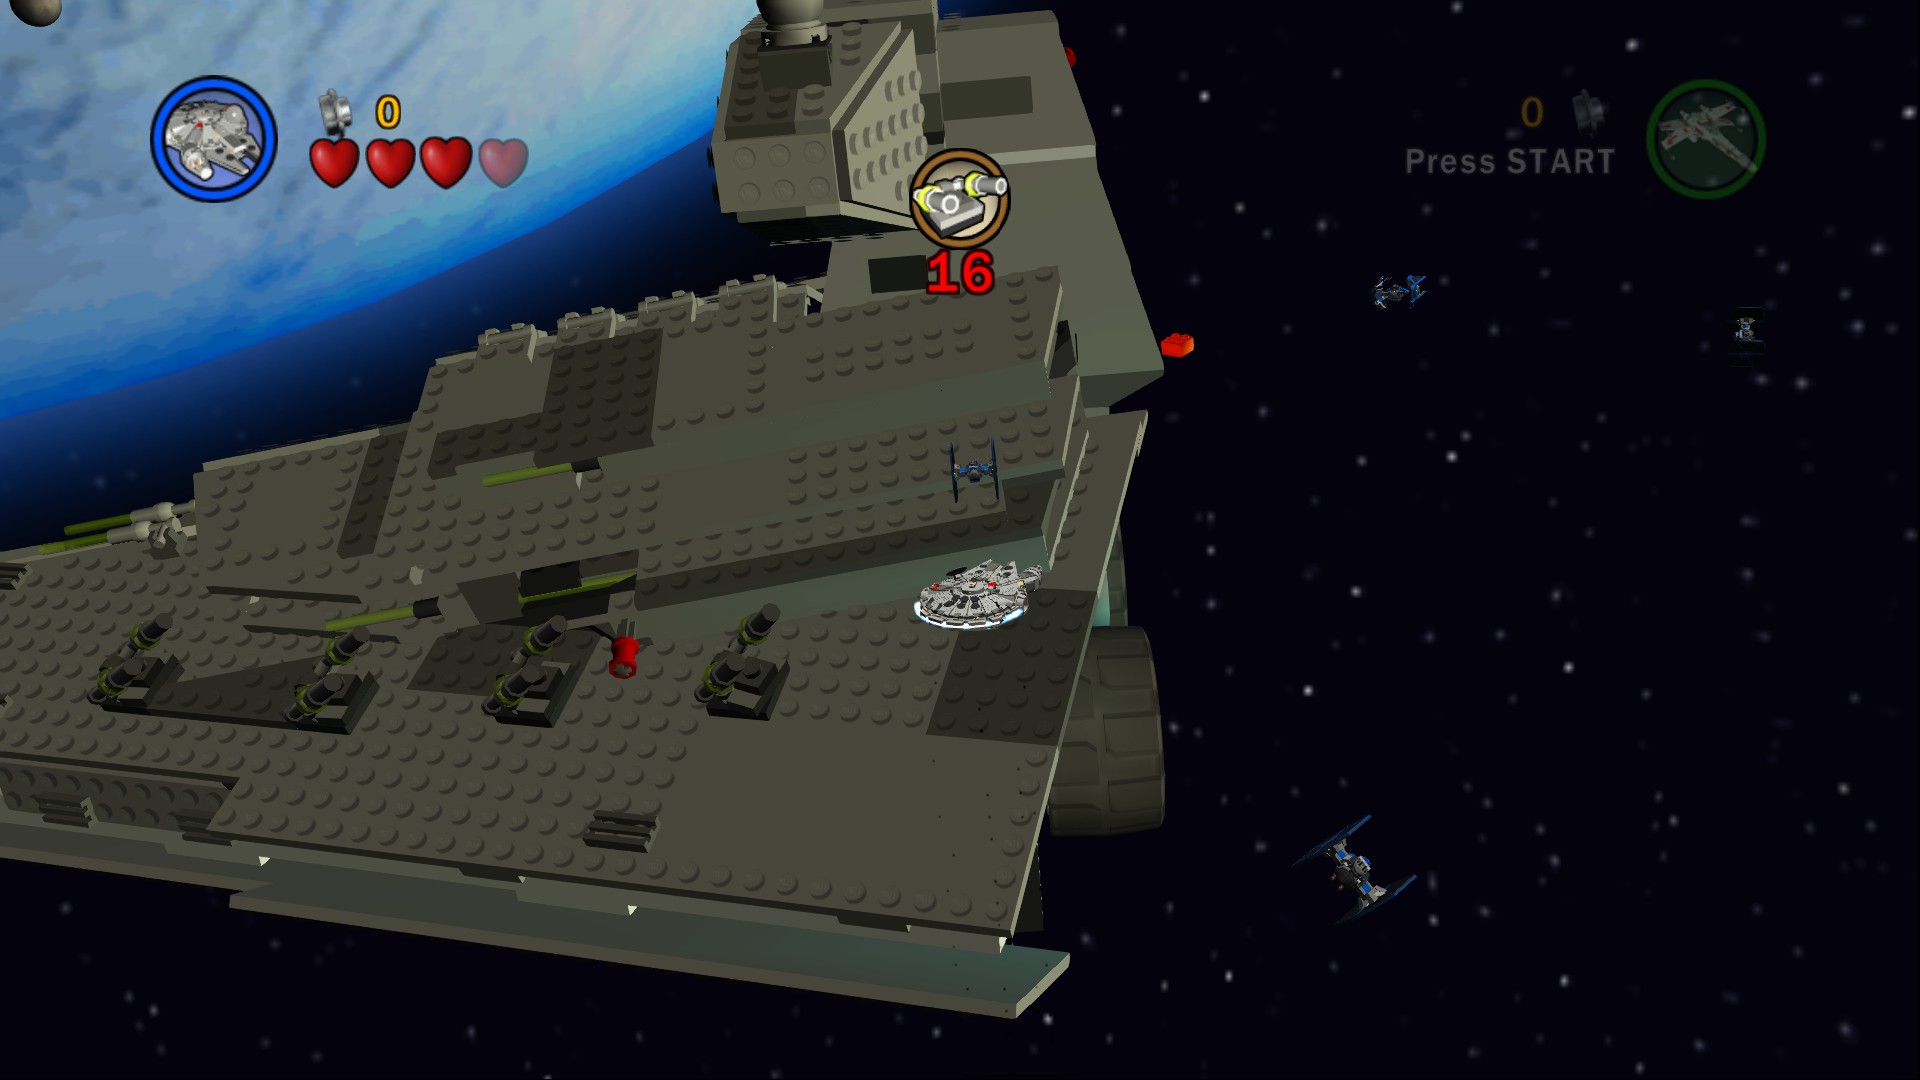
At the back of the second Star Destroyer from the right.
Your task here is to shoot the four turrets on each of the four Star Destroyers, fly close to them and just keep shooting - don't worry too much about the TIE Fighters. Once all sixteen are destroyed you'll a few moments later be whisked off to the next section of the level.
The next area is filled with asteroids, you can shoot the ones with blue markings on them to get studs and extra torpedoes. Be careful of the rock that gets thrown free as it'll damage you if you bump into it.
Minikit 2/10
Requires: TIE Fighter, Snowspeeder Story Mode: No
In a TIE Fighter only area along the left side, drag a rolling bomb to the left to blow up a red marker and reveal the Minikit.
Minikit 3/10
Requires: TIE Fighter, Snowspeeder Story Mode: No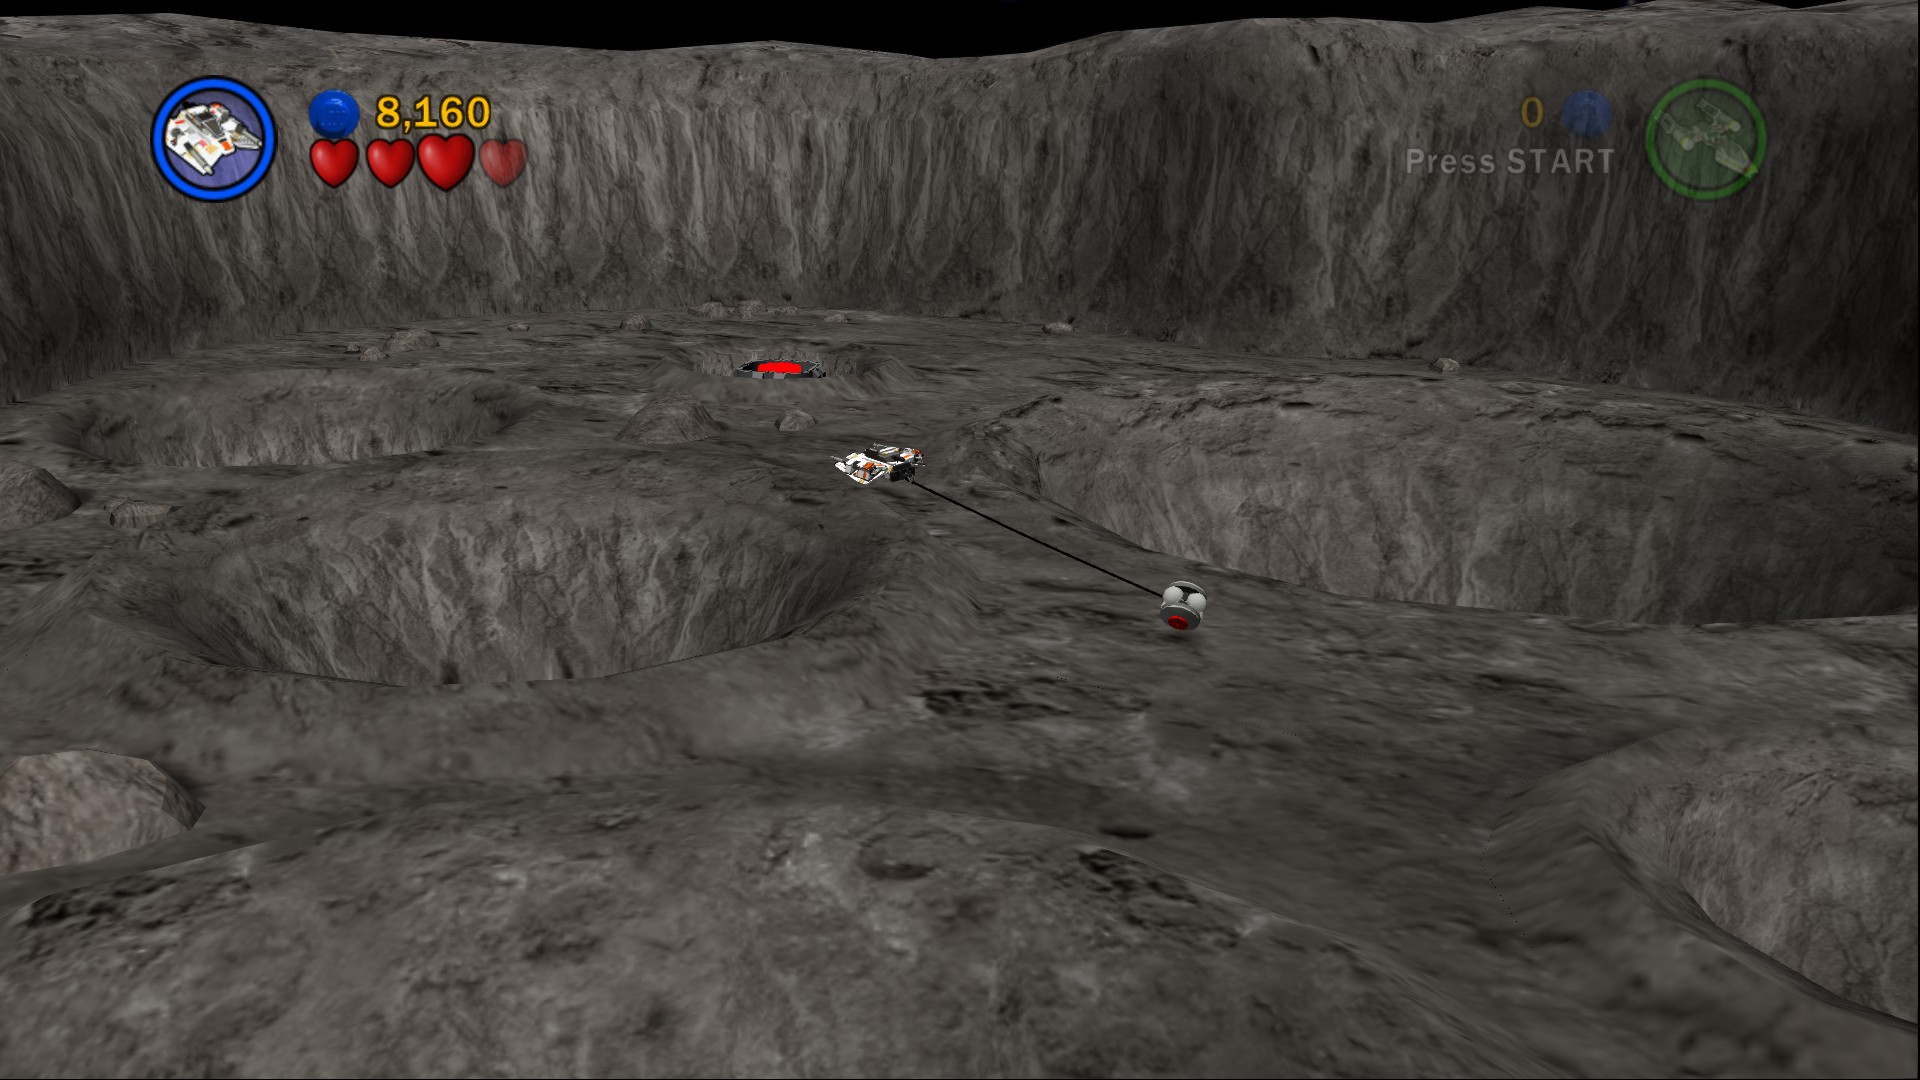
In the same TIE Fighter area drag another rolling bomb over to the right side to find a second Minikit in here. This one's a little trickier to blow up thanks to the large craters around it that the bomb might roll into.
Minikit 4/10
Requires: None Story Mode: Yes
Along the left side just before the blocked up tunnel.
Keep going straight forwards until you get to a tunnel blocked up with pink asteroids, these require you to fire torpedoes at them to blow them up (which you can get from any nearby blue asteroid). Blow up all four then fly through to the next section.
Minikit 5/10
Requires: None Story Mode: Yes
Along the right side about halfway towards the other end.
Minikit 6/10
Requires: None Story Mode: Yes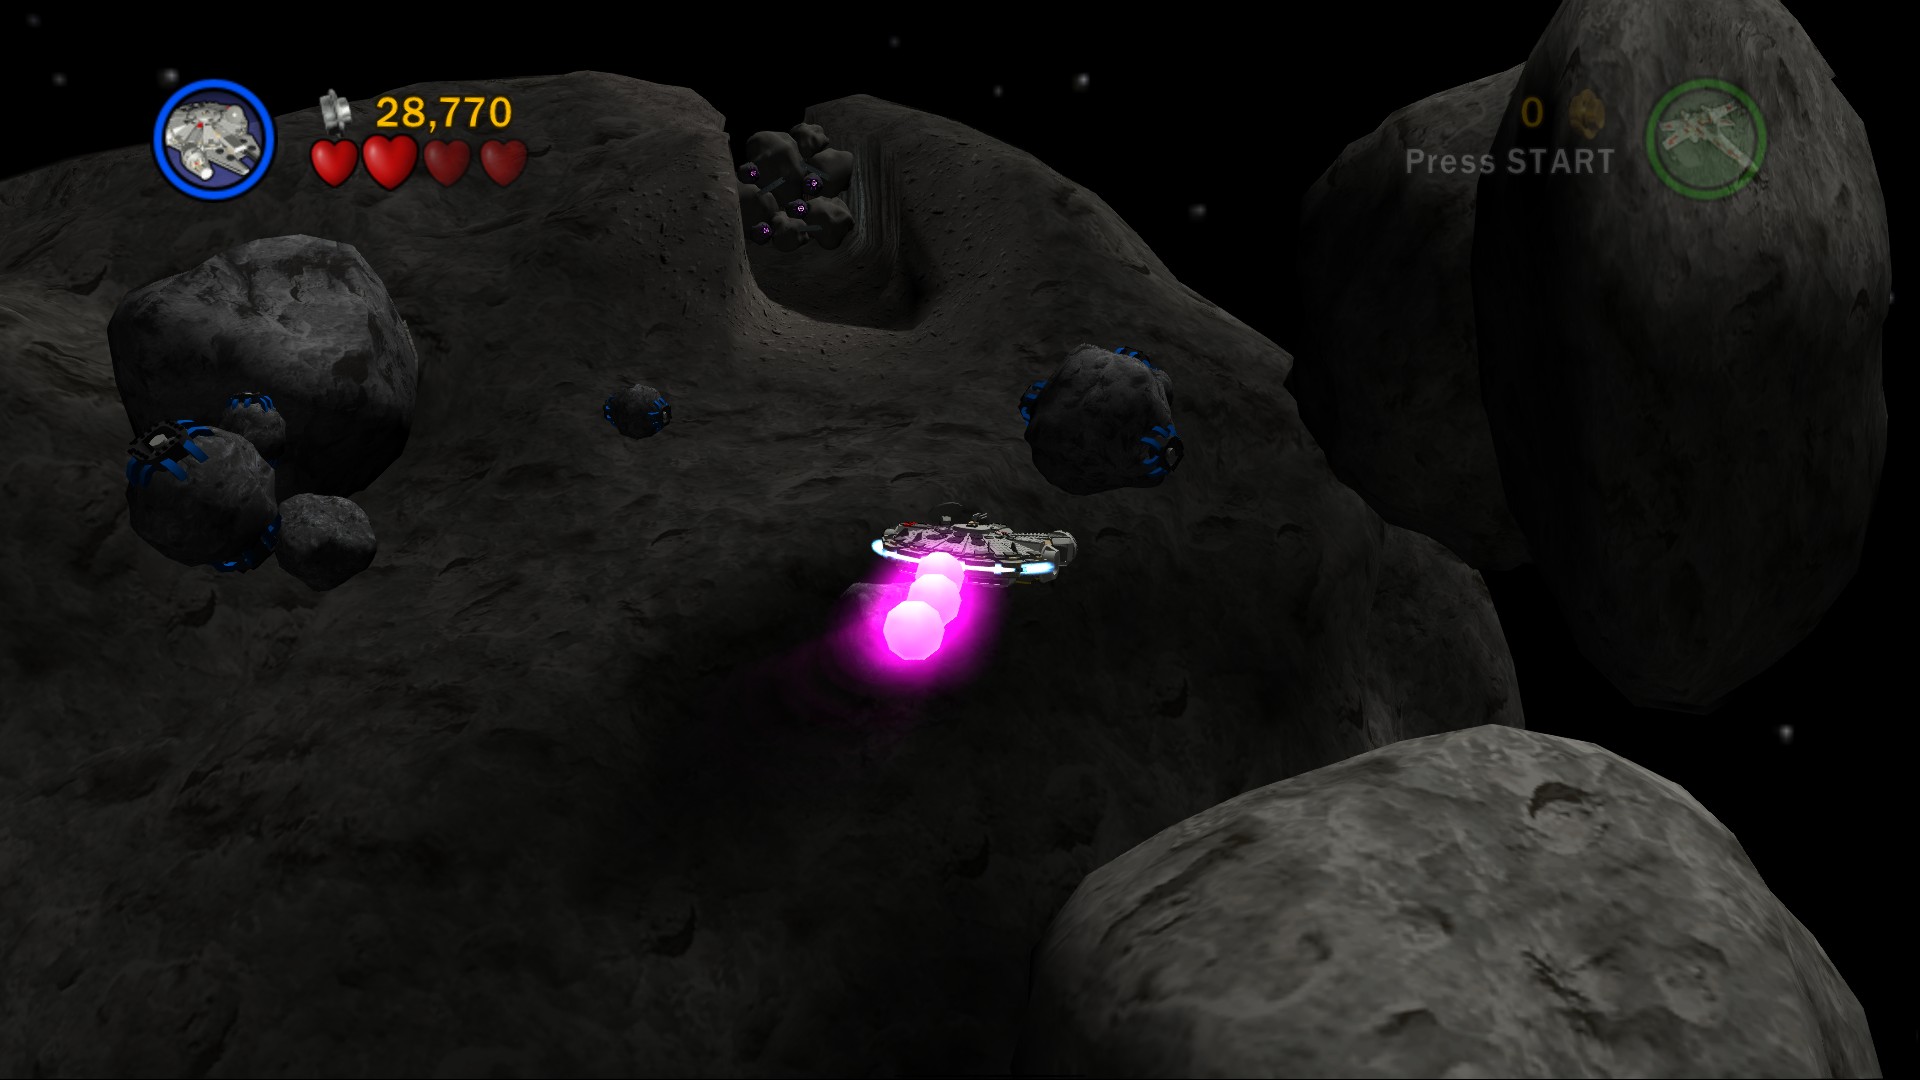
Inside a blue asteroid a bit closer to the second blockage, kind of just in the middle of the path and is a little larger than the other blue asteroids.
Keep on flying all the way to another large blockage, again you'll have to fire several torpedoes at it to break through. You'll emerge in a large crater like area on an enormous asteroid.
Minikit 7/10
Requires: TIE Fighter Story Mode: Yes/No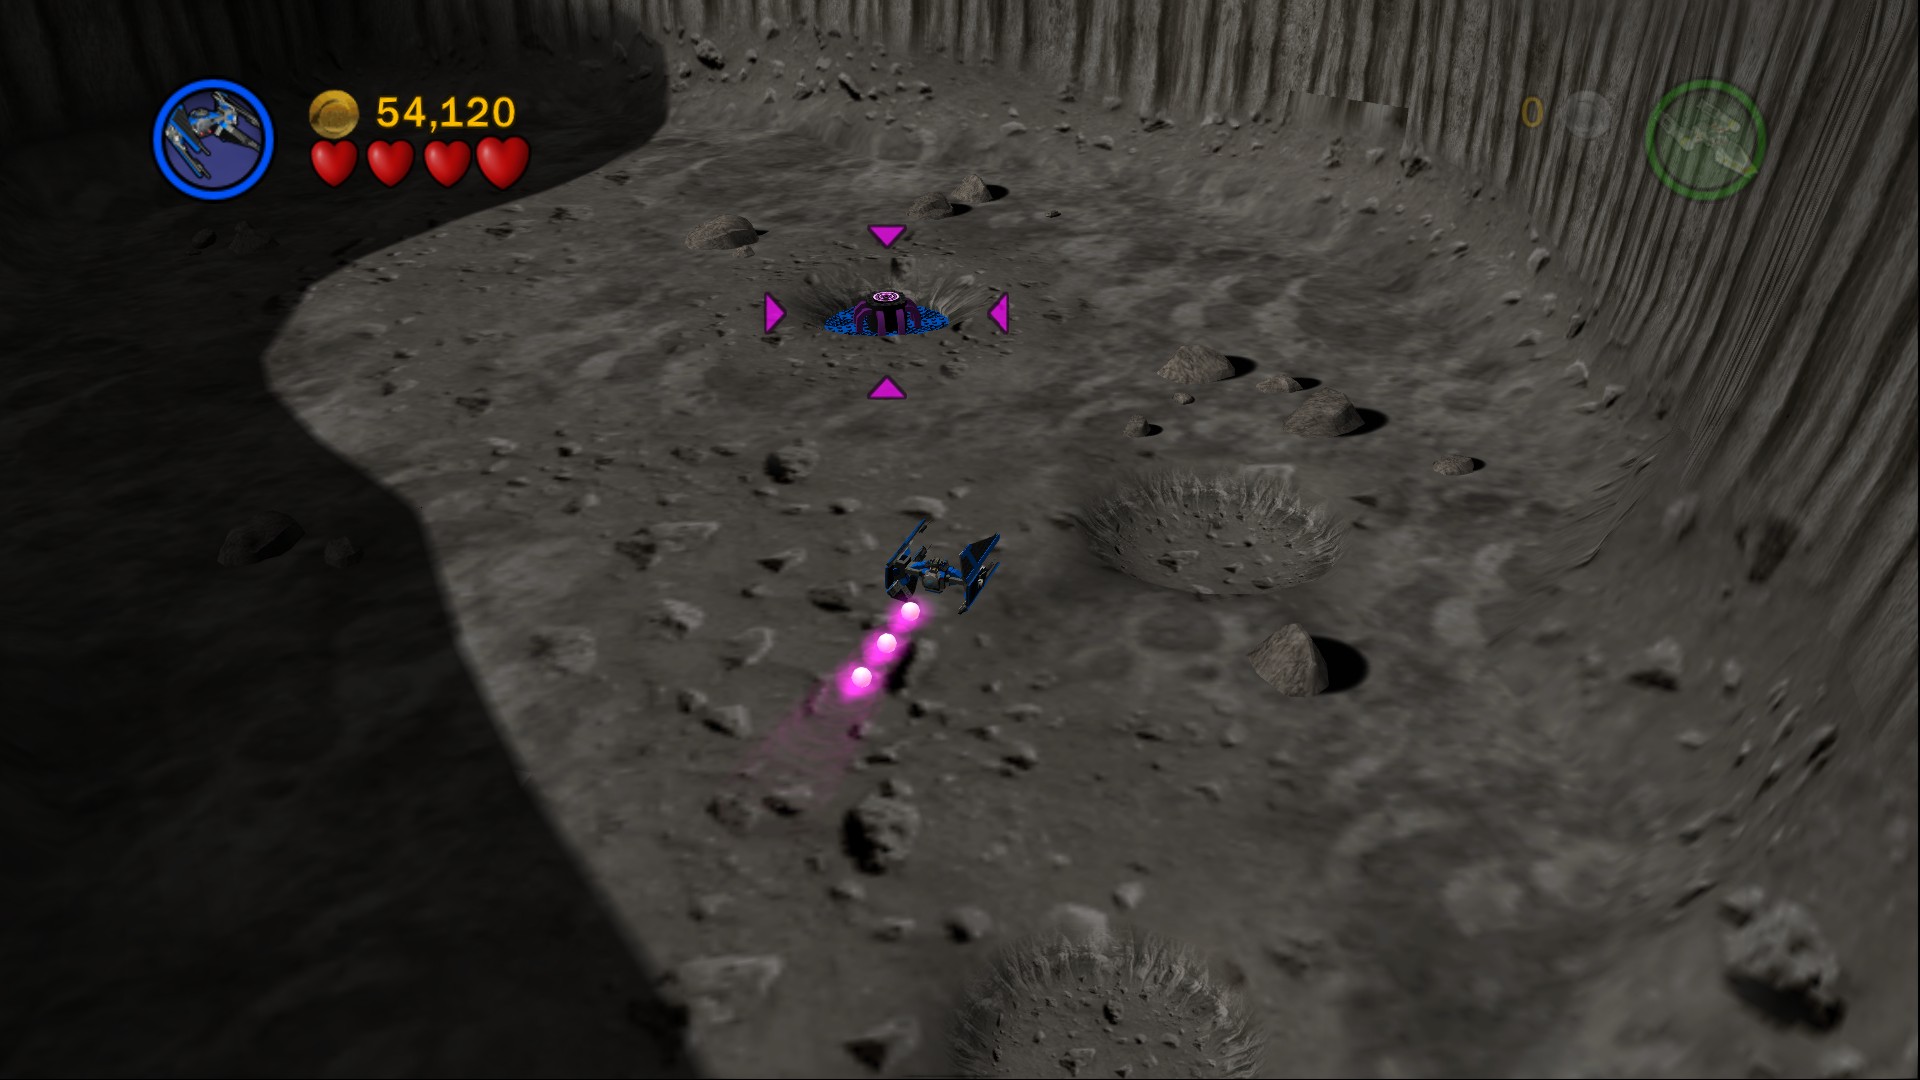
Inside the TIE Fighter area on the left side of the crater, requires the use of a single torpedo.
Minikit 8/10
Requires: None Story Mode: Yes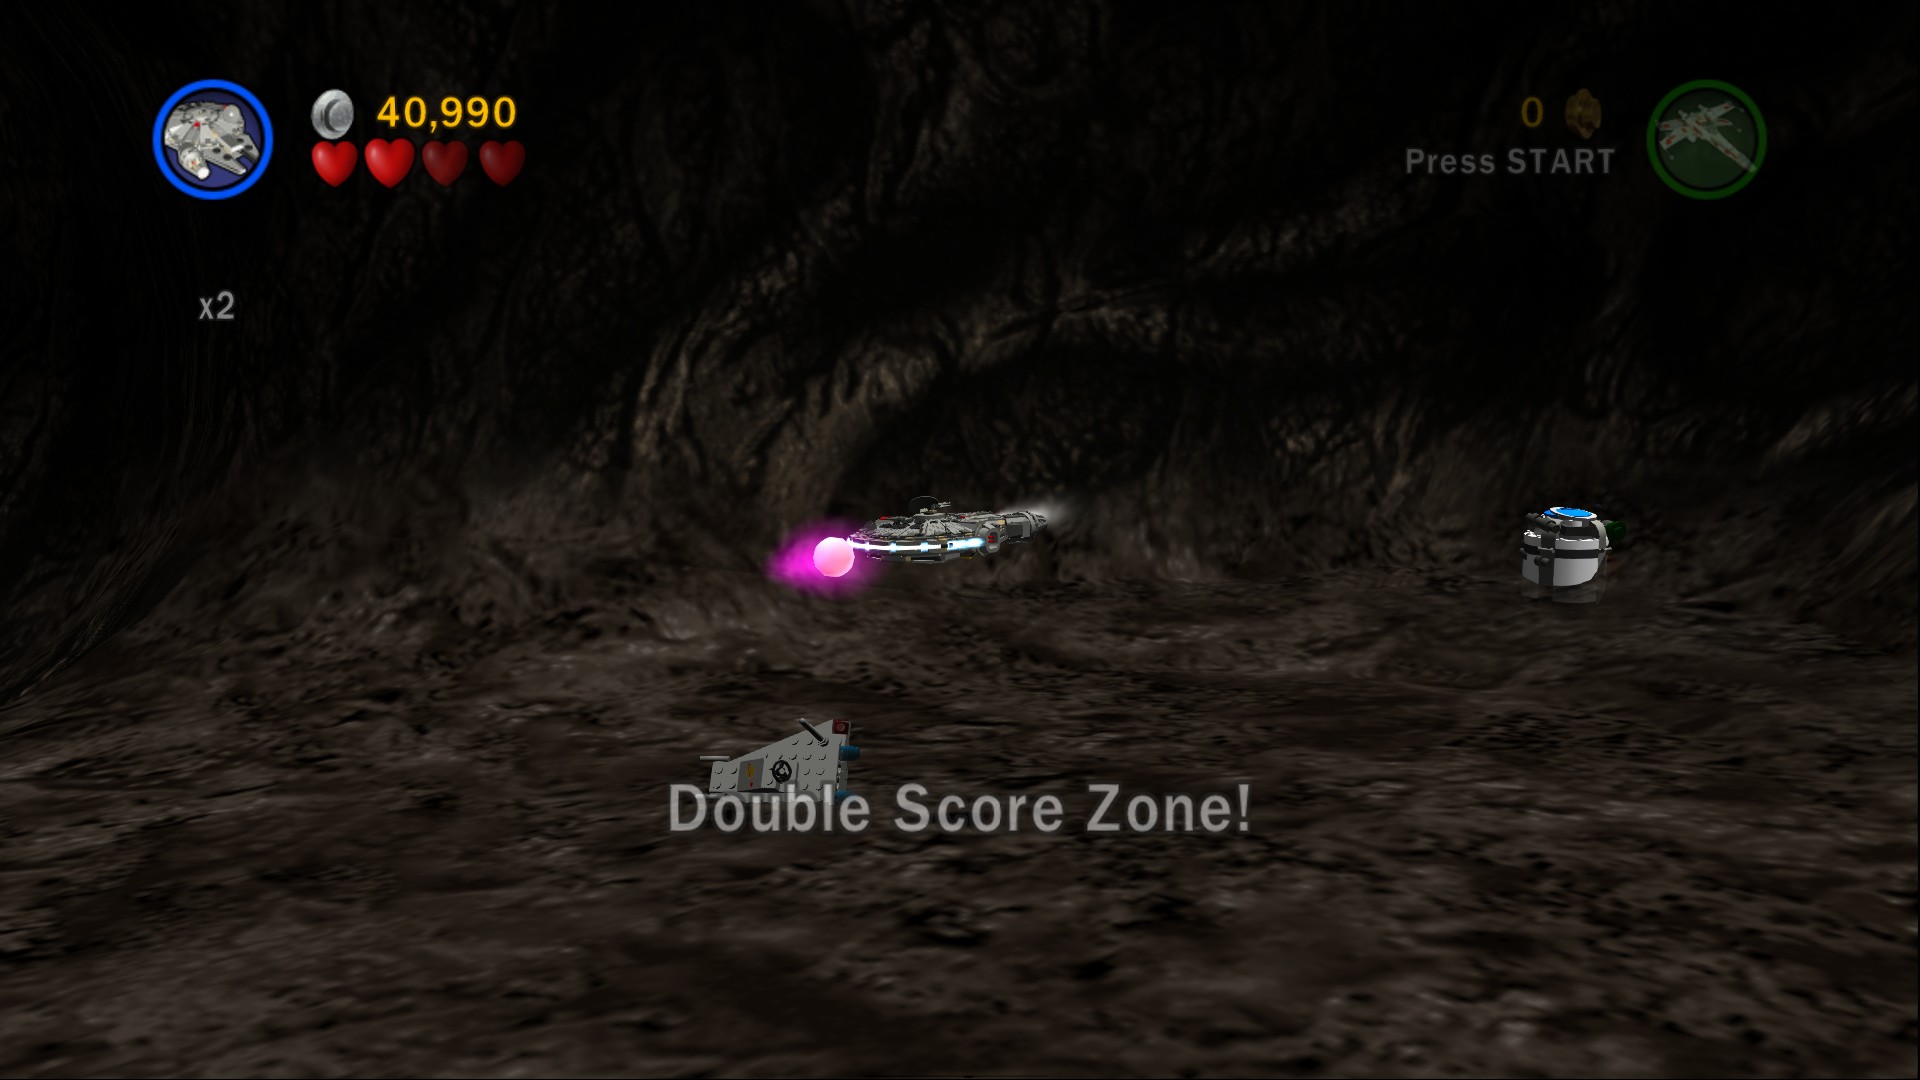
In the crater fly down into the large hole, you'll find the Minikit at the end of the space slug you've flown into. To get out shoot all the objects on the floor and the mouth should reopen.
You'll either have to fly back out to get some more torpedoes to blow up the blockage on the other side of the crater, or you can fly down into the large hole to get some.
Minikit 9/10
Requires: None Story Mode: Yes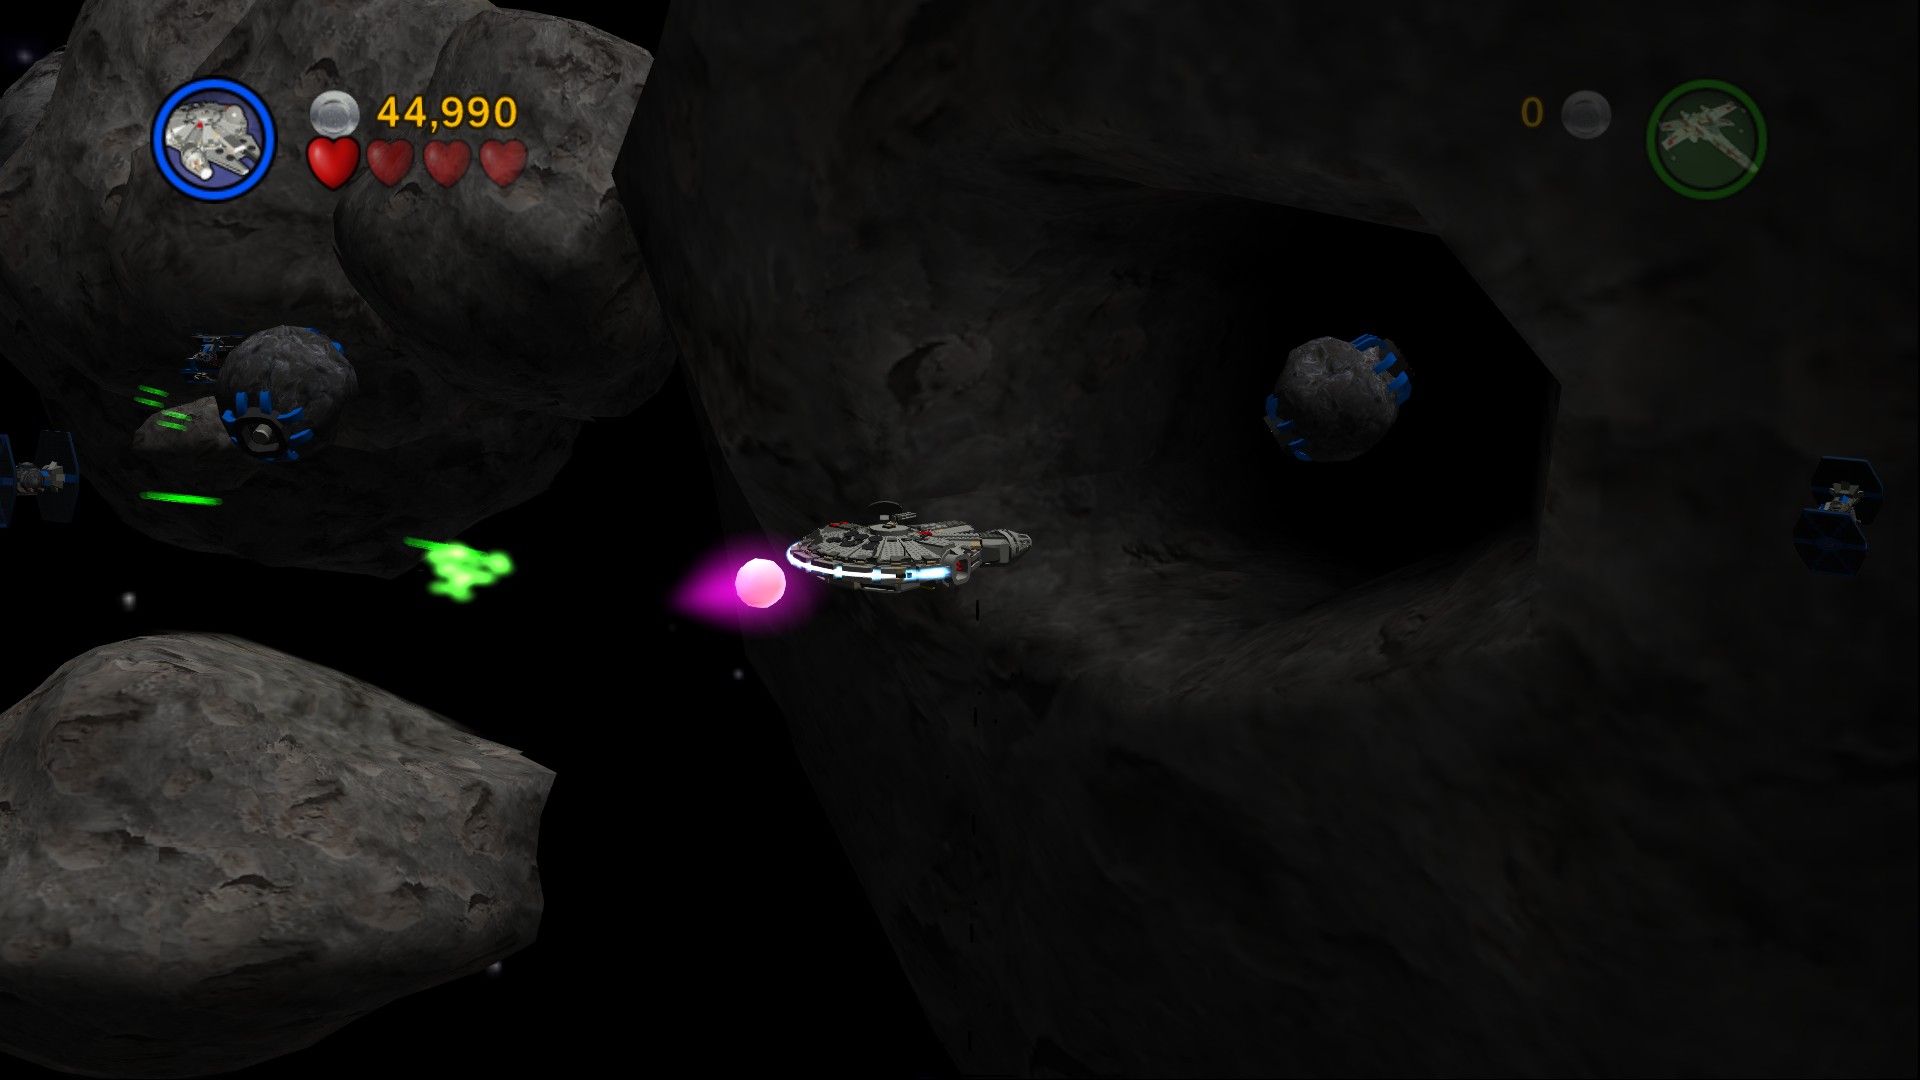
Immediately to the right there's a huge asteroid that has a dark crater on it with a blue asteroid inside it, shoot that asteroid to get the Minikit.
Minikit 10/10
Requires: None Story Mode: Yes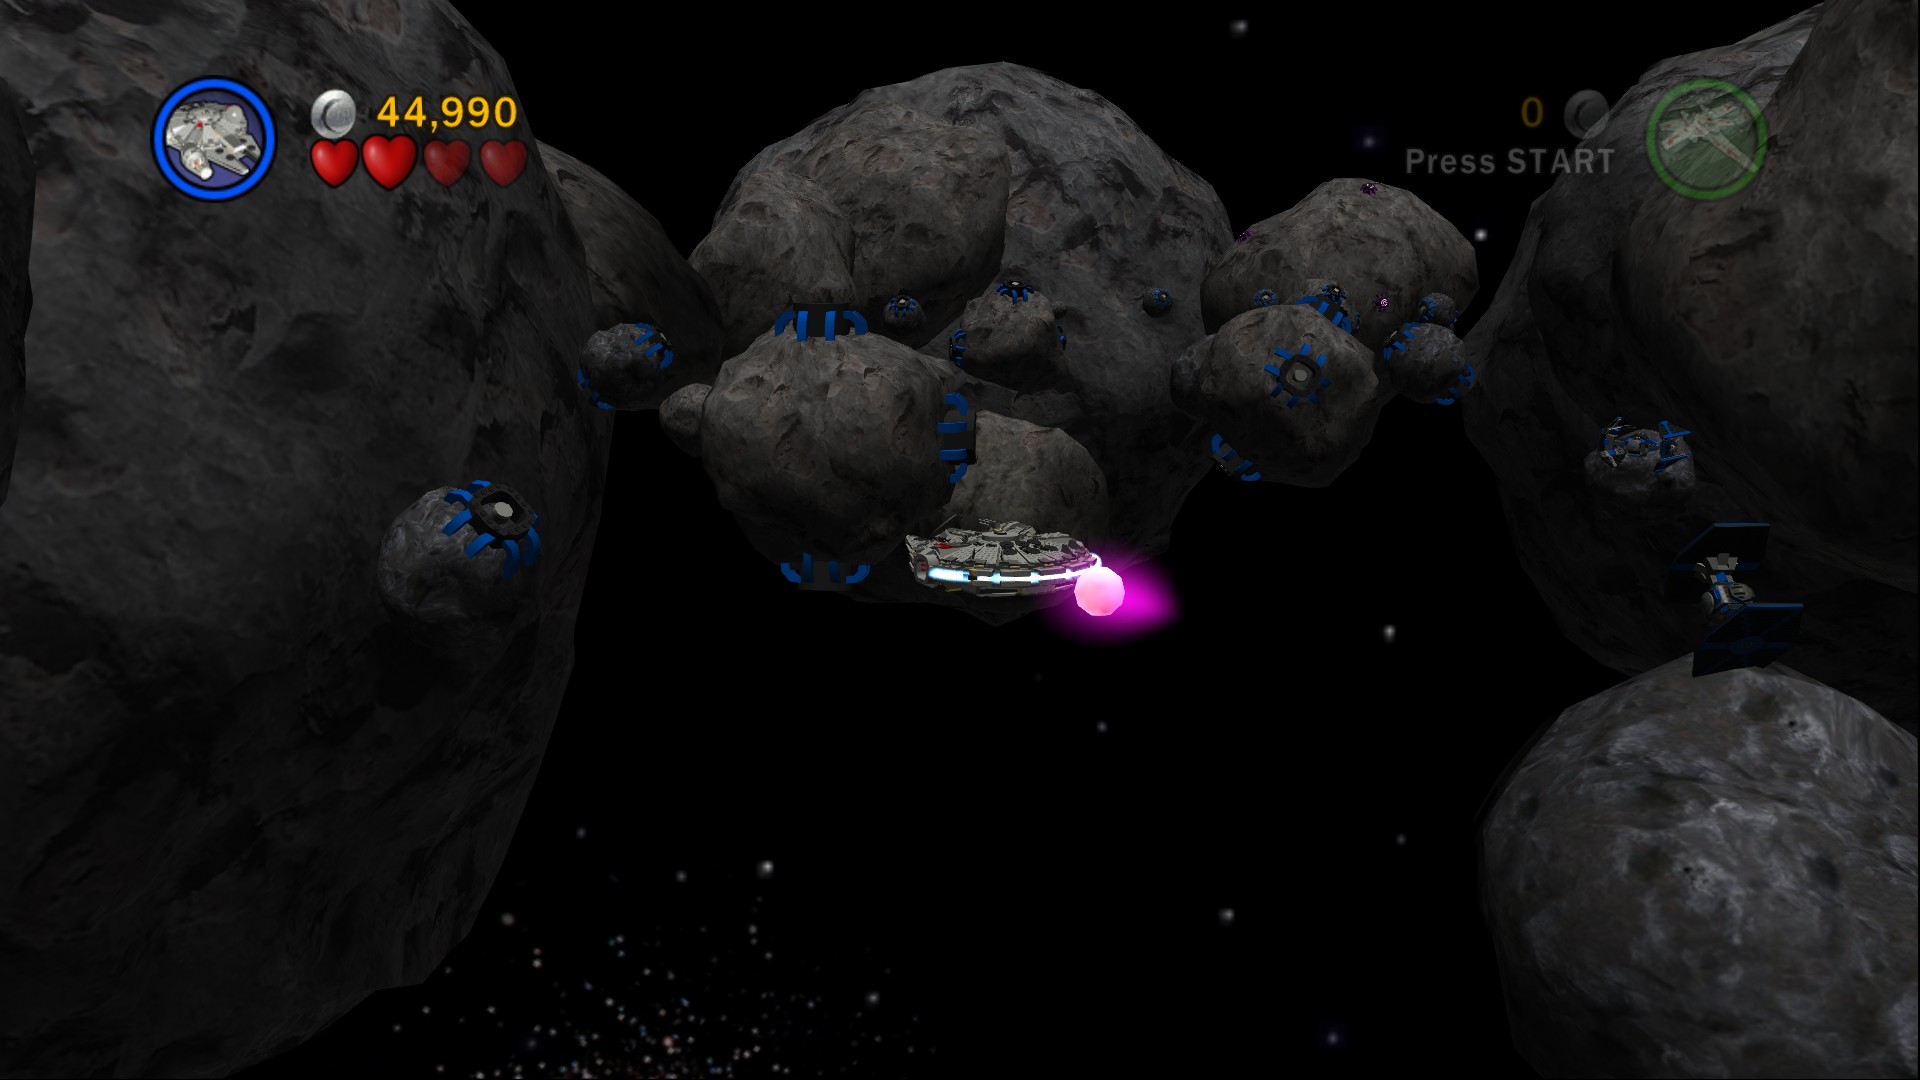
Inside a large blue asteroid not far along the path.
The giant asteroid at the end just requires a bit of patience to blow it up as it is spinning quite slowly, you'll have to try and fire the torpedoes as the target moves towards you otherwise the torpedo is just going to hit the rock a few times and blow up by itself.
TIE Fighter
 Based on set 3219
You'll unlock the Millennium Falcon for free for Free Play in vehicle levels and have another couple of bad guy spaceships to buy at the store.
| Cost | Character | |
|---|---|---|
| 60,000 | TIE Bomber | |
| 25,000 | Imperial Shuttle |
Chapter 4
Dagobah
Han Solo and Princess Leia have finally evaded the Imperial fleet in the Millennium Falcon, and are on their way to Cloud City - secretly followed by the bounty hunter Boba Fett.
Meanwhile, following instructions relayed to him by the spectral form of Obi-Wan Kenobi, Luke Skywalker has piloted his X-wing to the forgotten planet of Dagobah.
Accompanied by his trusty droid R2-D2, Luke heads towards the murky swamp world in search of his destiny....
| Story Mode | Free Play |
|---|---|
| 50,000 | 70,000 |
Watch out for all the little bats flying around the level as they'll swarm around you hurting you.
Minikit 1/10
Requires: The Force, Double Jump Story Mode: No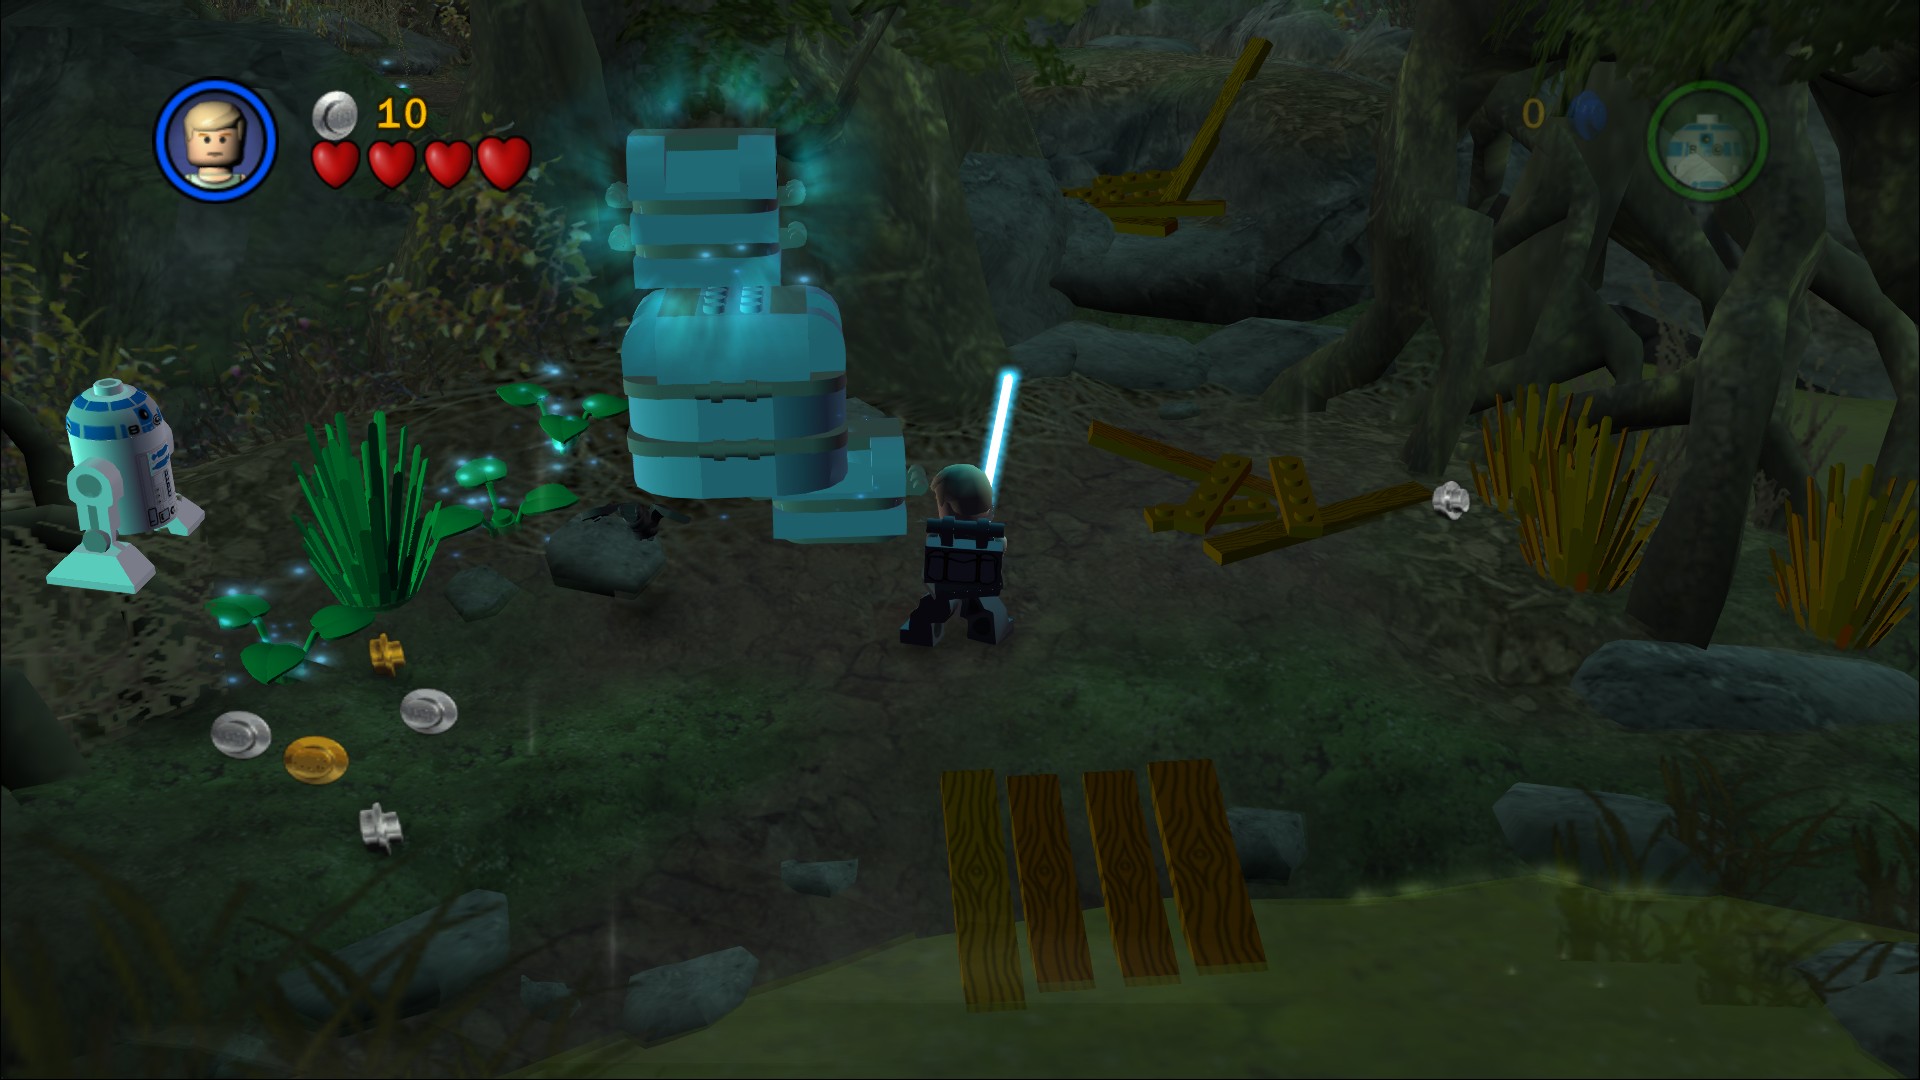
Use the Force to arrange the crates into a tower, jump up them onto the tree then jump to a tree to the right where the Minikit is found.
There are some jiggling brown pieces of LEGO next to where you started that you can build into a pair of ramps for R2-D2 to get over the large stone steps blocking the path forwards.
Red Brick (Regenerate Hearts)
Requires: Dark Force, Bounty Hunter, or a Lightsaber Story Mode: Yes (but requires some dangerous backtracking)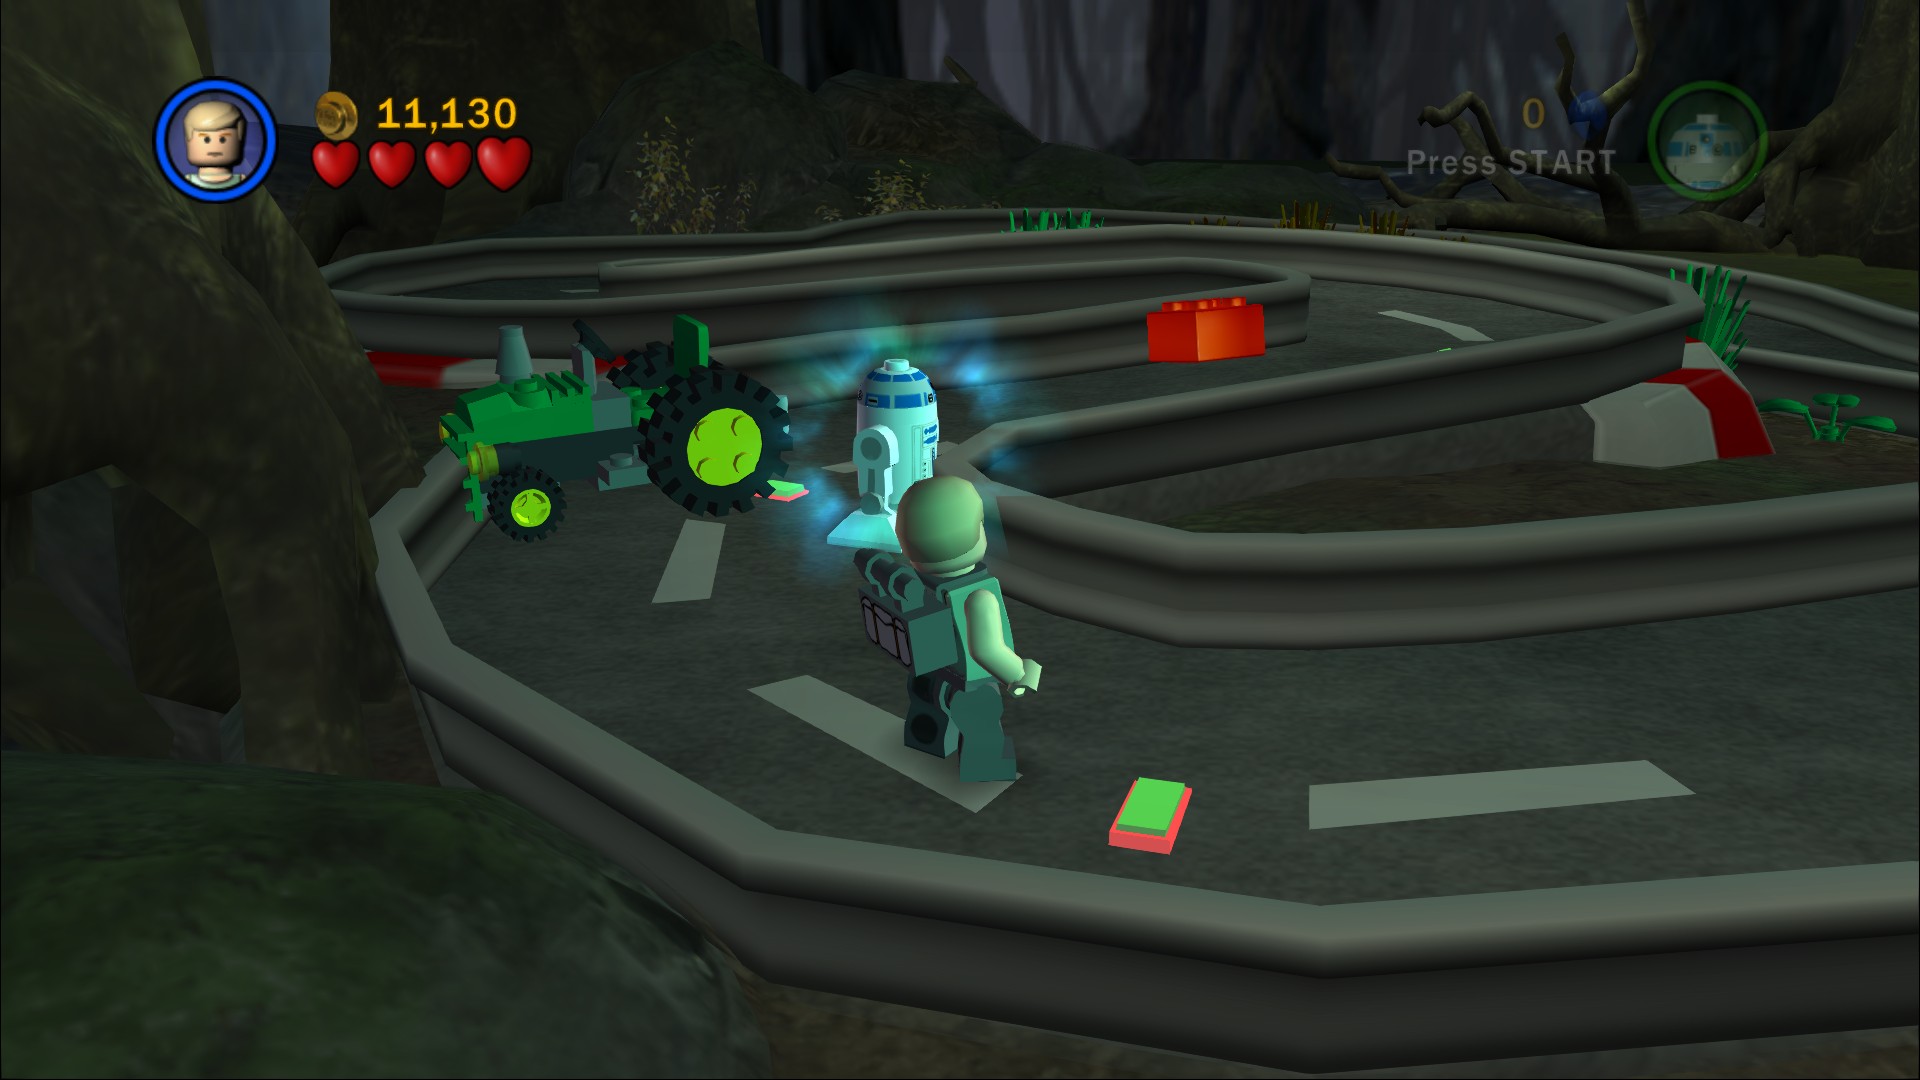
Smash through the barrier, you can use Dark Force, a Bounty Hunter bomb, or just a Lightsaber slam attack to get through. Jump over the gap over to a race track. Smash the crate on the track and build yourself a tractor, take it for a drive around the course to get the Red Brick.
When you reach the water's edge smash the nearby bushes to find a grapple point. Swing across and go to the left where there's a little ramp coming out of the water. Switch to R2-D2 and hover over to the crate with an Astromech panel on the front, that'll raise a bridge out of the water.
Minikit 2/10
Requires: Astromech Story Mode: Yes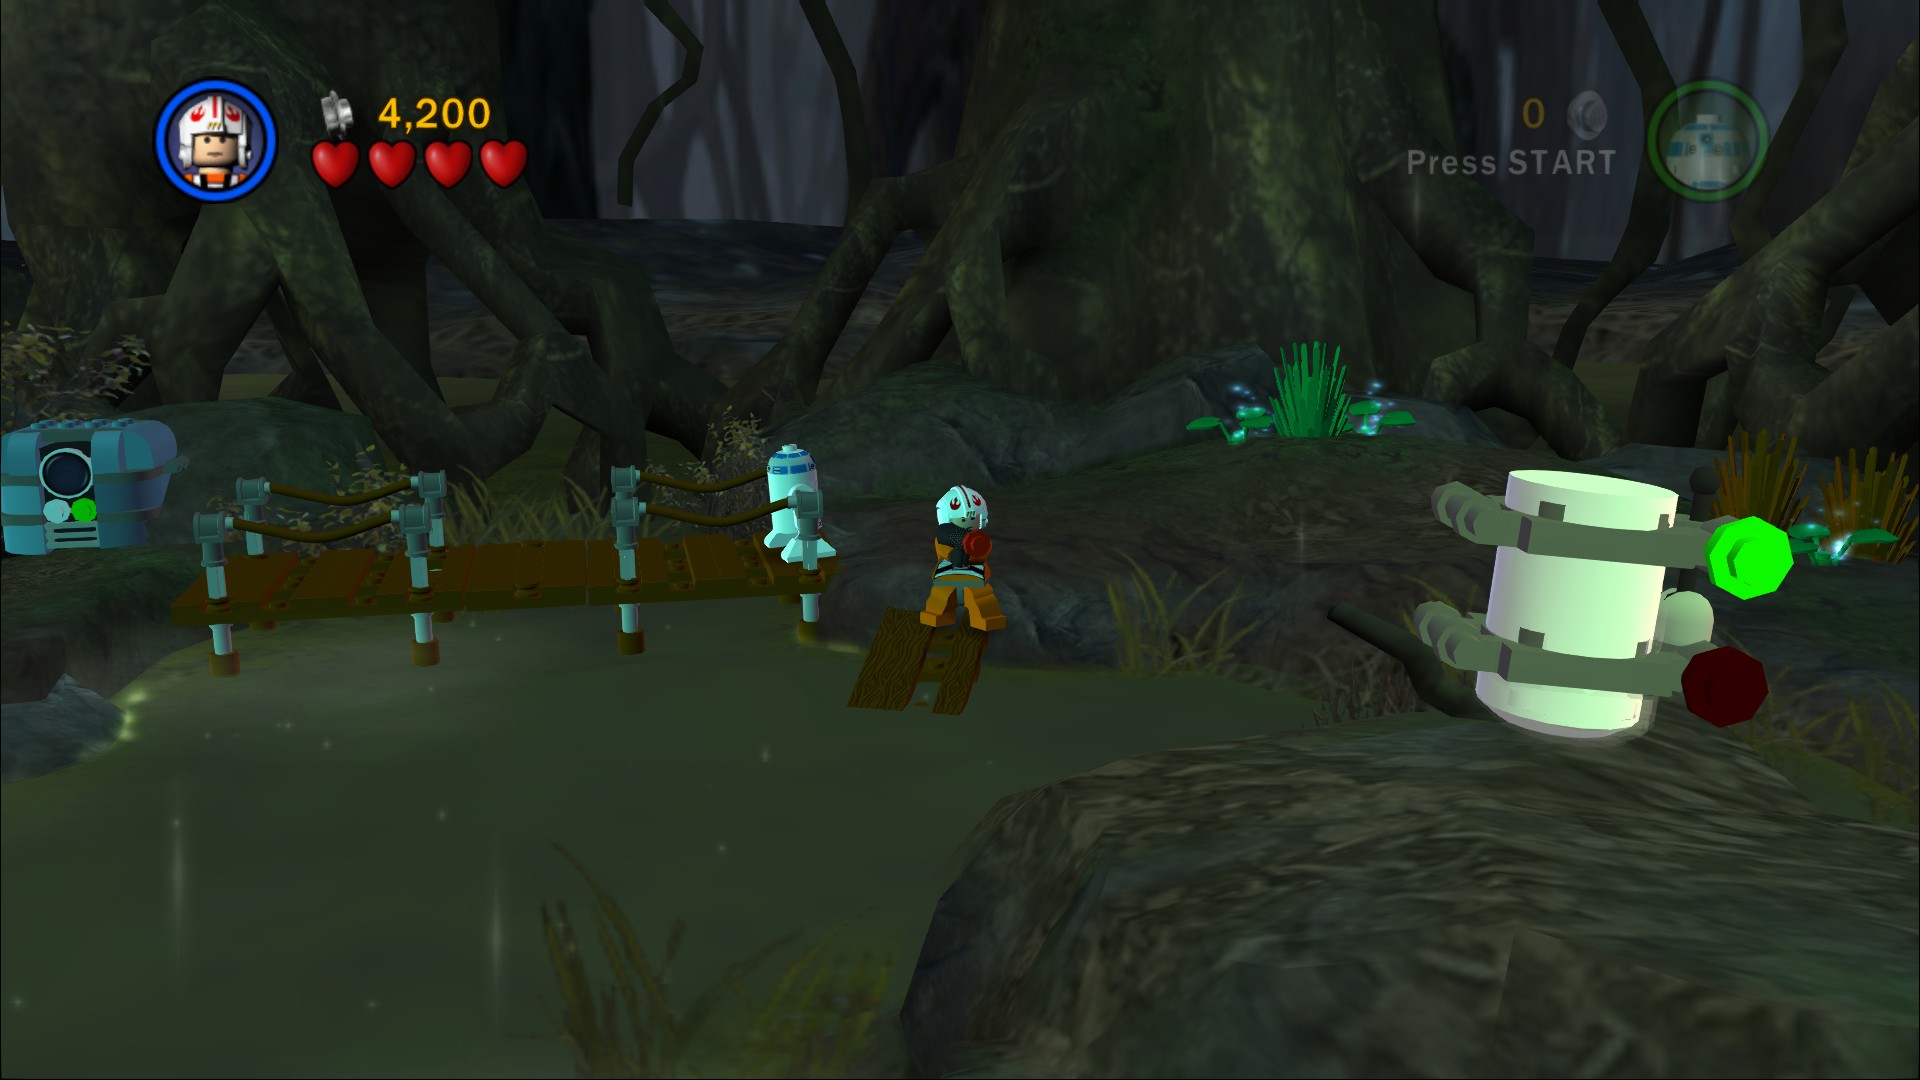
Inside a crate on a rock in the middle of the water, shoot it then have R2-D2 hover from here by the panel before jumping up to it.
Once Luke is across shoot your way through the wall of brown bushes at the back.
Build the button then use R2-D2 to hover over to the second button that appears, Luke will automatically jump on it for you so you can go straight over to a fourth button that has appeared. That will bring up a fifth that will bring up the last platform needed to cross the waters. Approach the little house on the right to meet up with Yoda.
Minikit 3/10
Requires: Hatch Access, Dark Force Story Mode: No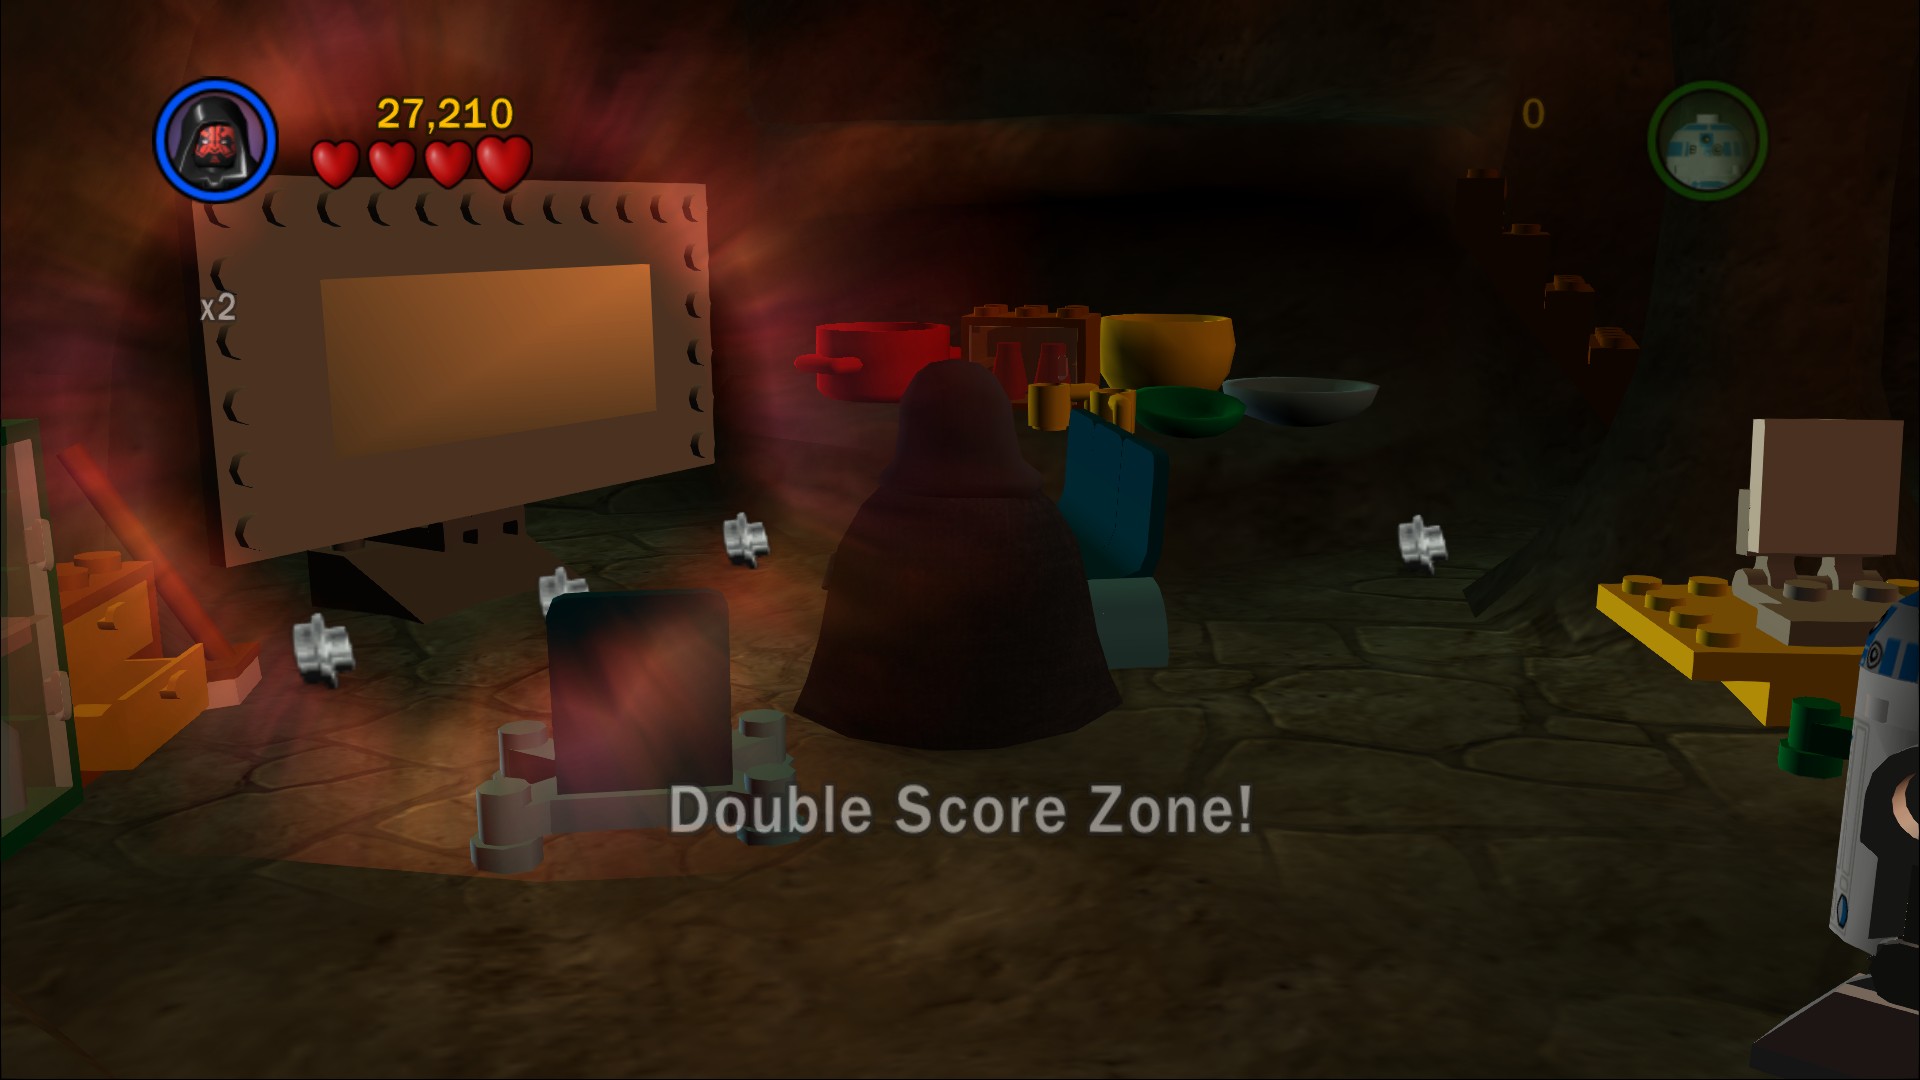
Use a small character to go inside Yoda's hut, then use the Dark Force to blow up a panel at the back to find the Minikit.
Minikit 4/10
Requires: Dark Force, Bounty Hunter Story Mode: No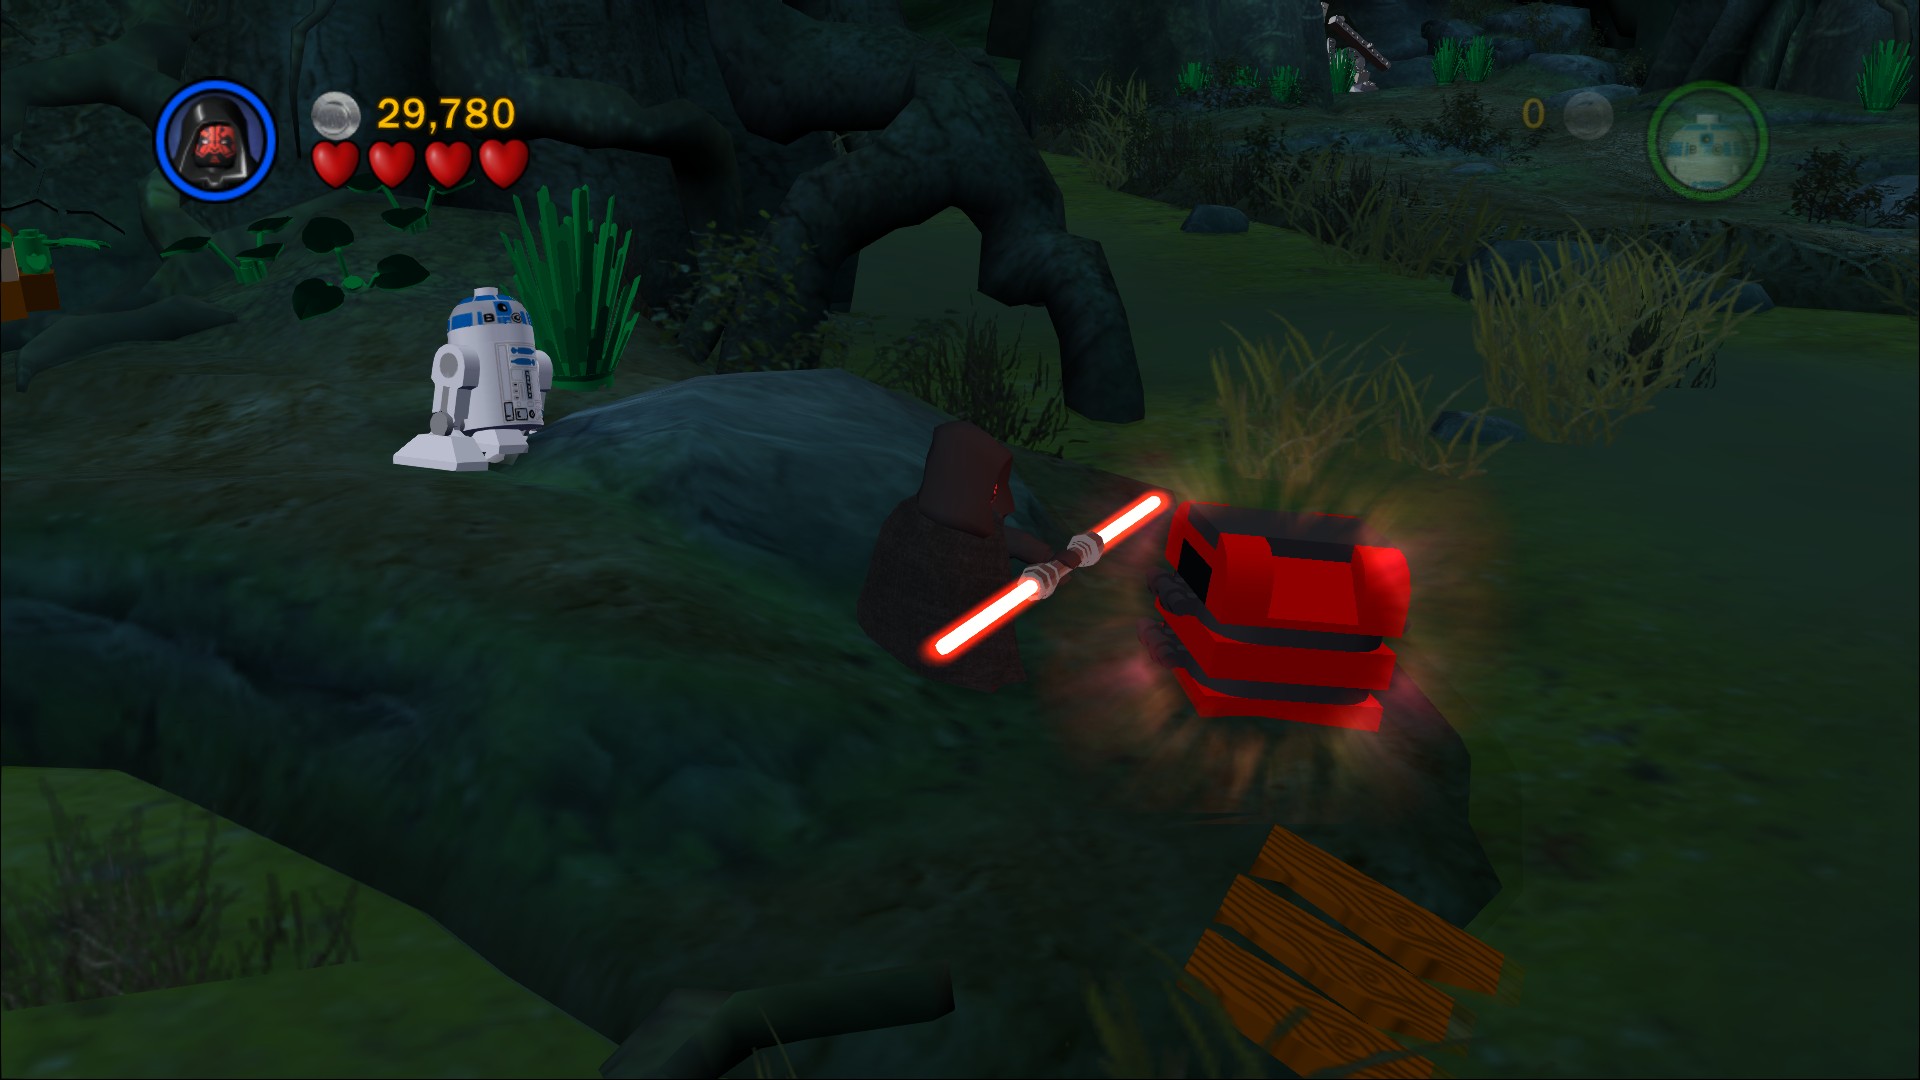
Use the Dark Force on a crate to the right of Yoda's hut and then build a raft. Jump on the raft and ride it over. At the back of the area is some Silver LEGO with the Minikit behind it.
In Free Play if you want you can skip the next section by using the Force on Yoda's hut and jumping up the platform it creates. Skip on down to just after the mushroom door.
Minikit 5/10 - Part 1
Requires: A weapon Story Mode: Yes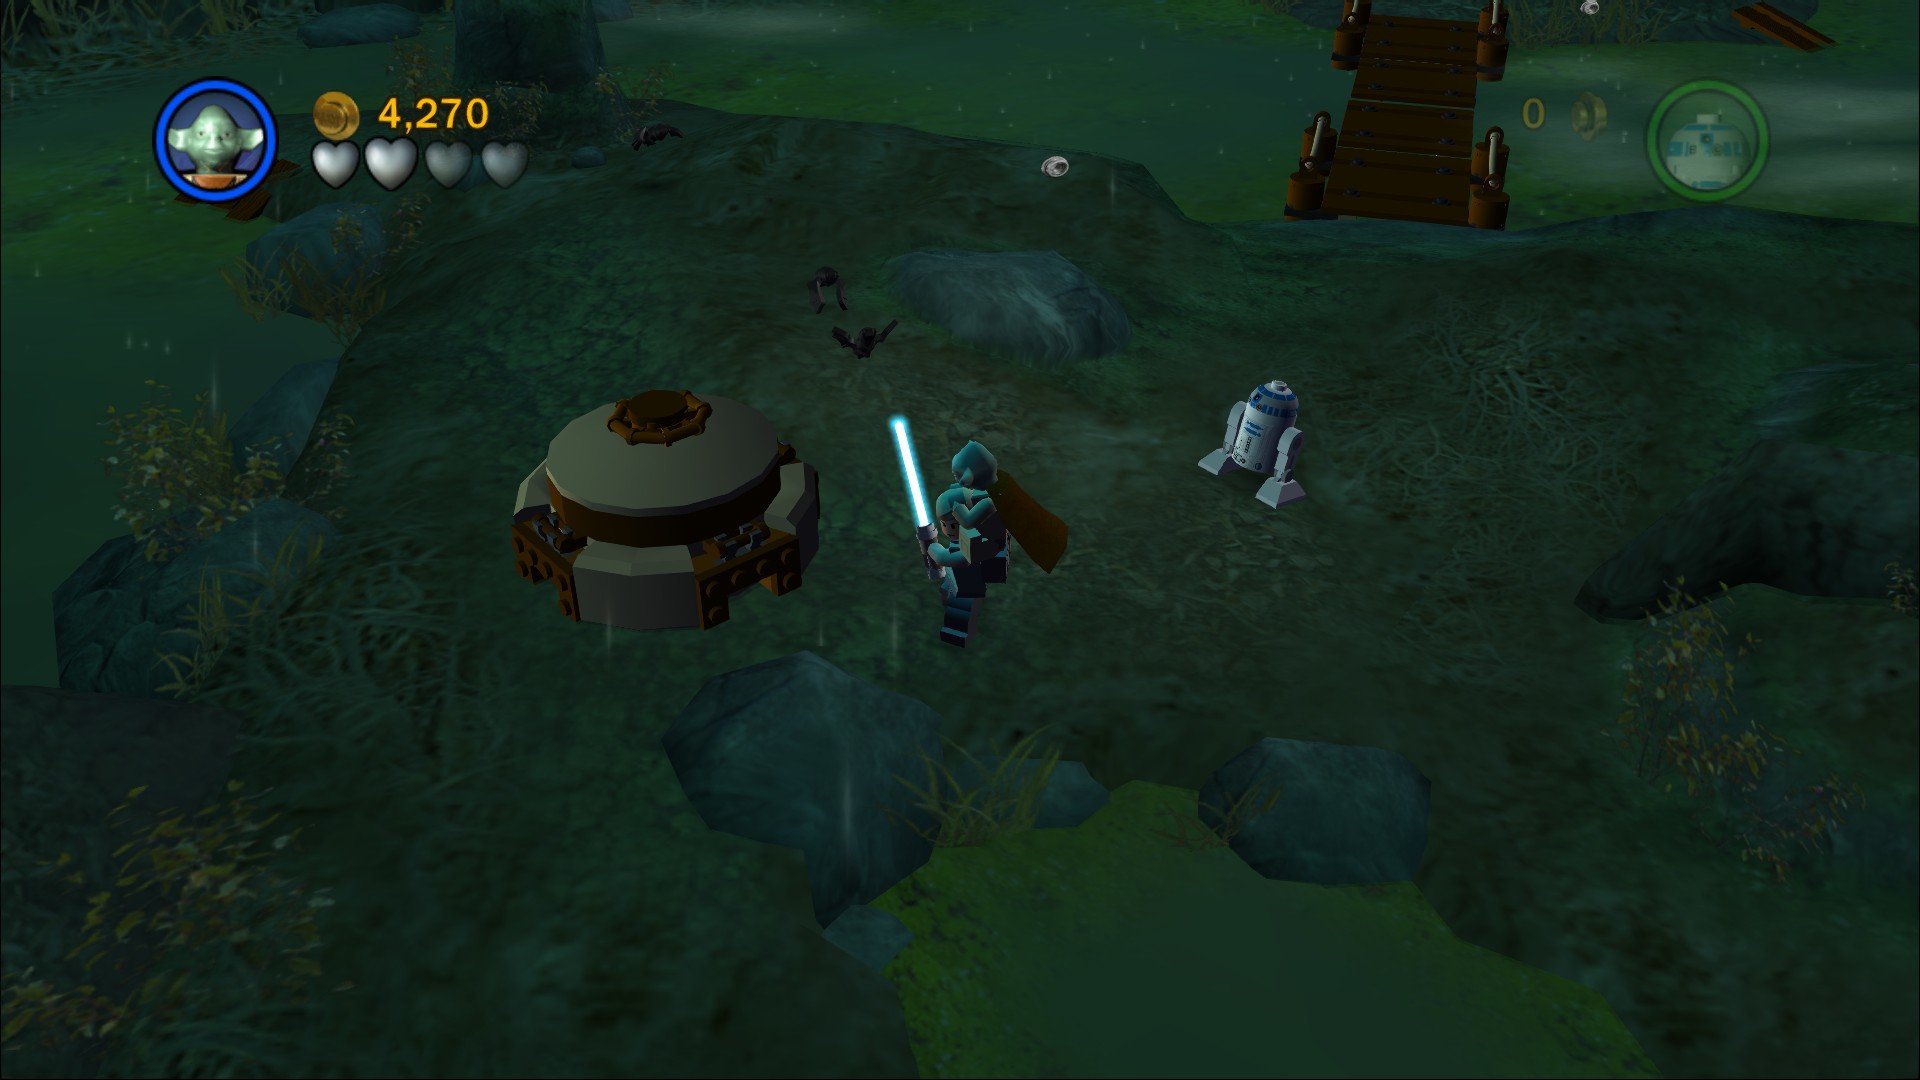
Smash open the large round hatch at the start here, it's the first of three you need to open.
Follow Yoda and get him to jump on Luke's back, when he's on there Luke can use the Force. Use the Force on the flowers and then smash them with the lightsaber, once all of the flowers are cleared you can move the wood into the swamp. Once you've got all three in a bridge will form to let you cross.
Minikit 5/10 - Part 2
Requires: A weapon Story Mode: Yes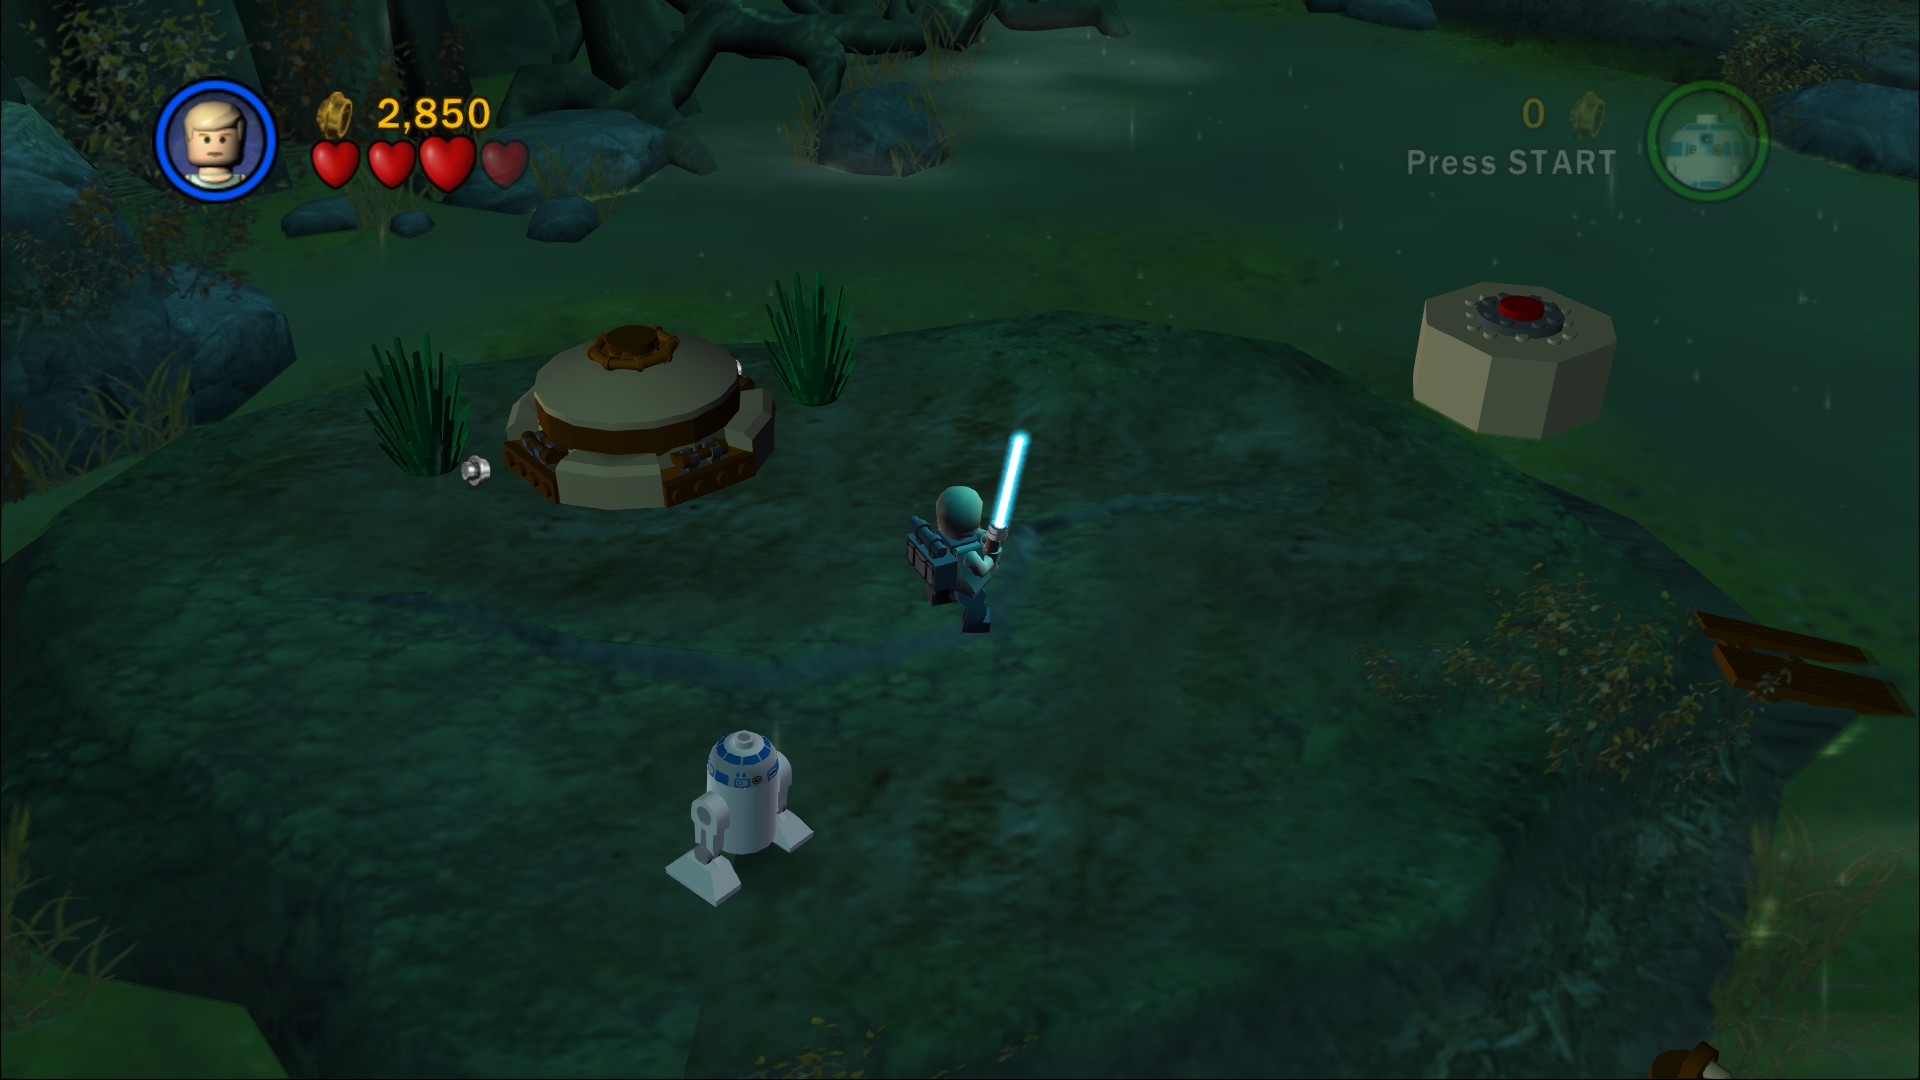
There's a second hatch on the island.
Jump from button to button to get across the water again.
Minikit 5/10 - Part 3
Requires: A weapon Story Mode: Yes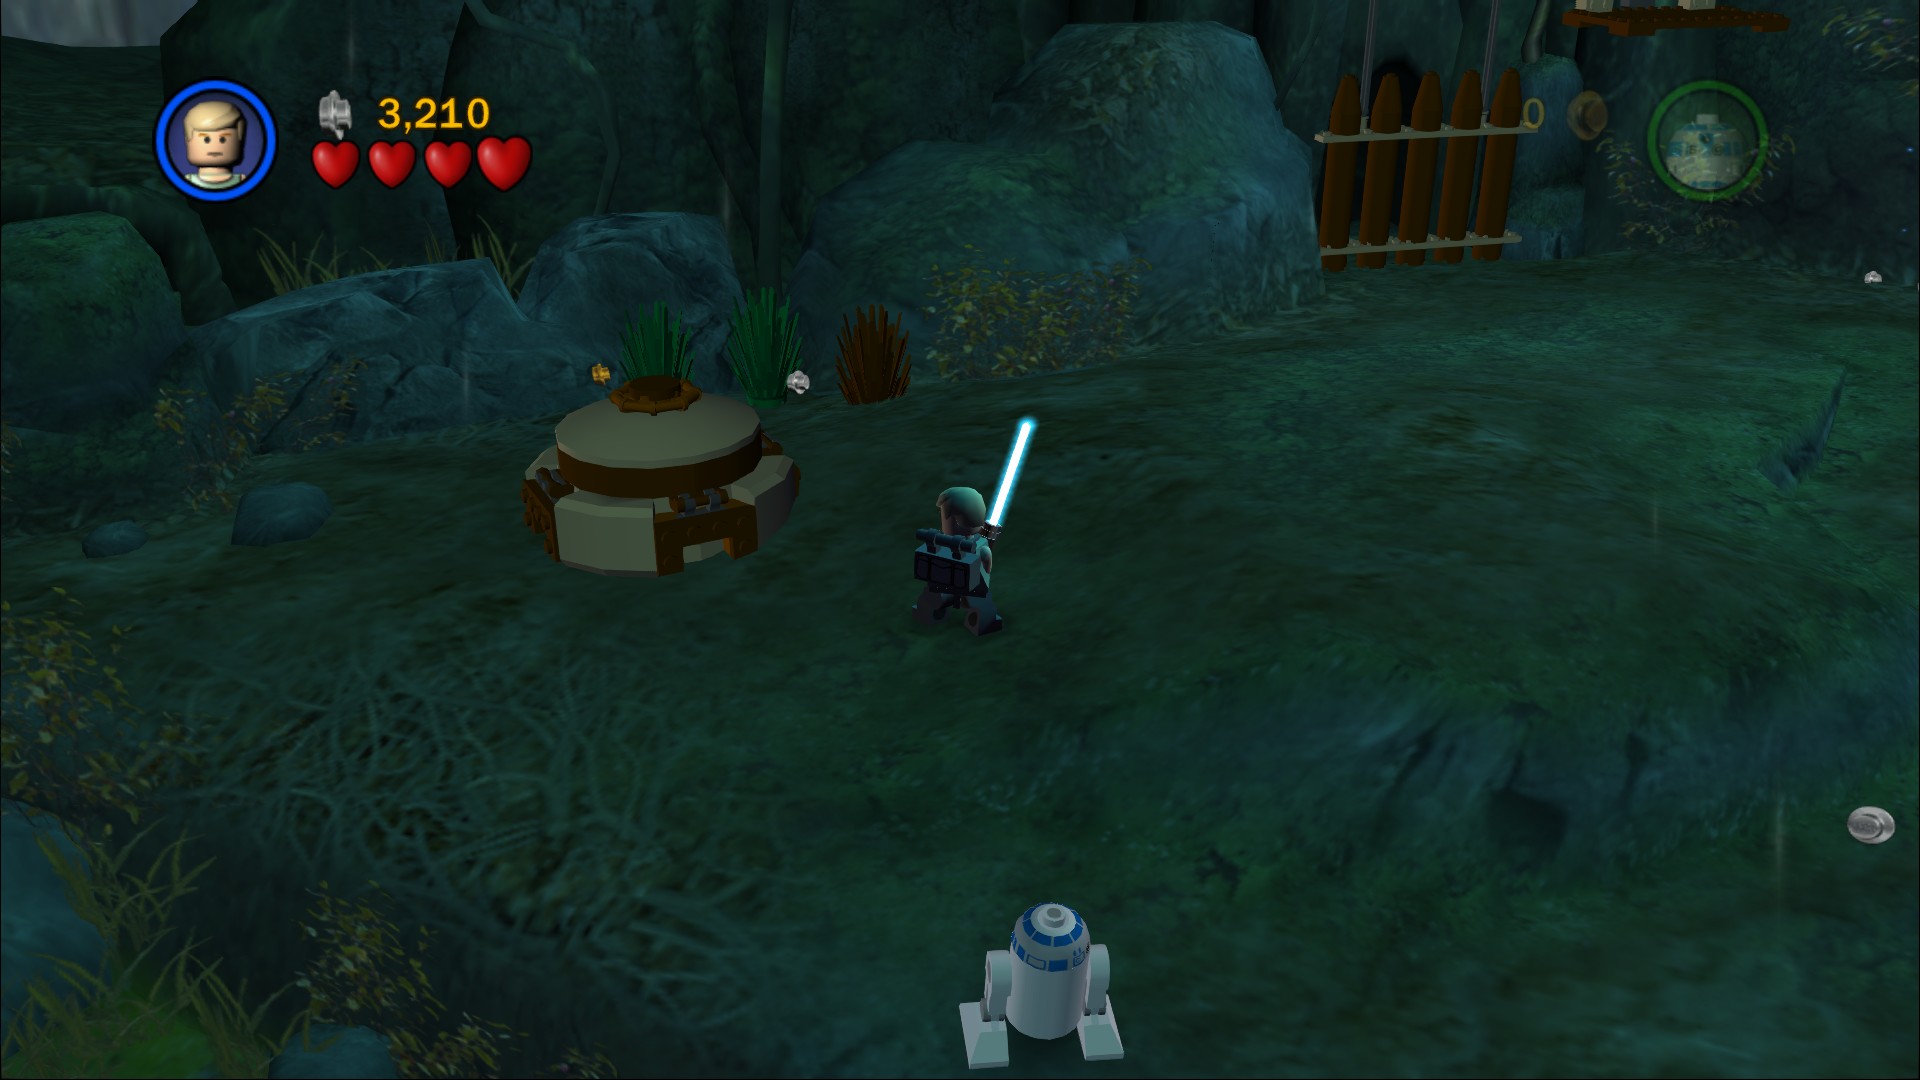
And the third hatch is over here.
Use the Force to lower the smaller of the two mushrooms at the back, wait a few seconds and then lower the taller one. Have R2-D2 get onto the one that has gone all the way to the ground and then wait for it to rise up so you can hover to the left onto the second mushroom. Wait again and then hover over to the astromech panel that will open the gate.
Now Luke can use the Force without Yoda on his back, which means you can switch to Yoda by himself as well. Use the Force to pick the pieces of a tractor out of the swamp and then use the Force again to rearrange the trailer into a ramp for R2-D2. Hover over to the left to activate the astromech panel.
Minikit 6/10
Requires: Grapple Story Mode: No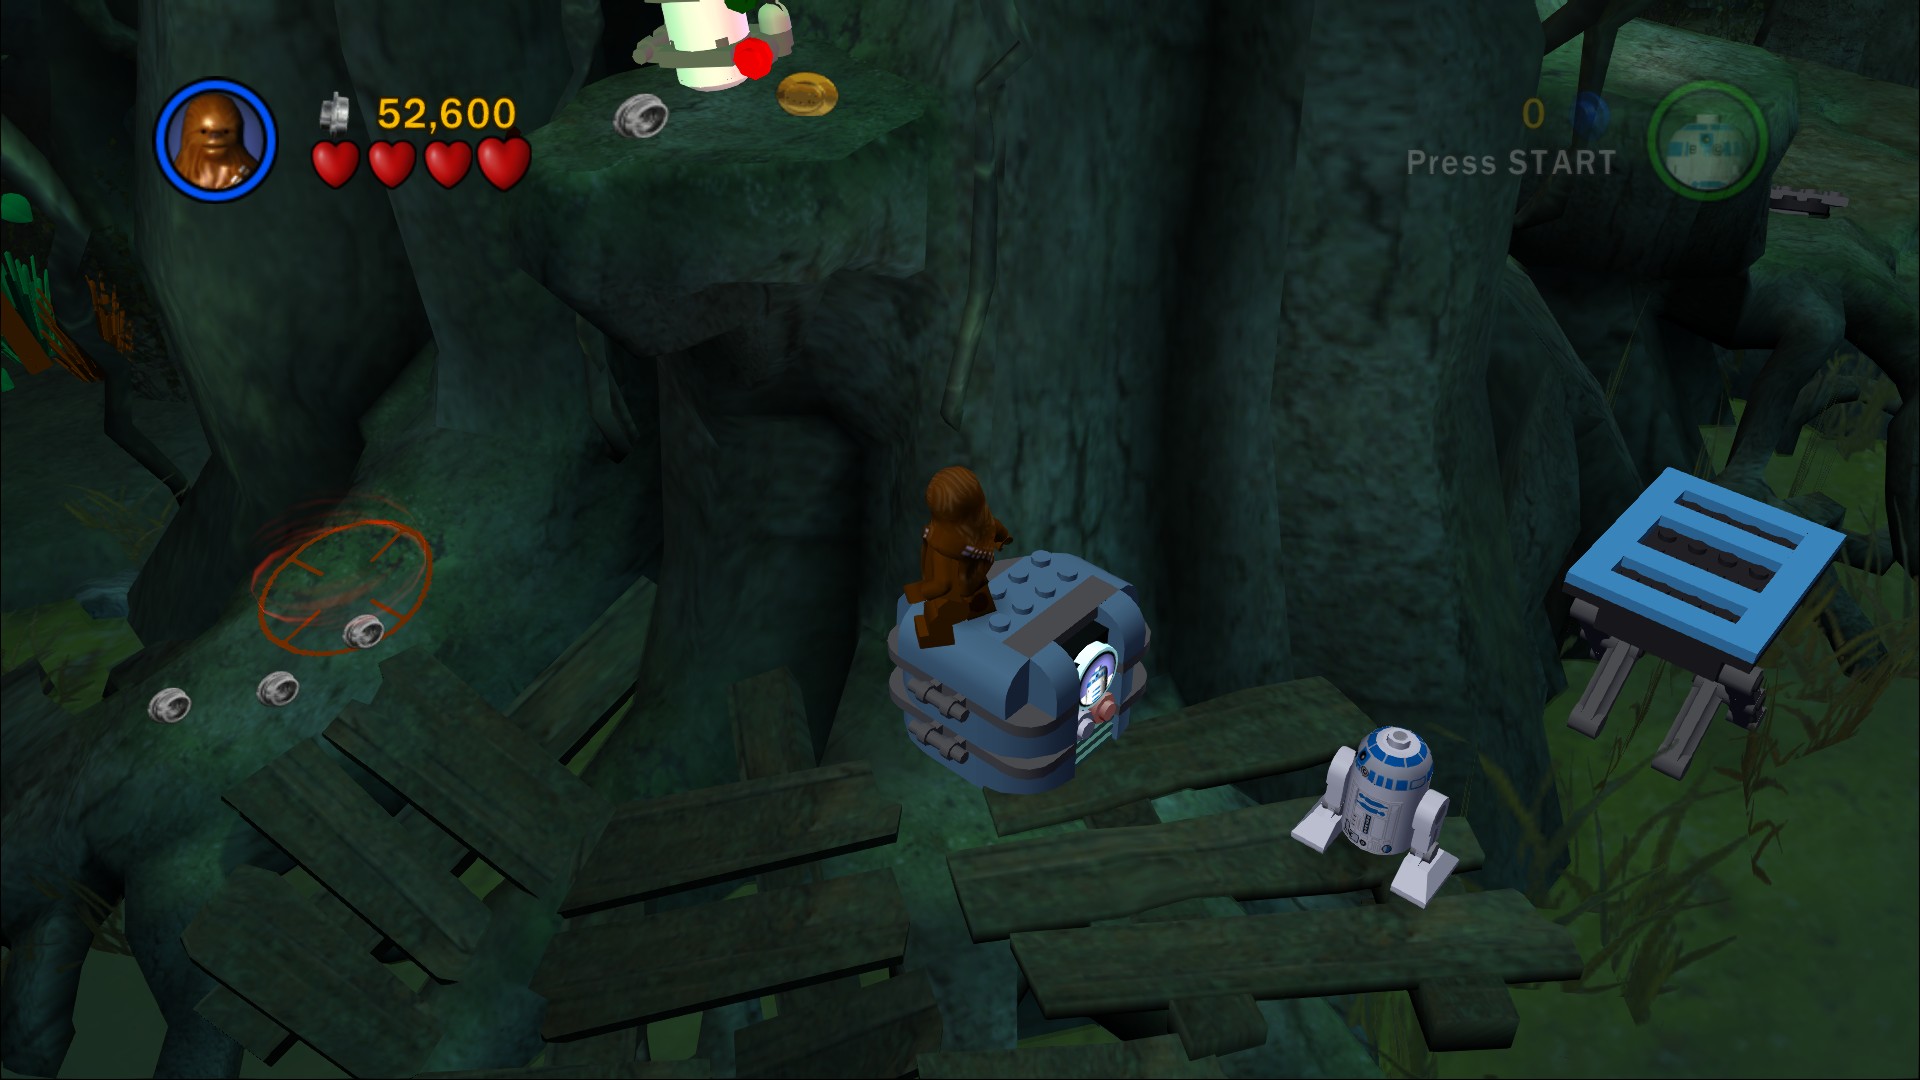
Grapple up to the Minikit above the panel.
Jump left and smash through the barrier using a lightsaber.
Minikit 7/10
Requires: Dark Force, Bounty Hunter Story Mode: No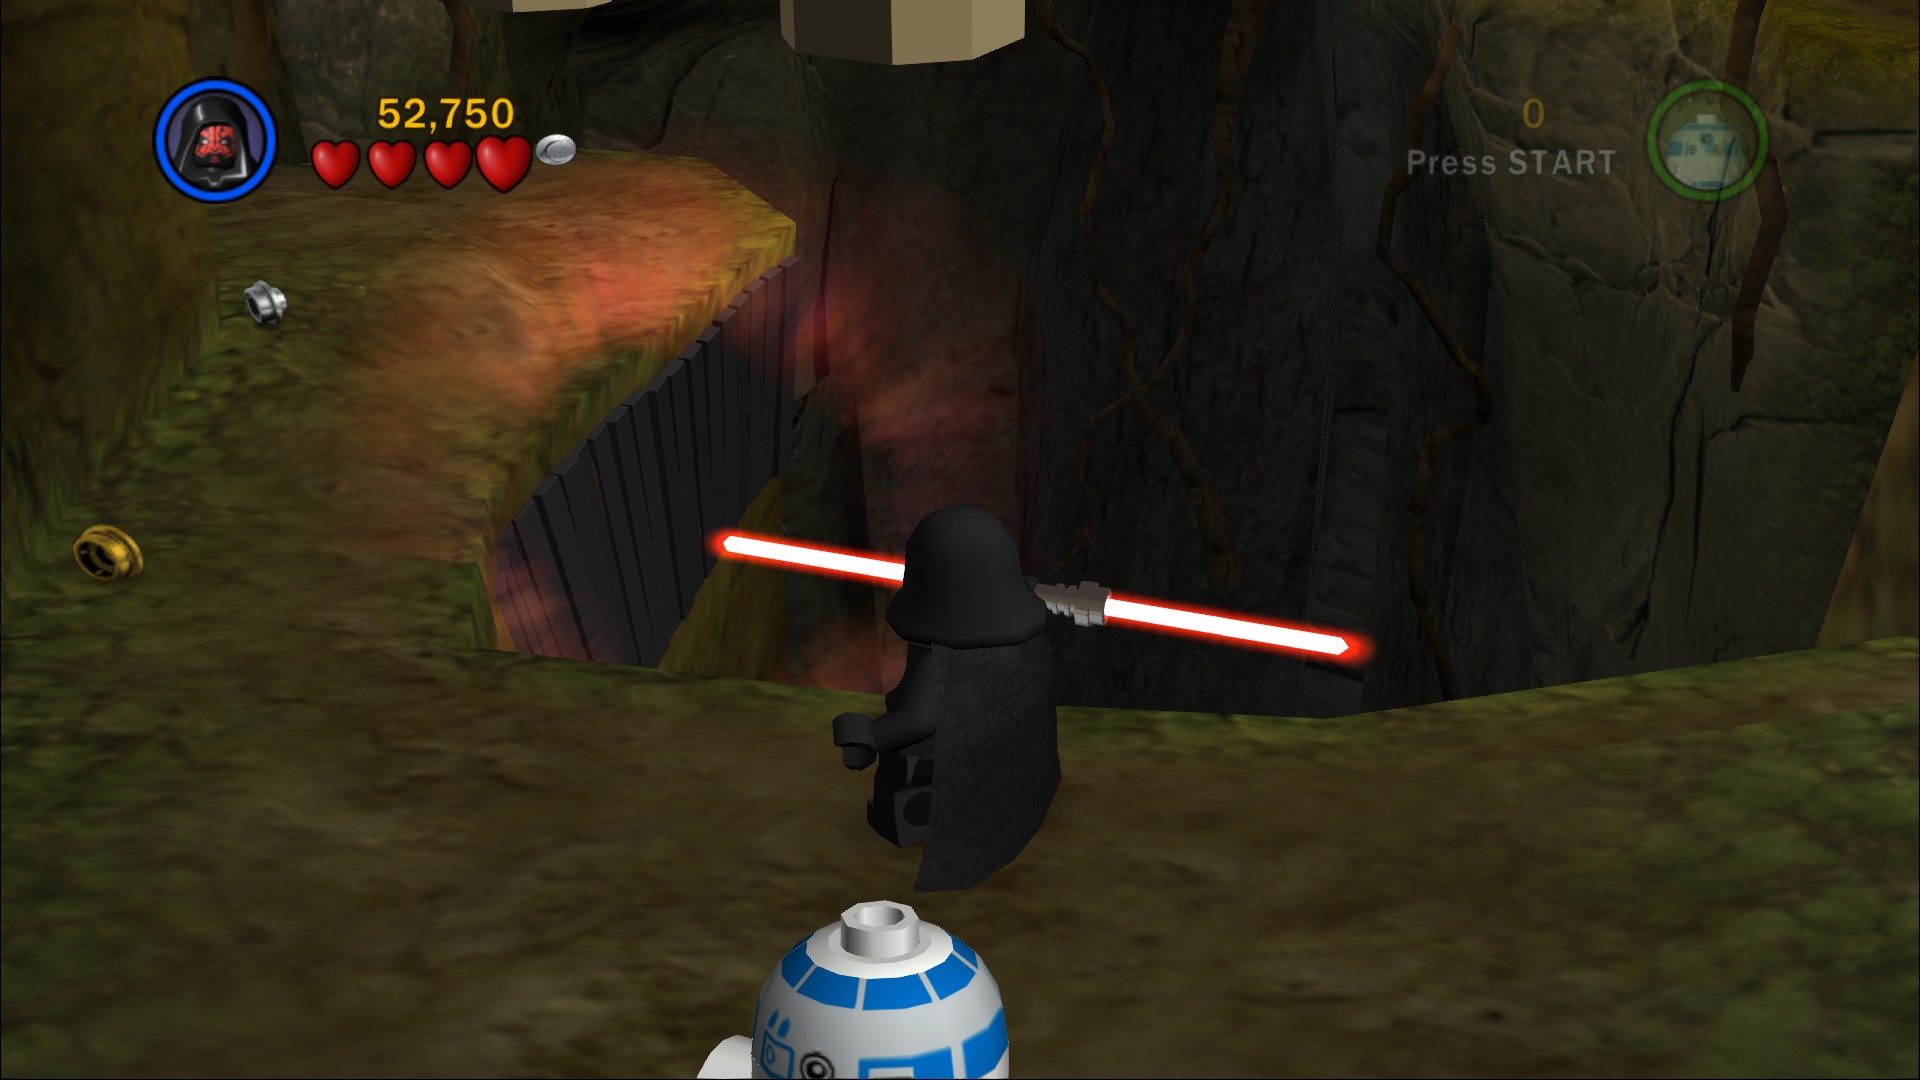
Use the Dark Force to create half a bridge, then at the end of it use the Dark Force again to create the second half. Blow up the Silver LEGO crates to build a grapple point to get the Minikit above.
Jump across the platforms with the brown buttons on them to lower them into place as part of a bridge.
Minikit 8/10
Requires: Hatch Access, Blaster Story Mode: No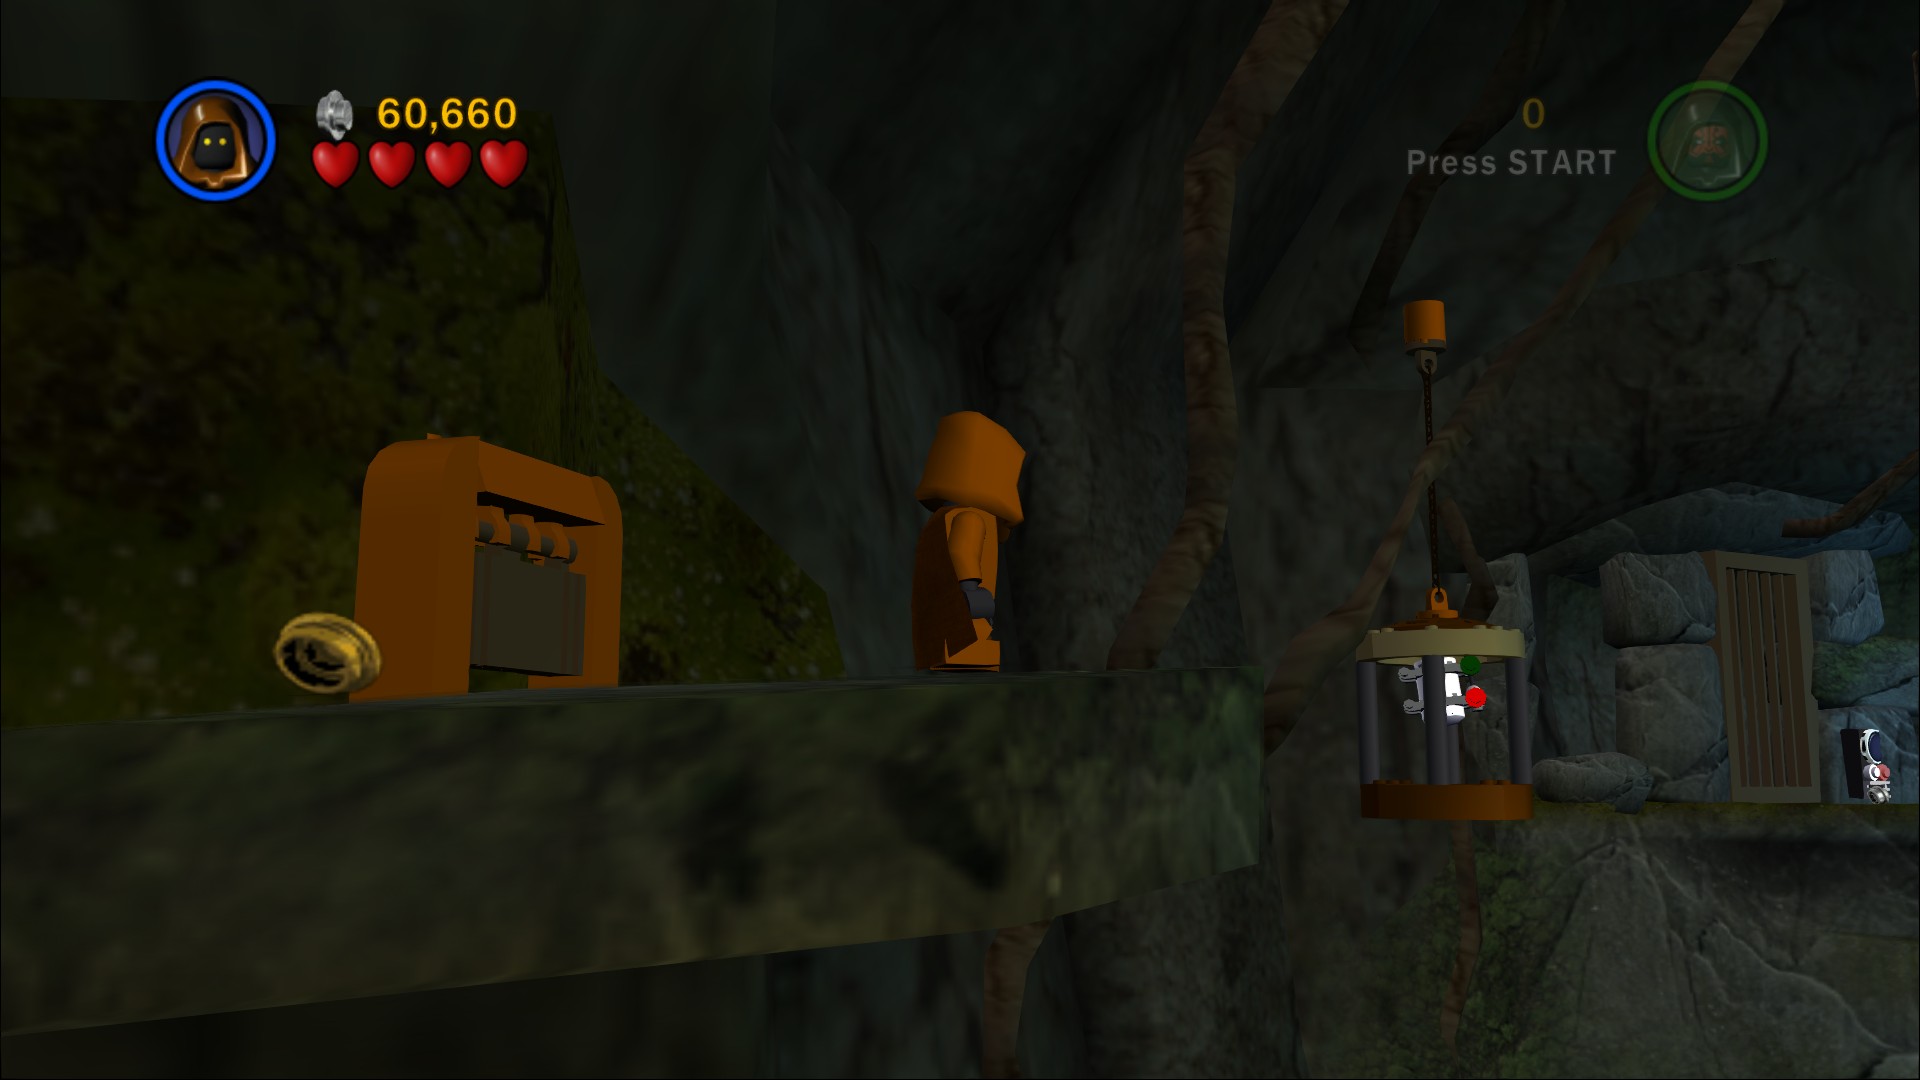
Crawl through the access hatch and then shoot at the cage containing the Minikit.
Keep on going straight forwards along the ledges all the way to a boss fight with Darth Vader.
Minikit 9/10
Requires: Bounty Hunter Story Mode: No
Just before where you fought Darth Vader is a cave blocked up with Silver LEGO, blow through that and then cross the room of platforms carefully as a lot of them will collapse but some will stay up, test by stepping on one and then immediately jumping back to the previous safe platform. On the other side is the Minikit.
In the fight with Darth Vader hold the attack button to defend while he swipes at you then jump and swipe back at him, do that a couple of times to take off two hearts and he'll jump away. To reach him you need to use the Force to lift up the two crates at the back, stand on one and lift the other at the same time as your partner. Repeat the same attack tactic as before.
Jump back down and over to the right is a crate you can assemble, stack up the three Force crates to form some steps that you can jump up to reach where Vader has stopped. Two more hearts and he'll return to the ground for the last two hearts of health. With the boss defeated the gate will open to let you through.
There's some more plants to clear off some LEGO bricks using the Force, once they're gone build the rotation switch and then push it around to lift up the bridge over the swamp. On the other side use the Force to create a ramp for R2-D2.
Minikit 10/10
Requires: Hatch Access, Grapple, Double Jump Story Mode: No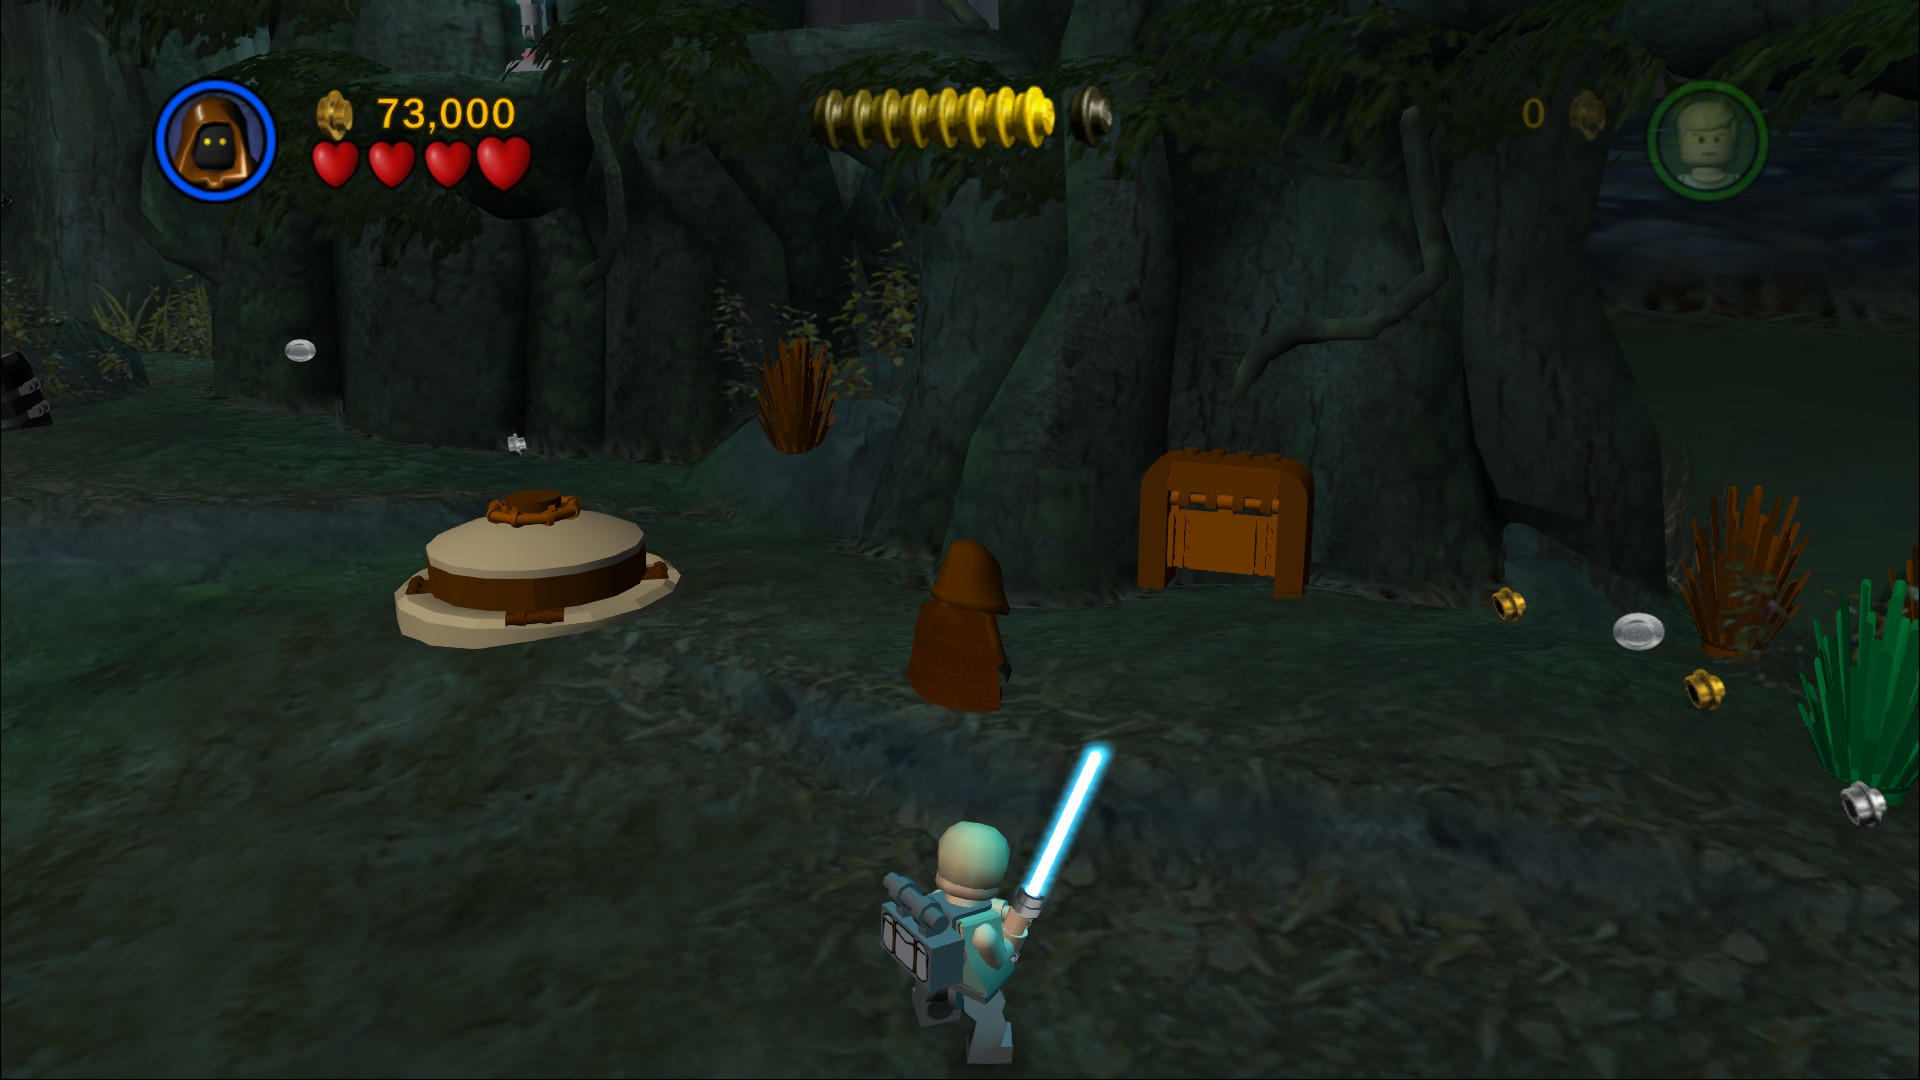
Use a small character to crawl through the hatch ahead then jump over to the left to pull a switch. Build the grapple point that'll take you to the Minikit above.
On the far left side of the area stand on one of the two crates and use the Force to lift them up, push the crate at the top off the edge to get the parts to build a motorbike. Pull the parts of a washing machine out of the swamp behind there with the Force then use the Force to rearrange the bike again, and then again on the washing machine to get the parts to an Astromech Droid crate that will blow up the gate that's blocking the way forwards.
With Yoda use the Force to lift Luke's X-wing out of the swamp to finish the chapter.
X-wing
 Based on set 4484
You'll unlock Luke Skywalker's Pilot and Dagobah versions as well as Yoda.
Chapter 5
Cloud City Trap
Barely a few weeks into his Jedi training with Yoda, Luke Skywalker has had a vision of his friends captured by Darth Vader.
Against Yoda's advice, the impetuous young Jedi sets his X-wing fighter on a course for Cloud City.
Here he hopes to find Han Solo and Princess Leia - little guessing in his haste that he himself is the true target of Vader's trap....
| Story Mode | Free Play |
|---|---|
| 11,000 | 16,000 |
Reflect the Stormtroopers' shots back at them and then use the Force to create a platform out of your X-wing's wing.
Red Brick (Minikit Detector)
Requires: None Story Mode: Yes
You can just about see it behind the X-wing's engines.
Switch to R2-D2 and hover over to the platform the Stormtroopers were standing on to open the Astromech panel.
Minikit 1/10
Requires: Bounty Hunter Story Mode: No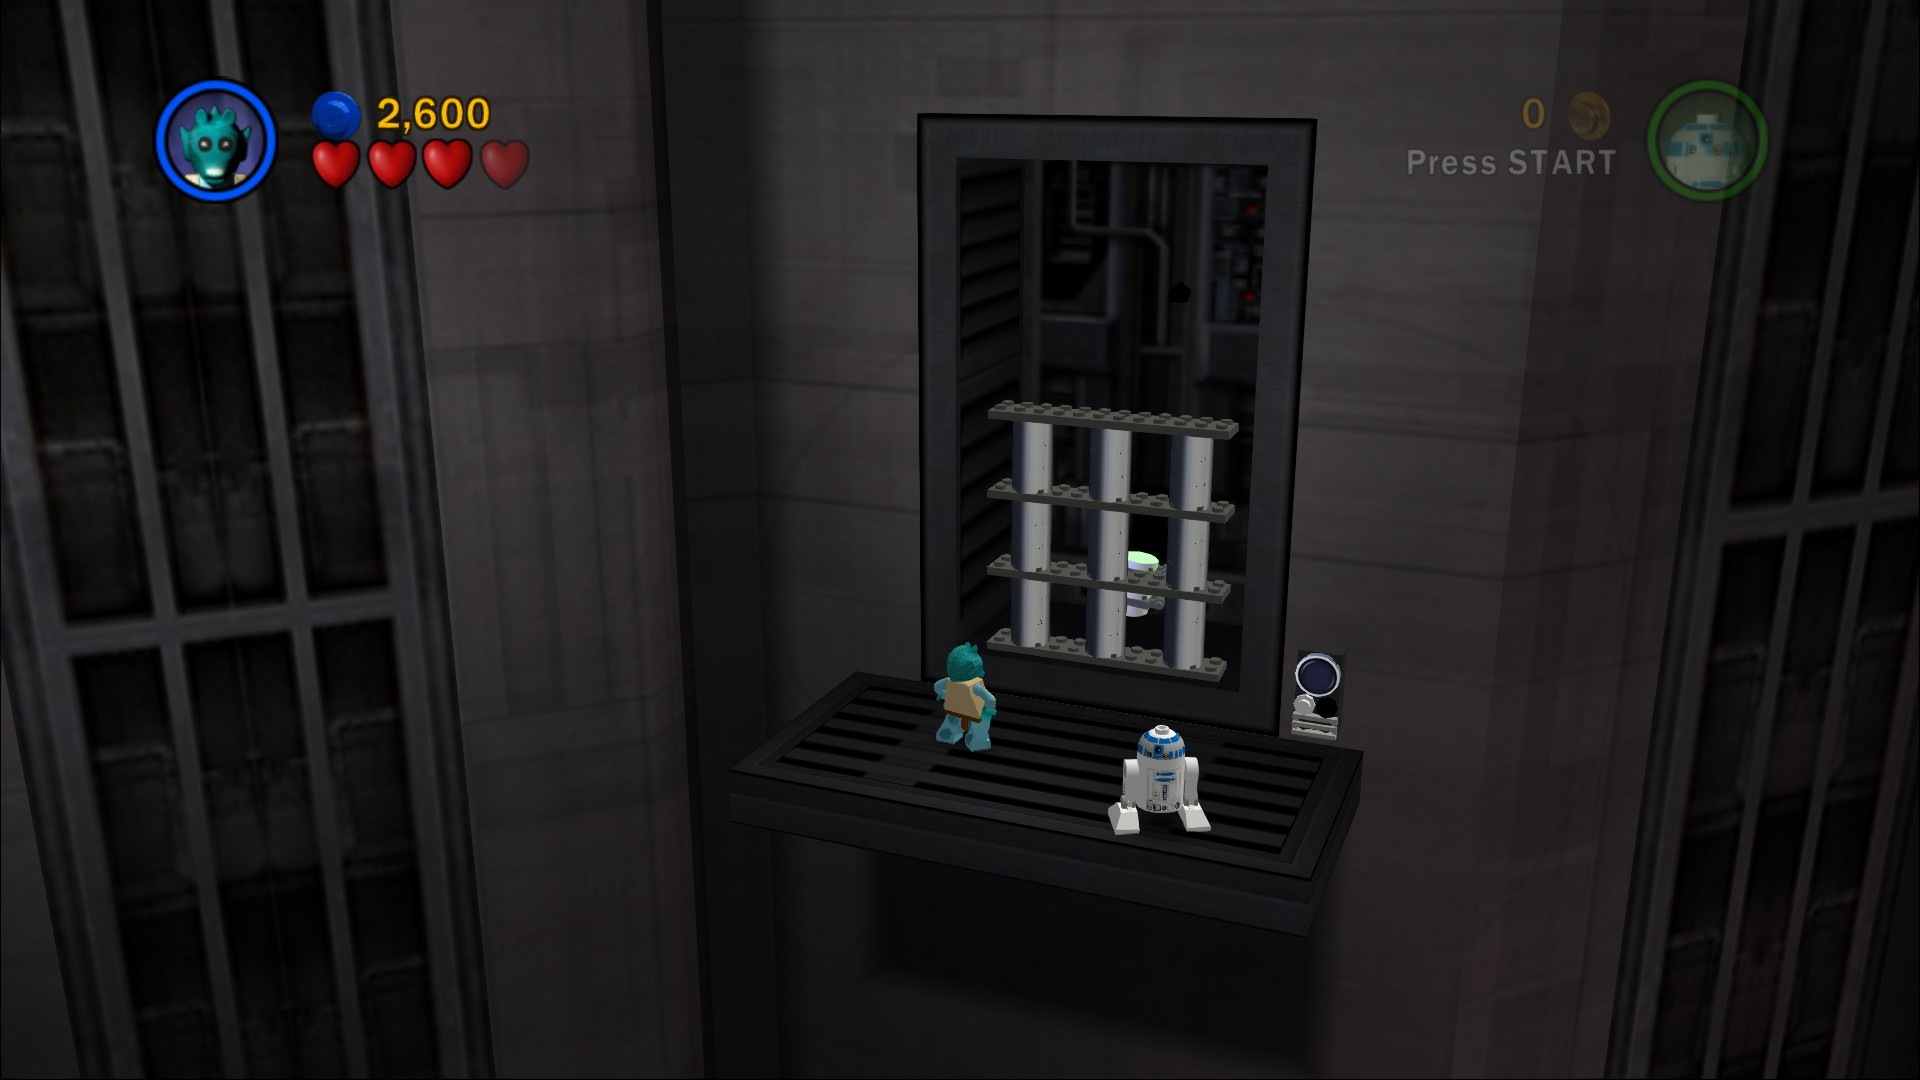
Blow up the Silver LEGO barrier next to that Astromech panel.
Hover back and have Luke jump over the bridge you raised to go build another Astromech panel. Using that will open a door letting you get inside.
Defeat the several waves of Stormtroopers that drop in through the ceiling and then open up the Astromech panel at the back to reveal a crate. Push it along the checkered floor to the red mark, once it's in defeat a few more Stormtroopers and then smash the the white LEGO at the back of the room so you can reassemble it as a turret. Defeat more Troopers and then finally use the Force to place the turret so that you can fire at the barrier blocking the exit.
Minikit 2/10
Requires: Bounty Hunter Story Mode: No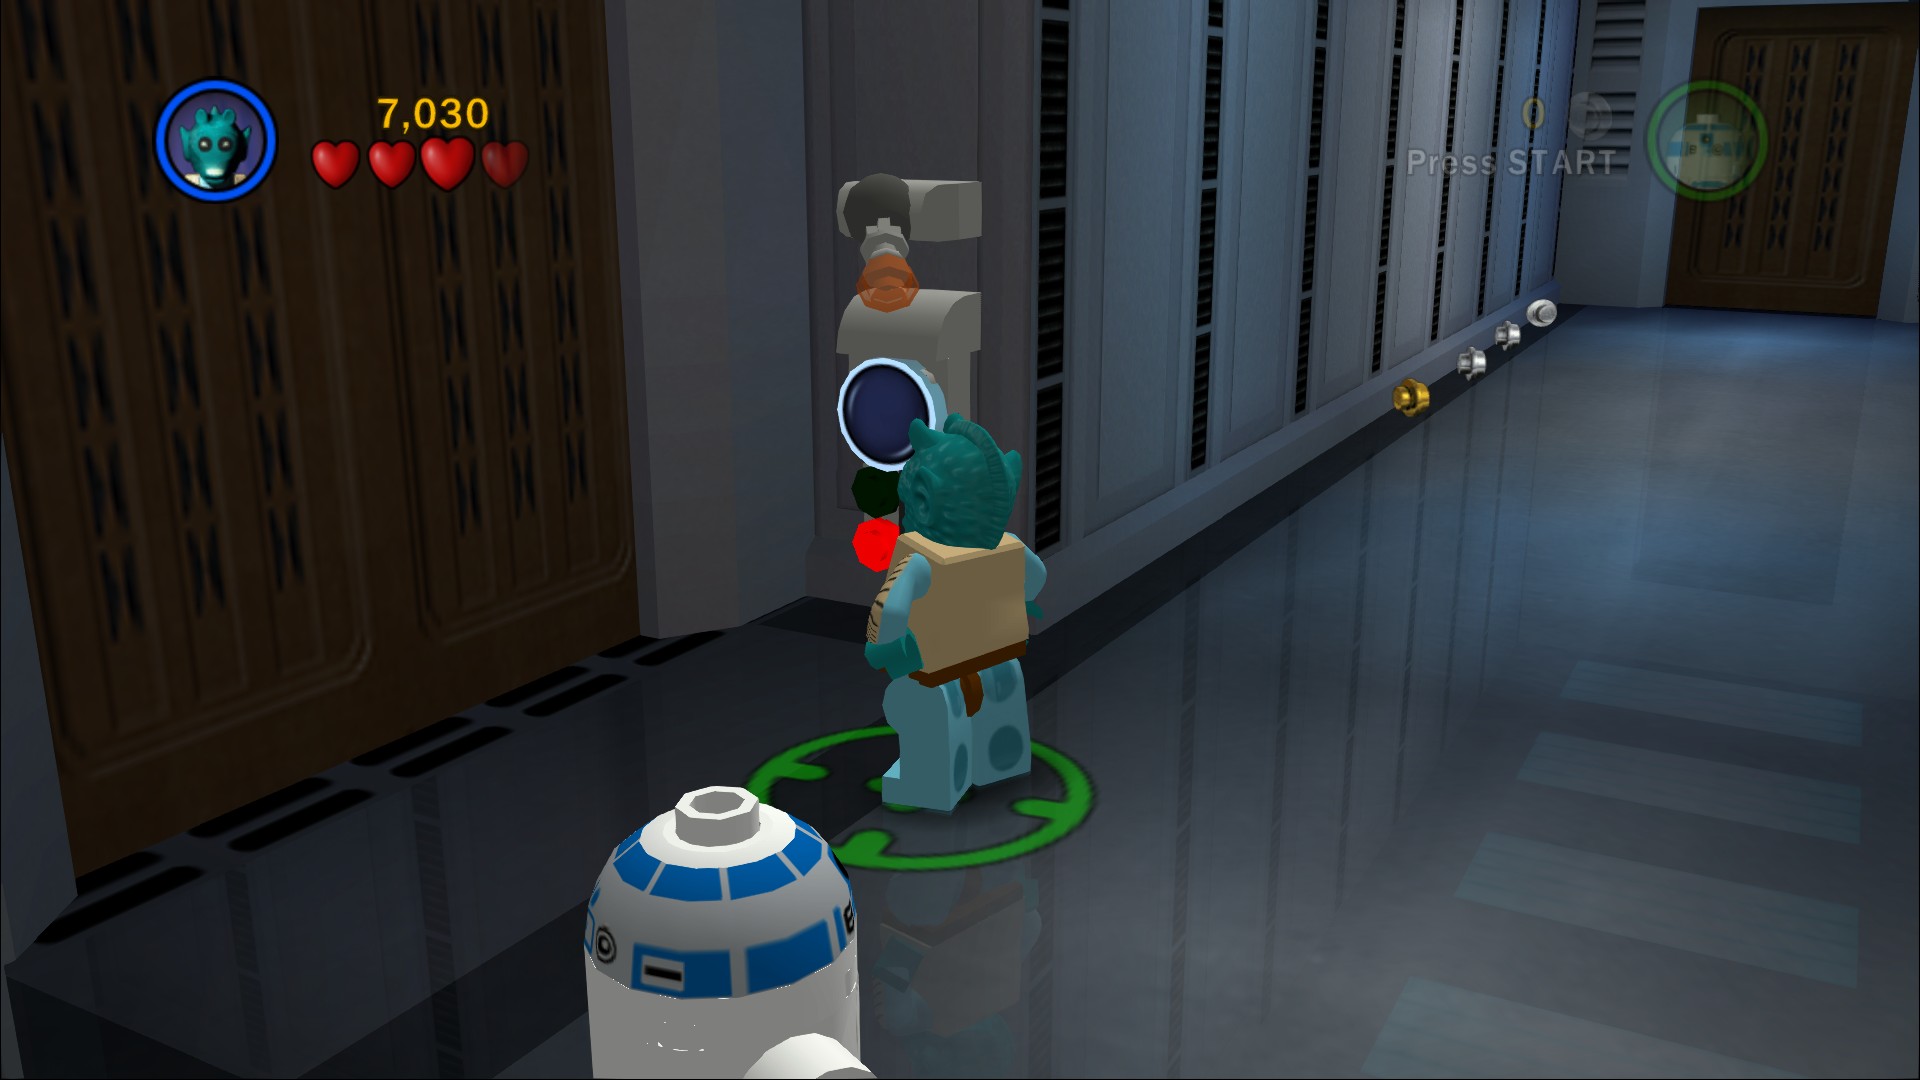
A Bounty Hunter door on the left in the corridor.
Open up yet another astromech door and go through to a fight with Darth Vader. Treat this much as you did the fight on Dagobah, hold the attack button to defend as he swipes at you then jump and attack when he pauses. After two hearts he'll start jumping away from you when you try to get close, switch to R2-D2 and activate the astromech panel here, that'll stun Vader so you can hit him as Luke again. Repeat all this until his hearts are depleted and he jumps off the platform entirely.
When Vader jumped away he left behind some LEGO bricks for you to fix the crane's control pod.
Minikit 3/10
Requires: Dark Force Story Mode: No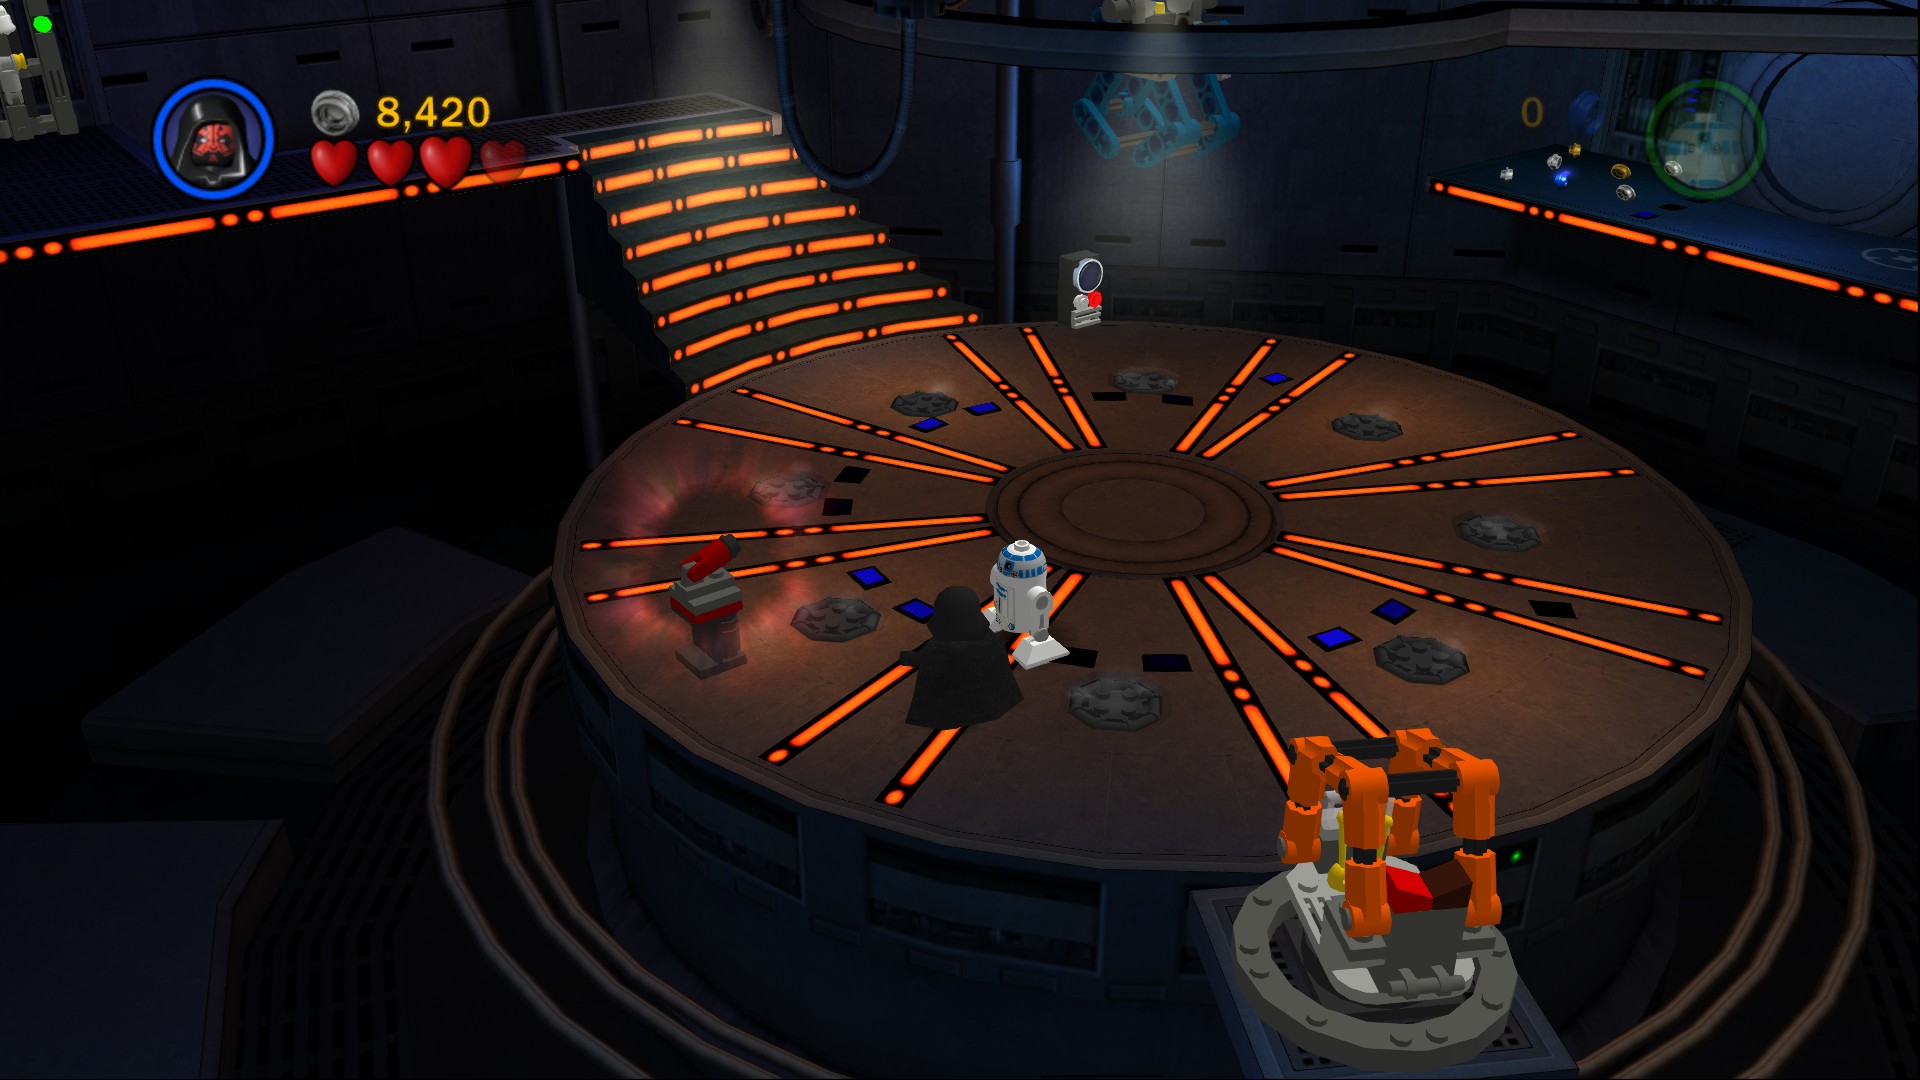
Use the Dark Force to flip a lever on the left to open the carbonite freezing chamber, get into the crane and pick up one of the Stormtroopers so you can drop him into that hole. Build the Minikit out of the LEGO that appears.
Use the crane to pick up R2-D2 and place him down again over to the right next to an Astromech panel which he'll automatically activate for you (unless you're in co-op of course). A yellow and black platform will move into position so Luke can jump across but before you do that intead go back a little and get a Stormtrooper hat from the disguise station that you passed on the way into the Vader fight as you'll need it to open the door to leave.
Outside you'll see Vader again, follow him to the right. Use the Force to build a fan, before you use it however have R2-D2 activate the astromech panel a little further to the right.
Minikit 4/10
Requires: Blaster, Double Jump Story Mode: No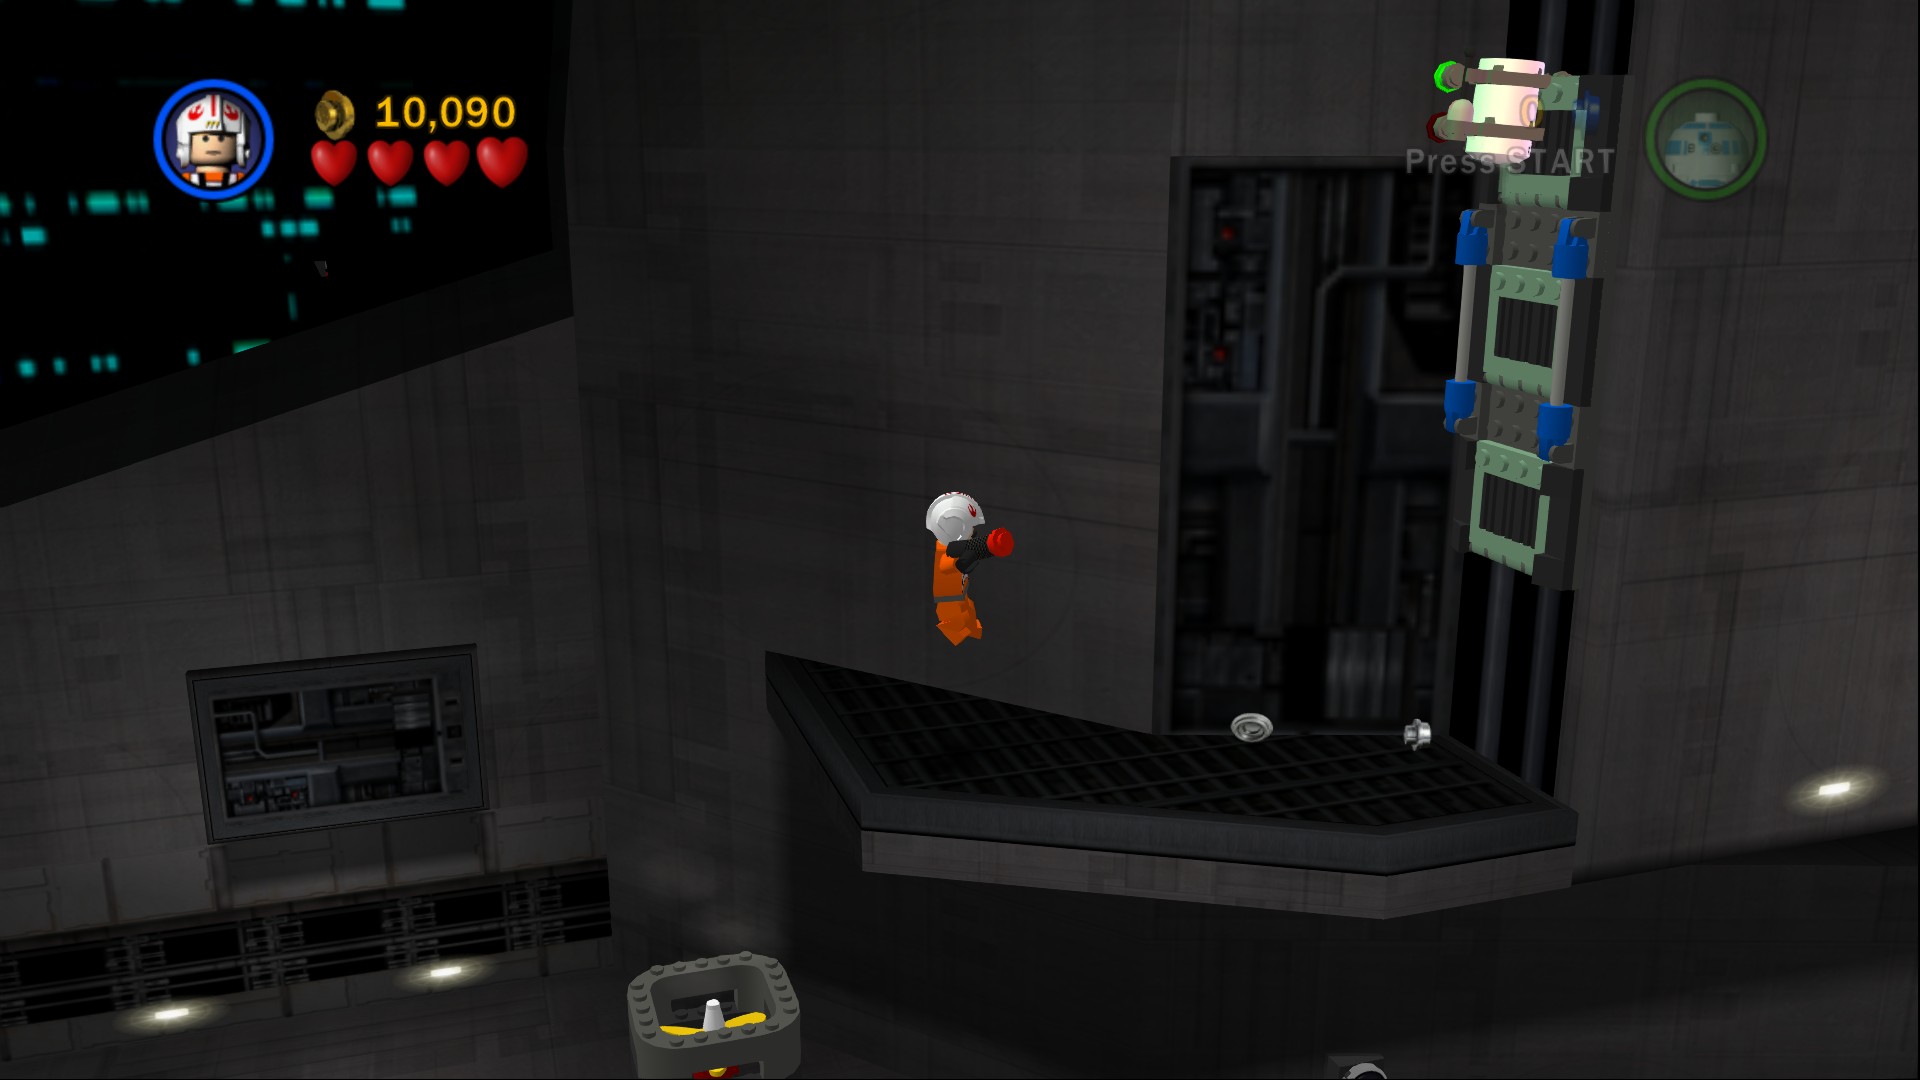
After riding the fan but before using the moving platform, jump and shoot at the wall to create a platform so you can jump and reach the Minikit above.
Step onto the moving platform and ride it to the right, use the Force to rotate a fan around, but before you use it stand on the platform underneath the moving one so that R2-D2 can follow you over.
Have R2-D2 activate the elevator up to the doorway that Darth Vader is waiting outside.
Minikit 5/10
Requires: Hover Story Mode: Yes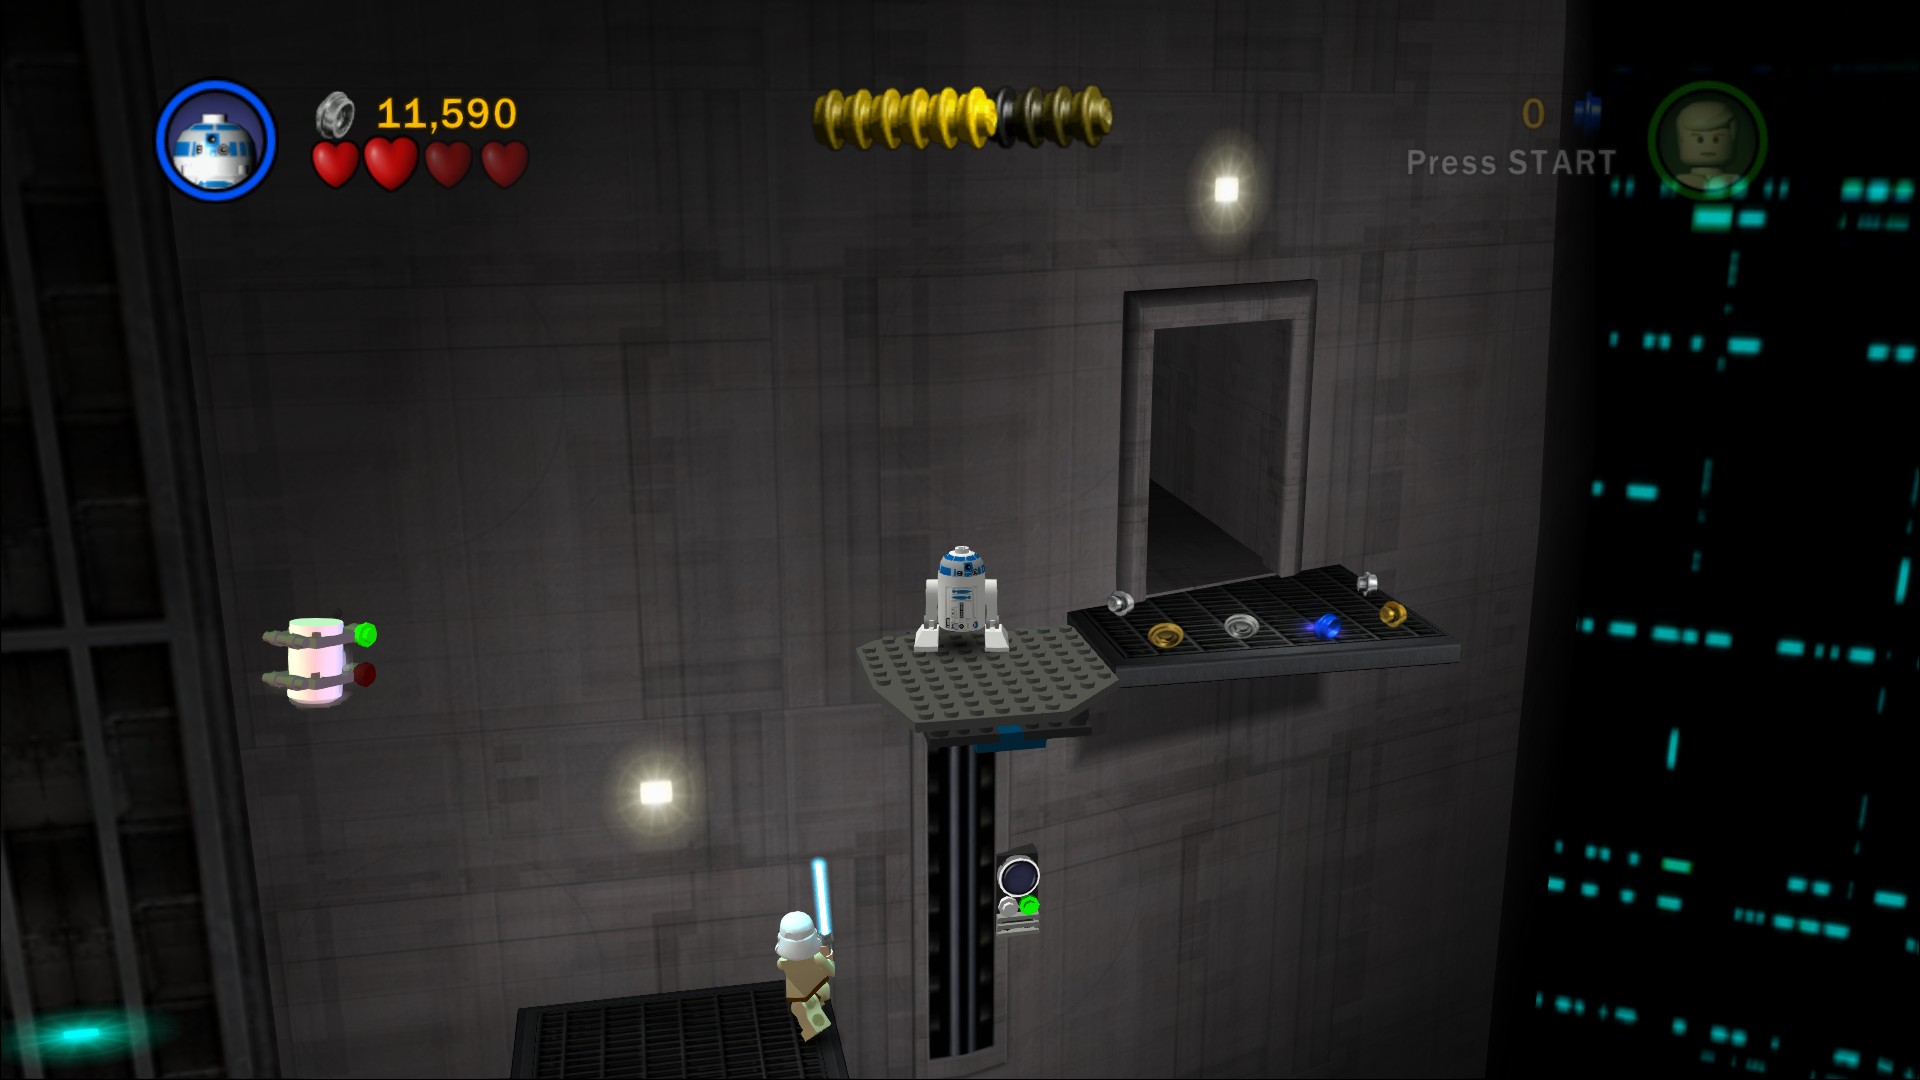
Hover off to the left to get the Minikit above the fan.
Once inside you'll immediately start a fight with Darth Vader again. Same basic tactics as before, defend and then strike. After two hearts he'll jump away and send in some Stormtroopers.
Minikit 6/10
Requires: Hatch Access Story Mode: No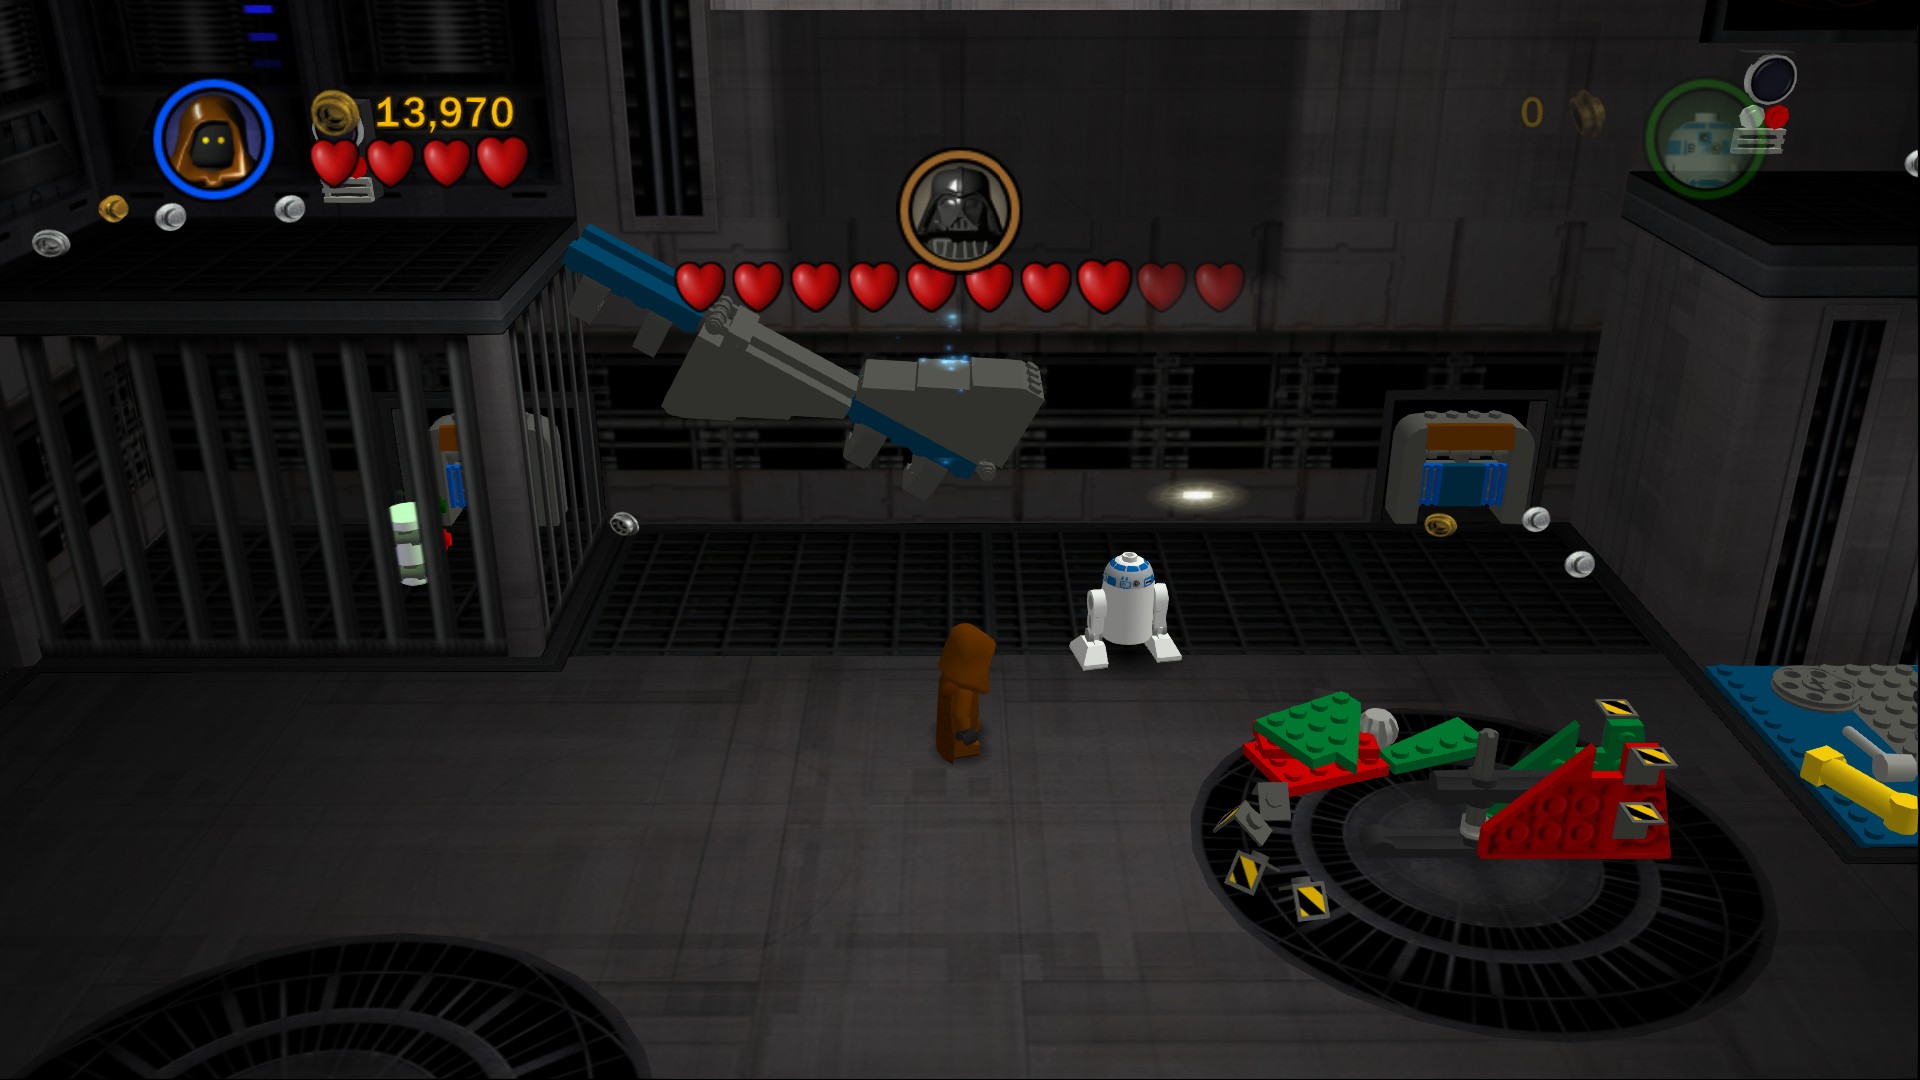
Crawl through the access hatch.
After clearing the Stormtroopers out use the Force to create a ramp up to the left for R2-D2 to get up to turn on the fans underneath Vader. Take off another couple of hearts and he'll jump back up there but on the left side.
To reach the other Astromech panel assemble the rotation switch and rebuild the elevator on the right. Defeat a few more enemies then push the switch around to raise the elevator (R2-D2 should have gone on it automatically and will activate the panel by himself, if not push the red side to lower it so he can get on). Repeat all of that until Vader runs off again when you get rid of all his hearts.
Follow him to the right and immediately reflect the Stormtroopers' blasters back at them.
Minikit 7/10
Requires: A weapon Story Mode: Yes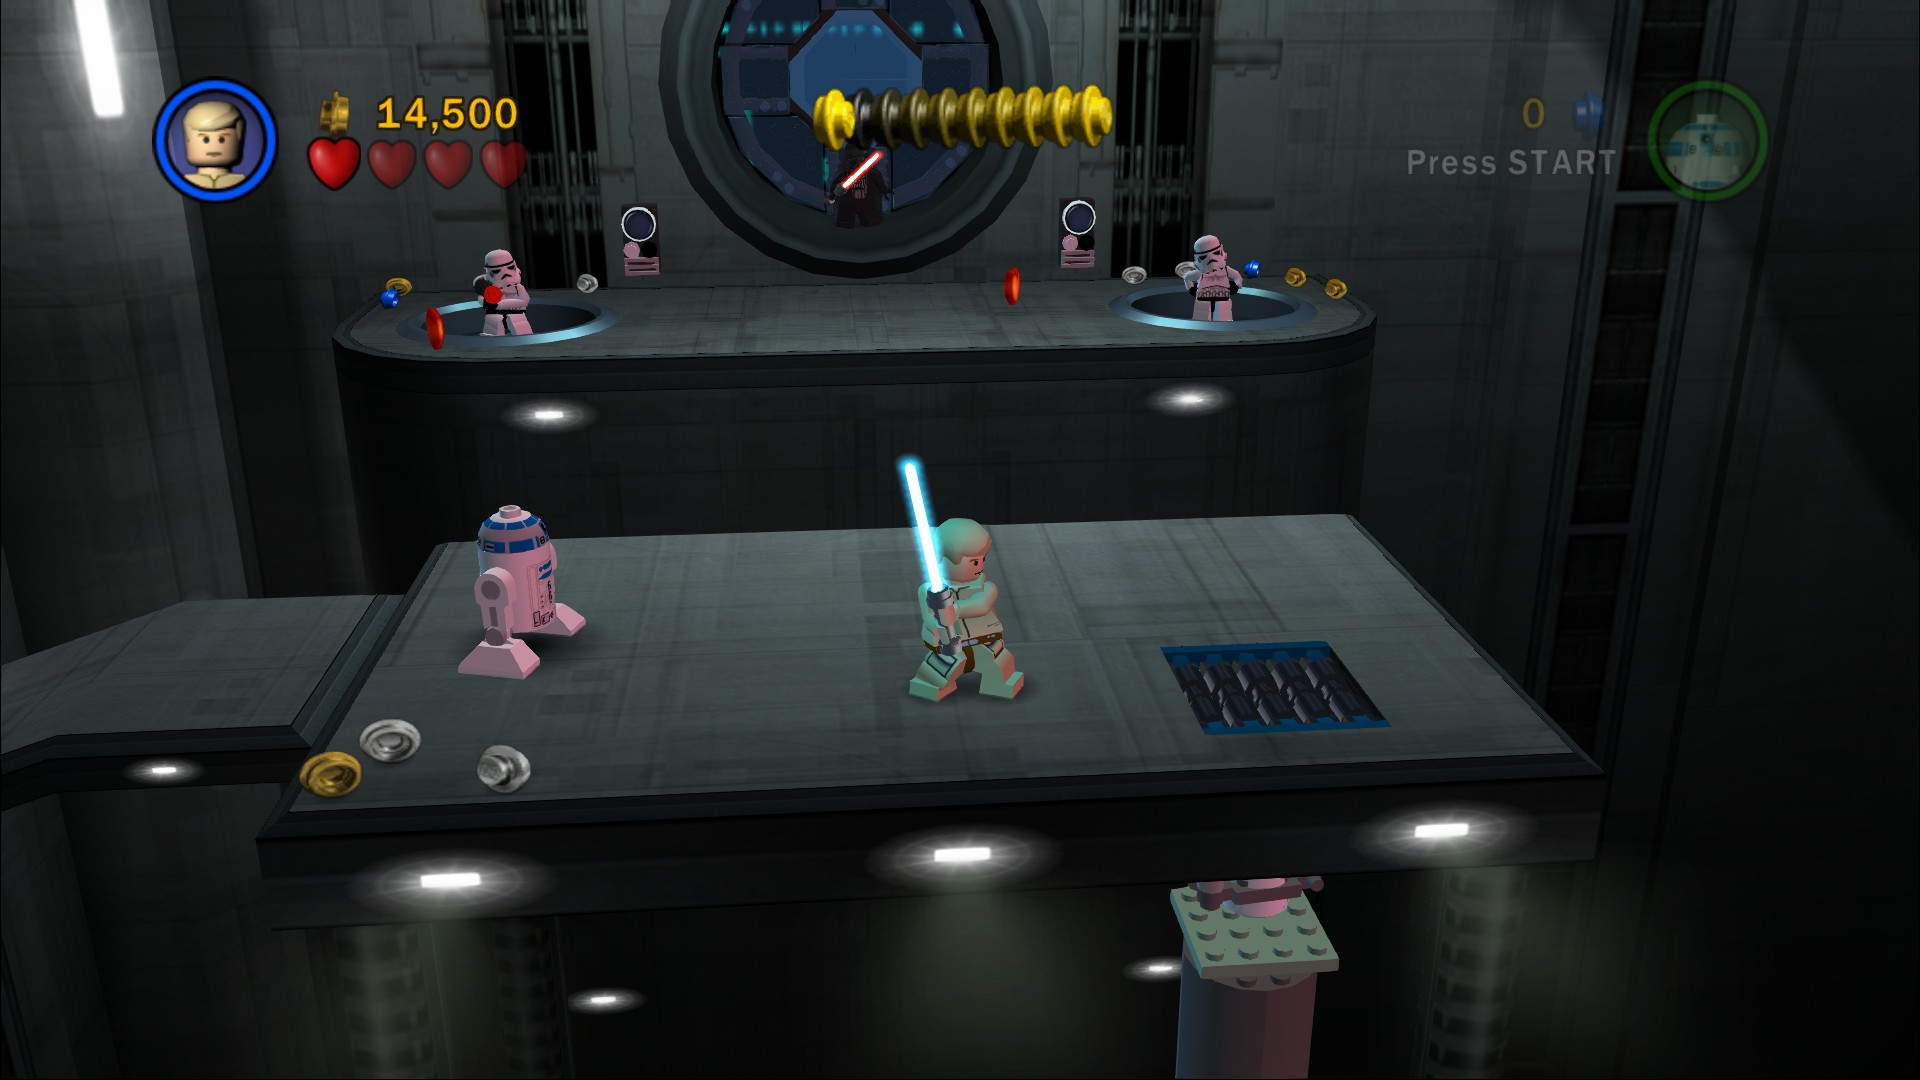
Smash the grating on the floor here.
Hover over to the Stormtroopers that will keep popping up and use the two Astromech panels behind them to turn off their elevators. Vader will now start throwing objects at Luke so hover back and switch to him so you can use the Force to throw the objects back. After hitting him with one he'll jump over, do the usual defend and attack to take off two hearts.
More Stormtroopers will start to pop out so hover over and turn them off again. Repeat the throwing objects as well, you need to get a good hit on him so stand as close as you can when Force pushing them back. Take off his last two hearts, oddly you'll still then have to repeat the Stormtroopers and object throwing again. One proper hit will smash the window and finish this fight sequence. In Free Play you can just skip this whole fight by just transforming from R2-D2 on the other side.
Use the Force to build a platform out of the broken glass so that you can follow Darth Vader out the window.
Minikit 8/10
Requires: None Story Mode: Yes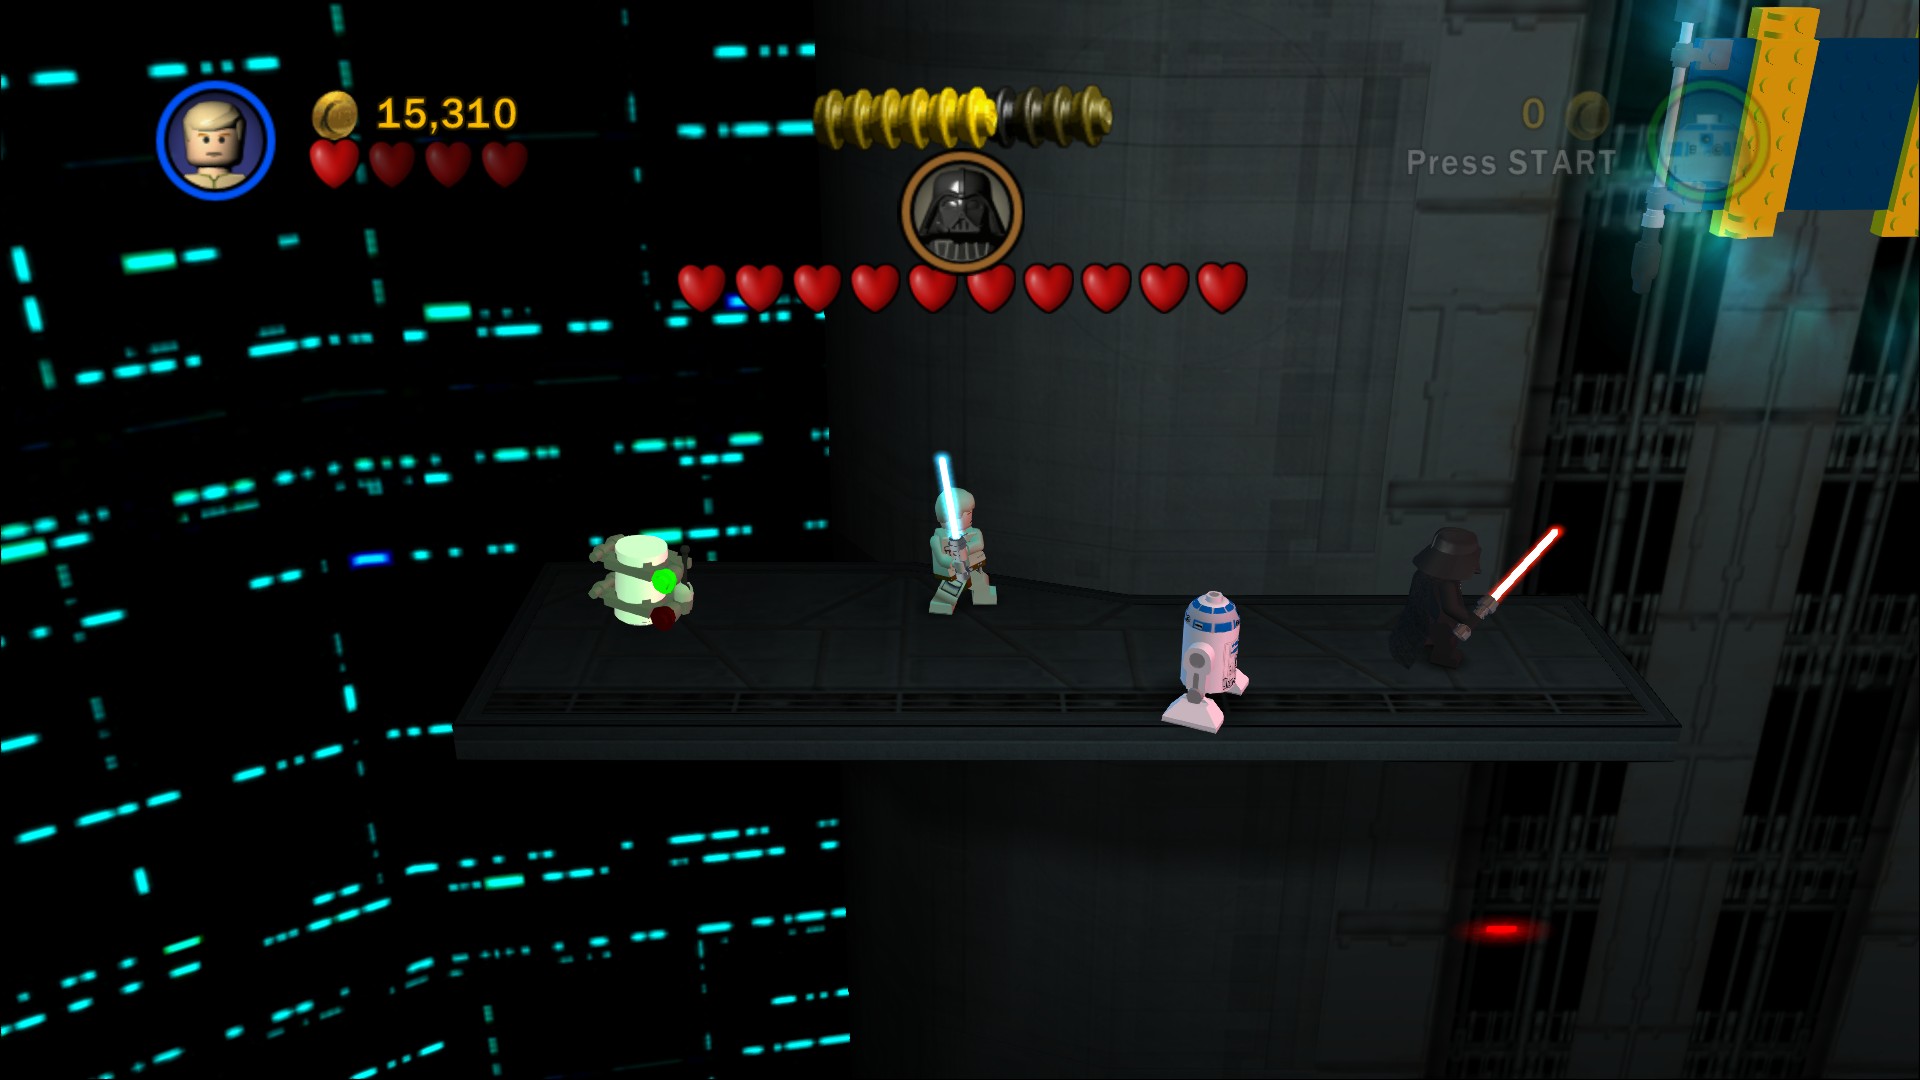
To the left outside the window.
Take a couple of hearts off Vader and then use the Force to lower a platform into position as a ramp. Take another couple of hearts.
Minikit 9/10
Requires: Jump or Hover Story Mode: Yes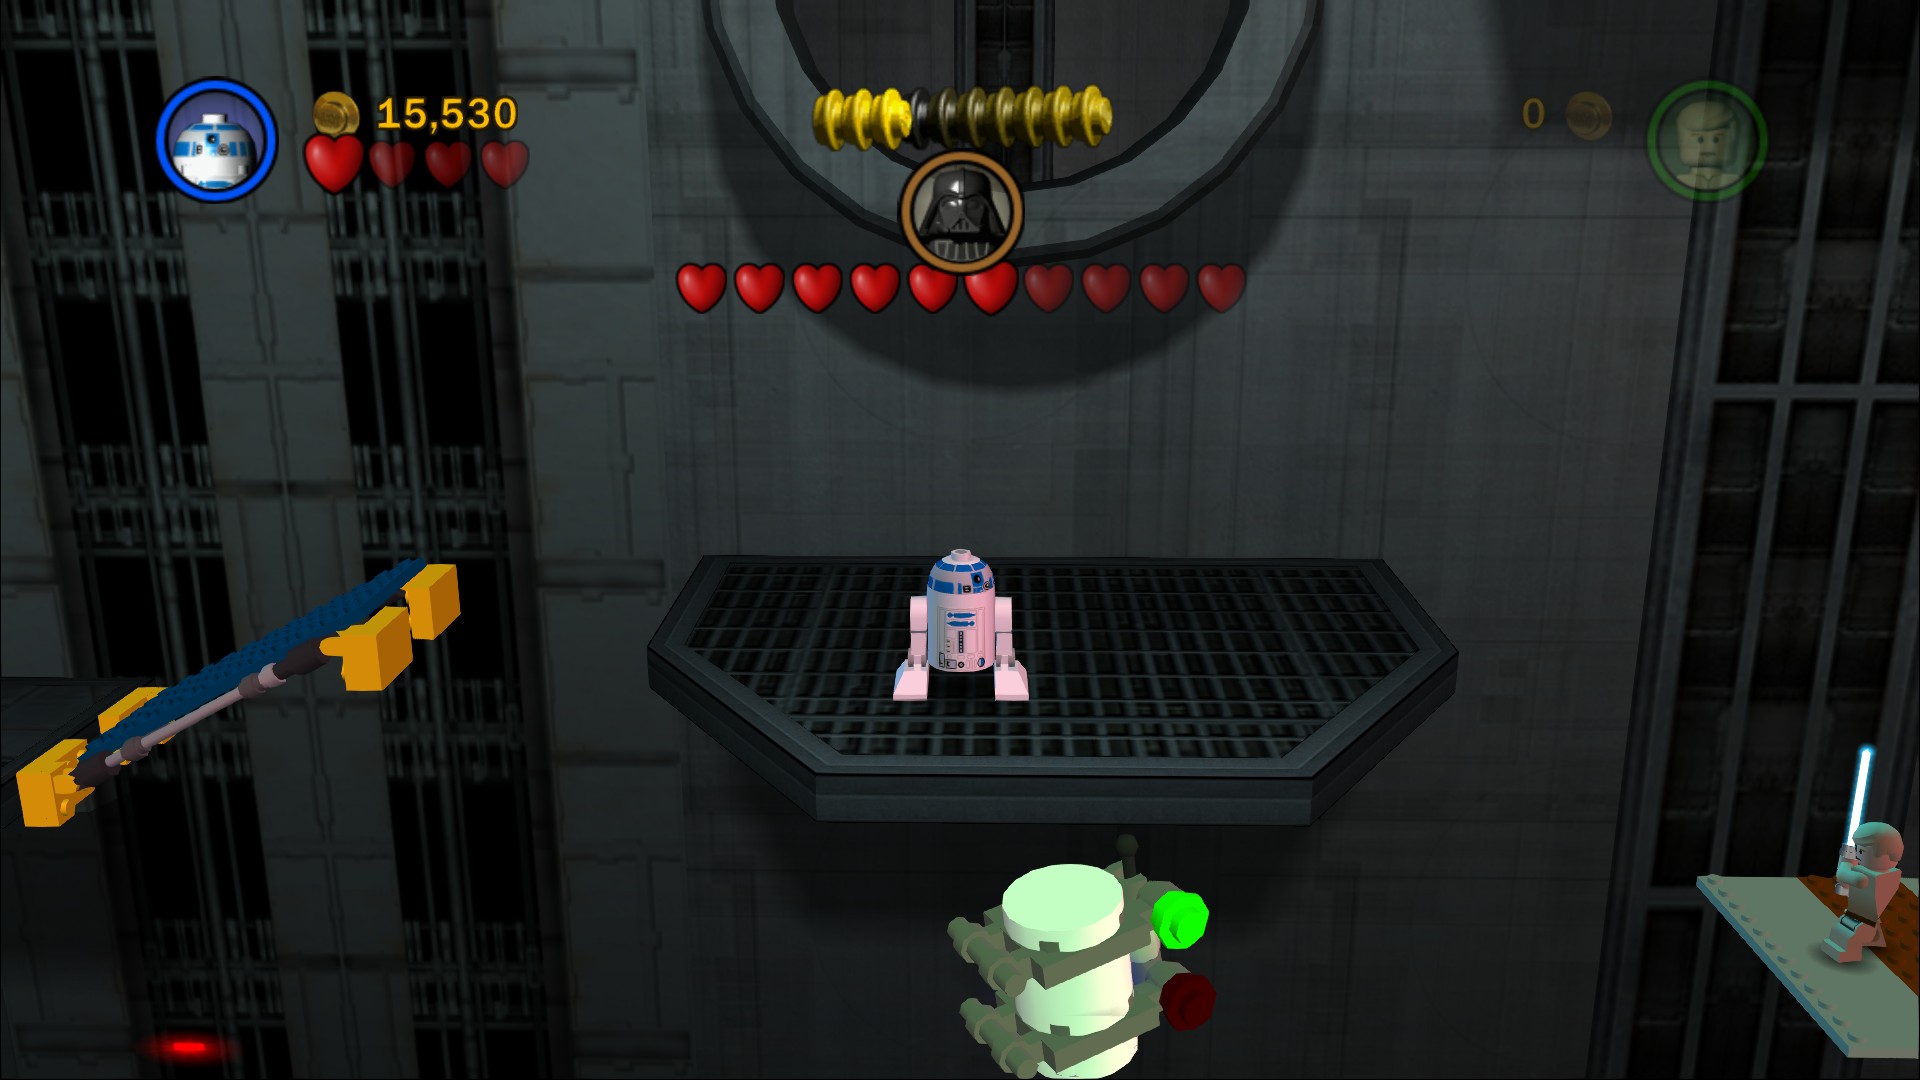
Towards the screen directly underneath the open circular window.
Jump down to the right and use R2 to activate the panel. Wait for the elevator to come back down so you take control of Luke again and take another two hearts from Lord Vader.
Minikit 10/10
Requires: Stormtrooper Story Mode: No (unless you can keep the Stormtrooper helmet this far)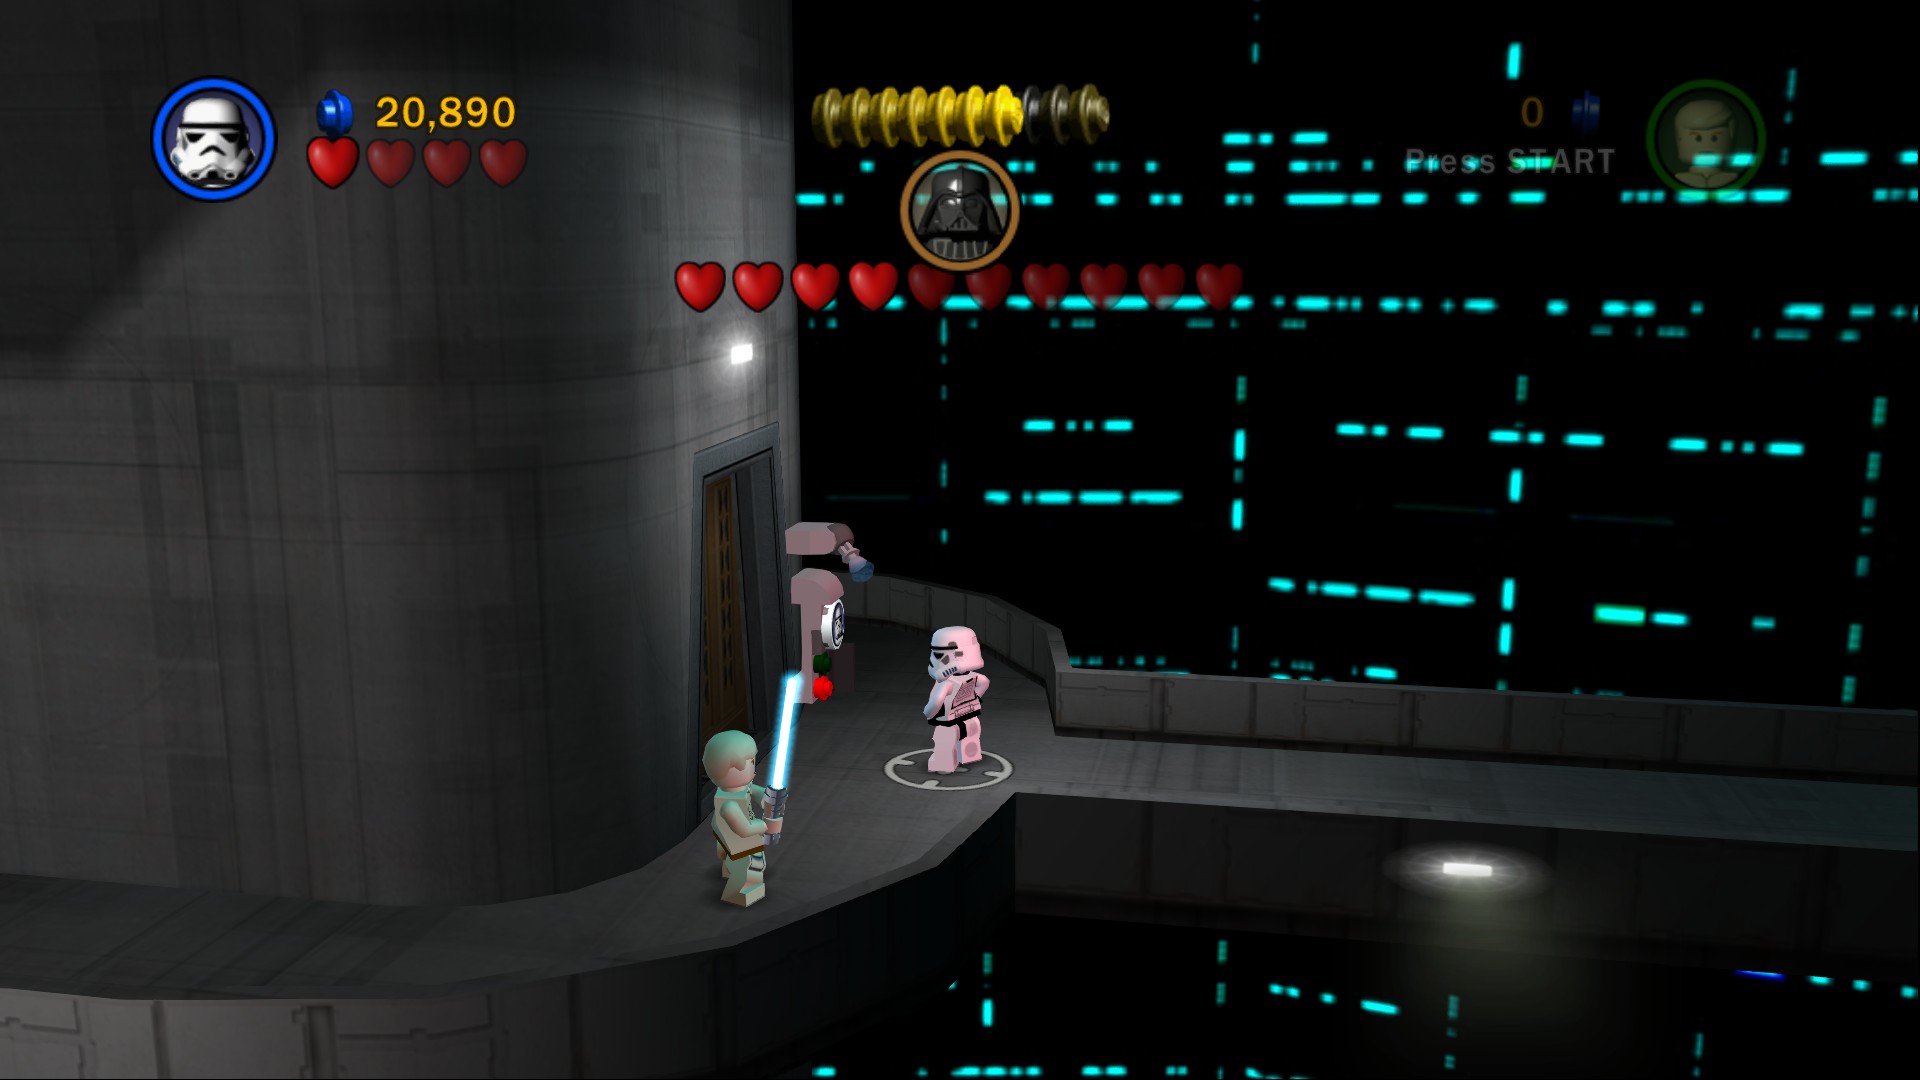
A Stormtrooper door just before you reach the last Vader fight.
Going to the right take off the last four of Vader's hearts to finish the chapter.
Cloud Car

That unlocks another Luke Skywalker, Bespin edition.
Chapter 6
Betrayal Over Bespin
Escaping from the Rebel defeat on Hoth, Han Solo has sought sanctuary on Cloud City, high above the planet Bespin.
His old friend Lando Calrissian is now Baron-Administrator of this self-governing colony, and Han hopes for a warm welcome.
But in this time of galactic upheaval, nothing is as it seems....
| Story Mode | Free Play |
|---|---|
| 45,000 | 60,000 |
Minikit 1/10
Requires: Protocol Droid Story Mode: Yes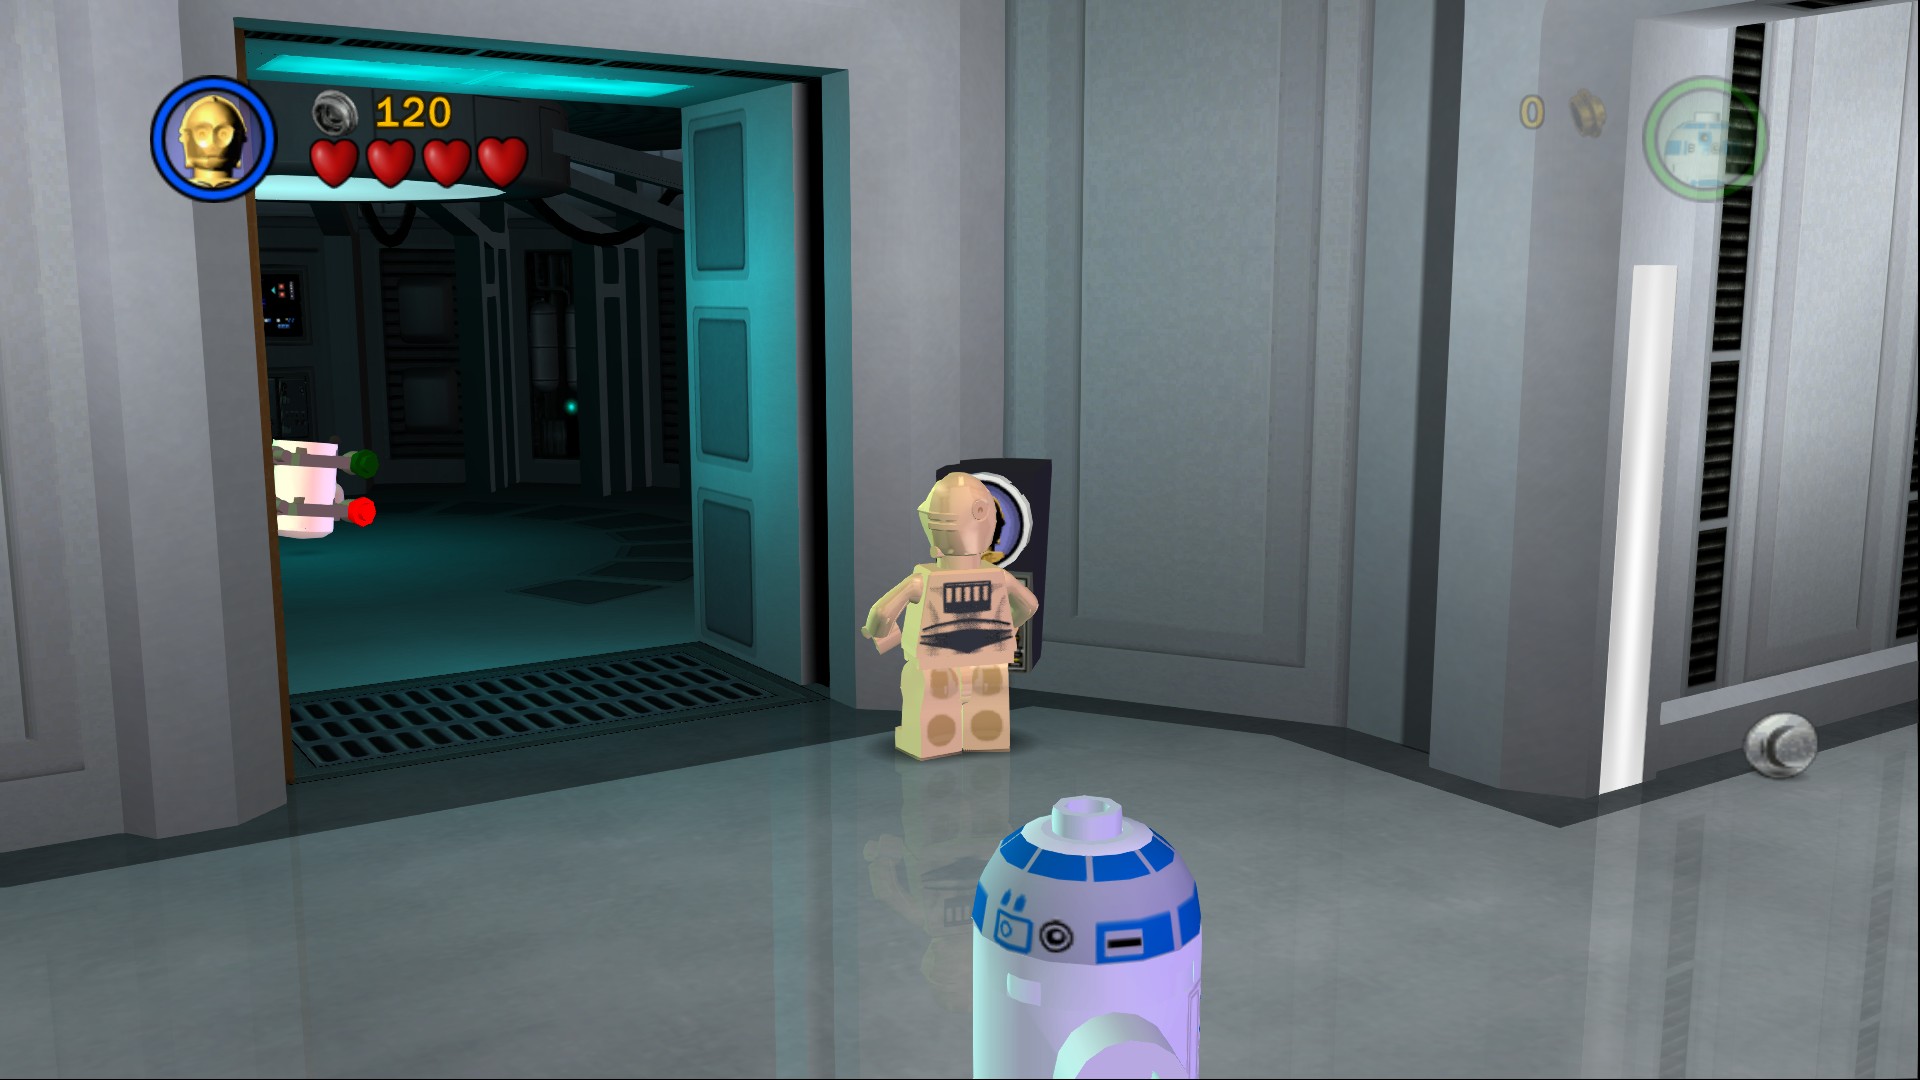
A Protocol Droid door to the left at the start of the level.
Start running along the corridor towards Boba Fett and some Stormtroopers will begin to drop in, take care of them and keep on moving down the corridor. Once you get close to where Boba is standing at the top of some steps he'll pull a lever and turn them into a slippery slope.
Minikit 2/10 - Part 1
Requires: None Story Mode: Yes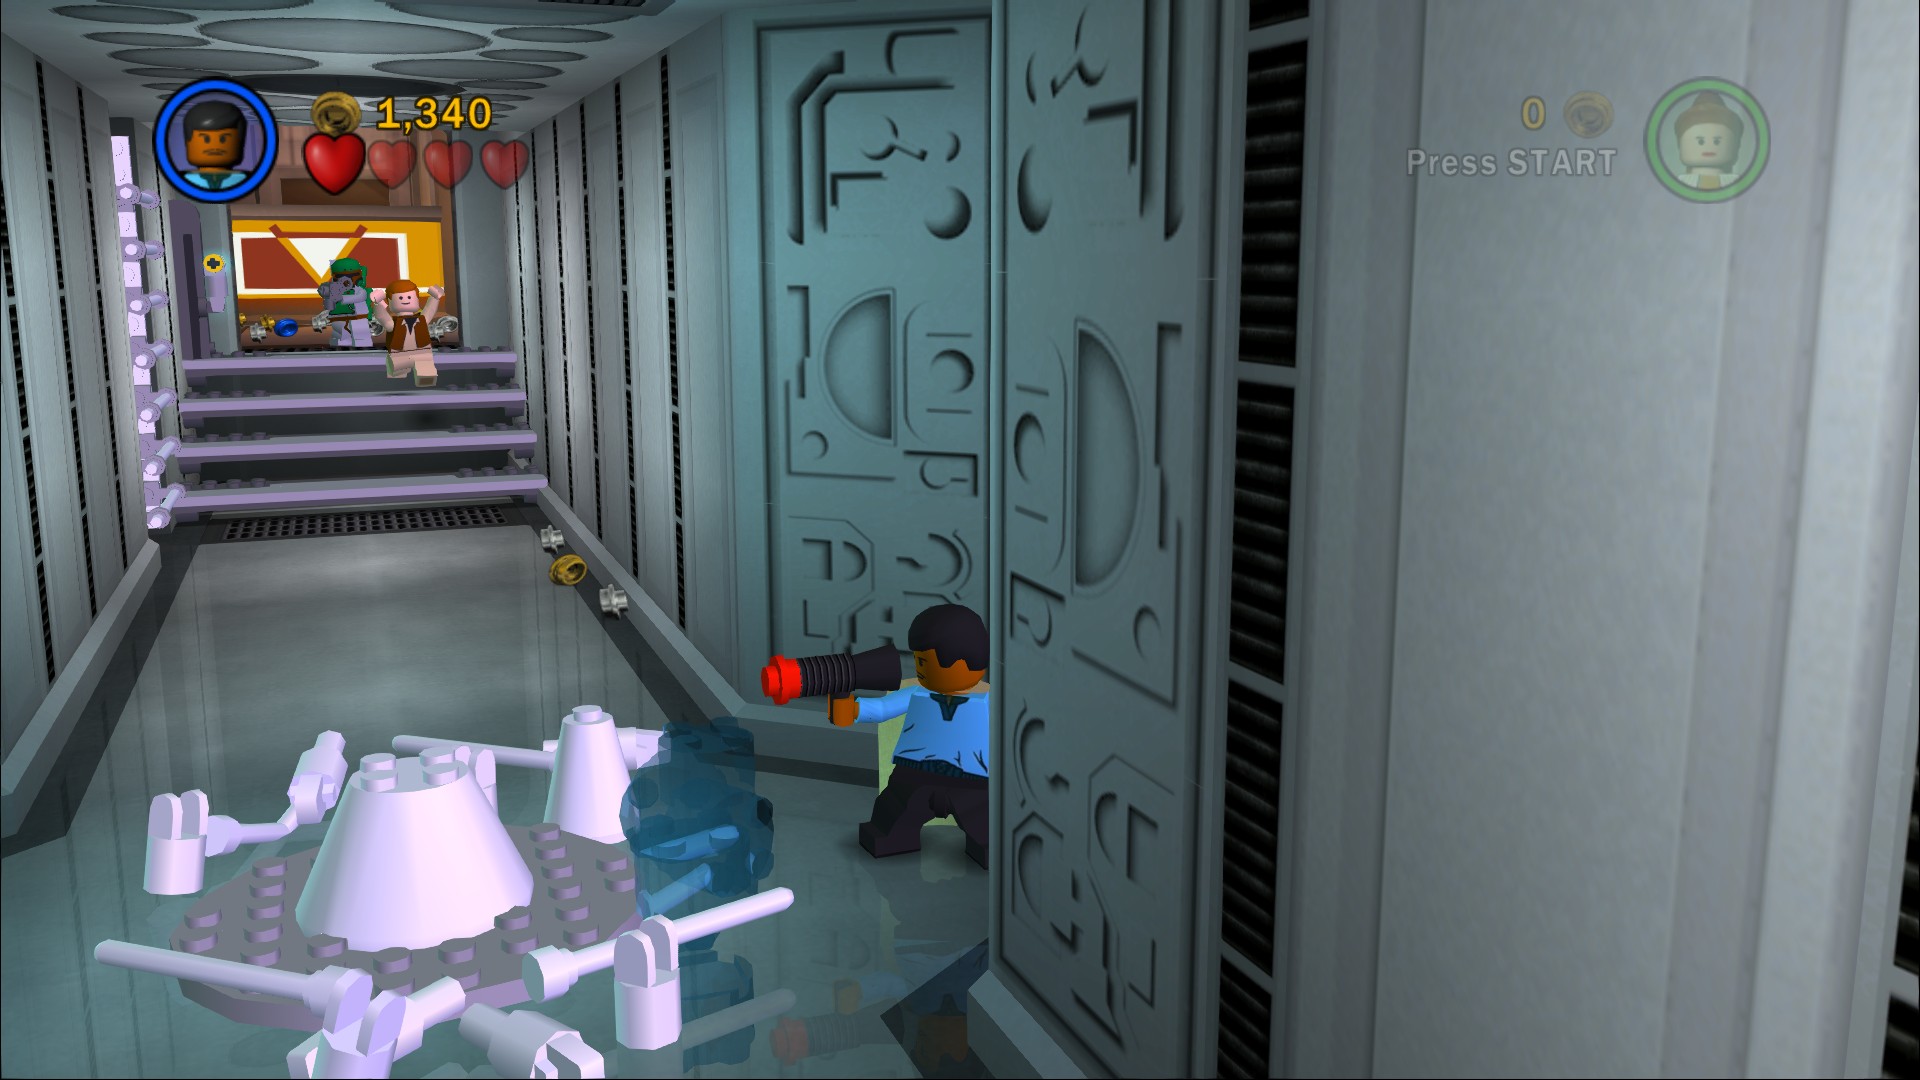
In the middle of the corridor is a lava lamp looking thing that you can build.
Shoot the barrier on the left side by the slope and pull the lever behind it to turn the ramp back into steps. As you enter the curved corridor Boba will start shooting at you before running off through a doorway.
Minikit 3/10
Requires: Astromech, The Force, Double Jump Story Mode: No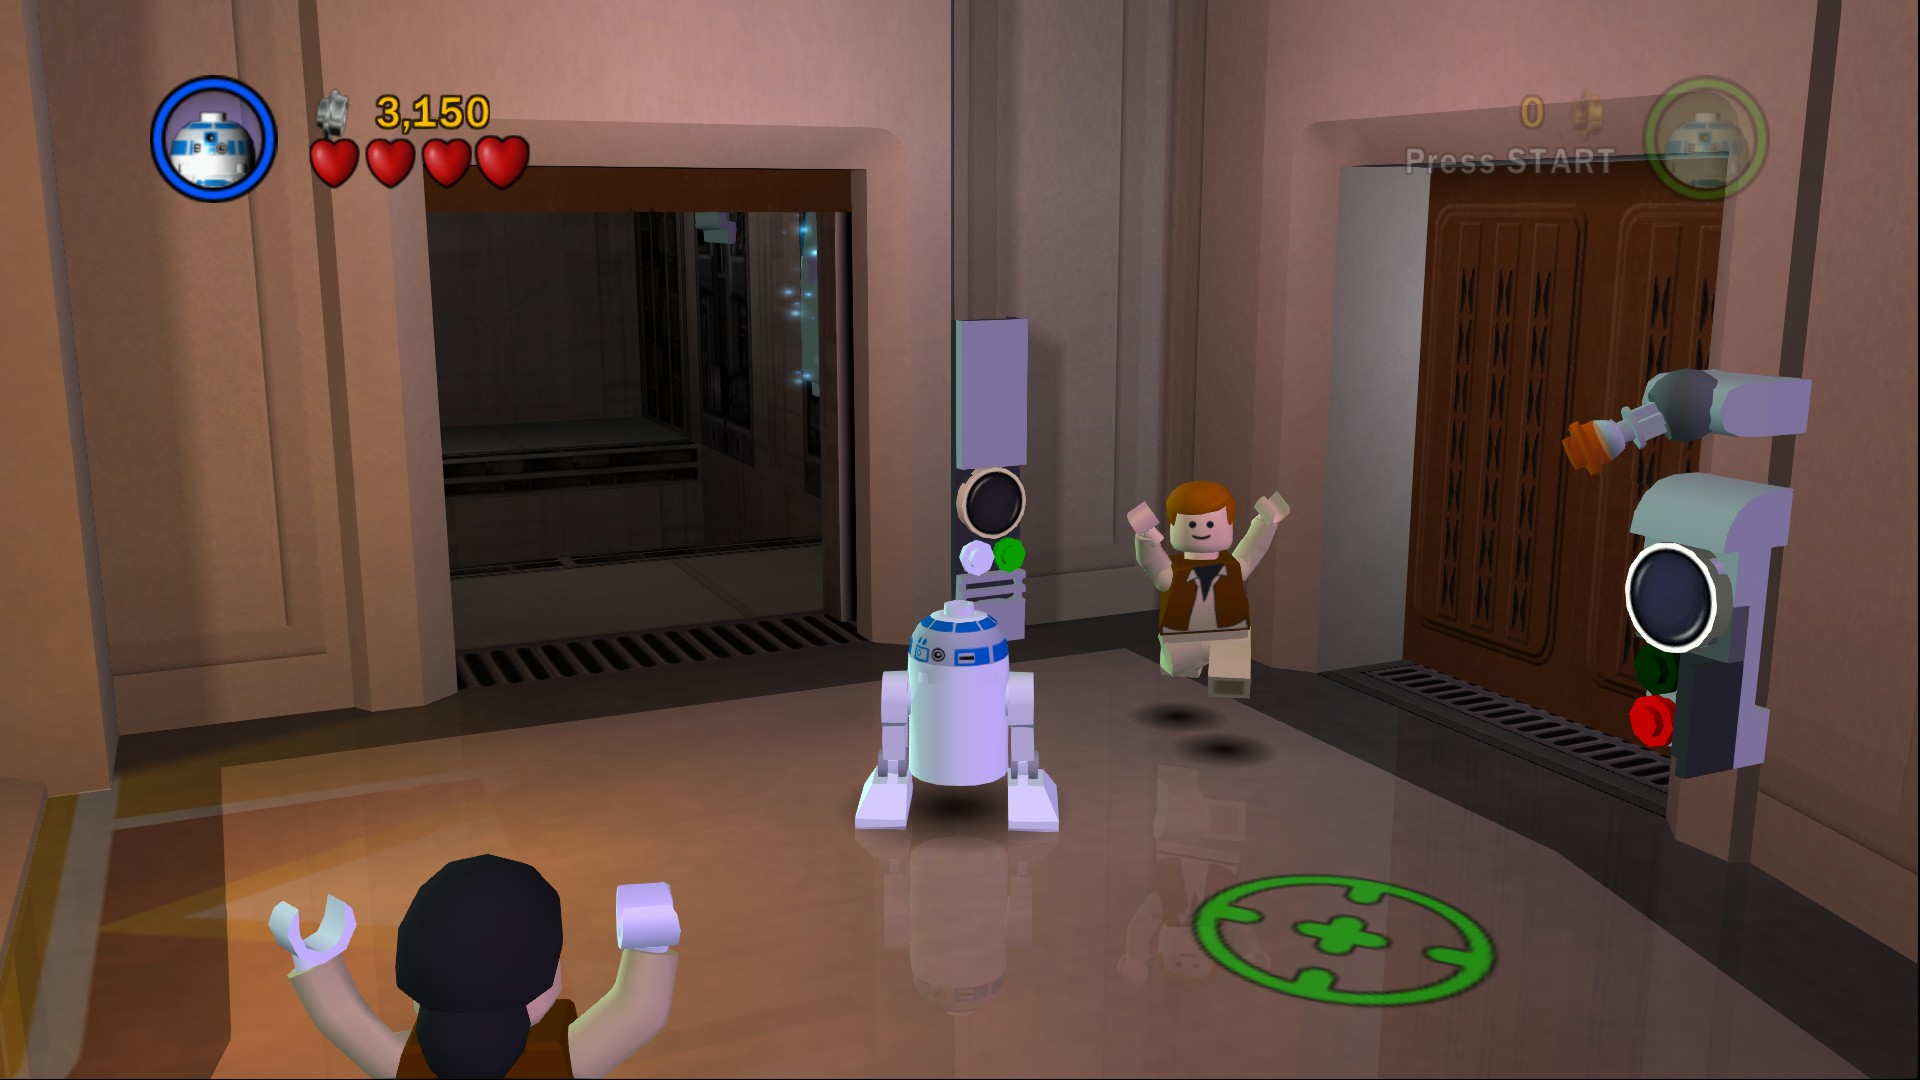
An Astromech droid panel further around next to a Bounty Hunter door, pull the lever and then wait for your partner to switch to a Jedi so that they can use the Force to lower the other platform to allow you to reach the Minikit.
Follow Boba Fett through the door to the right and into a fight with him. One shot will knock him out of the air and a second shot will take off a heart. Just keep shooting him like crazy to get rid of four of his hearts so that he runs away.
Minikit 4/10
Requires: The Force Story Mode: No
Use the Force on the sculpture in the centre of the room and then jump into the hole beneath it to get the Minikit.
Follow him back out into the curved corridor and to the left through the now opened Bounty Hunter door being careful not to get hit as he waits for you for a moment, shoot him to get him to run off again. Go to left shooting Stormtroopers and getting as close to Fett as you can so he runs off.
Minikit 2/10 - Part 2
Requires: None Story Mode: Yes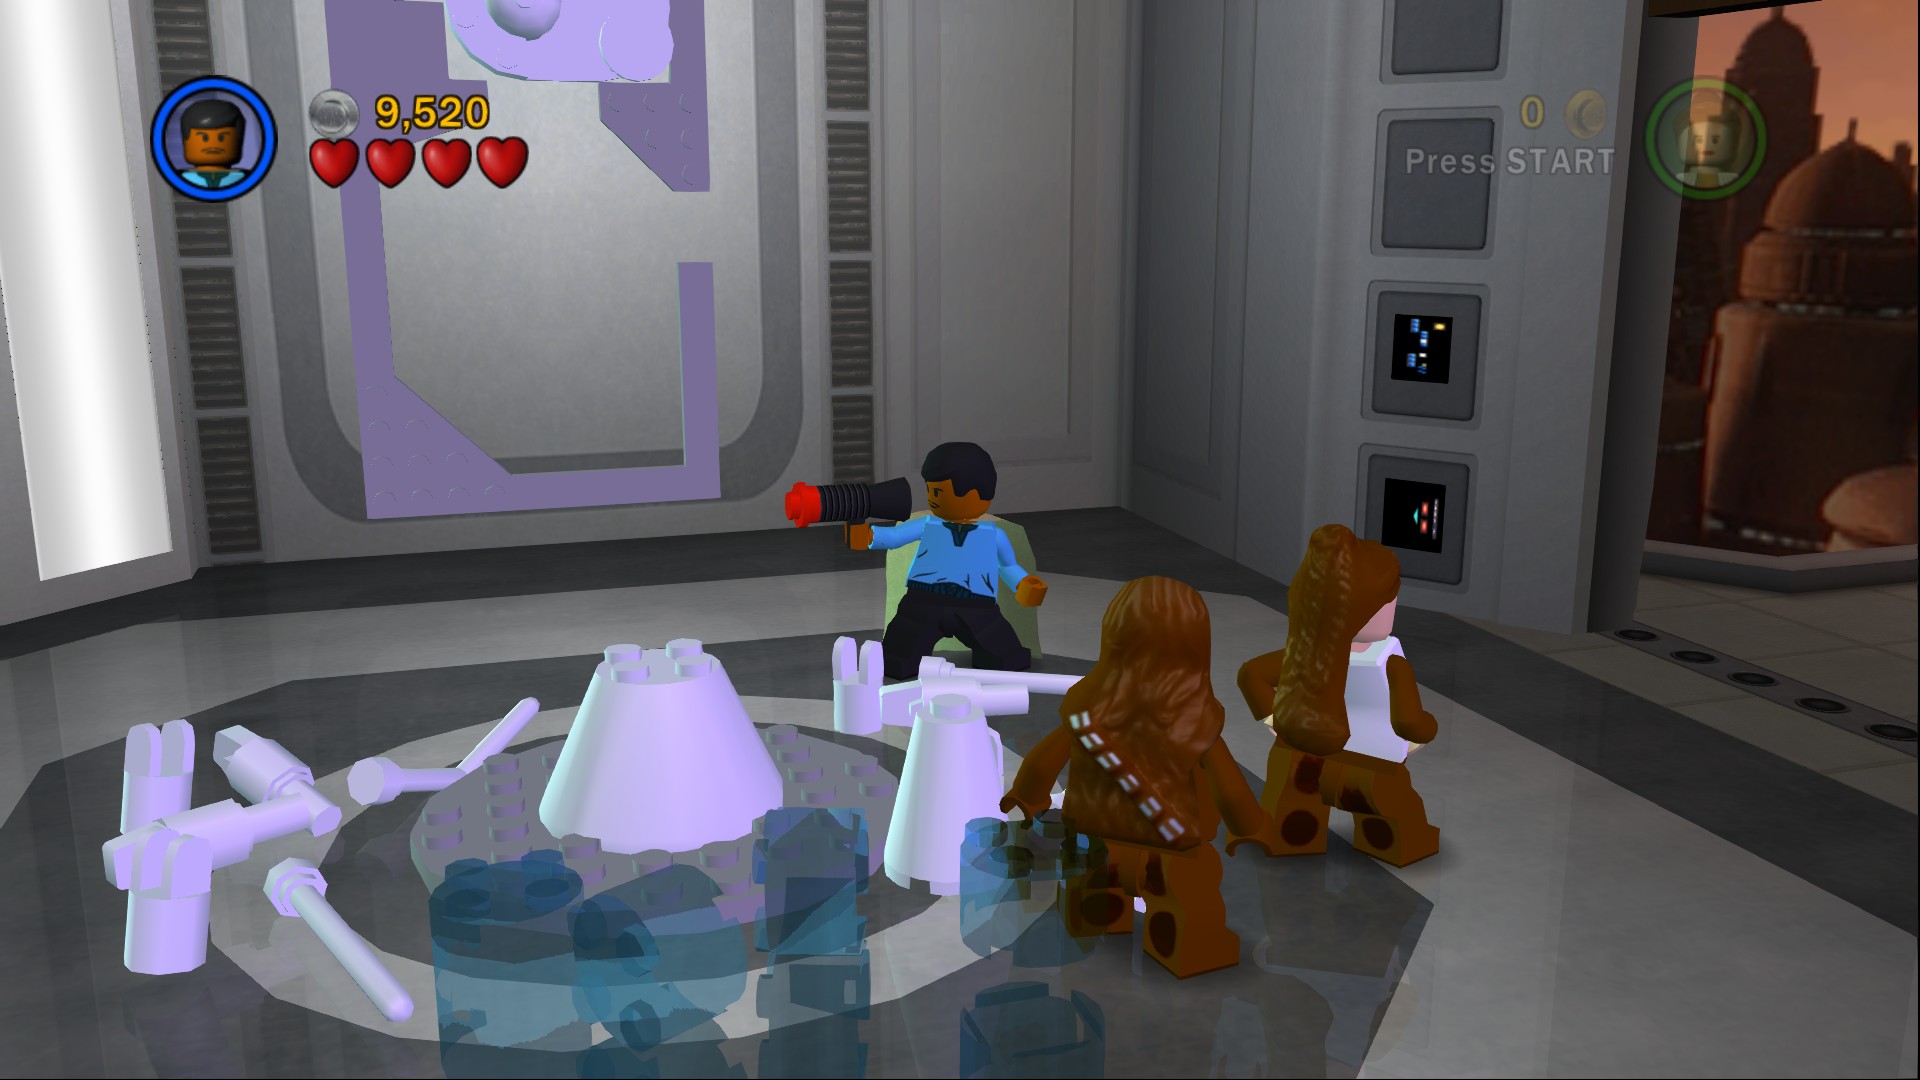
There's another lava lamp at the end of the corridor here.
Head out to the right.
Red Brick (Score x6)
Requires: Double Jump Story Mode: No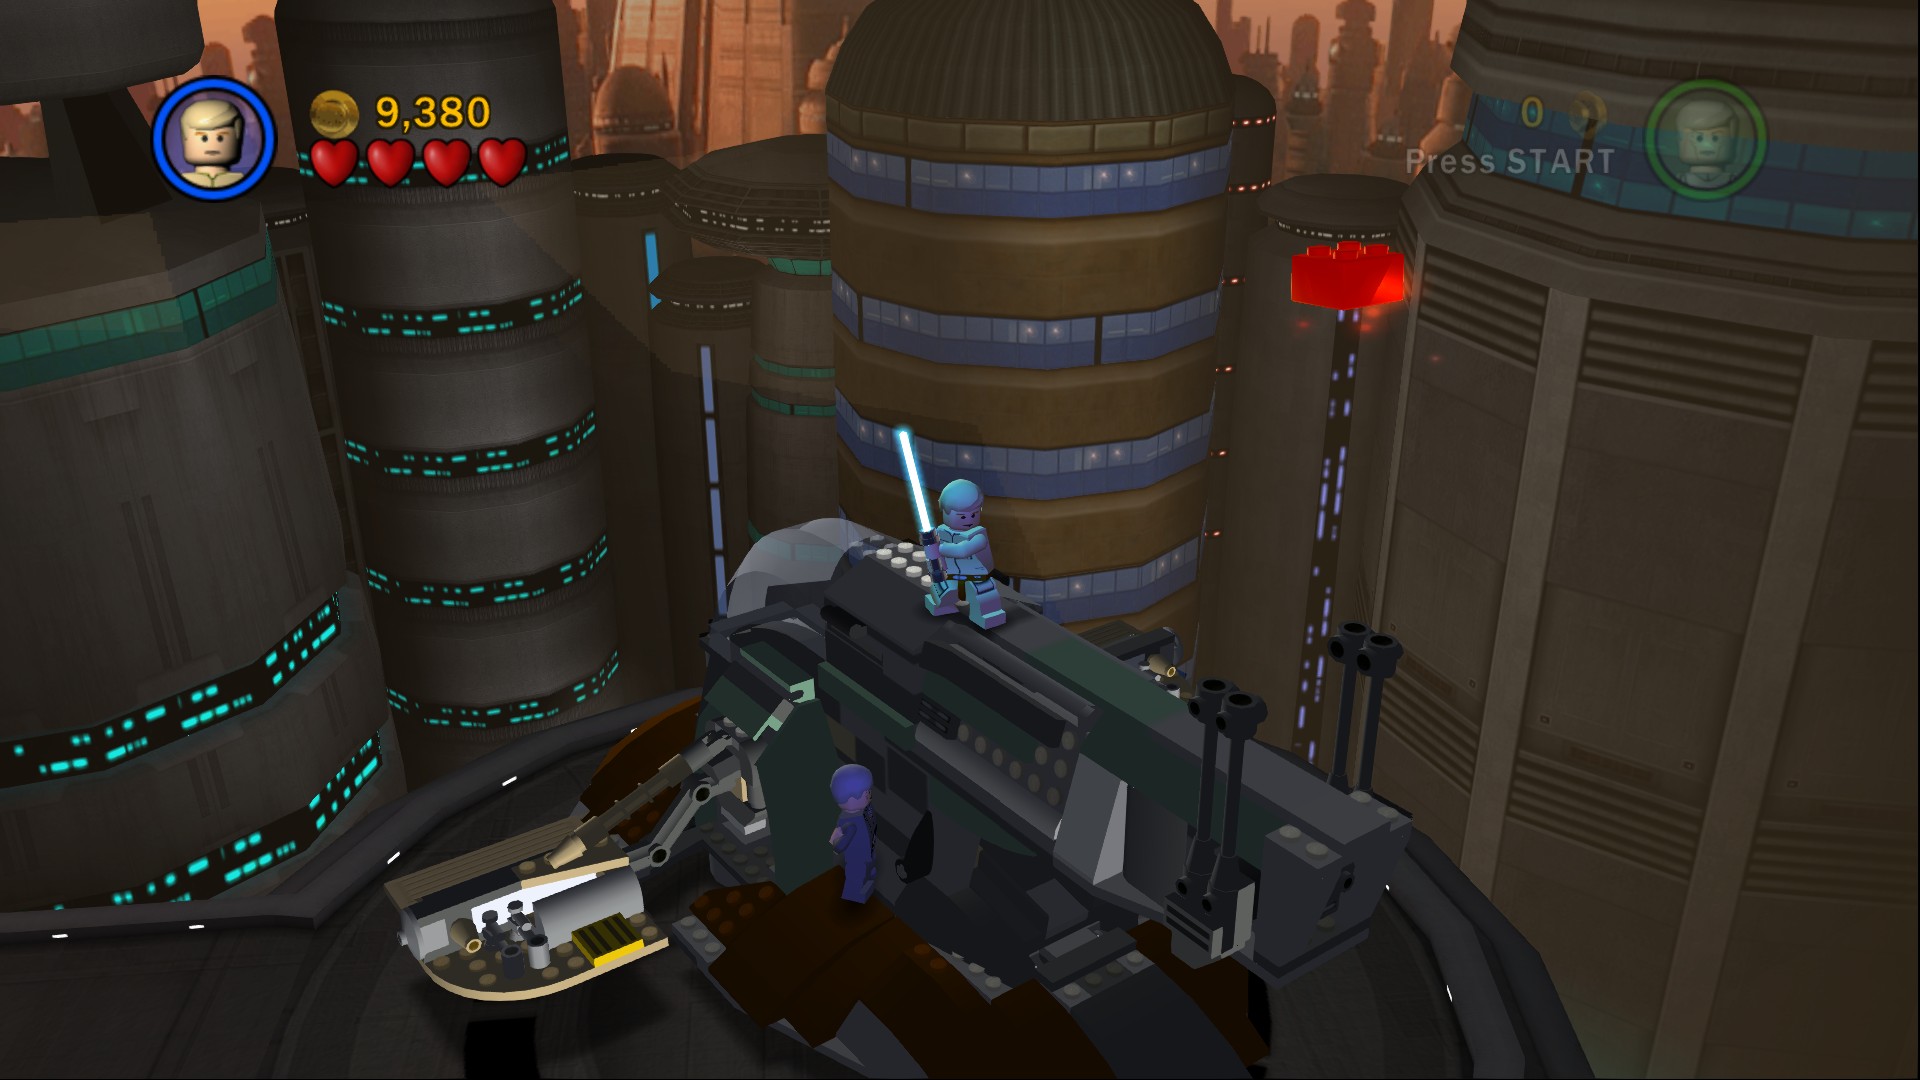
In Free Play mode Slave I will still be here so you can jump on it to reach the Red Brick high above.
And now you've got R2-D2 go straight back inside again. You'll need to use him to turn off the gas in the corridor and then to open a door at the complete opposite end.
In this room blow up the purple crates and the debris in the room so you can push the power cell into position. Pull the lever to get the rest of C-3PO out of the conveyor, shoot the two Ugnaughts at the back and assemble C-3PO.
Back out in the corridor open up the Protocol Droid door and immediately shoot some Stormtroopers on the other side. Equip a Stormtrooper helmet from the disguise station and then go along the corridor to the left. The Stormtroopers should leave you alone.
Minikit 5/10
Requires: Bounty Hunter, The Force Story Mode: No
On the left is a Bounty Hunter elevator, go up and shoot the trees. Once they're smashed down to their pots you can use the Force to shake out a Minikit.
Minikit 6/10
Requires: The Force Story Mode: No
Use the Force to tidy all the chairs next to the elevators.
Go in the right elevator and activate the Stormtrooper panel.
Minikit 7/10
Requires: None Story Mode: Yes
A tiny bit towards the screen as you exit the elevator.
Approach and then attack the four Stormtroopers ahead, a load more will drop in. Once you've defeated them all some LEGO will fall in for you to build a grapple point. Grapple over and get into the crane, use it to pick up R2-D2 and C-3PO one at a time to bring them over the gap. Grapple up and rebuild a switch you can pull to activate an elevator that lets the droids get all the way up.
Jump over the conveyor belt and stand on the button to stop it so that C-3PO can pass it. For the next obstacle use R2-D2 to hover around it then hover to the right in order to activate an Astromech panel that will move the blue and white platforms into place. Grapple up and then shoot an object above the obstacle to smash it in order to let C-3PO get by.
Minikit 8/10
Requires: Grapple, Hover Story Mode: No
Hover from up here to the right to get the Minikit above the pushable blocks.
Shoot the blue crate in the pushable area and then move the pushable blocks simply so that C-3PO can walk around them to activate the protocol droid panel. More Stormtroopers inside.
Minikit 2/10 - Part 3
Requires: None Story Mode: Yes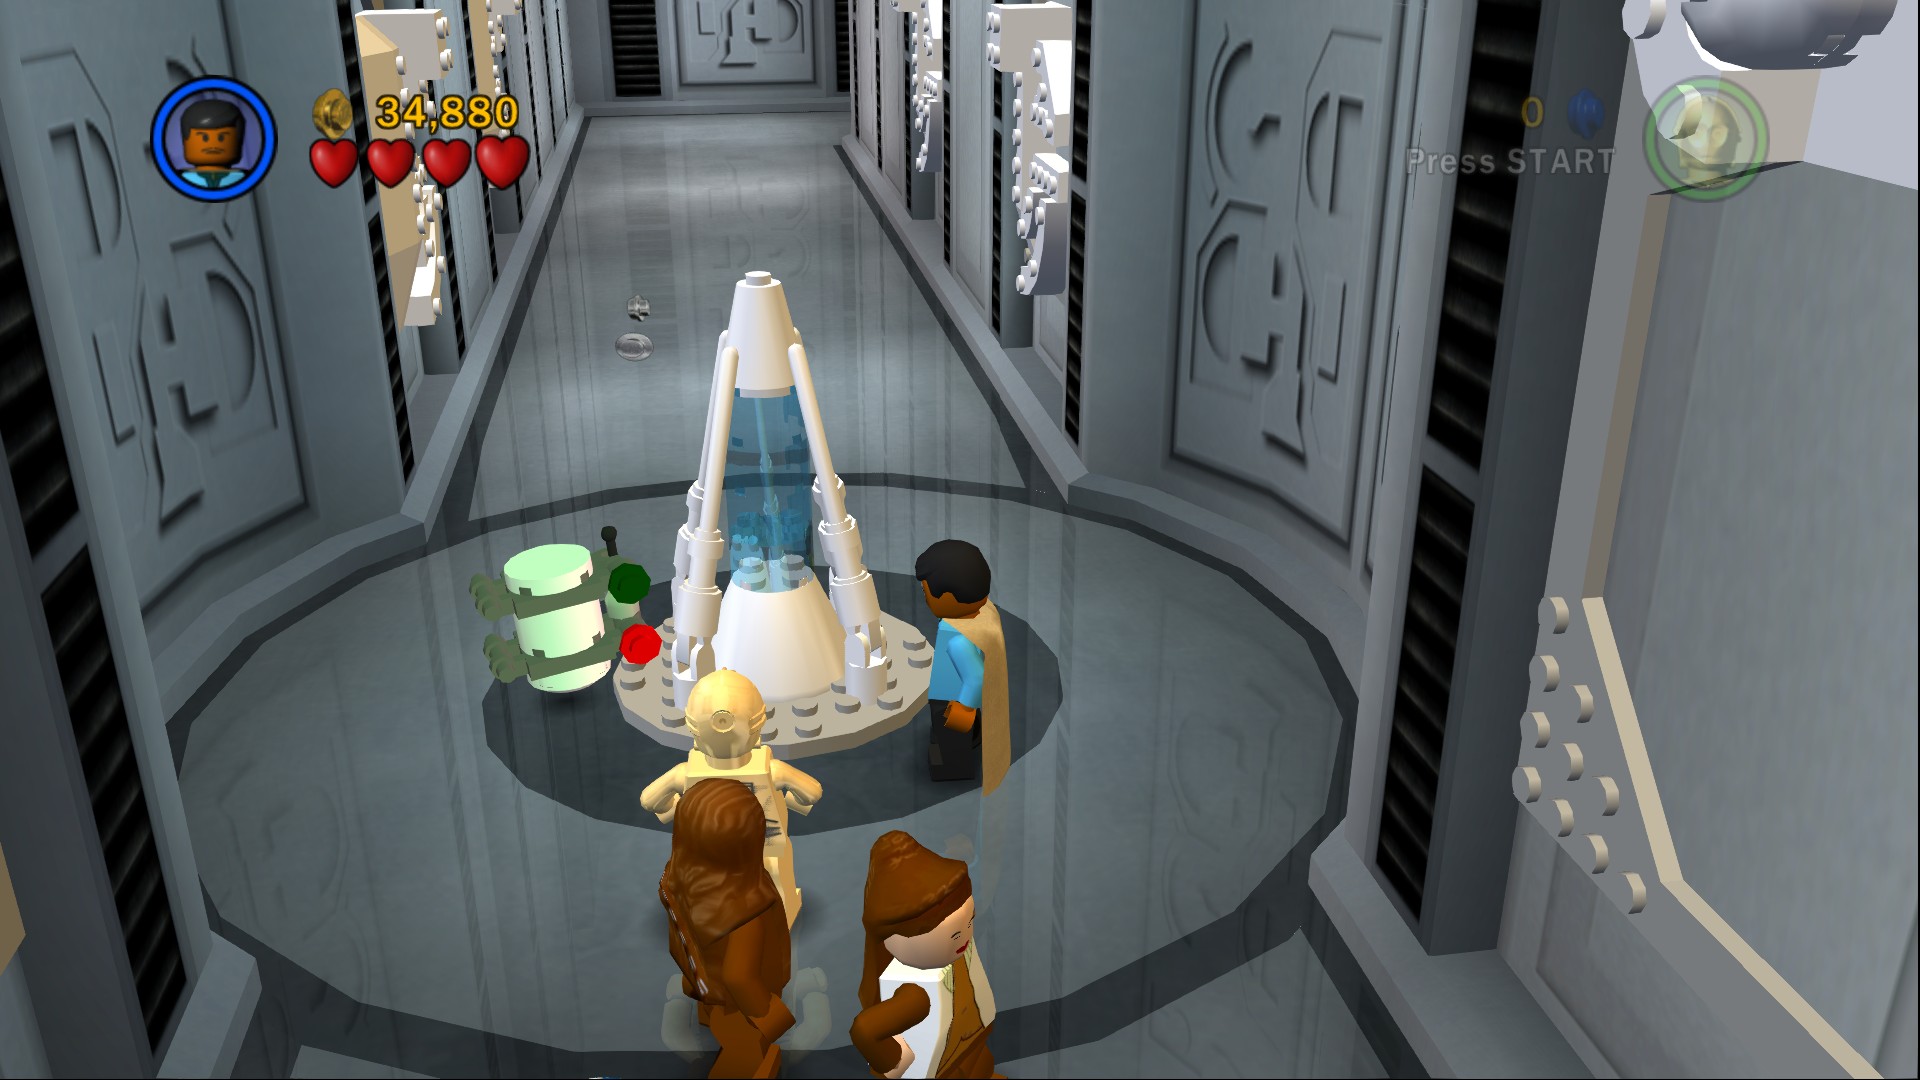
The third and final lava lamp is in this corridor, build it to get the Minikit.
At the end of the corridor you'll find a room filled with gas, you can have R2-D2 shut it off.
Minikit 9/10
Requires: Dark Force, Blaster Story Mode: No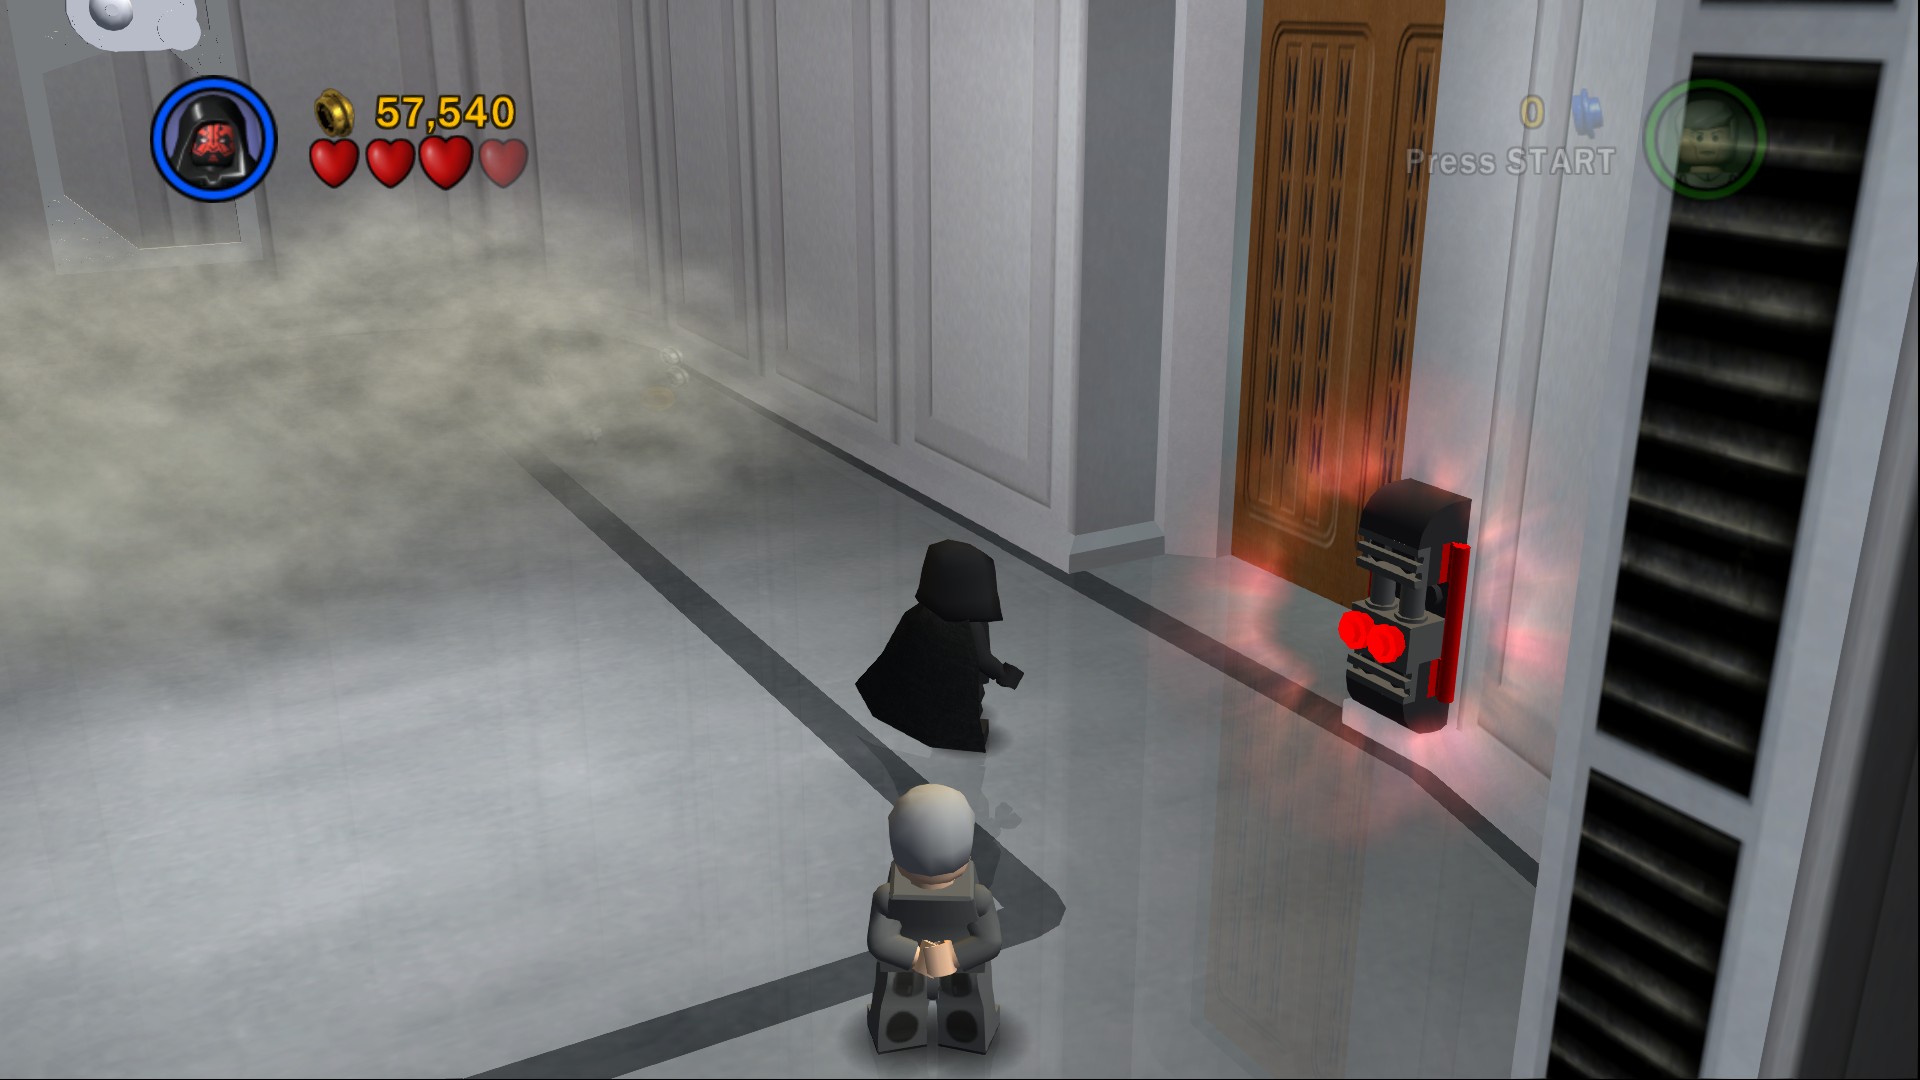
Use the Dark Force on the right then shoot down the chandelier above the table.
Go around the corner and stand on the two sets of two buttons then pull the two levers. That will extend a bridge to the Millennium Falcon. To reach it go back to the gas room and go through the astromech door to the left.
Minikit 10/10
Requires: Double Jump Story Mode: No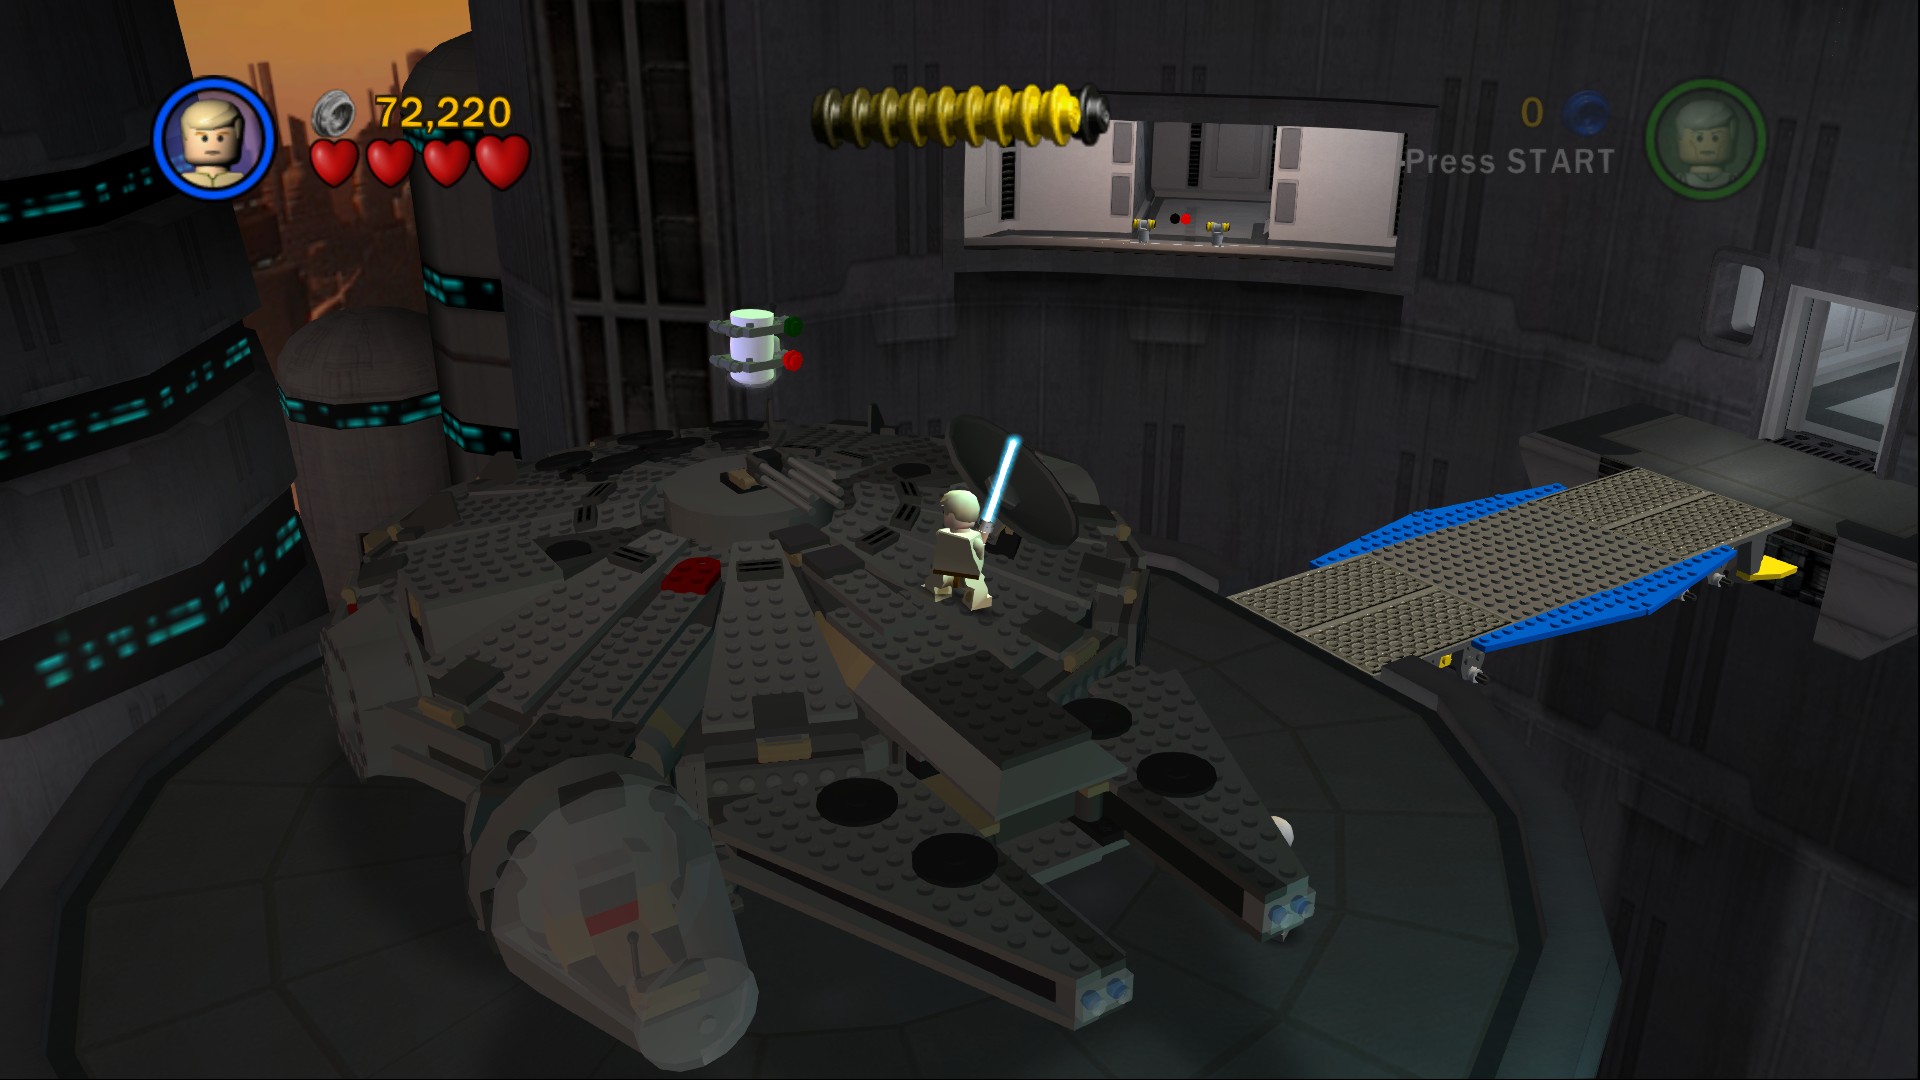
Double jump on top of the Falcon to get the Minikit up there.
Defeat the Stormtroopers and the Millennium Falcon's door will open, allowing you to enter and finish the Episode.
Slave I
 Based on set 6964
To finish off this Episode's collection of free characters you get given Lando Calrissian and Princess Leia (Bespin). Don't worry about the odd gap you can see in the character grid, it's a character from the next episode.
| Cost | Character | |
|---|---|---|
| 11,000 | Lobot | |
| 36,000 | Ugnaught | |
| 15,000 | Bespin Guard | |
| 22,000 | Princess Leia (Prisoner) |
As with Episode IV, once you've completed all six chapters and have enough Gold Bricks you can play a few bonus modes. Here are some times and scores I got while going through the Super Story:
| Chapter | Time | Studs | Running Totals | |
|---|---|---|---|---|
| Chapter 1 | 5:45 | 23,000 | 5:45 | 23,000 |
| Chapter 2 | 7:35 | 21,000 | 13:20 | 44,000 |
| Chapter 3 | 5:25 | 40,000 | 18:45 | 84,000 |
| Chapter 4 | 10:45 | 19,000 | 29:30 | 103,000 |
| Chapter 5 | 10:30 | 17,000 | 40:00 | 120,000 |
| Chapter 6 | 8:00 | 15,000 | 48:00 | 135,000 |
As you can see you can get a lot in the Falcon Flight level without the threat of losing studs on death and you can complete it quite quickly still, meaning all you have to really do is get through the levels as fast as you can and not really have to worry about finding studs.
A Bounty Hunter is again recommended for completing the
In the Hoth edition of Minikit Bonus you'll be flying around a snowy area: Hoth. There's one bomb dispenser and one bomb target, take three (or five in a Y-wing) bombs and blow it up over and over again while circling around shooting trees. If you have the Snowspeeder Minikit from Episode V Chapter 2 then you can also pull the rolling bomb into the white walls, they'll drop a lot of studs and make it very easy to complete.
With all of Episode V complete it's time to move on to Episode VI: Return of the Jedi.
 darkspyro.net