Hero Episode 1. The Riddler's Revenge
Chapter 1. You Can Bank on Batman
| Story Mode | Free Play |
|---|---|
| 38,000 | 97,000 |
Straight away you're facing off against a few Riddler goons, they're quite weak and only take a single hit each to defeat.
Minikit 1/10
Requires: Grapple Story Mode: Yes
Go to the left a short distance and head down the alleyway to where there's a lever on the wall. A couple of Riddler goons will drop in to say hello. Behind the door that opens are some LEGO pieces that can be built into a grapple point.
Walk along the ledge to a fire escape, climb up the ladder to reach the Minikit Canister on the top level.
Minikit 2/10
Requires: Grapple Story Mode: Yes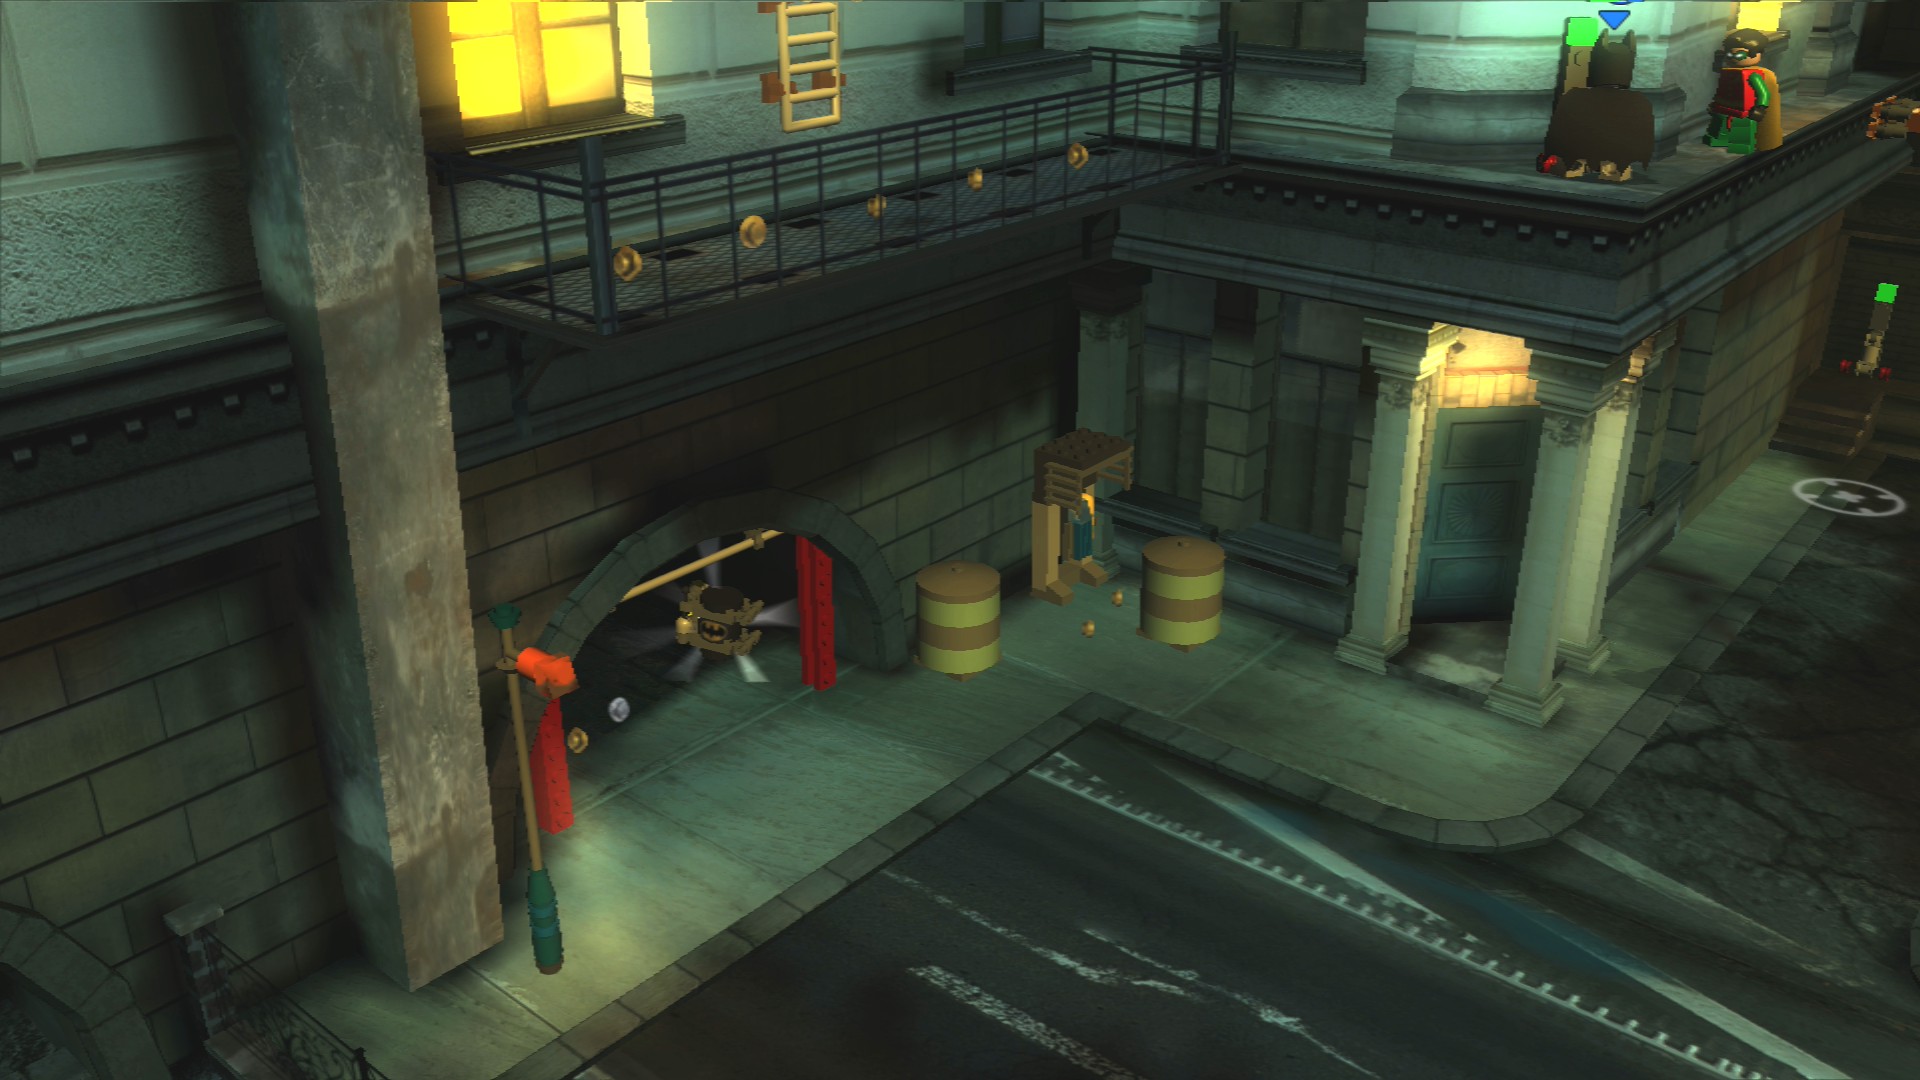
On the same ledge that you were on to reach the fire escape was a lever, pulling it will open a door down below with the Minikit Canister inside.
Minikit 3/10 - Part 1/5
Requires: None Story Mode: Yes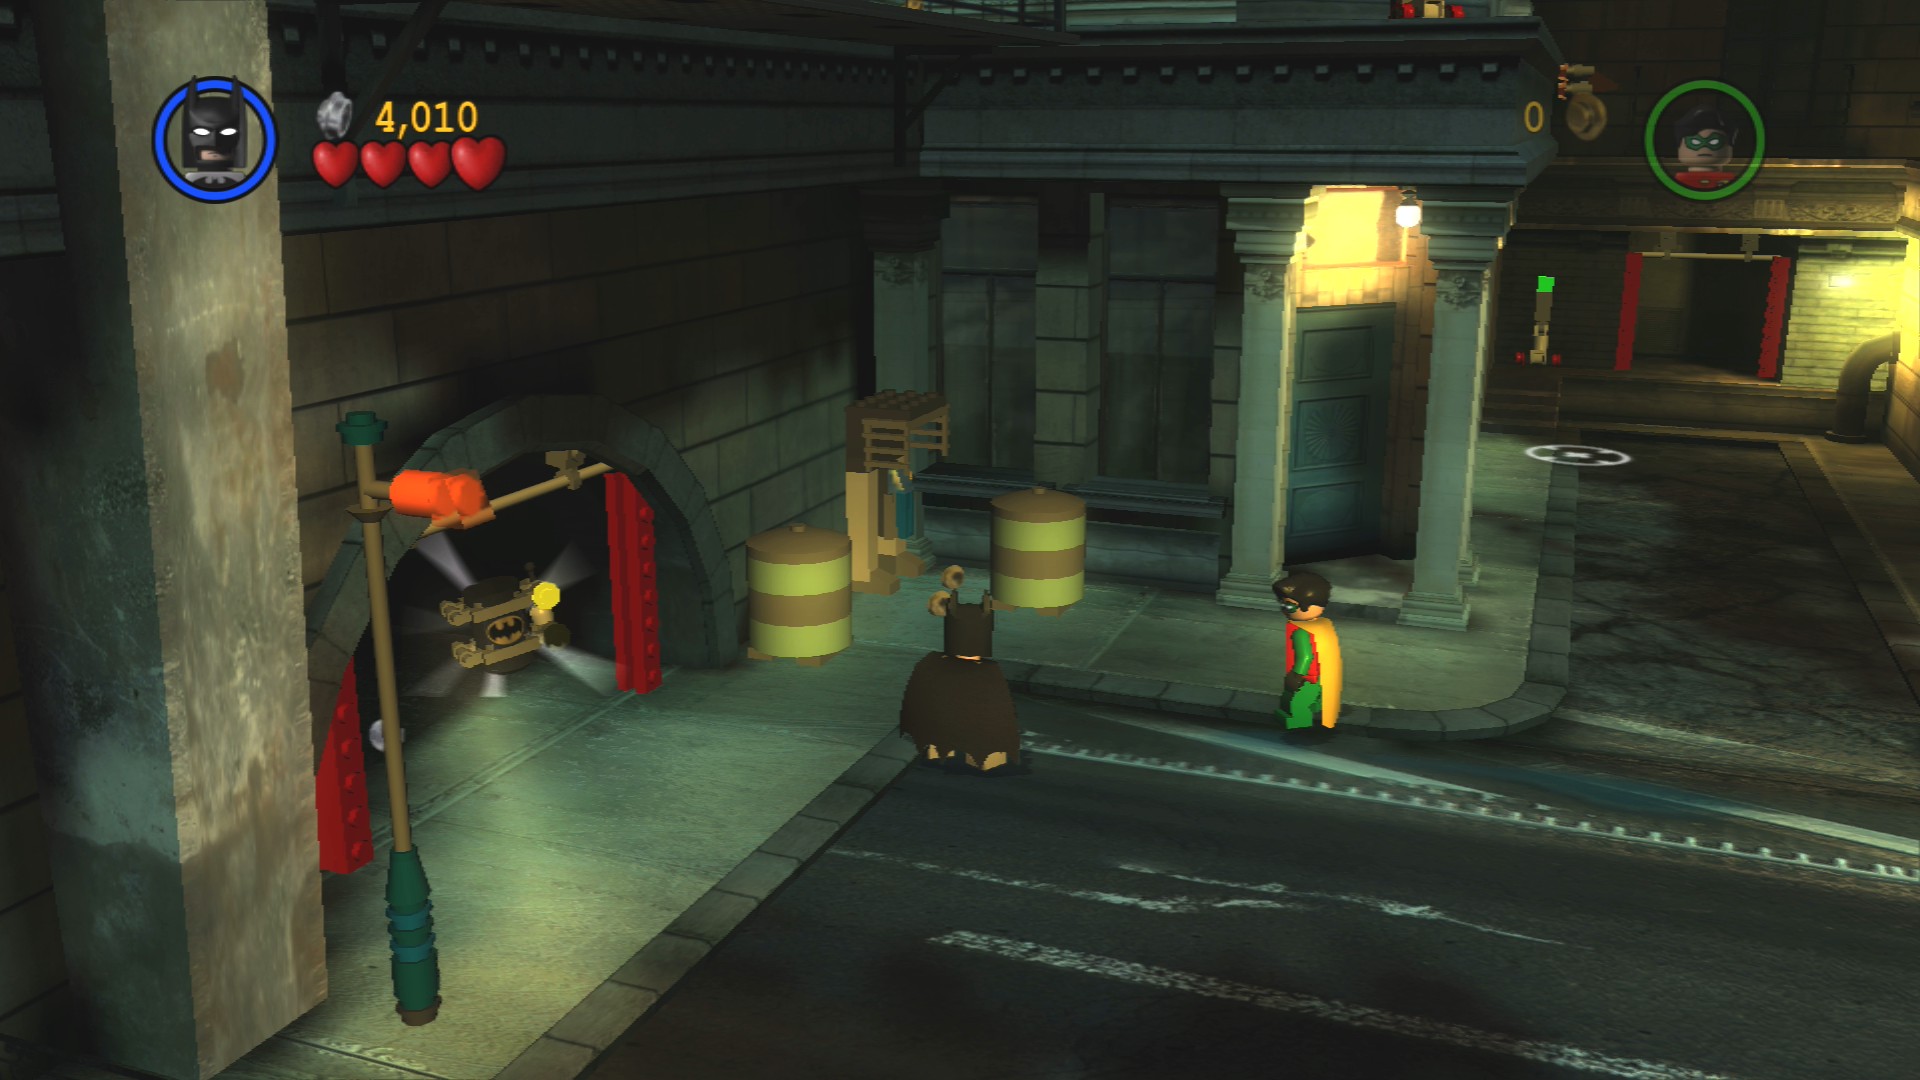
Next to the door you just opened is a phone booth that you can smash, you'll have to smash five of those in this level to earn the canister.
Hostage 1/25
Requires: None Story Mode: Yes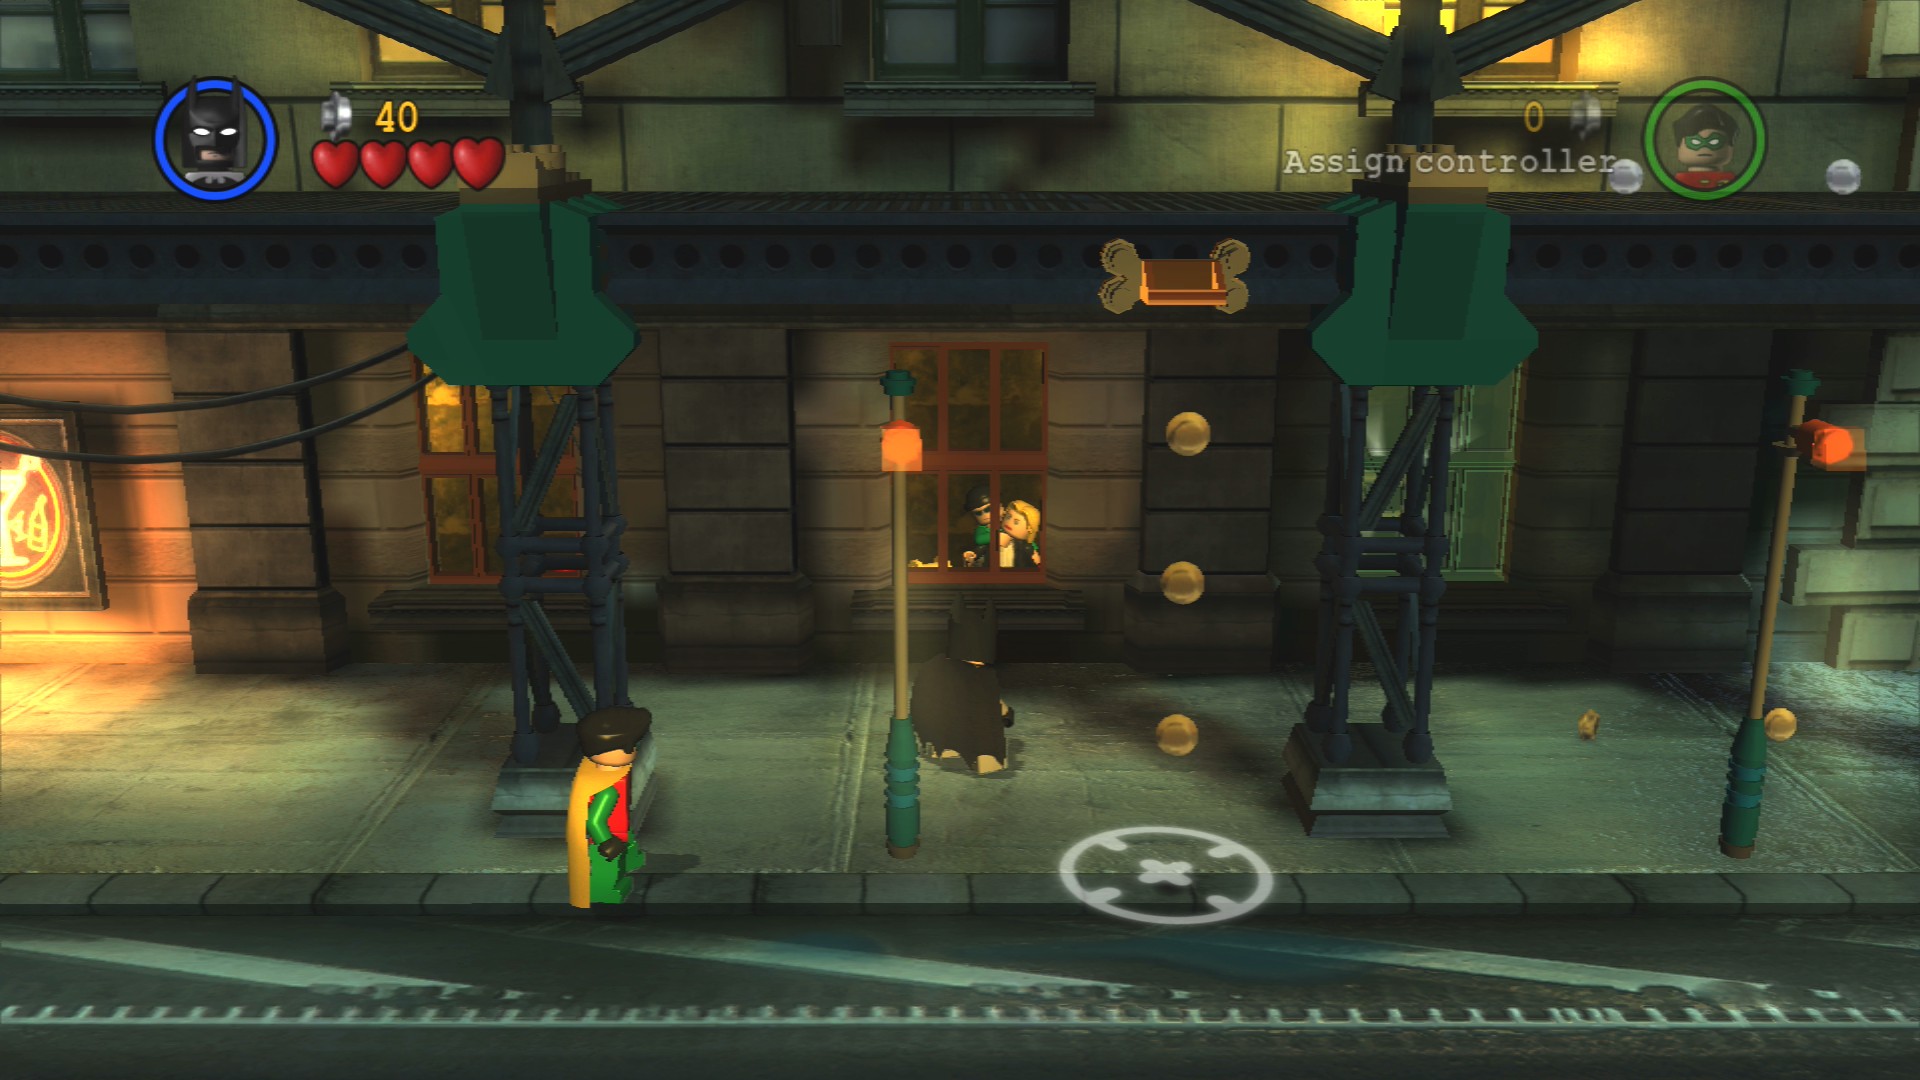
In the window behind the grapple point near the start is your very first hostage to rescue. Smash the window and defeat the goon holding her.
Minikit 4/10
Requires: Sonic Suit Story Mode: No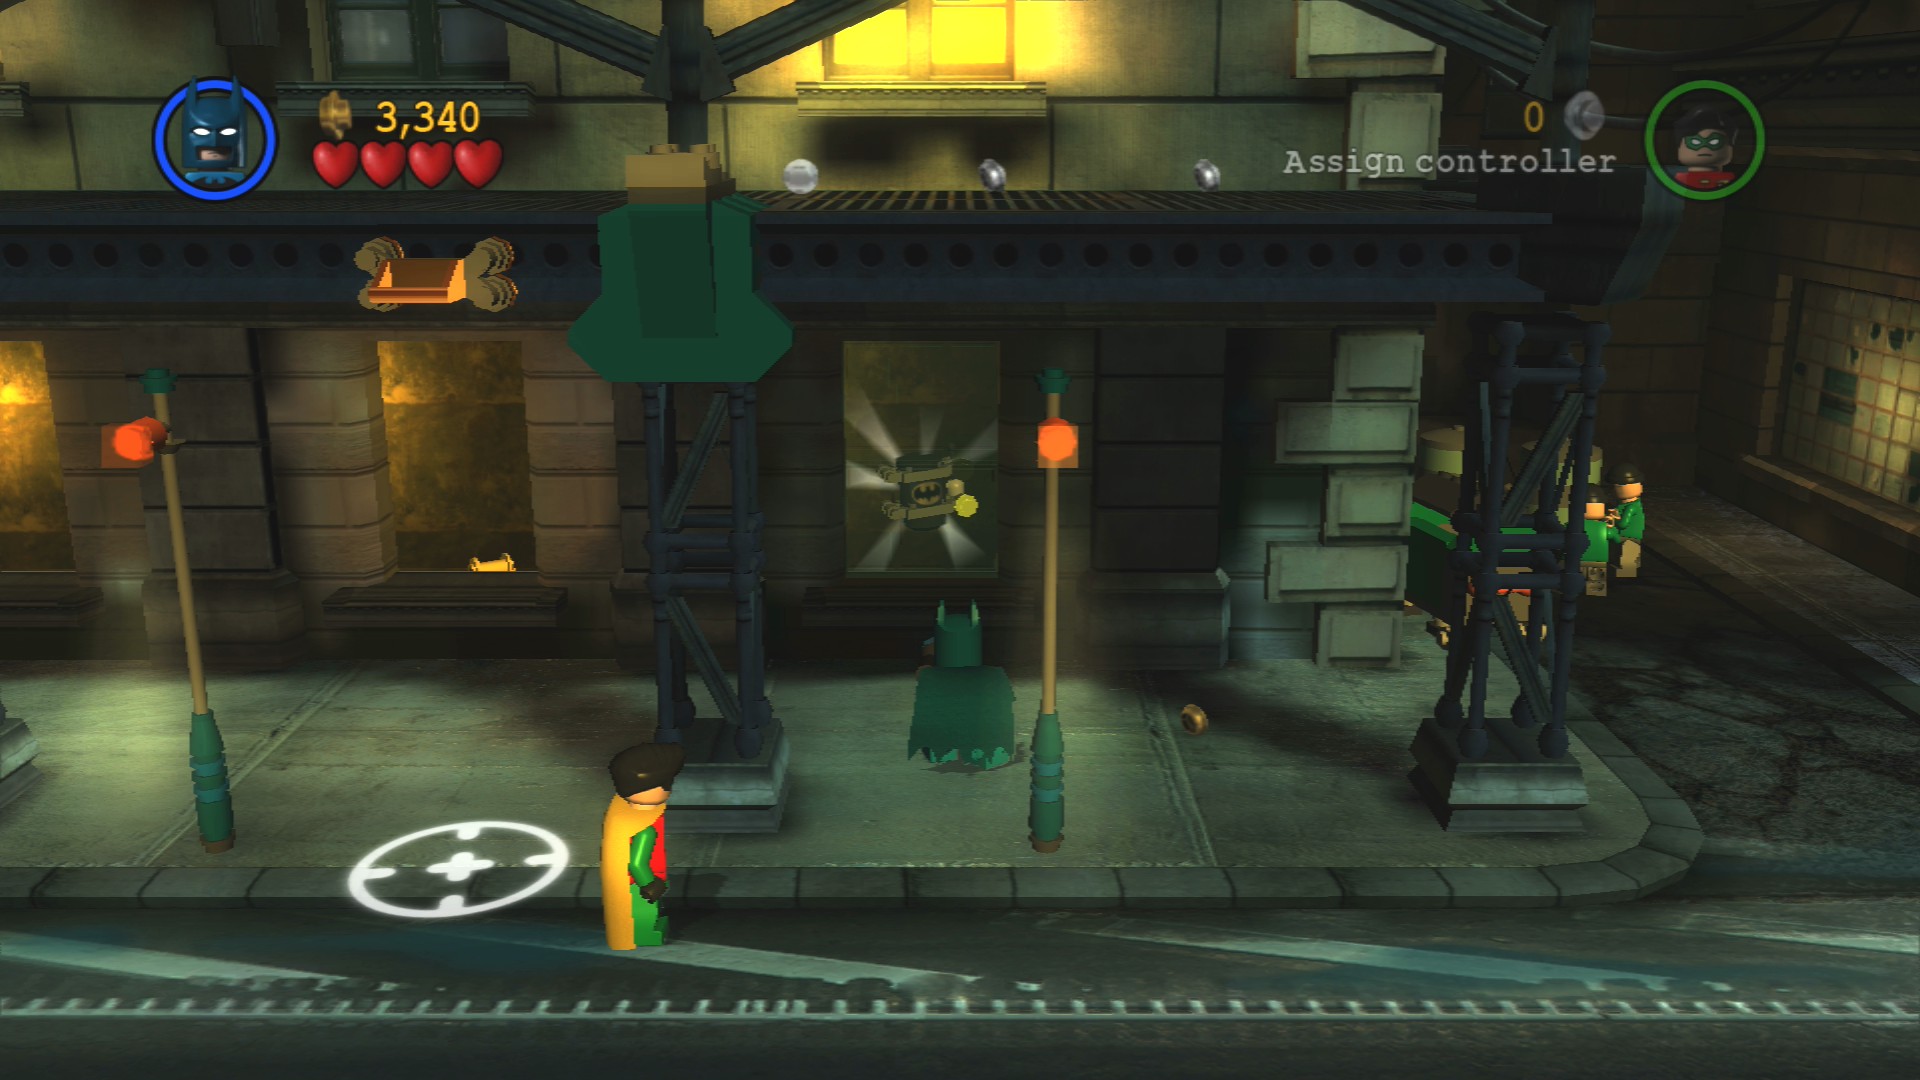
Behind the glass window to the right of the hostage window, use Batman's Sonic Suit to smash it.
A short distance along the road is a white target that Batman and Robin can both use as a grapple point to zip up to the ledge above. Up there go to the right and jump onto the thin white wire that will act as a tightrope for you to walk over the gap to the next building.
Stay up on here as you go around the corner, you'll see a Riddler Henchman off to the right slowly firing at you. Hold the attack button and you'll be able to move a target over to the enemy in order to throw a batarang at him. Once it's safe build the LEGO here into another tightrope to cross over to the theatre where there's another henchman and your first Batsuit switcher.
If you step on the switch as Batman he'll put on the Demolition Suit. While wearing the Demolition Suit you can place bombs that can blow up Silver LEGO that your ordinary attacks would be unable to touch. The bombs will either detonate by themselves after a short amount of time or you can hold the same button down and instead of placing a new bomb all the ones you've already placed will explode immediately.
Once you've equipped it jump down and defeat that large gang of enemies below.
Minikit 5/10
Requires: Strength, Demolition Suit Story Mode: No
Use a strong character to pick up the dumpster from the middle of the road in front of the theatre and then use the Demolition Suit to blow up the Silver LEGO manhole cover that was beneath it.
Minikit 6/10
Requires: Hazard Protection, Hypnosis Story Mode: No
Using a character that can walk in toxic goo go to the right and repair the larger van so that you can drive it out of the way.
A villain with hypnosis (like The Riddler) is then required to talk to the man at the window to get the doors on his right to open up so you can get the Minikit behind them.
Minikit 3/10 - Part 2/5
Requires: None Story Mode: Yes
The second phonebooth is just to the right of the theatre where you get Batman's Demolition Suit.
To the right of the theatre is a large smashed up section of road, stick to the pavement to get close to the cement mixer which happens to be made out of Silver LEGO. Use the Demolition Suit to blow it up!
There's a few enemies on the other side to take care of.
Minikit 7/10
Requires: Strength, Demolition Suit Story Mode: No
In the alley straight after the cement mixer are some dumpsters with an orange handle, use a strong character to move them so you can grapple up. Climb up the tightrope to reach a couple of windows that require a bomb to blow them open, behind the one on the left is your Minikit.
Continue to the right to the end of the street, a few more goons will drop in so take care of them before you blow up the large truck blocking the exit.
Minikit 3/10 - Part 3/5
Requires: None Story Mode: Yes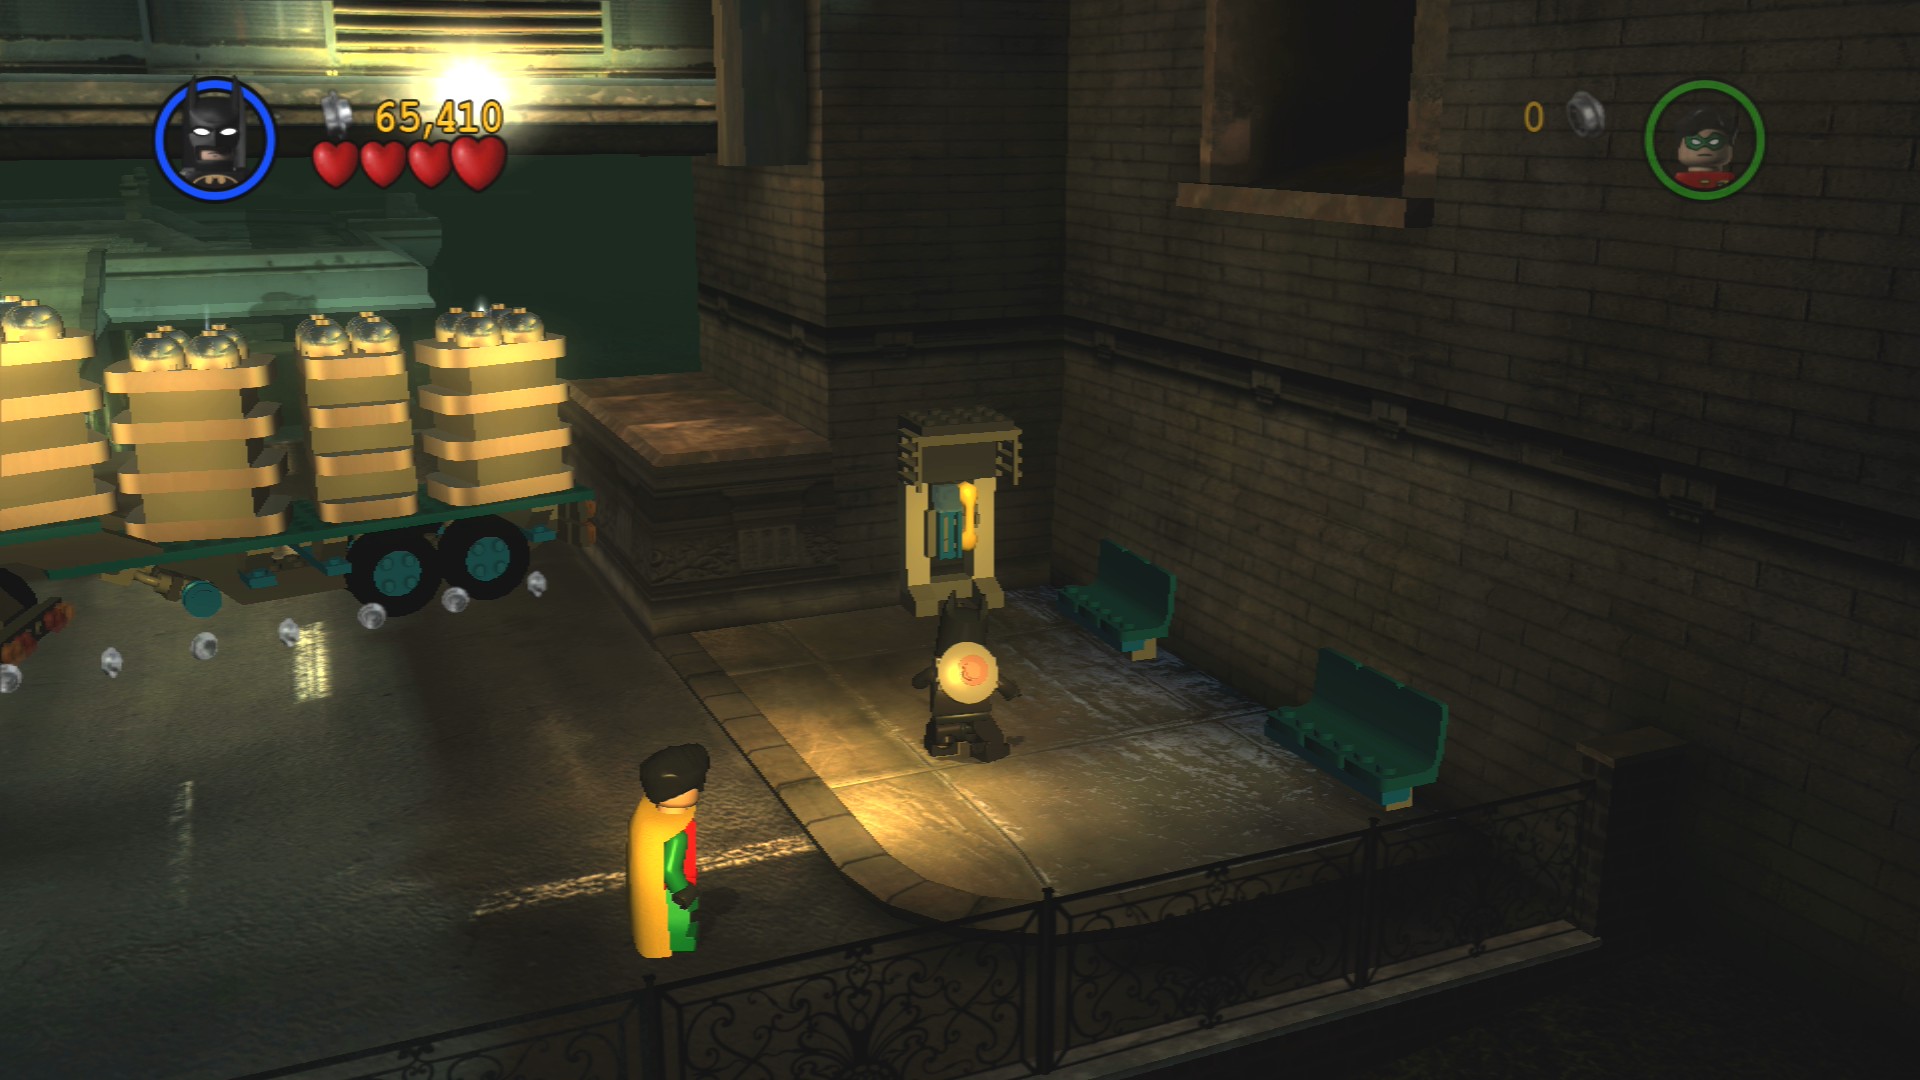
Before you leave make sure to blow up the third phonebooth which is found just to the right of the truck.
Another load of enemies will attack you as soon as you enter the level's second area. Clear them all out.
Minikit 3/10 - Part 4/5
Requires: None Story Mode: Yes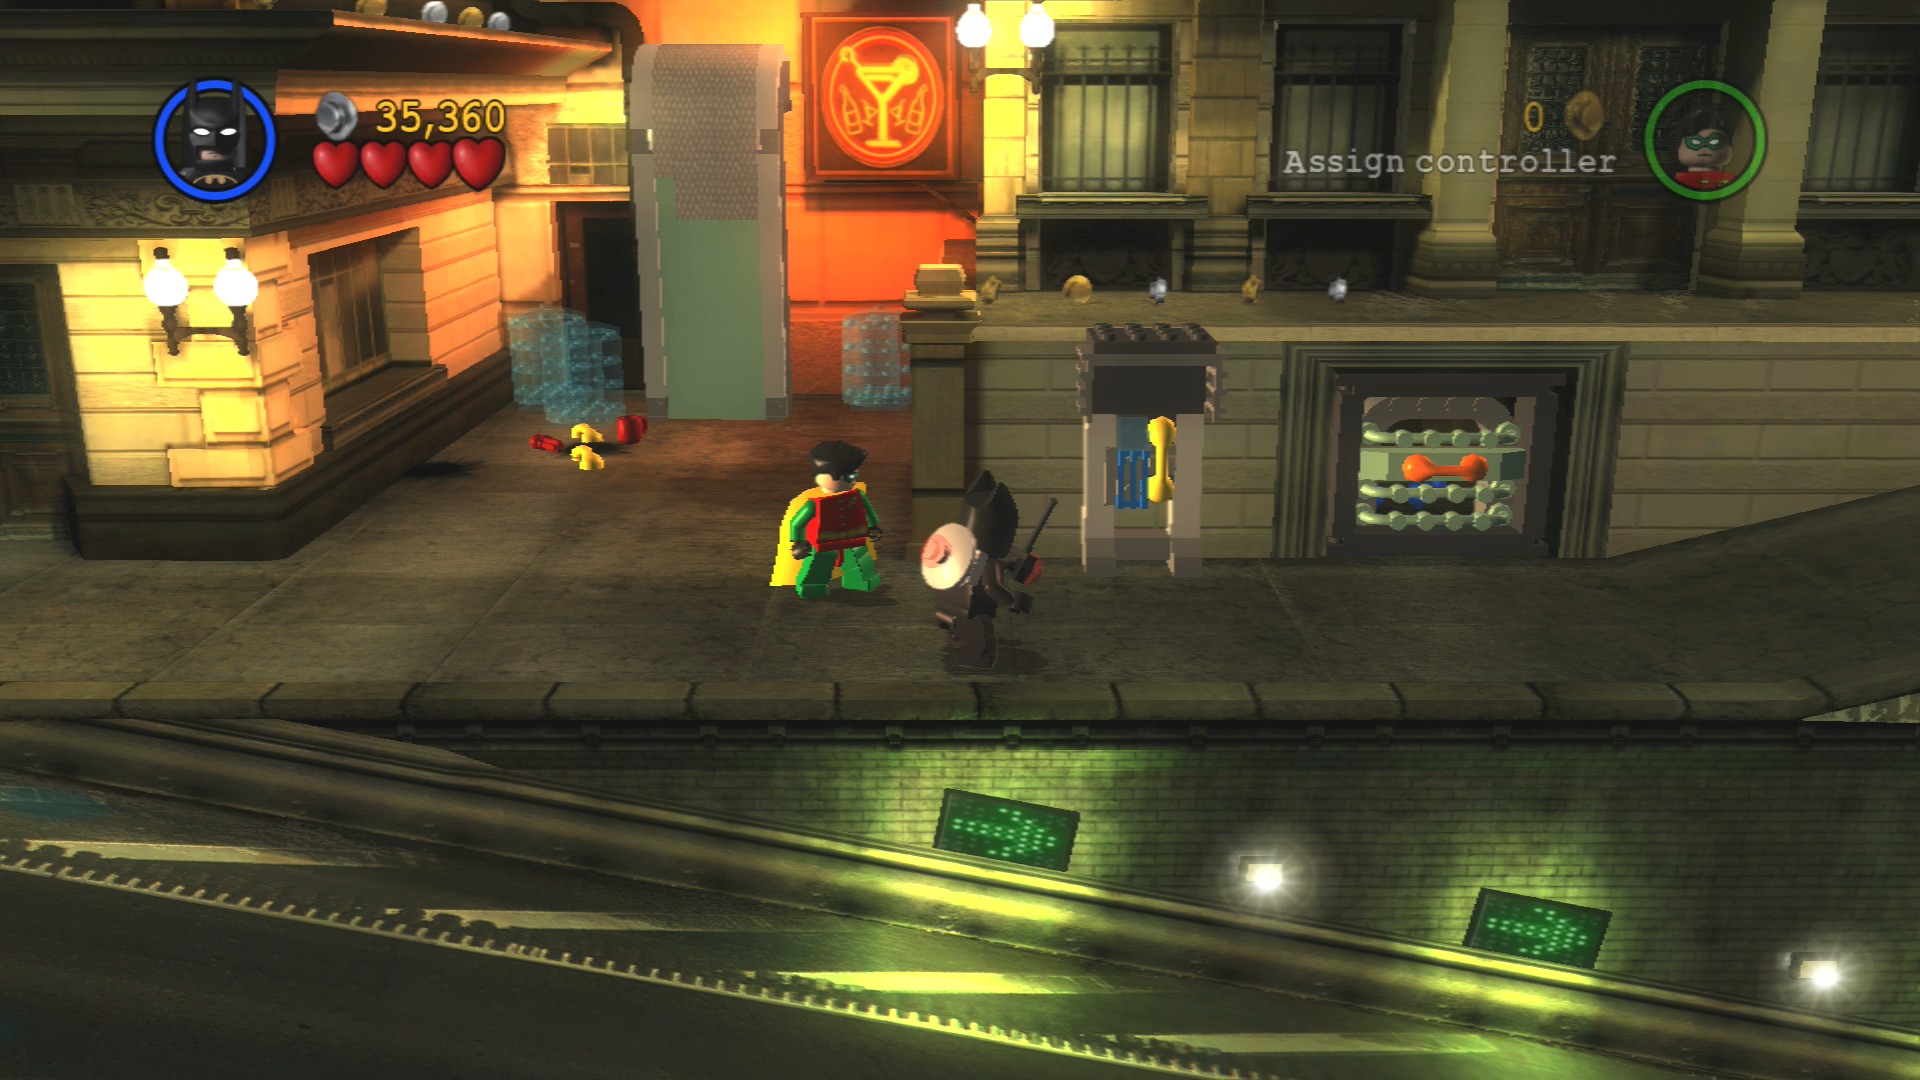
Along the edge as the road turns into a downwards slope is the fourth phonebooth.
Minikit 8/10
Requires: Strength Story Mode: No
Just to the right of that fourth phonebooth is an orange handle on the wall, pull it out and go through the hole to get taken up inside the building. Smash out of the window to get the Minikit out on the balcony.
Walk up the path next to where the road goes down to reach a large open area with some trees in the middle. As enemies attack you smash those LEGO trees and benches to reveal some LEGO bricks that can be assembled into a suit switch for Robin. The Technology Suit will let Robin use technology panels that will perform some other task, your first one is found on the wall at the back of the area.
Minikit 9/10
Requires: Sonic Suit, Attract Suit Story Mode: No
To the right of the technology panel is some glass that the Sonic Suit can smash through. Having gathered up 25 bits of LEGO in Robin's Attract Suit you'll be able to fill the machine to build the Minikit for you.
Drive the little drone car to the right following the trail of studs. It'll lead to a green and yellow striped floor that will lower as you get near, you'll then be able to drive through the little door to get into the building. Once inside hit the three switches on the wall to turn them green to open the door for your characters to get in.
Minikit 10/10
Requires: Hazard Protection Story Mode: No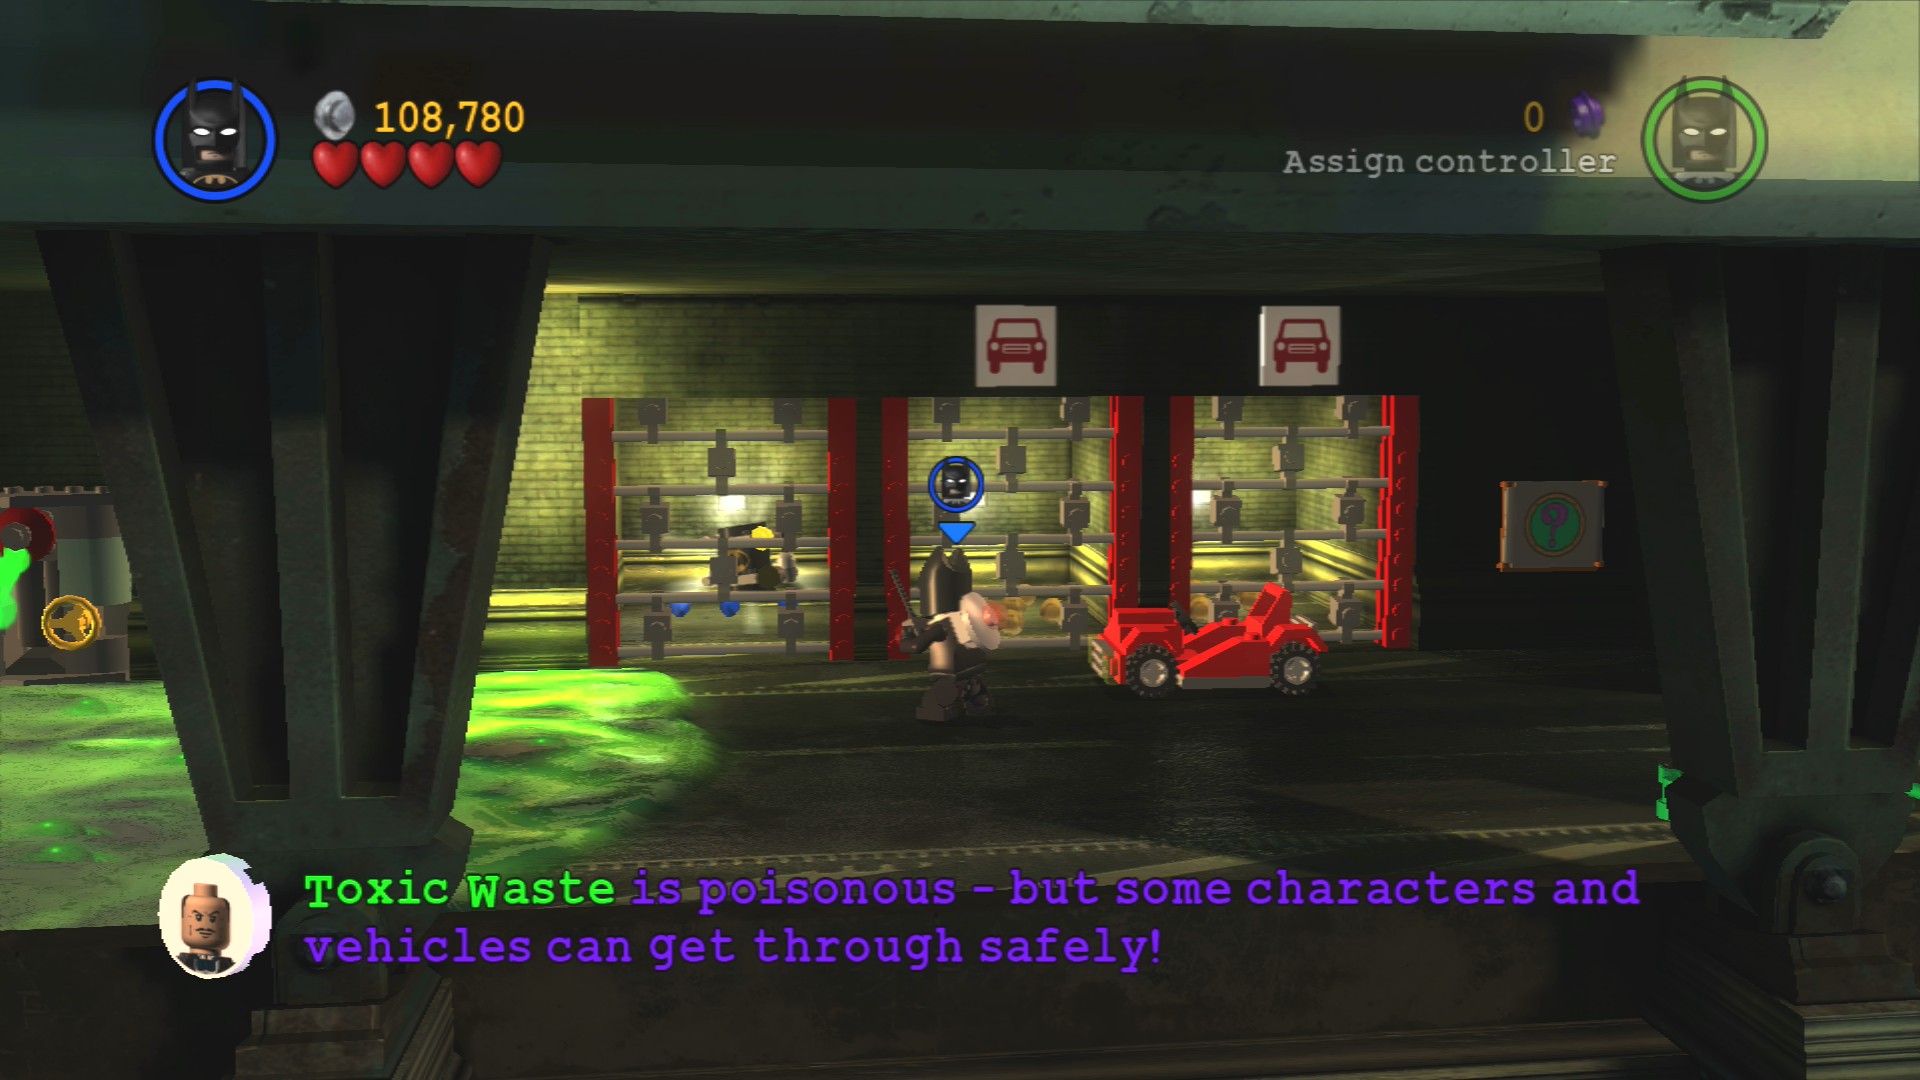
Inside the building are two red cars. Drive them both back through to where the road dipped down to a pool of toxic goo and drive them to the other side of it (if you don't have a character that can cross over toxic waste or have the Glide Suit then don't do this, you'll get stuck).
Over there talk to the villain doorman to open the red door on the right which houses a lever. Pulling that will open the first garage, park your first red car in there and hop out. The second garage will open. Park the second red car in there and the third garage will open, that one contains the Minikit.
Going through the door on the right of the three switches you'll meet Clayface and initiate a boss fight. Hit him a couple of times and he'll jump away behind a barrier in the bank.
Minikit 3/10 - Part 5/5
Requires: None Story Mode: Yes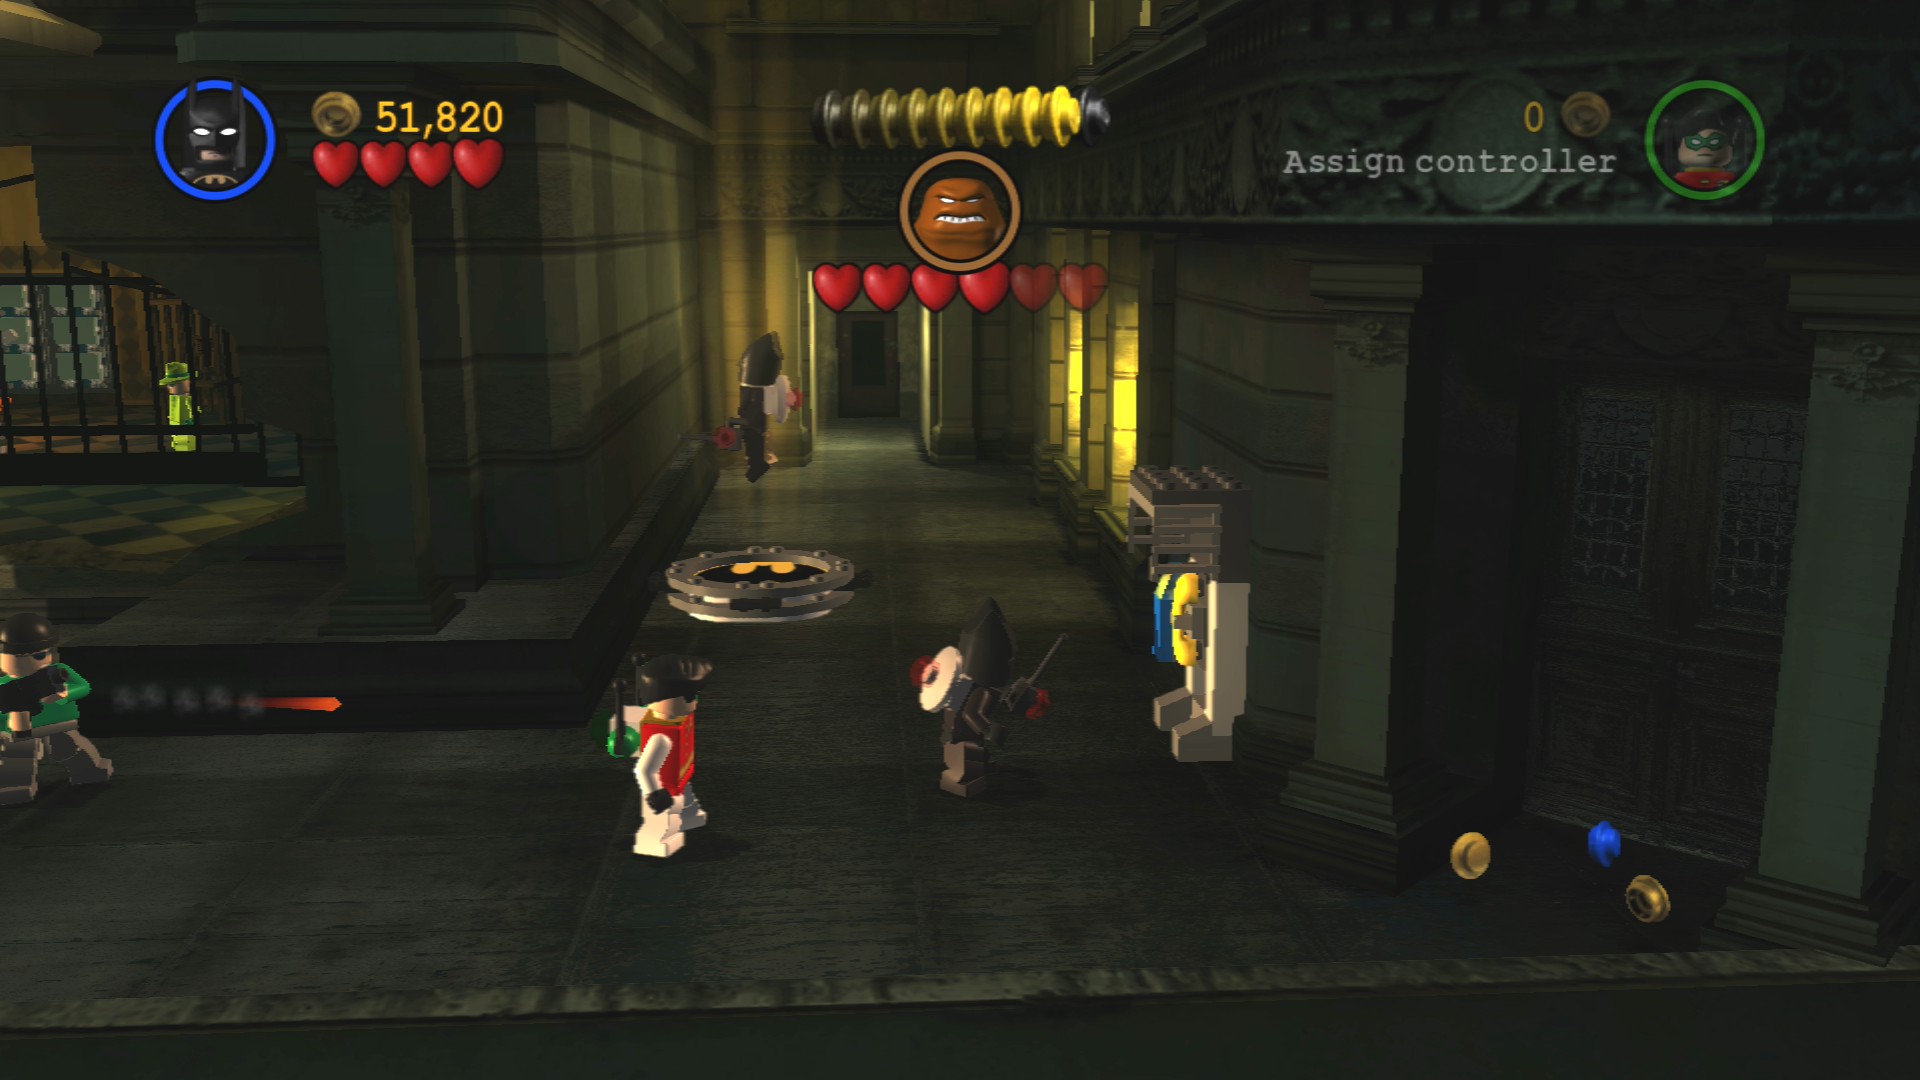
The final phonebooth is found to the right of where you fight Clayface.
If you look closely at where Clayface has gone you'll see that he's standing on an object made out of Silver LEGO, run up to the barrier in front of him and place a bomb as close as you can to blow his platform up.
He'll then go to the opposite side and stand on some more Silver LEGO. Blow that up too and you'll then be able to get behind the barrier.
Red Brick - Fast Grapple
Requires: None Story Mode: Yes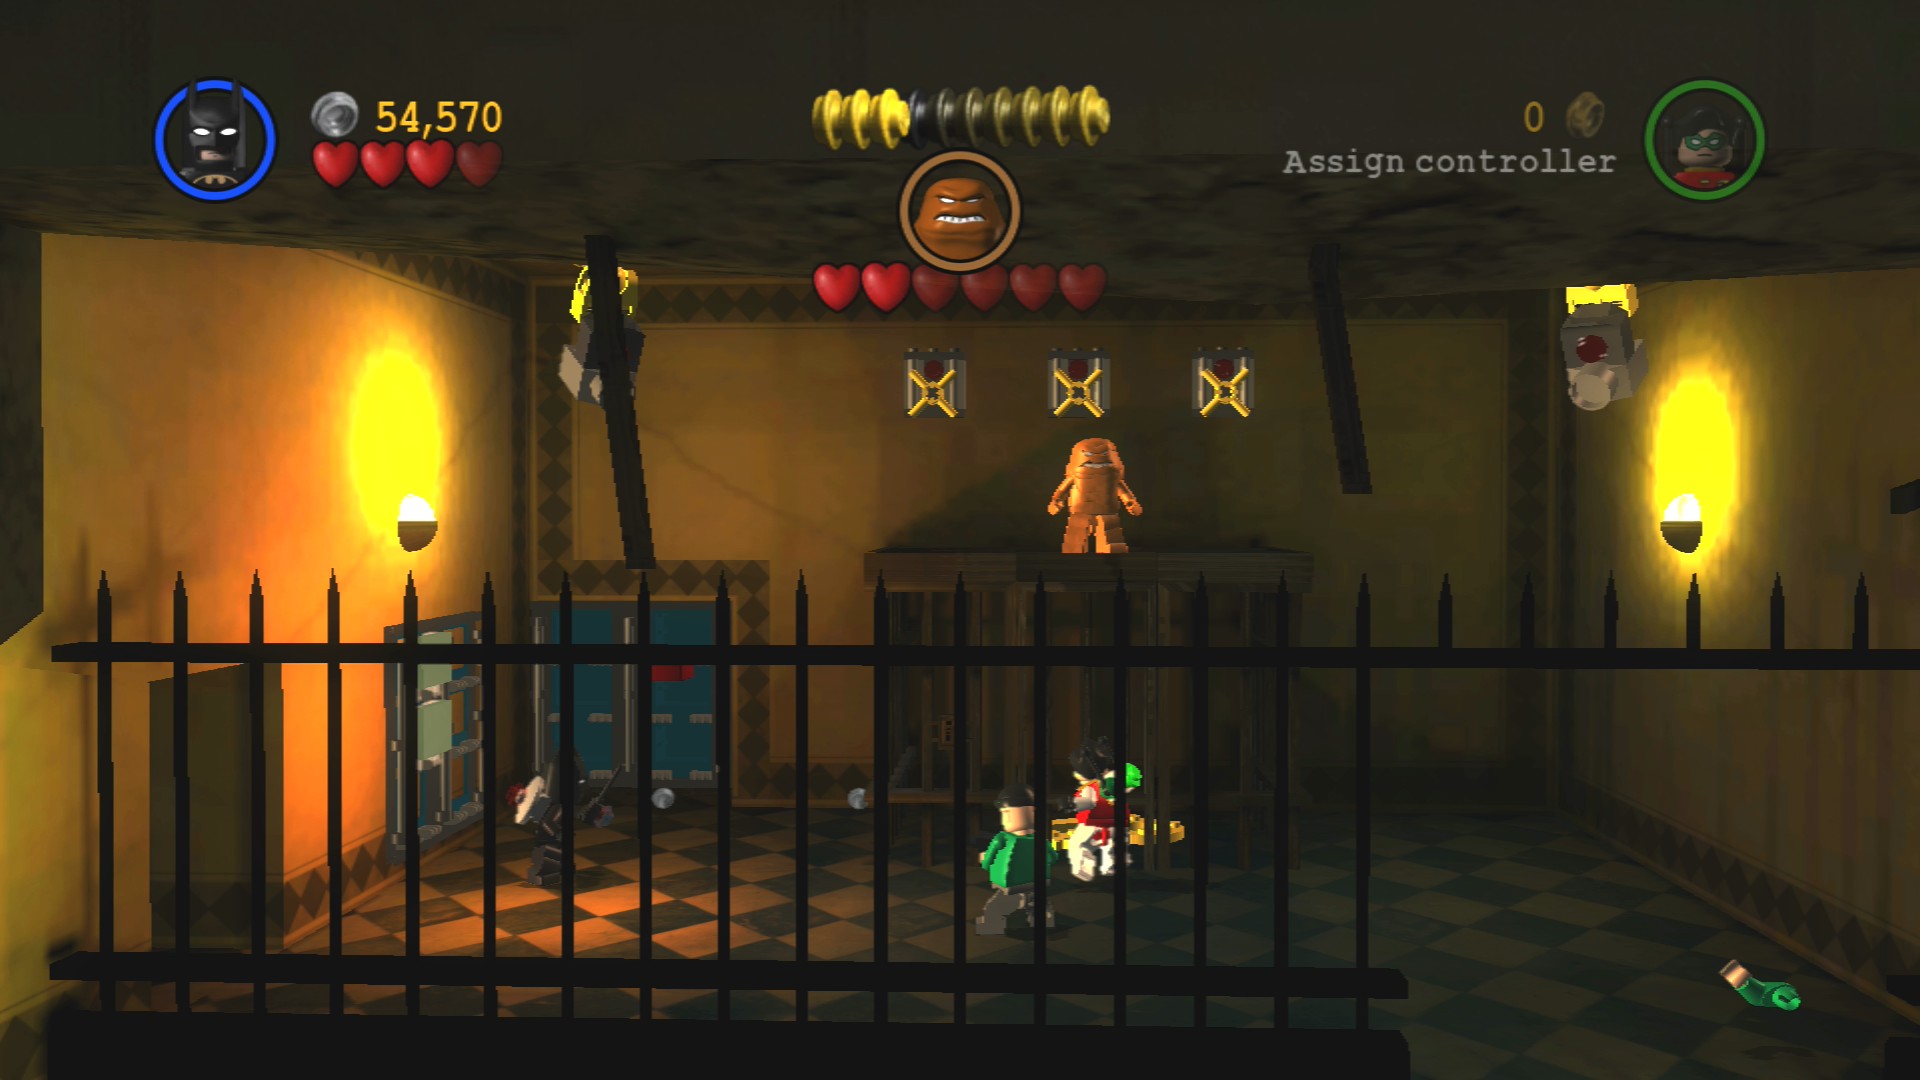
Go behind the barrier but ignore Clayface and instead smash the green deposit boxes to his left. Inside them you'll find the Red Brick.
To finish the fight with Clayface you now just need to use your batarang to hit the three yellow objects on the wall behind him.
| Cost | Character | |
|---|---|---|
| - | Batman | |
| - | Robin | |
| - | Batman (Demolition Suit) | |
| - | Robin (Technology Suit) | |
| 6,000 | Riddler Goon | |
| 7,000 | Riddler Henchman |
Chapter 2. An Icy Reception
| Story Mode | Free Play |
|---|---|
| 60,000 | 87,000 |
Again the level begins with some Riddler enemies attacking you, once you've got rid of them make sure to smash the vans they were coming out of to stop even more appearing. You do this by smashing the pile of crates that are facing each van and building a pump out of the LEGO that comes from them. Jump on the orange handle a few times to charge it up and send a ball flying at the van. Repeat for the other van.
Minikit 1/10
Requires: High Jump Story Mode: No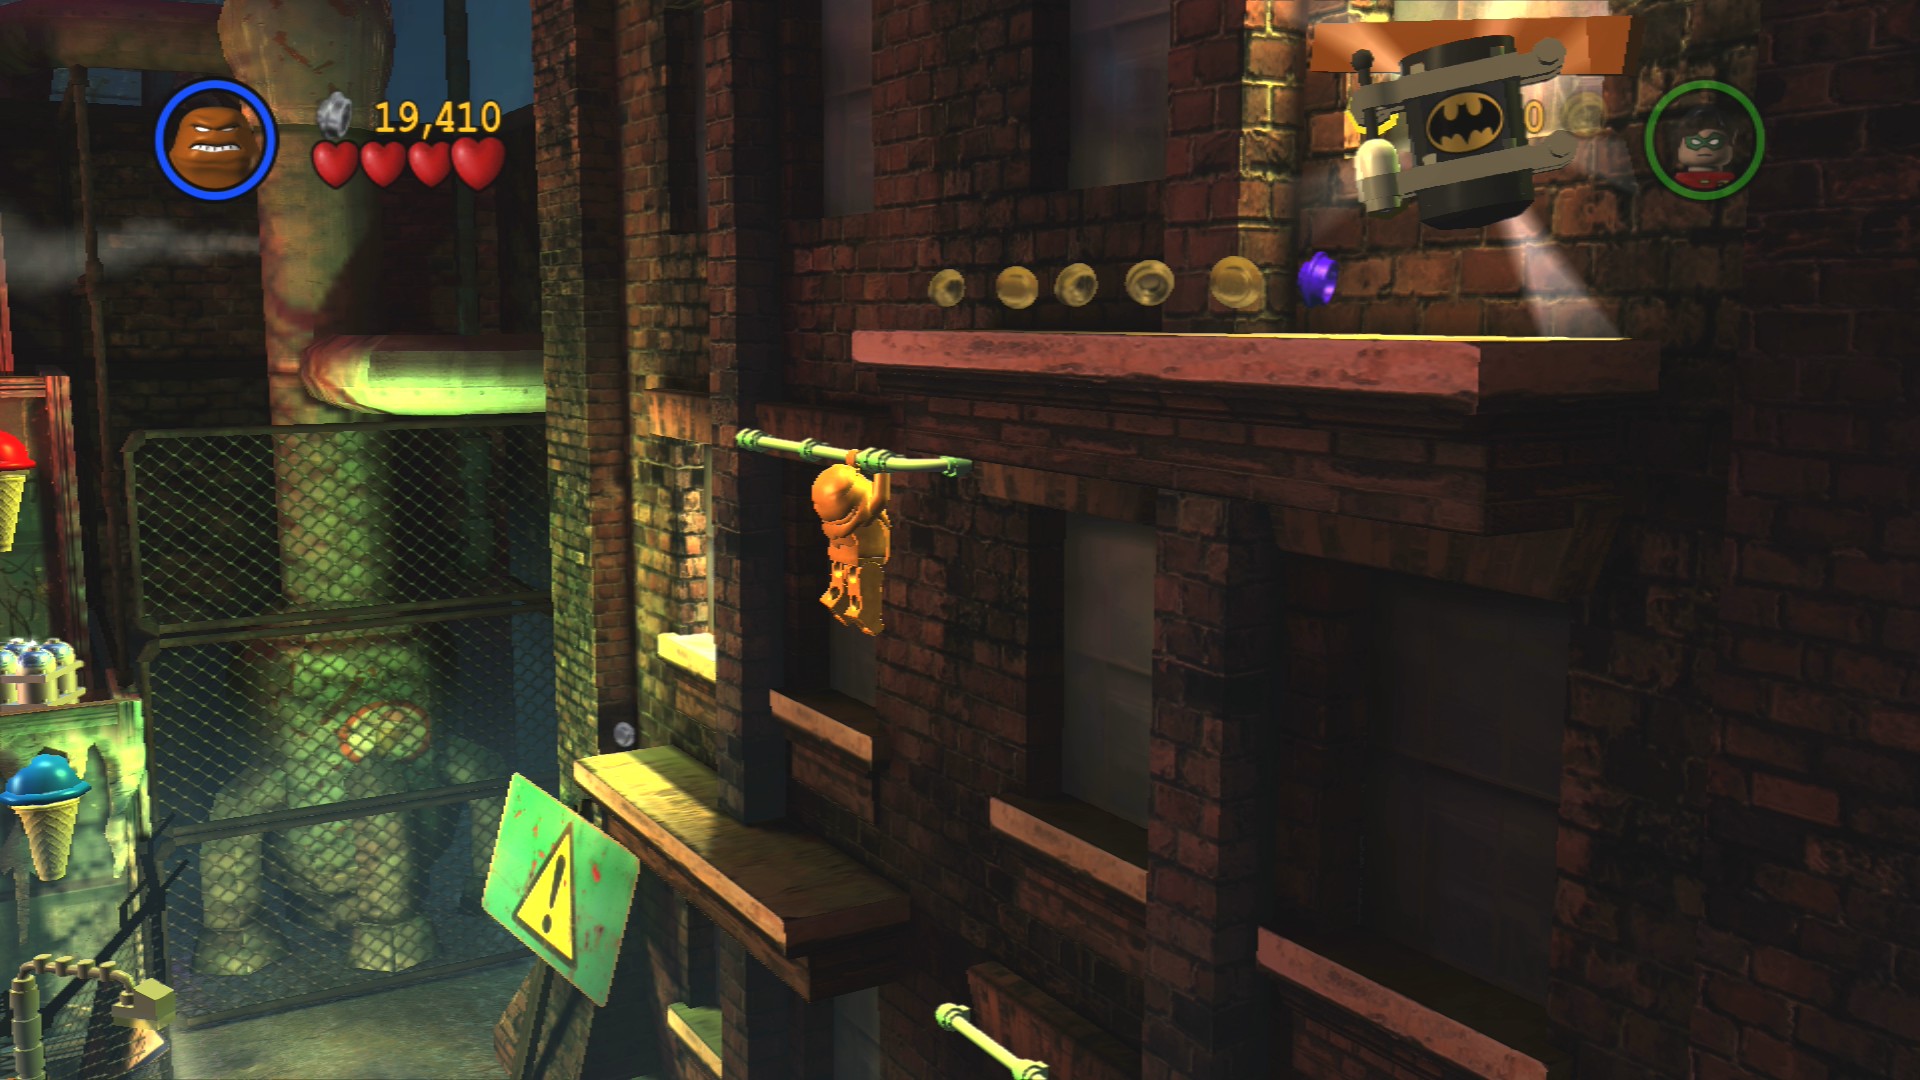
Smash some grey barrels against the right wall and you should find some bricks that will build into a handhold high above. You'll need a character that can jump high to reach it and make your way up to the Minikit on a ledge above.
Minikit 2/10
Requires: High Jump, Batarang Story Mode: No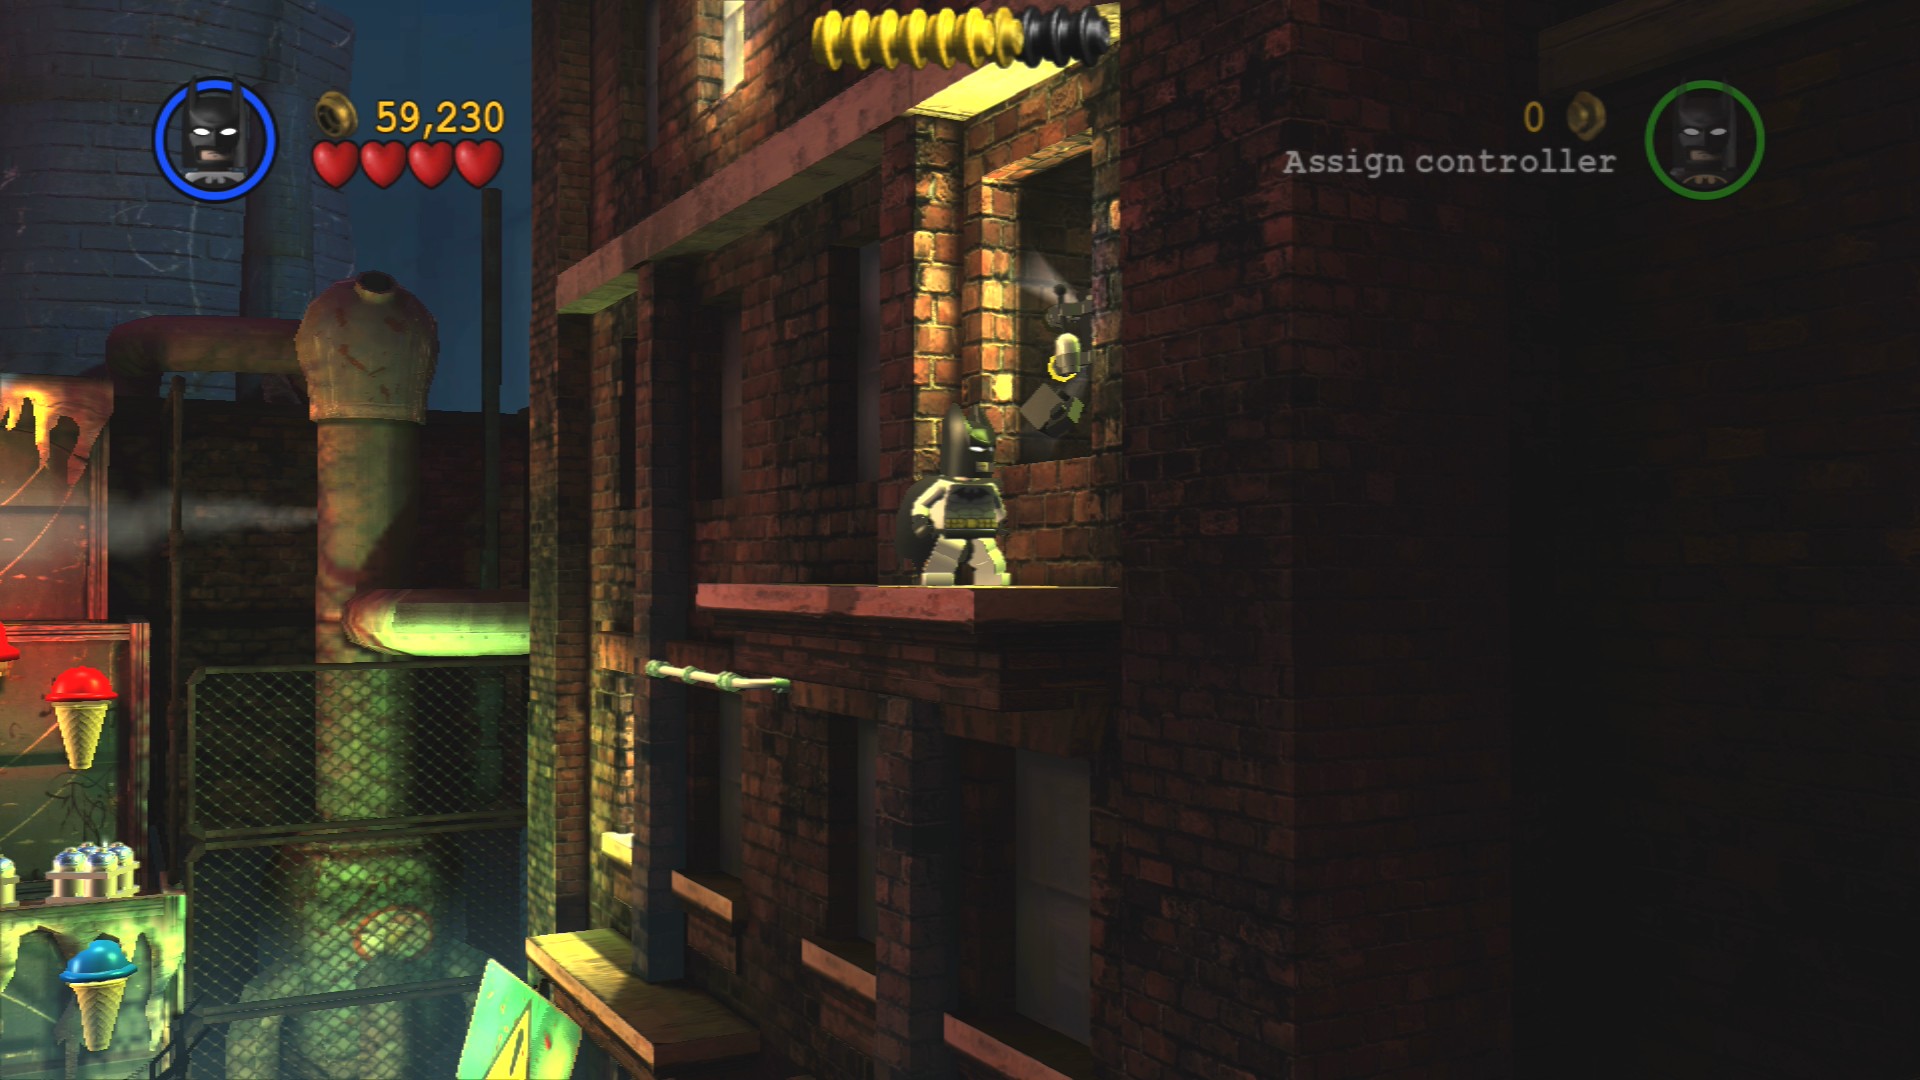
In the exact same place as the first Minikit, smash the bars on the window up here (use a batarang) to reveal the Minikit inside.
Minikit 3/10
Requires: Strength Story Mode: No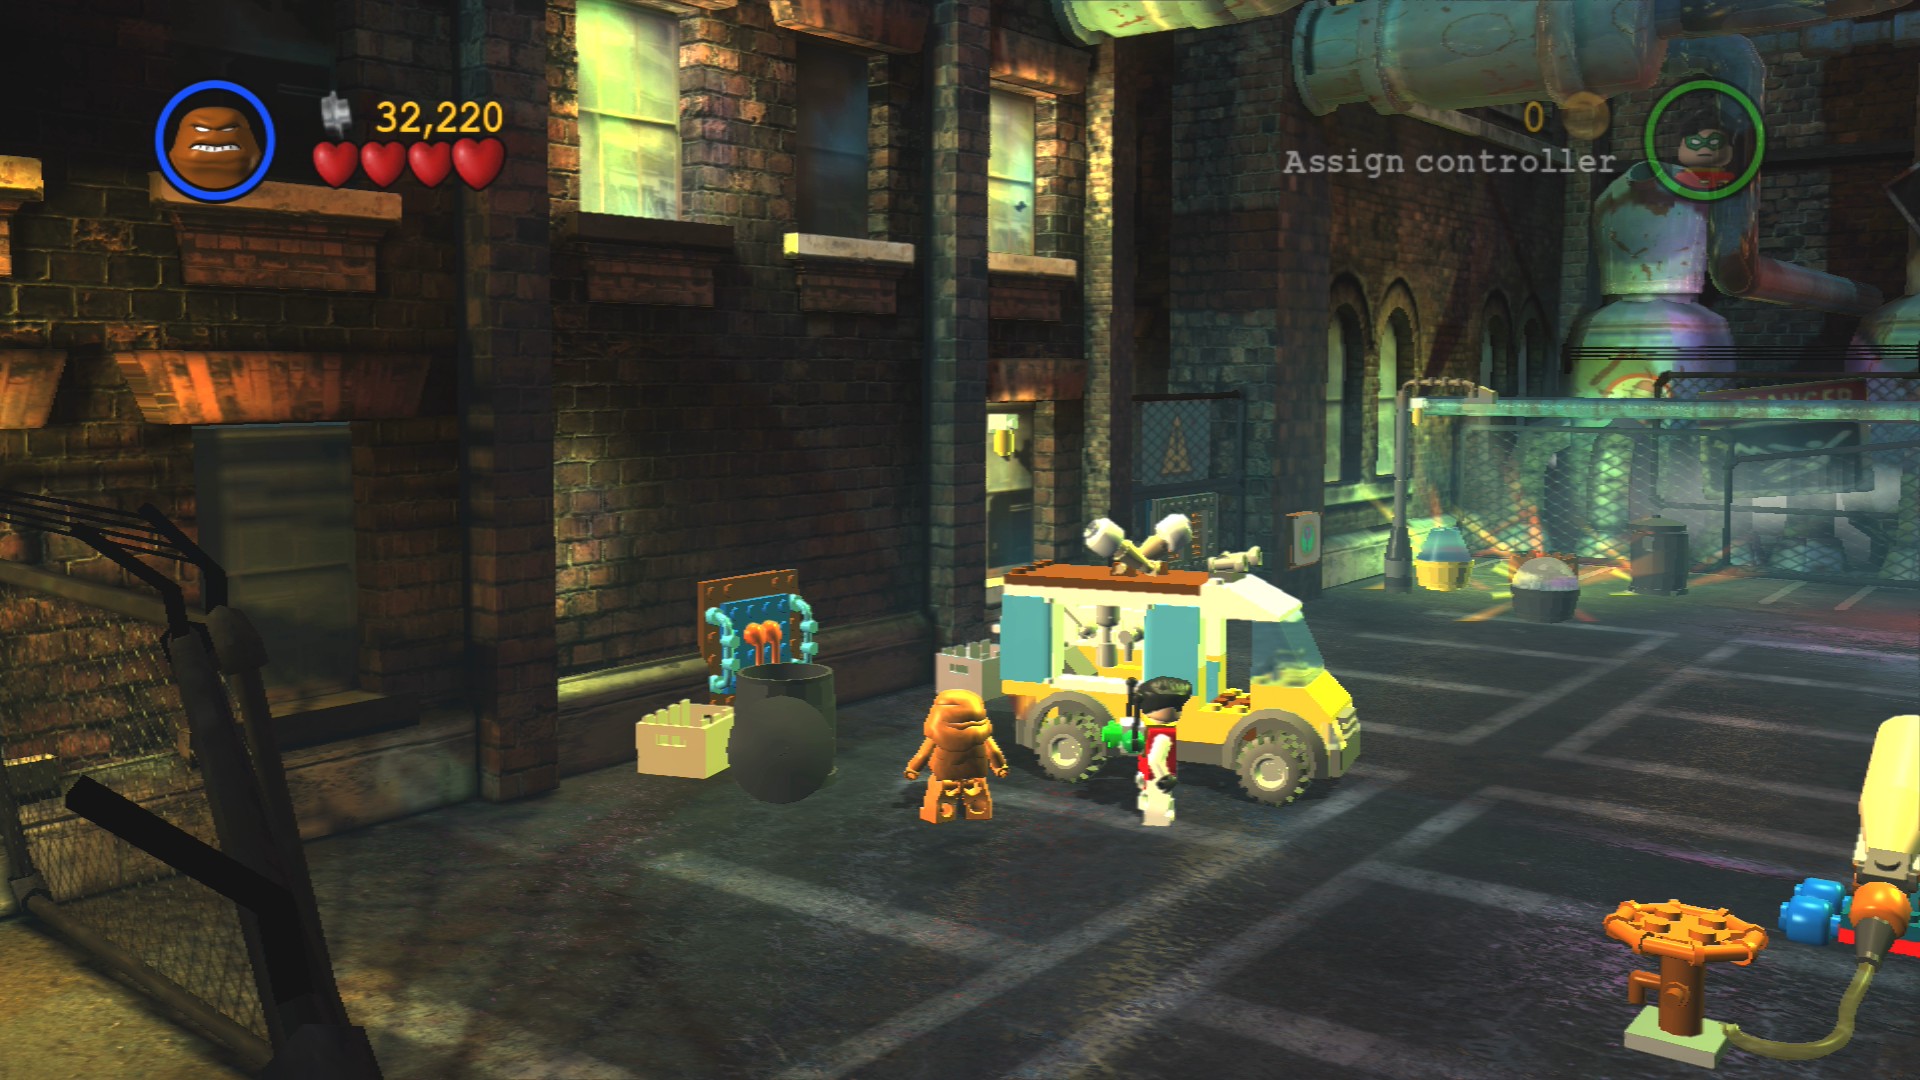
Just to the left of the left pump are some more objects you can smash to reveal some jiggling LEGO. This LEGO will fix the nearby van, once it's fixed you can drive it out of the way so that a strong character can lift off the panel behind it.
Minikit 4/10
Requires: Demolition Suit Story Mode: No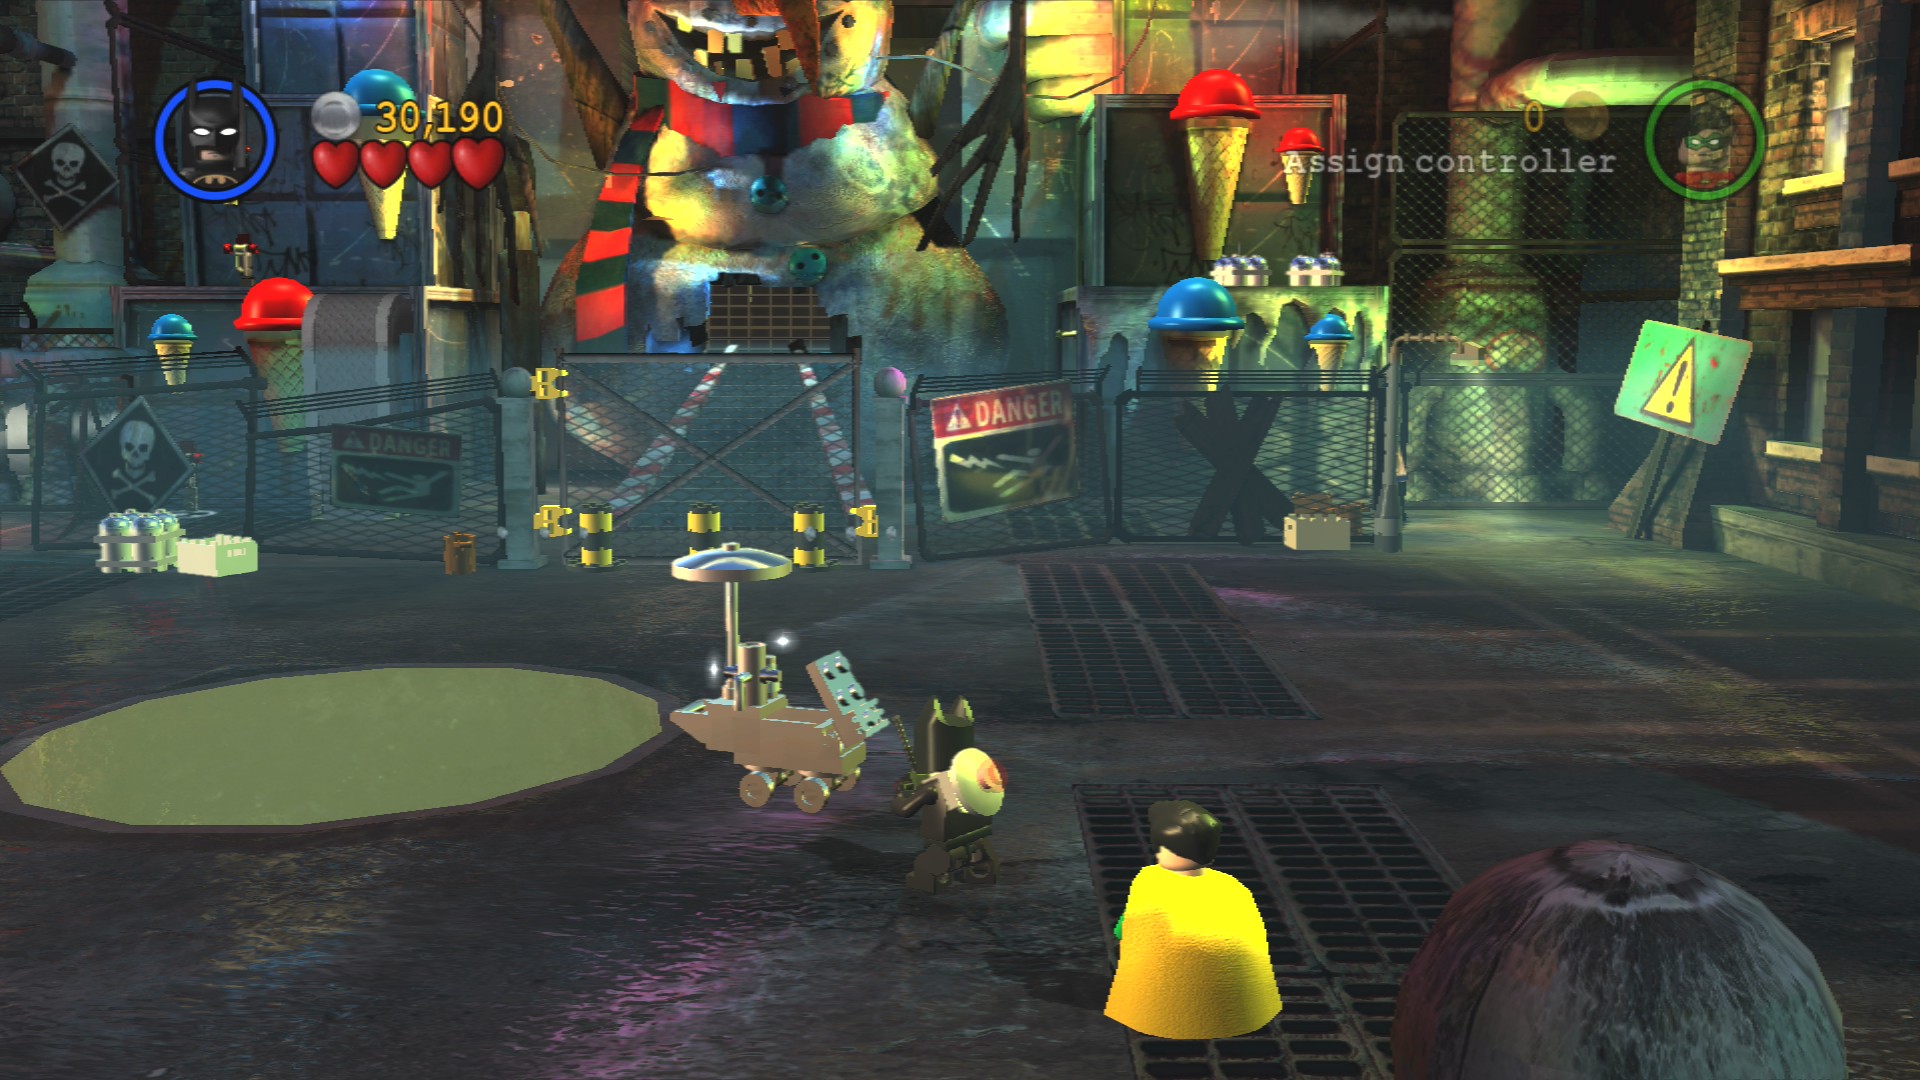
In the middle of the area is a circle on the ground, on the right of that is a Silver LEGO foodcart that when blown up will give you the bricks to build a switch. Drive the fixed ice cream van onto the circle and you'll be able to pull the switch to get a giant ice cream with the Minikit inside.
Hostage 2/25
Requires: Hypnosis Story Mode: No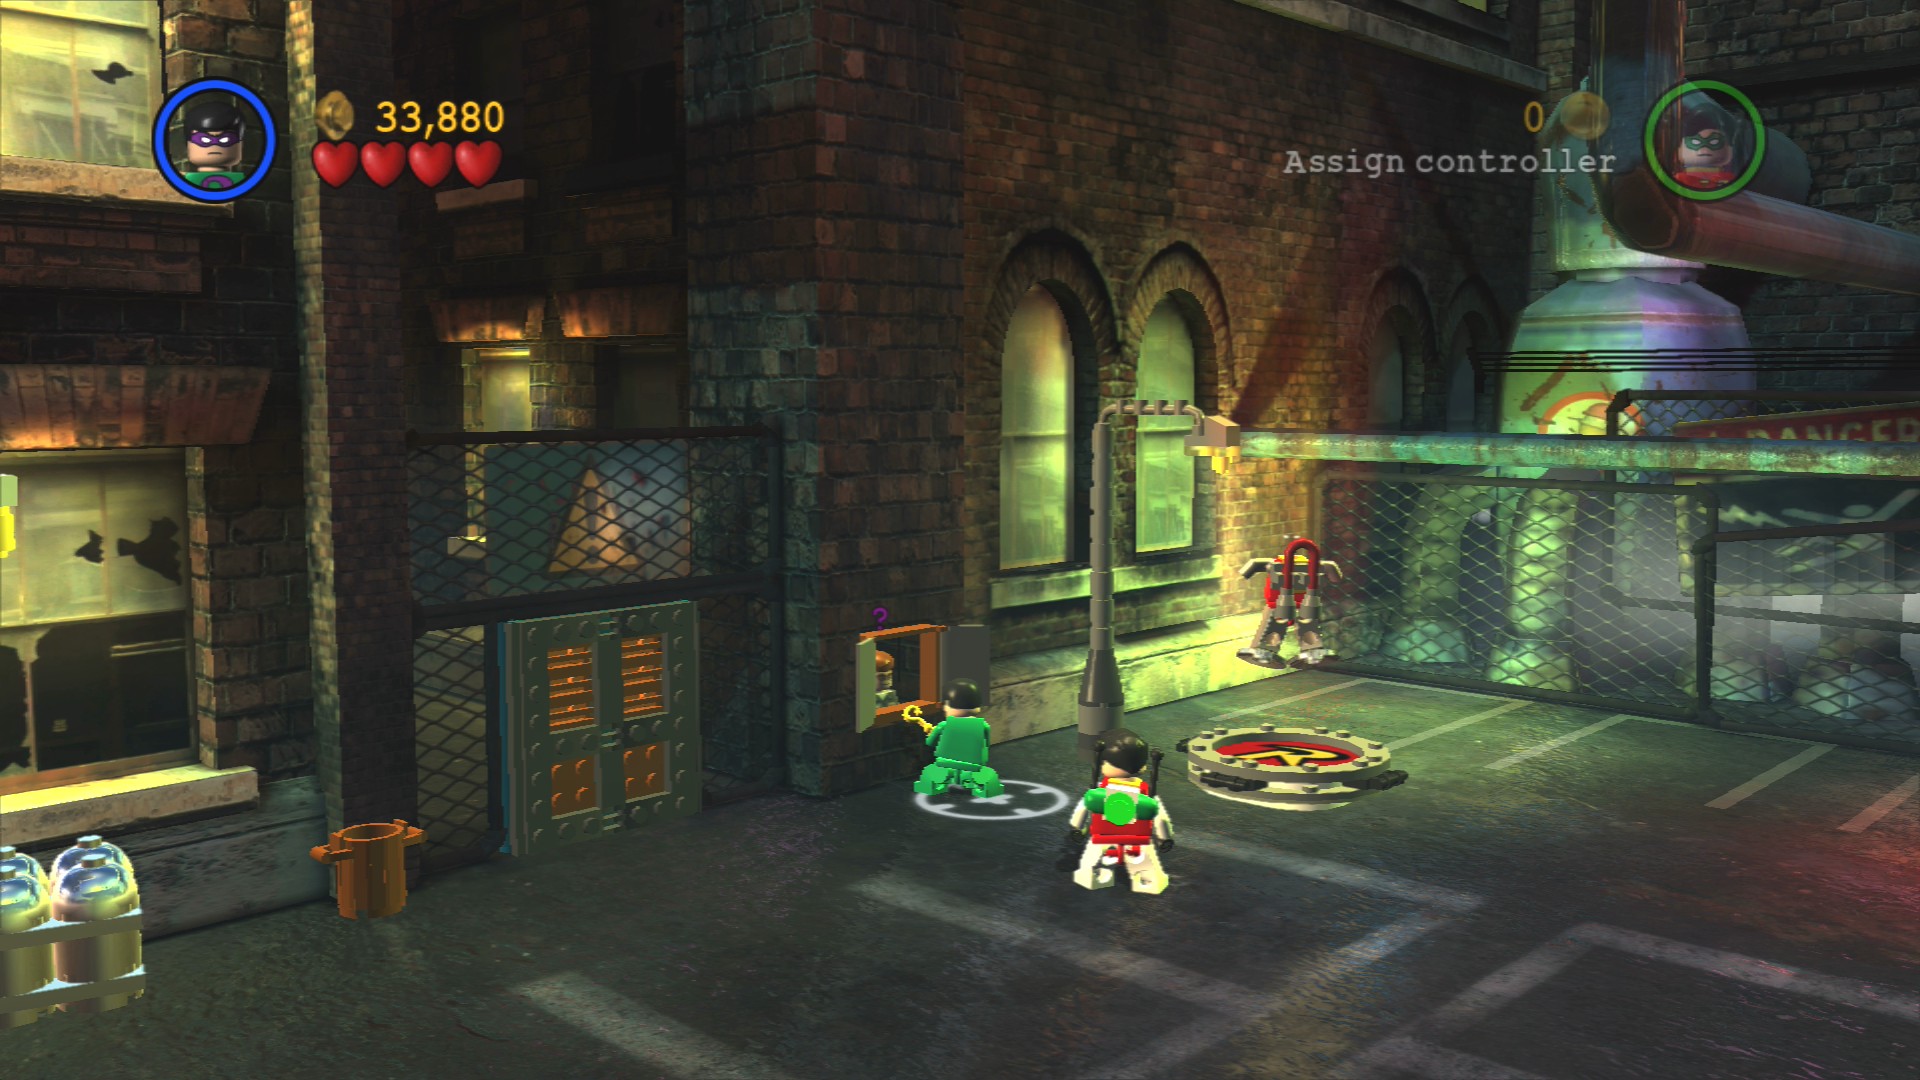
On the left side of the area is a guard post that a villain with hypnosis can get through, down the alley you'll find a civilian being held hostage.
Minikit 5/10
Requires: Hypnosis, High Jump Story Mode: No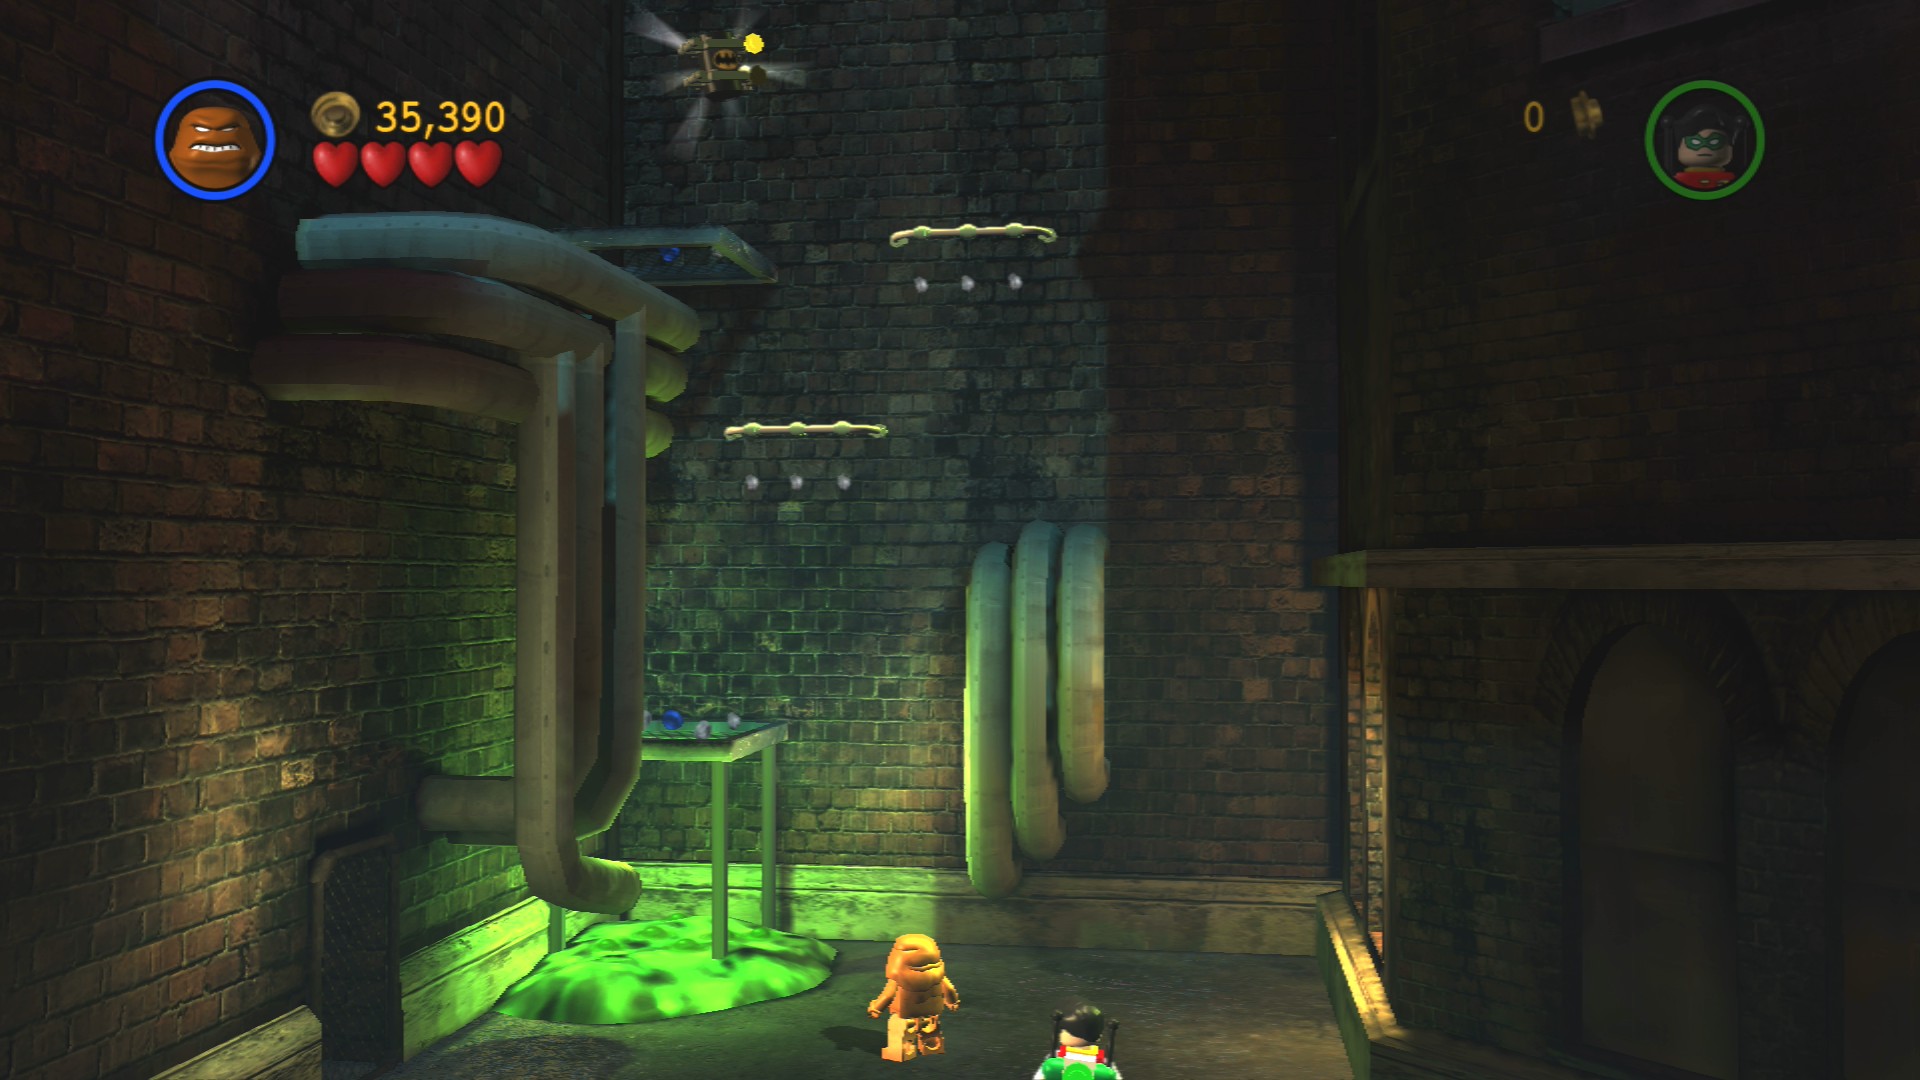
Also back here with the hostage is a Minikit, all you have to do is high jump up onto the platform in the toxic waste and then high jump up the handholds to reach it.
In the back left corner are some glowing crates and barrels. Smashing them will get you the parts to build a Suit Switch for Robin, this one will give him the Magnet Suit which will let him walk on vertical metal surfaces.
To get through the gate at the back you must use your batarang on the yellow clips holding it up.
Minikit 6/10
Requires: High Jump/Glide Suit, Demolition Suit Story Mode: No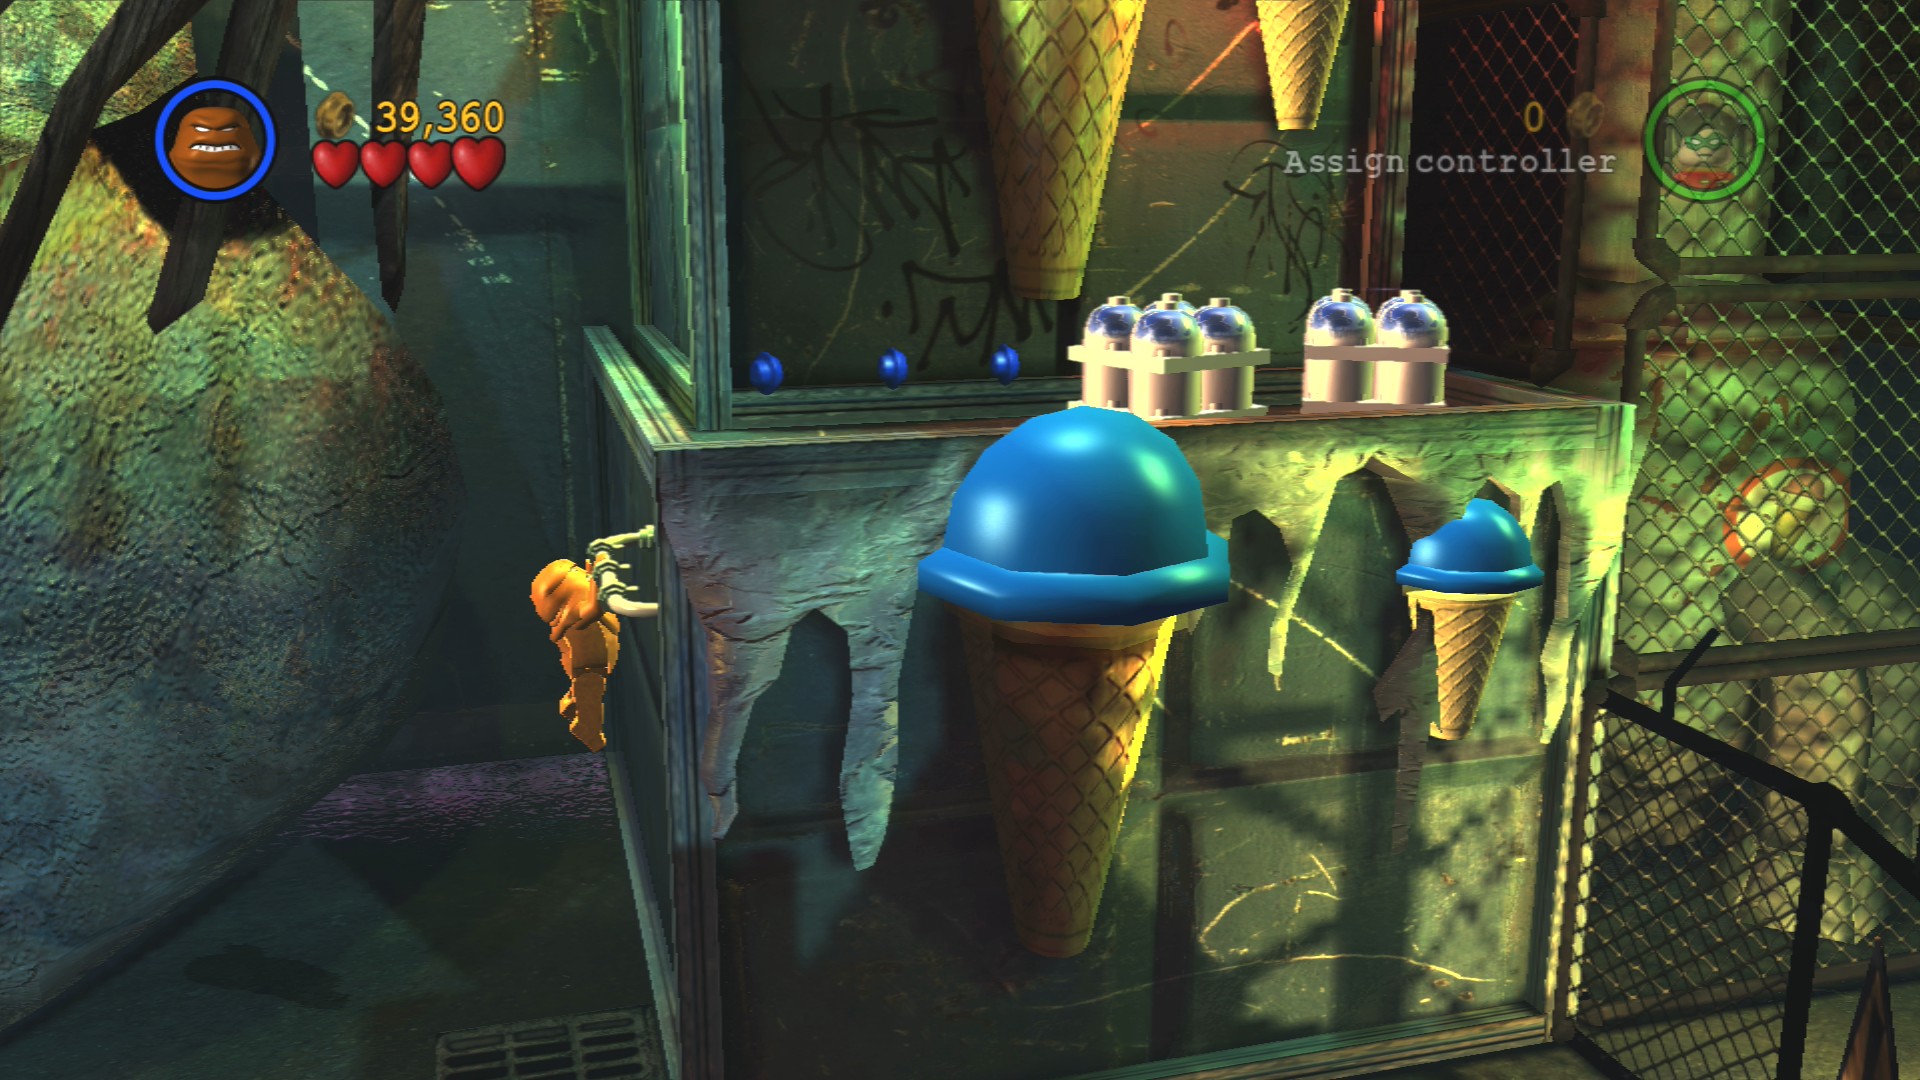
High jump up onto the handhold on the right side of the steps then blow up the Silver LEGO canisters to reveal the Minikit.
Enemies will appear from the door every so often, defeat them and go to the left side of the ramp where you can find a metal surface for Robin to walk up while he's wearing his Magnet Suit. Up top pull the lever and quickly switch back to Batman to pull the second lever on the ground below. If you do it in time the door at the top of the ramp will open (there's a load of studs hidden underneath the ramp by the way).
Smash all of the objects on the floor once you get inside, you'll be able to build a spinner switch and a suit switch for Batman to put on his Glide Suit. Push on the spinner to move the fire out of the way and then glide over the gap, you do that by running and jumping over the gap without letting go of the jump button. On the other side defeat a few more Freeze goons and fix the bridge so that Robin can follow you over.
Just to the right are a couple more jets of fire blasting out, to get past them first use your batarang on the cables holding up the large ice cubes. Build yourself some steps up to the yellow wheels so you can have both characters jump on them to shut off the fire.
Get past the slippery ice cream and jump over the pipe to encounter a few more Freeze goons and reach another metal section for Robin to walk up in his Magnet Suit. At the top you can build a grapple point to help Batman get up too.
Minikit 7/10
Requires: Glide Suit, Seduction Story Mode: No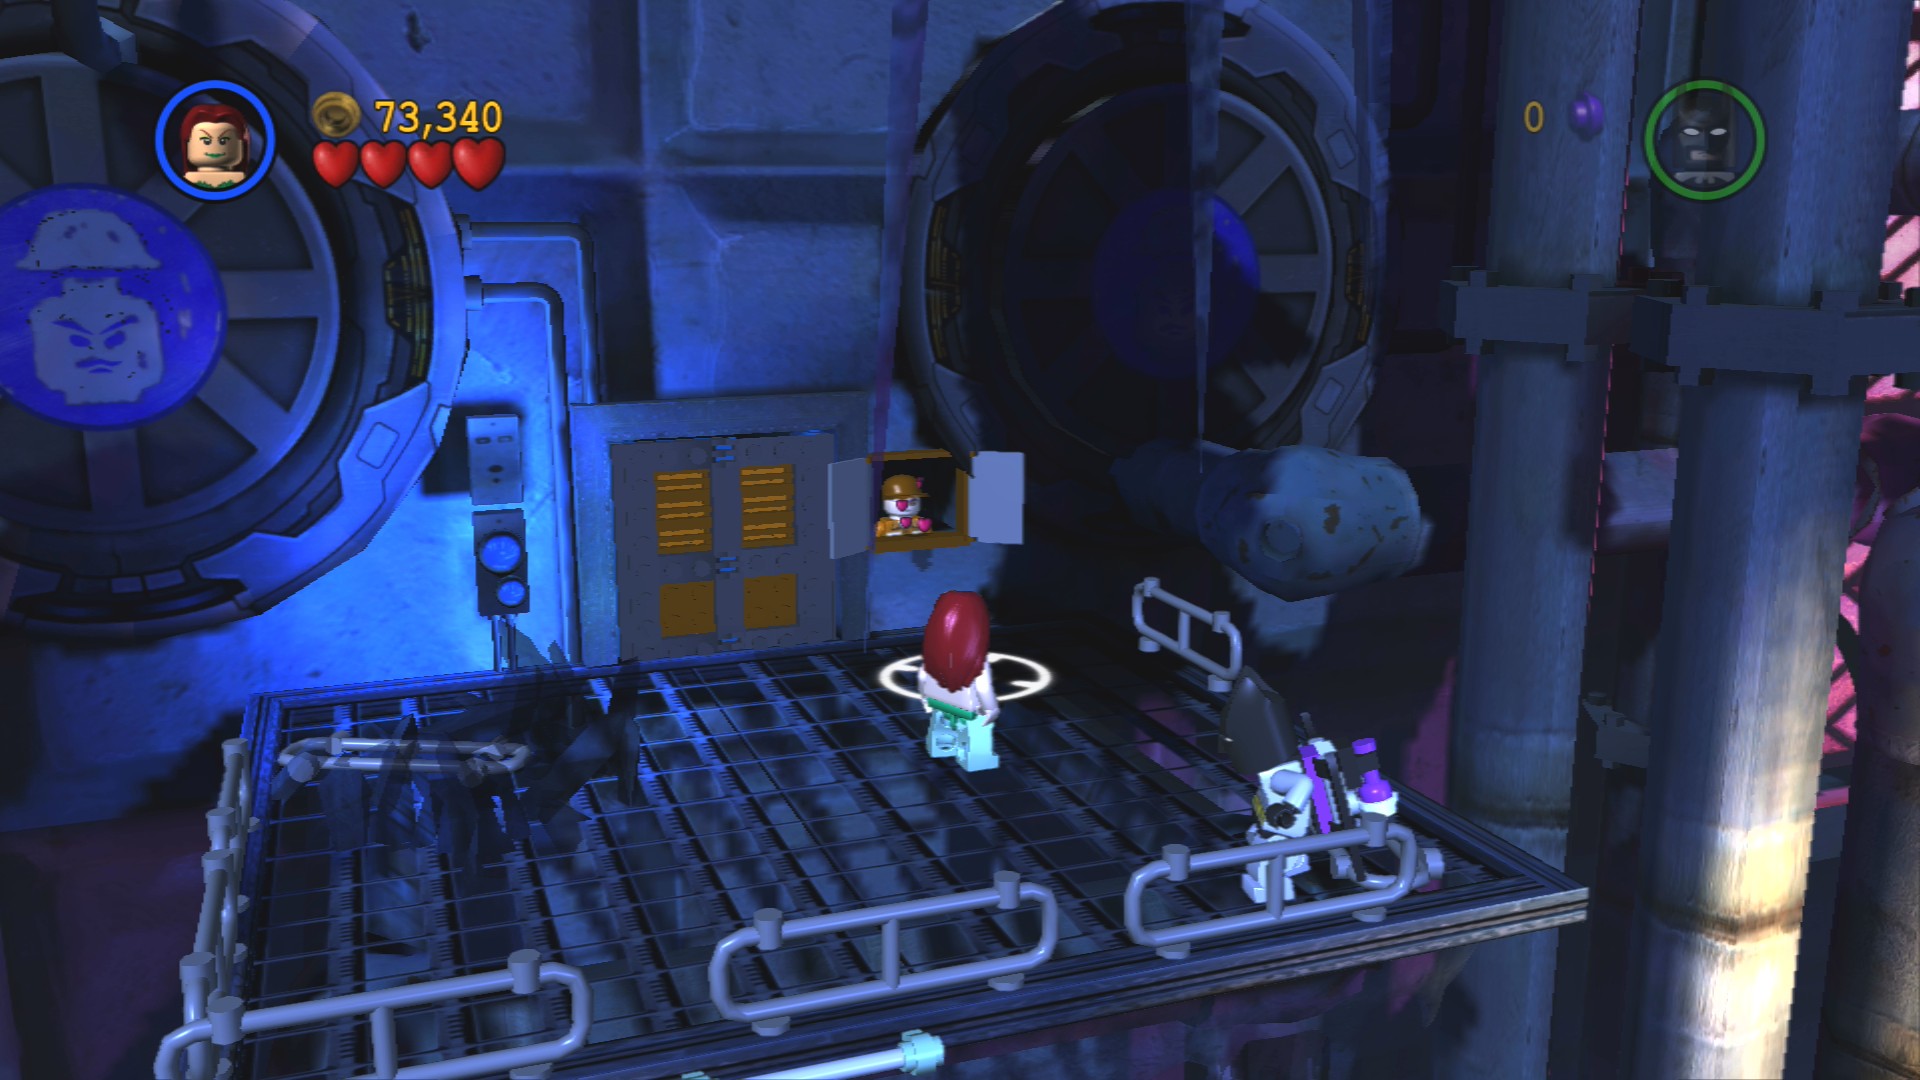
Glide Suit to the platform that the Freeze Girls jumped down from and seduce the guard at the door. Inside the room defeat a few goons then go behind the glass at the back from the right to get the Minikit.
Red Brick - Fast Batarangs
Requires: Glide Suit, Strength Story Mode: No
Get back up on top of the metal ramp and this time glide to the glass box ahead that has an enemy on top. Pull the handle with a strong character and inside smash the object so that your partner can stand on the wheel to raise the cage holding the Red Brick.
Down the steps past a few more goons is a curvy metal pipe that Robin's Magnet Suit can walk up. At the top smash the objects to rebuild the crate then push it off the edge to smash it again.
Use the pieces that fall out of the crate to repair the moving platform so you can ride it across the gap. Magnet Suit walk up the far side of the door to pull the lever on top that opens it.
Going through the door you'll encounter another small group of Freeze Girls.
Minikit 8/10
Requires: Hazard Protection, Demolition Suit Story Mode: No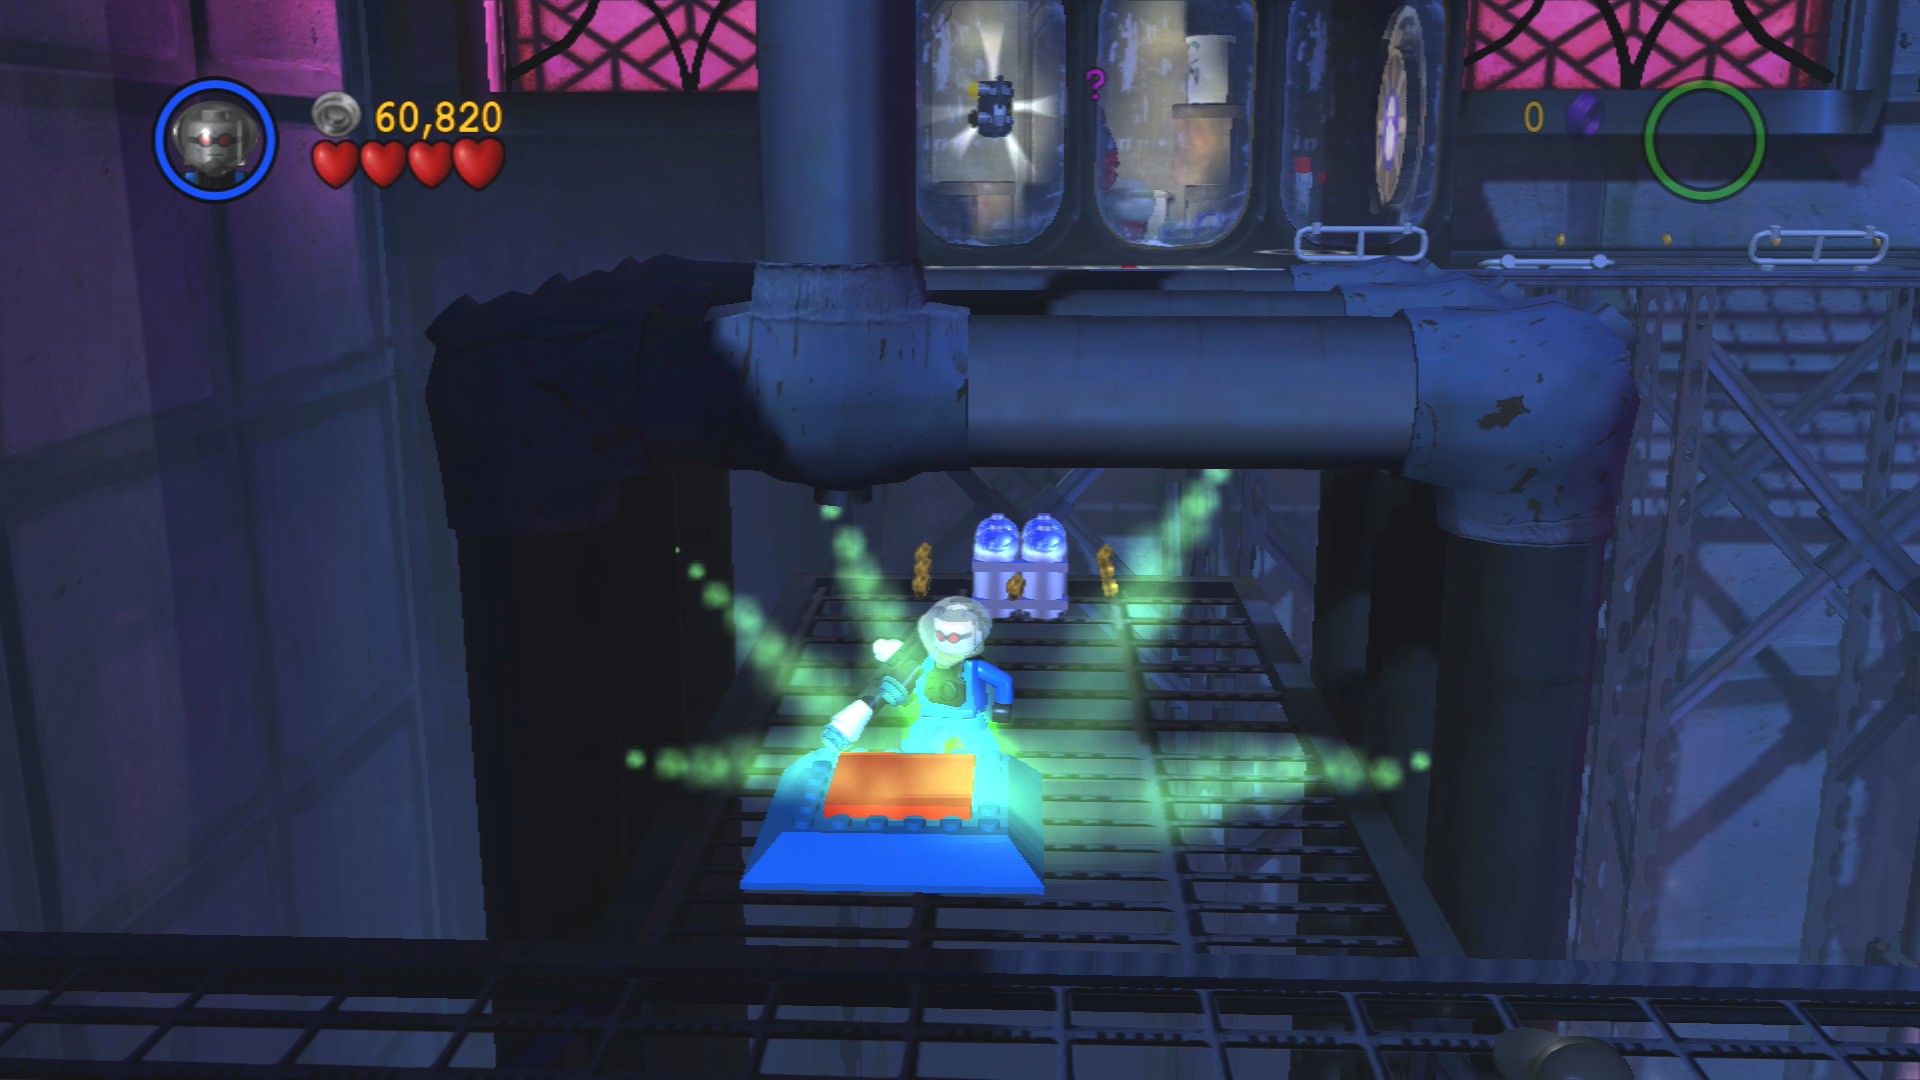
Walk through the green fire using a character with hazard protection and have them stand on the orange button to shut it off so that you can switch to the other character and use the Demolition Suit to blow up the Silver LEGO to reveal the Minikit.
Use the Glide Suit to glide over the gap to the right. Push on the spinner switch to move the grapple point over to Robin so that he can grapple onto it, once he has done so you can then rotate the spinner switch the other way to bring him over.
Jump onto the grey wheel at the bottom of the brown slope and the slope will turn into stairs. Your partner should run up them to stand on the wheel at the top as otherwise it will just turn back into a slope. Follow them up then jump across a set of blue circles that start to drop as soon as you land on them, do it quickly!
Go down the slope after the Riddler goons and then use your batarang on the yellow nozzle covers to fill the vats with red liquid. Jump into the freeze gun and fire it at both vats to freeze them solid. Once you've done that you'll be able to slide over them to get to a metal surfact that Robin can walk up and pull a lever to raise a grapple point.
Grapple up to the top and have both characters jump onto the flaps at the back to shut off half of the fire. Then you just push the cart along its path to finish shutting the fire off.
Minikit 9/10
Requires: Glide Suit, Demolition Suit Story Mode: No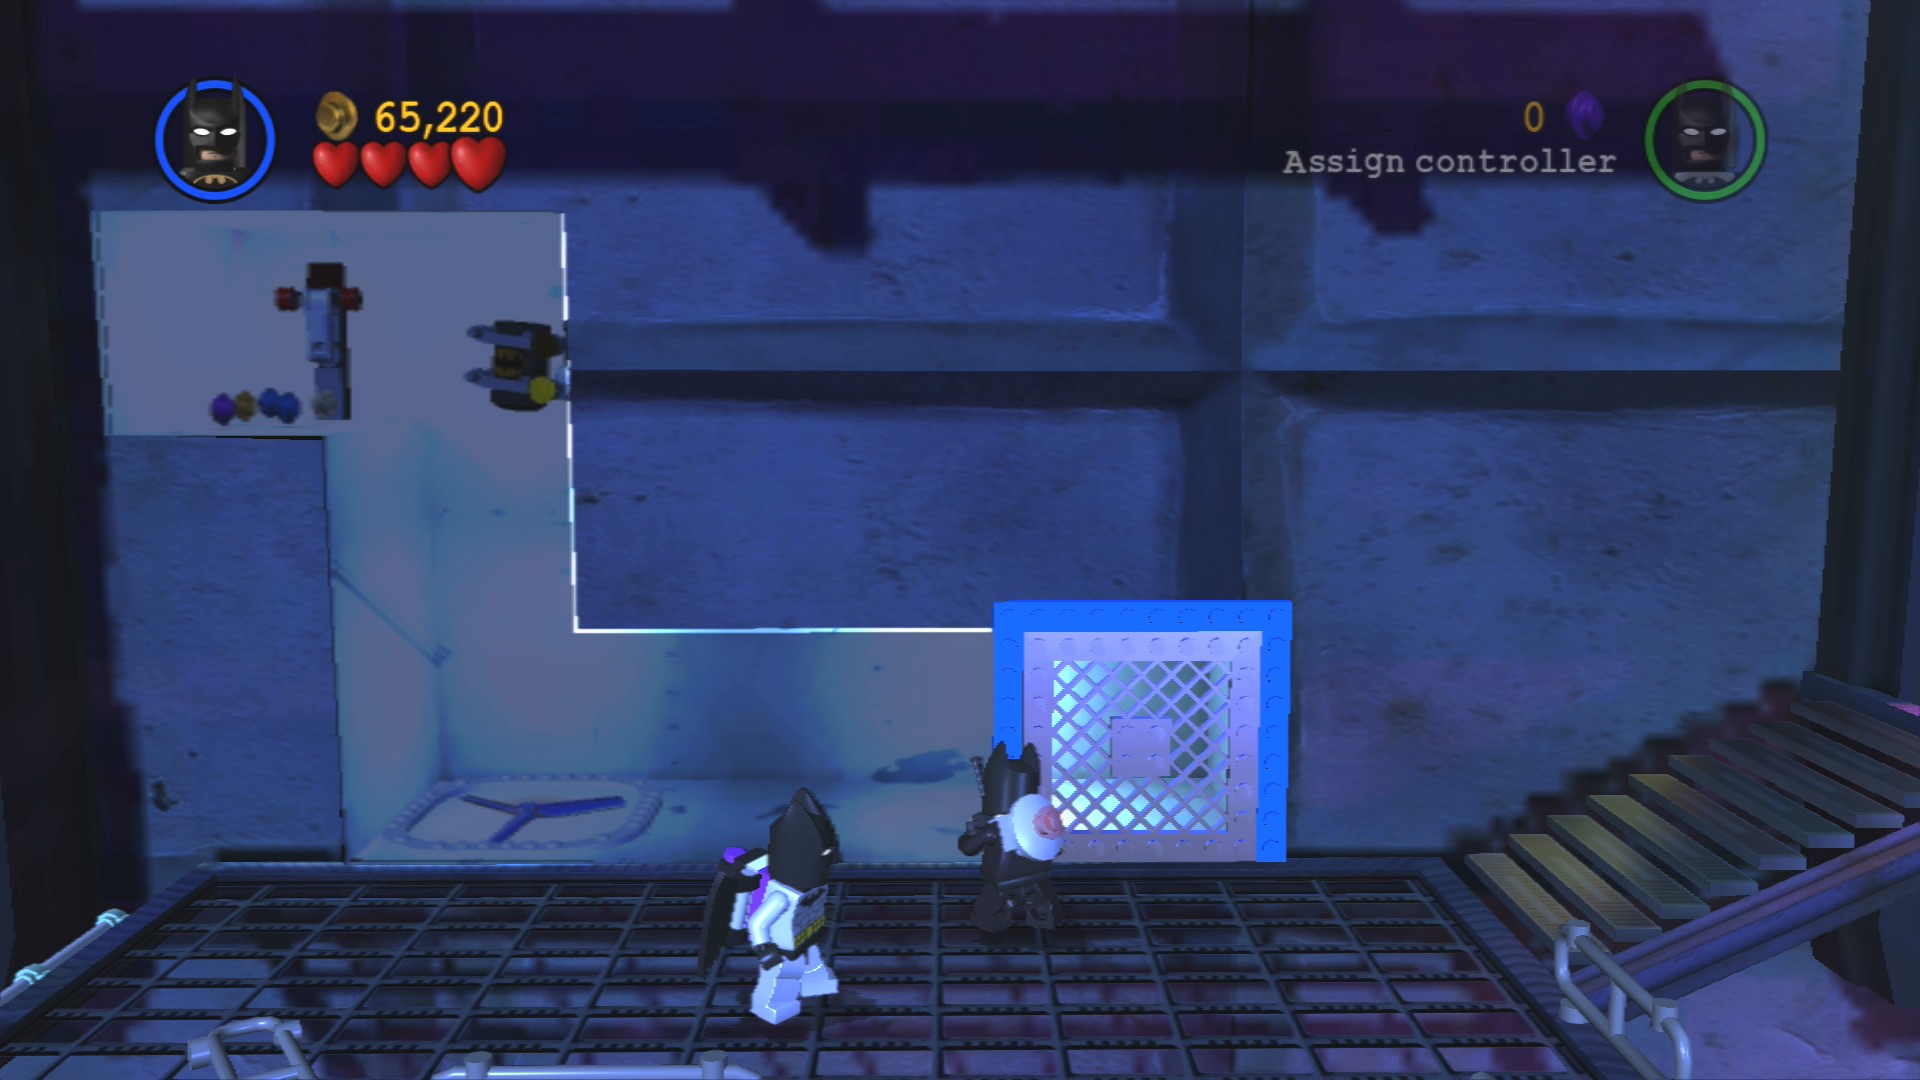
Before you go through the fireless hole drop down following the ladder in front of the checkered path and go to the left. Glide Suit over the gap and then blow up the Silver LEGO panel at the bottom of the stairs to get into the glass covered area with a fan that'll boost you into the Minikit. Pull the switch to shut the fan off to get back out.
Minikit 10/10
Requires: Glide Suit, Hypnosis Story Mode: No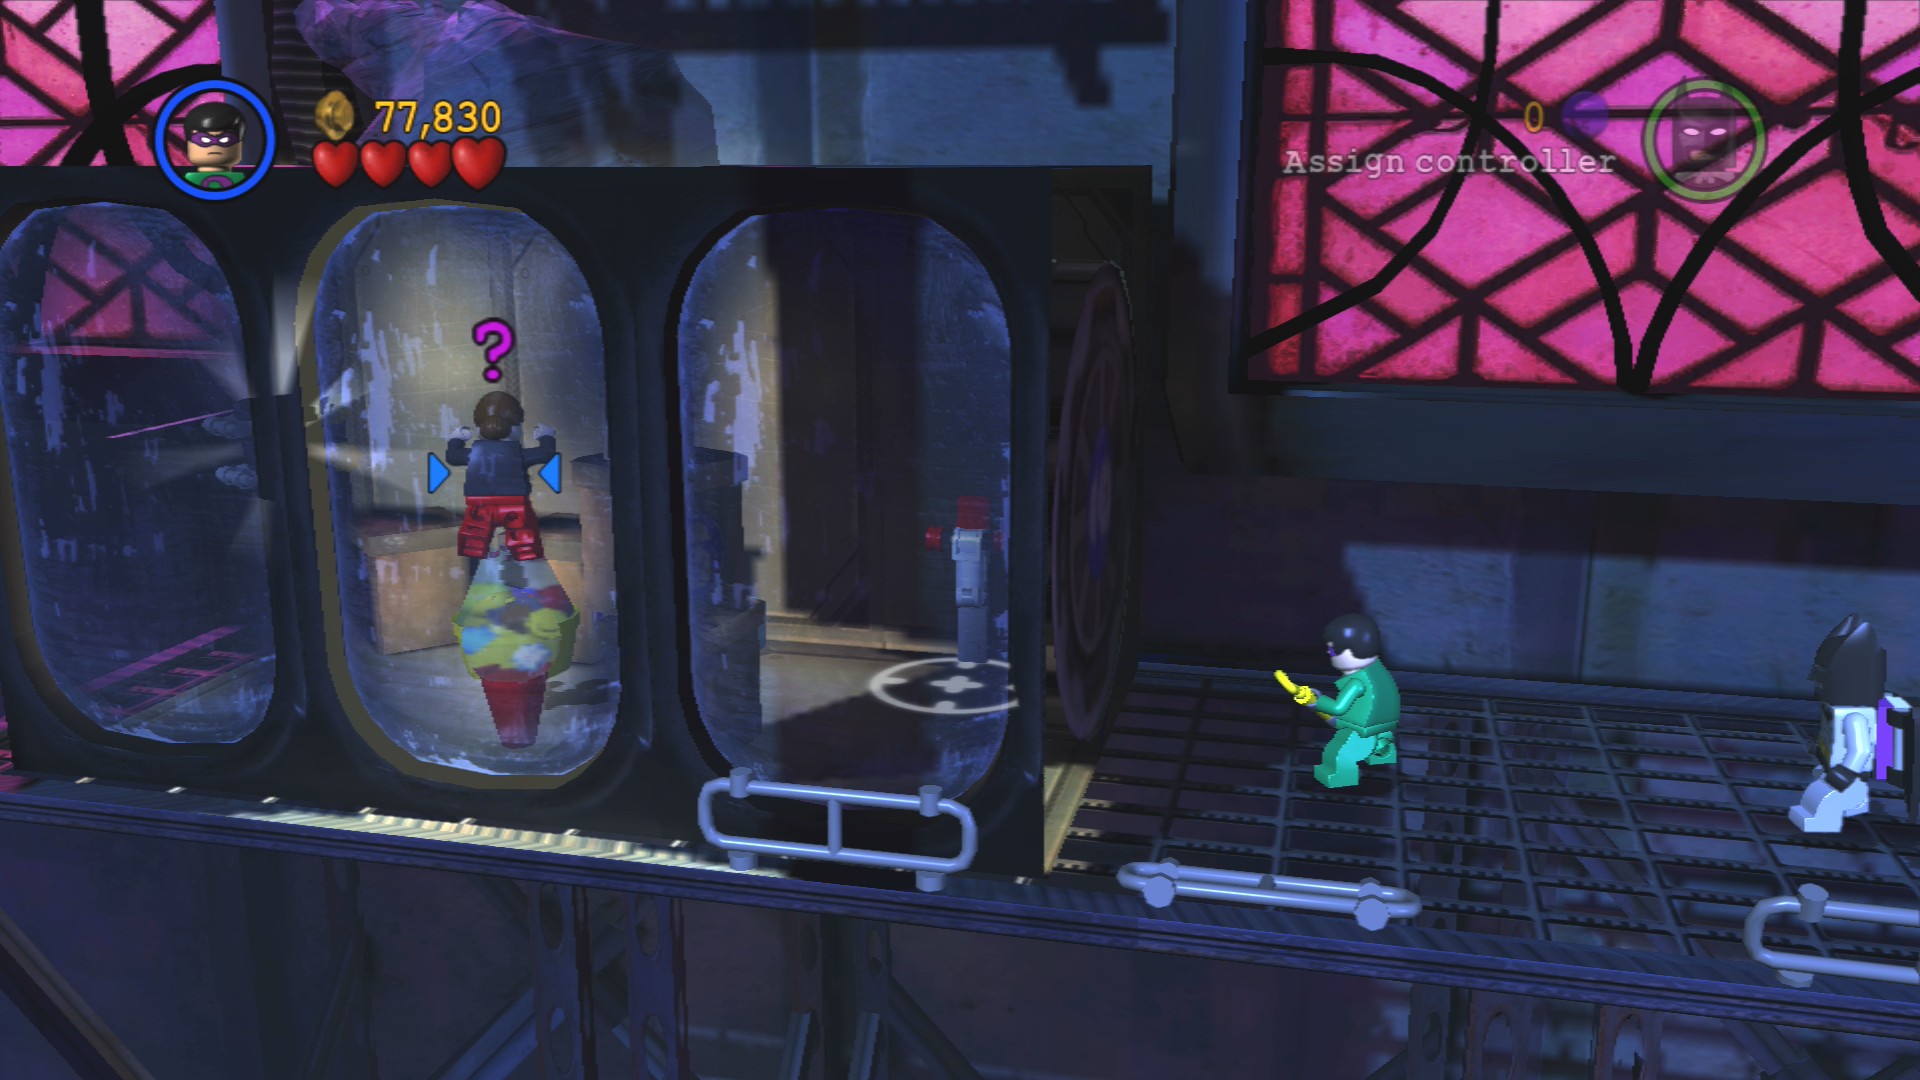
Continue to the left after the previous Minikit to reach a closed off room with a person jumping about inside. Use hypnosis to take control of them and pull the lever to open it up. Now you can grab the Minikit inside.
Time to take on Mr. Freeze! First take out the regular goons surrounding him as you try to avoid his freeze ray, once you've cleared them out circle around Mr. Freeze as he fires his freeze ray and eventually he'll have to take a quick breather. During this moment you are able to hit him and take off a heart. Repeat for a second heart and he'll jump away to the back of the room.
Once he's done that you can assemble the object in the middle, it's a pump like at the start of the level. Jump on it three times to smash the fan.
Repeat circling around Mr. Freeze when he jumps down again. After another two hearts he'll leap away again and pull the lever to raise the level of the vats. Use Robin's Magnet Suit to get up onto the vats and use the floating platform to jump across to the levers. After pulling the lever some LEGO bricks will pop out on the floor, assemble them into a cart and push it along the track. Repeat for the other side.
Then just finish Mr. Freeze off with the same tactics as before to complete the chapter.
| Cost | Character | |
|---|---|---|
| - | Batman (Glide Suit) | |
| - | Robin (Magnet Suit) | |
| 4,000 | Freeze Girl |
Chapter 3. Two-Face Chase
| Story Mode | Free Play |
|---|---|
| 64,000 | 75,000 |
This level is entirely vehicle based, you're driving around a few streets of Gotham City in the Batmobile or Batcycle with the goal of capturing some vans by knocking them over with your guns and then dragging them back to the waiting helicopter (marked by a large bat symbol on the ground).
This first section has one van down the road towards the camera, you'll have to shoot it a couple of times and it'll roll over. Attach your tow cable and drag it back to the start. After the helicopter takes it the police trucks blocking the path to the right will leave.
Minikit 1/10
Requires: None Story Mode: Yes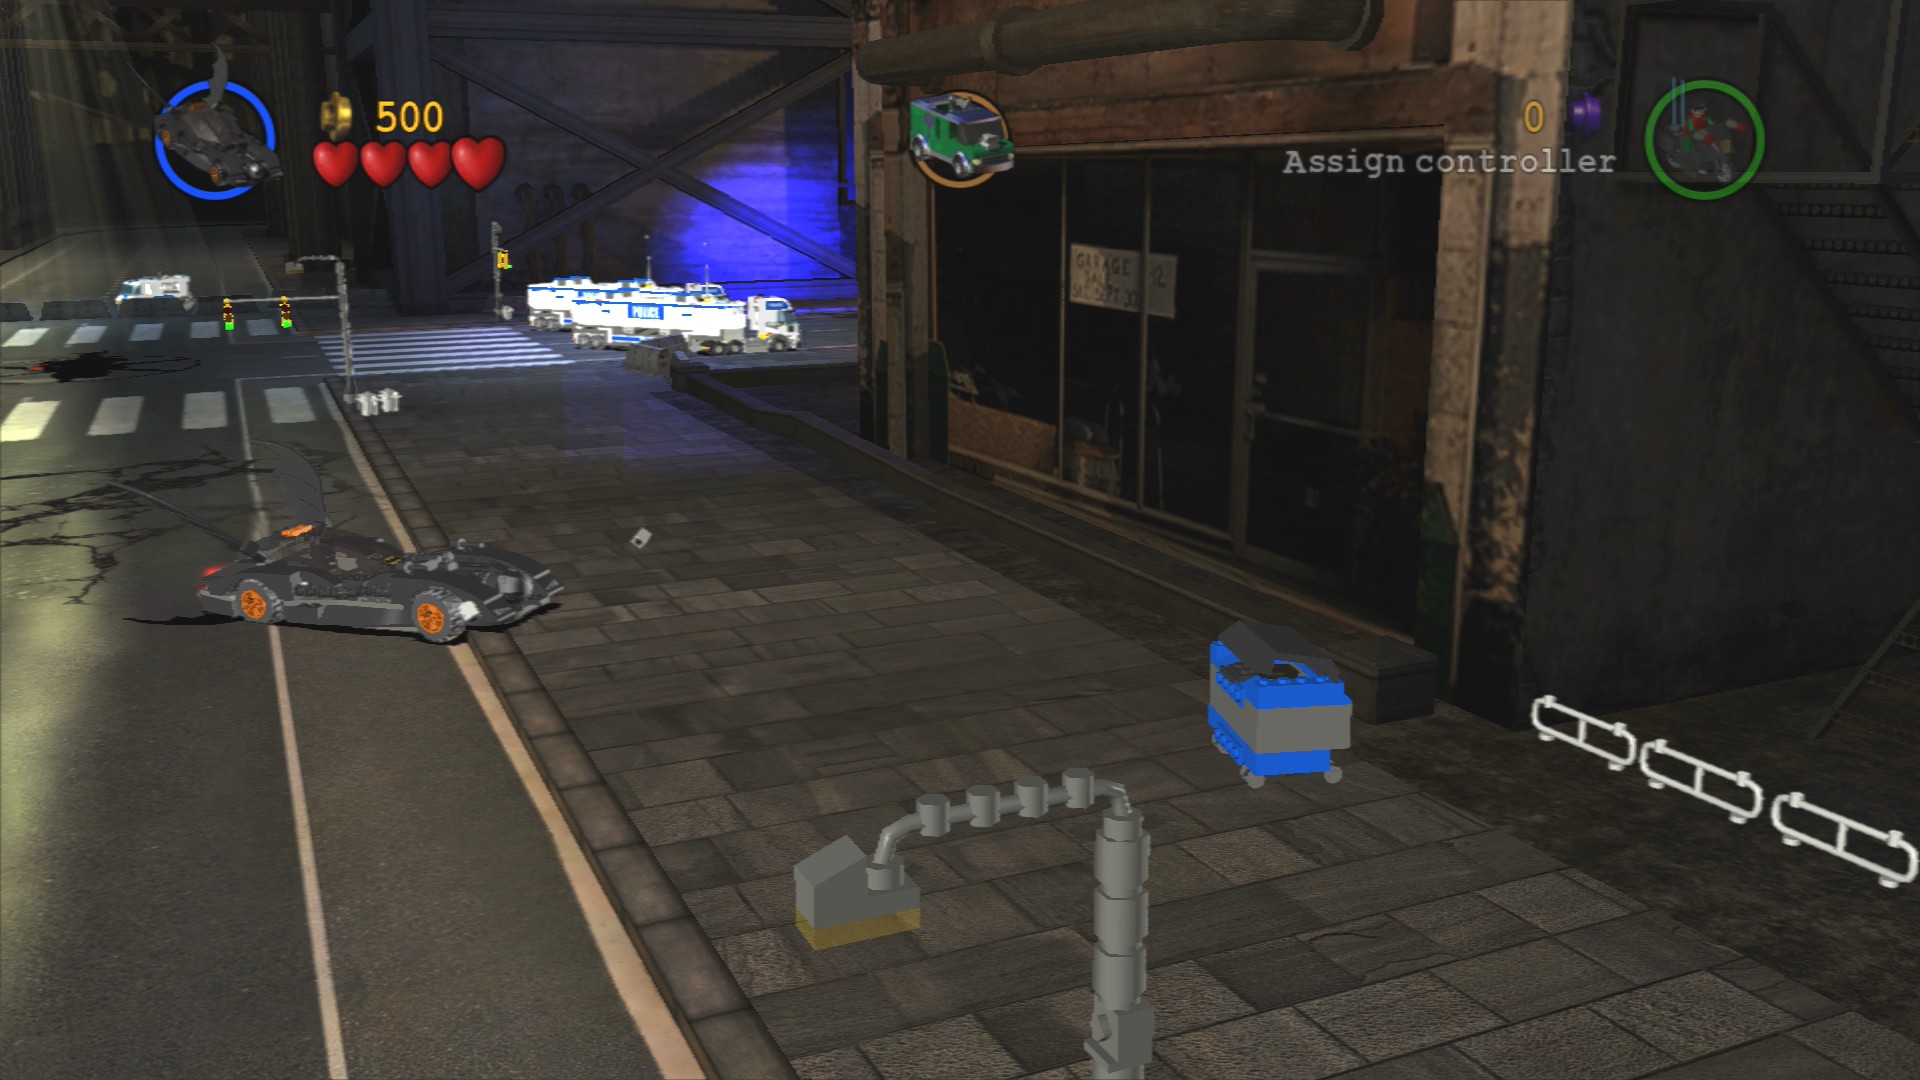
Three blue dumpsters along the sides of the road in the first section.
Minikit 2/10 - Part 1/3
Requires: None Story Mode: Yes
To the immediate right of where you find the first Riddler van is a food cart, blow it up.
Minikit 3/10
Requires: None Story Mode: Yes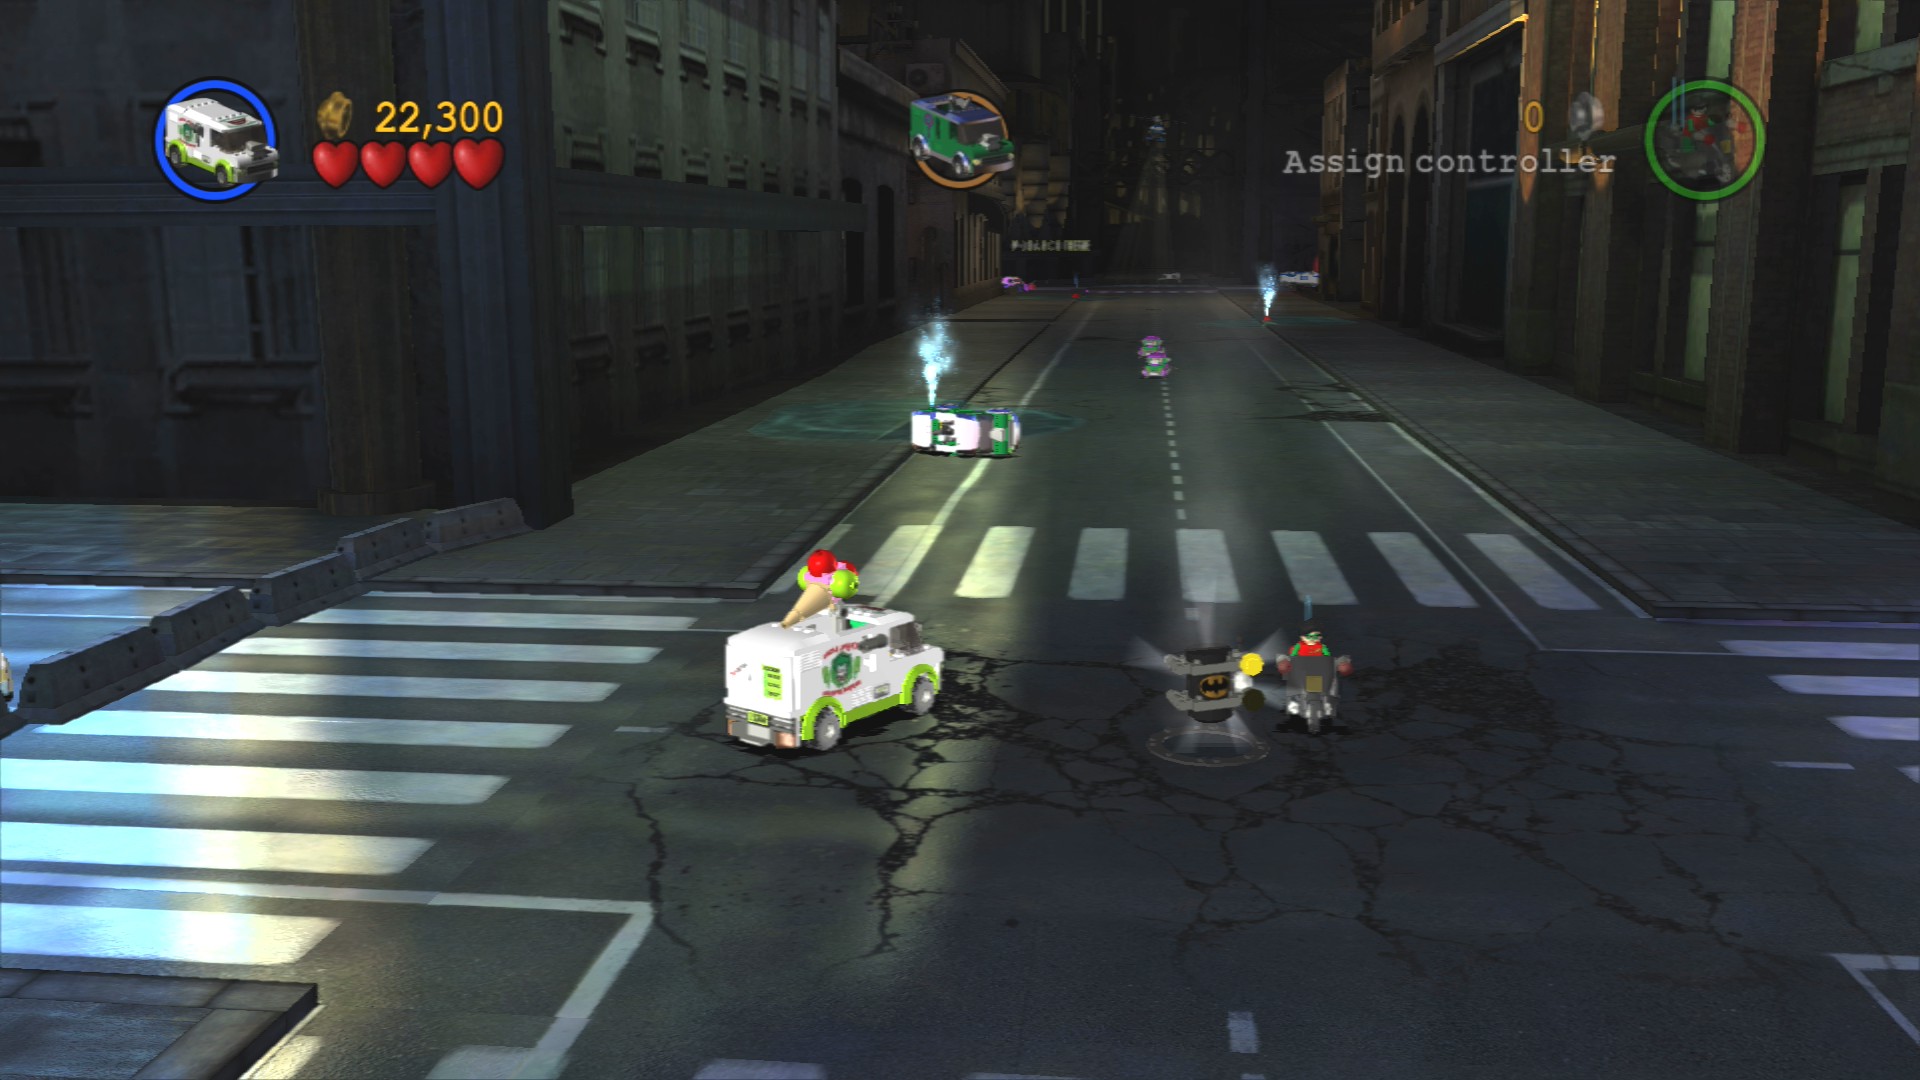
Blow up the manhole cover at the far south end of the street in the first section.
The second section is larger and requires you to aprehend three Riddler vans. The first one is on the first road to the south at the crossroads, drag it all the way north past another van and then to the east over a ramp. You'll find the helicopter a short distance after that.
The next one you'll want to bring to the helicopter is along the road to the south of the helicopter. Drag it back up and then go south and then east to jump over a ramp and get back to where you passed by the remaining van earlier while you were dragging the first van.
Minikit 4/10
Requires: None Story Mode: Yes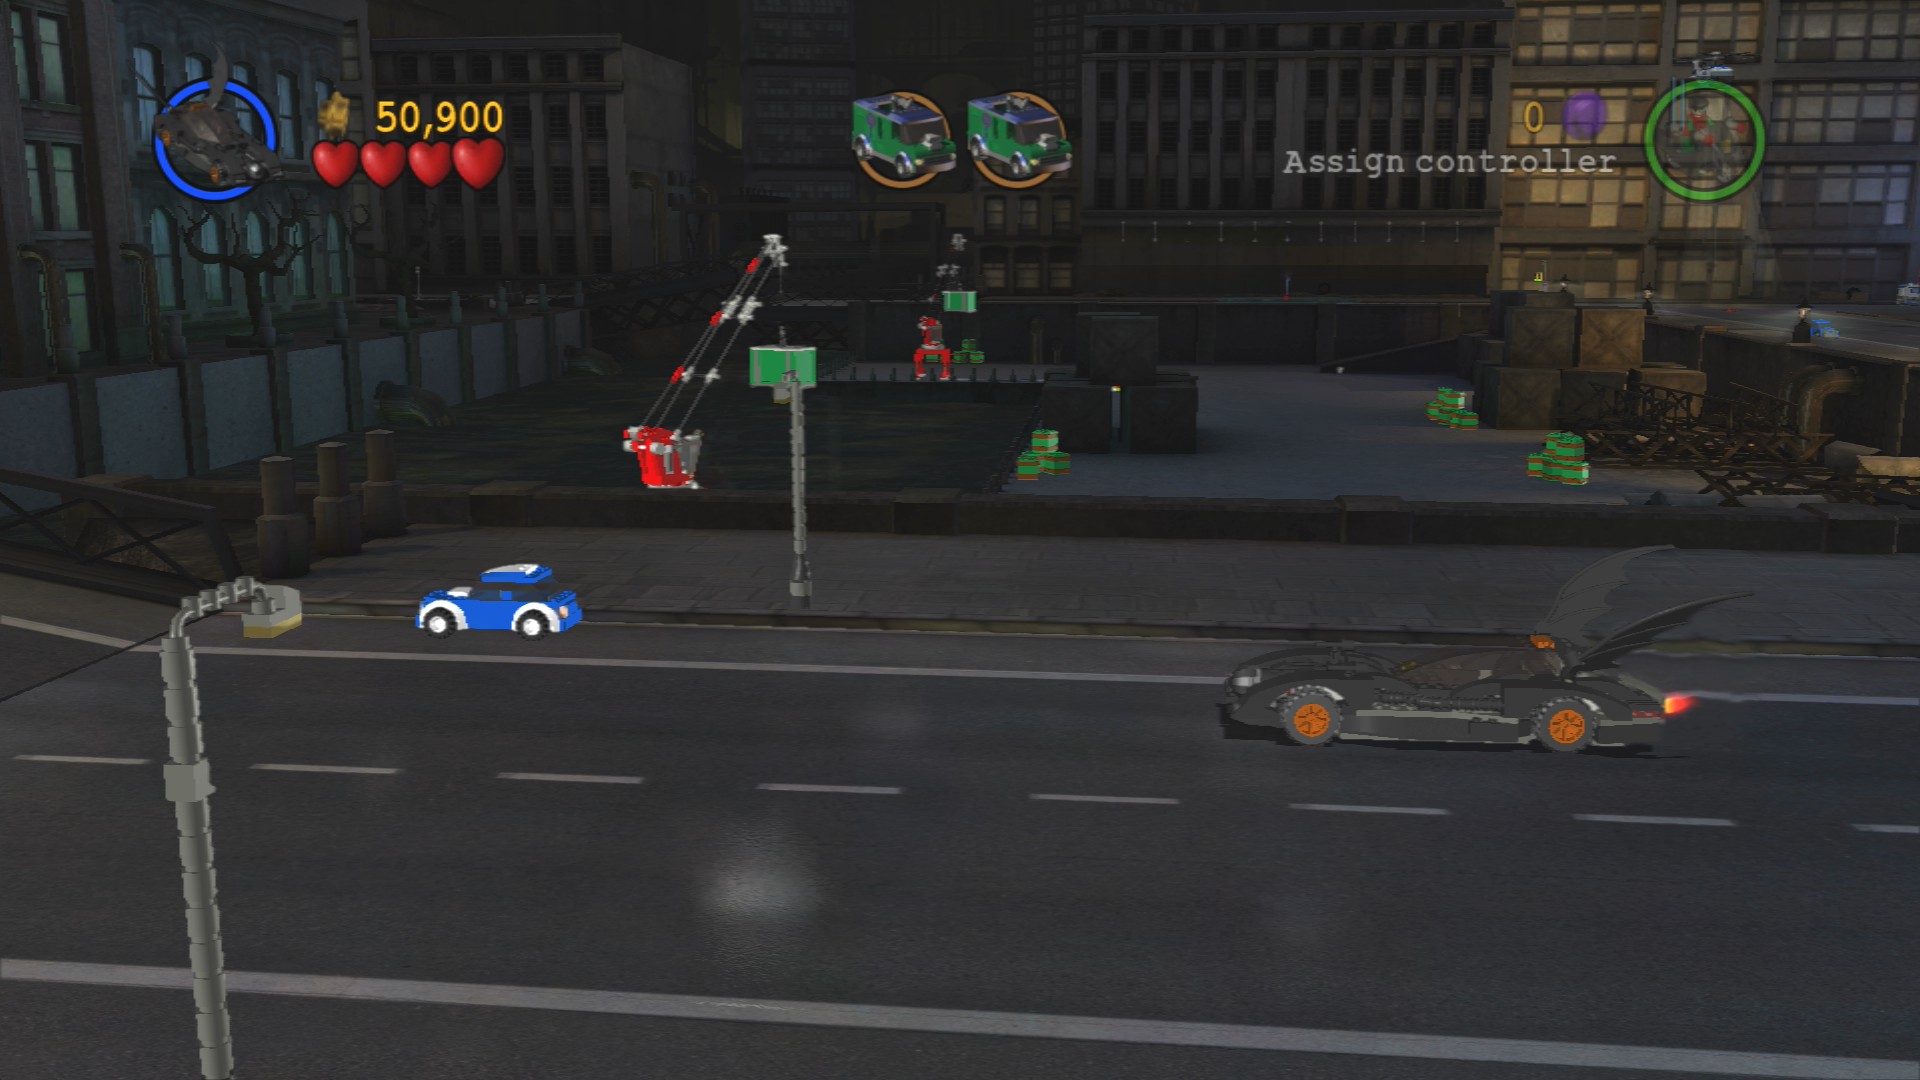
Three parked blue and white cars. One on first road south near Riddler van. Second one on the corner with the helicopter. The third one is just before the ramp that takes you back to the start.
Minikit 5/10
Requires: None Story Mode: Yes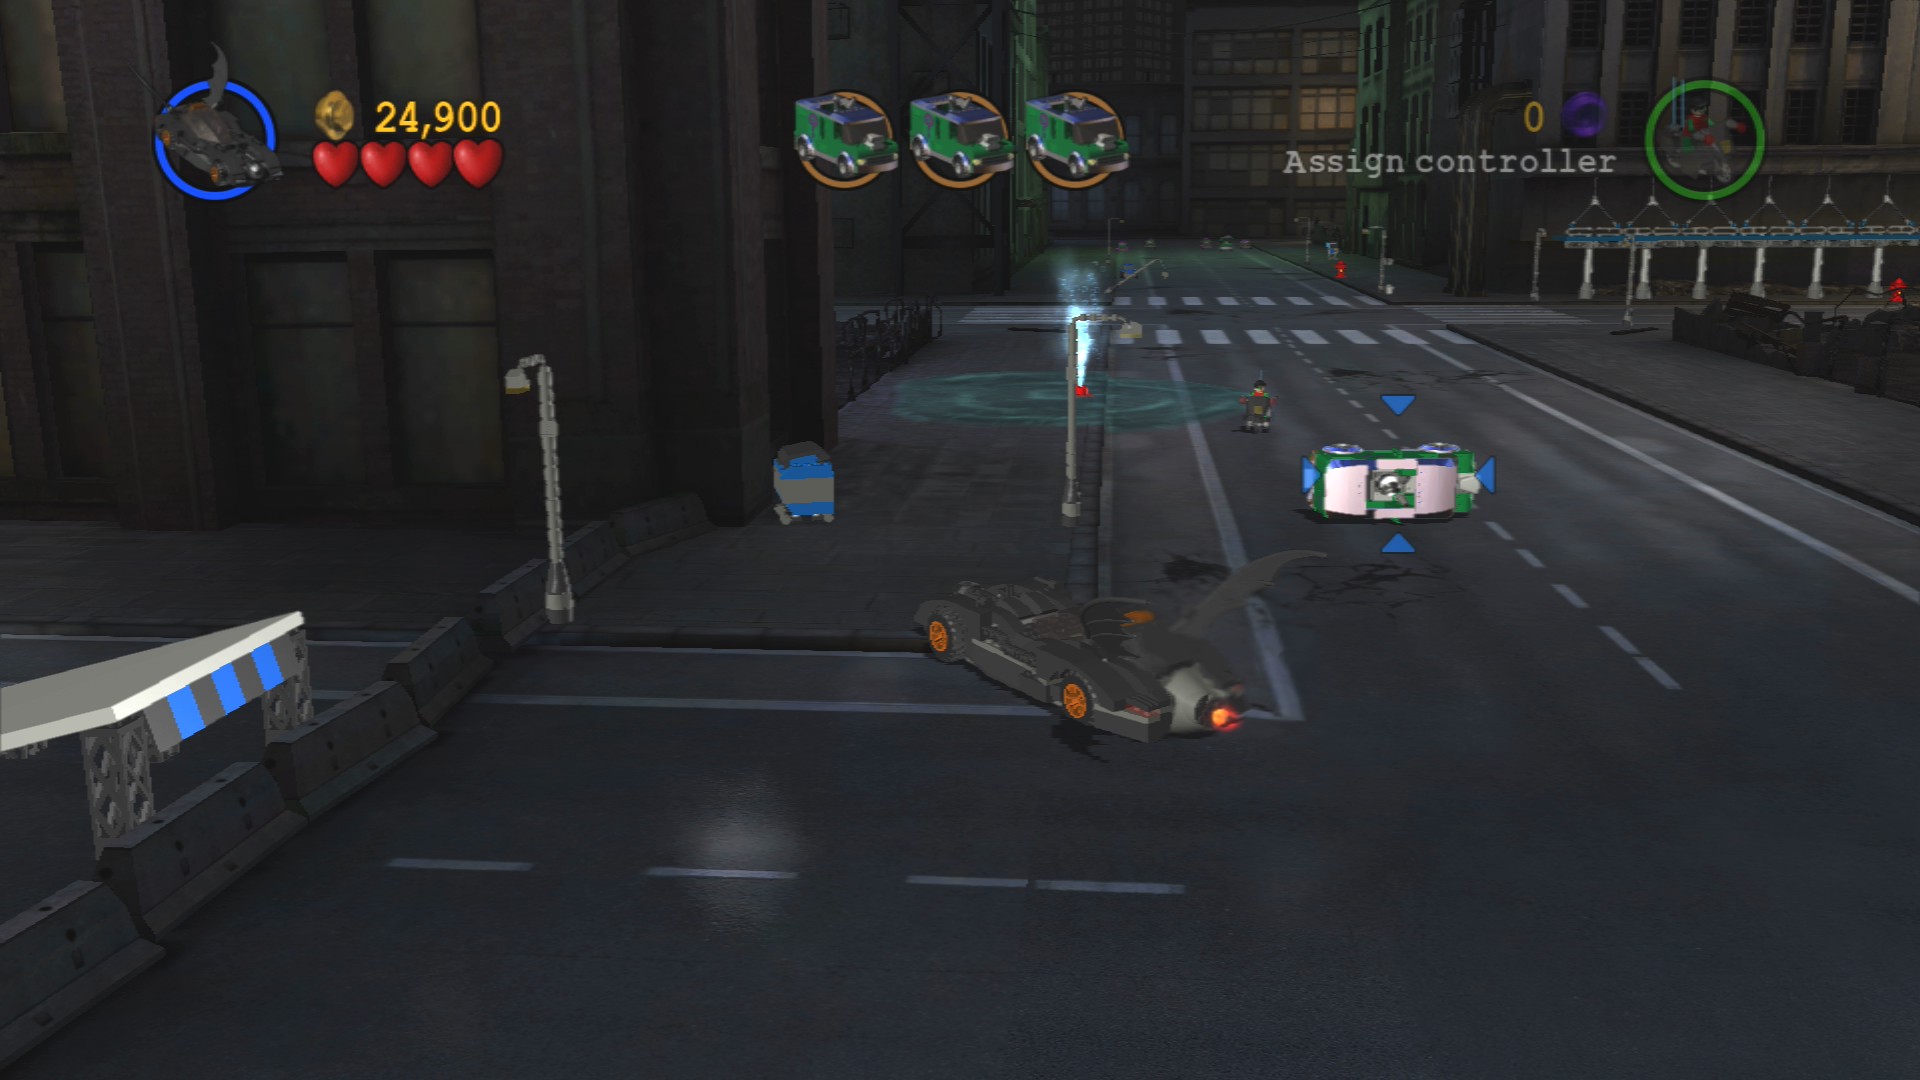
Inside a blue dumpster on the left side of the south road.
Minikit 6/10
Requires: None Story Mode: Yes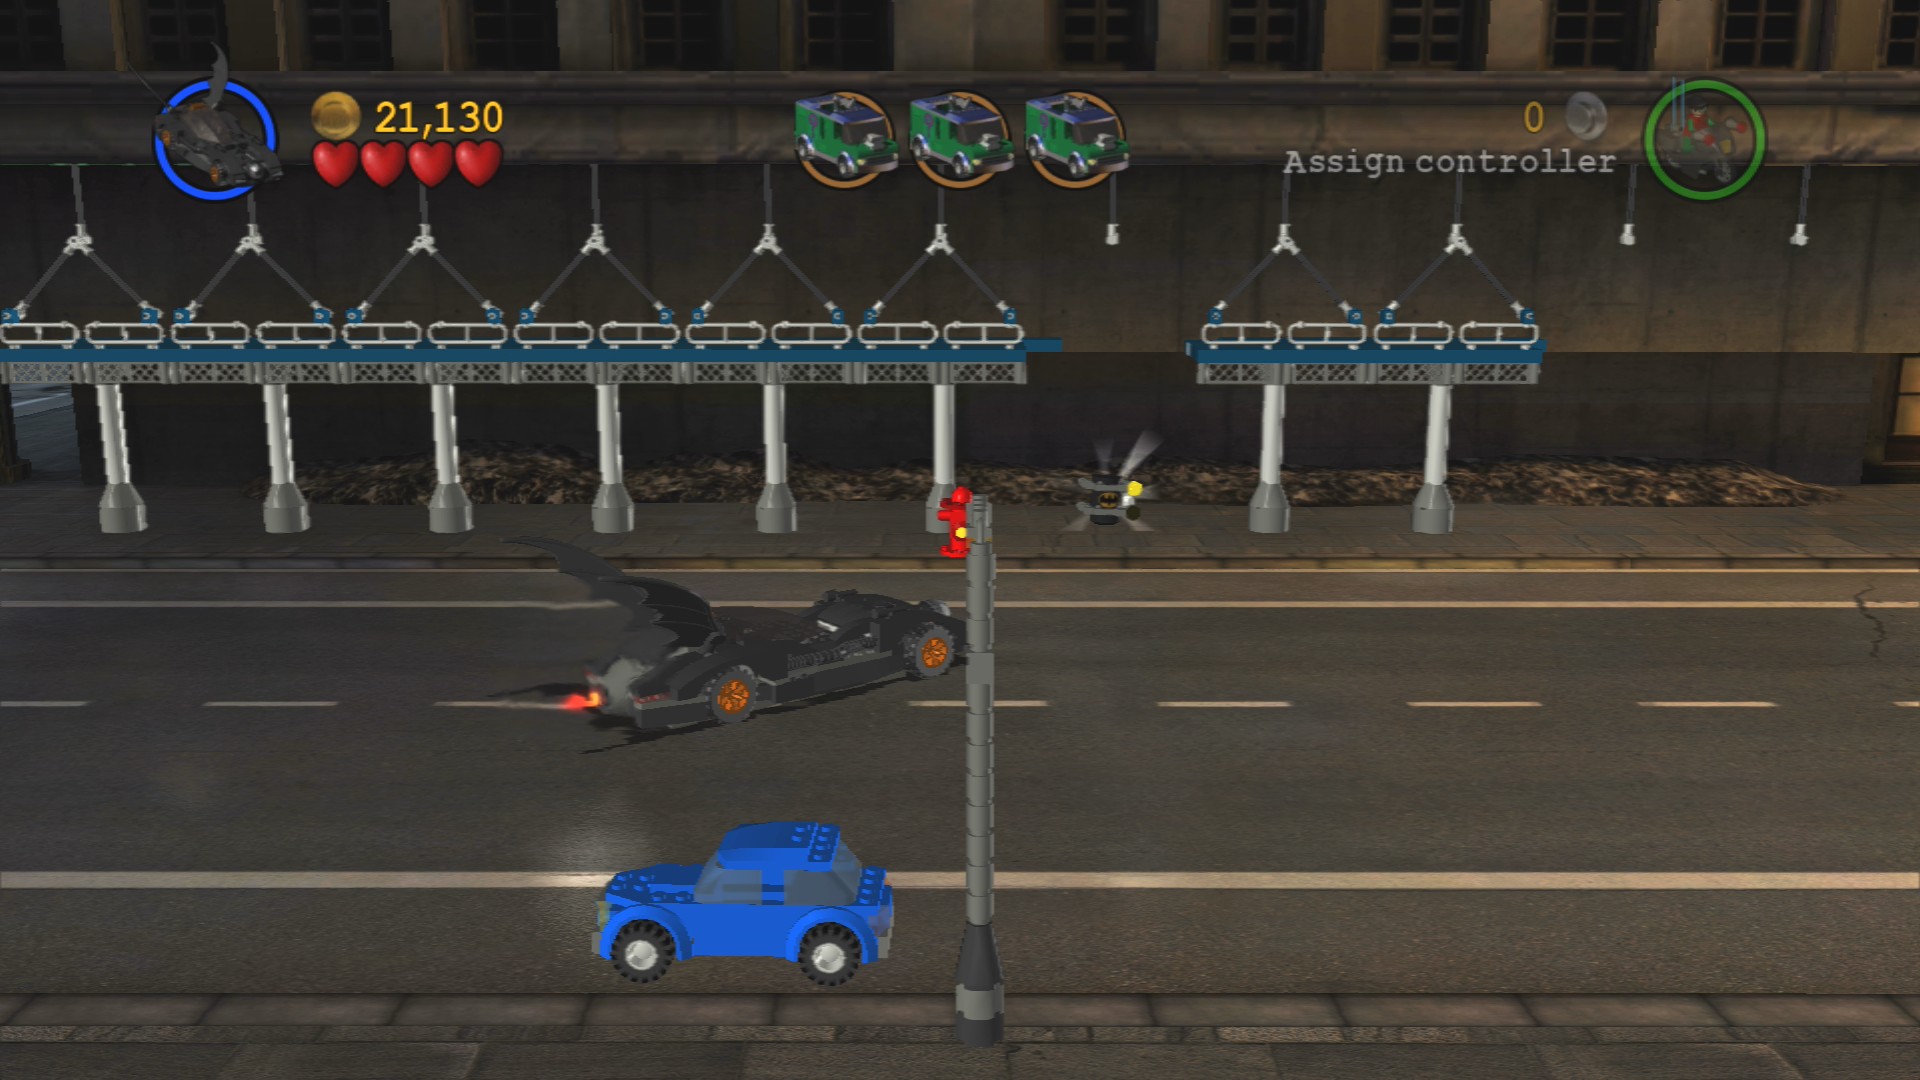
Smash through the scaffolding along the road to the east of the first crossroads.
Minikit 7/10
Requires: None Story Mode: Yes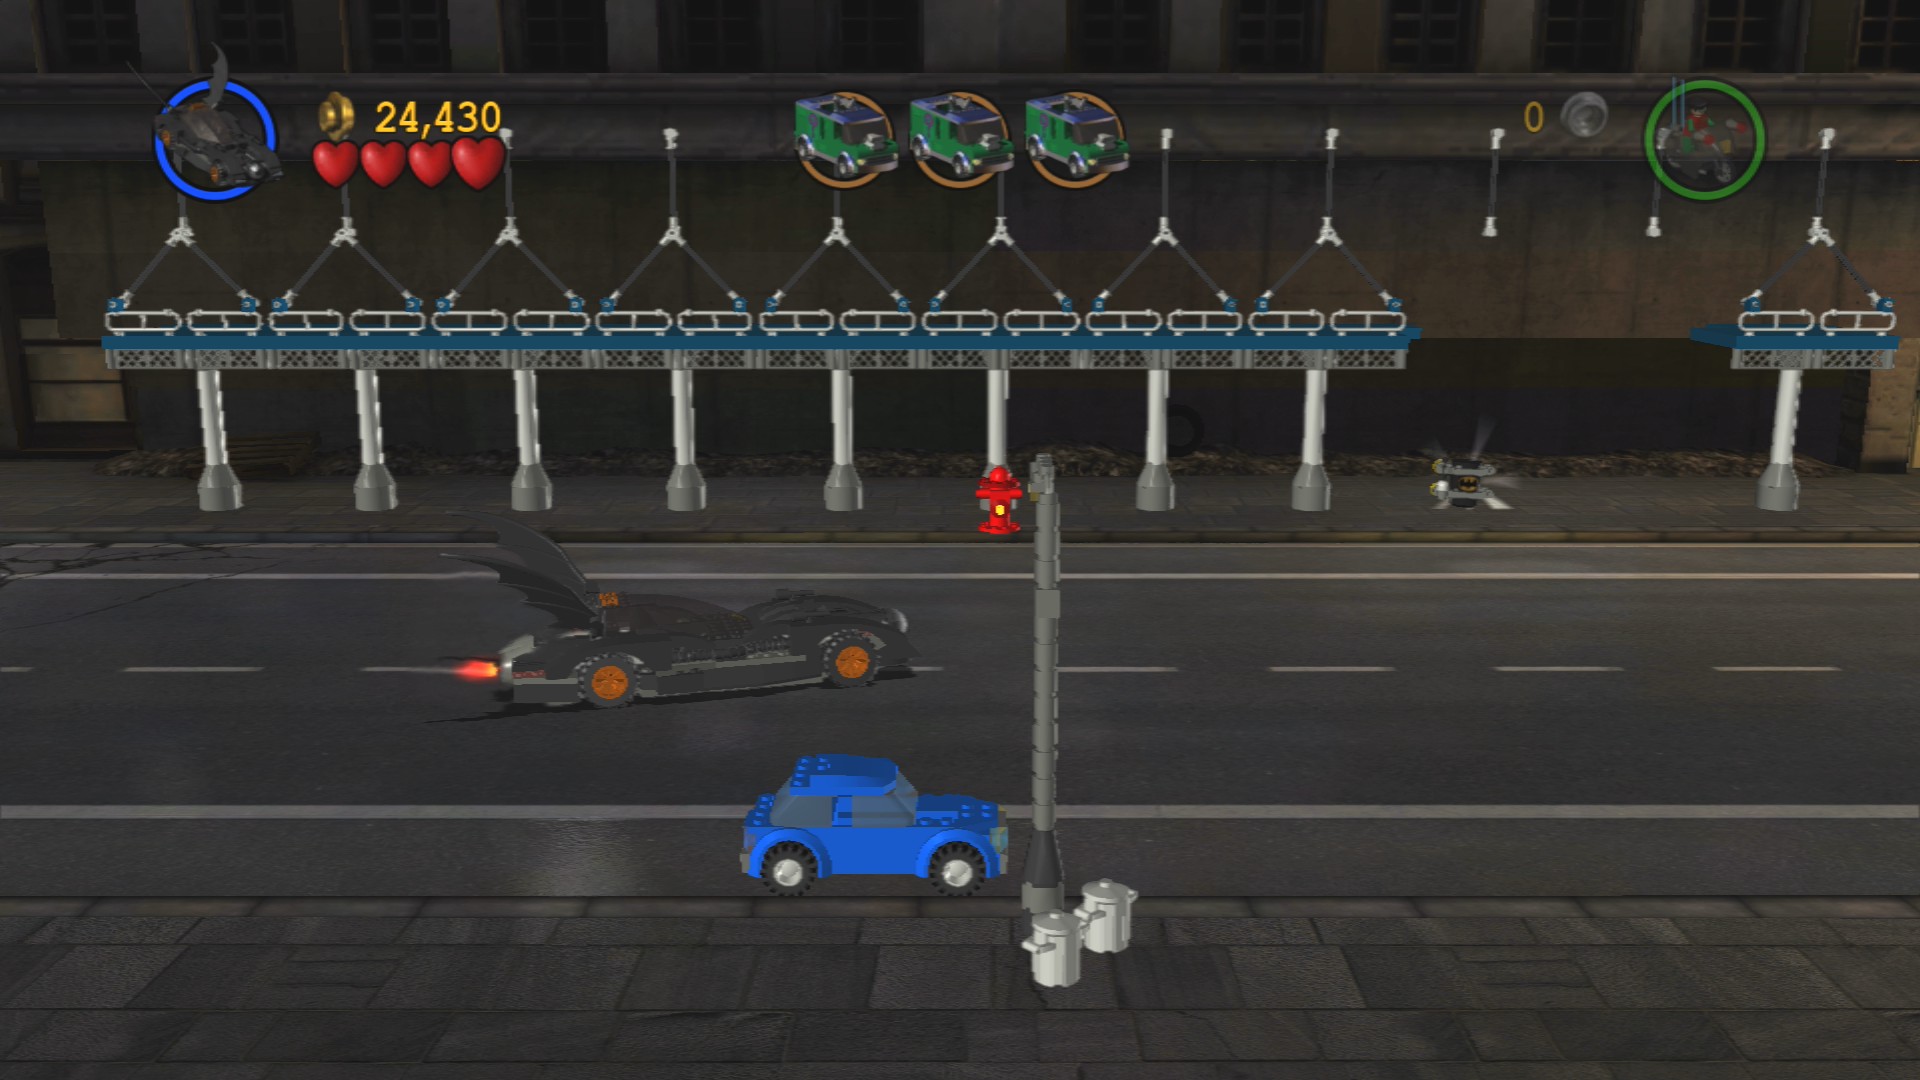
Smash through the scaffolding along the road to the east of the ramp in the north.
Minikit 2/10 - Part 2/3
Requires: None Story Mode: Yes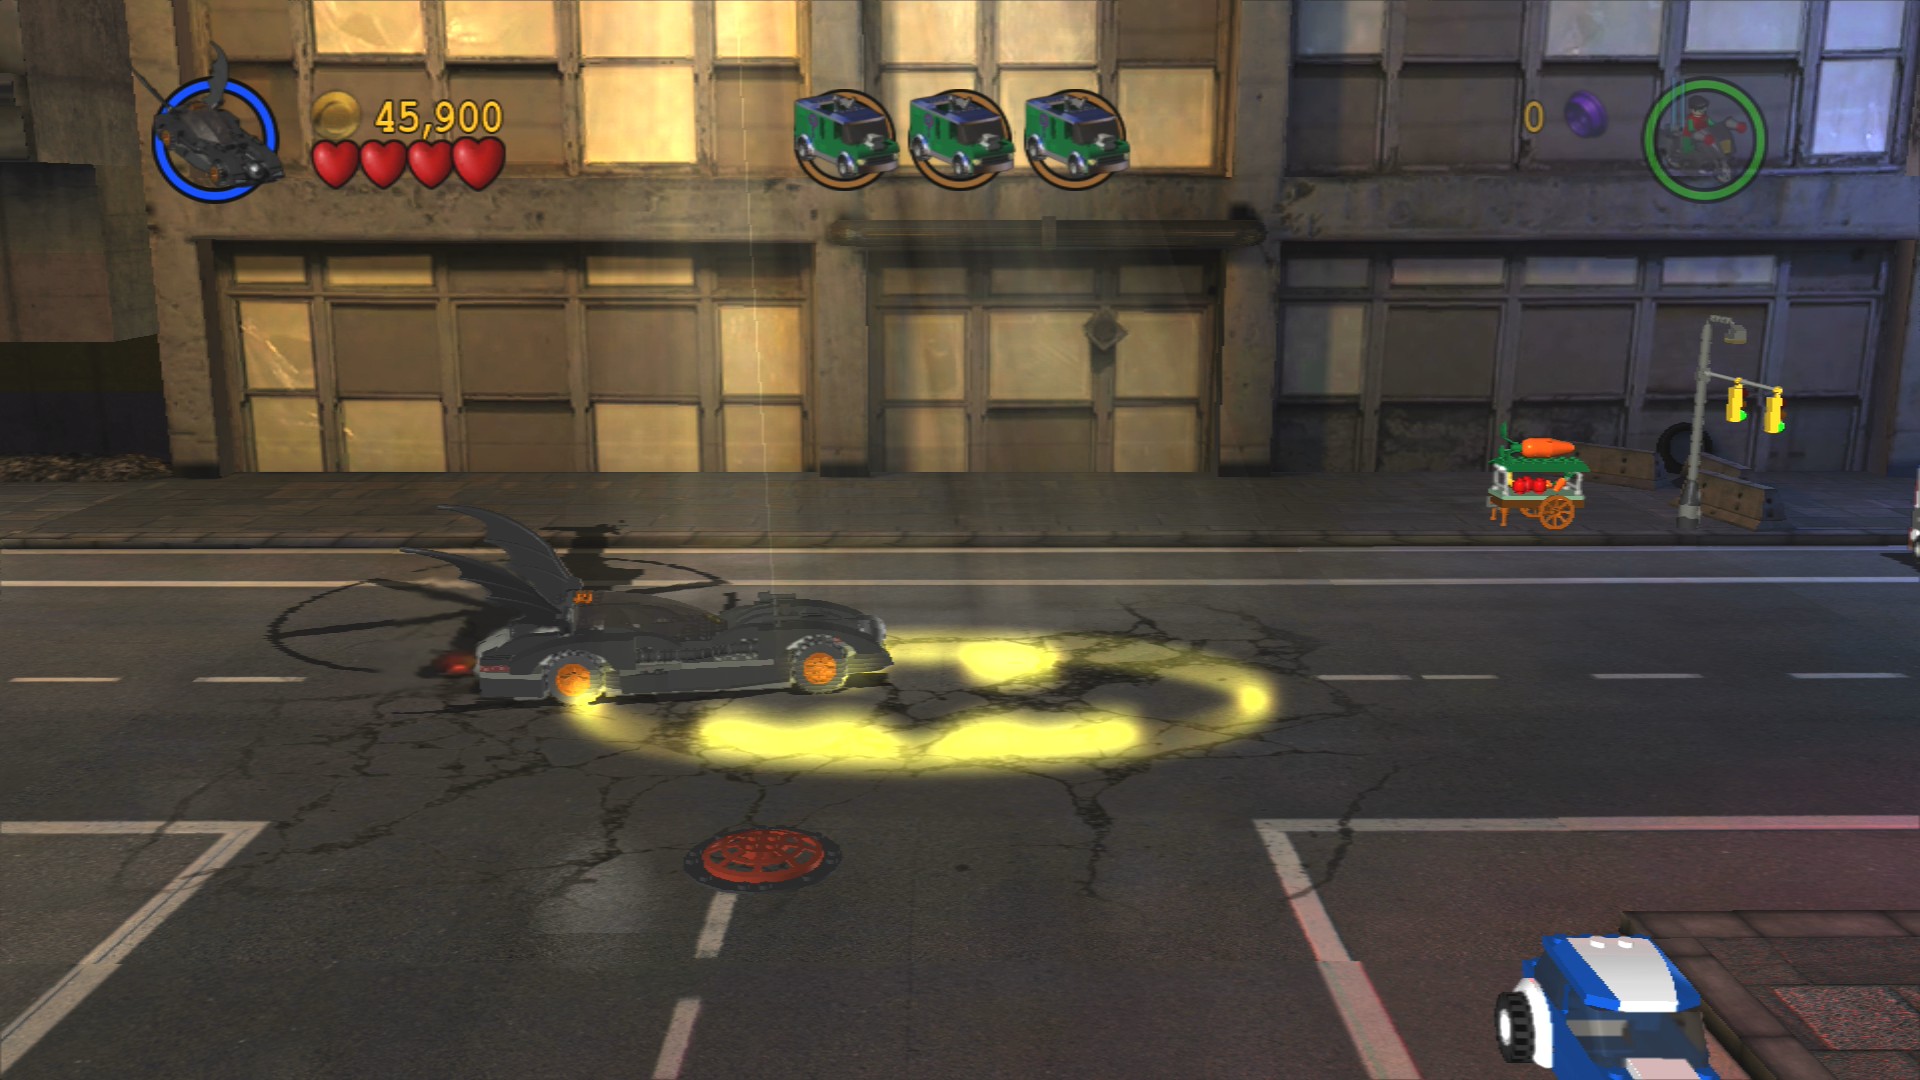
The second food cart is on the corner with the helicopter.
Minikit 8/10
Requires: Joker Story Mode: No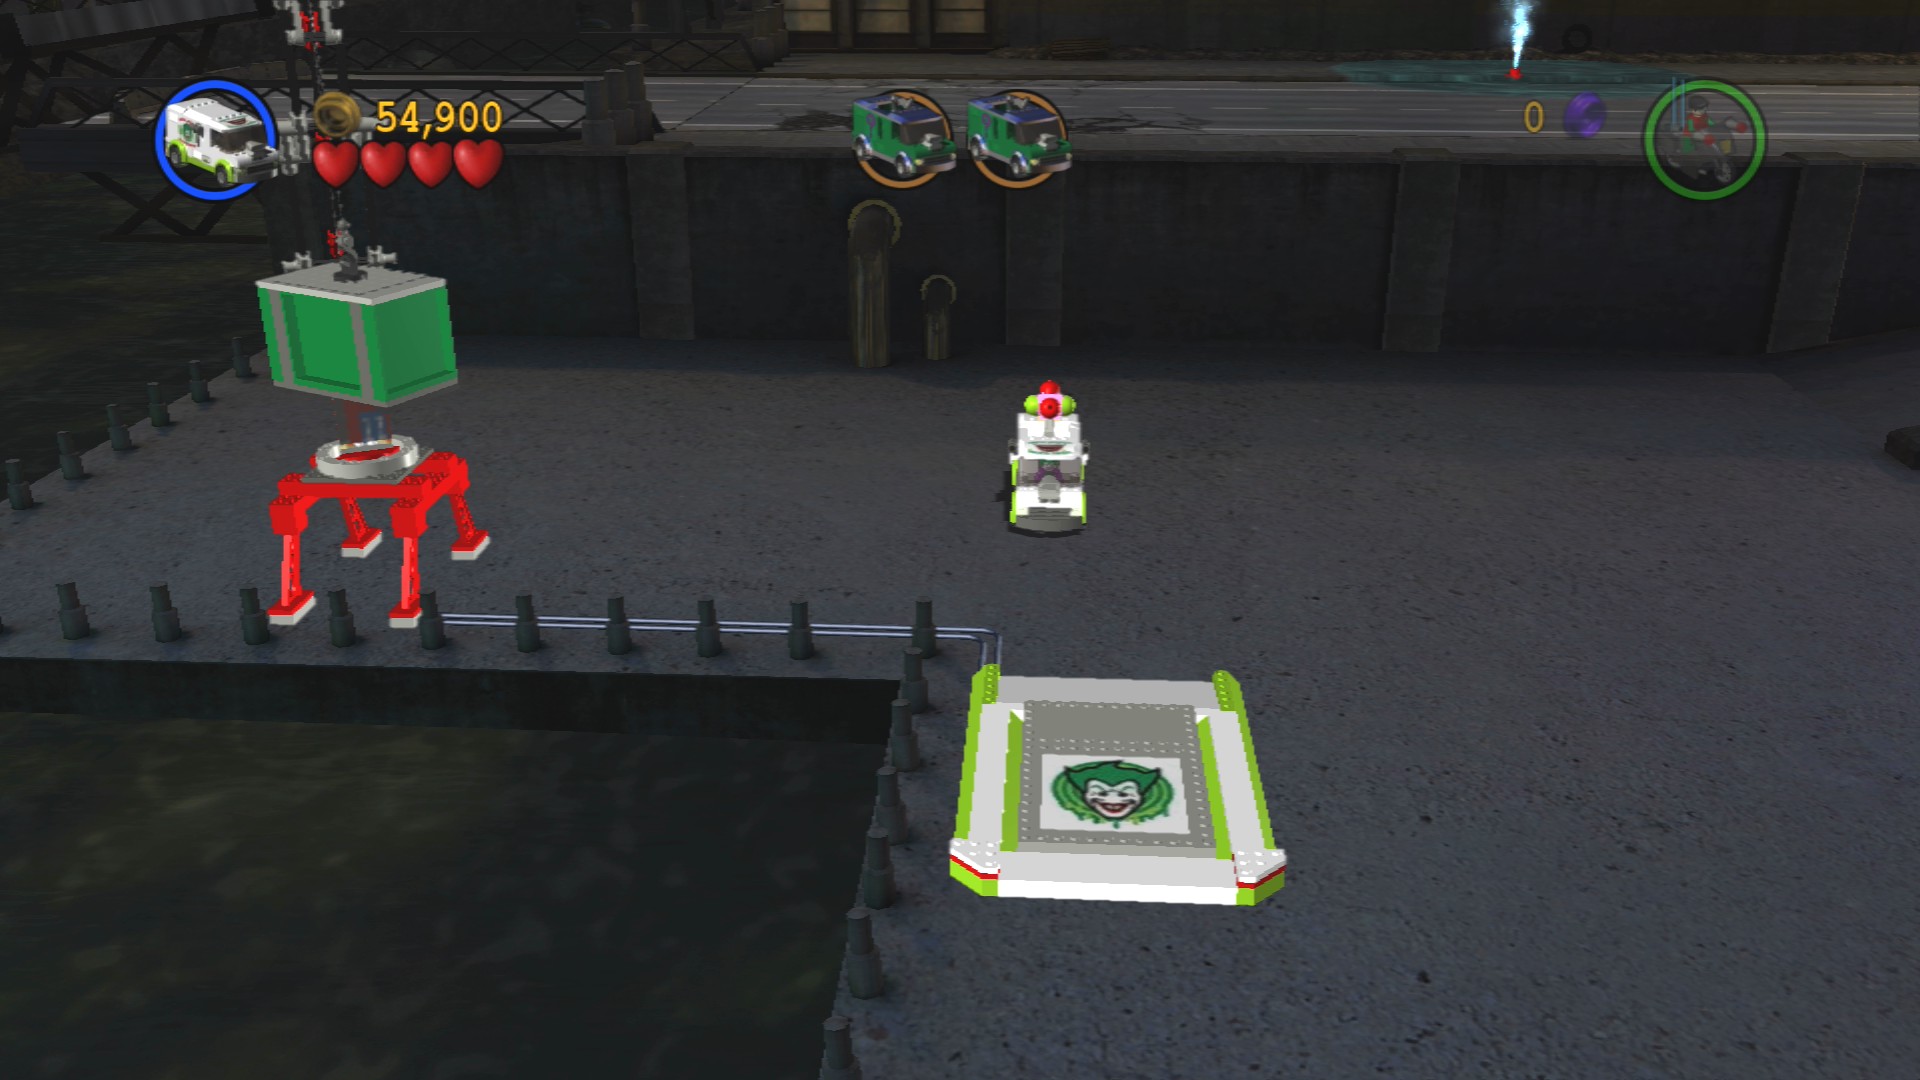
Near the helicopter you can drive down a ramp to the docks where a Joker Van can drive onto a button and the red crane will rotate and drop off the Minikit for you.
Minikit 9/10
Requires: Harley Quinn Story Mode: No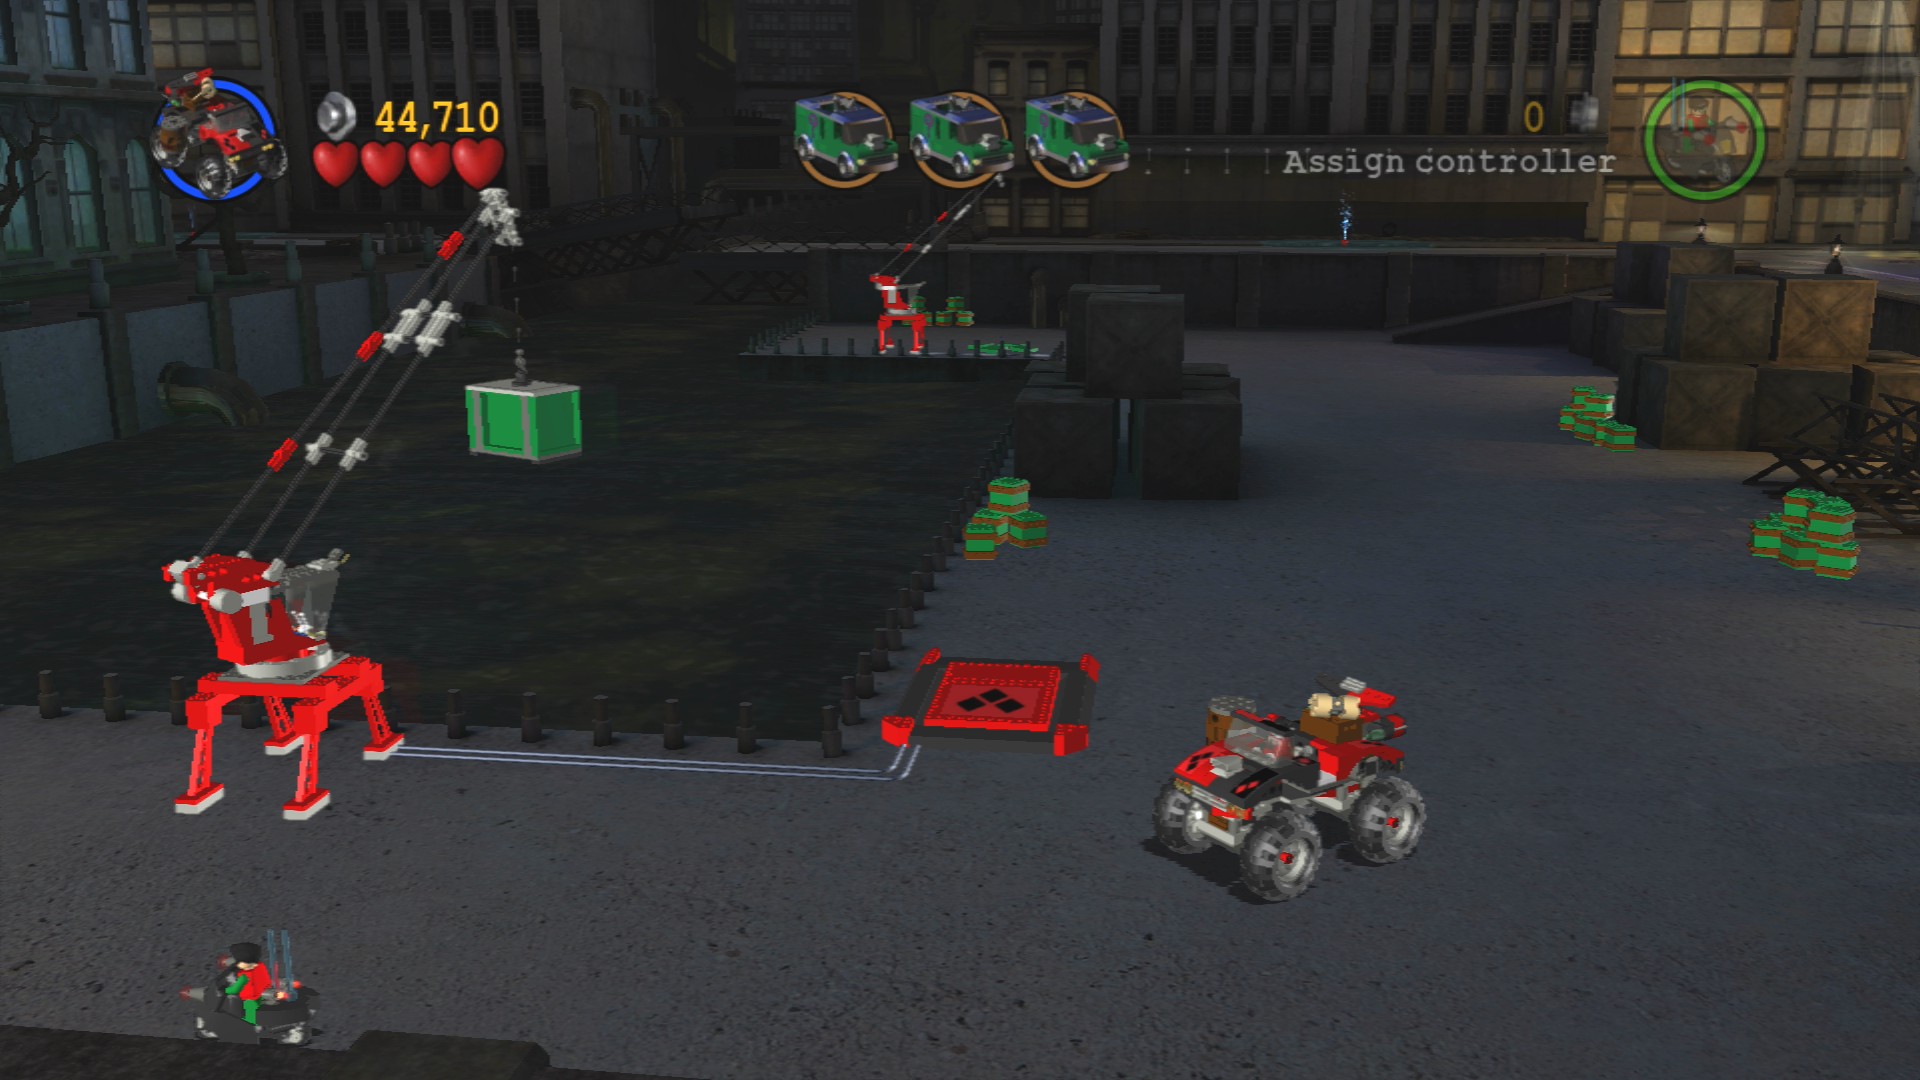
At the southern end of the docks is a red button with a symbol with three black diamonds, this signifies that you need a Harley Quinn vehicle to press it.
Follow the police trucks to the third section.
Minikit 2/10 - Part 3/3
Requires: Silver LEGO Explode Story Mode: No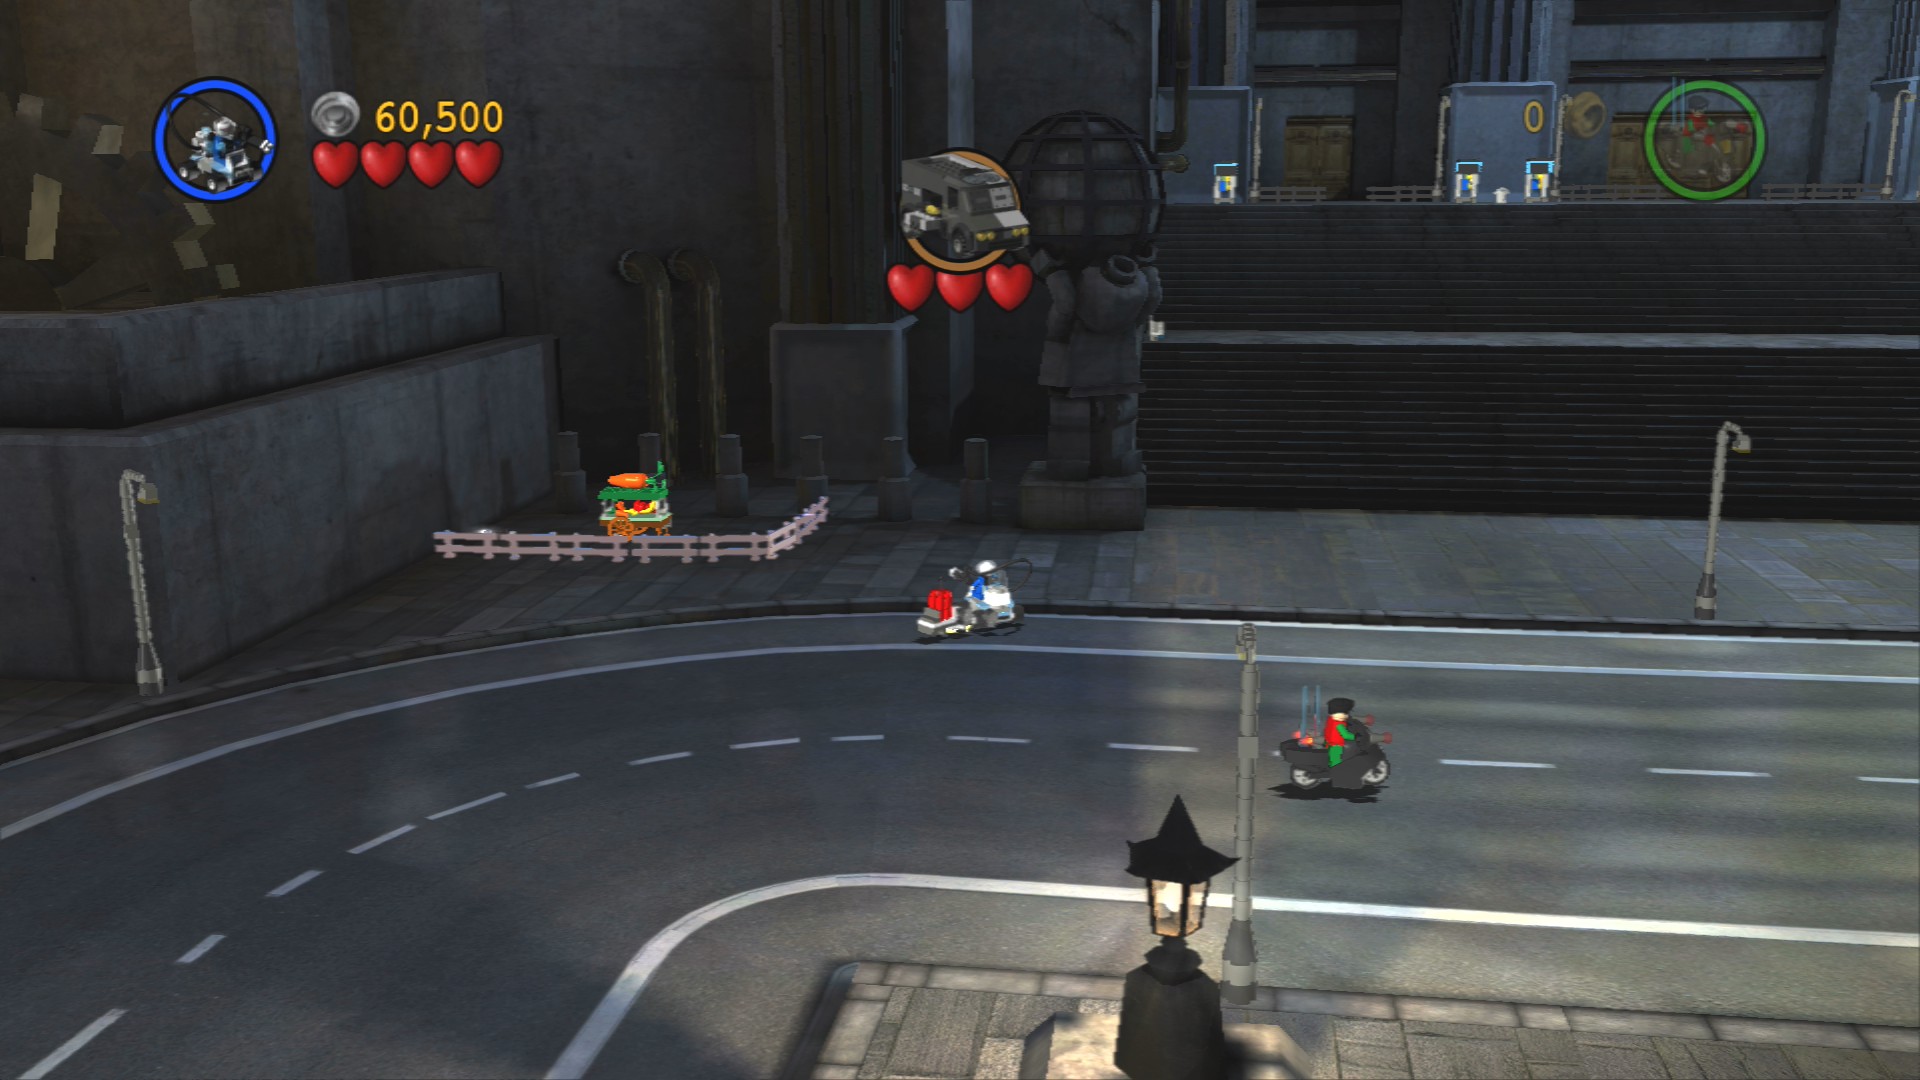
Follow the road to the north and on top corner is the final food cart, it's behind some Silver LEGO barriers so you'll need a vehicle like Joker's Van to smash through.
Minikit 10/10
Requires: None Story Mode: Yes
Off road in the top left corner of the area inbetween some dead trees.
Red Brick - More Batarang Targets
Requires: None Story Mode: Yes
Off road in the top left corner of the area behind some dead trees, drive your vehicle into the set of green crates right in the corner against the building.
In this final area the task is one single van but this time you need to get it three times. Shoot it until it falls over then drag it to the far right side where the helicopter is waiting to drop a bomb on it. Repeat that another two times to finish the level.
| Cost | Character | |
|---|---|---|
| - | Batmobile | |
| - | Batcycle | |
| 10,000 | Police Car | |
| 11,000 | Police Bike | |
| 13,000 | Police Van | |
| 60,000 | The Joker's Van |
Chapter 4. A Poisonous Appointment
| Story Mode | Free Play |
|---|---|
| 78,000 | 147,000 |
From the right some Poison Ivy Goons will attack.
Minikit 1/10
Requires: None Story Mode: Yes
Plant all four sets of seeds at the start of the level and then smash all the carrots that appear.
Smash the flowerbeds along the bottom of the path and you'll find bricks to build yourself a bulldozer. Driver that to the right and smash through the Silver LEGO fountain that's also surrounded by some more enemies.
Once you've assembled the Suit Swapper you'll be able to put on Batman's Sonic Suit. This can be used to shatter glass.
Minikit 2/10
Requires: Ranged Weapon, Grapple, Glide Suit, High Jump Story Mode: No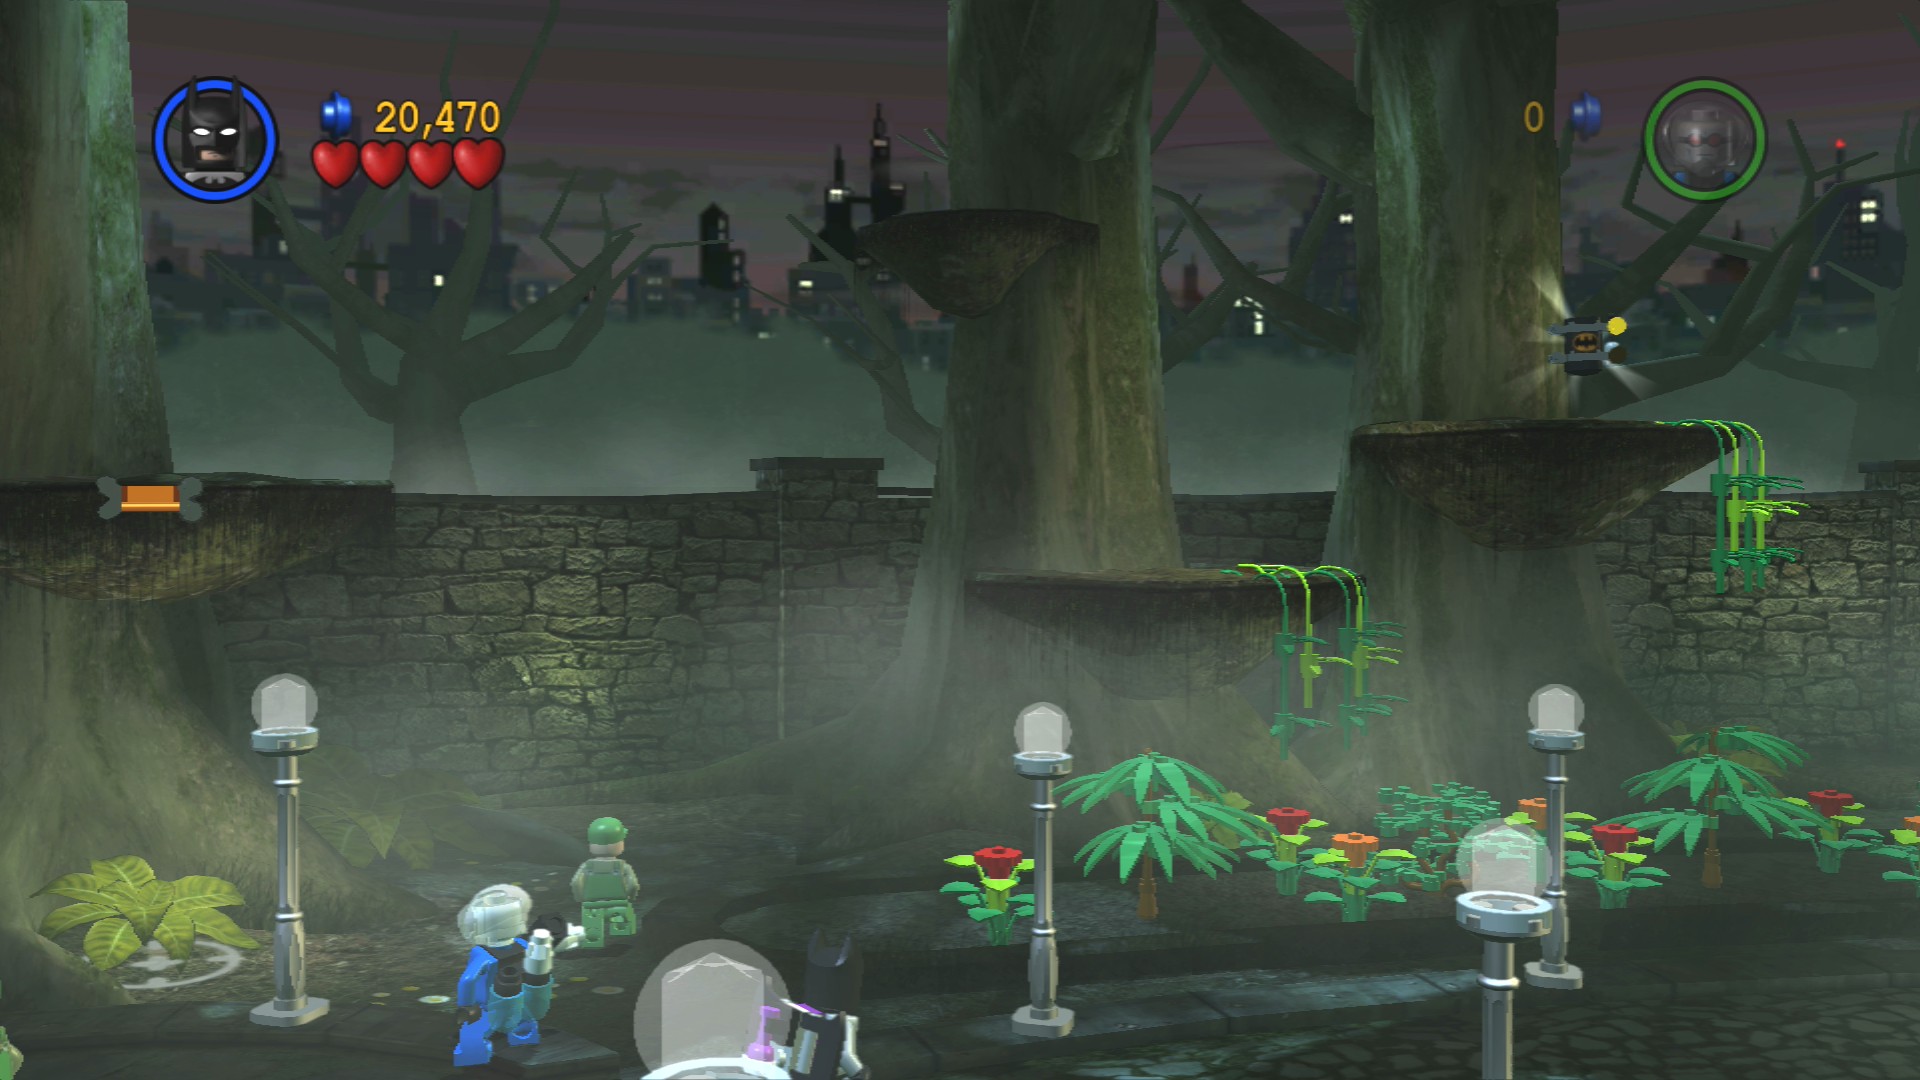
In the trees at the Silver LEGO fountain are some vines, smash them with the batarang so you can build a grapple point. Once you've grappled up use the Glide Suit to get to the tree platform to the right, then double jump up to the Minikit.
Defeat a few more goons on your way to the front door which you'll need to use the Sonic Suit to blow up.
Once you're inside go down the steps and past a Silver LEGO fence to a row of plants blocking your path. To get by them you need to use your Sonic Suit on the transparent bottles on the wall that they're connected to by tube.
Minikit 3/10
Requires: Heat Protection Suit Story Mode: Yes
Using the Heat Protection Suit go into the heated greenhouse and plant all the seeds. Switch off the light and then use the technology panel to move the sprinkler back and forth, make sure to keep spraying the water until all of the sunflowers pop up.
There's some more goons to defeat on the other side, after that approach the shatterable glass on the corner and Sonic Suit it down.
Hostage 3/25
Requires: Sonic Suit Story Mode: Yes
There's a hostage behind the glass with the first of the second set of three glass bottles.
And behind the hostage is another glass bottle to smash with the Sonic Suit. The other two are outside again to the right and then further to the right just past the barrier that they'll lower.
More enemies inside the area behind the plant barrier, defeat them and then smash all the objects back here to get the parts to build a new Suit Swapper. This one gives Robin the Attract Suit, you can use it suck up all those weird green, red, and yellow bricks that have been appearing when you smash objects. When you have enough (25) you can deposit them into the Attracto machine and it will create a brand new object for you.
Minikit 4/10
Requires: Strength, High Jump Story Mode: No
Just past where you get the Attract Suit is a large object with an orange strength handle on it. Push it backwards and then use the fan to get blown up on top of the large orange flowers. Use them to high jump up to the Minikit.
Minikit 5/10 - Part 1/3
Requires: None Story Mode: Yes
To the right of the line of glass benches is a plant you can smash to turn it into a carrot.
Minikit 6/10
Requires: None Story Mode: Yes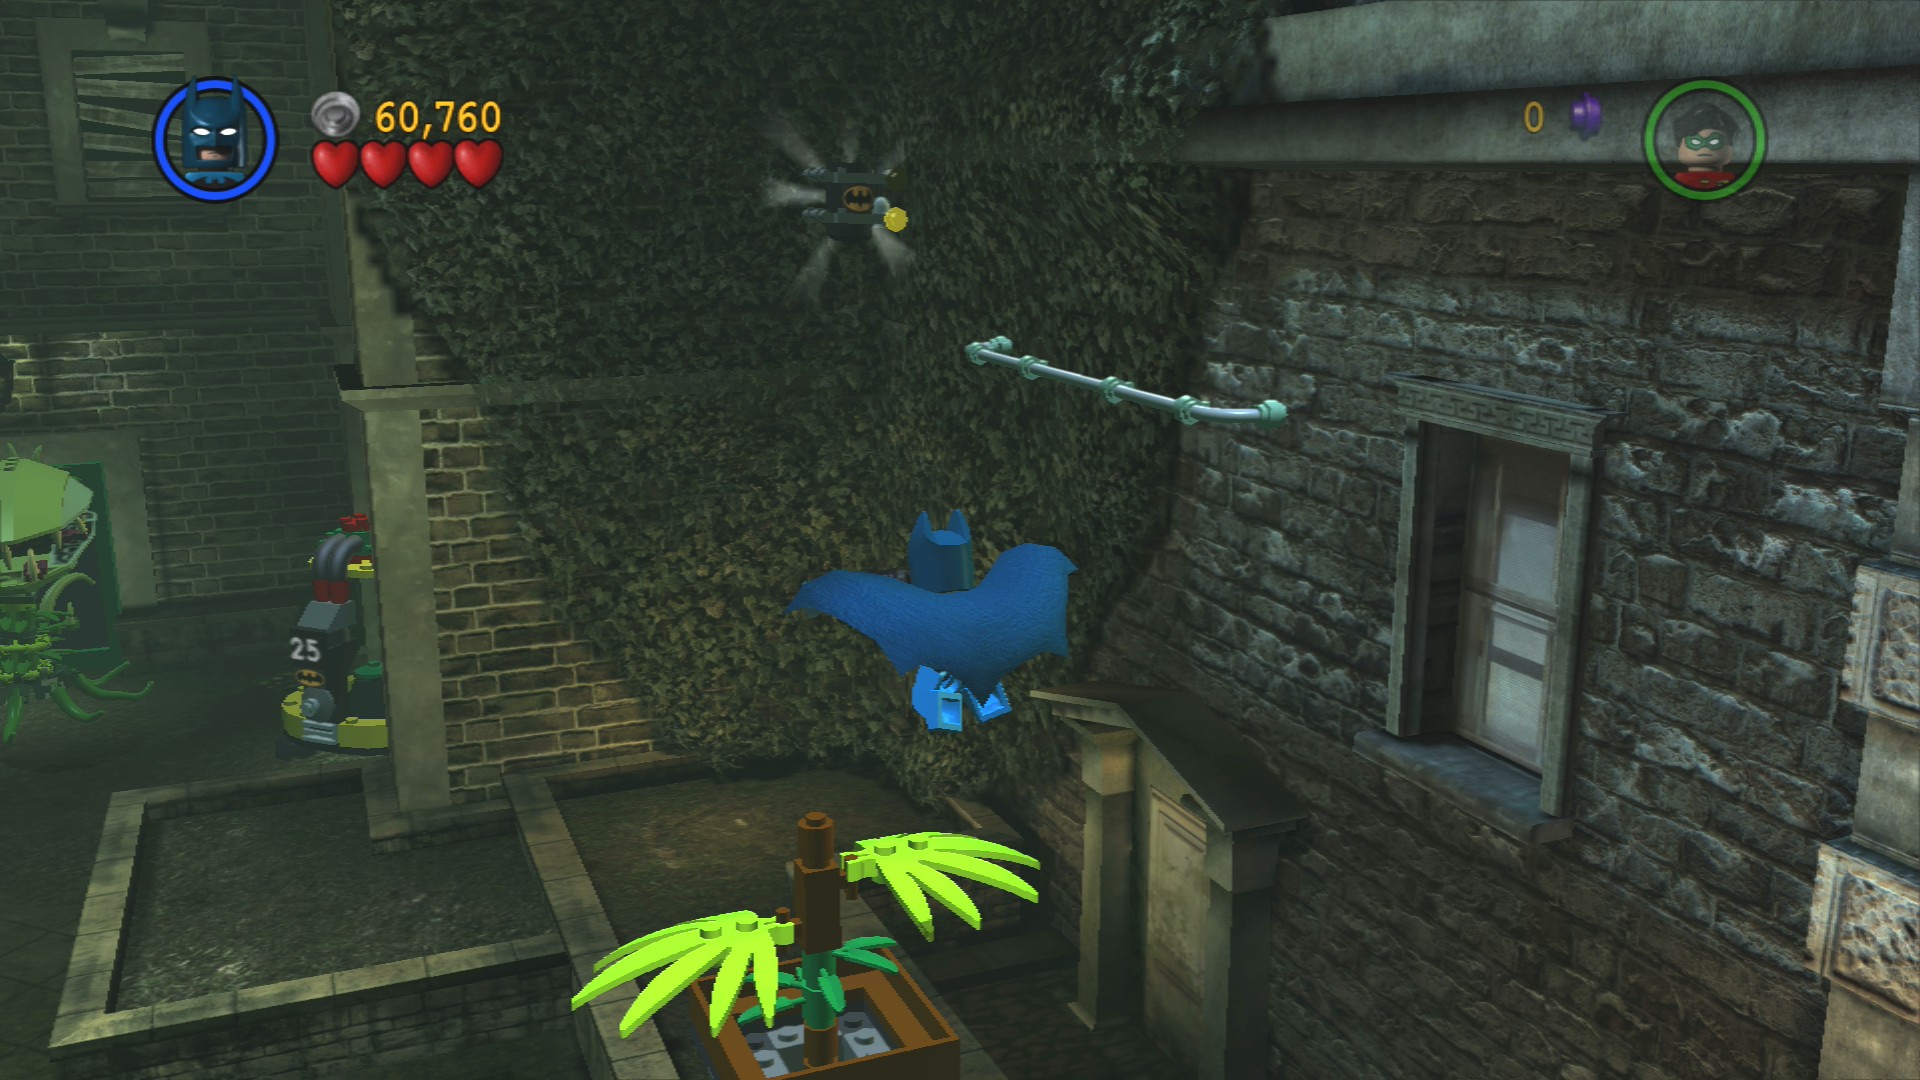
Smash all the plants in the flowerbed at the far right end of the section. In them you'll find some bricks to build a plant in a pot, you can bounce on the leaves to get up to a handhold on the wall and from there jump to get the Minikit.
There are plenty of loose LEGO bricks around to fill up your Attract Suit, when you've got 25 of them go to the dispenser at the far right end and put them in. That'll blow up the large plant blocking the door. If you've got enough put in another 25 to get a load of studs but that's not essential.
Inside go down the steps and defeat a couple of enemies that jump down at you at the water's edge. Use your batarang on the blue padlock to clear up the ladder for use.
Minikit 7/10
Requires: Water Suit Story Mode: No
Jump into the water here and swim through the pipe to get the Minikit at the top.
Climb up the ladder and then jump down again after you've passed the water below. Defeat a few enemies and then start smashing the objects here. Don't try to build the orange bits as they're quite hot. Instead build the Suit Swapper on the right to get a Heat Protection Suit for Batman which will let you touch really hot things like those orange bars.
The bars here simply lead to a few studs, you'll properly need the suit in a moment though.
Minikit 5/10 - Part 2/3
Requires: None Story Mode: Yes
The second carrot is found just before the large pitcher plant in a black barrel of tools.
Go down the steps to the right and jump on the leaf of the large pitcher plant when it closes.
Minikit 8/10
Requires: Magnet Suit, Demolition Suit Story Mode: No
From the second pitcher plant jump up to the handhold above it then Magnet Suit walk up to the very top where you'll need to smash everything including some Silver LEGO to build a spinner switch that will open the vat with the Minikit inside.
After the second pitcher plant you'll see some bright red LEGO that it should be fairly obvious is very hot. Using Batman's Heat Protection SUit jump onto it in order to assemble the LEGO hopping about on it. That'll form a rope for you to crawl up and out of the area.
In the lab you'll be attacked by several waves of enemies, they will stop after a while don't worry (although stay away from the left side of the room once they do or they'll start coming all over again). Once they have stopped use the Attract Suit to suck up all the loose LEGO lying around the room after you smash everything.
Minikit 5/10 - Part 3/3
Requires: None Story Mode: Yes
Smash the object to the left of the dispenser to find the third and final carrot. You'll then need to jump on it to reach the Minikit in the air above.
Red Brick - Flaming Batarang
Requires: Demolition Suit, Electric Buzzer Story Mode: No
In the back left corner of the room are three cylinders with some Silver LEGO beneath them. Blow up the Silver LEGO and then reassemble a switch and an electric generator. Pull on the two switches and then use The Joker's electic buzzer to power the generator to free the Red Brick.
Minikit 9/10
Requires: Heat Protection Suit Story Mode: Yes
Wearing the Heat Protection Suit go to the right side and jump up onto the ledge at the front of the lab and go around the wall on the right side, the hot pipes should be safe to walk over and grab the Minikit.
Once you've collected enough fill up the dispenser to open the door out of here.
In order to cross the green goo in this next room you'll need to smash the three lockers at the back and then build three small plants. Stand on each plant to pop a large daisy out of the goo that you'll be able to use as a platform to cross it.
Minikit 10/10
Requires: None Story Mode: Yes
From the second daisy just jump over to the handhold beneath the Minikit.
On the other side smash the two round bushes to get the parts to a spinner switch which will open the door to the boss fight.
After defeating a couple of regular goons you'll be able to assemble a plant bomb at the bottom of the plant on the left side. After it blows up defeat another couple of goons, blow up the second plant, and then repeat for the third plant while your partner distracts Poison Ivy. Poison Ivy herself will then just take a few punches to defeat.
| Cost | Character | |
|---|---|---|
| - | Batman (Heat Protection Suit) | |
| - | Batman (Sonic Suit) | |
| - | Robin (Attract Suit) | |
| 25,000 | Poison Ivy Goon |
Chapter 5. The Face-Off
| Story Mode | Free Play |
|---|---|
| 65,000 | 112,000 |
As you approach the parked bank van a few Riddler goons will run towards you and start to attack. Once you've got rid of them go through the black and yellow posts and smash the phonebooth on the wall next to the gate. Build the object from the pieces and then smash the large box which houses a bunch of long grey pieces.
Building those will form a sort of cage and the two levers on either side of the gate will become active. Flip them both and then drive the van into the cage. The gate will open.
On the other side of the gate are four Riddler goons shooting at you from up on the sides, you can use your batarang to hit them. Drive the van further along to the edge. Jump out and smash the two lights at the end on the far edge to get the pieces to build a Suit Swapper for Batman's Glide Suit.
Switch to Robin and have him push the nearby spinner switch so that the platform rises with Batman on it. Switch to Batman once he's at the top and then run and glide over the gap to the right. Use your batarang to hit the red and yellow target above the laser fence to shut it down so you can pull the lever inside and activate the bridge.
Bring the van across onto the little ramp to get the gate open.
Minikit 1/10
Requires: None Story Mode: Yes
If you jump on top of the five bollards next to the mini ramp one by one then a Minikit will appear.
A few Riddler lackys will run out from behind a nearby bank van and a load will appear as you get near the front of the bank. Don't try going through the metal poles yourself though as you'll get zapped by a laser.
To smash the glowing ATM that's directly across from the bank entrance you first need to park a motorbike on the $ sign in front of it. Inside are the parts to the Magnet Suit Swapper for Robin.
Minikit 2/10
Requires: Grapple Story Mode: Yes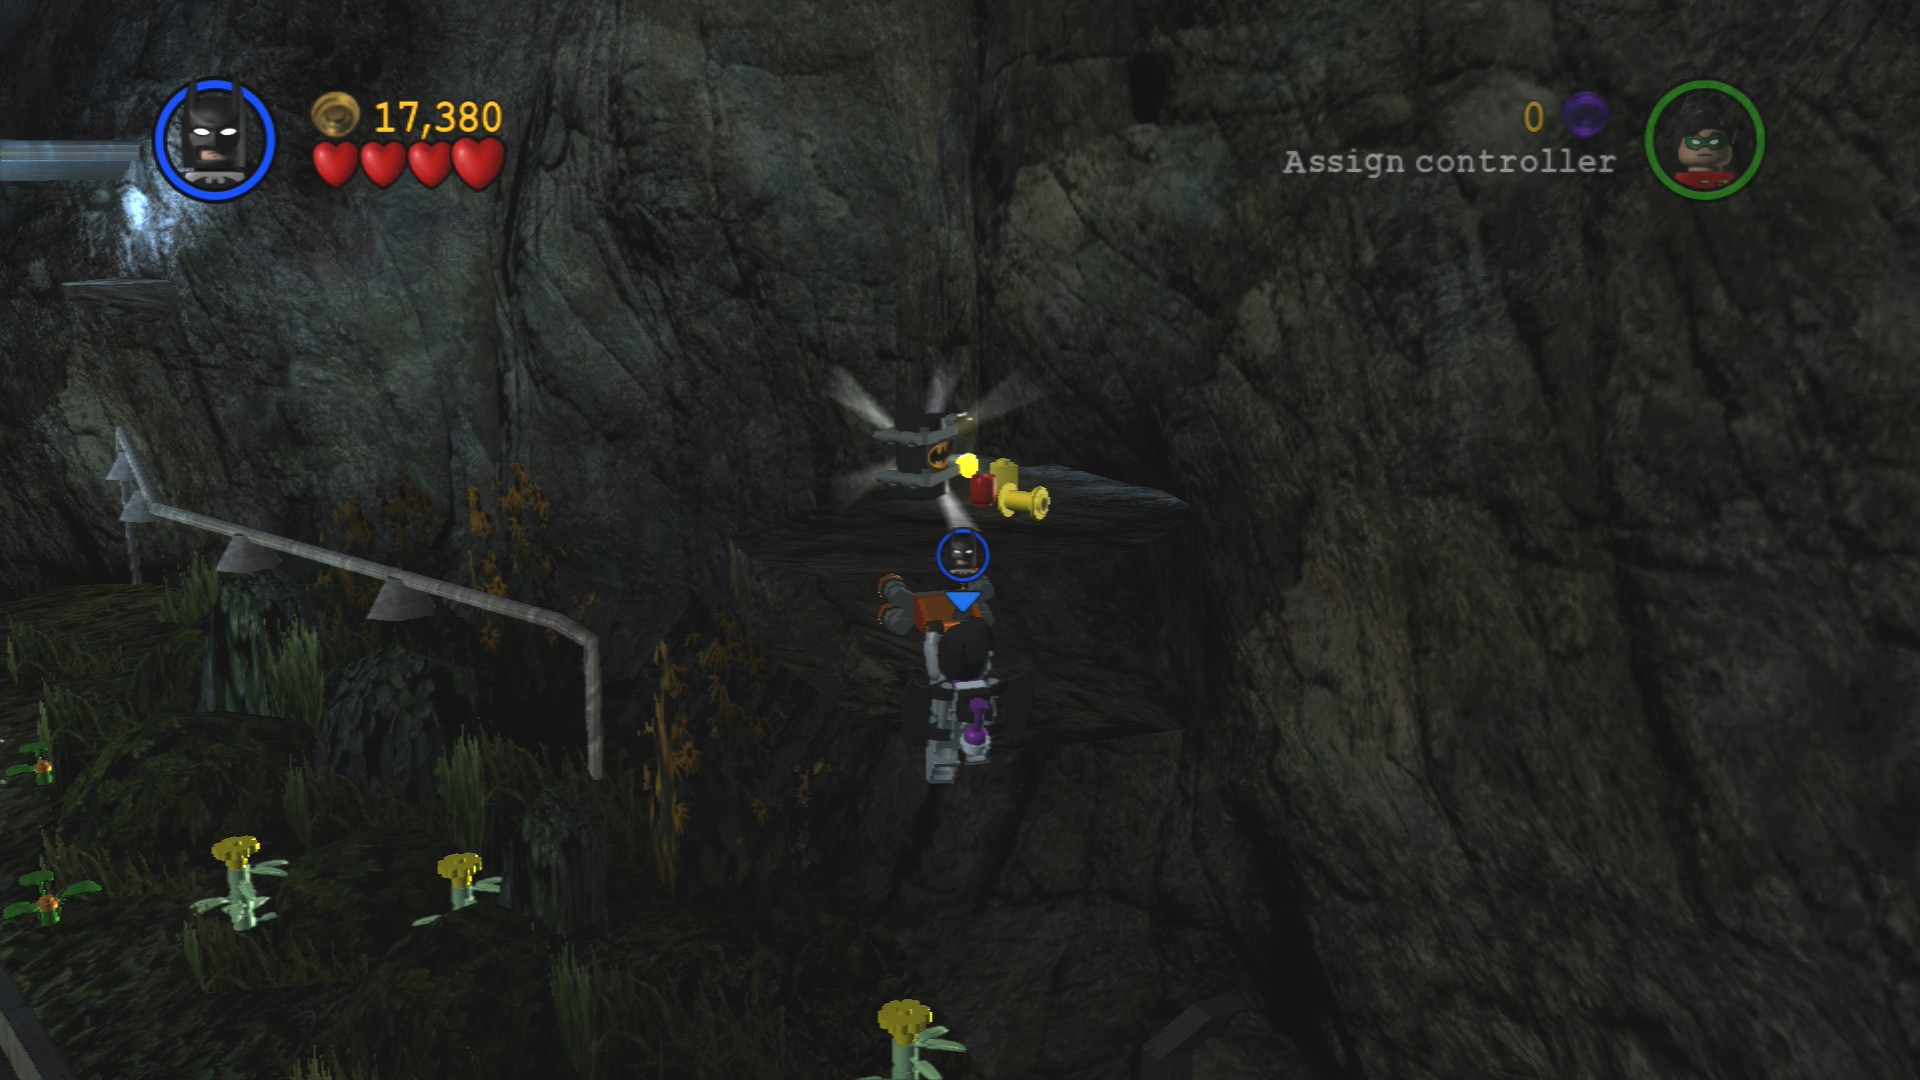
On the far right side of the area in front of the bank you can just grapple up to a Minikit.
Minikit 3/10
Requires: Attract Suit, High Jump Story Mode: No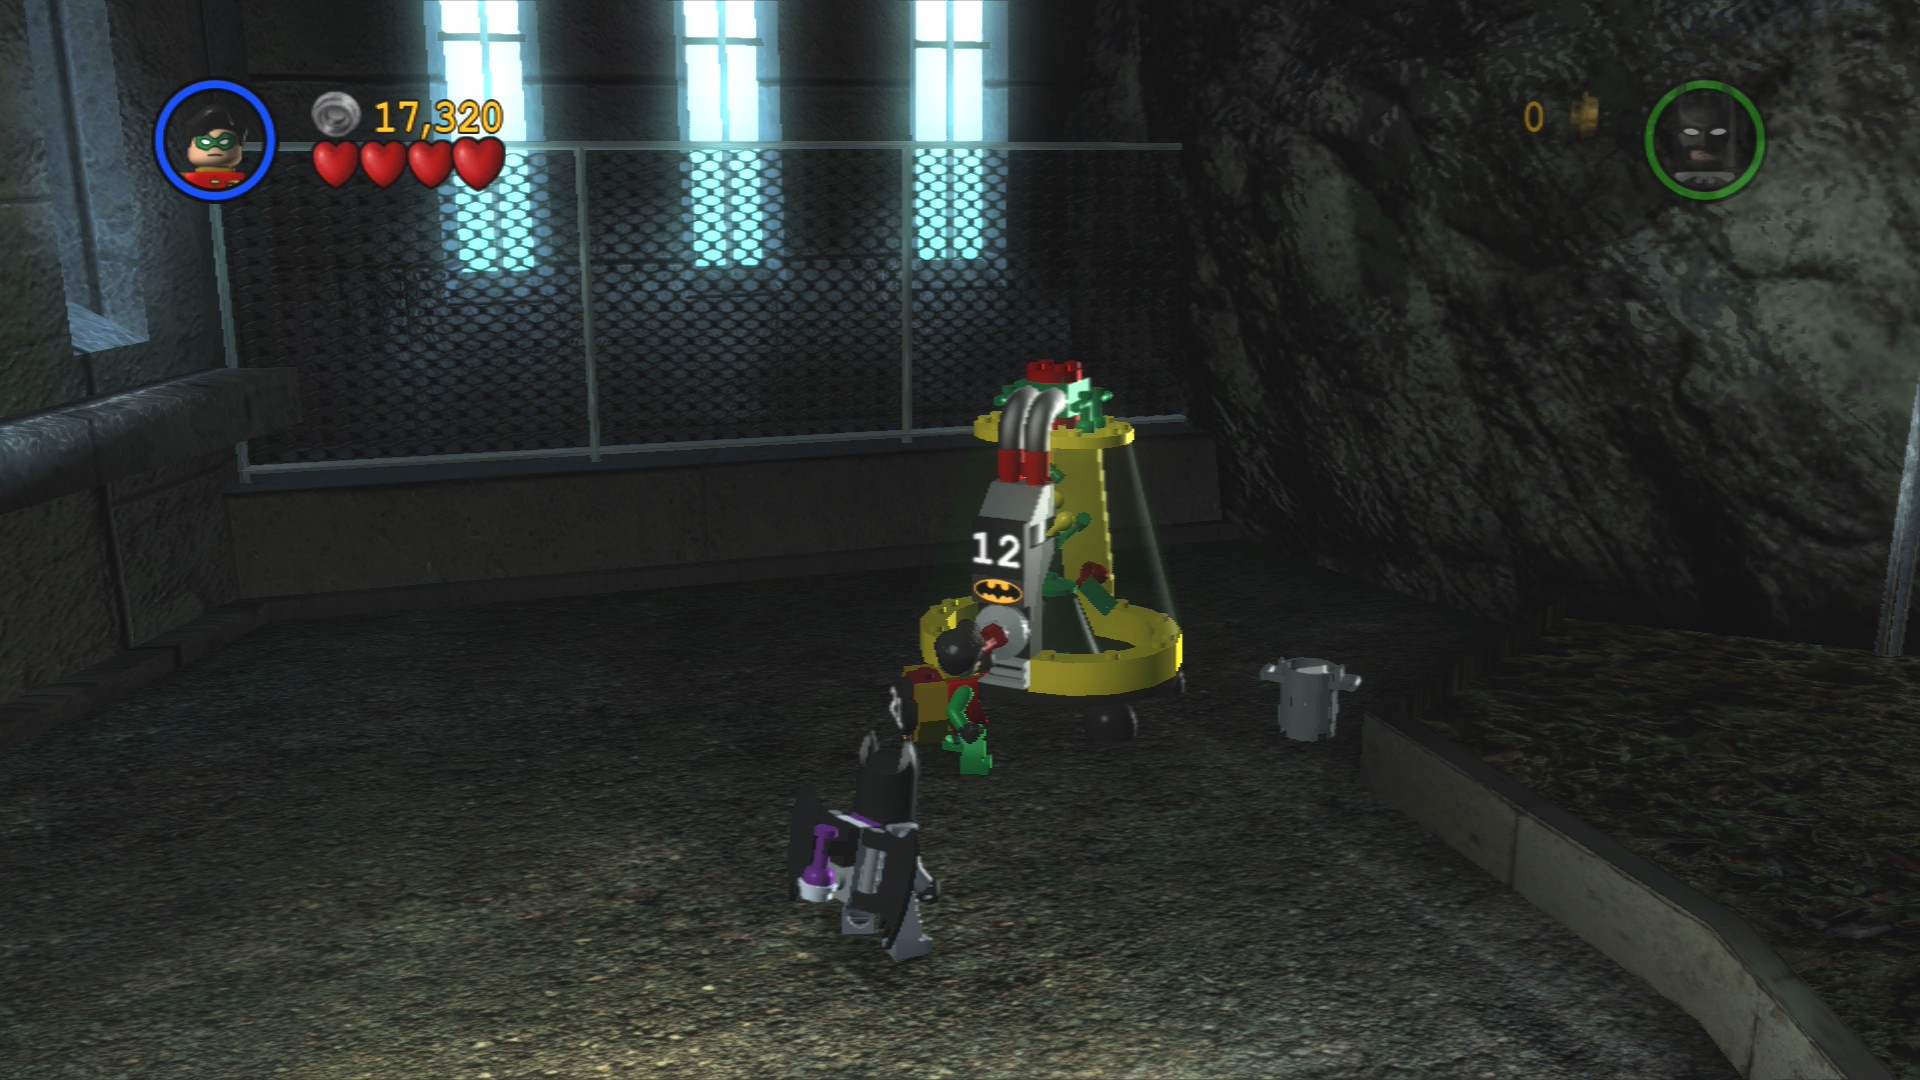
Scattered around the area in front of the bank are red, green, and yellow bricks that you can pick up with the Attract Suit. Put them into the Attracto machine on the right side of the bank to switch on the sprinklers and grow some plants. Jump up them and then bounce off the top of the palm tree to get up onto a ledge above. From there high jump up to the roof to find the Minikit.
Hostage 4/25
Requires: Attract Suit, High Jump Story Mode: No
Also up on the roof here is a civilian being held hostage.
Minikit 4/10
Requires: None Story Mode: Yes
You can use one of the bank vans to smash through the metal barricade in front of the bank to reveal a bunch of LEGO bricks. Assemble them into a giant dollar sign to get a Minikit.
Minikit 5/10
Requires: Technology Suit Story Mode: No
On the left side of the bank's entrance is a technology panel that Robin can activate with his Technology Suit, tap on it multiple times to shut down the lasers so that you can safely enter the revolving doors to get the Minikit.
On the left side of the area use the Magnet Suit to walk up to a lever that will activate the ladder so that Batman can also get up. Use the handholds to get both characters up and onto the window cleaner lift. If you smash the fences in front of it you can build a tightrope to help the second character get up easier.
Smash the bins on the lift so you can build a second switch, have both characters pull them to get it moving. Smash the red bars and jump into the bank.
Immediately Two-Face will begin to attack you, punch him a couple of times so that he runs away through the toxic goo. Smash the glowing display cases on the left side to get the parts to Robin's Attract Suit Swapper and use it to suck up all the loose LEGO around the room. Put them into the Attracto machine on the right side of the room to build yourself a boat.
Minikit 6/10
Requires: Hazard Protection Story Mode: No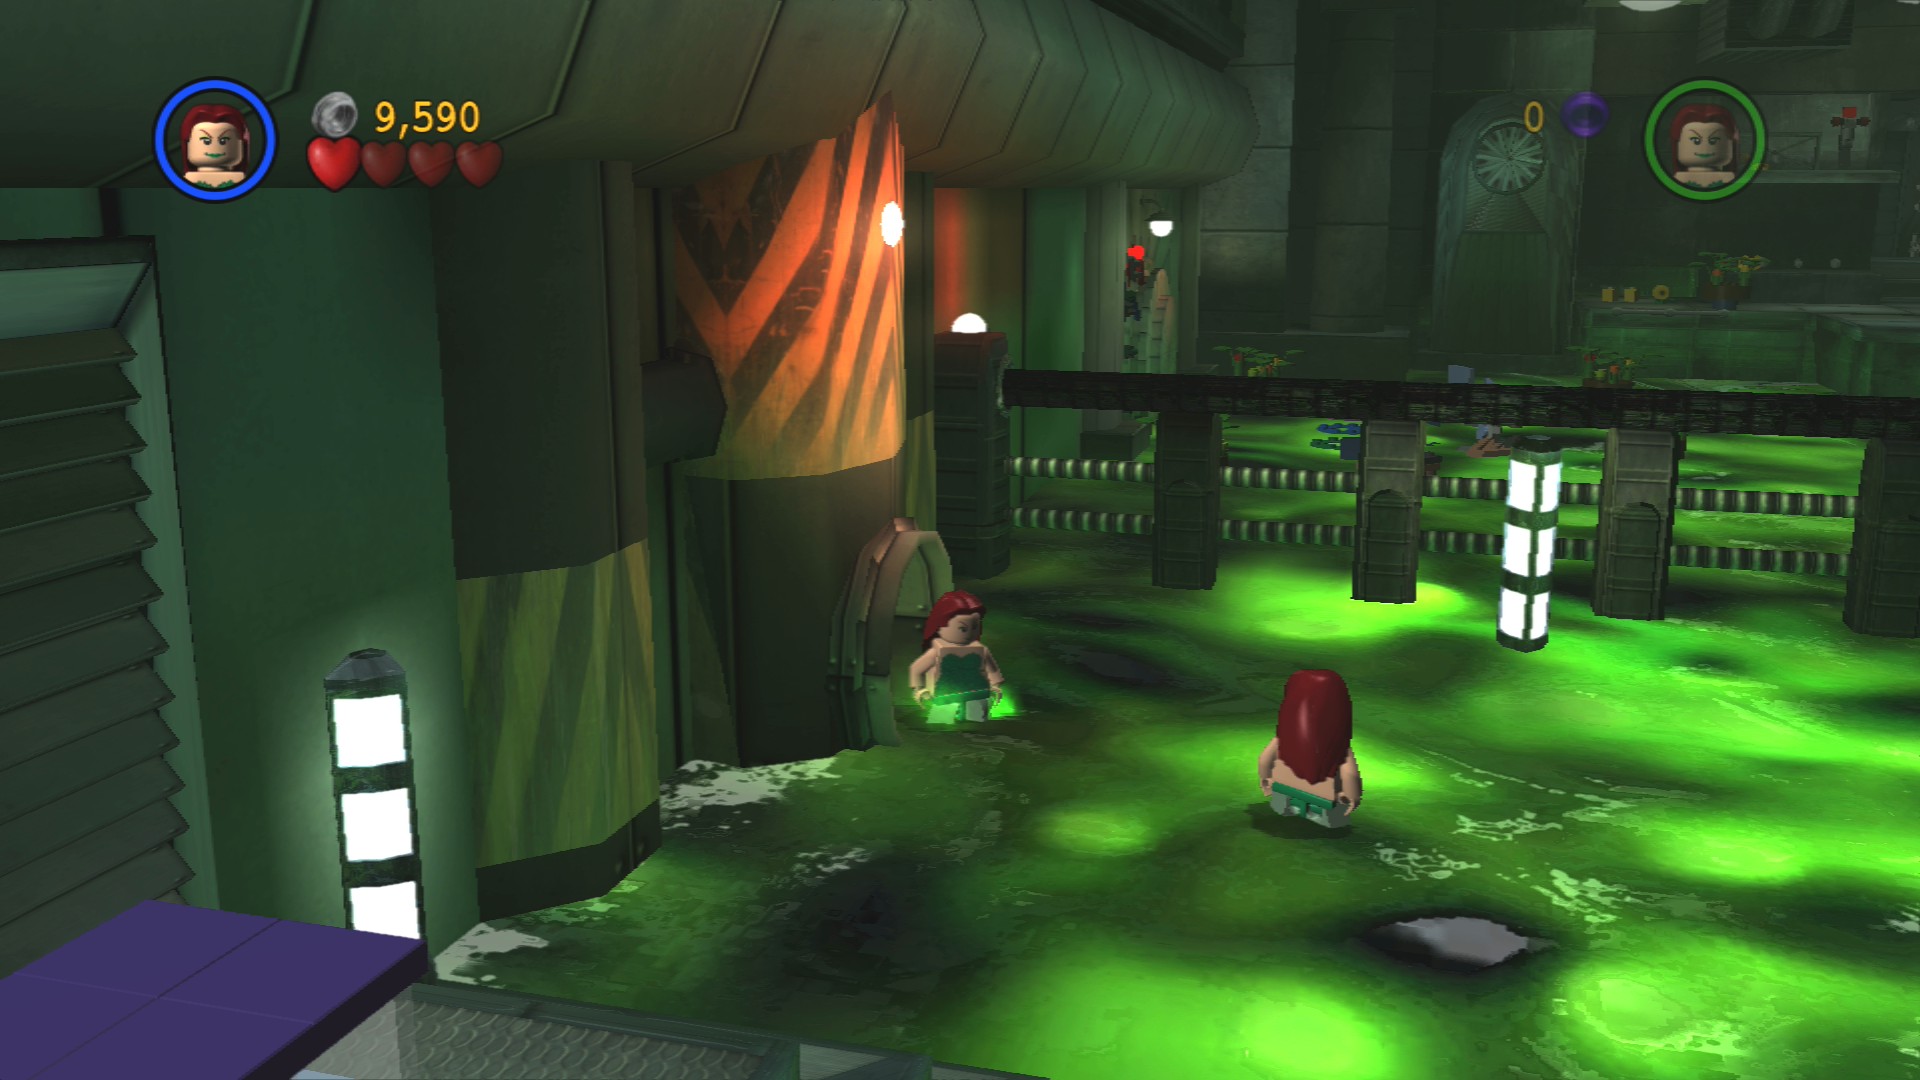
Using a character that can walk in toxic waste go to a small pipe opening on the left side of the area and go inside it to grab the Minikit, the boat won't fit.
Make sure both characters get into the boat before you take it over to where Two-Face is standing and jump out to hit him. After he runs away again assemble the platforms to cross the toxic waste pool behind where he was standing to reach some more Riddler goons.
Minikit 7/10
Requires: Hazard Protection Story Mode: No
In the toxic waste pool that you build the three platforms to cross, it's hidden from view at the near end.
Minikit 8/10
Requires: Hazard Protection, Freeze Ray, High Jump Story Mode: No
In the toxic waste to the right, you'll need to freeze the air beneath the Minikit in order to reach it.
Red Brick - Slam
Requires: Hazard Protection Story Mode: No
In the toxic waste to the left is a puzzle. First you must smash everything, as you do with any LEGO puzzle, and then assemble the four coloured buttons. Step on each one in the order that the lights on the door to the left are lit up, you can see the colour on the panel behind them. Red, Blue, Green, Purple. You'll then be able to go into the vault and grab the Red Brick.
Go up the steps to the lever on the right side of the vault door that Two-Face ran into, pull it and glide across to the second switch to pull that too. Go through the opened door.
The task in this room is to cross the floor stepping on each of the four blue squares. The problem is that there are green lasers zipping towards you that will kill you if they touch you. All you have to do then is weave your way through them, jumping over them when needed.
Minikit 9/10
Requires: None Story Mode: Yes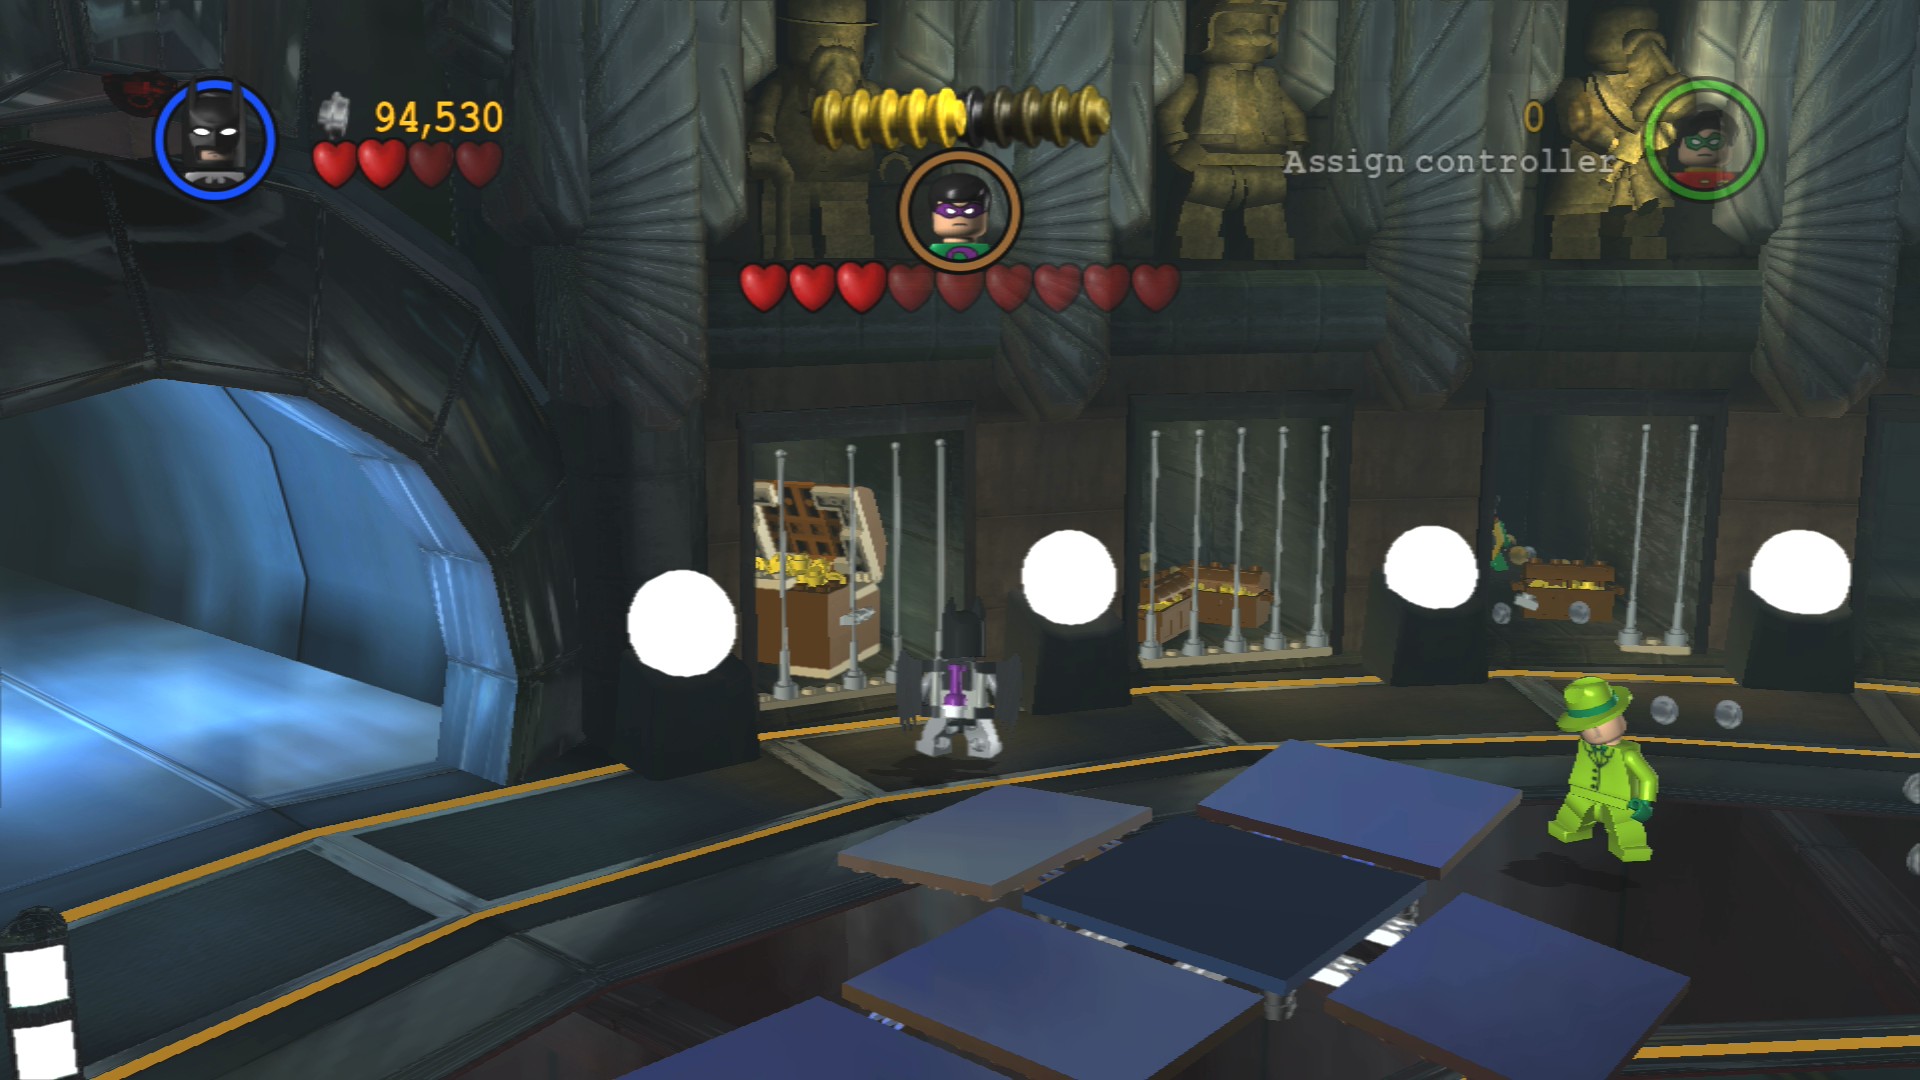
In the boss fight room there are five large treasure chests to smash. The first is near the door. The second is in the middle on the near edge of the circle. Number three, four and five are then all in the barred alcoves along the back.
Minikit 10/10
Requires: None Story Mode: Yes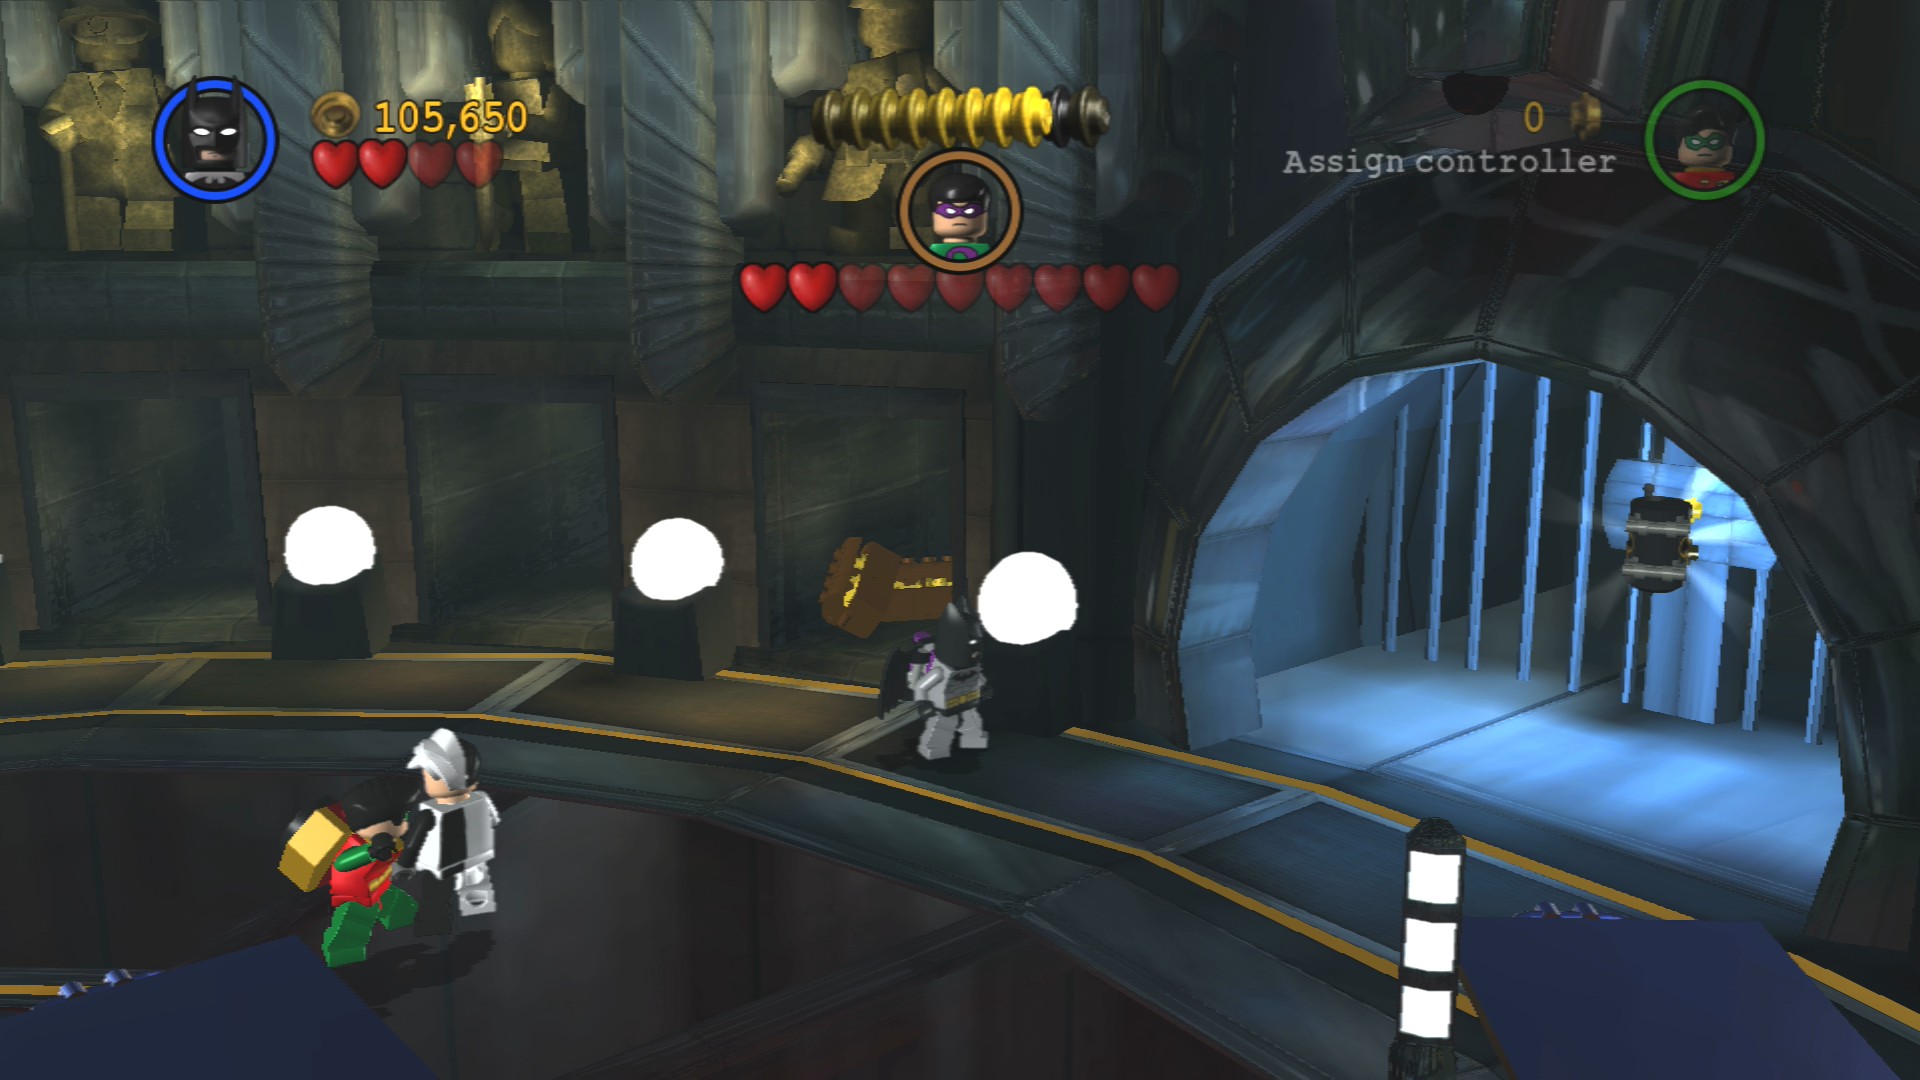
Just floating in the lit up tunnel on the right side of the room.
Punch Two-Face a few times until he brings in some Riddler goons to attack you. While you're fending them off continue to hit Two-Face until all of his hearts run out.
The Riddler will now start shooting at you from above, you can't hit him with a batarang so instead smash the two grey crates on the left and the gold ingot piles within them and build a reflector to bounce his attack back at him. Once that hits him his hearts will turn red for a moment before he jumps into the other side of his turret.
Build the padlocks to the other two crates so you can smash them open and smash the gold inside them too so you can build a second deflector to finish off the turret.
The Riddler will then jump down and start attacking you directly, punch him a few times as he brings in goons to help. At three hearts he'll jump away and bring in a lot of goons, once you've cleared them out he'll mind control Two-Face into attacking you again. Hit him and he'll jump away and mind control Two-Face again. He'll do that for each remaining heart until you defeat him and complete the episode.
These characters are unlocked for purchase on completion of the story for any of the three hero episodes.
| Cost | Character | |
|---|---|---|
| 100,000 | Bruce Wayne | |
| 75,000 | Alfred | |
| 100,000 | Batgirl | |
| 125,000 | Nightwing | |
| 5,000 | Police Officer | |
| 17,000 | Military Policeman | |
| 10,000 | Security Guard |
Completing the story mode for this episode also unlocks the villain equivalent episode to play.
But next up in the walkthrough is Hero Episode 2 "Power Crazed Penguin".
 darkspyro.net