Episode VI
RETURN OF THE JEDI
- Luke Skywalker has returned to
- his home planet of Tatooine in
- an attempt to rescue his
- friend Han Solo from the
- clutches of the vile gangster
- Jabba the Hutt.
- Little does Luke know that the
- GALACTIC EMPIRE has secretly
- begun construction on a new
- armoured space station even
- more powerful than the first
- dreaded Death Star.
- When completed, this ultimate
- weapon will spell certain doom
- for the small band of Rebels
- struggling to restore freedom
- to the galaxy....
Find a way into Jabba's Palace.
[Enter Jabba's Palace.]
Jundland Wastes, Jabba's Palace
Follow the markers up towards the large doorway at the base of Jabba's Palace so that R2-D2 can solve the Astromech Socket on the righthand side of it. After a moment the marker to start the level will appear next to the doorbell.
Chapter 1
A Plan to Save Han
| Silver | Blue | Purple |
|---|---|---|
| 23,333 | 46,666 | 70,000 |
[Escort Chewbacca through Jabba's Palace.]
Follow the Gamorrean Palace Guard up the steps on the right. He'll walk across a trap filled floor safely so if you keep right behind him you'll be safe too.
Once you're over the floor continue onwards down some steps and across to a room with a large pit over which Leia can grapple. On the other side use Leia's Bounty Hunter gun to shoot the Gold LEGO on the right until it explodes. Then pull the lever to lower the platform so that Chewbacca can join Leia over there and they can stand on both buttons.
[Gain access to the Throne Room.]
Go down the steps and take a left towards the throne room. A couple of guards will come out of a side door carrying some stuff but you won't be able to do anything with it just yet. Instead go through the door on the right (to the south) where there are some people imprisoned. Have Chewbacca use his Scoundrel Opportunity to shoot object connected to the purple wires on the western wall to free them.
Go back out into the corridor and you'll find the item the guards brought out is now smashable (and they've gone). Smash it to build two bars on either side of the door. Chewbacca will need the moveable platform to reach his bar but Leia can grapple up to hers.
After activating both bars at the same time go through the door and down the tunnel to the throne room.
[Rescue Han.]
Walk over towards the frozen Han and smash the crates on the left side to find a power cell you can plug in on the wall nearby to release him.
[Reach the Throne Room.]
Now we switch over to Luke. Luke has no need to go through the spike trap floor corridor or be stealthy, he can just use blow the turret out of the way by detonating the barrels and go straight through.
The bridge over the gap will be raised so you can't go that way this time, instead approach the large door and use the Force on the object in the bottom left corner to release some bricks you can use to build a couple of buttons that Luke and Bib Fortuna can stand on. Or you can go down into the pit, stack some crates, lightsaber through a wall, and then go up a hidden passage.
Continue through to another large door with two buttons in front of it. This one isn't that simple so you'll need to smash the nearby glowing objects and build either a Jabba Hologram or a GNK Droid Switch. If you build the hologram you can now open the door by standing on the two buttons.
The throne room door itself needs a bit of Force to open and then it's a quick walk down to meet up with Jabba himself.
[Defeat the Rancor!]
Immediately dodge out of the way of the Rancor's charge attack and then start walking around the room making sure to avoid his rock throws. After he does a pound attack you can run in and start wailing on him with your bone or your axe.
The Rancor will charge off into the wall and get stuck, a perfect time for hitting him. Struggle out of his grip if he grabs you and keep on attacking until he's at about a quarter health.
Once you get to that point a gate in the back will open. Run in there and press the button as the Rancor stands beneath the gate to complete the level. Or just keep on attacking him until he runs out of health, you get a slightly longer cutscene if you do it that way.
Level Challenges
- Don't Blow Our Cover
- Complete the Leia and Chewbacca area without causing any trouble.
- Fairly easy not to attack anyone.
- Learn the Droids' Fate
- Discover the fate of R2-D2 and C-3P0 within Jabba's Palace.
- Enter the password to the pool room.
- Rancor-cussion
- Pick up and throw 5 objects at the Rancor using The Force.
- There are plenty of things lying around you can chuck at it.

Minikits
Minikit 1/5 - Trail of B. Crumbs
Requires: Astromech Droid, Acrobatics Story Mode: No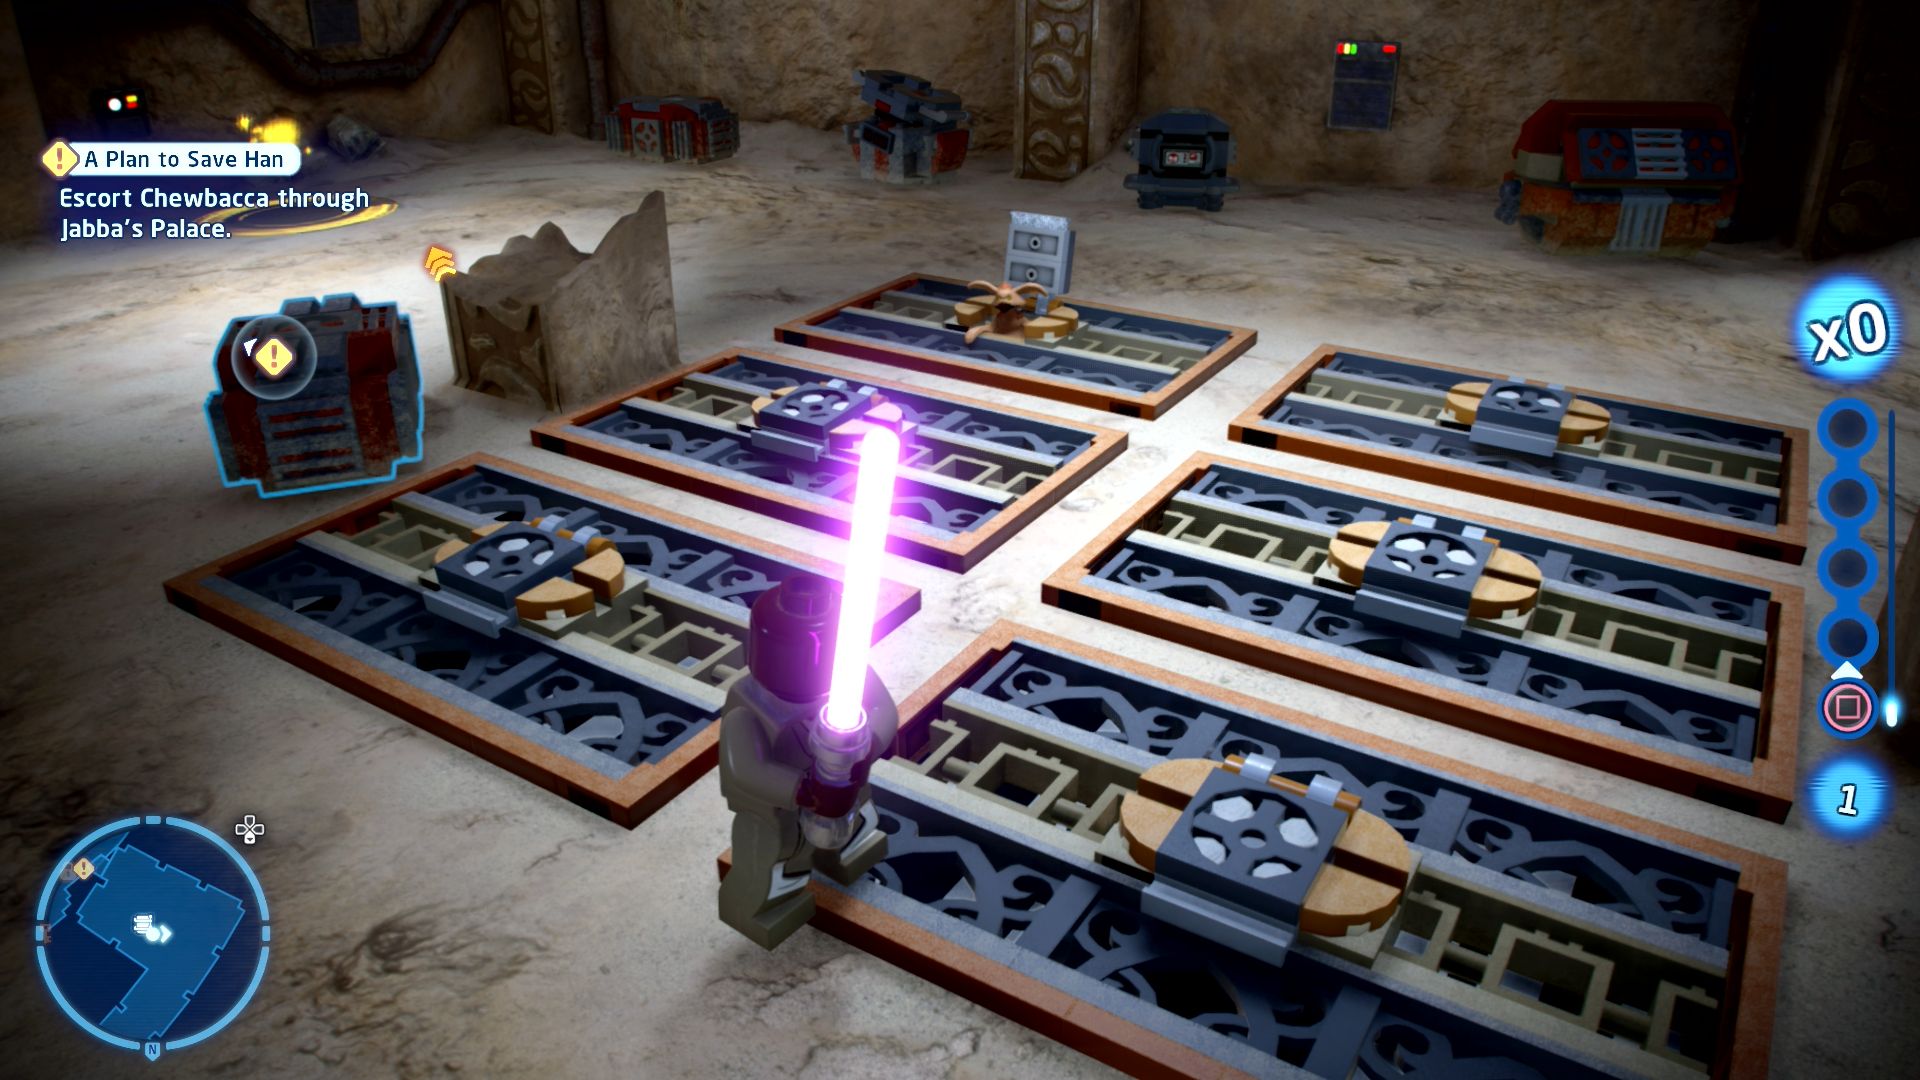
Find Salacious B. Crumb somewhere within Jabba's Palace.
Go through the Astromech Socket locked door at the start of the level and pass through an obstacle course. At the end of it you'll see Salacious B. Crumb, follow him to a set of six trap doors which he will hide in. Attack him as he pops out to eventually defeat him and get the bricks to build a minikit canister.
Minikit 2/5 - Photogenic
Requires: Protocol Droid, The Force Story Mode: No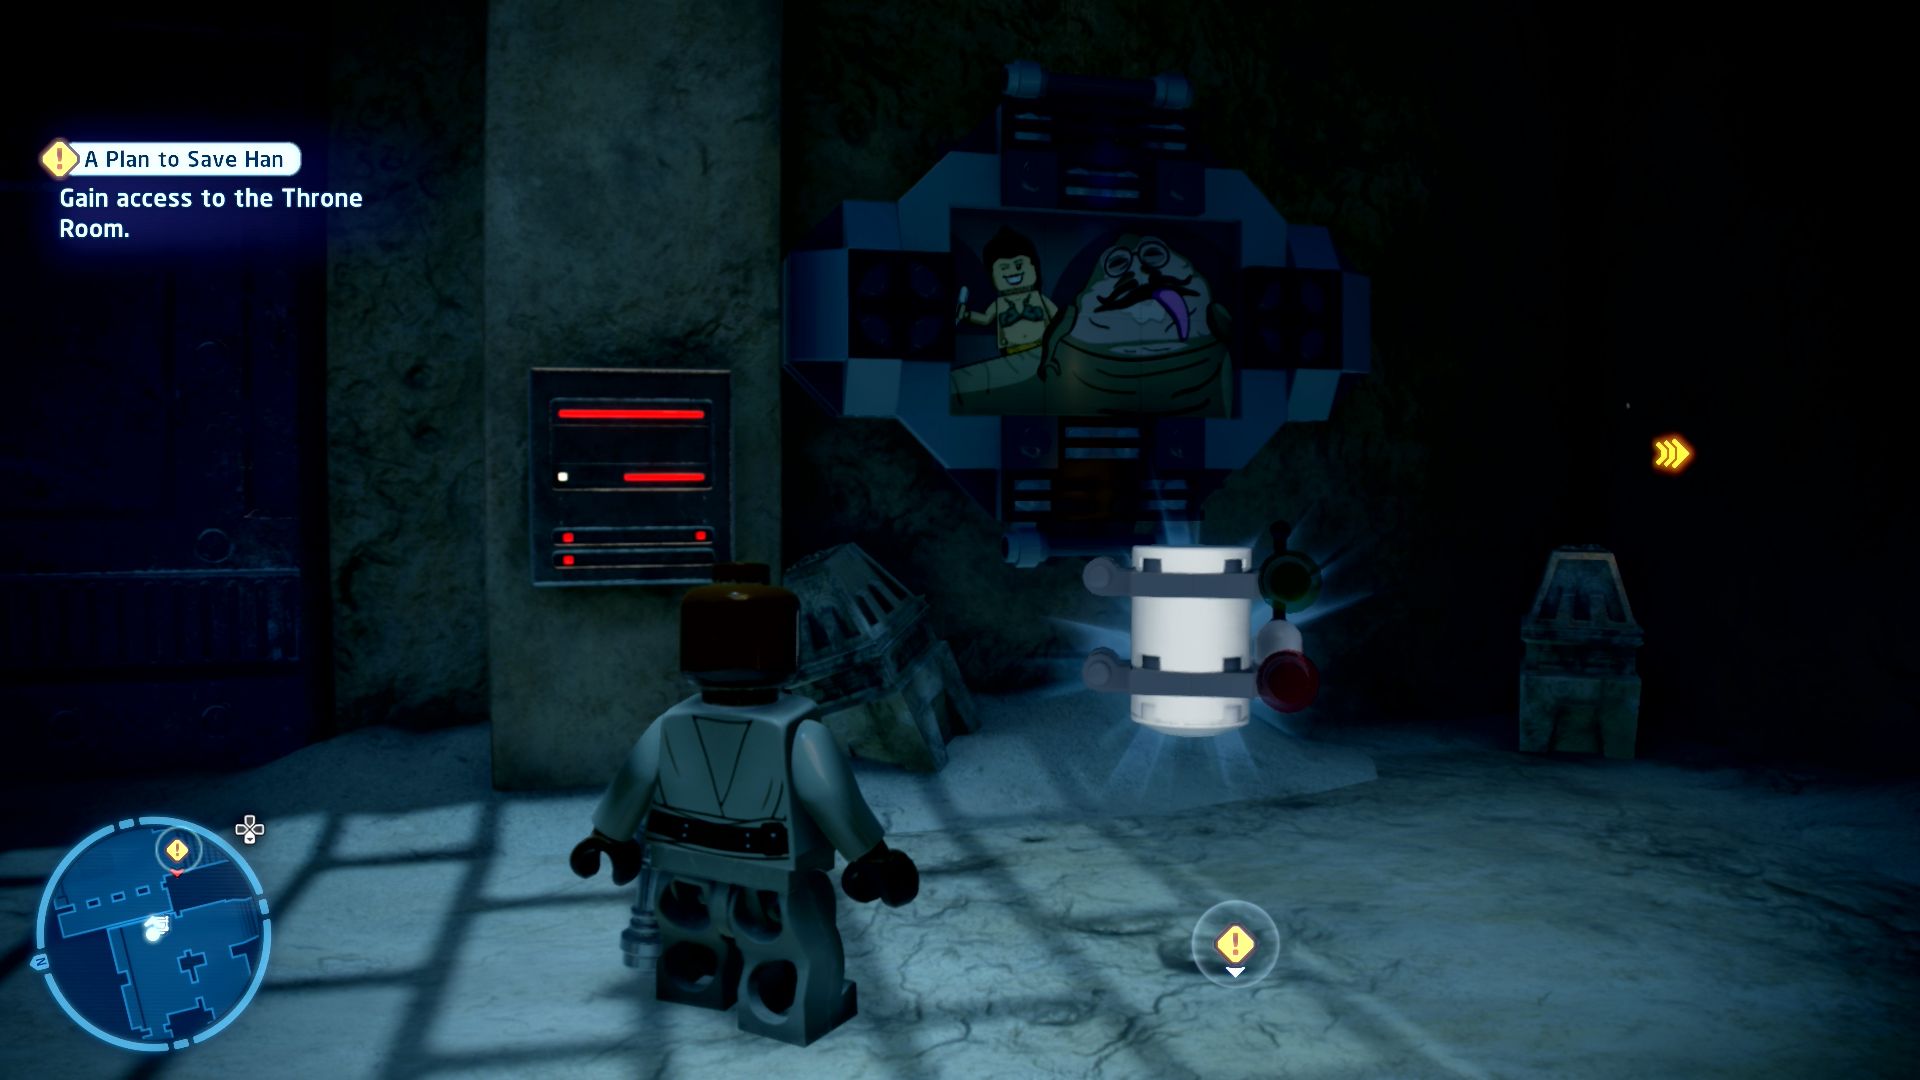
Piece this frame together for Jabba's droid pool room.
In the droid pool room use the Force to reassemble a picture on the wall from three parts strewn around the room.
Minikit 3/5 - Major Malfunction
Requires: Protocol Droid, Astromech Droid Story Mode: No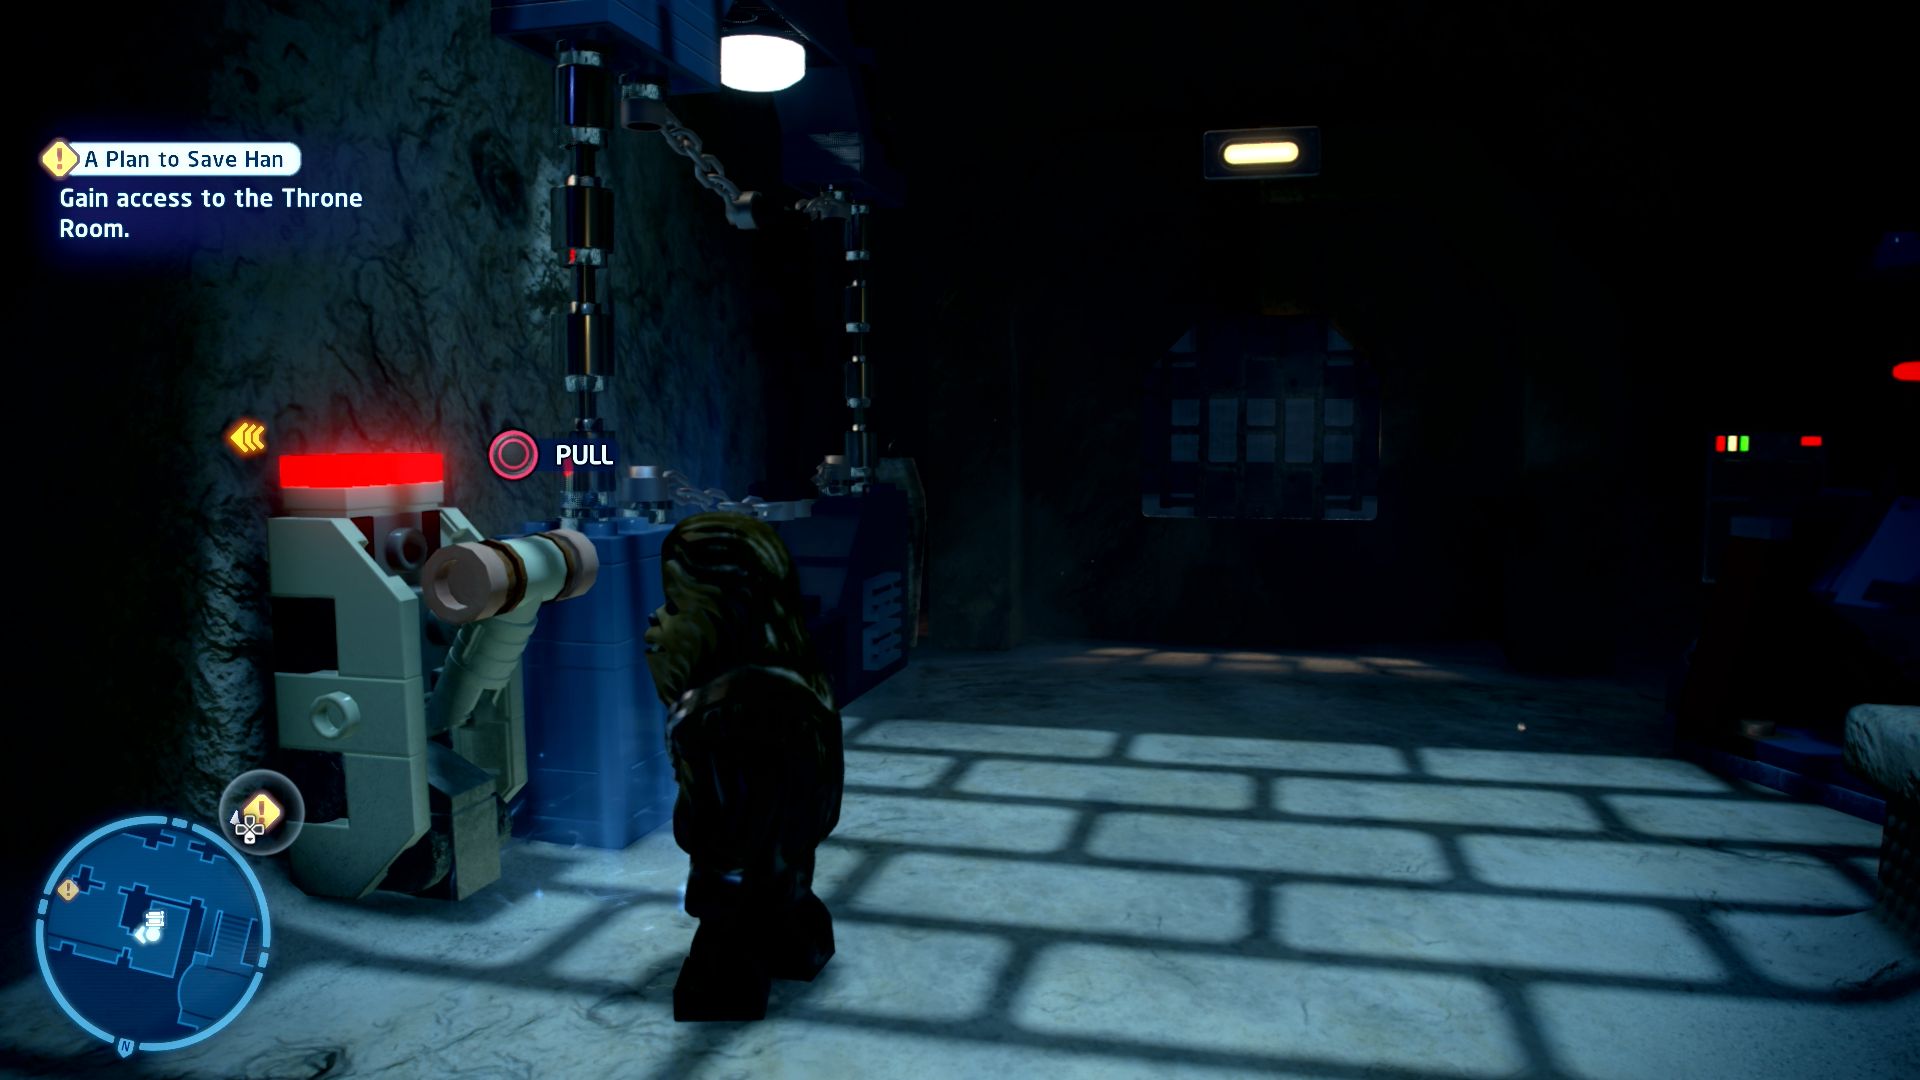
See which leftover droids remain in the droid pool room.
Once you enter the droid pool room through the Protocol Droid Password Terminal open an Astromech Socket and go through to where there's a switch you can pull. Then build a minikit canister out of the bricks that appear.
Minikit 4/5 - Max Rebo Band Roadie
Requires: None Story Mode: Yes
The Nalargon needs power! The show must go on!
Instead of powering up the defroster for Han, take the power cell to an alternate socket further back in the same room.
Minikit 5/5 - Jabba's Palace Redemption
Requires: Villain Grenade Story Mode: No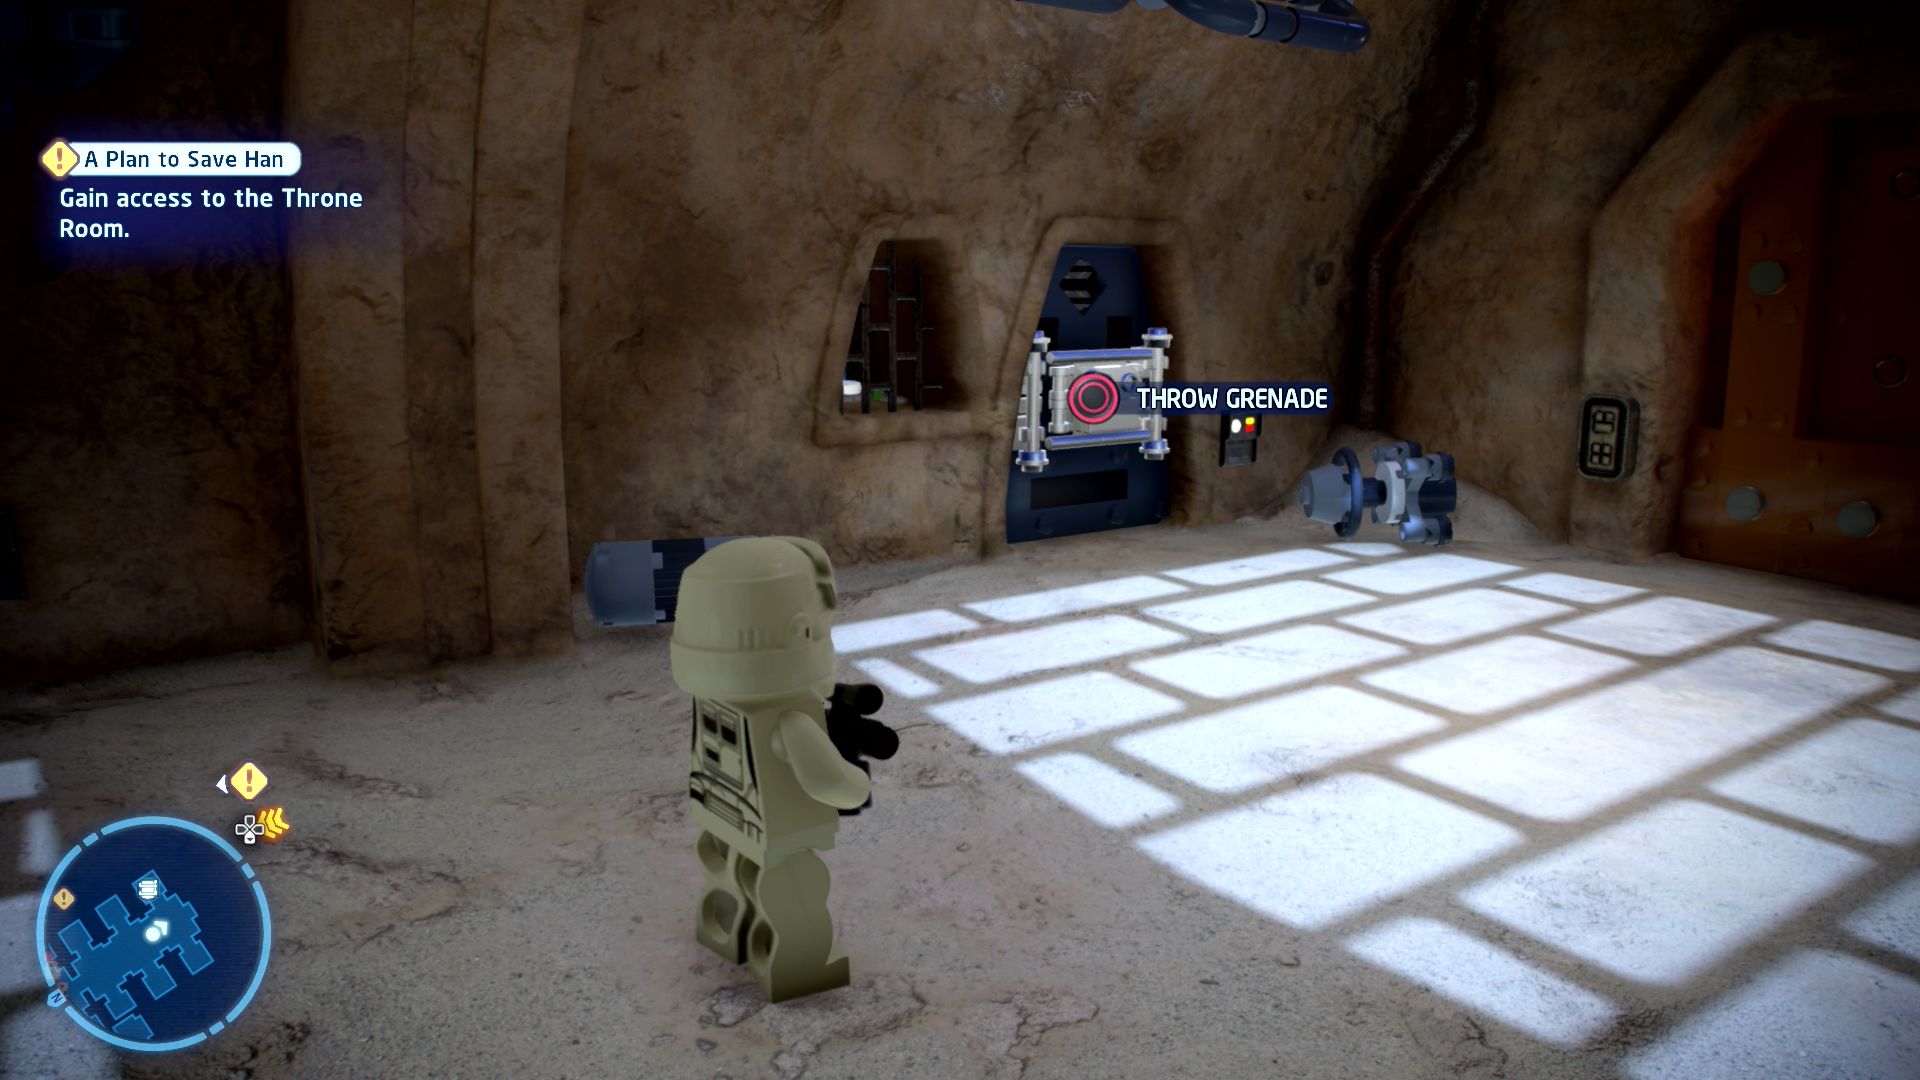
Those empty prison cells may not look inviting, but that's what they WANT you to think.
In the prison cells bust the Silver LEGO one open using a Villain Grenade.
Super Star Destroyer

| Cost | Character | |
|---|---|---|
|
|
- | Bib Fortuna |
|
|
- | Jubnuk |
|
|
- | Leia (Boushh Disguise) |
|
|
- | Luke Skywalker (Episode VI) |
|
|
- | Luke Skywalker (Jabba's Palace) |
|
|
500,000 | Rancor |
Episode VI
RETURN OF THE JEDI
The story so far...
- Luke Skywalker has returned to
- his home planet of Tatooine in an
- attempt to rescue his friends
- from the clutches of the vile
- gangster JABBA THE HUTT.
- Leia and Chewbacca had
- disguised themselves to release
- HAN SOLO from the frozen
- carbonite, but Jabba captured all
- three before they could escape.
- Never send a princess/Wookiee
- combo to do a Jedi's job!
- In a bid to free his friends, Luke
- enters Jabba's palace alone.
- However, after defeating the
- deadly RANCOR, Luke ends up
- joining his friends as Jabba's
- prisoner. Never send a Jedi to do...
- whose job? It appears there may
- be more to this plan than meets
- the eye....
Tatooine, Jundland Wastes, Jabba's Palace
The Great Pit of Carkoon
[Catch up to Jabba's barge.]
The marker for the level is just down the hill.
Chapter 2
The Copa-Khetanna
| Silver | Blue | Purple |
|---|---|---|
| 8,333 | 16,666 | 25,000 |
[Defeat Boba Fett!]
The level begins during the fight with Boba Fett. Pull out your gun and start shooting at him as he flys around. He'll sometimes throw some ropes at you, struggle out of them and keep on shooting.
Once his first health bar is depleted take off to fly just off the side of the barge. Just keep on shooting at him.
[Rescue R2-D2!]
After defeating Boba Fett the slope at the back of the barge will turn into stairs and some guards will run down to attack you. Clear them out and go up the stairs.
Have Luke use the Force to stack some crates on top of each other so you can jump up to the level above.
[Find a way into Jabba's room.]
Rescue R2-D2 from the guards that are hassling him and he'll join your roster. Switch to him so you can solve the Astromech Socket and get down into the barge.
[Defeat Jabba the Hutt!]
While Salacious B. Crumb distracts Jabba attack him from behind. This whole fight is simplest to do as R2-D2 as you aren't limited by Leia's chain but you can totally do it all as her.
[Defeat enemy reinforcements.]
After his first health bar is gone some guards will drop in to help Jabba, you'll have to defeat all of them to continue.
[Attack Salacious B. Crumb!]
Now we're attacking Salacious B. Crumb as he runs around the room pausing every now and then to let you get a hit in if you're not quite managing to hit him as he runs.
[Defeat Jabba the Hutt!]
Once that health bar is gone he'll go back to distracting Jabba and you'll be able to attack again.
[Defeat the Gamorrean Guards.]
More guards will appear for you to fight.
[Attack Salacious B. Crumb!]
Then we chase Salacious B. Crumb around the room again.
[Defeat Jabba the Hutt!]
And then hit Jabba as he's distracted again to finish off this level.
Level Challenges
- Boba Fett? No Sweat!
- Destroy one of Boba Fett's rockets while it is still in the air.
- Shoot at his rockets to blow them up.
- How Do YOU Like it?
- Hit Boba Fett with a deflected bolt.
- Easiest to do during the first part of the fight but still a bit tricky to get the angle just right.
- Trick Shot
- Hit Boba Fett with a thrown lightsaber while he is in the air.
- He'll be in the air for the whole of the second part of the fight so do it then rather than trying to hit him during the short flights he takes in the first part.

Minikits
Minikit 1/5 - Target Practice
Requires: None Story Mode: Yes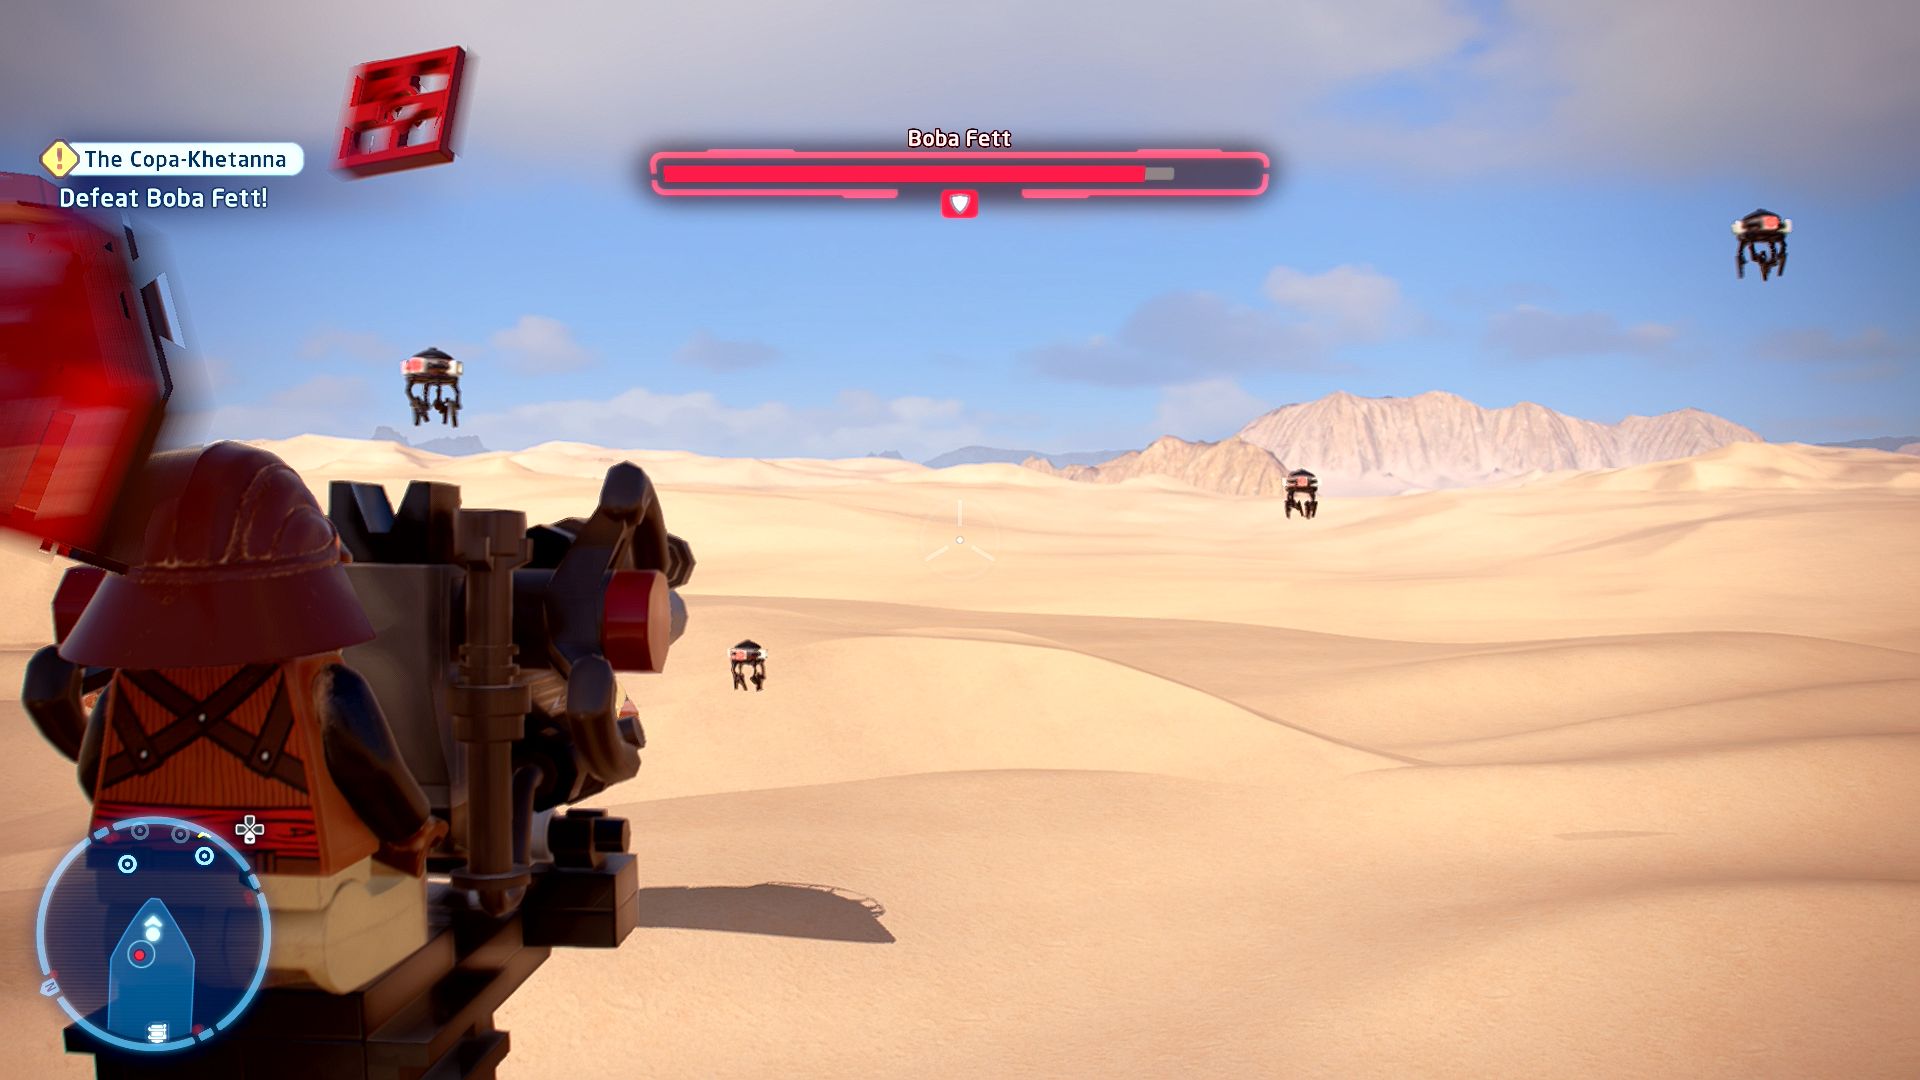
Take some time out to test the weapons at the front of Jabba's barge!
Jump up to the turret at the front of the barge and shoot down the four probe droids.
Minikit 2/5 - Trailing Behind
Requires: None Story Mode: Yes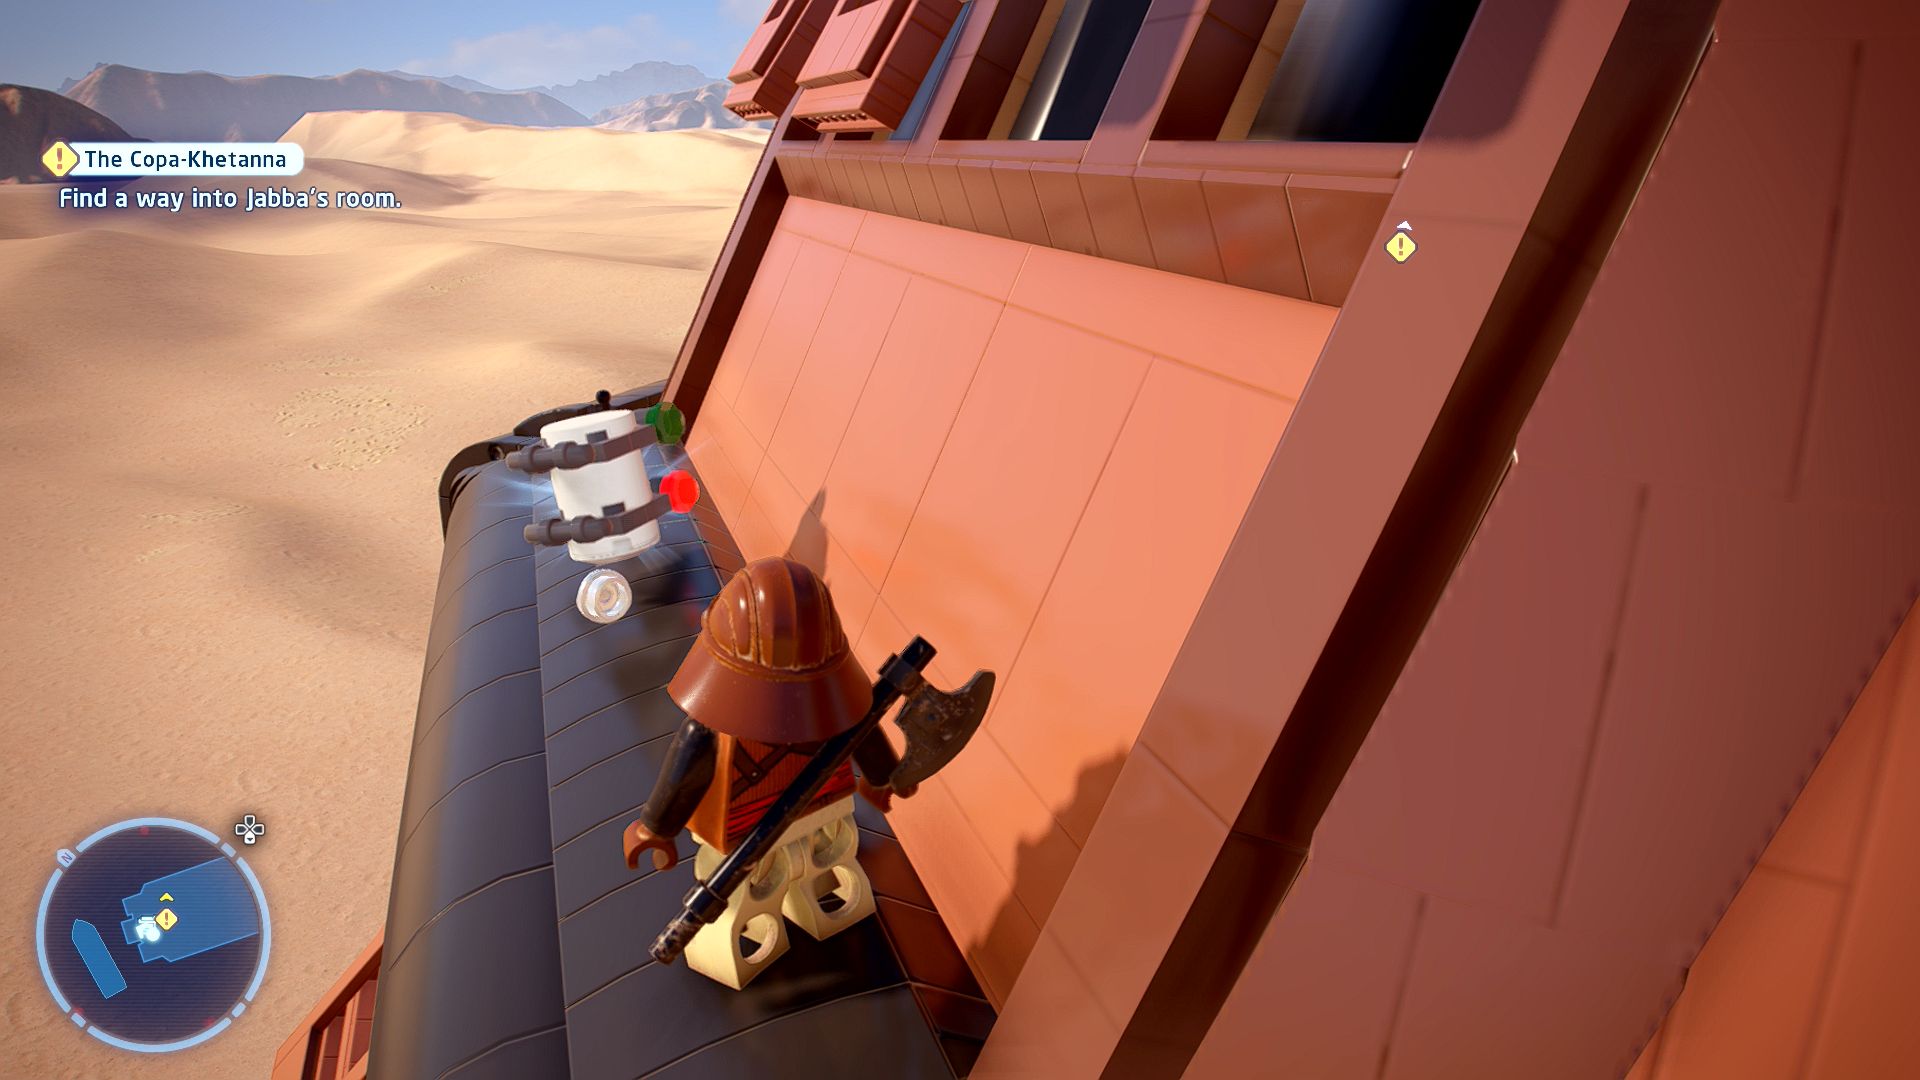
Did you hear that? Sounds like something fell overboard...
At the back of the barge on the side you should be able to see a gap with a handle that you can grab onto, if you drop down there you'll land on a platform going around the back of the barge, the minikit is right at the back.
Minikit 3/5 - Where Has it Gonk?
Requires: The Force Story Mode: Yes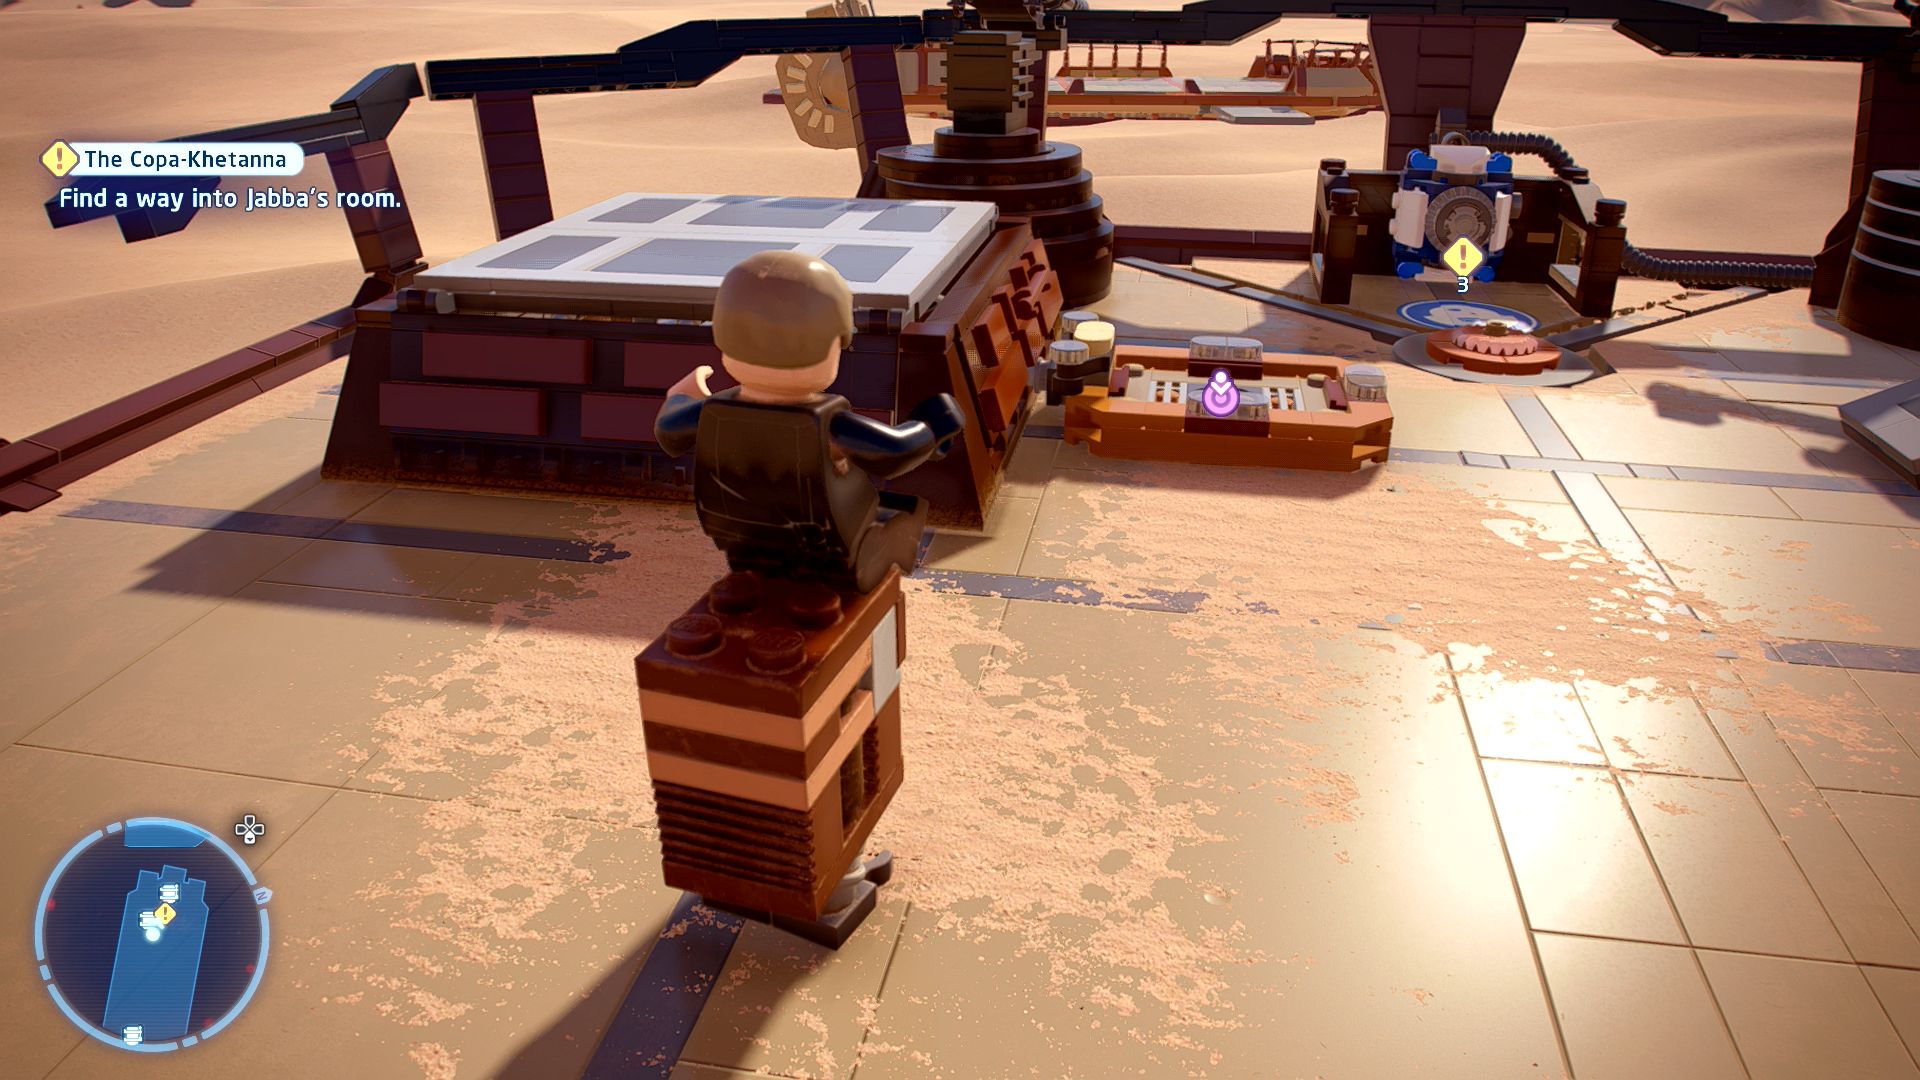
Gonk socket at the top, Gonk at the bottom. How will this star-crossed pair be united?
First find the Gonk by shooting a target on the mast. To get the GNK droid up to the back of the barge you simply have to use the Force to pick it up and place it on the higher level. Then smash some stuff up there and assemble a socket for the GNK droid to power up.
Minikit 4/5 - A Simple Smuggle
Requires: Grapple Story Mode: Yes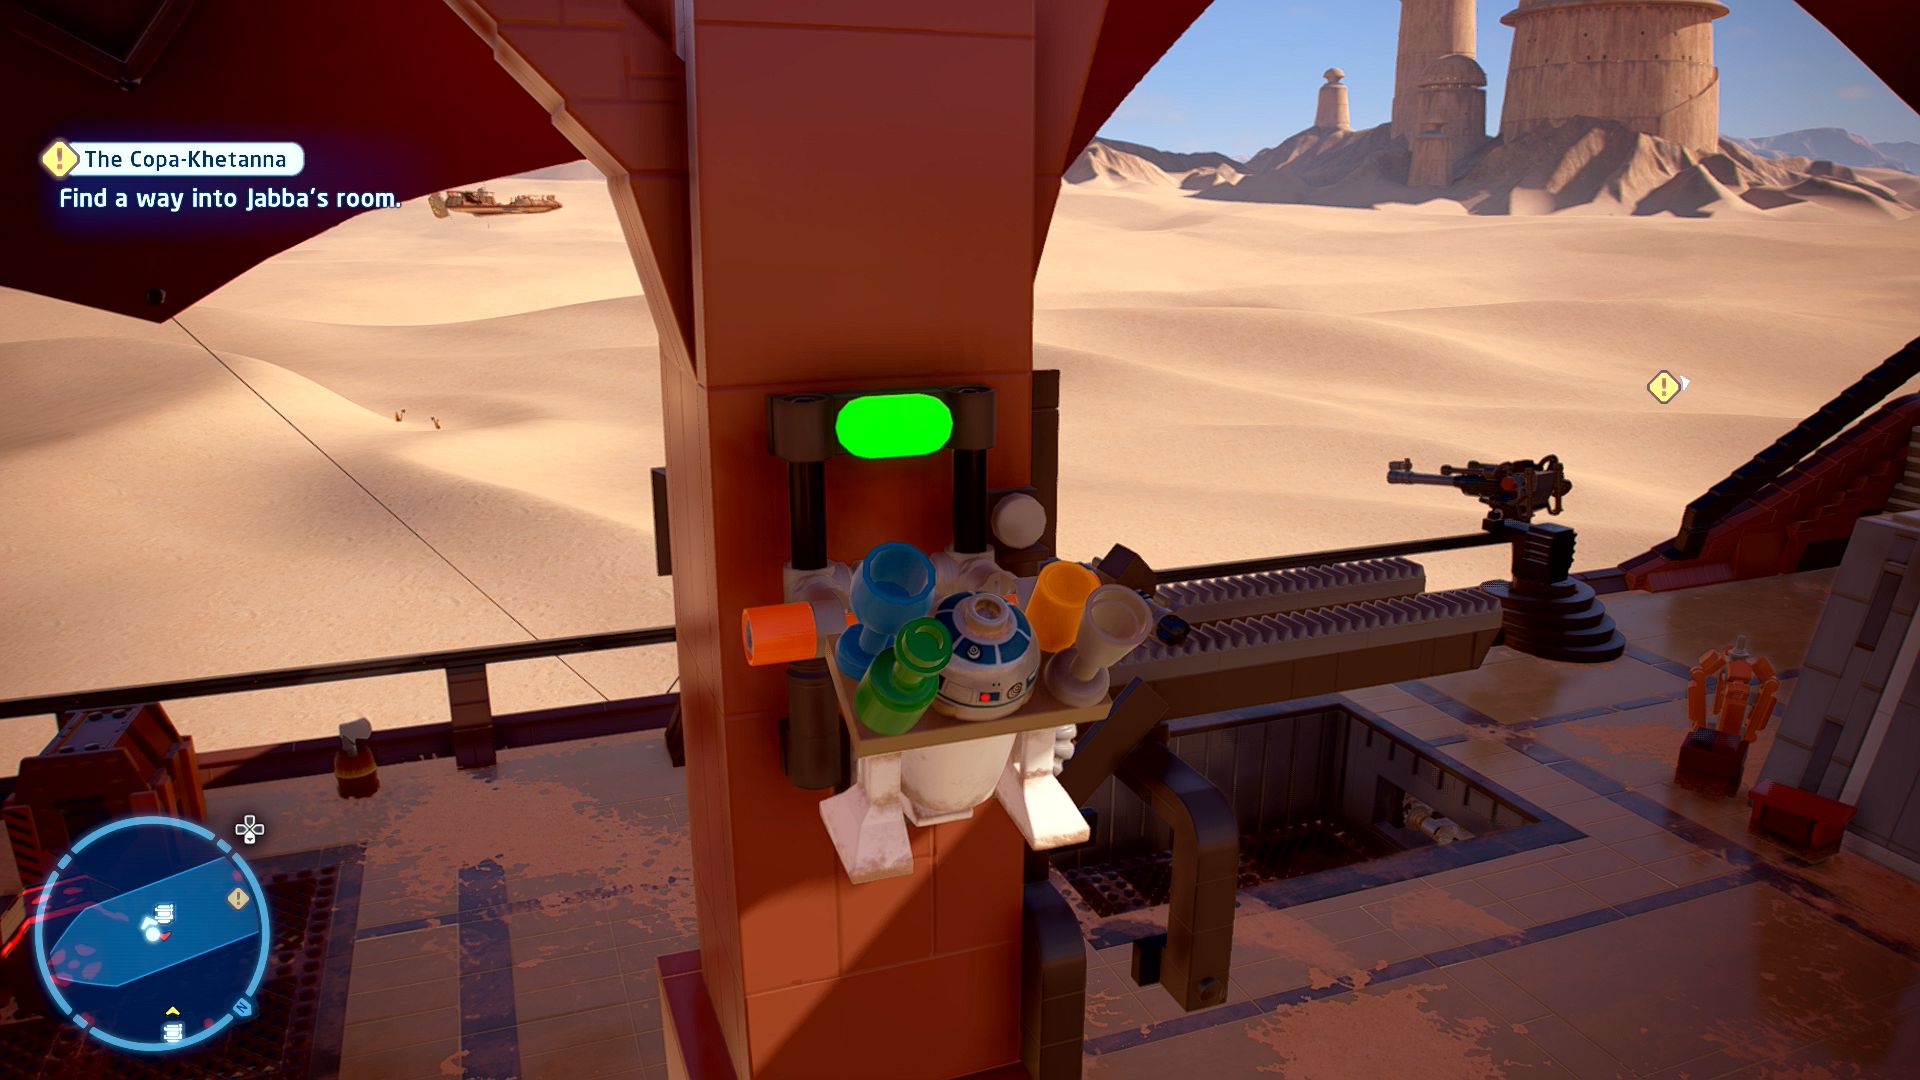
Every good barge comes with a lever-operated secret compartment!
Grapple up to a lever on the mast at the start of the level. That will lower a compartment, switch to another character and go down there to find the minikit.
Minikit 5/5 - Colossal Cannon
Requires: Bounty Hunter Story Mode: No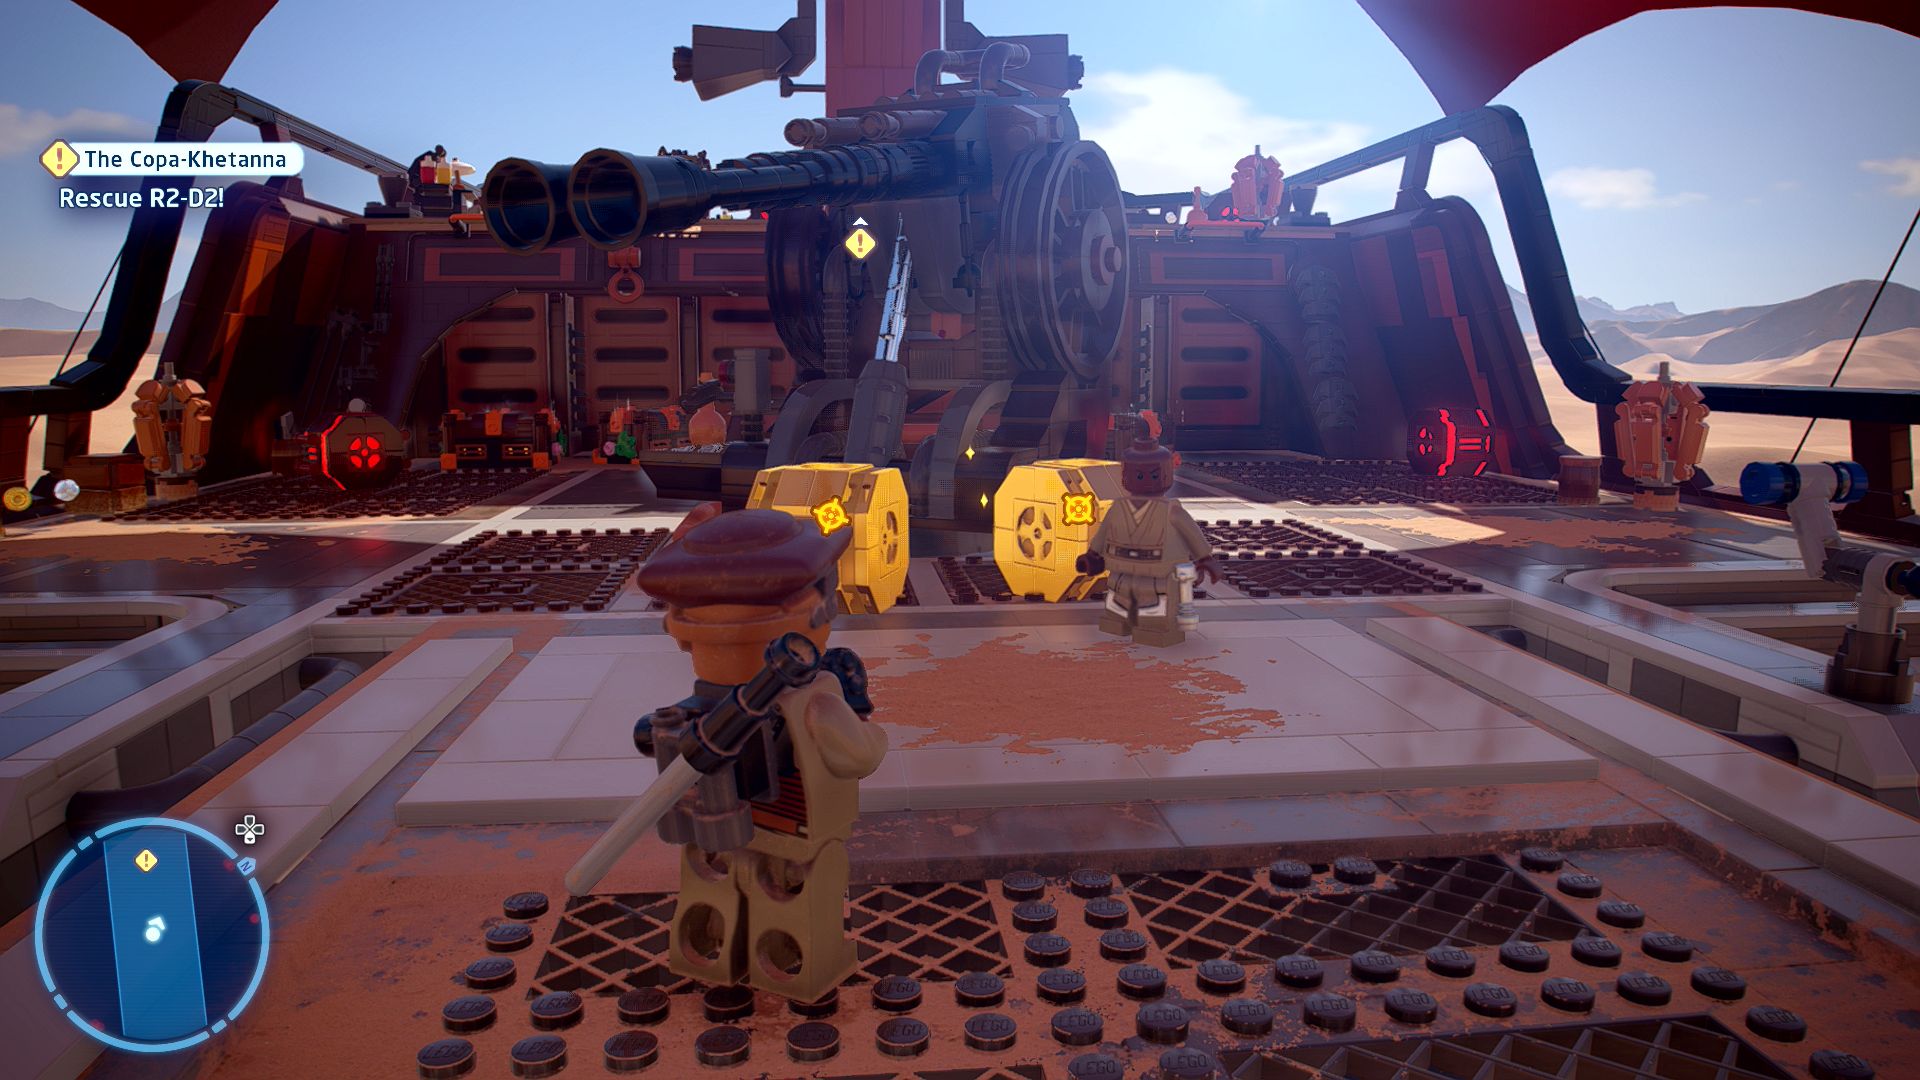
How can you NOT want to fix up and shoot that thing?!
Up on the middle layer are some Gold LEGO crates you can shoot as a Bounty Hunter. Use the bricks to fix the turret, turn it, and then pull the lever to fire it.
Rebel A-wing

| Cost | Character | |
|---|---|---|
|
|
- | Leia (Jabba's Palace) |
|
|
35,000 | Han Solo (Carbonite - Shirt) |
|
|
500,000 | Jabba the Hutt |
Episode VI
RETURN OF THE JEDI
The story so far...
- Luke, Han, and Chewbacca were
- sentenced to be cast into the Pit
- of Carkoon and eaten by the
- almighty Sarlacc. However, they
- were saved from the literal jaws
- of death by Lando and R2-D2, just
- in time.
- Armed with his lightsaber, Luke
- and his friends rescued Leia and
- escaped the Sail Barge. The vile
- Jabba the Hutt reluctantly went
- down with his ship like all good
- captains, providing the Sarlacc
- with a tasty snack after all.
- Regrouping in the desert, Luke
- and R2-D2 boarded his X-wing to
- meet up with them alter. He has a
- house call to make first....
Tatooine, Jundland Wastes
A Promise to Keep
[Return to Dagobah and finish Yoda's training.]
Open up your Galaxy Map and fly to the Dragonsnake Bog on Dagobah.
Dagobah, Dragonsnake Bog
You'll find Yoda's hut to the southwest, follow the markers to get there. Go inside to talk to Yoda.
Back to the Fleet
[Head to the Home One in Endor Space.]
Open up the Galaxy Map again and zip off to Endor Space.
Endor Space
Enter Home One.
Home One
[Head to the Home One command room.]
Follow the markers north, you'll be blocked by a broken door. Talk to the rebel waiting for it to be fixed and then switch to R2-D2 to solve the Astromech Socket next to her.
Proceed to the command room to continue the story.
The Forest Moon
[Travel to the Forest Moon of Endor.]
Open up your Galaxy Map again and travel back out to Endor Space.
Endor Space
Fly towards the marker for the next level.
Chapter 3
Endor the Line
| Silver | Blue | Purple |
|---|---|---|
| 21,666 | 43,333 | 65,000 |
[Defeat the Scout Troopers!]
The Scout Troopers will immediately spot you so start blasting back. Once you've finished off the first lot a second wave will come in. Defeat them and a third set will enter
[Borrow the speeder bikes.]
The third set will bring speeder bikes with them so once you've defeated both of them you can jump onto the bikes and leave the area.
[Stop the Scout Troopers from raising the alarm]
Wiggle around the trees in the path as best you can while shooting the other bikes. Four of them need to be killed.
[Defeat the attacking Scout Troopers!]
Another set of five bikers turn up for you to shoot.
[Navigate the forest.]
After the five it's another four bikes to shoot down.
[Stop the Scout Troopers from raising the alarm]
And finally a set of five more speeder bikes to blow up. And that's that, level complete.
Level Challenges
- Dodge This!
- Fly through an AT-AT's legs.
- Partway through the speeder bike sequence you will see an AT-AT straddling most of the path, aim for its legs. If you miss the first chance you do get a second try later on in the level.
- In-Fighting
- Make the Scouts fight amongst themselves with Jedi Mind Tricks.
- At the start have Luke mind control a Scout trooper to "panic" him.
- No Safe Place
- Damage the Scout troopers by overloading the generator.
- Shoot the generator at the start of the level to blow up some of the troopers.

Minikits
Minikit 1/5 - Heavy Sleeper
Requires: Scavenger Breaker Blaster Story Mode: No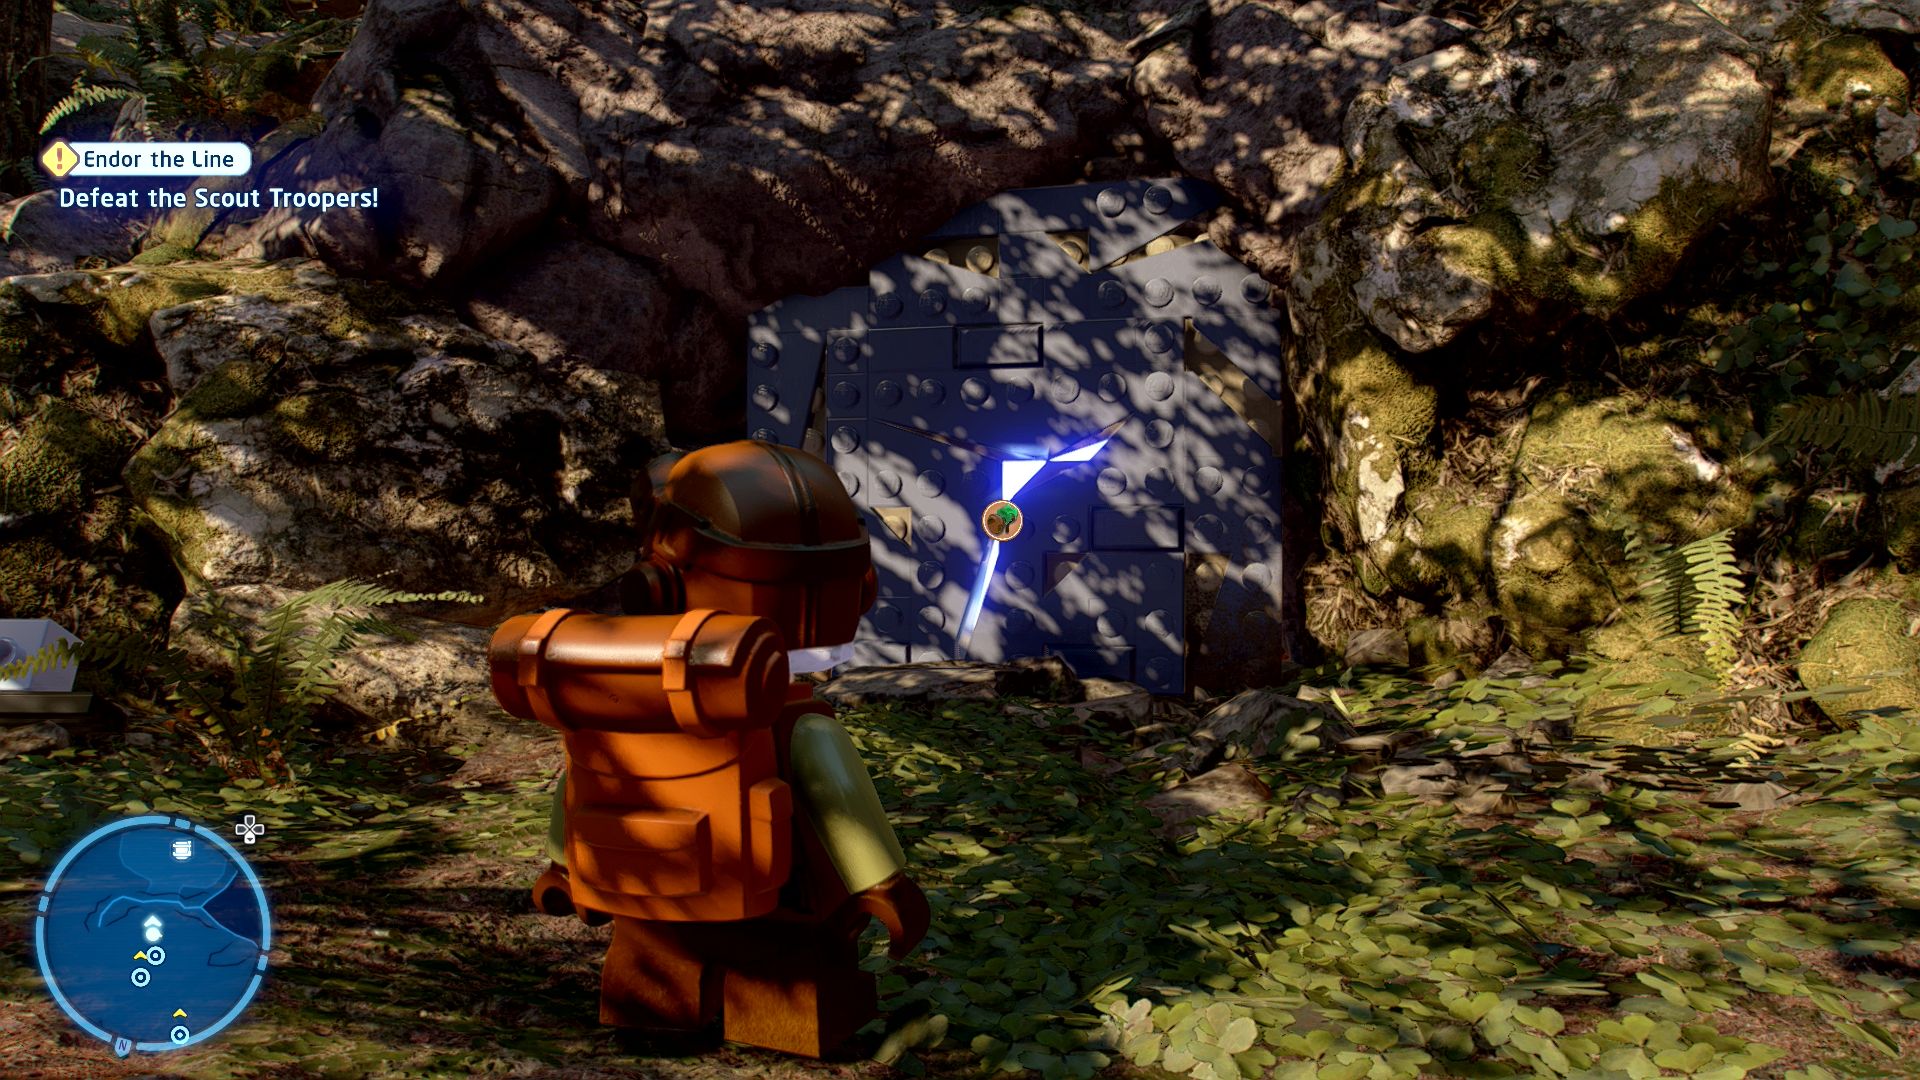
They say Ewoks only wake up when they're hungry...
Blow up the entrance to the cave with the scavenger Breaker Blaster tool. Inside the cave smash the crates and build a spit roast.
Minikit 2/5 - Endor-tainment
Requires: Villain Grenade Story Mode: Yes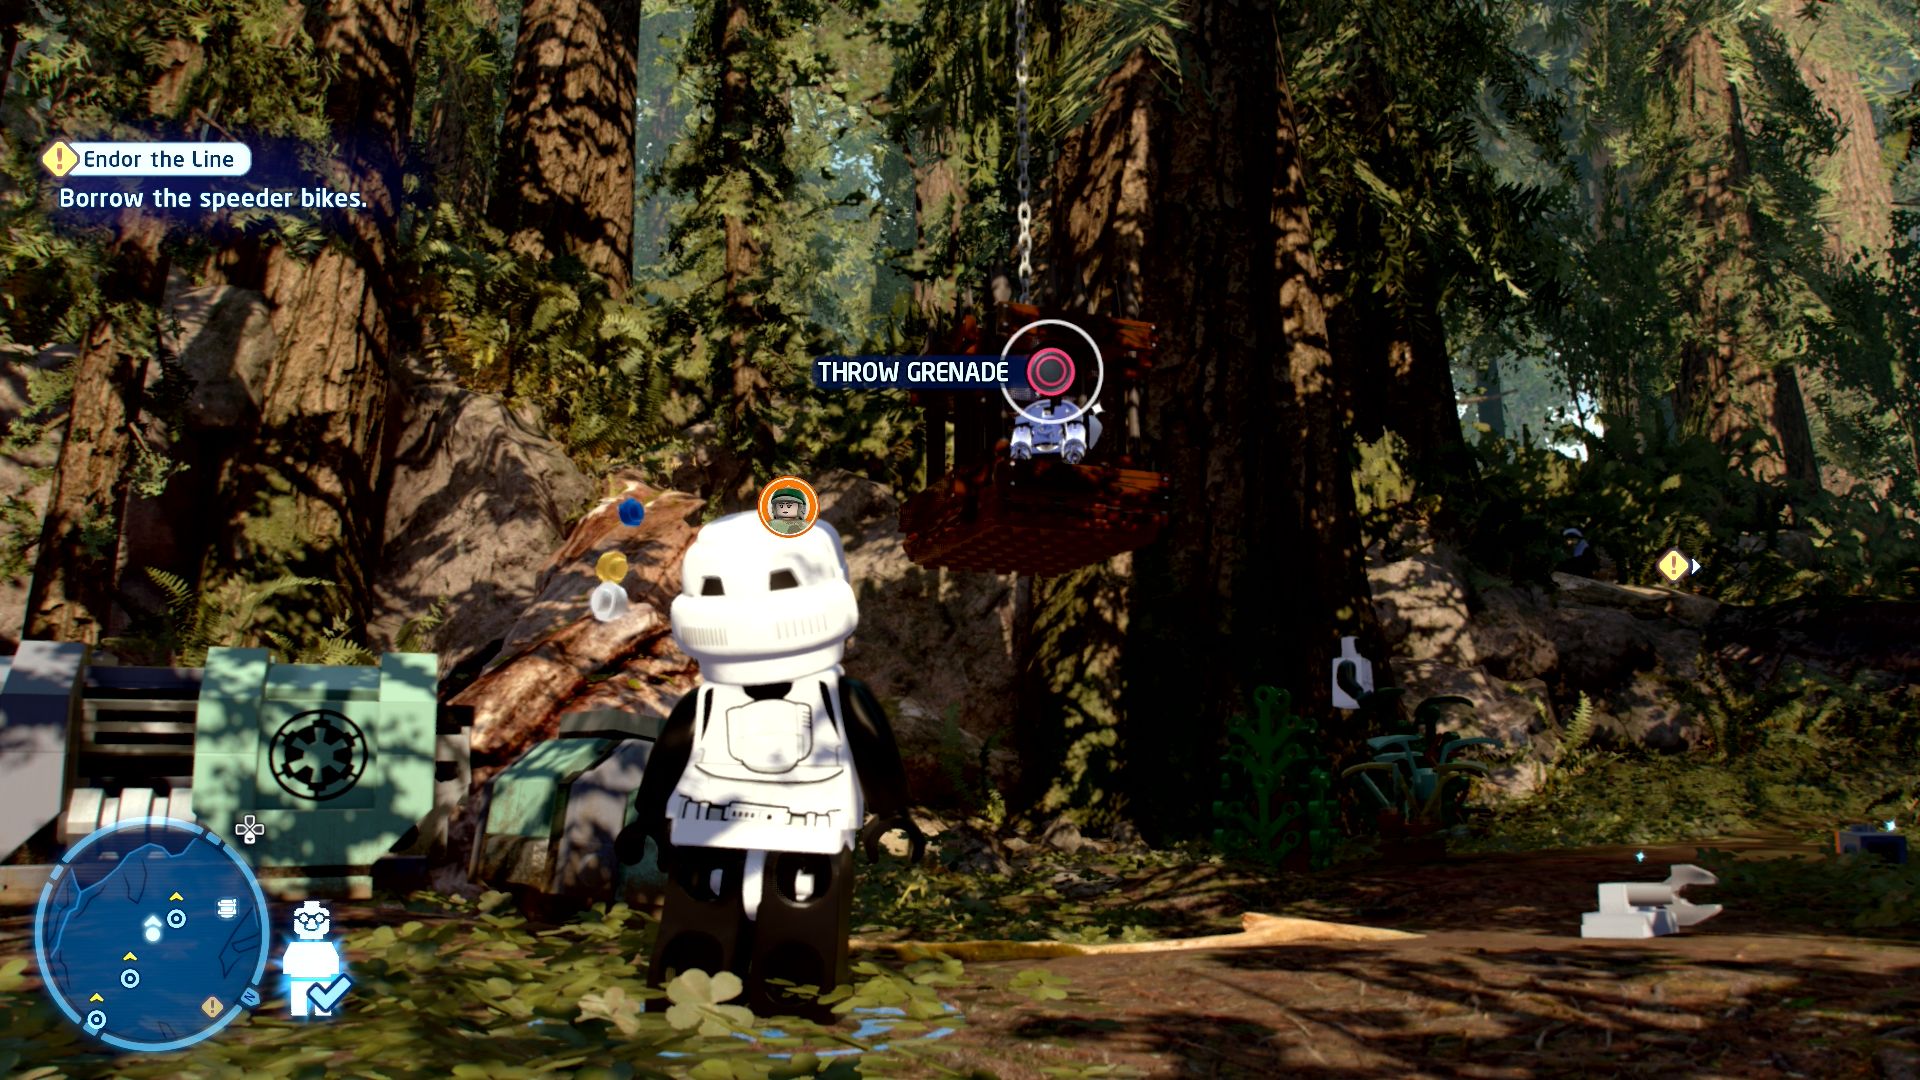
That box could be opened by a keycard...
At the start of the level blow up a cage hanging from a tree to get a keycard and assemble a reader for the green box nearby.
Minikit 3/5 - Geejaw and Order
Requires: Ranged Attack Story Mode: Yes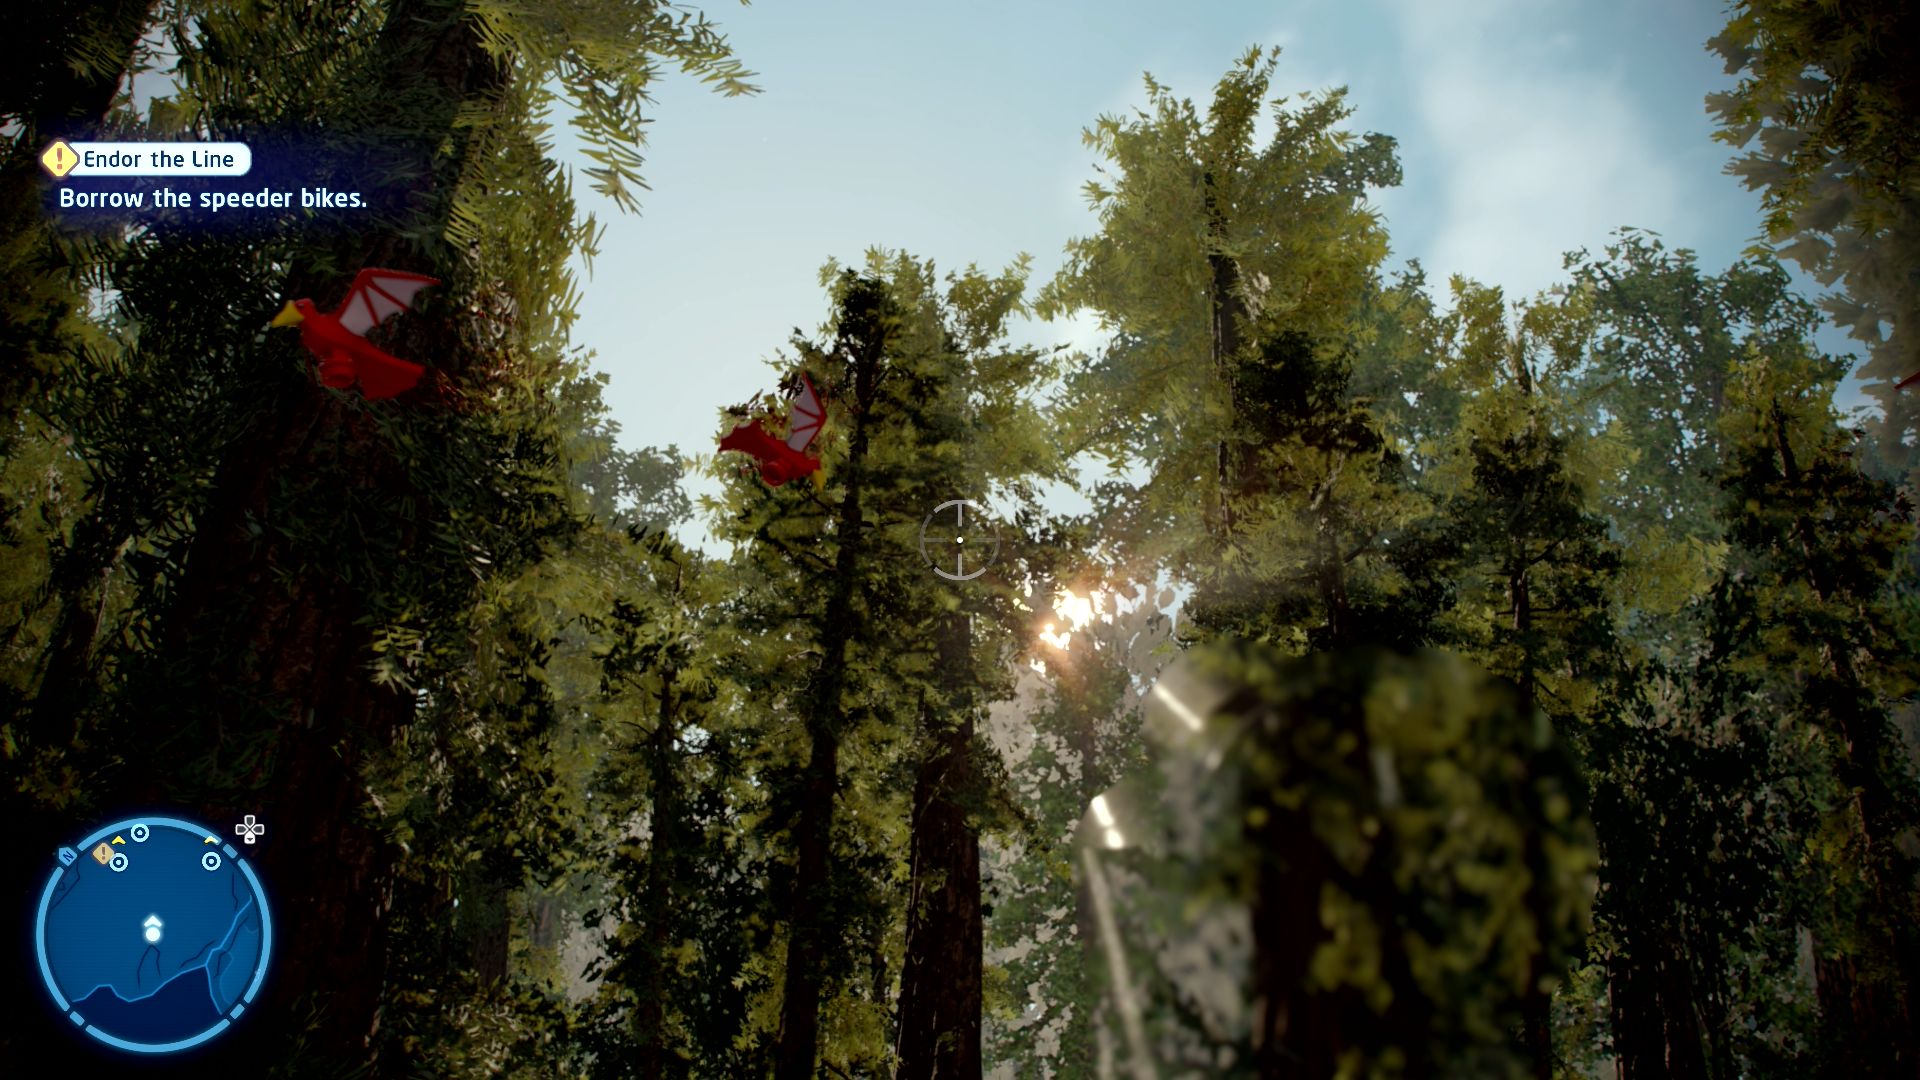
Those geejaws are getting in the way of our minikit hunt!
There are three orange birds circling in the air above the Scout trooper camp. Shoot them.
Minikit 4/5 - Littering
Requires: None Story Mode: Yes
Who left that in the bush? Better pick it up. (Always take your litter home, kids!)
Just past where the speeder bikes get parked at the start is a bush with this minikit behind it.
Minikit 5/5 - Backseat Bonanza
Requires: None Story Mode: Yes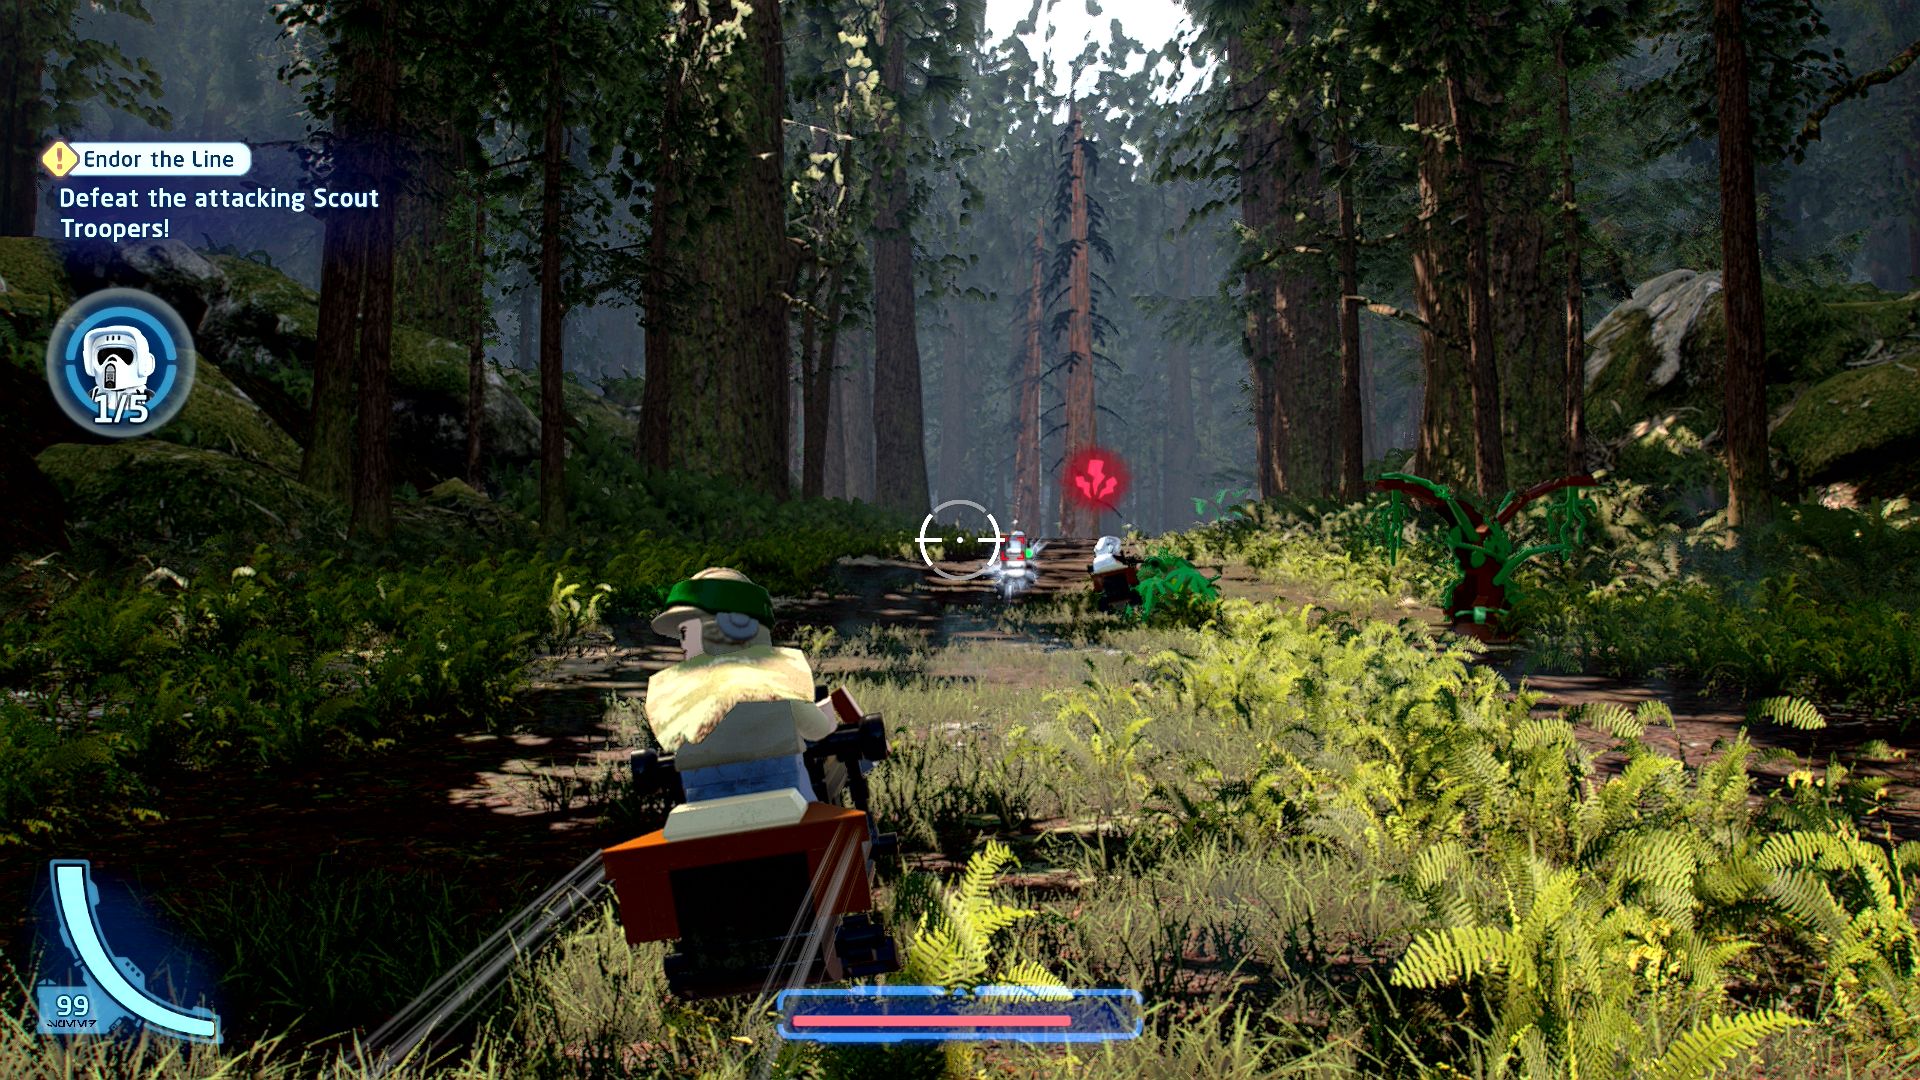
What's that on the back of that speeder bike...?
During the speeder bike chase one of the speeders will be carrying a minikit. If you miss him first time he will show up one more time later.
Imperial Lambda-Class Shuttle

| Cost | Character | |
|---|---|---|
|
|
- | Leia (Endor) |
|
|
- | Leia (Endor - Hat) |
|
|
- | Luke Skywalker (Endor) |
Episode VI
RETURN OF THE JEDI
The story so far...
- On his return to Dagobah, Luke
- found that Master Yoda was very
- unwell. Before turning into a
- Force ghost-thingy, Yoda
- confirmed to Luke that he does
- indeed have a sister, and that she
- is none other than LEIA ORGANA.
- Twist!
- Meanwhile, the Rebels prepare
- their next plan. To attack the
- Death Star, they must first
- destroy the shield generator
- protecting it, located on the
- FOREST MOON OF ENDOR.
- Luke, Han, Leia, Chewbacca, and
- the droids reached the forest
- moon and encountered the locals
- after a very speedy tour of the
- woods. This resourceful, yet
- adorable, race of Ewoks seem like
- cuddly merchandise, but they are
- tougher than they look....
Battle of Endor
Meet Wicket to depart for the shield generator.
Endor, Ewok Village
It's a bit of a trek winding your way down through the village to Wicket but if you just follow the markers you'll get there eventually. The in-universe way is to follow the Ewok but he's easy to lose track of.
Chapter 4
The Chewbacca Defence
| Silver | Blue | Purple |
|---|---|---|
| 36,666 | 73,333 | 110,000 |
[Navigate through the forest.]
Follow the path westwards for a bit until you reach a wall with a glowing crack in it. To break through this you'll need to use Wicket's Scavenger Breaker Blaster. Depending on the order you're playing through the movies this level could be the first time you've used a Scavenger and in that case will serve as a tutorial and unlock for the Scavenger tools.
To use the Breaker Blaster you hold down the displayed button and then select Breaker Blaster from the options. You then use it like any regular long range weapon and blast open the crack.
On the other side of the wall are some Stormtroopers you'll have to defeat. Once you've defeated all the ones on the ground approach the turret and an Ewok will swoop in on a glider to blow it up.
You now have a choice, either build a Wooden Hammer or an Ewok Horn. In this particular case your choice actually matters as each one goes down a completely different path through the next section of the level and you can't do both in one play through.
If you build the hammer jump onto the bar to smash the barricade blocking the path and then assemble a ladder out of the LEGO bricks. Using Chewbacca go up the path and use his Scoundrel Opportunity to shoot the lights above the Stormtroopers to kill them.
Next to the picnic are some white crates that will be slightly glowing, smash them to get the bricks to build a pulley for the elevator. Climb aboard!.
[Find a route through the Ewok treehouses.]
After riding the lift up go off it to the east to a tree which has both directions blocked by a tall fence. Now you get to use the Net Launcher. Pull it out and aim it at the fence, you'll see a red outline of a net until you aim it at the correct location (the large X) where it will turn green. Fire it then to create a net that you can jump up to to climb over the fence.
On the other side you'll see a large stack of barrels and crates, go around the side of it to where there are some handles you can grab to shove it off the side. You'll need to replace that net with one of your own to climb up to where that Ewok just glided from.
You can now use the Glider. Pull it out and then run and jump and then try to double jump but keep holding the jump button to glide instead. Glide over to the opposite side where you can pull the lever to drop the bridge to let Chewbacca over.
[Free the captive Ewoks and destroy the AT-ST!]
Suddenly an AT-ST will appear. Shoot at the Stormtroopers on the platforms on either side as well as the cages that are holding Ewoks. If you free the Ewoks on both sides they will cut the log trap and smash the AT-ST.
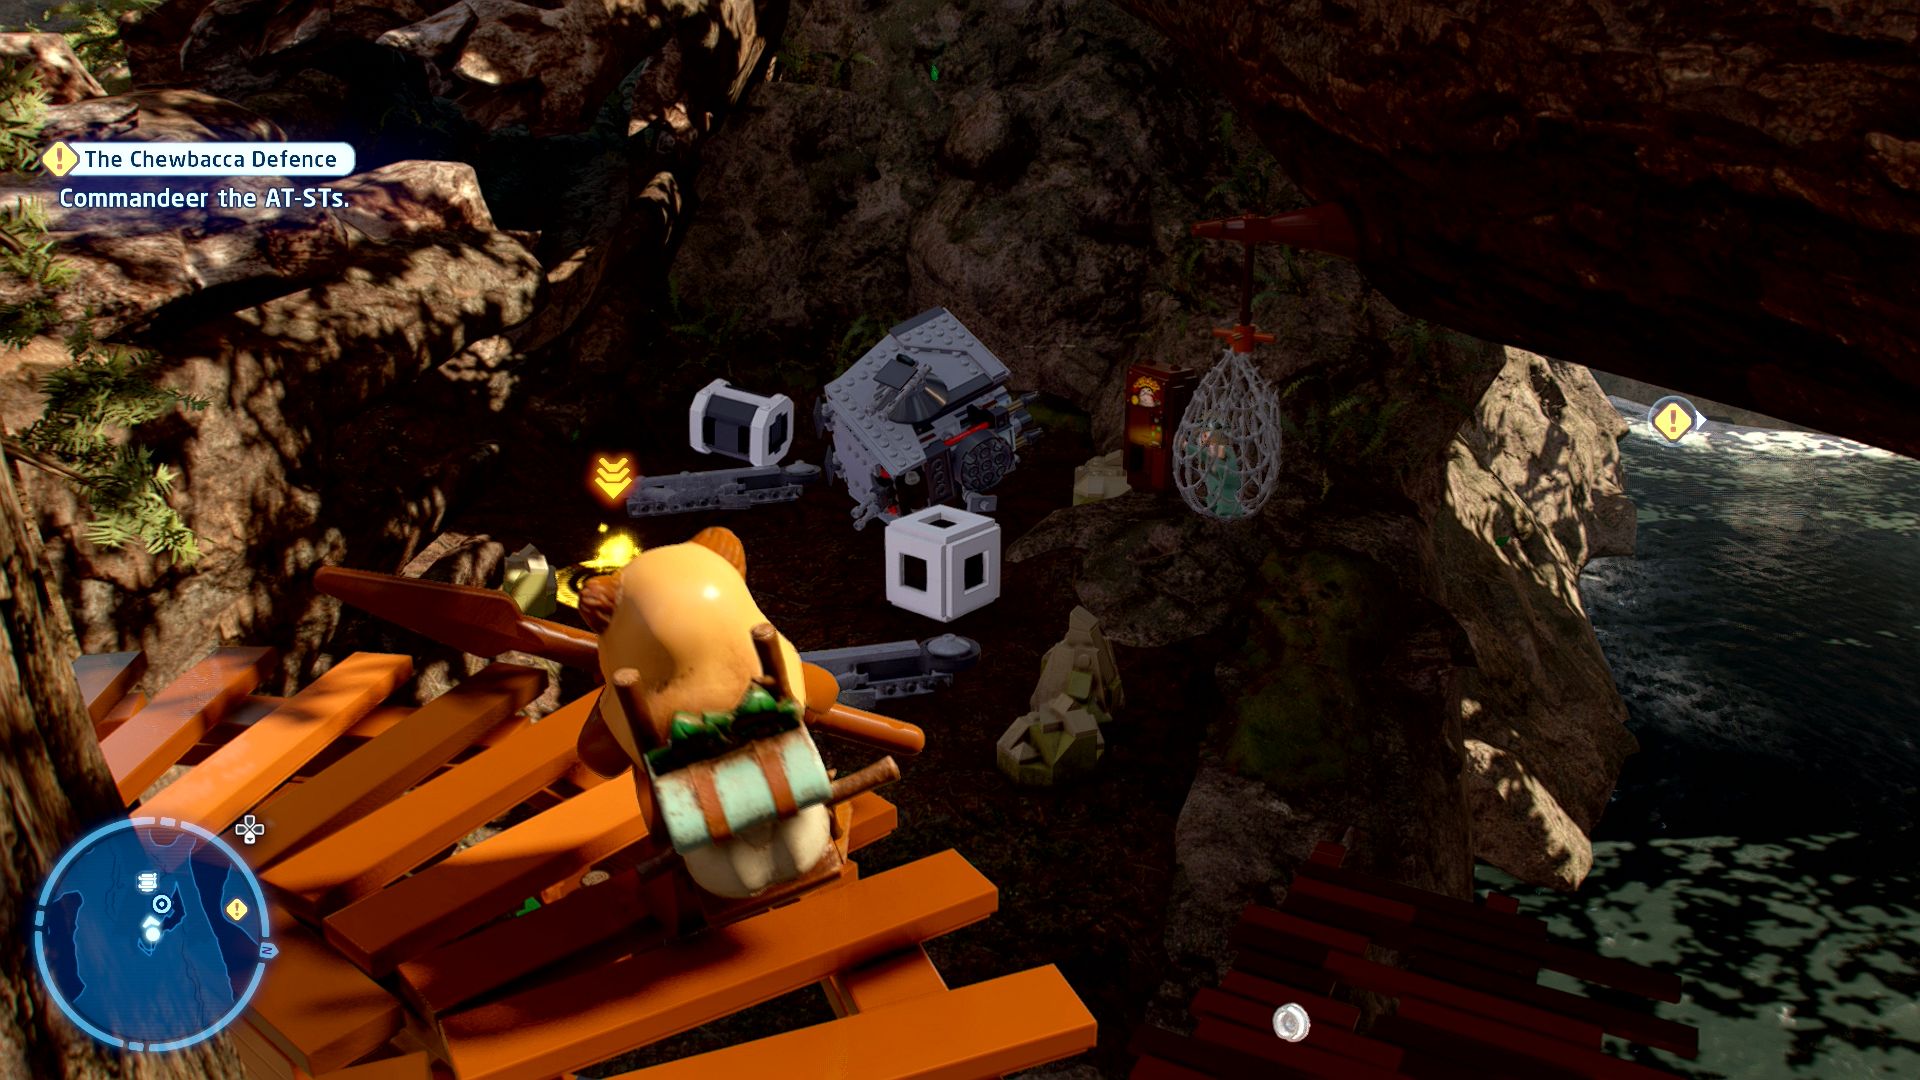
[Commandeer the AT-STs.]
If you moved go back over the lowered bridge and through the gate just past the lever that will now be opened for you. You'll automatically swing over and take control of a couple of AT-STs.
Alternatively if you build the Ewok Horn then it will summon an AT-ST to destroy the wall blocking the path to the right instead.
[Use the turret to destroy the AT-ST!]
Advance across the bridge taking care to focus on the turret first. Once you've beaten them reassemble the turret and use it on the AT-ST at the back.
[Navigate through the forest.]
Just past the destroyed AT-ST is a ledge with an outline of a net on the side. Build the blueprints table to learn how to shoot a Net Launcher.
Climb up the net and around the corner you'll encounter an enormous hollow fallen tree blocking your path. Smash the nearby white crates to find a power cell that you can plug into the socket on the left.
Both characters will need to hang onto the bars of the saw to pull it down and open the tree up to go through.
At the end are spots to fire two nets, climb them up and jump out to where you're going to learn how to use a Glider.
[Commandeer the AT-STs.]
Glide off down to the right towards the herd of AT-STs.
[Rescue your friends at the shield generator.]
At this point both paths converge. Shoot the other AT-STs and start walking forwards shooting another pair of AT-STs that saunter in. With them destroyed you've beaten the level.
Level Challenges
- Ewok and Roll
- Blast the loose rocks with the AT-ST to take out Stormtroopers.
- During the AT-ST section shoot a large pile of rocks on the righthand side of the path.
- Helmet Drum Collection
- During the first cover shooting section, land 3 headshots on the Stormtroopers.
- At the start of the level take aim and shoot the heads of three troopers. Chewbacca's weapon may be easier to aim than Wicket's.
- Sweep the Legs
- Trigger the log trap against the AT-ST.
- Take the Ewok Horn path and when you get to the AT-ST that you would normally shoot with the turret you should instead shoot the Gold LEGO up to the right to release a pile of logs. Normally you need a Bounty Hunter to break Gold LEGO but you can just use the turret this time.

Minikits
Minikit 1/5 - Ewok-A-Mole
Requires: None Story Mode: Yes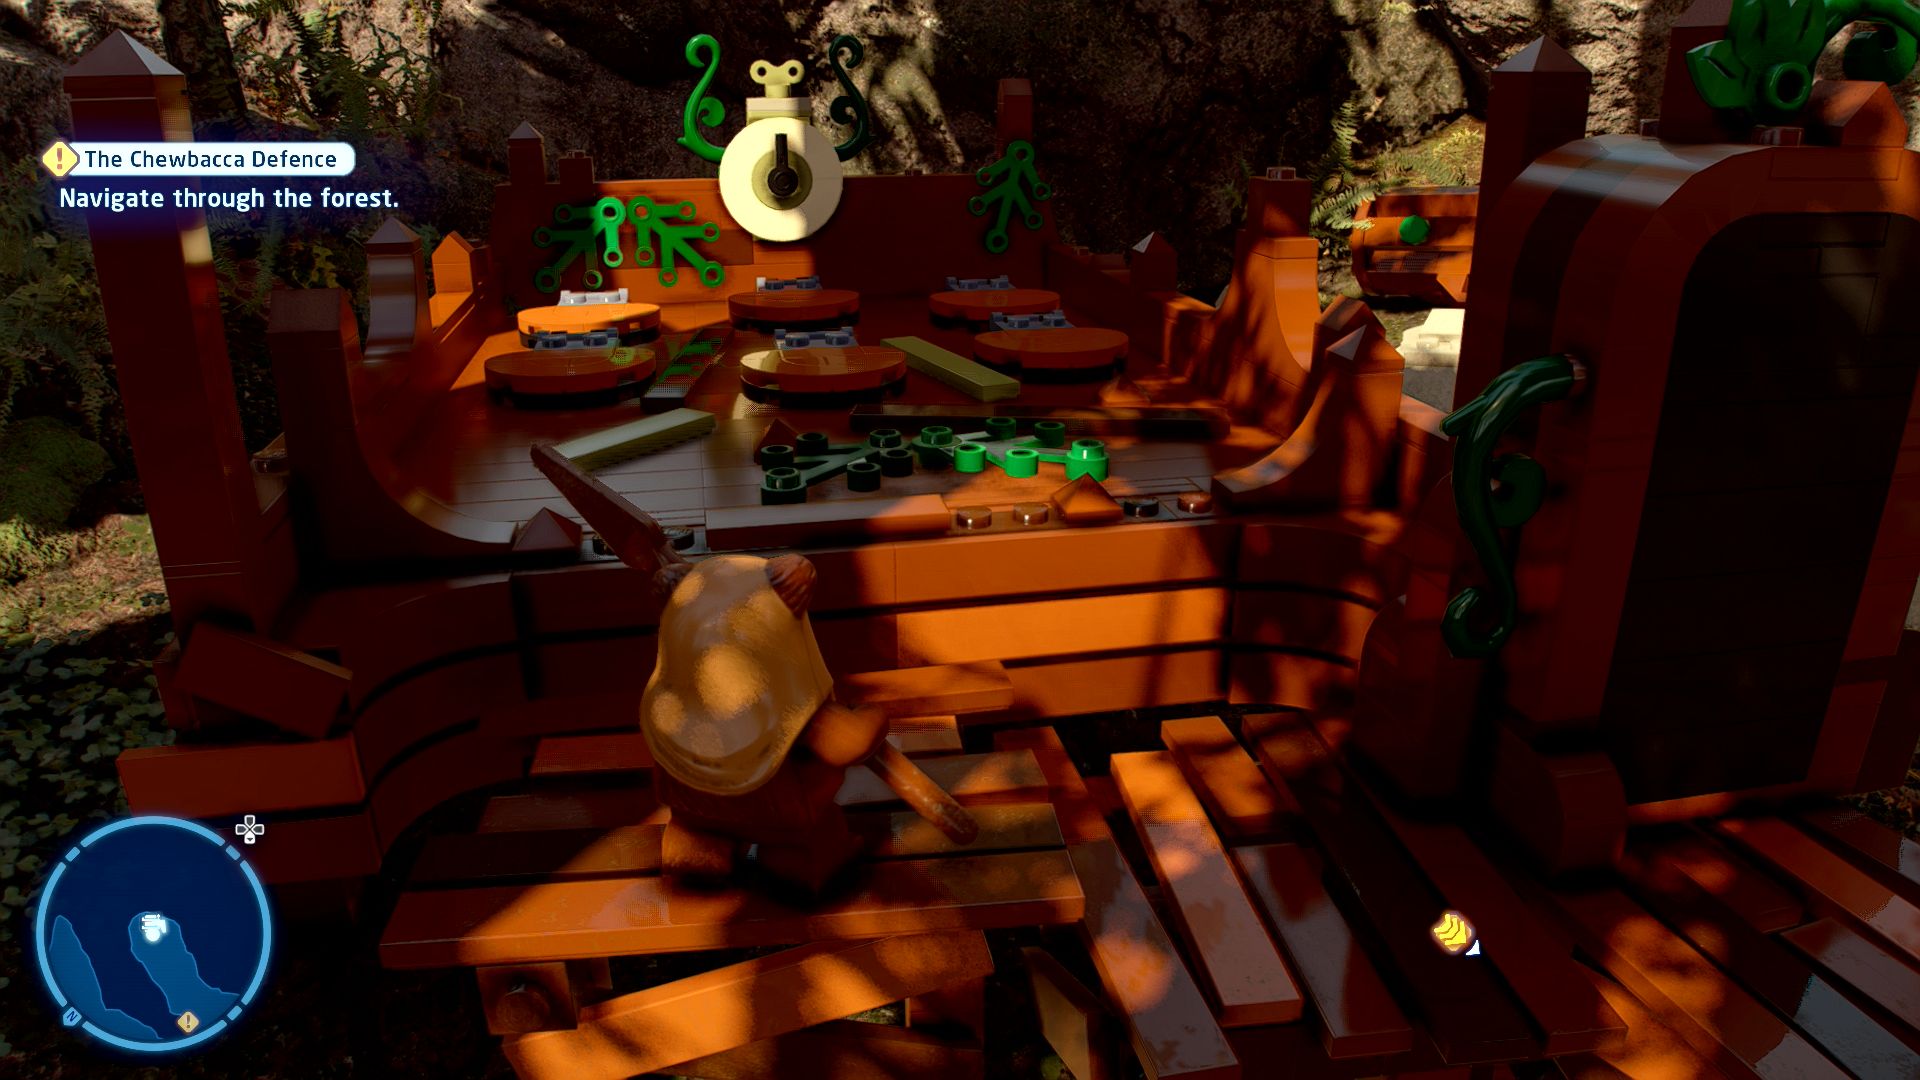
Take a moment to enjoy a traditional Ewok game!
At the start of the level turn around to find the game set up. Smash the nearby white crates and build the lever that swiches it on.
Minikit 2/5 - Endor-Net Access
Requires: Long Range Weapon Story Mode: Yes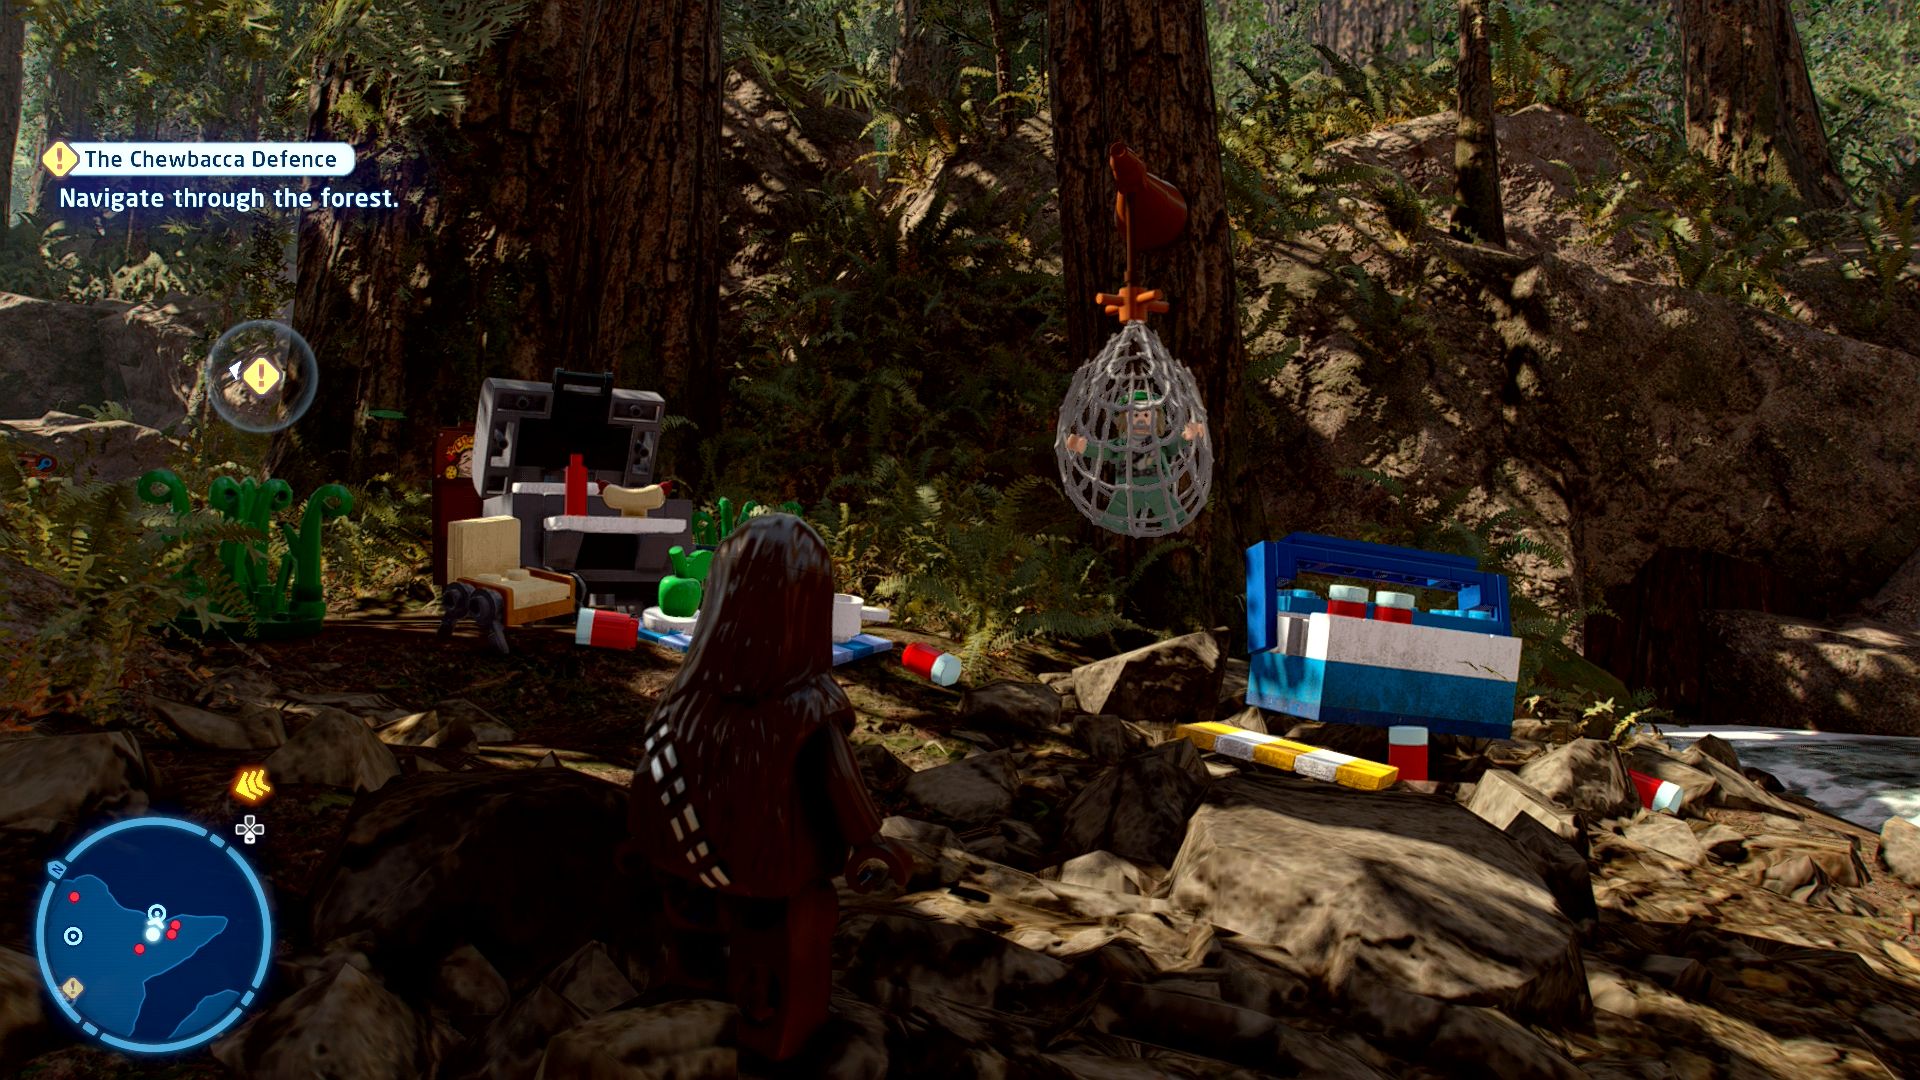
What is it with rebels and nets...?
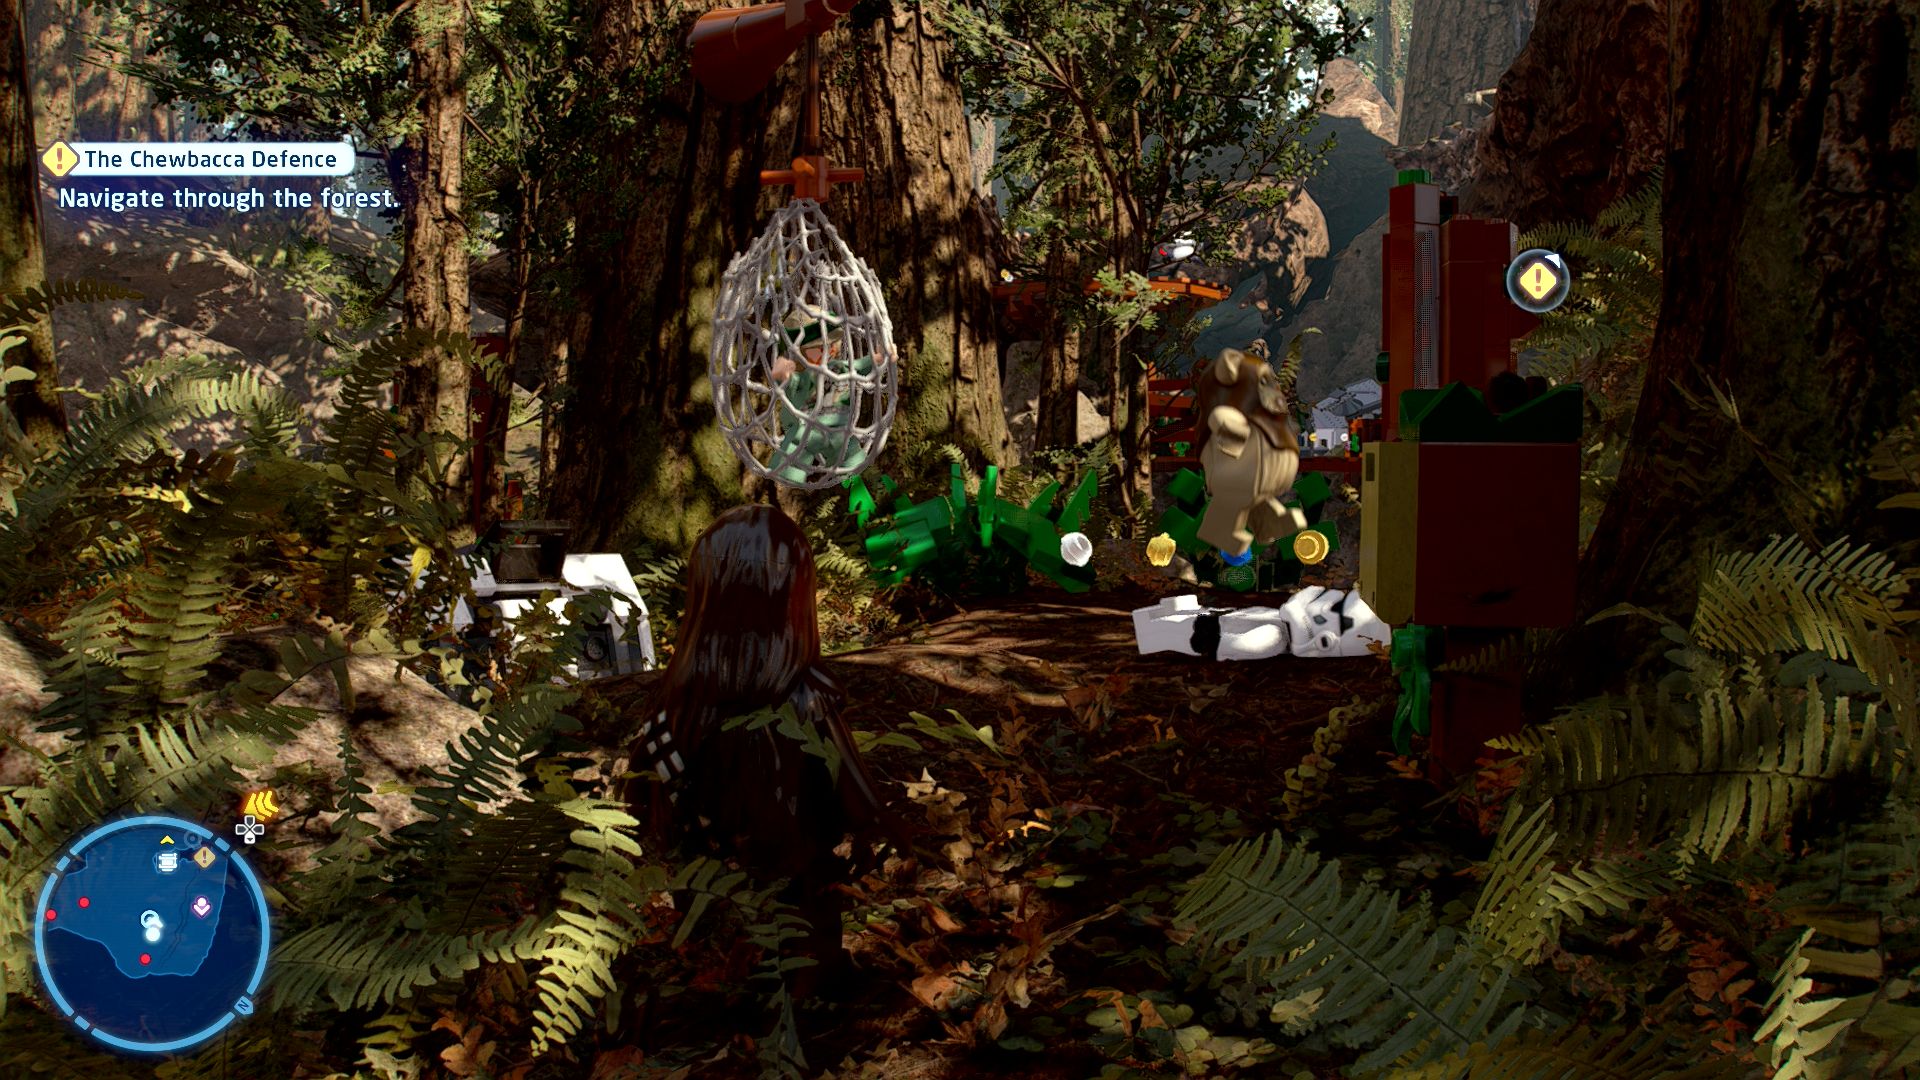
There are three rebels trapped in nets along the Ewok Horn path. One by the waterside picnic to the right of the bridge. The second is near the first time you use a Net Launcher. And the third is in the area reached by Lightsaber or Glider.
Minikit 3/5 - Heads Up!
Requires: Villain and Lightsaber or Glider Story Mode: No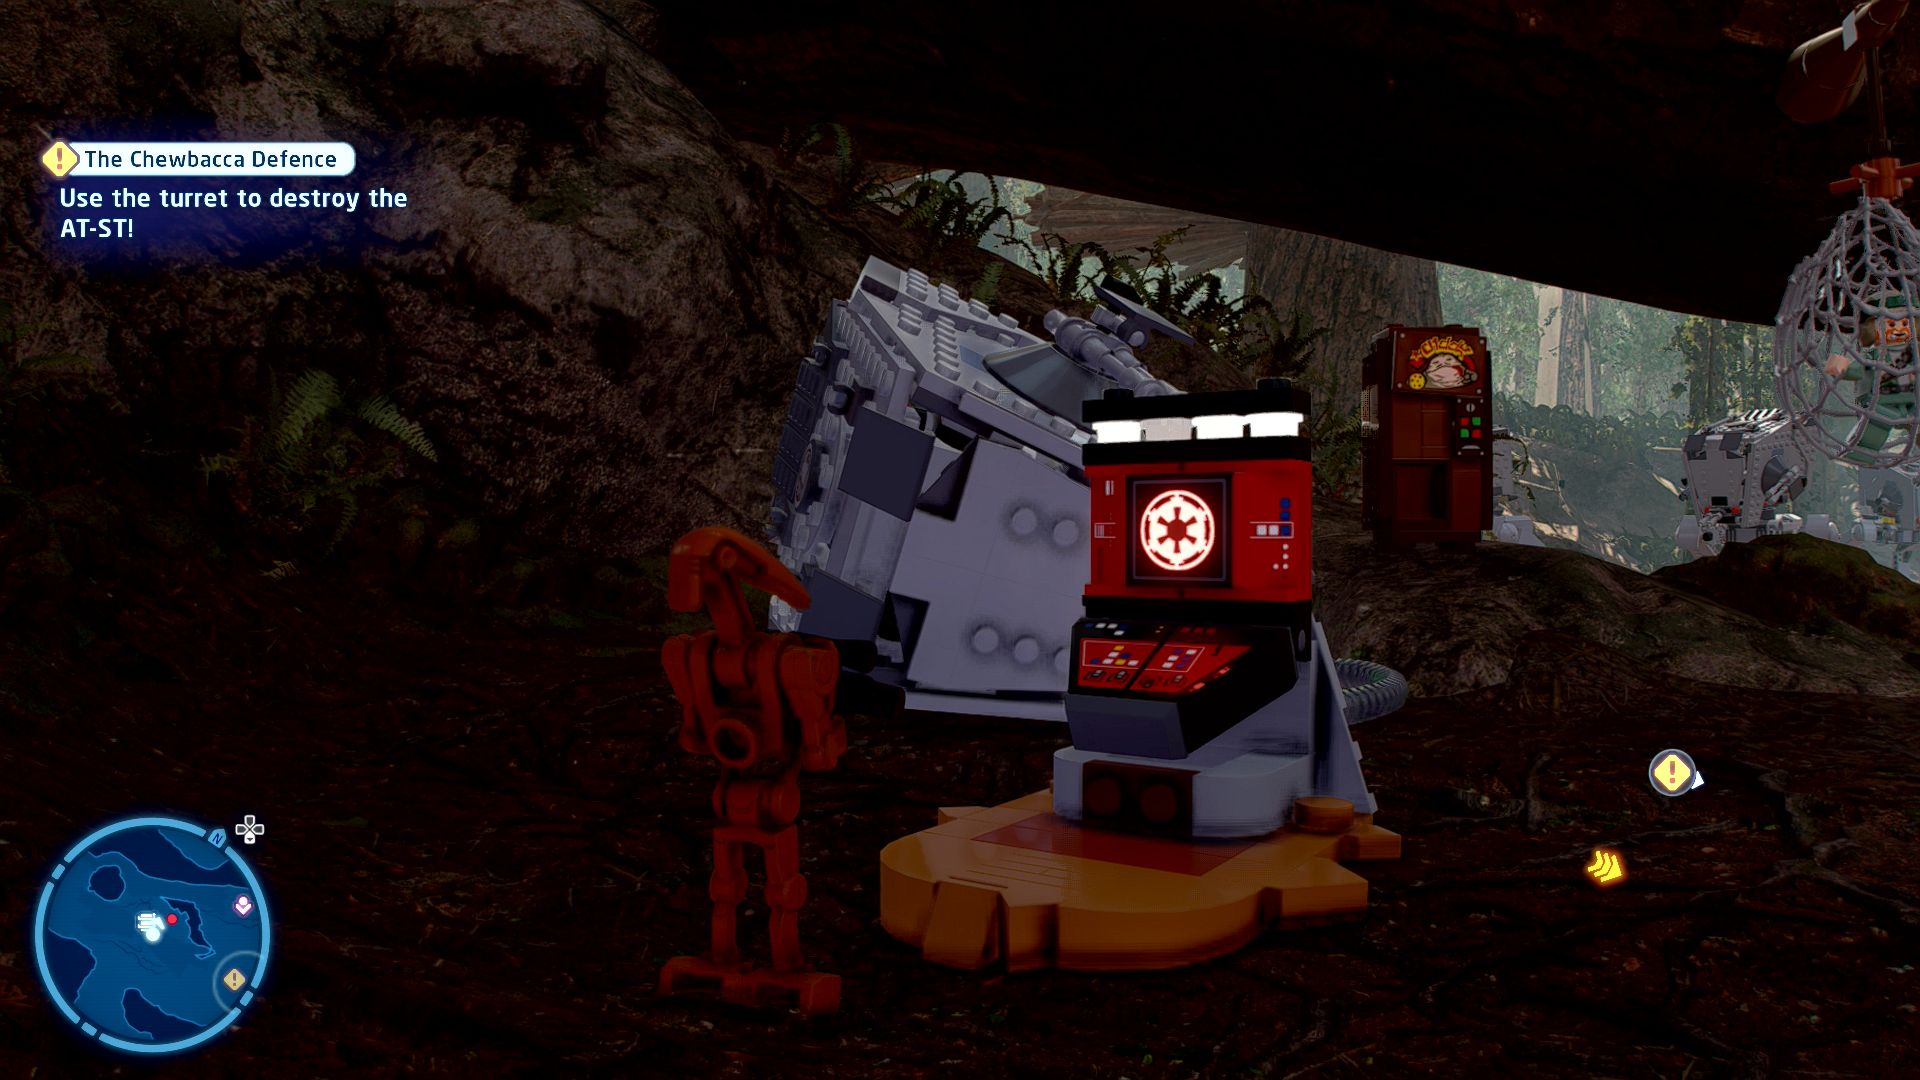
Battle-damaged vehicles may contain valuables.
Down the Ewok Horn path lightsaber through a wall and smash all the objects on the floor next to the fallen AT-ST. From the bricks build a Villain Terminal to crack it open.
Minikit 4/5 - Tree Top
Requires: Scavenger Glider or Lightsaber and The Force Story Mode: Yes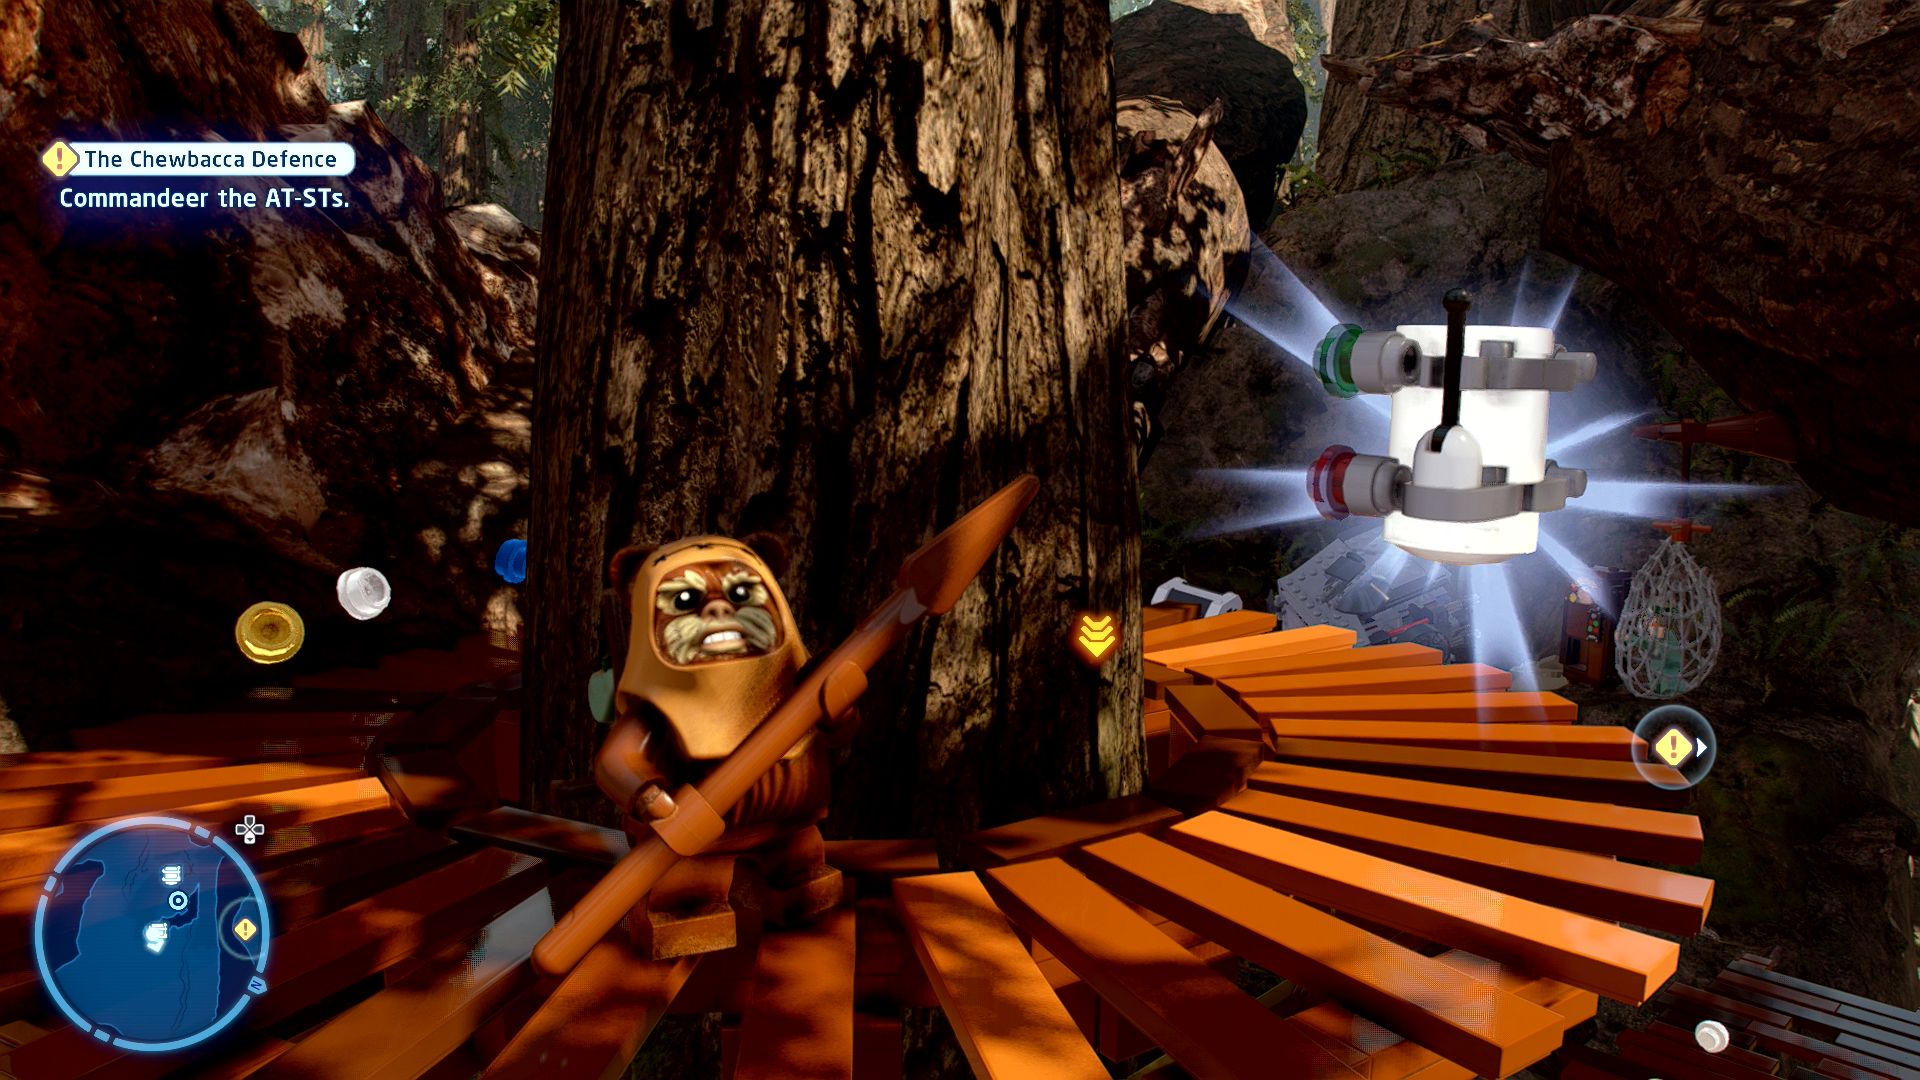
Endor has many trees, big and small, many hiding something valuable...
From where you learn the glider on the Ewok Horn path go to the right along the swing poles and stand on top of a couple of Force moveable crates. Equip the glider and glide south around the bottom of the large hollow tree to a platform with this minikit. Or, more intended, lightsaber through a wall at the start of the Ewok Horn path and assemble a tower of crates to climb up to this minikit.
Minikit 5/5 - Speeder-Bike Lane
Requires: None Story Mode: Yes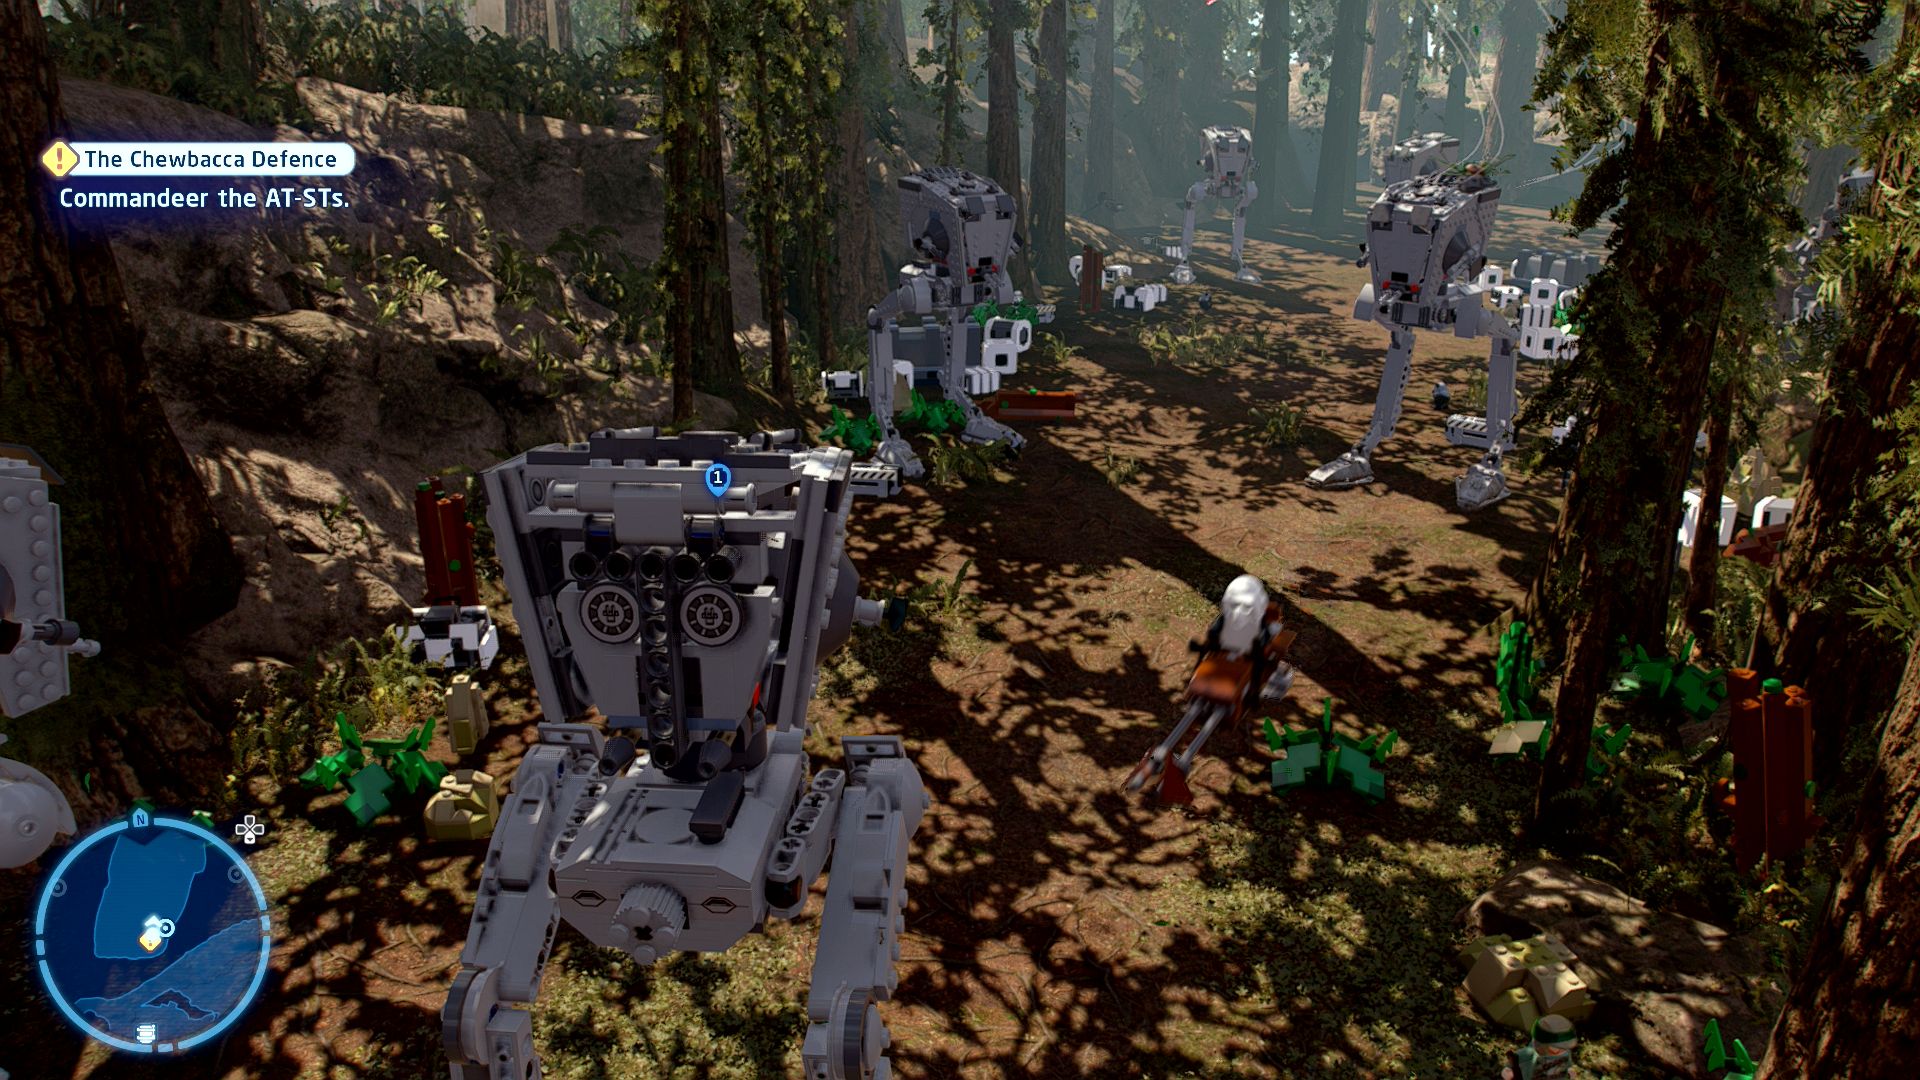
Speeder bikes are always in the way of the road...
During the AT-ST section shoot or walk in the way of three speeder bikes.
TIE Interceptor

Based on set 75031
TIE Interceptor
| Cost | Character | |
|---|---|---|
|
|
- | Wicket |
Episode VI
RETURN OF THE JEDI
The story so far...
- With the recent revelation heavy
- on his mind, Luke finally found
- time to share the truth with Leia;
- they are siblings, and Darth Vader
- is their father. Pretty heavy stuff,
- huh?
- As the assault on the Shield
- Generator continued, the Rebels
- joined forces with the furry locals
- to try and change the tide. Their
- teamwork was successful, and
- the rebel-Ewok combo was able
- to gain access to the generator.
- Sensing his father's presence,
- Luke left the rebels to confront
- Darth Vader aboard the Death
- Star. Now by his father's side, it is
- time to fulfil his destiny....
Death Star II
An Expected Visit
[Meet with The Emperor.]
Follow the markers through the Death Star II until you reach a door blocked by a Stormtrooper with orders to only let the Skywalkers through. You'll need to use the Force to influence him and use the Villain Terminal to open the door.
Up the slope you will next need to influence a Stormtrooper on the other side of the window into walking onto the button on the floor to activate a Villain Terminal on your side of the glass. There's another Stormtrooper in the same room as you, go influence him to solve the Villain Terminal.
It's then just a straight walk through some Royal Guards to the level start point.
Chapter 5
Fulfil Your Destiny
| Silver | Blue | Purple |
|---|---|---|
| 10,000 | 20,000 | 30,000 |
[Fight!]
You've fought Darth Vader before now do it again. He's got all the same moves as before so move out of the way whenever you see the red markings on the ground and attack while he recovers.
If you're playing co-op one of you will be playing as Darth Vader and will have to lose the fight to progress.
After Luke jumps away onto the upper section press the buttons that come up to dodge Vader's attacks and, after he takes out two supports, fall down to the lower section.
[Hide from Darth Vader.]
Keep out of Vader's orange cone of vision as you move out from underneath the platform.
[Fight!]
Time to take out Vader's second health bar. There'll be the usual lightsaber clash at the end of the fight to finish it.
[Defeat the Emperor!]
Now you're teaming up against the Emperor. Reflect his Force Lightning attack back at him to damage him a little.
[Defend against the Royal Guard.]
When he gets damaged he summons some Royal Guard to attack you while also sending bolts of Force Lightning at you clearly marked by red circles on the ground. This will all repeat until you're over halfway through Emperor Palpatine's health and he jumps down off his platform.
[Defeat the Emperor!]
The remaining part of the battle requires you to rapidly tap buttons and then reflect the Force Lightning back at him again. Keep doing that as you advance further forwards until his health is gone and you've beaten the episode.
Level Challenges
- I Will Not Fight You, Father
- Make your way past Vader without being detected.
- Avoid Vader's cone of vision when you fall down to the lower section. Very easy to just go along the edge.
- Let the Hate Flow Through You
- Cause damage to one of Palpatine's guards, by luring them into one of his attacks.
- Instead of directly attacking the Royal Guard try to get them to walk into the Emperor's red circle attacks.
- There is No Conflict
- Find the Empire Weapons Crate and use the weapons within it.
- A Villain will be required to open one of these crates next to the elevator during the fight with the Royal Guards.

Minikits
Minikit 1/5 - Emergency Empire Access
Requires: Imperial Access Story Mode: Yes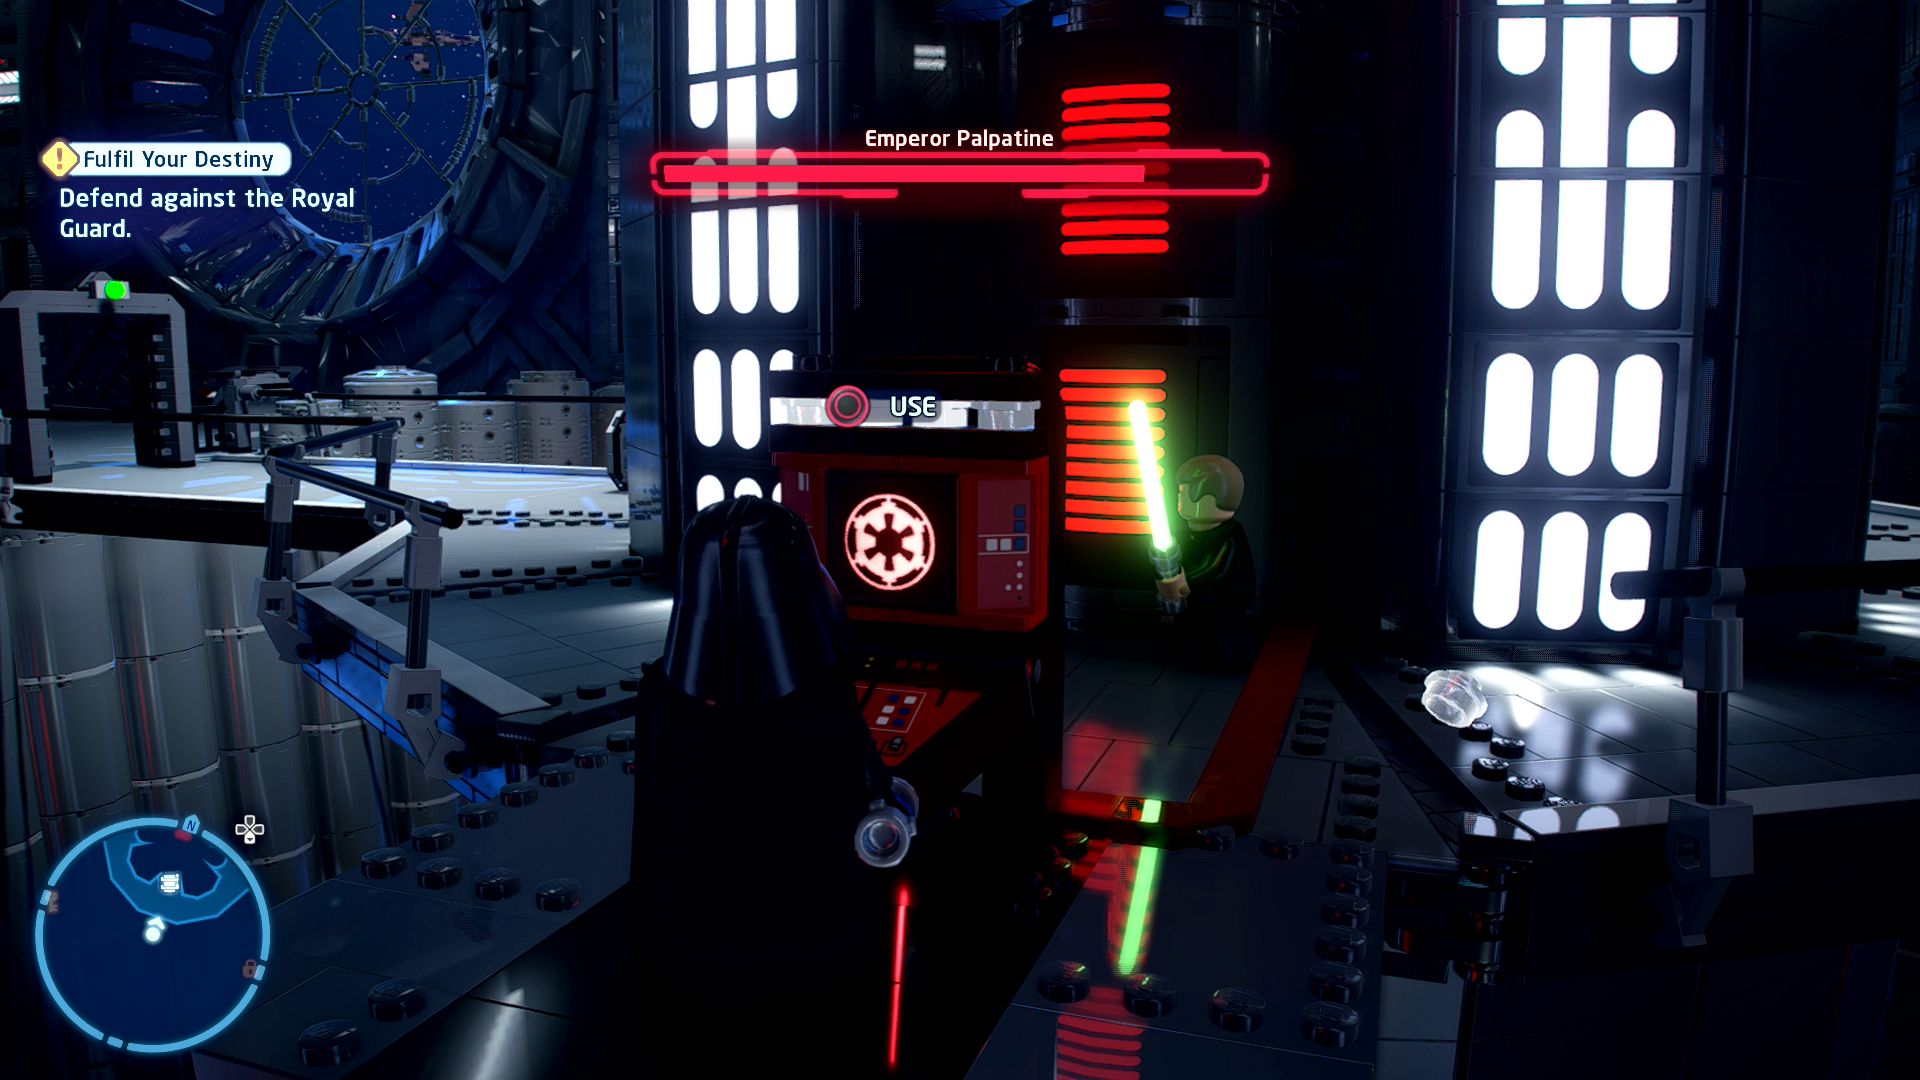
An elevator with that much security must transport something good!
During the fight with the Royal Guards go to the back of the elevator and use the Villain Terminal to open it up.
Minikit 2/5 - Always Check Behind the Chair
Requires: None Story Mode: Yes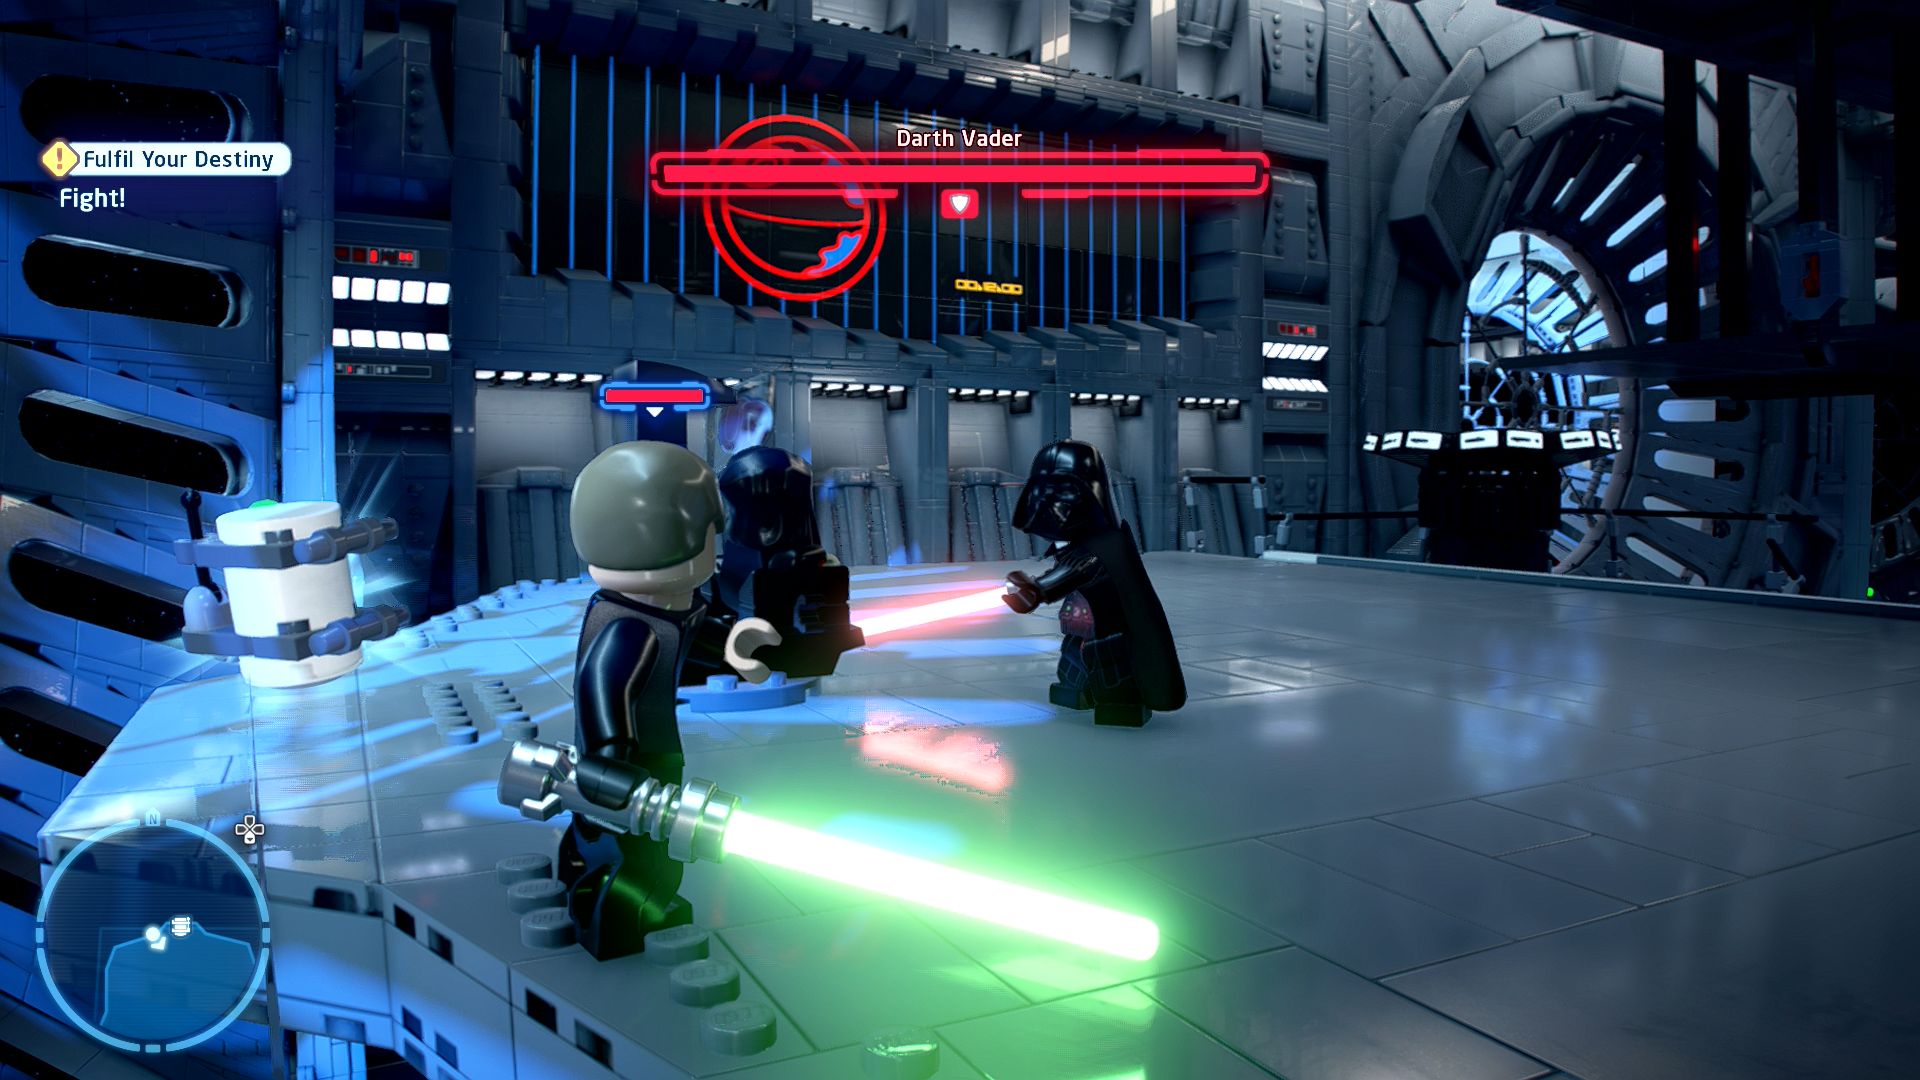
People are always dropping things down there...
While fighting with Vader at the start of the level go behind the throne to pick up this minikit.
Minikit 3/5 - Peculiar Protocol Password Panel
Requires: Protocol Droid Story Mode: No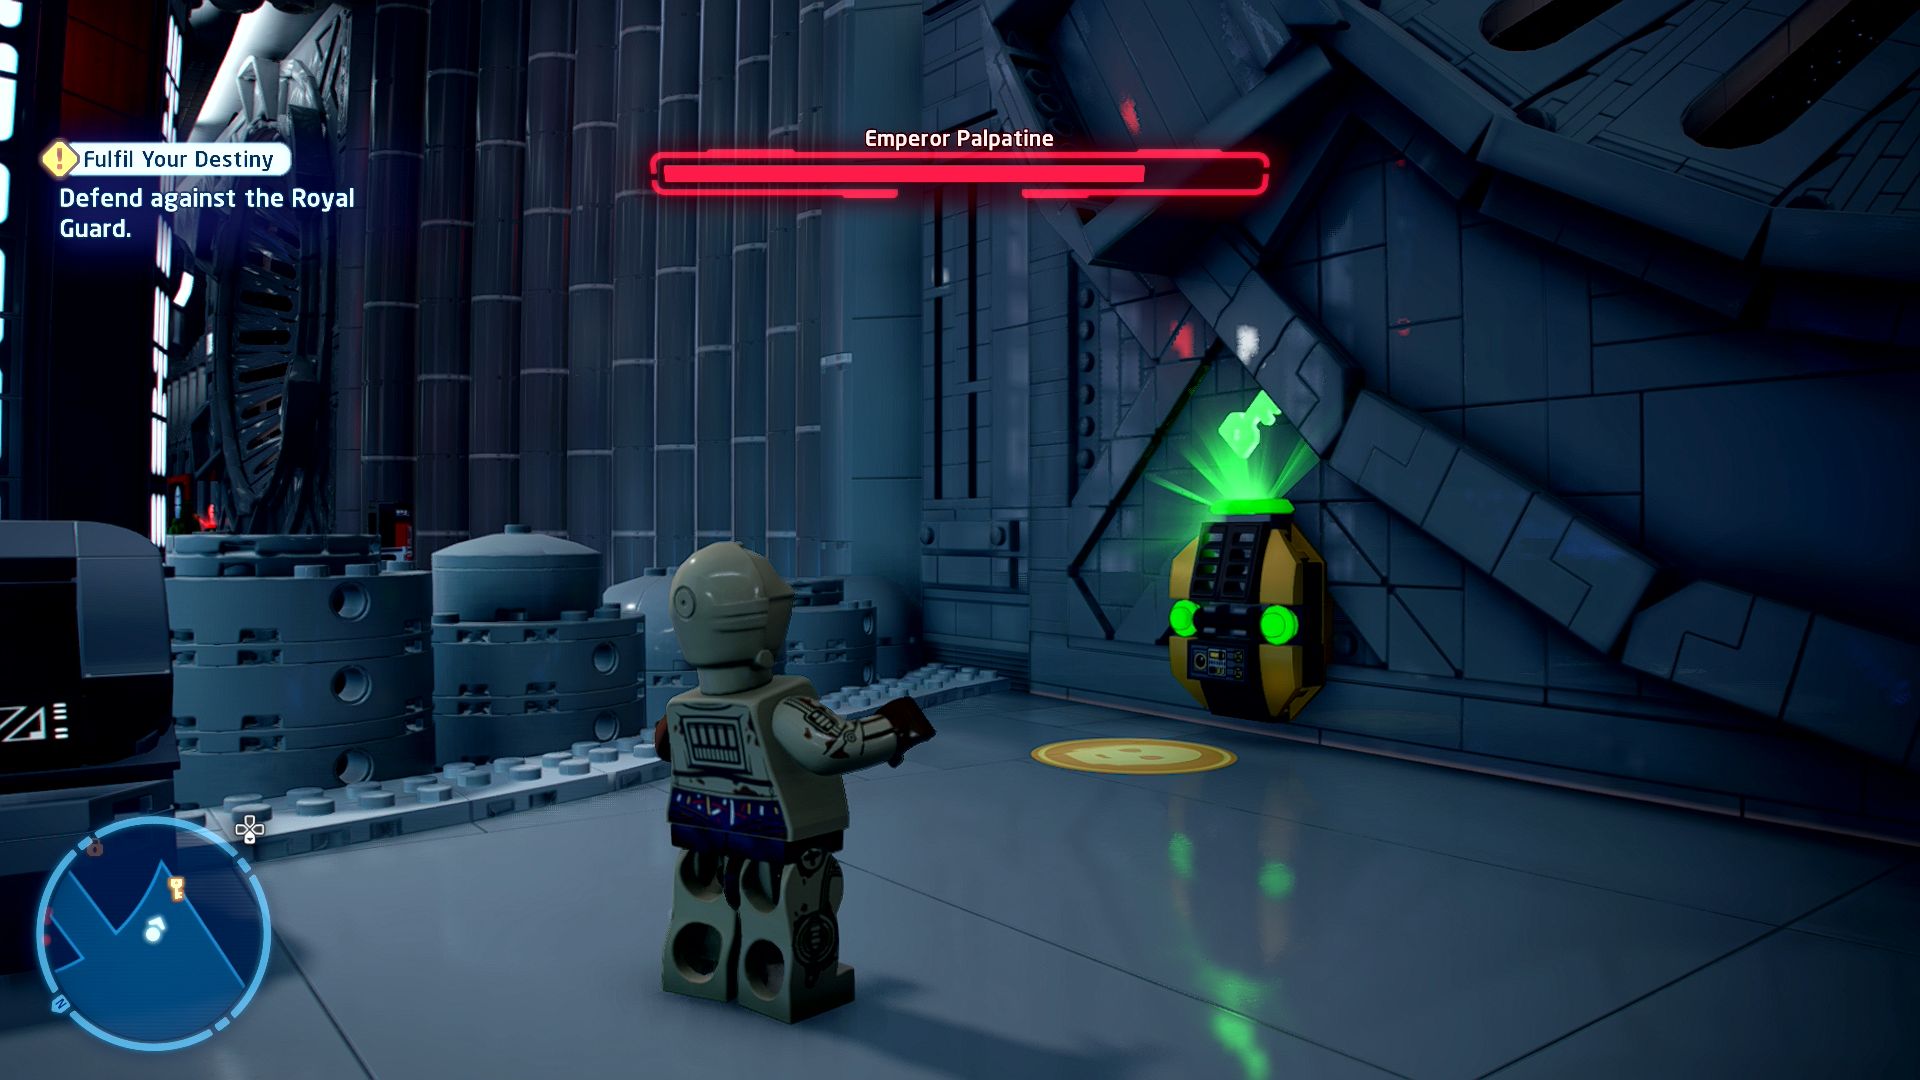
Maybe a protocol droid could make sense of the images on the wall monitor.
In the southwestern corner of the level during the fight with the Royal Guard a Protocol Droid can get the Death Star Throne Room Monitor password from a Terminal. Input that password in a Terminal on the eastern side behind a plant pot.
Minikit 4/5 - Mint Condition
Requires: The Force Story Mode: Yes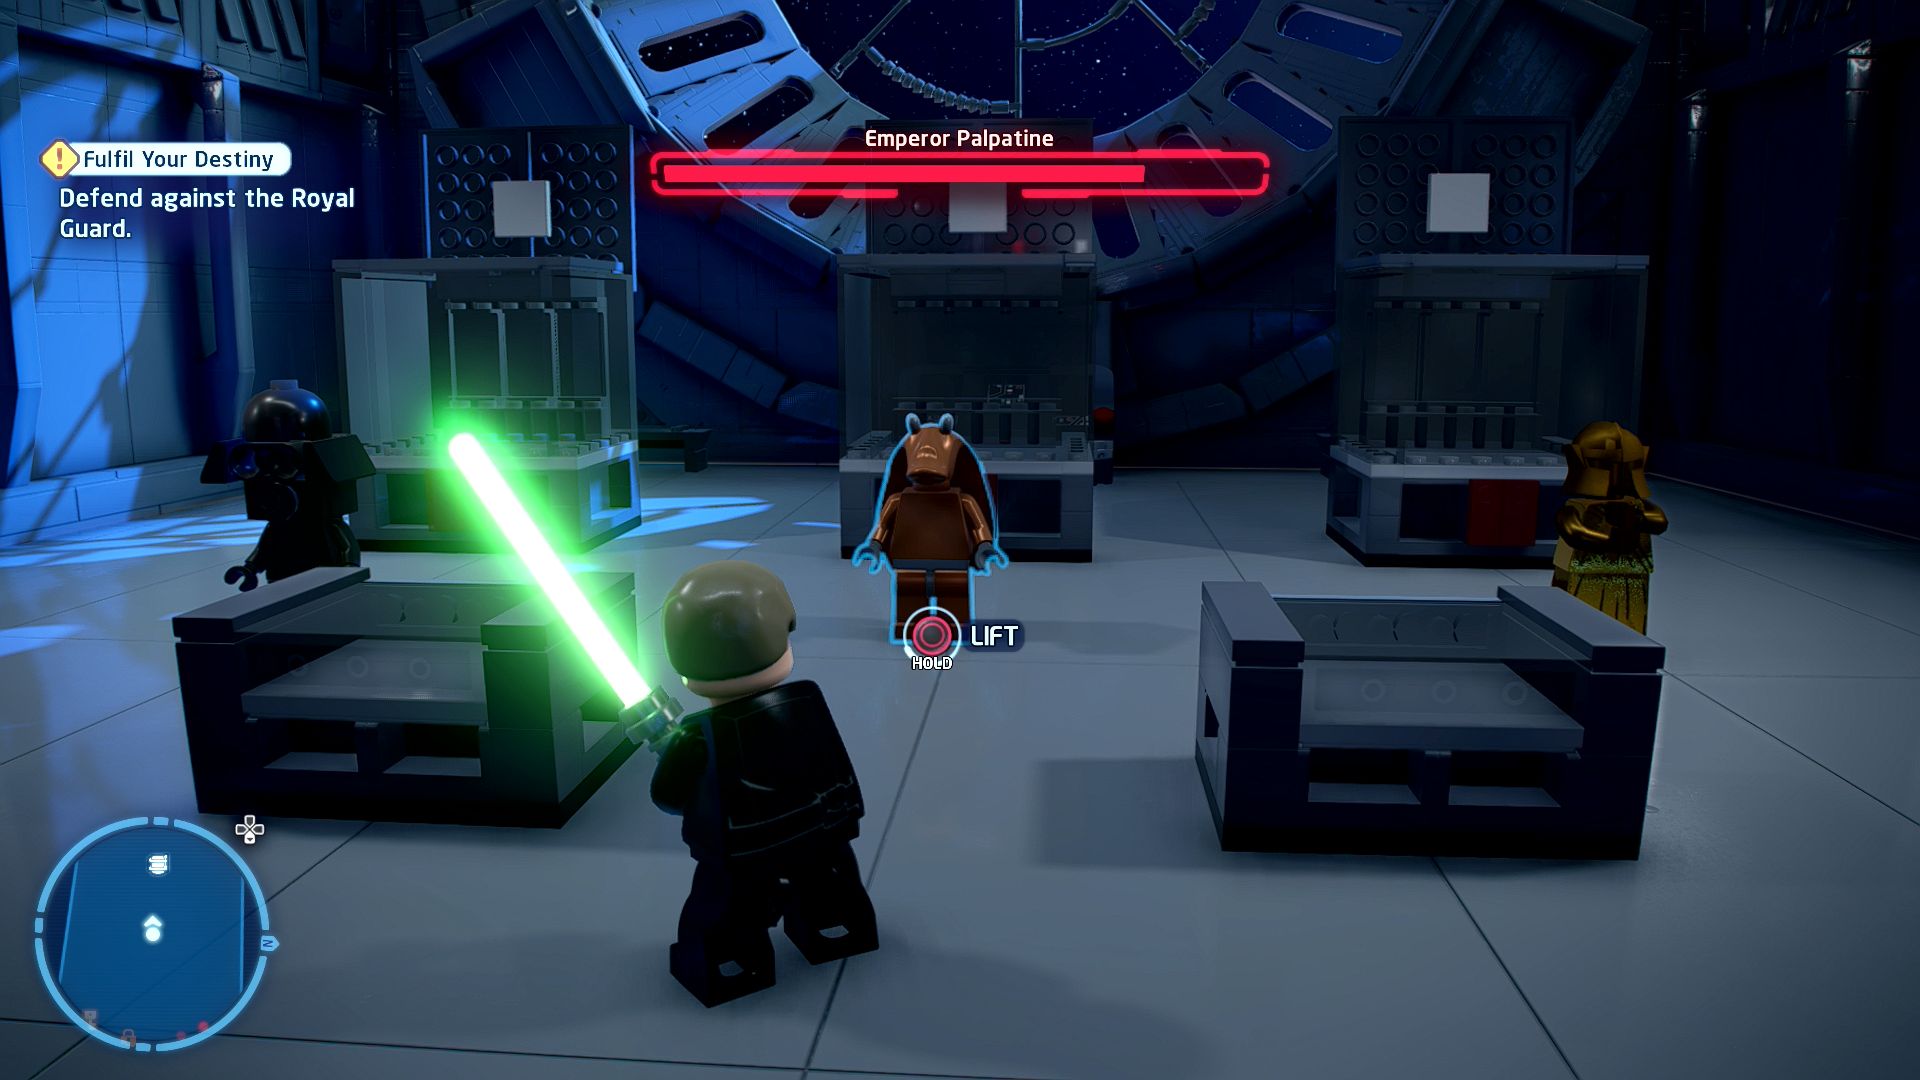
Someone's opened the Emperor's toys! Get them back in their correct boxes before he notices.
While fighting the Royal Guard go off to the southwest corner of the level and use the Force to move three figures into nearby boxes. The trick is that you need to put them in the correct boxes. Jar Jar goes in the right box, Fake Vader in the middle box, and the robed figure in the left box.
Minikit 5/5 - Feeling Deflated
Requires: None Story Mode: Yes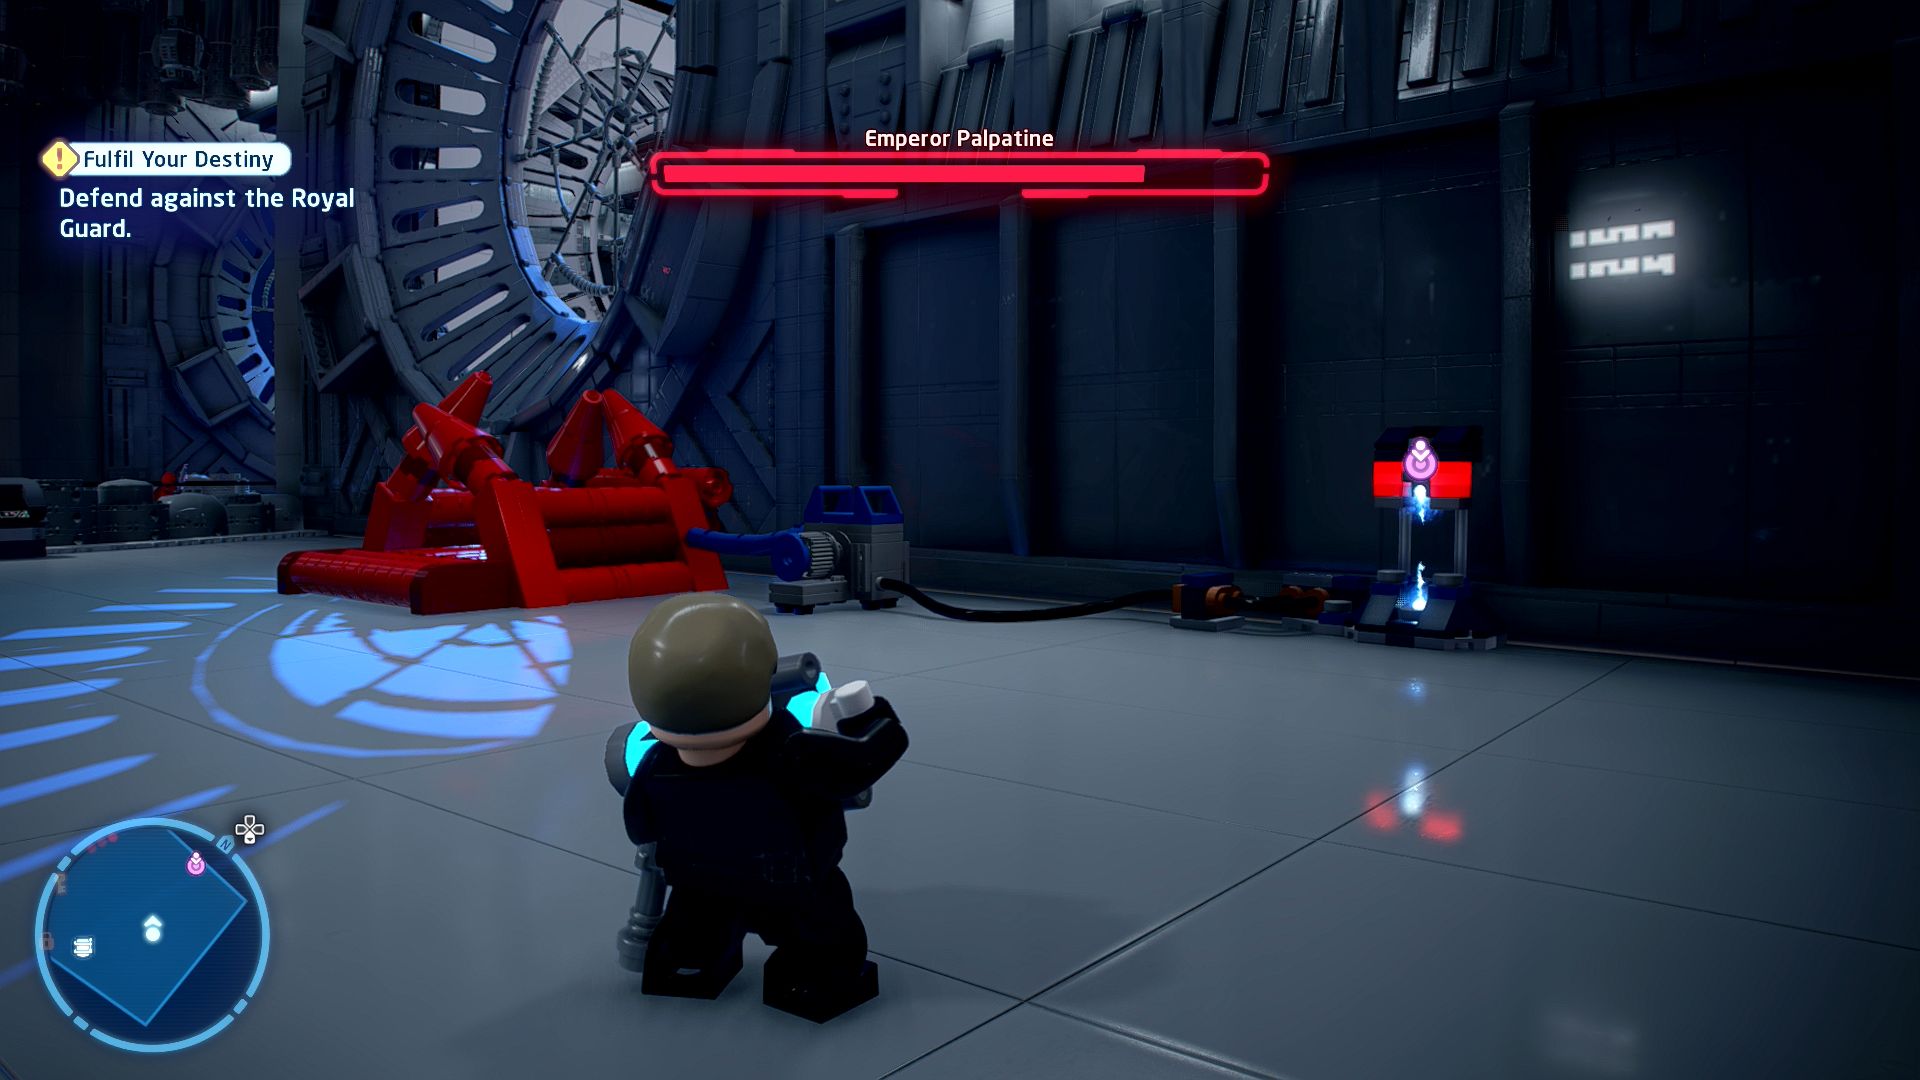
It doesn't matter where the power cell comes from. Bouncy castles are priority!
During the fight with the Royal Guards go to the southeast corner of the level. Smash the console against the far eastern wall to reveal a power cell that you can plug in nearby to power the bouncy castle.
Death Star II

| Cost | Character | |
|---|---|---|
|
|
- | Lando Calrissian (Episode VI - General) |
|
|
200,000 | Darth Vader (No Helmet) |
Episode VII: The Force Awakens is next chronologically.
 darkspyro.net