Indiana Jones and the Last Crusade
Chapter 1. The Hunt for Sir Richard
| Story Mode | Free Play |
|---|---|
| 50,000 | 60,000 |
Go to the right past a High Jump spot and pull the lever on the corner. The awning above will extend but there's still more to do before we do anything with that. Keep going to the right and underneath a pair of green and yellow awnings you can find a second lever to pull.
With all the awnings extended head back to the start of the level and have Elsa high jump up onto the rope.
Artefact Piece 1/10
Requires: High Jump, Explosives/Scream Story Mode: No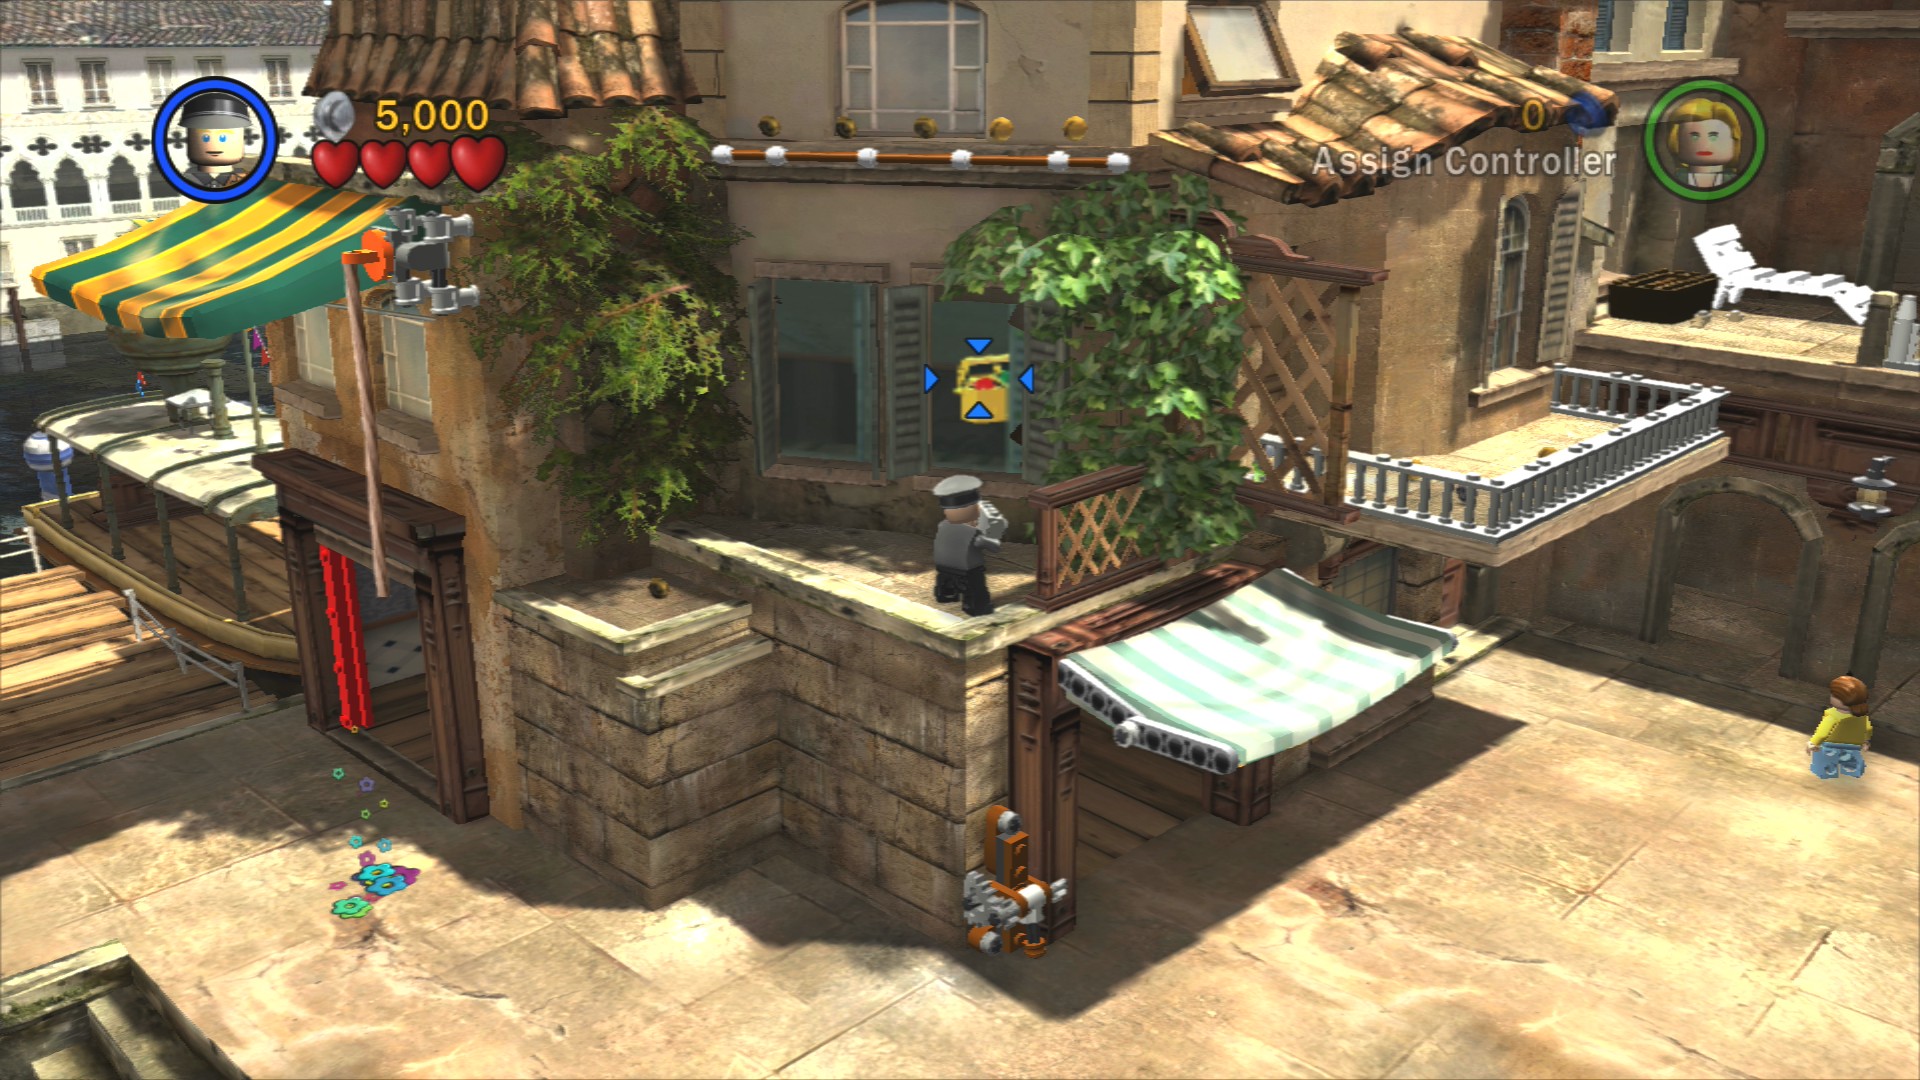
Blow up the windows with explosives or a scream to get inside.
Jump on top of the first awning and use it to bounce over to the balcony to its right. And from there jump to where there's a couple of sunloungers. From there you can hop onto the green and yellow awnings and bounce over to the key on the balcony to their right.
With the key in hand jump back down and head over to the gear to the right of the fountain. Turn it and a whip swing spot will appear. Have Indy swing over and then smash through the grille at the back where there's a key for raising the bridge so the others can cross over too.
Artefact Piece 2/10
Requires: Access Hatch Story Mode: No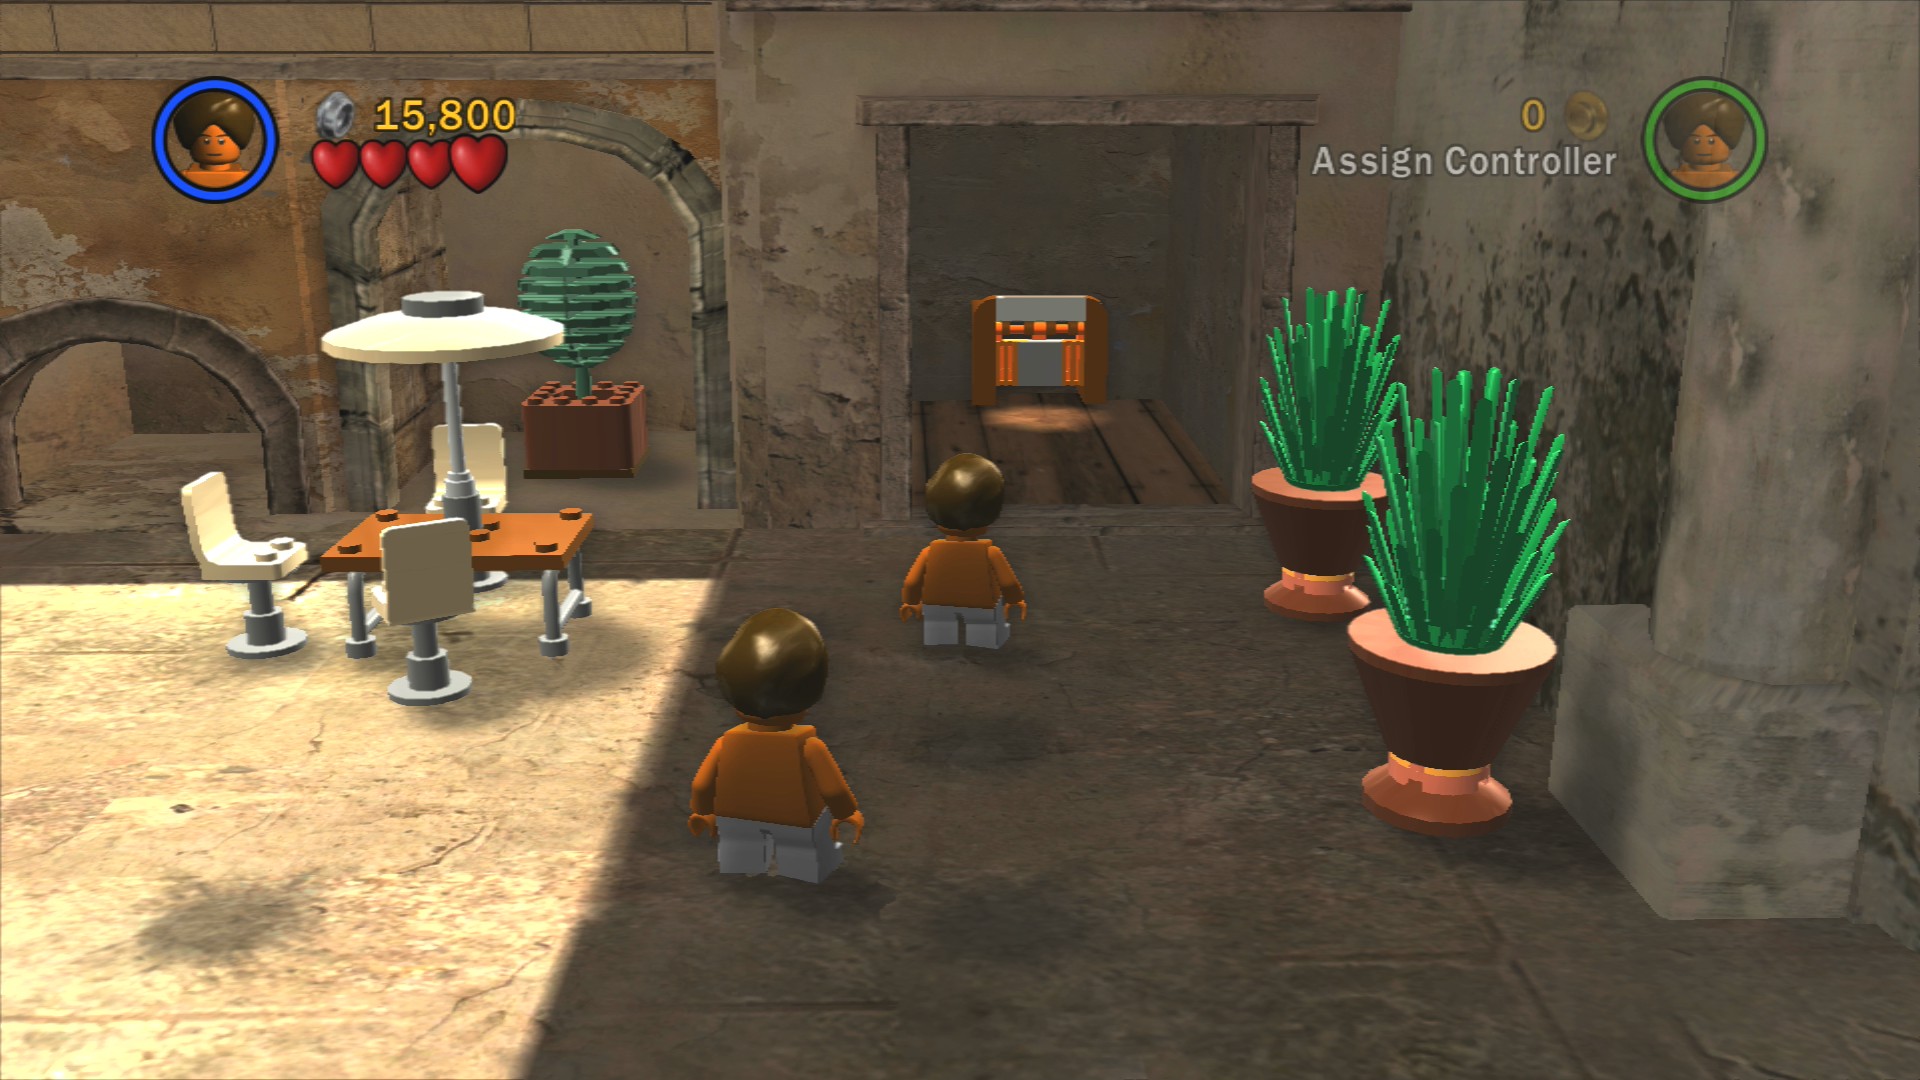
Behind the tables to the right of where you find the key is a shop counter that you can smash to get the parts for an access hatch to crawl through.
Up top go to the left into the area above the water gate and you'll find the Artefact directly above the gate.
Red Parcel - Parcel Detector
Requires: Access Hatch, Whip Story Mode: No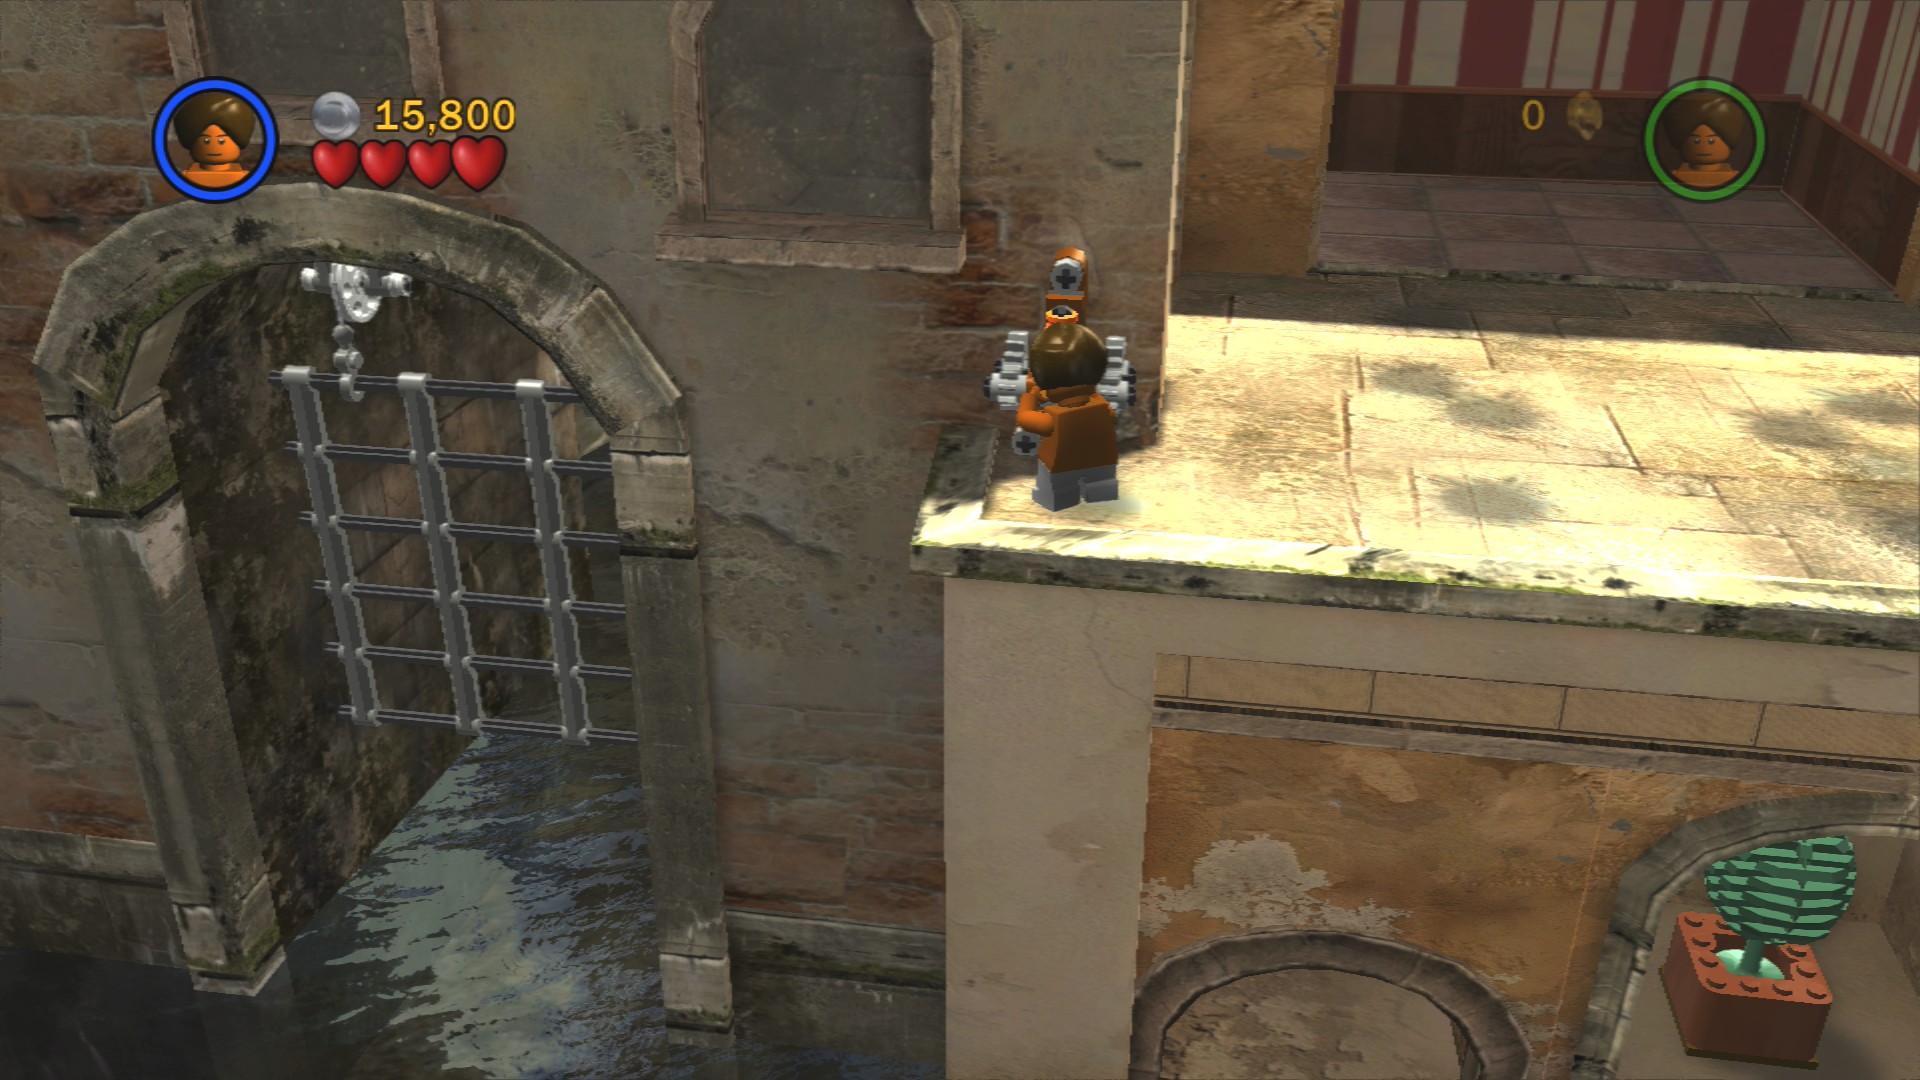
In the upper area of the previous Artefact Piece there's a lever to pull which opens the gate in the water below. Jump down and swim through the gate.
As you get out of the water use Indy's whip to pull down the Red Parcel. Smash the wooden planks to the left to get to a lever that will lower the platform so you can carry the Parcel onto it up to a balcony above. Smash through the door on the left and rummage through the cupboards to find a key, take it through the righthand door and turn to raise a platform.
Jump with the Parcel to that wooden platform and then down to the bit below. As you can't make the next jump with the Parcel put it down and jump without it. Turn around and grab it with the whip. Now you can just take it down the ladder and post it in the Mailbox.
Artefact Piece 3/10
Requires: Explosives/Scream Story Mode: No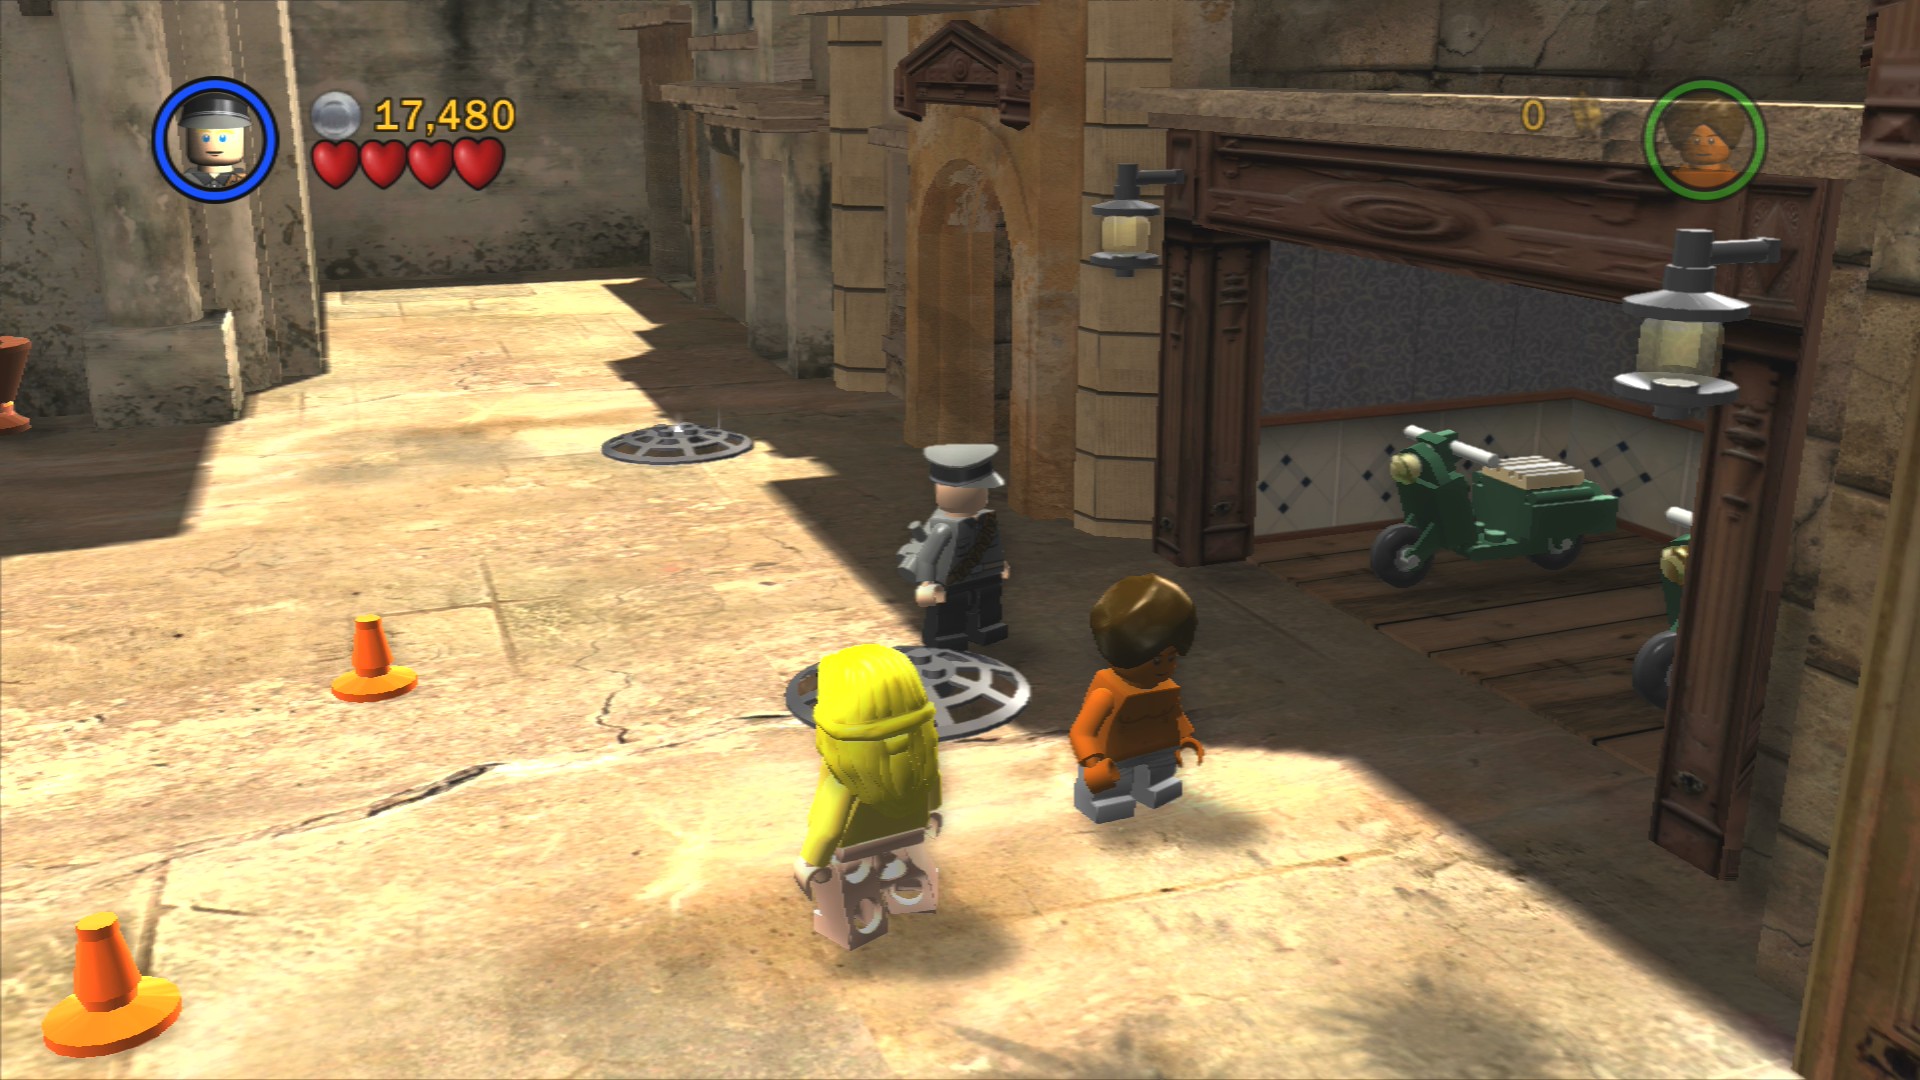
On the far right side of the area is a glass window with two green scooters behind it. Blow the window up with explosives or a scream and you'll see a string of orange cones appear. Hop onto a scooter and drive along those cones, the important thing to note is that they continue over the bridge back towards the start of the level. Once you've ridden over all of them the Artefact Piece will appear.
Have Elsa or Brody solve the hieroglyphics to enter the library.
In the centre of the room there's a large grey square with four green squares around it. By now you should realise that means you've got to find and carry four objects to place them on the green squares.
First up we go to the right where you can fix a ladder so you can push it to the right. Climb up the ladder and grab the crate to bring it to the middle of the room.
The second crate is just sitting at the back of the room under the stained glass window.
To the left of the window is a whip spot that flips up a spinner to push around. Climb up the spiral stairs and solve the hieroglypics puzzle on the wall to open the safe and find the third crate.
Artefact Piece 4/10
Requires: None Story Mode: Yes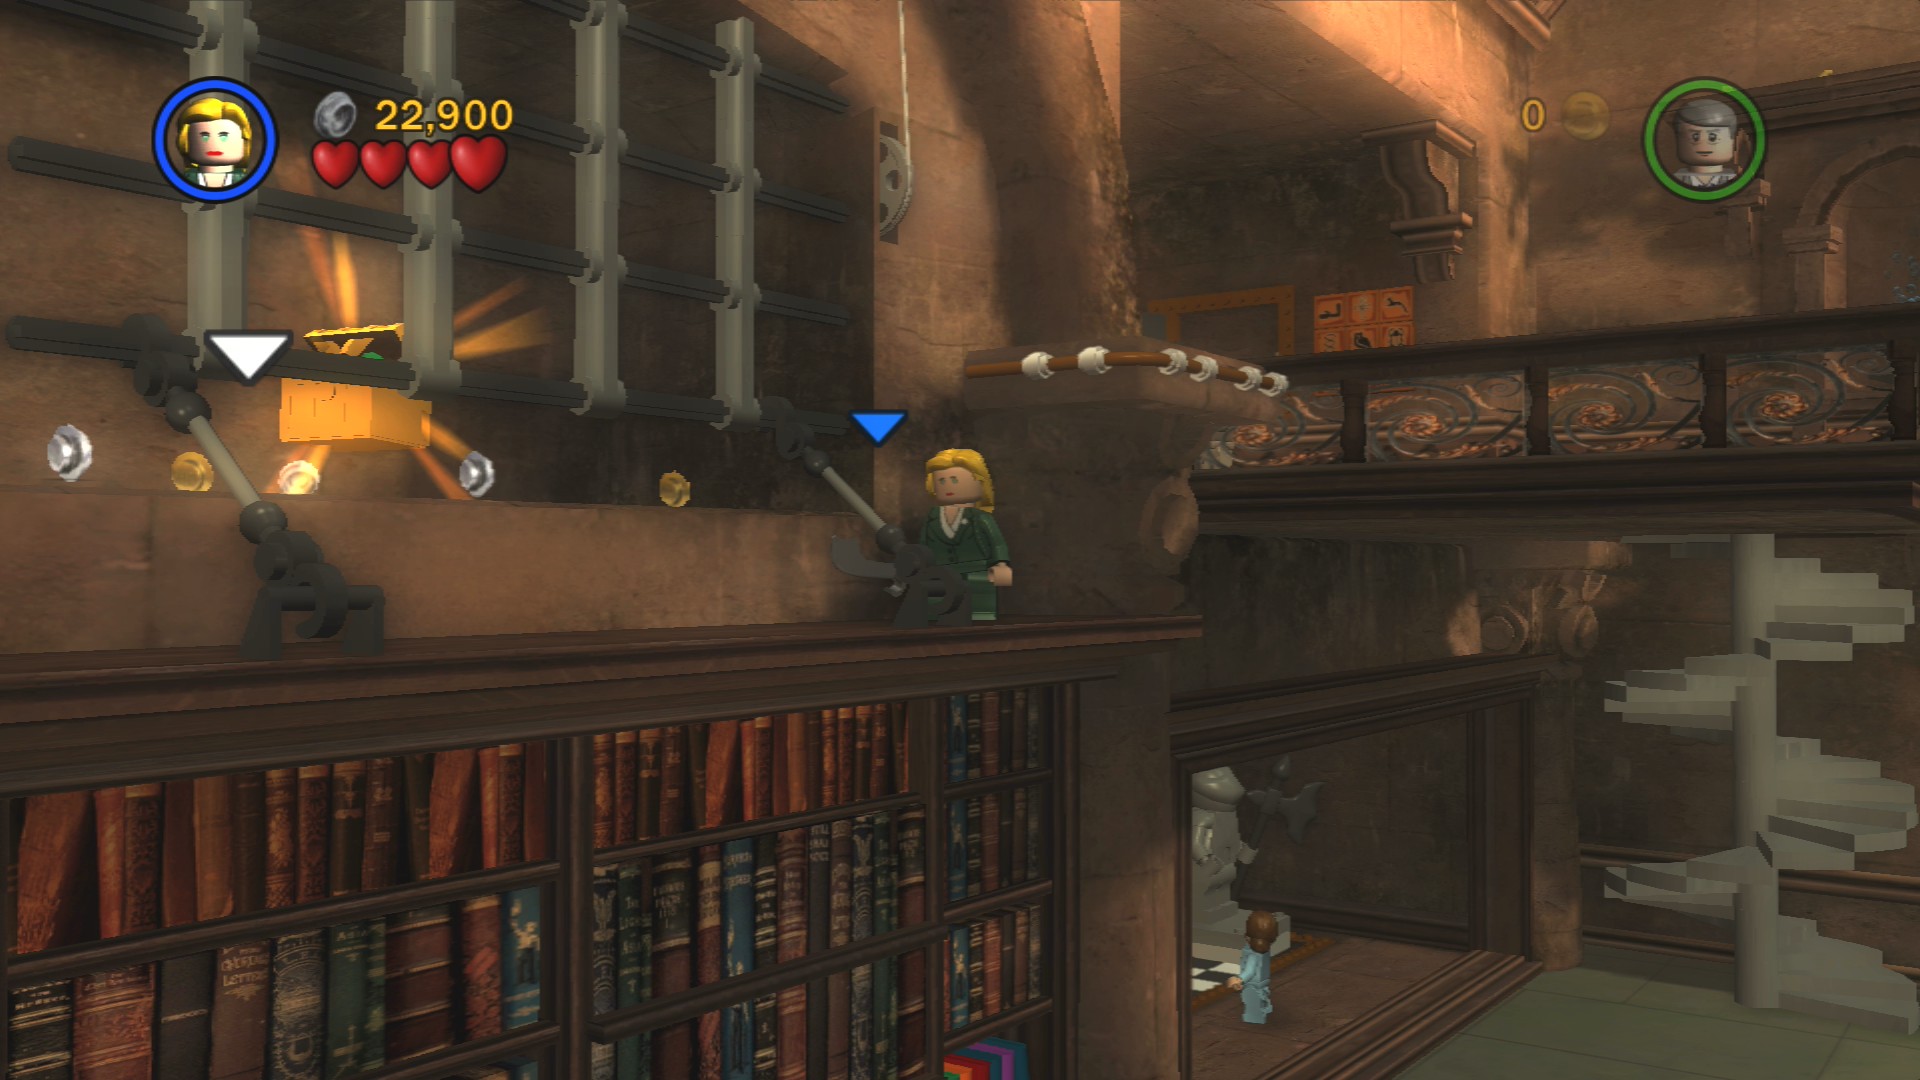
To the left of the spiral staircase smash the flowerpots and repair the track so that you can push the statue onto the orange plate. Upstairs a couple of paintings will move to reveal a couple of swords. Pick them up and throw them at the poles that are holding the grate just over the edge to the left up here.
On the lower left side of the library smash the books to reveal a lever that will rotate the final crate out to you.
Assemble all four parts and a new handhold will appear in the middle of the stained glass window. Go back up the spiral staircase and use the rope to get over to the handhold so you can reach the upper area on the right.
Artefact Piece 5/10
Requires: Explosives, Soldier Story Mode: No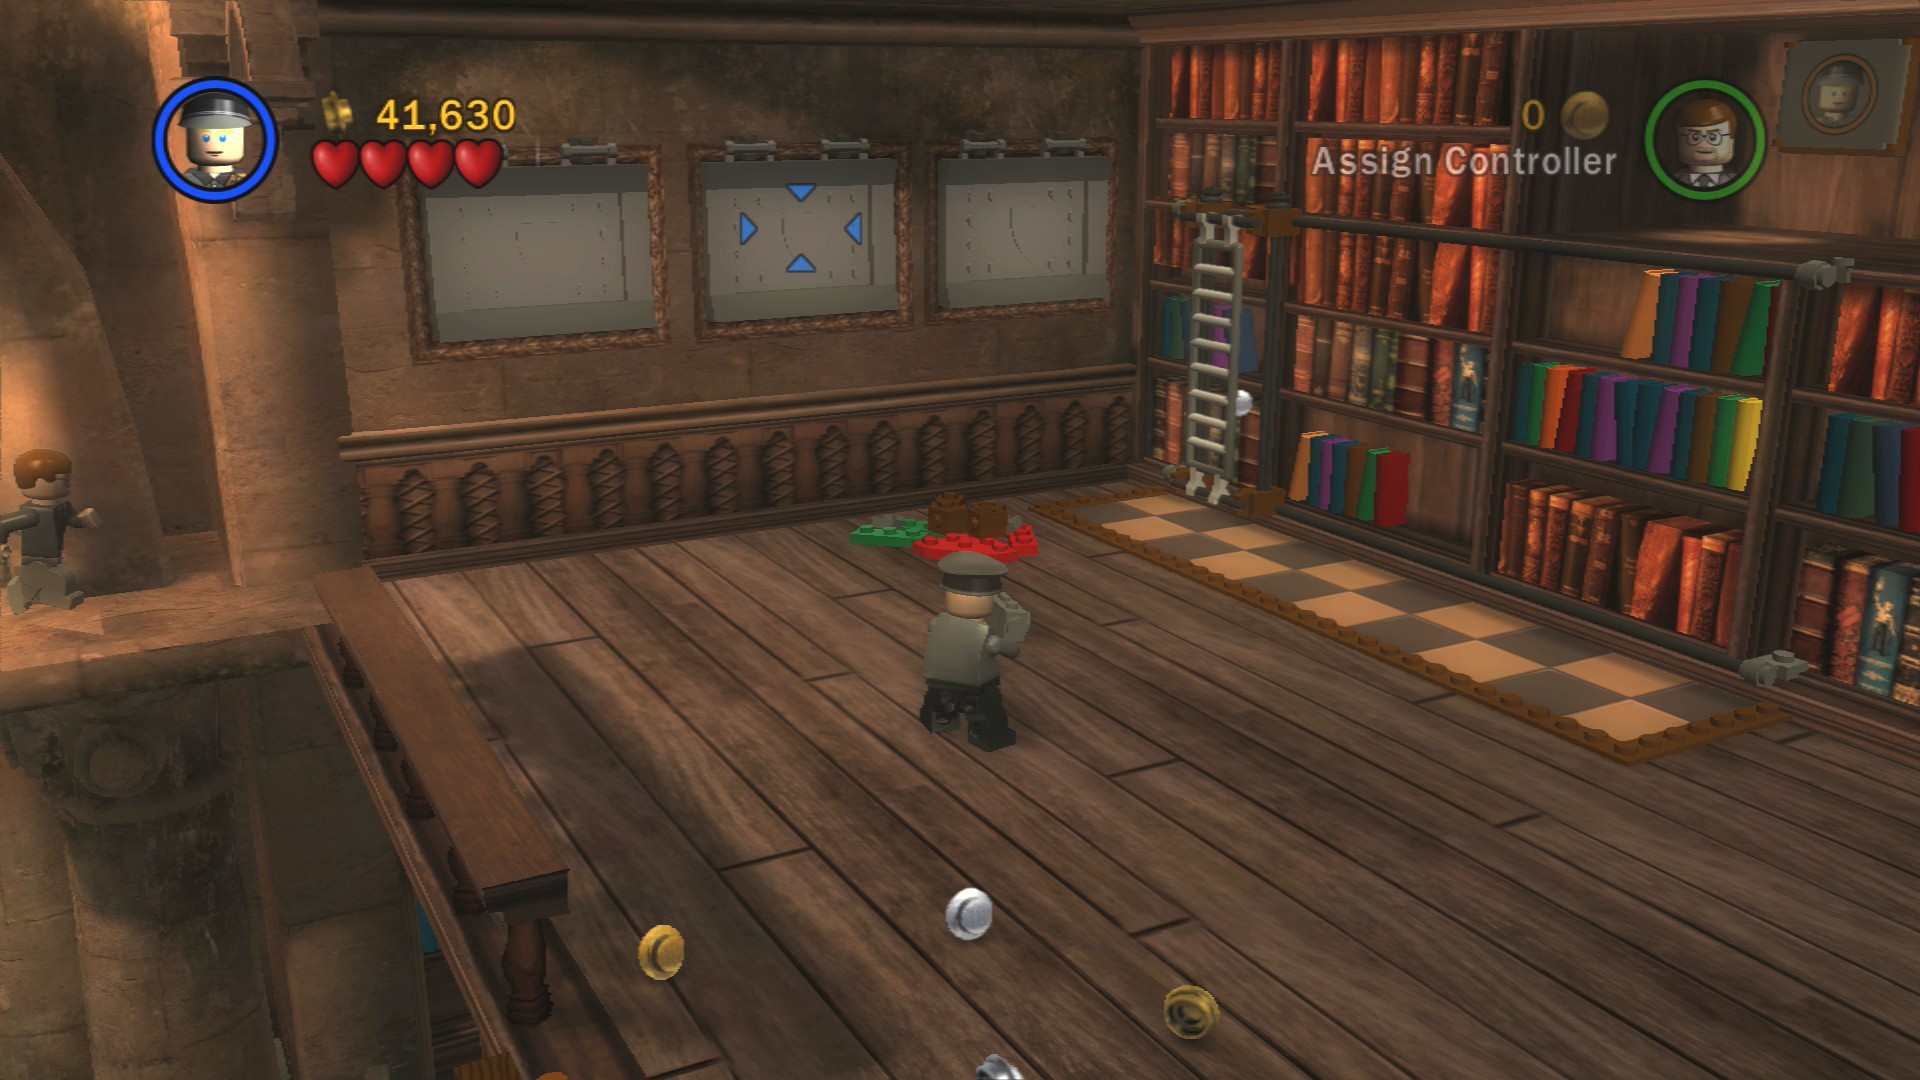
Blow up the Silver LEGO panels on the wall to reveal some roman numerals. VII, V, and III. Repair the ladder on the right and push it along the track so you can climb up to the guard post.
Smash and then reassemble everything in the room that gets revealed and then step on the black circles until the numbers on the match the numbers that were behind the Silver LEGO.
Use Indy's whip to pull down the chandelier in the middle of the room and open up a way below.
Brody won't follow you down but you can repair the ladder and go back up if you need to backtrack. Smash the coffin down to the right to get a shovel.
Artefact Piece 6/10 - Part 1/5
Requires: None Story Mode: Yes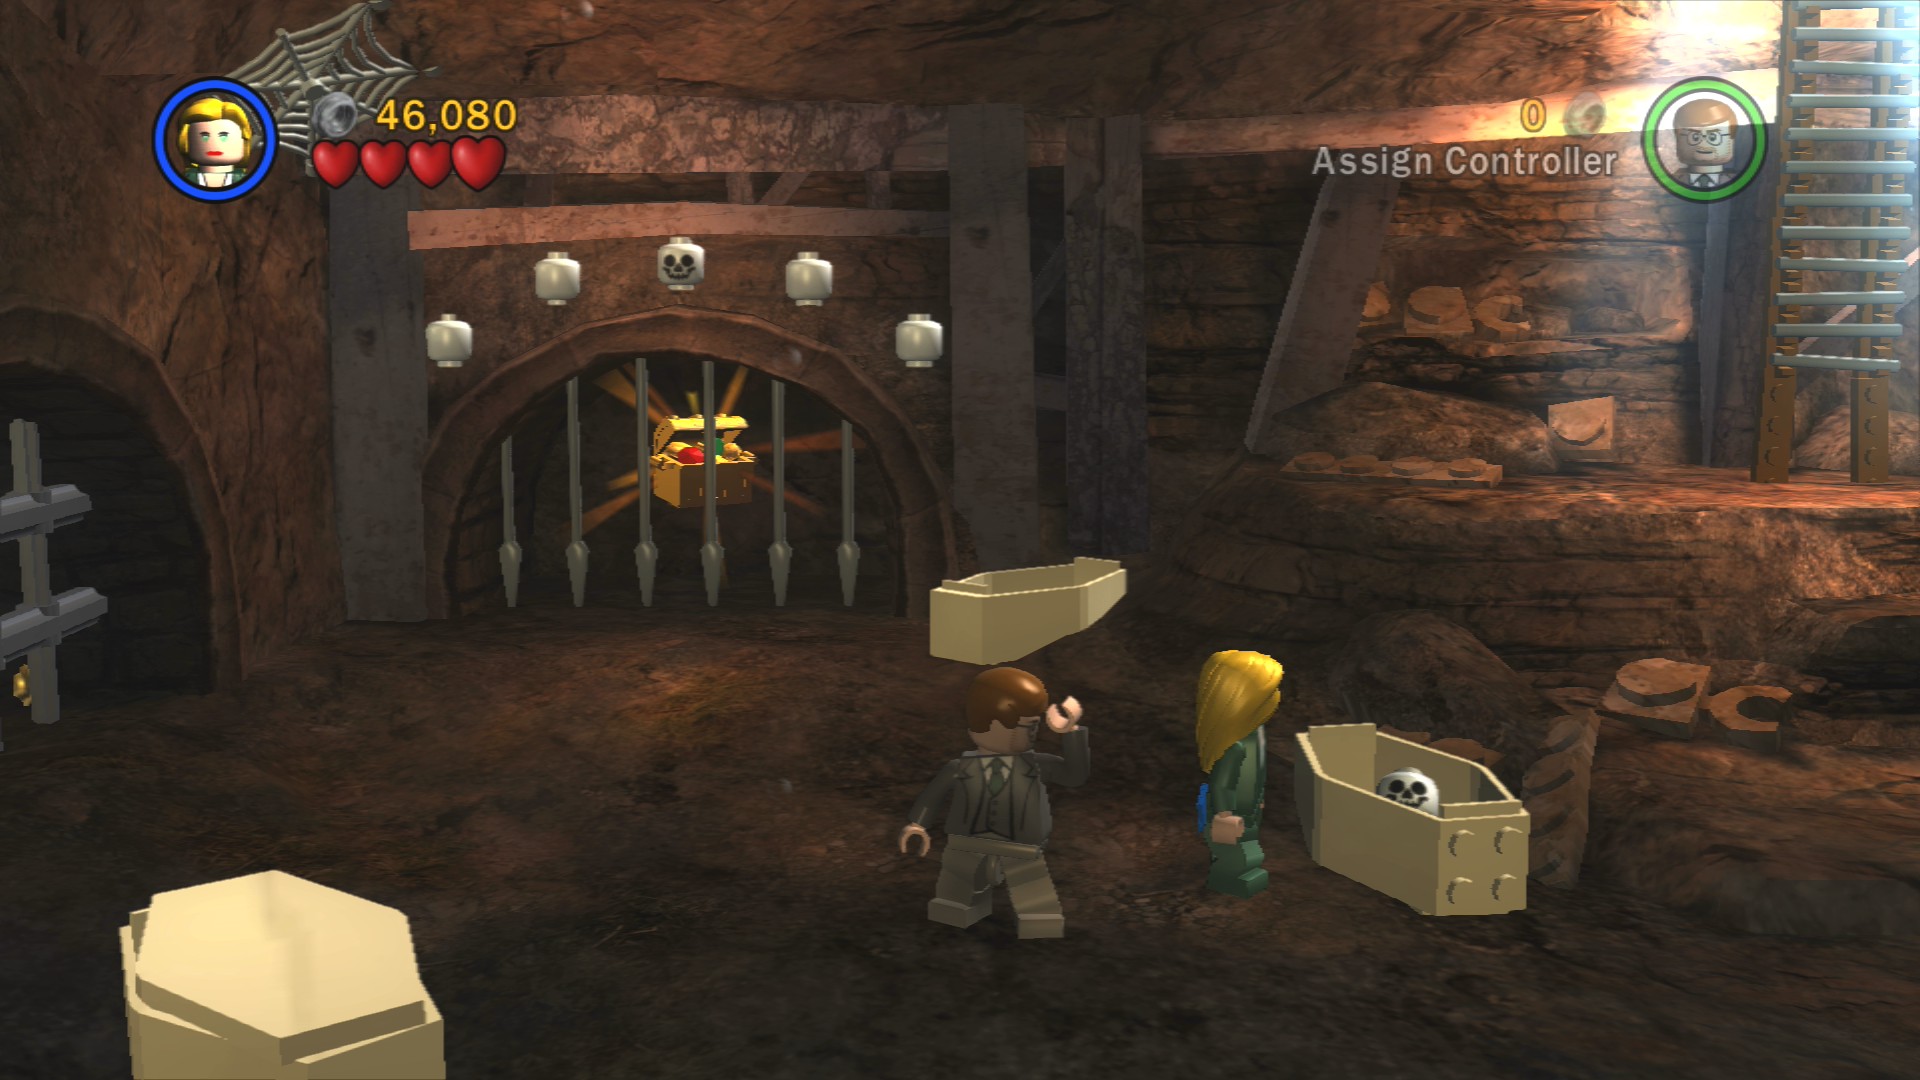
The coffin directly beneath where you start this area has a skeleton in it if you smash it. This will cause one of five skulls on the cage to its left to rotate into position. We'll need to find another four to open that up fully.
Continue through the archway to the right to where you can dig up a crate in the middle of the water. Carry that around the corner to place it on the green square and build a fan.
Artefact Piece 6/10 - Part 2/5
Requires: None Story Mode: Yes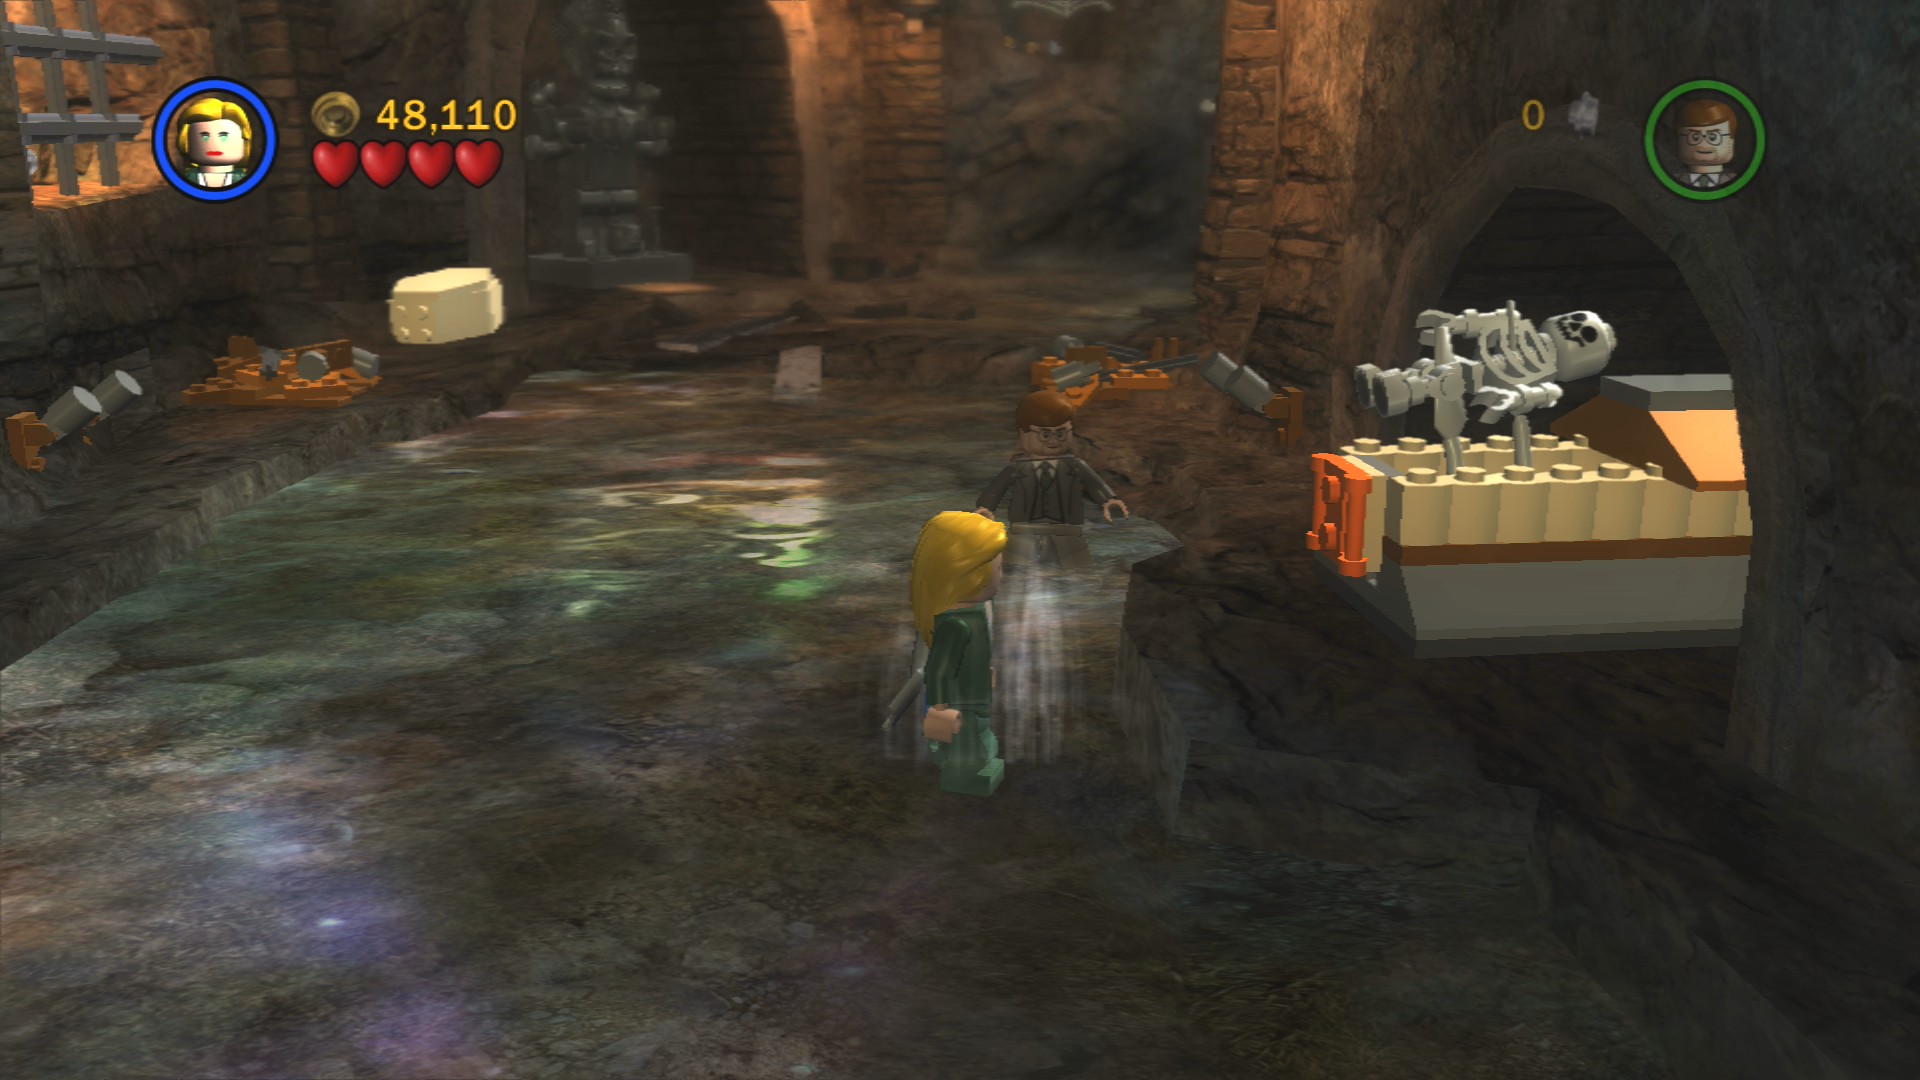
To the right of where you dig up the crate is a large coffin that you can pull out to reveal the second skeleton.
Artefact Piece 6/10 - Part 3/5
Requires: Thuggee Story Mode: No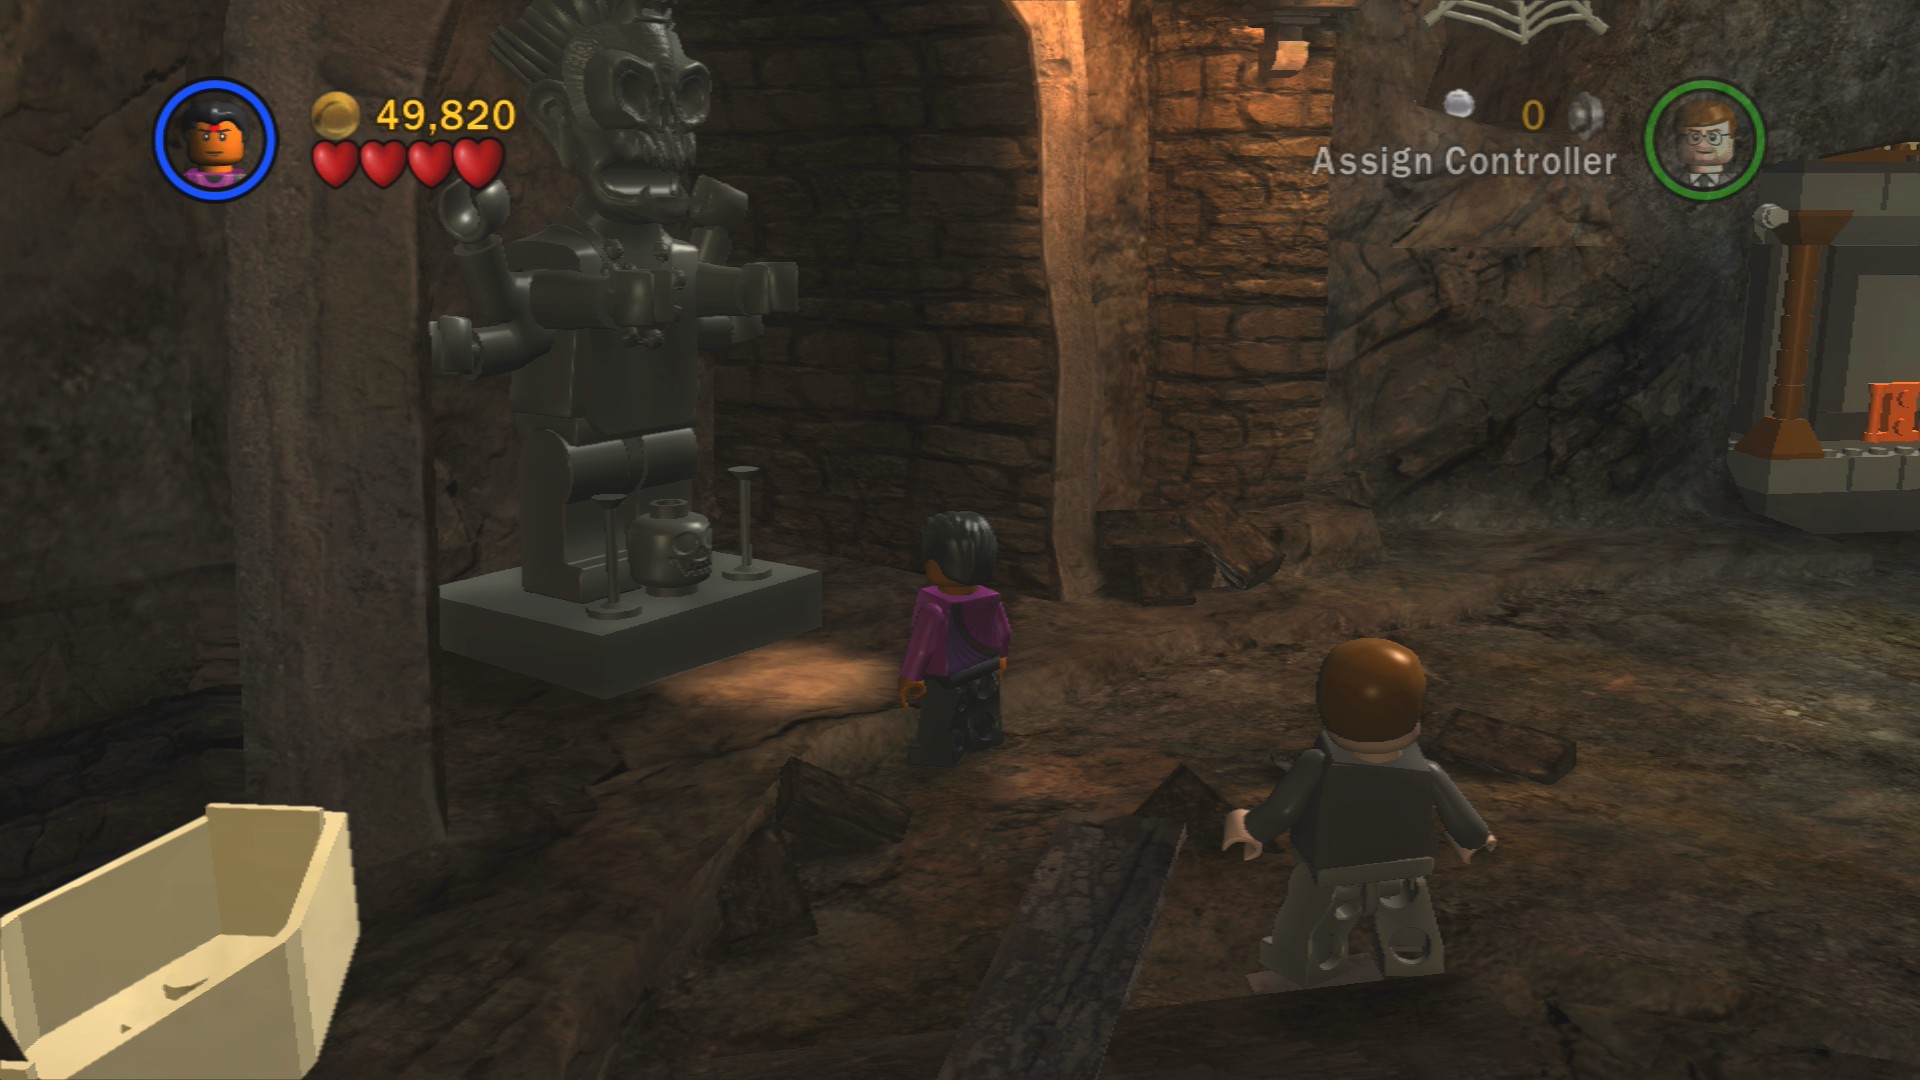
Talk to the Thuggee statue at the back to find the third skeleton.
Pull out the plinth and stand on the large button on top to switch on the fan and reveal a panel of hieroglyphs to solve.
Switch to Indy to jump over the water as Elsa is scared of the rats. Grab one of the flaming torches from the wall and then it's safe to walk through the rat water and now Elsa will be happy to follow.
Artefact Piece 6/10 - Part 4/5
Requires: None Story Mode: Yes
Smash through the wooden planks on the right after the rat water to find the fourth skeleton.
Have Elsa jump to grab the rope while Indy pulls the lever.
Artefact Piece 6/10 - Part 5/5
Requires: None Story Mode: Yes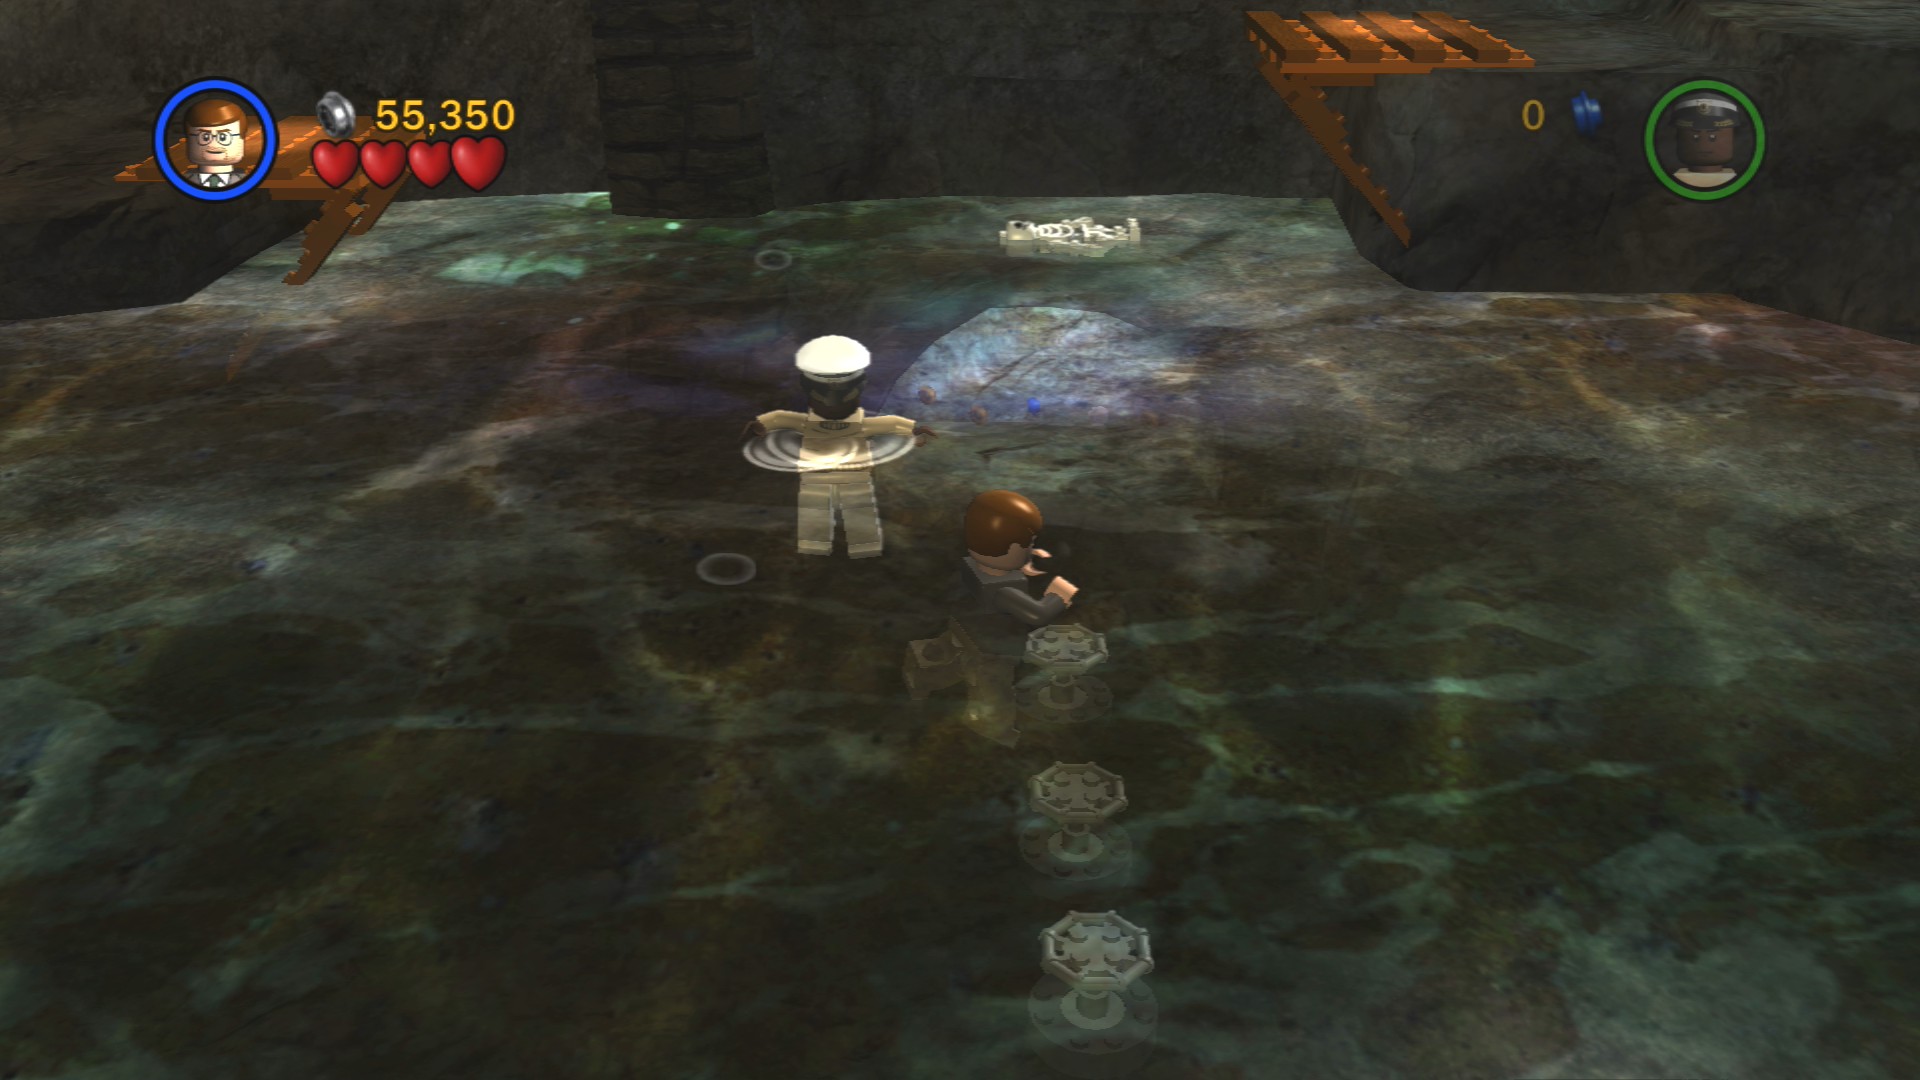
Jump in the water and position yourself above three metal objects lined up below. Dive down and swim along them to depress them, if you can get all three in one dive you'll cause the final skeleton to pop out. Now you just have to run back to the start of the area to grab the Artefact Piece.
Whip swing across the water and then climb the ladder. Elsa should have followed you over so switch to her and grab the rope above. That'll raise some platforms for Indy to go up and use his whip to pull the switch behind the spiderweb.
Artefact Piece 7/10
Requires: Hatch Access, Dig Story Mode: No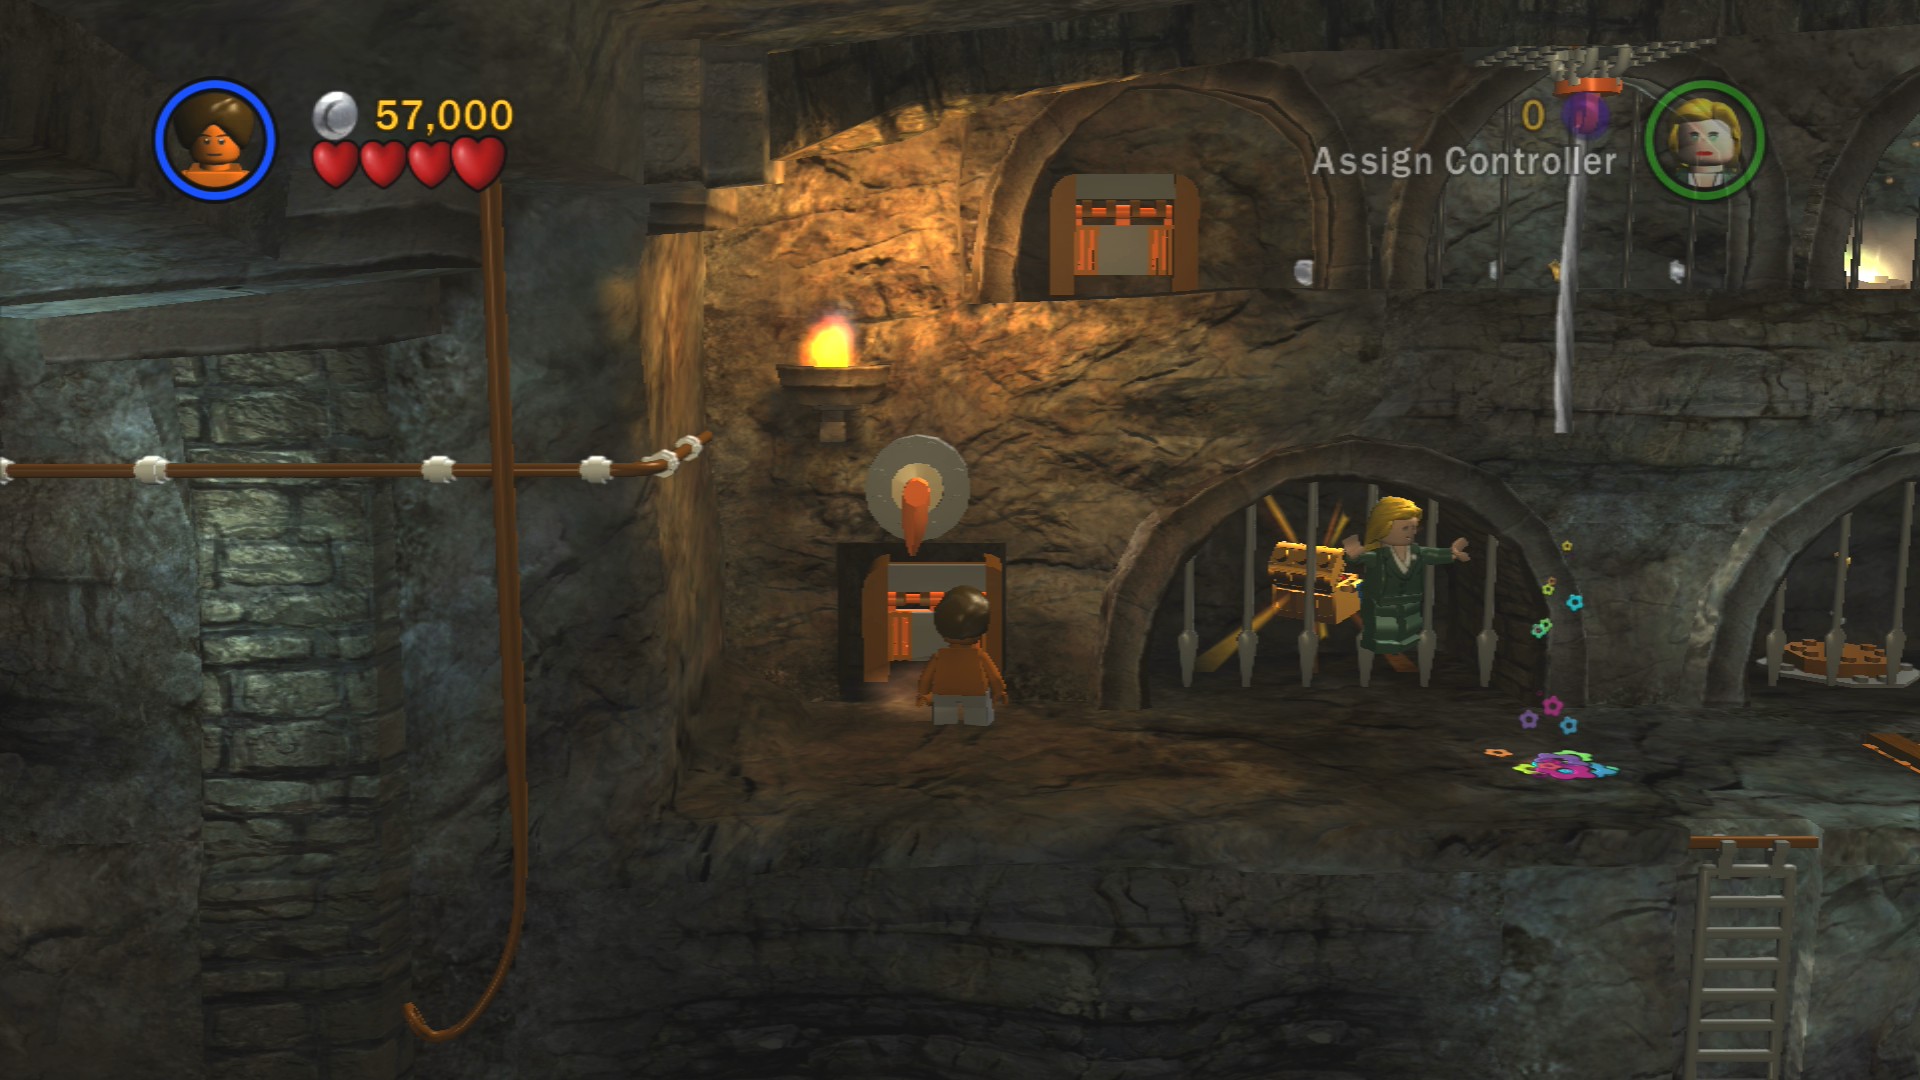
While Elsa is still on the rope switch to a small character and go through the hatch that appears for a short time. Dig at the top to get down to a button below that opens up the Artefact Piece.
Jump onto the platforms that popped up and pull both levers at the same time to open the door.
Push the coffin to the right so that Elsa can jump off it to the upper ledge. Up there push the crate off the side and follow it down. Try to push the crate onto one of the squares in the water, it'll be a little tricky as it's slippery but just keep trying with little pushes and eventually you'll get it lined up so that it slots into place and a brown button pops up.
On the left side use Indy's whip to pull down a second crate that you will want to move into position like the first. Have both characters stand on the buttons to raise a coffin out of the ground and lower the bars at the back of the room.
Artefact Piece 8/10
Requires: Whip Story Mode: Yes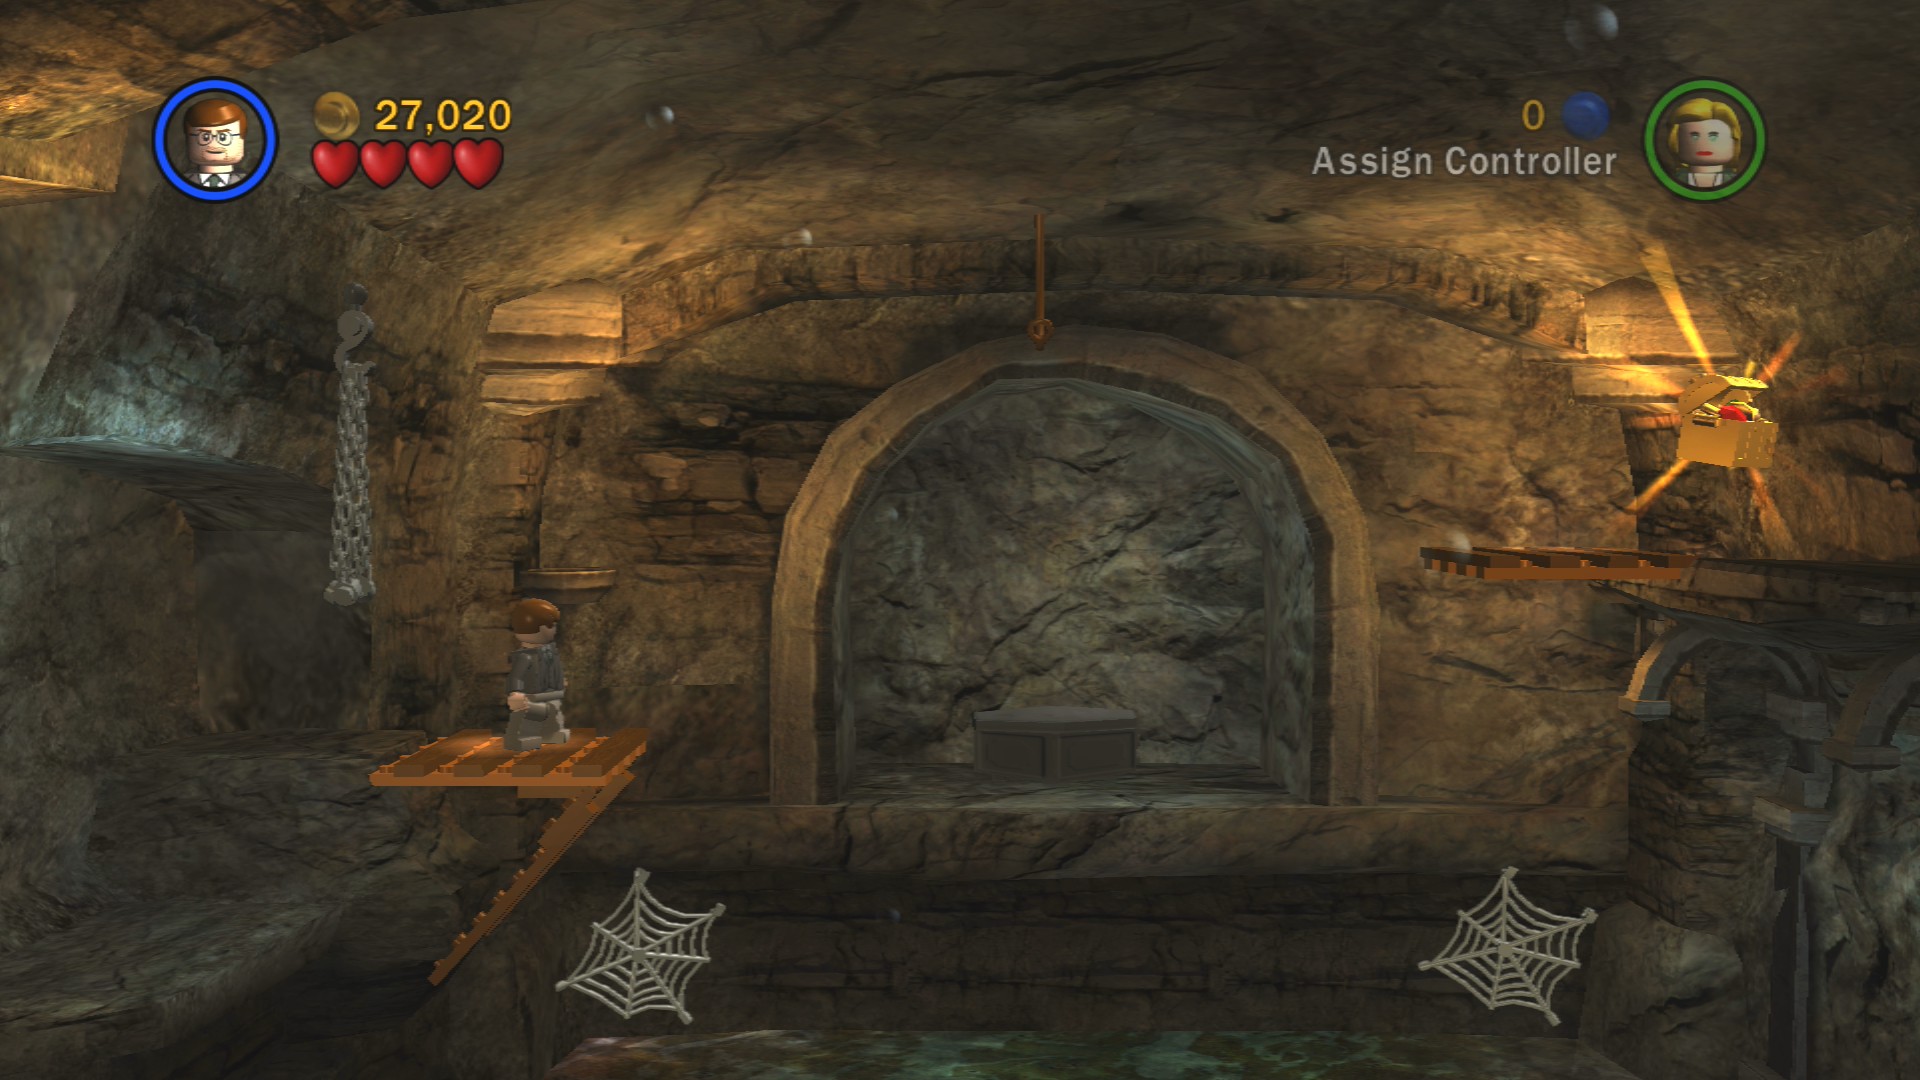
High Jump up the left side of the room (you can either use the crate before you slot it into position or shove the coffin over there) and then whip swing across to the right to get the Artefact Piece up high.
Move the coffin towards the back of the room and use it to jump up to the grey coffin at the back to finish this section of the level.
Punch Kazim (the guy in the purple hat) a couple of times and he'll jump away into a speedboat. Defeat the rest of the regular enemies and then jump into one of the remaining speedboats on the right.
Artefact Piece 9/10
Requires: None Story Mode: Yes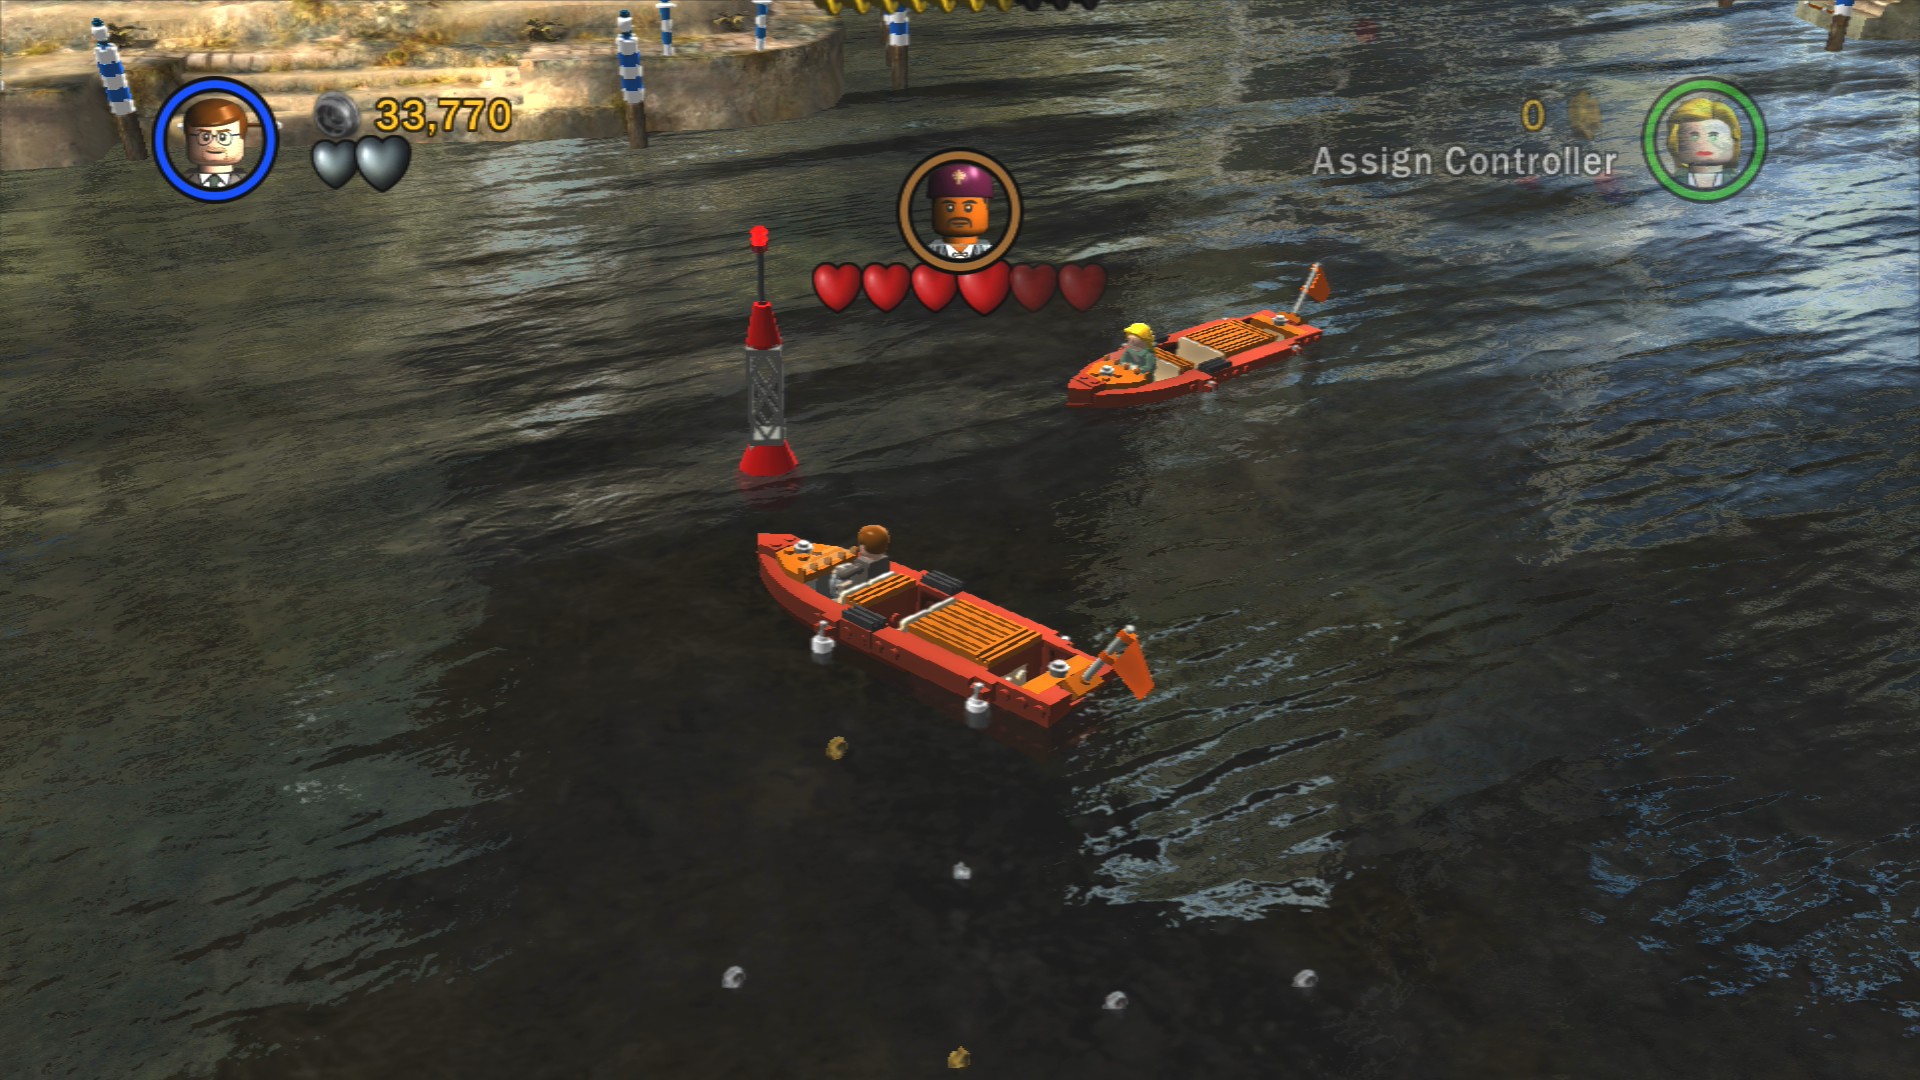
Around the central island are ten red buoys that you can hit with your speedboat. Once you hit all ten the Artefact will appear on the central island.
Artefact Piece 10/10
Requires: Mechanic, High Jump, Explosives Story Mode: No
On the far right side of the area is a section with a few brown crates scattered around on it. Jump out of your boat and then jump up to the broken crane at the back. Repair it with a mechanic and then use the crane to pick up your second character and place them on the section behind the fence.
From there you've got to high jump to grab onto the handholds on the side of the righthand crate, jump from there to the now raised left crate and then up on top of the little tower that the Artefact Piece is inside. Blow up the top with some explosives to get in. You can then blow up the floor to slide out again.
Chase Kazim around bumping into his boat a few times until he zooms off and stands on the central island. Follow him on there and hit him a couple more times before getting back in your speedboat to chase him around again. Now all you have to do is go to where he's stopped and jump onto his boat to hit him a final few times to finish the level.
| Cost | Character | |
|---|---|---|
| - | Indiana Jones (Professor) | |
| - | Elsa | |
| - | Brody | |
| 30,000 | Kazim |
Chapter 2. Castle Rescue
| Story Mode | Free Play |
|---|---|
| 35,000 | 40,000 |
Artefact Piece 1/10 - Part 1/4
Requires: Explosives Story Mode: Yes
Use some explosives to blow up the Silver LEGO suit of armour holding the red shield.
Take the sword from either of the suits of armour holding them and throw it at the counterweight next to that weird looking Mona Lisa to open the door.
Artefact Piece 1/10 - Part 2/4
Requires: Explosives Story Mode: Yes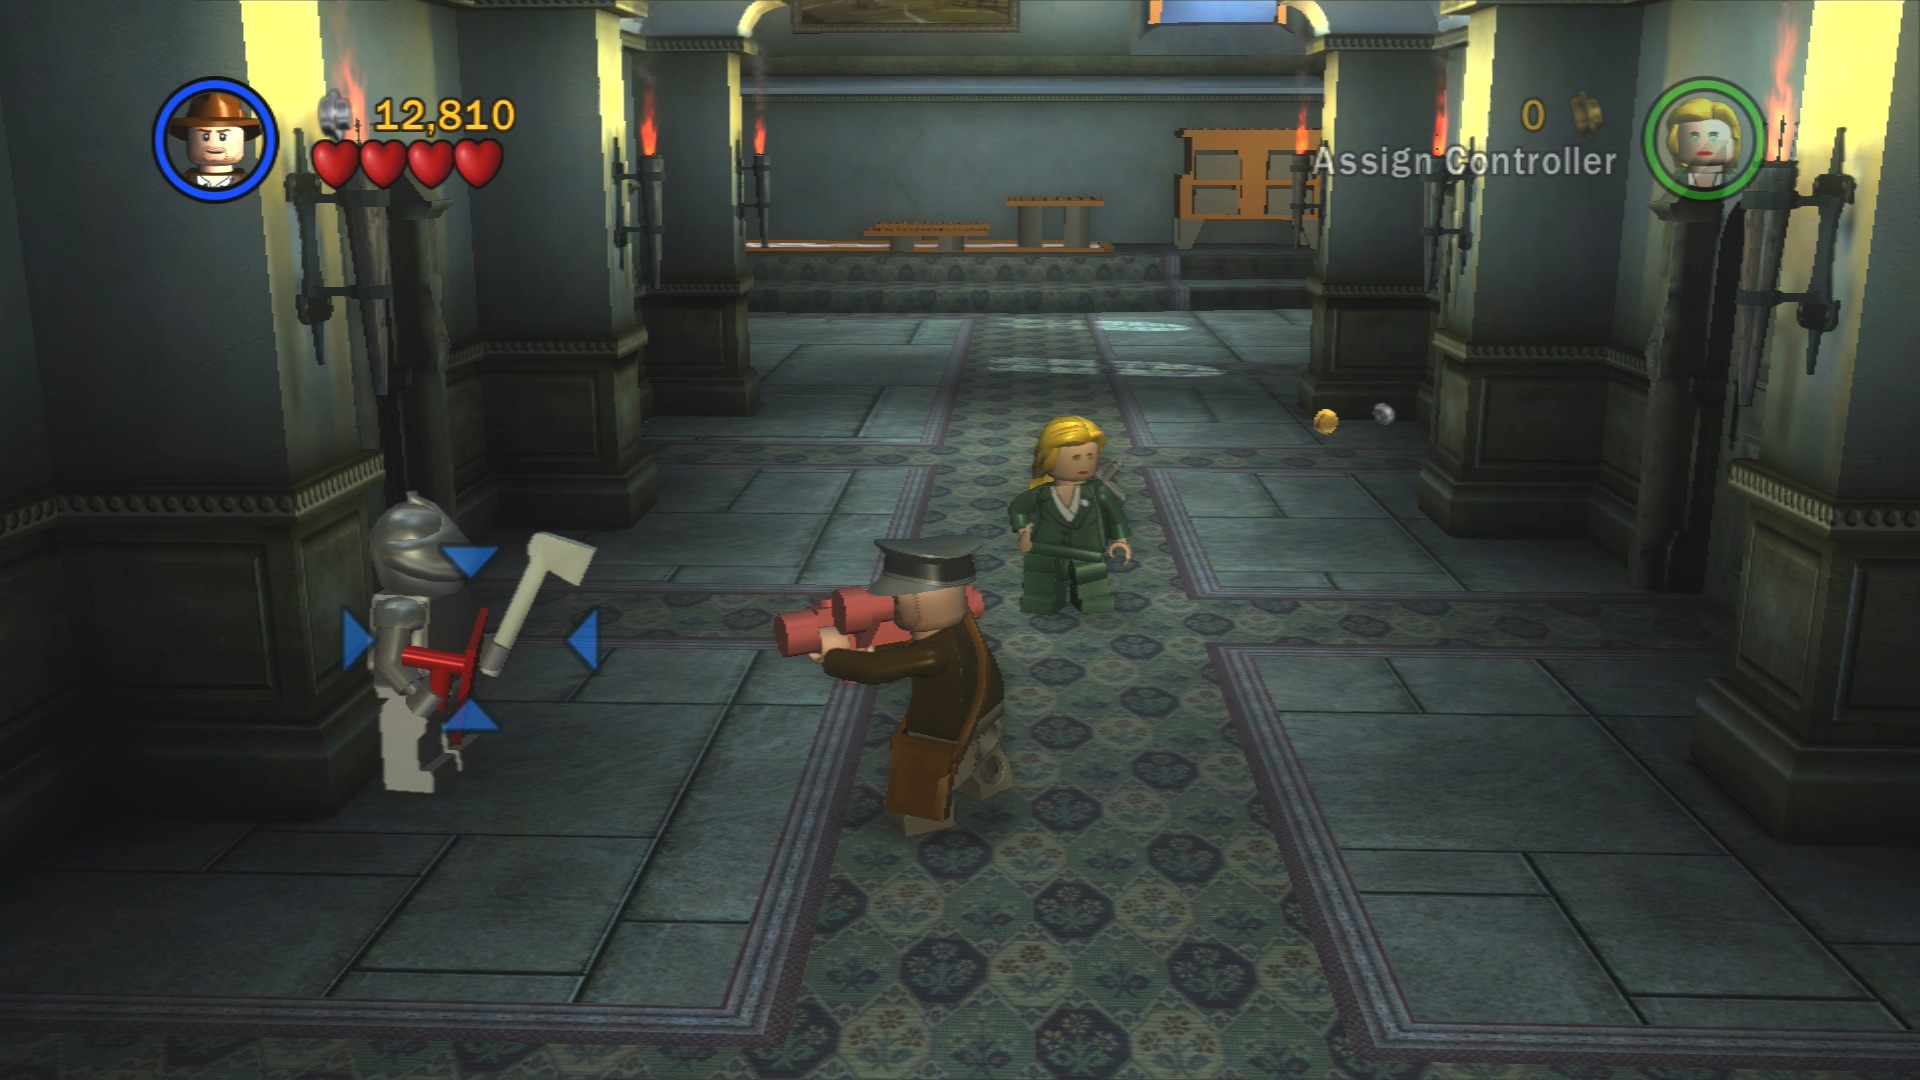
On the left in the corridor is your second red shield holding suit of armour to blow up.
Be careful as you attack the enemies in this corridor as one at the back will be firing rockets at you.
Artefact Piece 1/10 - Part 3/4
Requires: Explosives Story Mode: Yes
The third red shield is on the left near the pushable picnic table.
Artefact Piece 1/10 - Part 4/4
Requires: Thuggee, Explosives Story Mode: No
Talk to the Thuggee statue on the right side of the room to reveal a doorway that leads to a room containing the final red shield suit of armour.
Red Parcel - Disarm Enemies
Requires: Thuggee, Explosives/Sword Story Mode: No
In the same room revealed by the Thuggee statue is where you'll find the Red Parcel. Blow up the suit of armour to the right of the red shield one to get some LEGO that can be built into a gear, rotate it and pull on the rope to reveal the Parcel.
Artefact Piece 2/10
Requires: Thuggee, Hatch Access Story Mode: No
Still in the Thuggee statue revealed room go the far corner behind the map table and smash the little white bookshelves so you can build a hatch to crawl through in order to reach the Artefact Piece on the balcony above.
Artefact Piece 3/10
Requires: High Jump Story Mode: Yes
Jump onto the bookshelf at the left end of the picnic table sliding floor and then High Jump to the Artefact Piece above.
Push the picnic table to the right end of its track so that Indy can make the jump up to the whip spot that will pull the window open. Now jump to the handhold and out the window.
Whip swing across the gap and quickly take out the two enemies on the other side, one of them is carrying a bazooka so be careful. Once you've cleared them out build the wooden planks into a bridge for Elsa to get across.
Down the end you'll need Elsa to high jump up to a small red eyed gargoyle.
Artefact Piece 4/10
Requires: Explosives Story Mode: Yes
Use explosives to blow up the Silver LEGO next to the crane arm to reveal the Artefact Piece.
Smash the gargoyle and assemble a spinner switch to push, Indy then just needs to use his whip on the spot to swing into the window.
Artefact Piece 5/10
Requires: Book Story Mode: Yes
On the right in the burning room is a panel of hieroglyphics Henry can solve with his book.
Smash all the stuff next to the hieroglyphics panel to reveal the parts to build a ladder that'll let you climb up on top of the bookcase to get to the other side of the wall of fire.
Once past the first bit of fire smash the lamp and then pull the rope and smash the large golden armour. Attach the two golden dishes to the two smaller golden suits of armour and then pull out the orange handle. It'll only stay in place for a short time so quickly climb the rope and use the raised dishes to get on top of the next bookcase.
Artefact Piece 6/10
Requires: Hatch Access Story Mode: No
Hit the books on the bookcase in the left corner of the fire room to reveal a hatch that a small character can crawl through to get to the Artefact Piece on top of the bookcase.
Push in the empty shelves to reveal some hieroglyphics that Henry can solve to turn the suspicious looking table into a spinner switch. Push on the green side to rotate the fireplace and go through.
Defeat the enemies in the next room and smash all the desks to reveal a couple of small dishes and some LEGO to assemble a hifi in the corner of the room. Rotating the gears to the left of it will turn it on to smash the windows (in Free Play you can just scream or use explosives on them).
Once outside you'll notice a boss health bar appear. Defeat a few enemies and go to the left where at the bottom of the stairs you should find the Radio Operator. He's not much of a boss really, punch him a couple of times and he'll run up the stairs. Follow him up and punch him twice more. Follow him again to finish him off so that he drops a key.
Take the key back down the stairs and use it on the gears next to the red sirens. Turning it will cause the door to open, stop turning it and run in to defeat the enemies inside so that you can grab the hat one of them drops. If you miss it then don't worry, the enemies will reappear after a while and you can try to get the hat again.
Once you have the hat go back up the stairs and go to the left where there's a guard post. Pull the lever inside to reveal a small crate with two bazookas inside. Pick one up.
Artefact Piece 7/10
Requires: Explosives Story Mode: Yes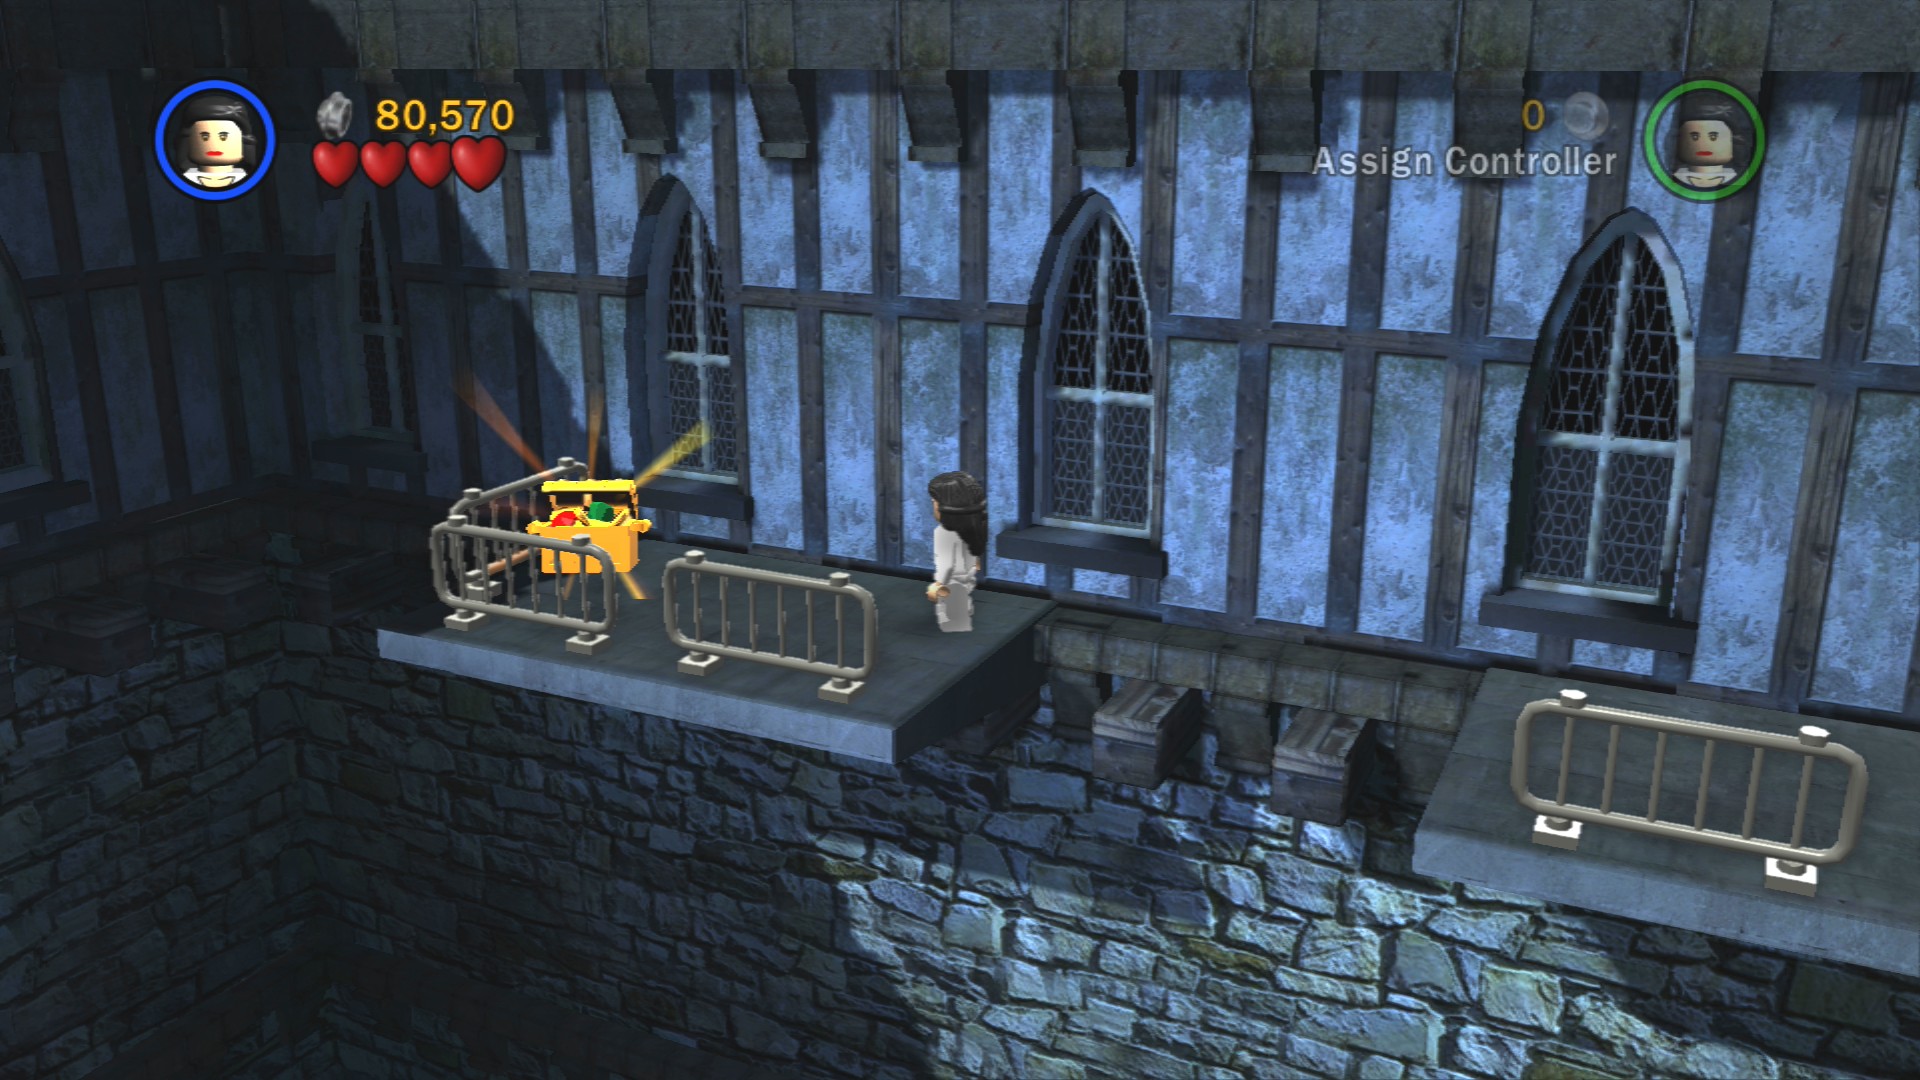
Blow up the Silver LEGO gate to the left of the lever and then jump over the gap to reach the Artefact Piece.
Artefact Piece 8/10
Requires: Explosives Story Mode: Yes
Just outside the guard station is a set of scaffolding, use some explosives (like the bazooka you just picked up) to knock the ladder in the middle loose so you can climb up to the top.
Take the bazooka and blow up the radio tower to the right of where you defeated the Radio Operator.
Artefact Piece 9/10
Requires: None Story Mode: Yes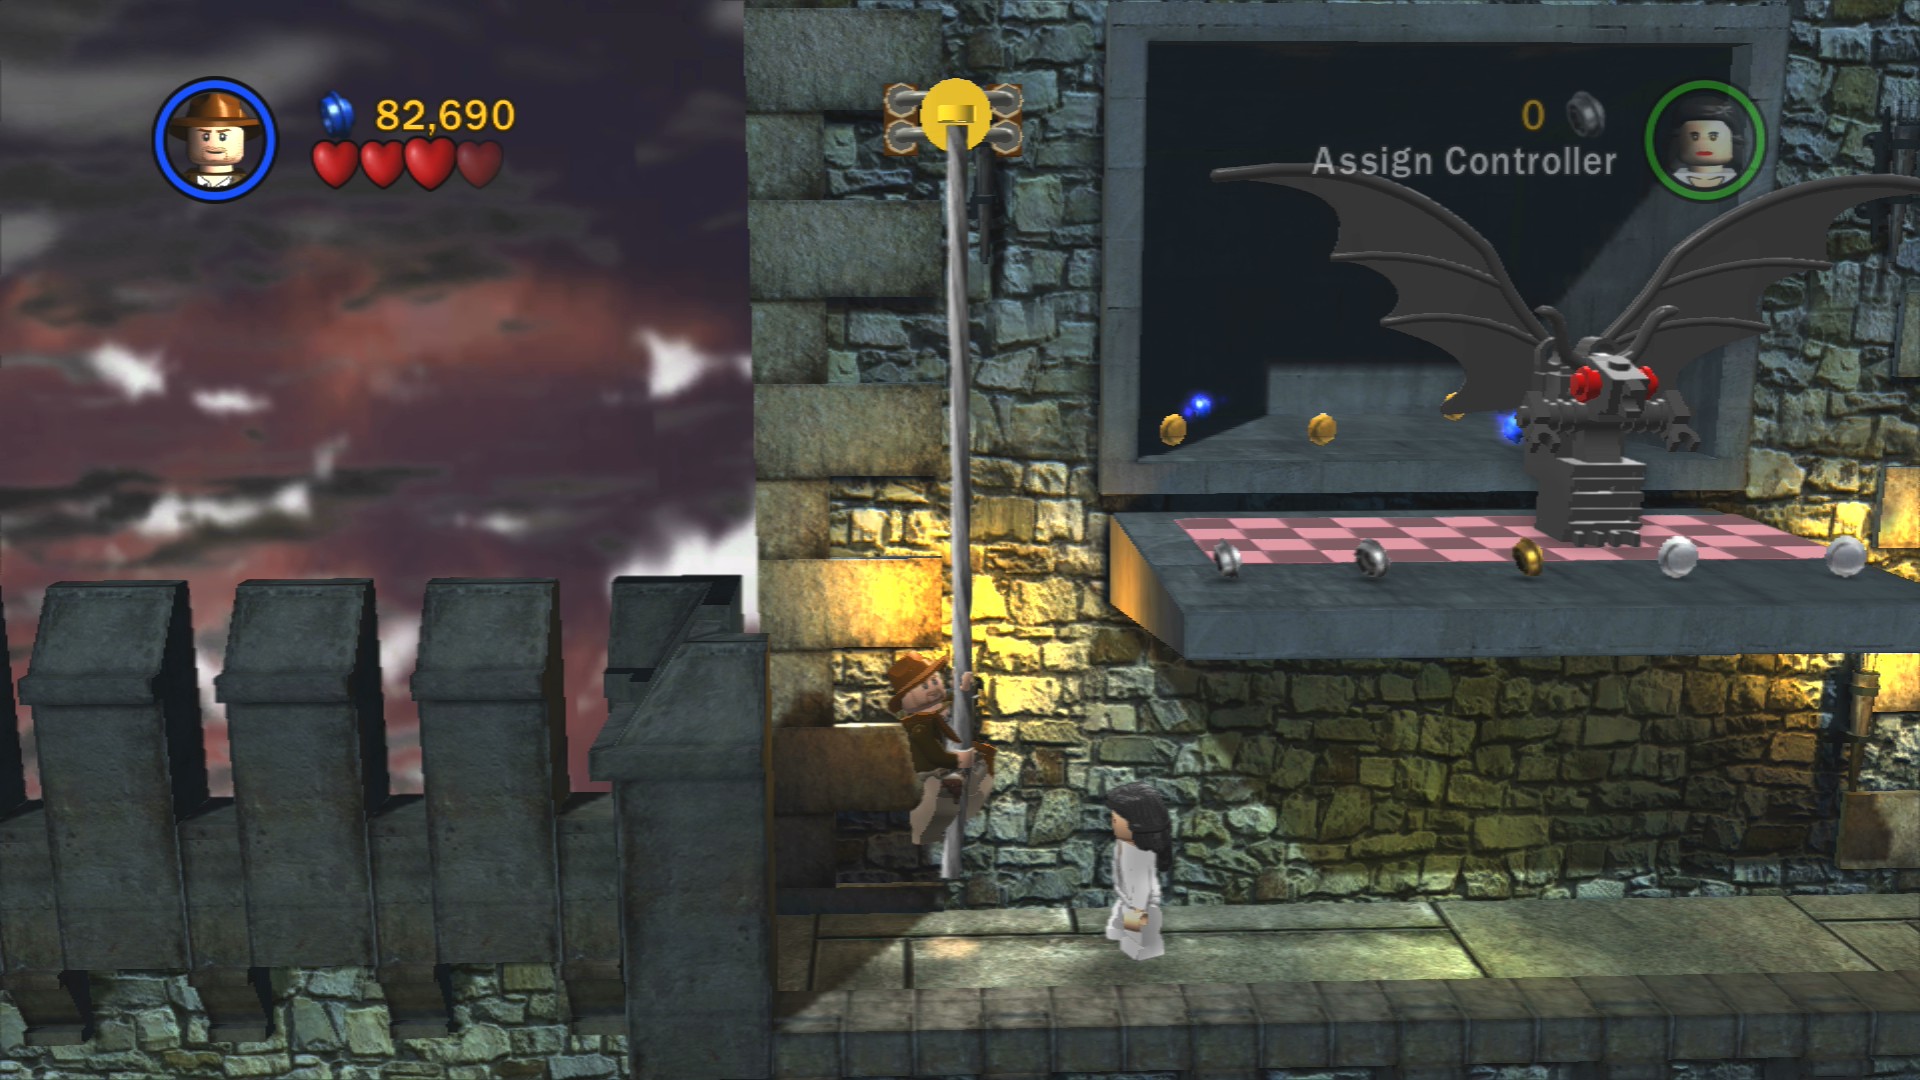
Across the fallen radio tower climb up the rope and push the gargoyle statue off the edge to reveal the Artefact Piece.
After crossing over the radio tower defeat a couple of enemies and then talk to the guard post over here (hopefully you've still got that hat on).
Artefact Piece 10/10
Requires: Explosives, Book Story Mode: Yes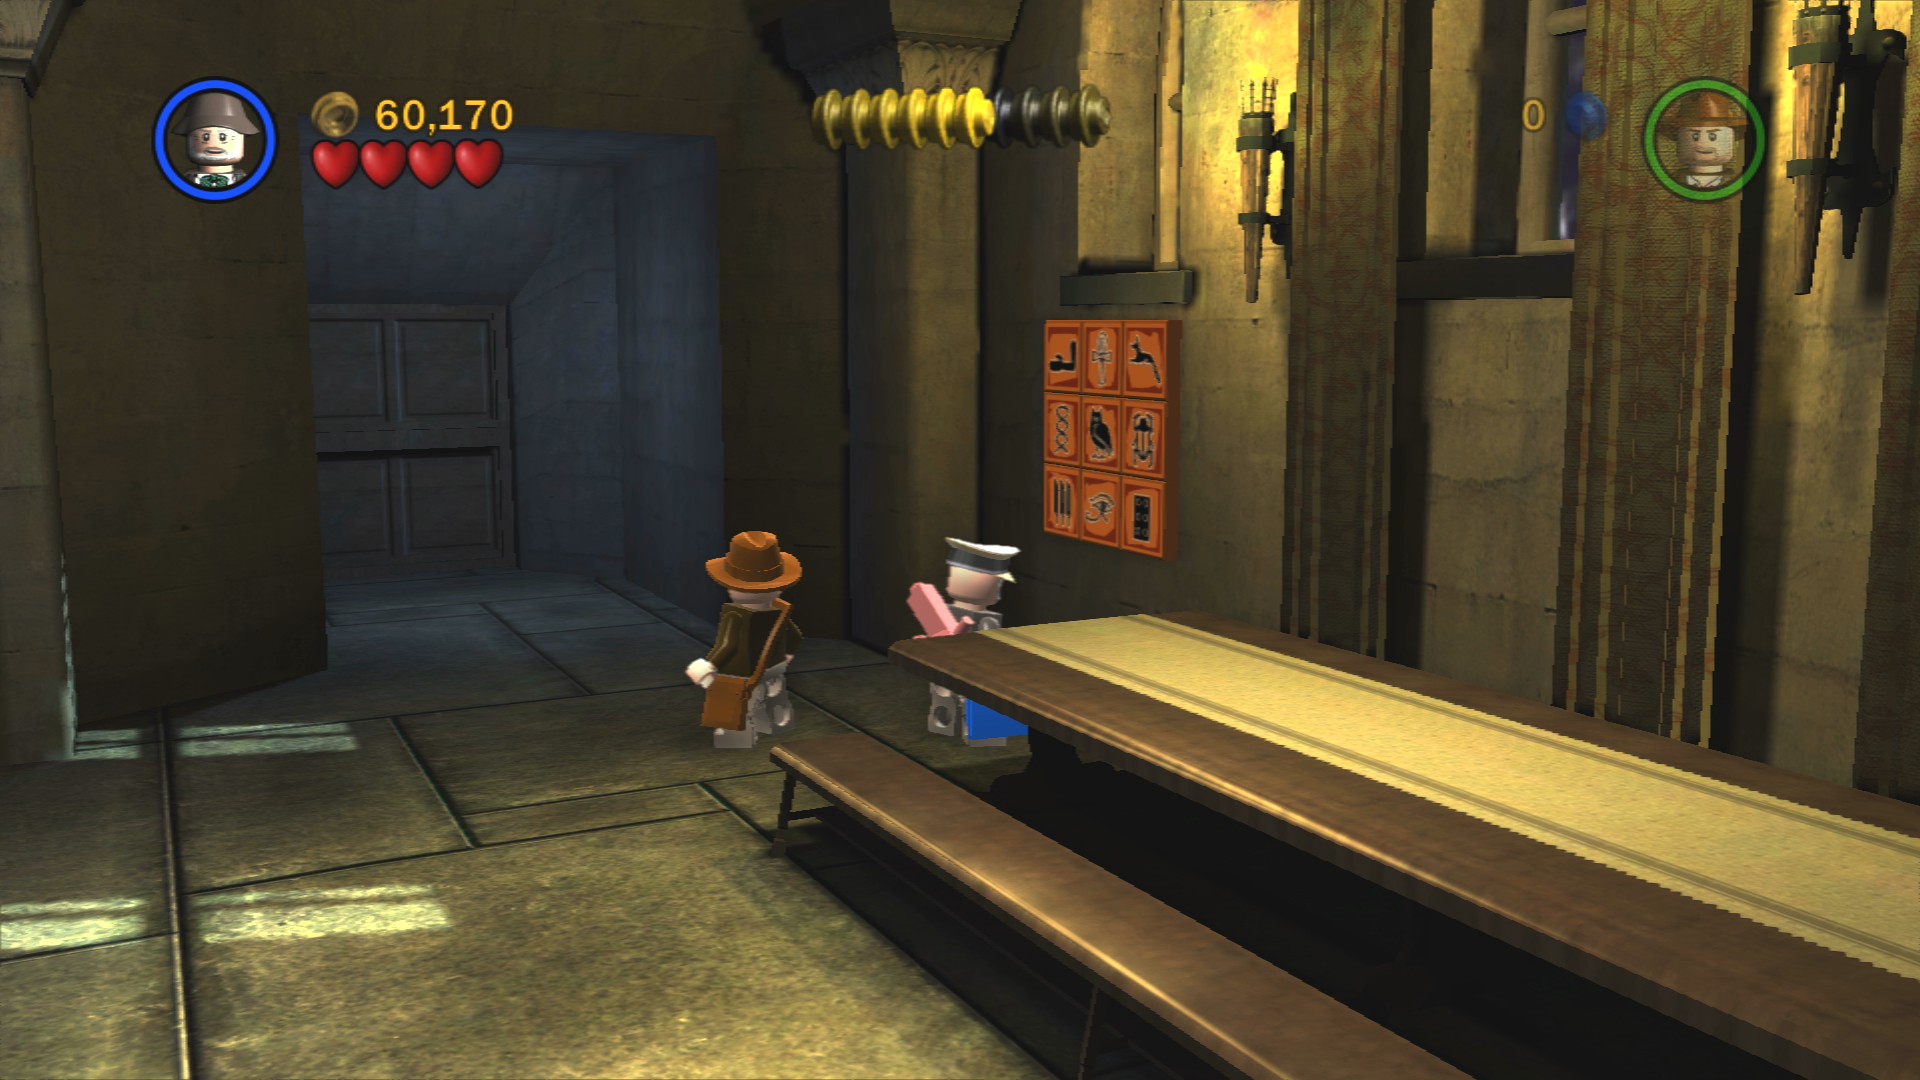
Use explosives to blow up the Silver LEGO cabinet on the right as you enter the final room. That will reveal a hieroglyph that you can carry over to the panel to complete it. Solve the panel to get the last Artefact Piece.
To finish the level push the orange chair along the track until it tips over on the broom. Then approach the spiral staircase.
| Cost | Character | |
|---|---|---|
| - | Henry Jones | |
| 15,000 | Enemy Butler | |
| 25,000 | Enemy Radio Operator | |
| 30,000 | Bazooka Trooper (Crusade) |
Chapter 3. Motorcycle Escape
| Story Mode | Free Play |
|---|---|
| 90,000 | 100,000 |
Smash the crates to your right to find some green and red bricks that you can attach to the nearby crane so that you can rotate it. Take the crate it drops and place it on the green panel to the left.
The second crate can be found by pulling on the lever at the back next to the conveyor belt. From those two crates you can assemble a motorbike with sidecar. It's smoking though so you'll still have to fix it. To find a spanner smash open the green drawers just to the right of the lever.
Inbetween the green drawers next to the conveyor smash the crates to get the parts to a second lever that will lower the raised motorbike to your right.
With both vehicles now able to drive hop into one and drive it onto one of the long orange buttons. Your partner should drive onto the other and when both have been pressed at the same time the exit will open.
Artefact Piece 1/10
Requires: Explosives Story Mode: Yes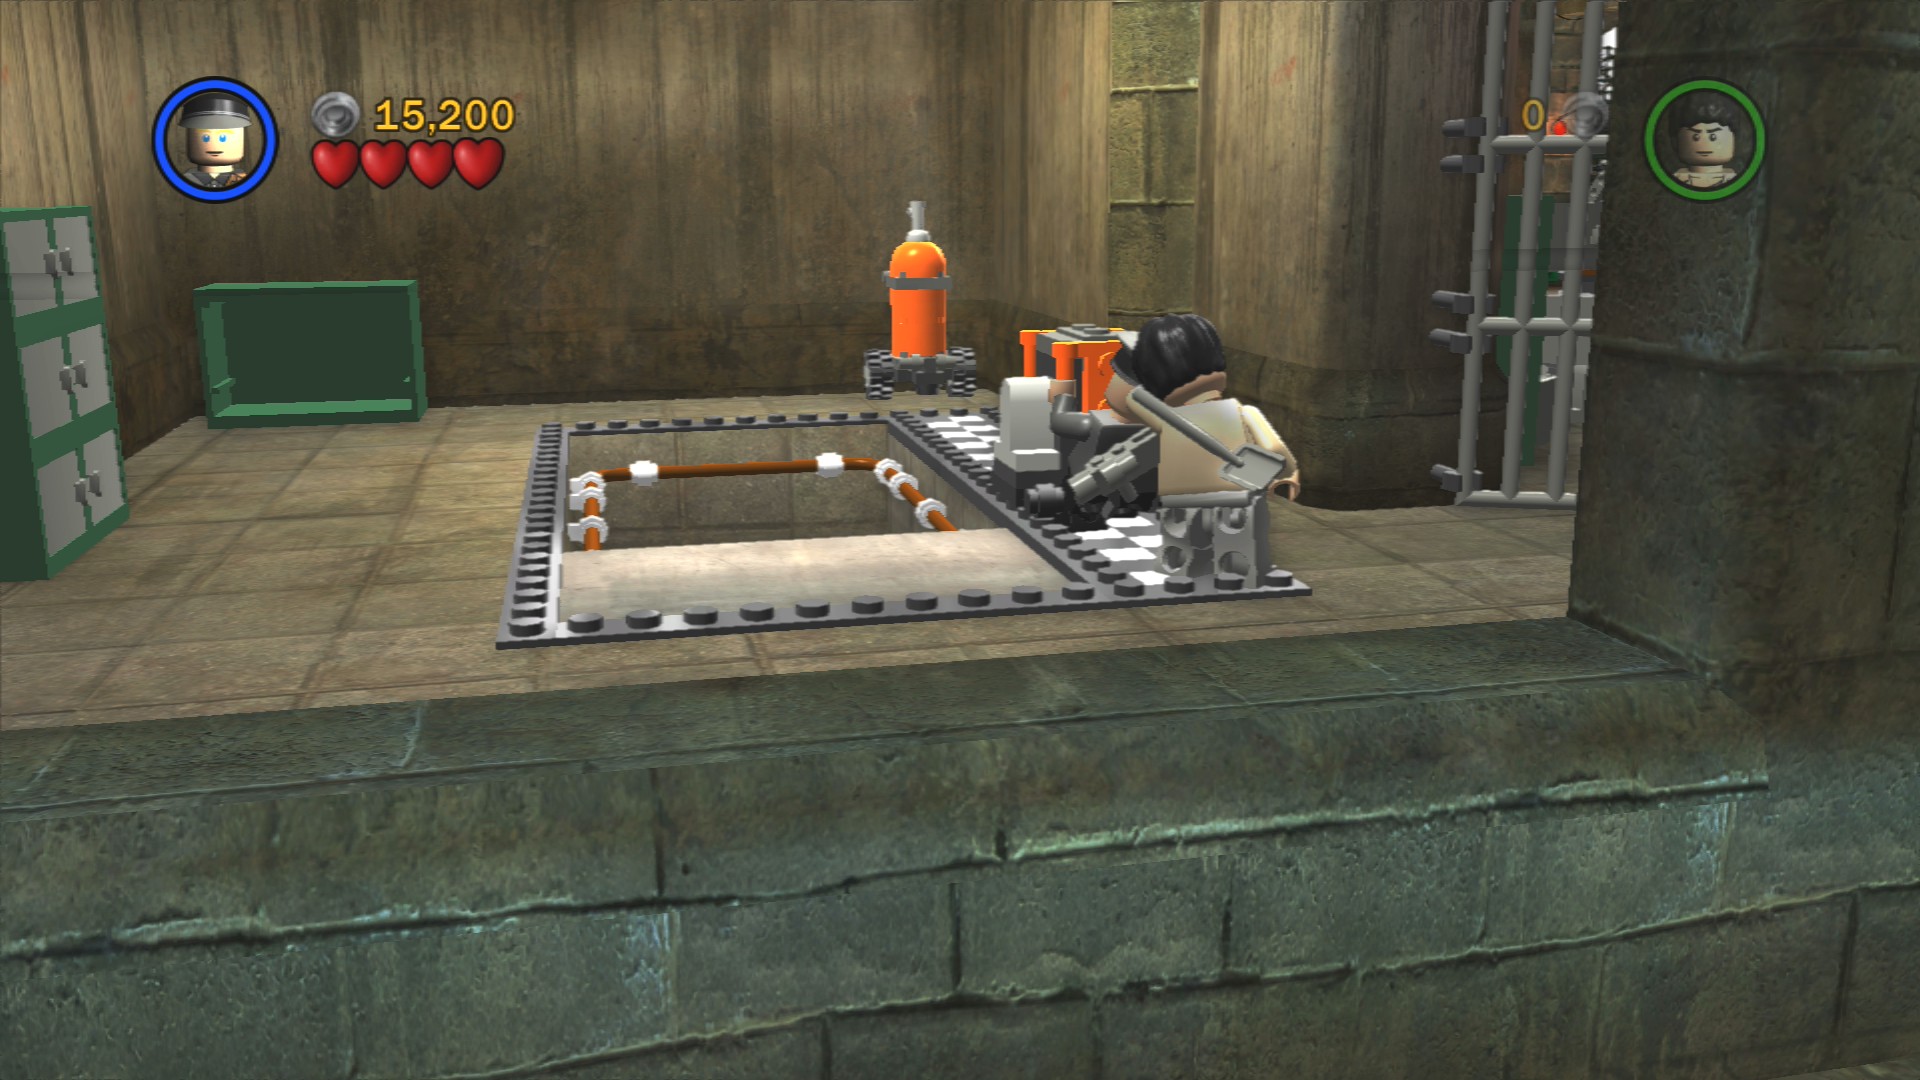
Before you leave the garage use explosives to blow up the Silver LEGO grate at the back to get into a second room. Back there smash open the glass cabinet and carry the tiles over to the little green panel on the floor. Then pull the orange handle along the path to reveal the Artefact Piece in the water below.
Artefact Piece 2/10
Requires: Explosives, High Jump Story Mode: No
Blow up the Silver LEGO holding the two boats in place and drive one to the righthand corner. High Jump out of the boat to the area behind the wall where the Artefact Piece in floating high up in the air.
Drive out of the door and start to follow the road along. Be careful not to get too close to the near edge as you'll fall off and instantly die, and be sure not to jump off your motorbike into any of the mud puddles as they will kill you on foot.
As you reach a part with a clear area at the back a group of enemies will zoom in on motorbikes. Jump off yours if you want to attack them, you can't really do any damage while riding your motorbike.
Artefact Piece 3/10 - Part 1/3
Requires: None Story Mode: Yes
In the middle of the plants in front of the first ramp is one that will turn into a flower when smashed.
Glitch warning: it is possible to earn this Artefact Piece twice, if you collect it in Story Mode it can also be awarded to you in Free Play.
If you drive onto the wooden ramp it should boost you over the gap. Sometimes you might be going at an angle where you miss the jump or you're not going fast enough but it is usually quite forgiving.
Just past that are some boulders rolling down the hillside onto the road. Mostly just ignore them and keep going onwards until you reach the guard post at the other end of them.
Artefact Piece 3/10 - Part 2/3
Requires: None Story Mode: Yes
Smash one of the plants on the hillside just before the end of the rolling boulders.
A few enemies will run in, luckily one of them is an officer so you can take his hat and have the guard post open the barrier. The enemies will keep reappearing so if you miss the hat it shouldn't be too long a wait for more enemies to bring you a new one.
A very short distance after the barrier is a gear you have to turn to raise up the next wooden ramp so you can leap over the gap.
Artefact Piece 3/10 - Part 3/3
Requires: None Story Mode: Yes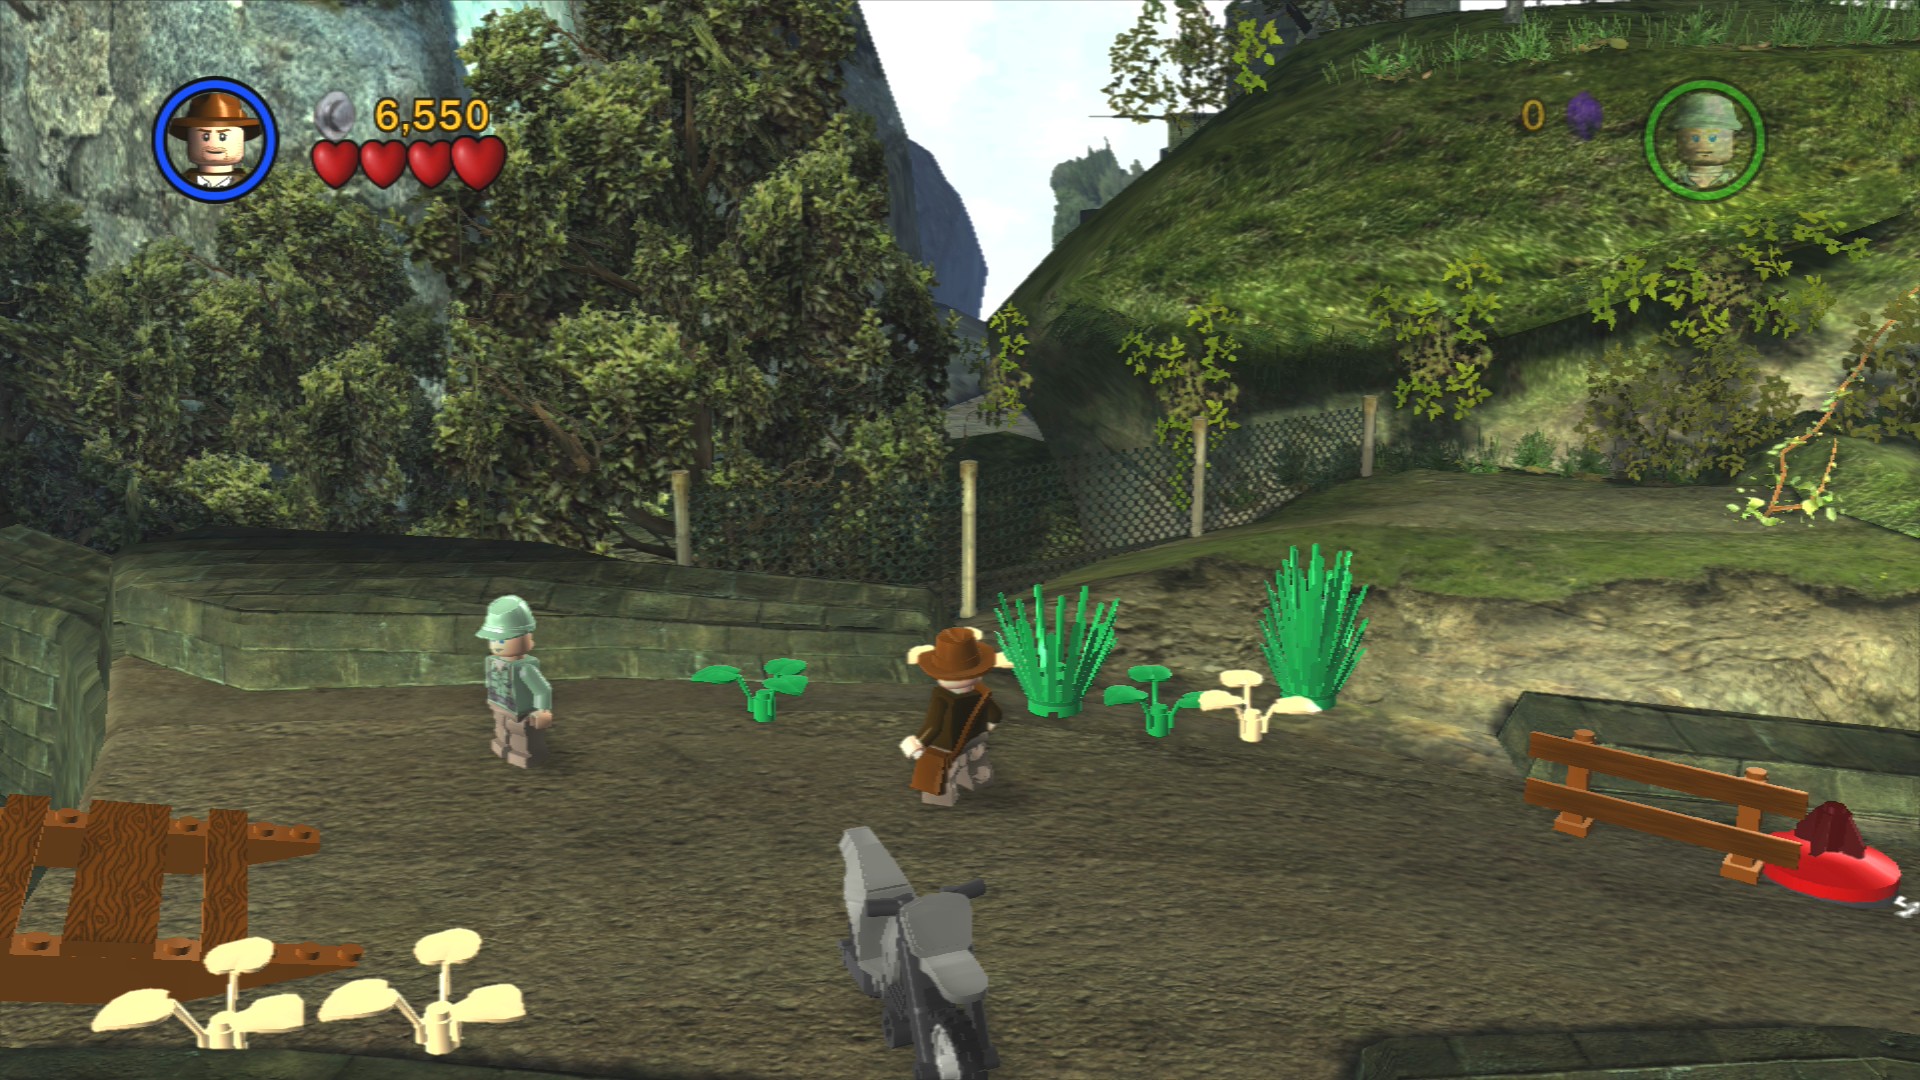
Immediately after the ramp you raise with the gear is the last flower you need to smash.
The path from here will be littered with red landmines. These will explode if you get too close but they also give out quite a few studs so it may well be worth quickly driving up to them and then away from each one to get them to detonate safely.
Artefact Piece 4/10
Requires: Explosives Story Mode: Yes
On the corner during the landmine section is an Artefact Piece in a cave blocked by Silver LEGO. Explode it and then ride your motorbike into the cave to grab it as the mud in front will kill you if you just try to walk in.
Artefact Piece 5/10
Requires: None Story Mode: Yes
Inside a wide open door off the road just after the previous Artefact Piece.
At the end of the road is another guard post, if you've lost your hat then it's lucky that there's a new group of enemies that will run in for you to get a new one from.
Artefact Piece 6/10
Requires: None Story Mode: Yes
Behind the corner of the first building you reach after passing through the arch.
Artefact Piece 7/10
Requires: None Story Mode: Yes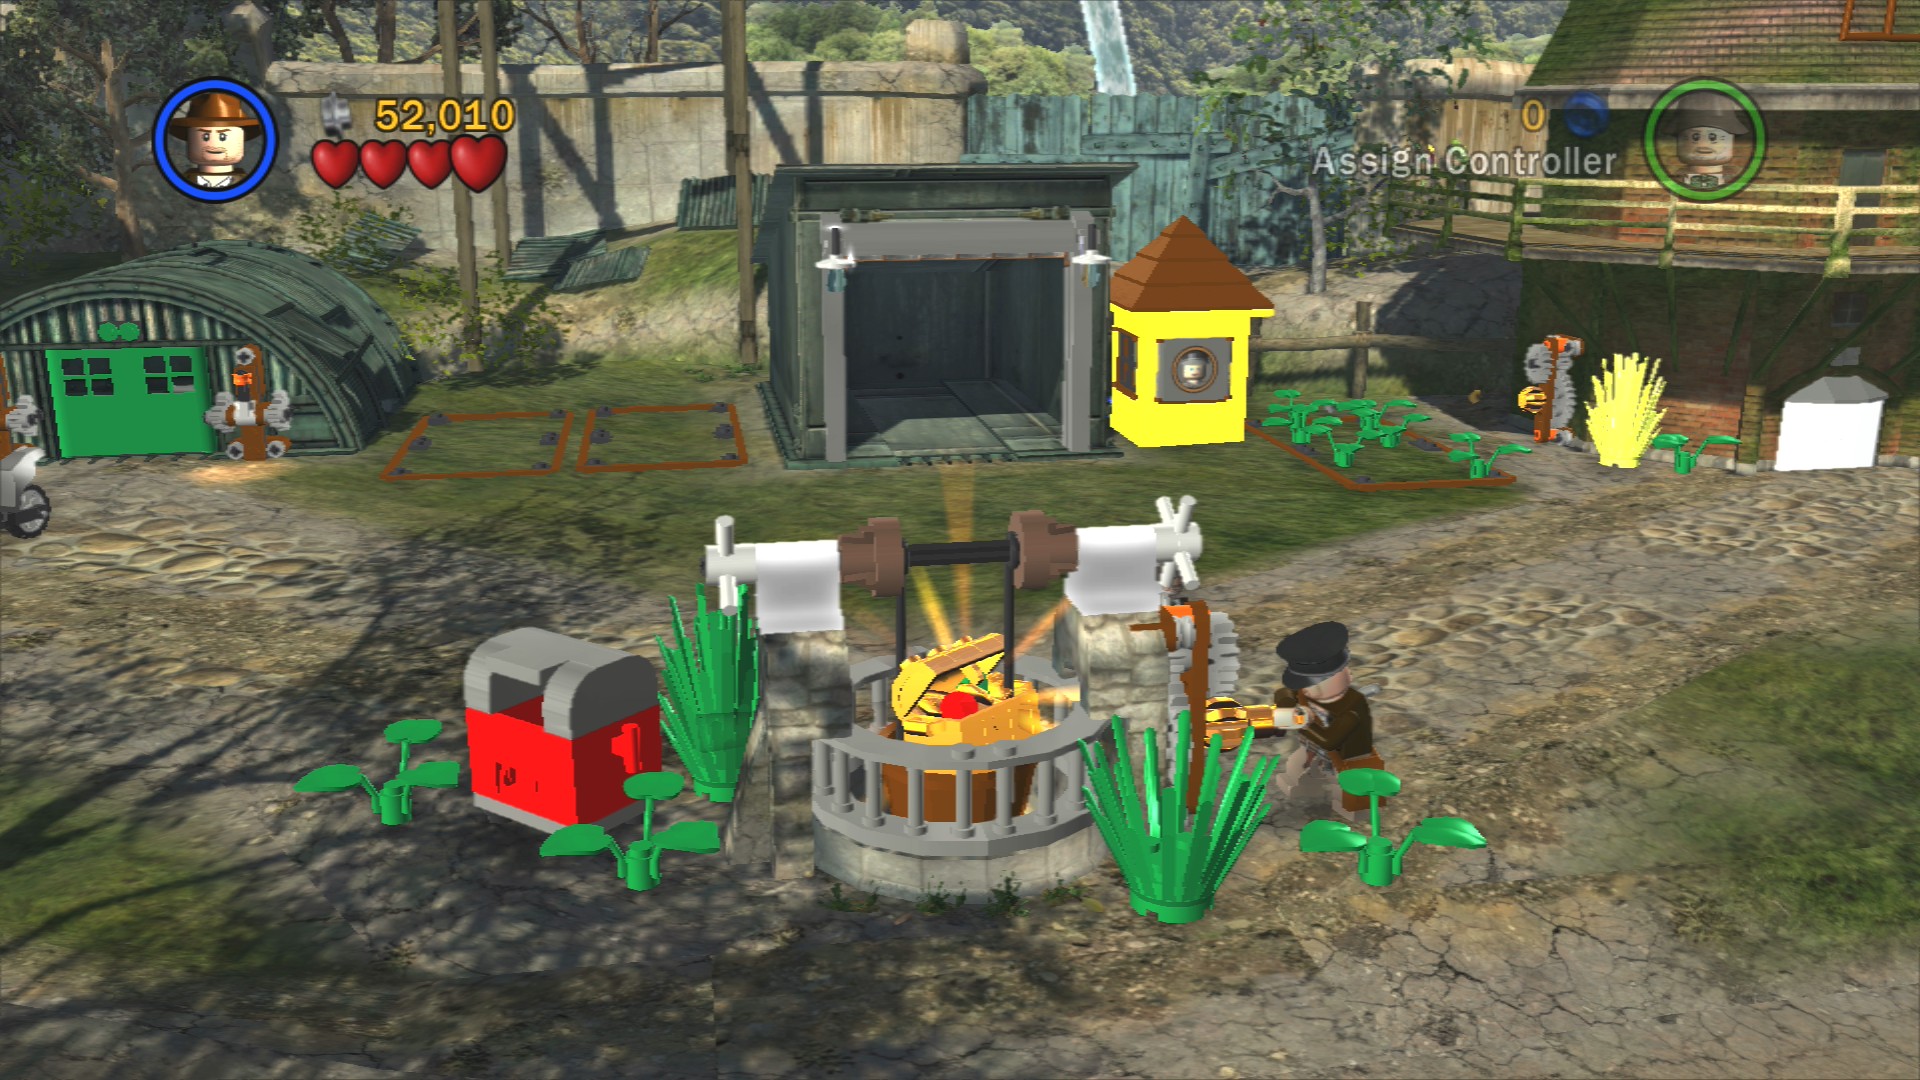
Next to the red Mailbox is a well with a key attached, turn that to raise up the bucket and reveal the Artefact Piece.
You will need a new hat as going through the archway to enter the area removes all carried items like that. Open the bomb shelter by pulling on both levers at the same time, the officer inside should oblige you with a hat when you kill him. Talk to the guard post to the right to open the garage to find a shovel. Then use that shovel to dig up the glowing LEGO to the left of the bomb shelter.
Use the bounce pad to get up onto the roof and then down onto the ledge that leads to an open door to get inside the building. Once you're inside whip swing across to a pile of crates you can smash. Pick up the crate that remains and drop it on the floor next to the cage below. Pushing on the green side of the switch you make will open the cage so you can get in and grab a bazooka.
Artefact Piece 8/10
Requires: Spanner Story Mode: No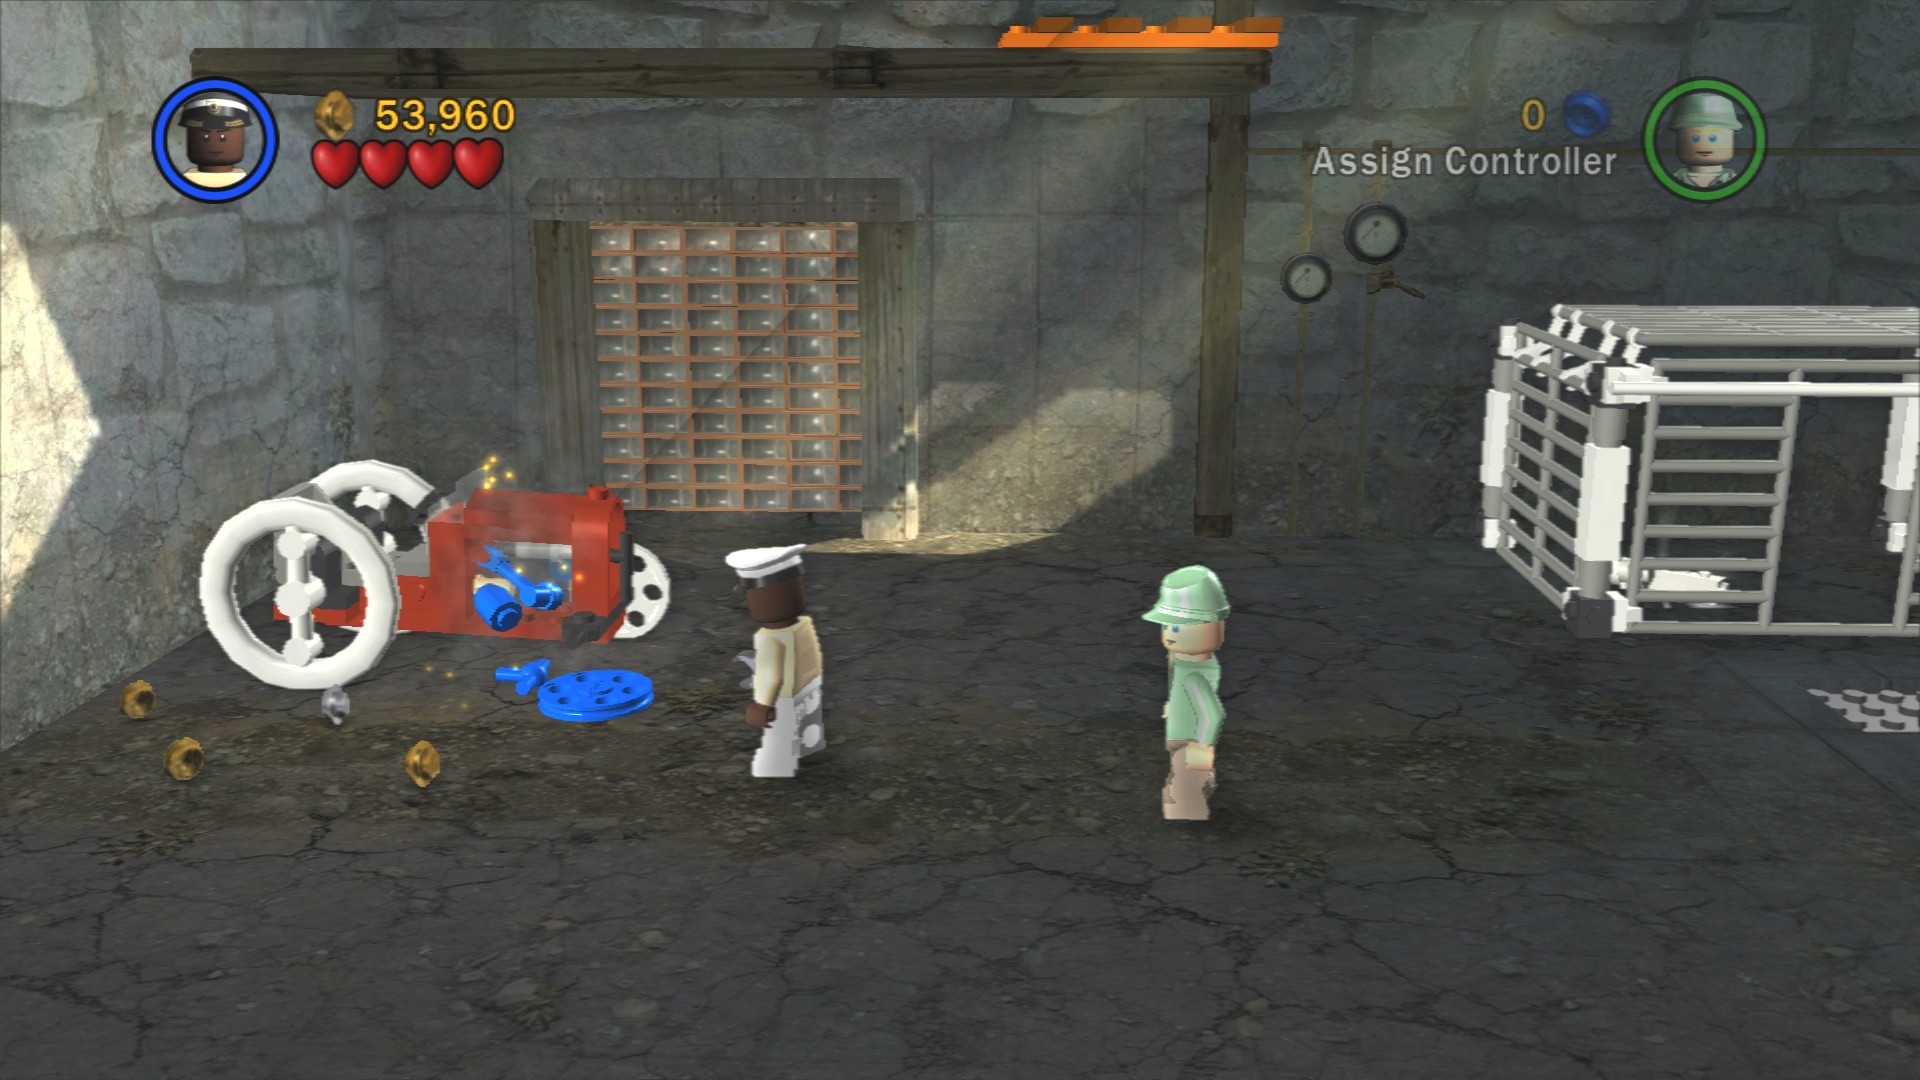
Have a mechanic fix the tractor on the left side of the barn (no point trying to get the spanner from the start of the level, the game will take it away from you before you get here). Hop into the fixed tractor and drive it out of the door.
Now drive the tractor over the plants next to the bomb shelter, two carrots should pop up. The third carrot is in the plants on the other side of the guard post. You can get the Artefact Piece in a bit once you've raised the bridge.
Red Parcel - Treasure x8
Requires: High Jump Story Mode: No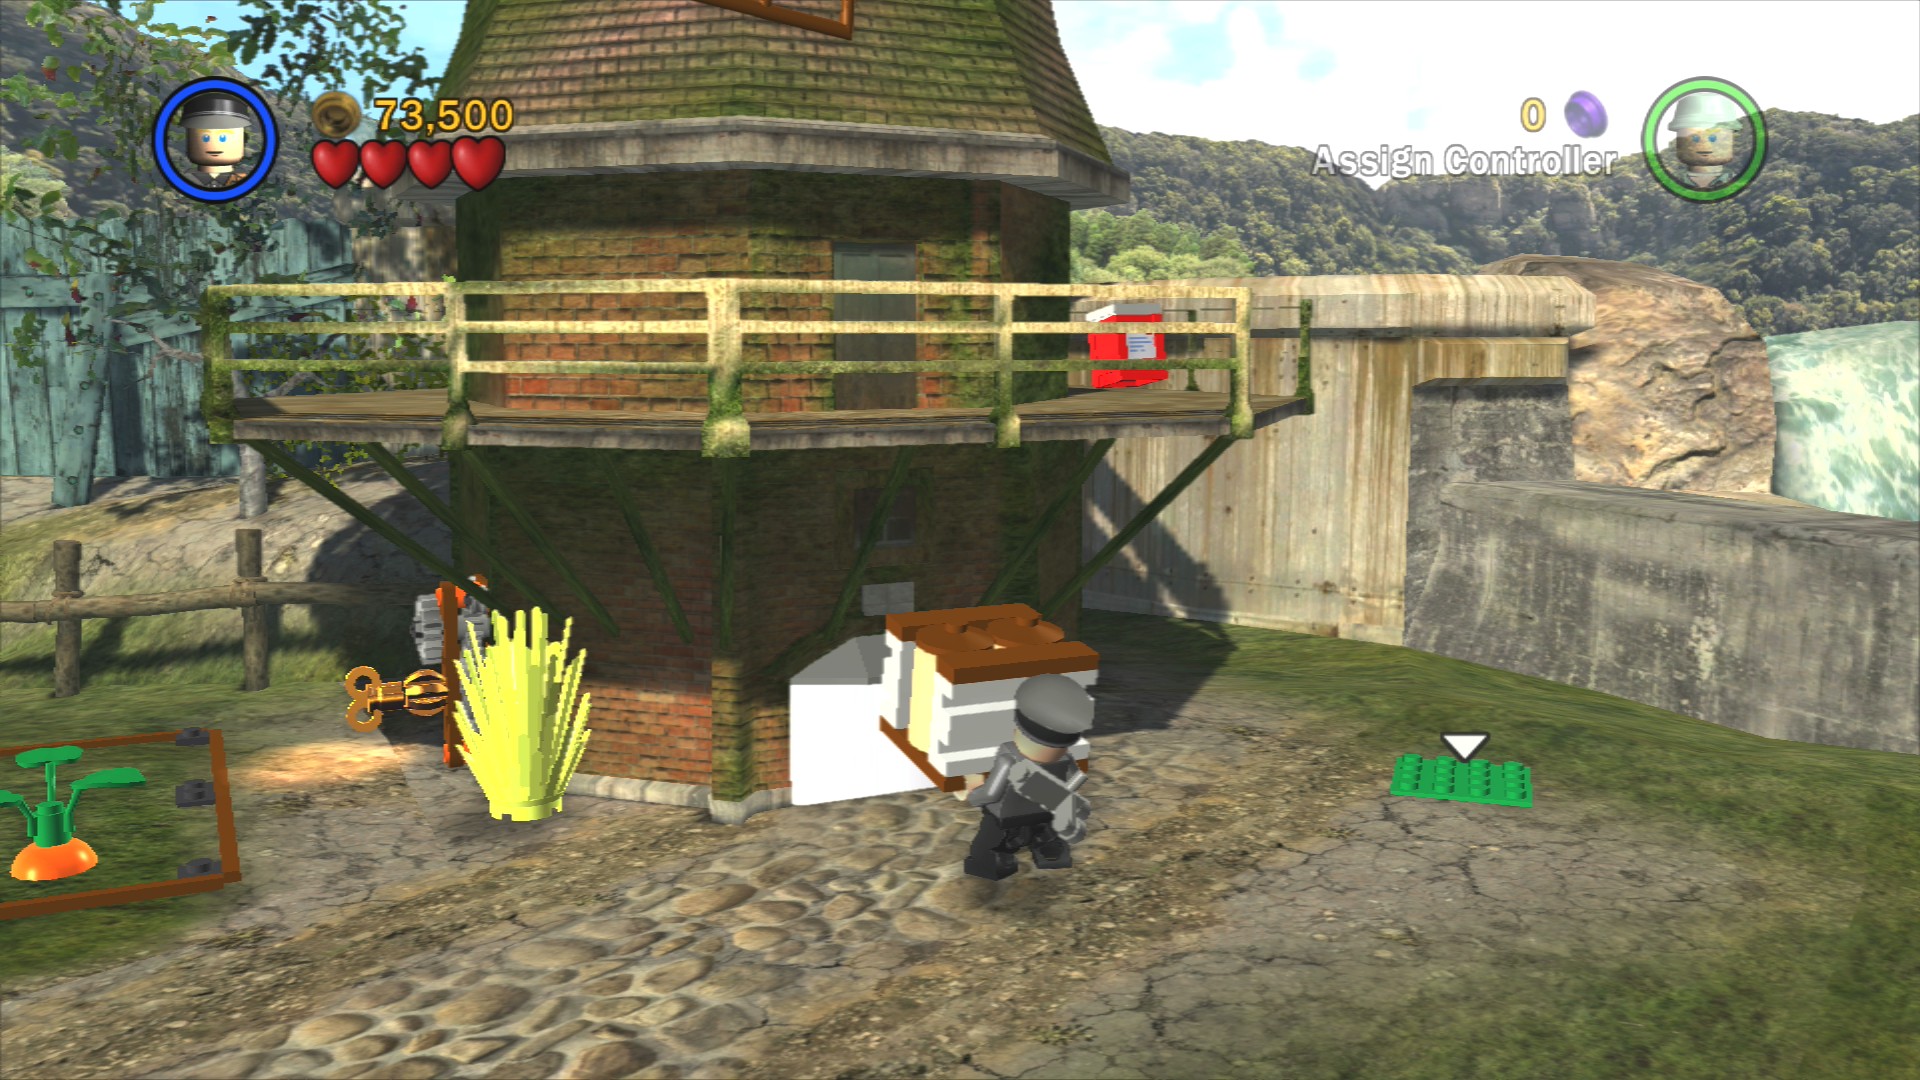
Blow up the crates at the bottom of the windmill to find a key. Take it to the gears on the left side of the windmill and start rotating it. There's a badly placed bush that you'll often try to dive into so try to face away from that while you're doing it. The windmill will eventually start spinning on its own and a crate will pop out of the front. Place that crate on the green spot and use it to High Jump up to the Red Parcel.
Now just take the Parcel over to the Mailbox next to the well in the middle of the area.
To raise the bridge blow up the Silver LEGO next to it with the bazooka from the barn and assemble the pull switch. Hop back on your bikes and drive over the bridge to press the two long orange buttons with them.
Just a short section of road, there's a few enemies on bikes at the corner to take care of but after that it's just a quick ride into a tunnel to the final area.
The turrets are not as dangerous as you might think, their attacks are a lot easier to avoid than regular bazooka attacks. Defeat the enemies that run out of the sheds and after defeating the second lot a third shed will open with a bazooka inside. Blow up the two turrets next to the exit as well as the one over to the right and the doors will open. Don't go through just yet though as that'll end the level and we've got a little more to do first.
Artefact Piece 9/10
Requires: Explosives Story Mode: Yes
Go into the doorway under the turret on the righthand side of the area to get the Artefact Piece inside.
Artefact Piece 10/10
Requires: Explosives Story Mode: Yes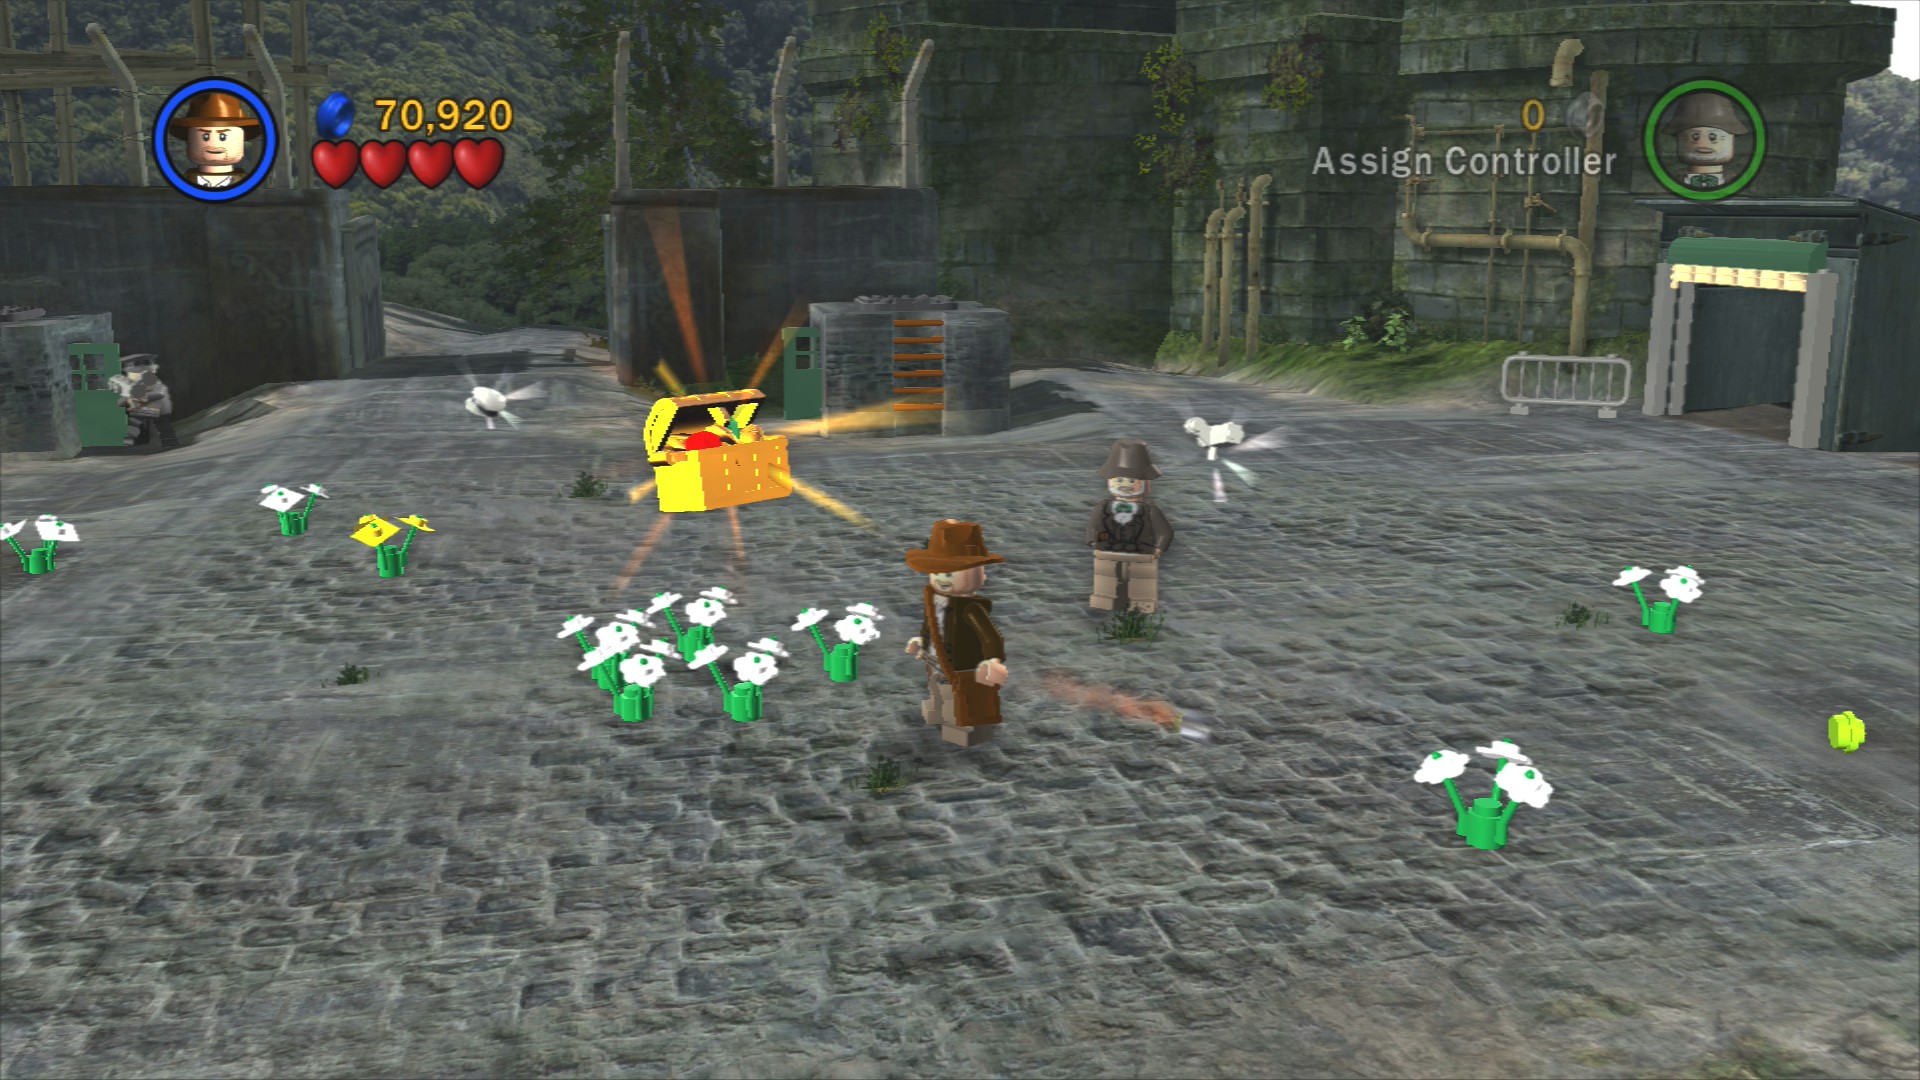
Blow up the green circle on the ground and then start planting the seeds that are scattered around. Eventually the Artefact Piece will appear. Enemies will continue appearing while you're doing this so keep an eye out.
Once you're all done head through the gate between two of the destroyed turrets to finish the chapter.
| Cost | Character | |
|---|---|---|
| 18,500 | Indiana Jones (Officer) | |
| 15,000 | Elsa (Officer) |
Chapter 4. Trouble in the Sky
| Story Mode | Free Play |
|---|---|
| 80,000 | 90,000 |
Artefact Piece 1/10
Requires: High Jump, Scream/Explosives Story Mode: No
High Jump over the barrier on the right side and smash the glass holding the Artefact Piece with Explosives or a Scream.
On the right near the back is a lever, pull it to pull back the curtain and reveal a boss fight. Pick up bottles from the tables on the left and throw them at Colonel Vogel who's throwing chairs at you from behind the barrier. Keep throwing them until he jumps down and you can punch him a couple of times to end the airship section.
Punch the front of the crashed plane and then place the engine on the green plate to the left. You'll be able to build a fan that will raise you up into the air, use it to get over the fence to the left.
Use Indy's whip to pull open the gate from this side then use it again over on the left to pull down a ladder. Climb up then make your way over to the clock so you can smash it and find a gear inside.
Artefact Piece 2/10
Requires: Explosives Story Mode: No
Repair the clock then jump down. Blow up the Silver LEGO cart with some explosives and take the key to the gear next to the clock building's door. You then have to rotate it until it's set to 12:45 which will have the blue hand pointing left and the white handing pointing slightly to the right of vertical.
Carry the gear from the clock back out to the first area and place it on the gate to the right to repair the lever. Open the gate through to some dusty farmland where you'll begin to be bombarded by mortar fire. Avoid the bombs and shortly after a few paratroopers will drop in. This will continue to repeat for the rest of this section.
Artefact Piece 3/10
Requires: Whip Story Mode: Yes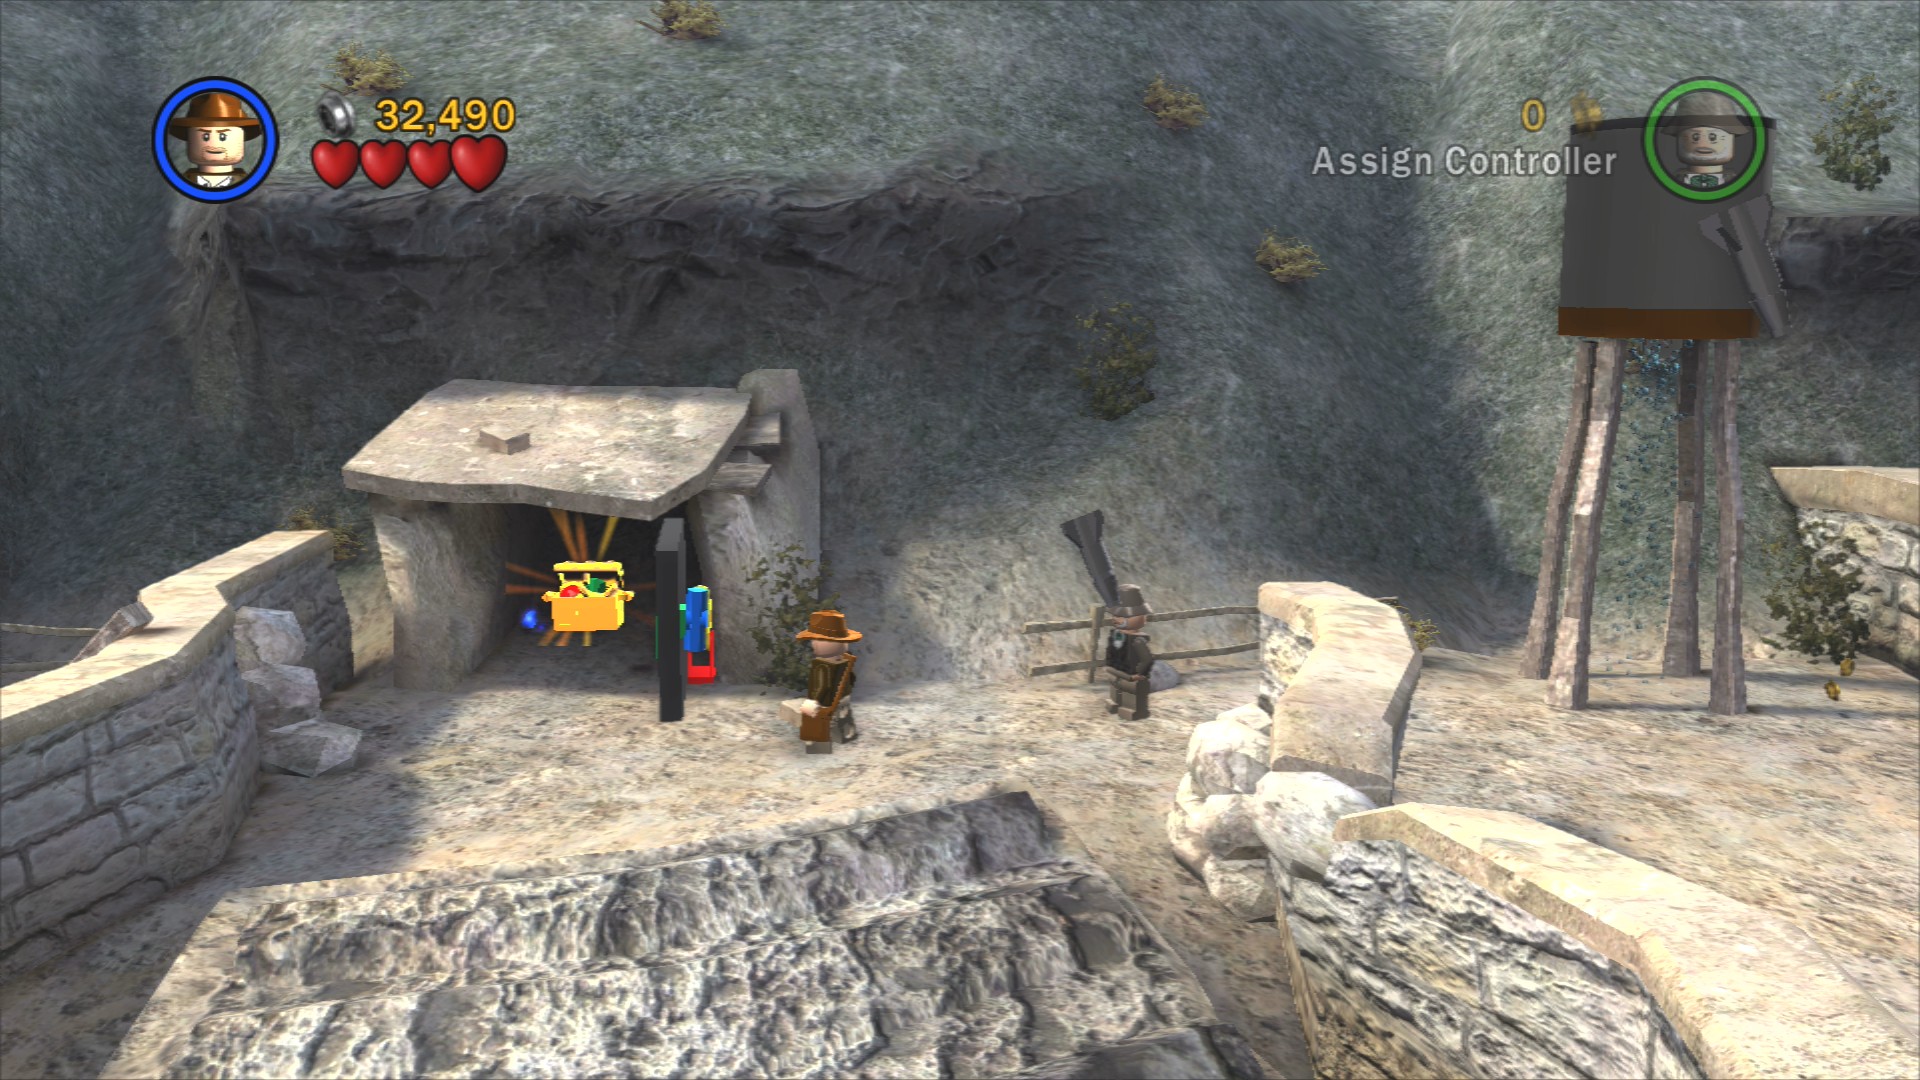
Use the whip to pull the bottom out of the water tower, a blue pipe will drop out of it. Carry that to the little building to the left to open the door and reveal the Artefact Piece inside.
Go through the archway to the front of a barn.
Red Parcel - Treasure Magnet
Requires: None Story Mode: Yes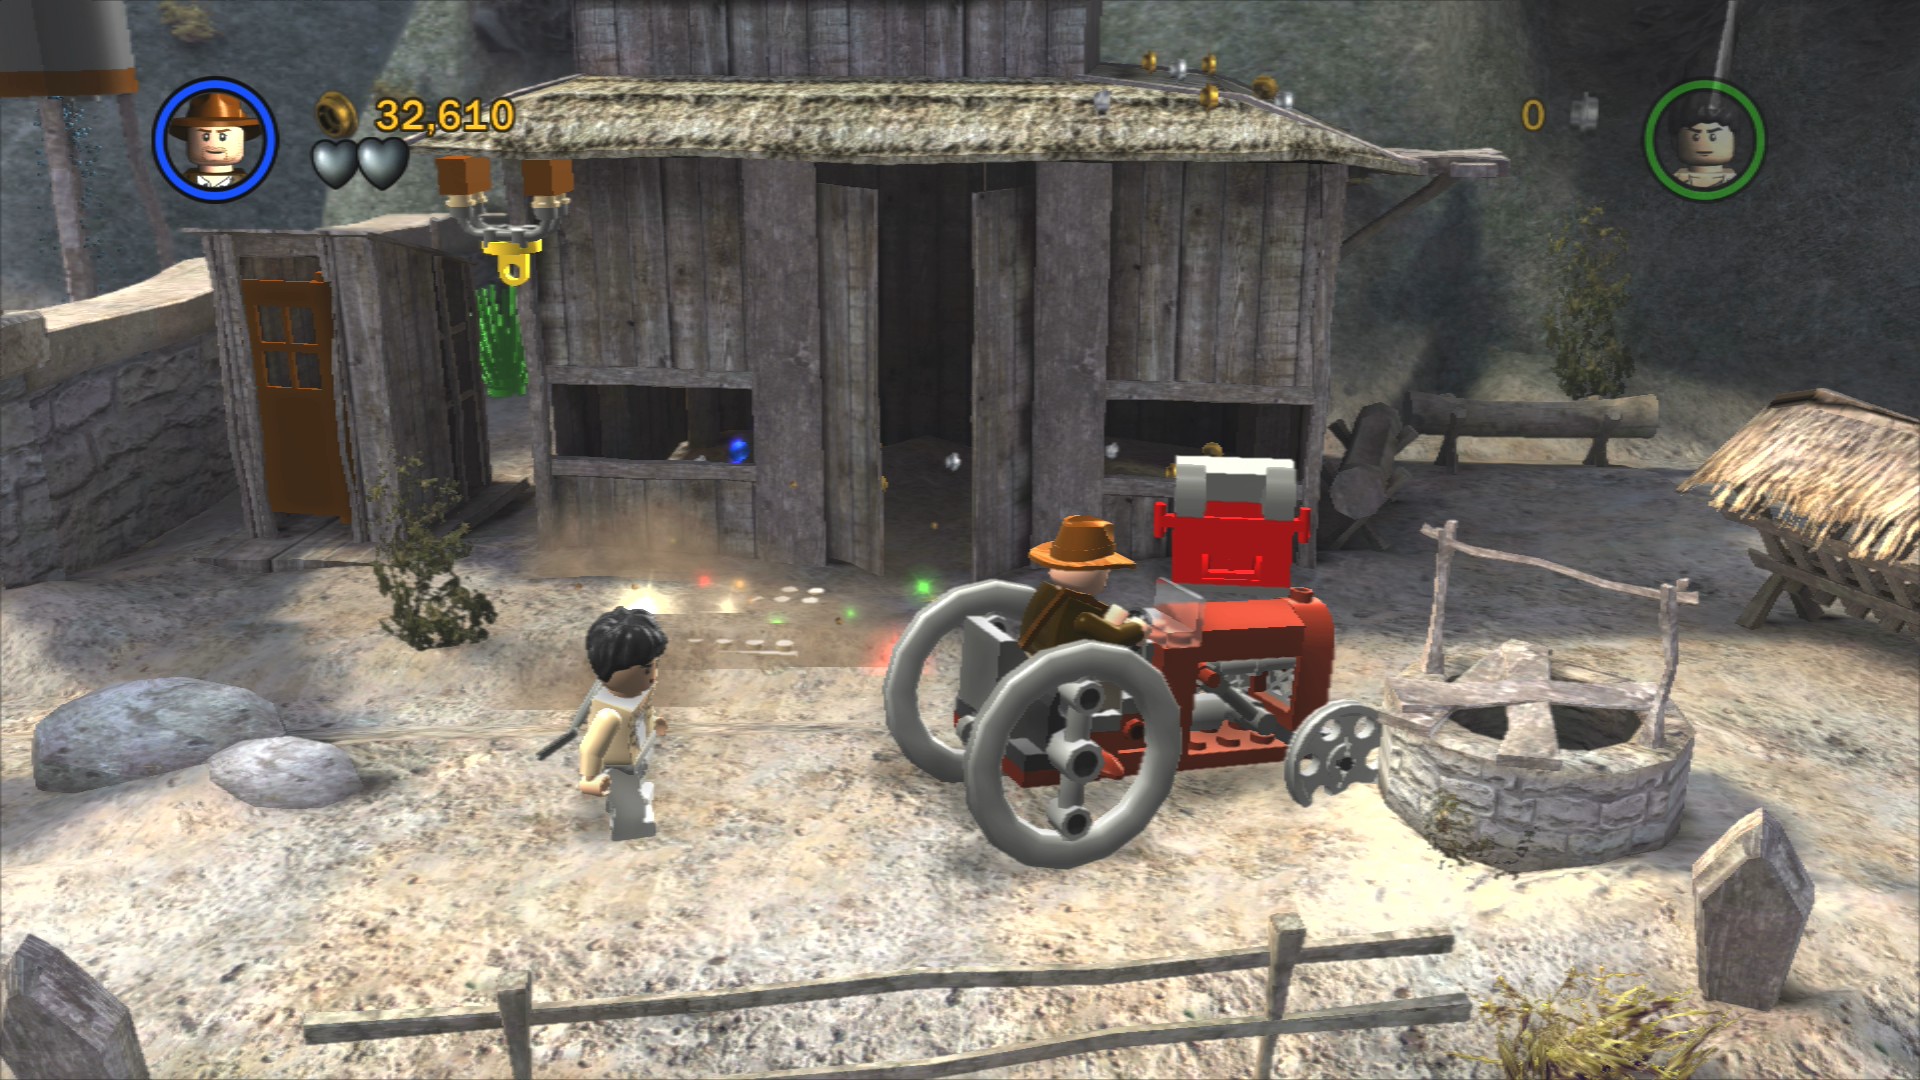
Get in the tractor and drive it back through the arch to drive over the three patches of green plants that you will have been unable to blow up. A mushroom will appear after you drive over each of them, smash all three to reveal the Red Parcel. Now you've just got to carry it back to the Mailbox in front of the barn.
Smash the weird thin brown door on the small building next to the barn to find a shovel. Use that to dig up the glowing LEGO to find a platform that raises when you grab hold of the rope next to it. Switch to the character that ran onto the roof and have them jump to another rope on the right. From there leap to a brown structure and very quickly onto the wall, if you hang around it'll collapse and you'll have to rebuild it and then get up onto the barn all over again.
Walk through the arch at the back to move on.
Artefact Piece 4/10
Requires: Explosives, Hatch Access Story Mode: No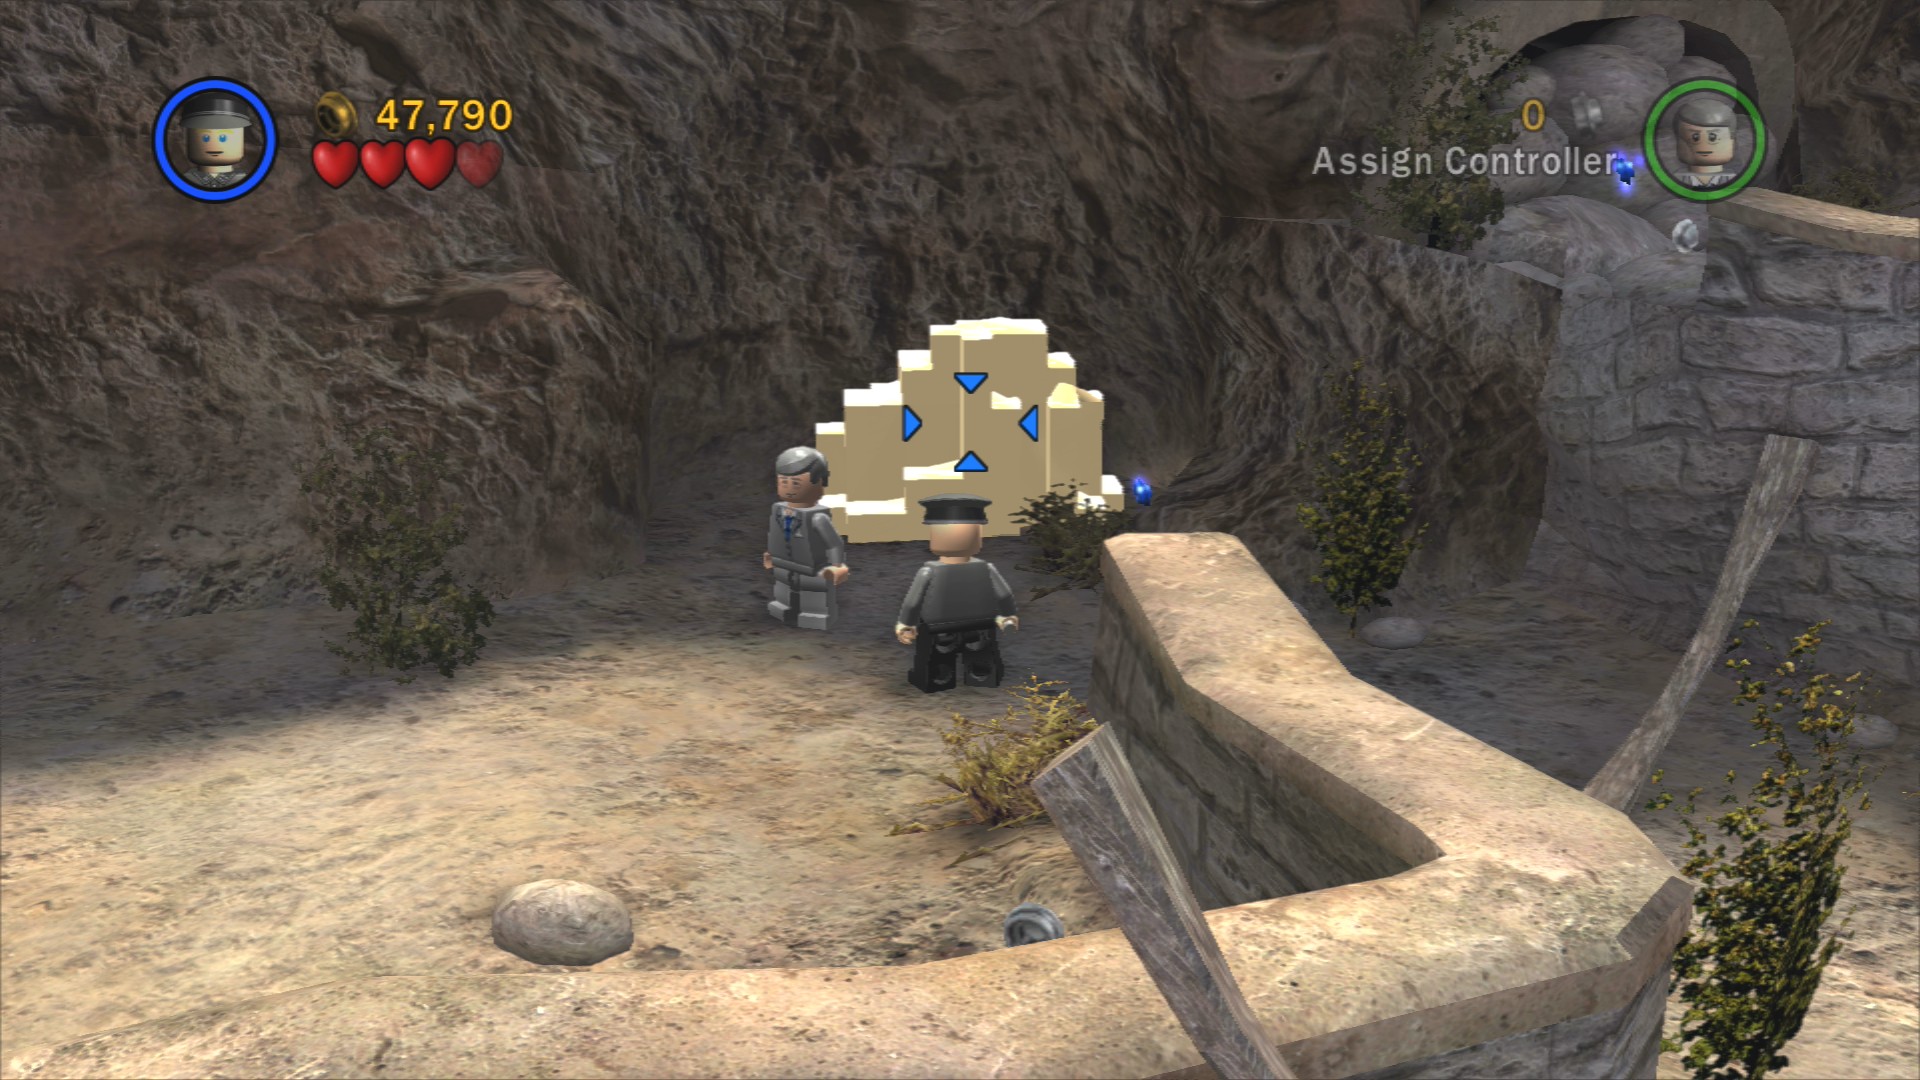
Blow up the rock near the start of the section after the orchard with some explosives. Crawl through the hatch to get to the Artefact Piece.
Wind your way through the walls to reach a broken car. Start to fix it with the nearby LEGO bricks then smash the nearby cart to find a steering wheel that you can place in the assembled car. It will still require a spanner to fully fix it though.
Artefact Piece 5/10
Requires: Book Story Mode: Yes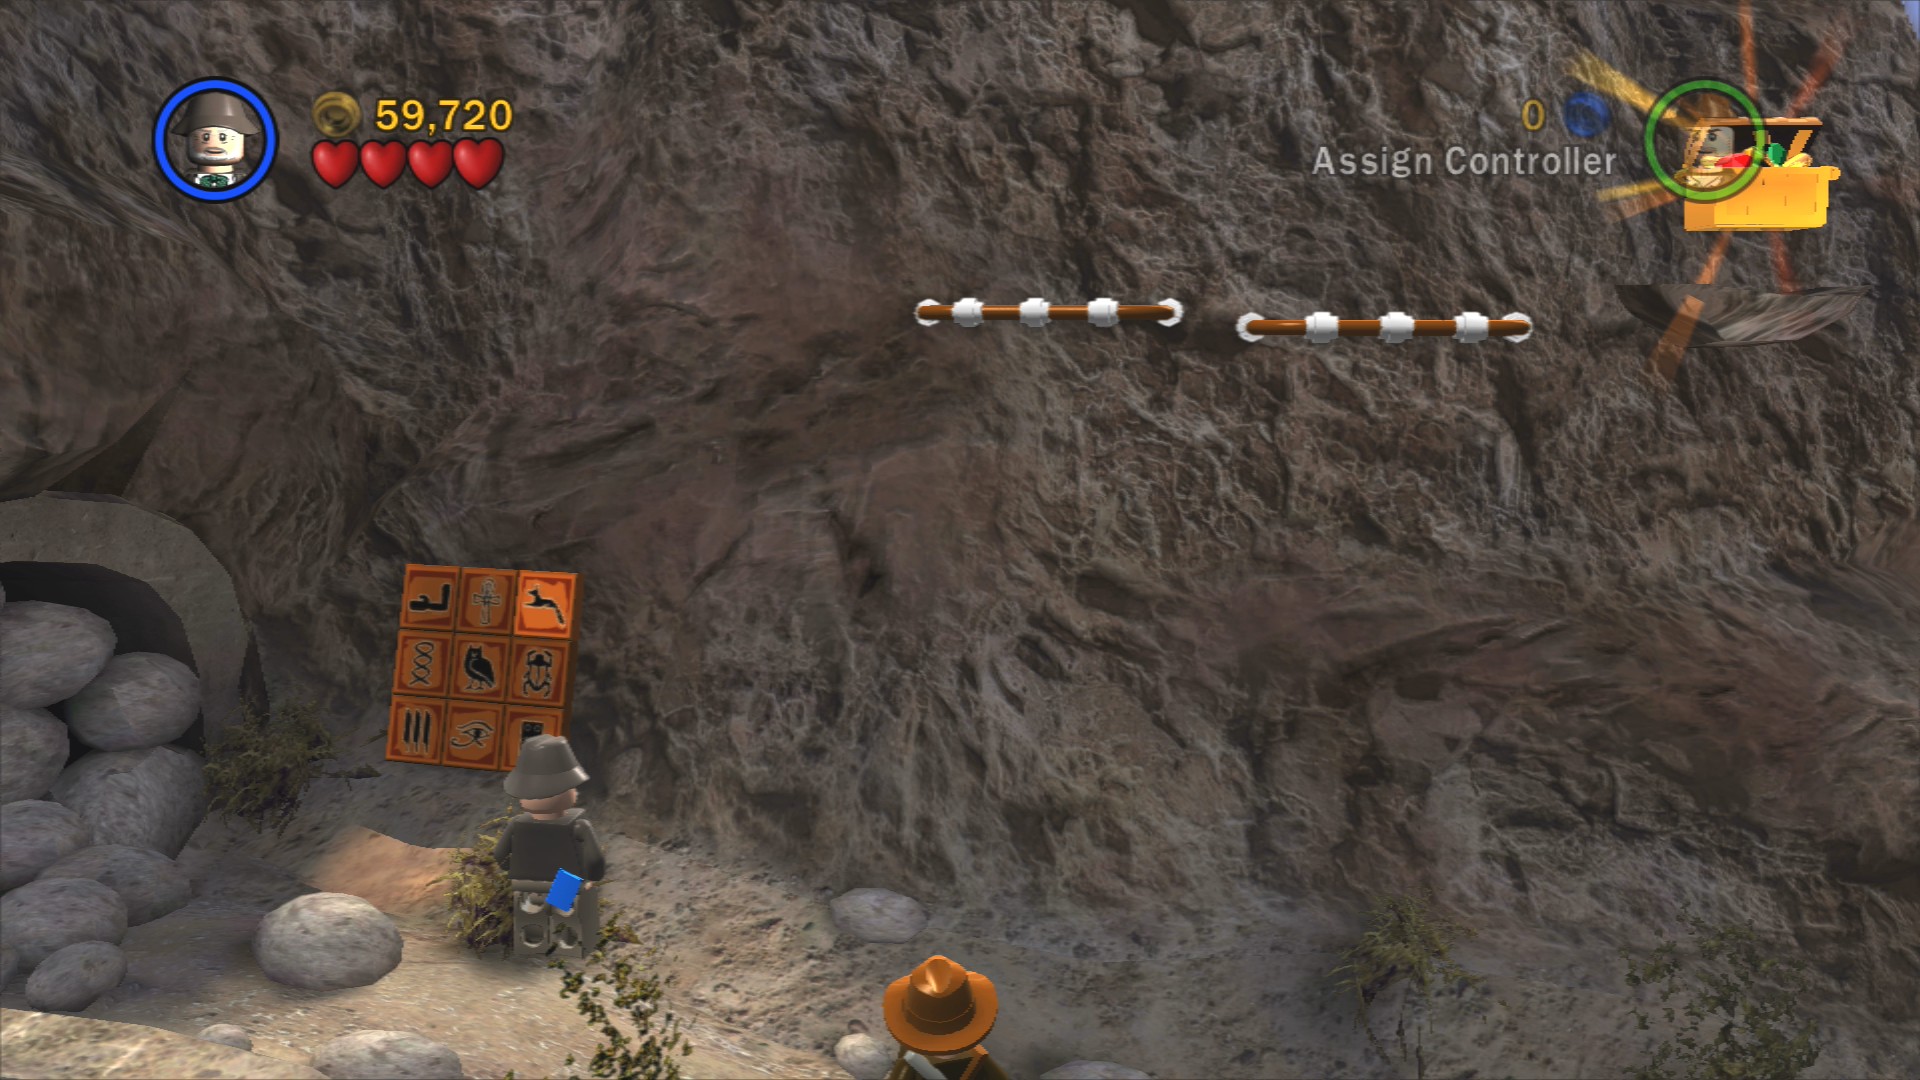
Up the slope to the left of the car is a hieroglyph panel, solving it will reveal a handhold you can use to get up to the Artefact Piece.
Smash the two tractors and carry their engines through the archway to a set of three green plates. The third engine is in the tractor to the left in here. Press the button that rises to start the engine and raise the ladder, you'll be able to reach a spanner on the balcony.
Artefact Piece 6/10
Requires: High Jump Story Mode: No
High Jump off the little pushable cart to reach a lever above. It'll open up the door on the shed.
Once you've fixed the car with the spanner jump in and start to drive it down the road to the right. Stop at the bridge and have Indy whip swing over the gap. Smash the pile of wood on the other side to rebuild the bridge so you can drive over and smash through the barriers blocking the tunnel.
Follow the path down the hill past a few enemies, at the bottom you'll spook the first of three groups of seagulls. Dig up the glowing LEGO in the sand to find an odd looking chest, smash it to find a key. Rotate the nearby gear with it to create some steps you can use to jump over the rocks.
Artefact Piece 7/10 - Part 1/3
Requires: Shovel Story Mode: Yes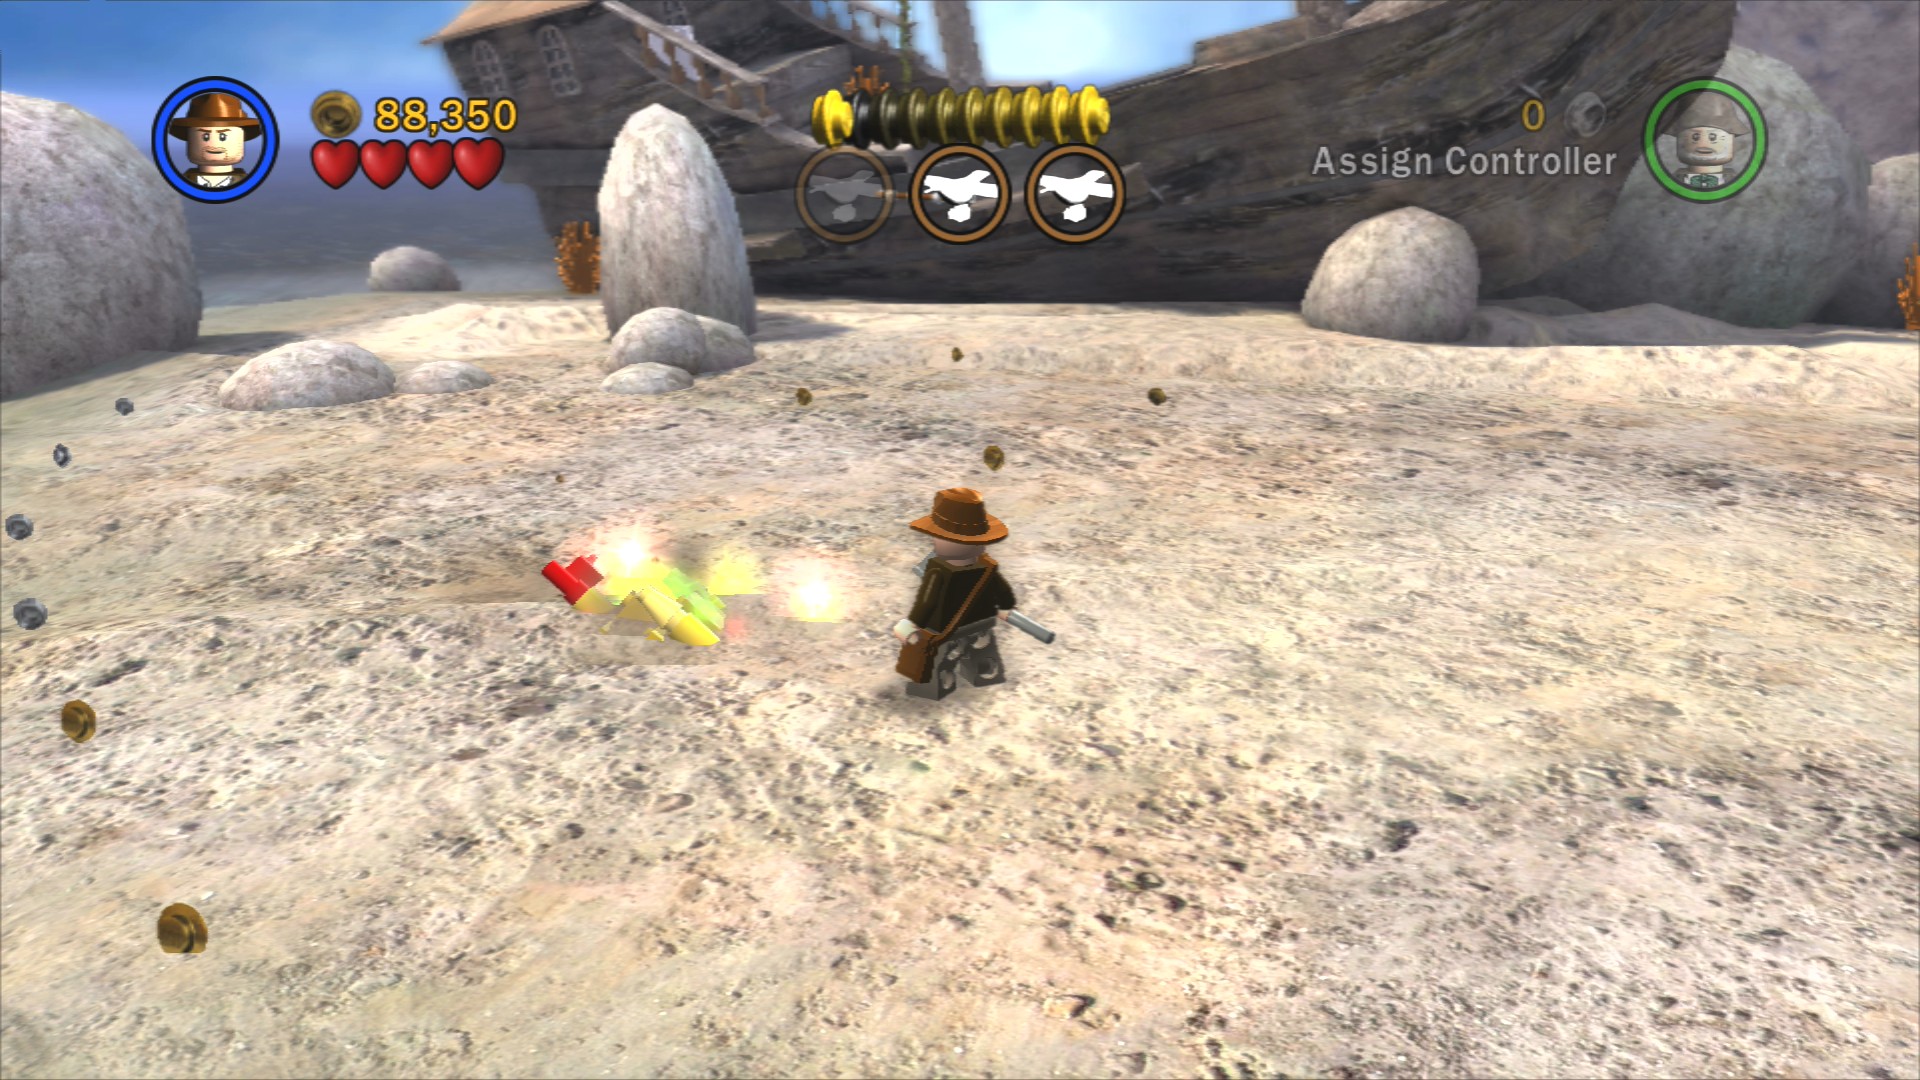
In the sand over here you can see some more glowing LEGO, dig the sandcastle up for the first of three.
Artefact Piece 8/10
Requires: None Story Mode: Yes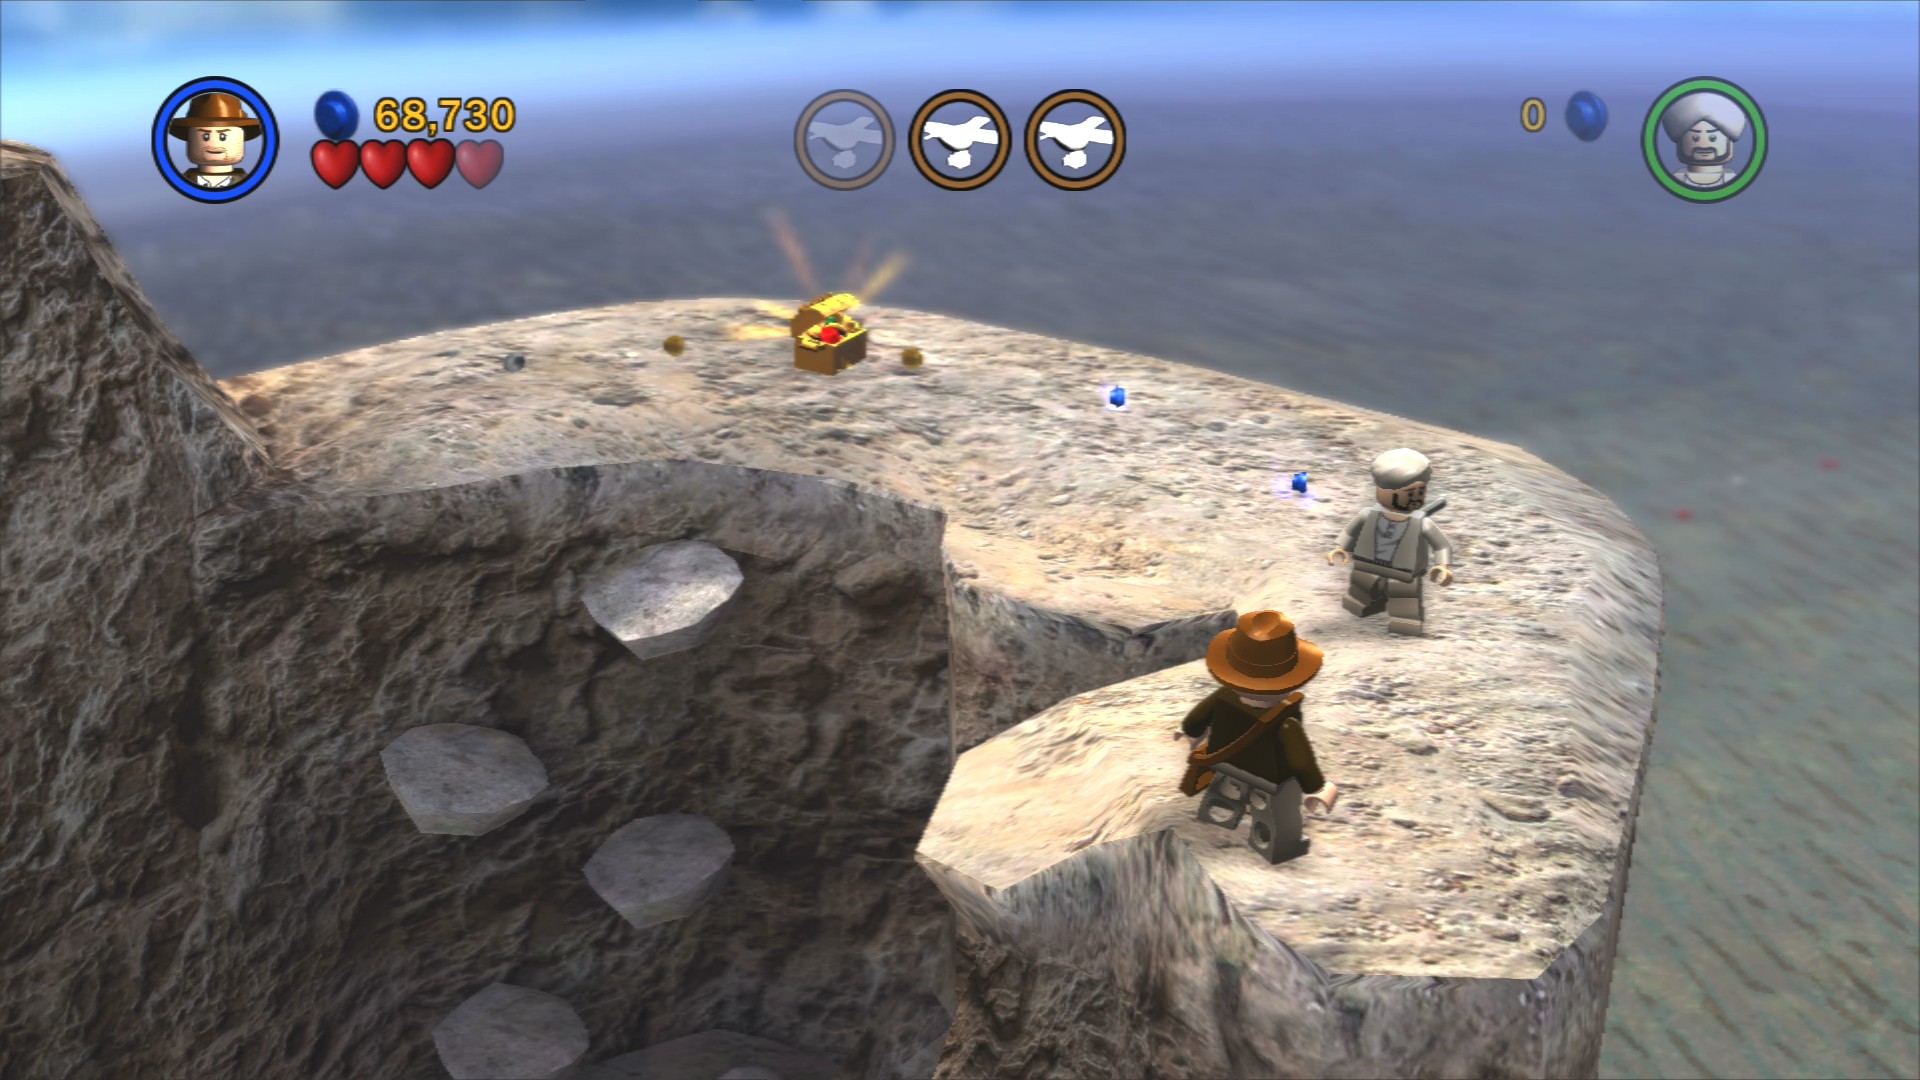
On the left side of this area you can swim a short distance out to an island with four blue studs on it. Jump up the small rocks sticking out of the cliff to reach the Artefact Piece on top.
Use the handholds to get up onto the wrecked ship at the back, jump to the back of it to set off the seagulls. And there's a couple of purple studs up the mast if you climb the rope.
Jump back over the rocks.
Artefact Piece 7/10 - Part 2/3
Requires: Shovel Story Mode: Yes
The second sandcastle is to the left of the two beach huts.
Artefact Piece 7/10 - Part 3/3
Requires: Shovel Story Mode: Yes
And the third one is on the right side of the beach huts.
Artefact Piece 9/10
Requires: None Story Mode: Yes
Hidden behind the round rock behind the third sandcastle.
Start climbing up the cliffside near where you dug up that red and yellow chest.
Artefact Piece 10/10
Requires: None Story Mode: Yes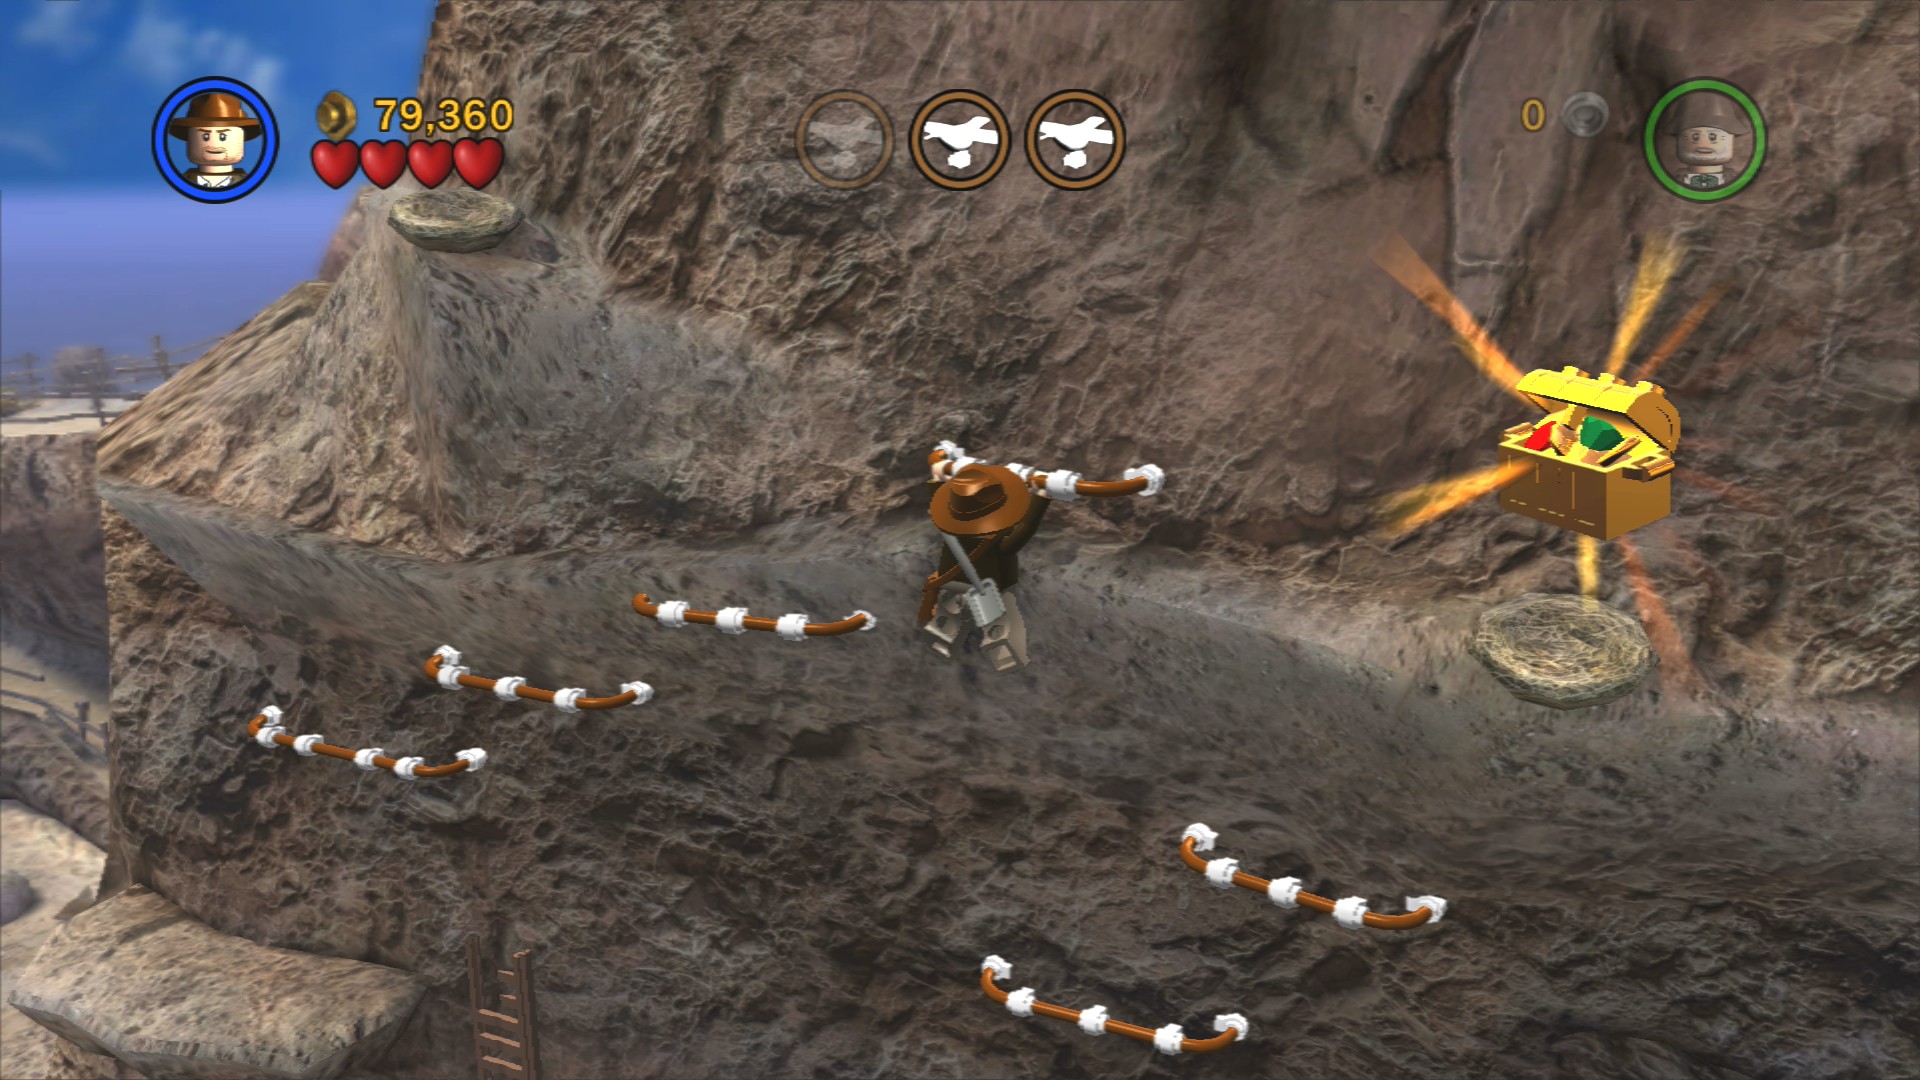
Climb the ladder and use the handholds that go up on the left side. The Artefact Piece is up top.
Climb up to the right and swing on the rope to a couple of handholds and then the last flock of seagulls to finish the chapter.
| Cost | Character | |
|---|---|---|
| 50,000 | Colonel Vogel | |
| 25,000 | Enemy Pilot |
Chapter 5. Desert Ambush
| Story Mode | Free Play |
|---|---|
| 100,000 | 110,000 |
Defeat the enemies as you start the level.
Artefact Piece 1/10 - Part 1/3
Requires: Explosives/Bulldozer Story Mode: Yes
Blow up the Silver LEGO pole at the start.
Artefact Piece 2/10
Requires: High Jump Story Mode: No
High Jump up the stepped cliffs at the left end of the area, the Artefact Piece is just up at the top.
Star Wars Character 5/5
Requires: High Jump, Whip Story Mode: No
On top of the cliff where you found the first Artefact Piece go a very short distance to the left and use a whip to pull on the hook above to find R2-D2 and finish your search for the Star Wars characters. You can now go back to the library and purchase Han Solo.
Of the broken down trucks at the start smash up the one on the right. Destroy all five wheels and then some LEGO should pop out for you to assemble into a crate. Place that crate on one of the three green plates further to the right.
Artefact Piece 1/10 - Part 2/3
Requires: Shovel, Explosives/Bulldozer Story Mode: Yes
Smash the barrels to the left of the blocked up cave to rebuild a Silver LEGO pole, then blow it up.
Smash through the wooden planks covering the cave entrance at the back to head inside.
Artefact Piece 3/10
Requires: None Story Mode: Yes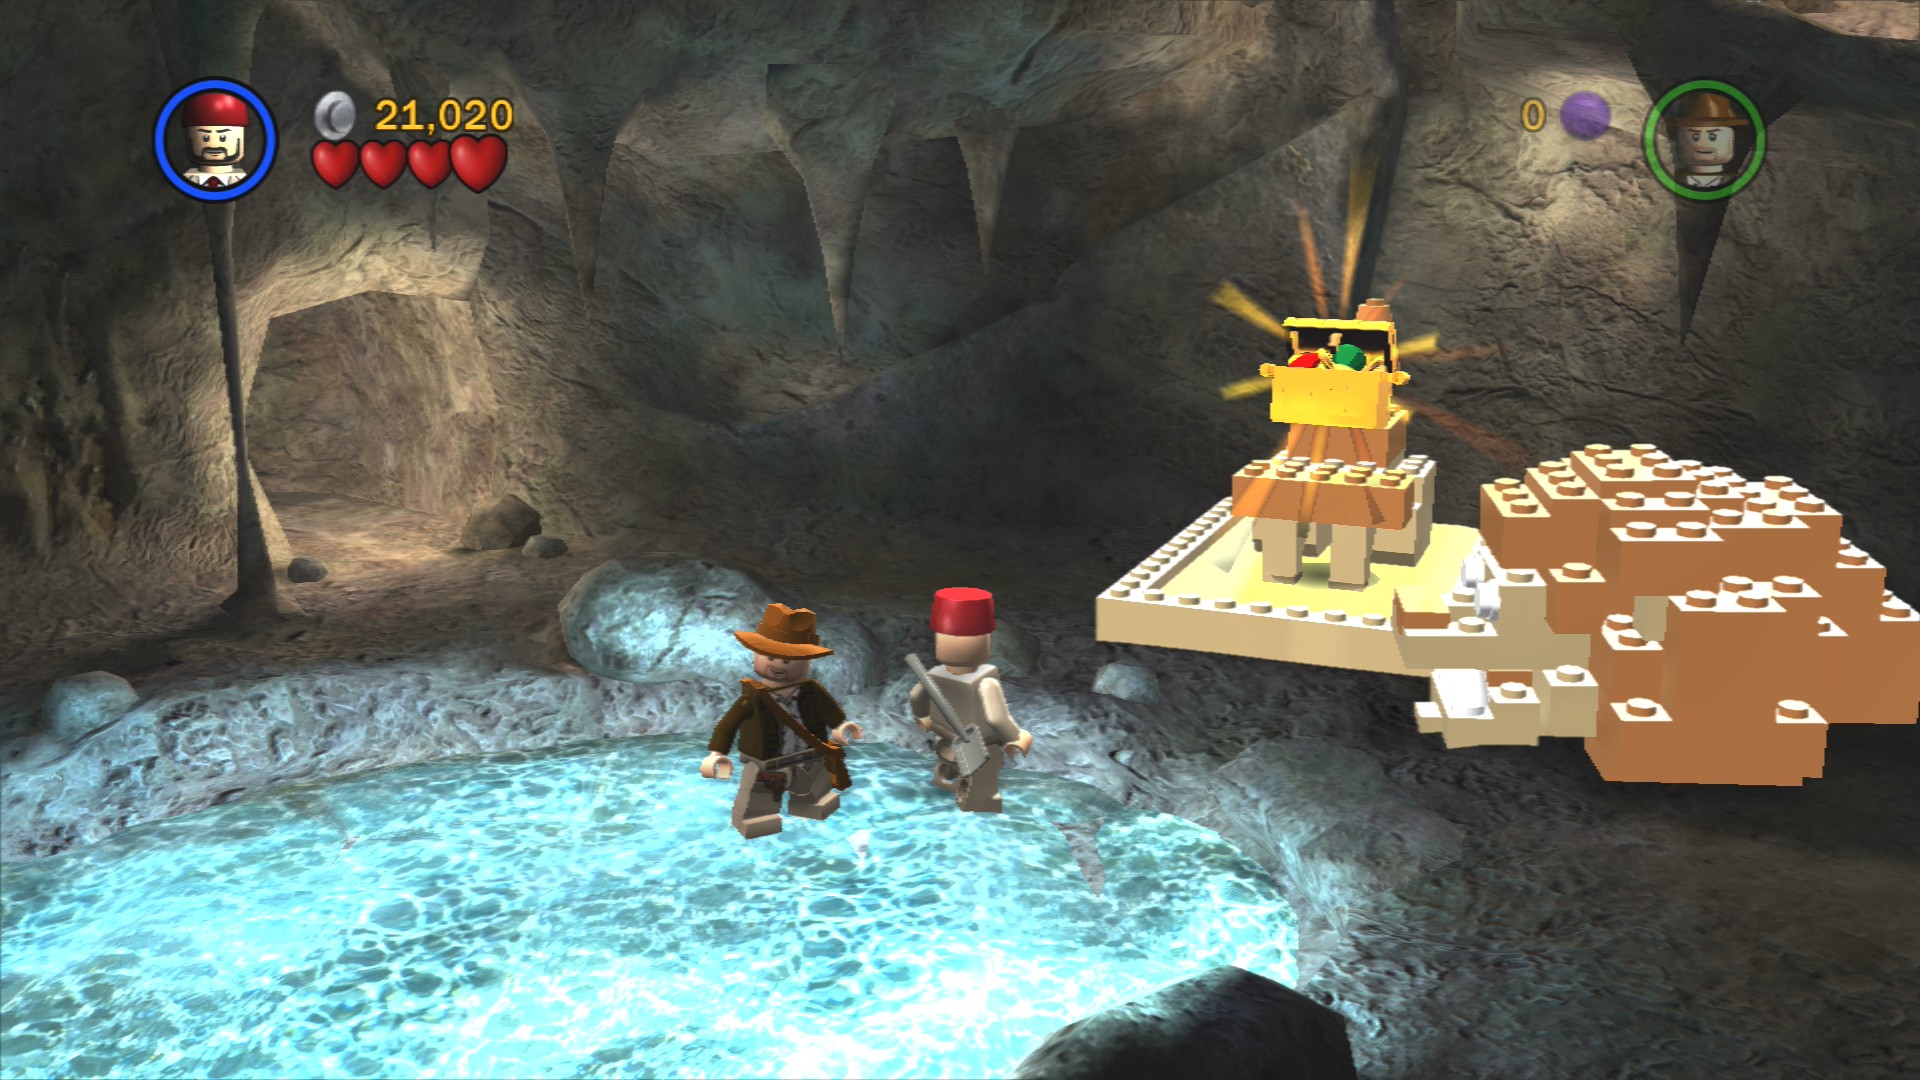
Pick up the lion head on the left inside the cave and place it on the lion body. Easy.
To the right of the lion statue dig up a couple of gears so you can repair the lift's engine.
Artefact Piece 4/10
Requires: Explosives, Shovel, Whip Story Mode: No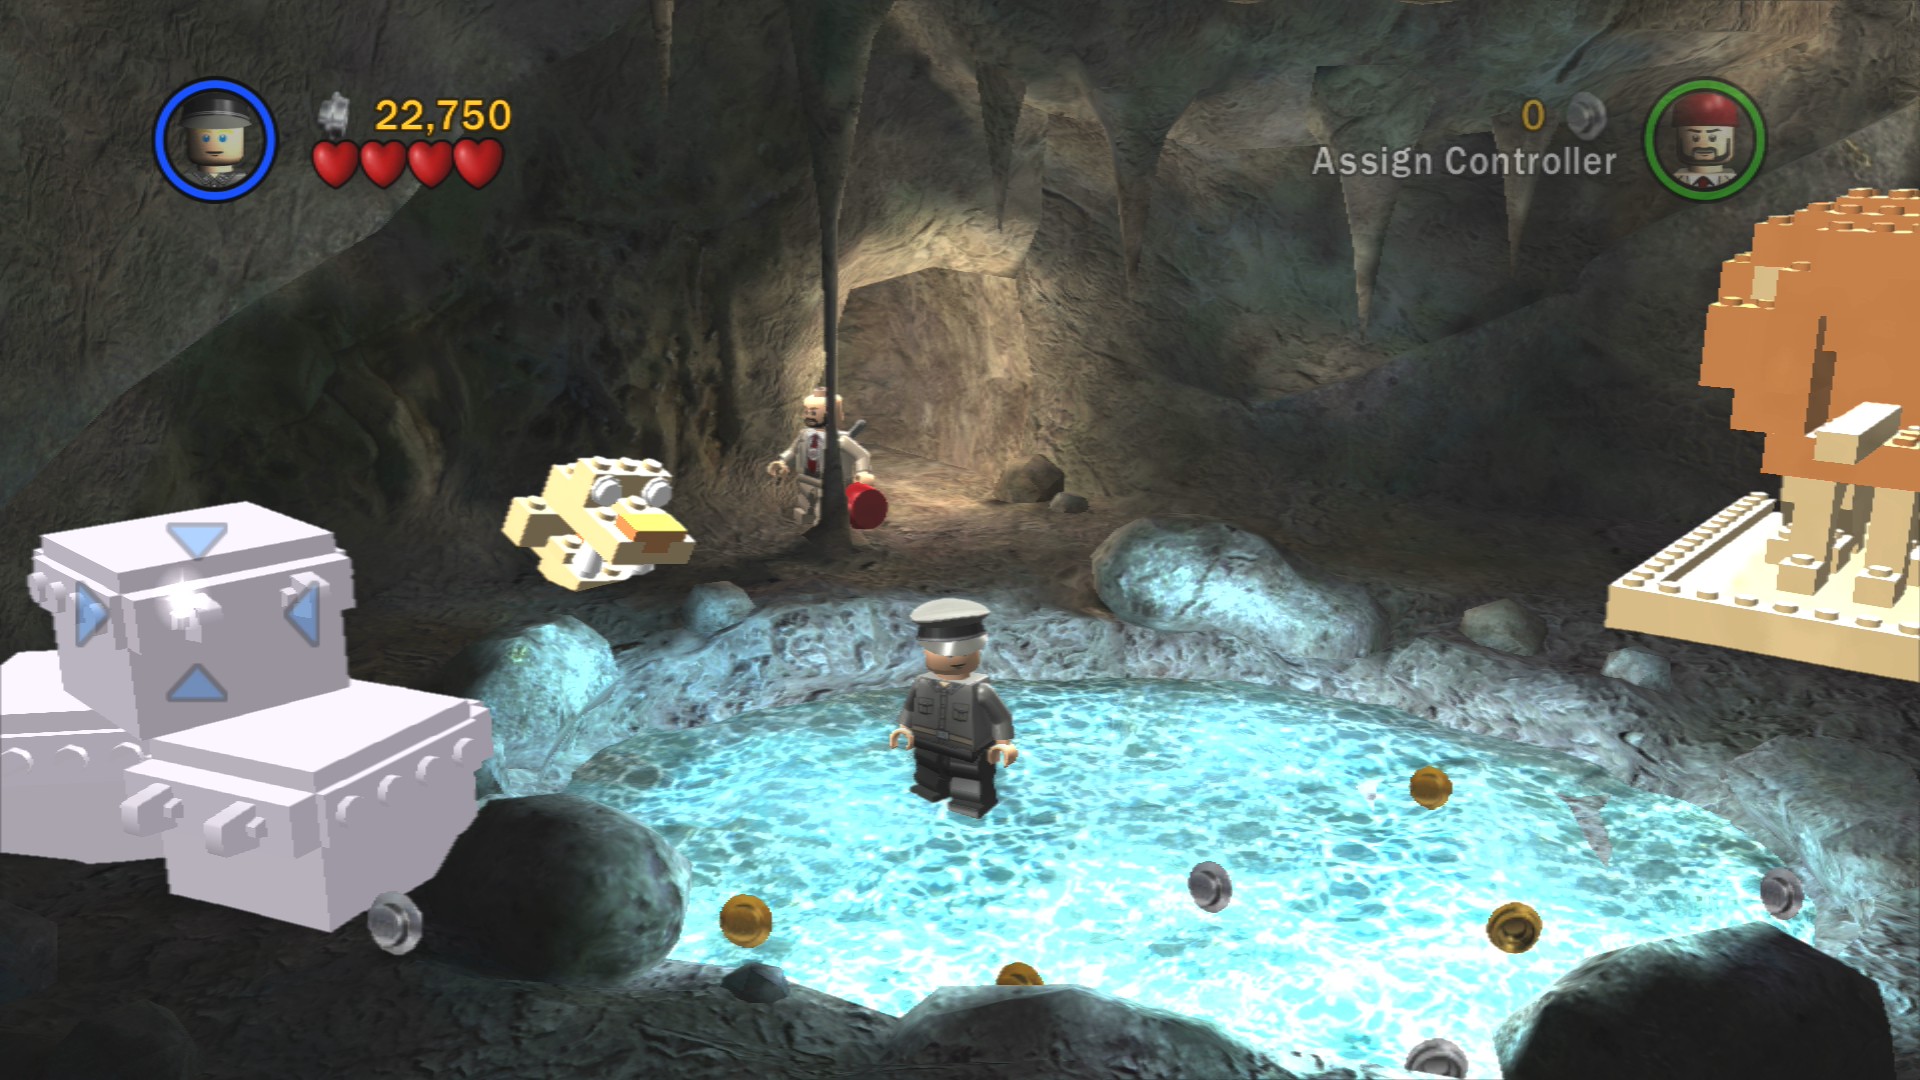
Use explosives to blow up the Silver LEGO crates next to the pool to reveal a dig spot. Grab the key and take it up the lift. If you go up the ladder and continue to the left instead of heading outside you'll find the gears for the key. Once you've turned it you can whip swing over to the Artefact Piece behind some smashable rocks.
At the top of the short ladder is the exit, it leads back outside on an upper ledge with the second crate and a lift. You don't really need to use the lift, just jump down carrying the crate to place it with the first one.
Artefact Piece 5/10
Requires: Book, Thuggee, Shovel Story Mode: No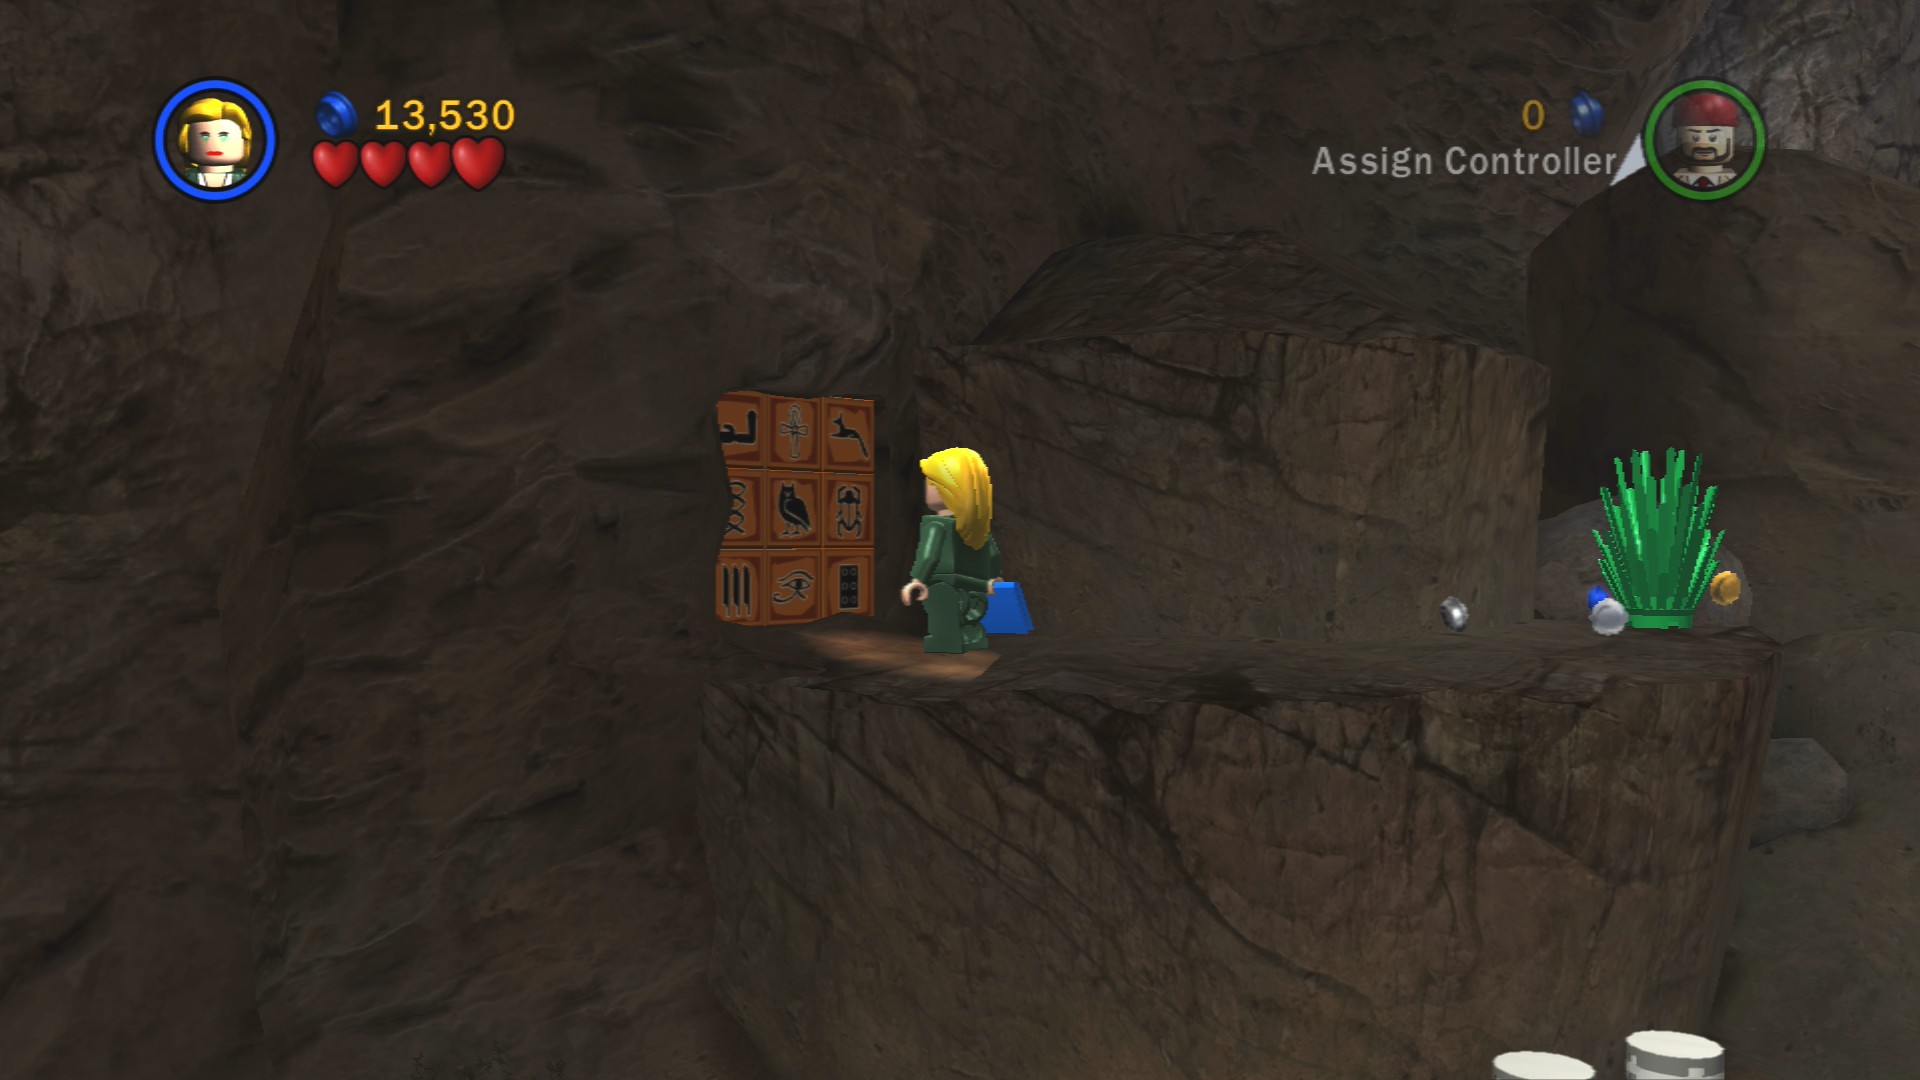
To the right of the cave is a ledge with some hieroglyphics on, you can build a ladder if you smash the barrels below it. Go into the cave and use some explosives to blow up the pylons blocking the path.
Behind them you'll find a Thuggee statue that will trigger a quick rockslide which will give you some LEGO to fix the path behind the lion statue. Push the statue backwards then dig up the Artefact Piece from underneath it.
Artefact Piece 1/10 - Part 3/3
Requires: Shovel, Explosives/Bulldozer Story Mode: Yes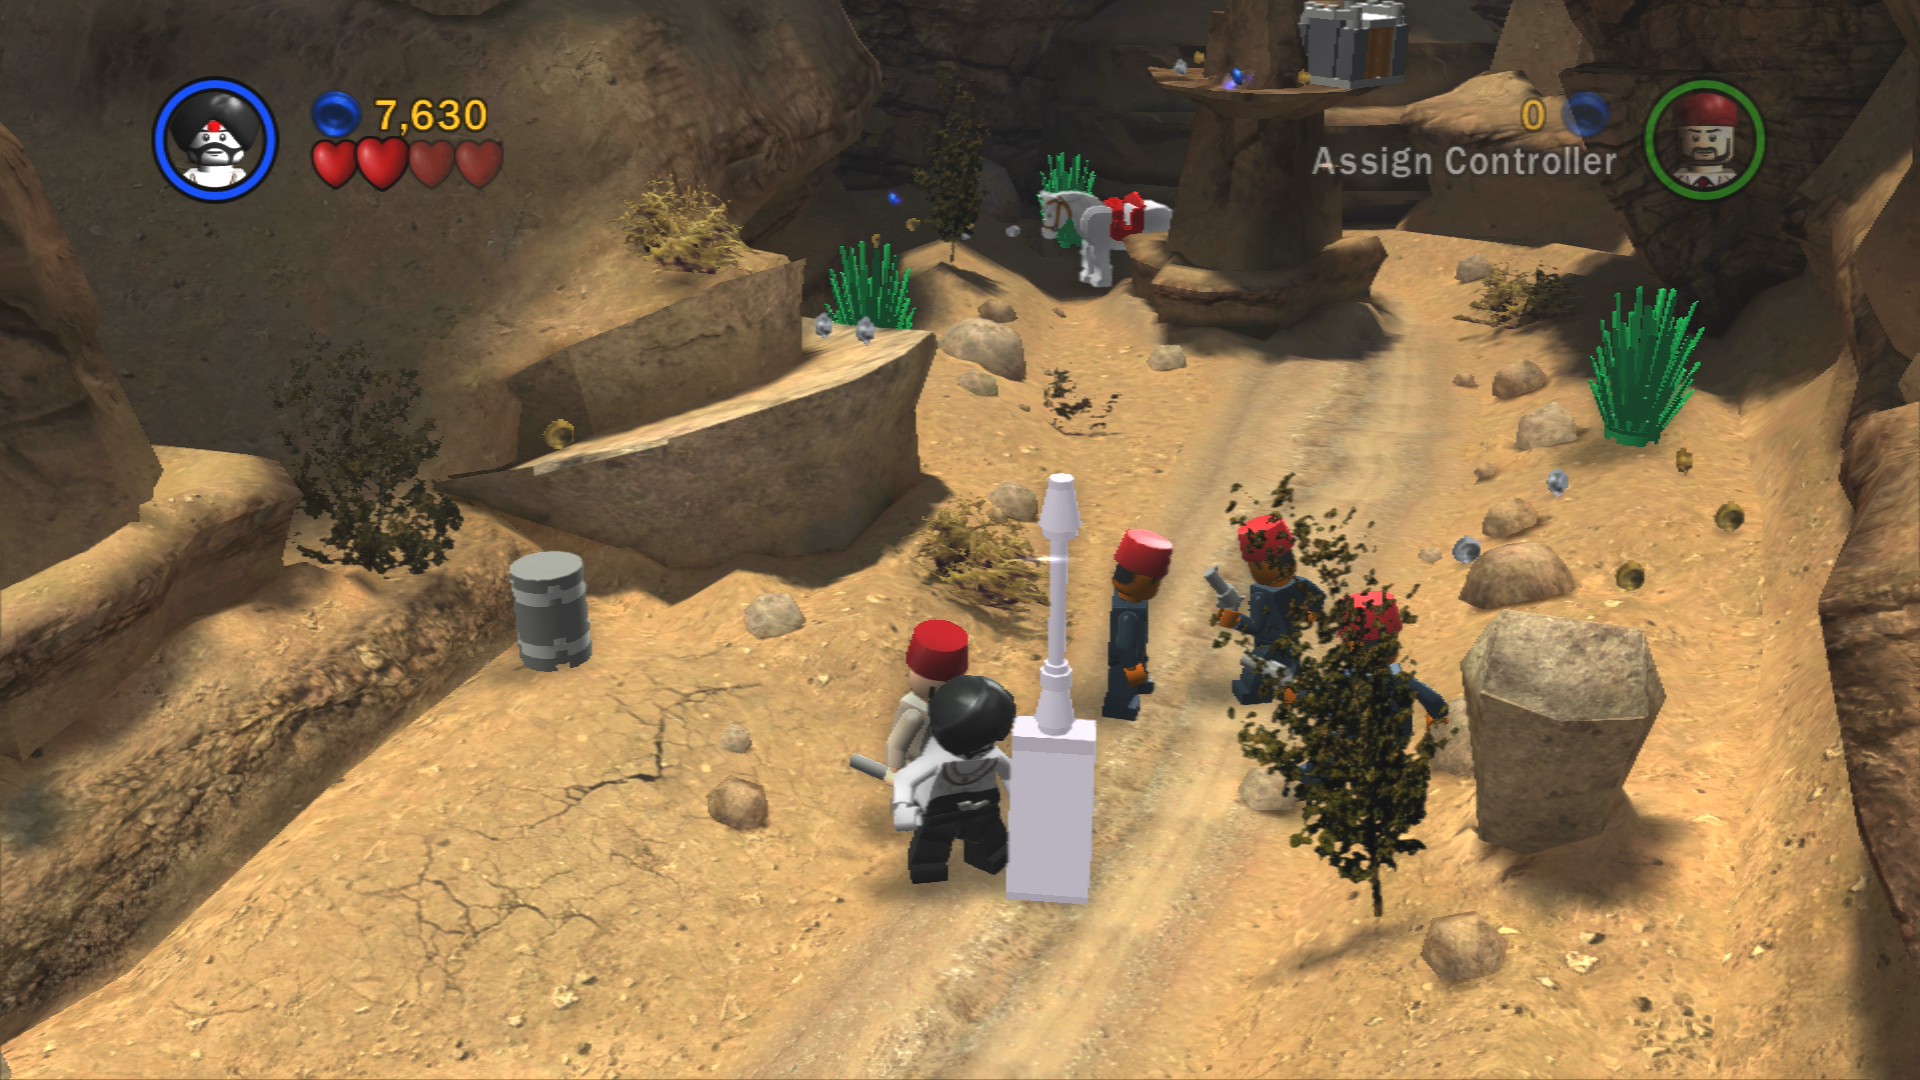
In the middle of the path to the right end of the area is some glowing LEGO for you to dig up. Blow it up.
At the righthand end of the area is a horse you can get on, use it to jump off and land on the little platform holding the third and final crate. Take that crate back to the others and build yourself a bulldozer.
The bulldozer can smash through Silver LEGO as well as the barricade blocking your path to the next area of the level.
Time to take on a tank! In front of it you should be able to see a Silver LEGO cart, stand close to it and try to get Kazim to blow it up for you with his bazooka. Dodge out of the way whenever he fires to try to avoid getting yourself blown up. Once he has blown it up build the object (taking care to avoid getting hit still) which will form a landmine.
Go over to the second Silver crate on the right and repeat the same process.
Artefact Piece 6/10
Requires: Explosives Story Mode: Yes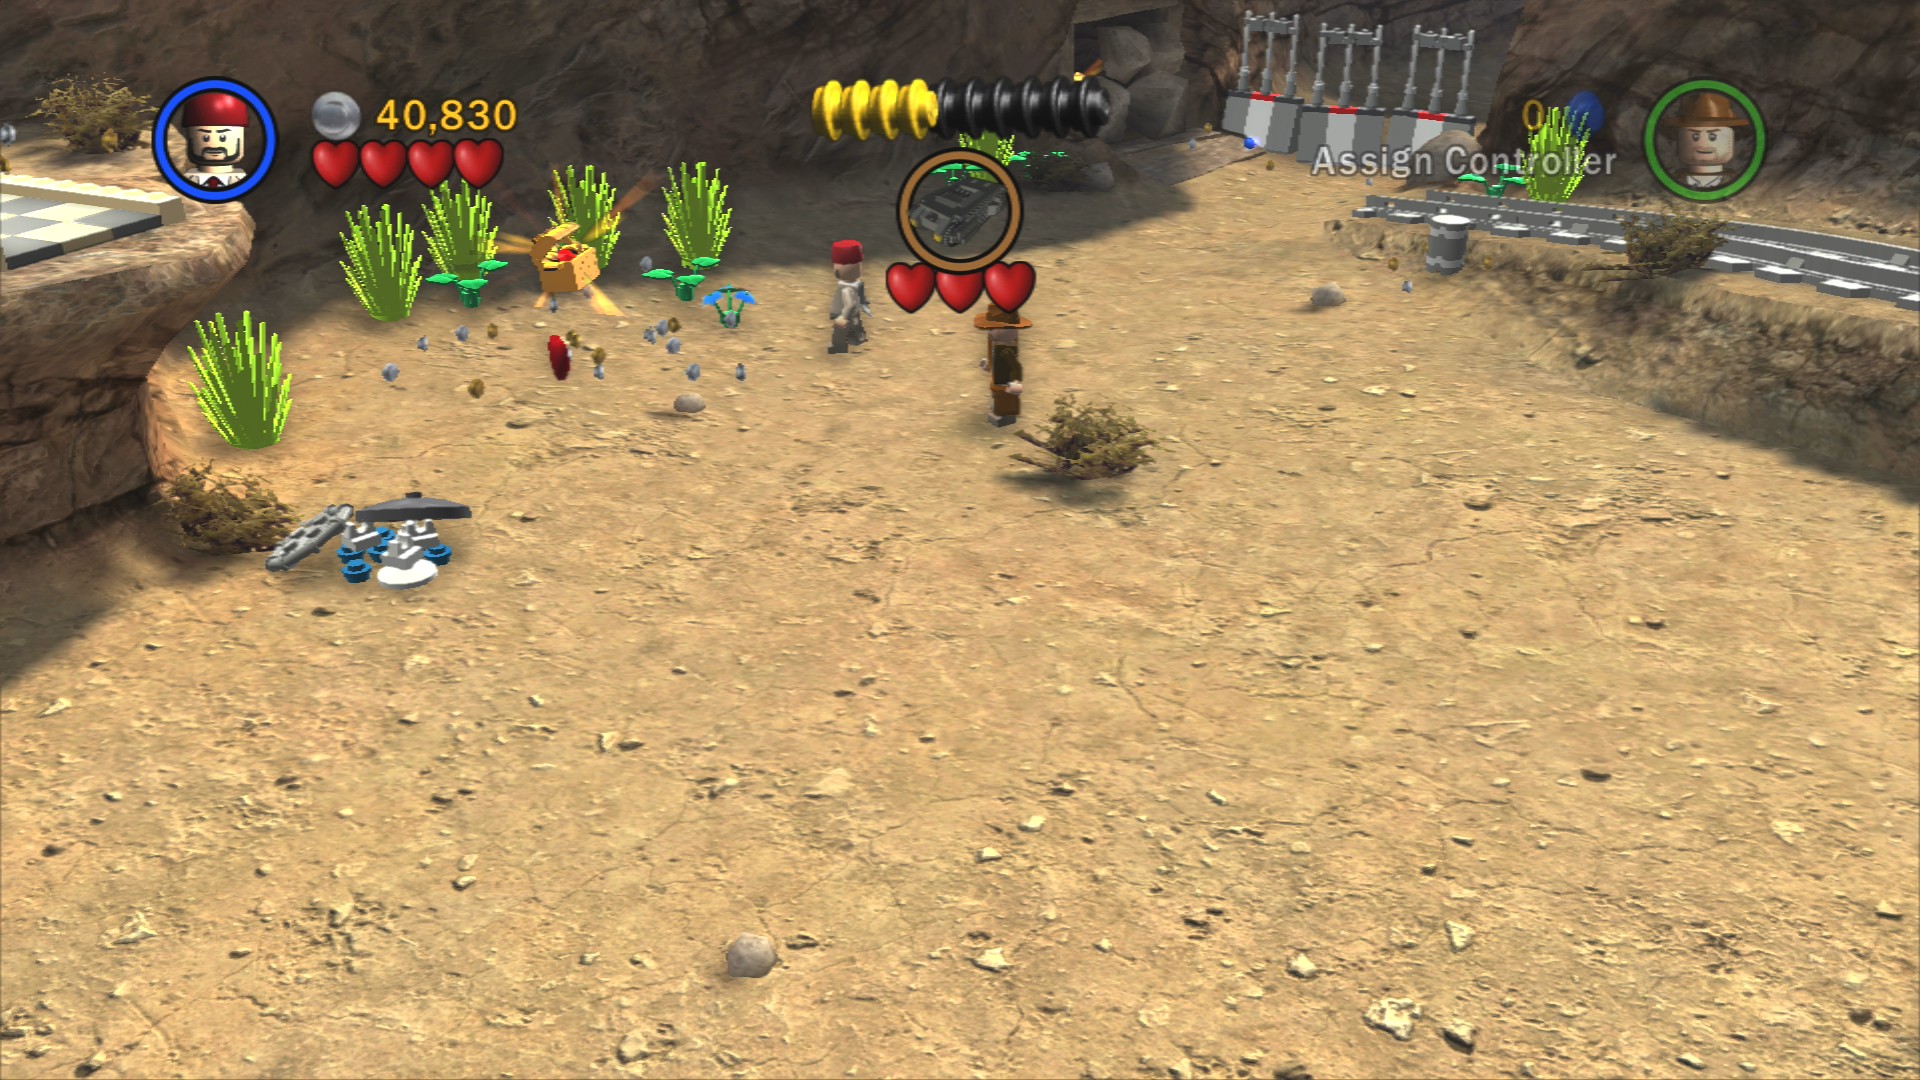
Blow up the Silver LEGO canisters at the back and after building the sprinkler an oasis will form, revealing the Artefact Piece for you. You can trick Kazim into blowing this up for you.
Once you've done those go to the left side and build the ladder to get up onto the platforms.
Artefact Piece 7/10
Requires: Explosives Story Mode: Yes
Blow up the Silver LEGO objects on here to find the parts to build an oil pump. Once it's pumped out the Artefact Piece jump into the oil jet to be thrown upwards into it.
Red Parcel - Treasure x10
Requires: High Jump, Shovel Story Mode: No
Before you push the crate off the edge use it to high jump onto the handholds above. If you've pushed it off I don't think there's a way to reach it without restarting the level. Shimmy over to the Parcel and carry it down. You'll probably want to get rid of the tank before you finish as you'll be quite slow carrying it.
You'll need to dig up the glowing LEGO below the planks leading to the tiled path to find the Mailbox.
Push the crate off the end of its tiled path and build the third and final landmine. Once the tank drives over it he'll leave the area.
Artefact Piece 8/10
Requires: Shovel Story Mode: Yes
Near the exit is a short train track slope. At the top dig up a crate to place on the green panel and then assemble an orange push switch for the cart. Give it a good shove and it'll run down the track and smash through the rocks at the bottom that are blocking the Artefact Piece.
Go through the exit to meet up with Kazim in his tank again.
Artefact Piece 9/10
Requires: Hatch Access Story Mode: No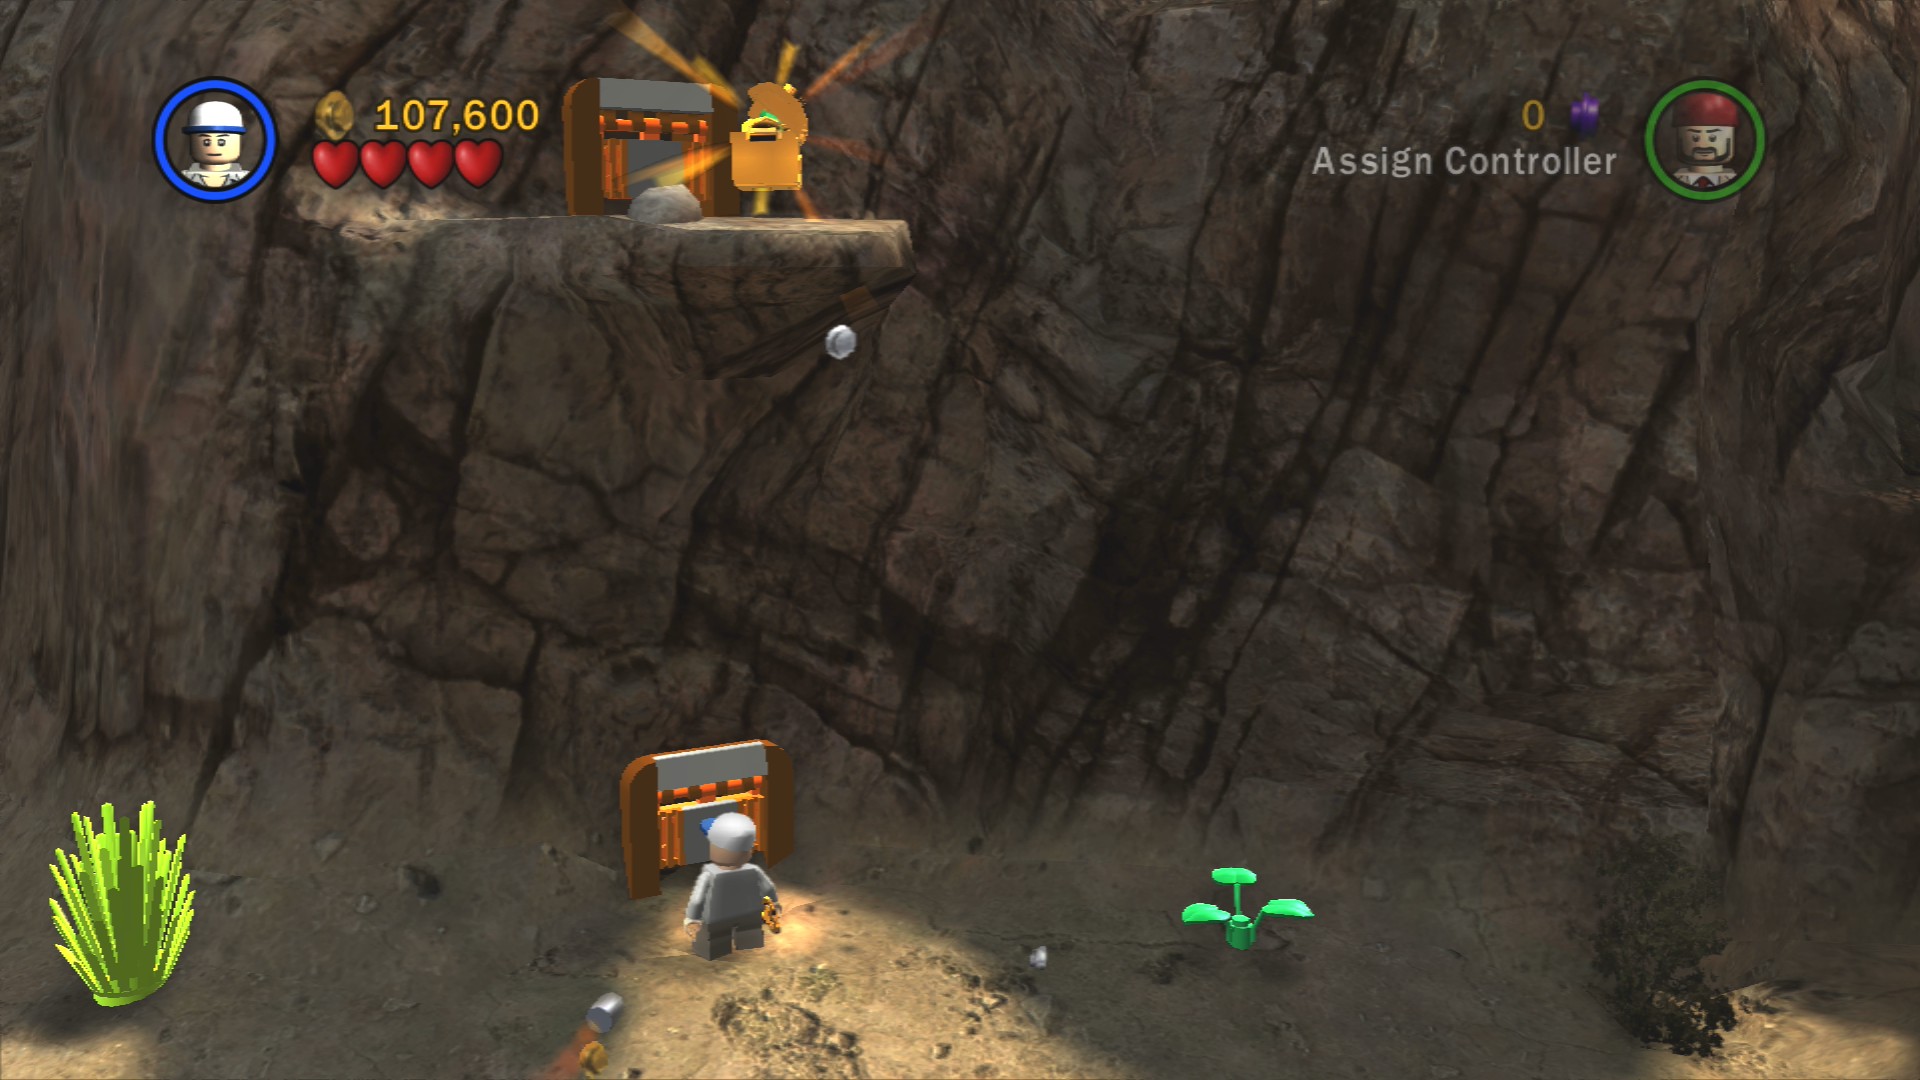
Smash the barrels on the right and crawl through the access hatch.
Artefact Piece 10/10
Requires: Explosives Story Mode: Yes
Blow up (or get Kazim to blow up) the Silver LEGO crate on the floor near the entrance. Inside you'll find a key. Jump on a horse and leap off it to get up to the scissor lift that the key goes with. After raising the lift go up the slope on its left to cross over it and reach the Artefact Piece.
Use a horse to propel yourself up onto the platforms connected by collapsing wooden planks. As you head to the right Kazim will drive off through the rocks. Be aware that if you step any further to the right you will not be able to backtrack or gather any more studs in the remaining part of the level so make sure to have earned True Adventurer by this point if you're trying for it.
The final section of the level is just fighting enemies while on top of the tank. Smack them with a spade when they jump on. After a few waves Kazim will climb out of the tank and start attacking you. Hit him and jump back quickly to try to avoid getting damaged. Take off three hearts and he'll jump back into the tank. This will repeat a couple of times with the level complete once all nine of his hearts are depleted.
| Cost | Character | |
|---|---|---|
| - | Sallah (Fez) | |
| 30,000 | Kazim (Desert) | |
| 15,000 | Elsa (Desert) |
Chapter 6. Temple of the Grail
| Story Mode | Free Play |
|---|---|
| 80,000 | 90,000 |
As you start this level loads of enemies will start pouring out of the trucks in front. It's not enough to just defeat them as they'll keep reappearing, you need to hit the sticks propping the trucks open.
Red Parcel - Invincibility
Requires: Explosives, Shovel Story Mode: No
Blow up the righthand truck to reveal the Mailbox. You can find the Red Parcel by going towards the screen a little past where you started and digging it up.
Artefact Piece 1/10
Requires: None Story Mode: Yes
Jump into the paddock with the horses and use one of them to leap high into the air and grab onto the handhold. You'll find a key up here that opens the paddock so you can ride the horses out. Ride one over to the left side of the canyon just slightly into the shadow and leap off onto the ledge where the Artefact Piece is rotating.
To the right in front of the entrance is some glowing LEGO that Sallah can dig up. Smash it once you have and build a ladder. Use the handholds and the rope to get up to a hieroglyph panel. After solving it cross to the other side and solve a second panel of them. Then it's just a matter of pulling on both levers at the same time to get inside.
Grab a flaming torch off the wall and go down the corridor to the right. Throw the torch at the unlit brazier and you'll be allowed to solve the hieroglyphics, once you do out will pop a blue LEGO brick.
Artefact Piece 2/10
Requires: Thuggee Story Mode: No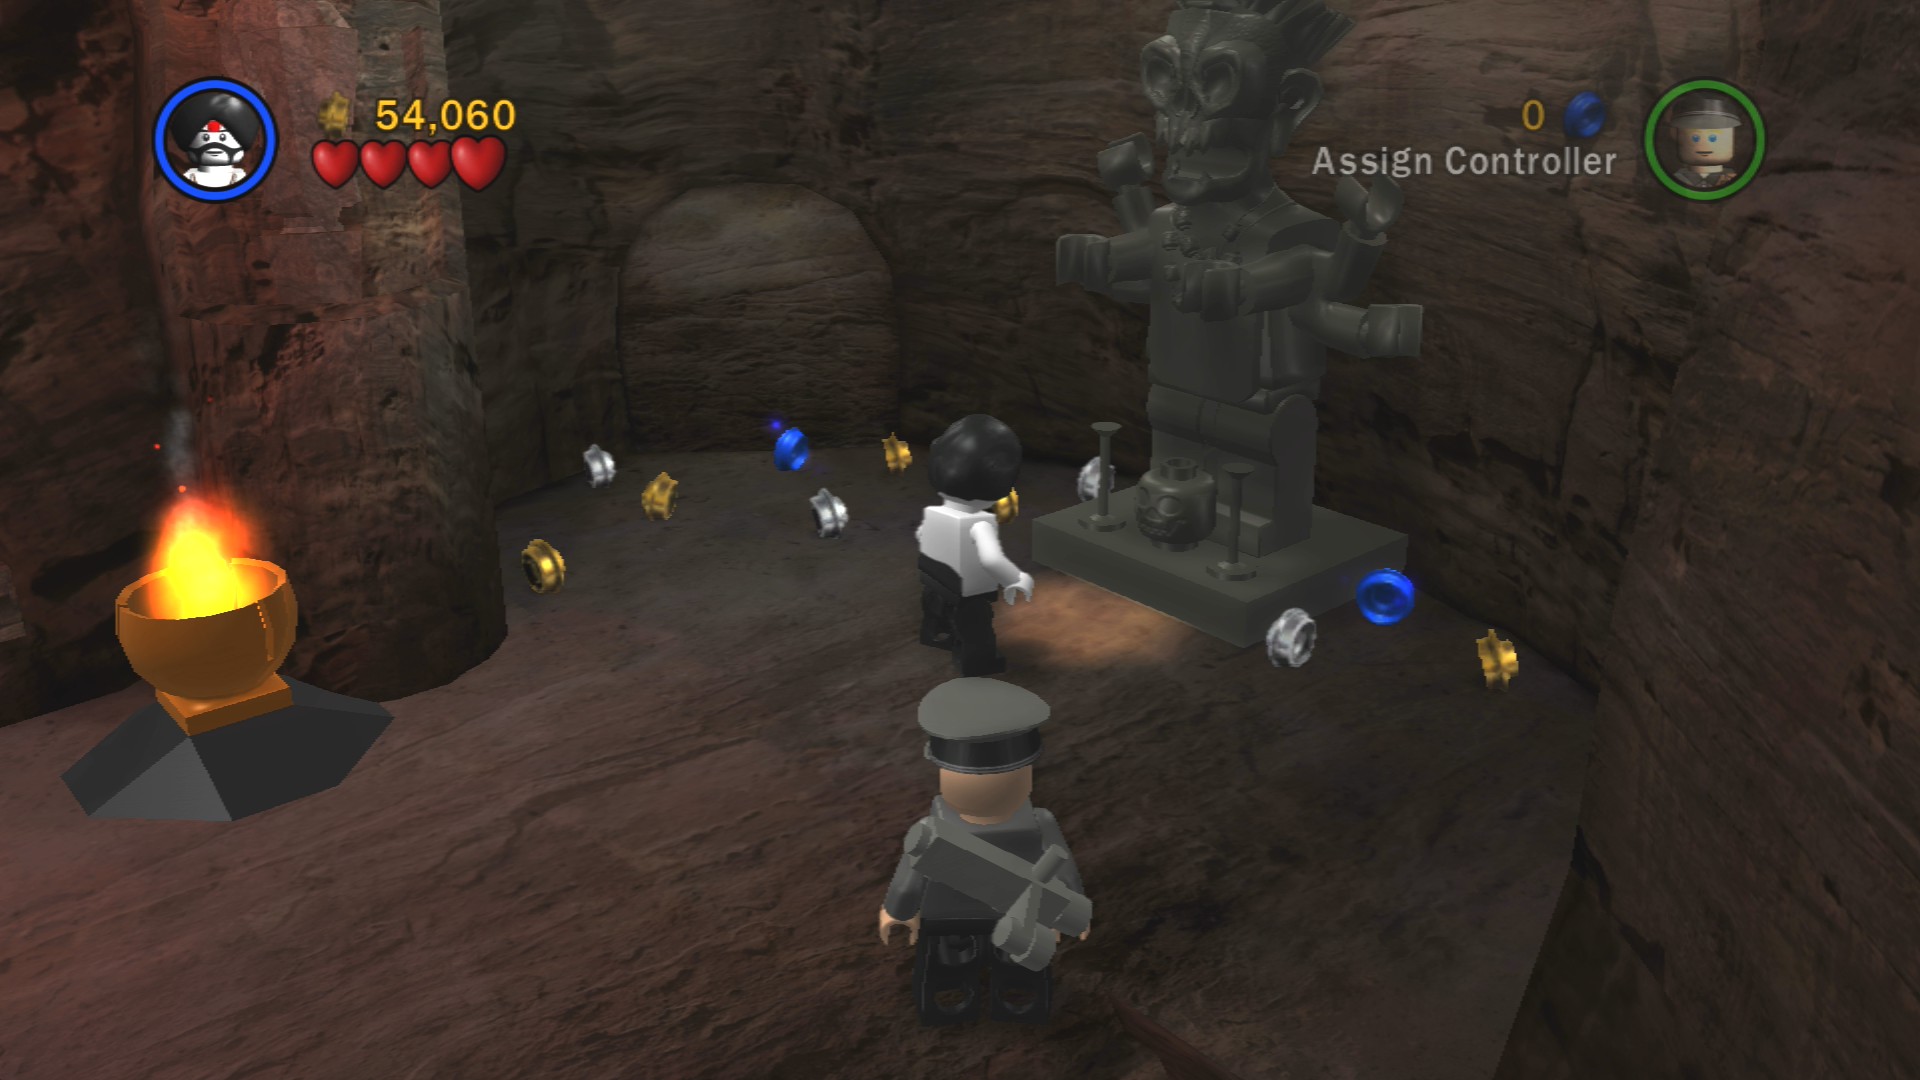
Talk to the Thuggee statue to the right of where you solve the hieroglyphics. Assemble the picture of the Artefact Piece before smashing it to get the real thing.
Carry the blue brick back down the corridor and place it next to the door between the lion statues. The second piece can be found by smashing the statue to the right of the righthand lion statue and digging it up. Place it with the other one to open the door.
Solve the hieroglyphs in here to start the traps going, you need to otherwise the spikes will be in the up position blocking your way. Now it'll retract so you can get past.
Artefact Piece 3/10
Requires: Access Hatch Story Mode: No
Go into the access hatch to reach a lever that opens a cave below it. Have both characters stand on the orange scales to release the Artefact Piece.
Artefact Piece 4/10
Requires: None Story Mode: Yes
On the other side of the bridge there's an Artefact Piece being protected by a couple of saw blades. Just run and grab it.
Dig up the glowing LEGO on the other side of the bridge then smash the object you unearth. Build the handhold and jump to it. Time your jump past the first buzzsaw by jumping when it goes down. The second one requires you to also wait for the spikes to be retracting. Wait on the last handhold for a moment as the spikes will pop out again.
Pull the bridge down with Indy's whip then dig up another statue on the other side. Smash it and build yourself a push point for the bridge here, push it to extend it over the gap.
Artefact Piece 5/10
Requires: Throwing weapon Story Mode: No
Throw a sword at the wire holding the cage door up.
Push on the spinner switch until the spikes below are fully retracted, you'll now be able to carry the green LEGO up and place it on the column at the back. Push on that to open the door.
Artefact Piece 6/10
Requires: Access Hatch Story Mode: No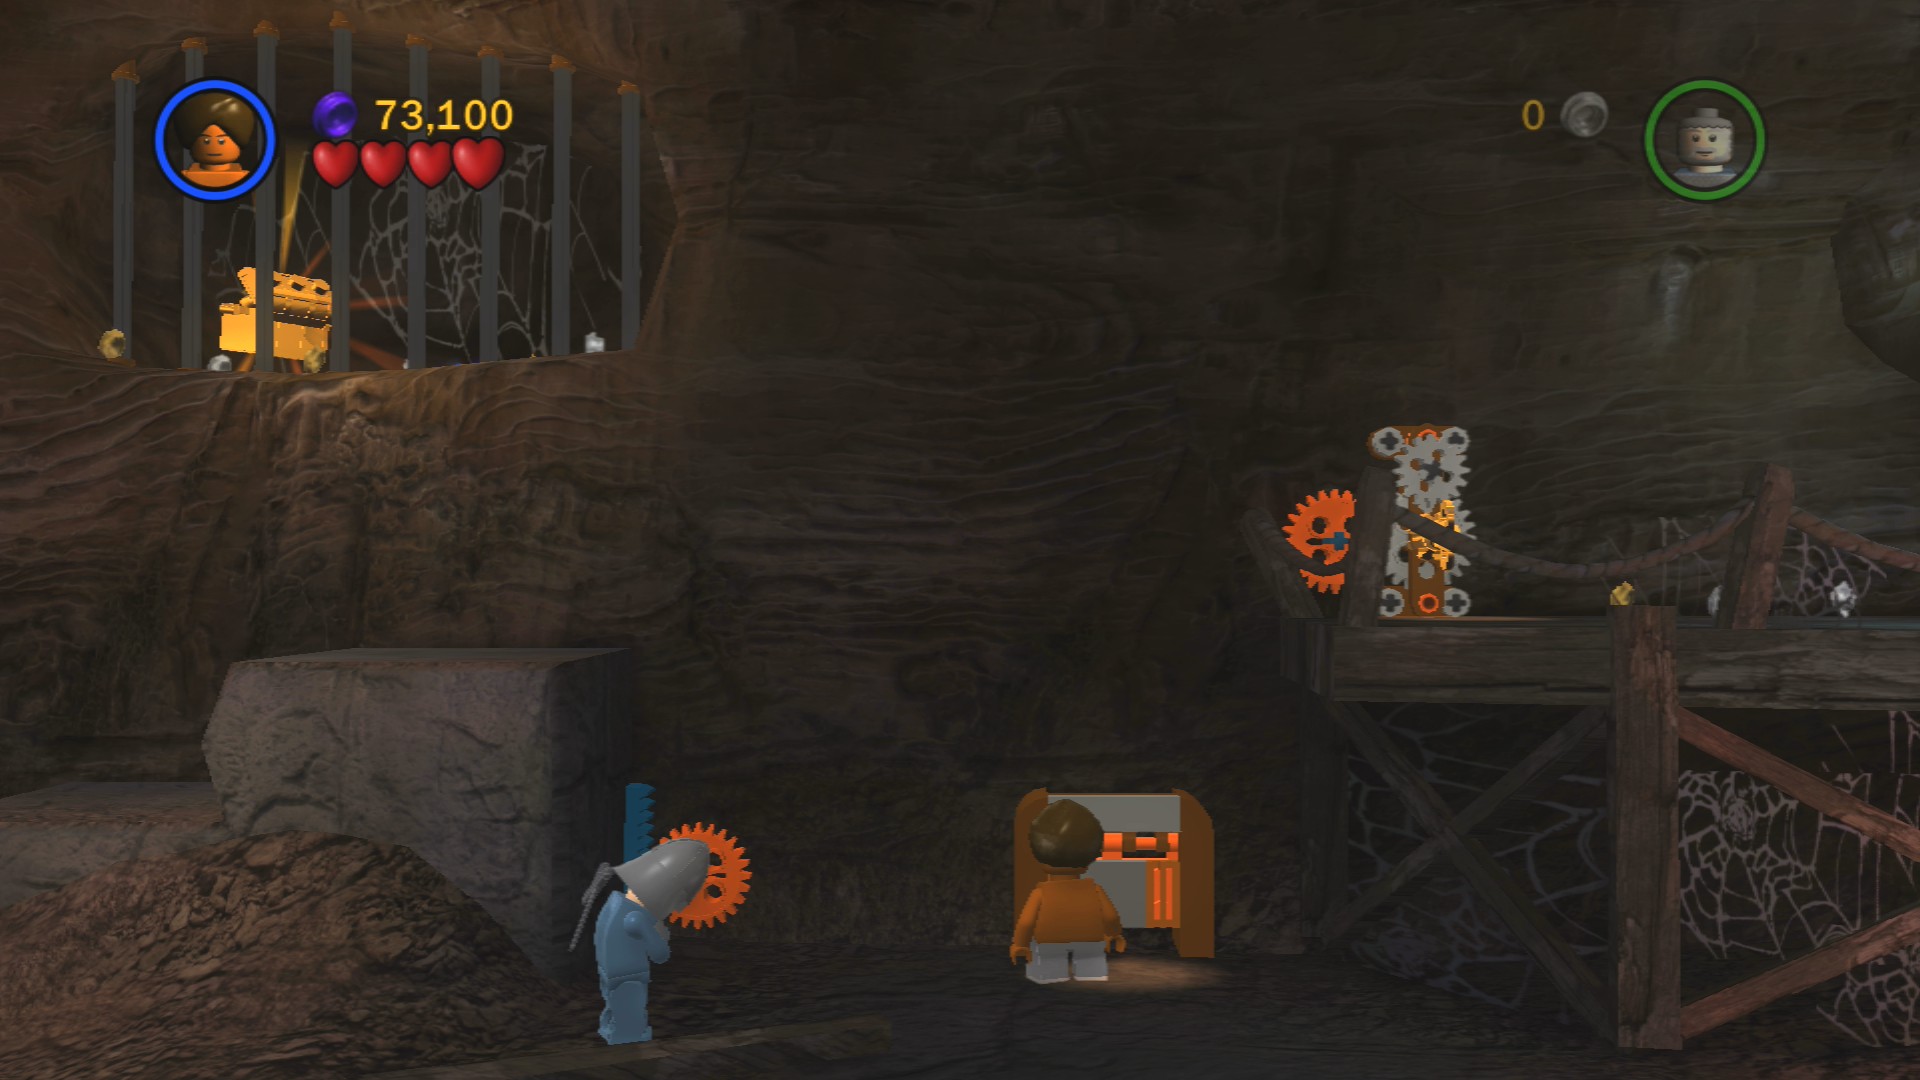
Crawl through the hatch and then rotate the gears to raise up the nearby steps and open the cage containing the Artefact Piece.
Use the rope to swing over the gap and then solve the hieroglyph panel. Use Indy's whip to grab the jewel eye object to place it in the revealed wall panel. That'll swing open for you to get a key to rotate the gears on the right.
Use the handholds to jump across to an area with another door with a missing multicoloured brick.
Artefact Piece 7/10
Requires: Spanner Story Mode: No
Use a spanner on the smoking blue engine and the handholds above it will start to move in and out of the wall. Jump up them to the Artefact Piece above.
Whip swing across the gap to the right and build a rope point for the other character to climb up. You'll need him to jump over the snake pit that Indy is afraid of and grab the torch on the other side. Throw it at the bonfire in the snake pit so that Indy can pass it as he needs to use his whip up top.
To get the blue LEGO back across the gap place it on the little pulley cart and pull the lever next to it. Whip swing back over and place it in the doorway.
Time for a puzzle from the movie, although it spells it out for you so it's not all that much of a puzzle. Jump on the flashing I, then the E that lights up, H, O, V, A, H. The other letters will collapse if you stand on them.
Glitch warning: the first time I entered this room every letter was lit up and flickering, if that happens to you unfortunately you'll just have to exit and restart the level. Only one letter should be lit up at the start if it's working properly.
Artefact Piece 8/10
Requires: Explosives Story Mode: No
Blow up the sharp Silver LEGO teeth on the large stone head to get the Artefact Piece.
Another puzzle from the movie, the trail of studs in the air should give you just enough of a hint that the game wants you to simply walk over thin air. The bridges are invisible, stick between the poles to avoid falling off.
Artefact Piece 9/10
Requires: Whip Story Mode: Yes
Use Indy's whip to pull on the hook above and then jump into the little hole to get the Artefact Piece.
Another invisible bridge, this time a bit diagonal. On the other side of it use the whip to pull down the bridge on the right so you can cross over it to get a crate. Place that back to the left on the green plate and build a spinner. Rotating that will open the exit.
Artefact Piece 10/10
Requires: Book Story Mode: Yes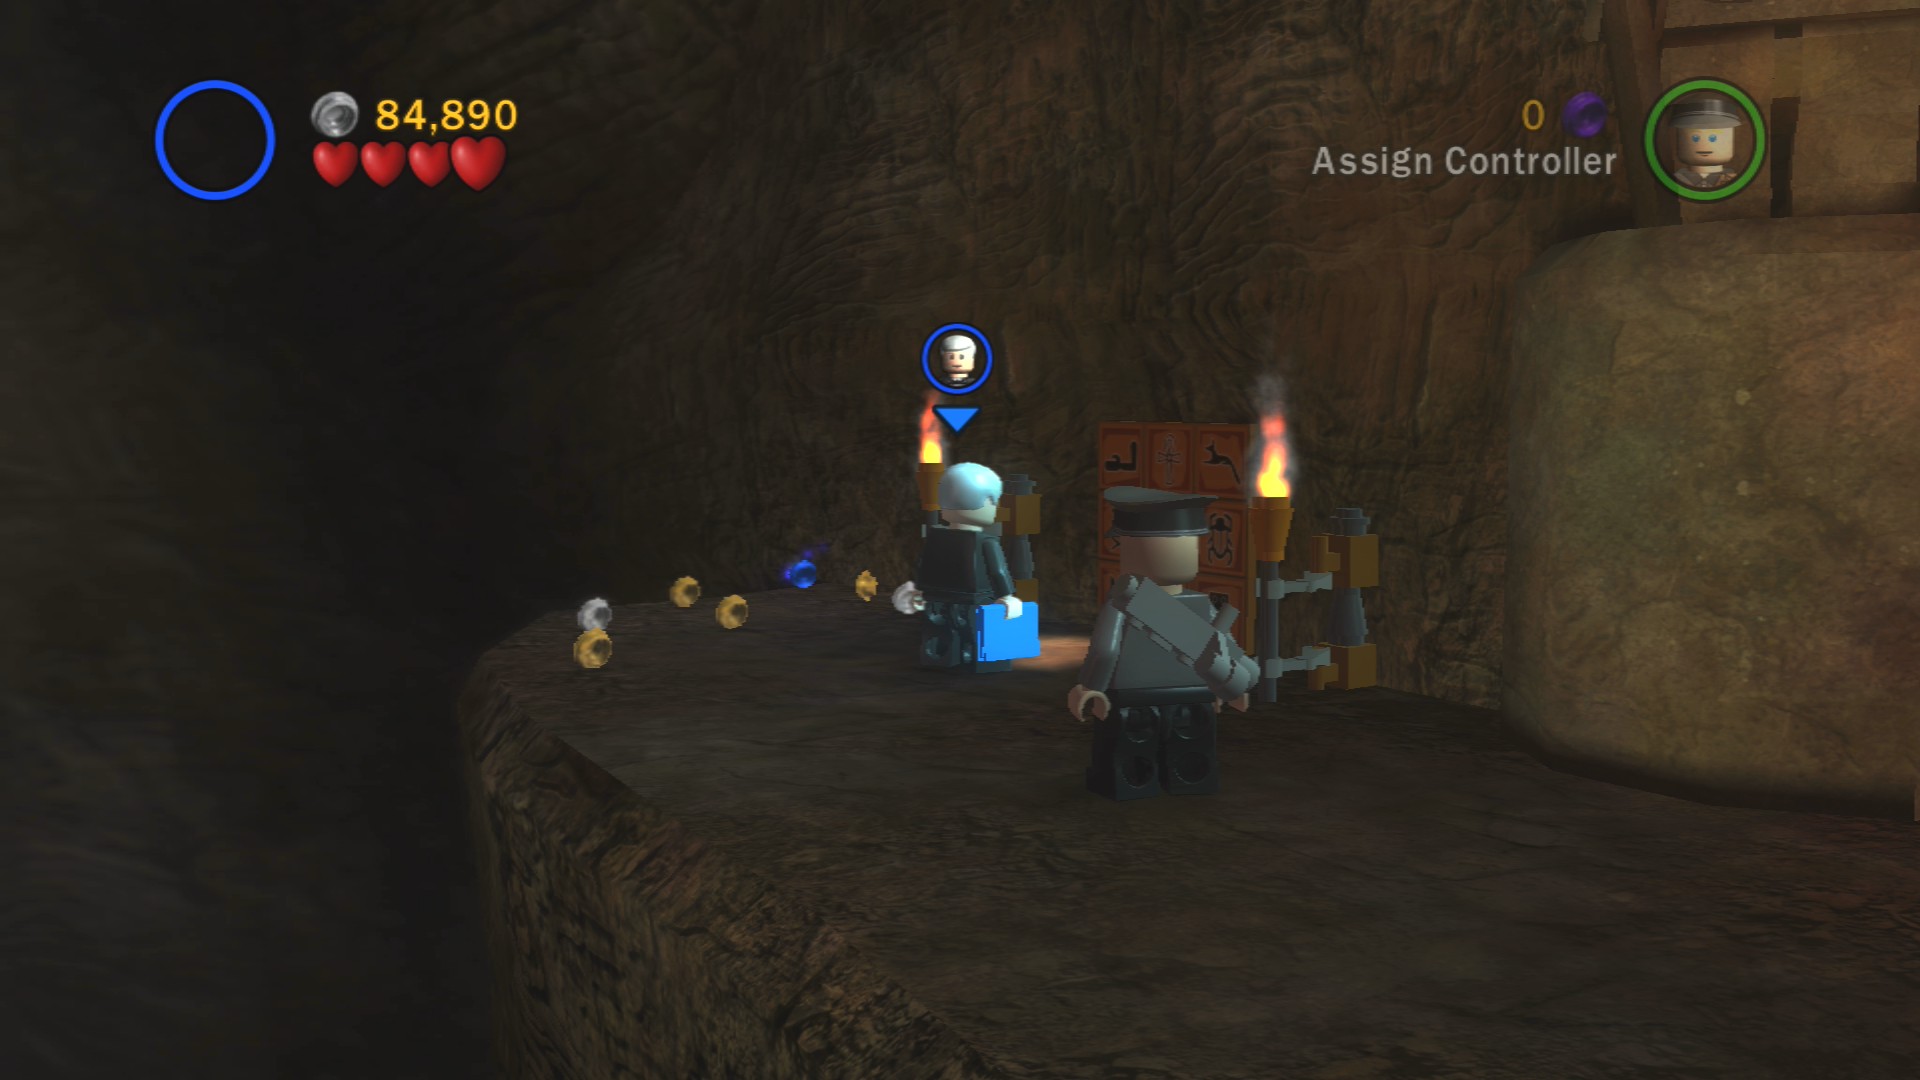
Before leaving the invisible bridge room double back to the very start and grab a flaming torch from the wall. Cross over all the invisible bridges and go to the left of the exit to light the torch next to the panel of hieroglyphics. You can then solve it to get the game's final Artefact Piece.
We just did a whole room of these but there's one final invisible bridge to cross to get to the grail room.
Hit the Grail Knight a few times so that he becomes stunned. That'll give you enough time to solve the hieroglyphics puzzle at the back left. Whip swing across the gap and pick up the plain looking wooden cup in amongst all the shiny golden cups. Don't worry about being precise as you can swap cups.
Swing back across the gap and take the wooden cup to the water in the middle of the room, interact to finish the movie.
| Cost | Character | |
|---|---|---|
| 50,000 | Donovan | |
| 100,000 | Grail Knight |
And with that all three Indiana Jones movies are complete. All you have left to do for 100% is to play through the bonus levels and purchase any characters and parcels you have yet to buy.
A guide to the bonus levels is coming soon...
 darkspyro.net