Please be aware that this page covers the original LEGO Star Wars: The Video Game, it is not correct for LEGO Star Wars: The Complete Saga.
Episode II
ATTACK OF THE CLONES
Chapter 1
DISCOVERY ON KAMINO
The Galactic Republic plunges ever deeper into crisis. The mysterious Count Dooku leads a Separatist movement which threatens the future of the Republic.
In this time of turmoil, Obi-Wan Kenobi investigates the attempted assassination of Senator Padmé Amidala. With his astromech droid R4-P17, the Jedi Knight tracks the source of a poisoned dart to the remote world of Kamino...
| Story Mode | Free Play |
|---|---|
| 28,440 | 46,030 |
Area 1
We start the level with Obi-Wan Kenobi and his Astromech Droid R4-P17 on a rainy landing pad next to Obi-Wan's Jedi Starfighter with no way into the building.
Minikit 1/10
Requires: The Force, High Jump Story Mode: No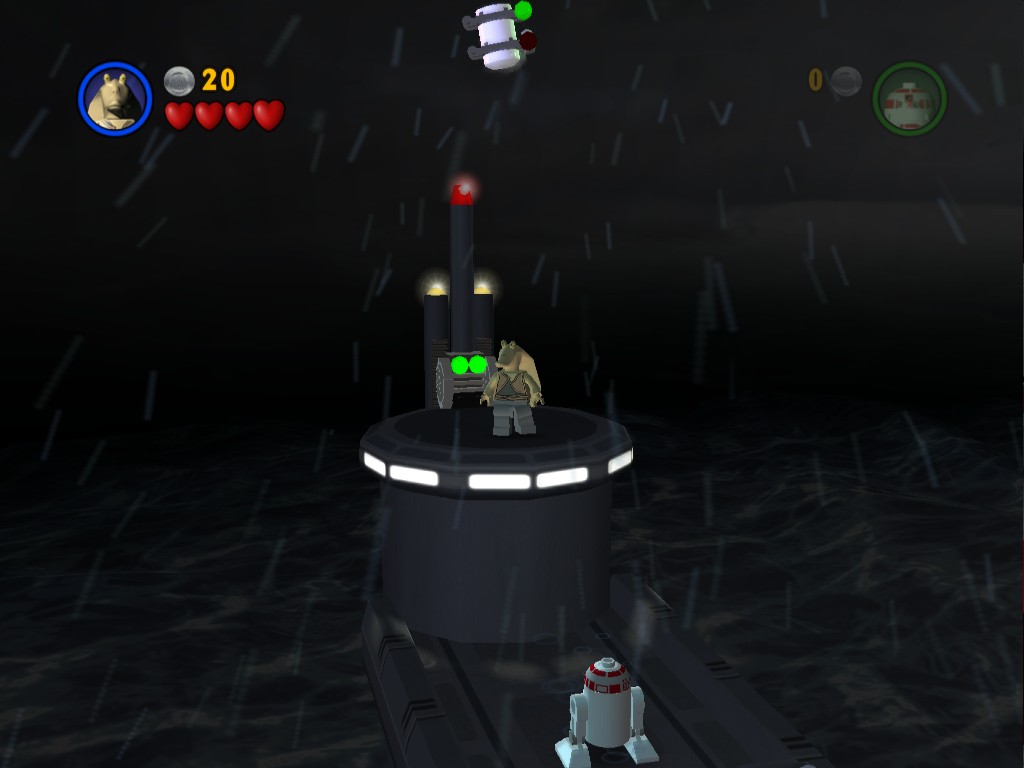
On the platform sticking out to the left of Obi-Wan's ship are some gears that you can pick up with the Force. They'll raise the platform up but you'll need a High Jump character to reach the Minikit in the air above.
Walk over the thin bridge towards the Kaminoan you saw in the opening cutscene and use the Force to fix the antenna that he bumped into, that'll extend a bridge over on the right.
Minikit 2/10
Requires: Astromech Story Mode: Yes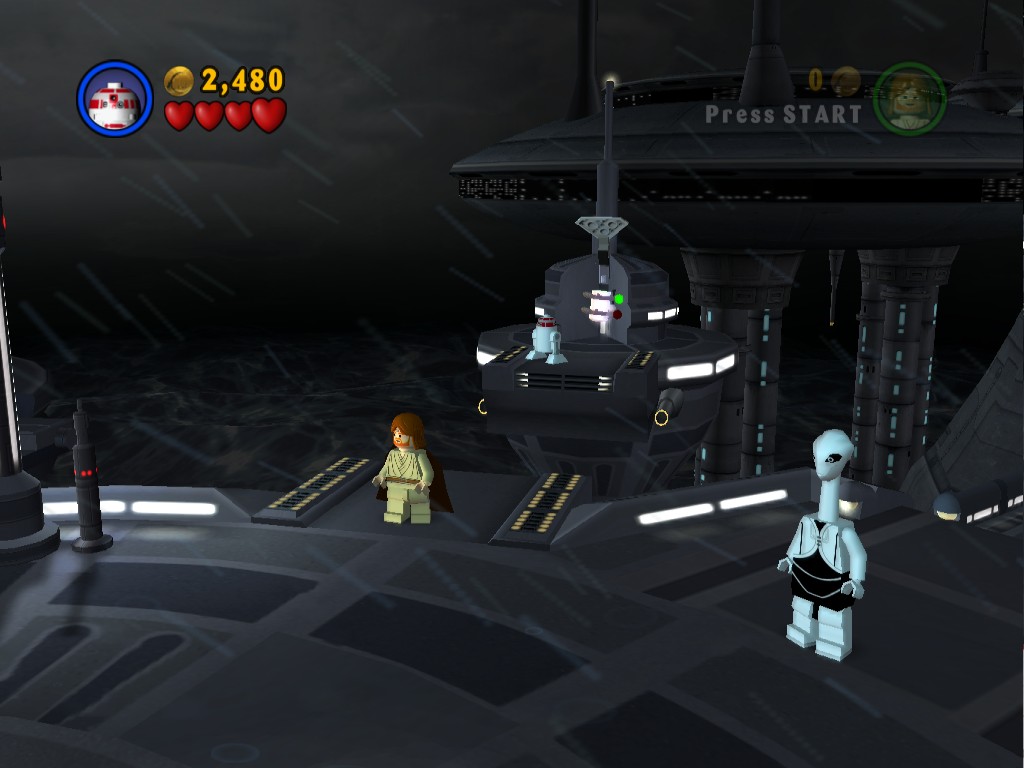
Between the fixed antenna and the bridge it extended is a gap, use the Astromech droid to float over the gap to reach the Minikit.
Follow the Kaminoan inside. Keep on following around the circular corridor and through another door.
Area 2
Straight on you'll see a square with 12 circles along the edges, step on each of them then quickly and then use the Force to flip the switch in the middle when it pops up.
Minikit 3/10
Requires: Protocol Droid, Blaster, Hatch Access Story Mode: No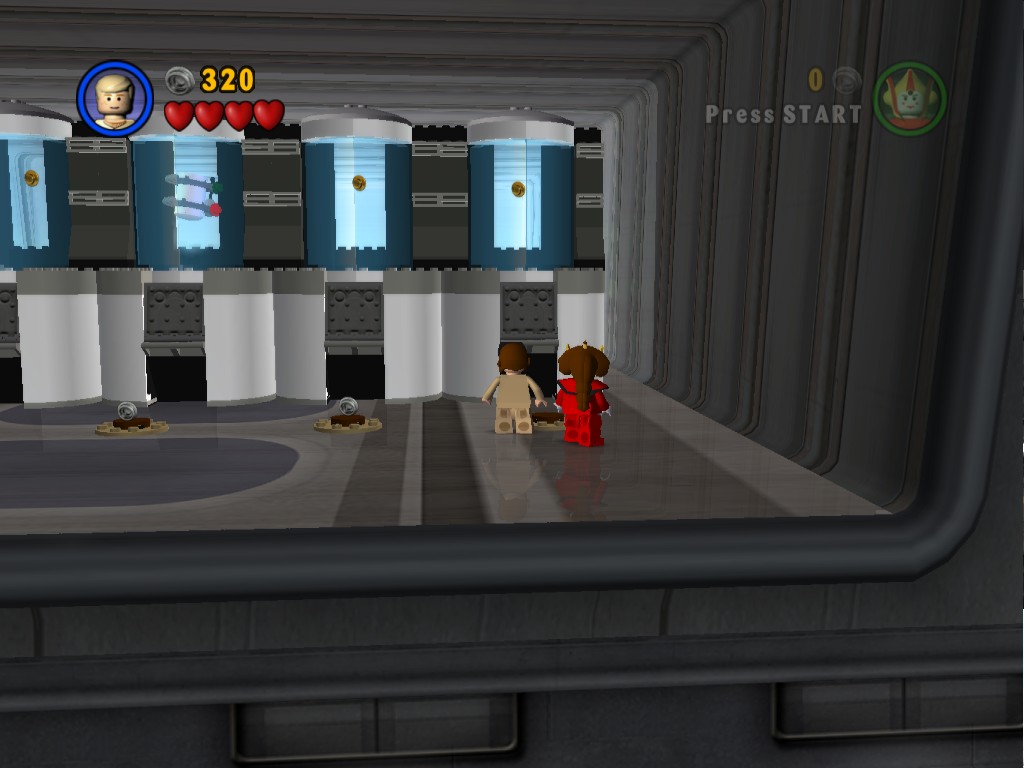
At the end of the right-hand corridor is a Protocol Droid panel you'll need to be in Free Play to open. Jump onto the first platform that has a button on it and wait for your teammate to get onto the button that appears. Once they've stood on it a third one will appear, this time for you to jump over to.
Use a Blaster character to shoot the target at the back and then jump over to the white platform that extends out. Use a small character go through the last hatch on the right to get the Minikit that's in the central pod.
Minikit 4/10
Requires: Protocol Droid, The Force Story Mode: No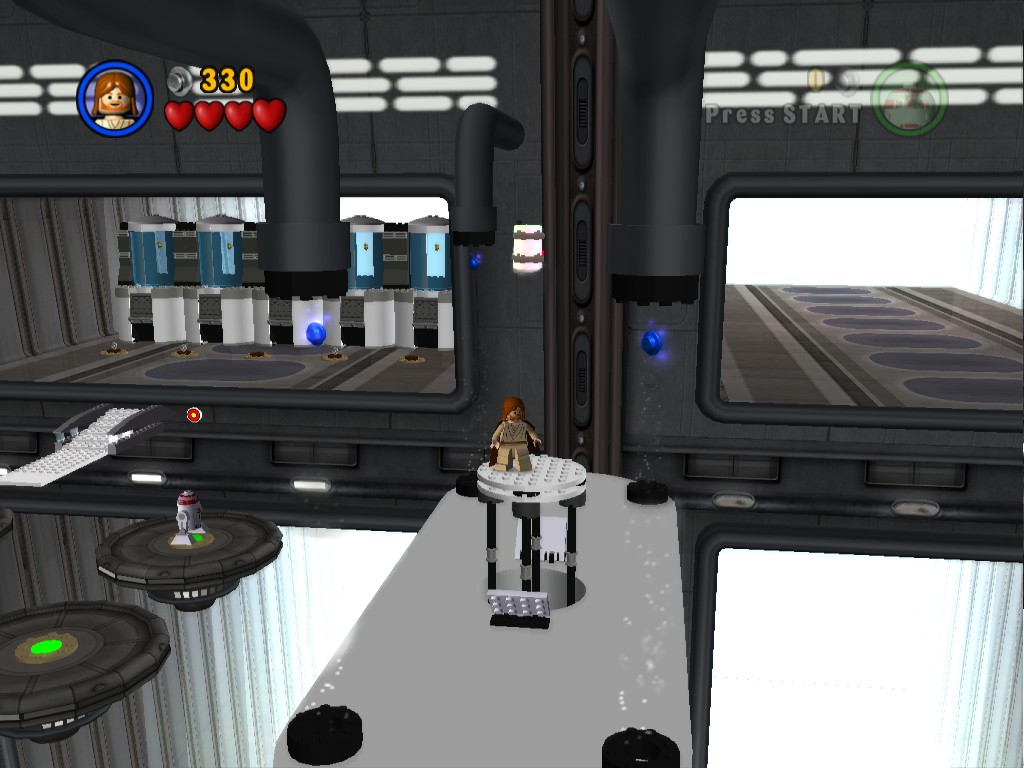
Still in the same area, jump back to the button platforms and keep going to the right. Use the Force to lift a couple of panels blocking a platform that will rise up to help you reach the Minikit in the air.
The Kaminoan should still be waiting patiently for you at the start of the corridor leading off to the left, follow him down that corridor.
Minikit 5/10
Requires: The Force Story Mode: Yes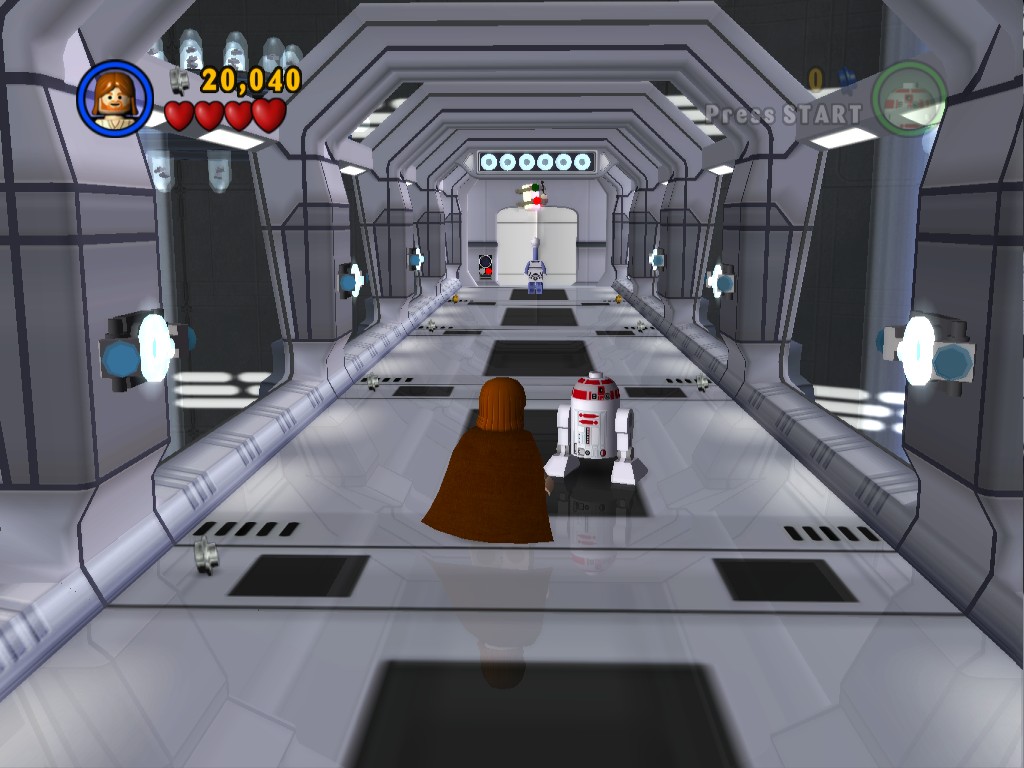
Use the Force to twist the six objects on the walls of this left-hand corridor to reveal the Minikit, they will turn themselves back off if you don't do it quickly enough.
Use the Astromech Droid to open the door and enter another corridor.
Area 3
Go forwards and follow the Kaminoan through the first door on the right. Defeat the flying droids by reflecting their shots back at them but don't rush off after Jango Fett just yet.
Minikit 6/10
Requires: The Force Story Mode: Yes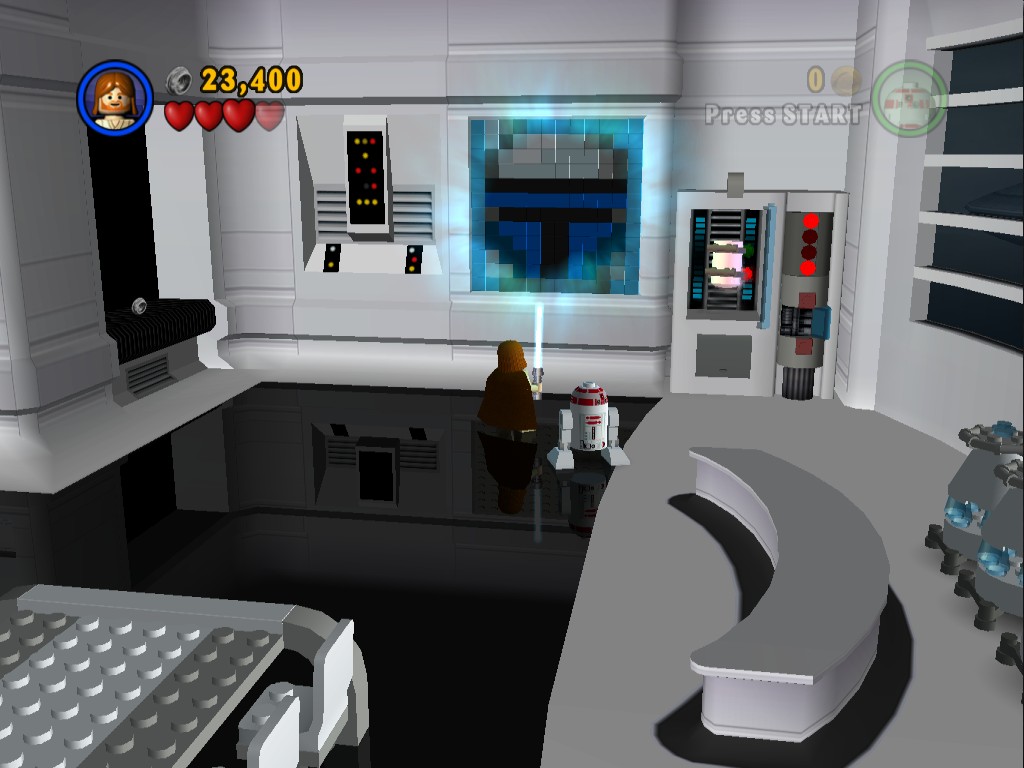
In the far corner use the Force on the switch to get the vending machine to spew out some bricks. Do that four times and then use the Force to assemble the bits into a picture on the wall, which naturally releases the Minikit from inside the vending machine.
Once you've got that run out of the door and you'll see Jango behind a forcefield at the other end of the corridor, approach and deflect the laser blasts from the turrets to disable the forcefield.
Minikit 7/10
Requires: The Force Story Mode: Yes
On the floor in the room to the left is a large square with sixteen circles. Stand on the two lit up circles with each of the characters and another two will light up. Keep standing on the newly lit circles until all sixteen are green and the Minikit will appear.
Follow Jango through the door but don't immediately follow him through the hatch.
Minikit 8/10
Requires: None Story Mode: Yes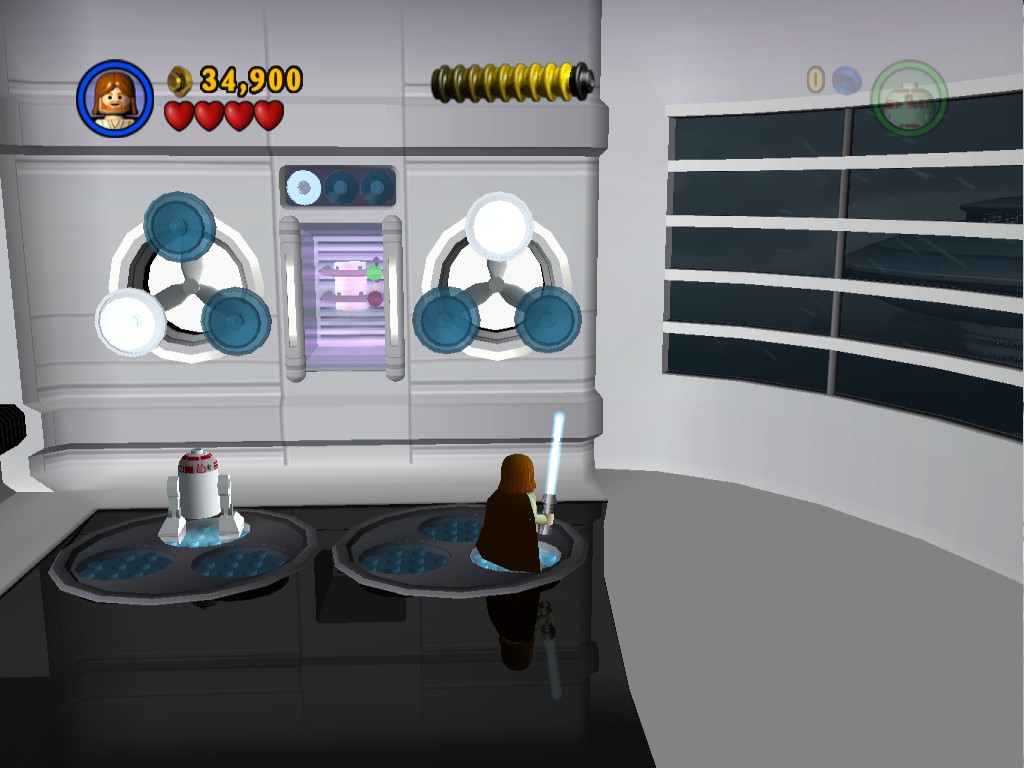
Inside the room you'll see a Minikit behind a cover, to open it you need to stand on the circles on the floor in the same position as the white circles on the wall. Step on them in the correct position three times and the Minikit will be yours.
Now you can follow Jango outside.
Area 4
Outside follow Jango to the right, carefully approach the mines that he's dropped and then immediately run back to avoid the explosions. Once they've exploded jump over the gaps they've created. Do this several times until you reach a junction where Jango will use his jetpack to get over a large gap.
Minikit 9/10
Requires: Blaster, Protocol Droid Story Mode: No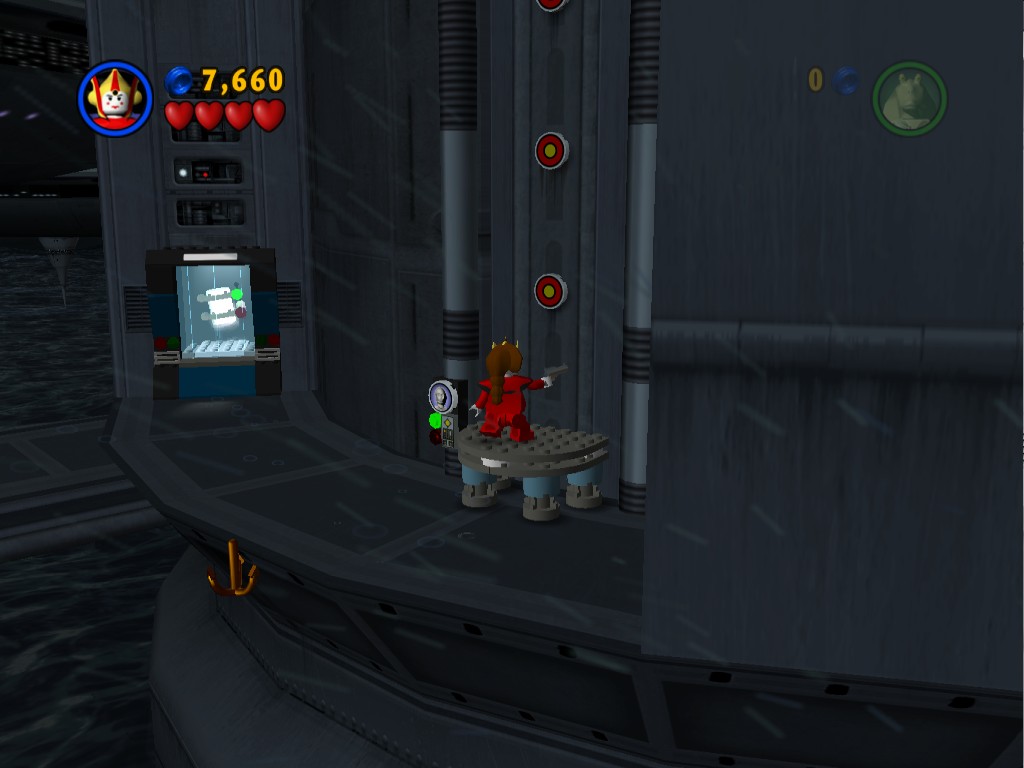
At the junction keep on going to the right and use a Blaster character to grapple up then use a Protocol Droid to lower a platform on the right. Using the Blaster character ride that platform up shooting at the targets on the wall, shooting all three will open up the Minikit dispenser below. If you miss one or miss the platform you just have to activate the Protocol Droid panel again.
Next to the gap is a button, it'll slightly extend the bridge but not far enough for a Jedi to jump across, to get over there switch to the Astromech Droid and hover over. Once you're over there step onto the button to fully extend the bridge.
Use the Force to uncover an Astromech panel on the left side of the door and use the Droid to open it and go through.
Area 5
Remain as the Astromech Droid as the security droids ahead will ignore her, just past them are two Astromech Droid panels on the right-hand side of the corridor, activate them both to stop the security droids from reappearing when you defeat them. Which you should now do by switching back to Obi-Wan, I'd recommend disabling the droids themselves by zapping them with R4-P17 first of course.
Minikit 10/10
Requires: Dark Side Force Story Mode: No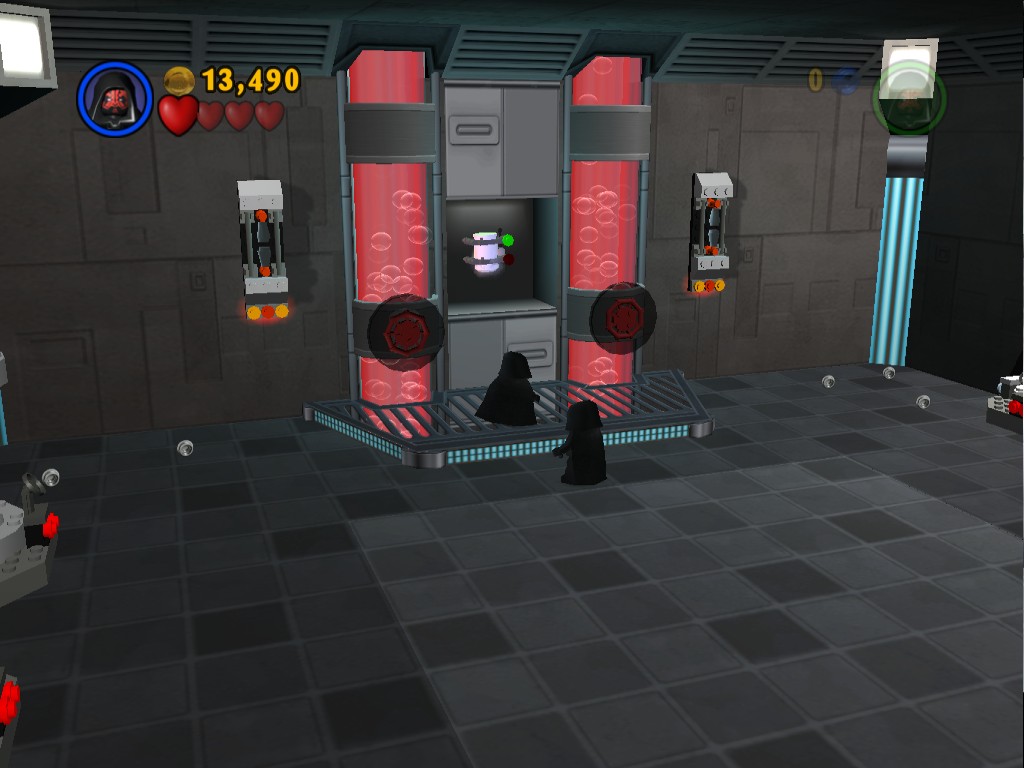
With a Dark Side Force character go through the panel on the left. Once inside have two Dark Side Force users turn the wheels next to the Minikit on the far side, it'll release a few security droids but also open the panel to get the Minikit.
At the end of the corridor is a pile of LEGO bricks you can use the Force on to reveal another Astromech panel, using it will open the door.
The fight with Jango Fett is all about reflecting his attacks back at him with your lightsaber. The first part is just Jango on foot, reflect his blasts back at him to deplete his first three hearts.
After three hearts he'll start hovering and the Slave I ship will start shooting at you with great force. You can distract it by switching to R4-P17 and have her use one of the four Astromech Panels along the back of the area, that'll activate a turret that will fire at the ship for a short while. During that time switch back to Obi-Wan and reflect a blast back at Jango. Repeat until his first six hearts are depleted.
Once Jango hits four remaining hearts he'll start firing slow moving rockets, you need to use the Force to send these back to him. Again while you're doing that you'll also want to distract Slave I with the Astromech Droid, all four panels will have reset and be usable again.
For the final heart Slave I will stop shooting and Jango Fett will just start running around the area when you get close to him, you'll have to try to get as close as you can and then jump and attack to perform a lunge attack in order to hit him.
In Free Play you can just use a Blaster character to shoot him a lot.
Jedi Starfighter
 Based on set 4487
Defeating Jango Fett will unlock Obi-Wan Kenobi (Jedi Master) and R4-P17 for use in Free Play and will add a Clone to Dexter's shop.
| Cost | Character | |
|---|---|---|
| 2000 | Clone |
Chapter 2
DROID FACTORY
Obi-Wan Kenobi has tracked the bounty hunter Jango Fett to the planet of Geonosis. This rocky world, known for its droid production factories, forms the base of operations for the Separatist movement.
While Anakin Skywalker guards Senator Padmé Amidala, Obi-Wan lands his Jedi Starfighter on the planet's surface...
| Story Mode | Free Play |
|---|---|
| 24,800 | 42,110 |
The level begins with Anakin and Padmé in a corridor on the planet Geonosis.
Minikit 1/10
Requires: None Story Mode: Yes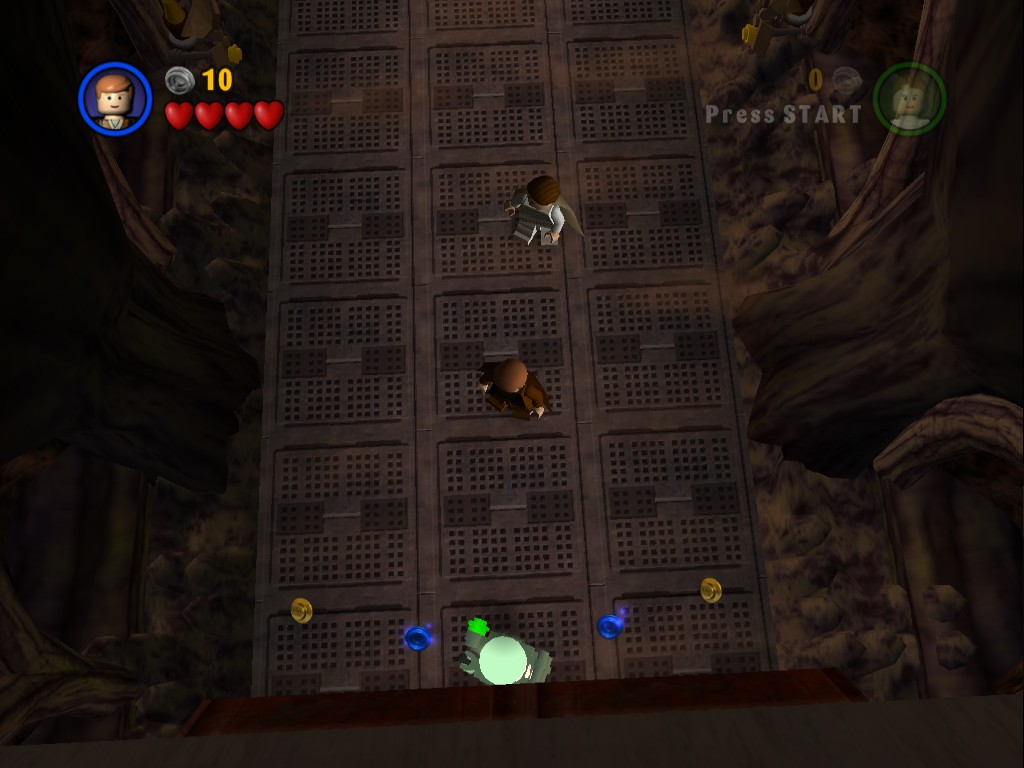
Immediately walk back towards the screen to find this first Minikit of the level.
Walk forwards along the corridor and a few Geonosians will appear and start shooting at you, you can deflect their attacks back at them or use the Force to fling them away if you're having trouble getting close enough to swipe at them with your lightsaber. Or just switch to Padmé and shoot them. There's not much else to this corridor, go through the doorway at the end.
Minikit 2/10
Requires: Double Jump, Hatch Access Story Mode: No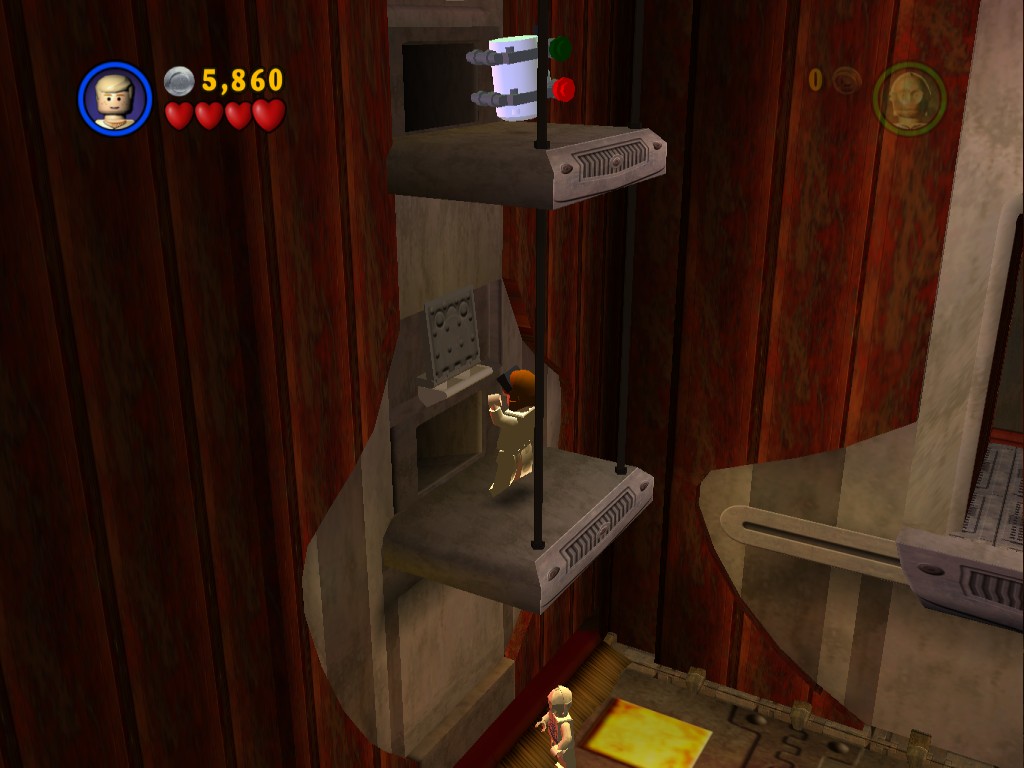
Double jump to the platform on the left and crawl through the hatch with a small character to get the Minikit above.
Jump down onto the conveyor belt and start heading to the right, wait for the press to lower and then start raising up before you quickly run underneath to avoid getting squished (and be careful not to jump as just touching it even while it's up will kill you). You'll reach what looks like a yellow barrier but you can just walk through it to attack the Droideka on the other side. The forcefields do prevent you from reflecting the Droideka's shots back at it from outside so you'll have to get up close to attack it. Padmé's attacks are useless for attacking Droidekas while they're shielded.
Beyond the first set of yellow barriers there are two more presses before you reach another yellow barrier where you'll meet R2-D2. If you want you can double back to the Astromech panel that was behind the Droideka and have R2-D2 shut the conveyor off (we're completely done with that section so it's only really useful in Free Play). Continue to the right past a large glass tube to where there are three fans on the wall that you can use the Force on. You only need to activate the last one so you can ride the gust of wind up to the ledge on the right.
Minikit 3/10
Requires: The Force, Blaster, Astromech Story Mode: Yes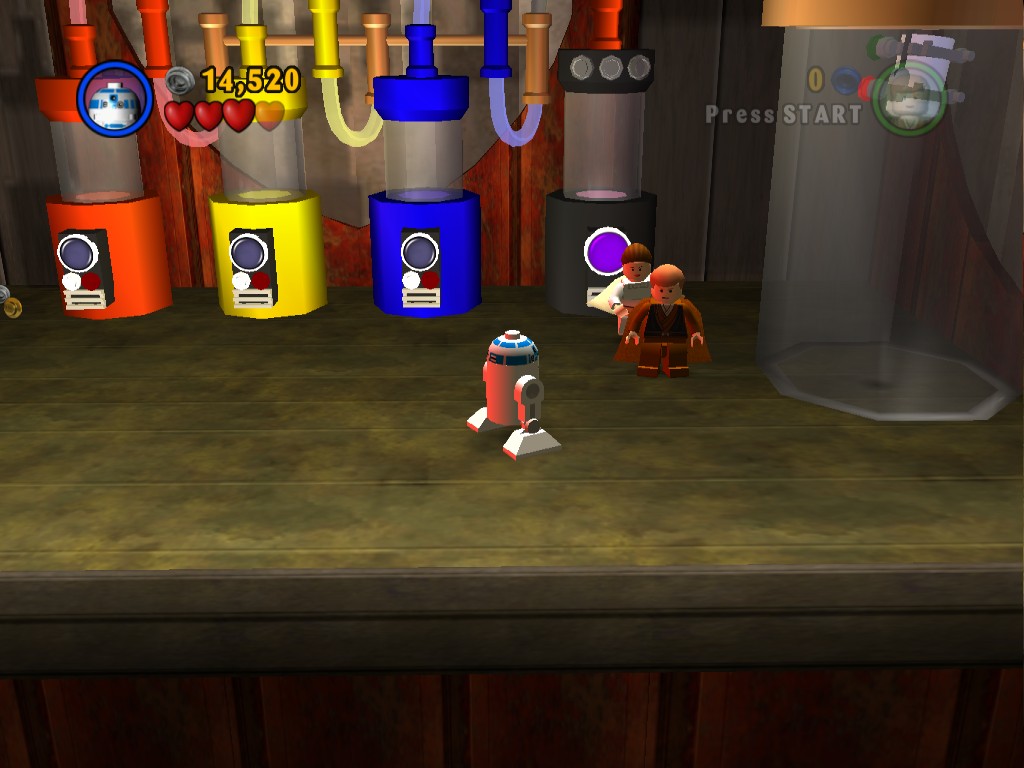
Before you leave the area walk towards the screen along the thin platform leading away from the middle fan. Use the Force on a small object to move it and then use the Force again to turn the platform that you're standing on.
Switch to Padmé to grapple up and shoot the target to reveal an Astromech panel. R2-D2 should hover over to you all by himself so you can switch to him and open the door, if not then hover from the platform next to the fans.
Inside the room you'll find three coloured tubes with Astromech panels on them, your task is to activate the ones that'll mix to create the colour shown on the circle on the front of the fourth tube. Red and Yellow make orange, Yellow and Blue make green, and Red and Blue make purple.
Now you can go through the doorway on the ledge above the fans.
Straight away use Padmé to grapple up to a target, shoot it to raise a bucket platform so you can get across to a second grapple point and another target. The second target will start the bucket moving, jump back down and get into it once it returns.
Minikit 4/10
Requires: None Story Mode: Yes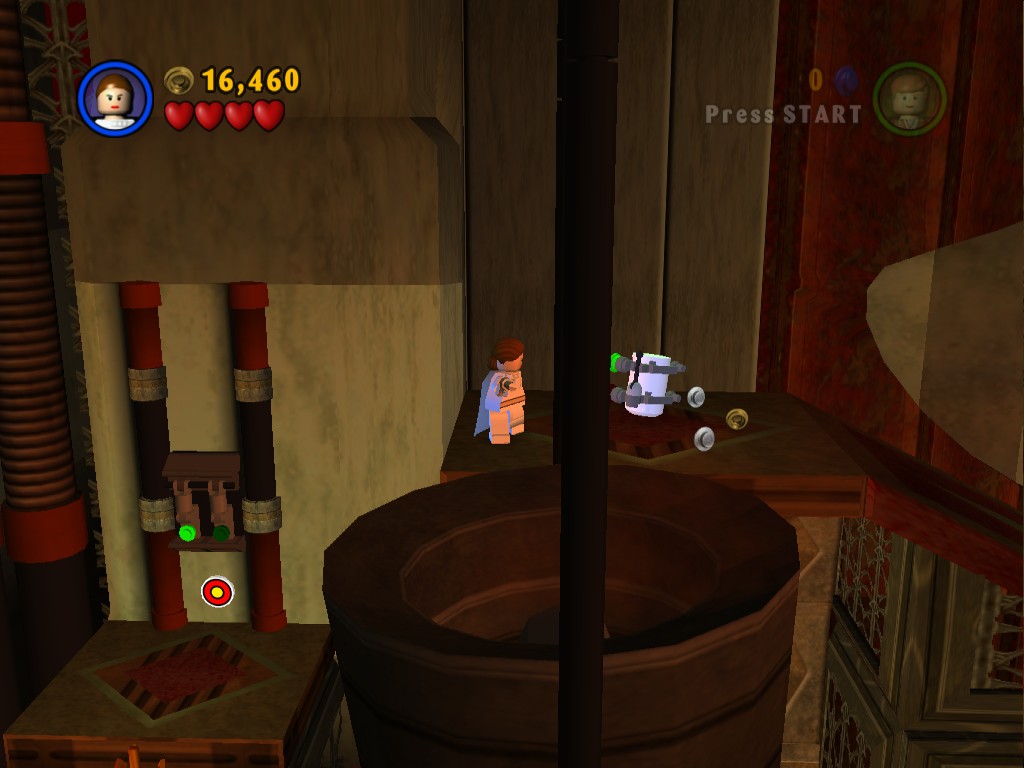
Jump from the bucket while it's moving to grab this Minikit.
Jump back to the left and get back into the bucket, this time wait for it to drop you out at the right. At the end of the platform are some objects you can smash, once you've done that use the Force place the target on the wall. Shoot the target and the buckets to the right will start moving up and down.
Minikit 5/10
Requires: Astromech Story Mode: Yes
Switch to R2-D2 and hover into the bucket, ride it up and hover onto the ledge at the back. Disable the Droideka and go through the Astromech panel door behind it.
Inside the room it's just a case of jumping across the platforms to reach the Minikit on the other side, you can do the whole thing as R2-D2.
Go back out and head to the right, there's a few Battle Droids to take care of standing next to a grappling hook point, drop down at that point. On your right you'll see some blue fire and another set of moving buckets. Jump onto the bucket when it's in the lowered position and then very quickly jump off to the right before it off into the distance through the blue fire of death. Grapple, double jump, or glide across the gap before smashing some objects blocking an Astromech panel for R2-D2 to open.
In here we meet up with C-3PO. Have Anakin double jump over to the central platform so he can use the Force to turn the cog which will rotate the platform to let C-3PO step on. Turn it twice more to have it on the opposite side then use the Force from a distance on the second one to get it to move into position. Walk onto it and turn it twice more to get all the way across.
Minikit 6/10
Requires: Blaster Story Mode: Yes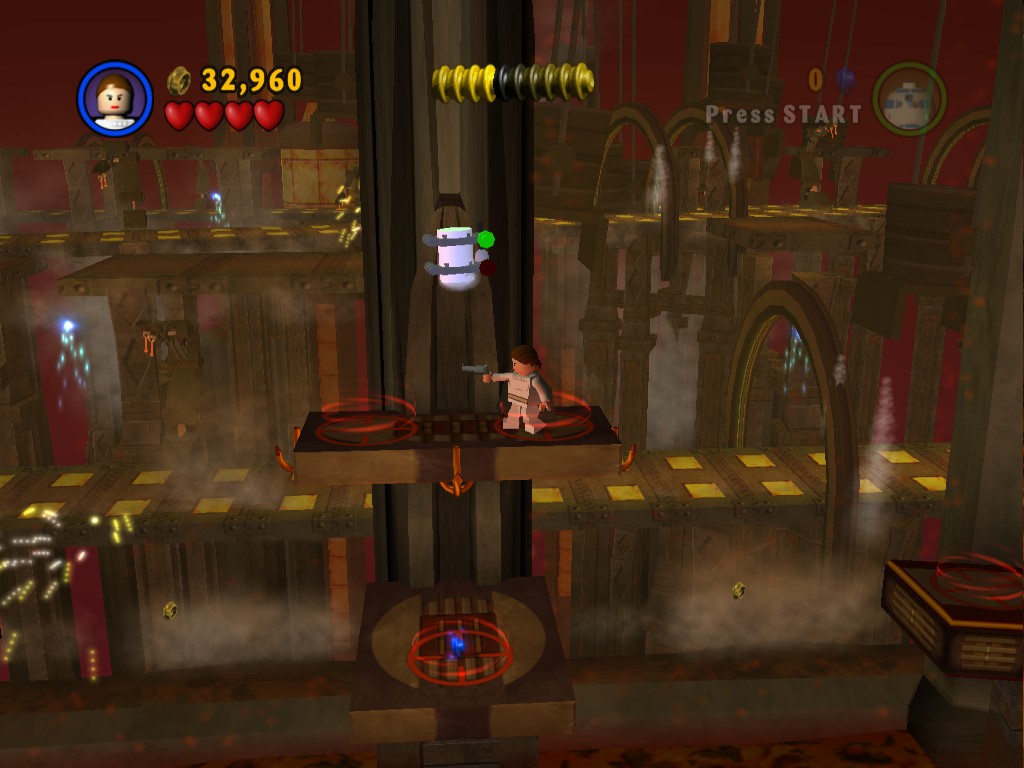
As Padmé just grapple on the hooks at the back of the room where you meet C-3PO to reach the Minikit.
Once you have him safely across have C-3PO open the Protocol Droid panel.
Careful out here as you can easily slip and fall into the lava, as you move to the right some Geonosians will fly out of the caves and start attacking, just shoot them as they appear.
Minikit 7/10
Requires: The Force, High Jump Story Mode: No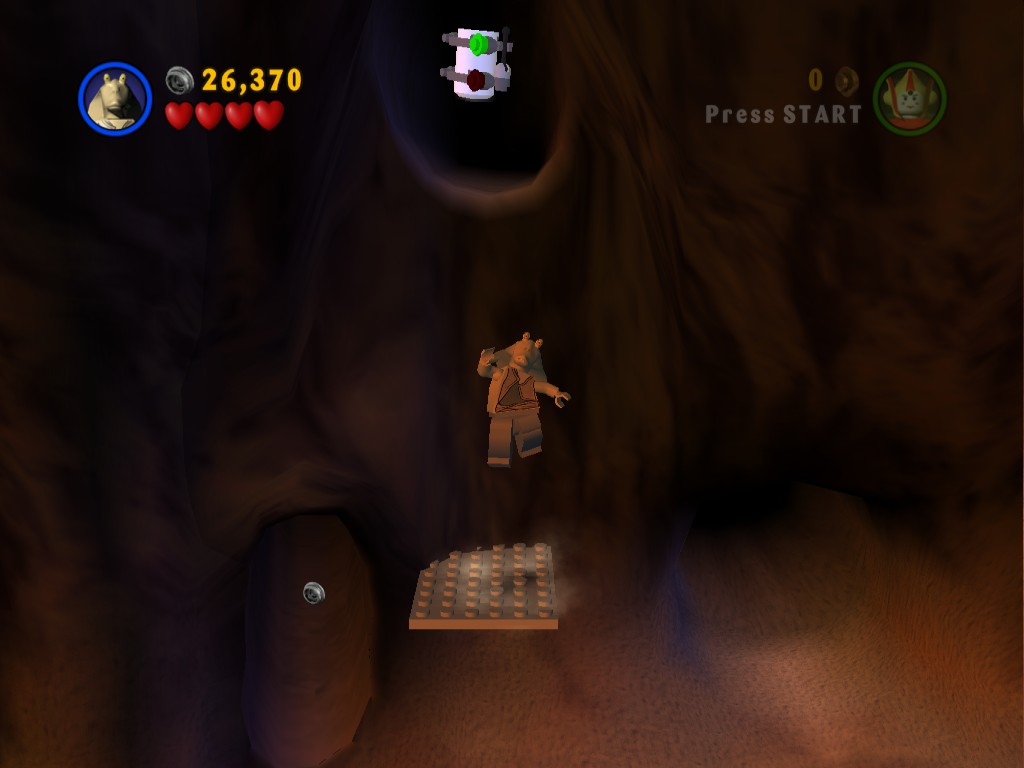
One of the caves will be blocked with some LEGO, smash it then build it into platforms using the Force. Use the left platform to High Jump into the Minikit above.
Minikit 8/10
Requires: Astromech Story Mode: Yes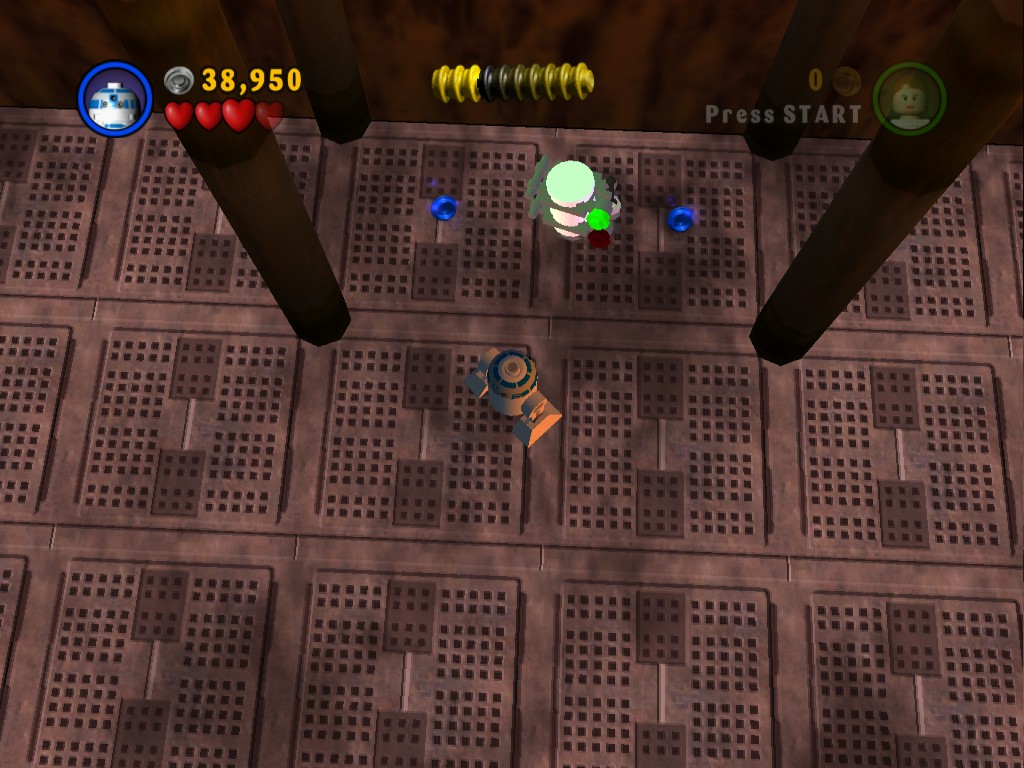
Go into the cave entrance that was blocked by LEGO. Inside use R2-D2 to activate a panel on the right, this will create a path through the forcefield walls to a second panel in the bottom right corner. Activate that one and then go through the small gap to work your way over to the other back corner to activate a third panel, using that will open up a fourth panel in the final corner that will release the minikit and also let you back outside.
Keep going to the right through an archway to a lava area. Grapple up to the ledge at the back and shoot the LEGO object to scatter the pieces in the lava below, then jump down and use the Force to reassemble those pieces into a small platform in the distance. Switch to R2-D2 and hover across the gap, on the far side is an Astromech panel that will extend a bridge. Before switching back to another character move towards the screen and have R2-D2 zap the two Droidekas so that you can more easily shoot or lightsaber them.
Minikit 9/10
Requires: None Story Mode: Yes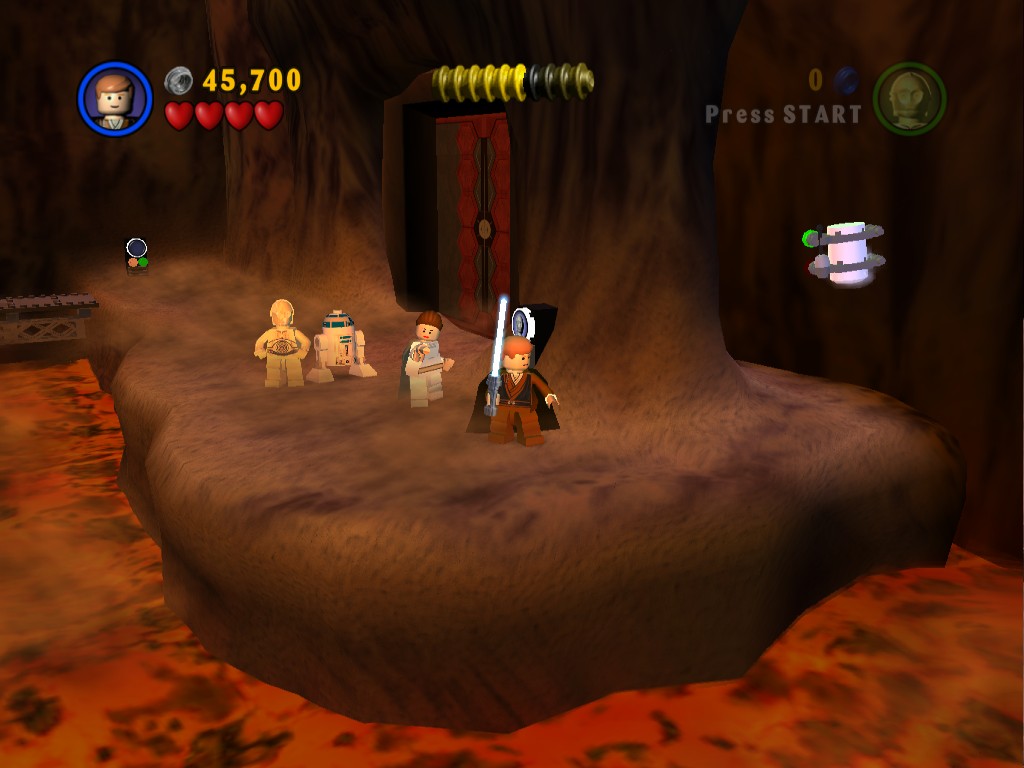
Just to the right of the Protocol Droid door that was guarded by the two Droidekas.
With the bridge extended C-3PO will be able to walk over to the Protocol Droid panel in order to open it.
In the next room there are two Astromech panels.
Minikit 10/10
Requires: Astromech, The Force, High Jump Story Mode: No
In Free Play activate the left Astromech panel and some LEGO will come out on the conveyor belt. Use the Force to build a lever and a platform, stand on the platform and your companion should use the Force to push the button. High Jump to reach the very high up Minikit.
Have R2-D2 use the right-hand Astromech panel to activate the small conveyor belt, switch to Anakin to use the Force to move the object that comes out. You'll now need to blow it up, I suggest shooting it from a distance. That'll blow up the red forcefield blocking your way, head on through.
Now it's time for a big fight. I recommend standing well back and shooting all of the Battle Droids and Geonosians first, the Droidekas should sit still. Once everyone else is defeated switch to R2-D2 and disable the two Droidekas so you can use another character to quickly destroy them. Once they're all dead use the Force to free Obi-Wan to finish the level (grab the studs behind him first).
Droideka
 Based on set 7203
Completing this level will unlock Anakin Skywalker (Padawan), Padmé (Geonosis), and C-3PO for free (as well as R2-D2 if you did this before Episode I, Chapter 5) and adds a couple of new enemies to buy from Dexter's shop.
| Cost | Character | |
|---|---|---|
| 2000 | Geonosian | |
| 300 | Battle Droid (Geonosis) |
Chapter 3
JEDI BATTLE
In their attempt to rescue Obi-Wan Kenobi on the planet Geonosis, Anakin Skywalker and Padmé Amidala have been captured by Jango Fett.
Obi-Wan has sent a distress signal to the Jedi Council. But hopes of rescue seem remote, as the evil Separatist leader Count Dooku oversees their execution...
| Story Mode | Free Play |
|---|---|
| 6,000 | 9,060 |
Defeat the Battle Droids and the two Droidekas that are gathered in front of Padmé, once they're all gone approach her and use the Force to free her.
Your next rescue target, Anakin, is off to the right but if you instead first go to the left you can set about grabbing the Minikits.
Minikit 1/10 + Minikit 2/10
Requires: High Jump Story Mode: No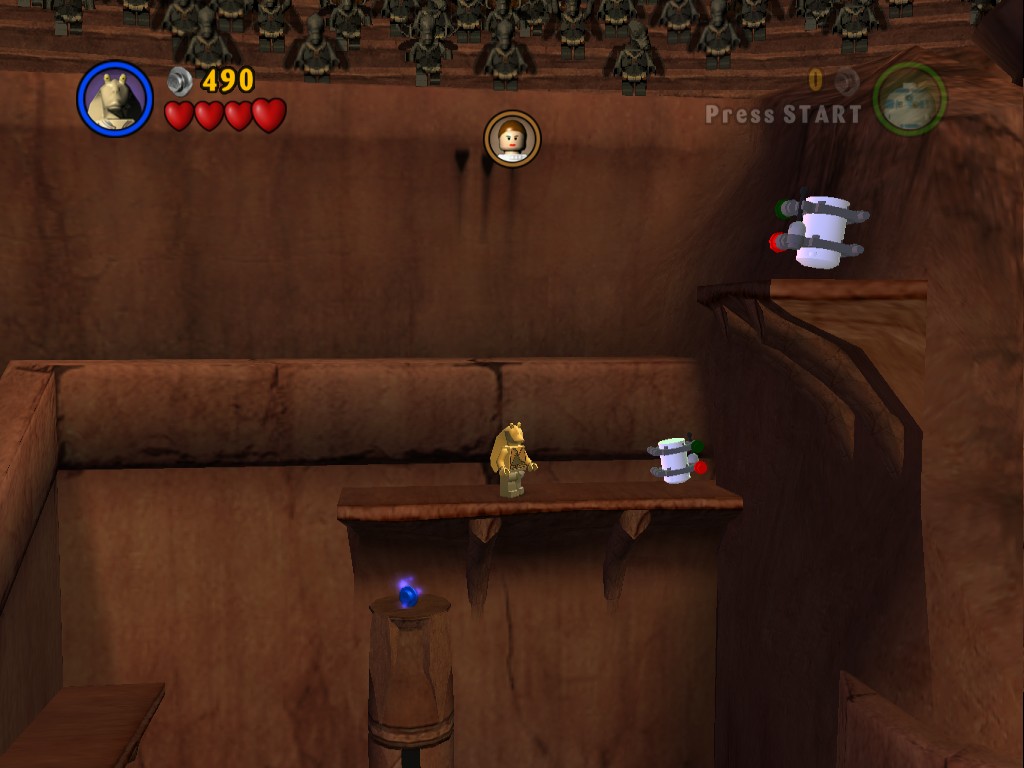
In Free Play use a character with High Jump to get to the Minikits at the back.
Minikit 3/10
Requires: None Story Mode: Yes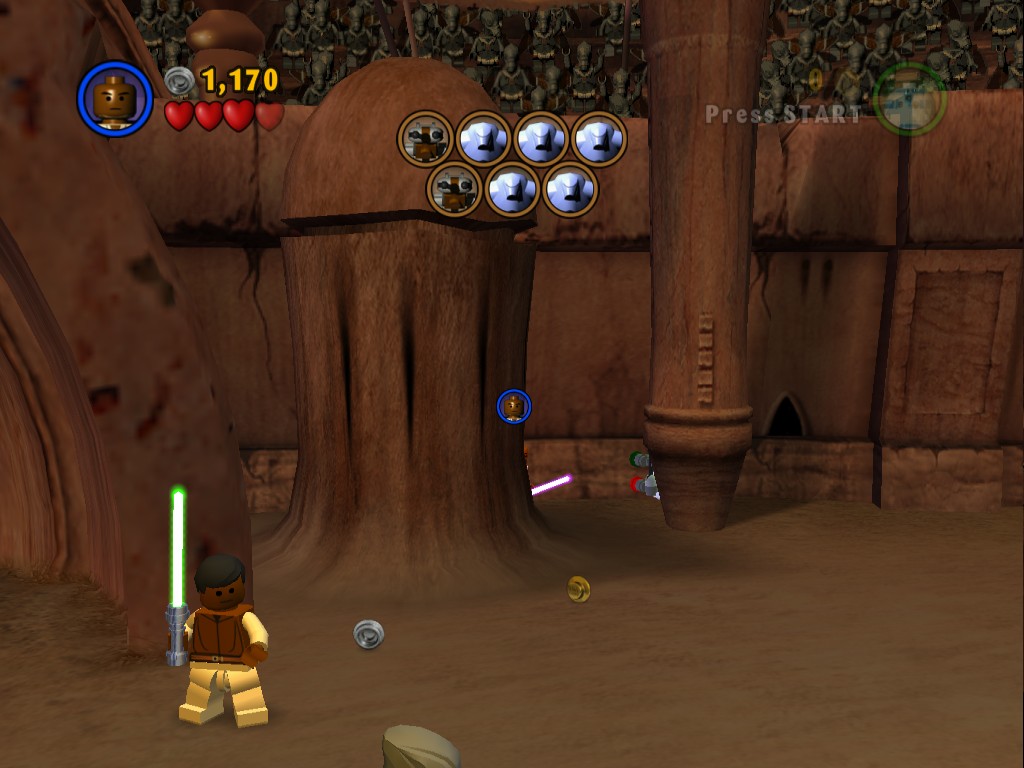
Behind a pillar to the left of where Padmé was being held.
Minikit 4/10
Requires: The Force Story Mode: Yes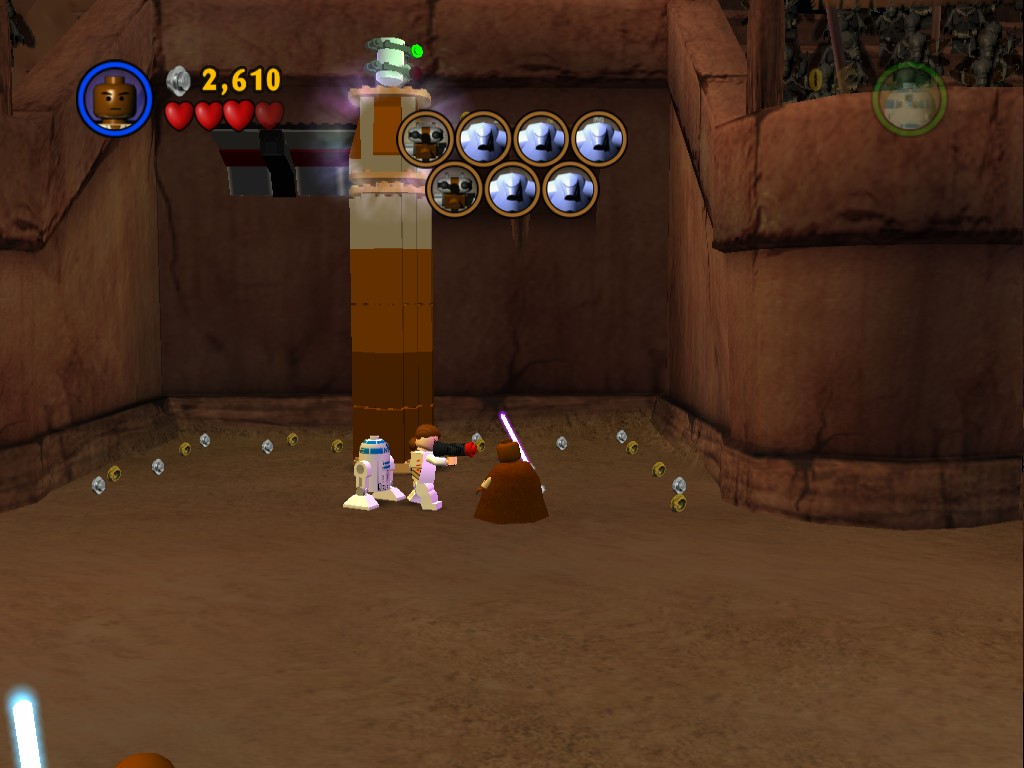
Further left is a pile of bricks you can use the Force on to form a tall column, the catch is that it has to be in the correct order to reveal the Minikit.
First place the piece with a thin tan circle on the bottom of it, then reassemble the scattered bricks into a piece and place that on second. Third is the piece with the thin tan circle on top, and then finally the piece with two thin circles with a pointed section between.
With all four in order the Minikit will appear on top but to reach it you'll have to use the Force to take the column apart again, take the top two off and you'll be able to use double jump to reach it.
Minikit 5/10
Requires: The Force, Hatch Access Story Mode: No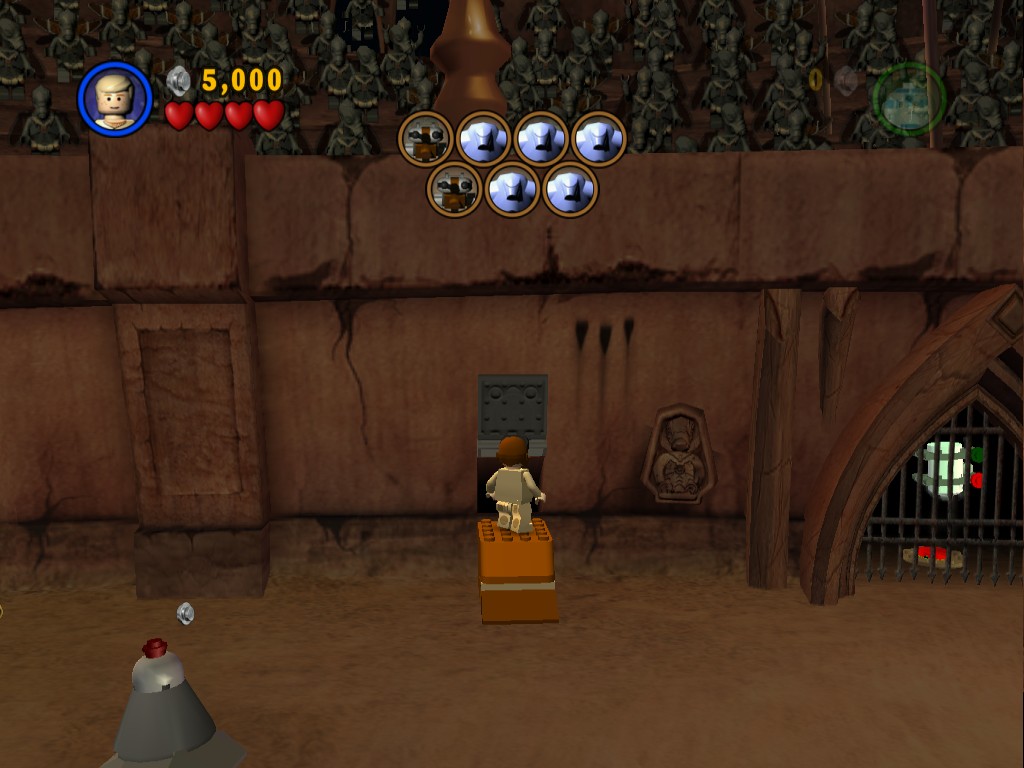
Further to the left again is a gate with a Minikit behind it, assemble the ramp to the left of it using the Force so that you can have a small character crawl through the hatch to reach the Minikit. Press the button to get out.
Minikit 6/10
Requires: Blaster Story Mode: Yes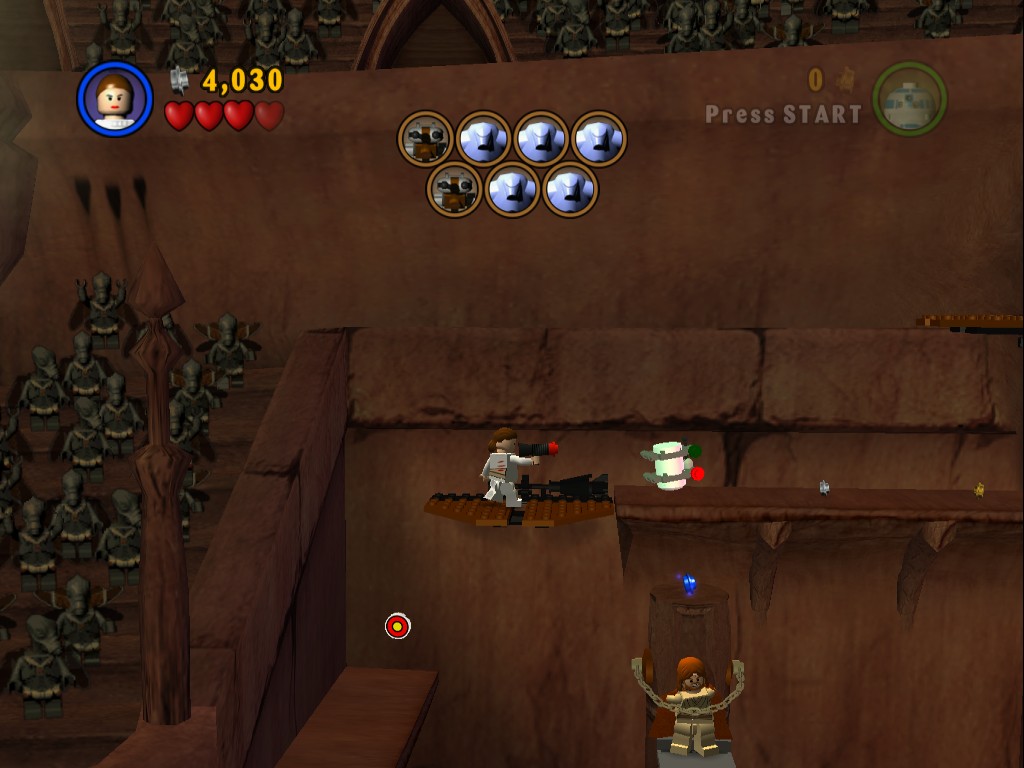
Left again to where Obi-Wan is being held, grapple up the left side to shoot a target and then jump onto the platform it activates to reach the Minikit.
Minikit 7/10
Requires: The Force, Blaster Story Mode: Yes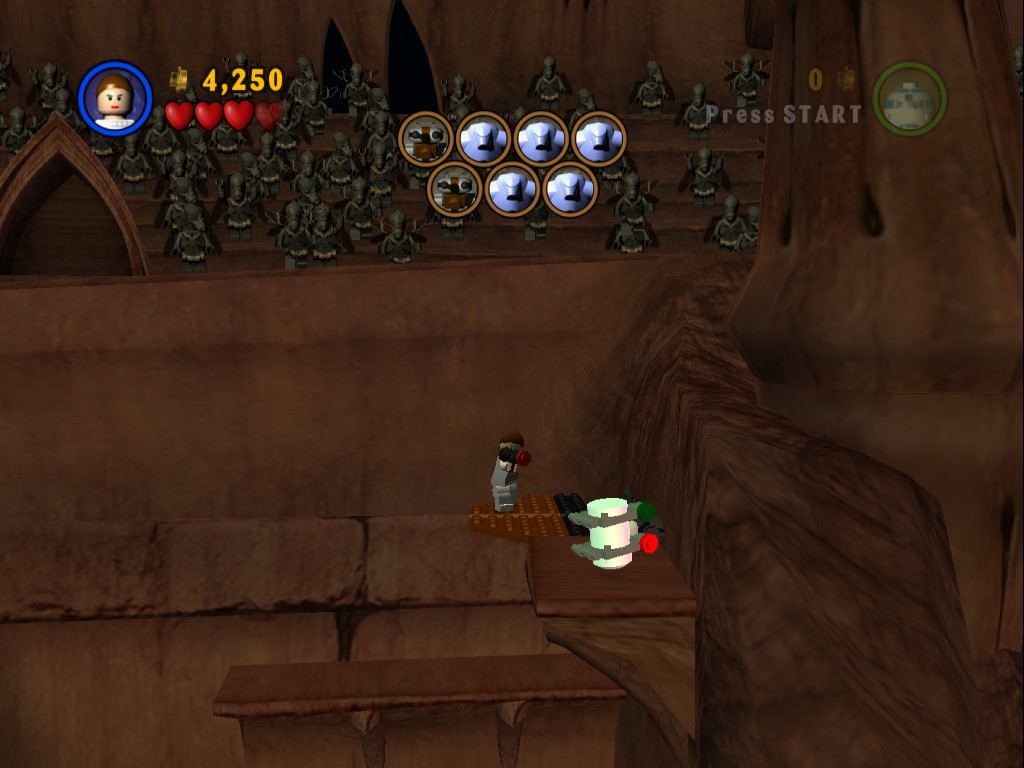
On the ground below Obi-Wan are some LEGO bricks you can assemble into an elevator using the Force, it'll suddenly zoom up too high to reach directly. Grapple up on the left and shoot the target on the wall to get to the ledge where the previous Minikit was, from there you can get onto the new elevator to reach the next Minikit.
You've now done almost a full circle of the arena and reached the next person you need to rescue, Anakin. He's guarded by a load of Battle Droids, a Droideka and a couple of large silver Super Battle Droids. The difference between them and regular Battle Droids is that they take three hits and you can't use the Force on them.
Once you've cleared them all out use the Force to rescue Anakin.
We're still not quite done with the Minikits so ignore Obi-Wan again for now.
Minikit 8/10 + Minikit 9/10
Requires: Blaster Story Mode: Yes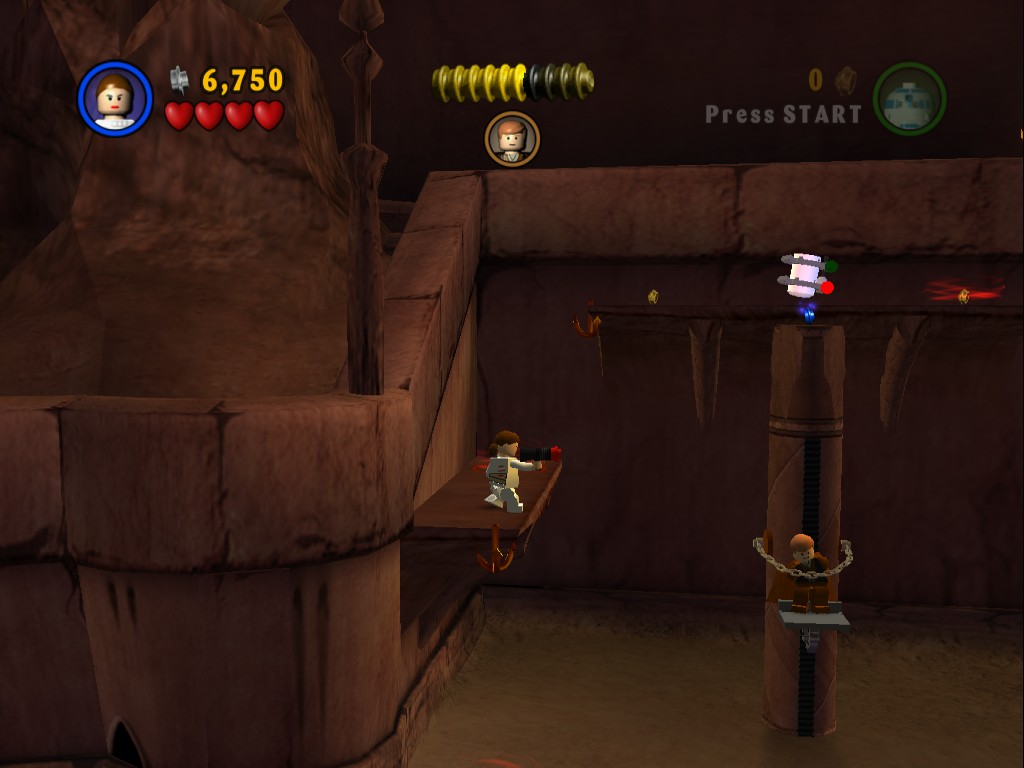
Just grapple up the platforms behind Anakin to get these two.
Minikit 10/10
Requires: The Force Story Mode: Yes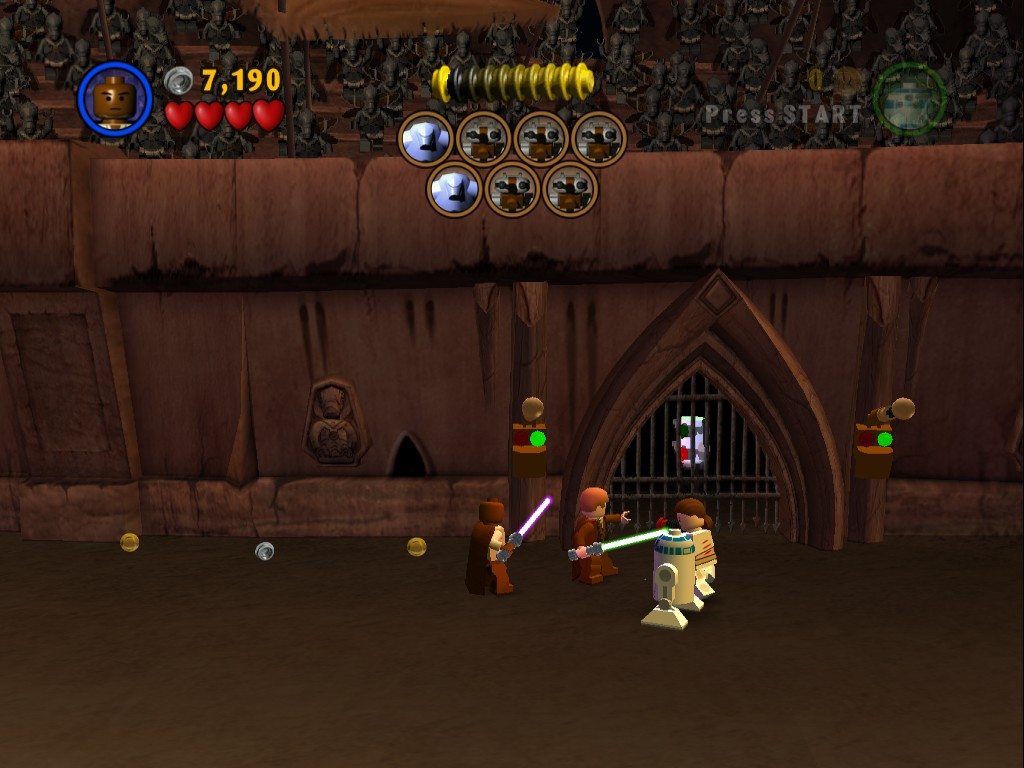
Carry on a little further to the left to find the last Minikit behind a gate, opening this requires two Force users to pull the levers at the same time, lucky you just freed Anakin then.
Now that you have all of the Minikits that you can it's time to go free Obi-Wan Kenobi from the droids that are guarding him. There are two Super Battle Droids and five Droidekas, luckily they all shoot like crazy so you're going to easily wipe them out using a lightsaber as they'll pretty much kill themselves with deflections.
Free Obi-Wan using the Force and in run six security Battle Droids, you'll now have to enter the fight in the middle of the arena and search them out - they're the ones with the orange torsos. If you're circling around and not finding any, start to go in the opposite direction as they may be trying to follow you. Oh, and don't bother trying to kill all of the other enemies here, they'll just keep reappearing, but they are a good source of hearts.
Once all six are defeated another three will run in along with three Super Battle Droids. Keep searching for them in the same manner until you've got them all.
In comes Jango Fett for a boss fight. Use a lightsaber to deflect four shots back at him and he'll land, take off four more and he'll start running away. For the final two hearts he'll stand back and start firing rockets, use the Force to send them straight back at him. Or just use a Blaster. Anyway, finishing him off will complete the chapter.
Republic Gunship
 Based on set 4490
Defeating Jango Fett (again) will unlock Mace Windu and Padmé (Clawed) for free and add a whole load of new enemies and friends to buy at Dexter's shop.
| Cost | Character | |
|---|---|---|
| 5,000 | Super Battle Droid | |
| 65,000 | Jango Fett | |
| 800 | Boba Fett | |
| 20,000 | Luminara | |
| 25,000 | Ki-Adi Mundi | |
| 35,000 | Kit Fisto | |
| 15,000 | Shaak Ti |
Chapter 4
GUNSHIP CAVALRY
The Grand Army of the Republic has been called into action. Led by Mace Windu and Yoda, the new Clone forces clash with the Separatist droid armies on the planet Geonosis.
Obi-Wan Kenobi and Anakin Skywalker engage with the enemy, as they pursue Count Dooku in their Republic attack gunship...
| Story Mode |
|---|
| 20,000 |
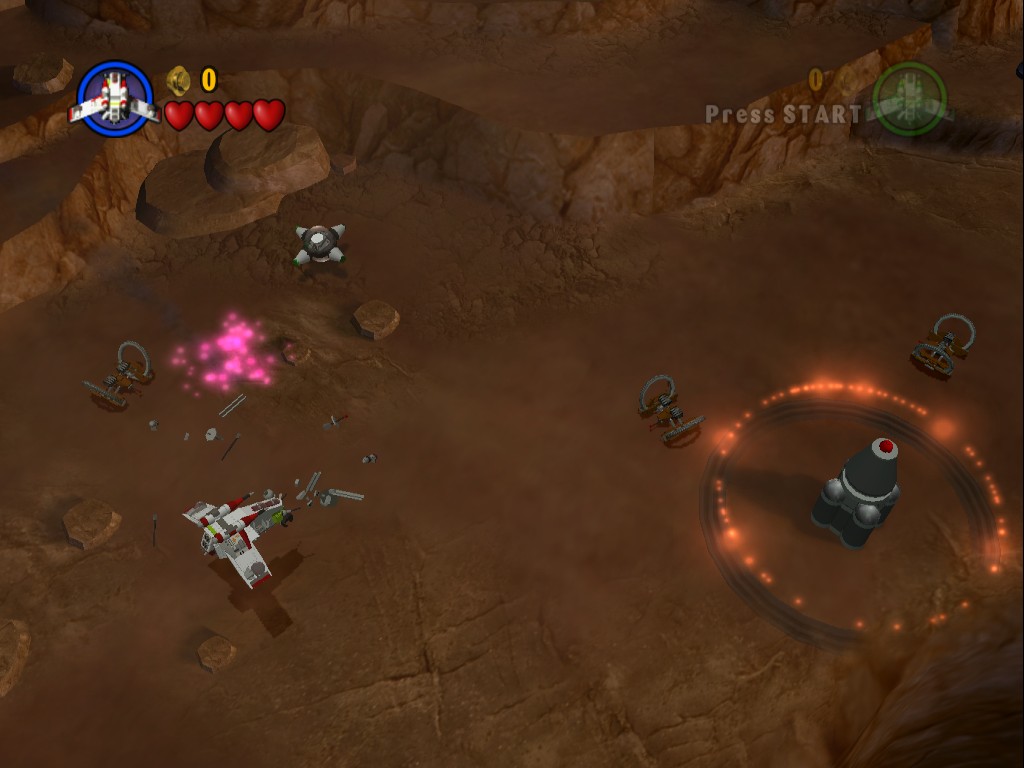
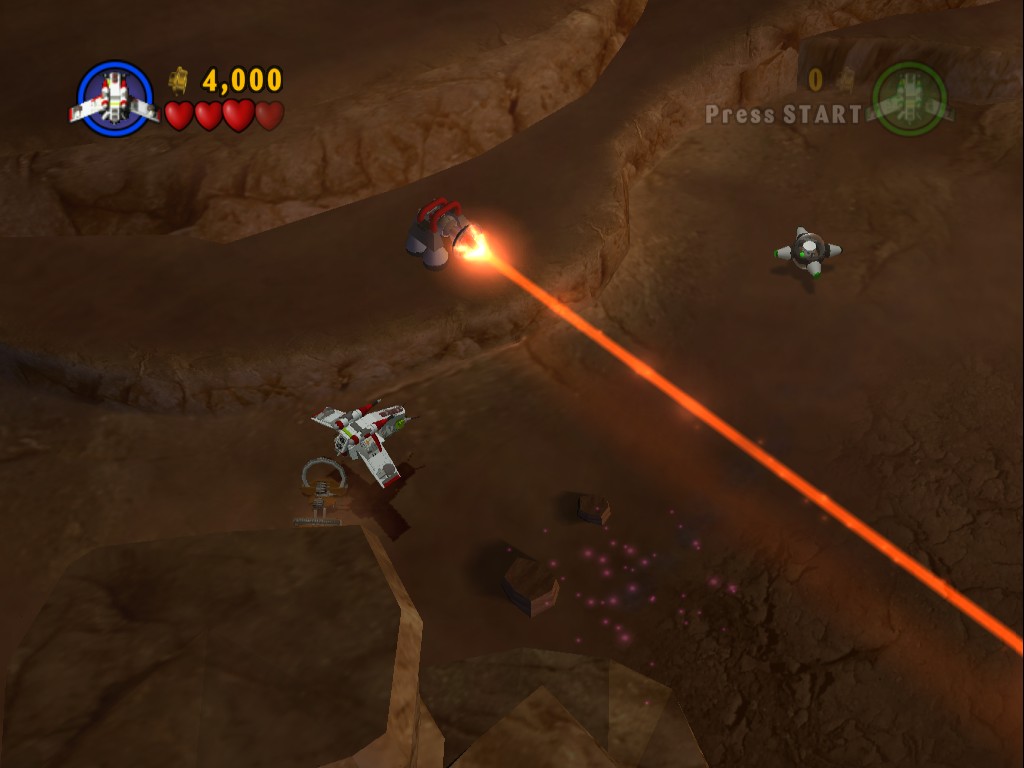
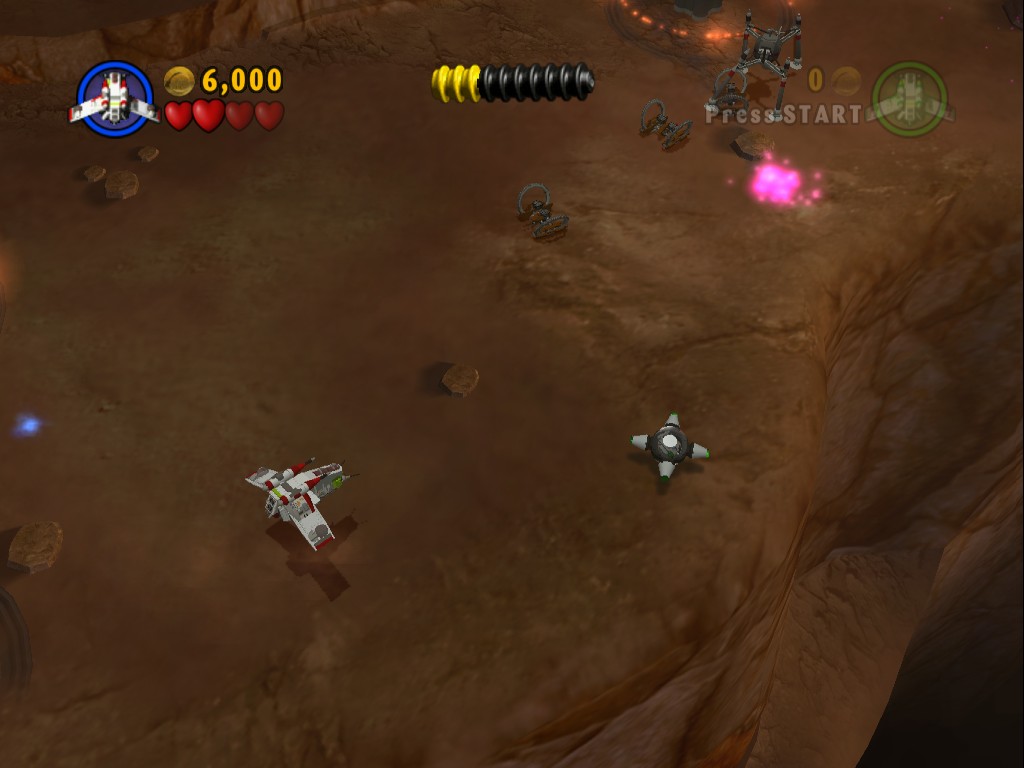
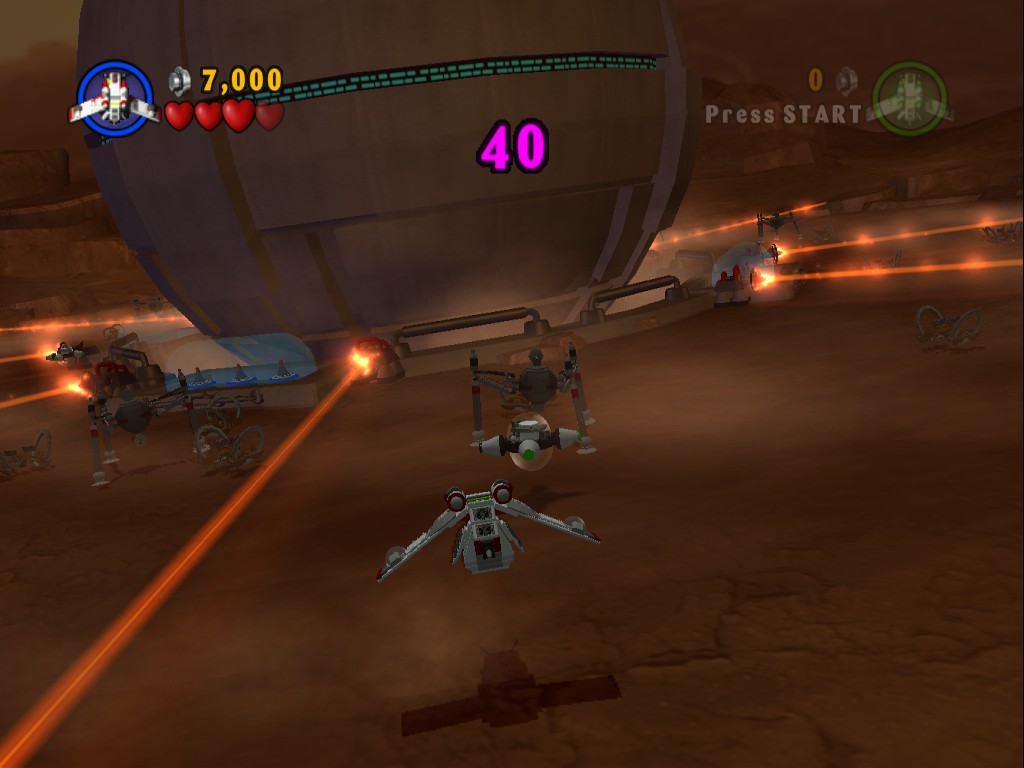
This is Episode II's vehicle level, in it you'll be driving a Republic Gunship much like the one Yoda arrived in at the end of the previous level. The game will be constantly moving forwards diagonally so you don't have time to hang around. Along the main path your enemies are Hailfire tanks (the little ones with two large wheels), and larger Spider Droids. They both shoot at you but rarely and you can't bump into them, for the most part you can just ignore them completely, they will sometimes drop a heart so do shoot them if you're low on life.
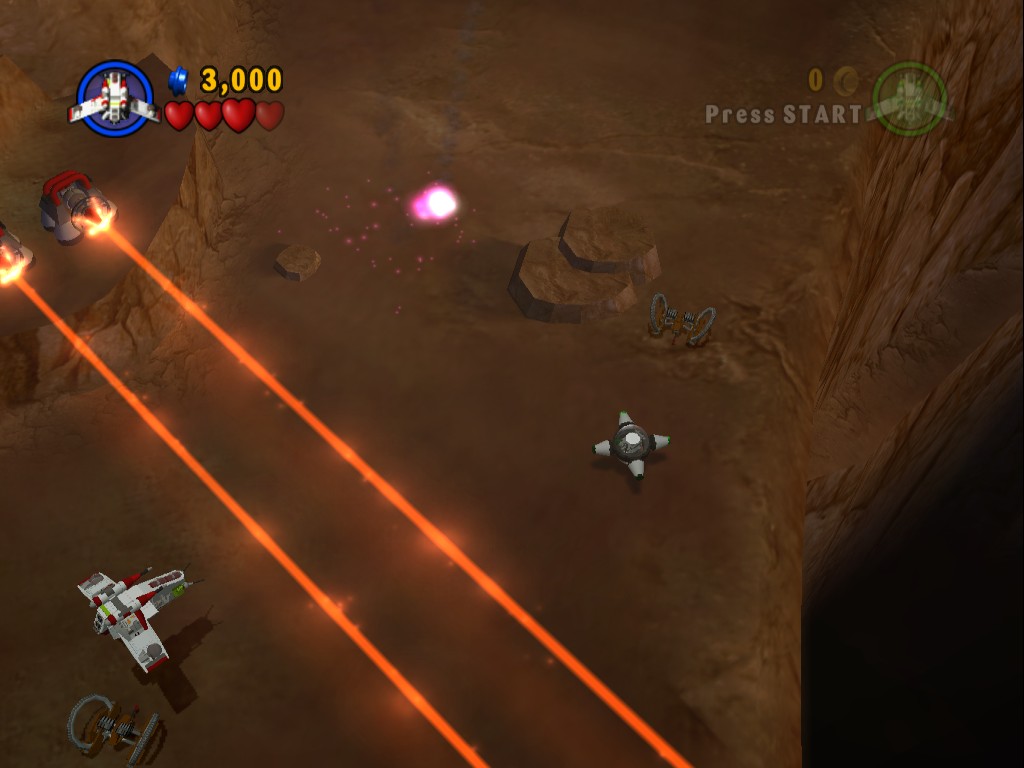
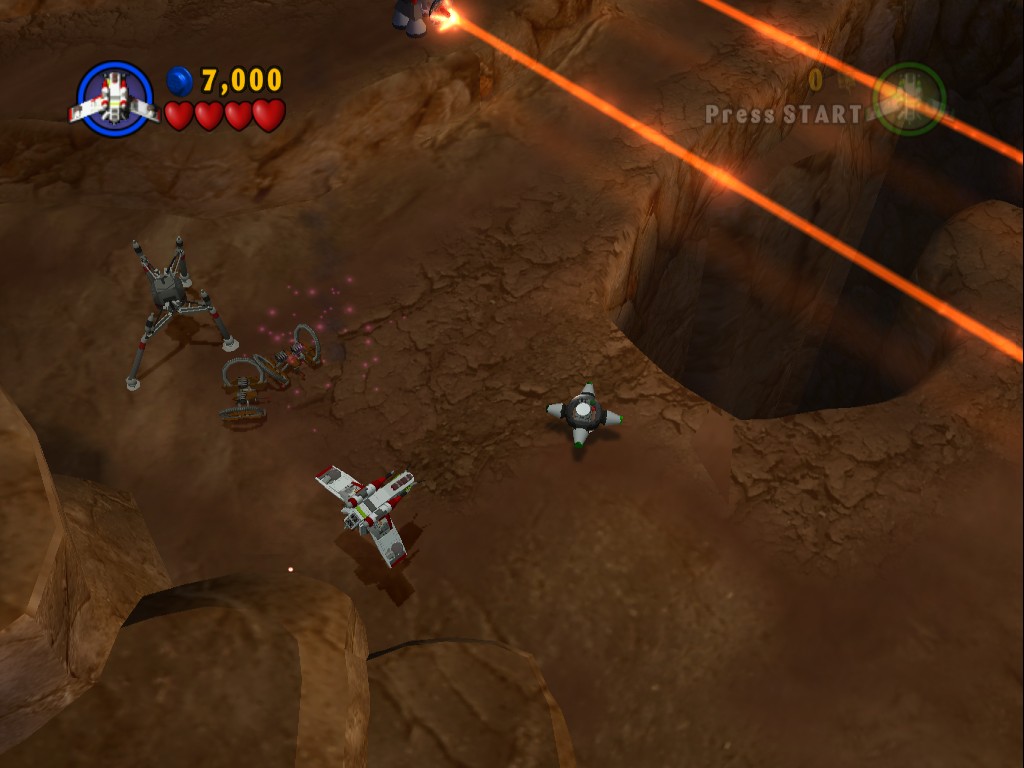
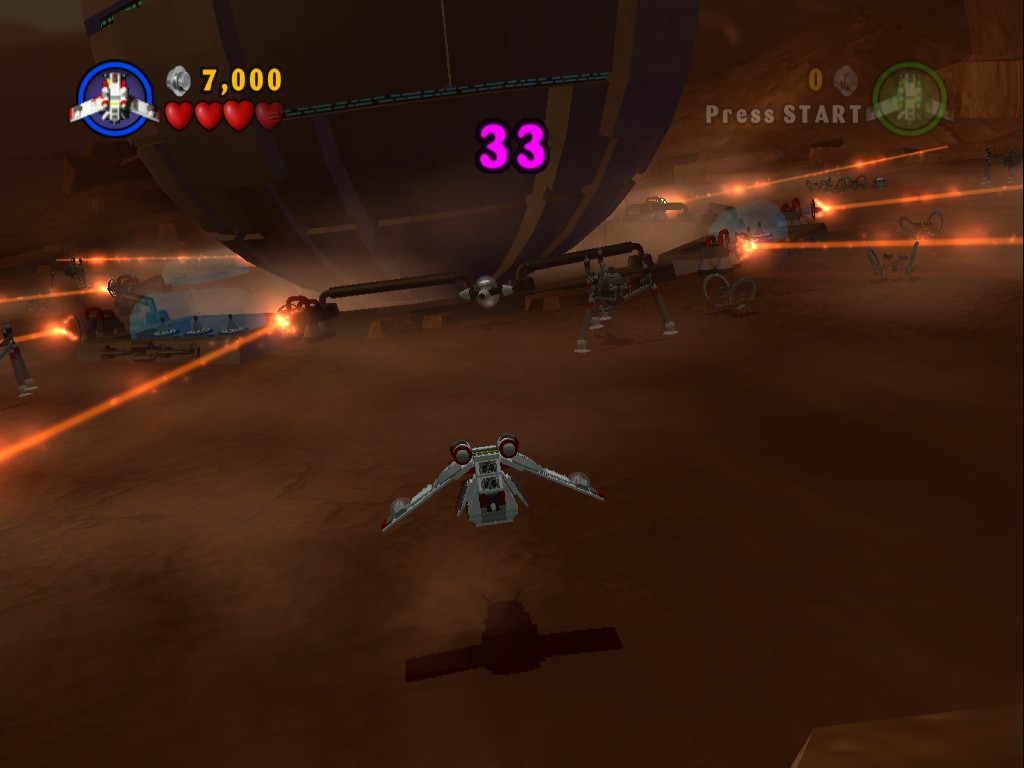
The true enemies in this level are the laser beams, these turn on and off automatically so time your rush through them as best you can and try to do it before it gets too close to the bottom of the screen. The other danger in the level (aside from falling off the edges) are the explosive canisters (I believe they're Hardcell transports) that are marked by an orange circle around them on the ground, bumping into them or being too close to them when they blow up will take off a heart but they are the only source of studs in the first part of the level so you will want to shoot them whenever you see them.
As with the previous vehicle level there is only Story Mode for this so it is entirely possible to get all 10 Minikits on your first playthrough, to collect them in this level you must shoot them.
Minikit 1/10
On the left side of the path at the start opposite the very first explosive canister with an orange circle around it.
Minikit 2/10
After the first set of double laser beams.
Minikit 3/10
Just before the first blue electricity gate.
After the third Minikit you'll arrive at a pair of blue pylons with electricity zapping out of them, this forms a barrier that if you hit you die. To avoid doing that you need to shoot both pylons before you run out of space to do so. Helpfully this acts as a checkpoint so if you die a bit further on you'll return to here instead of all the way back at the start of the level again.
Minikit 4/10
Along the right side after the row of three laser beams.
Minikit 5/10
This is found around the other side of a large rock after the next laser beam, you have to very quickly swoop in front of it to shoot it and then swoop away to avoid falling off the edge.
After that there are two sets of double lasers and then a second blue pylon lightning barrier, shoot the pylons to get through to the second half of the level.
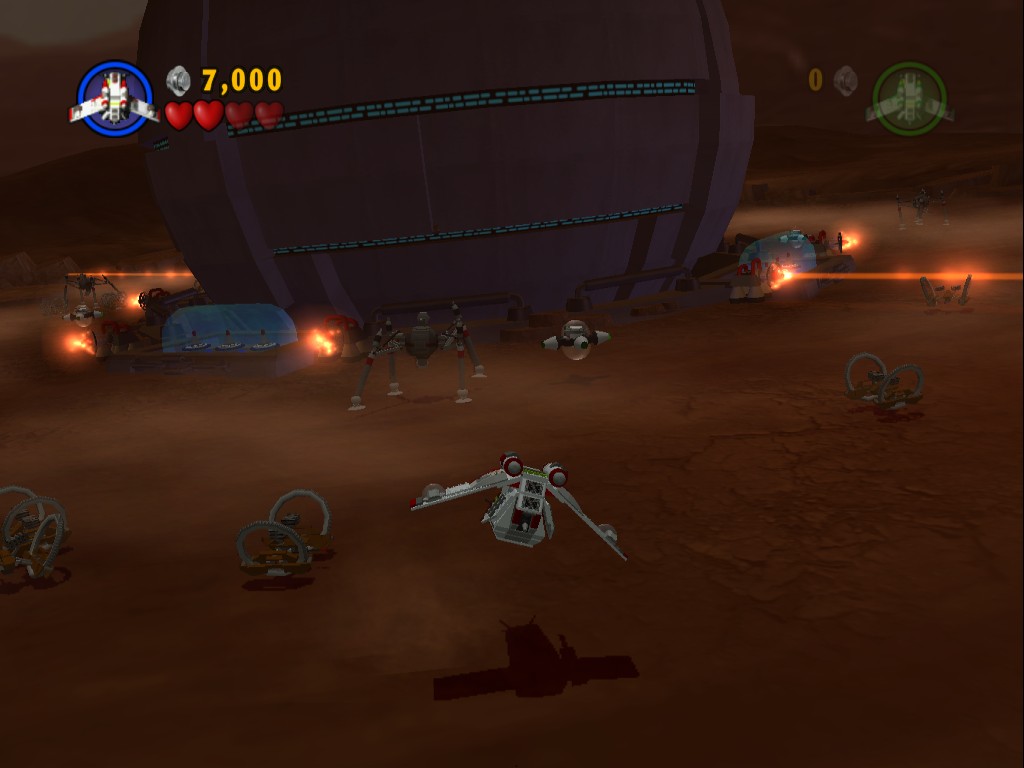
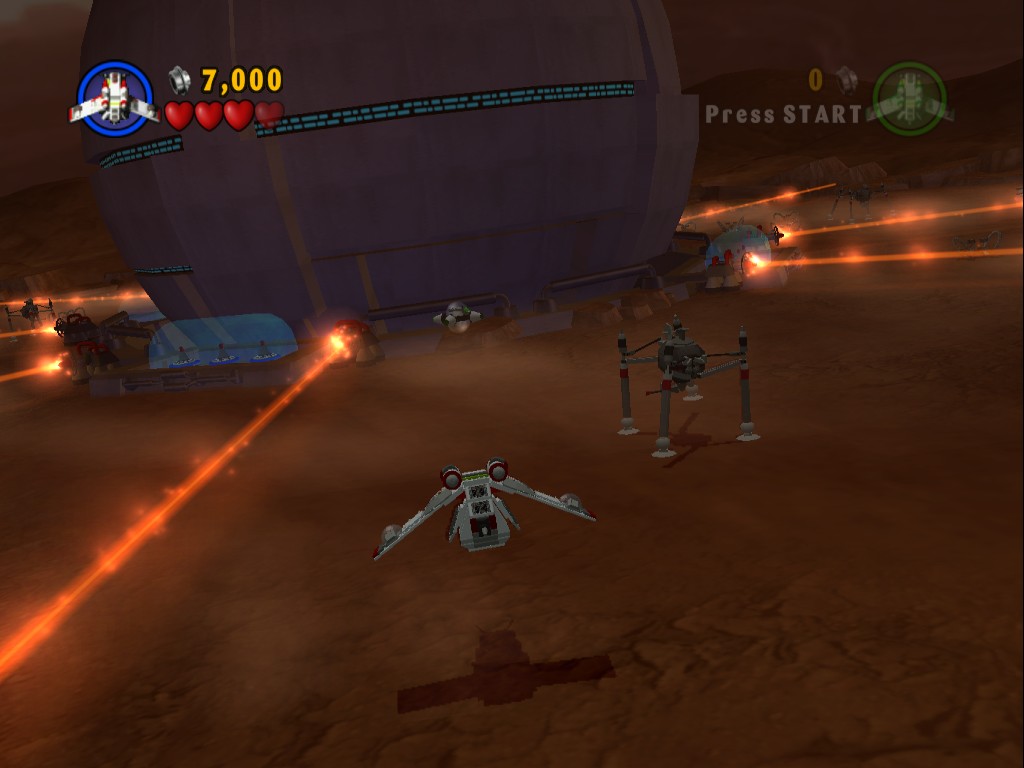
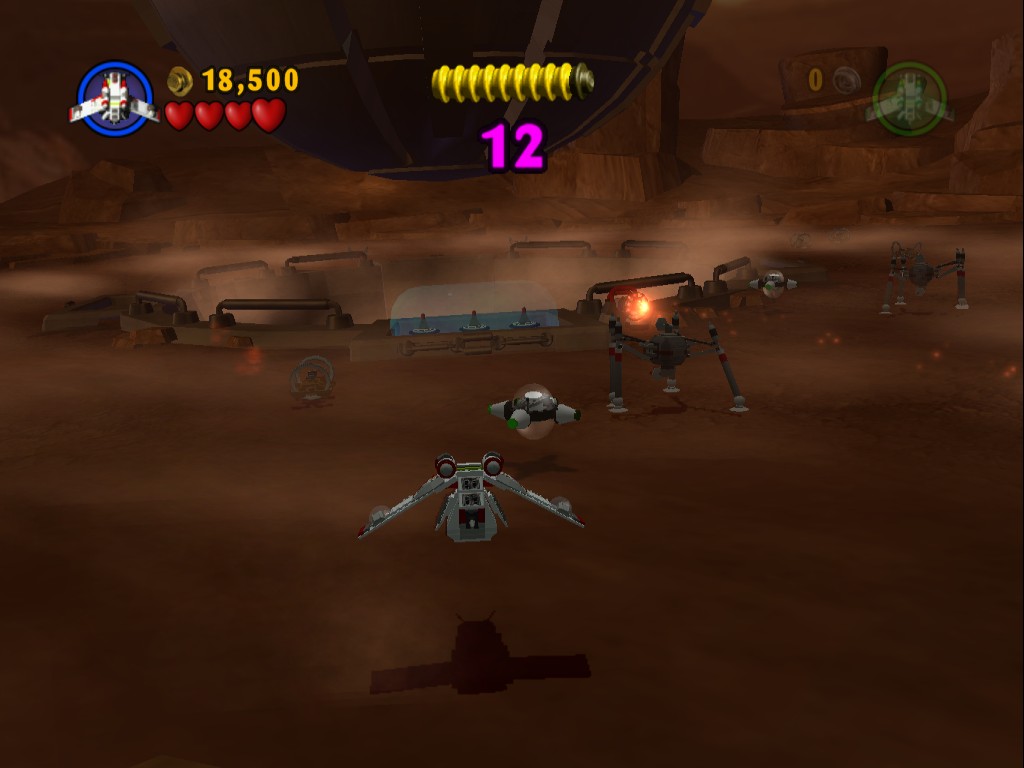
The second part of the level has you circling a large ball-like Core ship with the intention of blowing it up. To do that you need to shoot the lasers that are on either side of the blue shields, the shield will then drop and let you shoot the three things behind them.
Minikit 6/10
Between the first and second shields.
Minikit 7/10
Between the second and third shields.
Minikit 8/10
Between the third and fourth shields.
Minikit 9/10
In front of the fourth shield.
Minikit 10/10
Between the fourth and first shields, make sure to get it before you blow up that last shield.
You get about one minute to blow everything up which is just about enough if you don't get stuck on each one for too long. The trick is to shoot the whole time and mostly just ignore the damage you take while you try to get directly in line with the laser beams, the issue is more getting bounced away and wasting time lining yourself up than it is getting damaged.
AT-TE
 Based on set 4495
Blowing up the fourth one will complete the chapter.
Chapter 5
COUNT DOOKU
As the battle rages between the Clone forces of the Republic and the Separatist droid army, the Separatist leader Count Dooku flees to his secret hangar.
Obi-Wan Kenobi and Anakin Skywalker follow closely behind, prepared for a final showdown with the Sith Lord...
| Story Mode | Free Play |
|---|---|
| 3,000 | 4,500 |
This level begins with Obi-Wan Kenobi and Anakin Skywalker still on Geonosis.
Minikit 1/10
Requires: Double Jump or Astromech Story Mode: Yes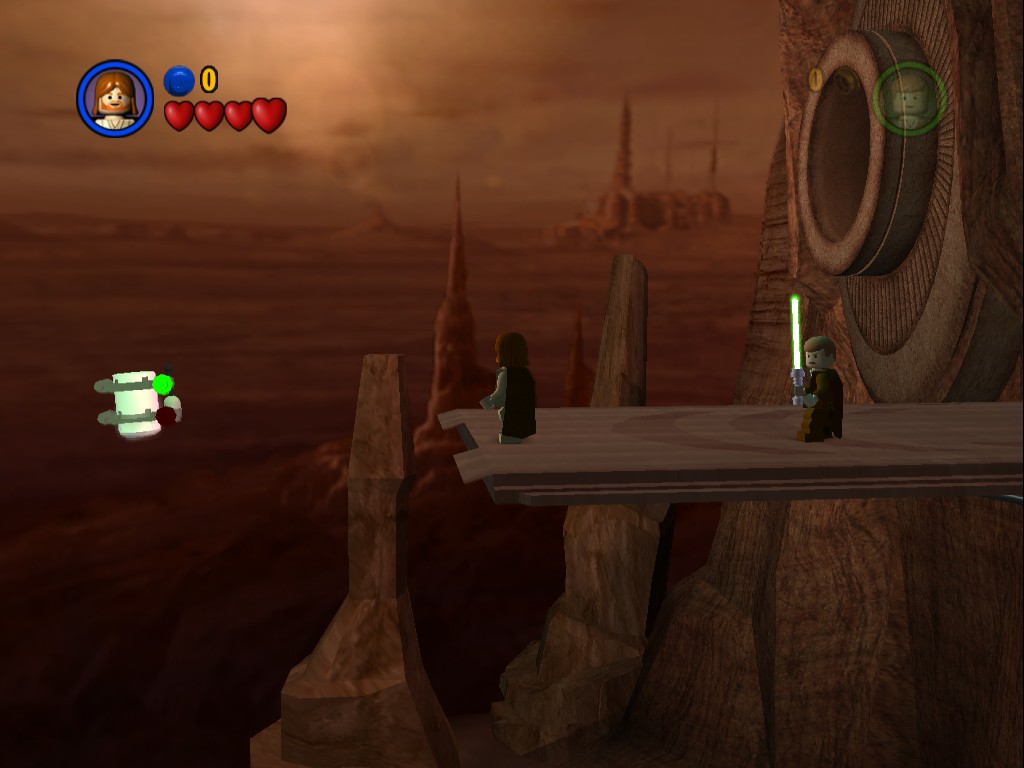
Just floating out to the left, at this point in the level you have no studs so it doesn't matter that you fall to your death.
Minikit 2/10
Requires: Blaster Story Mode: No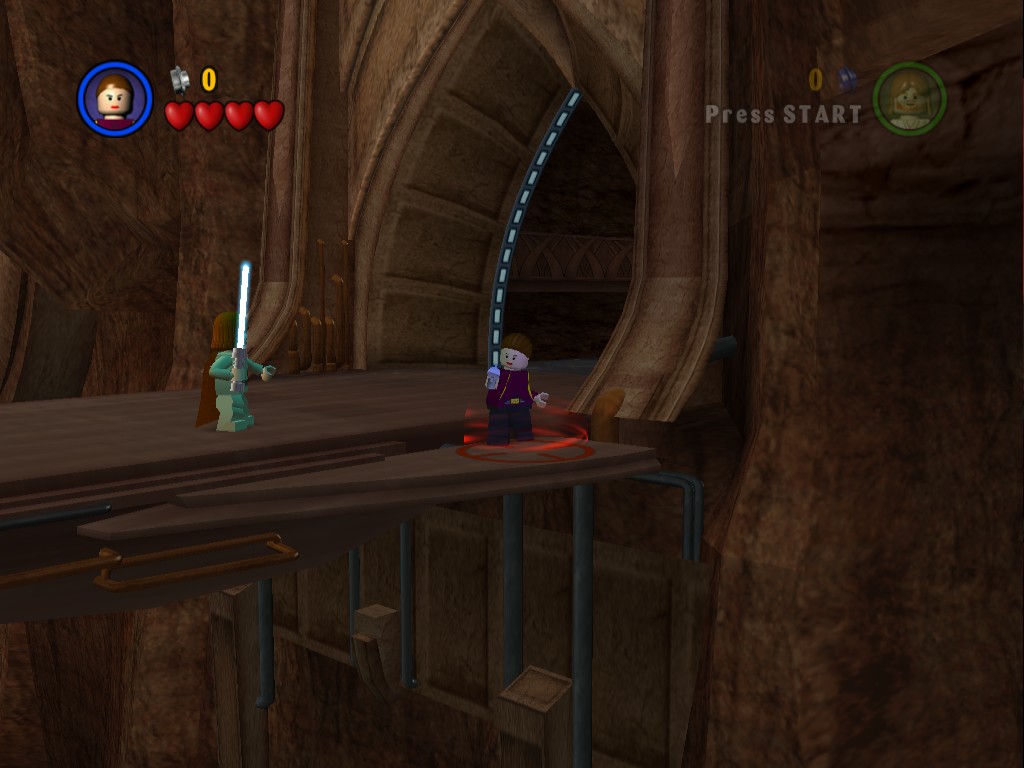
There's a grapple point on the ground on the right side just outside the door.
Follow Count Dooku inside the building and he'll run off just you'd expect, he'll send in a few Battle Droids to slow you down.
Minikit 3/10
Requires: The Force Story Mode: Yes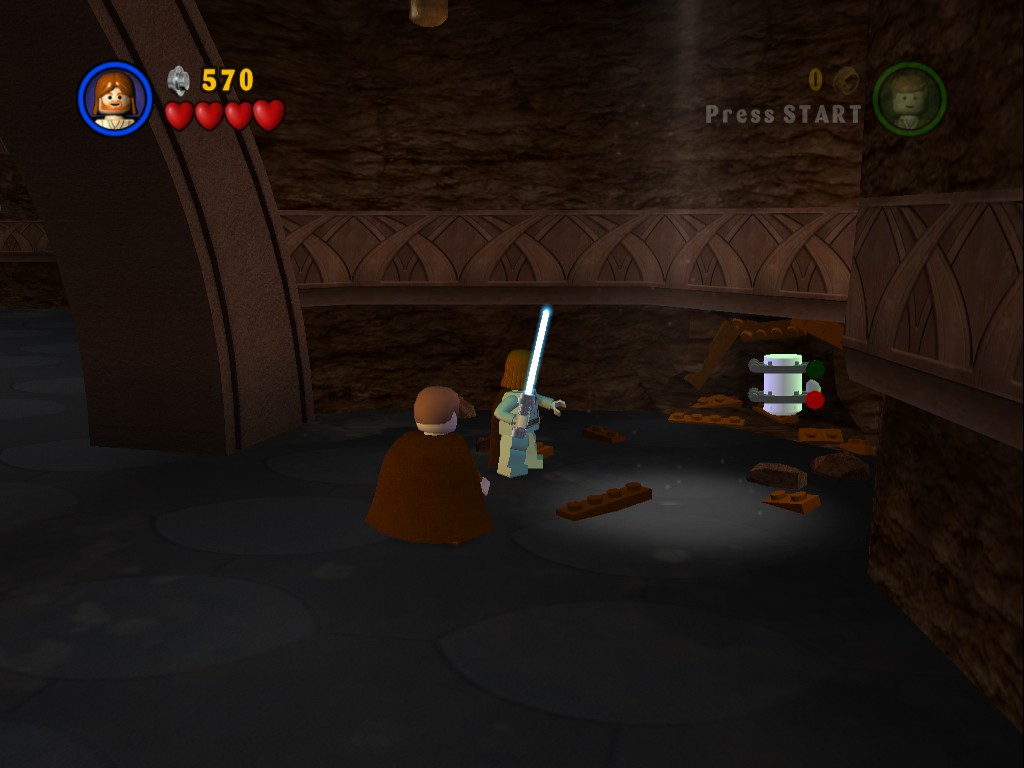
Use the Force to move the two objects at the back and then destroy the both of them to blow up the wall and reveal the Minikit.
In the next room Dooku will send in a group of five Geonosians. Squish them then start exploring the room.
Minikit 4/10
Requires: Double Jump Story Mode: Yes
On the left side of the room is a button on the floor, step on it to pop out some platforms on the wall, wait for your partner to jump up the platforms to press the button above. That'll keep the platforms out so you can jump up to the Minikit.
Minikit 5/10
Requires: High Jump Story Mode: No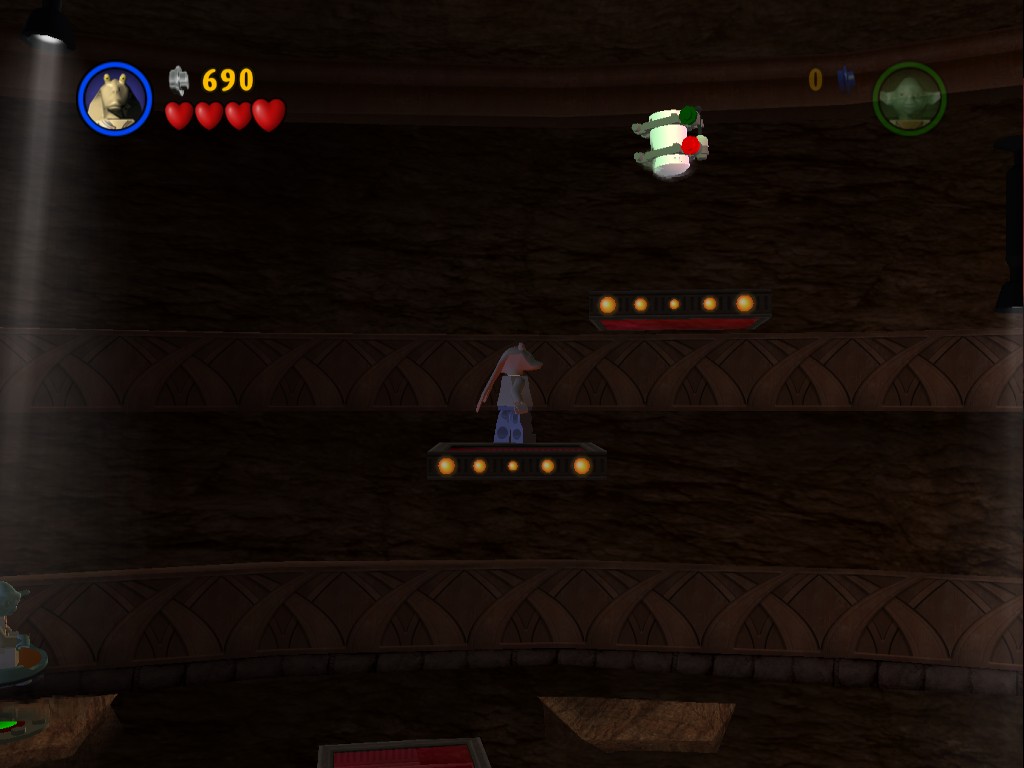
From the same place as Minikit #4 you need to High Jump to the next Minikit above.
Over on the right side of the room, stand on the button next to Count Dooku's speeder and wait for your companion to jump up onto the second button. Stand on the third and wait for the partner to hit the fourth which will cause them all to stay out.
Minikit 6/10
Requires: High Jump Story Mode: No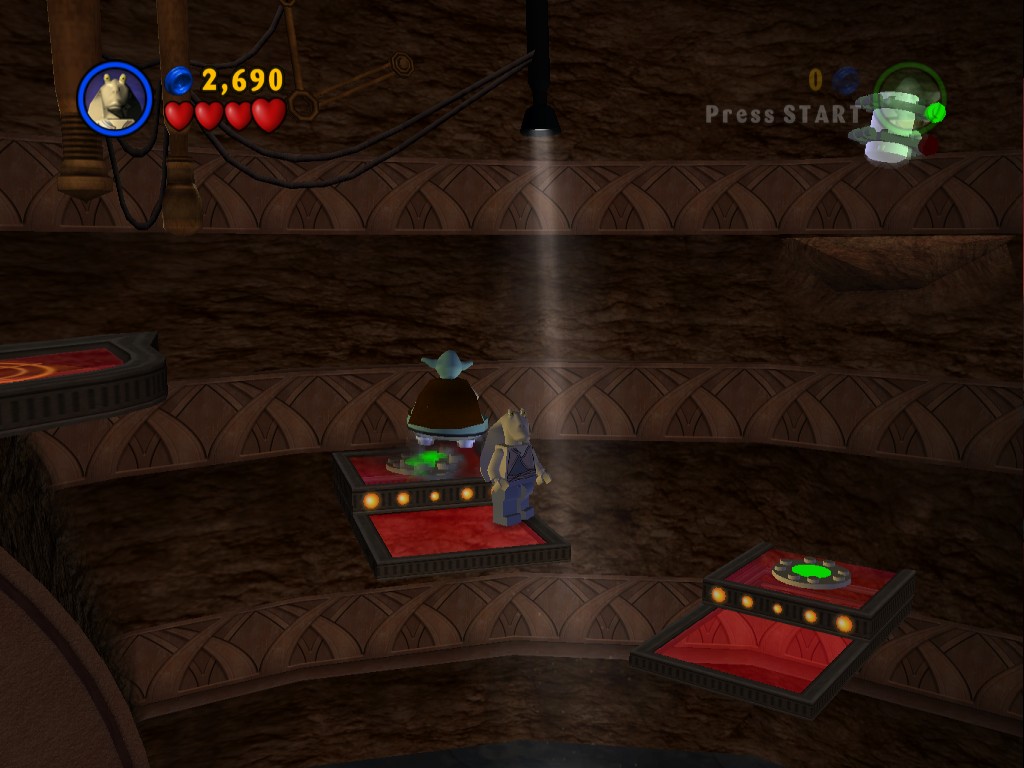
Directly above that third button is the Minikit, you'll need a High Jumper to reach it though. Jump from the fourth button's platform.
Jump past the fourth button all the way to the top and have both Jedi use the Force on the two levers to open the large door below.
When you run through the door you'll immediately confront Count Dooku, in Free Play you'll have to deal with him following you around while you gather the Minikits (I recommend taking off his first three hearts then leaving him alone, he'll still be a bit of a hassle but slightly less so) but none of the Minikits are available in Story Mode so it doesn't really matter there.
Minikit 7/10
Requires: Blaster Story Mode: No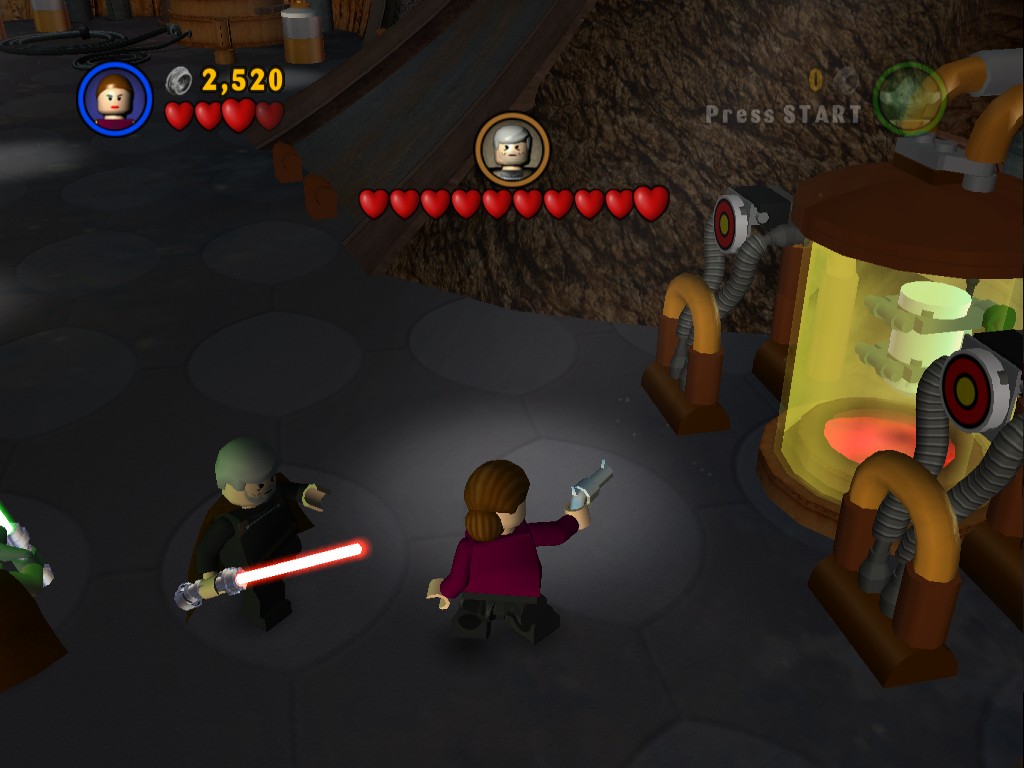
Shoot the two targets on the container next to where you came in.
Minikit 8/10
Requires: Hatch Access, Blaster Story Mode: No
Crawl through the vent to the right of where Count Dooku stands to throw stuff at you, walk left and then grapple up to the Minikit.
Minikit 9/10
Requires: The Force Story Mode: No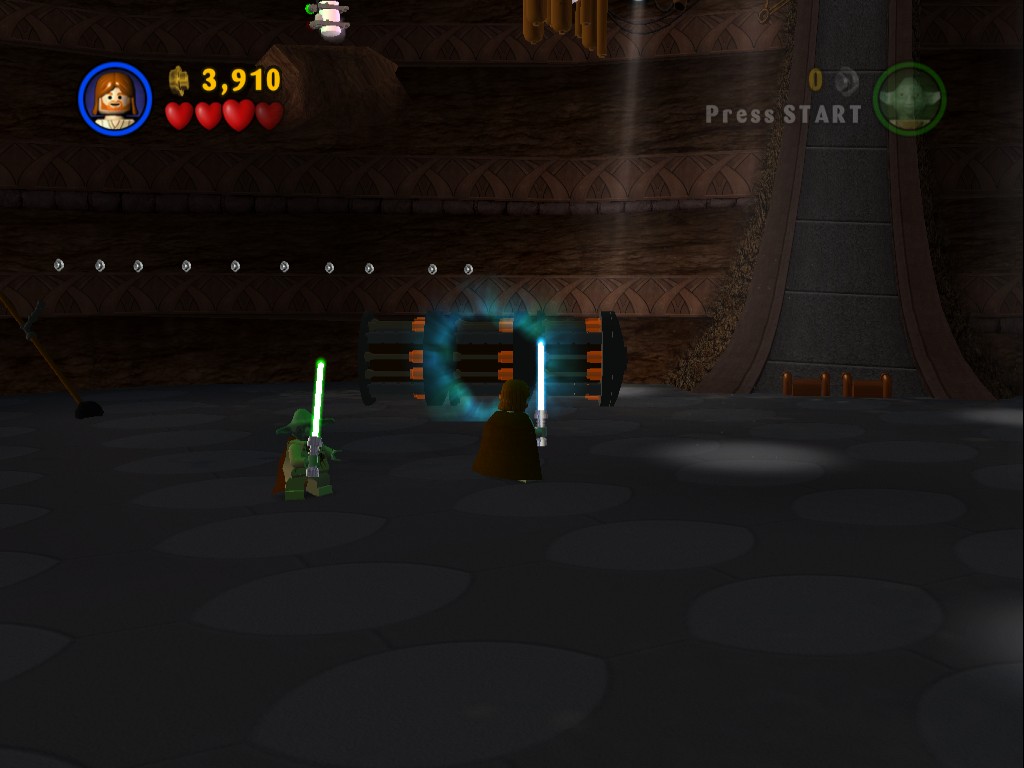
In Free Play (they're stacked up in Story Mode) use the Force on a the stack of cylinders that are lying down over on the left side of the room. Jump up them and jump over to the Minikit.
Minikit 10/10
Requires: Blaster, High Jump or Astromech Story Mode: No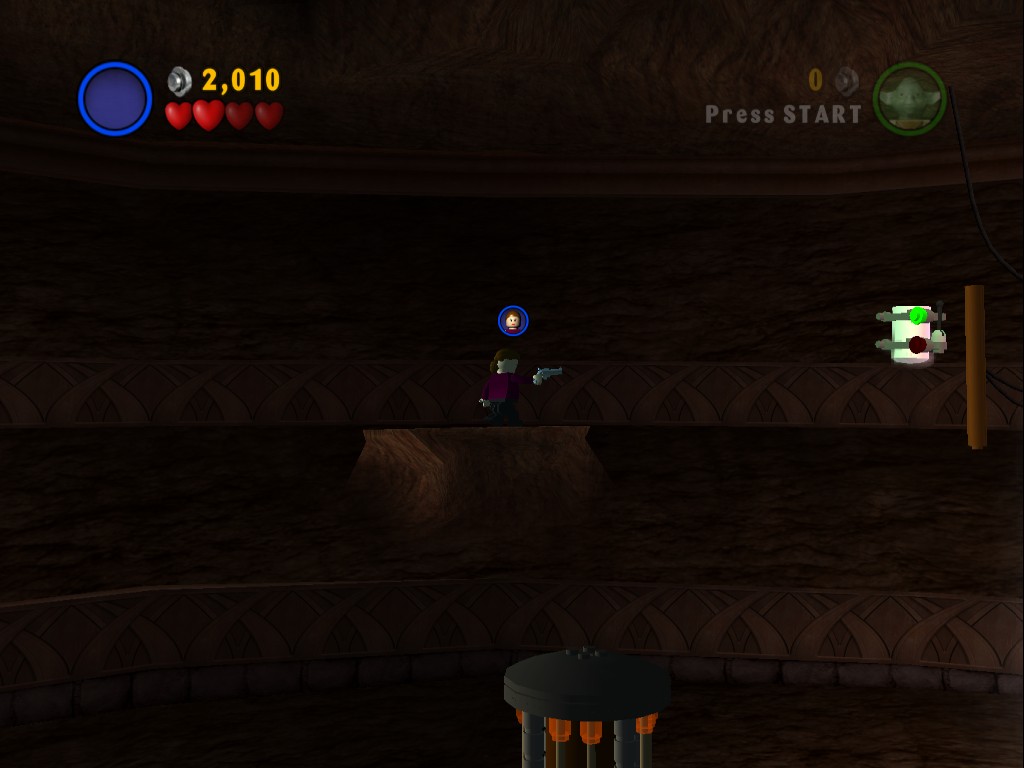
From the same place as Minikit #9 shoot at the brown chandelier thing to reveal the Minikit, then High Jump or Astromech over to it from the stack to grab it.
Time for the boss fight with Count Dooku. To damage him perform the ground slam attack, do this three times and he'll change his attack pattern. Now he'll be force pushing you away while throwing objects at you, throw them back at him using the Force.
After doing that three times you take control of Yoda, use him to do some more ground slam attacks or just jumping and attacking. Three hearts down and he'll start force pushing again but rather than throw objects he uses force lightning, you need to stand still and use the Force to repell the lightning straight back at him three times. The final part is just more lightsaber smashing.
Solar Sailor

Defeating Count Dooku (sort of) will unlock Yoda for use in Free Play and complete Episode II.
Time to move on to Episode III: Revenge of the Sith...
 darkspyro.net